

Air Conditioner Coil Replacement in Pine Castle, FL 32809

When your air conditioner is struggling in the Florida heat, it doesn’t take long for the whole home to feel uncomfortable. A homeowner in Pine Castle, FL 32809 reached out to our team at Home Therapist after their system stopped keeping up and needed a major repair: a condenser coil replacement, a new filter dryer, and a full system clean-up and recharge.
In this case, the AC’s outdoor coil had to be replaced, the refrigerant lines flushed, and the system carefully evacuated and recharged. By the time we left, the system was cooling properly again, and the home in Pine Castle was back to a comfortable temperature.
Case Recap
- Location: Single-family home in Pine Castle, FL 32809
- Primary service: Condenser coil replacement and refrigerant circuit clean-up
- Additional work: Filter dryer replacement, line set flush, system vacuum and recharge
- Concern: AC not cooling reliably and evidence of restriction or contamination in the refrigerant circuit
- Solution: Replace outdoor coil and filter dryer, flush lines, evacuate, and add refrigerant as needed
- Result: Restored cooling performance and more reliable AC operation for the homeowner
Customer Problem: A Struggling AC in Pine Castle
By the time we were called out to this home in Pine Castle, FL 32809, the homeowner had already noticed that their air conditioner wasn’t keeping up like it used to. In our Florida climate, especially around the Orlando area, that quickly turns from an annoyance into a real comfort issue.
From the work scope, it was clear this was not just a simple thermostat adjustment or a clogged air filter. The system needed:
- A new outdoor condenser coil
- A new filter dryer (the component that helps protect the system from moisture and debris)
- A full flush of the refrigerant lines to clear blockages and contamination
- A proper system vacuum and refrigerant recharge
When a system needs more than a couple of pounds of refrigerant added, that can be a sign of a deeper issue such as a leak or previous loss of charge that wasn’t fully resolved. The work order clearly noted that adding over 2 pounds of refrigerant can indicate a leak that must be addressed to prevent future problems. Our job was to correct the known issues, restore performance, and make sure the system was set up for reliable operation moving forward.
Inspection and Diagnosis
Before any parts are replaced, we always start with a careful inspection. For this Pine Castle, FL 32809 AC repair, we focused on the components that directly affect the refrigerant circuit and cooling performance.
Our diagnostic steps included:
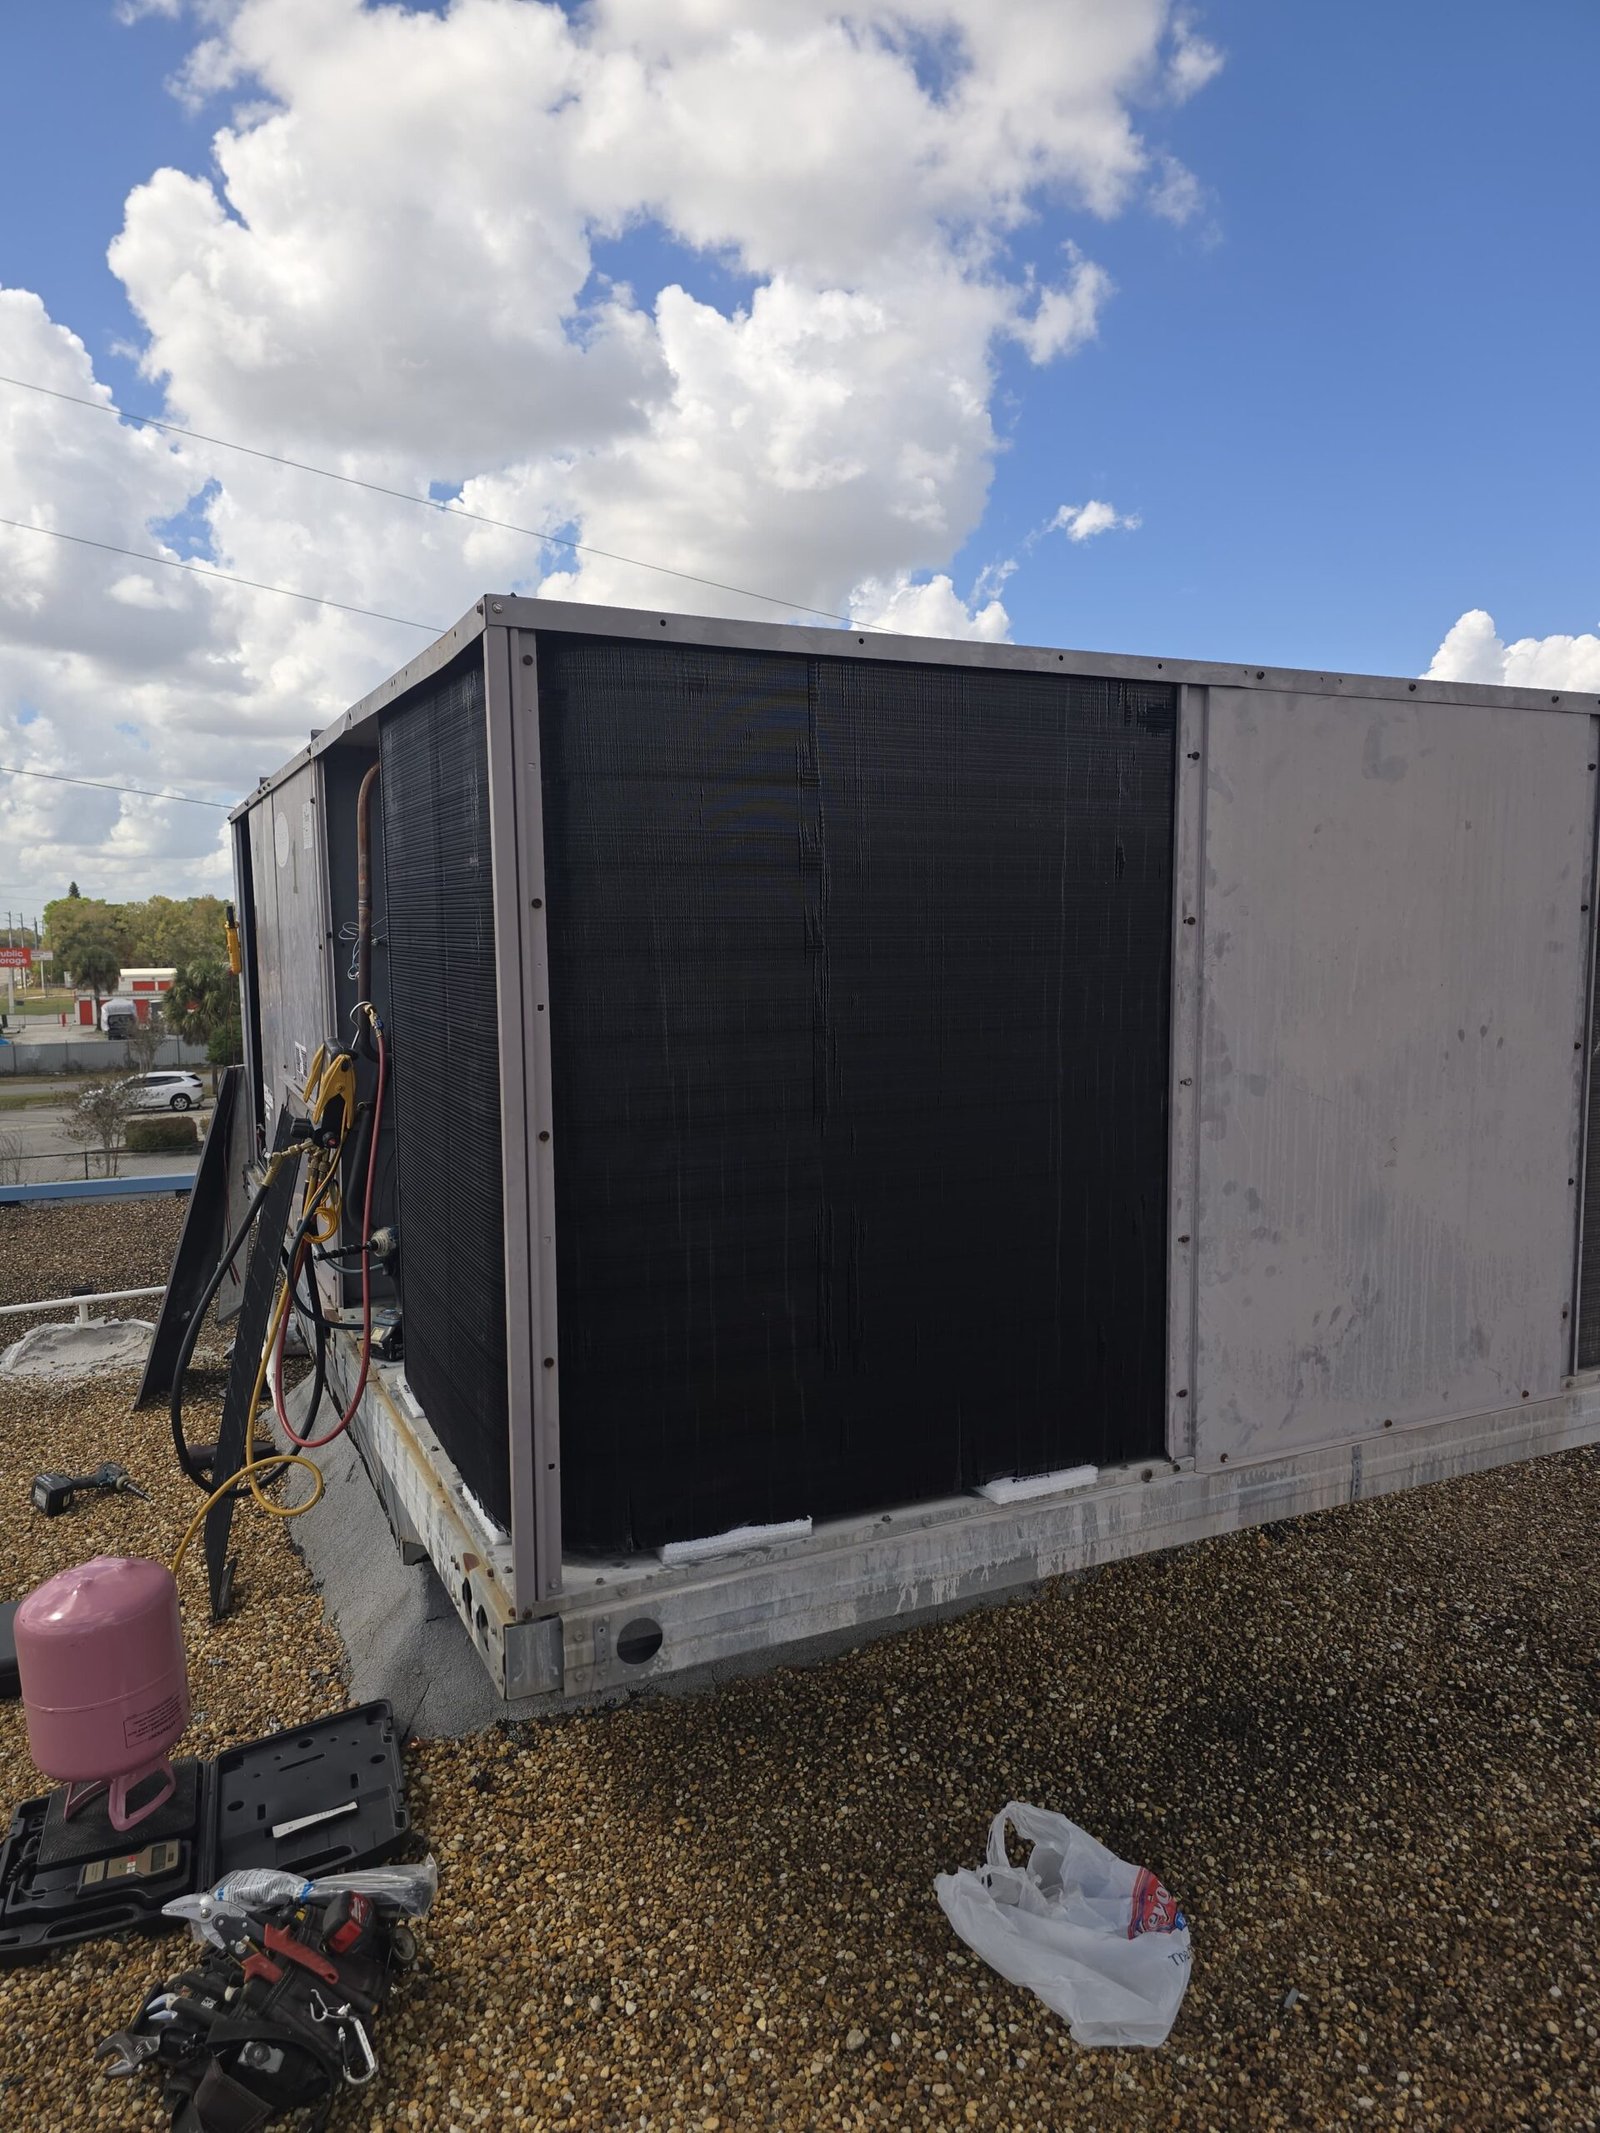
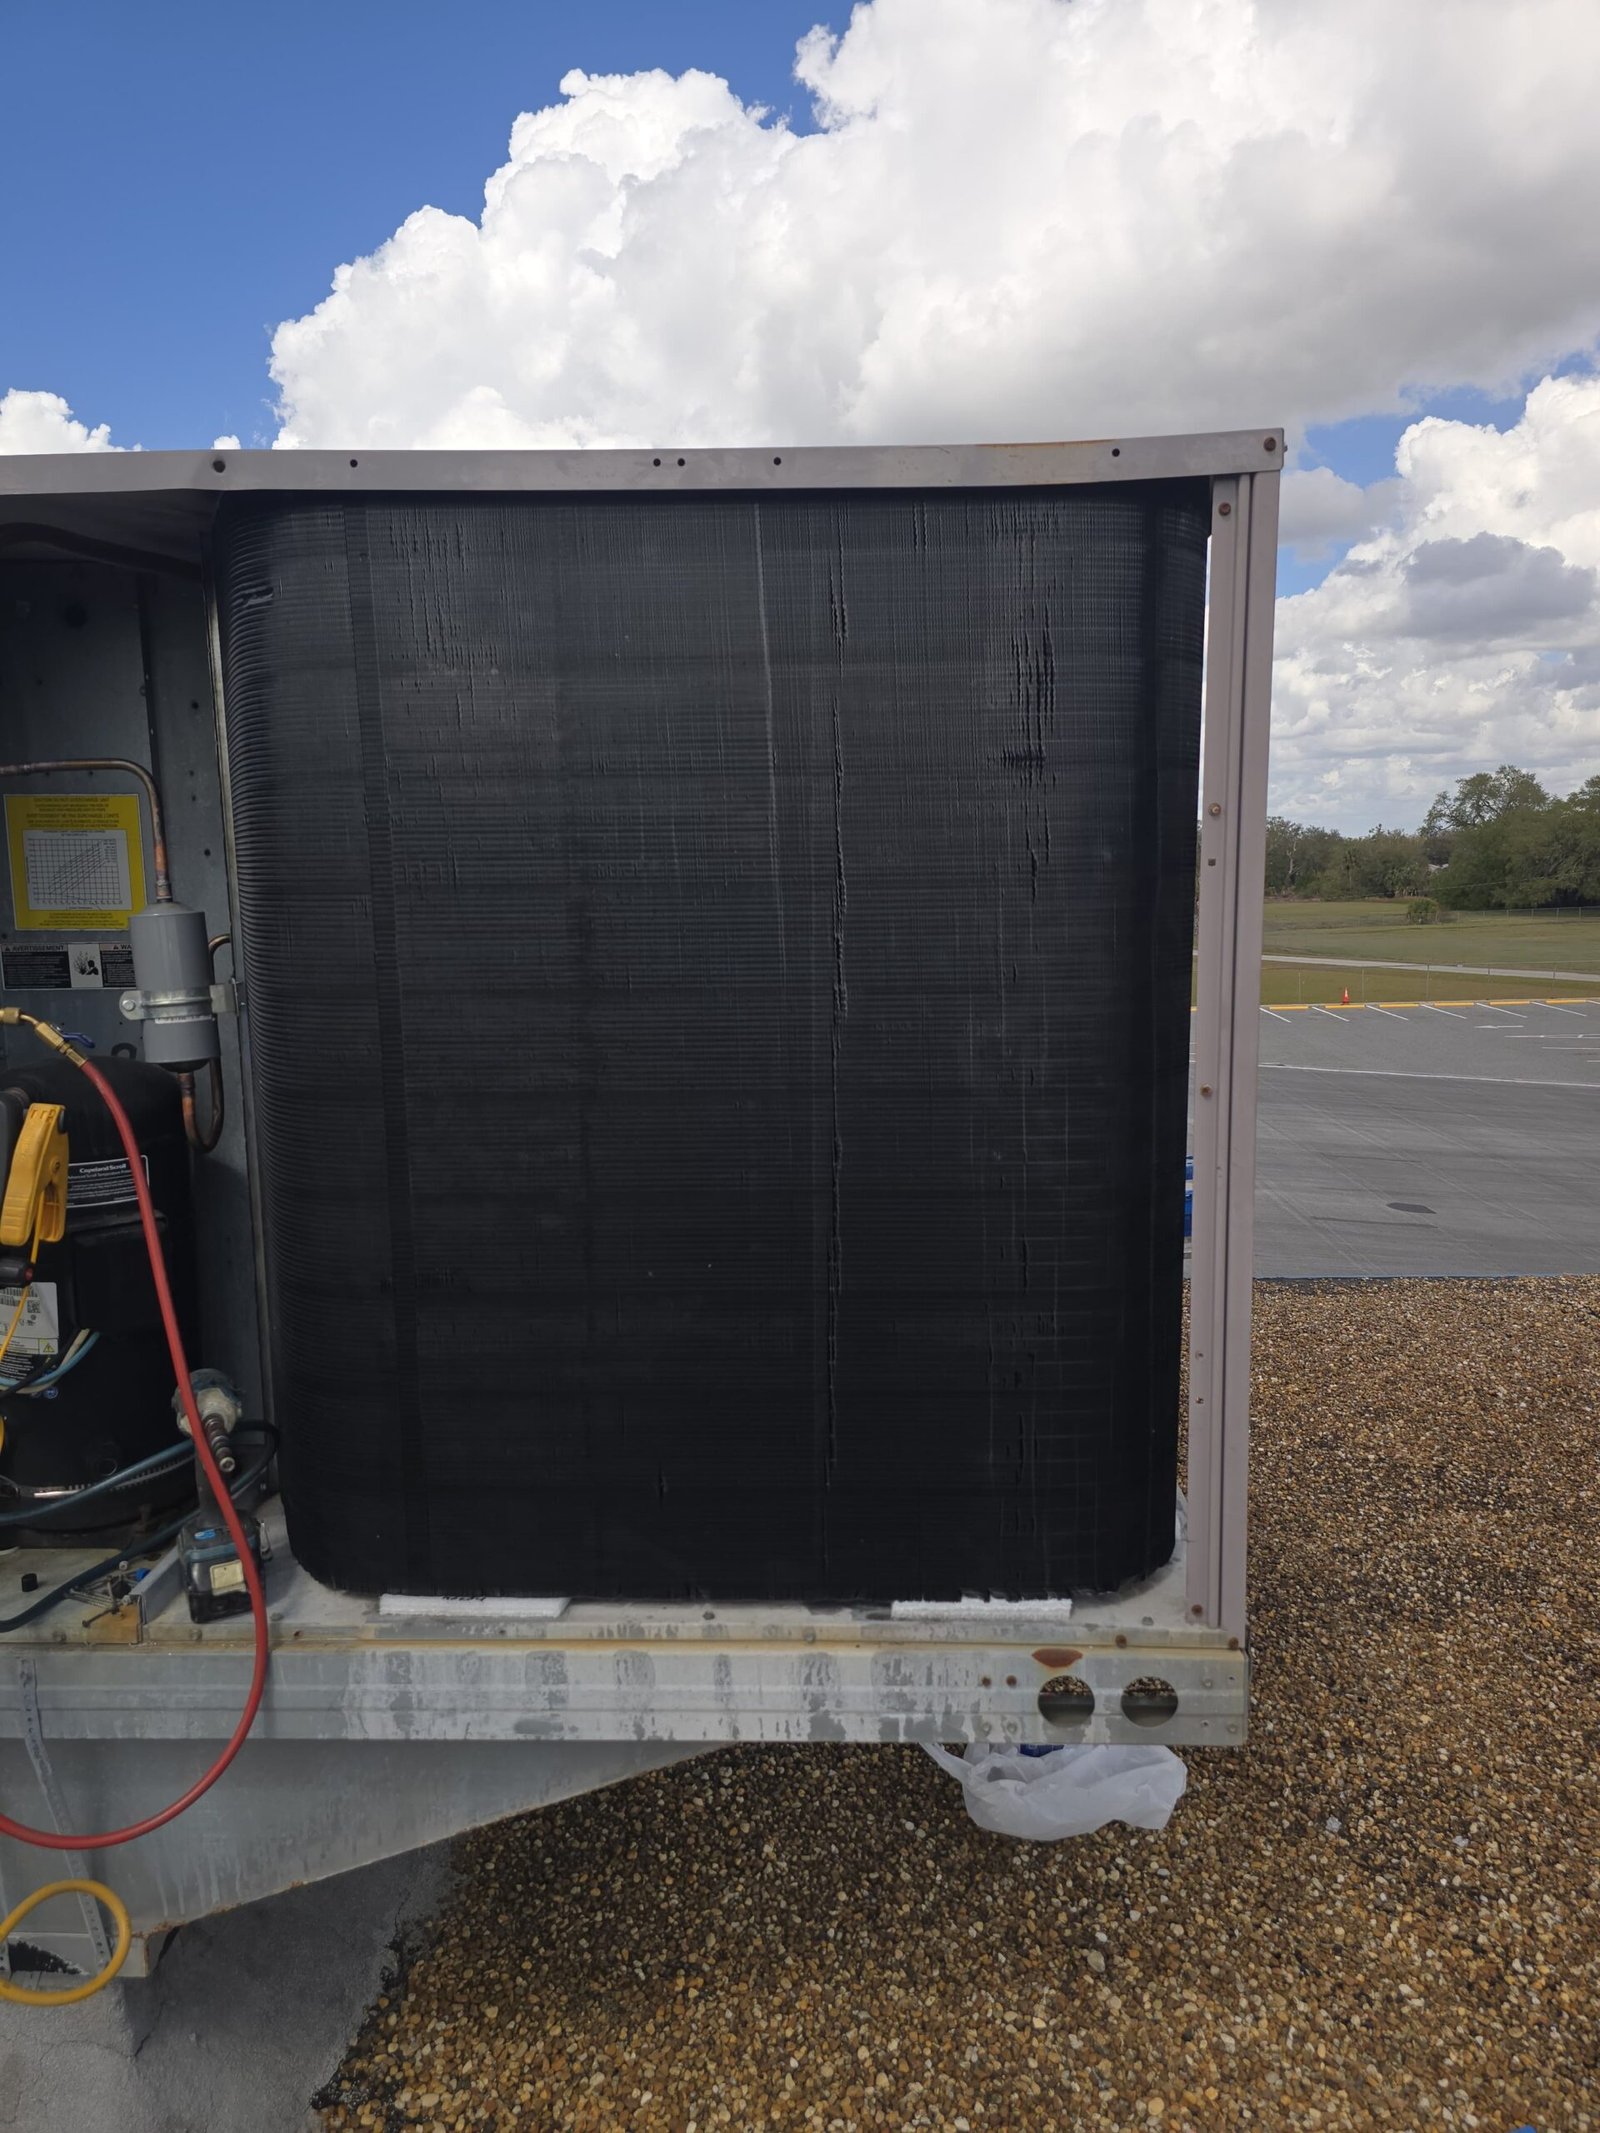
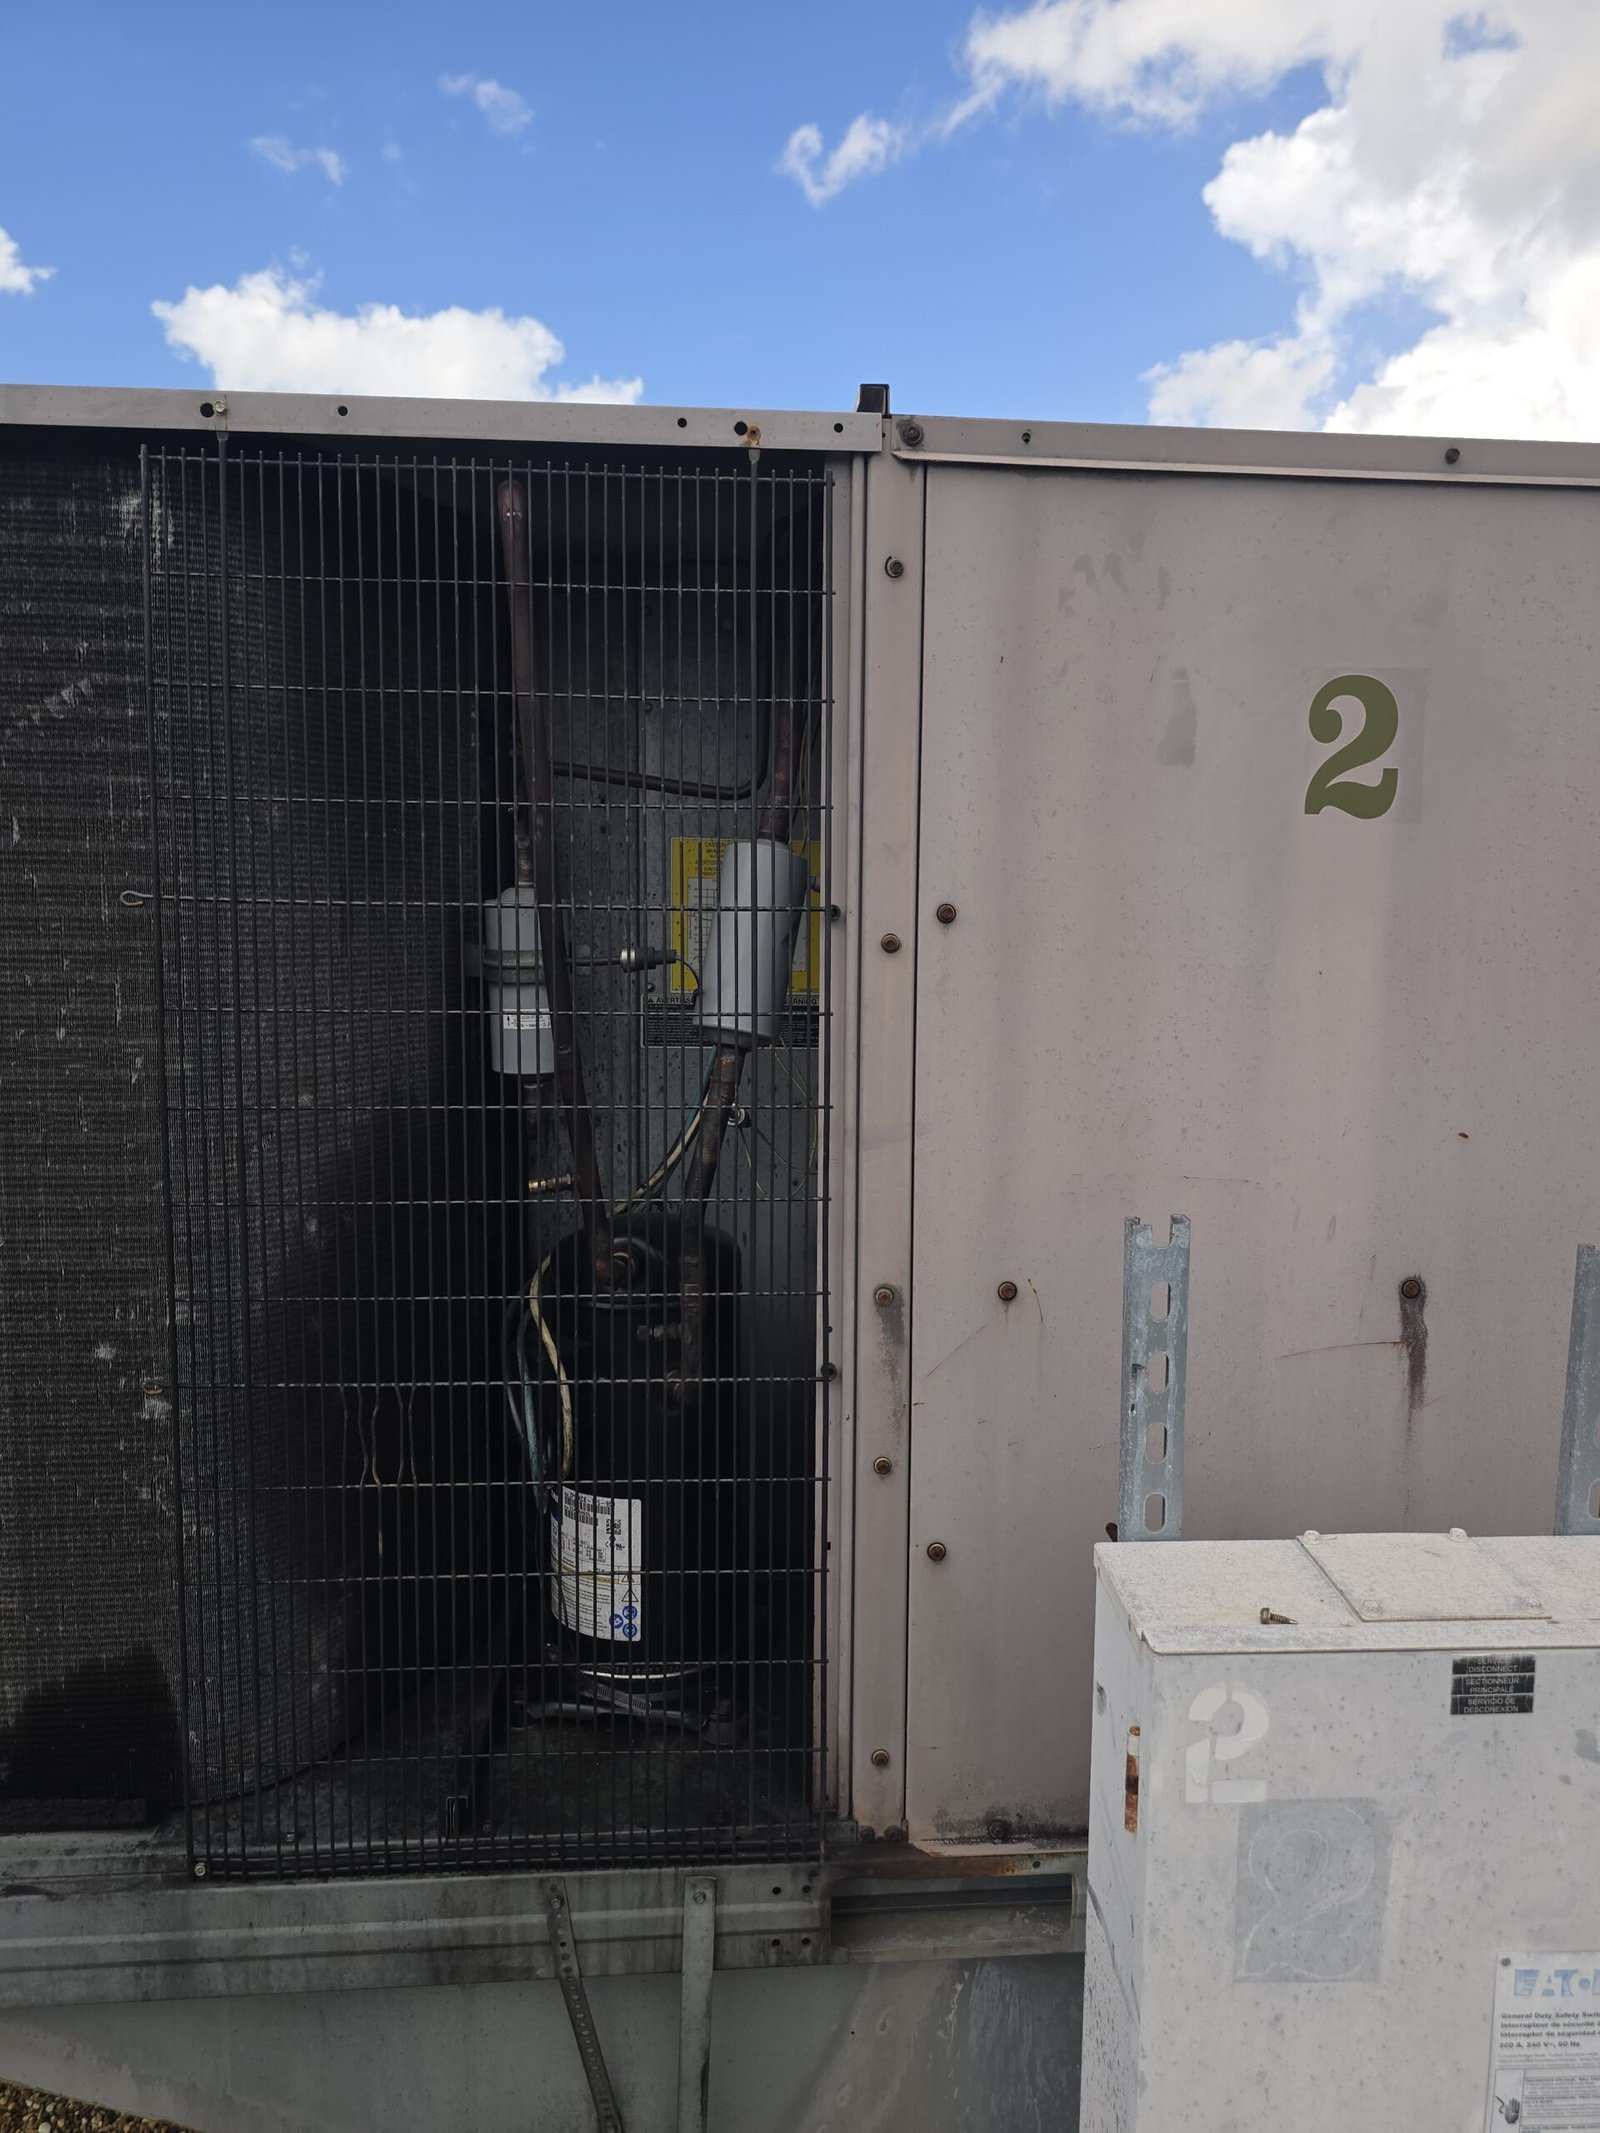
- Inspecting the outdoor condenser coil for damage, corrosion, and signs of leaks or severe wear
- Checking the filter dryer for signs of restriction or contamination
- Evaluating refrigerant line condition and looking for anything that could cause a restriction
- Reviewing the system history and the amount of refrigerant previously added
The evidence pointed toward a failing condenser coil and restriction/contamination in the refrigerant circuit. The planned repair—replacing the coil and filter dryer and flushing the lines—was the right path to restore the system.
Because refrigerant work directly affects system safety and performance, we handle each step by the book. That means safely handling the existing refrigerant, protecting the environment, and verifying connections for leaks before we ever recharge the unit.
Repair and Service Process
Once we confirmed the repair plan with the homeowner in Pine Castle, FL 32809, we moved into the replacement and clean-up process. Here’s how we handled it, step by step.
1. Safely Pumping Down and Recovering Refrigerant
Before opening any part of the refrigerant circuit, we first pumped down the existing refrigerant into the condenser and safely managed the charge. This is essential for both environmental safety and to avoid moisture or air entering the system while it’s open.
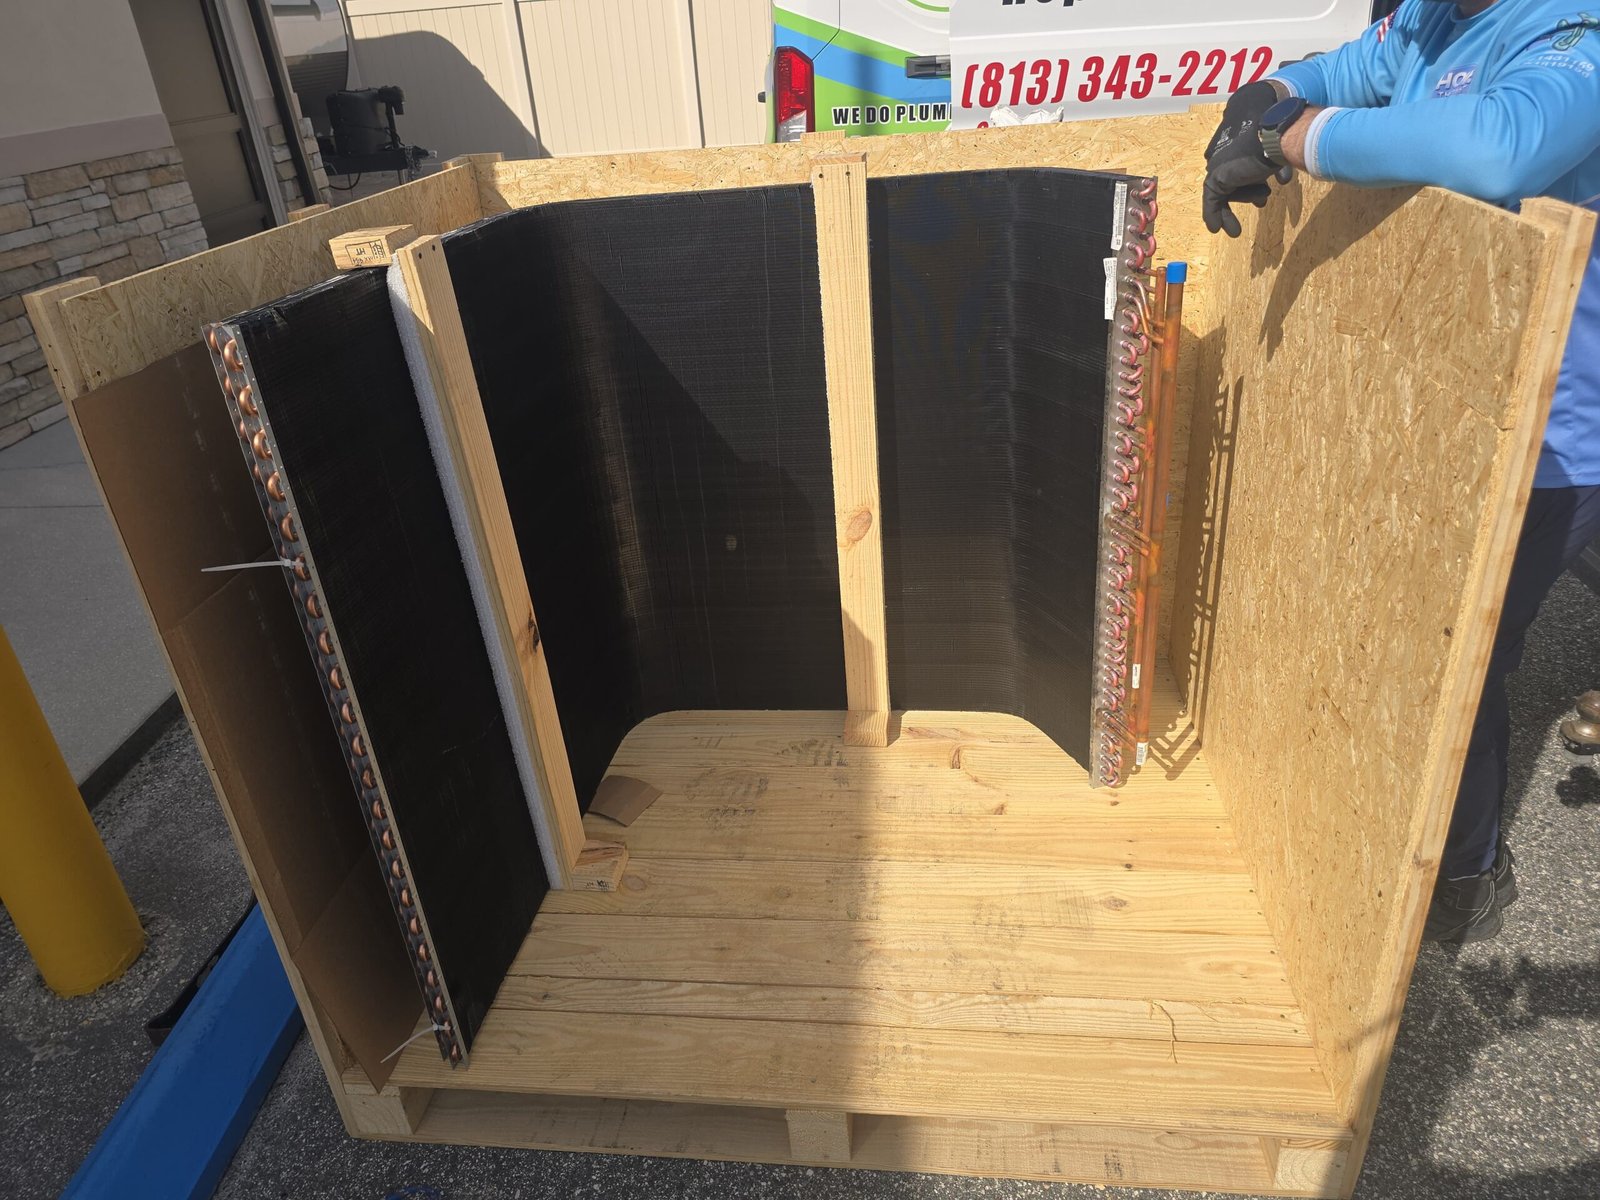
2. Removing the Old Condenser Coil
With the system isolated, we removed the existing outdoor coil. This involves:
- Disconnecting the refrigerant lines from the coil
- Accessing the coil within the condenser cabinet
- Carefully removing the old coil without damaging surrounding components
The old coil showed the expected signs of wear that justified replacement. A failing coil can reduce efficiency, cause poor cooling, and contribute to refrigerant loss over time.
3. Installing the New Condenser Coil
Next, we installed the new condenser coil. After securing it in place, we connected the refrigerant lines and prepared for brazing (soldering). Proper installation and alignment are crucial to ensure good airflow and refrigerant flow through the coil.
4. Flushing the Refrigerant Lines
Because there were signs of blockage or contamination, the repair called for thoroughly flushing the refrigerant lines. We flushed the lines to help clear any debris, old oil, or contaminants that could restrict refrigerant flow or damage the new components.
This step is especially important when you’re installing a new coil or replacing major parts in the refrigerant circuit. It helps protect your investment and reduce the risk of future restrictions.
5. Replacing the Filter Dryer and Piston
We then replaced the filter dryer—the small but critical component that removes moisture and traps debris in the system. A fresh filter dryer is standard best practice anytime the system is opened for major repairs.
The job also called for replacing or cleaning the piston (the metering device in some systems). This component controls how much refrigerant flows into the indoor coil. Making sure it is clean and in good condition helps maintain stable, efficient cooling.
6. Brazing and Leak Checking
After connecting the new coil, filter dryer, and other components, we brazed the copper connections. Once the soldering work was complete, we checked all soldered joints for leaks.
Leak checking is non-negotiable. Before we ever add new refrigerant, we want to be confident that the system is sealed properly and ready for a vacuum.
7. Pulling a Deep Vacuum
With the system sealed, we connected our vacuum pump and pulled a deep vacuum on the refrigerant circuit. This step:
- Removes air and non-condensable gases
- Helps boil off and remove moisture inside the lines and components
- Prepares the system for a clean refrigerant charge
We allowed the vacuum to run and then held it to ensure it stayed stable. A stable vacuum is a good indication that there are no leaks and that the system is clean and ready.
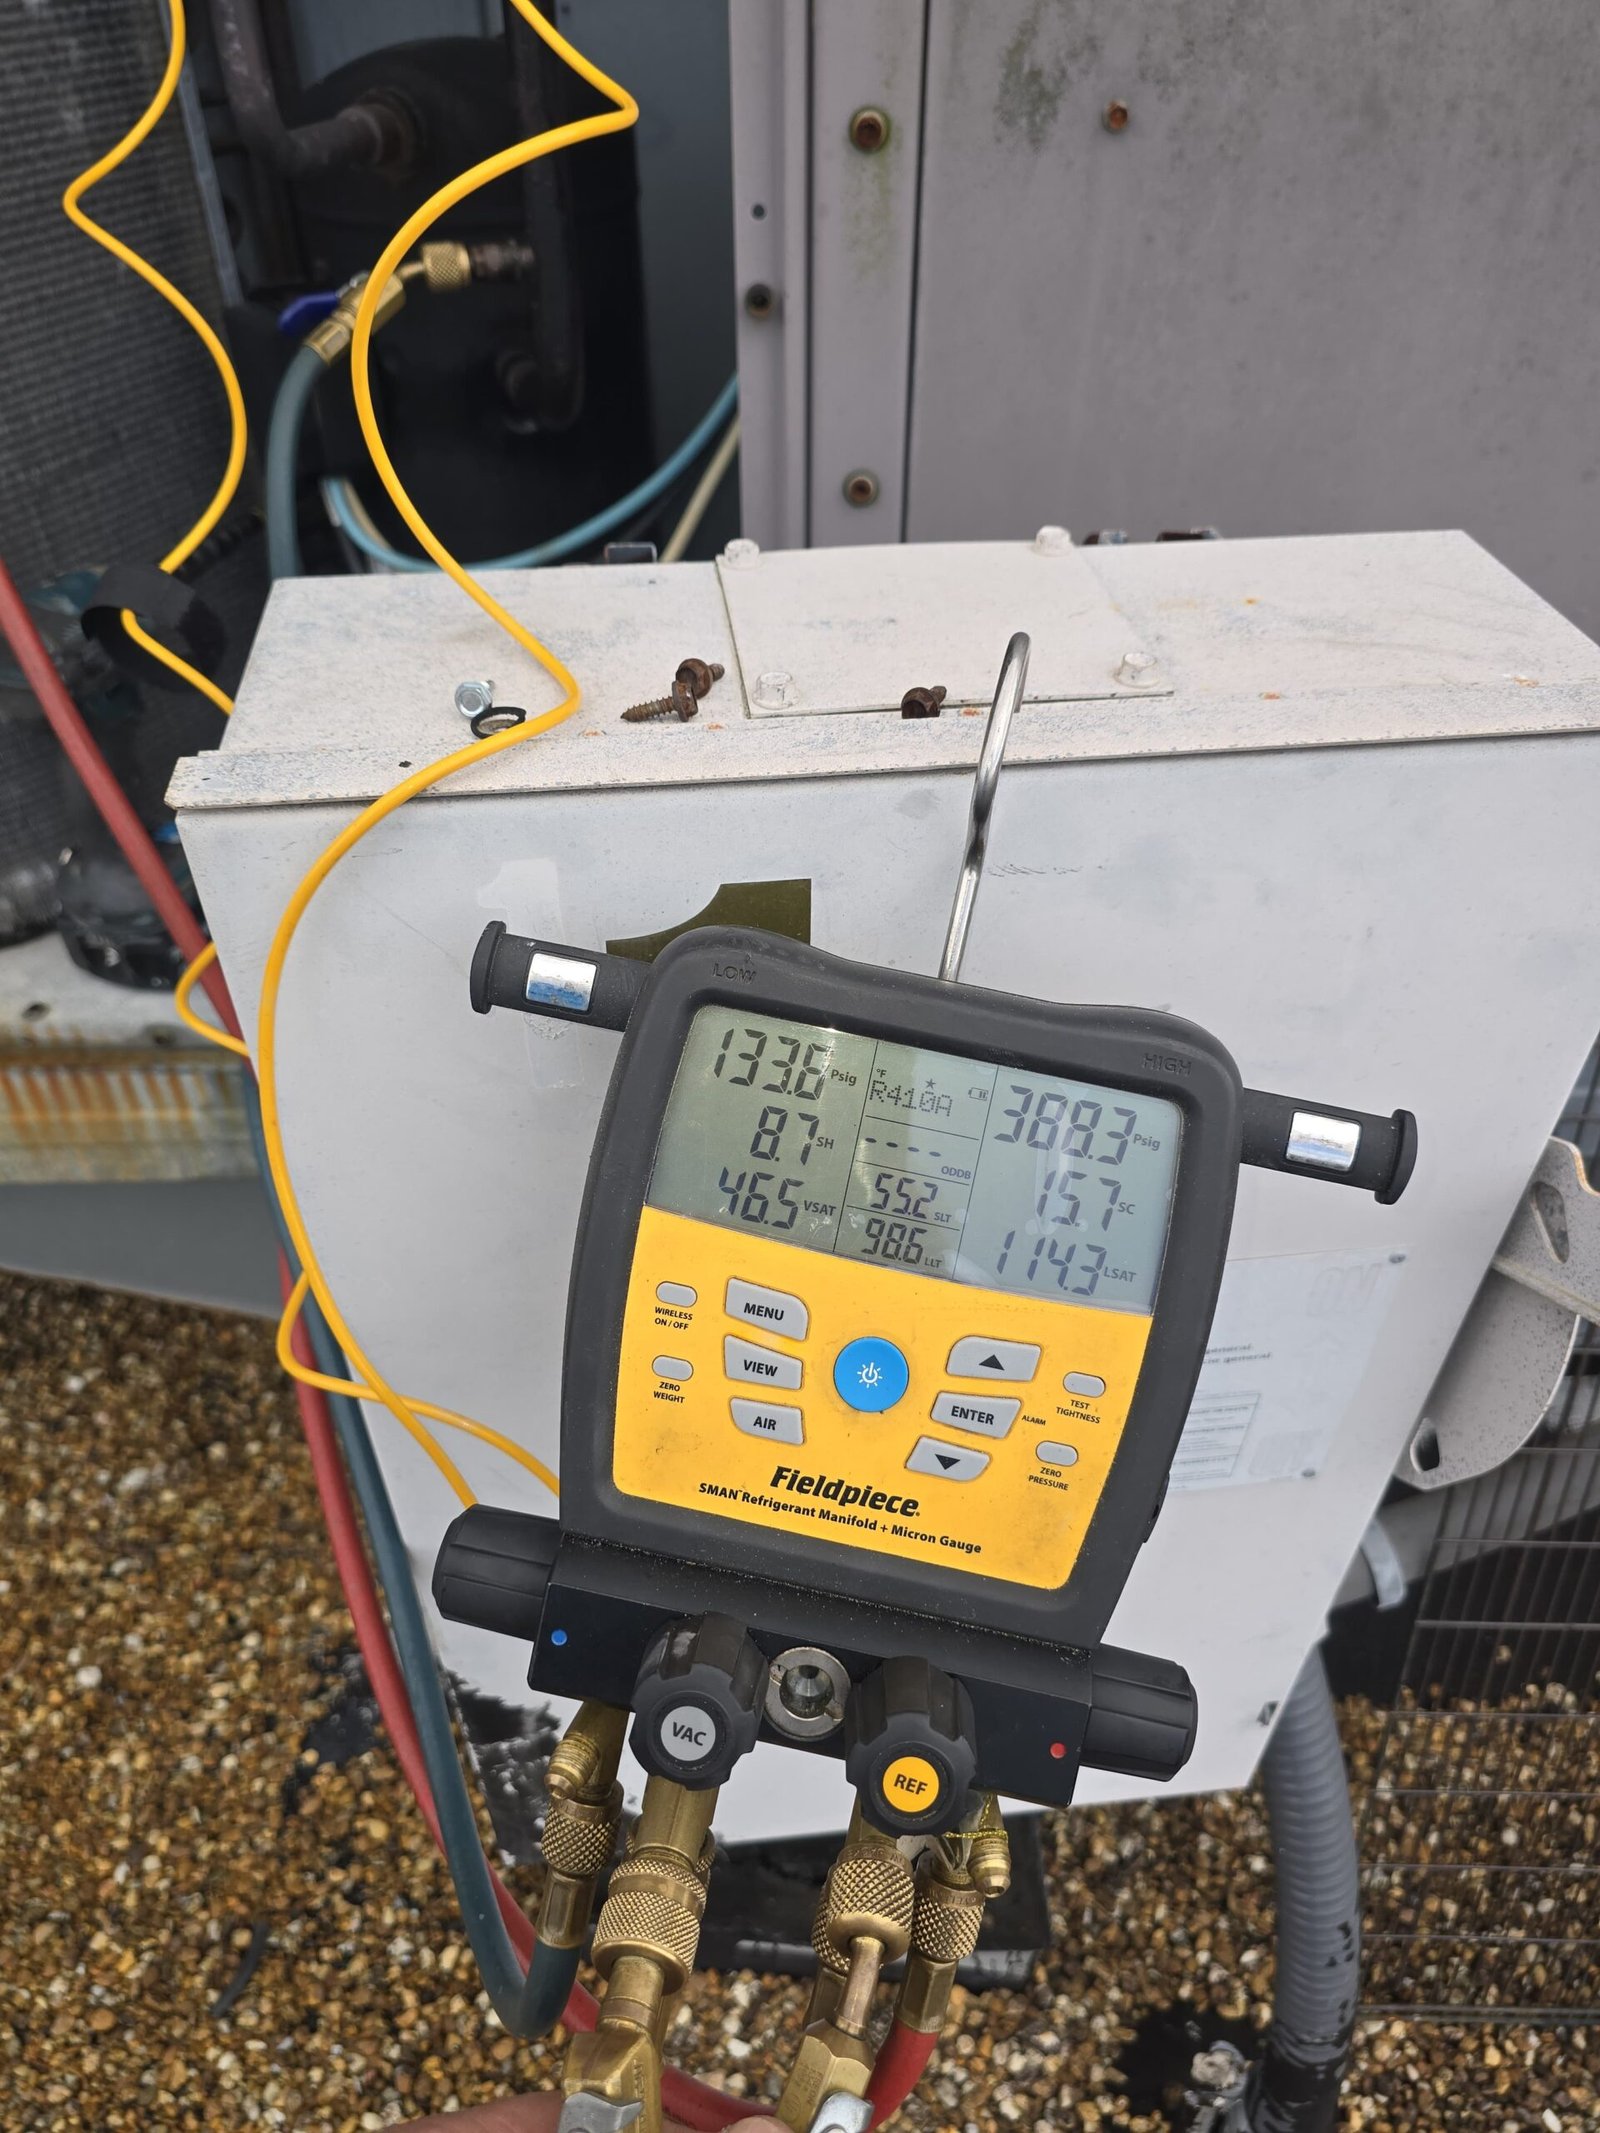
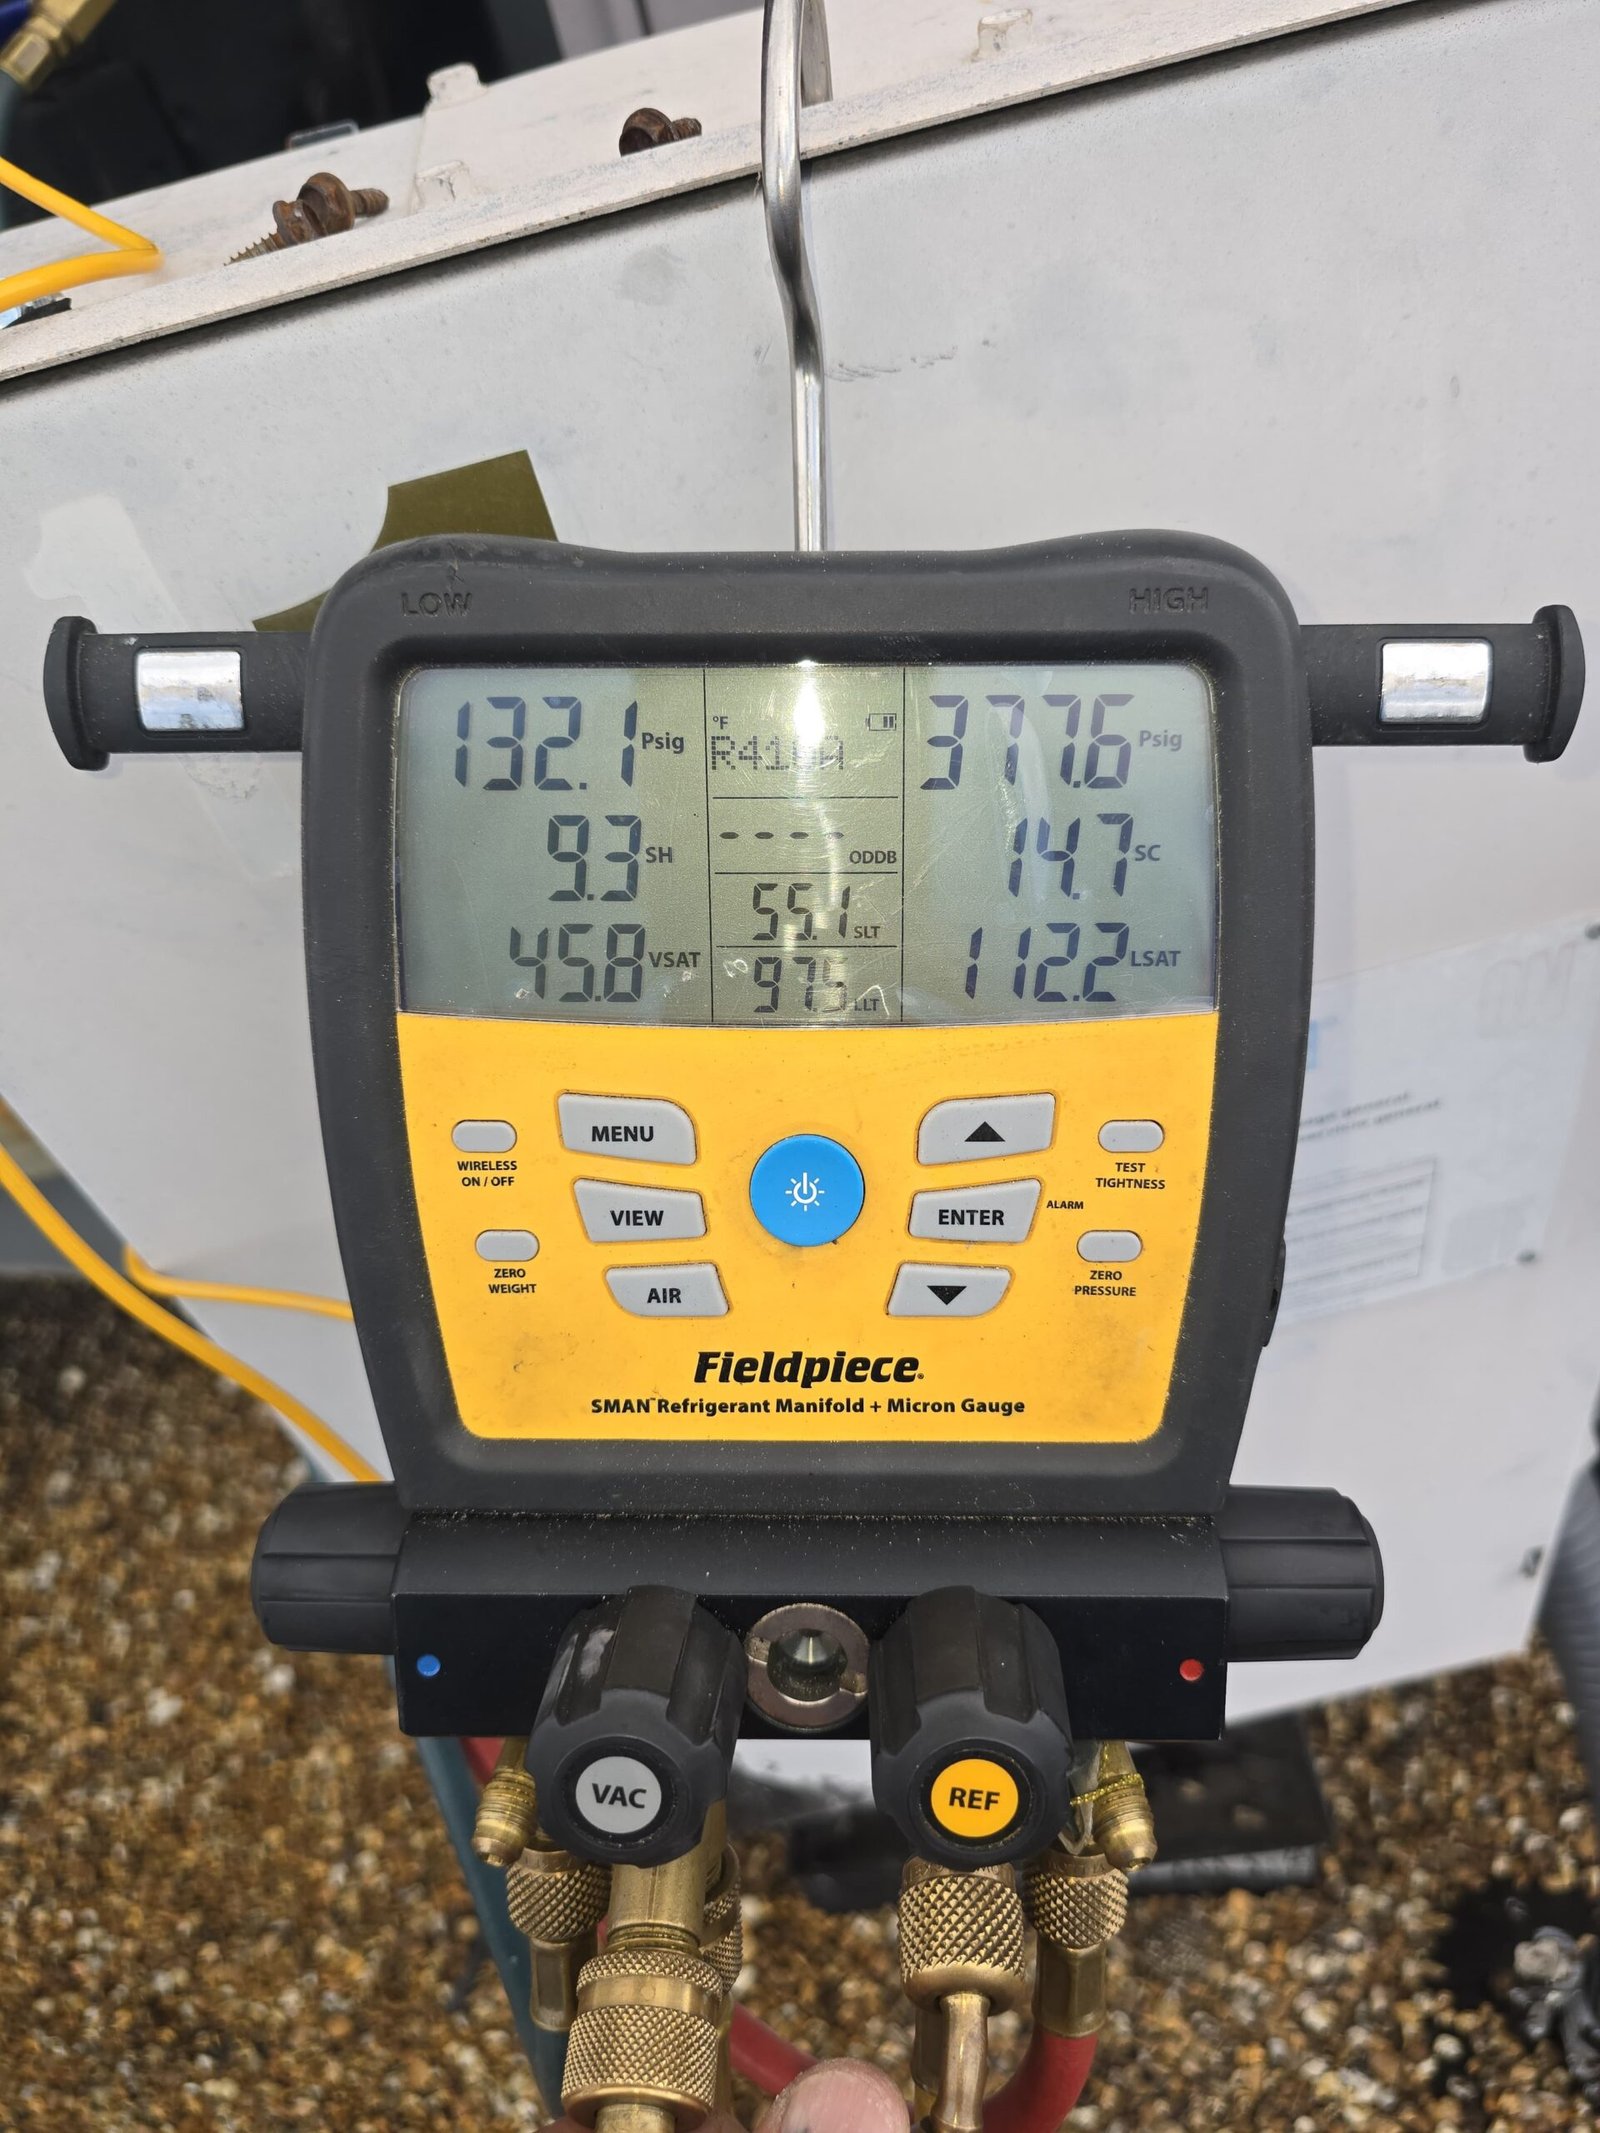
8. Adding Refrigerant as Needed
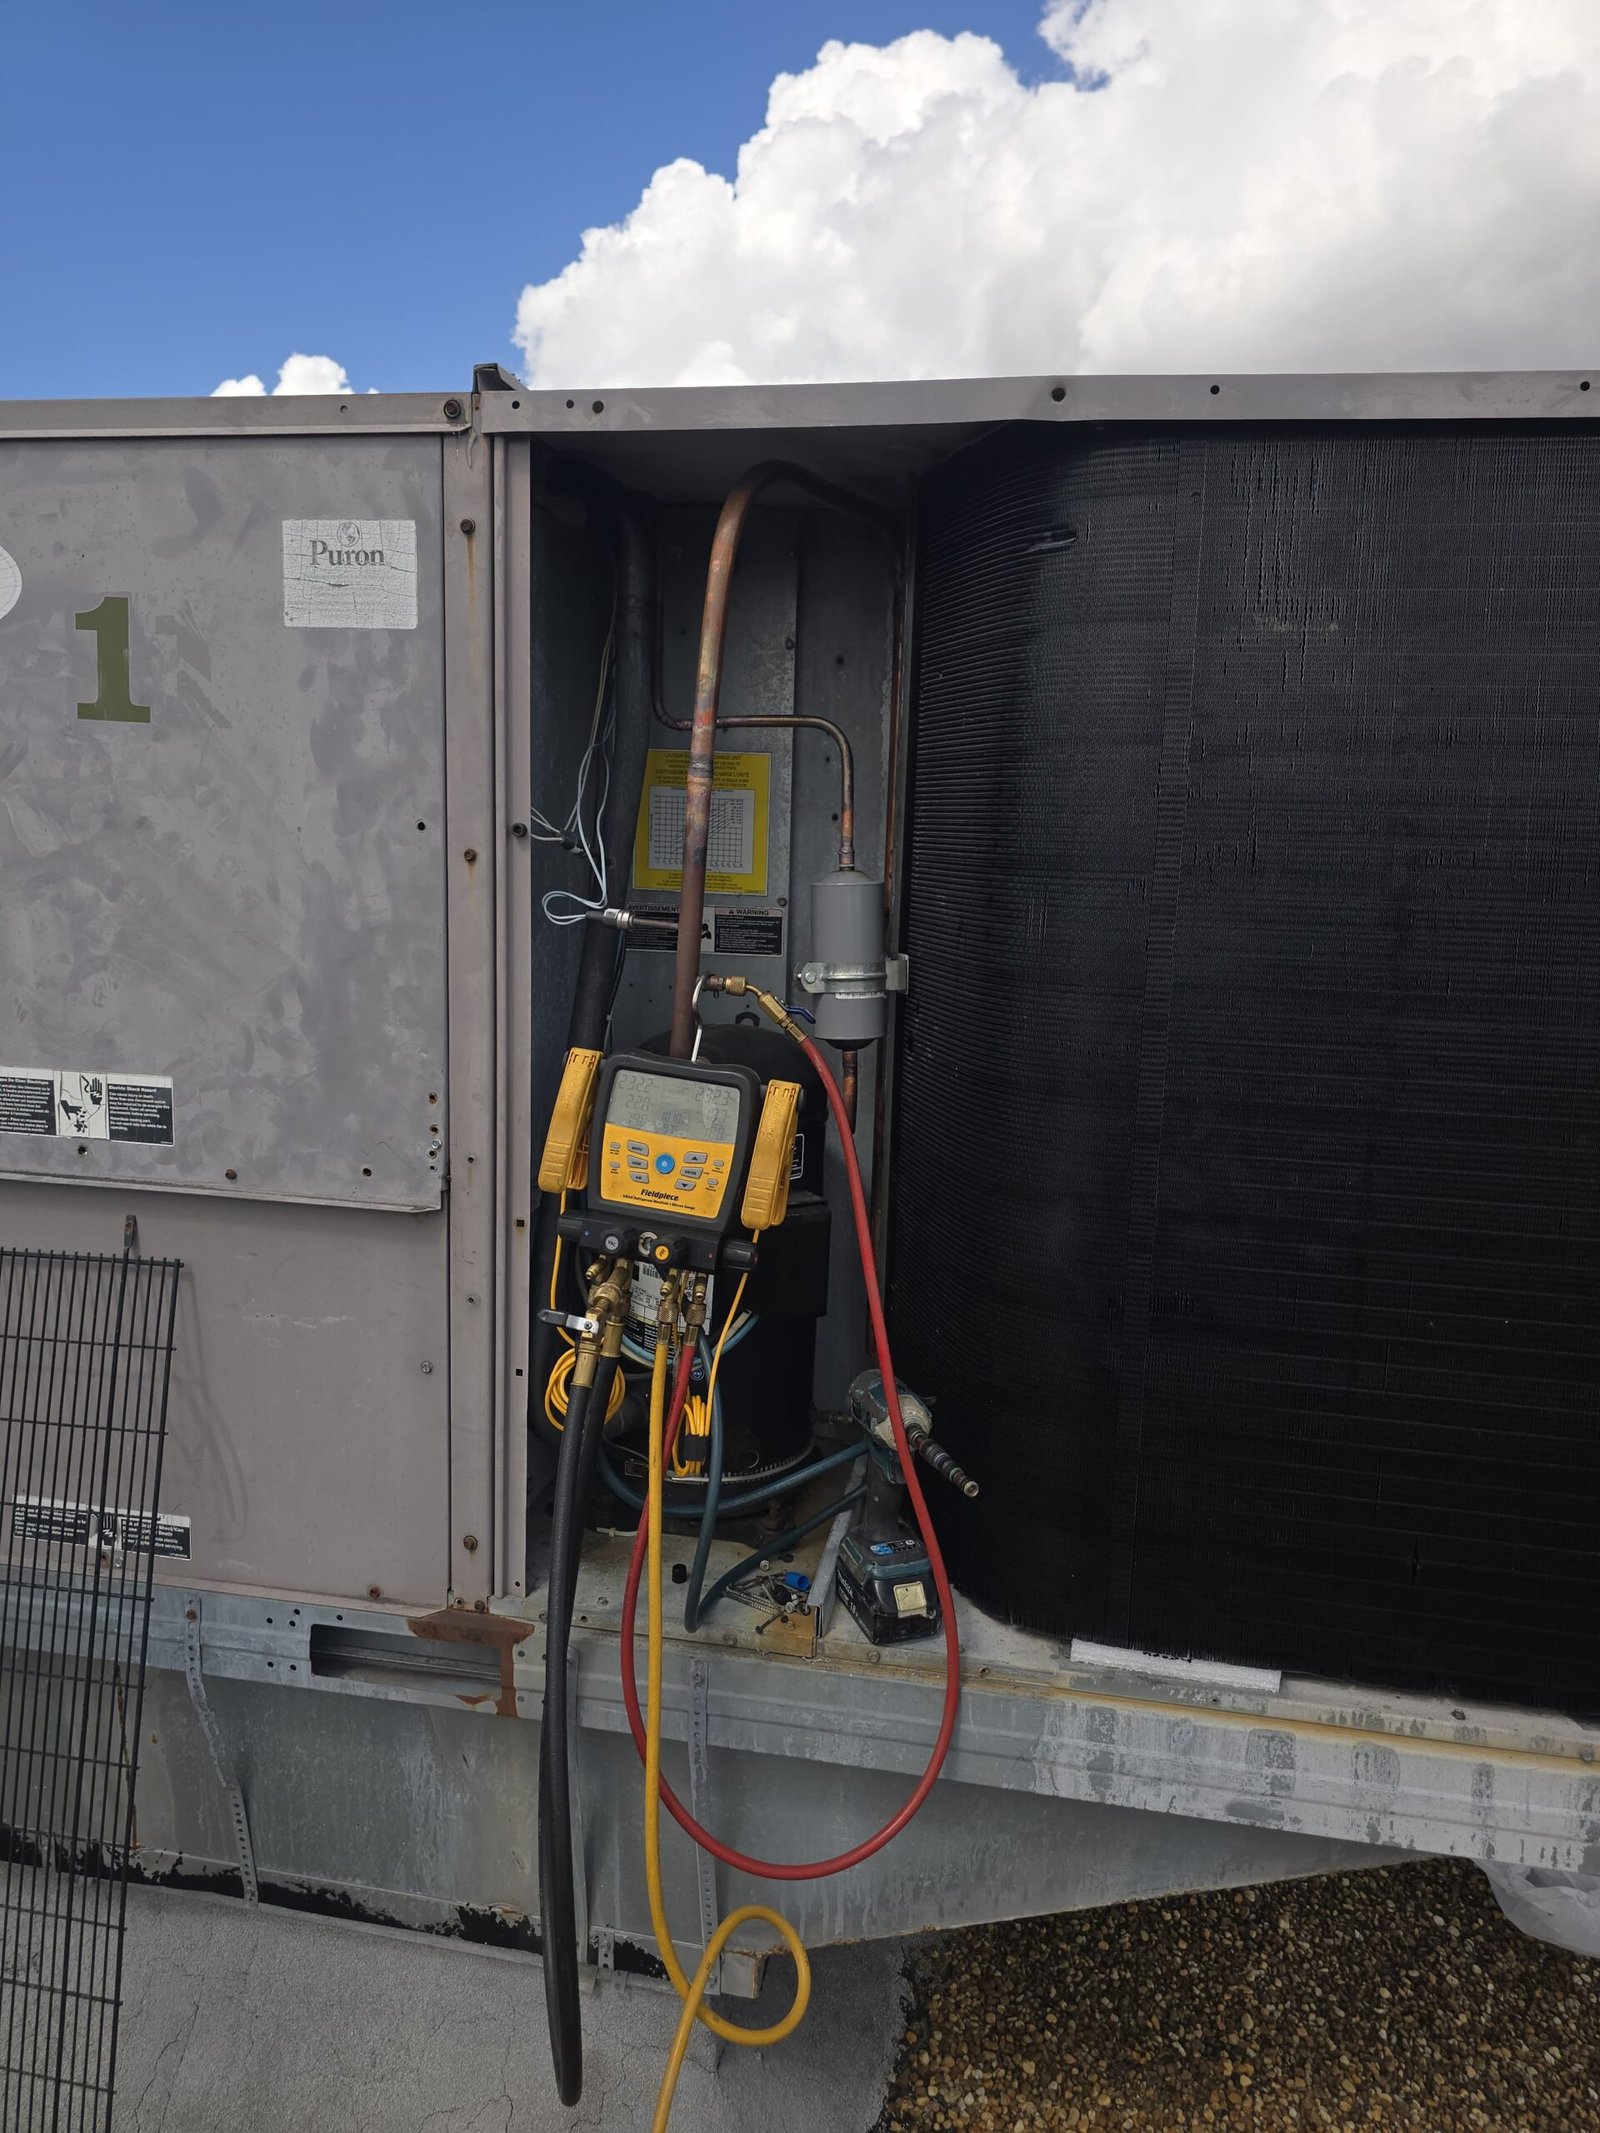
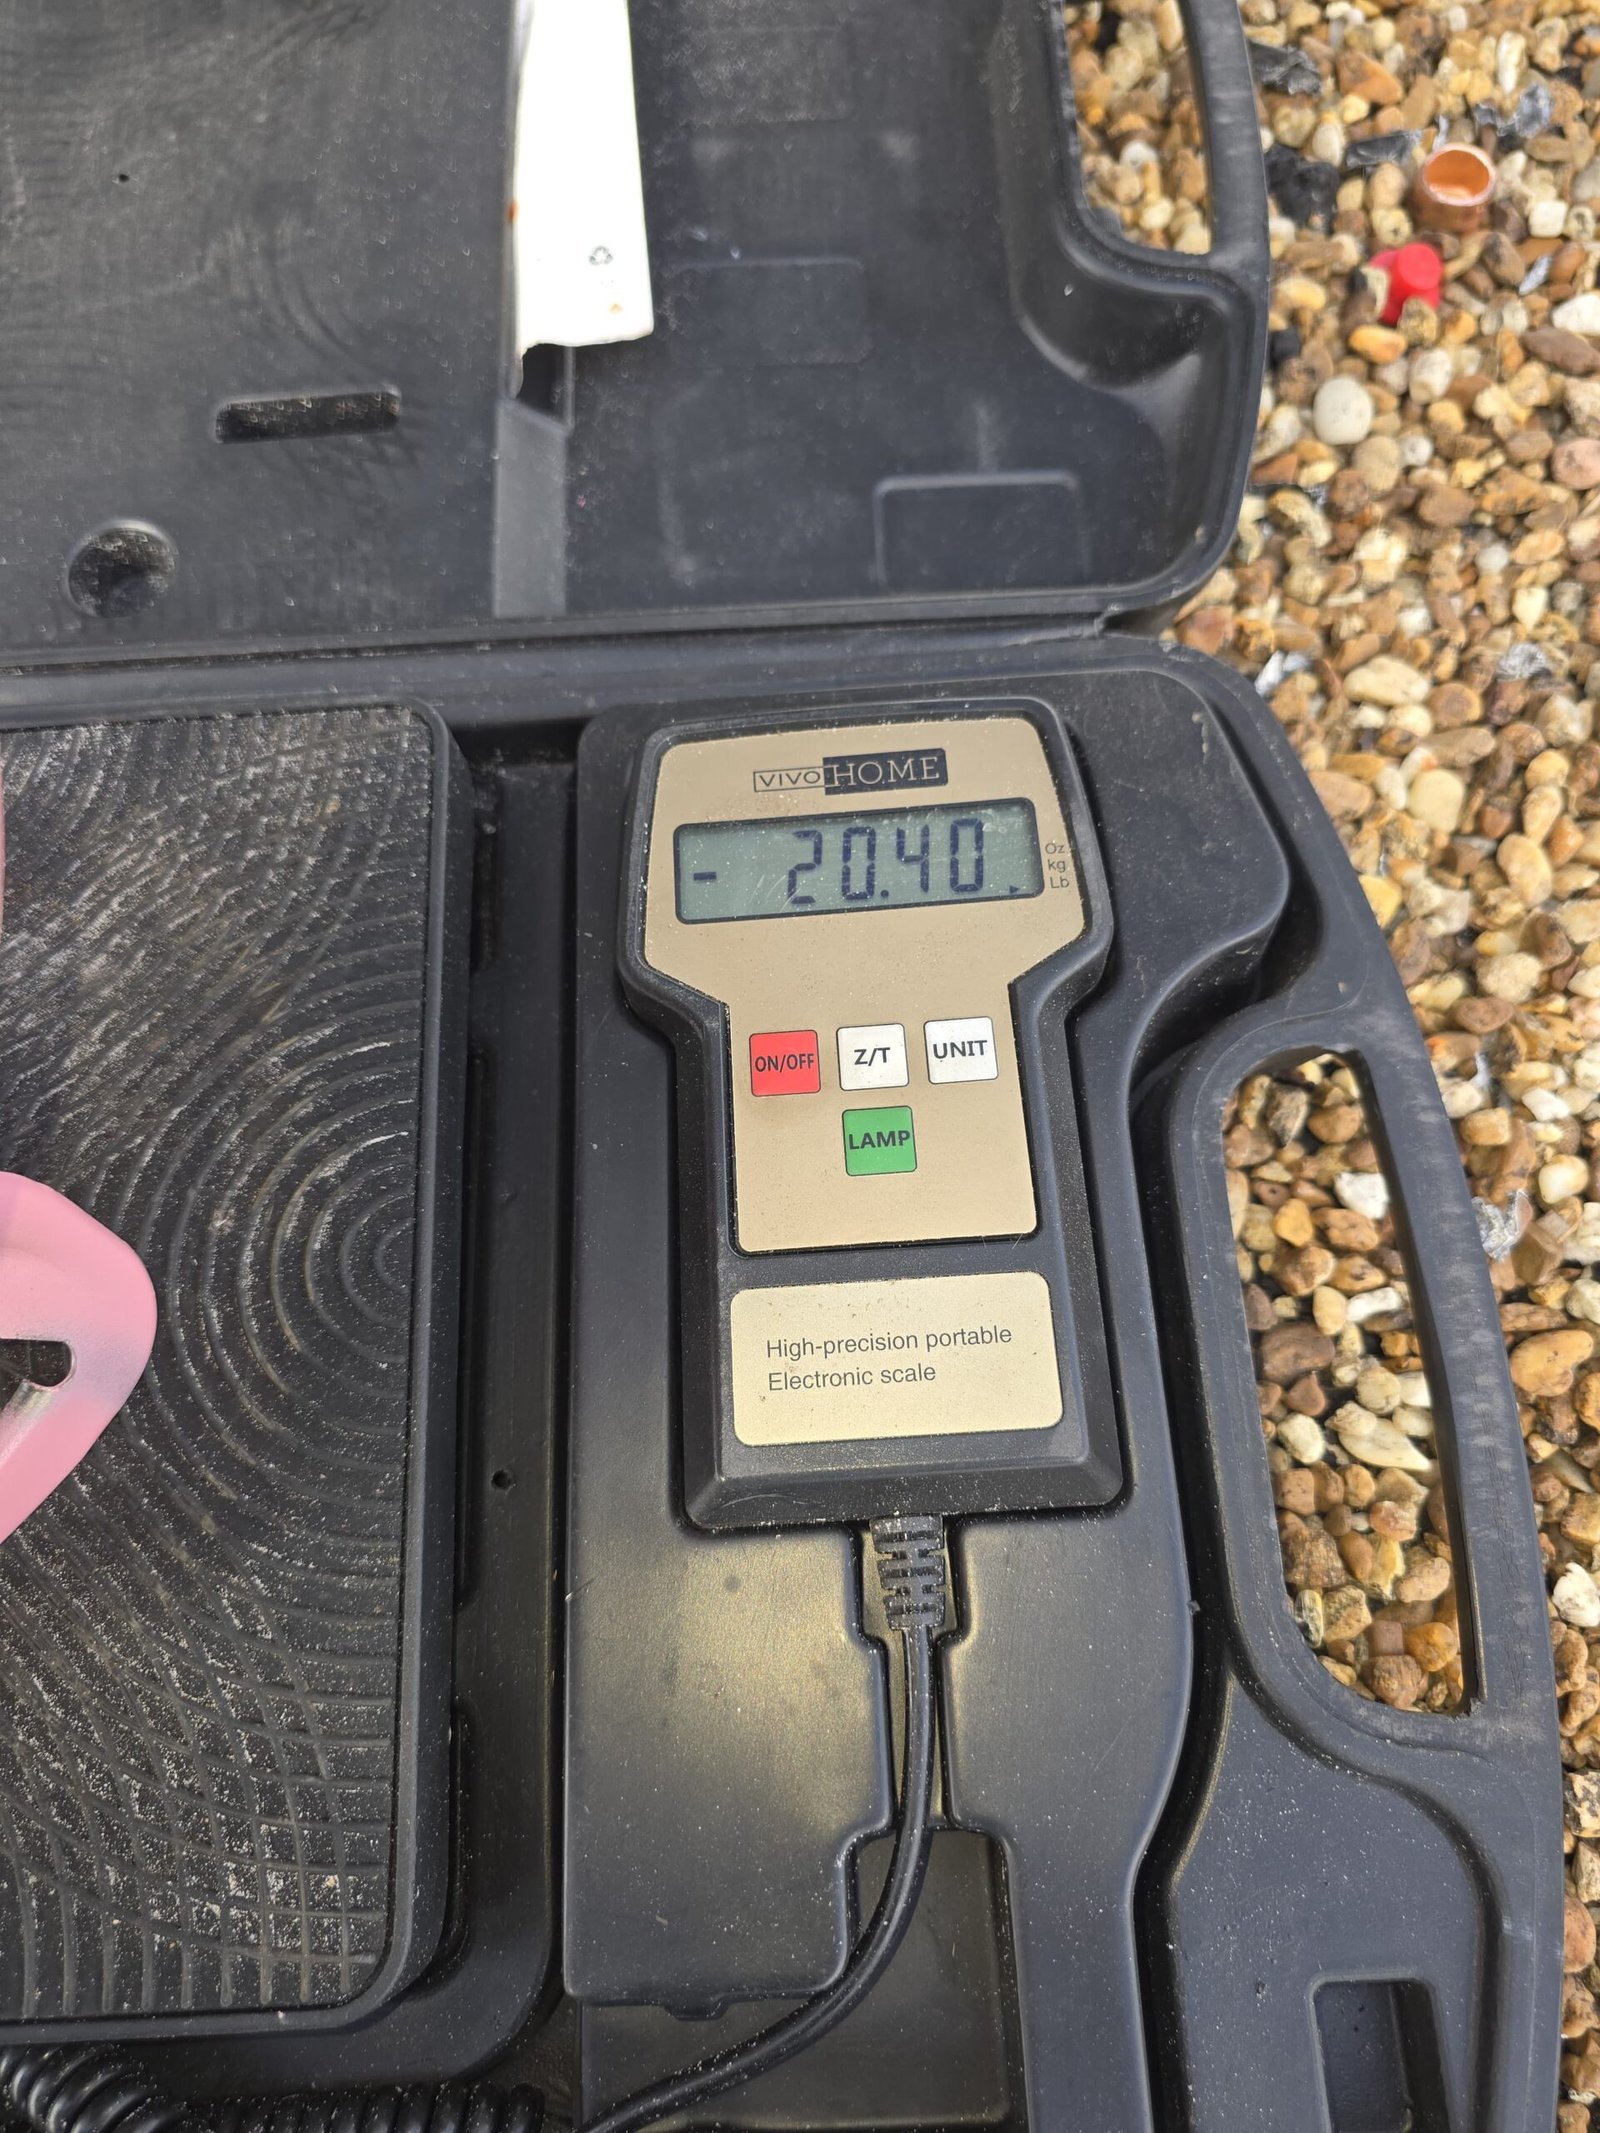
Once the system passed our leak and vacuum checks, we added refrigerant as needed for proper operation. The scope of work noted a charge of 3 pounds or more of R410A, with an important reminder: adding more than 2 pounds of refrigerant can be a sign of a leak that will need to be addressed if it reoccurs.
After charging the system, we ran the AC through normal operation, monitoring its performance. We verified that the unit was cooling as expected and that pressures and temperatures were within a normal operating range for the conditions.
Why This Fix Works
This repair targeted the heart of the cooling process: the refrigerant circuit. For homeowners in Pine Castle, FL 32809 and across Florida, understanding the basics can help you make sense of what we did and why it matters.
Here’s what these components do:
- Condenser coil: This outdoor coil is where heat from inside your home is released to the outside air. If it’s damaged or restricted, your system can’t dump heat efficiently, and your home stays warm.
- Filter dryer: This protects the system from moisture and debris. Moisture can freeze and cause blockages; debris can damage the compressor or restrict refrigerant flow.
- Piston/metering device: This controls how much refrigerant flows into the indoor coil, which affects both cooling and efficiency.
- Clean lines and proper vacuum: Flushing the lines and pulling a deep vacuum remove contaminants and air so the refrigerant can flow and change state the way it’s designed to.
By replacing a failing coil, installing a fresh filter dryer, cleaning or replacing the piston, flushing the lines, and then evacuating and recharging the system correctly, we restored the refrigerant circuit to a much healthier condition. That translates into better cooling, improved reliability, and a more comfortable home.
Pro Tips for Homeowners in Pine Castle
For homeowners in Pine Castle, FL 32809 and throughout our humid Florida climate, a few simple habits can help extend the life of your air conditioner and reduce the chances of a major repair like a coil replacement.
- Change filters regularly. Dirty filters reduce airflow, strain your system, and can contribute to coil issues over time. Most homes should change filters every 1–3 months, depending on usage and dust levels.
- Keep the outdoor unit clear. Make sure there’s at least a couple of feet of clearance around your outdoor condenser. Trim plants, remove leaves, and avoid stacking anything against the unit so it can breathe.
- Schedule routine maintenance. A professional tune-up once or twice a year helps catch small refrigerant issues, airflow problems, or dirty coils before they turn into major breakdowns. Our Home Therapist Cooling, Heating, and Plumbing team can help with that.
- Watch for early warning signs. If you notice reduced cooling, ice on the refrigerant lines, unusually high energy bills, or the system running nonstop, it’s worth having it checked before more serious damage occurs.
- Protect your indoor air pathways. Clean ducts and vents help air move the way it should. Services like air duct cleaning and air filter installation and repair can support both comfort and system health.
- Consider system upgrades thoughtfully. If your system is older or has frequent issues, options like ductless mini-splits or a properly sized new central system may provide better comfort and efficiency in Florida’s heat.
FAQ: Coil Replacement and Refrigerant Work
Do I always need a new coil if my AC is low on refrigerant?
Not always. Low refrigerant means there’s been a loss somewhere, but the cause could be a small leak at a fitting, a damaged coil, or another component. In this Pine Castle, FL 32809 project, the condition of the existing condenser coil and the system’s performance history justified replacement. We recommend a professional inspection to determine the right solution for your specific system.
Why did you flush the refrigerant lines instead of just changing the coil?
When there are signs of blockages, contamination, or previous issues in the refrigerant circuit, simply swapping the coil may not be enough. Flushing the lines helps remove old oil, debris, and other contaminants so that the new coil and other components are protected and refrigerant can flow properly.
What does the filter dryer do, and why replace it?
The filter dryer catches debris and removes moisture from the refrigerant circuit. Anytime the system is opened for major work—like a coil replacement—it is best practice to install a new filter dryer. This helps prevent future restrictions and protects sensitive components like the compressor.
Is adding more than 2 pounds of refrigerant always a sign of a leak?
Adding more than 2 pounds of refrigerant can be a strong indicator that the system has lost a significant amount of charge at some point, which often points to a leak or a previous issue. It’s a warning flag that should not be ignored. The key is to monitor the system after the repair; if it loses charge again, a dedicated leak search and additional corrective work will be needed.
How do I know if I should repair or replace my AC system?
That decision depends on the age of your system, how often it needs repairs, the cost of the current repair, and your comfort and energy bills. In some cases, a coil replacement and refrigerant clean-up are worthwhile. In others—especially with older equipment—it may be smarter to invest in a new system. Our team can walk you through options so you can decide what makes the most sense for your home in Pine Castle, FL 32809.
How long does a coil replacement usually take?
The time can vary based on system design and site conditions, but a full coil replacement with line flushing, filter dryer replacement, vacuum, and recharge typically takes several hours. We plan the work so that your downtime is as short as reasonably possible while still doing the job correctly.
Why Choose Home Therapist for AC Repair
When you’re dealing with a major repair like a condenser coil replacement in Pine Castle, FL 32809, you want a team that treats your system—and your home—with respect.
At Home Therapist Cooling, Heating, and Plumbing, our technicians are licensed professionals who follow industry best practices on every job. We take the time to explain what we’re doing in clear, simple language so you always understand the work and the costs involved. From protecting your floors and work areas to cleaning up thoroughly when we’re done, we treat your home like it’s our own.
Our focus is on long-term reliability, not quick band-aid fixes. Whether we’re handling a coil replacement, a smaller AC repair, or full-system service, we aim to restore your comfort and give you confidence that your system is set up correctly.
If you’d like to see more of how we work and connect with us online, you can find Home Therapist on social media:
We’re also proud to be listed with trusted local and national organizations, including:
These partnerships reflect our commitment to professionalism, accountability, and reliable service for homeowners across Tampa Bay and the surrounding Florida communities.
Need AC Help in Pine Castle, FL 32809?
If your air conditioner in Pine Castle, FL 32809 isn’t keeping up, is low on refrigerant, or has been recommended for a coil replacement, our team is here to help. We can inspect your system, explain your options, and complete the repair with the same careful process we used on this project—protecting your comfort, your home, and your investment.
Whether you need targeted AC repairs, preventive maintenance, or are considering a new system, you can count on our local HVAC services and broader support from our Home Therapist Cooling, Heating, and Plumbing team.
Contact us today to schedule service and get your home back to cool, steady comfort.


