

Evaporator Coil & TXV Replacement in Tampa, FL 33629: Fixing an AC That Wouldn’t Stop Running
Evaporator Coil & TXV Replacement in Tampa, FL 33629: Fixing an AC That Wouldn’t Stop Running
In Tampa, FL 33629, a homeowner on our maintenance plan called us because one of her air conditioning systems just couldn’t keep up with the heat. The system ran almost nonstop on warmer days and still wasn’t keeping the home as cool as it should.
During a scheduled tune-up, our Home Therapist technician Jandiel found a low-refrigerant condition caused by a leak in the evaporator coil inside the air handler. We also identified the need to replace the TXV (thermal expansion valve), flush the refrigerant lines, replace the filter dryer, and recharge the system correctly with R410A.
Below is a step-by-step look at what went wrong, how we diagnosed it, and how we repaired the system to restore safe, efficient cooling for this Tampa home.
Customer Problem: AC Running Constantly but Not Cooling Well
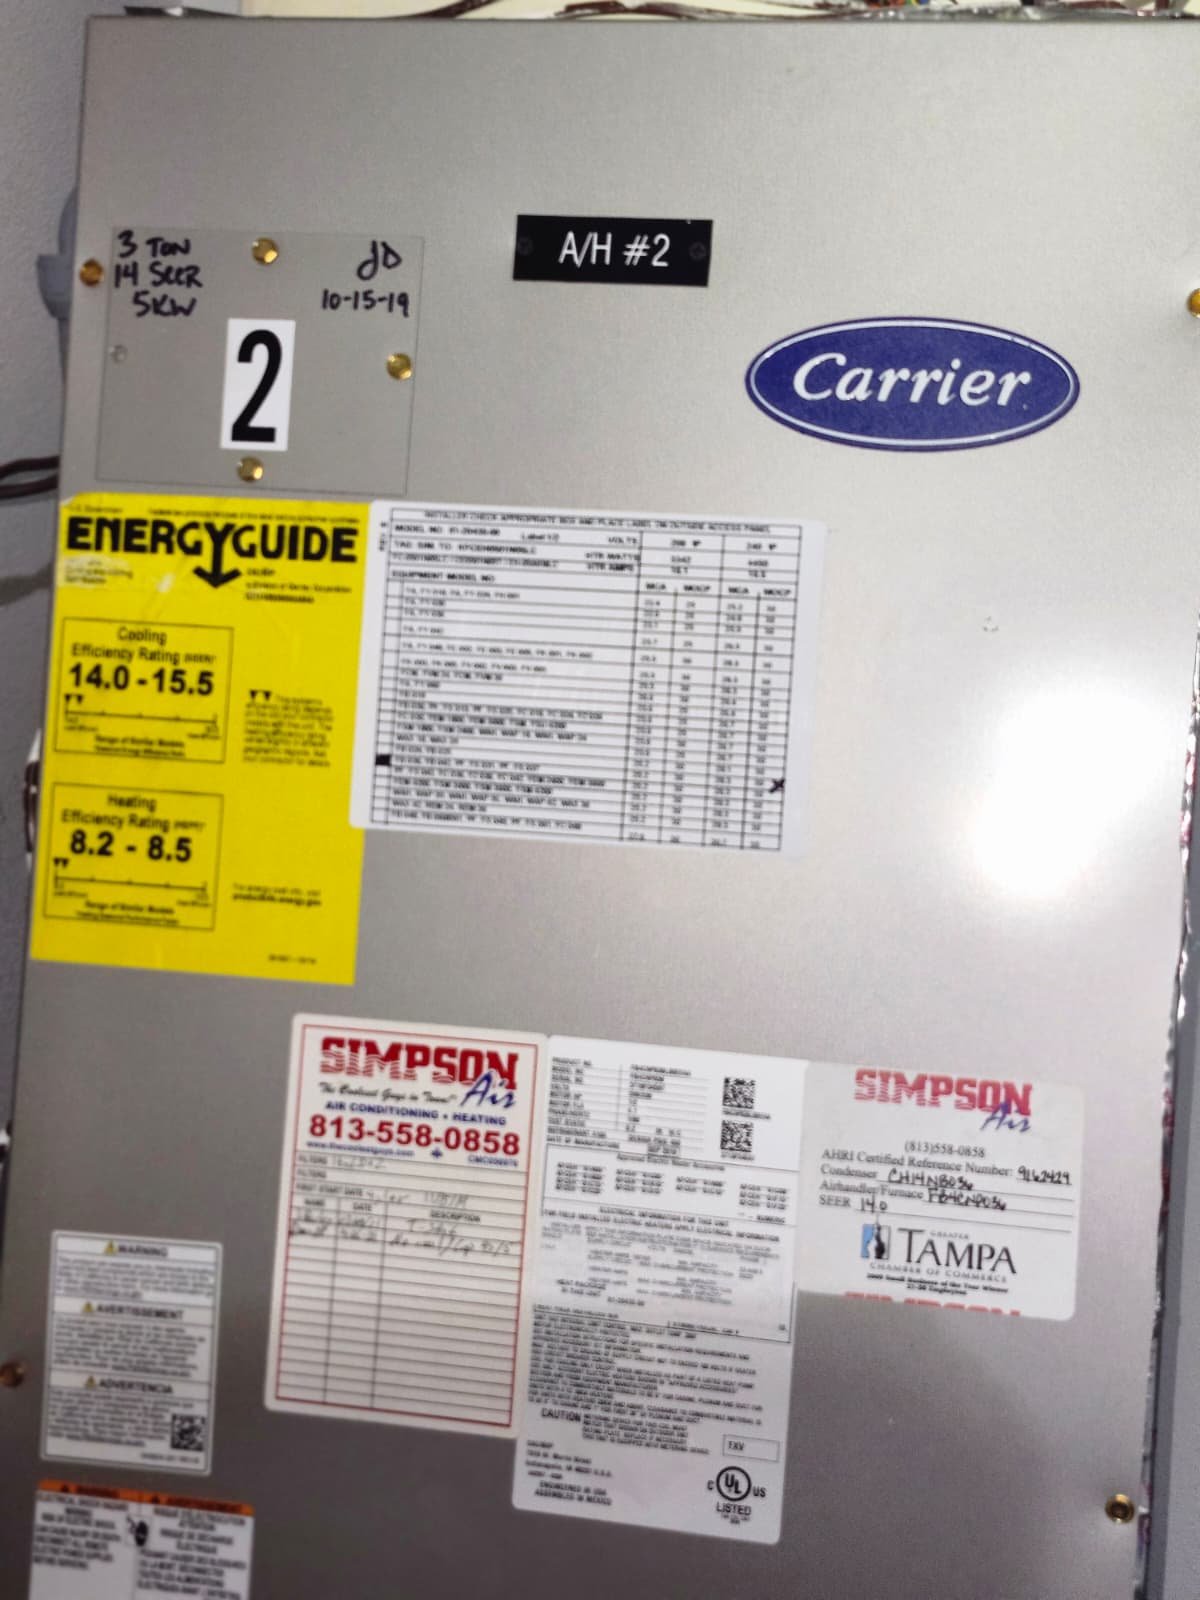
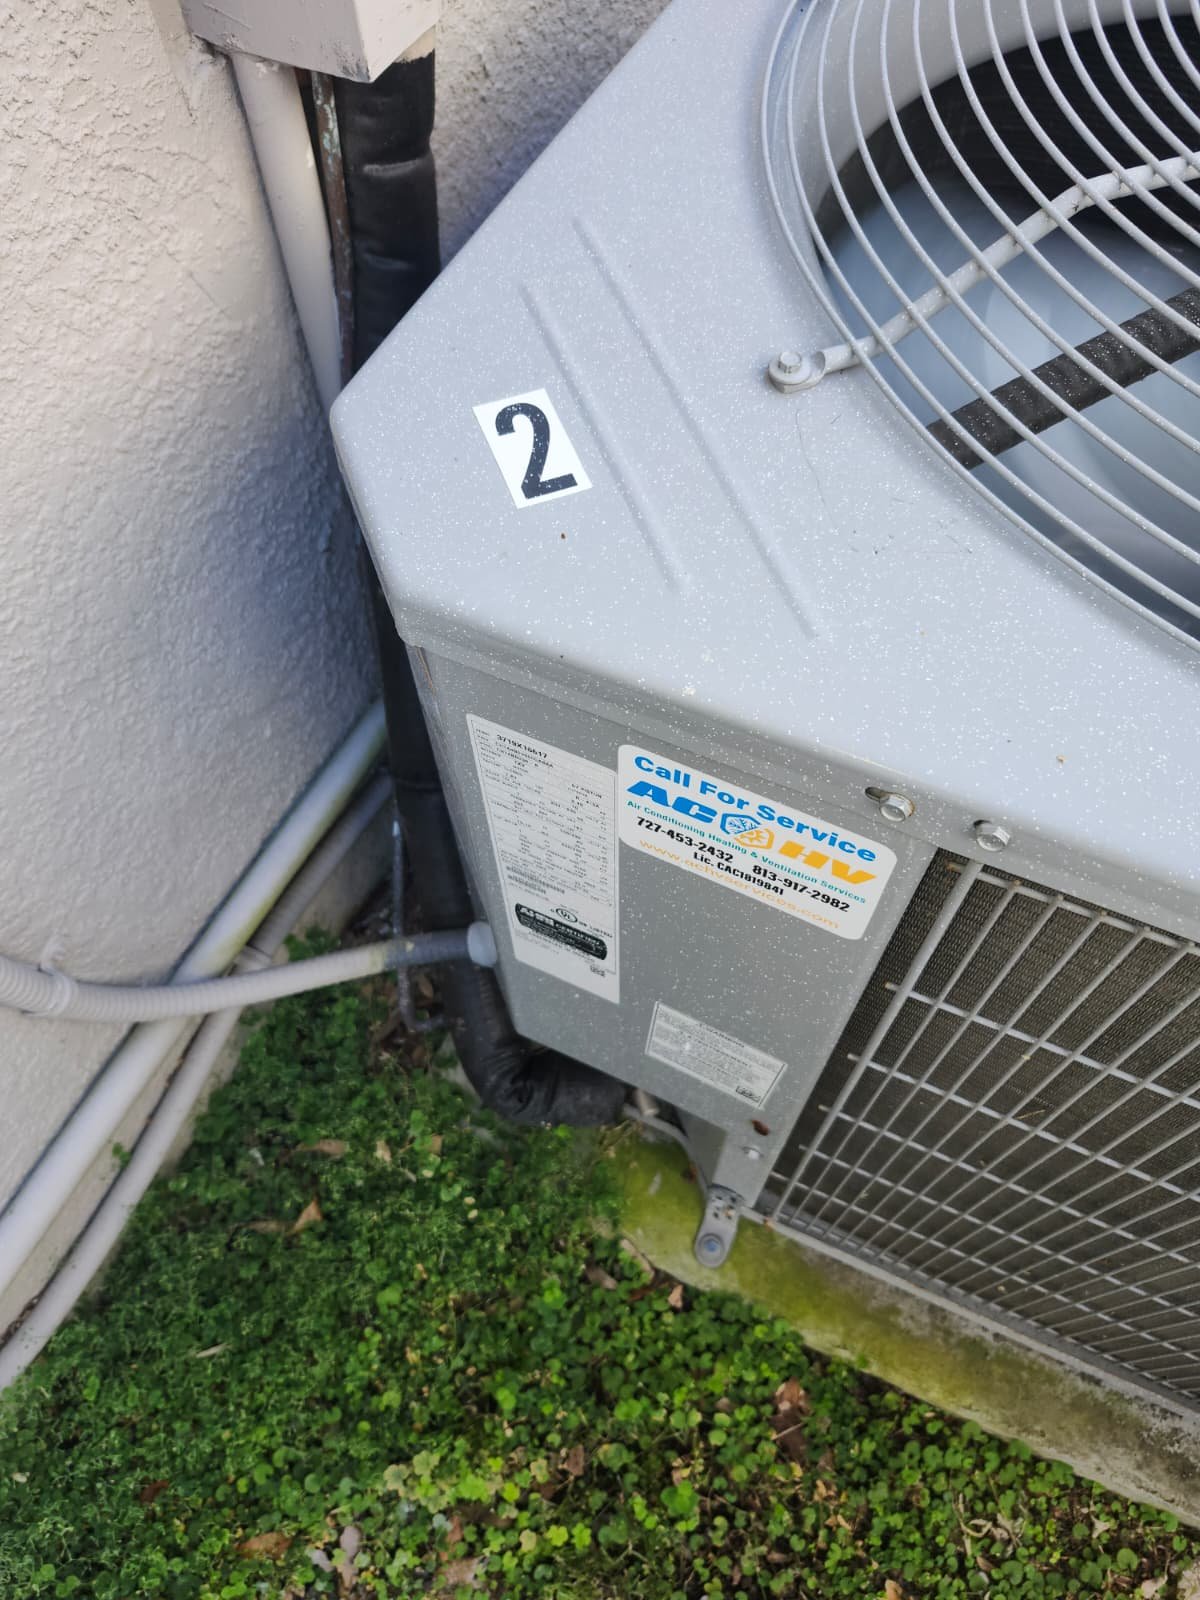
The homeowner in Tampa, FL reached out to us under her service plan because she noticed one particular system (System #2) behaving differently:
- The system seemed to run almost all the time on hot days.
- Even with long run times, some areas of the home still felt warm or unevenly cooled.
- She suspected something was off, even though the system was still technically “working.”
When we arrived for her routine maintenance visit, she explained these concerns and mentioned that it had been going on for a while. This type of symptom is common in Tampa Bay homes when:
- The system is low on refrigerant due to a leak.
- Coils are dirty or damaged.
- There’s a restriction in the refrigerant metering device, such as a TXV or piston.
Our job was to determine which of these issues (or combination of issues) was actually affecting her system and to protect the rest of the equipment—especially the compressor—from long-term damage.
Inspection & Diagnosis: Finding the Hidden Refrigerant Leak
Our technician performed a careful, step-by-step inspection of the system in this Tampa home. Here’s how we approached the diagnosis:
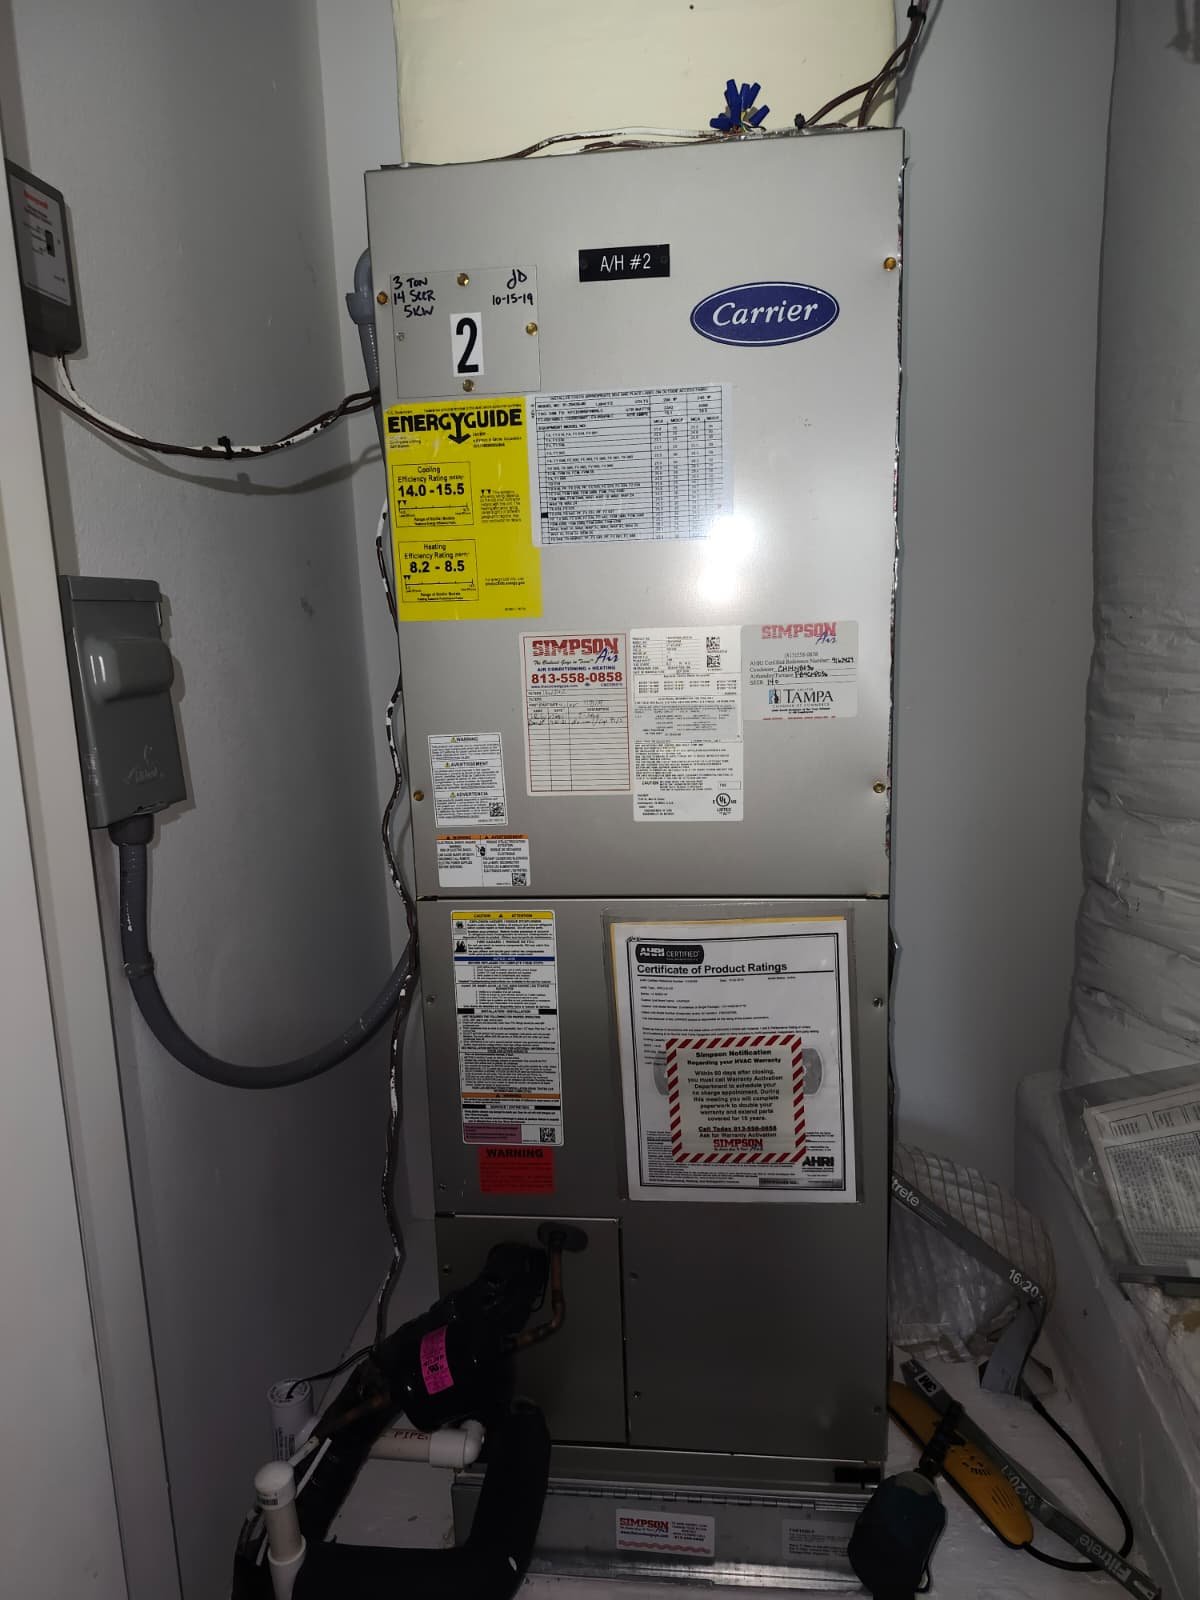
1. Visual Inspection of the Air Handler and Coil
We started at the air handler, where the evaporator coil is located. Right away, we noticed signs that the system had struggled recently:
- The filter was heavily soaked, which often indicates past freezing and thawing of the coil.
- There were signs of moisture around the air handler area from previous ice melt.
A frozen evaporator coil is often a clue that refrigerant levels are low or airflow is restricted. In this case, it lined up with the homeowner’s report that the system ran constantly yet couldn’t keep up.
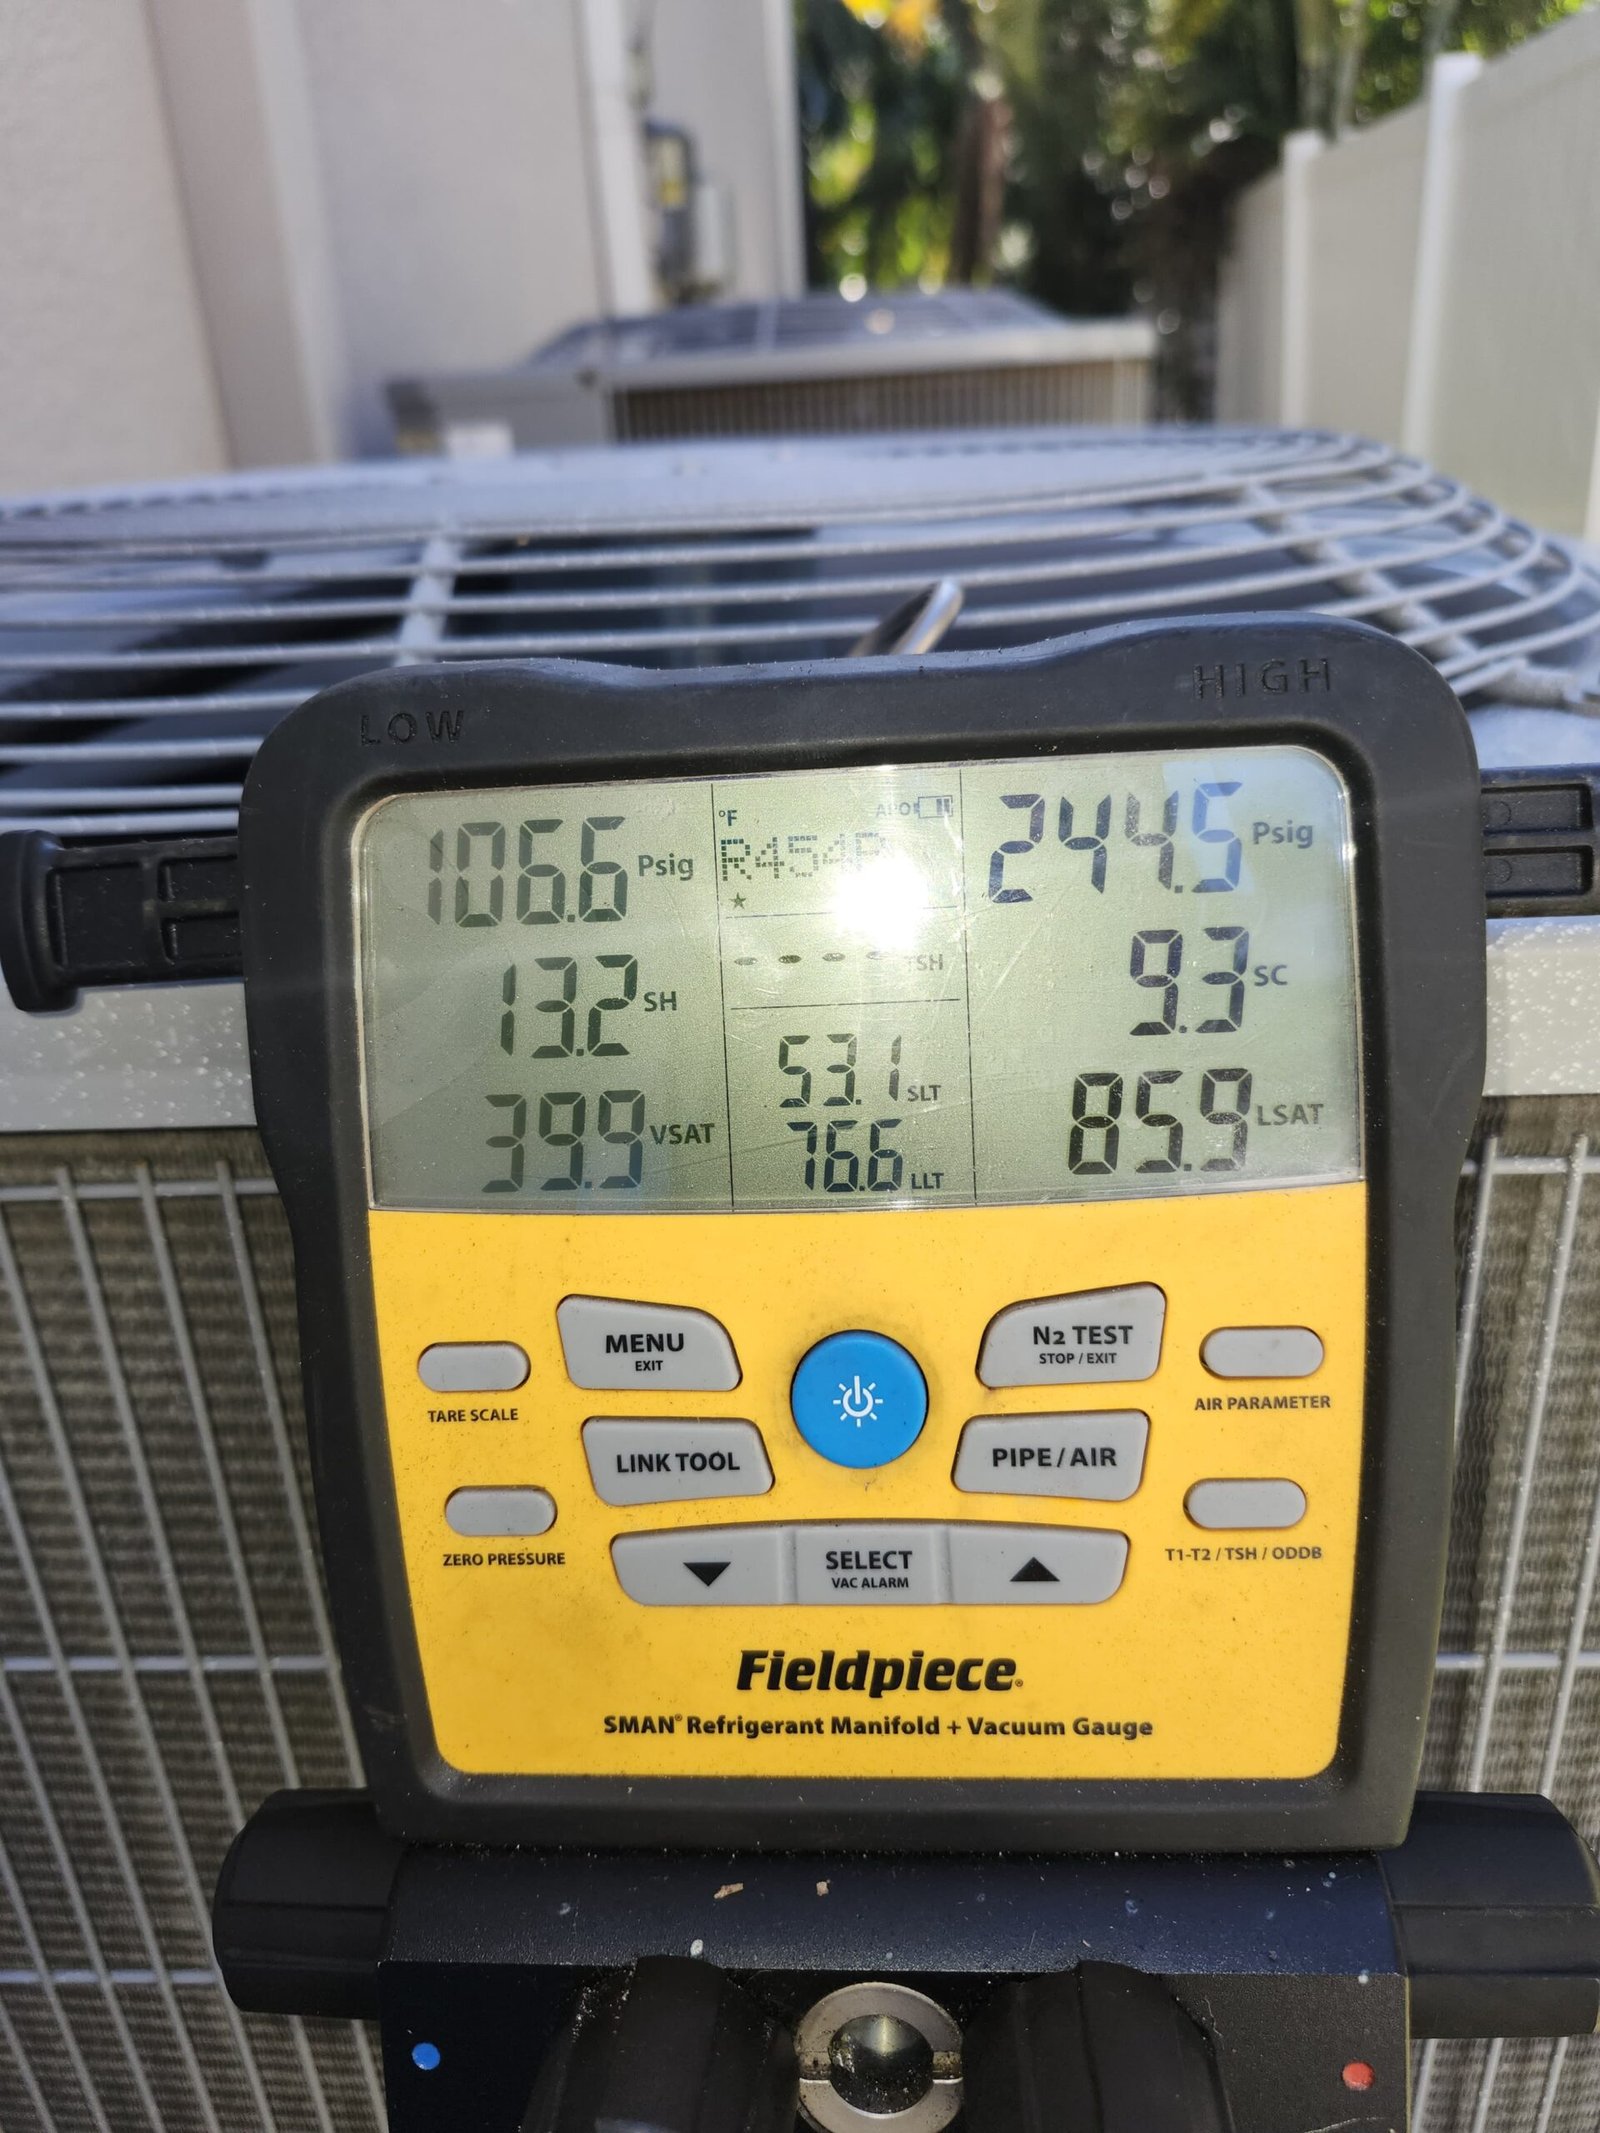
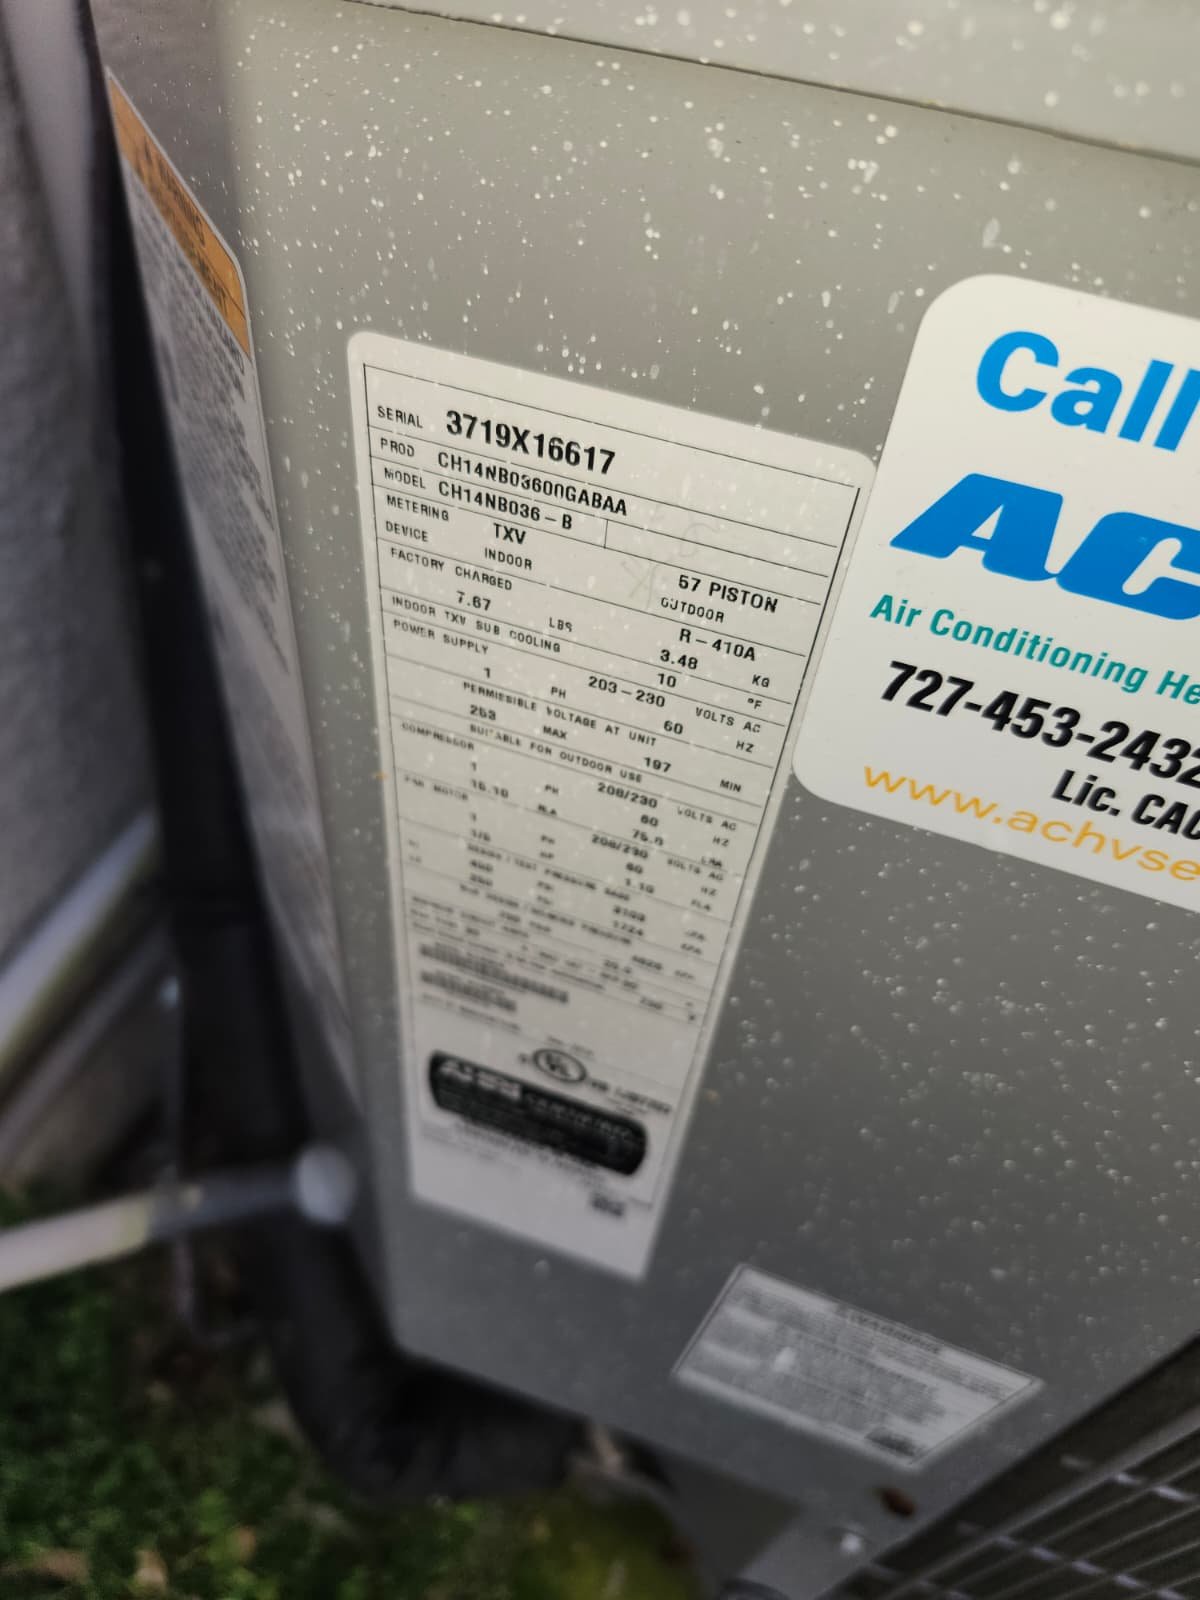
2. Refrigerant Level and System Performance Checks
Next, we checked system pressures and superheat/subcooling to evaluate refrigerant charge and performance. Readings showed that the unit was operating with low refrigerant levels, confirming a real loss of refrigerant—not just a minor adjustment issue.
When a system in Tampa, FL is low on refrigerant, that usually means one thing: there is a leak somewhere in the refrigerant circuit. Simply adding more refrigerant without addressing the leak is not a real fix; it only delays the problem and increases operating costs.
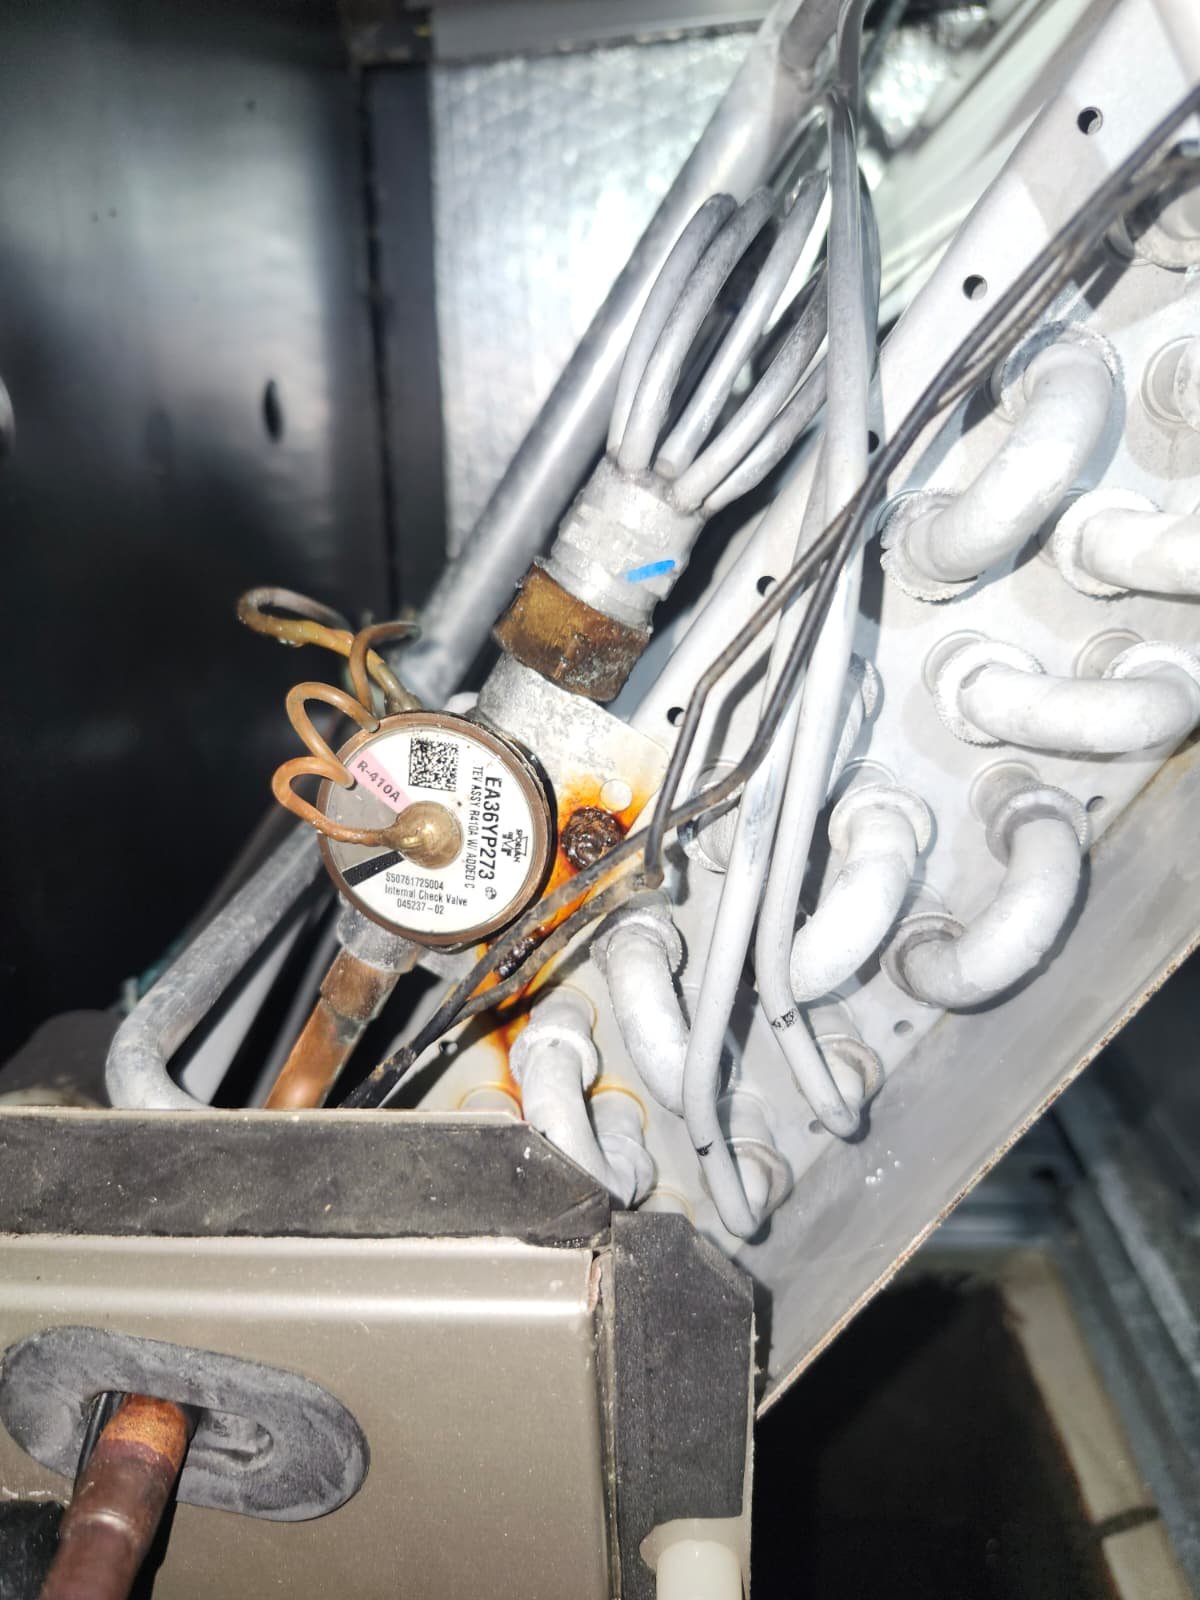
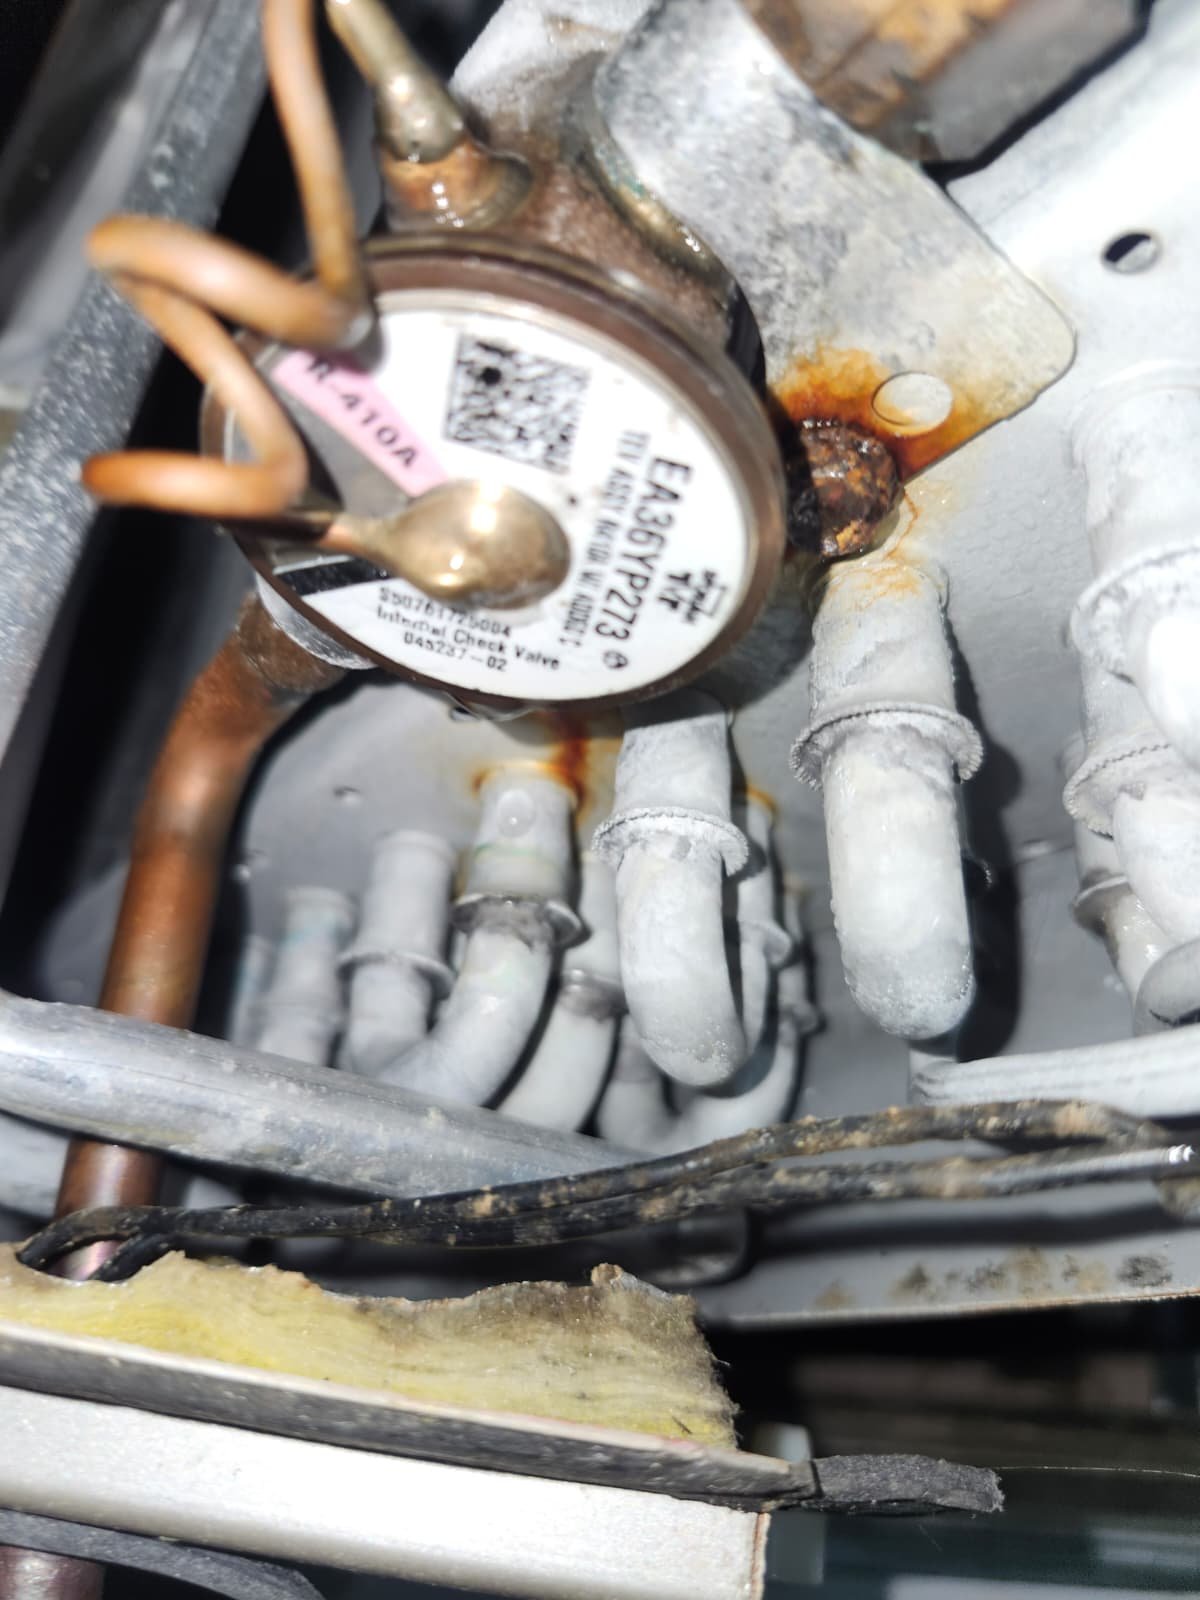
3. Examining the Evaporator Coil and TXV
We focused on the evaporator coil inside the air handler because:
- The symptoms and frozen-coil evidence pointed in that direction.
- This is a common leak point on many residential systems.
Through testing and inspection, we identified a leak in the evaporator coil. At the same time, the system’s TXV (thermal expansion valve) was not metering refrigerant properly, contributing to poor cooling and efficiency.
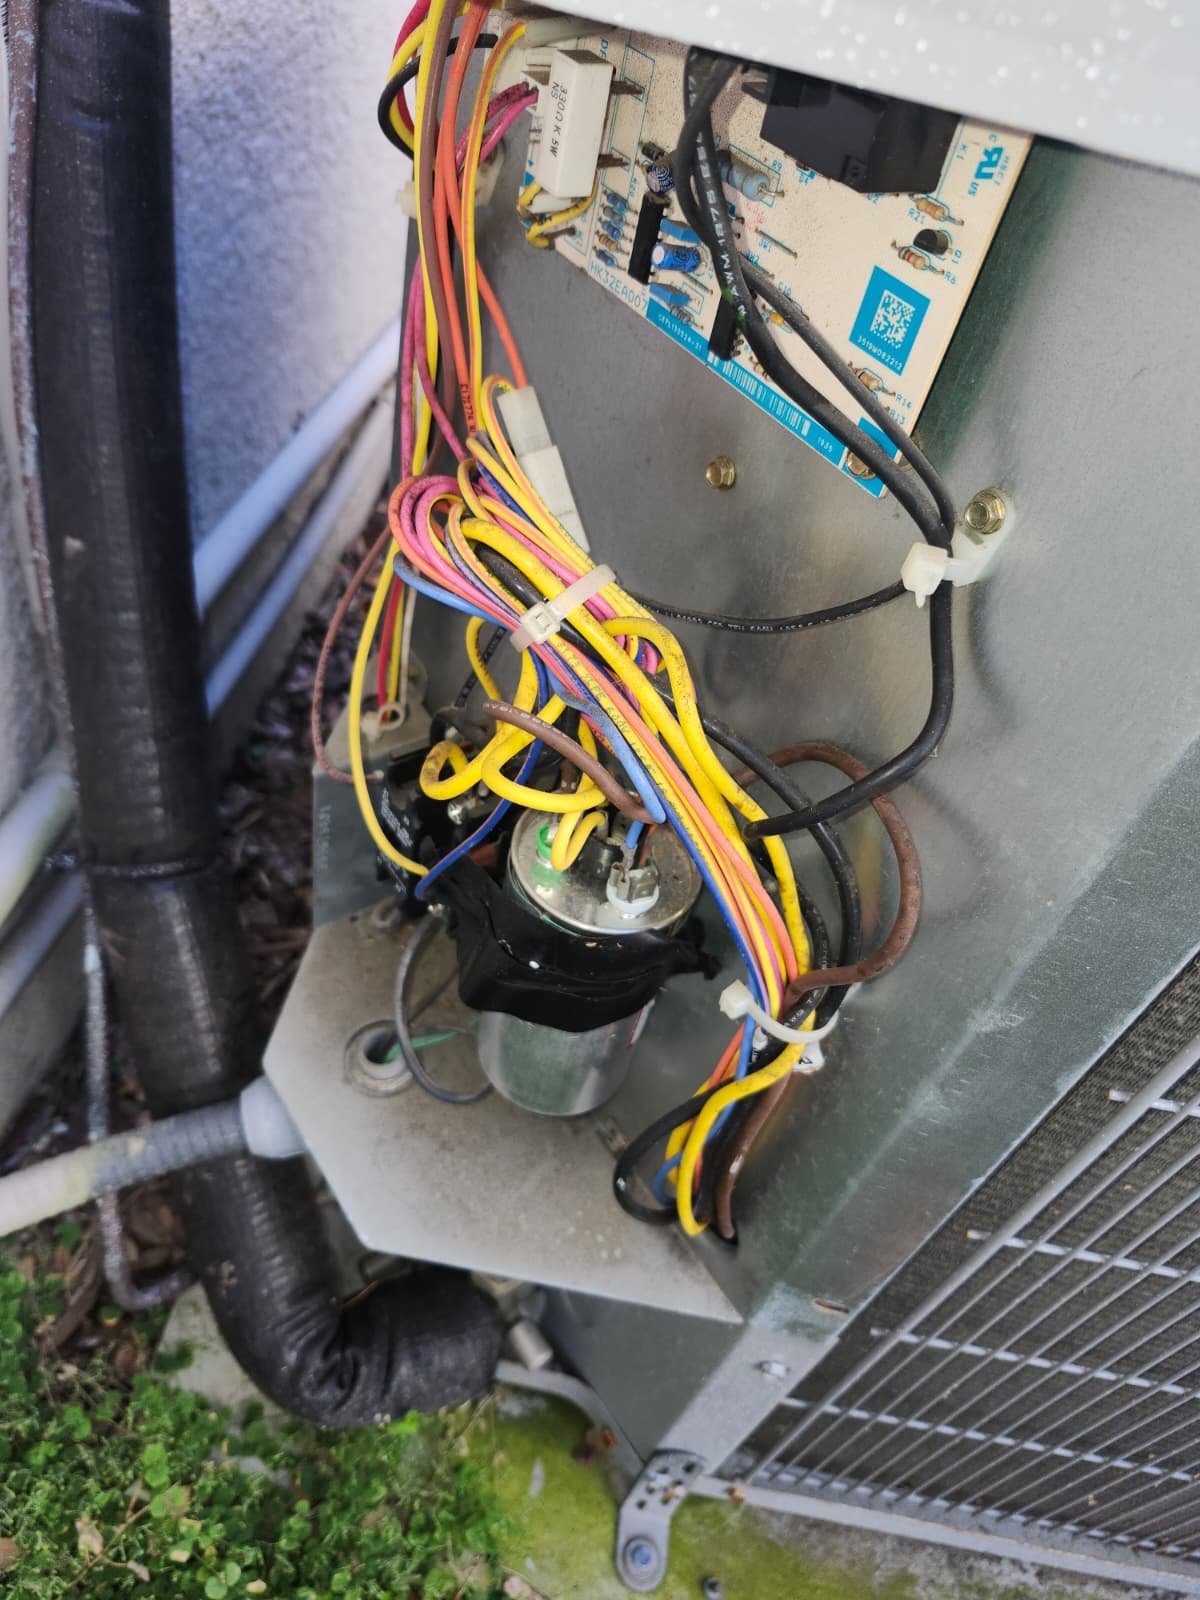
4. Electrical and Component Health Check
We also checked the fan motor and other key components. The fan motor was already drawing slightly elevated energy usage. If the system continued running low on refrigerant, the compressor and other parts could have been damaged as well.
Continuing to use an AC in these conditions in a hot, humid climate like Tampa doesn’t just waste energy—it puts the entire system at risk.
5. Warranty and System History
This system was still under manufacturer warranty through 2029, even though the registration was in a previous homeowner’s name. We confirmed that the warranty could still be honored, just as it had been previously when a blower motor was replaced under warranty.
We coordinated ordering a new evaporator coil under warranty. The coil lead time was estimated at 7–14 business days, while the TXV was already available for installation.
Step-by-Step Repair: Coil, TXV, Dryer, Flush & Recharge
Once the replacement parts were available, we scheduled the work as early in the day as possible to fit the homeowner’s schedule in Tampa, FL 33629. Before starting, we clearly reviewed the scope of work, costs that would be covered by warranty, and items that would be billed separately (such as refrigerant and some accessories).
1. Safely Recovering and Pumping Down the Refrigerant
Because we would be opening the refrigerant circuit, we first pumped down the existing R410A to the condenser side to safely capture the remaining refrigerant. This is critical for:
- Environmental responsibility.
- Technician safety.
- Preventing air and moisture from being introduced into the system.
2. Removing the Old Evaporator Coil
With the system safely pumped down, we removed the old evaporator coil from the air handler. This included:
- Disconnecting refrigerant lines at the coil.
- Carefully removing the coil assembly.
- Preparing the cabinet for the new coil installation.
We protected the surrounding area to keep the home clean and avoided any unnecessary disturbance to the air handler cabinet or ductwork.
3. Installing the New Evaporator Coil (Under Warranty)
We installed the new air handler coil, ensuring it was properly positioned and secured. Then we:
- Soldered the refrigerant connections with clean, professional joints.
- Inspected all new joints and connections visually before testing.
- Prepared the system for leak testing.
The cost of the new coil itself was covered under the manufacturer’s warranty; our invoice reflected only the labor and associated materials not covered by warranty.
4. TXV Replacement
Next, we replaced the TXV (thermal expansion valve), which controls how much refrigerant flows into the evaporator coil. This step involved:
- Pumping down any remaining gas as needed.
- Removing the old TXV and installing the new, properly sized TXV.
- Making and soldering new connections where required.
- Checking all soldered joints for leaks.
A properly functioning TXV helps the system maintain stable pressures and temperatures, leading to more consistent comfort and better efficiency—especially important for homeowners in Tampa’s hot, humid climate.
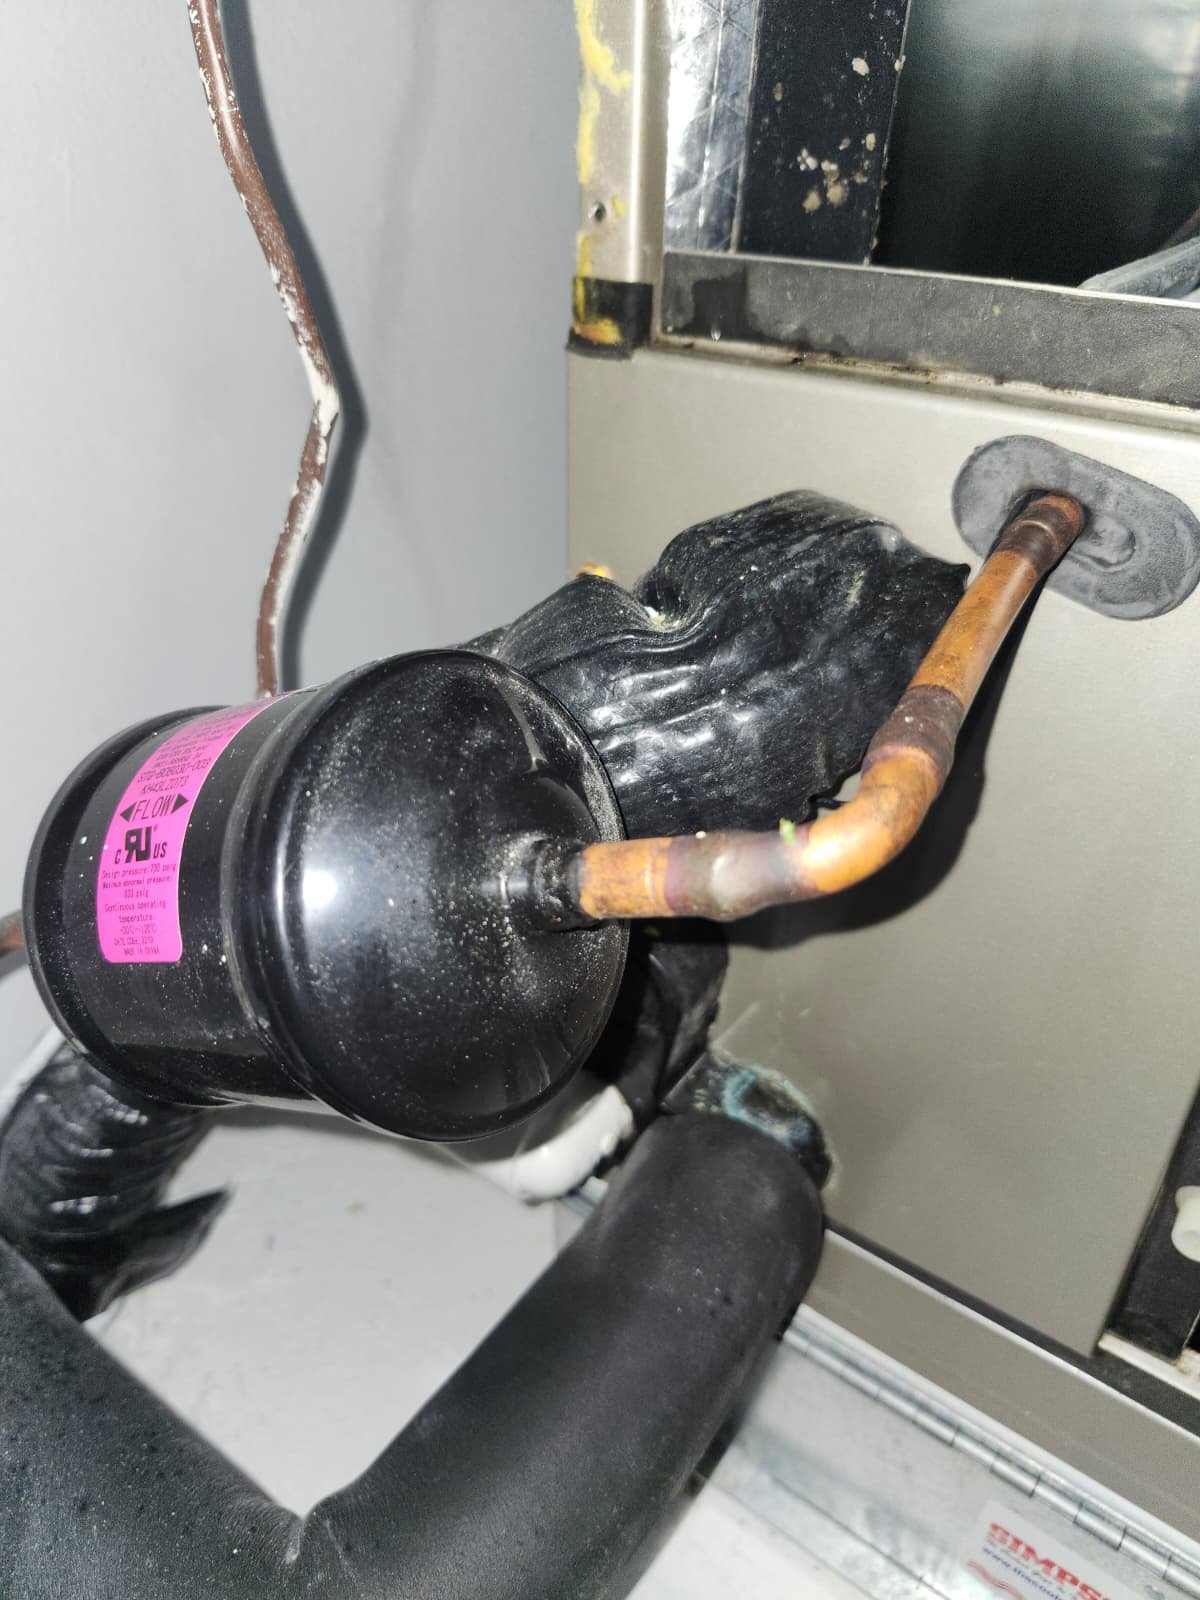
5. Dryer Filter Replacement and Copper Line Flush
We also addressed the refrigerant circuit’s cleanliness and flow by:
- Flushing the copper lines with R11 and nitrogen to clear any blockage or contaminants.
- Replacing the filter dryer, which removes moisture and debris from the refrigerant.
- Cleaning or replacing the piston where applicable.
These steps are crucial after a coil replacement to ensure that the new components aren’t immediately exposed to old contaminants, which can shorten equipment life and cause restrictions.
6. Deep Vacuum and Leak Check
With new components in place, we performed a deep vacuum on the system to remove air and moisture from the lines and coils. Then we:
- Checked all soldered connections for leaks using proper testing procedures.
- Verified that the system held vacuum and pressure before adding new refrigerant.
This step is one of the most important parts of any professional AC repair in Tampa: it protects the compressor, reduces acid formation in the refrigerant, and helps the system run more reliably.
7. Recharging with R410A and Final Testing
Because we opened the system and replaced the coil and TXV, all of the refrigerant needed to be replaced. We charged the system with the correct amount of R410A—over 3 pounds in this case—and then:
- Checked operating pressures, superheat, and subcooling.
- Verified that the system was cooling properly at the registers.
- Confirmed that the air handler and outdoor unit were working together as designed.
We also monitored the fan motor’s energy usage again and confirmed that the overall system was operating more normally now that the refrigerant charge and components were corrected.
Why This Fix Works: The Refrigeration Cycle in Plain English
For homeowners in Tampa, FL, it helps to understand why these repairs make such a big difference in comfort and energy bills.
The Role of the Evaporator Coil
The evaporator coil inside your air handler is where the refrigerant absorbs heat from your indoor air. When refrigerant leaks from this coil:
- The system can no longer absorb enough heat.
- The coil can freeze over because of low pressure and very low temperatures.
- The AC has to run much longer to achieve the same result—if it can at all.
Replacing the leaking coil restores the system’s ability to absorb heat efficiently and eliminates the ongoing refrigerant loss.
The Role of the TXV
The TXV (thermal expansion valve) meters how much refrigerant flows into the evaporator coil. If it’s not working correctly, you might see:
- Poor temperature control.
- High energy usage.
- Unstable pressures and frequent freezing or short cycling.
Installing a properly functioning TXV stabilizes the system, helping your AC maintain ideal pressures and temperatures for efficient operation in Tampa’s demanding climate.
Why Flushing, Dryers, and Vacuuming Matter
Moisture, debris, or old contaminants inside the refrigerant lines can lead to:
- Blockages in the TXV or capillary tubes.
- Acid formation that damages internal components.
- Reduced system life and more frequent breakdowns.
By flushing the copper lines, replacing the filter dryer, and pulling a deep vacuum, we give the system a clean internal environment—like starting fresh with a clean slate.
Pro Tips for Homeowners in Tampa, FL
If you live in Tampa, FL or nearby areas like Hyde Park or Bayshore Boulevard, here are some practical tips to help keep your AC running smoothly:
- Pay attention to run time. If your system runs for very long periods and still struggles to cool, don’t ignore it. That can be an early sign of a refrigerant leak or airflow problem.
- Check your filter monthly. In Tampa’s hot, humid climate, filters can clog quickly. A soaked or extremely dirty filter can be a sign of previous coil freezing and thawing.
- Schedule regular tune-ups. Professional air conditioner tune-up services in Tampa, FL help catch low refrigerant, weak components, and airflow issues before they lead to major repairs.
- Don’t just “top off” refrigerant. If you’re adding more than about 1–2 pounds of refrigerant, there’s almost always a leak. Ask your technician to locate and address the cause instead of simply refilling.
- Protect your warranty. Keep records of previous repairs and warranty coverage. As in this Tampa project, we were able to honor a manufacturer’s warranty even though the system was registered under a previous homeowner.
- Use a trusted local HVAC partner. Having a long-term relationship with a local Tampa Bay HVAC company means faster diagnosis, honest recommendations, and better system history tracking.
Why Choose Home Therapist for AC Repairs in Tampa Bay
At Home Therapist Cooling, Heating, and Plumbing, we treat every AC repair in Tampa as if we were working on our own home. For this homeowner in Tampa, FL 33629, that meant:
- Listening carefully to her concerns about run time and comfort.
- Performing a thorough, step-by-step diagnosis instead of guessing.
- Leveraging her existing warranty to reduce costs where possible.
- Explaining each recommended repair in plain language before proceeding.
- Working around her schedule and making sure payment and paperwork were handled smoothly.
Our licensed technicians follow best practices for safety, cleanliness, and system reliability. We don’t believe in quick, temporary fixes. Instead, we focus on long-term solutions that protect your compressor, coils, and other components—especially in a demanding climate like Tampa Bay’s.
If you’d like to understand what to expect when your AC is not cooling, you can explore our guide on air conditioner repair services in Tampa, FL. For broader repair and installation options across the Tampa Bay area, visit our page on air conditioner installation and repair services in Tampa Bay.
We also offer clear, upfront information about ongoing protection through our plans. If you want to understand how maintenance plans can help you avoid major breakdowns and manage costs over time, you can read our resource on AC maintenance plans and service costs.
Need AC Service in Tampa, FL 33629?
If your air conditioner in Tampa, FL is running constantly, not cooling well, or you suspect a refrigerant leak, it’s important to address it sooner rather than later. Ignoring these signs can lead to compressor damage, higher electric bills, and uncomfortable rooms—especially during our long, humid summers.
Home Therapist Cooling, Heating, and Plumbing is here to help with professional, transparent HVAC service in Tampa and throughout the Tampa Bay area. Whether you need coil replacement, TXV repair, refrigerant leak diagnosis, or a simple tune-up, our local team is ready to step in.
Contact us today to schedule AC repairs, installs, or maintenance services in Tampa, FL, and get the therapy your home needs—from a team that puts your comfort, safety, and peace of mind first.
For more about Tampa, FL and its neighborhoods, you can explore the city on Wikipedia or see nearby areas like Hyde Park in Tampa and scenic Bayshore Boulevard.


