

Ductless Mini Split Installation and Electrical Upgrade in St. Petersburg, FL 33710


When a homeowner in St. Petersburg, FL 33710 reached out to us, they wanted a quiet, efficient way to cool and heat a specific room without relying on the rest of the home’s ductwork. A ductless mini split was the perfect solution, but to get it right, we also needed to make sure the electrical supply and airflow in the room were set up safely and correctly.
In this visit, our technician Jandiel installed a new 1-ton Daizuki ductless mini split heat pump with inverter technology, added a dedicated high-voltage circuit and breaker, and helped the homeowner understand how to keep the new system running smoothly. By the time we were done, the room was set up for year-round comfort, with reliable power, proper drainage, and a clear path for air to move.
Case Recap
- Location: Single-room ductless mini split project in St. Petersburg, FL 33710
- Service: 1-ton Daizuki ductless mini split heat pump (inverter, 19 SEER) installation
- Electrical: New high-voltage wiring and a dedicated circuit breaker (up to 40 feet)
- Comfort upgrade: Wi-Fi connectivity for easier temperature control and monitoring
- Warranty: Manufacturer parts and compressor coverage plus 1-year labor from Home Therapist
- Additional guidance: Corrected a closed grille in the bedroom to restore proper airflow
Customer Problem
This homeowner wanted better comfort and control in one specific room where a traditional central air system wasn’t delivering the results they needed. In many St. Petersburg, FL 33710 homes, certain bedrooms or additions run hotter in the summer and cooler in the winter, especially if they are far from the main air handler or have limited ductwork. A ductless mini split is an ideal way to target those areas without reworking the entire home.
In this case, the homeowner wanted:
- A dedicated system for a bedroom so they could set their own temperature independently from the rest of the home.
- Efficient cooling and heating using inverter technology and a modern heat pump.
- Wi-Fi connectivity for simple control via phone or smart device.
- A clean, professional installation that included refrigerant lines, drain line, wiring, and proper support for the outdoor unit.
They chose a 1-ton Daizuki unit rated at 19 SEER, which is a good efficiency level for a single room when properly sized and installed. They also enrolled in a Premium Therapy Plan so we could help them keep the new system maintained and operating as it should over time.
Inspection and Diagnosis
Before we start any installation, especially a ductless system in an occupied bedroom, we take time to understand the space and any existing limitations. For this project in St. Petersburg, FL 33710, our technician walked through several key checks:
- Room layout and wall selection: We looked for a wall that would allow the indoor unit to distribute air evenly, avoid blowing directly onto the bed, and provide a straightforward path for the refrigerant lines, drain, and communication cables to reach the outdoor unit.
- Outdoor unit placement: We identified a location outside for the condensing unit where it would have good airflow, be easy to service, and be protected from water pooling and physical damage. This also determined whether we used a concrete pad or wall bracket.
- Electrical capacity: Because ductless mini splits need a dedicated circuit, we confirmed the panel could accept a new breaker and checked the route for running new high-voltage wiring (up to 40 feet as included in the job scope).
- Drainage path: We verified that a new PVC condensate drain line could be installed with proper slope to carry moisture away from the indoor unit, helping prevent leaks and water damage.
- Airflow in the room: During the visit, we noted that a grille the homeowner had closed in the same room would restrict airflow. For comfort and proper circulation, that grille needed to be reopened, which we took care of.
By confirming these details before installing anything, we reduced the chance of future issues with comfort, drainage, or electrical performance and ensured the system would be well matched to the space.
Repair and Service Process
Once the planning was complete, our technician moved step-by-step through the installation. Here’s how we handled the work for this St. Petersburg, FL 33710 homeowner.
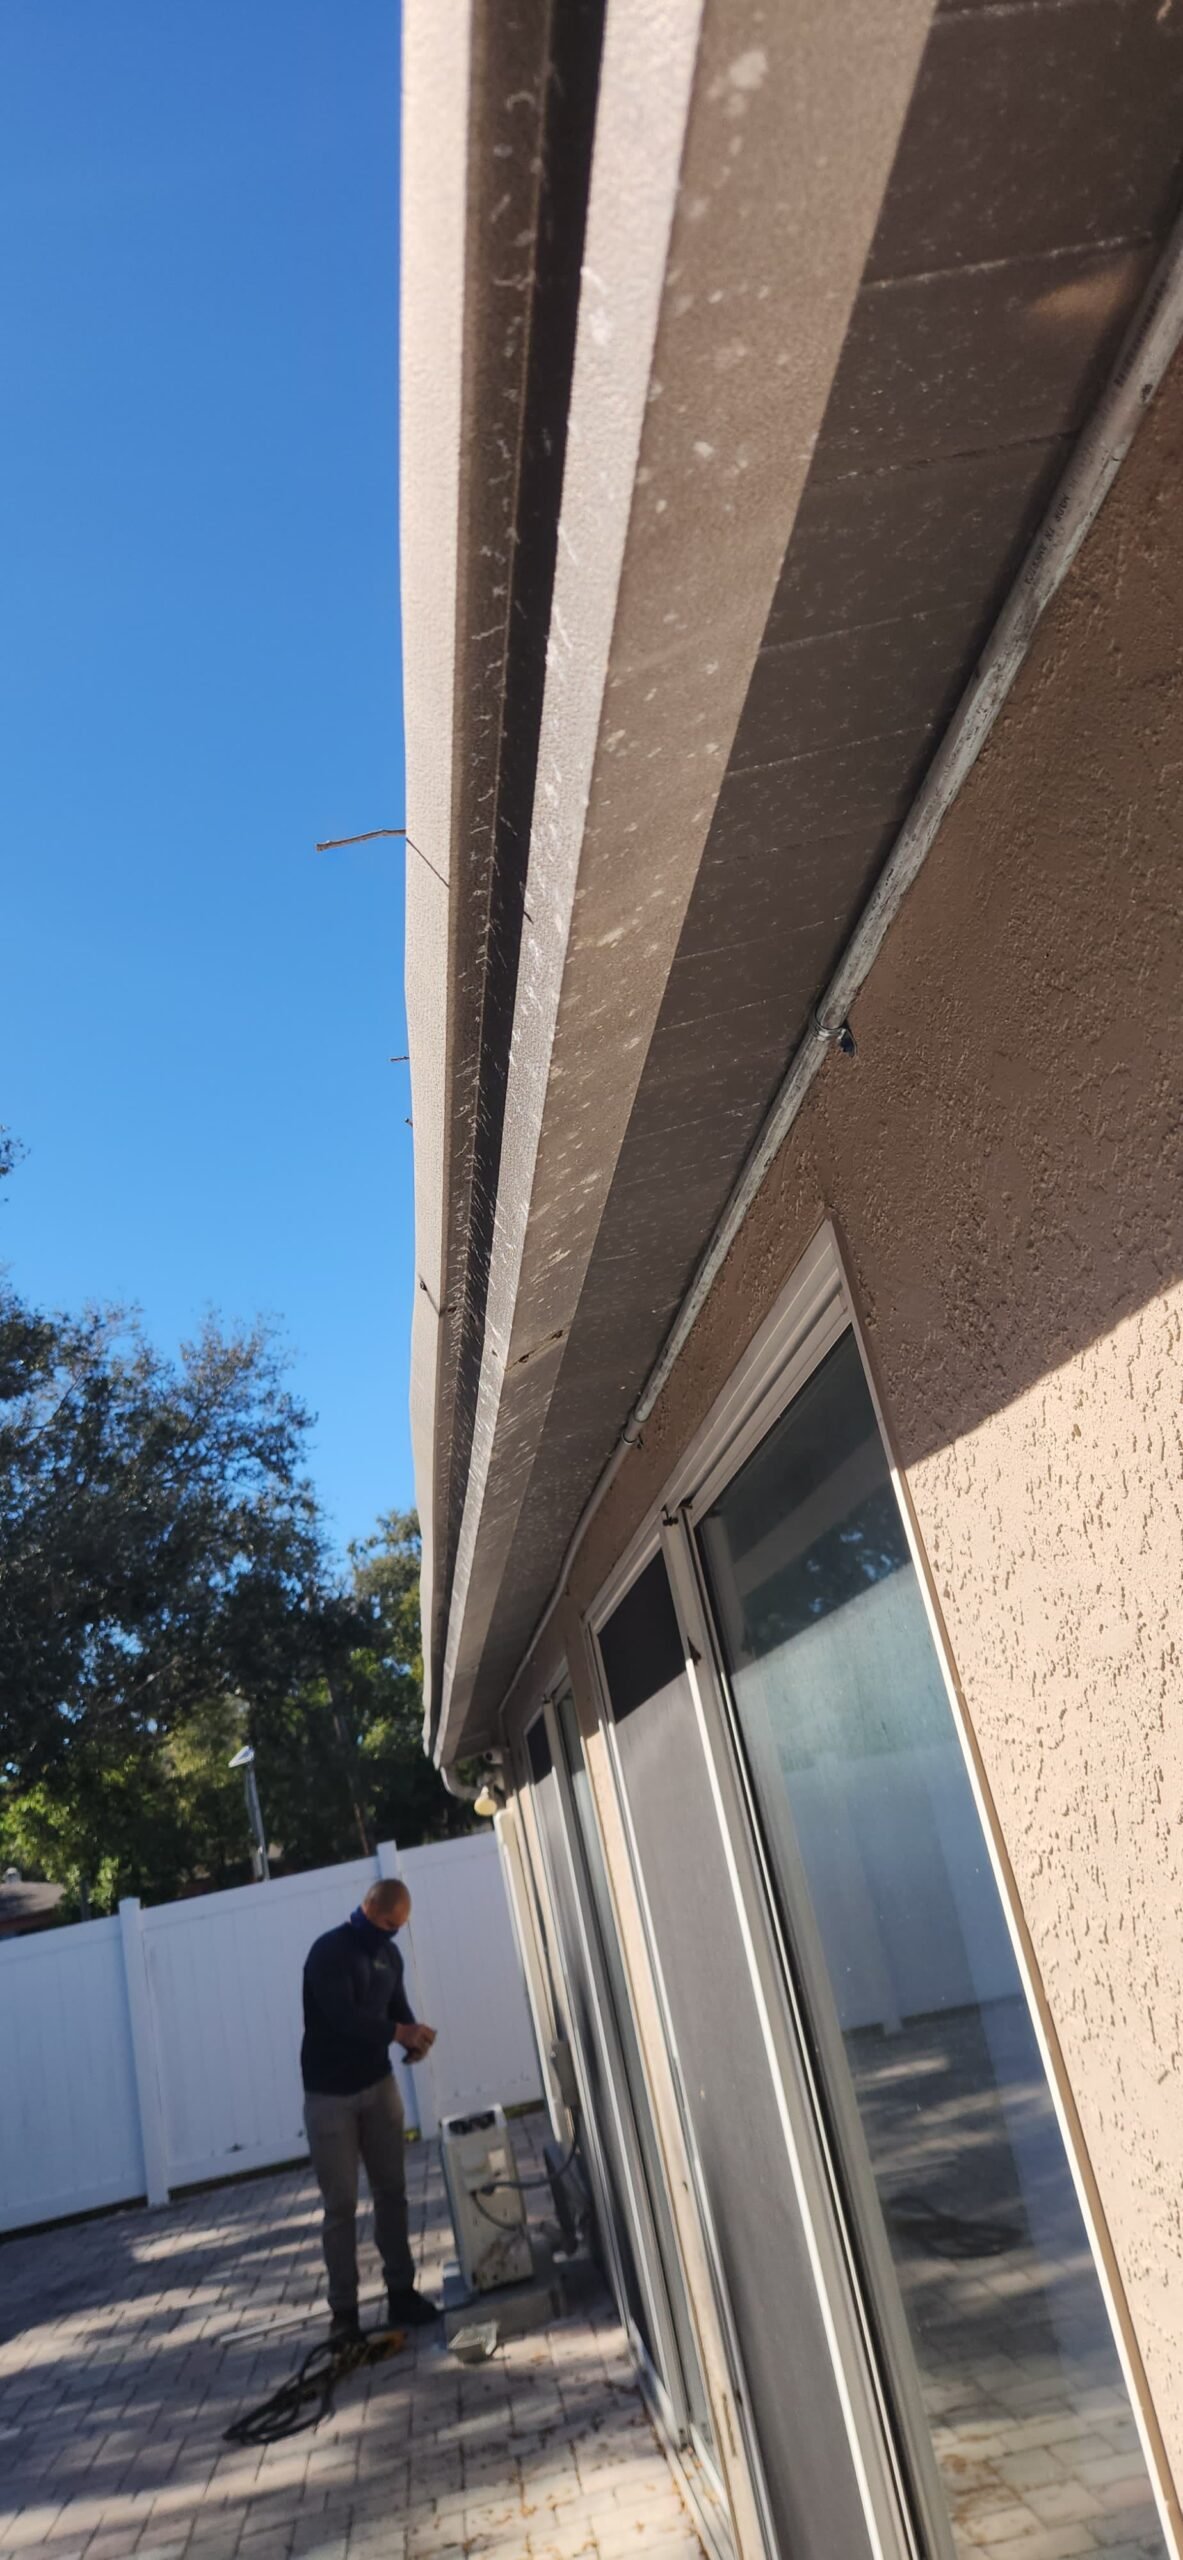
1. Setting Up the Outdoor Unit
We started outdoors, where the condensing unit for the mini split would sit. Depending on the homeowner’s preference and the layout, we either install on a new concrete pad or a wall-mounted bracket. In this case, we provided a secure mounting option so the unit would sit level, stable, and above standing water. This helps protect the equipment and makes future service easier.
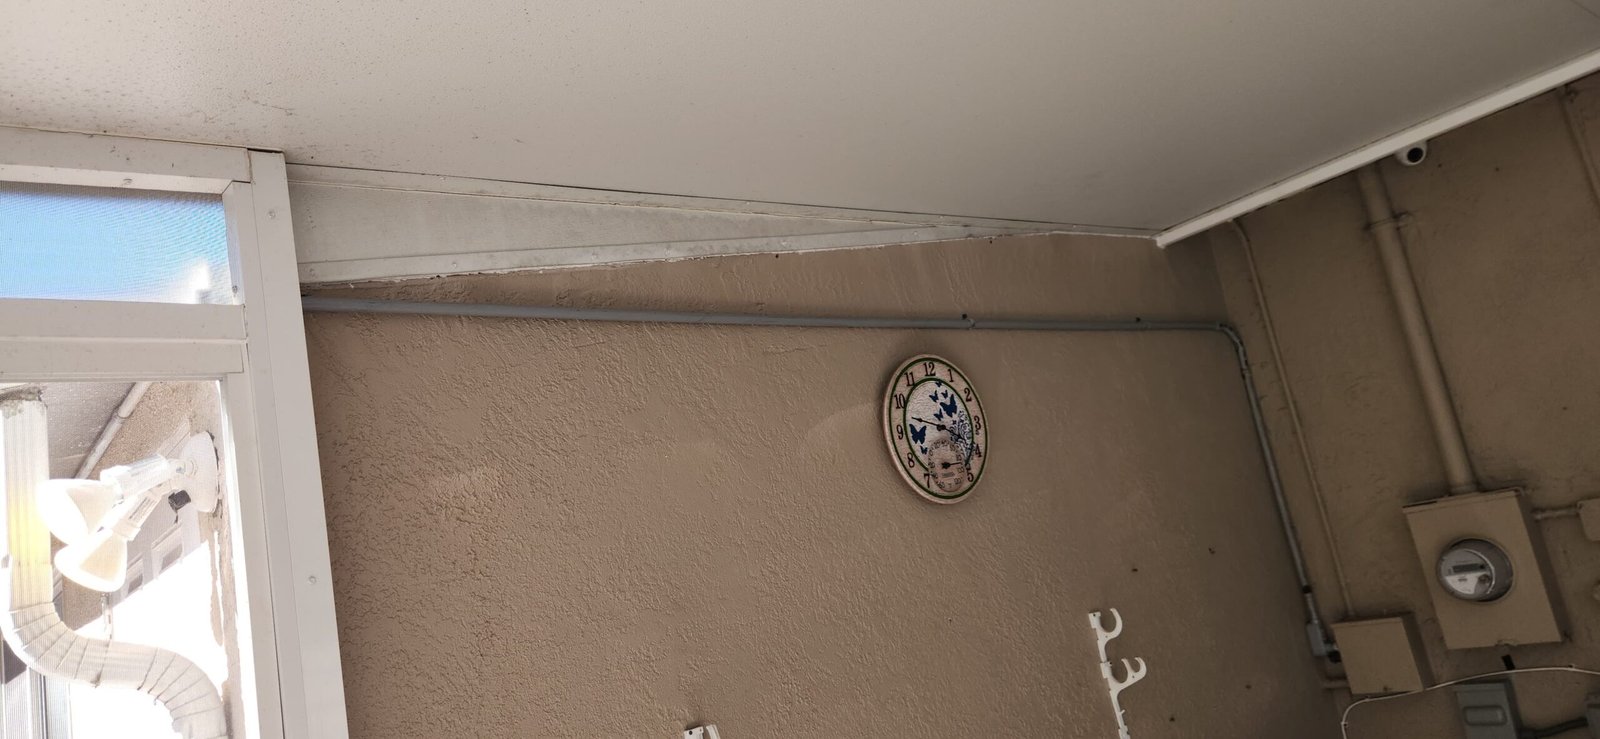
2. Running the Copper Line Set
The refrigerant line set is what connects the indoor and outdoor units. For this installation, we included a new copper line set up to 30 feet as part of the job. We carefully measured and routed the lines to avoid sharp bends, rubbing points, or unnecessary exposure. Protecting these lines is important for long-term reliability.
We also installed a new plastic cover to shield the line set, communication cable, and drain line where they run along the wall. This keeps the installation neat and protects the components from weather and physical damage.
3. Installing the PVC Drain Line
Next, we installed a new PVC drain line for condensate from the indoor unit. In Florida’s humid climate, mini splits remove a lot of moisture from the air. The drain line needs a proper slope and termination point so water flows away without backing up.
We secured the PVC line, ensured the run had continuous downward slope, and checked that the outlet location would not create puddles against the foundation or walkways.
4. Running the Communication Cables
Mini split systems rely on low-voltage communication cables between the indoor and outdoor units to coordinate the compressor, fan speeds, and modes. We installed new communication wiring alongside the line set and drain line, protecting it under the same cover and terminating it according to manufacturer specifications.
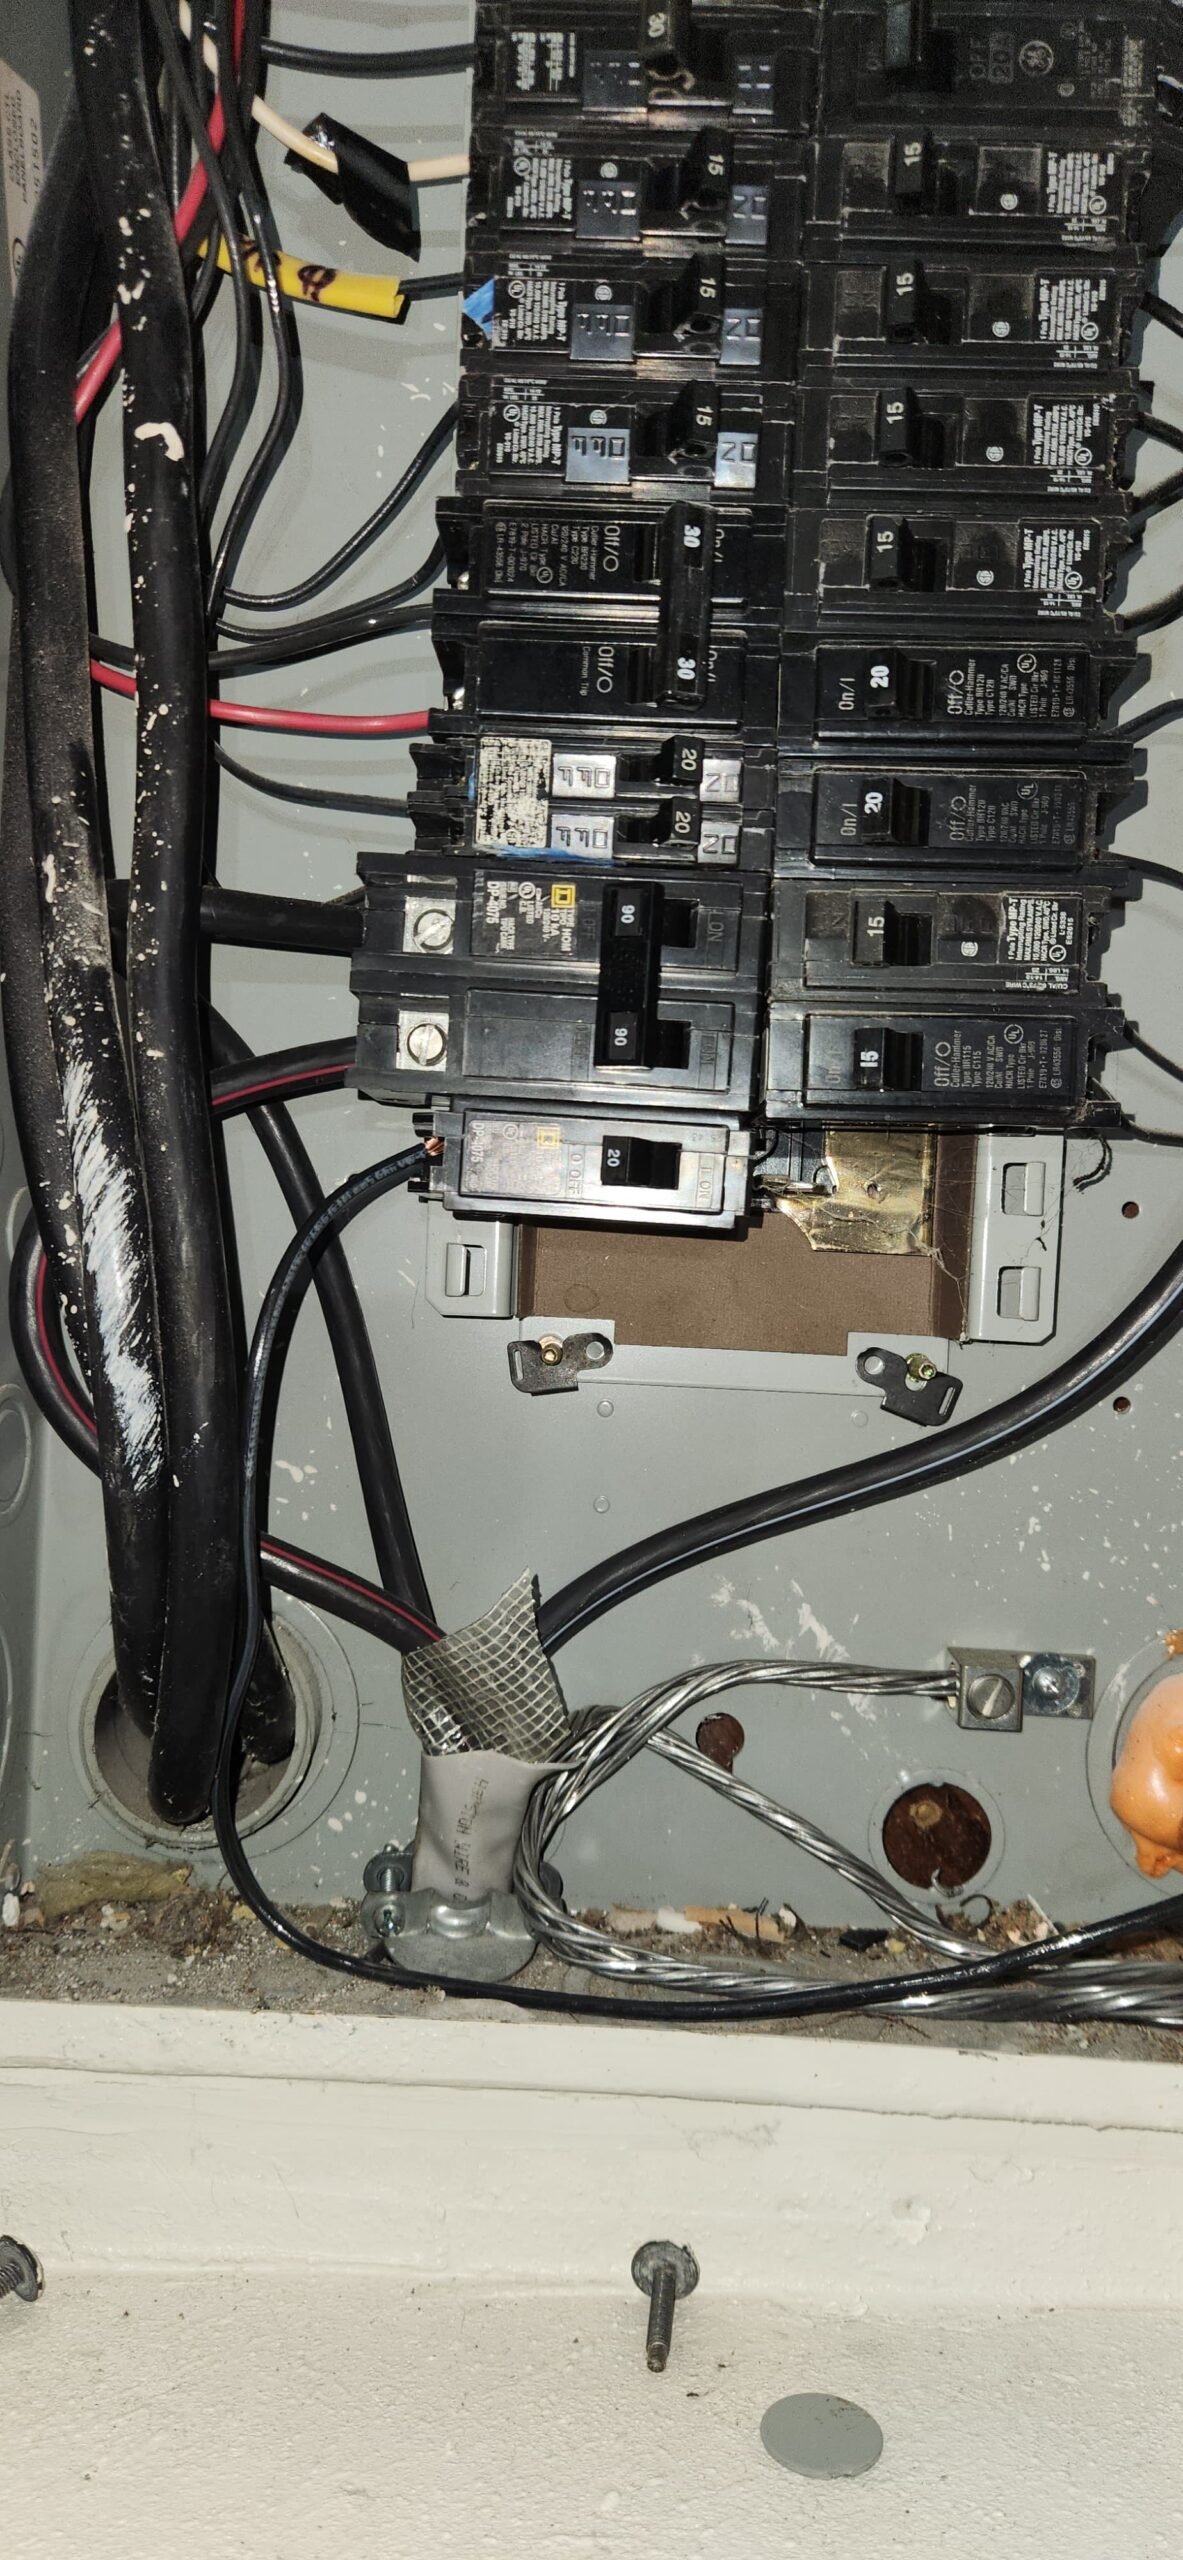
5. Electrical Circuit and Breaker
Because electrical connections were not part of the original equipment price, this project also included a separate task: installing new high-voltage wiring and a dedicated circuit breaker (up to 40 feet) to power the mini split safely.
Our technician:
- Ran new high-voltage wire from the main electrical panel to the outdoor disconnect serving the mini split.
- Installed a new dedicated breaker sized correctly for the equipment’s electrical requirements.
- Terminated connections securely and in line with standard electrical practices.
Having a dedicated circuit helps protect both the mini split and the rest of the home’s electrical system, and it’s a key part of a code-compliant, reliable installation.
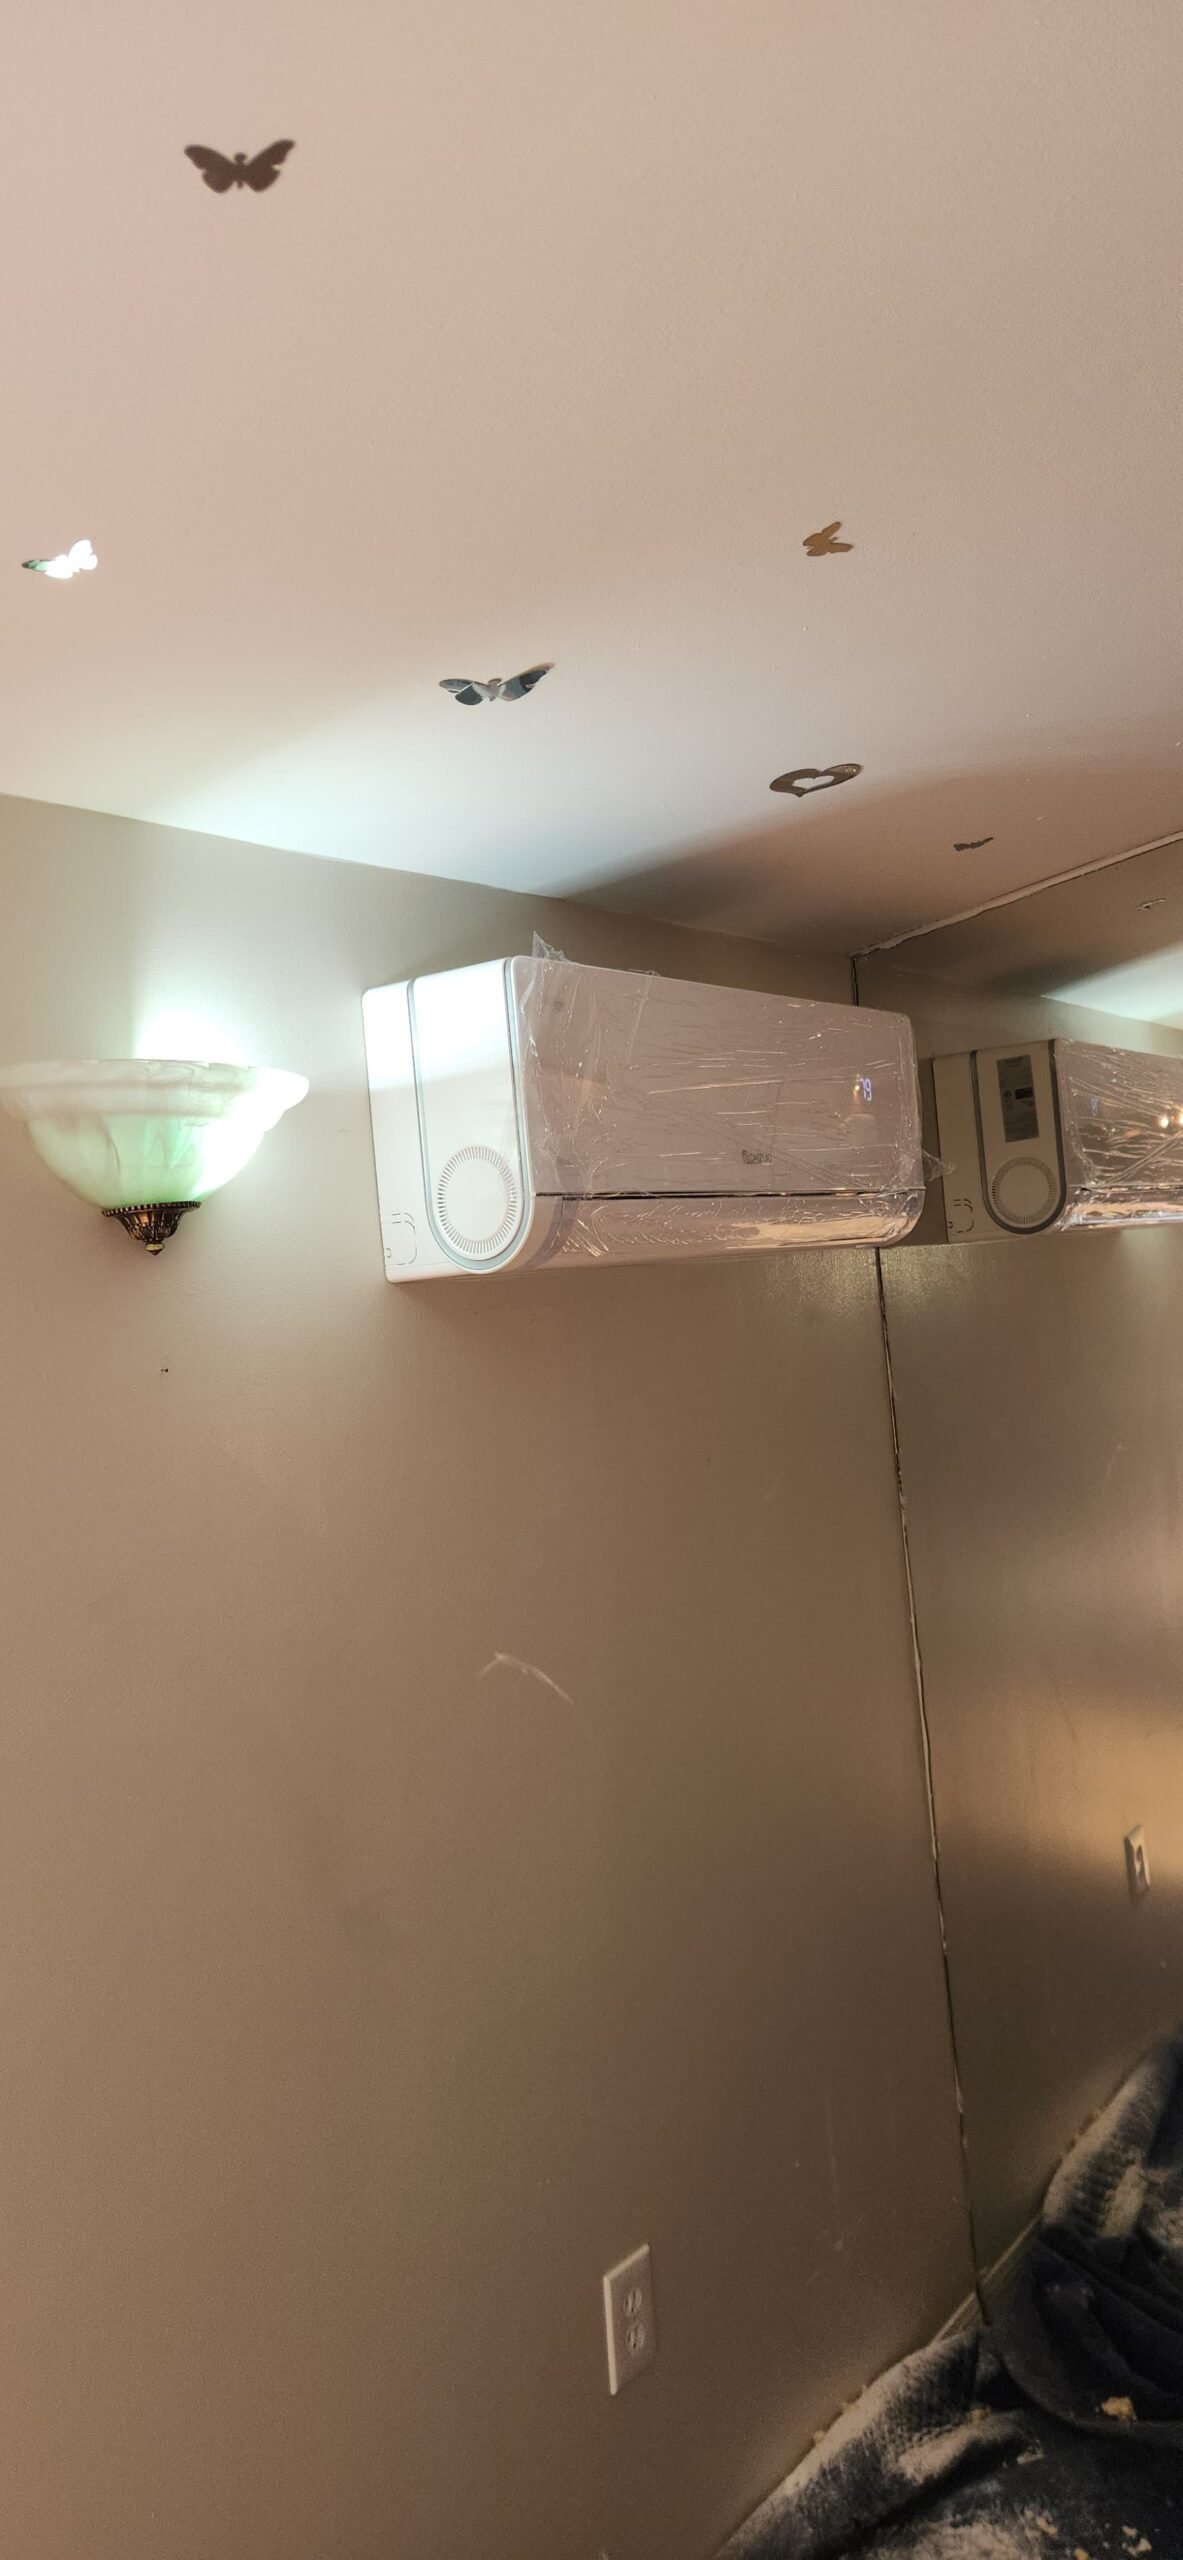
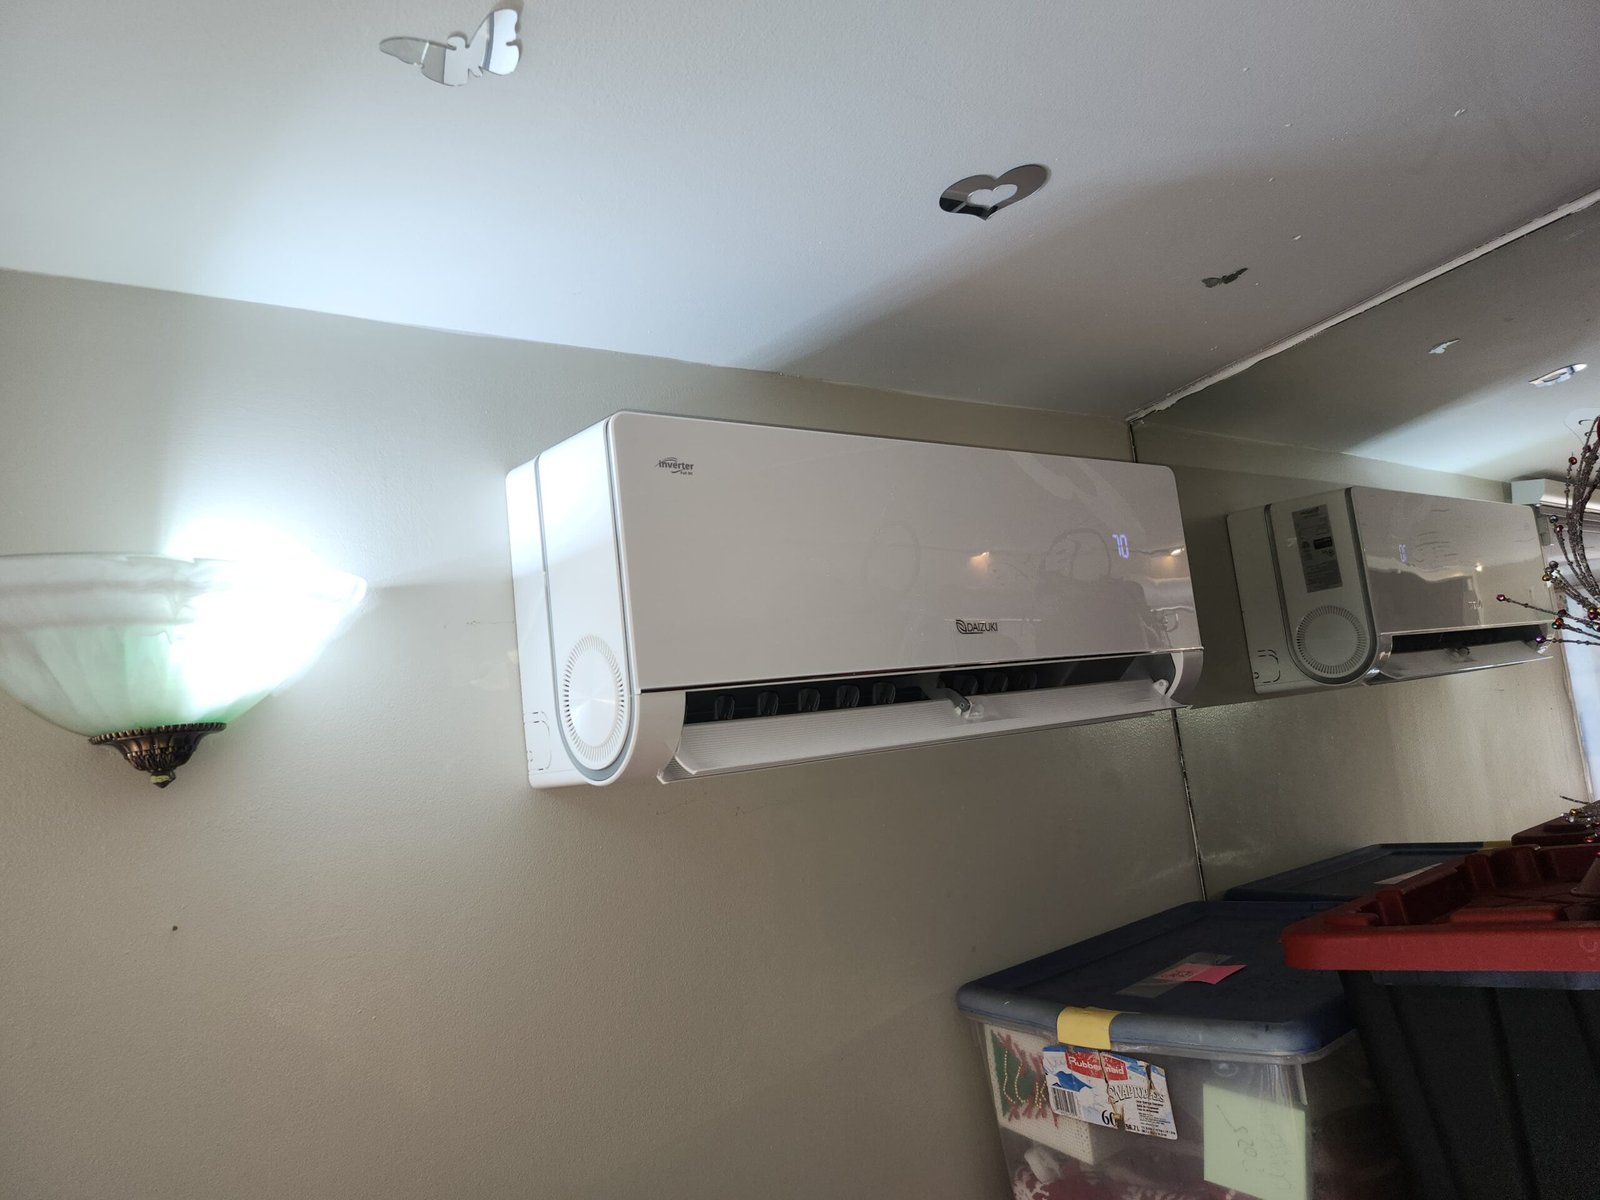
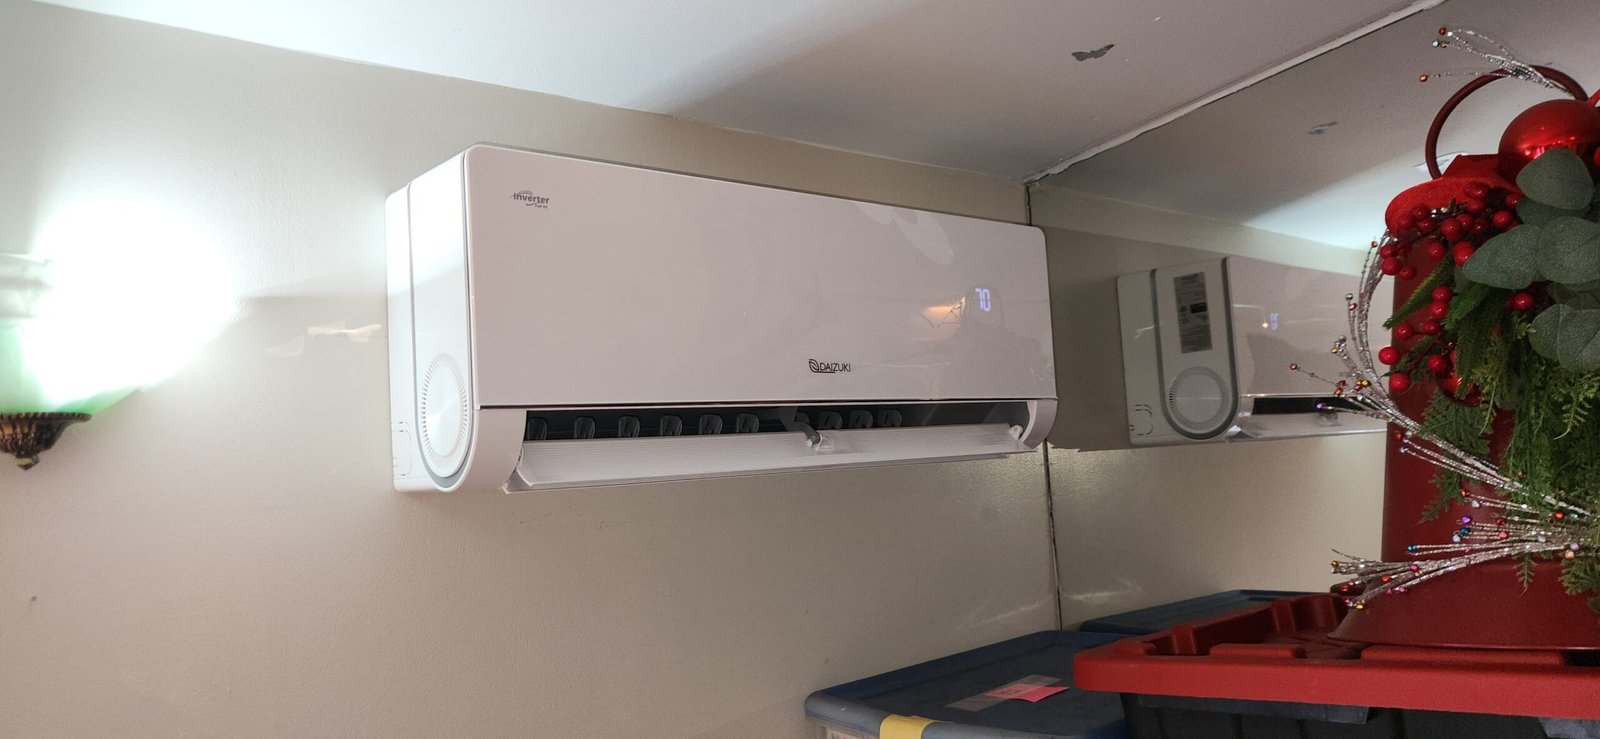
6. Mounting and Connecting the Indoor Unit
Inside the bedroom, we mounted the indoor air handler on the chosen wall, making sure it was level and at the right height for good air distribution. We then connected the refrigerant lines, communication cable, and drain line through the wall penetration to the outdoor unit and drain outlet.
We sealed around the wall opening to avoid air leaks and pest intrusion and verified that the indoor unit had sufficient clearance from the ceiling and adjacent walls.
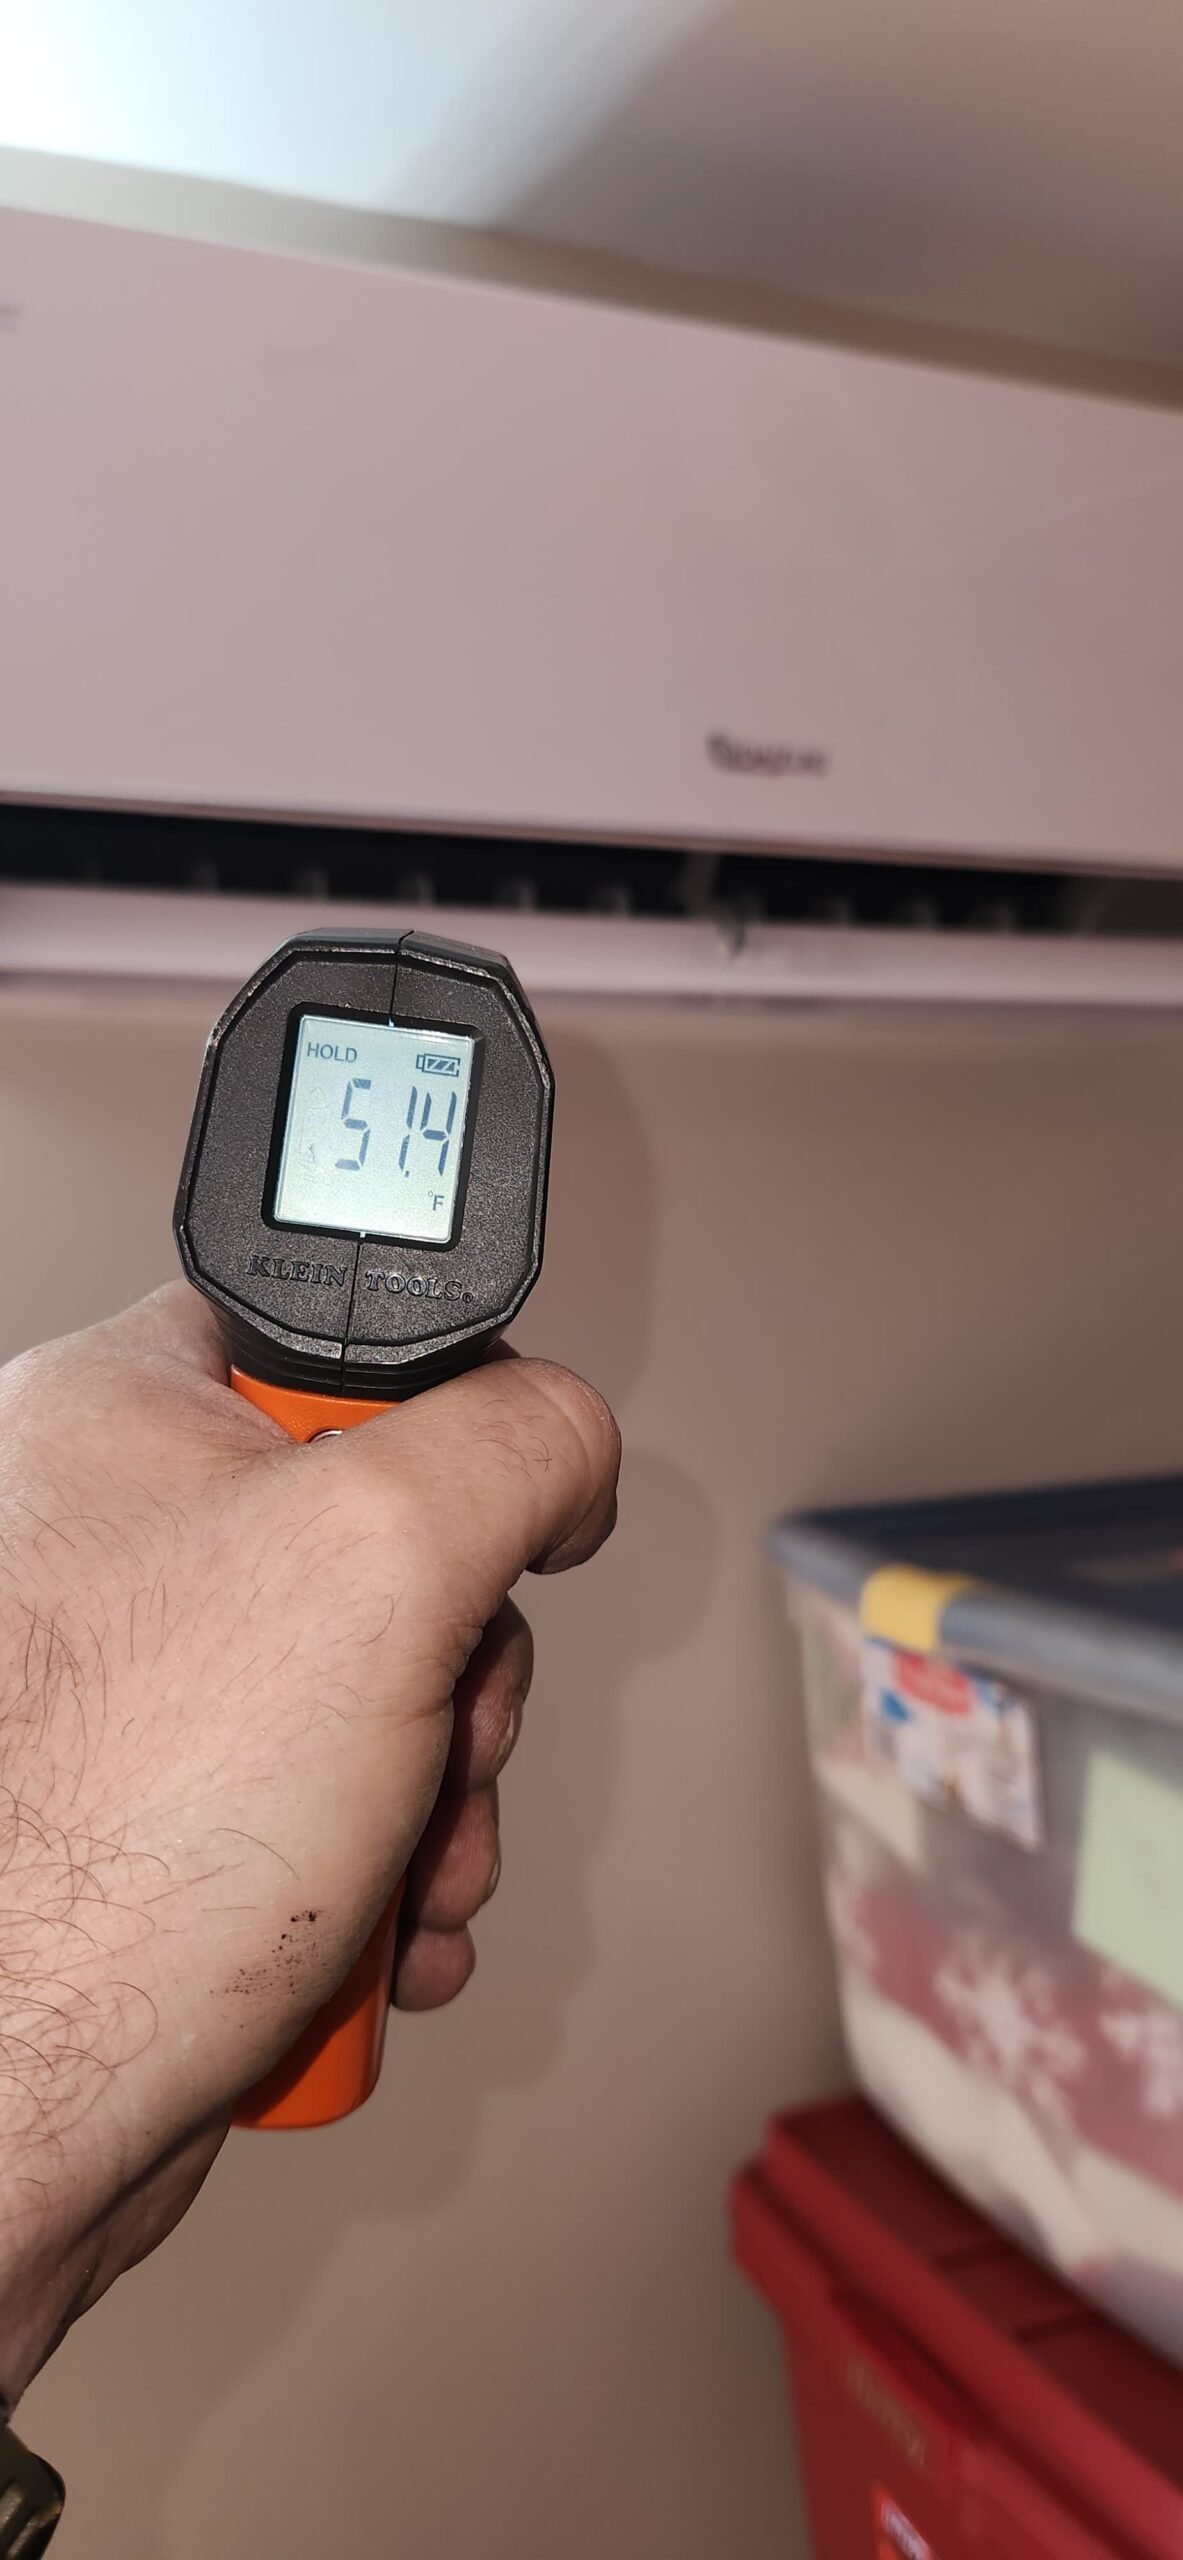
7. System Start-Up and Testing
After all mechanical, refrigerant, and electrical connections were complete, we performed a controlled startup. While we do not list specific numbers here, our standard process includes:
- Checking for refrigerant line leaks.
- Verifying proper electrical operation and breaker function.
- Confirming that the indoor and outdoor units are communicating correctly.
- Ensuring the drain line is flowing and not backing up.
- Running the system through cooling and heating modes to confirm smooth operation.
We also reopened the bedroom grille that had been closed so that air in the room could circulate as intended. With the mini split operating and the grille open, the homeowner has more stable, even comfort.
8. Wi-Fi Setup and Homeowner Education
Because this system includes Wi-Fi connectivity, we assisted the homeowner with the basic setup process so they could monitor and adjust settings from their phone. We walked through:
- Switching modes (cooling, heating, fan, dehumidification).
- Adjusting fan speeds and temperature settings.
- Using scheduling features if available.
- Understanding filter cleaning and general maintenance reminders.
We also reviewed the warranty terms: 2 years on parts, 5 years on the compressor (manufacturer), and 1 year of labor coverage from Home Therapist, along with what is and is not covered, such as maintenance items, small electrical parts, and damage from natural events or outside work on the system.
Why This Fix Works
A properly installed ductless mini split is all about three core principles: correct capacity, reliable electrical supply, and clean refrigerant and drainage paths.
Capacity and airflow: A 1-ton ductless unit is a common size for a single bedroom or similar room when properly matched to the space. By locating the indoor unit on the right wall and ensuring the room’s grille was open, we helped the system circulate air more evenly and quietly.
Electrical reliability: A dedicated circuit and correctly sized breaker give the heat pump a stable power source. This reduces nuisance trips and helps protect the electronics inside the inverter system, which are sensitive to poor power quality.
Refrigerant and drainage: New copper line sets, correctly installed, help minimize the risk of leaks and performance loss. A well-installed PVC drain line with a proper slope lets condensate flow away, which is crucial in humid places like St. Petersburg, FL 33710.
When these pieces come together, you get efficient operation, reduced noise, and better long-term reliability from your ductless system.
Pro Tips for Homeowners in St. Petersburg
For homeowners in St. Petersburg and throughout Tampa Bay, ductless mini splits can be a great way to manage hot, humid weather and mild winters. Here are a few practical tips to keep a system like this running smoothly:
- Keep filters clean: Ductless indoor units typically have washable filters that need regular cleaning. In our climate, checking them monthly is a good habit. Clean filters help maintain airflow and efficiency.
- Don’t block the indoor unit: Avoid tall furniture, curtains, or shelves directly in front of the mini split. The more open the path for air to move, the more evenly the room will cool and heat.
- Watch the outdoor unit area: Keep plants, debris, and outdoor items at least a couple of feet away from the condenser. Good airflow around the outdoor unit is just as important as airflow inside.
- Use dehumidification mode when needed: On mild but humid days in St. Petersburg, using a dry or dehumidify mode (if your system offers it) can make the room feel more comfortable without overcooling.
- Schedule routine maintenance: Even though ductless systems are efficient, they still need periodic professional attention to clean coils, check electrical connections, and verify refrigerant performance. A maintenance plan makes this easier to keep on track.
- Avoid DIY refrigerant or electrical work: Modern inverter systems are sensitive. Let a licensed HVAC technician handle internal electrical or refrigerant-related work to protect your investment and keep warranties intact.
FAQ: Ductless Mini Split Installation in St. Petersburg, FL 33710
How long does a typical ductless mini split installation take?
Most single-zone ductless mini split installations, like this 1-ton system in St. Petersburg, FL 33710, can be completed in a day once electrical and placement details are planned. More complex layouts or additional zones can take longer, but we always communicate the expected timeline clearly before starting.
Why do I need a dedicated electrical circuit for my mini split?
A dedicated circuit helps ensure your ductless system receives stable power without competing with other major appliances. This protects the equipment and reduces the likelihood of tripping breakers or causing electrical issues elsewhere in the home.
What is included in the line set and drain installation?
For this project, we installed a new copper line set (up to 30 feet), a new PVC drain line, and new communication cables, all protected by a plastic line cover. These components allow the indoor and outdoor units to exchange refrigerant, drain condensate, and communicate reliably.
What does the labor warranty cover?
The 1-year labor warranty from Home Therapist begins on the installation date and covers labor for issues related to our installation work during that period. It does not cover maintenance-related issues such as dirty filters, clogged drain lines, or problems caused by other companies or outside events, in line with the terms we review with each homeowner.
Can I control my mini split from my phone?
Yes. This system includes Wi-Fi connectivity, which allows the homeowner to adjust temperature and modes from a compatible smart device once the app is set up. We assist with basic setup during installation so you can start using those features right away.
Do I still need maintenance if the system is new?
Yes. Even new ductless systems benefit from regular maintenance. Cleaning coils, checking electrical connections, and confirming proper drainage all help extend system life and keep it efficient. That’s why this homeowner chose a Premium Therapy Plan for ongoing care.
Why Choose Home Therapist for Mini Split Installation
For homeowners in St. Petersburg, FL 33710 and across Tampa Bay, our goal is simple: install and service HVAC systems as if we were working in our own homes. That means paying attention to the small details that affect comfort every day.
Licensed, professional technicians: Our team is trained on modern ductless, inverter, and heat pump systems. We follow manufacturer guidance and industry best practices for installation, electrical work, and start-up procedures.
Transparent communication: We explain what we are doing, why we are doing it, and what is included in your warranty. If additional work is needed beyond the agreed scope (such as longer line sets or more complex electrical runs), we discuss it with you before proceeding.
Clean, respectful work: We treat your home with care—protecting work areas as needed, securing line sets and drain lines neatly, and cleaning up after the job is done. Our goal is for you to enjoy the comfort upgrade without feeling like your home was a jobsite.
Focus on long-term reliability: Choosing a quality mini split is just the first step. A careful installation, proper electrical supply, and ongoing maintenance are what help that system last. We offer options like our Therapy Maintenance Plans to support you after installation.
Committed to Tampa Bay homeowners: As a local company, we understand the heat, humidity, and salt air that systems face in St. Petersburg and the surrounding Tampa Bay area. We size, install, and maintain equipment with our specific climate in mind.
If you’d like to see more of what we do, you can connect with us on social media and through independent review and directory sites:
- Follow us on Facebook for project updates and homeowner tips.
- See behind-the-scenes installs and maintenance on Instagram.
- Watch educational videos on our YouTube channel.
You can also check independent profiles and reviews here:
- Our listing with the Better Business Bureau.
- Our Google business profile and map location.
- Our membership with the Tampa Bay Chamber of Commerce.
Ready for Targeted Room Comfort in St. Petersburg, FL 33710?
If you have a bedroom, office, or bonus room that never quite feels comfortable, a ductless mini split with a dedicated electrical circuit might be the right solution. Our local Tampa Bay technicians install, maintain, and support systems for homeowners throughout St. Petersburg, FL 33710 with a focus on safety, cleanliness, and long-term performance.
To learn more about adding a ductless system to your home, visit our ductless mini split installation page. If you’re considering broader cooling upgrades, you can also explore our AC installation services and our AC maintenance options for Tampa Bay homeowners.
When you’re ready, schedule your visit with Home Therapist, and we’ll help you design a solution that keeps your space comfortable in every season.


