

HVAC Troubleshooting in Tampa: 5 Checks Before You Call
HVAC troubleshooting in Tampa should start with five safe checks: the thermostat, the breaker, the air filter, the outdoor unit, and the condensate drain. Most no-cool calls we run in Tampa trace back to one of these, and you can verify them in about ten minutes without tools. Below is exactly what to look at, and the point where you should stop and call a licensed tech.
Why diagnose before you call an HVAC tech?
A quick self-check tells you whether you are looking at a five-minute fix or a real repair. It also helps you describe the problem accurately when you do call, which speeds up the visit. The goal here is not to turn you into a technician. It is to rule out the simple causes so you are not paying for a service call to flip a breaker, and so you know when something genuinely needs a pro.
In Tampa Bay, where the AC runs nearly year-round and afternoon storms trip breakers, the simple causes are common. If these checks do not solve it, our diagnosis is always FREE, so there is zero risk in calling once you have looked. For a deeper symptom walkthrough, our AC troubleshooting step guide covers each issue in detail.
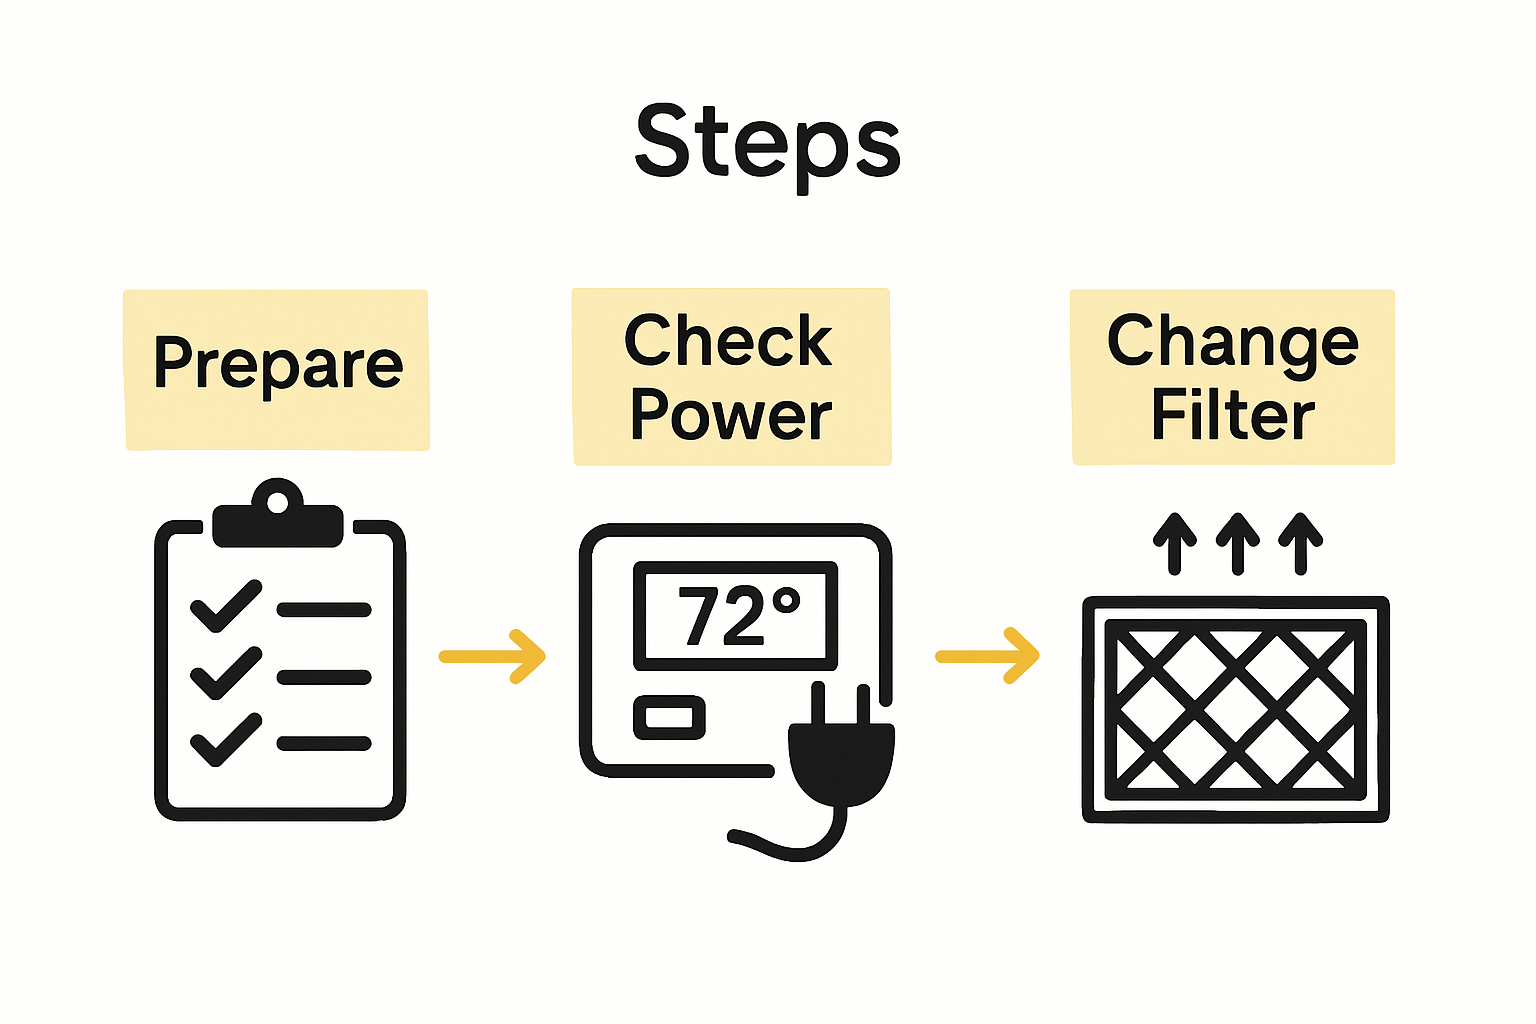
Check 1 and 2: Is it the thermostat or the power supply?
Start with the cheapest causes. Confirm the thermostat is set to Cool, the fan is on Auto, and the target temperature is a few degrees below the room reading. A blank or frozen display often just needs fresh batteries. A thermostat not working at all is one of the most common false alarms we get called for.
Next, check your electrical panel. Tampa storms and power flickers regularly trip the breaker feeding the air handler or condenser. If a breaker sits halfway, switch it fully off, wait 30 seconds, then back on. One reset is fine. If it trips again, stop. A breaker that keeps tripping points to an electrical fault that needs a licensed tech, not another reset.
Safety note: if you see scorch marks, smell burning, or notice melted wiring, leave it off and call (813) 343-2212 right away.
Check 3, 4, and 5: Airflow, the outdoor unit, and the drain
If power and settings are fine but the air is weak or warm, airflow is the usual culprit.
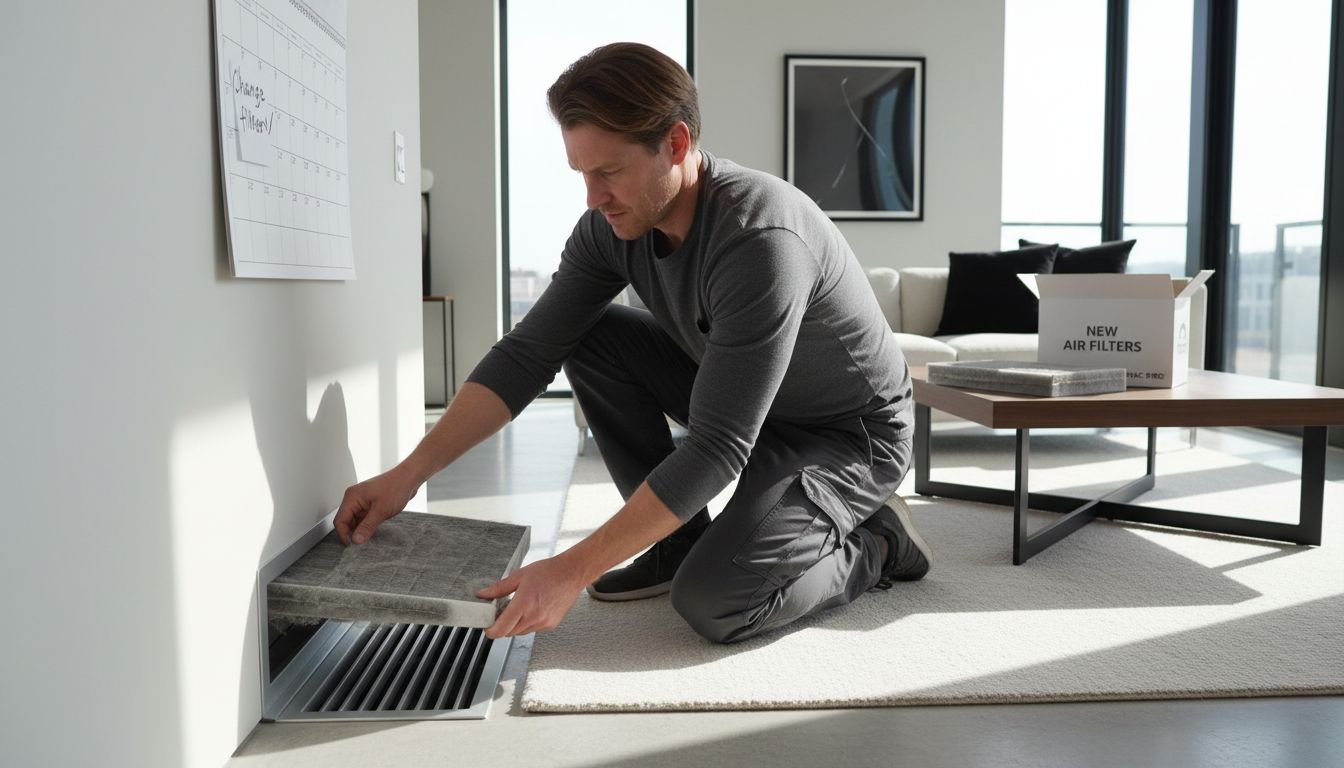
- Air filter: Pull it and hold it to the light. If you cannot see through it, replace it. ENERGY STAR recommends checking filters monthly and changing them on a regular schedule, and in dusty or pet homes that means more often. A clogged filter is the top cause of an AC that runs but barely cools.
- Outdoor condenser: Clear a two-foot perimeter of leaves, grass, and mulch. Blocked airflow at the outdoor unit chokes heat rejection on a hot day.
- Condensate drain: In Florida humidity the drain line clogs with algae and can trip a float switch that shuts the system off. A wet spot near the air handler is a tell.
For the outdoor side specifically, our condenser cleaning guide for Tampa Bay shows safe steps, and our filter replacement guide covers sizing and airflow direction.
DIY check vs call a pro: a quick decision table
Here is where the line sits between a homeowner fix and a licensed-tech job.
| Symptom | Safe to check yourself | Call a pro when |
|---|---|---|
| Blank thermostat | Replace batteries, confirm Cool/Auto | Still blank after fresh batteries |
| System off entirely | One breaker reset | Breaker trips again or smells hot |
| Runs but blows warm | Replace filter, clear outdoor unit | Air still warm after both fixes |
| Ice on lines or coil | Turn system off to thaw | Ice returns after a full thaw |
| Water near air handler | Note it, keep area clear | Pooling water or system shuts off |
Anything involving refrigerant, the compressor, capacitors, or wiring is a pro job. Those carry real safety and warranty risk. If your unit blows warm after the basics, our AC blowing hot air and AC freezing up pages explain the deeper causes, and an emergency AC repair visit is available 7 days a week.
Key takeaways
- HVAC troubleshooting in Tampa starts with five checks: thermostat, breaker, filter, outdoor unit, and condensate drain.
- Reset a tripped breaker once only. Repeated trips or burning smells mean stop and call.
- A clogged filter or blocked outdoor unit is the most common cause of an AC that runs but will not cool.
- Florida humidity clogs condensate drains, which can shut the system off through a float switch.
- Refrigerant, compressor, capacitor, and wiring issues are always pro jobs. Home Therapist diagnosis is FREE.
HVAC troubleshooting FAQs for Tampa homeowners
Sources: ENERGY STAR, ACCA.
When HVAC troubleshooting stops being a DIY job in Tampa
The steps above resolve most simple problems. Stop troubleshooting and call a tech when you smell electrical burning or sulfur, when the system trips the breaker repeatedly, or when refrigerant frost forms on the line outside. Those are safety and sealed-system issues that need a licensed CAC1819196 contractor, not a homeowner workaround.
Also call if the system is more than 15 years old and the problem keeps returning. At that point you are probably chasing a symptom of age, and a service call that includes a condition report tells you whether repair still makes sense or whether a replacement in Tampa is the smarter spend. FREE estimates and FREE diagnosis on every visit. Our 79 minimum labor applies only to approved repair work, never to the diagnostic trip. Reach us at (813) 343-2212.
My AC is running but not cooling. What should I check first?
Replace the air filter and clear two feet of space around the outdoor unit. A dirty filter and a blocked condenser are the two most common reasons a Tampa AC runs but blows warm. If the air stays warm after both, it likely needs a refrigerant or component check from a tech.
Why does my breaker keep tripping for the AC?
One trip after a storm is normal and a single reset is fine. Repeated trips signal an electrical fault, a failing capacitor, or a struggling compressor drawing too much current. Stop resetting it and schedule a FREE diagnosis to avoid damage or a fire risk.
Is there water near my air handler. Is that normal?
A small amount of condensation can be normal, but pooling water usually means a clogged condensate drain, which is common in Florida humidity. A float switch may shut the system off as a safety. Keep the area clear and have the drain cleared if it recurs.
Does Home Therapist charge to diagnose an HVAC problem?
No. Diagnosis and estimates are FREE. Our $279 minimum applies only to approved repair labor, never to the visit. Call (813) 343-2212 to book a Tampa Bay tech.
More Related Articles
- HVAC Retrofit in Tampa Bay: When to Upgrade vs Replace
- HVAC Indoor Air Quality Tampa: How Your System Affects the Air
- What Counts as an HVAC Emergency in Florida?
- Role of HVAC Technician: Responsibilities and Expertise
- Air Conditioner Installation Repair Tampa FL Bay FL Services Review from Bonnie Wakefield


