

AC Refrigerant Leak Repair in Hudson, FL 34669


When your air conditioner in Hudson, FL 34669 stops cooling and starts blowing warm air instead, it can feel pretty frustrating—especially when the system is only about a year old. A homeowner in Hudson called us because their ducted split system had just been repaired the week before, but now the AC was no longer cooling and was only pushing out heat.
On this visit, we found an active refrigerant leak at the condenser, right at one of the connections on the reversing valve. That leak was allowing R‑410A refrigerant to escape, which affects both cooling and heating performance. We walked the homeowner through a complete repair plan: recover the refrigerant, repair the leaking joint, replace the filter drier, flush and clean the refrigerant circuit, pressure‑test the system, pull a deep vacuum, and then recharge to proper levels.
By the time we were done, the system was sealed back up, cleaned internally, and ready to be recharged so it could get back to keeping the home comfortable in our Hudson, FL climate.
Case Recap
- Location: Single-family home in Hudson, FL 34669
- System: Approx. 1-year-old 5-ton ducted split system using R‑410A
- Main issue: AC not cooling; warm air from vents despite airflow
- Primary finding: Active refrigerant leak at a reversing valve connection on the condenser
- Service plan: Recover refrigerant, repair leak, replace filter drier, flush lines, pressure test, vacuum, and recharge
- Goal: Restore safe, reliable cooling and protect the compressor from debris and moisture
Customer Problem: AC Only Blowing Warm Air
The homeowner in Hudson explained that the air conditioner had been worked on recently, but now it wasn’t cooling at all. They reported:
- Airflow from the vents felt normal, but the air was warm instead of cool.
- The system seemed to run, but the temperature in the home was not dropping.
- They hadn’t noticed any water leaks or ice buildup on the equipment.
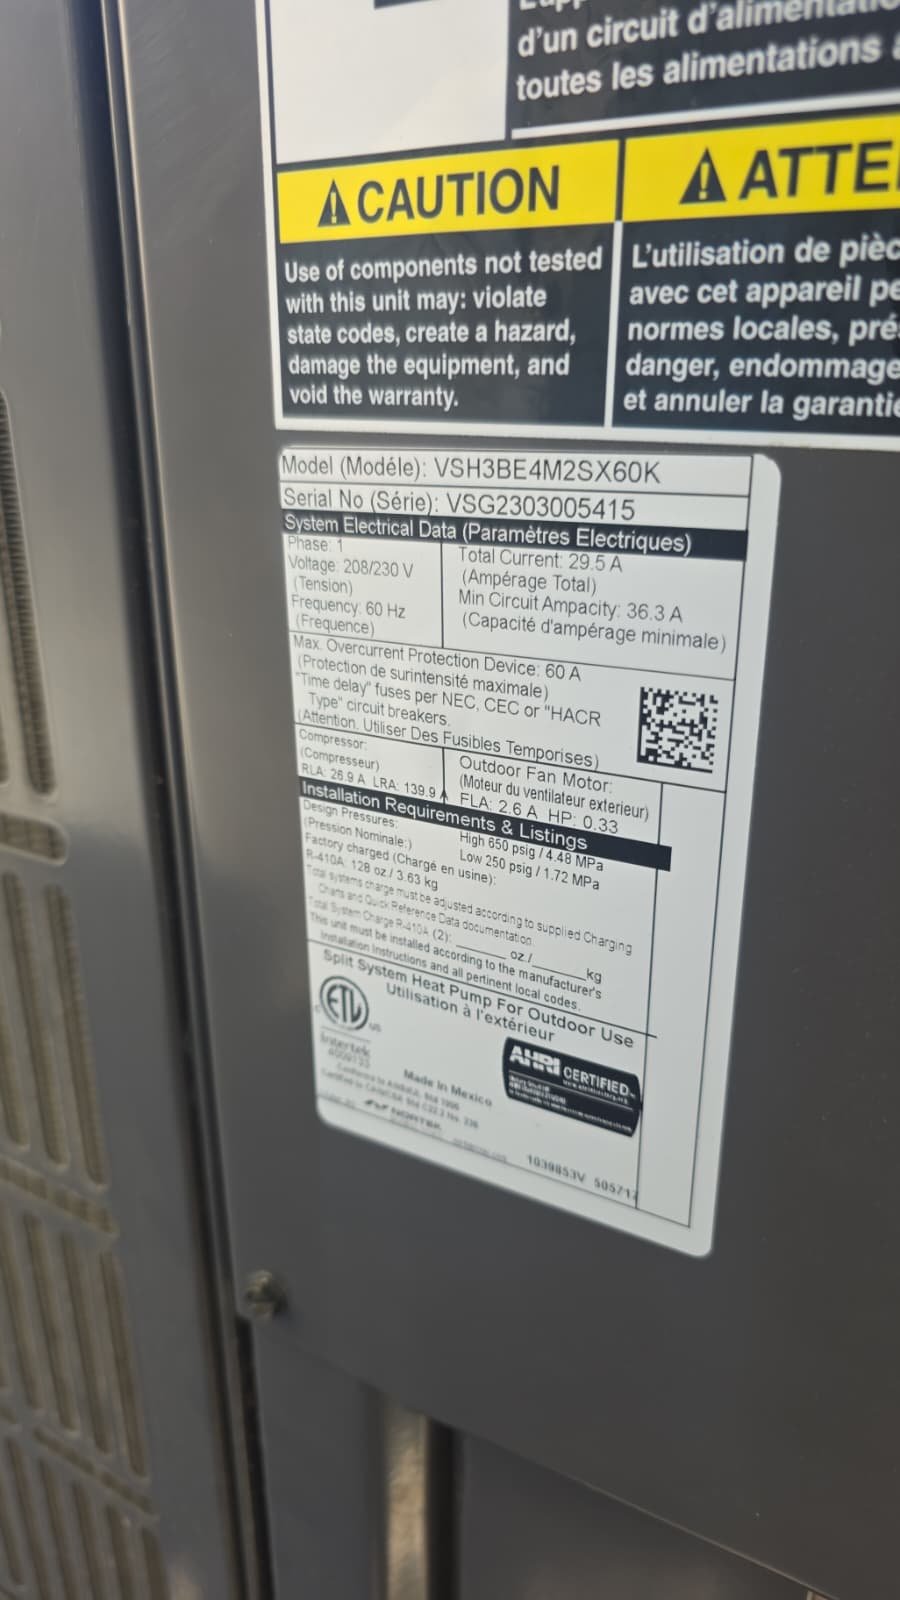
In our notes, we documented that the system is a ducted split heat pump system, about one year old, using R‑410A refrigerant and sized at 5 tons. With a relatively new system in a Hudson, FL home, we’re not normally looking for age-related wear; instead, we pay close attention to installation quality and any recent repair history.
Because the homeowner mentioned the unit had just been repaired the week before and was now only producing heat, our first suspicions were centered around:
- Refrigerant charge problems (undercharge or total loss from a leak)
- Issues at the outdoor unit’s reversing valve connections
- Potential contamination or restrictions in the refrigerant circuit
All of these can cause poor or no cooling, even when you still feel air moving through the vents.
Inspection and Diagnosis in Hudson, FL 34669
Our next step was to perform a focused inspection of the outdoor condenser unit and the refrigerant circuit. On a relatively new system in Hudson, FL 34669 that suddenly loses cooling, the goal is to find the exact failure point—not just top off refrigerant and hope for the best.
Here’s what we looked at and why:
- Visual inspection of condenser and connections: We checked for oil staining, rubbed lines, and any obvious signs of prior brazing or repair. Oil marks often point to a refrigerant leak.
- Reversing valve and nearby joints: Because this is a heat pump system that can both heat and cool, the reversing valve is a critical component. Any poor joint at that valve can leak refrigerant.
- Electronic leak detection: We used an electronic leak detector around the flex line and reversing valve area to pinpoint active leaks.
The electronic leak detection confirmed what we suspected: there was an active refrigerant leak at one of the connections on the reversing valve. The rest of the system components appeared to be in good condition for a one-year-old system, which reinforced that this was a localized problem at the connection, not general wear and tear.
Importantly, because the leak was at a brazed connection on the reversing valve, we knew that any repair would involve heating that area—bringing a risk of introducing metal shavings, flux residue, or moisture into the refrigerant circuit if not handled carefully.
Repair and Service Process: Step-by-Step
Once we identified the refrigerant leak, we outlined a complete repair plan for the homeowner. We explained every step up front so they knew exactly what we would be doing and why it mattered for long-term reliability—not just a temporary fix.
1. Recovering the Existing Refrigerant
Before touching the leaking joint, we recovered all remaining R‑410A from the system. This is important because:
- It protects the environment by keeping refrigerant out of the air.
- It allows us to work safely on the open lines without pressure behind the leak.
- It sets the system up for a proper, measured recharge once repairs are complete.
In this case, the system had already lost refrigerant due to the leak, so a full recharge would be required after repairs.
2. Preparing and Repairing the Reversing Valve Connection
With the system safely recovered, we moved on to repairing the leaking joint at the condenser’s reversing valve. Our process included:
- Finding and confirming the leak point: We verified the exact location of the leak at the reversing valve connection.
- Cleaning the area: We cleaned the copper and fitting surfaces so that the new solder joint would bond properly.
- Brazing with appropriate filler: We soldered the joint using a silver-bearing alloy, ensuring a strong, sealed connection.
Because this repair involves open flame and heating of copper lines, there’s always a chance of introducing small metal particles or residue into the refrigerant circuit, which is why the follow-up steps are so important.
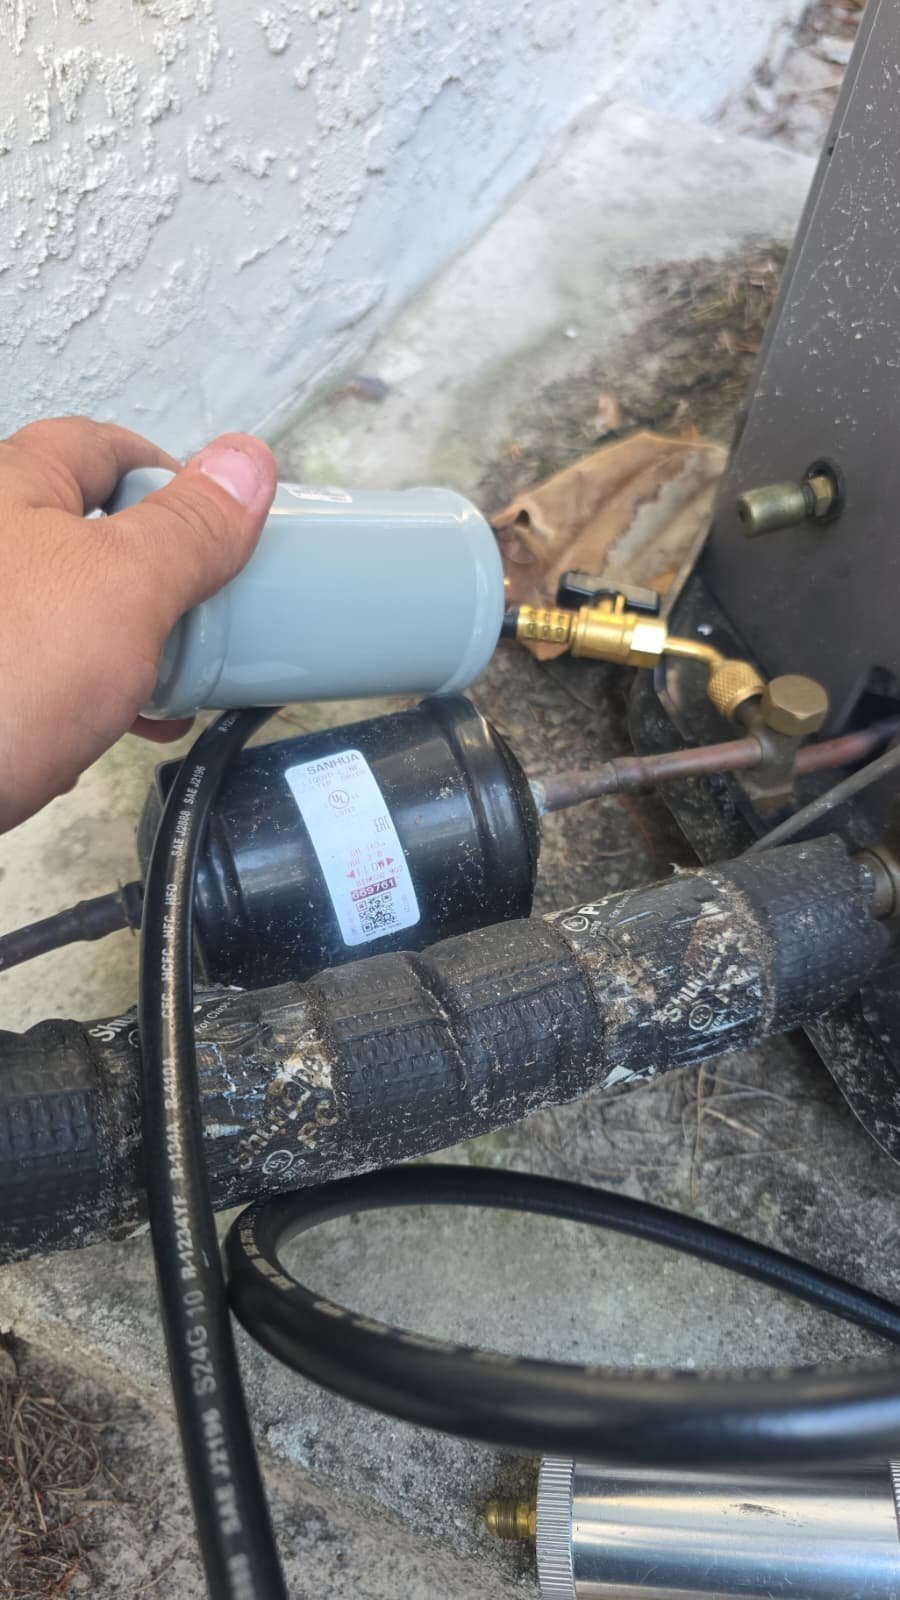
3. Replacing the Filter Drier and Flushing the Lines
Any time we open the refrigerant circuit—especially when brazing—we strongly recommend replacing the filter drier. The filter drier’s job is to trap:
- Metal shavings from cutting or brazing
- Moisture that may have entered while the system was open
- Debris or sludge circulating inside the lines
On this Hudson home’s system, we included a filter drier replacement and copper line flush in the estimate. The planned work involved:
- Pumping down and isolating refrigerant as needed for safe access
- Removing the old dryer filter and installing a new one
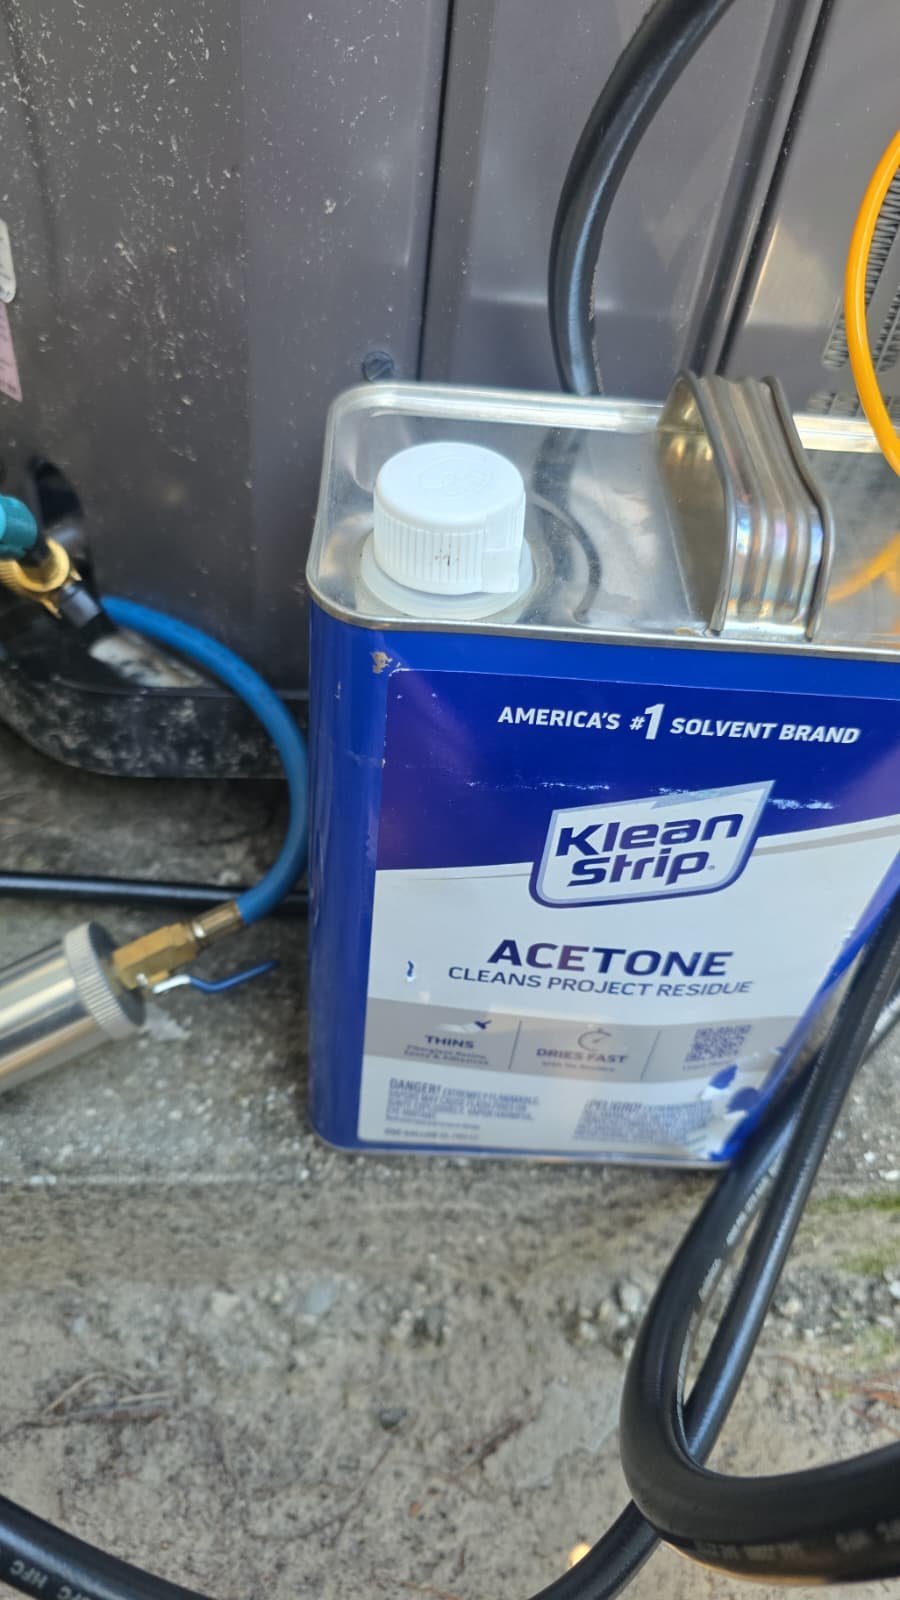
- Flushing the copper lines with appropriate flushing agents and nitrogen to help clear debris and restrictions
- Checking or cleaning the metering device (such as a piston) to reduce the risk of blockages
These steps are all about protecting the heart of the system—the compressor—so that small contaminants from one repair don’t turn into a much bigger failure down the road.
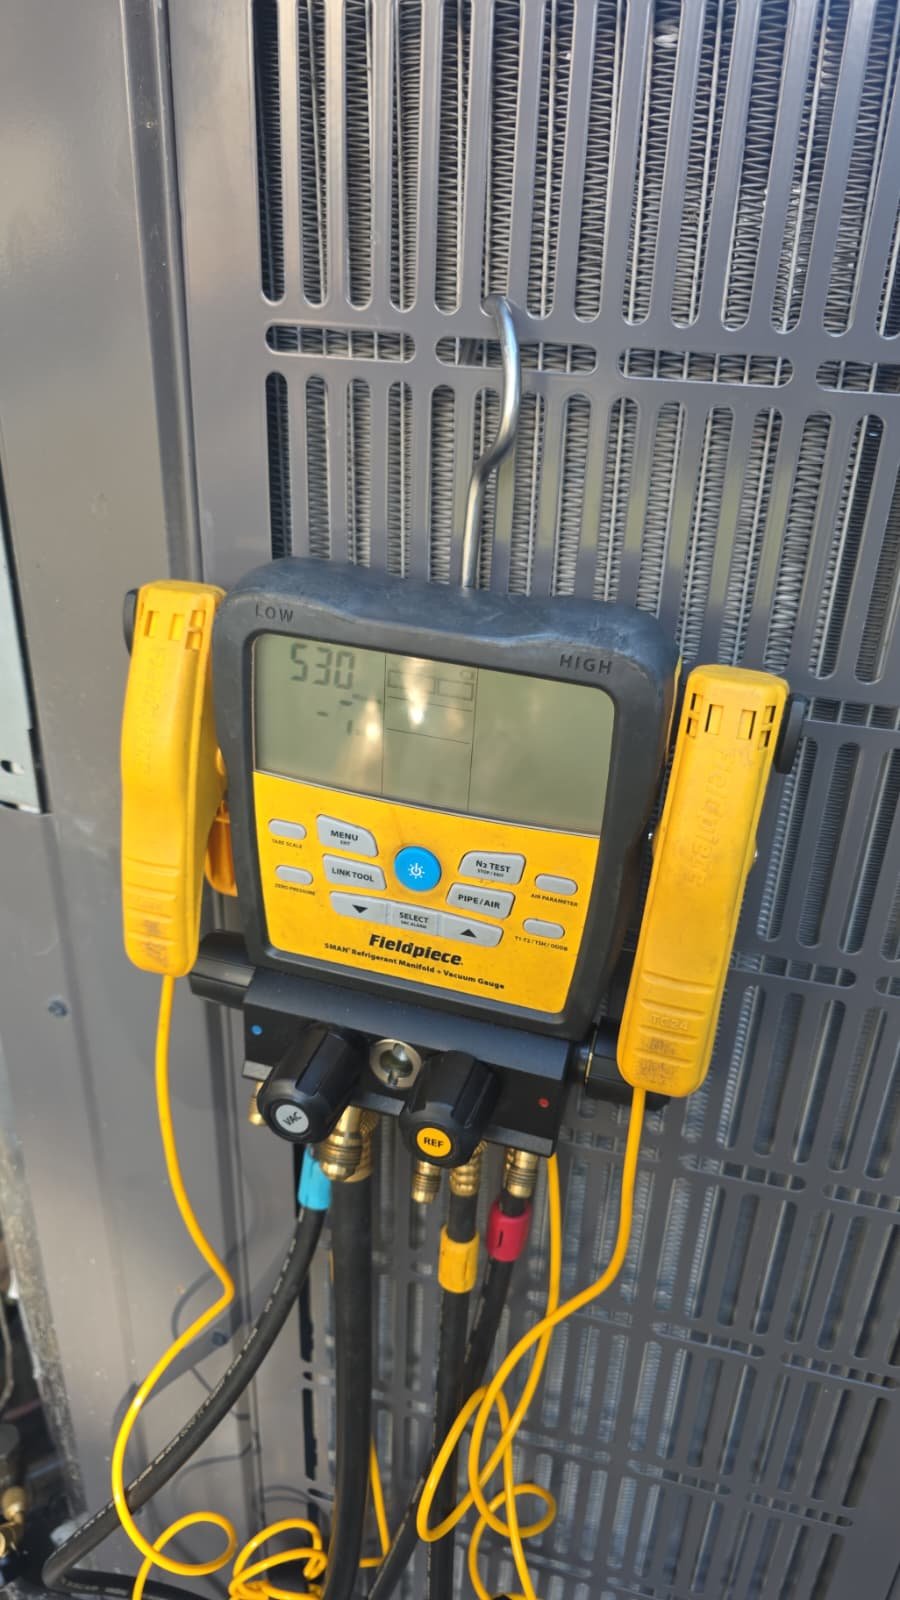
4. Nitrogen Pressure Test
After the repairs and component replacements, we pressurize the system with dry nitrogen. This allows us to:
- Verify that the newly repaired connection is fully sealed
- Confirm that no other leaks are present at the joints we’ve worked on
- Check overall system integrity before adding refrigerant back in
We always explain to homeowners that leak repair is a best-effort process. Fixing one confirmed leak does not guarantee that another small leak won’t appear later—either at the same joint or somewhere else in the system. What we can do is repair what we find, test thoroughly, and document all results clearly.
5. Deep Vacuum and System Evacuation
Once the nitrogen test confirms there are no active leaks at the repaired areas, we remove the nitrogen and pull a deep vacuum on the system. This step is critical because it:
- Removes air and non-condensable gases from the refrigerant circuit
- Helps boil off and remove moisture inside the lines
- Prepares the system for a fresh, clean refrigerant charge
A proper evacuation is one of the most important long-term reliability steps in any refrigerant repair, especially in a hot, humid area like Hudson, FL where moisture intrusion is a constant risk.
6. Refrigerant Recharge and Final Checks
With the system evacuated and verified, the last major step is to recharge the system with R‑410A to the manufacturer’s specifications. The estimate for this Hudson home clearly separated the cost of refrigerant itself, since the system needed a full charge after the repair.
As part of our standard process, after recharging we recommend:
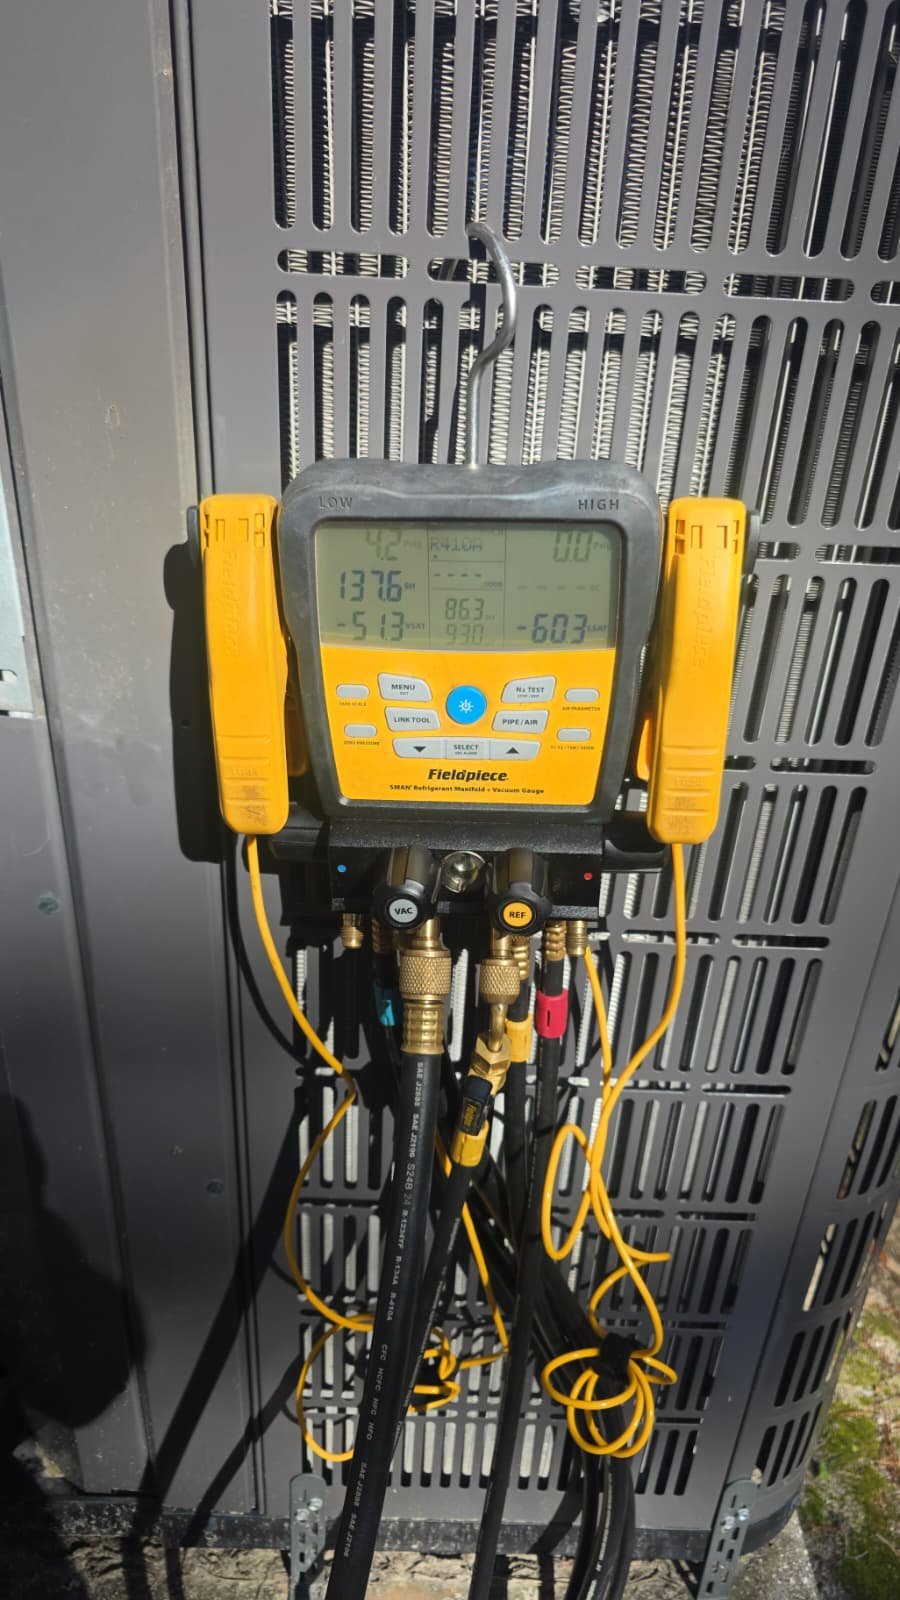
- Checking system pressures once the unit is running
- Verifying temperature split at the air handler
- Reviewing amperage draw on the compressor, blower, and outdoor fan motors
These checks help confirm that the system is operating as expected following the repair and recharge.
Why This Fix Works for Refrigerant Leaks
A heat pump or central AC system relies on a sealed refrigerant circuit. When that circuit develops a leak—especially at a critical point like the reversing valve connection—the system can’t maintain proper pressures. That leads to poor cooling, higher energy use, and in some cases, the system only heating instead of cooling.
The repair plan we used for this Hudson, FL 34669 home works because it addresses the problem at its source and protects against side effects:
- Sealing the leak: Brazing and sealing the reversing valve connection stops the refrigerant from escaping.
- Cleaning the refrigerant circuit: Flushing lines and replacing the filter drier help remove debris and moisture introduced during the repair or previous work.
- Verifying integrity: Nitrogen pressure testing and a deep vacuum confirm that the system is tight and dry before recharging.
- Restoring proper charge: Recharging with the correct amount of R‑410A allows the system to operate within its designed temperature and pressure range.
Done correctly, this approach restores both comfort and reliability, instead of just masking the symptom by adding more refrigerant to a leaking system.
Pro Tips for Homeowners in Hudson, FL
If you’re a homeowner in Hudson, FL dealing with cooling issues, here are some practical tips to help you stay ahead of refrigerant and performance problems:
- Don’t ignore warm air with normal airflow. If your AC is blowing but not cooling, that’s often an early sign of a refrigerant or valve issue, not just a thermostat glitch.
- Watch for repeat refrigerant top-offs. If you’ve been told you need refrigerant added more than once, especially more than 2–3 pounds, it’s time to investigate for leaks instead of just refilling.
- Schedule regular maintenance in Florida’s climate. Our heat and humidity put extra strain on systems. Annual maintenance can catch small issues before they become major leaks. You can learn more about maintenance timing in Florida on our AC service frequency guide.
- Keep your outdoor unit clear. Make sure the condenser has space around it so the technician can access valves and connections for proper inspections and repairs.
- Ask for clear, written estimates. For larger repairs like refrigerant leak work, ask for an itemized estimate that includes recovery, repair, drier replacement, flushing, and recharge so you know exactly what you’re paying for.
- Use licensed professionals for refrigerant work. Handling R‑410A requires proper tools and procedures. A licensed HVAC contractor familiar with Tampa Bay and Hudson conditions can help protect your system and warranty.
FAQ: Refrigerant Leak Repair in Hudson, FL 34669
Why was my AC only blowing warm air if the fan was still running?
When there’s a refrigerant leak or an issue at the reversing valve, your system may still move air through the vents, but it can’t absorb and remove heat properly. The result is normal airflow with warm or barely cool air instead of the strong cooling you expect.
Is it normal for a one-year-old system to have a refrigerant leak?
It’s not typical, but it can happen. On newer systems in Hudson, FL, leaks are often related to installation issues, stressed joints, or connections at components like the reversing valve rather than age-related wear. That’s why we focus on carefully inspecting those joints when a young system loses charge.
Why did you recommend replacing the filter drier?
Any time we open the refrigerant circuit—especially when brazing or soldering—we strongly recommend replacing the filter drier. It helps catch metal particles, moisture, and debris that can otherwise circulate through the system and potentially damage the compressor or block small passages.
Can you just add more refrigerant instead of repairing the leak?
We don’t recommend that approach. Simply adding more refrigerant to a leaking system is temporary and can get expensive. It also increases the risk of compressor damage over time. Locating and repairing leaks, followed by proper testing and recharging, is the right way to restore a system in Hudson, FL 34669.
Does fixing one leak guarantee there are no other leaks?
No. We can repair the leaks we find and verify the areas we work on with tests like nitrogen pressure checks. However, that doesn’t guarantee a different part of the system won’t develop a leak later. We’re always transparent about that and document what was found and repaired during each visit.
How do I know if I might have a refrigerant leak at my home?
Common signs include reduced cooling, warm air from vents, longer run times, ice on lines or the outdoor unit, or repeated needs for refrigerant top-offs. For more information on symptoms, you can read our article about signs of refrigerant leaks.
Why Choose Home Therapist for AC Repairs in Hudson, FL
At Home Therapist Cooling, Heating, and Plumbing, we approach every repair—especially refrigerant work—with a focus on long-term reliability and clear communication. For homeowners in Hudson, FL and across Tampa Bay, that means:
- Licensed, professional technicians: Our team is trained to handle complex repairs like reversing valve leaks, refrigerant recovery, and system recharging safely and correctly.
- Transparent estimates and explanations: We walk you through what we found, what we recommend, and why, so you understand every line on the estimate—no surprises.
- Clean, respectful work: We treat your home as if it were our own, keeping the work area tidy and minimizing disruption while we service your system.
- Focus on long-term performance: We’re not interested in quick, band-aid fixes. Our goal is a stable, efficient system that keeps your Hudson home comfortable season after season.
- Commitment to Tampa Bay homeowners: We live and work in this climate every day, so we understand what local systems go through and how to keep them running reliably.
If you’d like to see more of what we do around Tampa Bay, you can follow us on social platforms like Pinterest or connect with us on Reddit. For added peace of mind, you can also view our profiles on trusted sites such as the Better Business Bureau and the Tampa Bay Chamber of Commerce.
To explore more of our AC services and options, you can visit our pages on AC repairs, installs, and maintenance and our AC service options. We also offer AC maintenance and cleaning specials tailored to Tampa Bay homeowners.
Need AC Leak Repair in Hudson, FL 34669?
If your AC in Hudson, FL 34669 is blowing warm air, running nonstop, or you’ve been told you need refrigerant added more than once, it’s time to have the system properly checked for leaks. Our team at Home Therapist Cooling, Heating, and Plumbing can inspect your system, locate and repair leaks, replace critical components like filter driers, and recharge the system so it’s ready to handle Florida’s heat.
Reach out today to schedule an appointment with a local Tampa Bay technician serving Hudson. We’ll take the time to explain what we find, present clear repair options, and help you get your home back to a comfortable, cool temperature.


