

How to Replace HVAC Filters for Optimal Air Quality
Every Tampa Bay homeowner knows the humidity can make indoor air feel less than fresh, but replacing your HVAC filter is a simple step that brings immediate improvement. Keeping your system efficient depends on choosing the right tools and filters, especially when experts recommend MERV 13 or 14 ratings for capturing fine particles. This guide breaks down the process, so you can confidently tackle filter replacement and enjoy better indoor air quality throughout your home.
Table of Contents
- Step 1: Gather the Proper Tools and Replacement Filters
- Step 2: Locate and Access Your HVAC Filter Compartment
- Step 3: Remove the Old HVAC Filter Safely
- Step 4: Install the New Filter in the Correct Direction
- Step 5: Test System Performance and Check for Proper Fit
Quick Summary
| Key Point | Explanation |
|---|---|
| 1. Gather basic tools and correct filter | Ensure you have a flashlight, screwdriver, and the right replacement filter size and MERV rating ready before starting. |
| 2. Locate filter compartment accurately | Check your HVAC system’s owner’s manual to find the filter compartment, often located near the air handler or furnace. |
| 3. Remove the old filter carefully | Use gloves and a mask when removing the old filter to prevent dust and allergens from dispersing into your home. |
| 4. Install the new filter with correct airflow direction | Ensure the new filter’s airflow arrows are pointing toward the furnace or air handler for optimal performance. |
| 5. Test system performance after installation | Turn on your HVAC system and check for strong airflow and normal noise levels to verify proper filter installation. |
Step 1: Gather the Proper Tools and Replacement Filters
Before you start replacing your HVAC filter, you’ll need to assemble a few basic tools and grab the right replacement filter. This step takes just a few minutes, but getting it right keeps you from having to run back inside for something you forgot. The good news is you probably already have most of what you need in your garage or toolbox.
Start by gathering your tools. You don’t need anything fancy here. A flashlight or headlamp makes a huge difference, especially if your air handler is tucked into a closet, attic, or dark basement corner. Tampa Bay humidity means condensation can build up, and better lighting helps you see exactly what you’re working with. Keep an Allen wrench set handy in case you need to loosen any fasteners holding the old filter frame in place, though many residential systems simply slide filters in and out. A cordless drill isn’t essential for filter replacement, but it’s useful if you need to remove any mounting hardware quickly.
Here’s what to grab before you start:
- A flashlight or headlamp for visibility in dark spaces
- A simple screwdriver (Phillips or flathead, depending on your system)
- Your system’s owner’s manual or documentation
- A clean cloth or rag for wiping any dust or debris
- Your replacement filters
Now for the most important part: choosing the right replacement filter. Your HVAC system isn’t just any filter. The filter size must match your system exactly, and the MERV rating matters more than you might think. MERV stands for Minimum Efficiency Reporting Value, and it measures how effectively a filter captures particles. MERV 13 and 14 rated filters are specifically recommended for residential systems because they capture airborne particles in the 1 to 3 micrometer range, which includes dust, pollen, and other contaminants that affect your indoor air quality.
Before you buy filters, find your current filter dimensions. Look at the filter you’re replacing or check your system’s documentation for size information, typically listed as something like 16x25x1 or 20x20x1. These numbers represent the length, width, and depth in inches. Once you have that information, check your system’s specifications for the maximum MERV rating it can handle. This matters because higher MERV filters create more air resistance, and if your system isn’t designed for that pressure drop, your unit has to work harder, using more energy and potentially reducing airflow. For most Tampa Bay homes, MERV 11 to MERV 13 filters strike the right balance between filtration effectiveness and system efficiency.
Here’s how common MERV ratings affect HVAC performance and air quality impacts:
| MERV Rating | Particle Filtration | Energy Impact | Typical Residential Use |
|---|---|---|---|
| MERV 8 | Dust & pollen | Minimal | Basic air quality |
| MERV 11 | Allergens & mold | Low impact | Homes with pets/kids |
| MERV 13 | Fine particles | Slightly higher | Allergy relief/urban areas |
| MERV 14+ | Smoke & bacteria | Higher, may strain system | Specialized or medical use |
Grab filters before you start the replacement process, not during. Having them ready means you’re never without air filtering protection, which keeps dust and pollutants from circulating while you work.
If you’re uncertain about the right filter size or MERV rating for your specific system, professional air filter installation and replacement services can help you identify exactly what your unit needs. It’s a small step that prevents buying the wrong filters and wasting money.
Pro tip: Buy a pack of filters at once so you always have replacements ready. Most residential systems need filter changes every one to three months, depending on household dust, pets, and air quality in the Tampa Bay area.
Step 2: Locate and Access Your HVAC Filter Compartment
Now that you have your tools and replacement filters ready, the next step is finding where your filter actually lives. This sounds simple enough, but HVAC systems aren’t always laid out the same way, and you’ll want to know exactly where to look before you start opening panels.
Your filter compartment is typically located where the return air duct connects to your air handler or furnace unit. In most Tampa Bay homes, this means looking in your attic, basement, utility closet, or garage where your main HVAC equipment sits. The filter slides into a frame or slot right where air gets pulled back into the system before it gets heated or cooled. The exact location depends on how your system was installed, so don’t assume it’s in the most obvious spot.
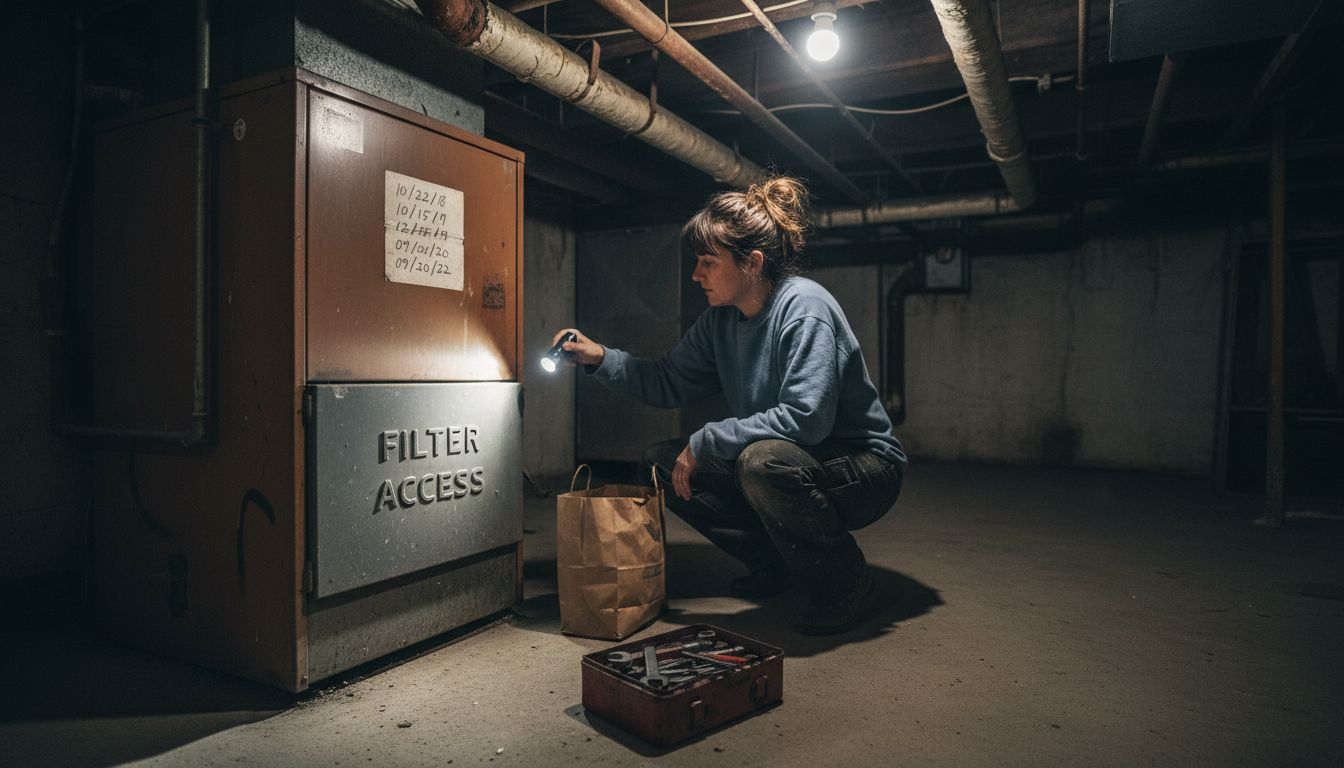
Start by finding your air handler or furnace. Walk around your home and look for the large metal box that’s part of your HVAC system. Once you’ve located it, look for a removable panel or door that covers the filter compartment. Most systems have a clearly labeled access panel, though some older units may not be as obvious. Check your system’s documentation or look for any labels or stickers that might indicate where the filter goes. If you can’t find documentation, take a photo of your equipment and look up the manufacturer online, or check the serial number plate attached to the unit.
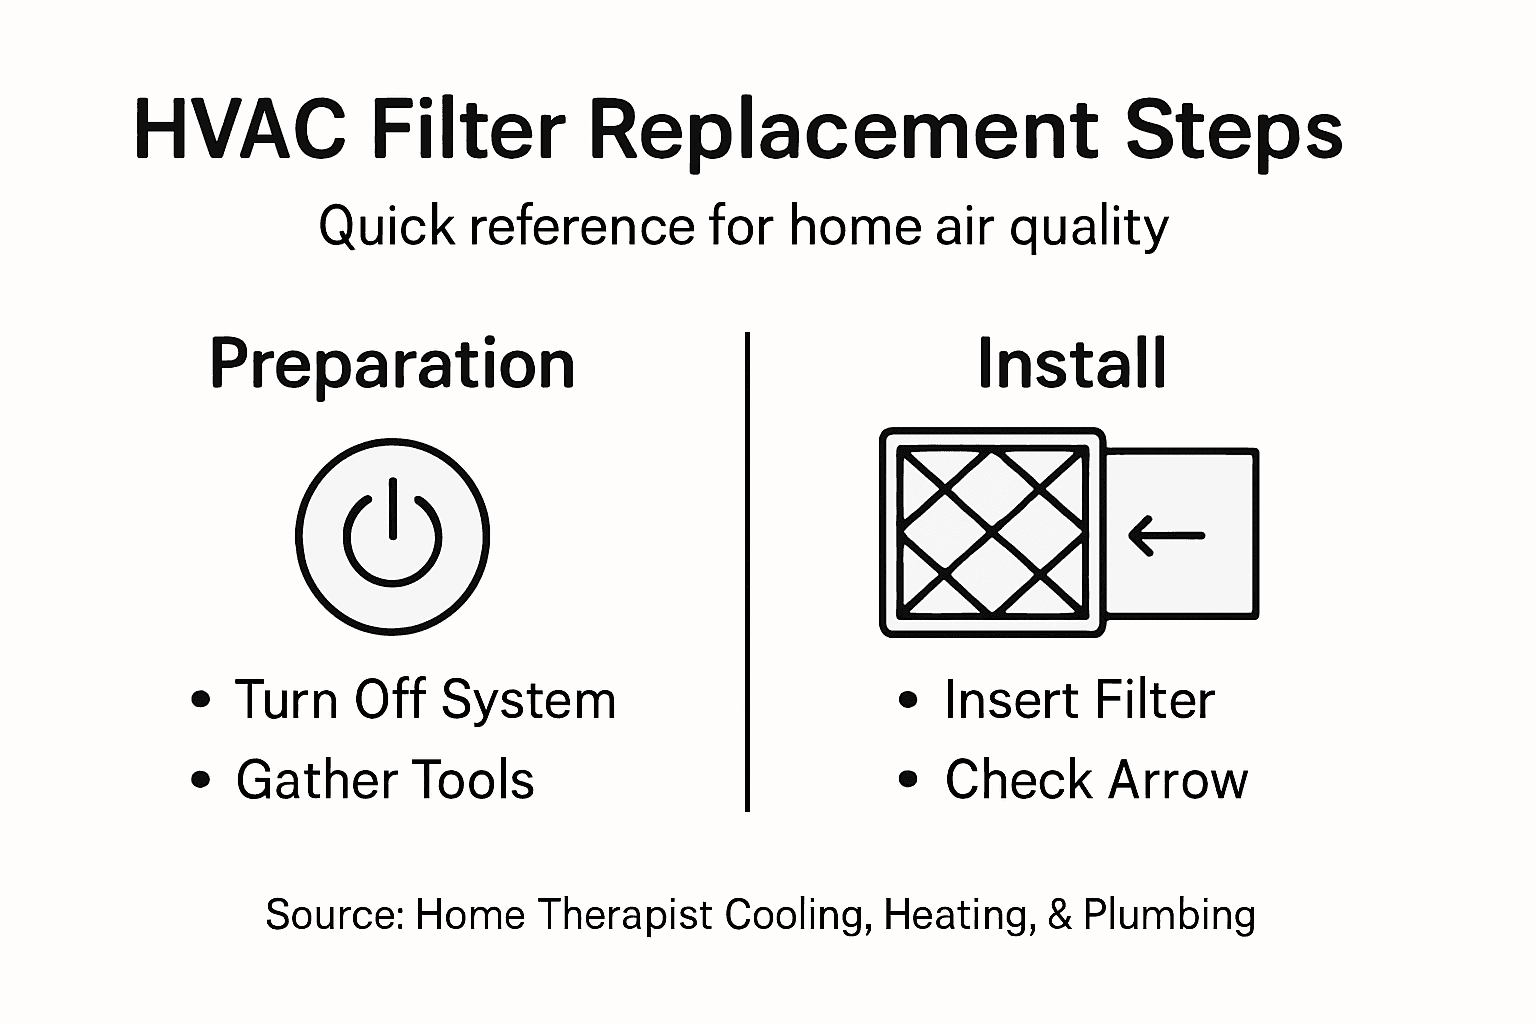
Before you open anything, here’s the critical part: turn off your HVAC system. This is a safety step that many homeowners skip, but it matters more than you think. Accessing filter housing safely requires switching off power to prevent hazards and to avoid disrupting your system while you work. Flip the switch on your thermostat or the furnace itself to the off position. Wait a minute or two for the system to fully power down.
Once the system is off, carefully open the filter compartment panel. Most panels slide out, unhinge, or unscrew with just a few fasteners. Take your time here and avoid forcing anything. If something feels stuck, stop and look more carefully before applying pressure. You’ll likely see dust buildup around the opening, which is completely normal. This is where your old filter has been doing its job, catching all the particles before they circulate through your home.
Here are the key locations to check:
- Attic installations – The air handler sits in the attic, with the filter compartment on the side or bottom
- Basement or utility room – The furnace sits vertically or horizontally, with the filter panel easily accessible
- Garage units – Equipment tucked along a garage wall with the filter compartment facing out
- Closet systems – Compact units with side-access filter doors in hallway or utility closets
Finding your filter compartment is straightforward once you locate your main equipment. Take time to understand your system’s layout before you start, and you’ll avoid confusion when you’re actually replacing the filter.
Once you have the panel open, you’ll see your current filter sitting in its frame or slot. Take note of which direction the arrows on the filter are pointing. Most filters have directional arrows printed on the side, showing the direction of airflow. This matters because you need to install the new filter with the arrows pointing in the same direction. The arrow typically points toward the furnace or air handler, showing which way air flows through the filter.
If you notice significant dust buildup around the compartment or any visible debris, use your clean cloth to wipe down the area before you install the new filter. This prevents dust from getting sucked into your system when you turn it back on.
Pro tip: Take a photo of your old filter still in place, showing the arrows and positioning, before you remove it. This gives you a clear reference for installing the new filter correctly, and you’ll never second-guess the proper direction.
Step 3: Remove the Old HVAC Filter Safely
With the system powered off and your filter compartment open, you’re ready to remove the old filter. This step is straightforward, but doing it correctly prevents dust from getting scattered throughout your home and protects your health. The old filter has been collecting dust, allergens, and particles for months, so handle it with care.
Before you touch the filter, put on gloves and a dust mask if you have them available. Wearing personal protective equipment like gloves and masks protects you against dust and allergens that have accumulated on the filter. You don’t need anything fancy here, just basic work gloves and a simple paper mask will do the job. This is especially important in Tampa Bay’s humid climate, where mold spores and pollen can build up on filters more quickly than in drier regions.
Now grab the old filter and pull it straight out toward you. Don’t wiggle it side to side or tilt it, as this can dislodge debris and send particles into the air. Pull steadily and deliberately. You might notice the filter feels heavy or compressed from all the dust it’s collected. That’s completely normal. Once it’s fully out, hold it carefully so the dusty side faces downward to minimize any particles falling into the compartment.
Take a moment to examine the old filter. You’ll likely see it’s discolored, caked with dust, and possibly darker than you expected. This shows your filter was doing its job, but it’s definitely time for a replacement. Safe filter removal requires careful handling to avoid dispersing captured particles into the air where you and your family breathe. If the filter looks unusually dirty, clogged, or shows signs of damage like tears or holes, this tells you that replacements might be needed more frequently than you originally thought.
Here’s what to watch for on the old filter:
- Excessive dust and dirt – Normal, shows the filter caught what it was supposed to
- Visible mold or discoloration – Indicates moisture buildup, which is common in Tampa Bay
- Tears or punctures – Means air was bypassing the filter, reducing efficiency
- Collapsed or compressed areas – Shows the filter reached the end of its lifespan
- Strong odor – Suggests microbial growth from humidity
Once you’ve pulled out the old filter, immediately place it in a trash bag or outside trash can. Don’t leave it sitting open in your home where dust can escape into your living spaces. Dispose of it according to your local guidelines, though most residential filters can go in regular household trash. Some communities have specific disposal instructions, so check with your local waste management if you’re unsure.
Now’s the perfect time to clean up the filter compartment. Look inside where the filter was sitting. You’ll probably see dust buildup along the edges and bottom of the compartment. Use your clean cloth or a slightly damp cloth to wipe away loose dust. Be gentle and avoid disturbing any insulation or electrical components inside the compartment. Getting this area clean means your new filter starts in the best possible environment.
Removing the old filter safely means handling it carefully to keep dust contained and protecting yourself with basic protective gear. Never force a filter out, and dispose of it immediately to prevent particles from circulating in your home.
Before you install the new filter, take another look at the compartment itself. Check that the frame or slot where the filter sits is clean and undamaged. If you see any gaps around the edges of where the filter sits, note that for later. Sometimes weatherstripping or gasket material can deteriorate over time, which reduces filtration efficiency. This is something a professional can address during routine maintenance, but knowing about it helps you understand your system better.
Pro tip: Mark your calendar for the next filter replacement date based on your system type and household conditions. Most Tampa Bay homes need replacements every one to three months, but if you have pets, allergies, or older equipment, check your filter monthly to avoid running it too long.
Step 4: Install the New Filter in the Correct Direction
Now comes the moment you’ve been preparing for. Your new filter is sitting ready, the old one is gone, and the compartment is clean. Installing the new filter correctly takes just a minute, but getting the direction right is what separates an effective replacement from one that wastes your money. This is where that photo you took earlier pays off.
Pull your new filter out of its packaging and hold it up to the light. You’ll immediately notice the arrow marking on the frame. This arrow is the single most important detail of this entire step. The arrow shows the direction air should flow through the filter, and it must point toward your furnace or air handler, not toward the return ductwork. Think of it this way: air comes in through the return ducts, flows through the filter in the direction the arrow points, and then gets heated or cooled before circulating through your home.
Look at your compartment and the slot where the filter sits. Position the new filter so that the arrow faces into the system, pointing toward the blower and air handler. If you’re installing a filter in an attic unit, the arrow typically points downward toward the furnace below. In a basement installation, it usually points toward the center of the unit. The exact direction depends on your system’s layout, which is why that photo of your old filter’s position was so useful. If you didn’t take a photo, look at any markings or arrows still visible in the compartment that might guide you.
Proper filter installation ensures efficient particulate capture and prevents air leaks that reduce your system’s effectiveness. When air bypasses the filter because it’s installed backward or doesn’t fit snugly, unfiltered air circulates through your home and your system has to work harder. This wastes energy and defeats the purpose of replacing the filter in the first place.
Slide the new filter into the compartment carefully. It should slide in smoothly without forcing. The filter frame should fit snugly into the slot or frame, sitting flush against all sides. If it doesn’t fit easily, stop and check the direction and orientation. You might have the filter rotated or positioned incorrectly. Filters are typically rectangular, so make sure you’re inserting them in the right orientation. Once it slides into position, give it a gentle push to ensure it sits fully in the compartment. You shouldn’t have gaps around the edges where air can bypass the filter.
Here’s a checklist to confirm proper installation:
- Arrow points toward the furnace or air handler – Never point it toward the return ductwork
- Filter fits snugly in the compartment – No gaps around the edges
- Filter slides in smoothly – No forcing or jamming required
- Filter sits flush – The frame is fully seated in the slot
- Panel closes properly – The access door or panel seals without resistance
Once the filter is installed, close your access panel or door. It should seal snugly without any gaps. If your panel has fasteners like screws or latches, secure them loosely at first. Make sure the panel is properly aligned, then tighten everything down. This seal is important because any air leaks around the panel mean unfiltered air gets into your system.
Getting the arrow direction right is non-negotiable. An incorrectly installed filter lets unfiltered air bypass your new filter, wasting both your investment and your energy dollars while reducing indoor air quality.
Before you turn the system back on, take a moment to visually inspect your work. Does the new filter look like it’s seated properly? Can you see any gaps or misalignment? Is the access panel fully closed and secure? If everything looks good, you’re ready for the final step. If something doesn’t feel right, open it back up and adjust. There’s no penalty for checking twice.
One thing to remember: your new filter is now doing the job the old one was doing, and it’s doing it well. Every time your HVAC system runs, air flows through this filter in the correct direction, capturing particles and improving your indoor air quality.
Pro tip: Write the installation date on your new filter frame with a permanent marker, right on the filter itself. This simple step helps you remember exactly when you installed it, making it much easier to track when the next replacement is due instead of trying to remember dates.
Step 5: Test System Performance and Check for Proper Fit
You’ve installed the new filter, closed the panel, and now it’s time to turn your system back on and verify everything is working correctly. Testing your system’s performance after filter replacement takes just a few minutes and confirms that your new filter is installed properly and your HVAC system is operating as it should. This step ensures your investment in a quality filter actually delivers the results you’re paying for.
Walk over to your thermostat and turn the system back on. Set it to your normal operating mode, whether that’s heating or cooling depending on the season. Listen carefully as the system powers up. You should hear the furnace or air handler engage smoothly, and then airflow should begin circulating through your home. This is a good sign that your filter is seated correctly and air is flowing properly. If you hear unusual noises, grinding sounds, or rattling, turn the system off immediately and check that your filter is installed correctly and the access panel is fully secured.
Now pay attention to the airflow throughout your home. Walk around and feel the air coming out of your vents. Does it feel strong and consistent? In rooms with multiple vents, does the airflow feel similar at each one? Strong, even airflow suggests your filter is installed correctly and your system is operating efficiently. If some vents feel weak while others feel strong, this might indicate an installation problem or an existing system imbalance that predates your filter replacement. Make a note of this to discuss with a professional if the problem persists.
Go back to your thermostat and observe how the system cycles. Testing system performance by measuring airflow after filter replacement confirms proper fit and efficient operation. A properly installed filter shouldn’t cause your system to work harder than usual or cycle on and off more frequently than it normally does. If your system seems to be running constantly or cycling rapidly, this could indicate that the filter is too restrictive for your system, though this is rare with standard residential filters in MERV 11 to 13 range.
Listen for how long the system runs before it cycles off. Most systems cycle for 15 to 30 minutes before shutting down, depending on your home’s insulation and outside temperature. If your system runs significantly longer than usual, or if it barely runs at all, something might be wrong. However, remember that Tampa Bay’s humidity and temperature variations can affect cycle times, so one unusual cycle isn’t necessarily a problem. Give the system a full 30 to 45 minutes of operation before drawing conclusions.
Here’s what to monitor during your initial system test:
- Airflow strength – Should feel strong and consistent at all vents
- Noise level – Should be normal operating sounds, no grinding or rattling
- Cycle time – Should match your system’s typical pattern
- System temperature – Heated or cooled air should reach appropriate temperatures
- No unusual odors – Should not smell like dust or burning
- Thermostat responsiveness – Your home should reach target temperature normally
After an hour or so of operation, go back to your filter compartment and take a quick look. Open the access panel carefully and visually inspect the edges of your new filter. Can you see any visible gaps where air might be leaking around the sides? Is there any dust visible around the frame? If everything looks tight and sealed, your filter is installed correctly. If you see gaps or dust accumulation around the edges, turn the system off and reseat the filter to ensure a proper fit.
Confirming proper fit prevents dust bypass and maintains your indoor air quality standards. A filter that doesn’t seal properly defeats its entire purpose because unfiltered air bypasses it completely. If you find gaps that won’t close no matter how you adjust the filter, check that you’re using the correct filter size for your system. Sometimes people accidentally buy filters that are slightly too small or too large, which causes fitting problems.
Use this quick guide to troubleshoot filter fit and installation issues:
| Issue Observed | Possible Cause | Recommended Action |
|---|---|---|
| Weak airflow | Wrong filter size or MERV | Recheck size; use correct MERV |
| Unusual noises | Loose panel/filter | Secure panel and filter |
| Dust near vent edges | Gaps around filter | Reseat or replace filter |
| System runs nonstop | Filter too restrictive | Select lower MERV rating |
Proper system performance after filter installation means smooth operation, consistent airflow, and normal cycle times. Any significant deviations from your system’s typical behavior warrant a closer inspection of your filter fit and positioning.
If everything checks out and your system is running normally with strong, consistent airflow throughout your home, congratulations. Your filter replacement is complete and your system is delivering clean, filtered air. Your indoor air quality is already improving, and you’ve extended the life of your HVAC equipment by keeping dust and particles out of critical components.
Pro tip: Check your return air vents throughout your home about a week after installation and look for dust accumulation. If you notice dust buildup around the vent edges or on nearby walls, this indicates air bypass around your filter, which means the filter isn’t seated properly and needs adjustment.
Keep Your Tampa Bay Home Comfortable with Expert HVAC Filter Service
Replacing HVAC filters correctly is crucial for maintaining your home’s air quality and your system’s efficiency. If you have ever struggled with finding the right filter size, understanding MERV ratings, or ensuring proper installation direction as explained in our guide “How to Replace HVAC Filters for Optimal Air Quality,” you are not alone. Dust, allergens, and pollutants can build up quickly in Tampa Bay’s humid climate and cause discomfort for your family or reduce your HVAC system’s performance. Avoid system strain and keep your indoor air fresh by getting professional help tailored to your unique needs.
Discover how our certified technicians at Home Therapist Cooling, Heating, and Plumbing can ensure your HVAC filters are installed correctly for optimal air quality and system reliability. Learn more about our expert solutions in the HVAC Archives or review real customer experiences in our Case Studies Archives. Don’t wait until poor air quality or system inefficiency affects your comfort, contact us today for trusted service that protects your home and family.
Frequently Asked Questions
How often should I replace my HVAC filters for optimal air quality?
Replacing your HVAC filters every one to three months is recommended to maintain optimal air quality. If you have pets or live in a dusty area, consider checking your filter monthly to ensure it remains effective.
What tools do I need to replace my HVAC filter?
To replace your HVAC filter, you typically need a flashlight, a screwdriver, and your replacement filter. Have a clean cloth handy for any dust cleanup before installing the new filter.
How do I know which size filter to buy for my HVAC system?
Check the dimensions printed on the existing filter or consult your HVAC system’s documentation to find the exact size you need. The filter size is often listed in inches, such as 16x25x1, to ensure a proper fit.
What is the importance of the MERV rating when choosing a filter?
The MERV (Minimum Efficiency Reporting Value) rating indicates how effectively a filter captures airborne particles. For most residential systems, a MERV rating between 11 and 13 is ideal, balancing filtration effectiveness with energy efficiency.
How can I ensure I’m installing the new filter correctly?
Make sure the directional arrow on the new filter points toward your furnace or air handler to ensure proper airflow. Install the filter snugly in the compartment and check for any gaps that might allow air to bypass the filter.
What should I do if my HVAC system shows unusual noises after replacing the filter?
If you hear unusual noises after replacing the filter, turn off your system immediately and check that the filter is installed correctly and the access panel is secured. Ensure the filter fits snugly without any gaps, as loose components can cause noise.
About This Guide
Written and reviewed by the Home Therapist Cooling, Heating & Plumbing team, a family-owned Tampa Bay HVAC and plumbing company serving the area since 2011. Our licensed techs hold Florida HVAC license CAC1819196 and Plumbing license CFC1431159, with over 1,100 five-star reviews across Tampa, St. Petersburg, Clearwater, Wesley Chapel, Lutz, Riverview, Brandon, Valrico, Apollo Beach, Palm Harbor, Land O’ Lakes, Plant City, New Port Richey, and surrounding Tampa Bay zip codes.
Honest pricing: labor minimum. Upfront quotes, no high-pressure sales, no surprise fees.
Questions about your home? Call (813) 343-2212 for a real tech, or request a callback. Available 7 days a week including evenings and weekends for emergencies.
Recommended
- Complete Guide to HVAC’s Role in Air Quality – Home Therapist Cooling, Heating, and Plumbing
- Complete Guide to HVAC’s Role in Air Quality – Home Therapist Cooling, Heating, and Plumbing
- FAQ: Routine Air Filter Replacement for HVAC Systems in Tampa Bay FL Services – Home Therapist Cooling, Heating, and Plumbing
- 7 Essential HVAC Maintenance Checklist Tips for Homeowners – Home Therapist Cooling, Heating, and Plumbing
- Hood Installation & Repair: Expert Fixes for Home Essentials
- AI Appointment Scheduler for HVAC Teams
More Indoor Air Quality Articles
- HVAC Maintenance and UV Light Inspection in Apollo Beach, FL 33572
- A/C Maintenance and Air Quality Solutions in Tampa, FL 33624
- Air Conditioning Maintenance and Indoor Air Quality Service in Apollo Beach, FL 33572
- Blower Wheel Cleaning and Indoor Air Quality Service in Lutz, FL 33558
- Mini Split Installation Recommendations for Hotels in Tampa, FL


