

Seasonal HVAC Maintenance Steps for Tampa Homeowners
Over one third of American households experience HVAC breakdowns that could be prevented with simple seasonal maintenance. Keeping your heating and cooling system running smoothly protects your comfort and your wallet, reducing emergency repairs and energy waste. With clear steps that make safety and reliability your priority, you will learn how to handle essential HVAC maintenance like a pro and keep your American home comfortable year-round.
Table of Contents
- Step 1: Prepare Your Tools And Safely Shut Down The System
- Step 2: Replace Air Filters And Clean Vents Thoroughly
- Step 3: Inspect Electrical Connections And Secure Components
- Step 4: Clean Coils And Remove Debris From The Outdoor Unit
- Step 5: Test System Functionality And Verify Optimal Performance
Quick Summary
| Key Insight | Explanation |
|---|---|
| 1. Always prioritize safety first | Safely shut down your HVAC system by turning off power and gas before maintenance to prevent accidents. |
| 2. Regularly replace air filters | Change your HVAC air filters every 30 days to boost efficiency and improve indoor air quality. |
| 3. Inspect electrical connections | Check and secure all electrical connections to avoid system malfunctions and hazards during operation. |
| 4. Clean outdoor unit periodically | Rinse condenser coils and clear debris around the outdoor unit every three months to maintain performance. |
| 5. Test system functionality effectively | Ensure the HVAC system is functioning properly by testing controls and observing air output after maintenance. |
Step 1: Prepare your tools and safely shut down the system
Before diving into your seasonal HVAC maintenance, you need to prepare and protect yourself by properly shutting down the system. Safety comes first when working with complex home systems. According to Energy Star guidelines, turning off power and gas is critical to prevent potential electrical or mechanical accidents during your maintenance work.
To get started, gather essential tools like a screwdriver, adjustable wrench, work gloves, safety glasses, and a voltage tester. Head to your electrical panel and locate the circuit breaker connected to your HVAC system. Carefully switch the breaker to the off position to completely cut power. If you have a gas furnace, locate the gas shutoff valve near the unit and turn it to the closed position. These steps ensure no unexpected electrical current or gas flow can occur while you work.
Here is a quick reference for essential HVAC maintenance tools and their purposes:
| Tool | Purpose | Safety Benefit |
|---|---|---|
| Screwdriver | Remove panels and tighten connections | Prevents loose parts and hazards |
| Adjustable wrench | Loosen or tighten nuts and bolts | Ensures secure fittings |
| Work gloves | Protect hands from sharp edges and debris | Reduces cuts and abrasions |
| Safety glasses | Shield eyes from dust and debris | Prevents eye injuries |
| Voltage tester | Check for electrical current before work | Confirms system is de-energized |
Angi recommends double checking that the system is fully powered down by attempting to turn on the thermostat or unit controls. If nothing activates, you have successfully isolated the system and can proceed with confidence.
Pro tip: Take a quick photo of your circuit breaker and gas valve settings before switching them off. This will help you remember the original configuration when you are ready to restart your HVAC system.
Step 2: Replace air filters and clean vents thoroughly
Now that your HVAC system is safely powered down, it is time to focus on one of the most important maintenance tasks: replacing air filters and thoroughly cleaning your vents. According to Forbes home improvement experts, regularly replacing air filters every 30 days can significantly improve indoor air quality and system efficiency, reducing energy consumption and preventing unnecessary strain on your equipment.
Start by locating your HVAC system’s air filter. For most Tampa homes, this is found near the return air duct or inside the air handler unit. Remove the old filter carefully, noting the size and airflow direction printed on the side. Select a replacement filter with the same dimensions and MERV rating appropriate for your system. When inserting the new filter, ensure it is facing the correct direction the arrows or markings indicate.
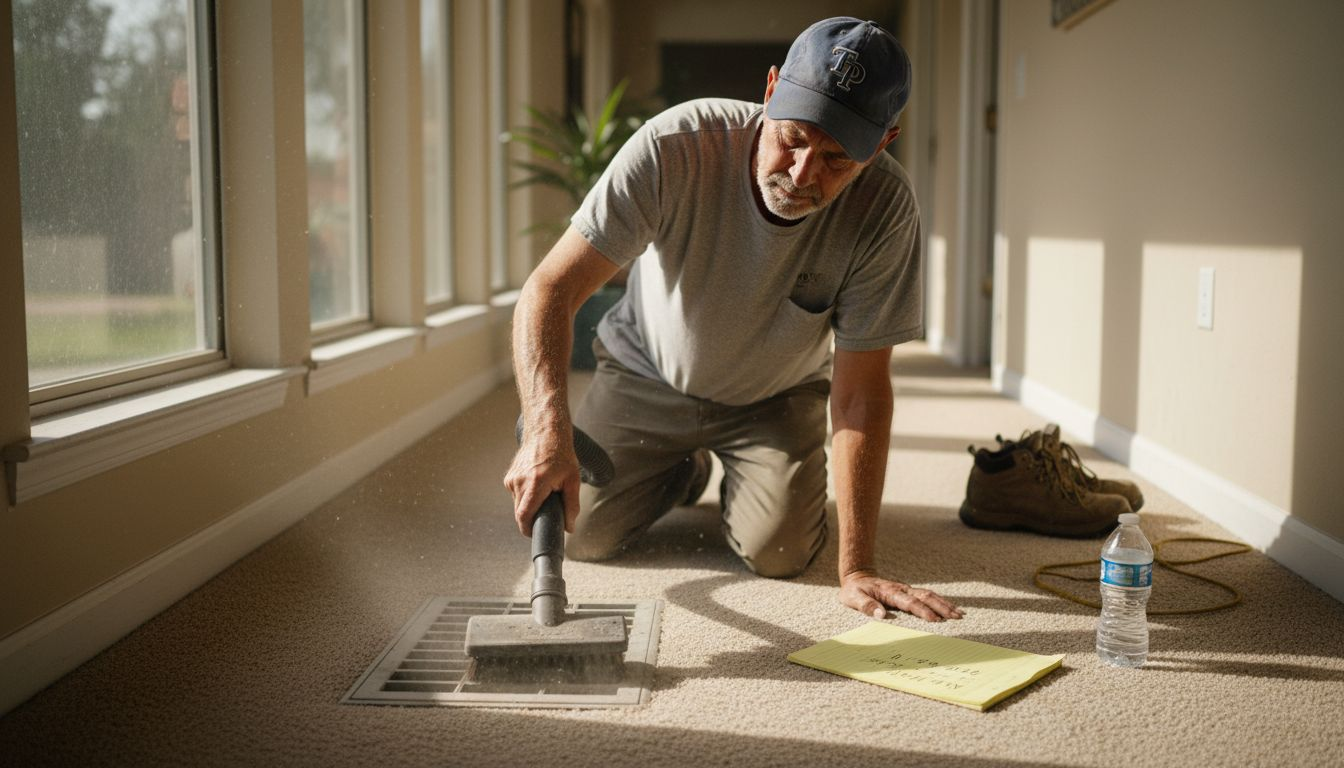
With the filter replaced, move on to cleaning your vents. Use a vacuum with a brush attachment to remove dust and debris from vent covers and surrounding areas. For a deeper clean, remove the vent covers and use a damp microfiber cloth to wipe down the interior surfaces. Pay special attention to any visible dust buildup or potential mold spots.
Pro tip: Keep a log of your filter replacement dates and take before and after photos of your vents to track your maintenance progress and identify any recurring issues.
Step 3: Inspect electrical connections and secure components
With your HVAC system powered down, it is critical to carefully inspect and secure all electrical connections to ensure safe and efficient operation. According to equipment maintenance experts, regularly examining wiring and electrical components before seasonal transitions can prevent potential hazards and maintain system reliability.
Begin by visually inspecting all visible wiring and electrical connections around your HVAC unit. Look for signs of wear such as frayed wires, loose connections, or any discoloration that might indicate overheating. Use a screwdriver to gently tighten any loose electrical terminal connections. As Forbes home improvement experts note, loose connections can lead to system malfunctions and create significant safety risks if left unaddressed.
When checking connections, wear rubber gloves and use a non contact voltage tester to confirm no electrical current is present. Pay special attention to areas around capacitors, contactor points, and circuit board connections. If you notice any significant damage or are unsure about a particular connection, it is best to contact a professional HVAC technician who can perform a comprehensive electrical system inspection.
Pro tip: Take a smartphone photo of your electrical connections before and after tightening to create a visual record and help you remember the original configuration.
Step 4: Clean coils and remove debris from the outdoor unit
According to home maintenance experts, clearing debris from your outdoor HVAC unit is crucial for maintaining optimal system performance. Your outdoor unit works hard throughout Tampa’s intense summer months, accumulating leaves, grass clippings, and other environmental debris that can significantly impact its efficiency.
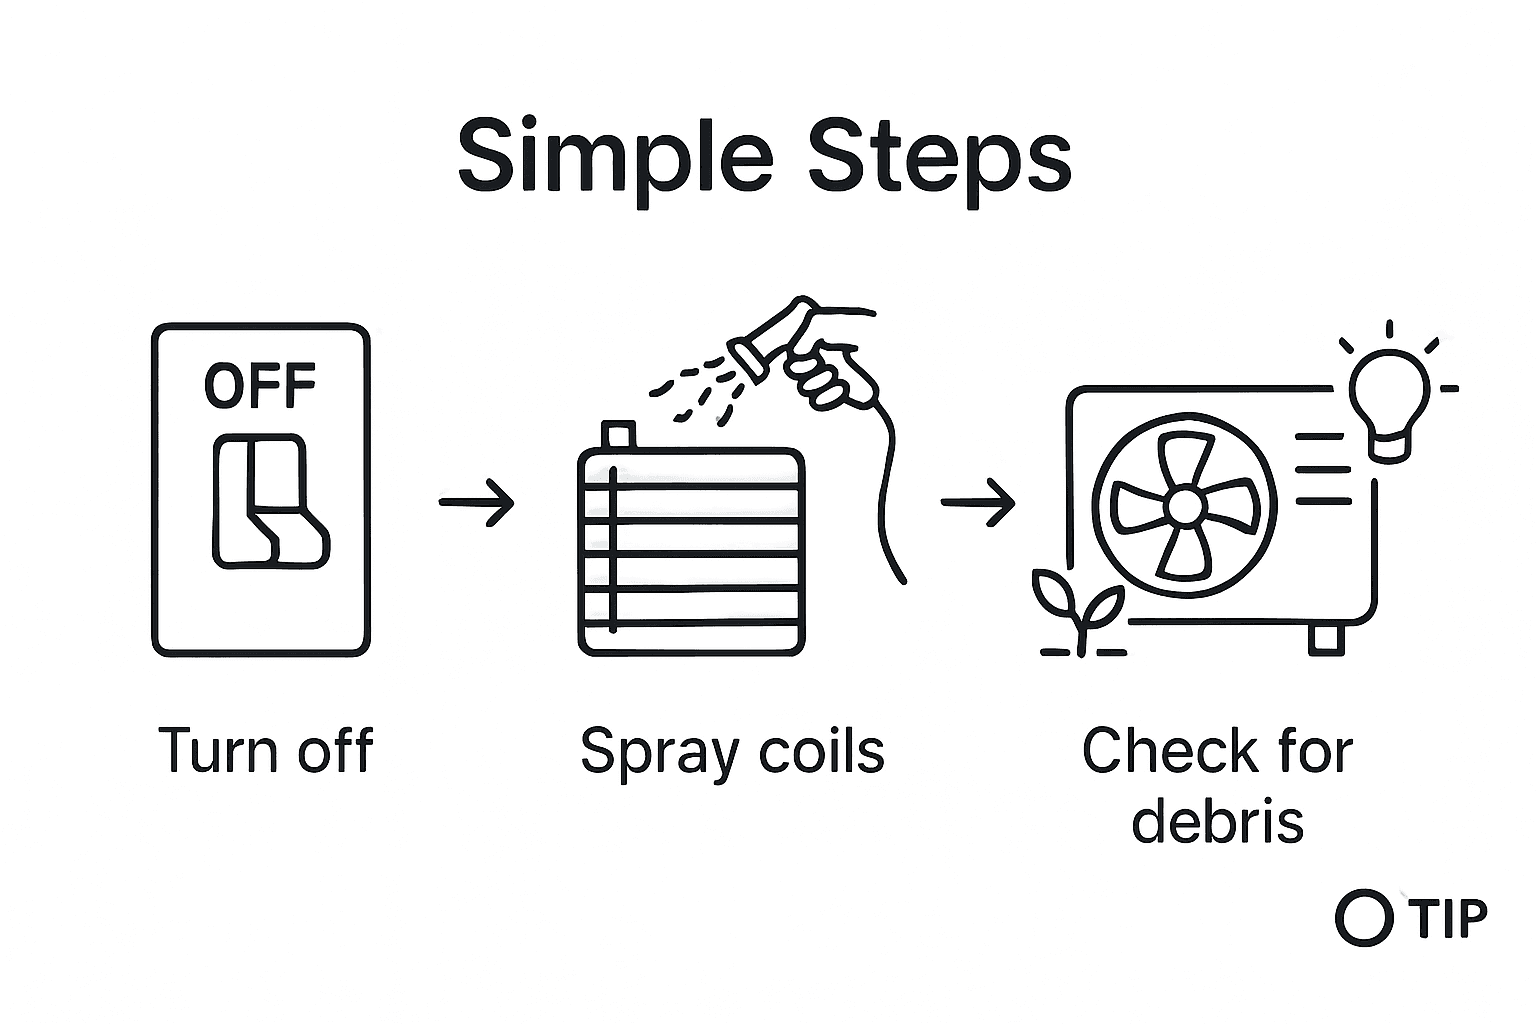
Start by turning off power to the unit at the circuit breaker. Use a garden hose with a gentle spray to carefully rinse the exterior condenser coils, removing dirt and dust buildup. For stubborn debris, use a soft brush to gently clean between the aluminum fins without bending them. Trim any vegetation within two feet of the unit to ensure proper airflow and prevent potential damage from overgrown plants or branches.
Carefully inspect the unit for any signs of physical damage or corrosion. Check that the protective metal cover is securely in place and that no leaves or small debris are trapped inside the unit. If you notice any significant damage or are unsure about the cleaning process, consider contacting a professional HVAC technician who can perform a more thorough inspection and cleaning.
Pro tip: Create a seasonal reminder on your phone to clean the outdoor unit every three months, helping you maintain consistent HVAC system performance throughout the year.
Step 5: Test system functionality and verify optimal performance
According to Energy Star guidelines, maintaining your HVAC system at peak performance involves thorough functionality testing before seasonal changes. After completing the previous maintenance steps, it is time to power up your system and verify that everything is working correctly.
Equipment maintenance experts recommend carefully testing your thermostat and safety controls to ensure precise calibration and operation. Start by turning the power back on and setting your thermostat to cooling mode. Listen for any unusual sounds during startup and observe the system cycling on and off. Check that cool air is flowing consistently from all vents and that the temperature matches your thermostat settings. Pay attention to airflow strength and temperature consistency across different rooms.
Perform a complete system test by running the air conditioning for at least 15 minutes. Monitor the outdoor unit to confirm it is operating smoothly without excessive vibration or strange noises. Check that the system maintains your desired temperature without frequent cycling or unexplained shutdowns. If you notice any performance irregularities such as weak airflow, inconsistent cooling, or strange sounds, it may be time to contact a professional HVAC technician for a more comprehensive evaluation.
This table summarizes common HVAC performance issues and what they might indicate:
| Symptom | Possible Cause | Recommended Action |
|---|---|---|
| Weak airflow | Dirty filters or blocked vents | Clean vents, replace filters |
| Unusual noises | Loose components or debris | Inspect and tighten, clean |
| Inconsistent cooling | Faulty thermostat or ducts | Test controls, call technician |
| Frequent cycling | Incorrect settings or issues | Check thermostat, inspect unit |
| No cooling | Electrical or refrigerant issue | Contact HVAC professional |
Pro tip: Record a short video of your system running during this test. This can provide valuable visual documentation if you need to describe any issues to a professional technician later.
Keep Your Tampa Home Comfortable with Expert Seasonal HVAC Care
Proper seasonal maintenance of your HVAC system is key to avoiding issues like weak airflow, inconsistent cooling, or electrical hazards as highlighted in the article. If replacing filters, cleaning vents, and inspecting electrical connections feel overwhelming or if you want to ensure your unit runs smoothly through Tampa’s hot summers, help is available. Do not let hidden problems ruin your comfort or increase your energy bills.
Trust the certified technicians at Home Therapist Cooling, Heating, and Plumbing to provide thorough HVAC services tailored to your home’s unique needs. From professional filter replacement to detailed system inspections and outdoor unit cleanings, we protect your investment and enhance your comfort year-round. Act now to schedule a seasonal tune-up or repair visit and avoid costly breakdowns before they start. Explore reliable solutions at Home Therapist Cooling, Heating, and Plumbing today and experience peace of mind in every season.
Frequently Asked Questions
How do I safely shut down my HVAC system for seasonal maintenance?
To safely shut down your HVAC system, locate the circuit breaker and switch it to the off position. If you have a gas unit, also close the gas shutoff valve. This prevents unexpected electrical current or gas flow while you work on the system.
What tools do I need for HVAC maintenance?
Essential tools for HVAC maintenance include a screwdriver, adjustable wrench, work gloves, safety glasses, and a voltage tester. Gather these tools before starting your seasonal maintenance to ensure a smooth and safe process.
How often should I replace my HVAC air filters?
You should replace your HVAC air filters every 30 days to maintain indoor air quality and system efficiency. Keeping track of replacement dates can help extend the life of your system and improve energy consumption.
What should I do if I notice weak airflow from my HVAC system?
If you experience weak airflow, check and clean your air filters and vents to eliminate any blockages. Replace dirty filters and clear debris from the vents to restore optimal airflow and enhance system performance.
How can I test my HVAC system after maintenance?
After completing your maintenance, turn your HVAC system back on and set the thermostat to cooling mode. Monitor the system for unusual sounds or vibrations and check that cool air flows consistently from all vents for at least 15 minutes.
When should I contact a professional HVAC technician?
You should contact a professional HVAC technician if you notice significant damage, strange noises, or persistent cooling issues after your maintenance. Seeking expert help can ensure your system receives a comprehensive evaluation and necessary repairs.
About This Guide
Written and reviewed by the Home Therapist Cooling, Heating & Plumbing team, a family-owned Tampa Bay HVAC and plumbing company serving the area since 2011. Our licensed techs hold Florida HVAC license CAC1819196 and Plumbing license CFC1431159, with over 1,100 five-star reviews across Tampa, St. Petersburg, Clearwater, Wesley Chapel, Lutz, Riverview, Brandon, Valrico, Apollo Beach, Palm Harbor, Land O’ Lakes, Plant City, New Port Richey, and surrounding Tampa Bay zip codes.
Honest pricing: $279 labor minimum. Upfront quotes, no high-pressure sales, no surprise fees.
Questions about your home? Call (813) 343-2212 for a real tech, or request a callback. Available 7 days a week including evenings and weekends for emergencies.
Recommended
- Proactive Tips for Seasonal Air Conditioning Maintenance – Home Therapist Cooling, Heating, and Plumbing
- 7 Essential HVAC Maintenance Checklist Tips for Homeowners – Home Therapist Cooling, Heating, and Plumbing
- The Essential Guide to Regular HVAC Maintenance – Home Therapist Cooling, Heating, and Plumbing
- Air Conditioning Maintenance Guide for Tampa Bay Homes – Home Therapist Cooling, Heating, and Plumbing
- Spring Lawn Preparation: Healthier Yards in Minnetonka – YardWoo Lawncare
- Role of Gutter Maintenance – Protecting Property Health
More AC Maintenance Articles
- Air Conditioning Maintenance and System Evaluation in Odessa, FL 33556
- Premium AC Maintenance Plan Visit in Odessa, FL 33556
- Premium HVAC Maintenance Plan Visit in Lutz, FL 33558
- Premium Quarterly HVAC Maintenance Service in Tampa, FL 33614
- Rooftop HVAC System Cleaning and Maintenance Project in Tampa, FL 33634


