Premium Therapy Plan AC Maintenance in Tampa, FL 33626

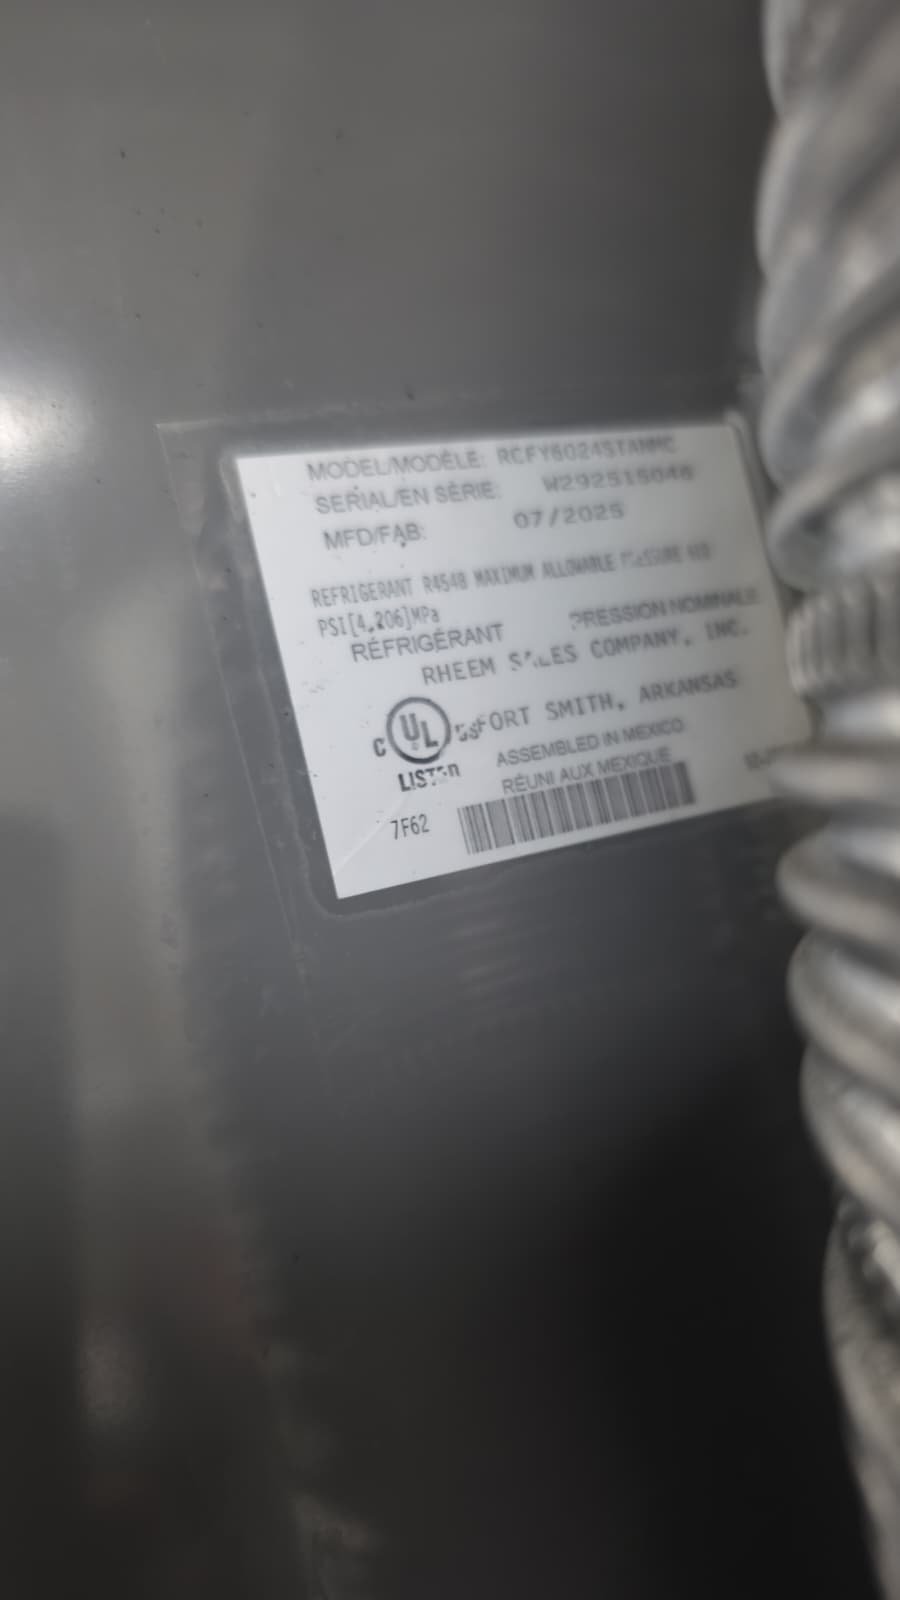
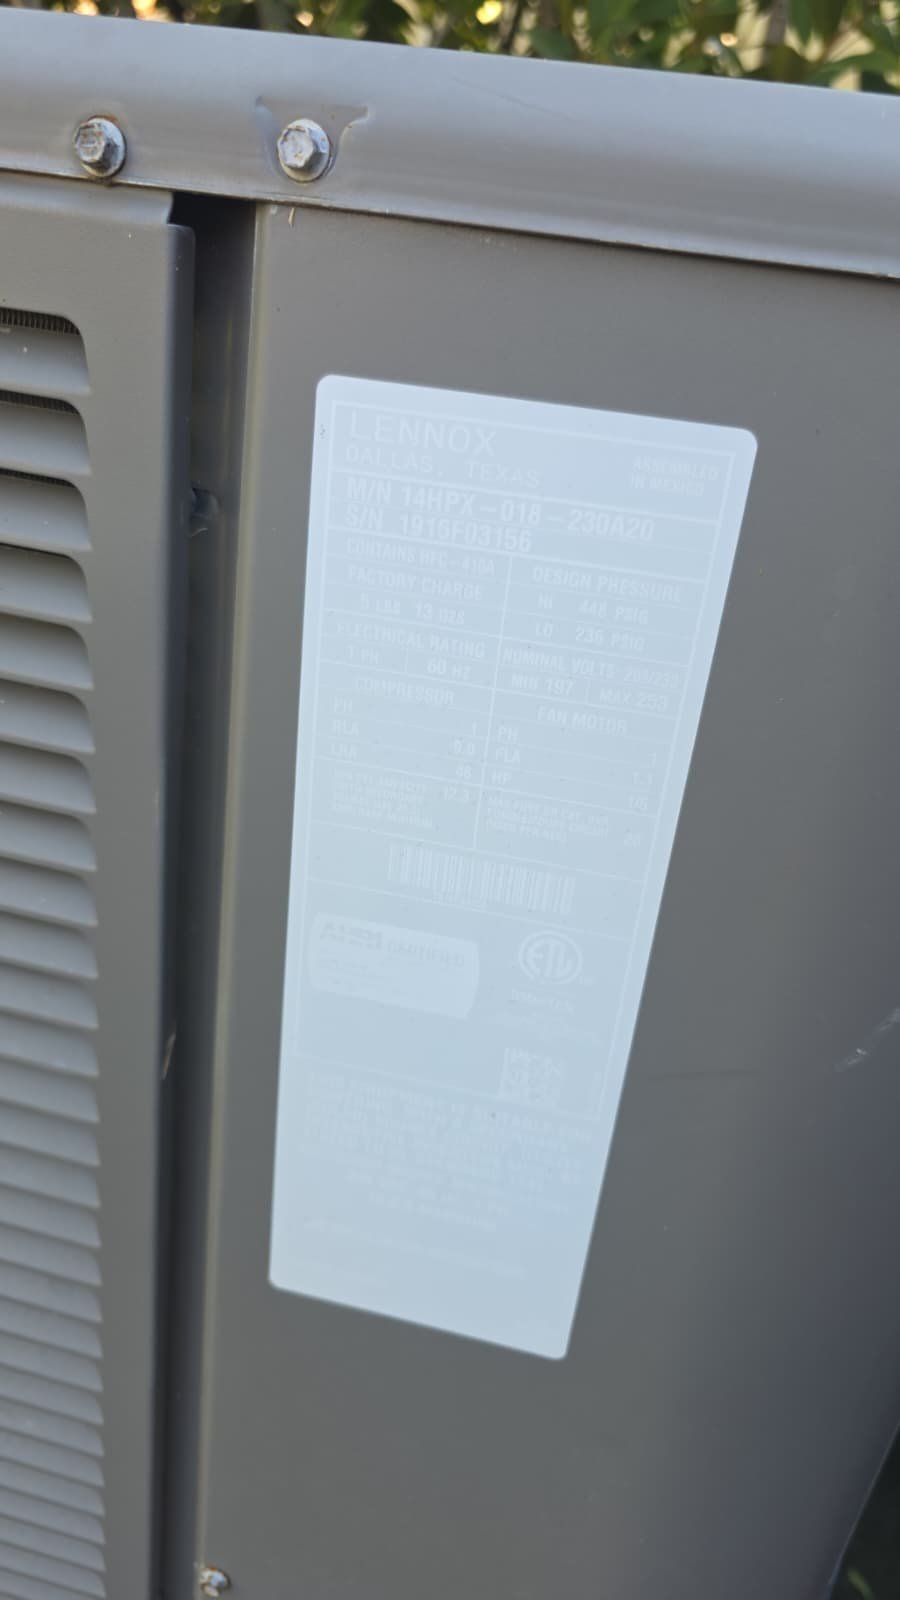
When you live in Tampa, FL 33626, your air conditioner isn’t a luxury—it’s part of staying comfortable and healthy through our long, hot, and humid seasons. On this visit, we performed a scheduled Premium Therapy Plan maintenance for a homeowner with an AC system that’s about six years old. Our goal was simple: give the system a thorough checkup, clean everything that needs attention, verify performance, and make sure they can count on reliable cooling.
By the end of the visit, we confirmed that the system is running properly, pressures and electrical readings are within normal operating ranges, the UV light is working, both indoor and outdoor units are clean, and the condensate drain is clear and draining as it should. In other words, this Tampa home’s AC is in good shape and ready to keep working through the Florida heat.
Case Recap
- Location: Routine Premium Therapy Plan visit for a homeowner in Tampa, FL 33626.
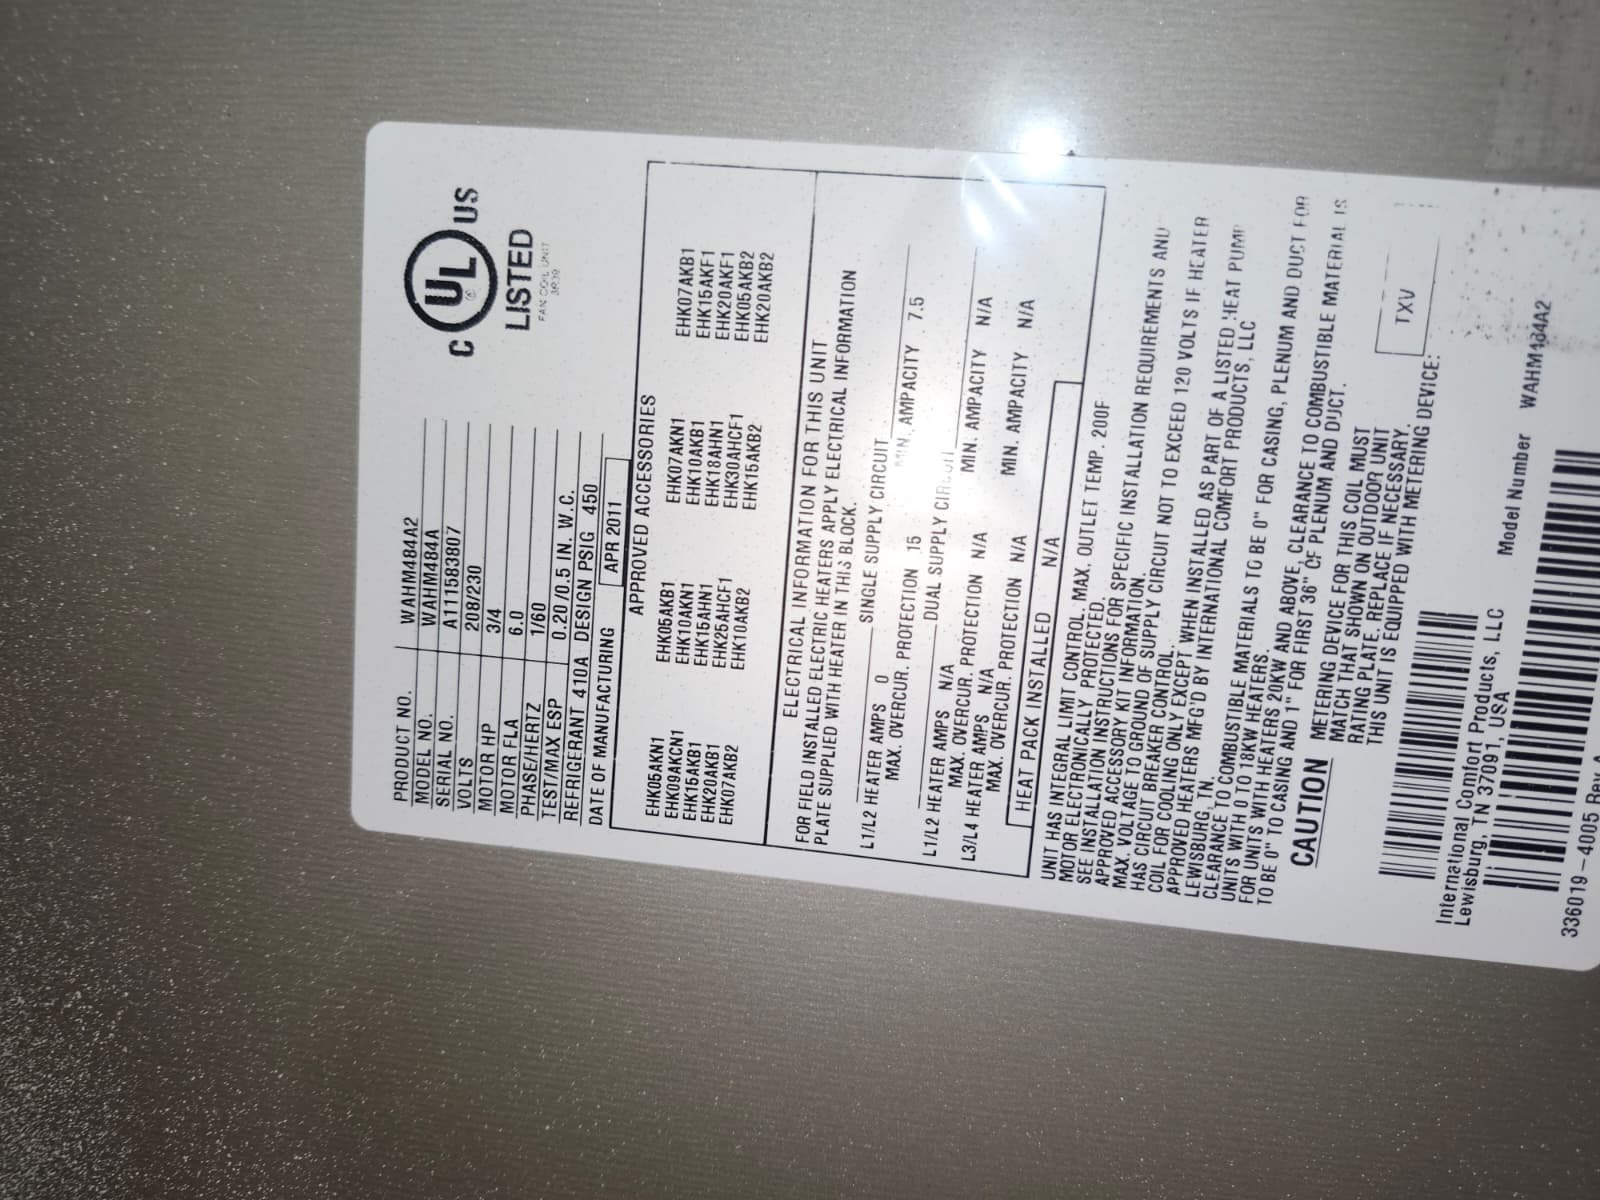
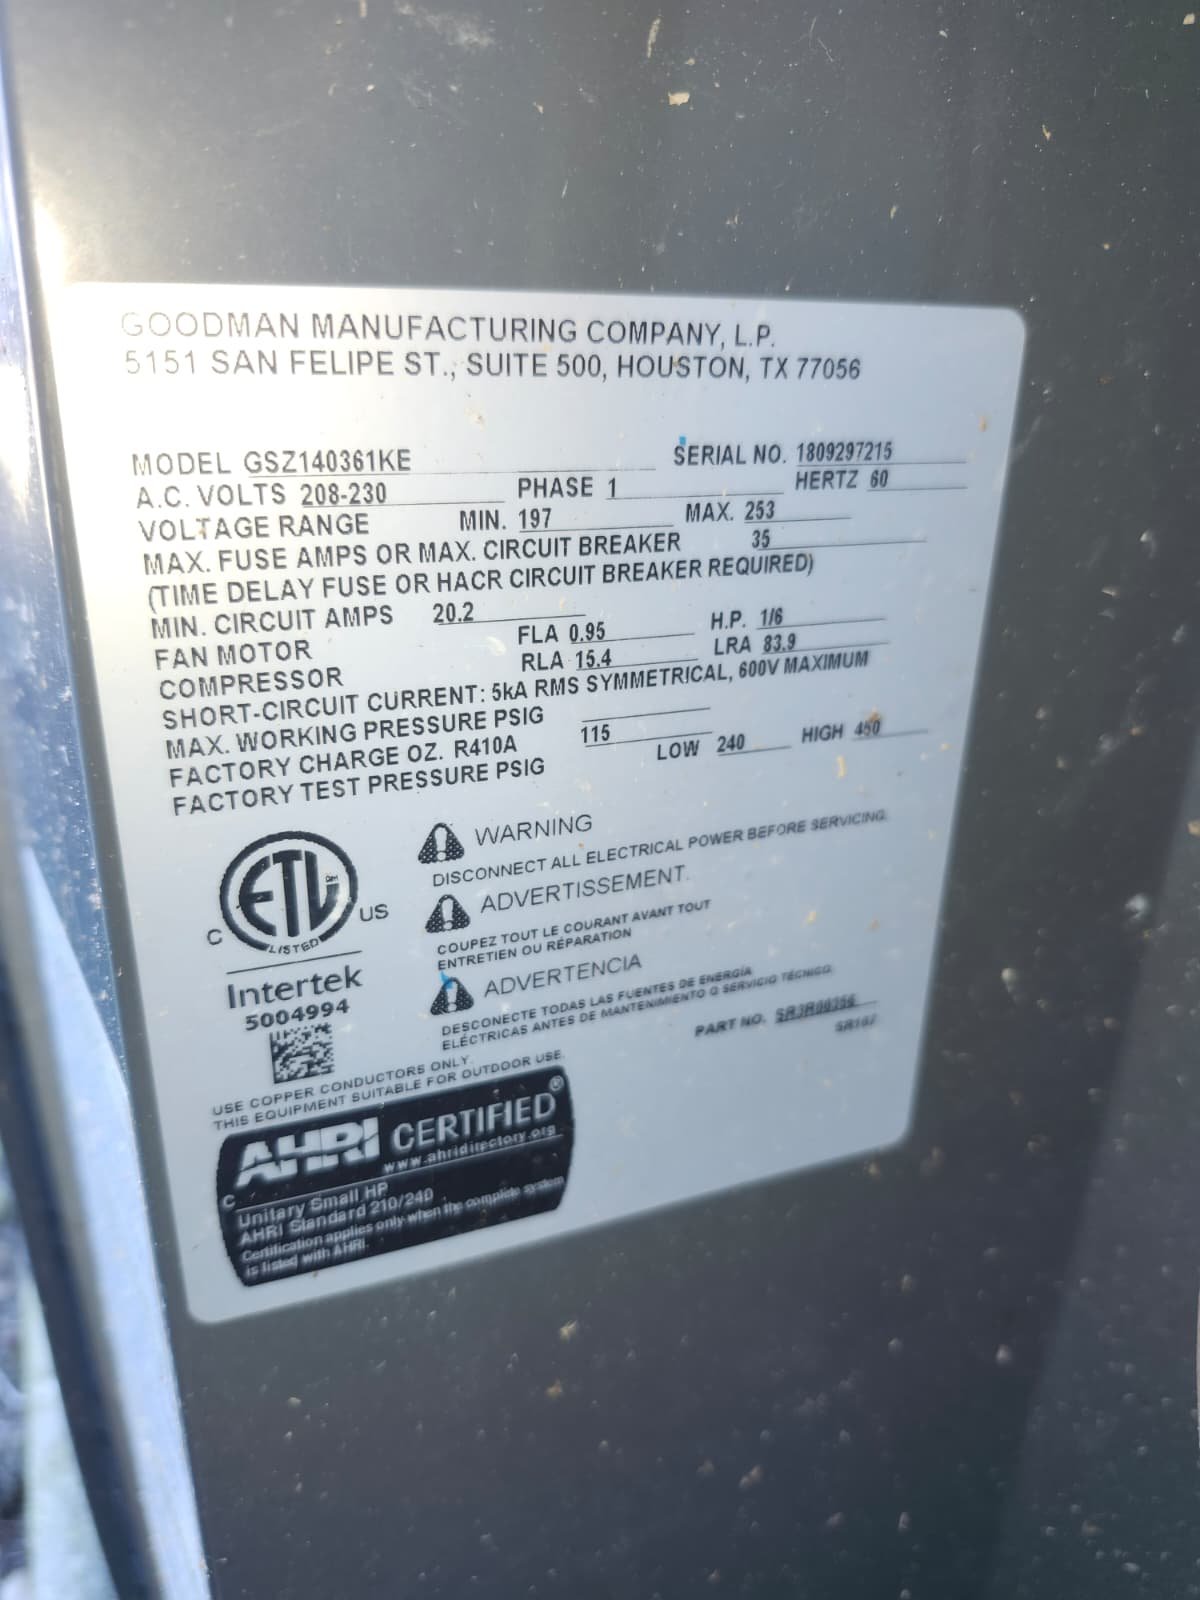
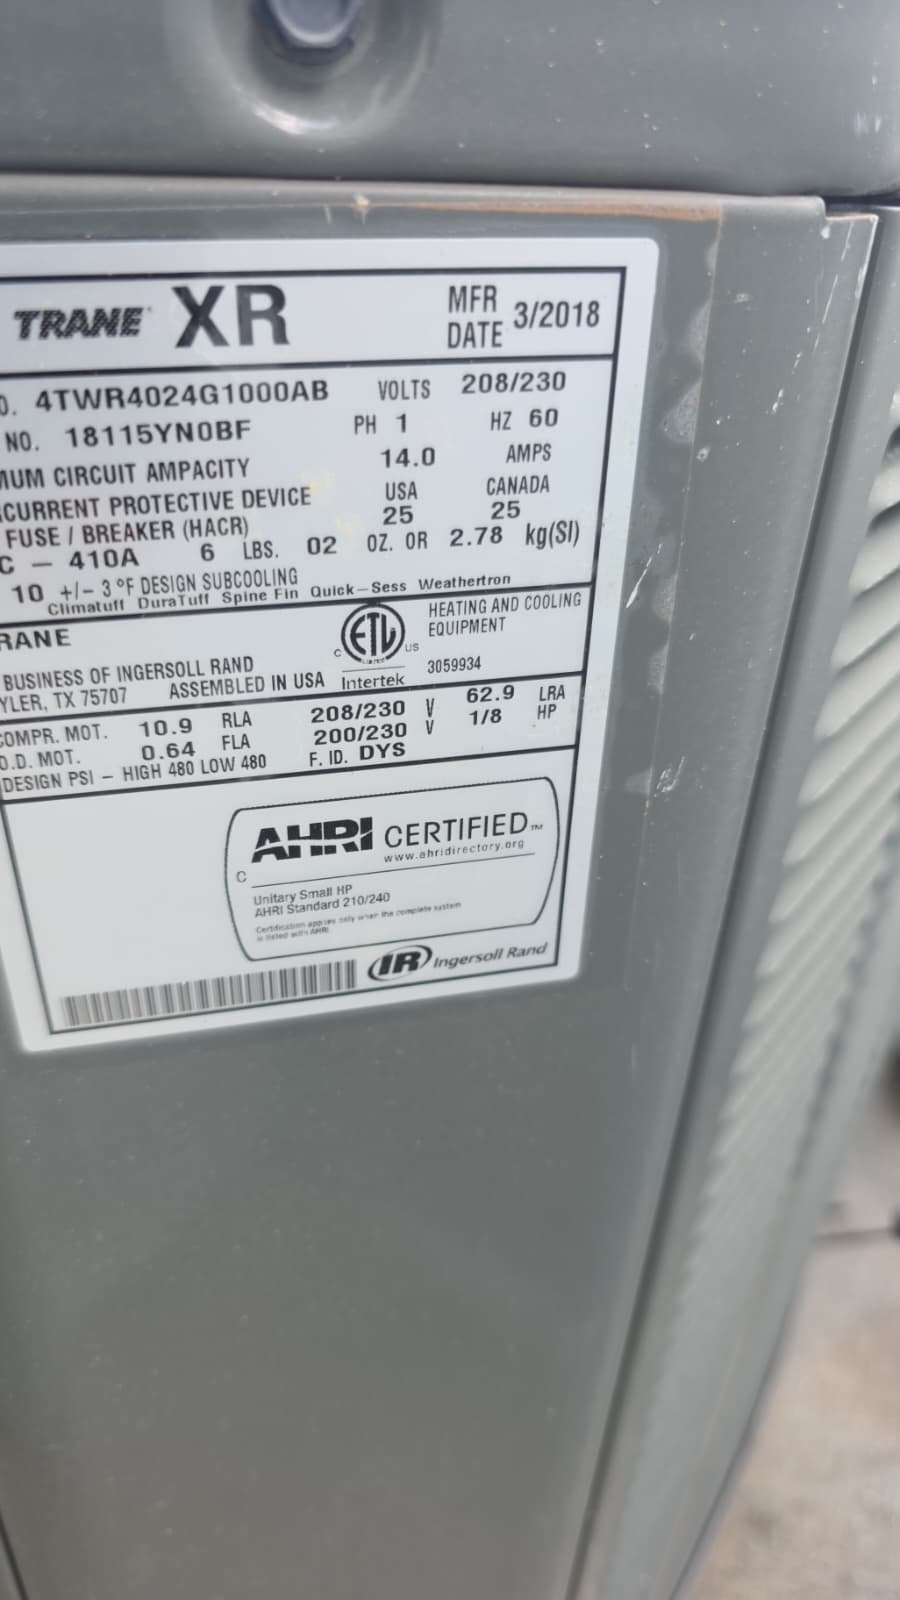
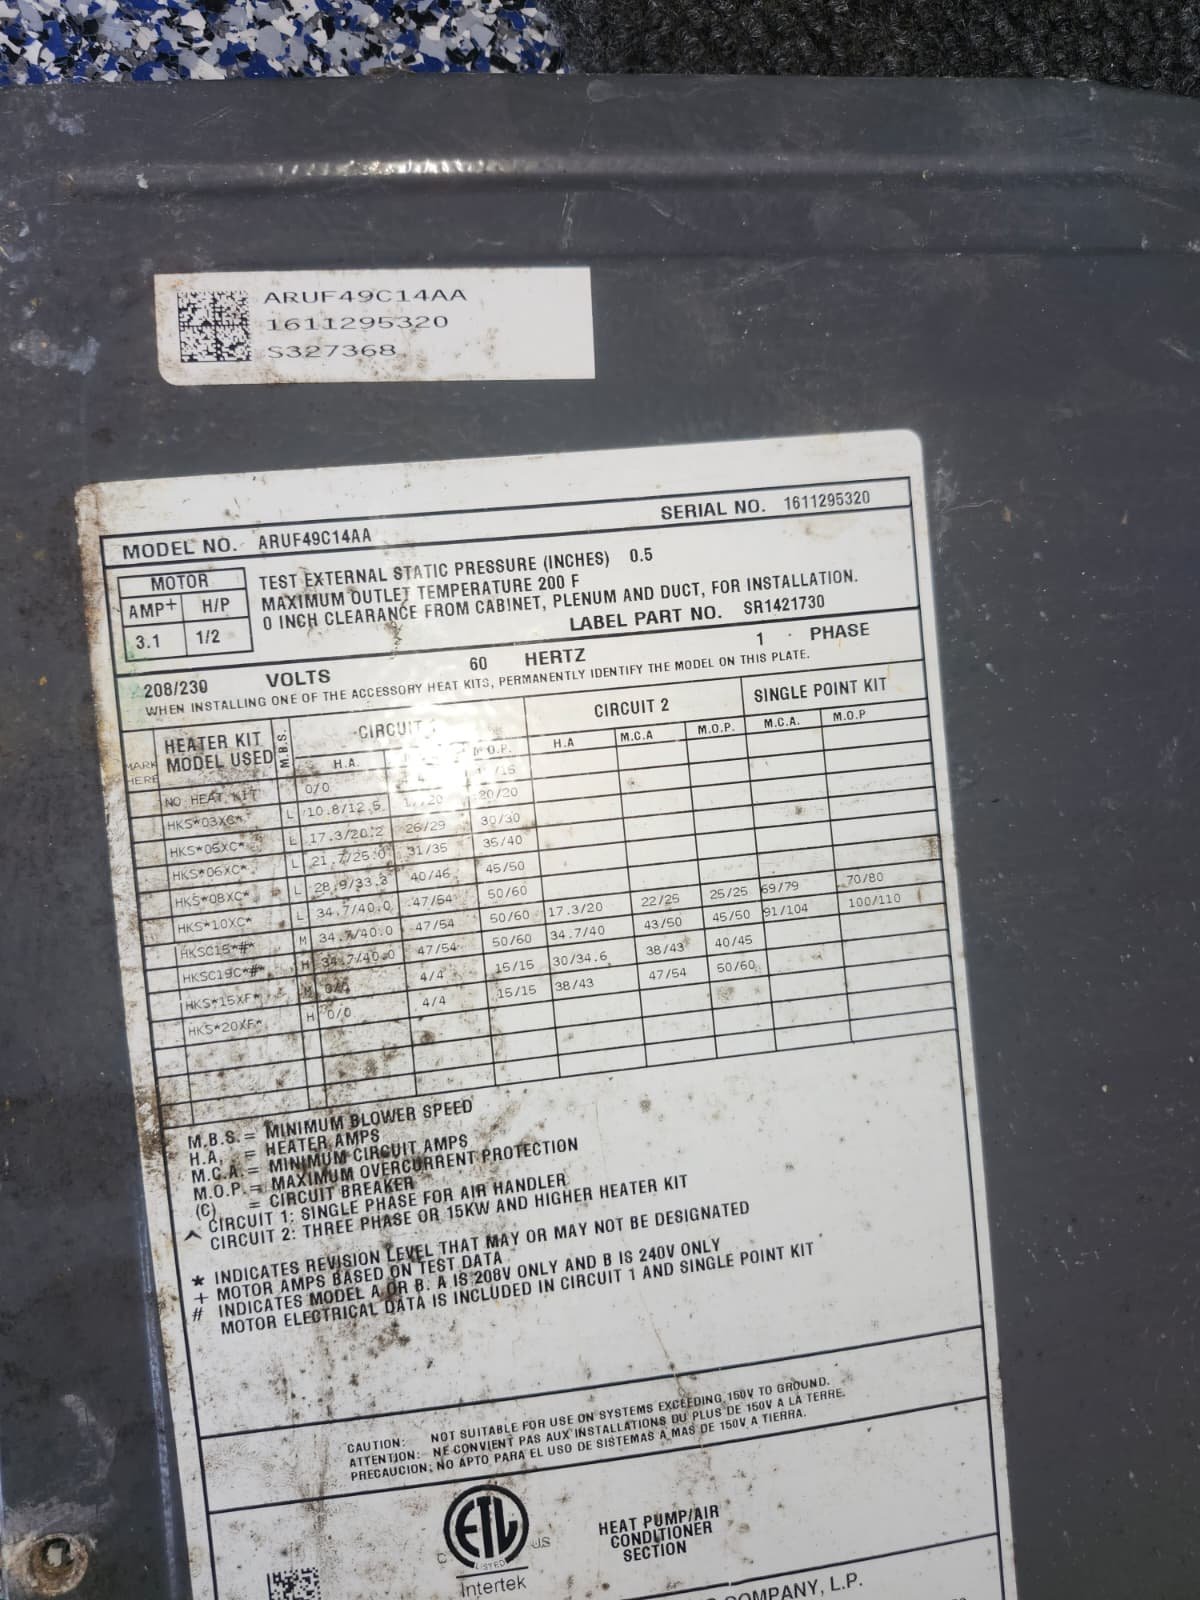
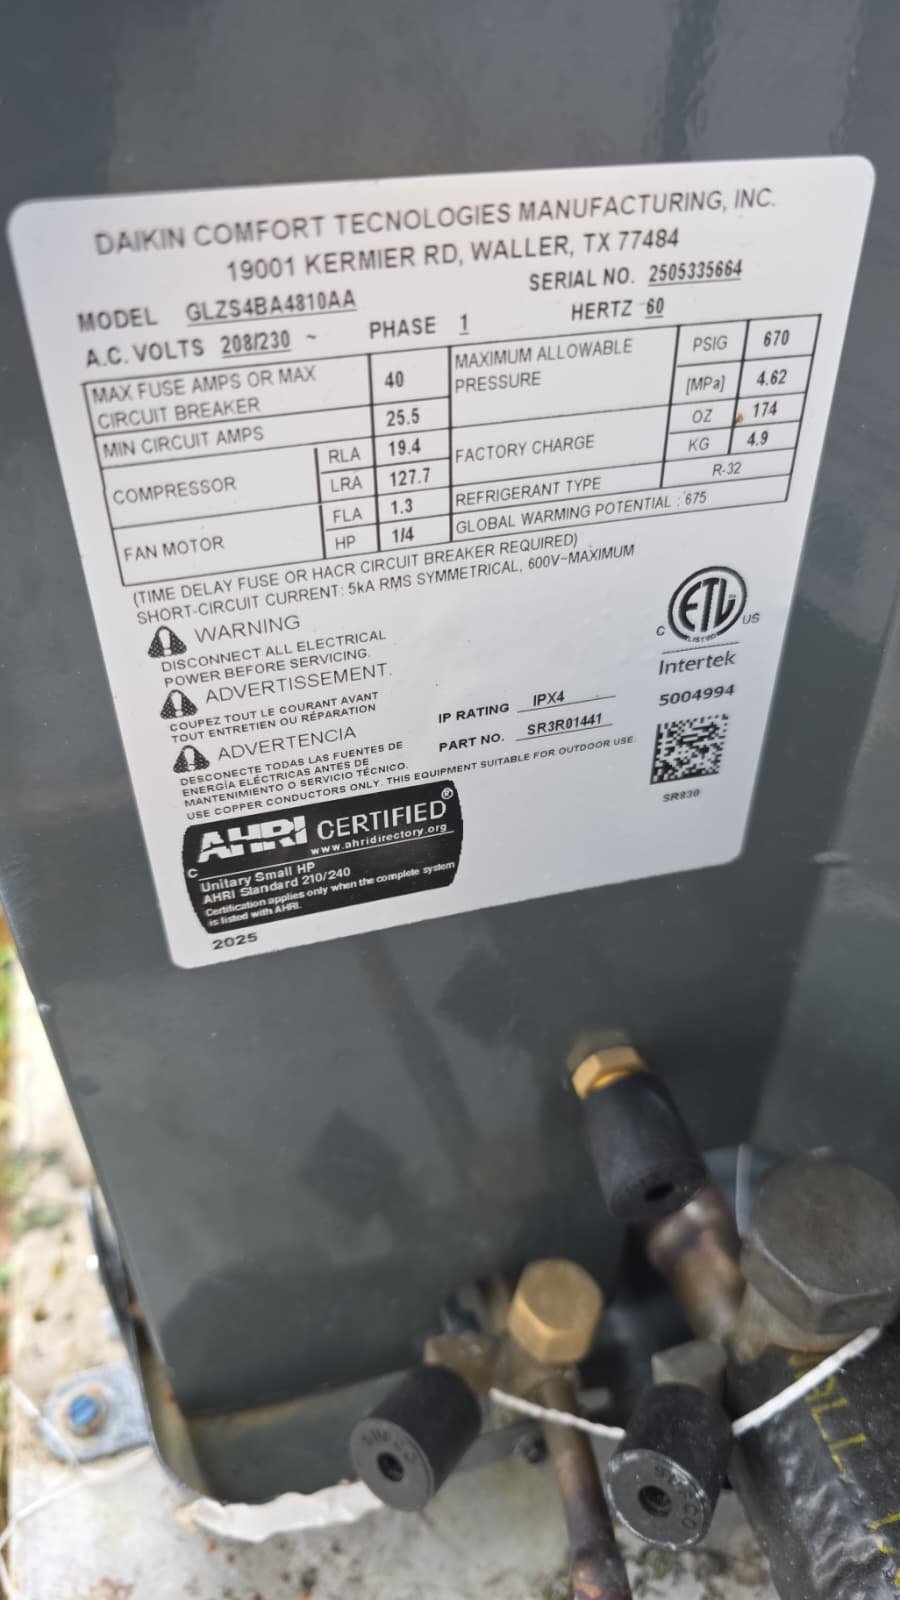
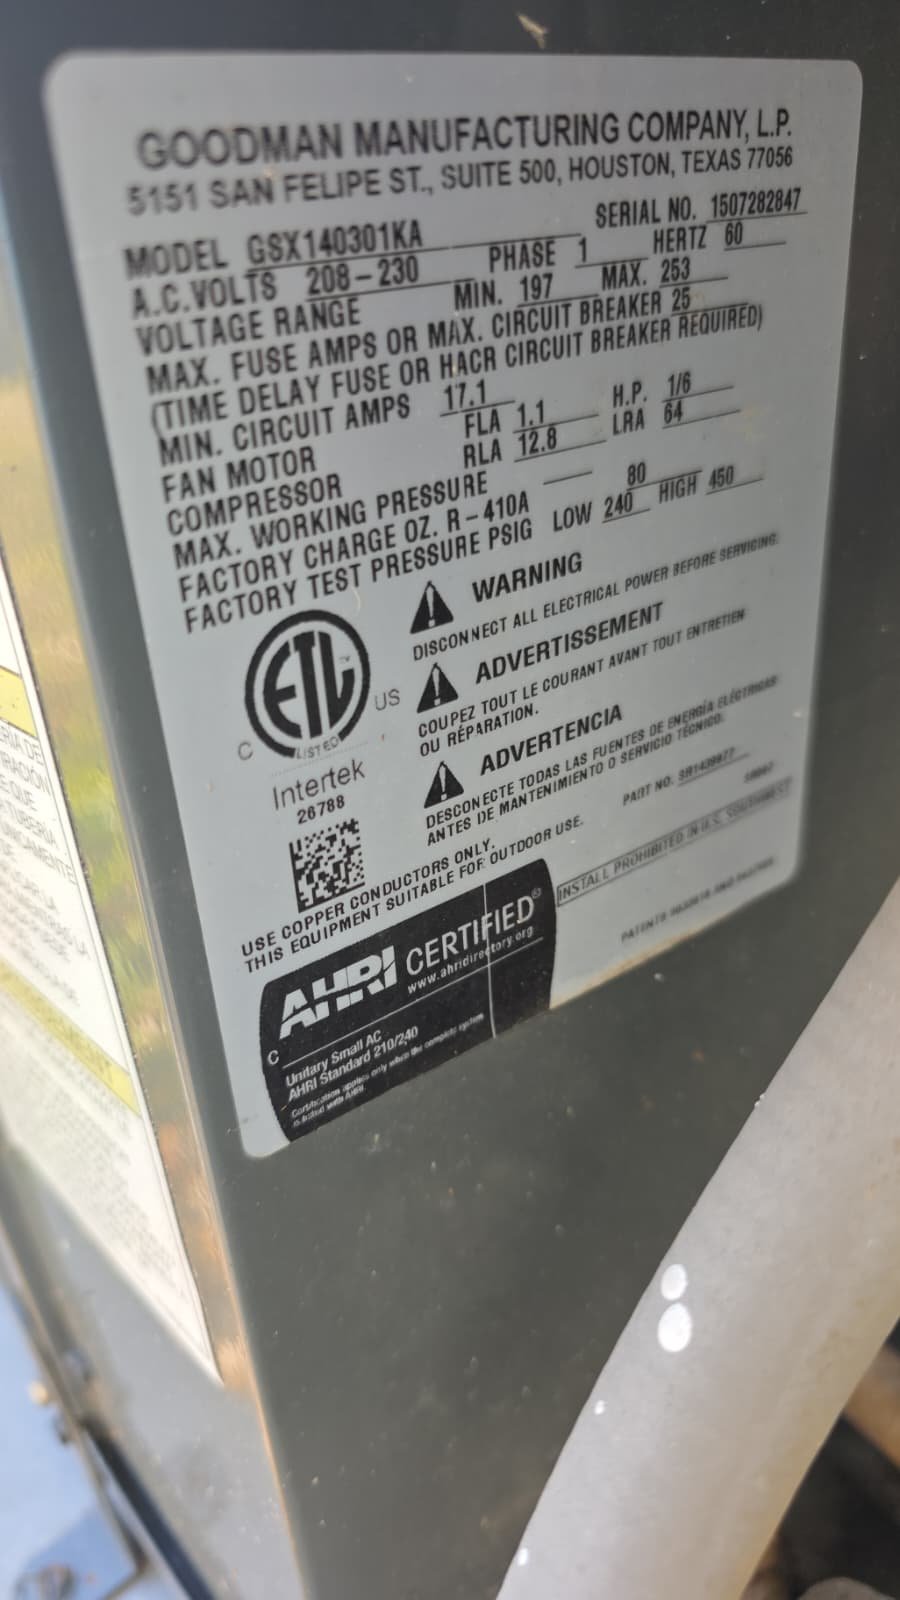
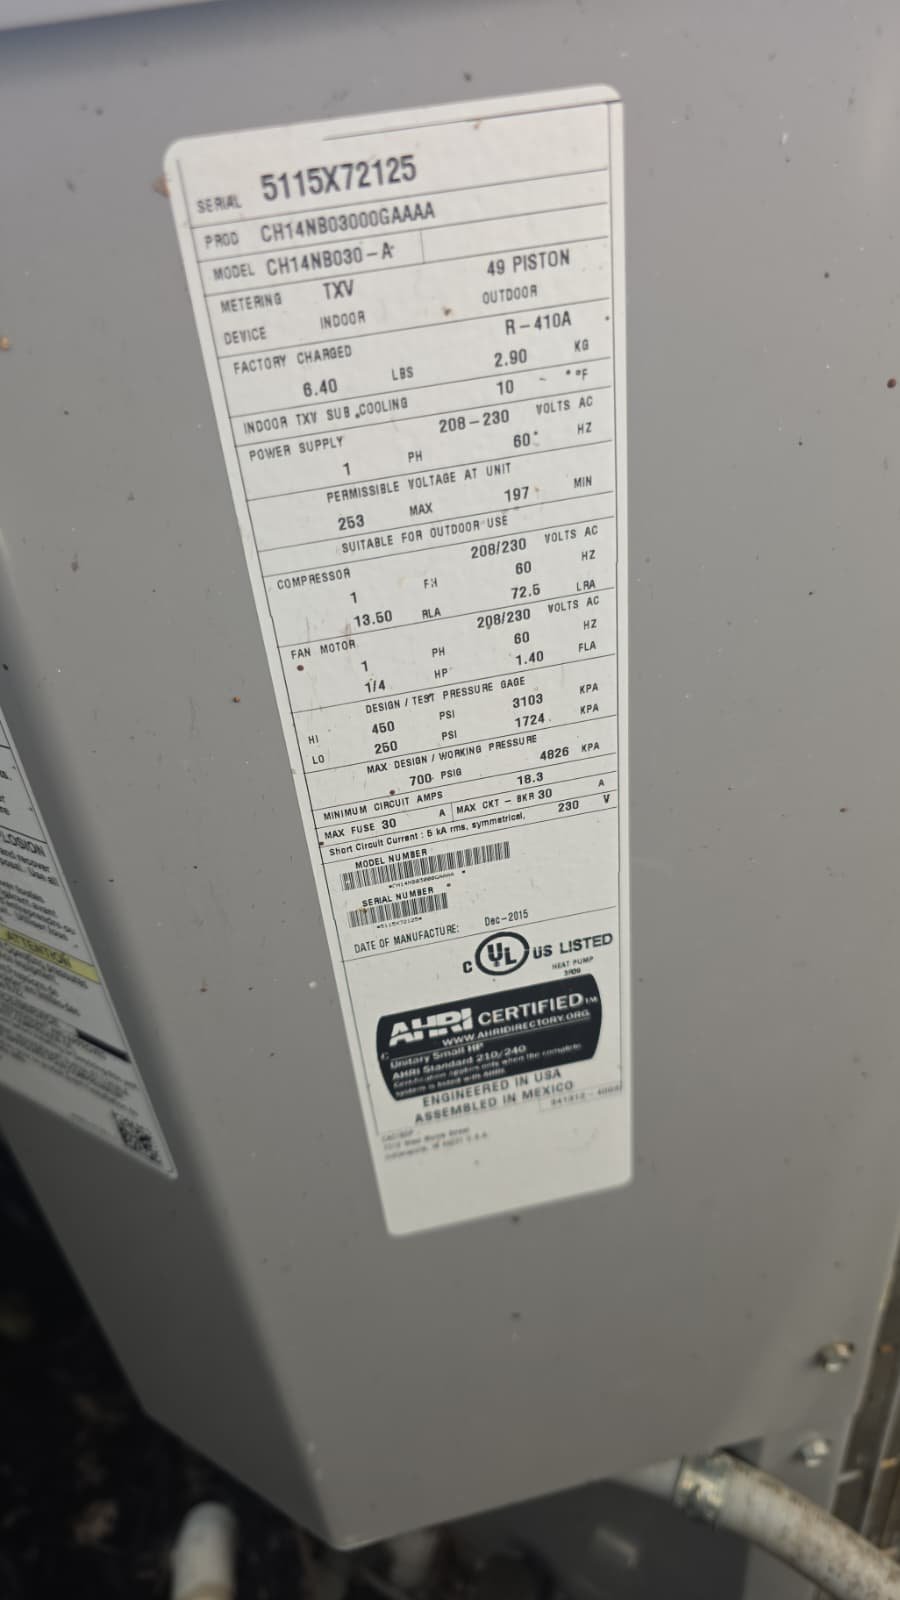
- Equipment age: Central AC system approximately six years old.
- Services performed: Full operational check, cleaning of indoor and outdoor units, and condensate drain line cleaning.
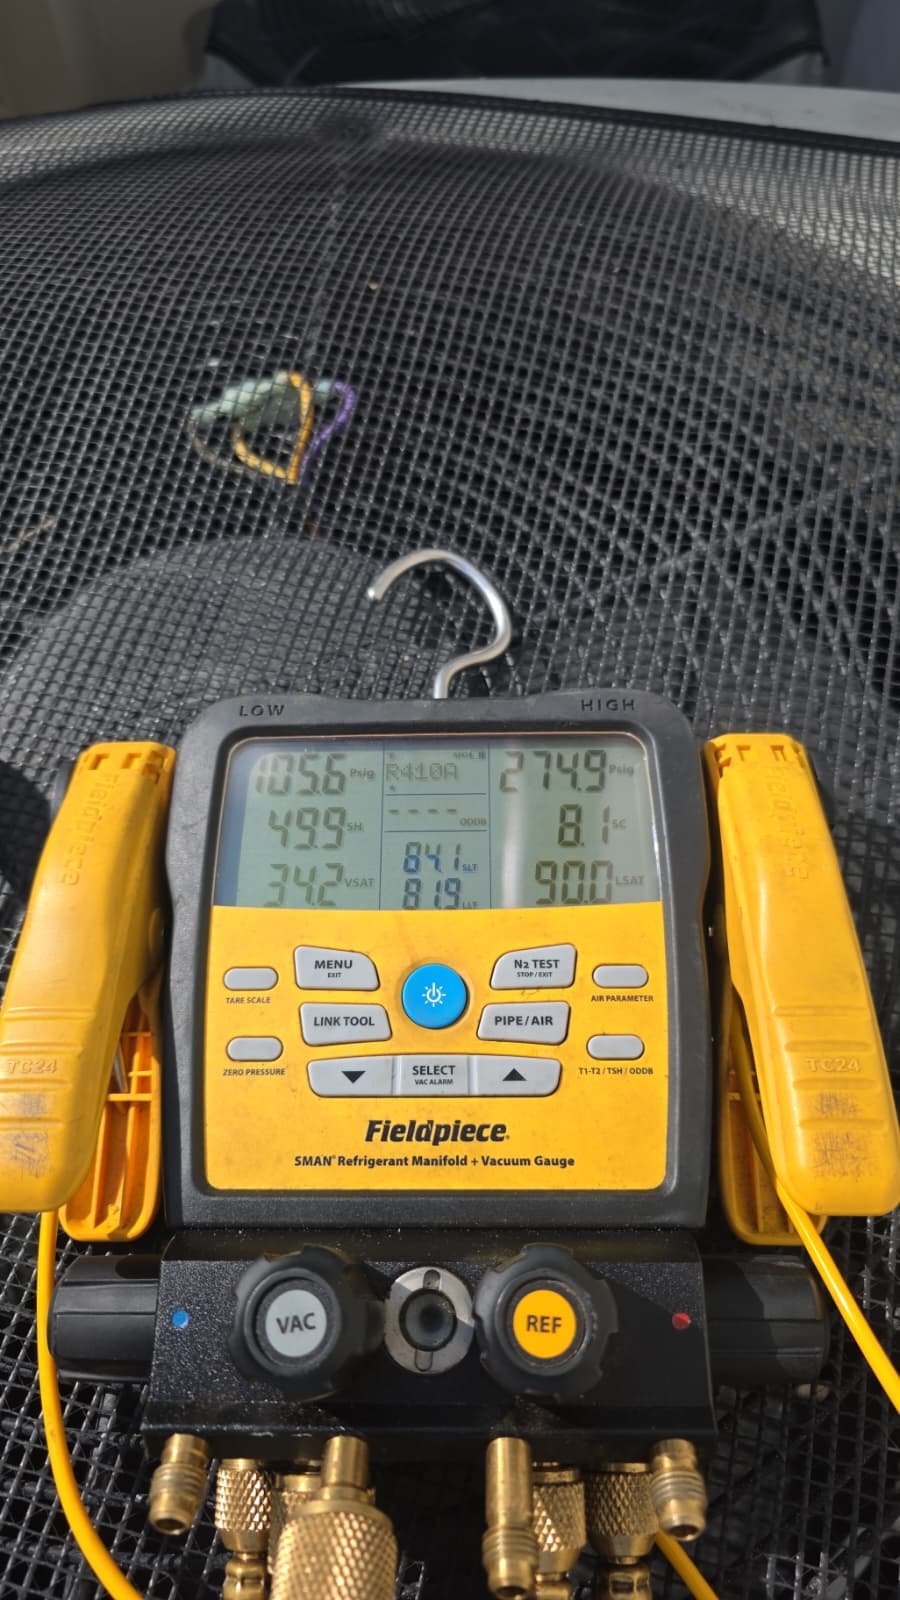
- Diagnostics: Refrigerant pressures and compressor/fan amperage verified within normal operating range and manufacturer guidelines.
- Indoor air quality: UV light inspected and confirmed to be operating.
- Outcome: System currently operating as expected with no performance or safety concerns noted.
Customer Problem
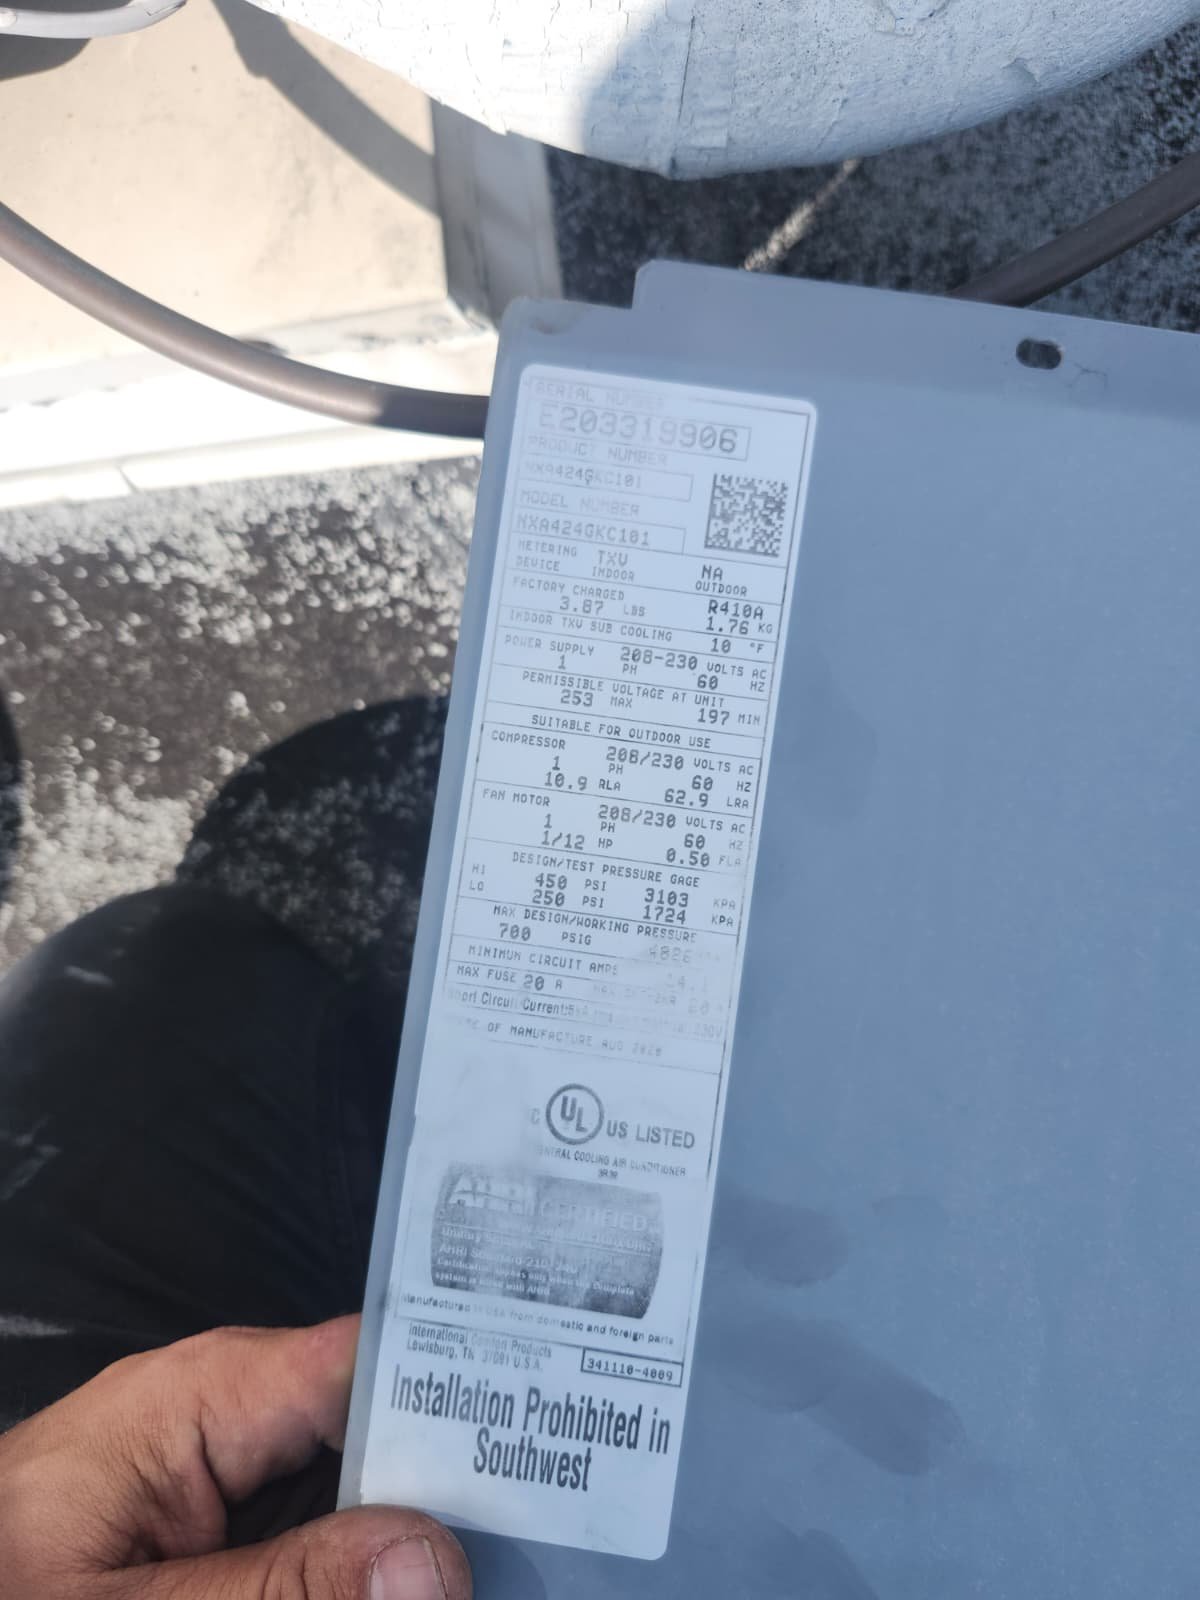
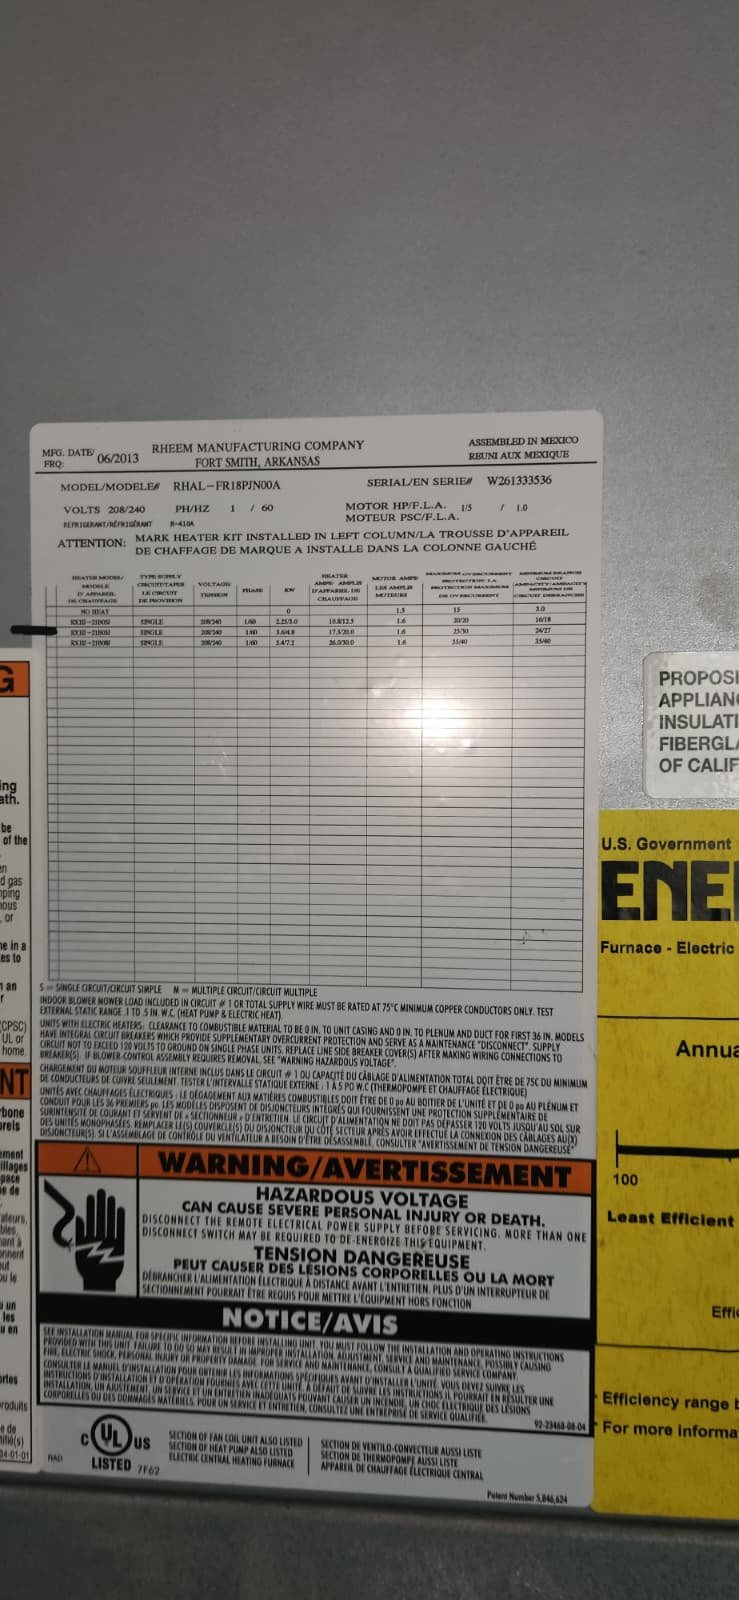
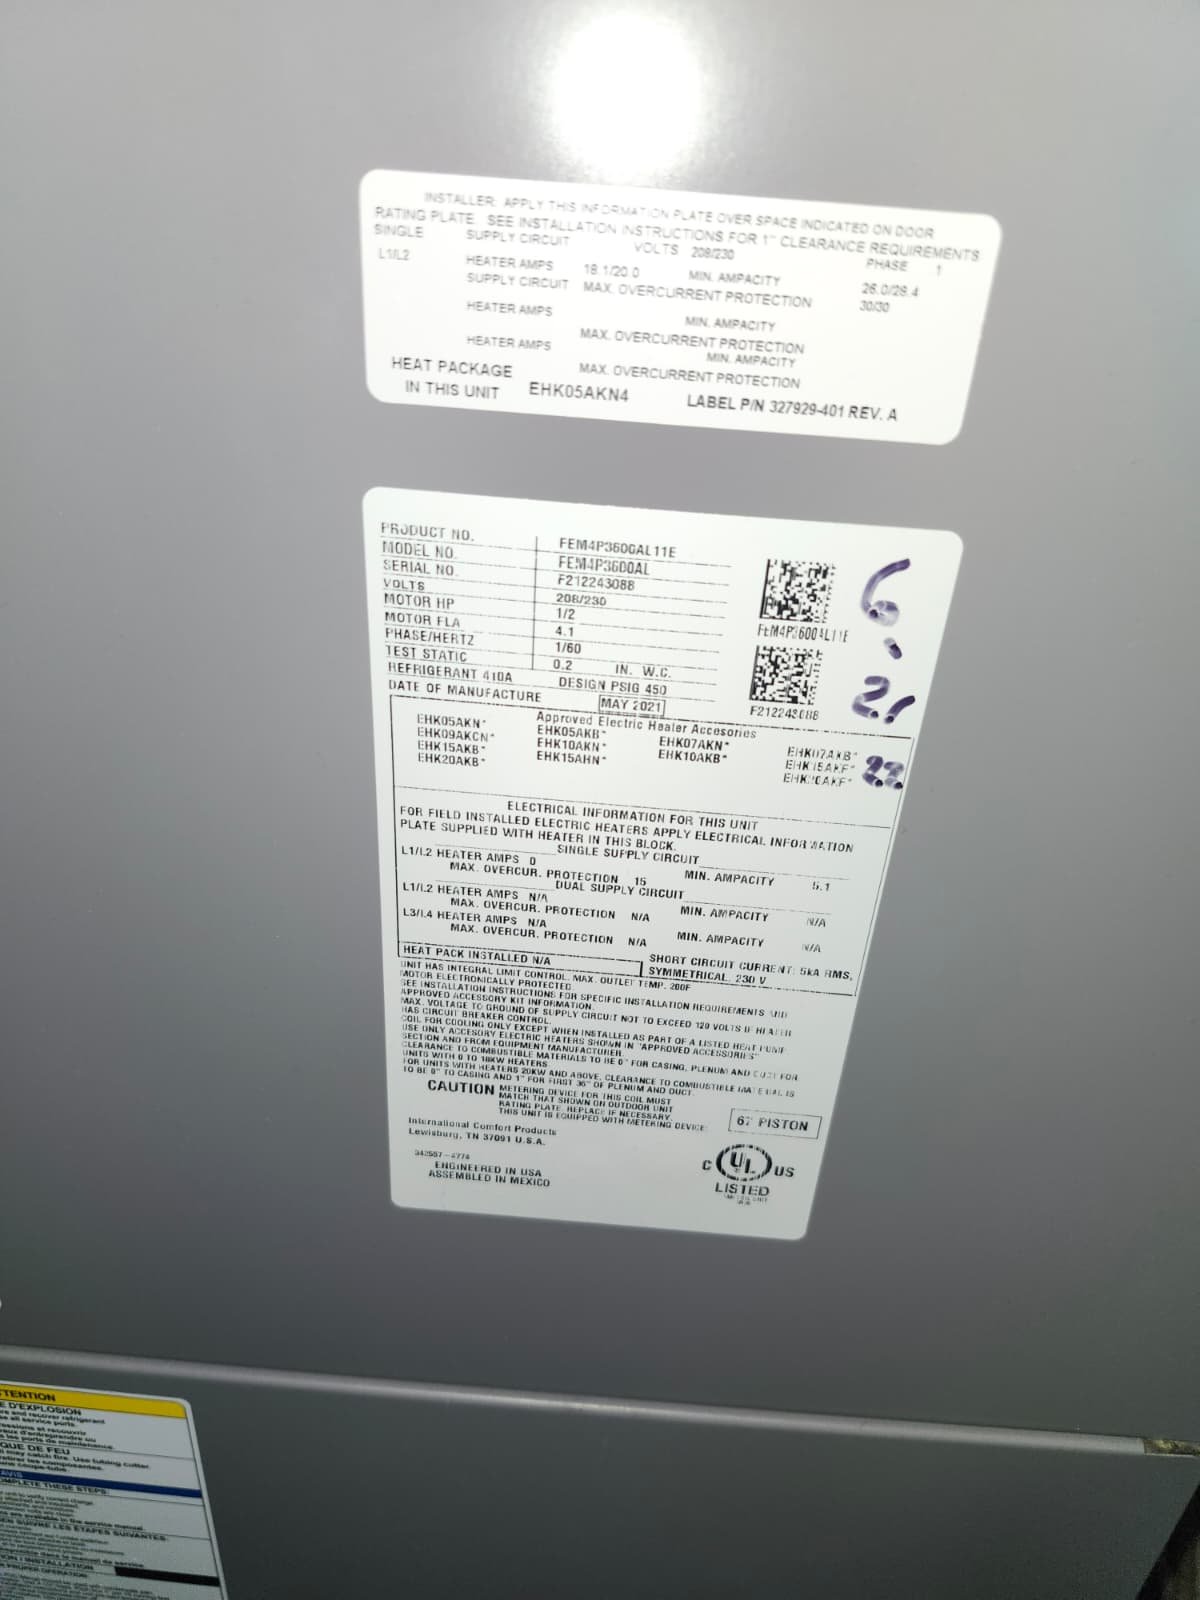
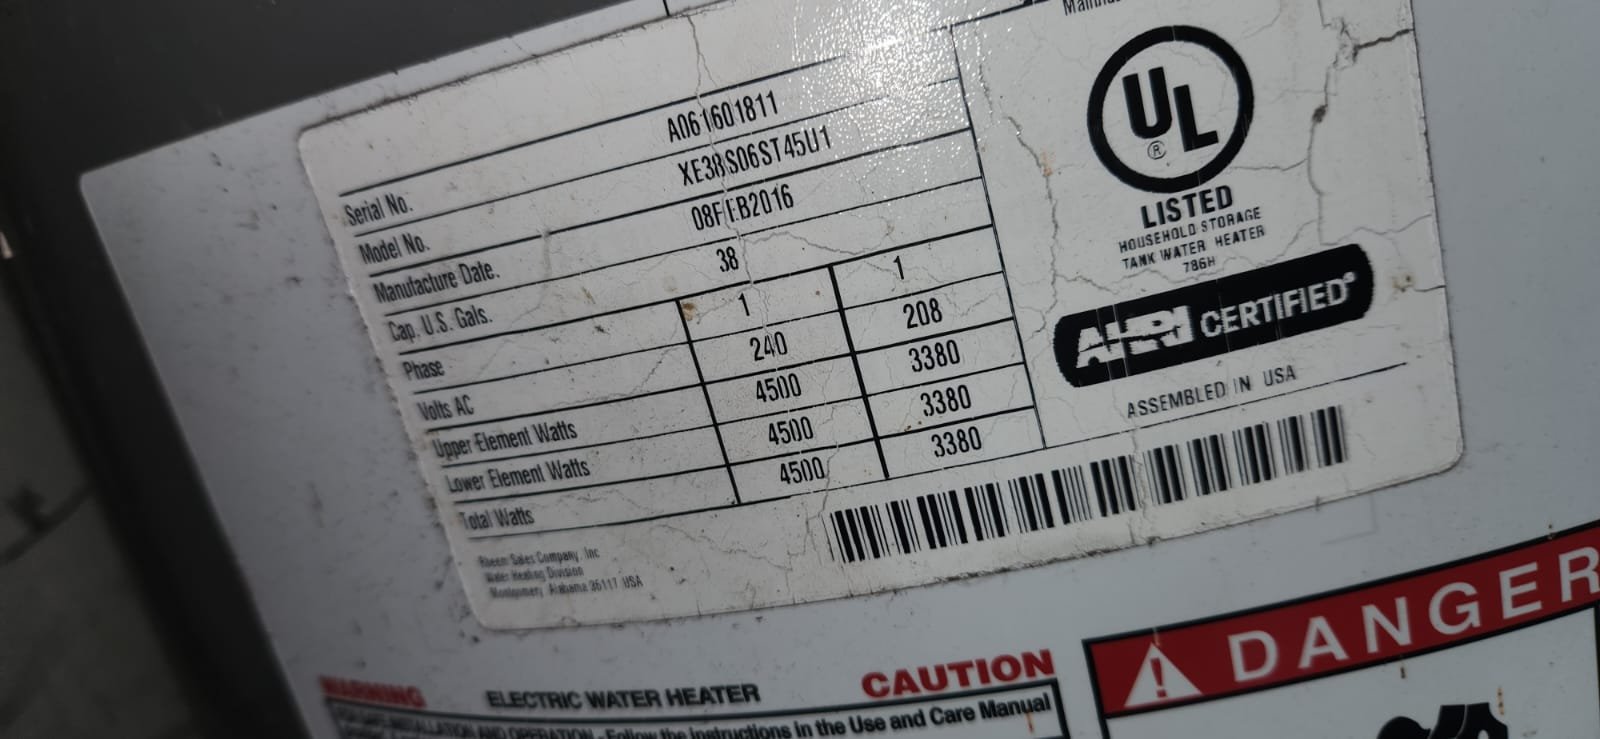
This visit in Tampa wasn’t about a breakdown or an emergency; it was about staying ahead of problems. The homeowner is on our Premium Therapy Plan and scheduled Visit #5 as part of their ongoing maintenance. With a system around six years old, it’s at the stage where regular care makes a big difference in how long it will last and how efficiently it will run.
The main concerns we typically hear from homeowners in Tampa, FL 33626 around this point in a system’s life are:
- Wanting to avoid surprise breakdowns in the middle of summer.
- Keeping energy bills from creeping up year after year.
- Making sure drainage is good so there are no water leaks or ceiling damage.
- Confirming that any accessories—like UV lights—are still doing their job.
Even though this system was reported to be cooling the home, the homeowner wanted the peace of mind that comes from a professional inspection and cleaning. That’s exactly what the Premium Therapy Plan is designed to provide for homeowners across Tampa Bay, including neighborhoods in Tampa, FL 33626.
Inspection and Diagnosis
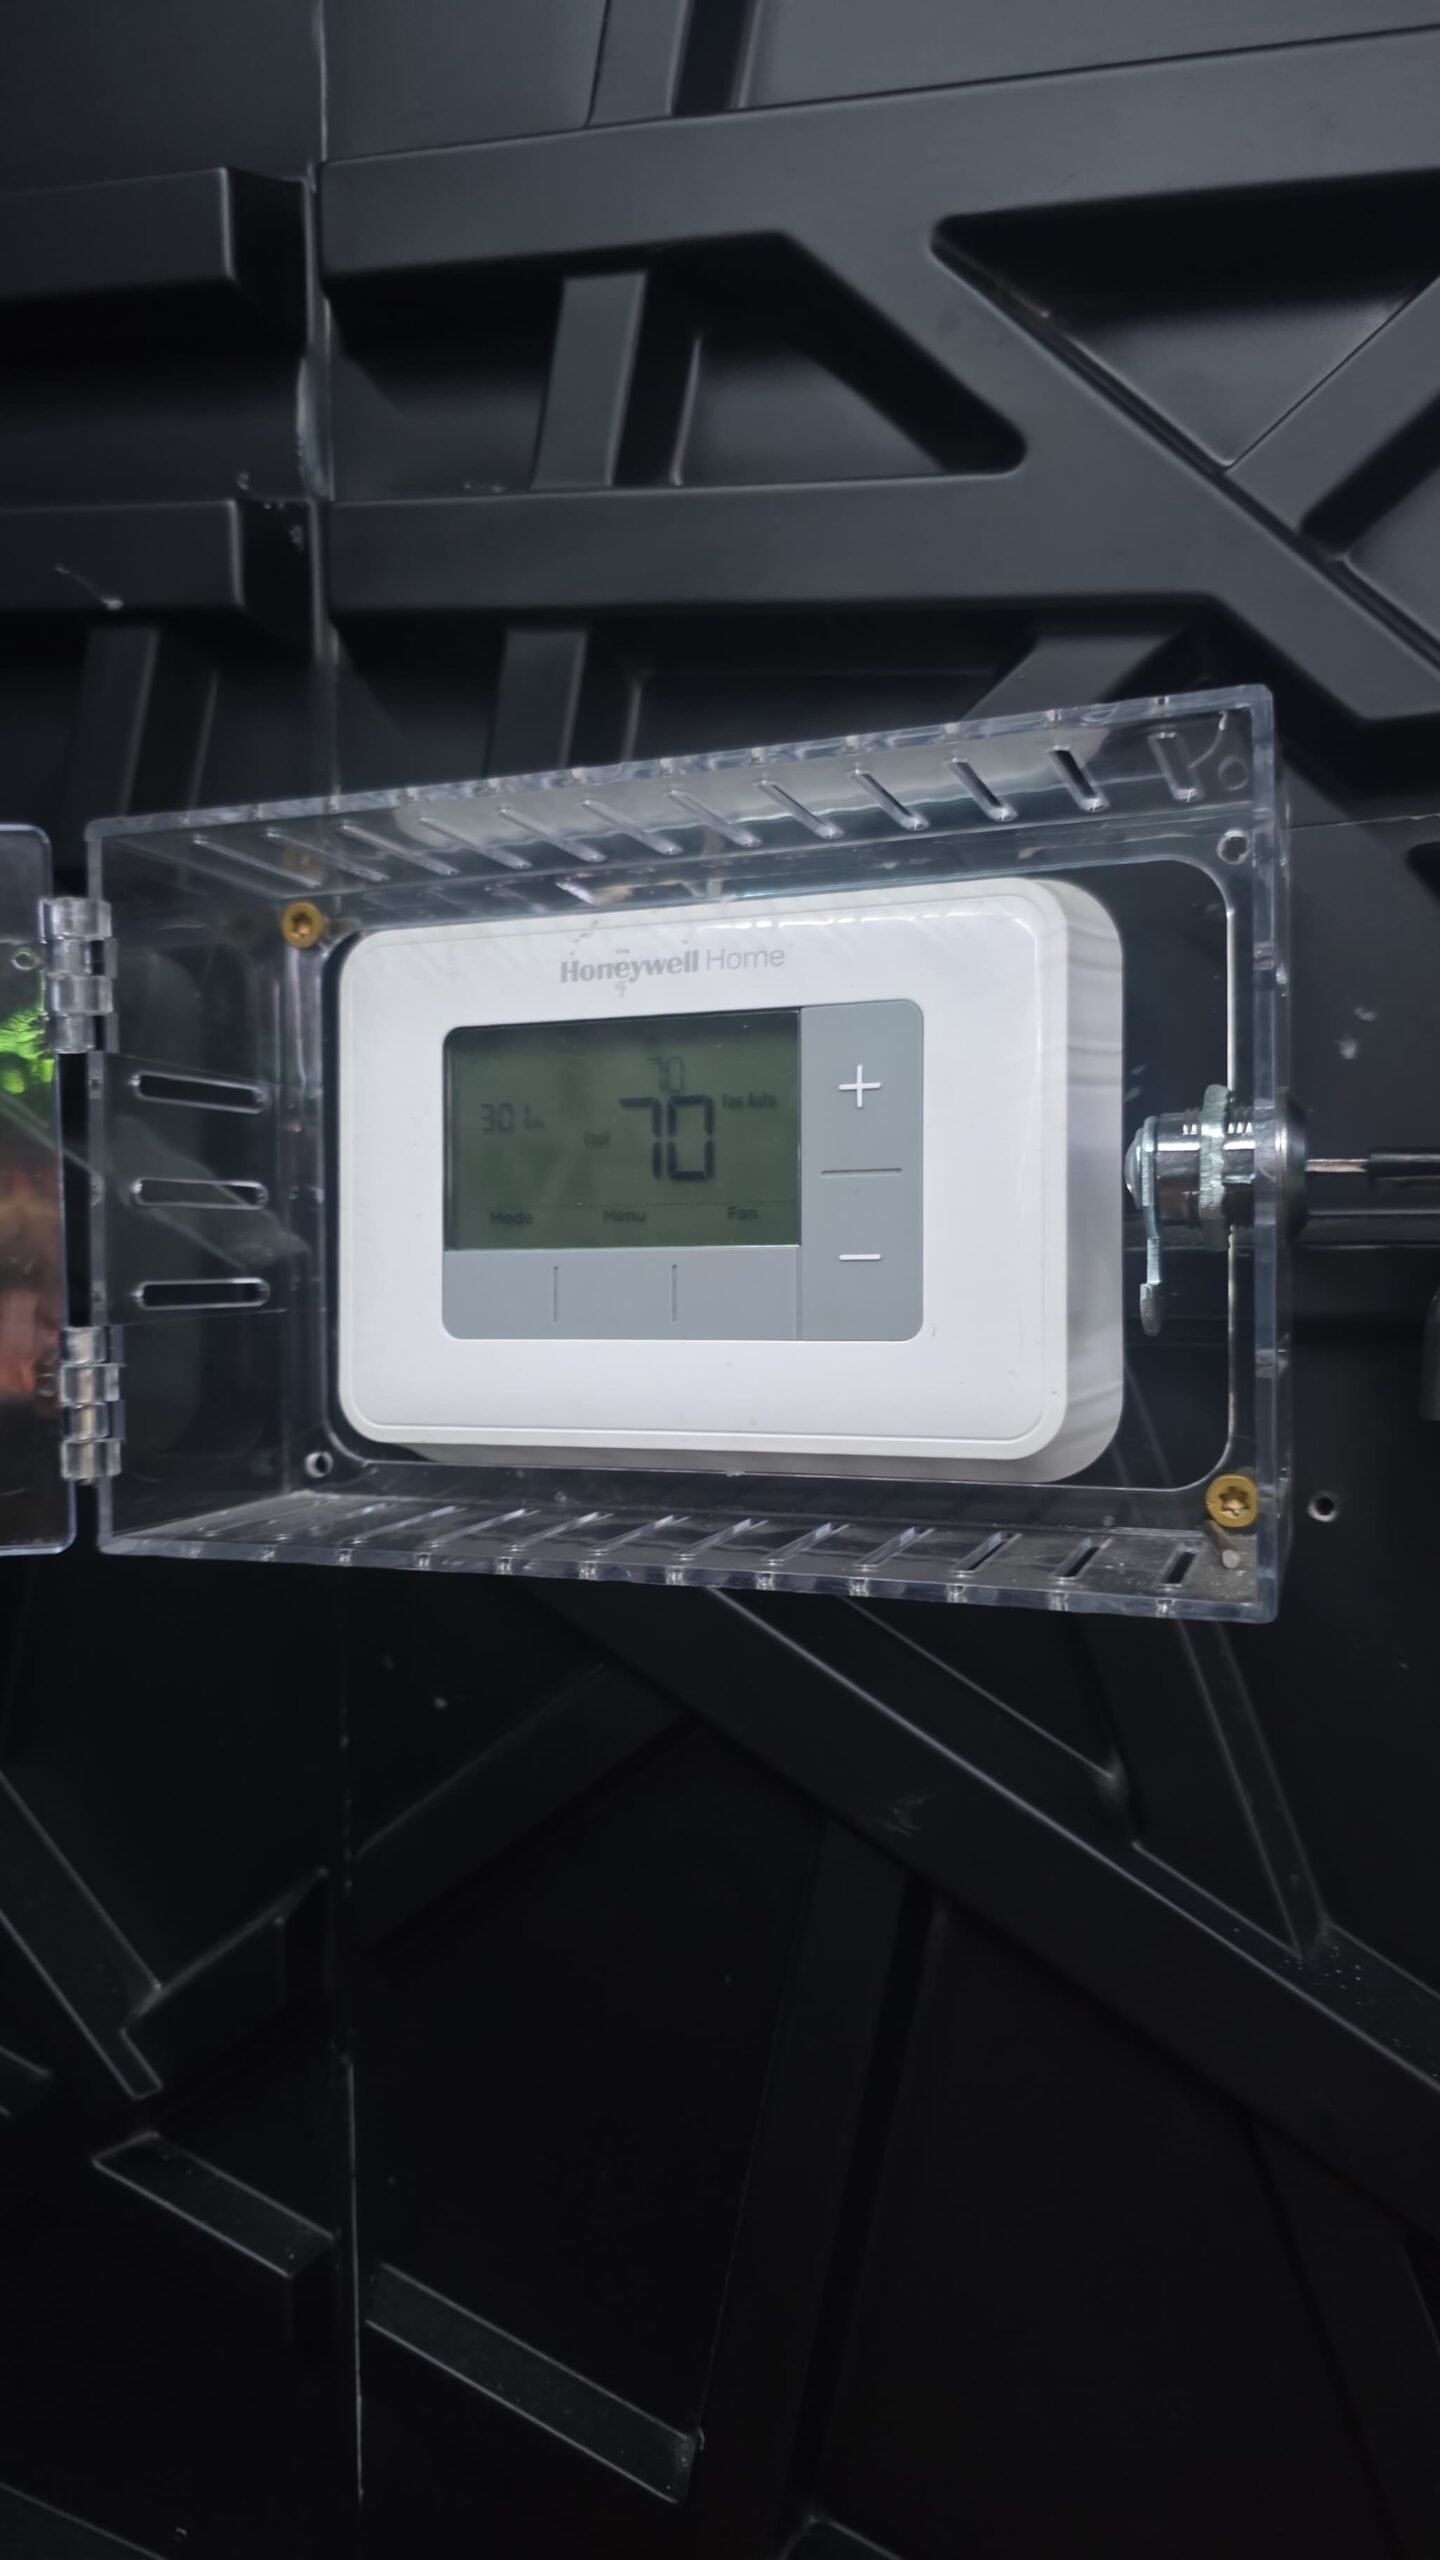
On every maintenance visit, we approach the system step by step. For this Premium Therapy Plan visit in Tampa, our technician started with a full operational check. That means we don’t just look at one component—we look at how everything works together.
Here’s how we broke down the inspection:
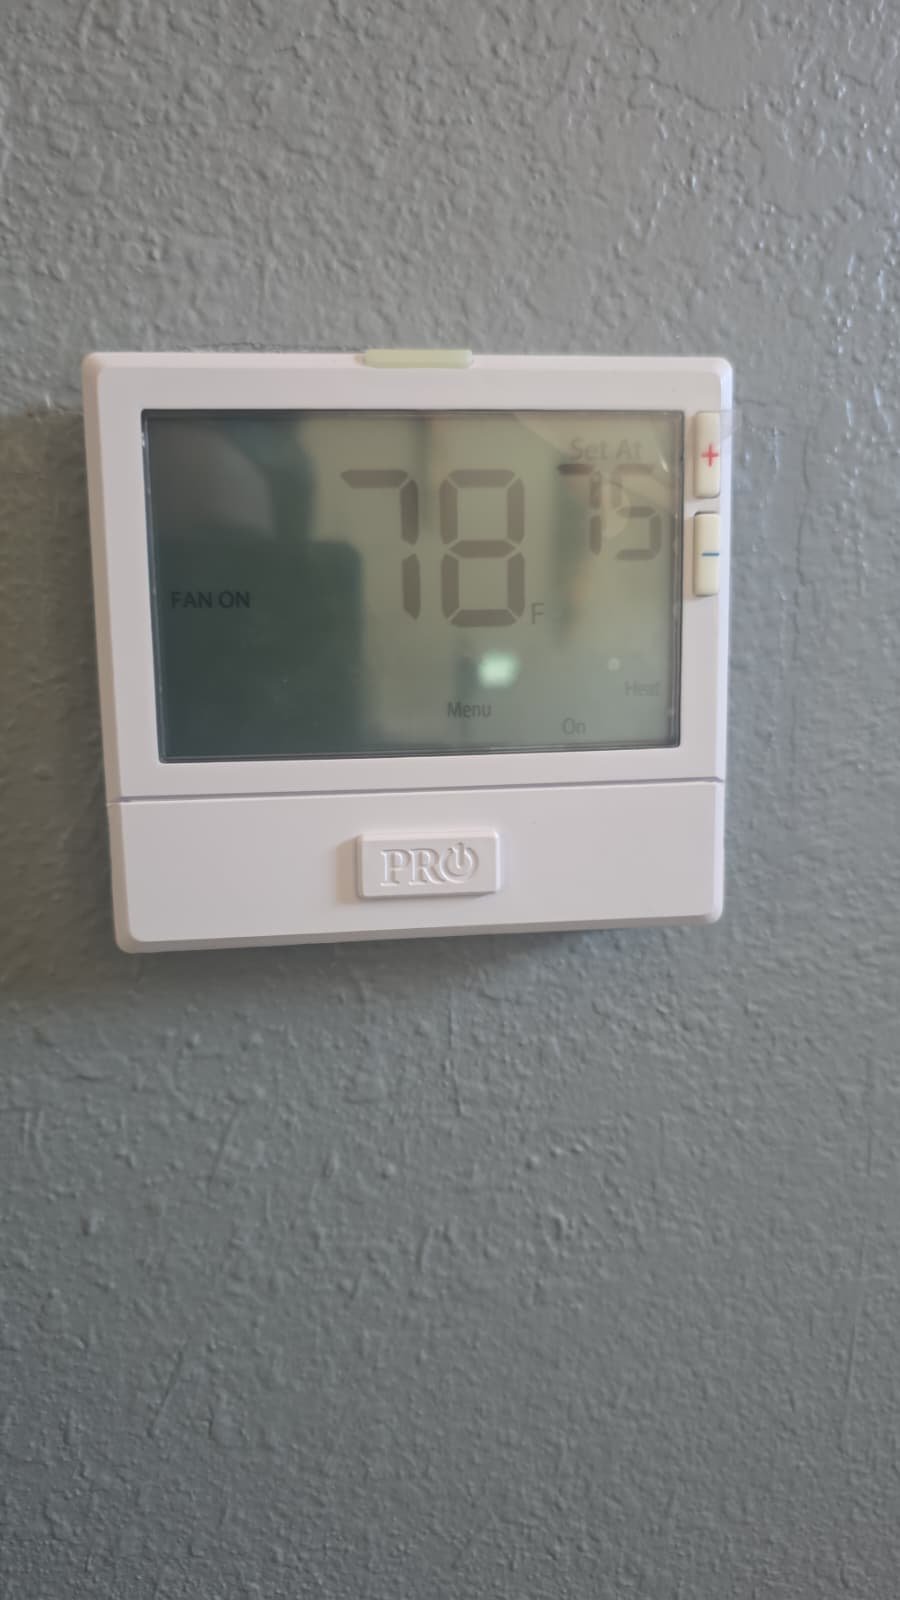
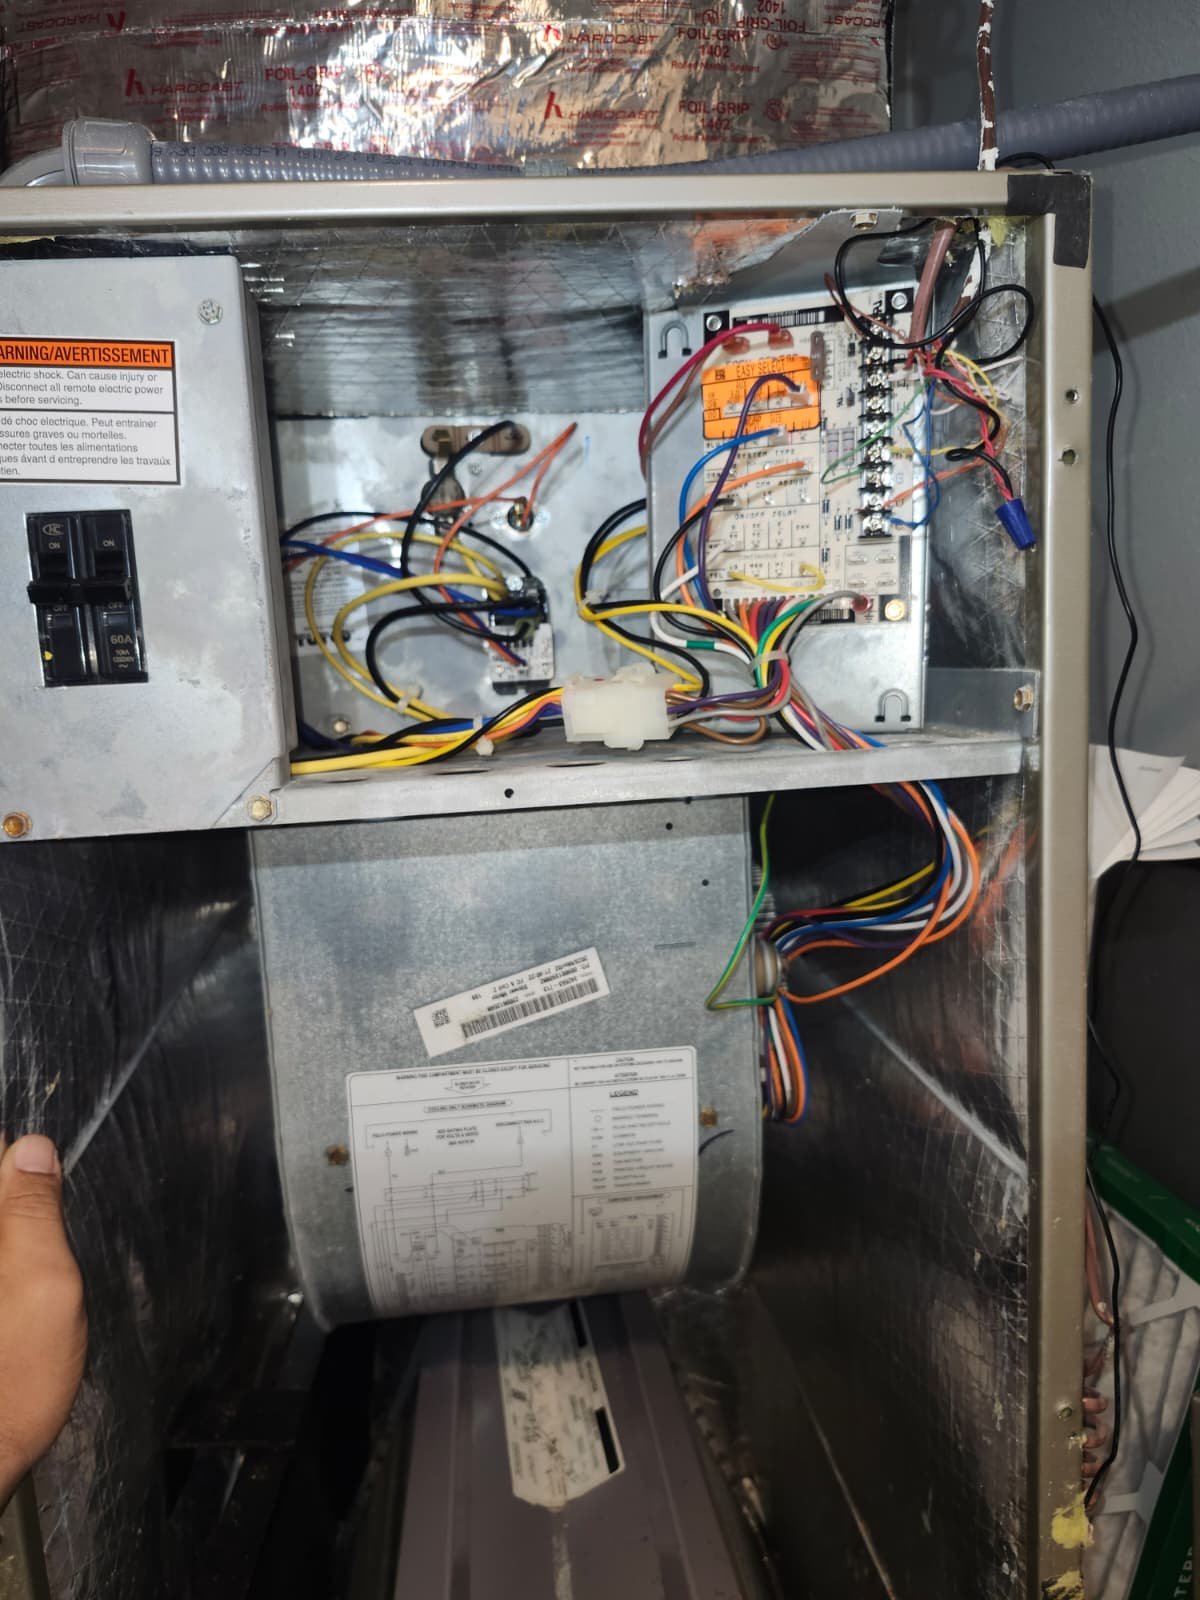
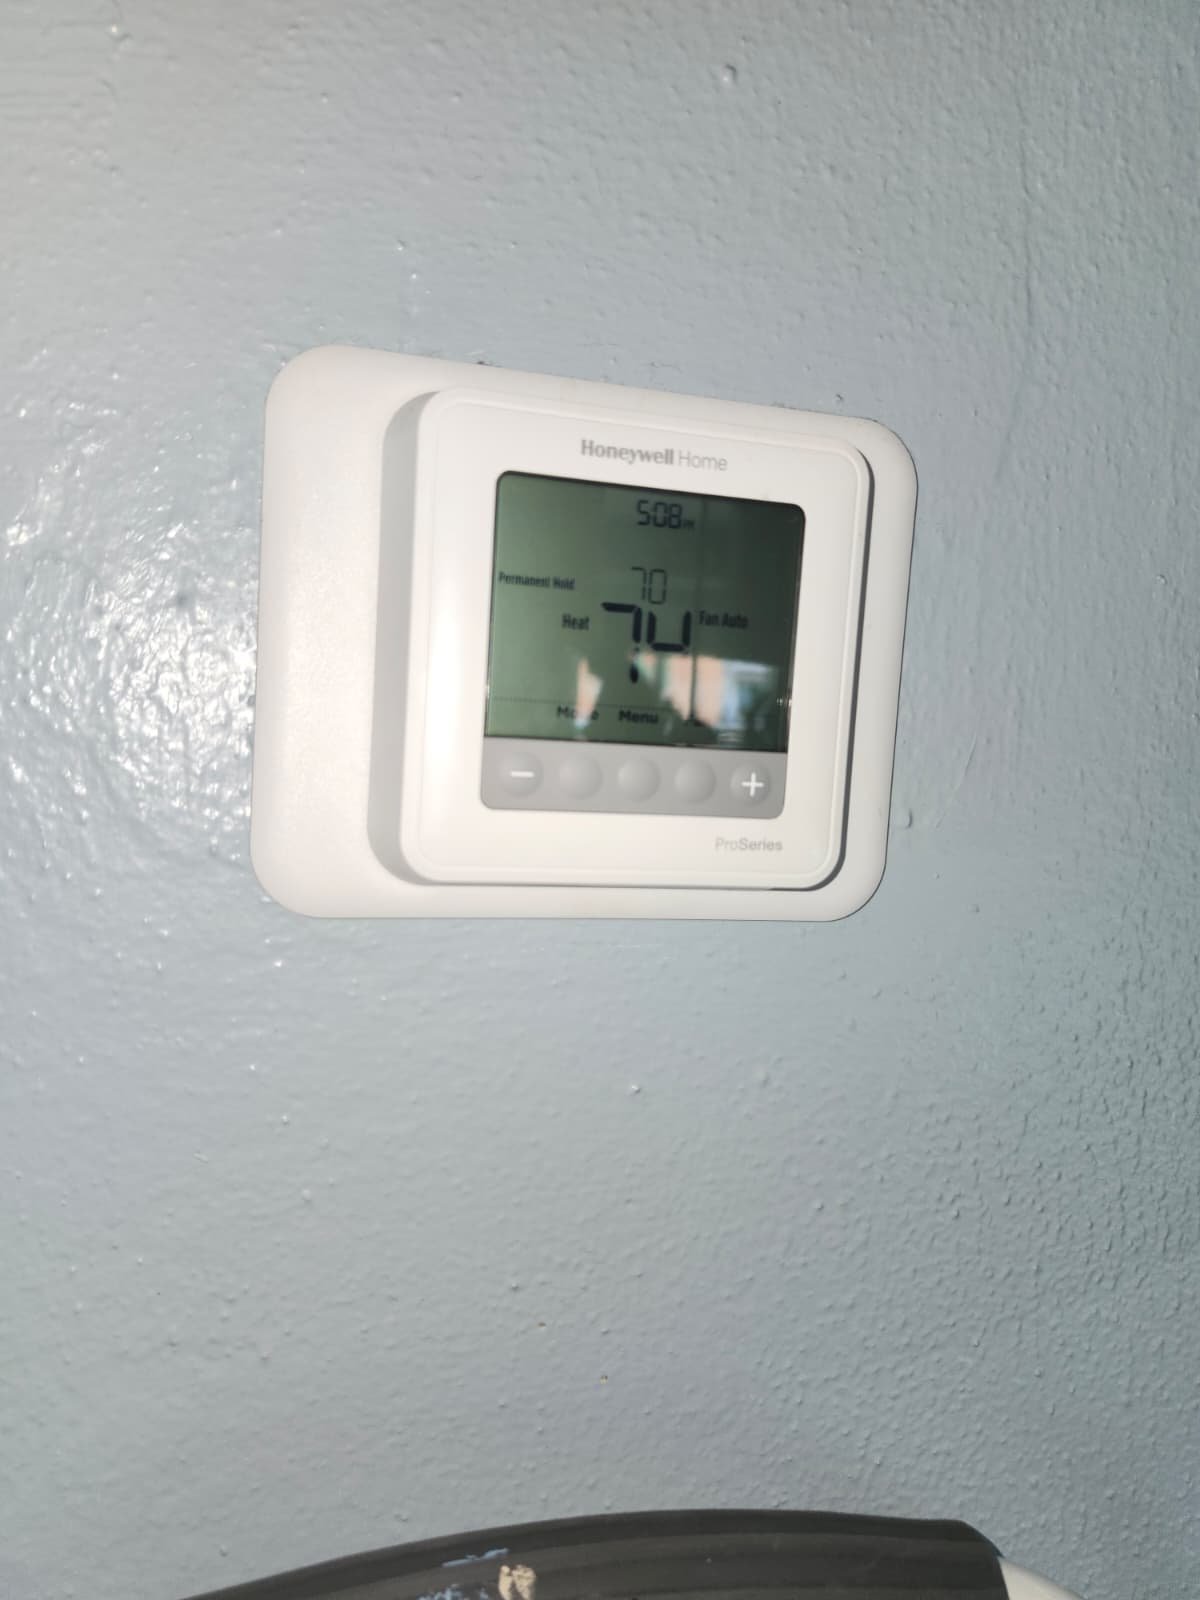
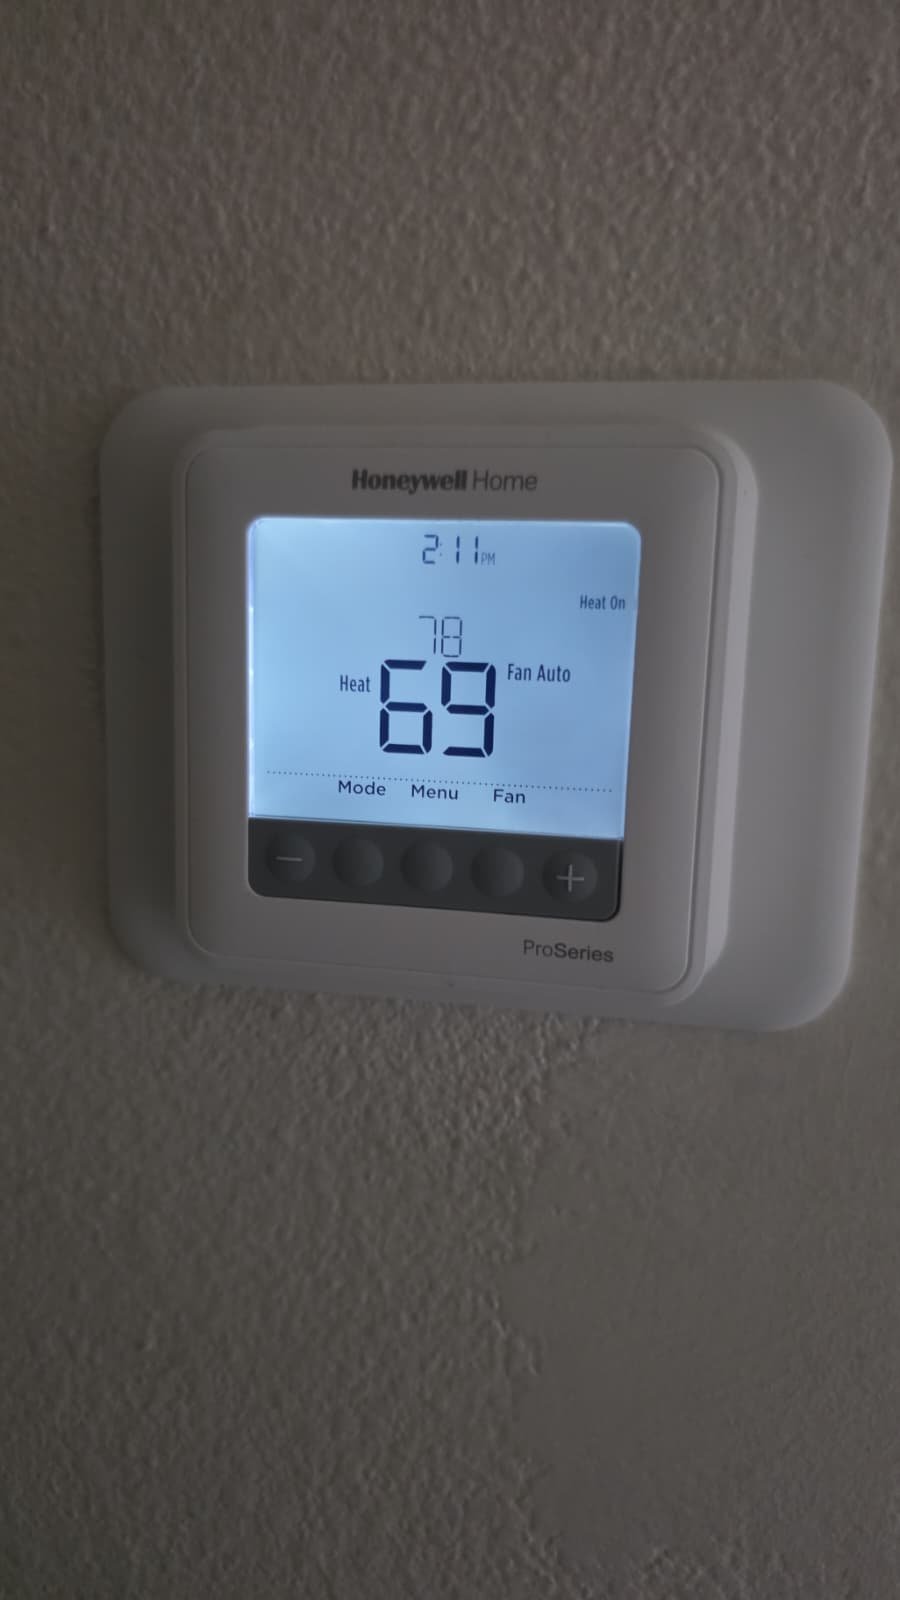
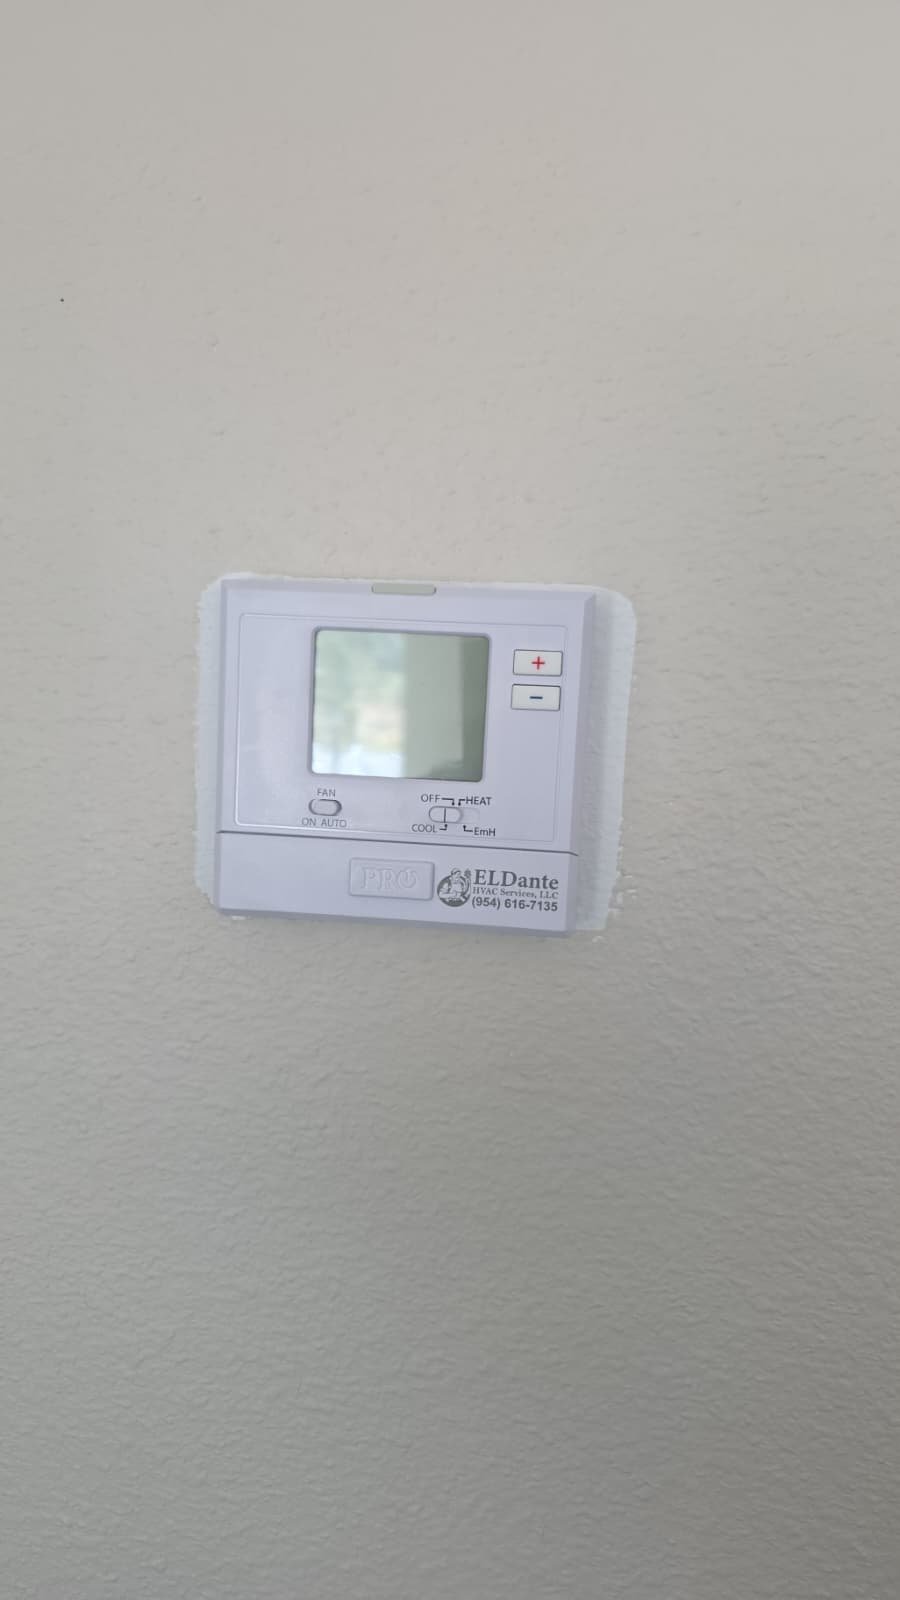
1. General System Operation
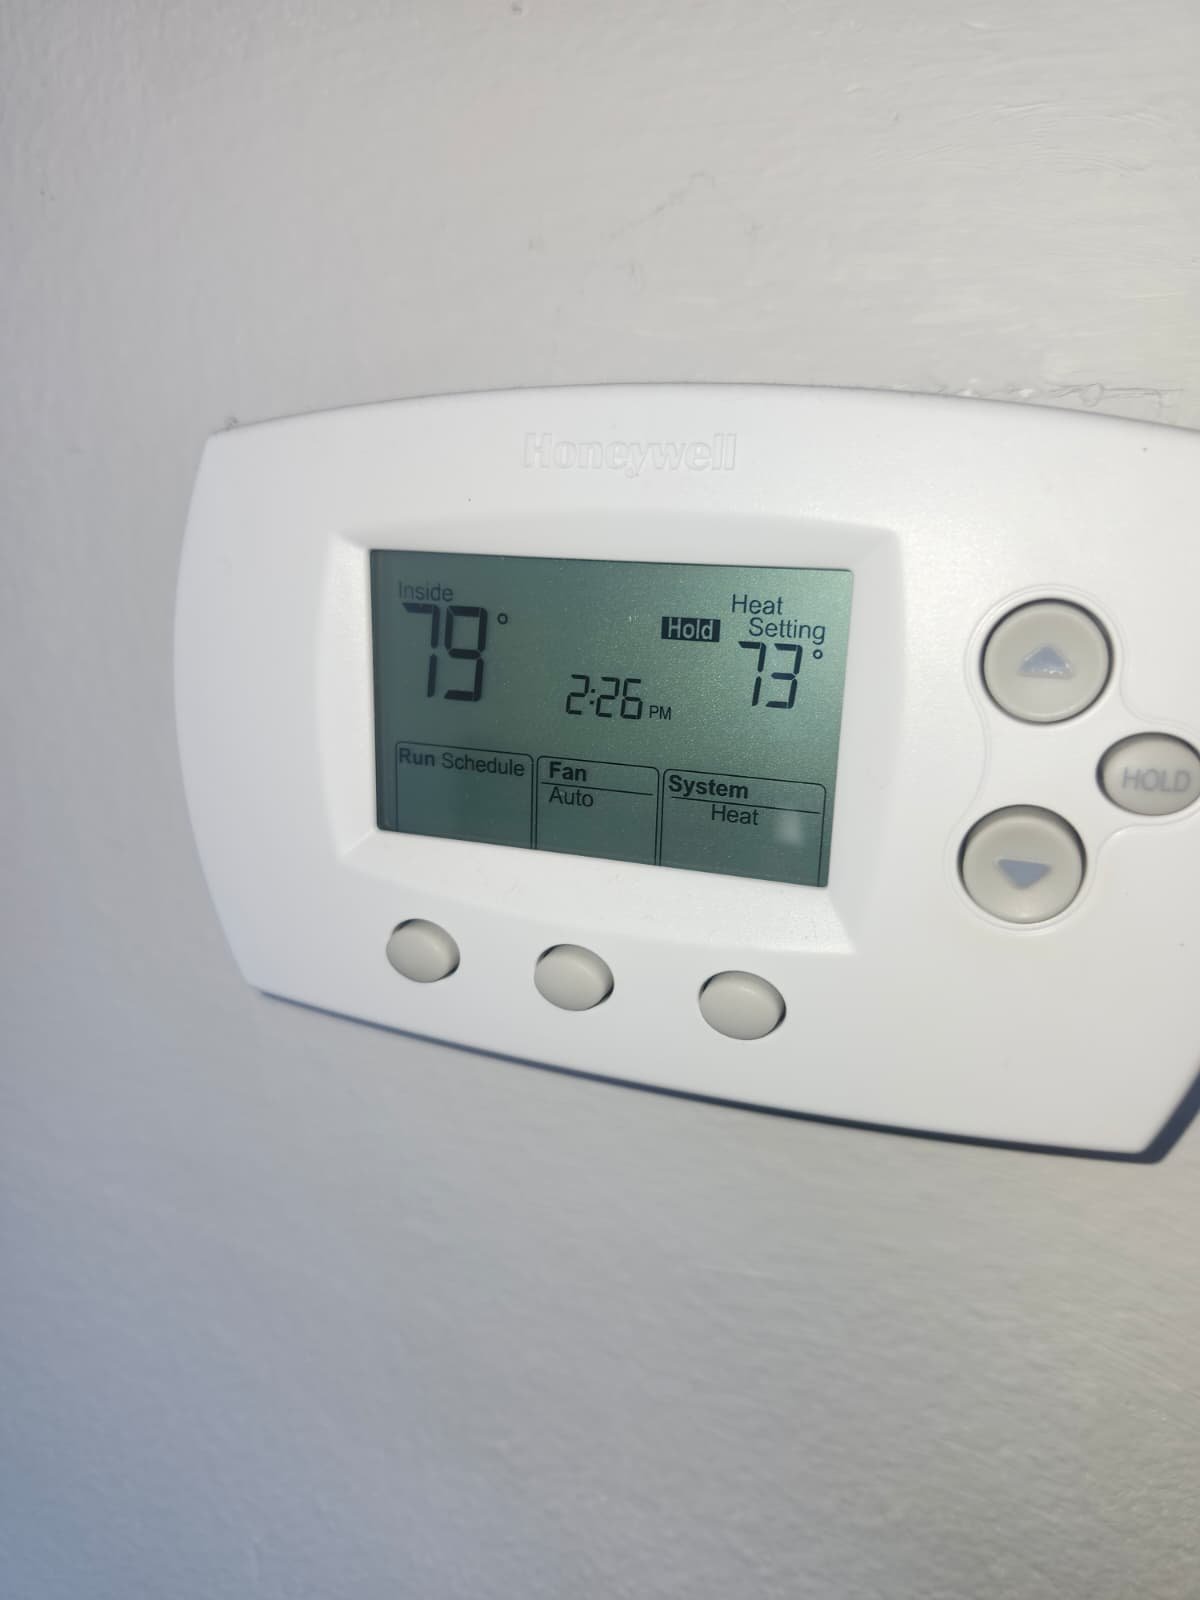
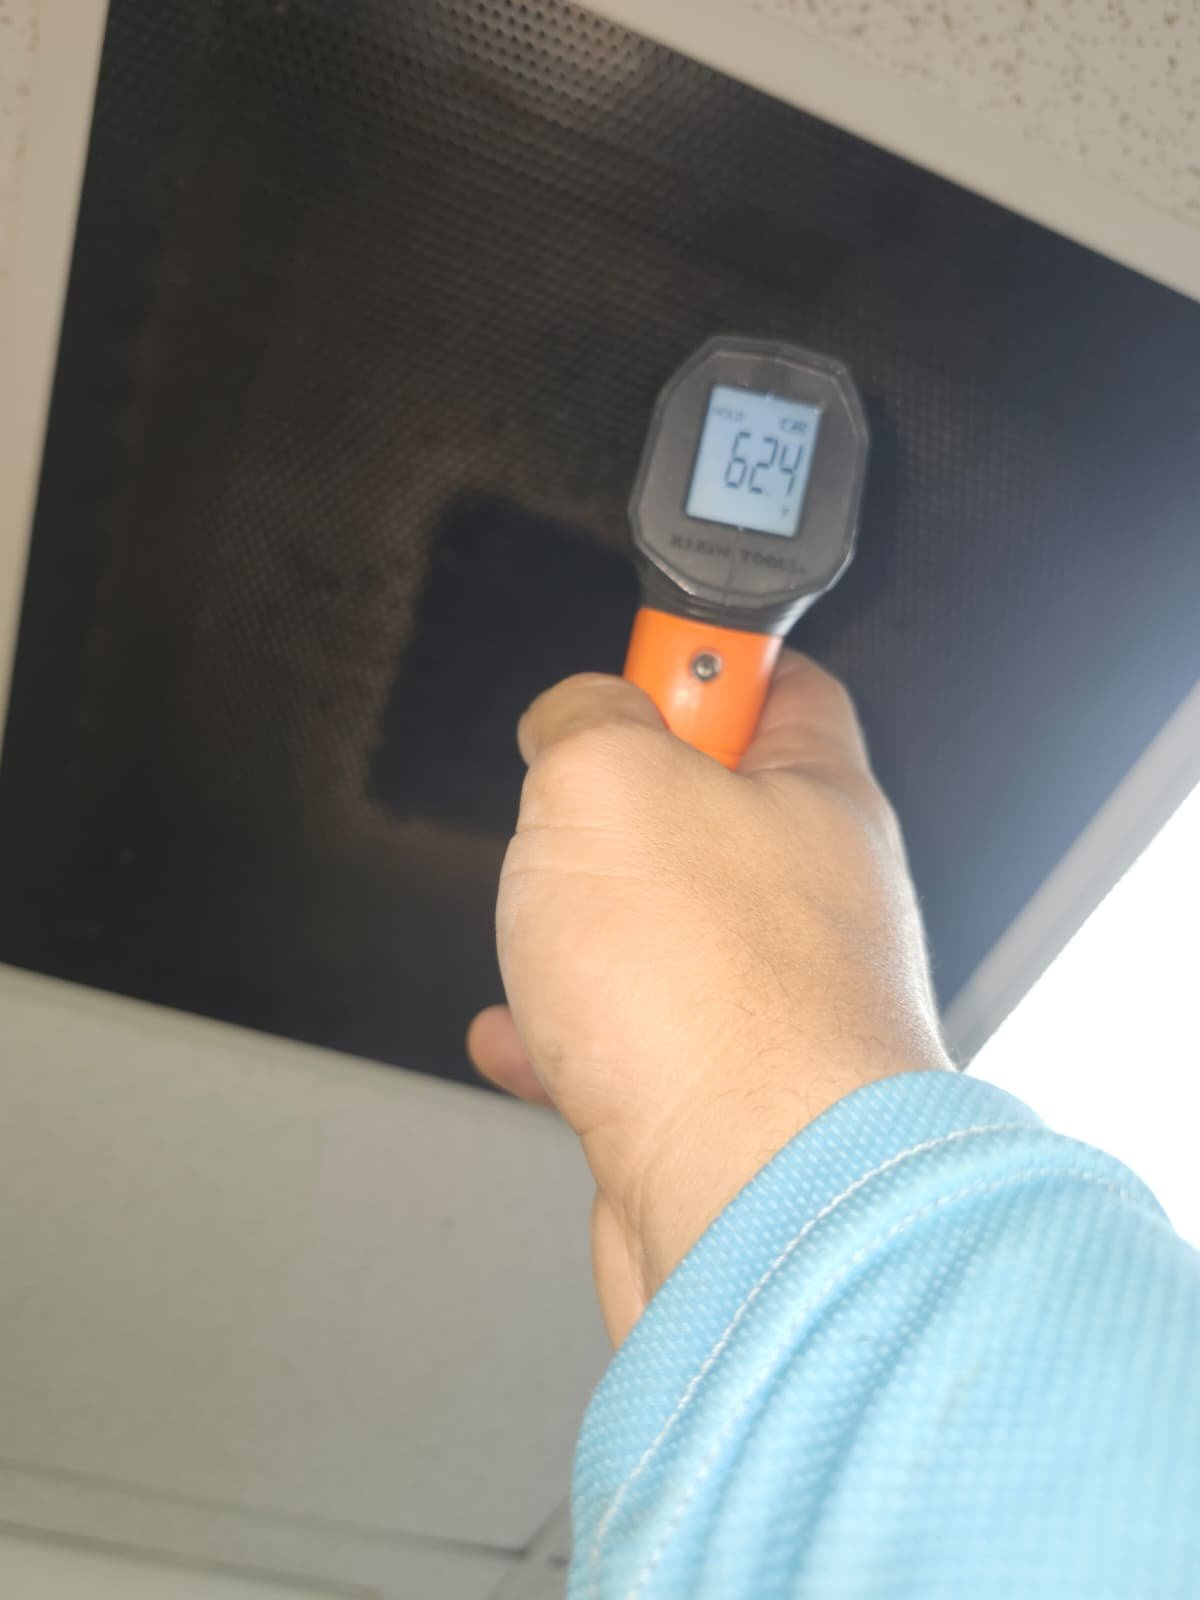
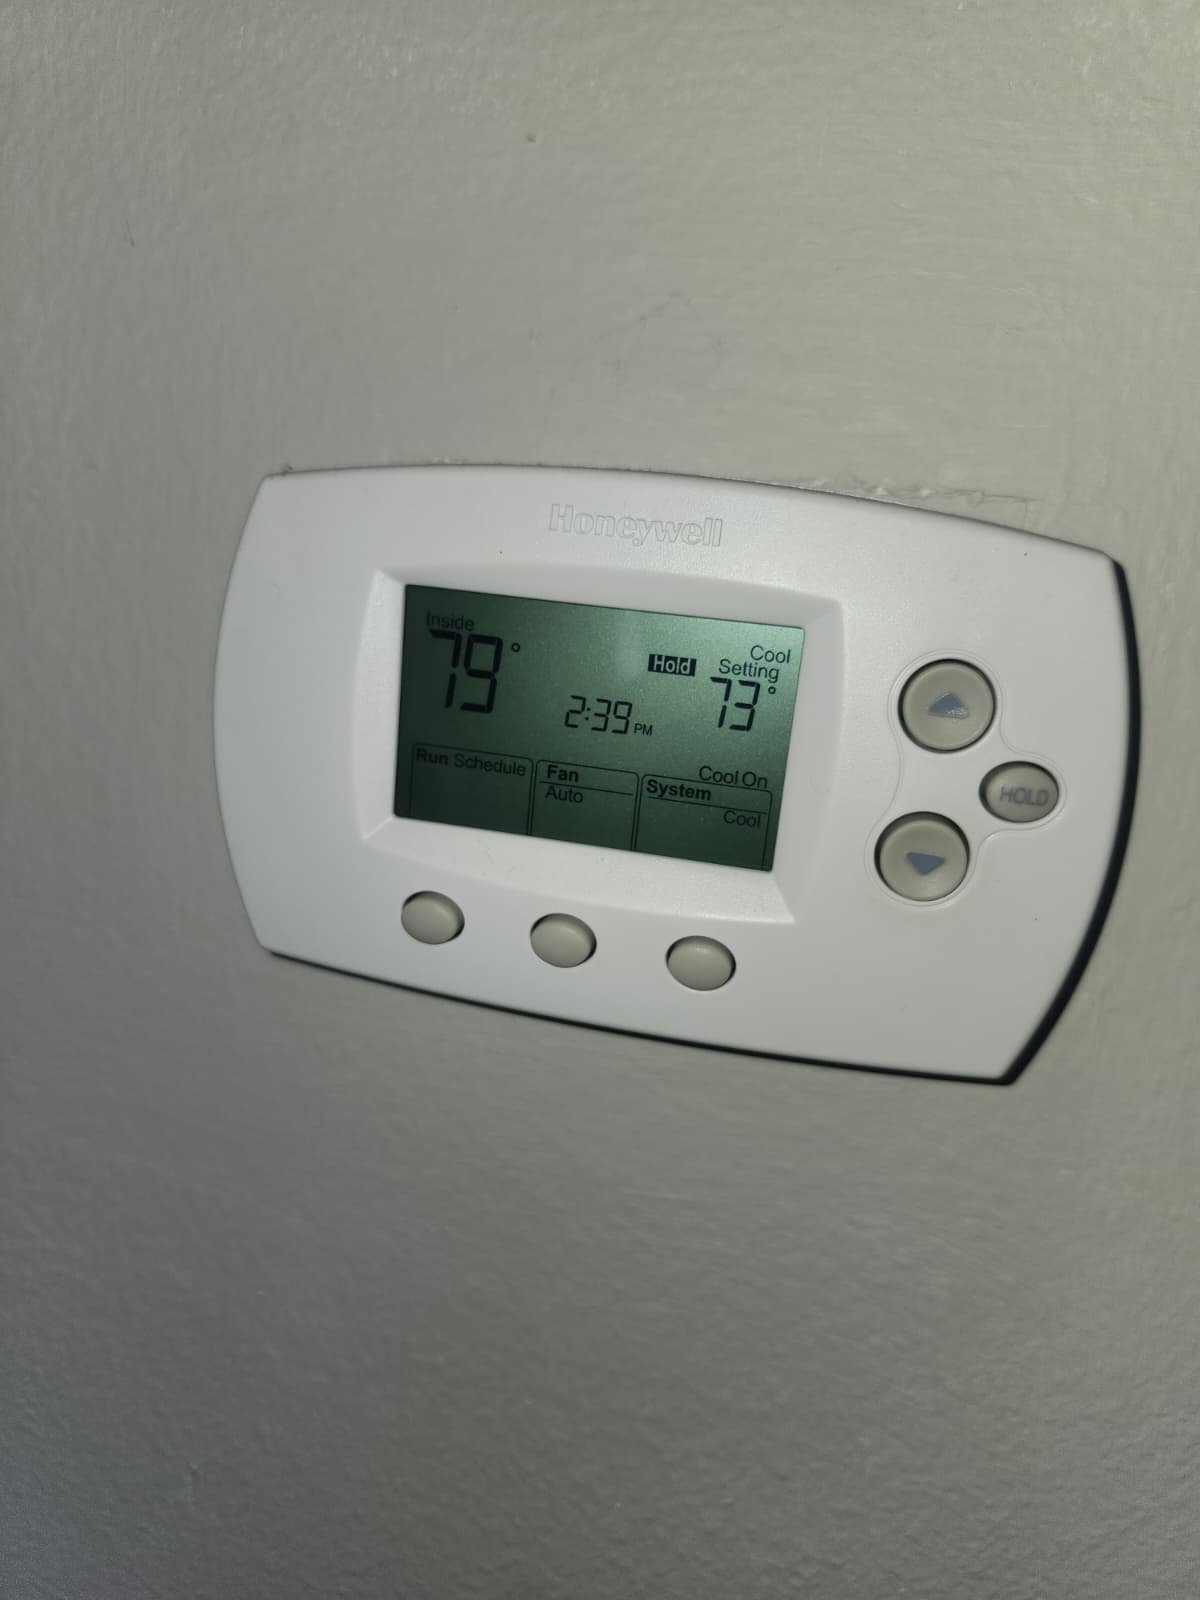
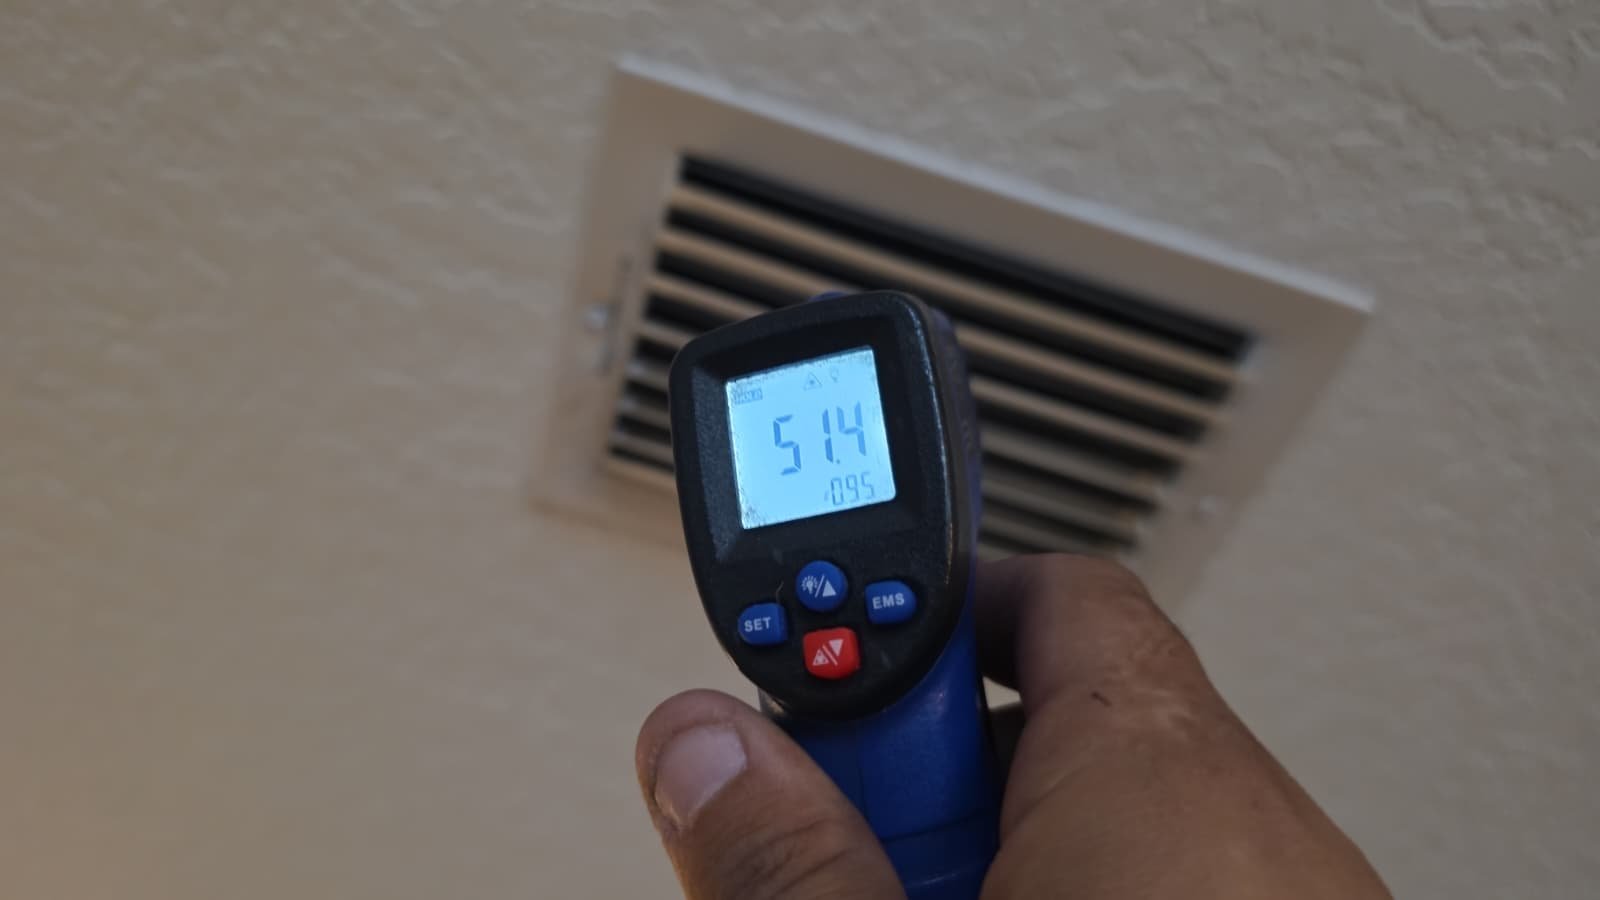
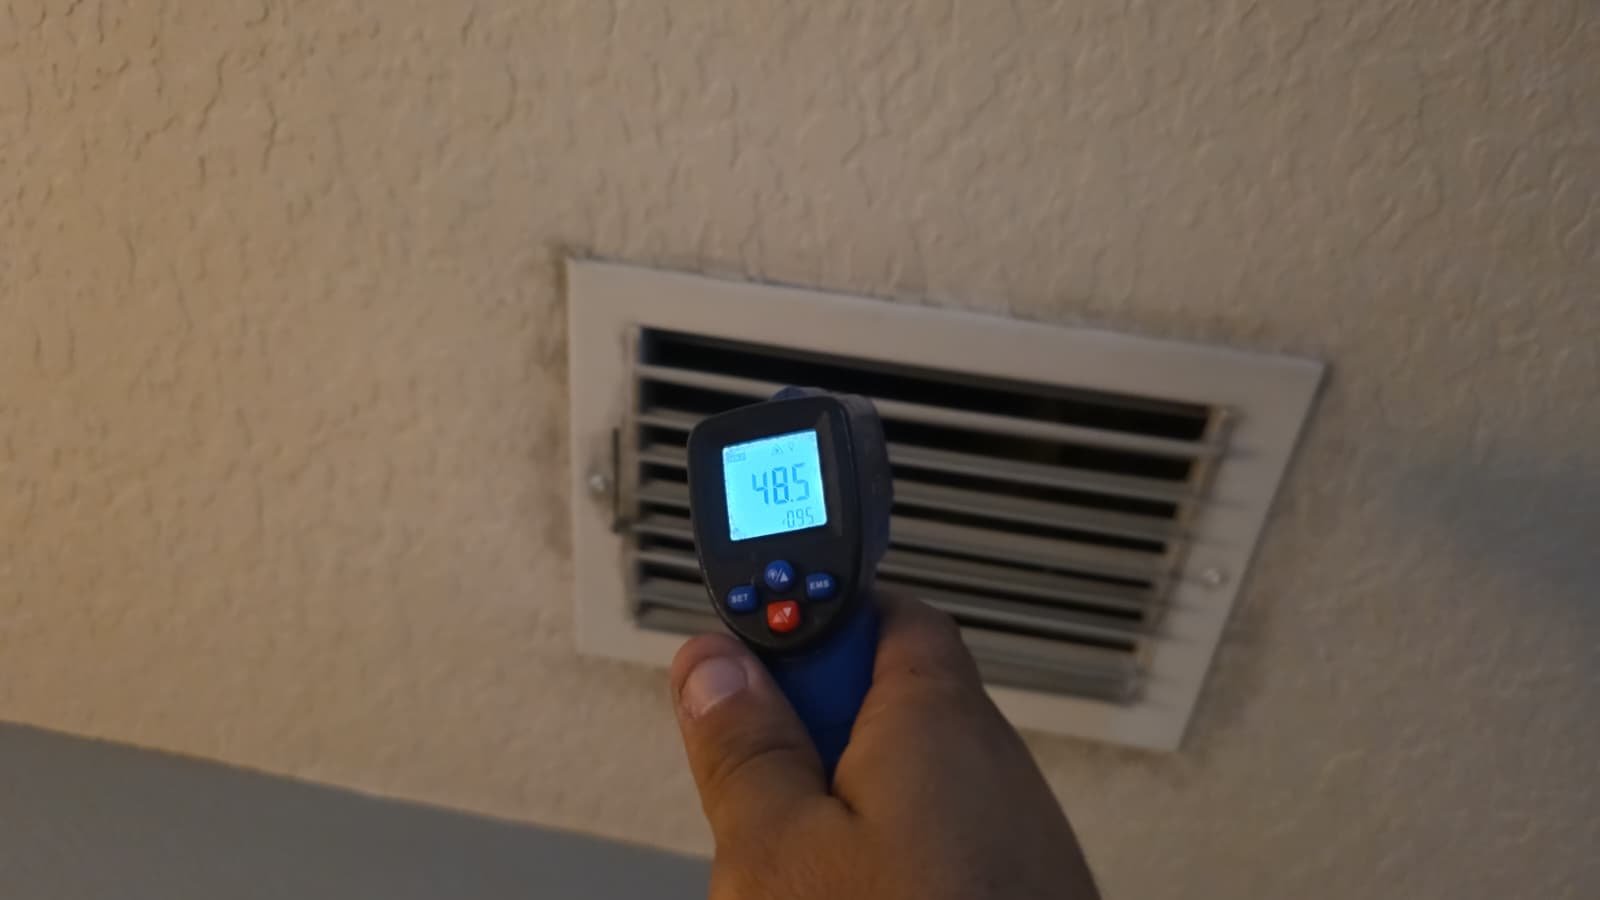
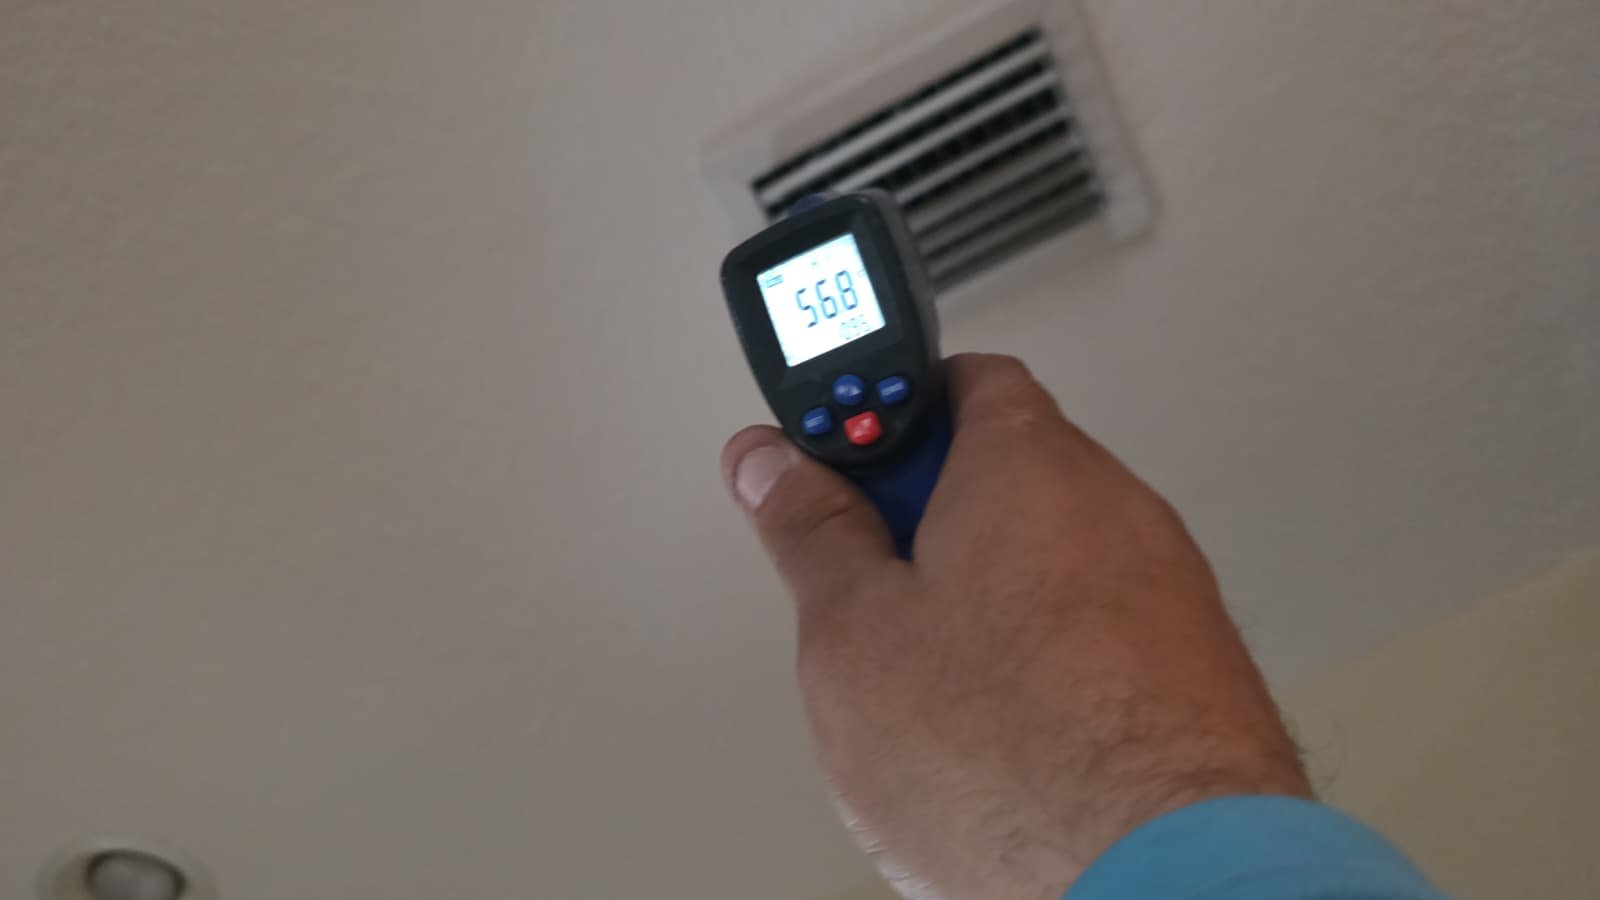
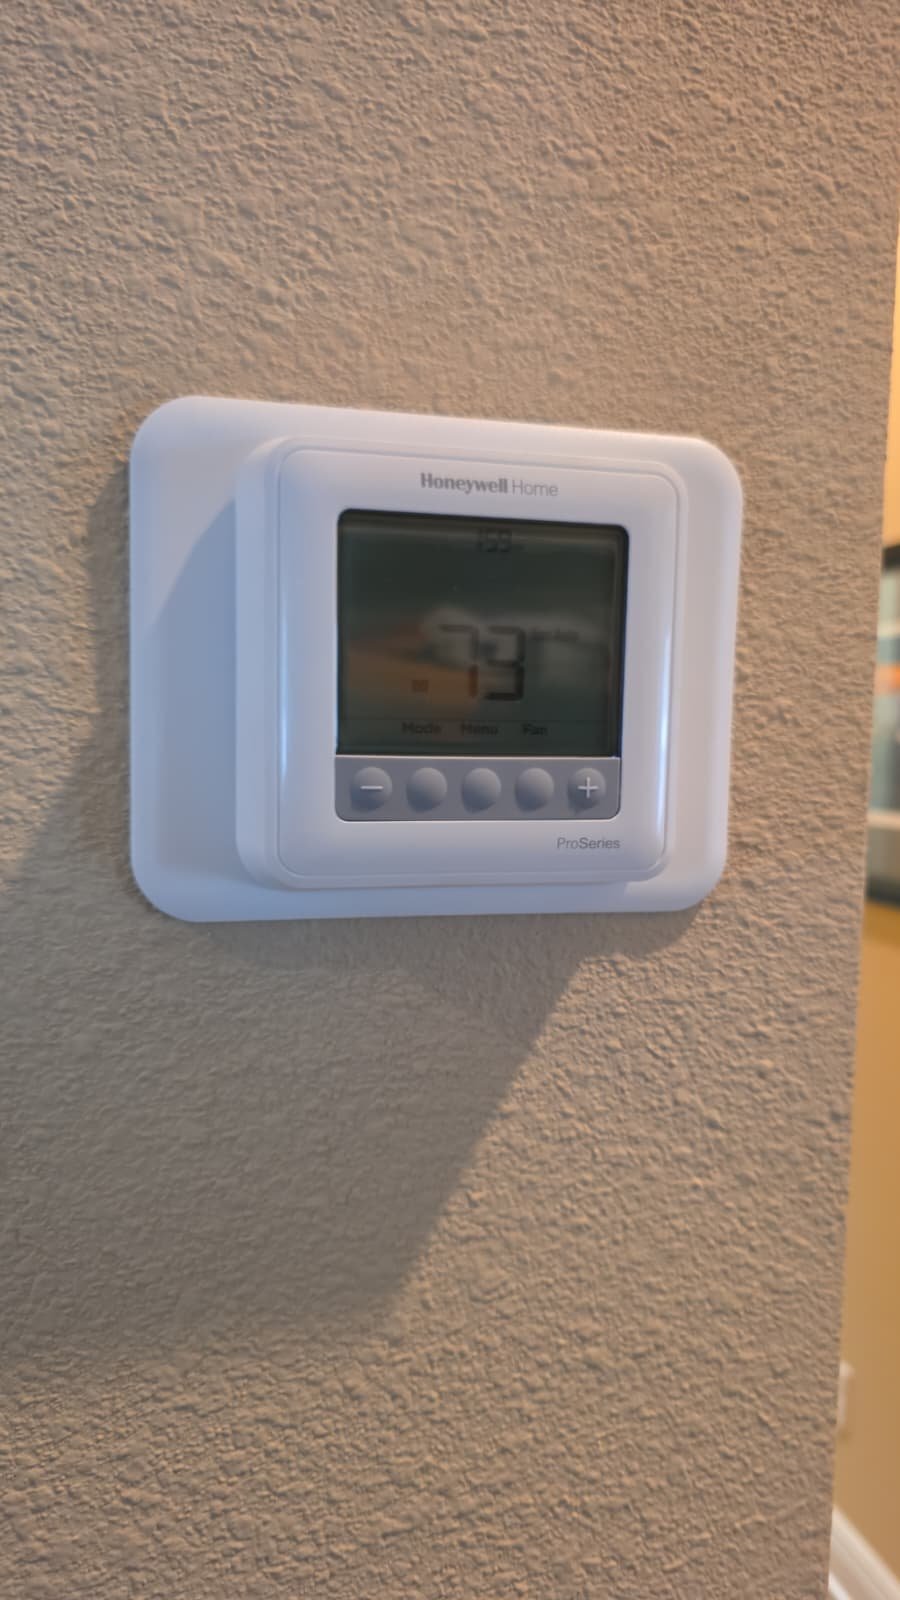
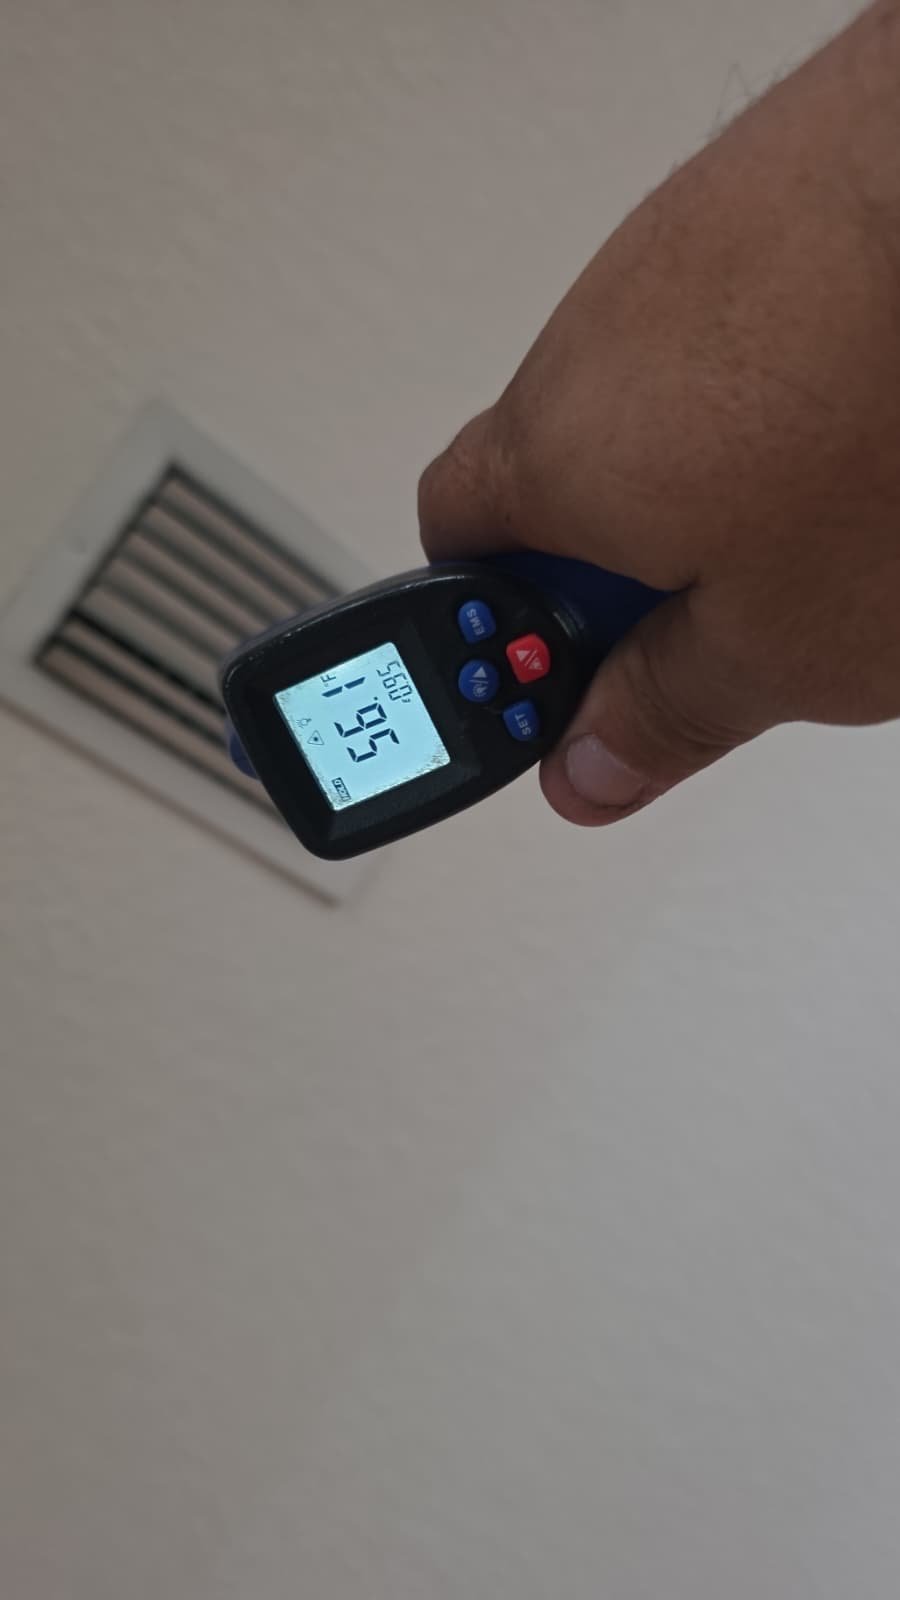
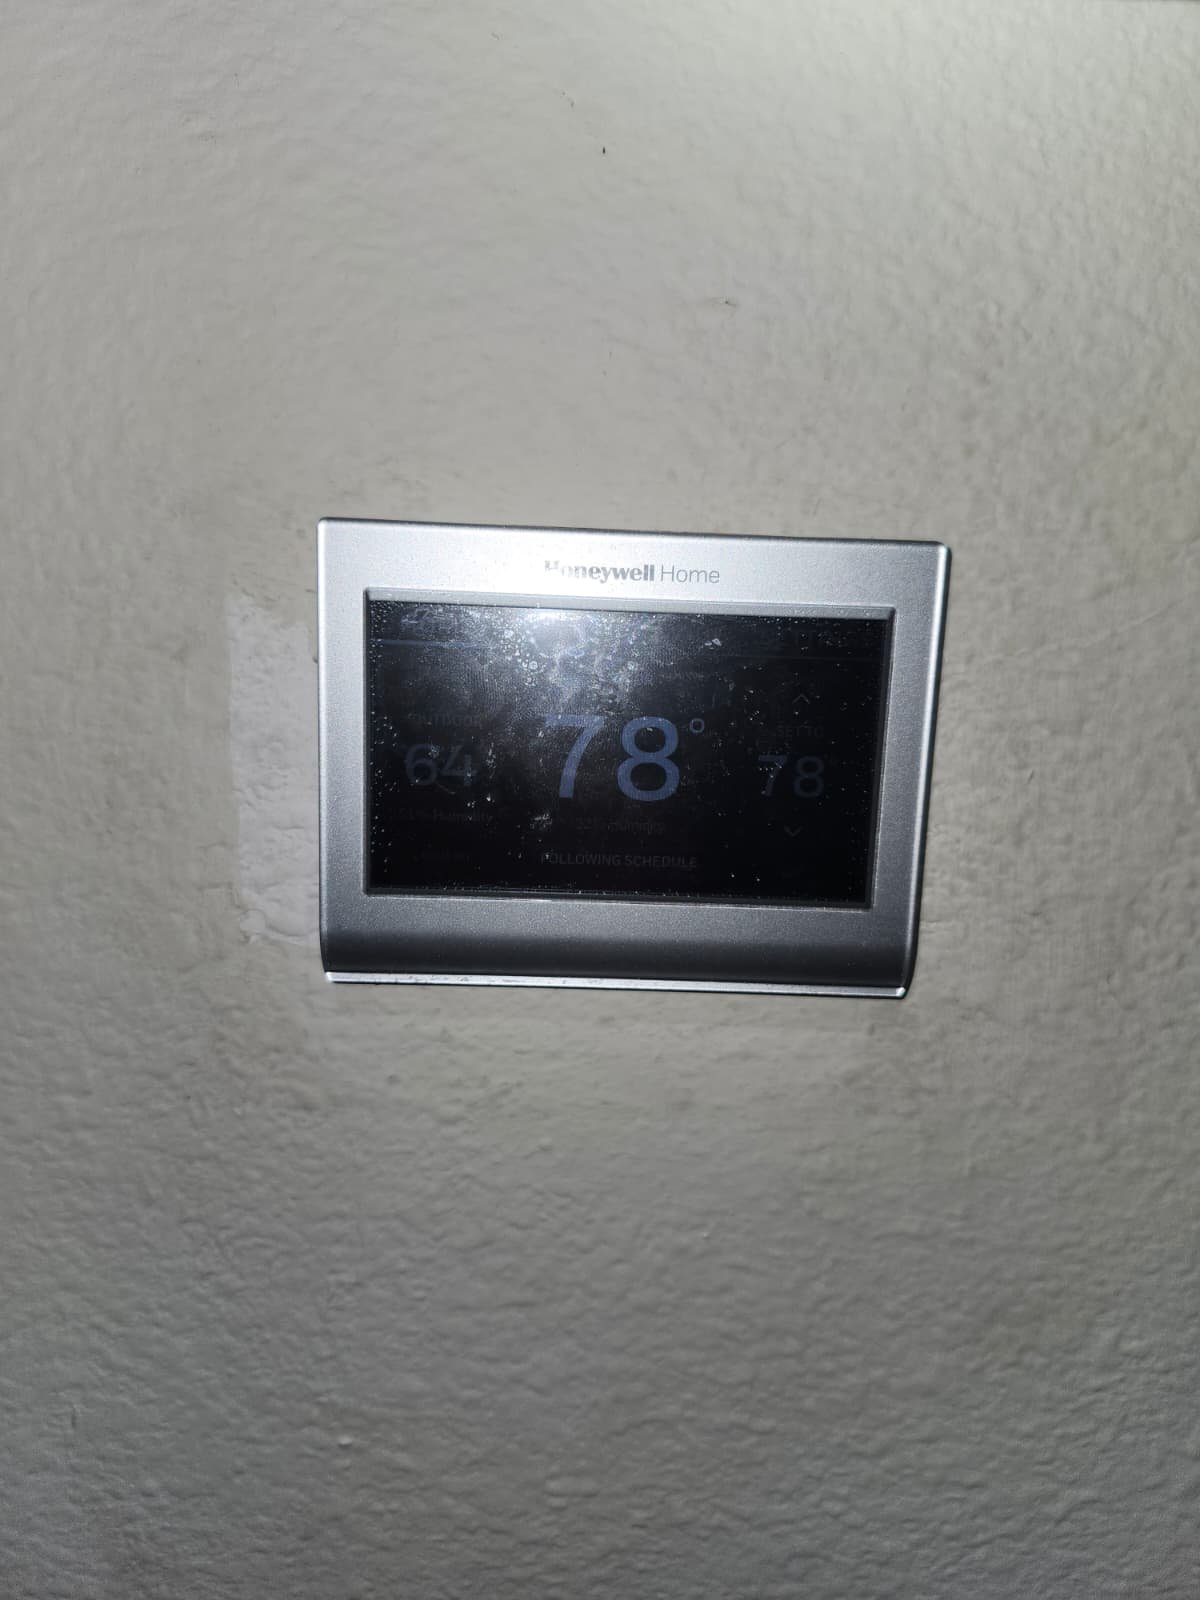
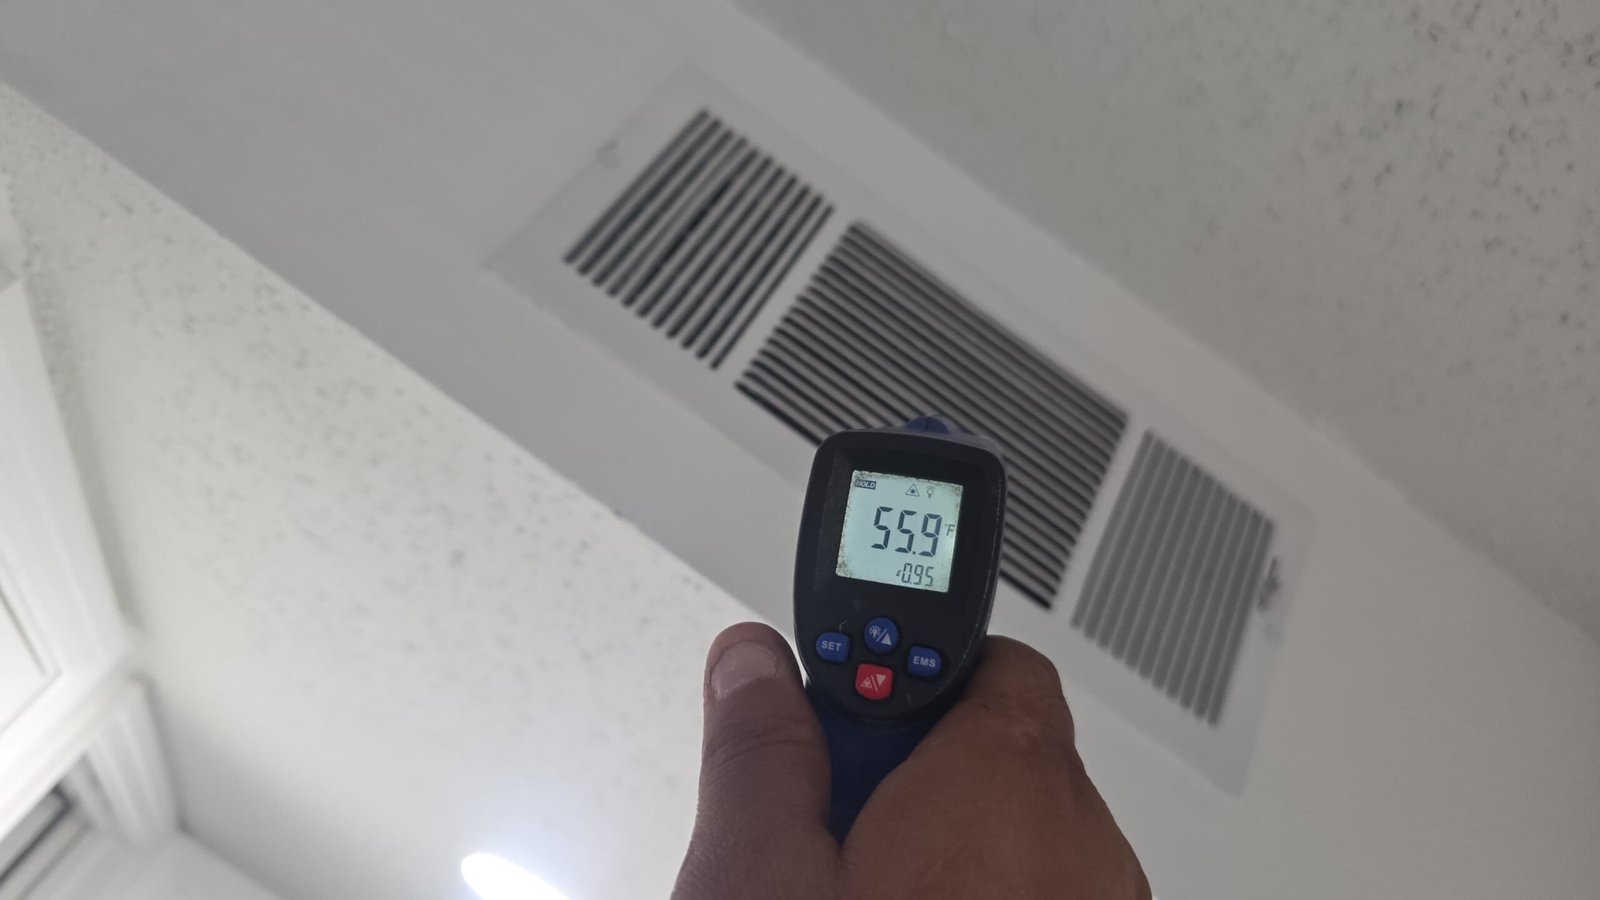
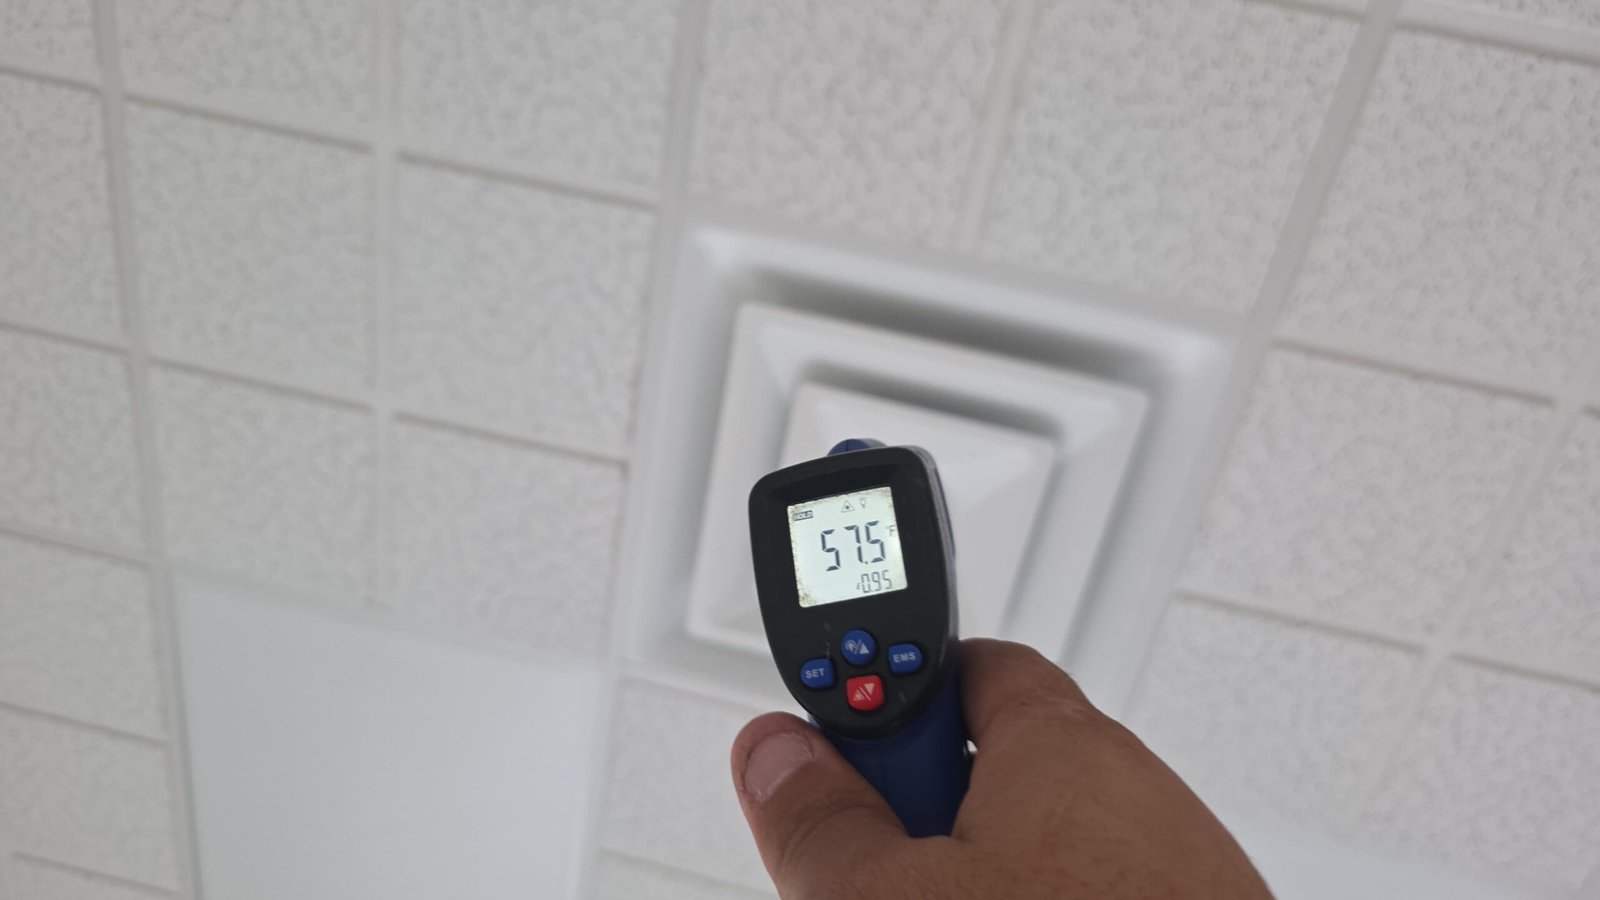
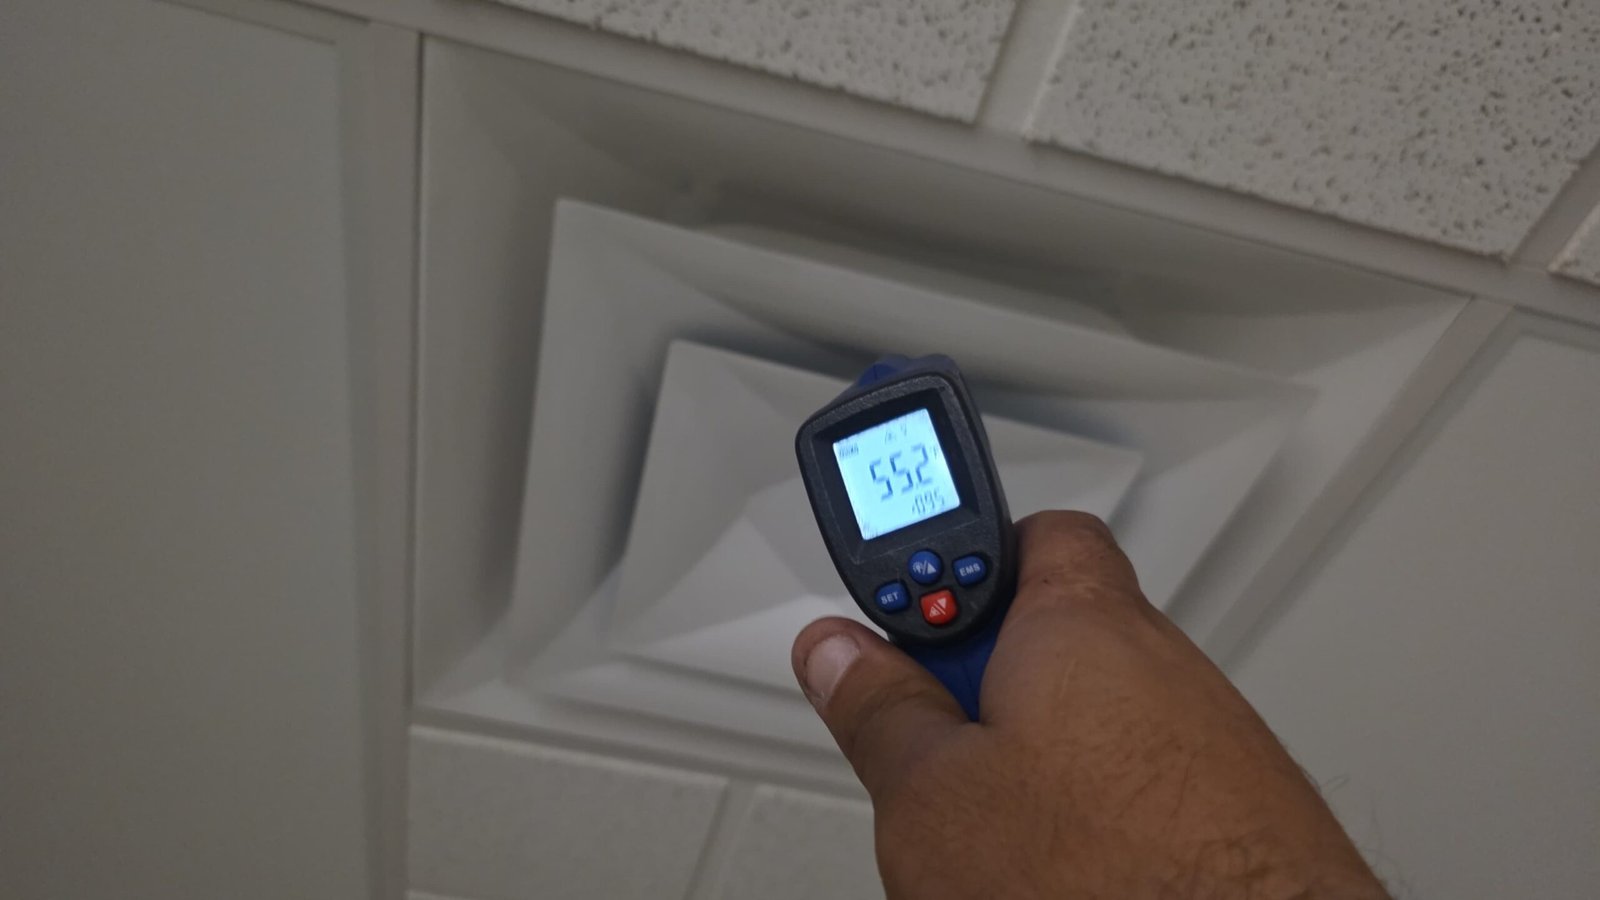
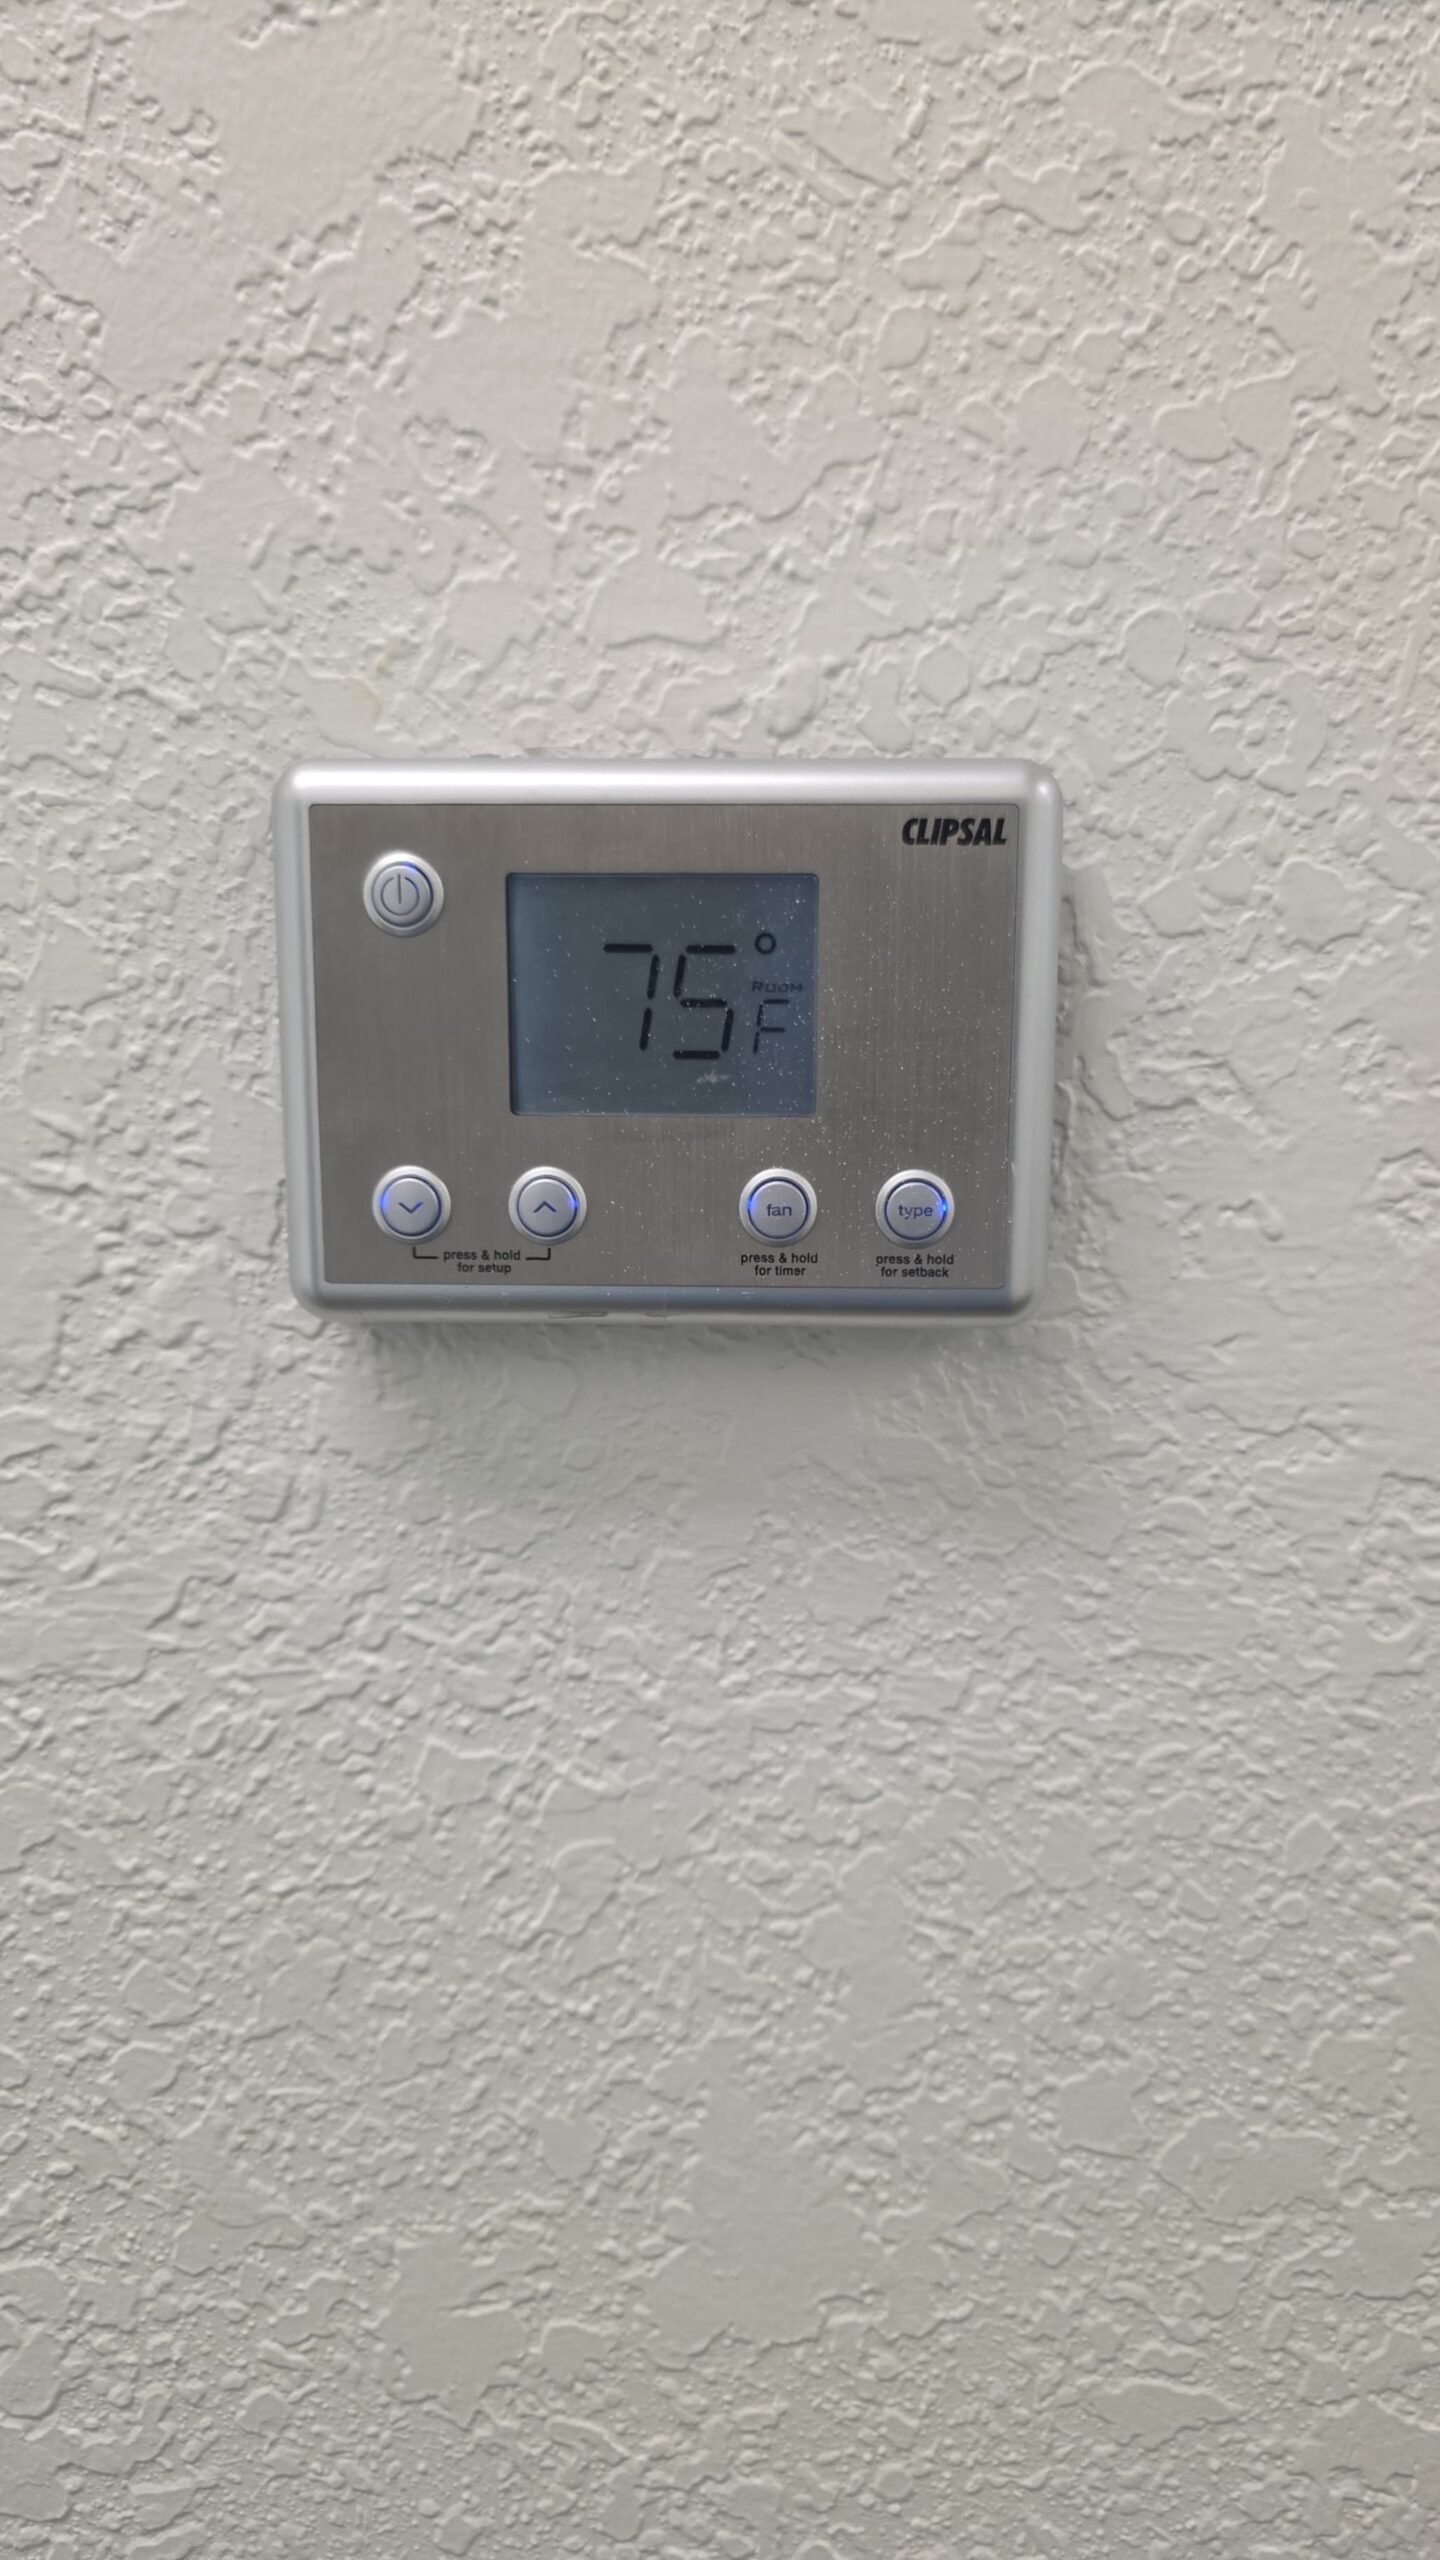
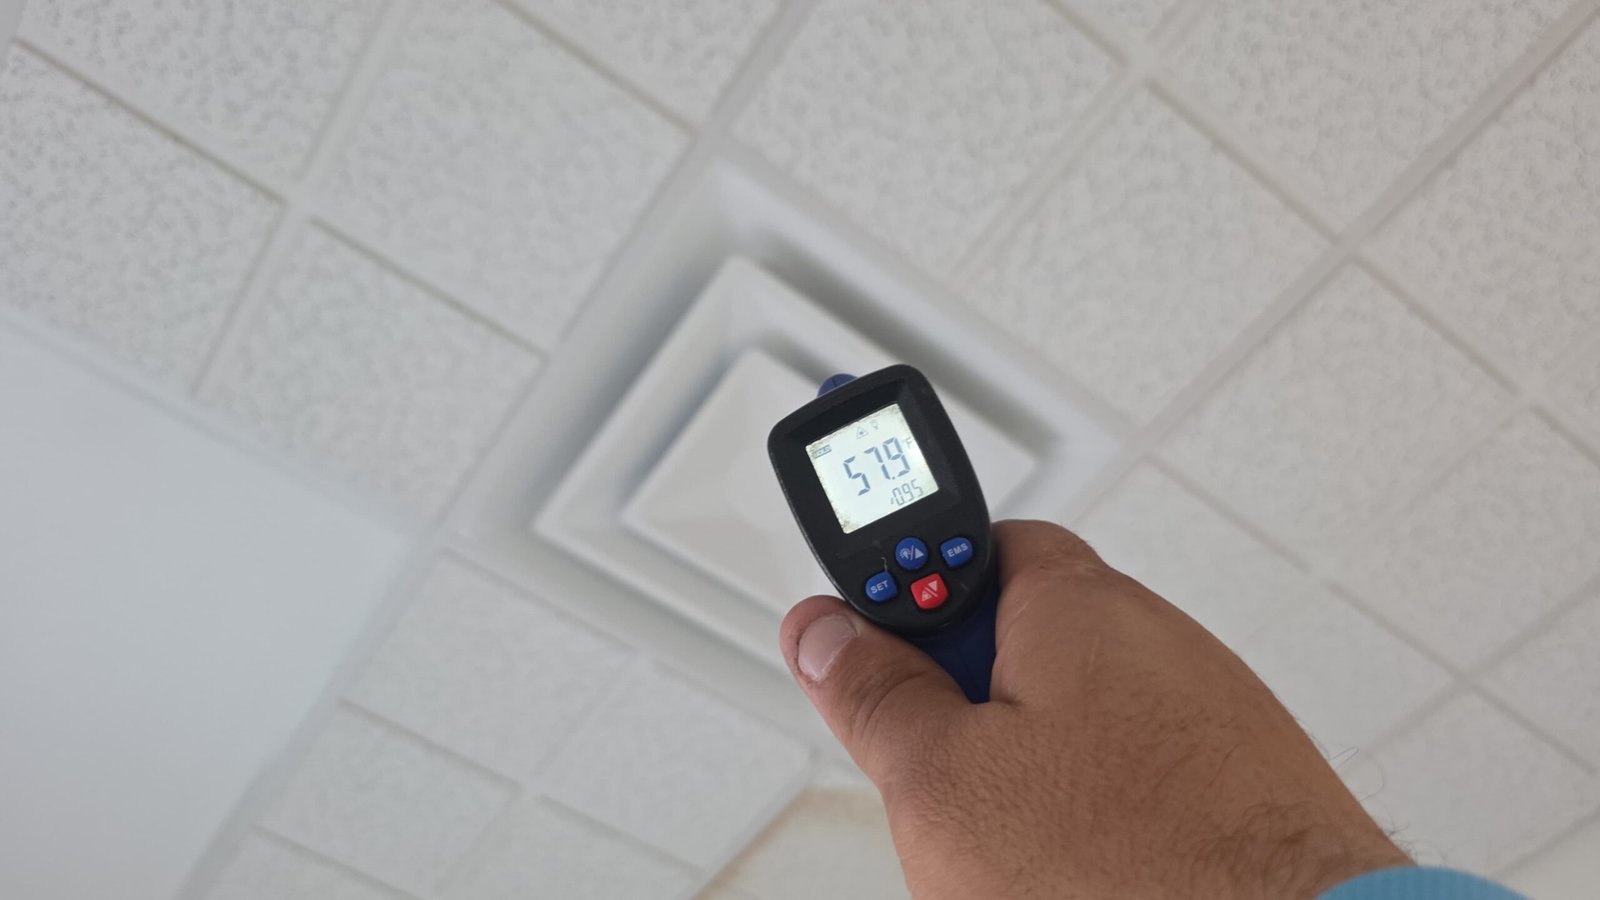
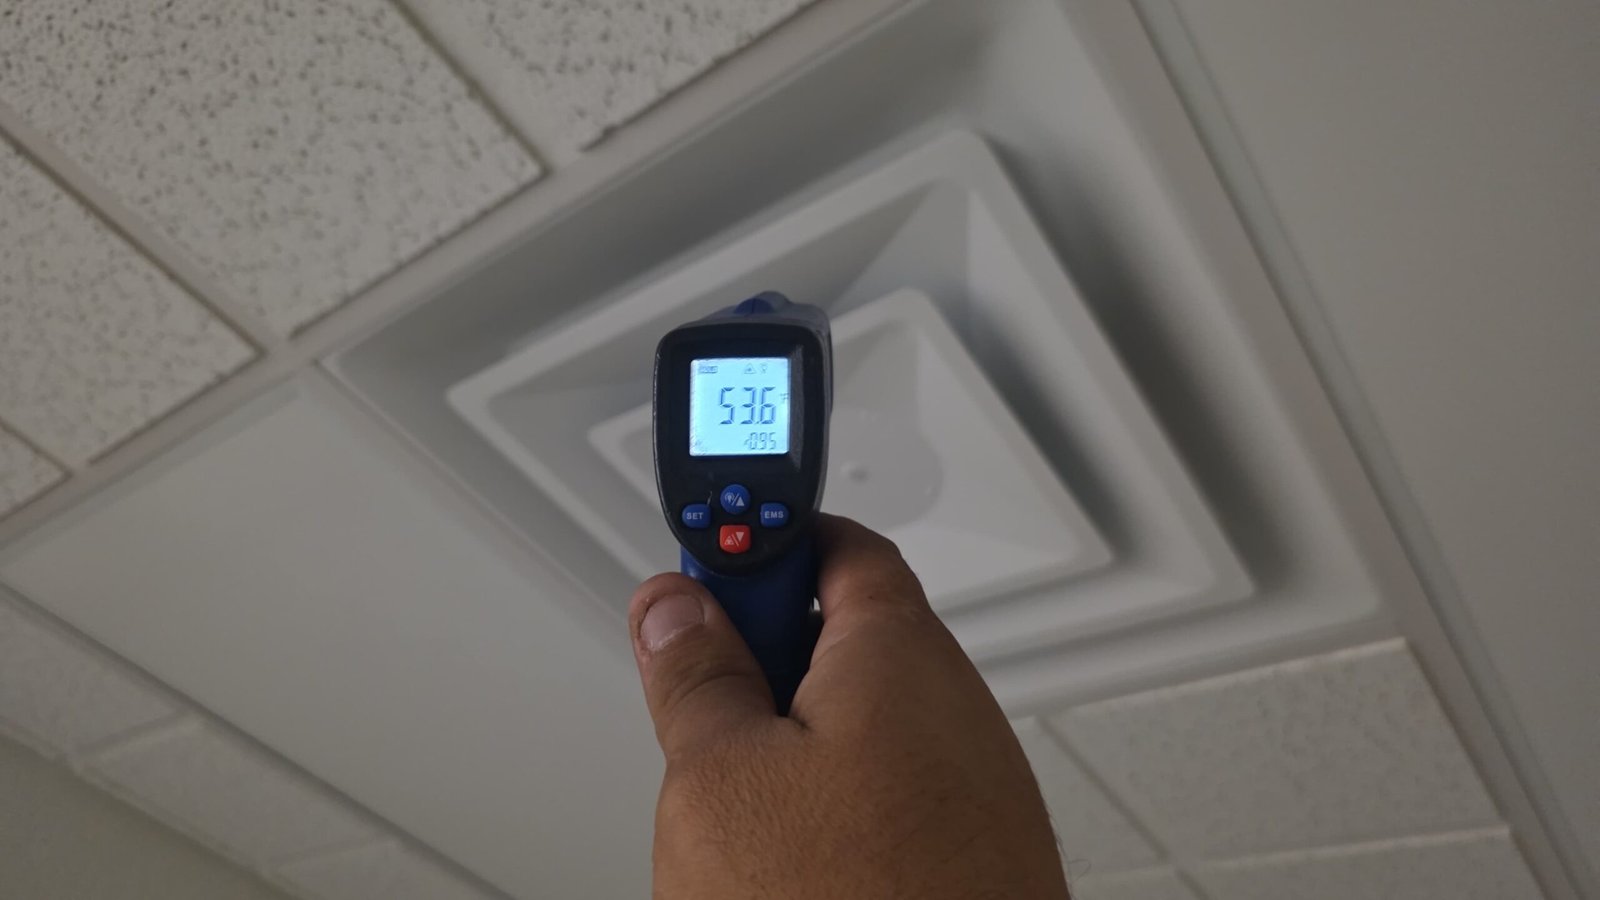
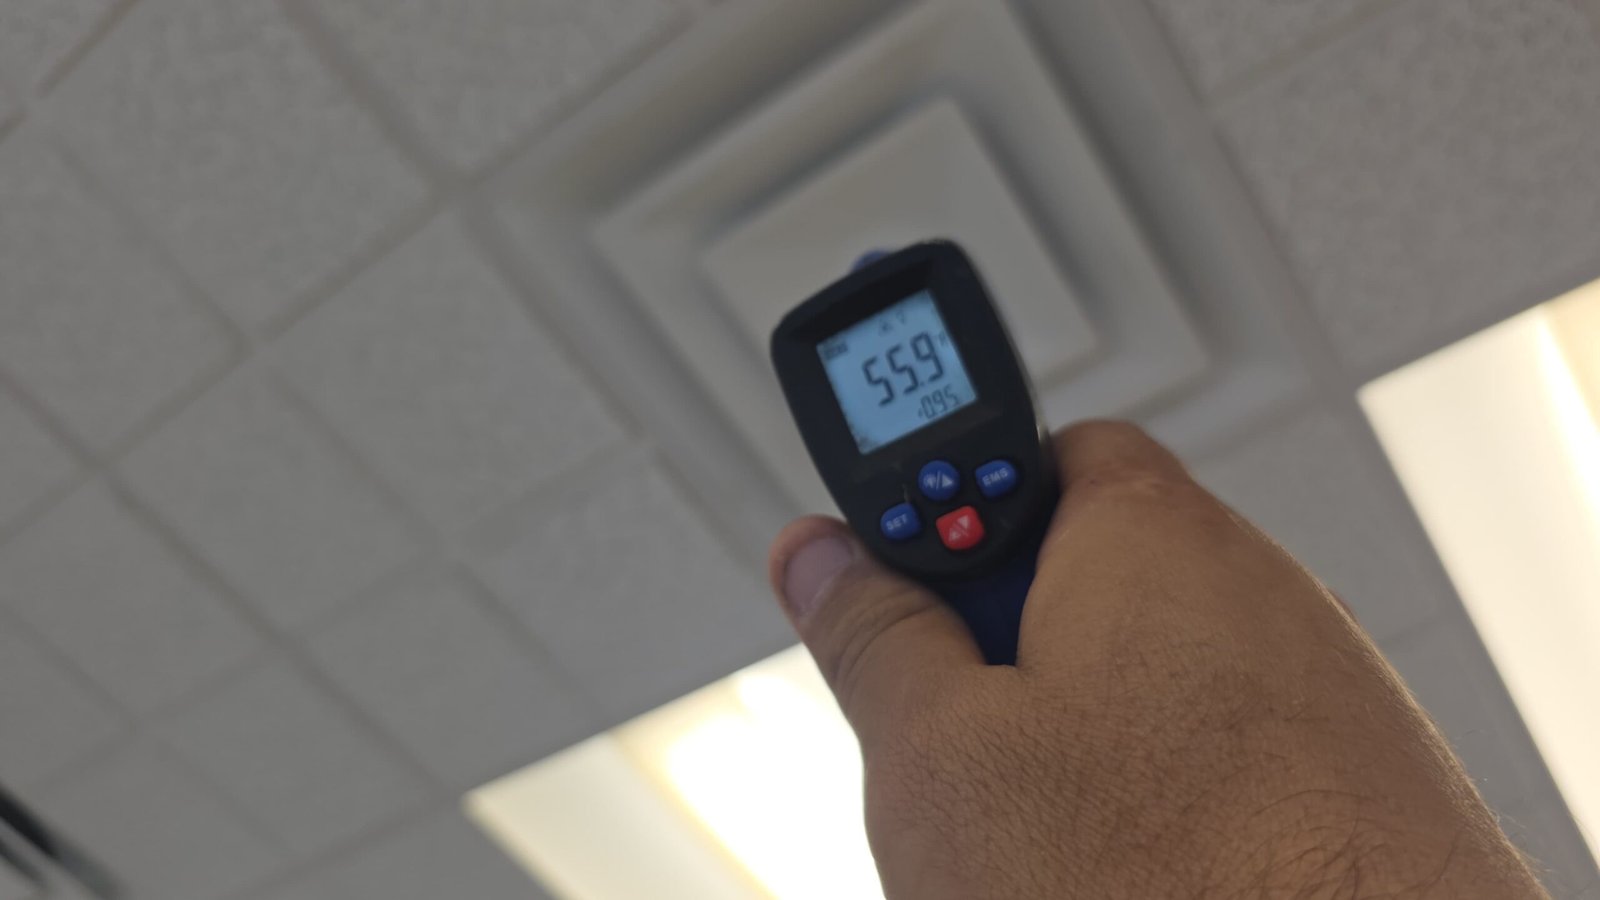
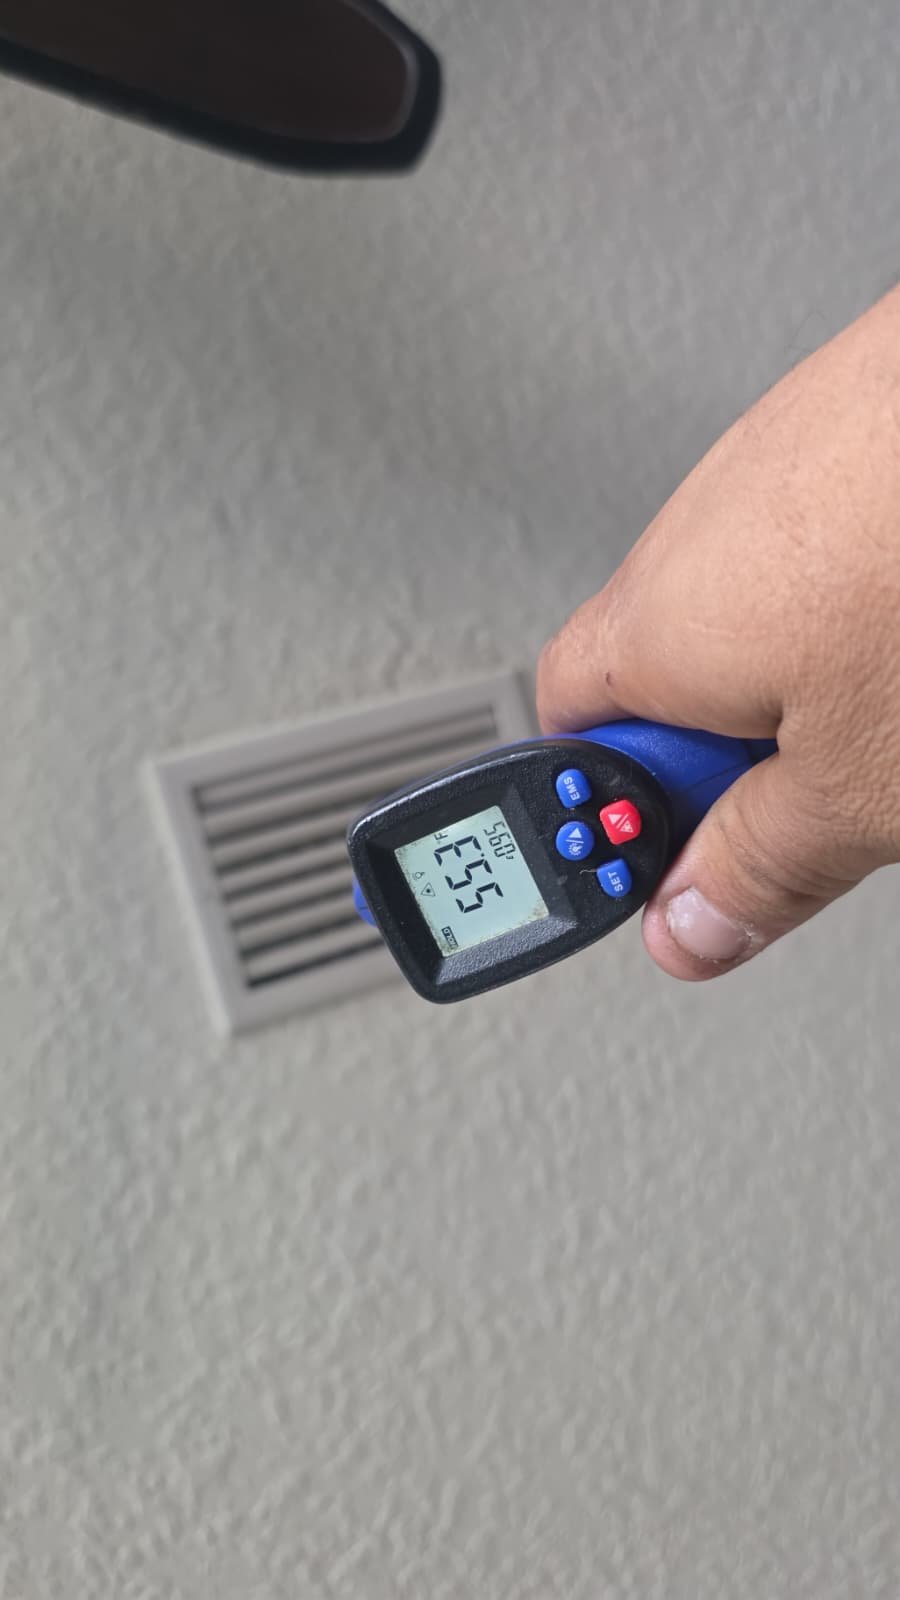
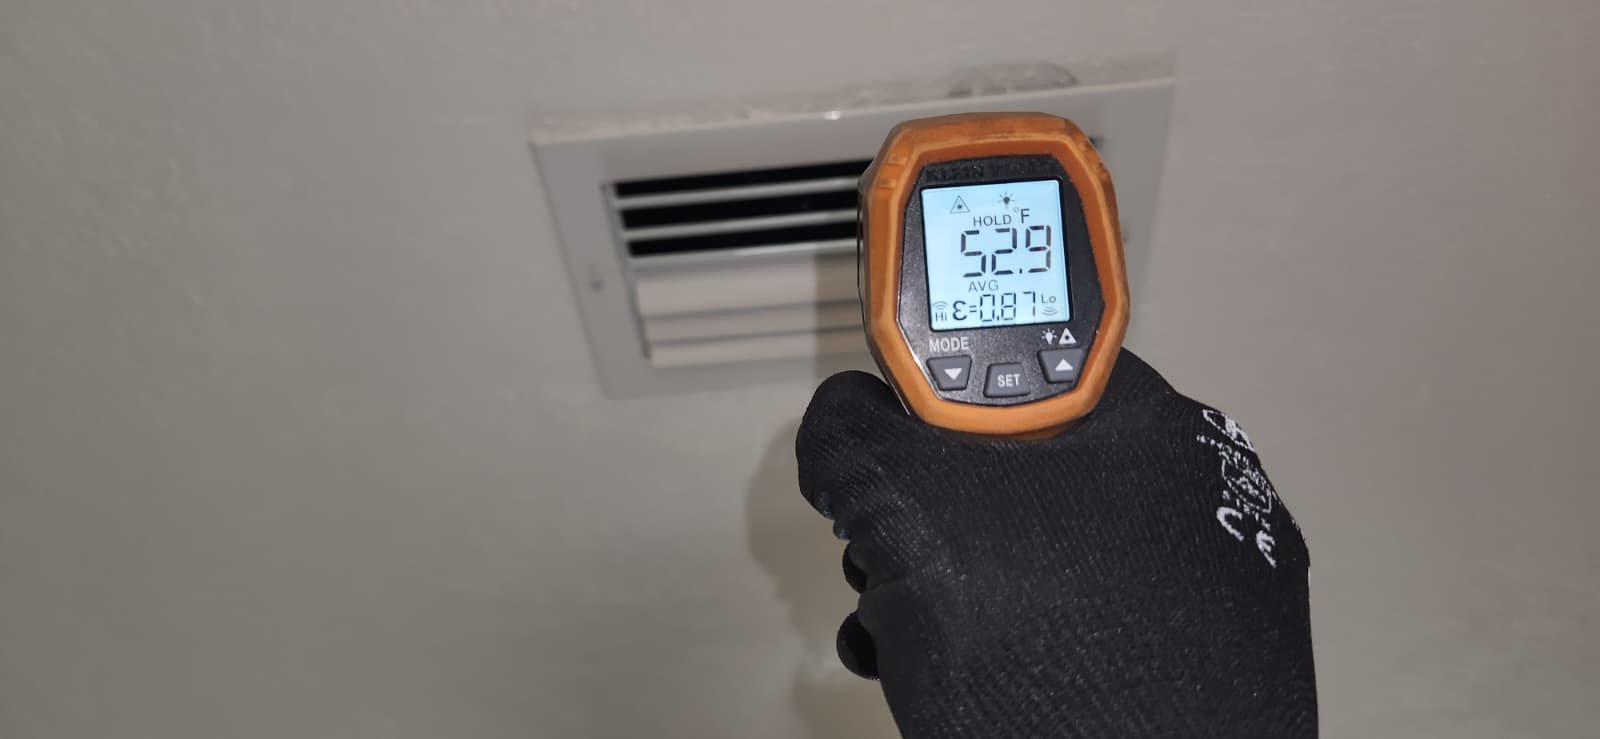
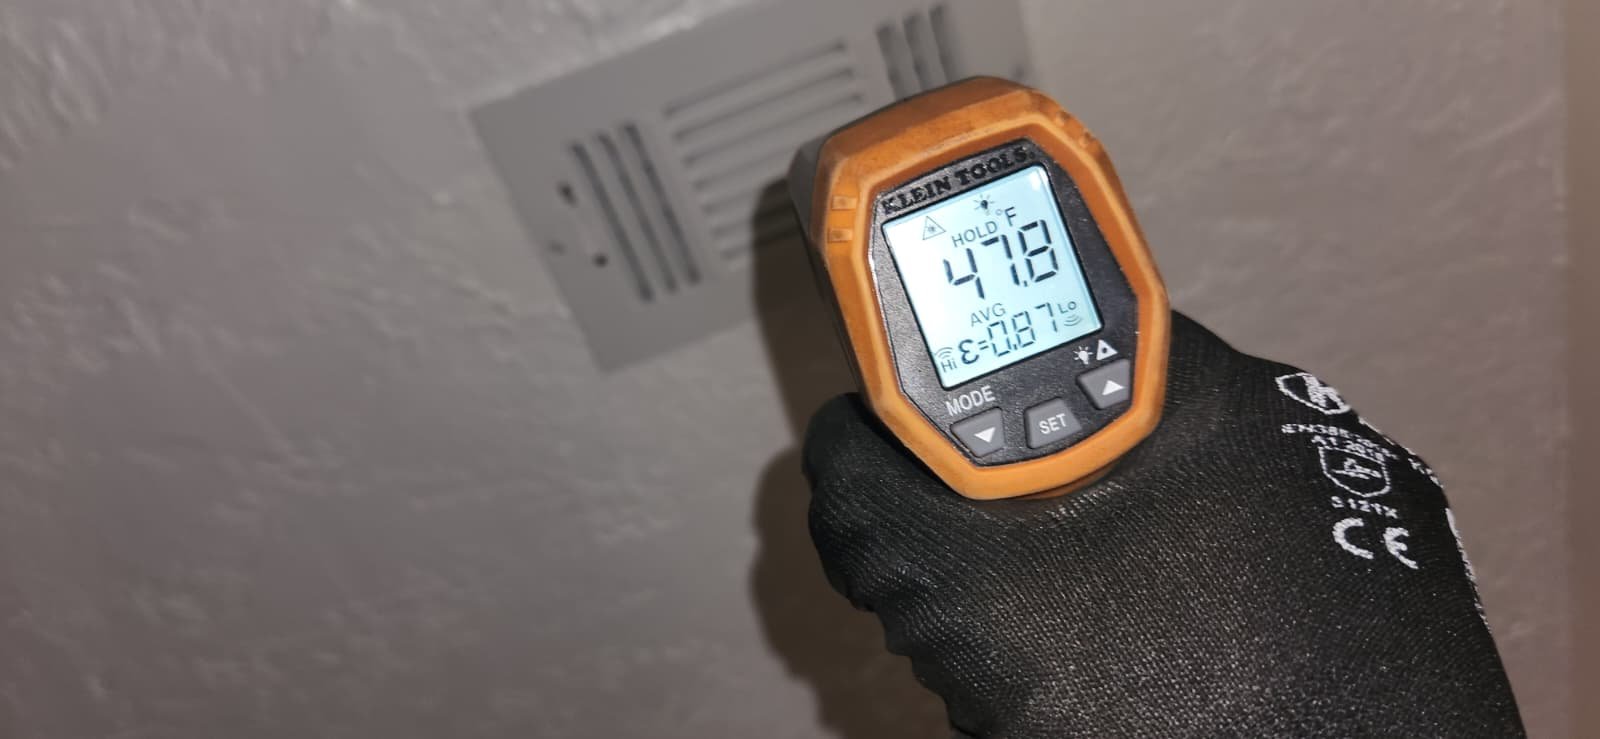
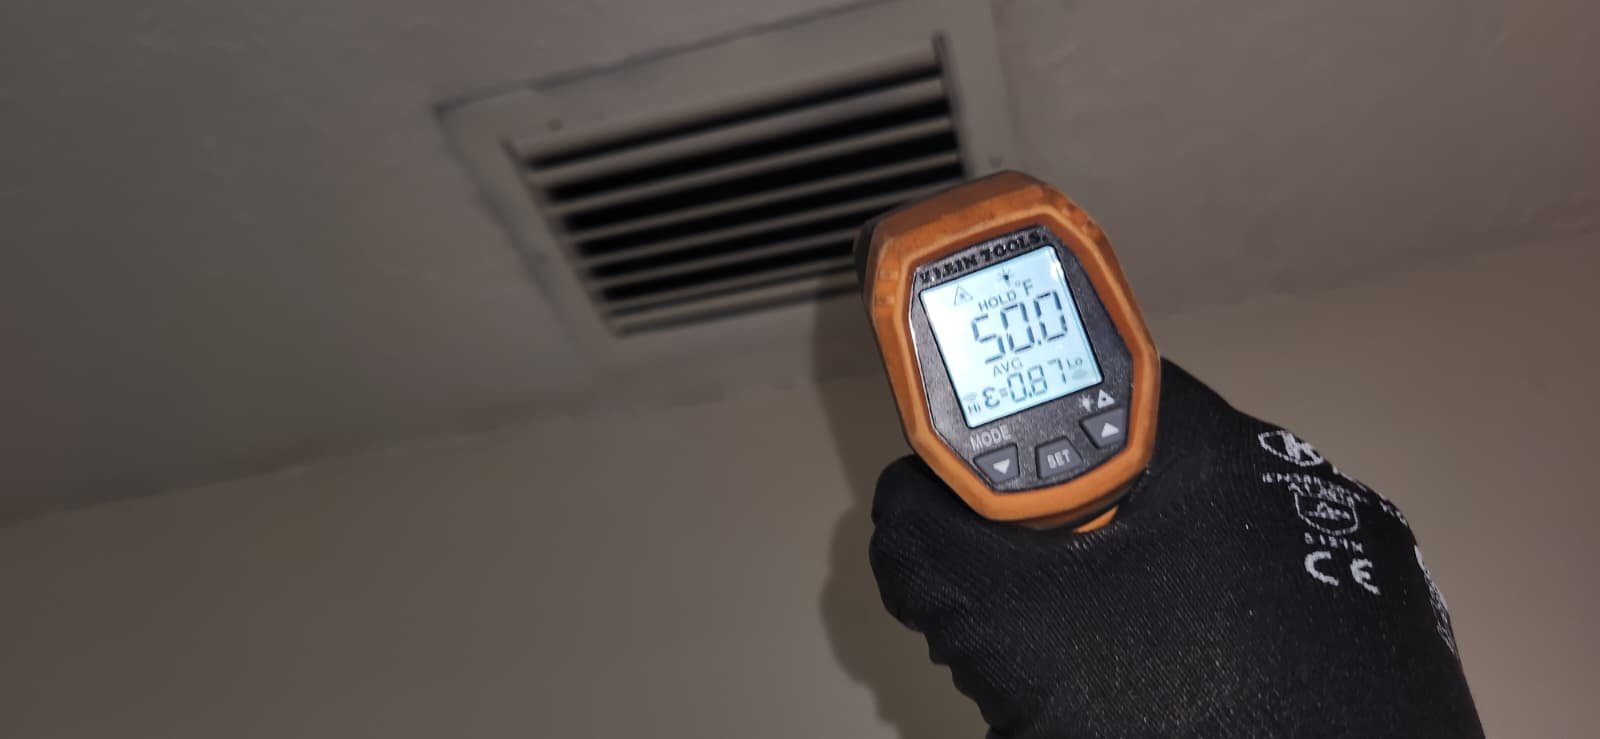
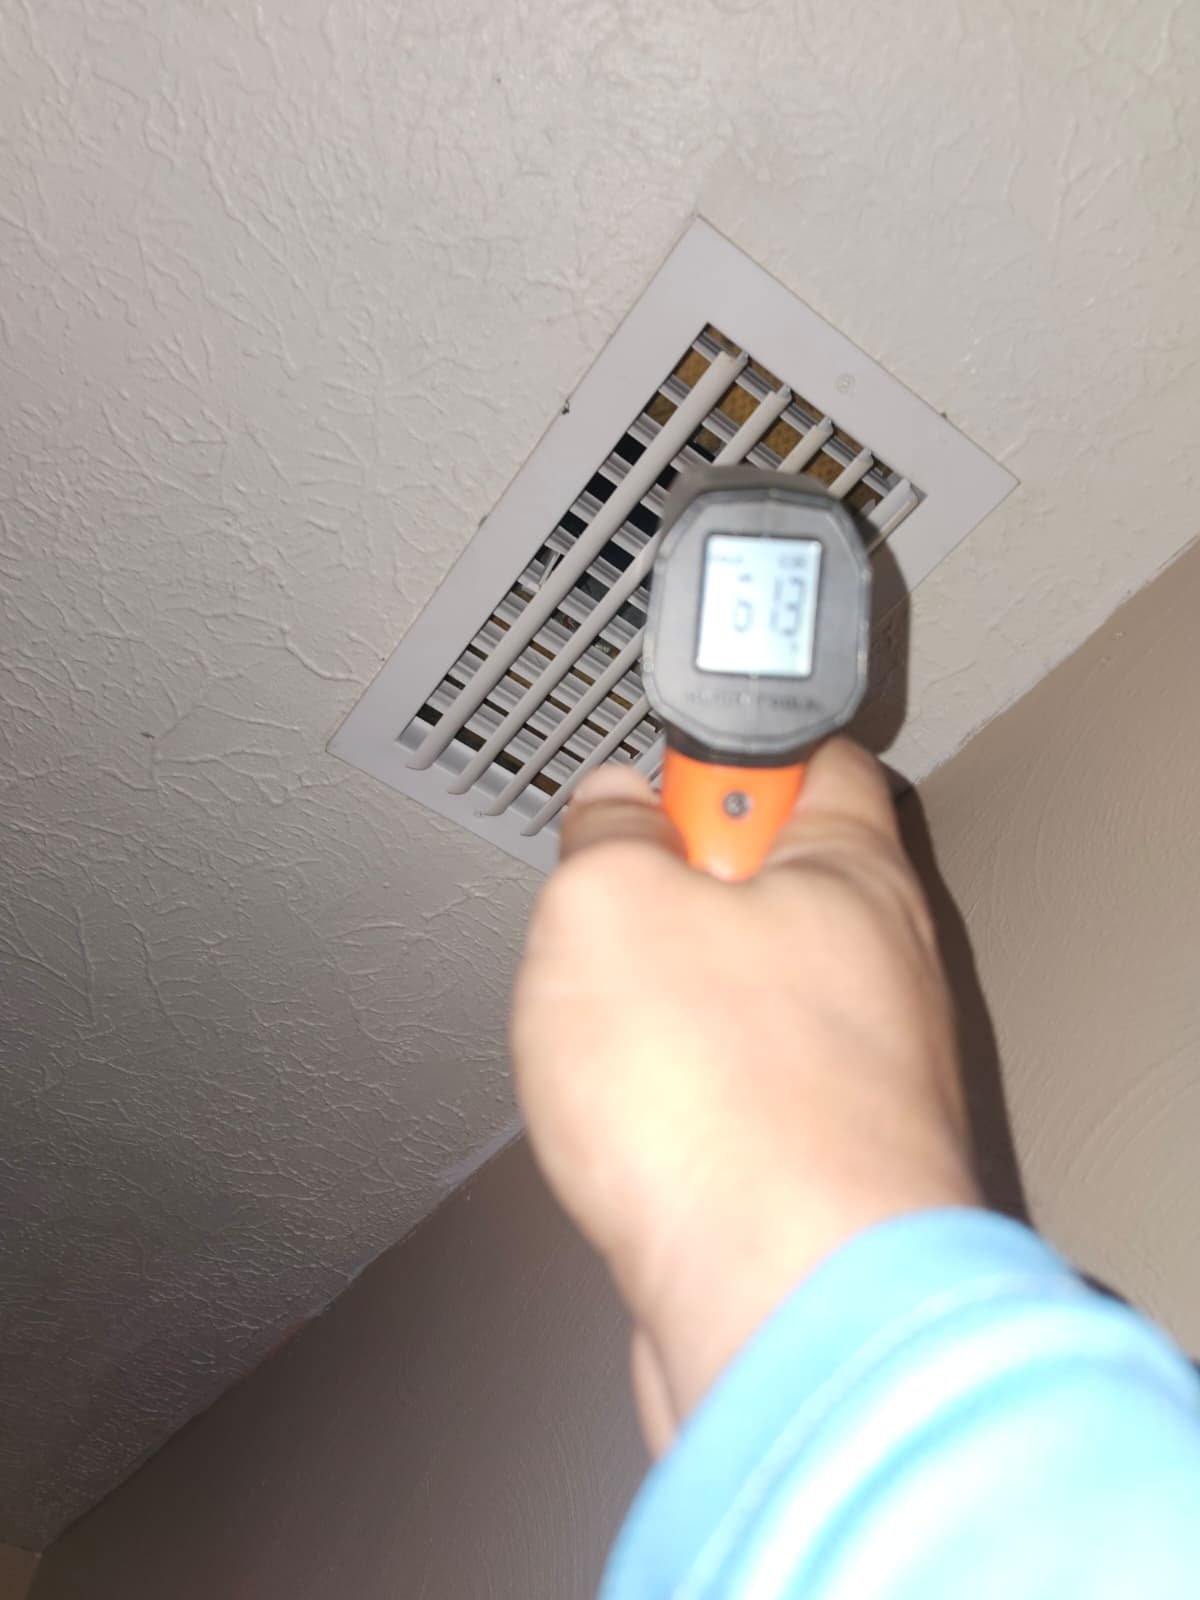
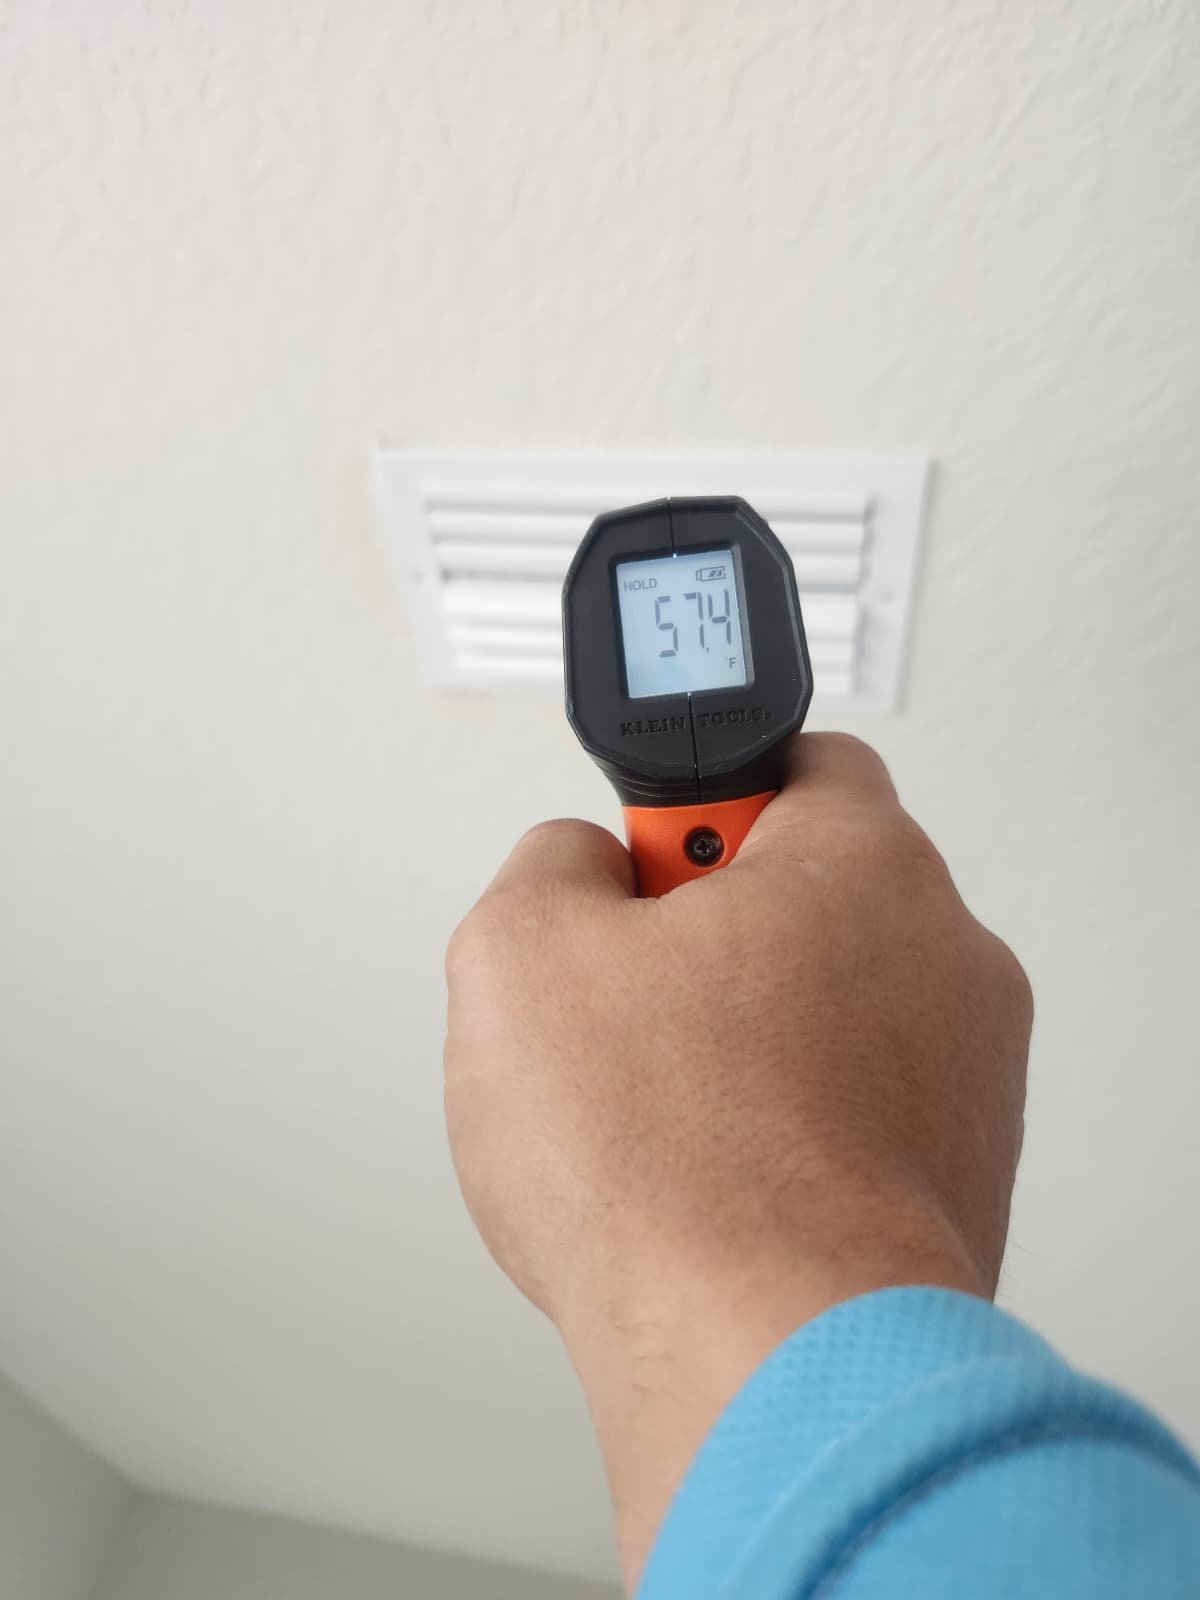
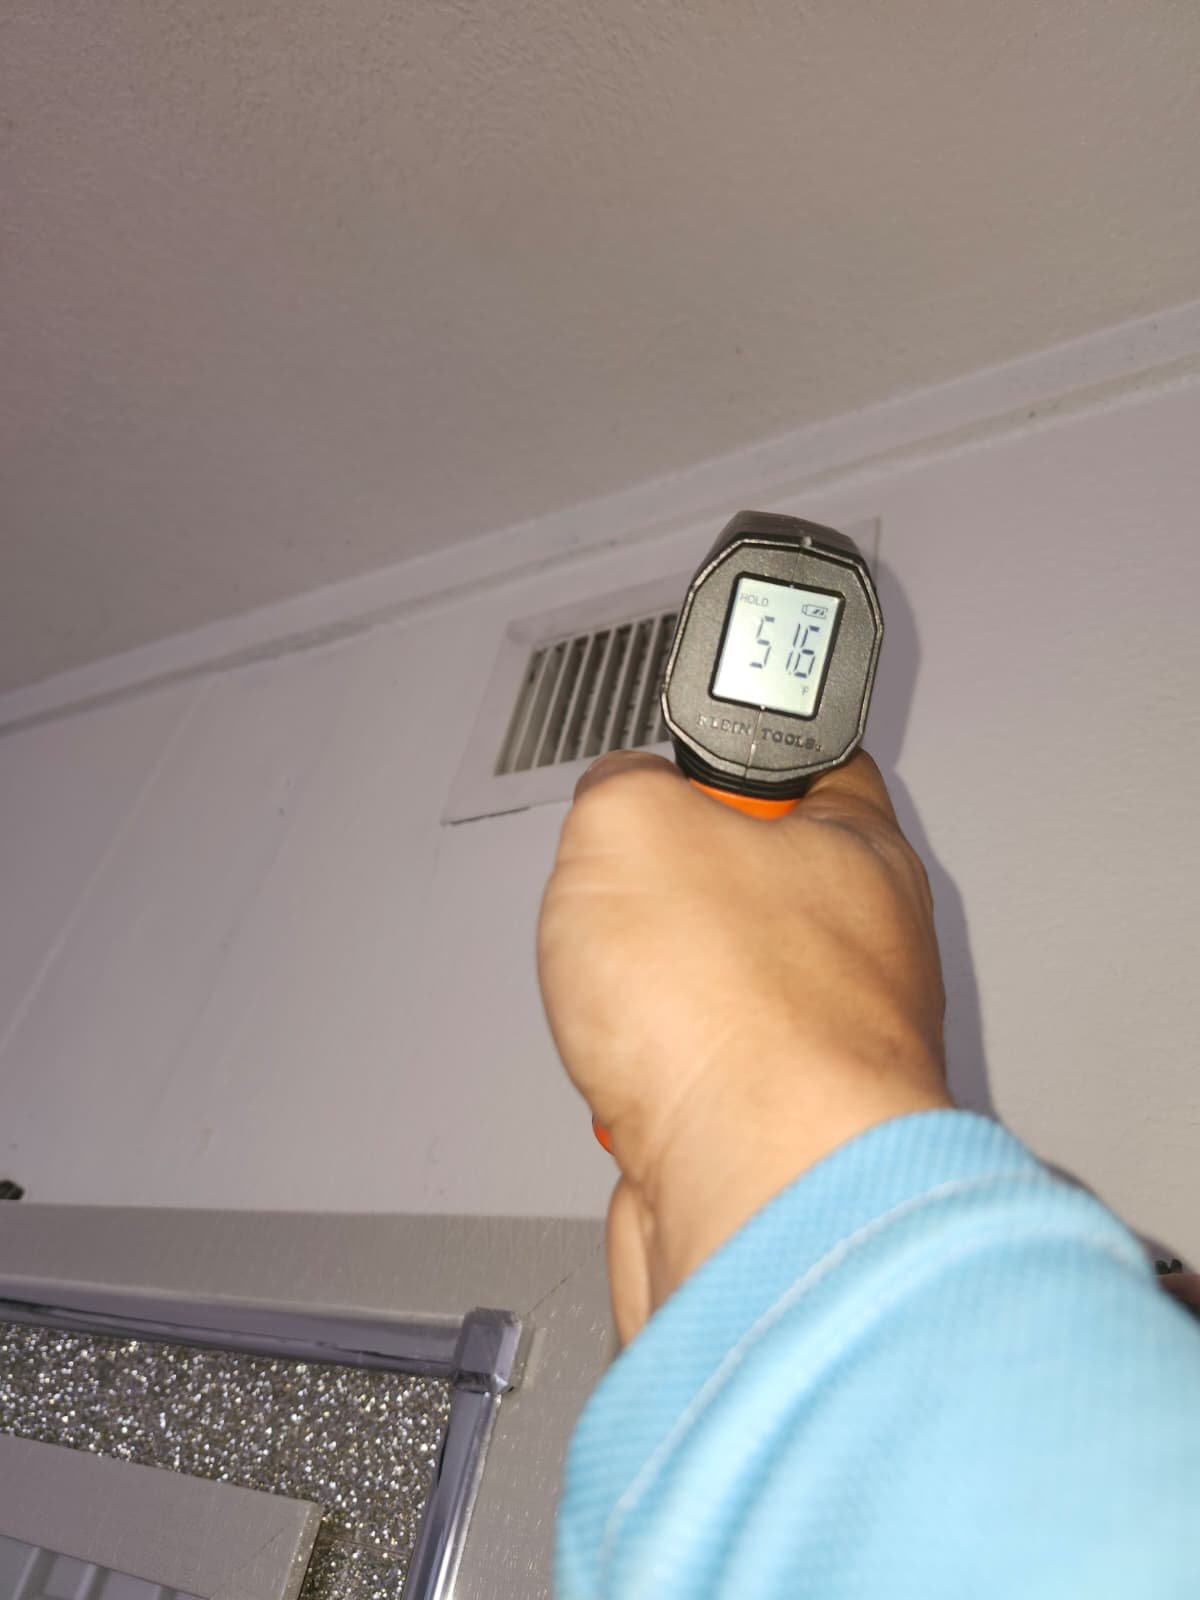
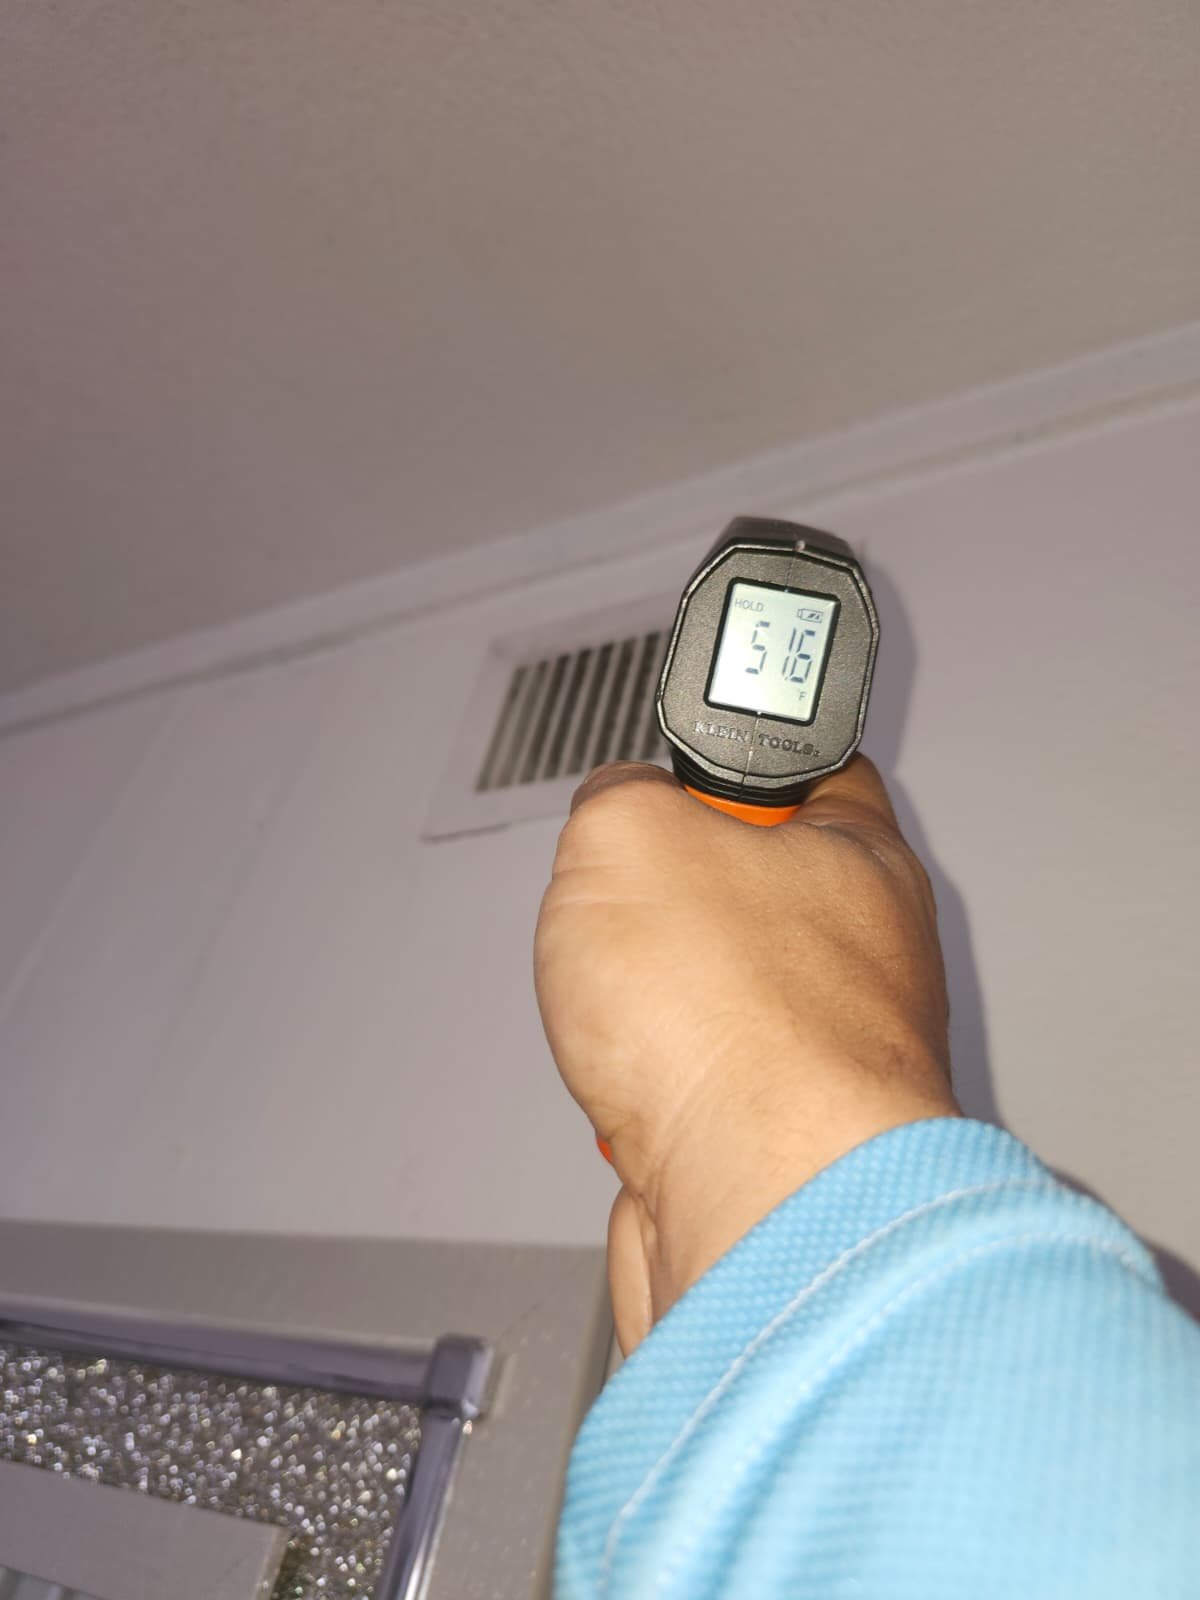
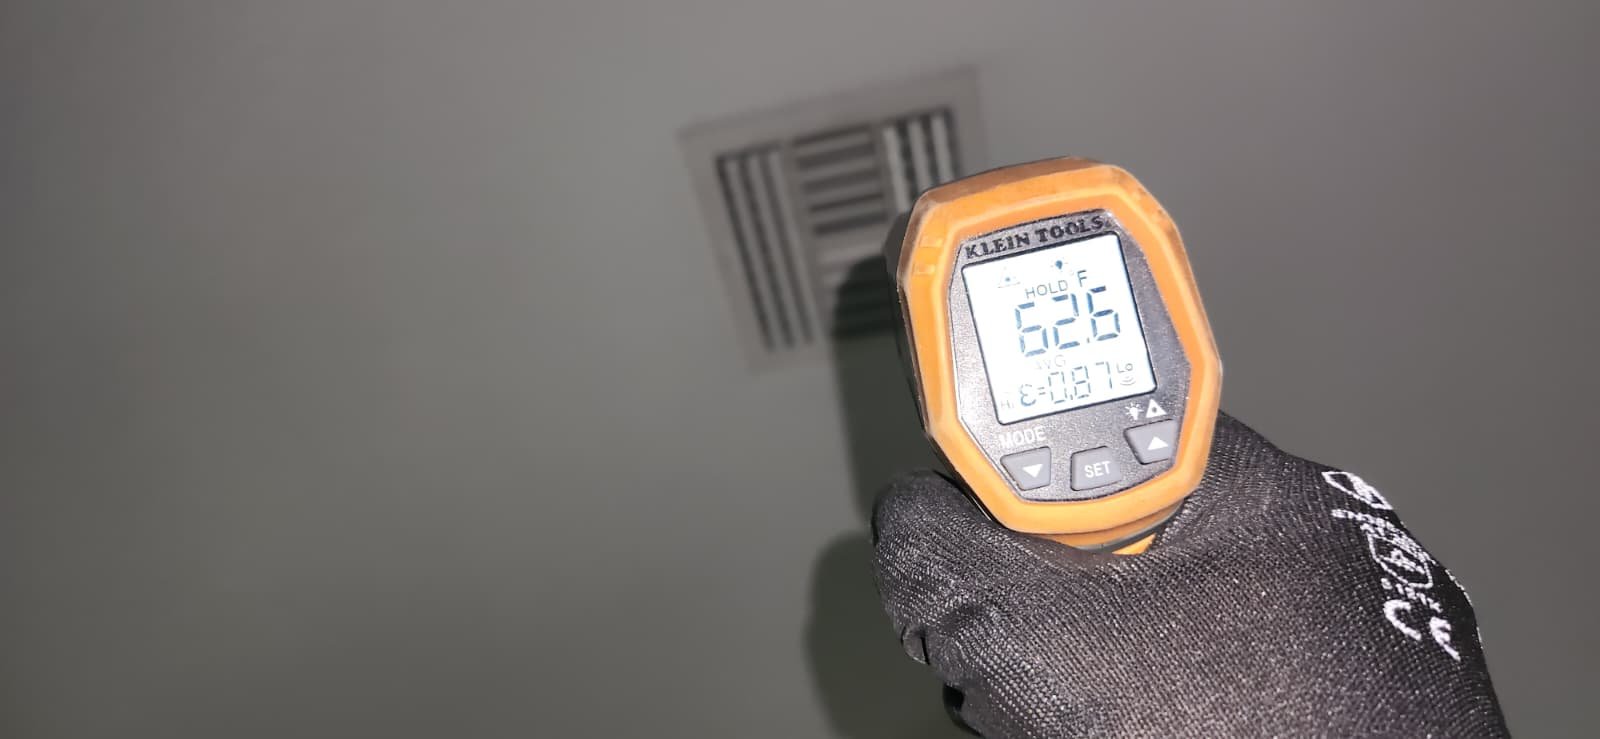
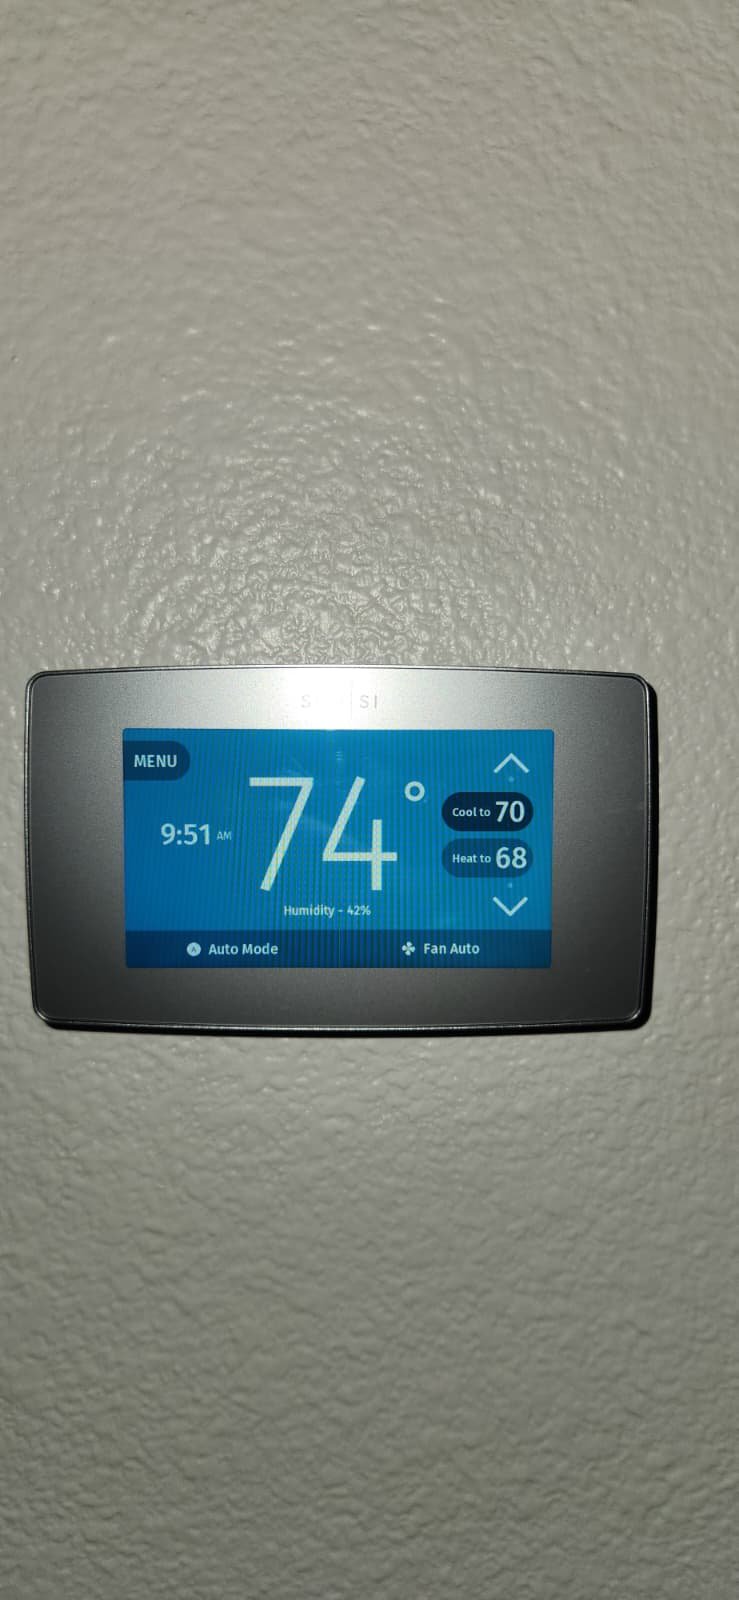
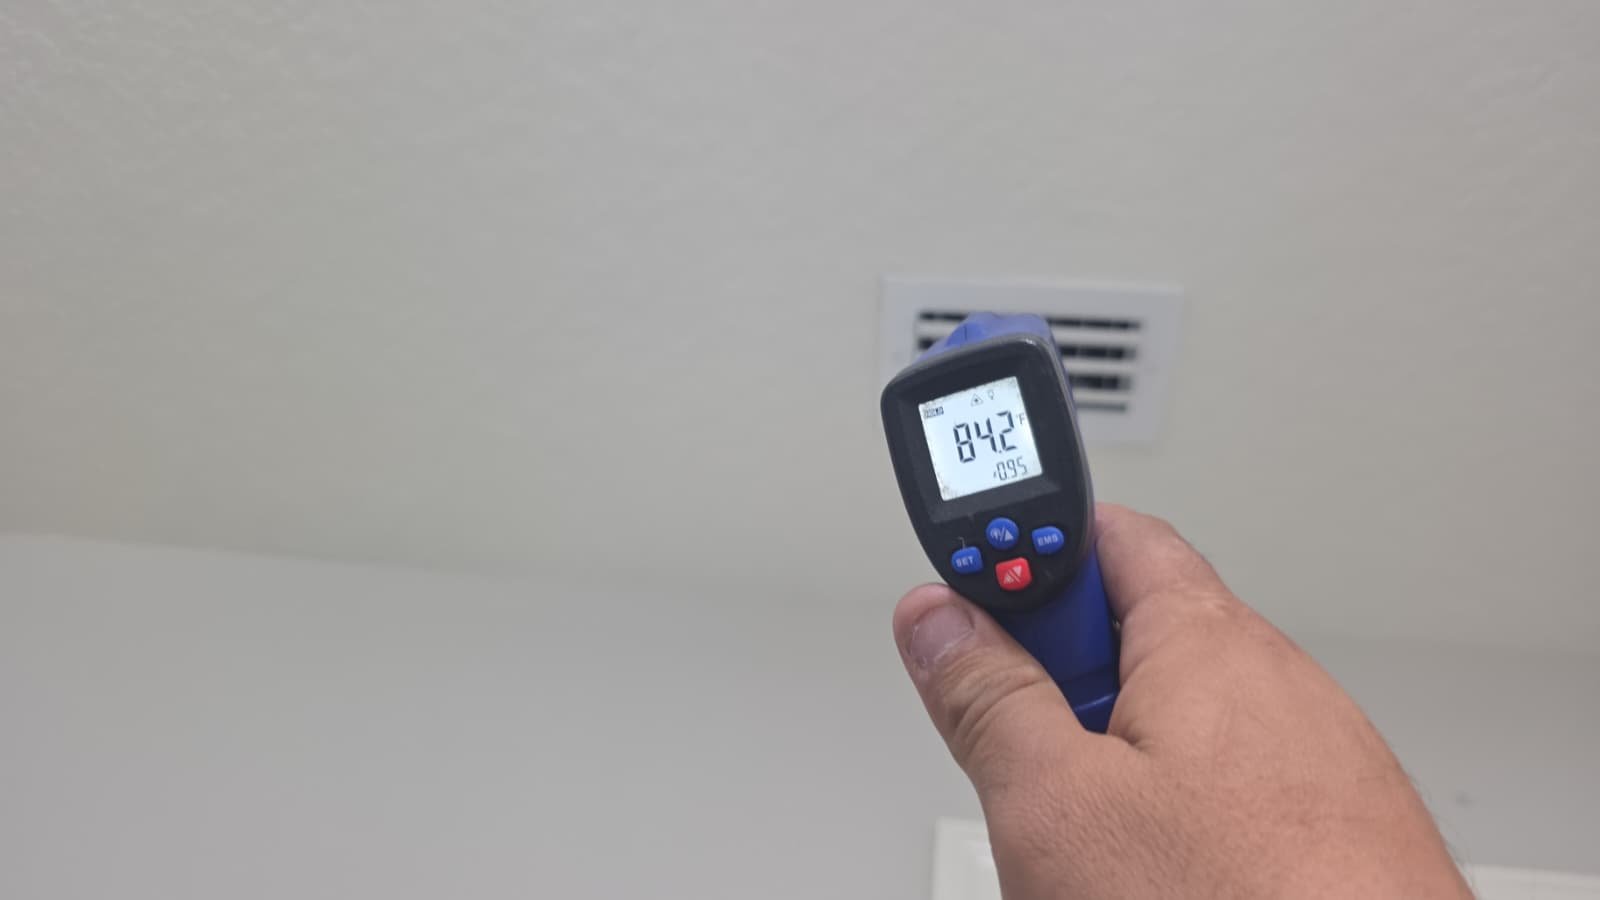
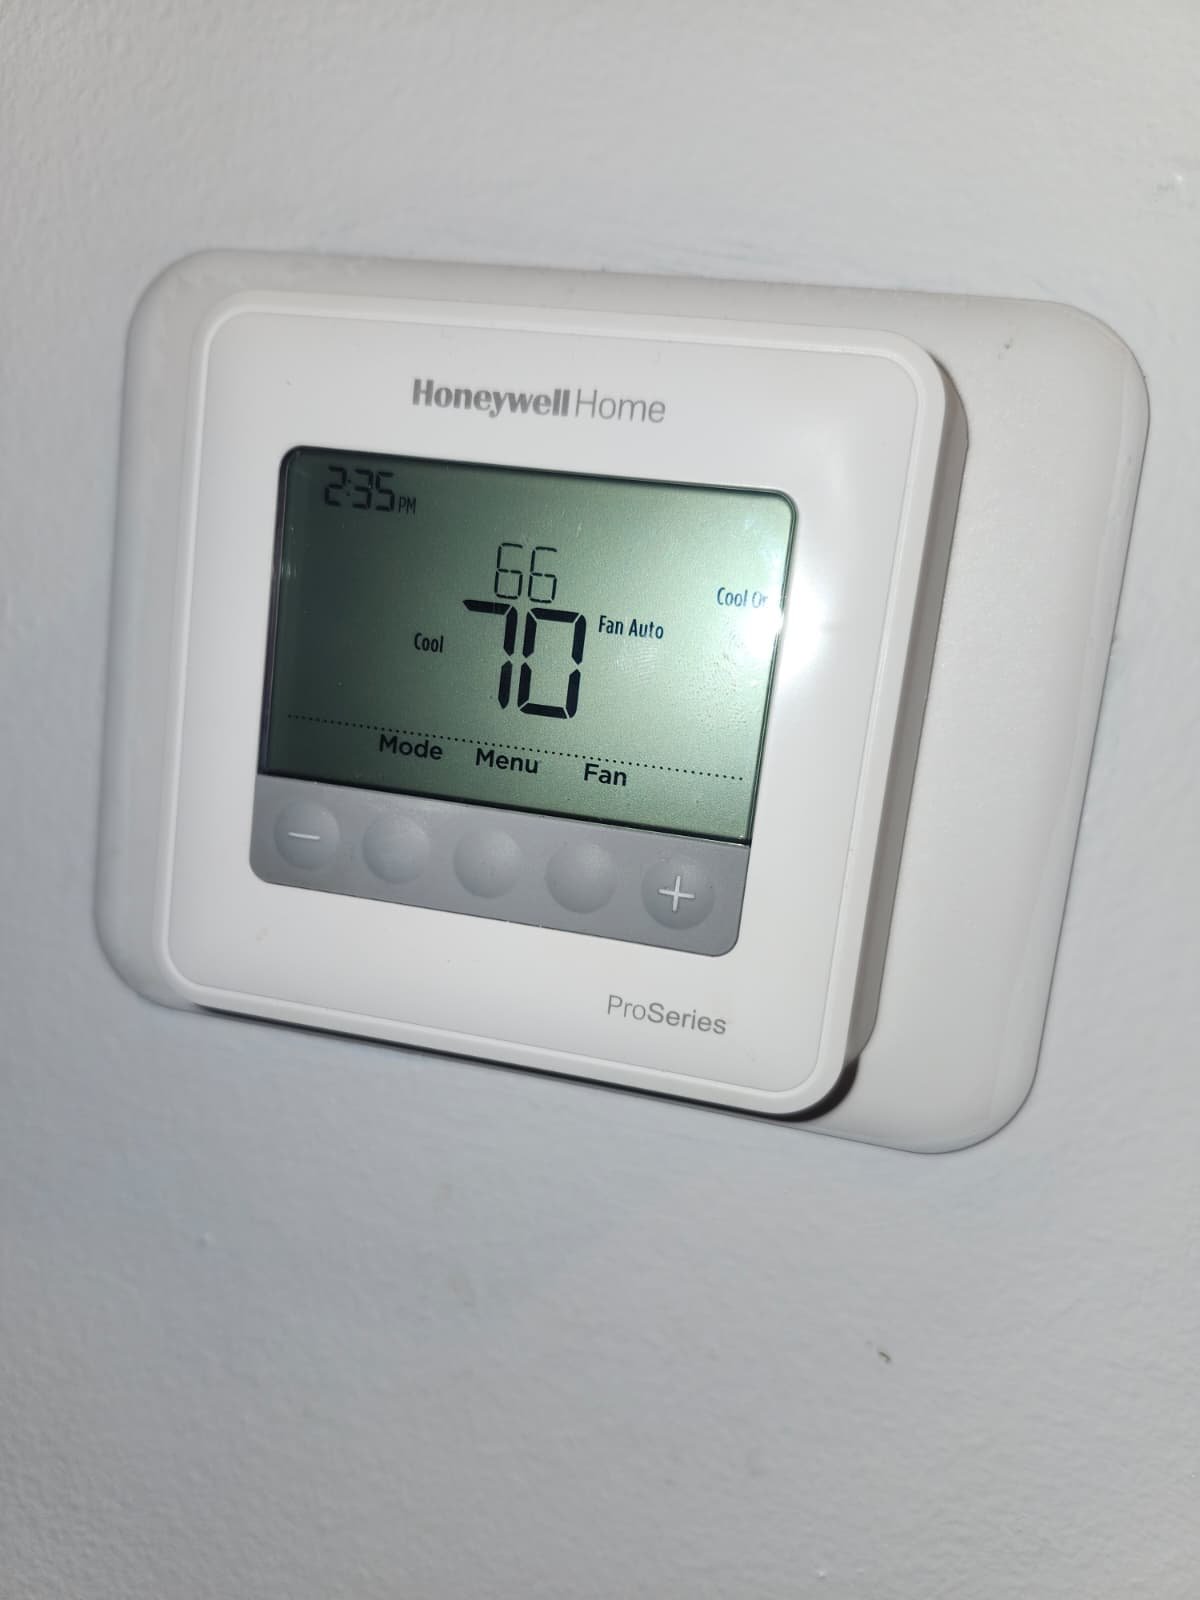
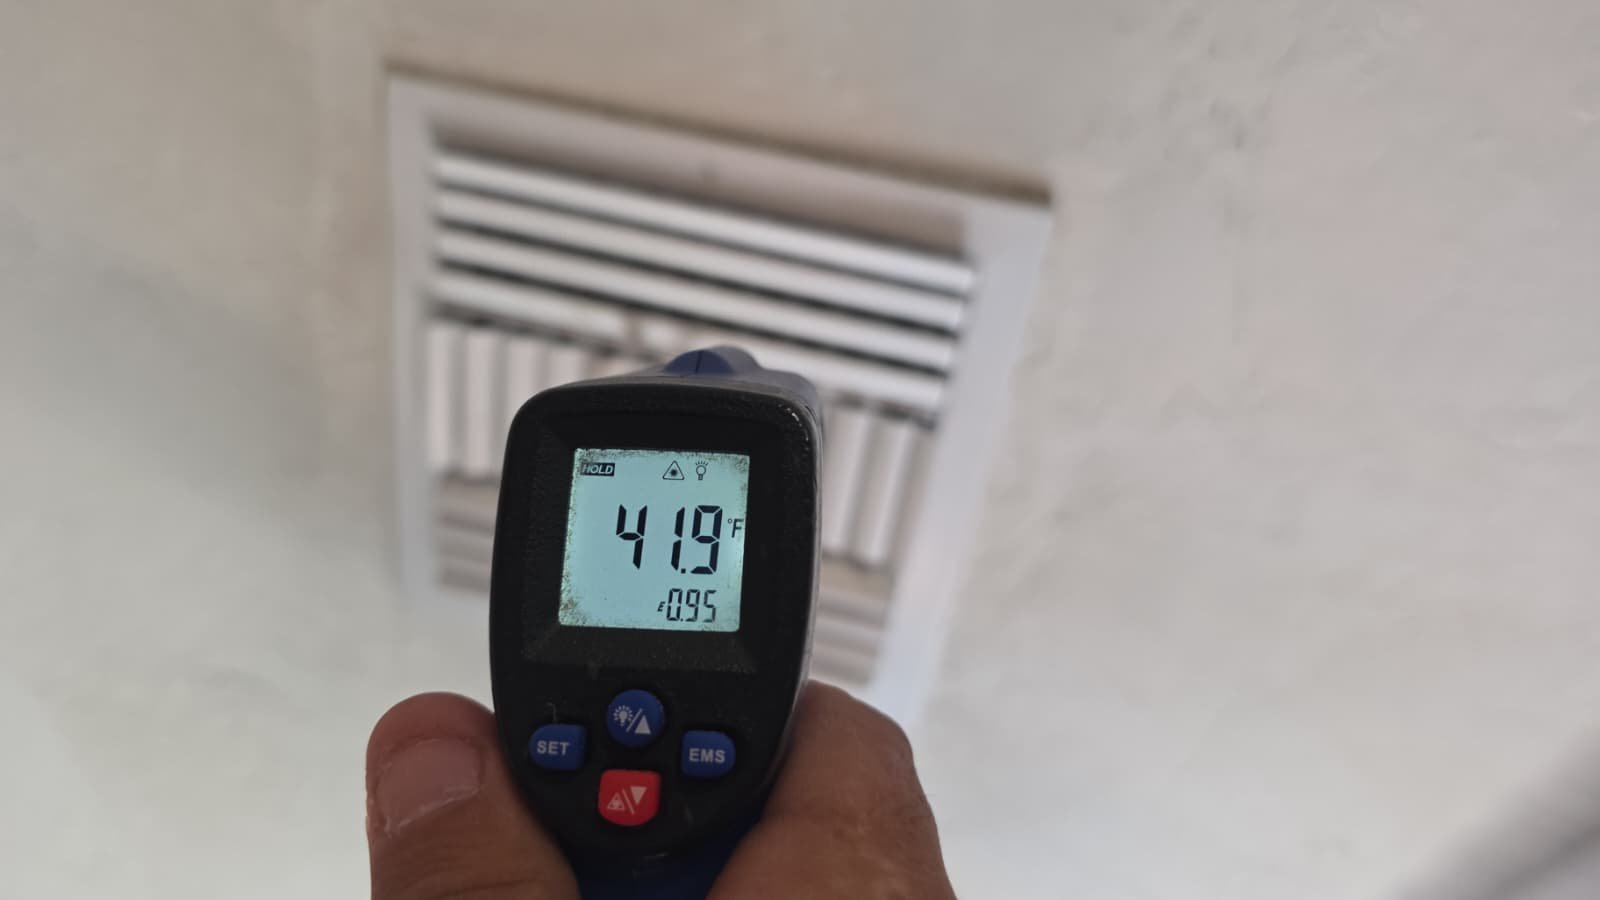
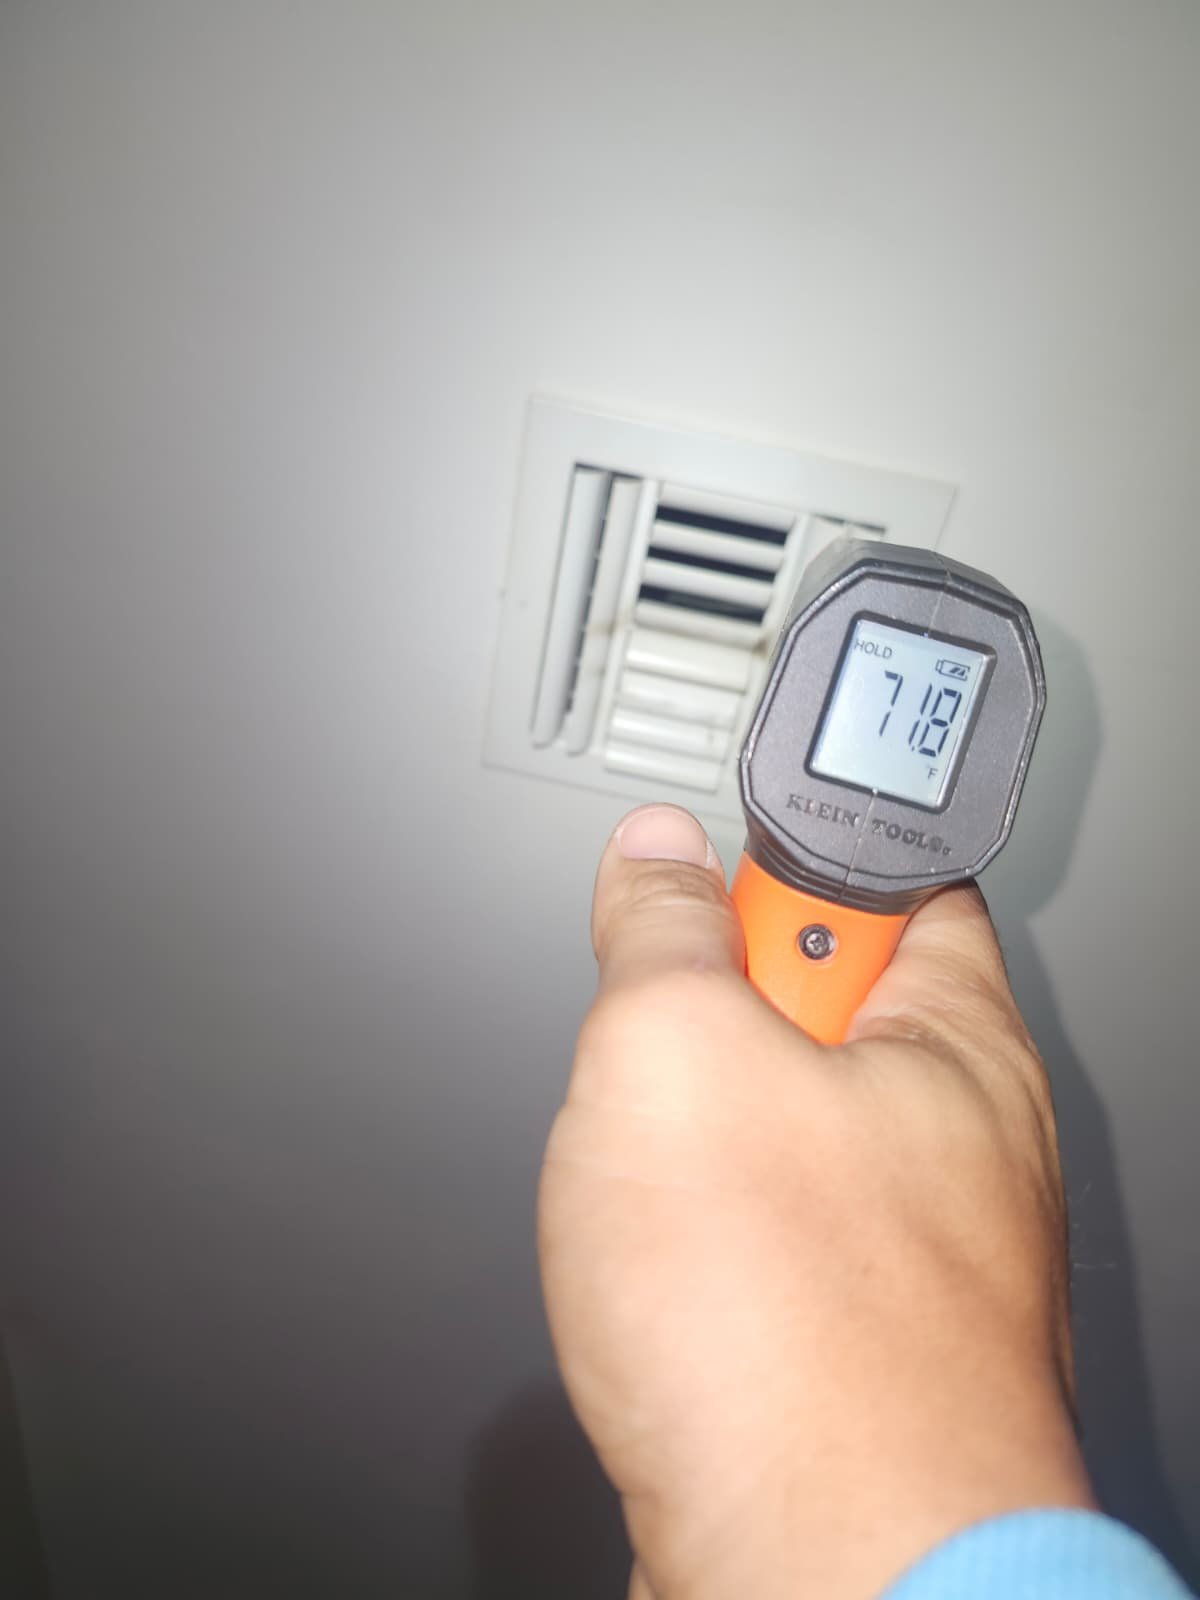
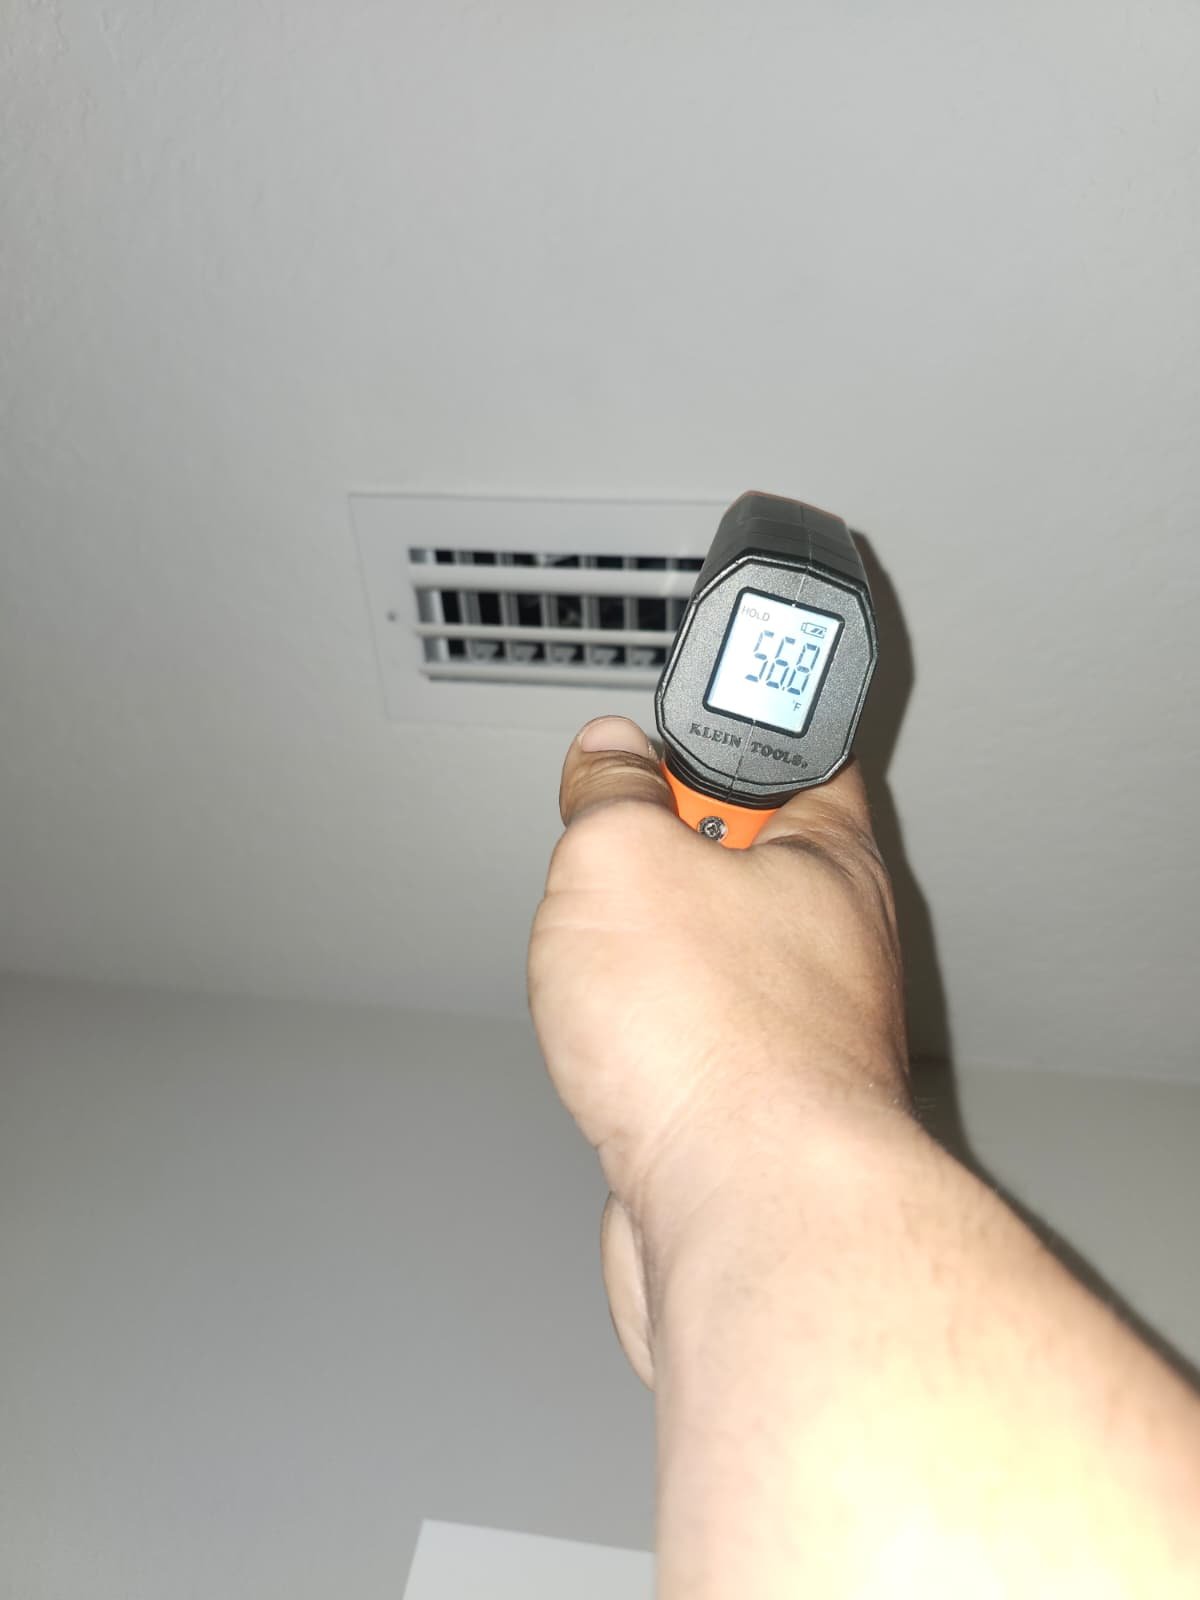
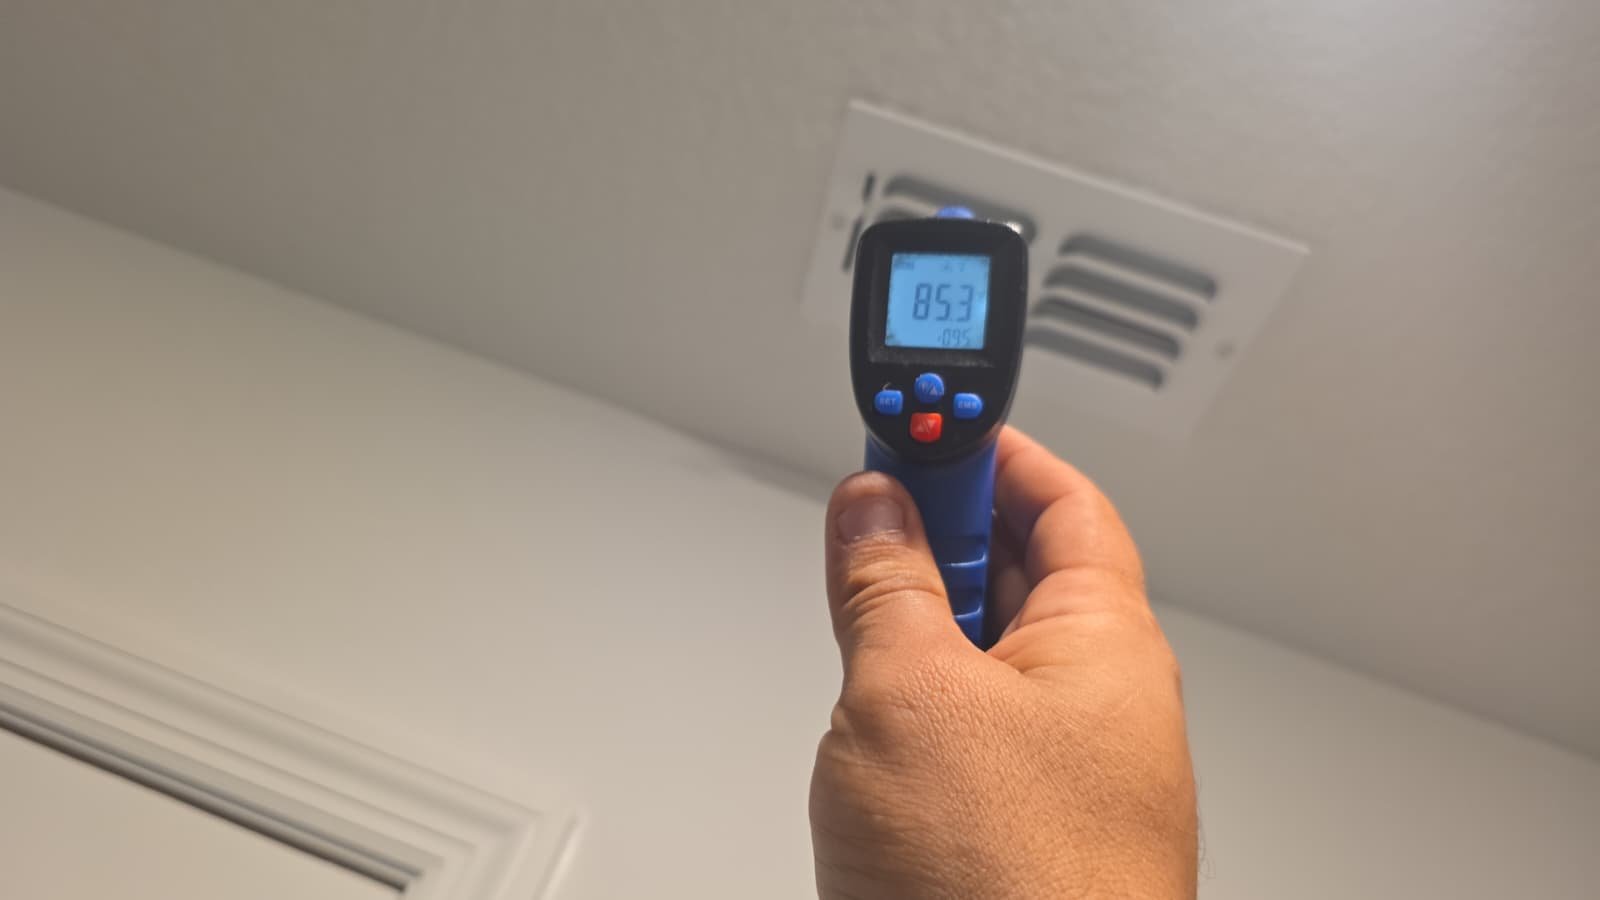
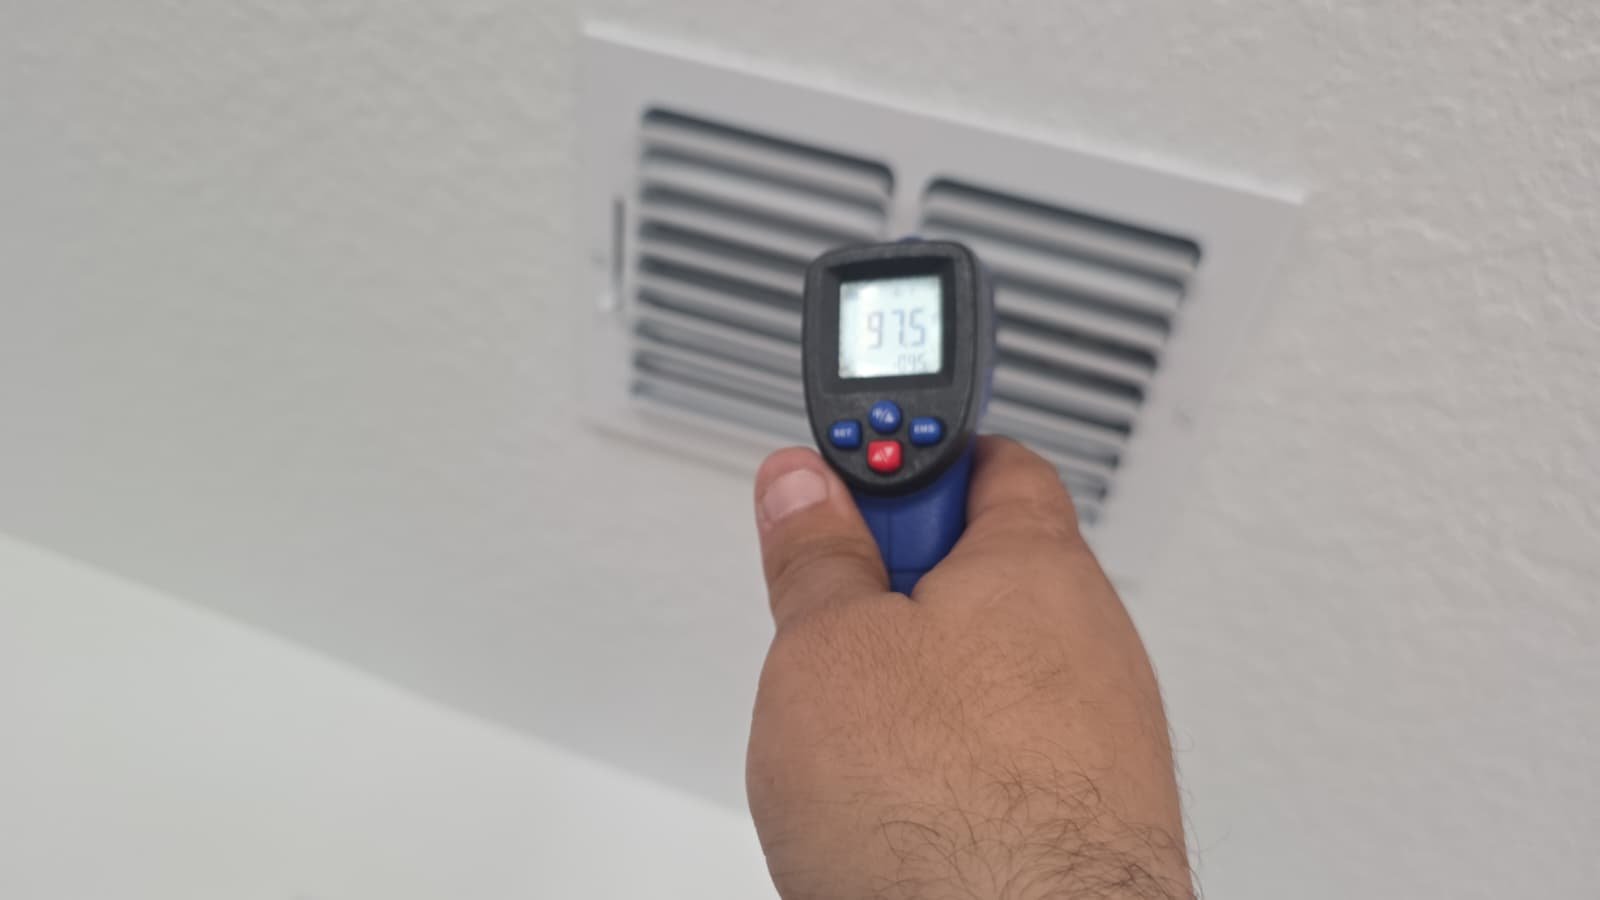
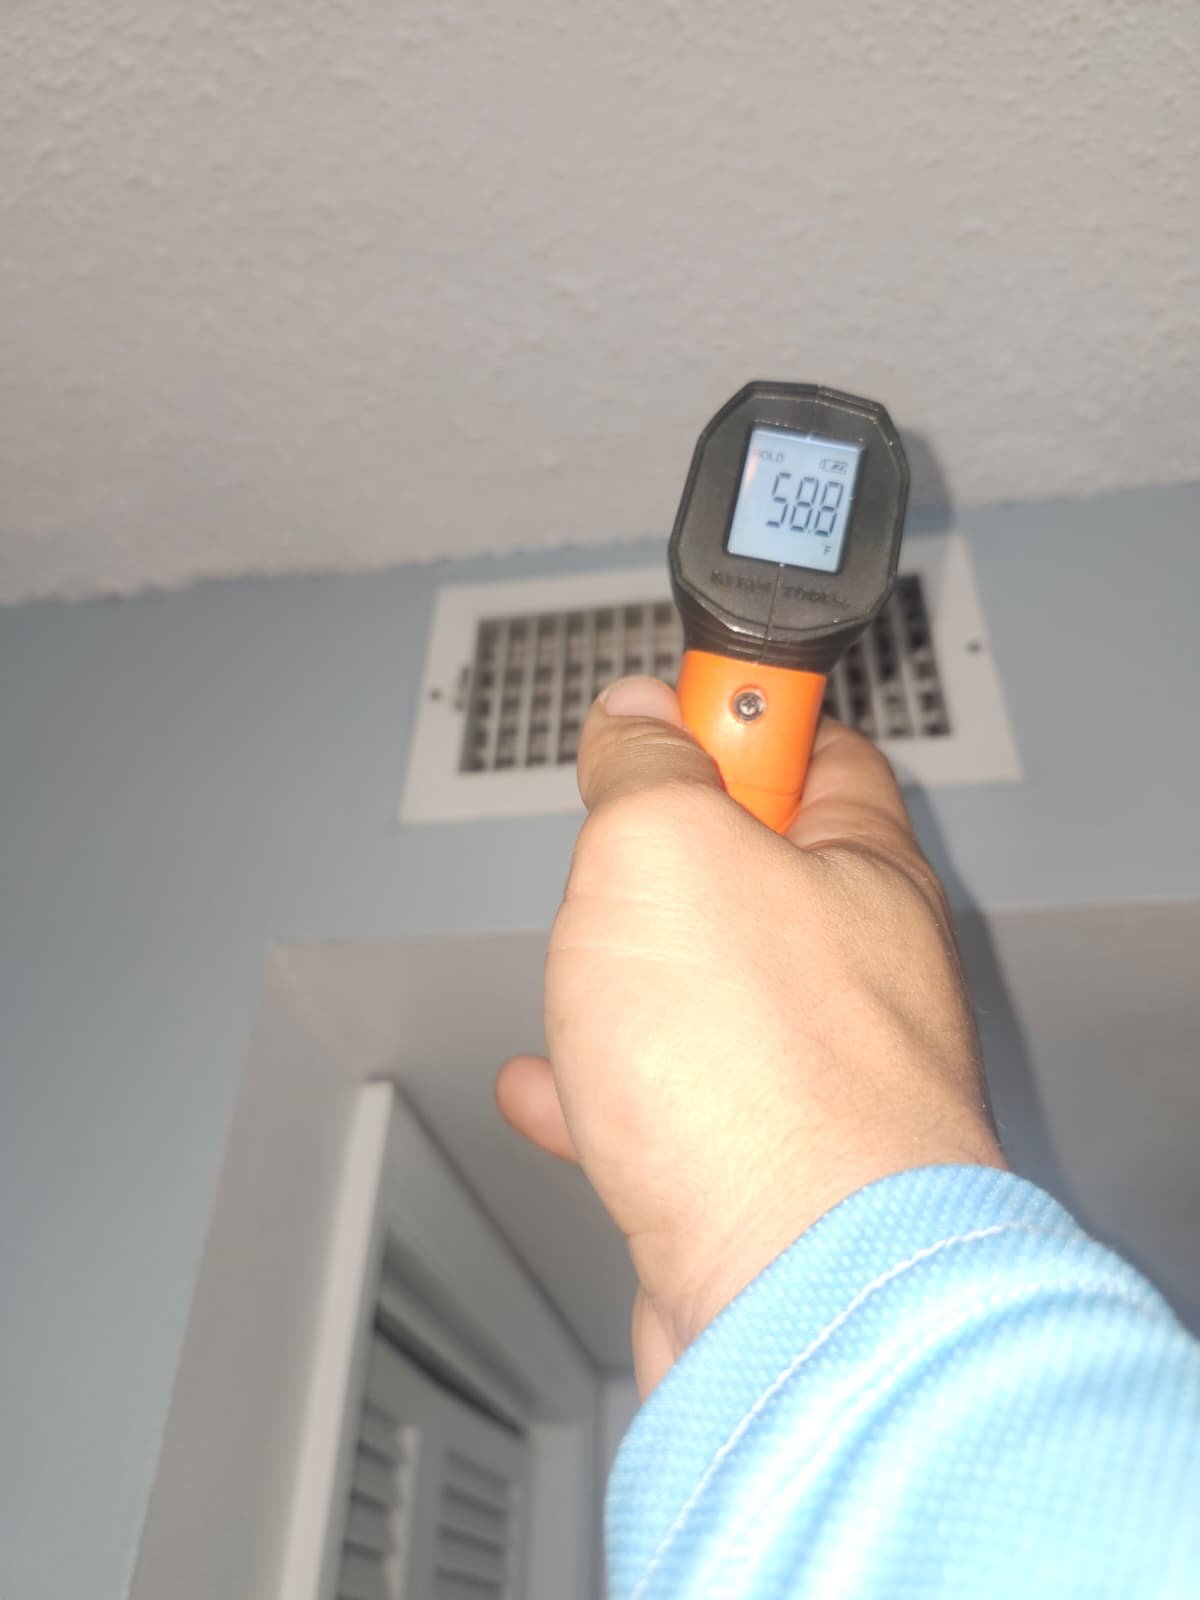
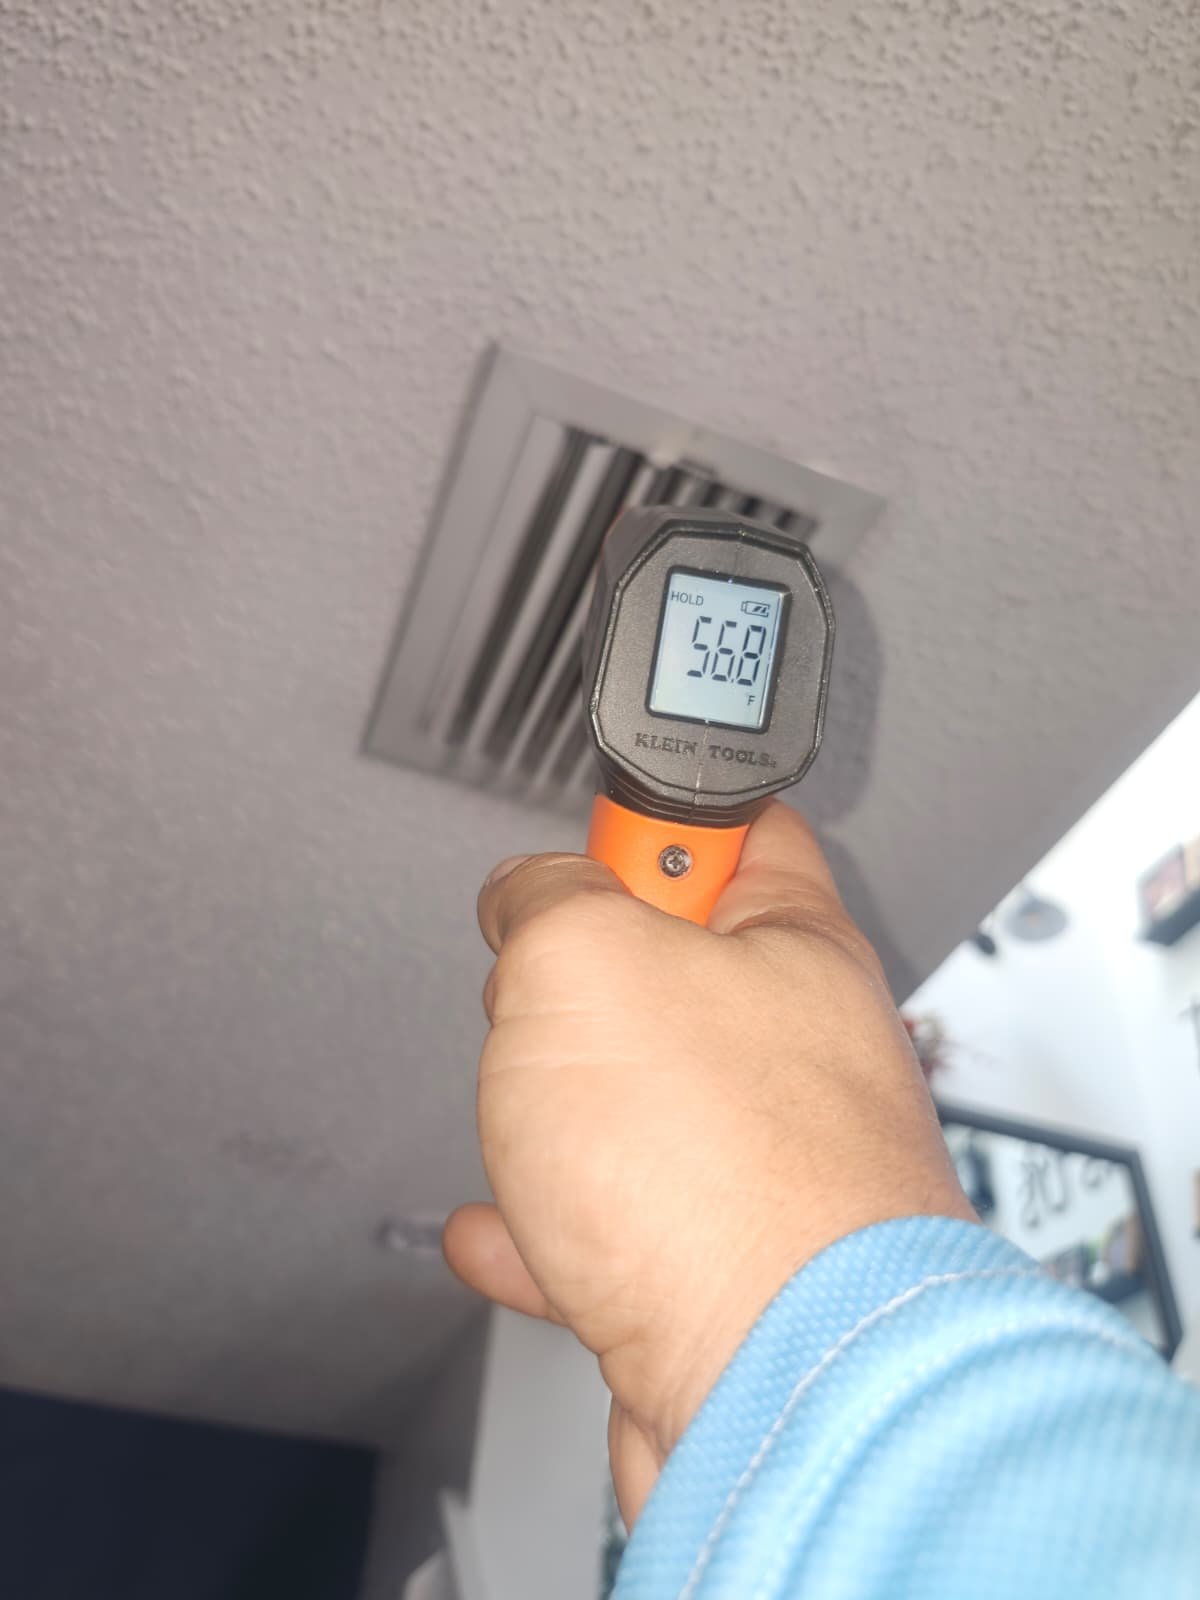
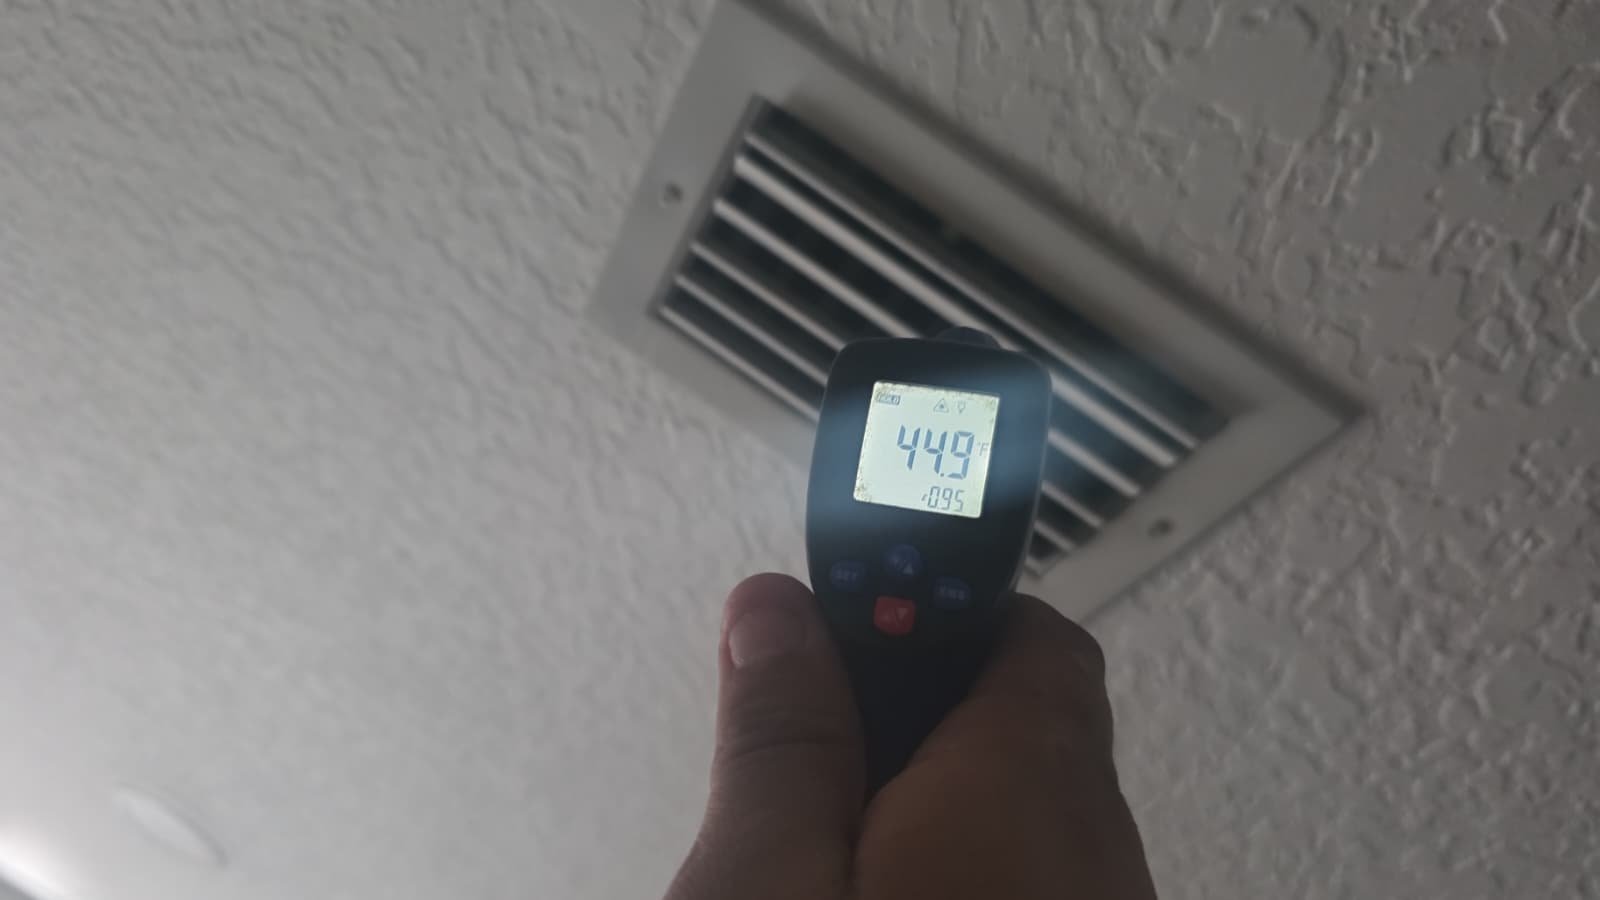
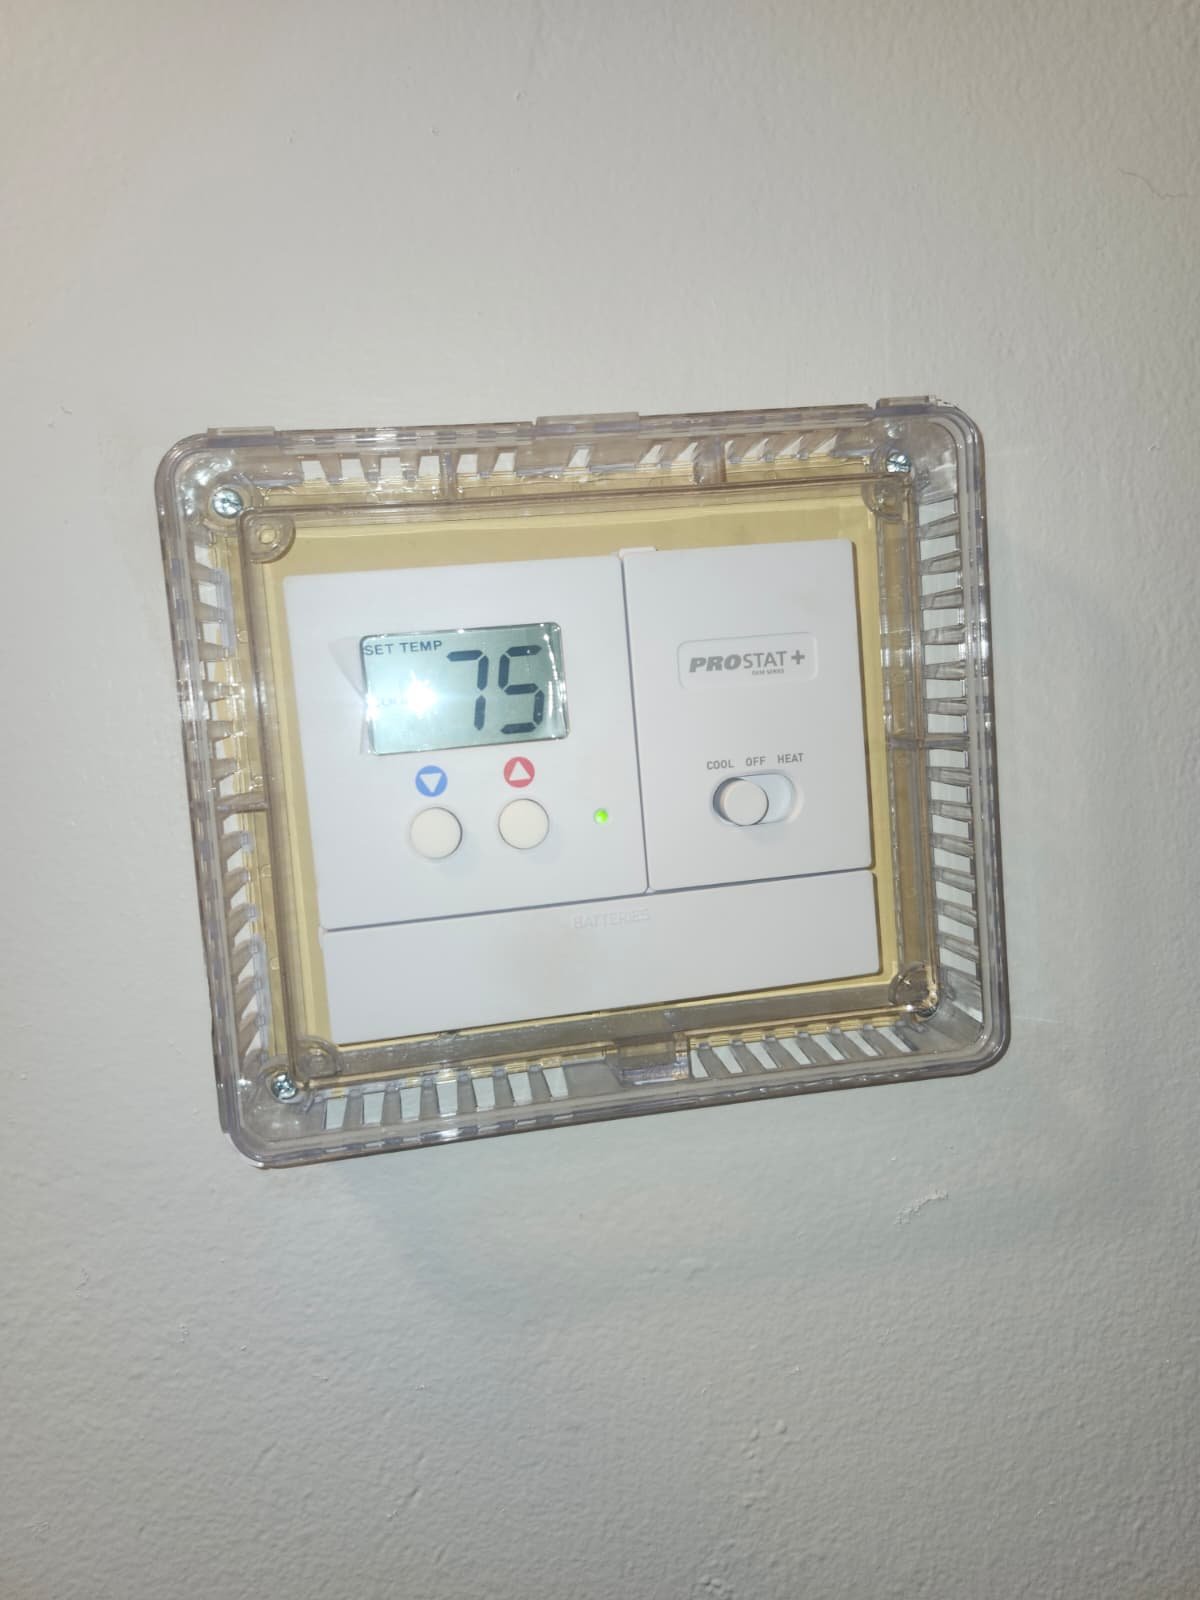
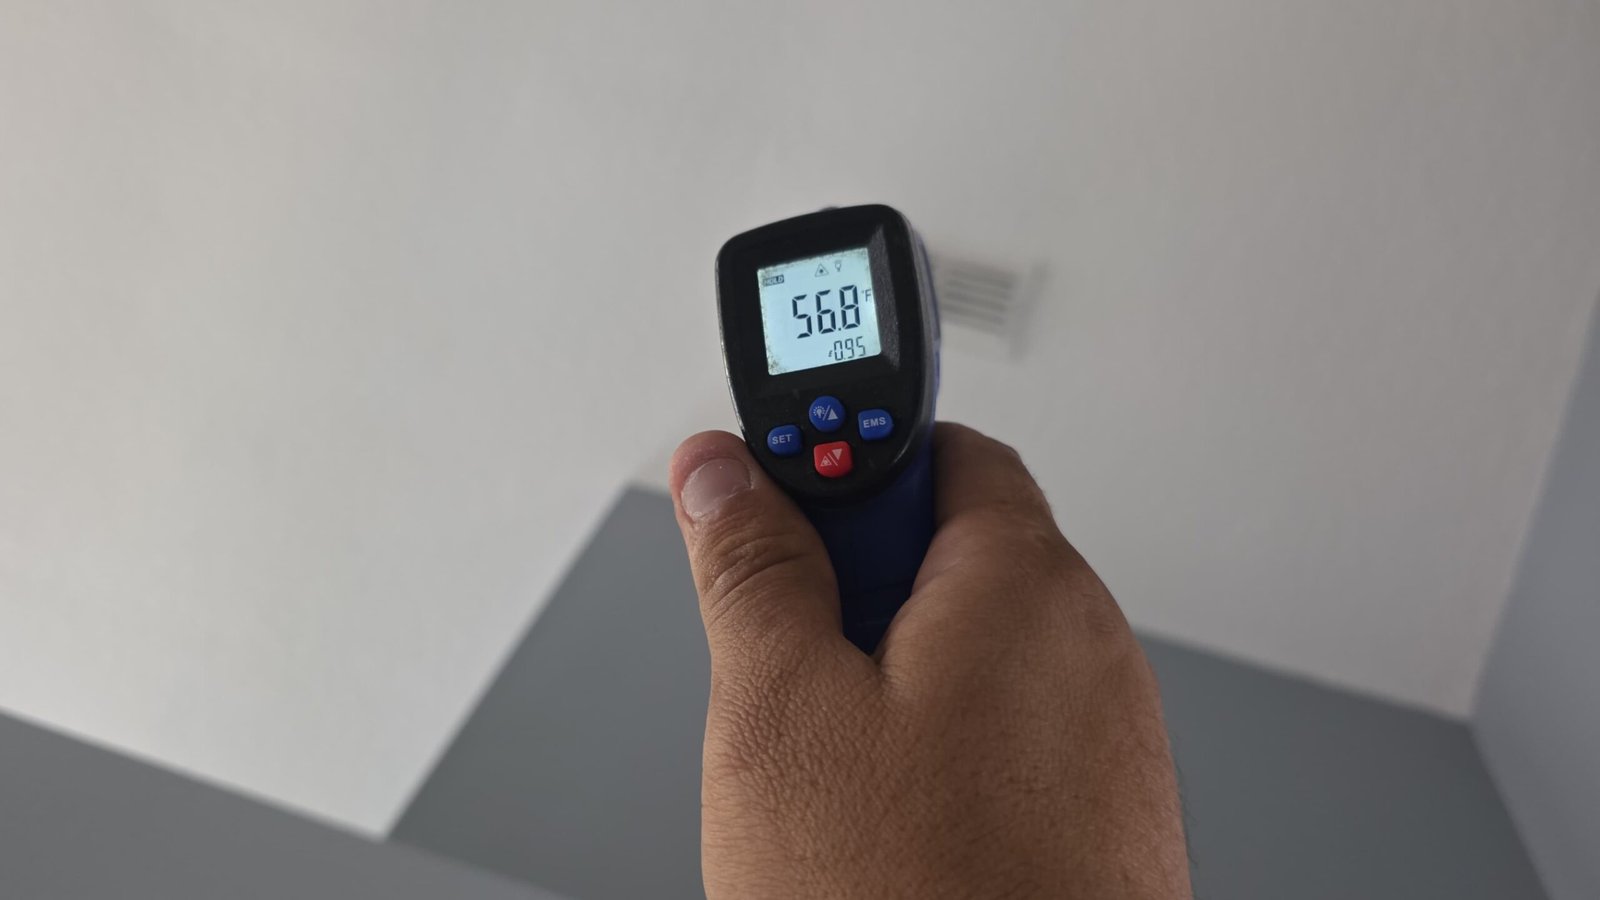
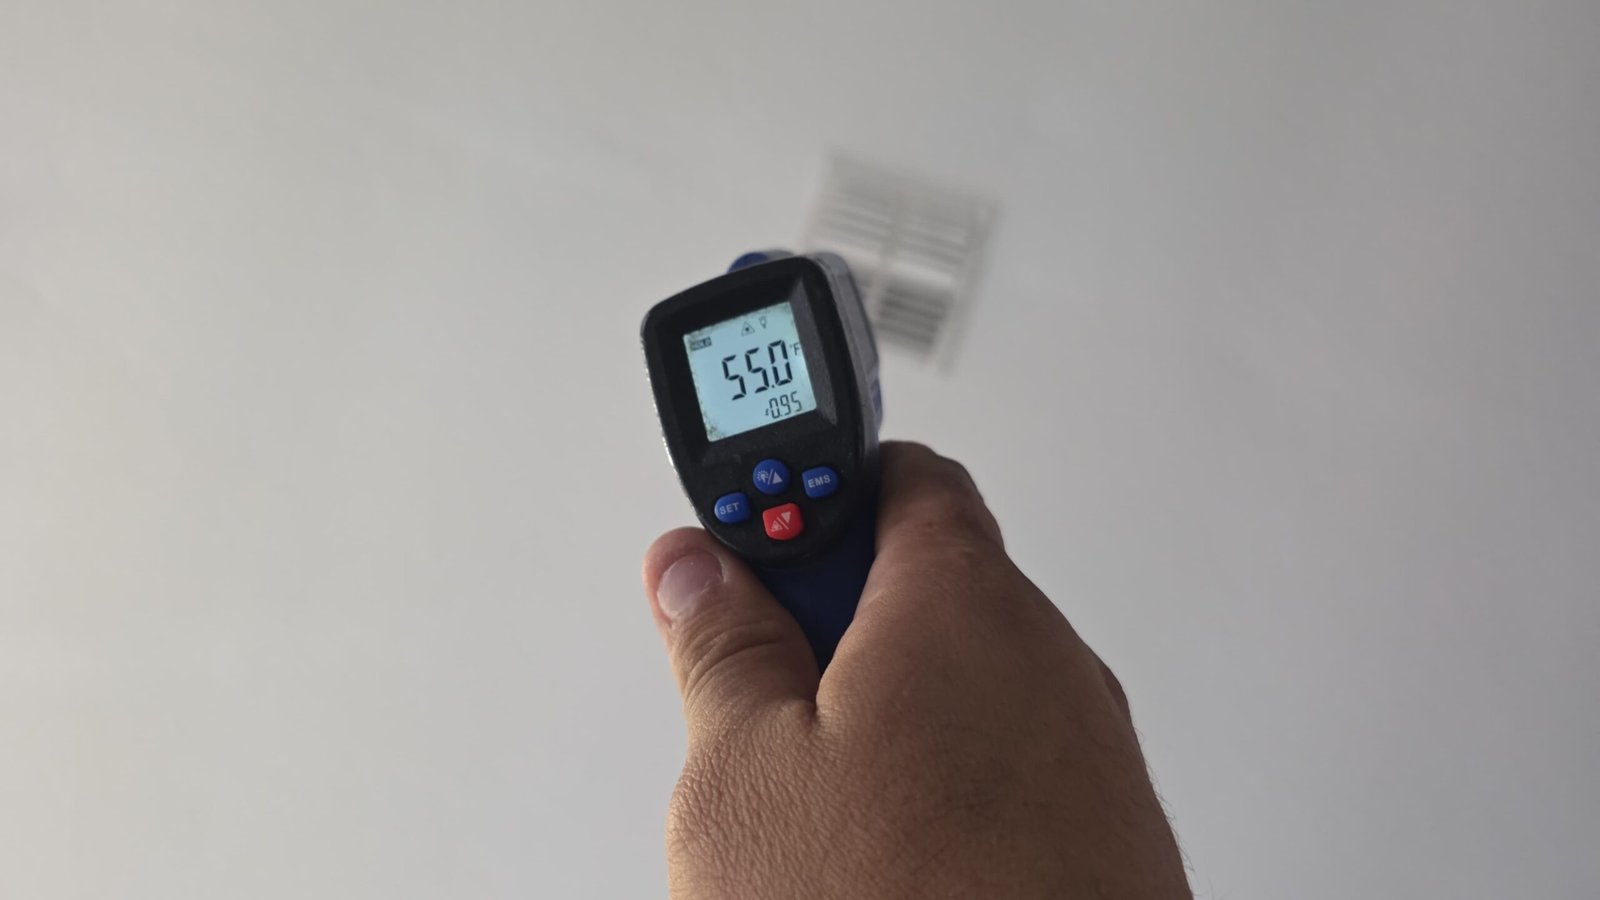
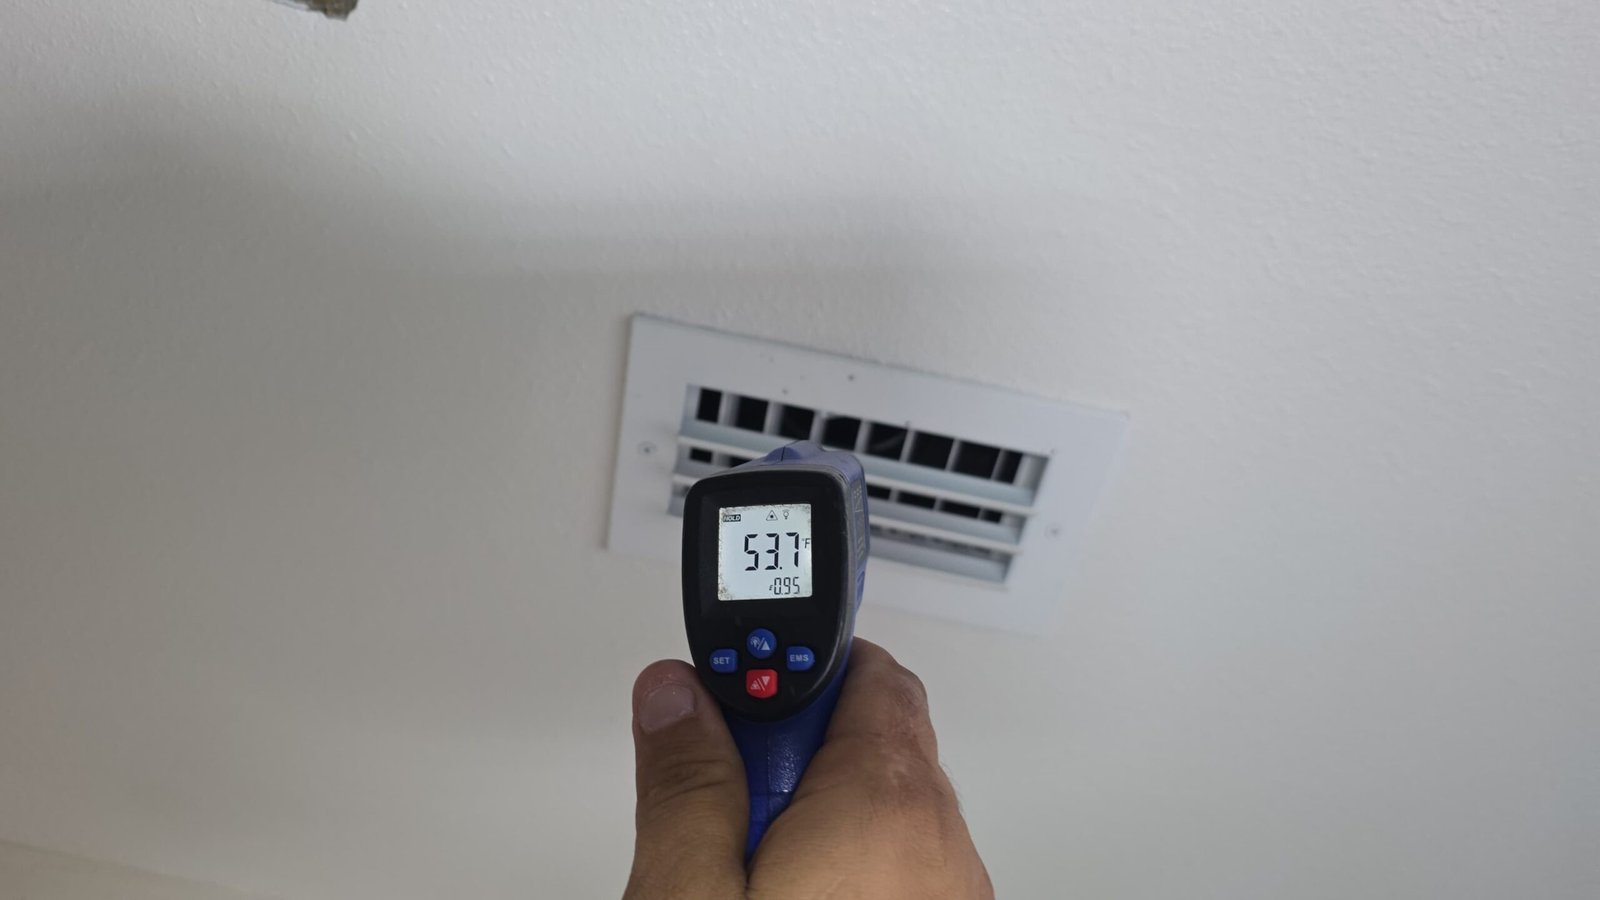
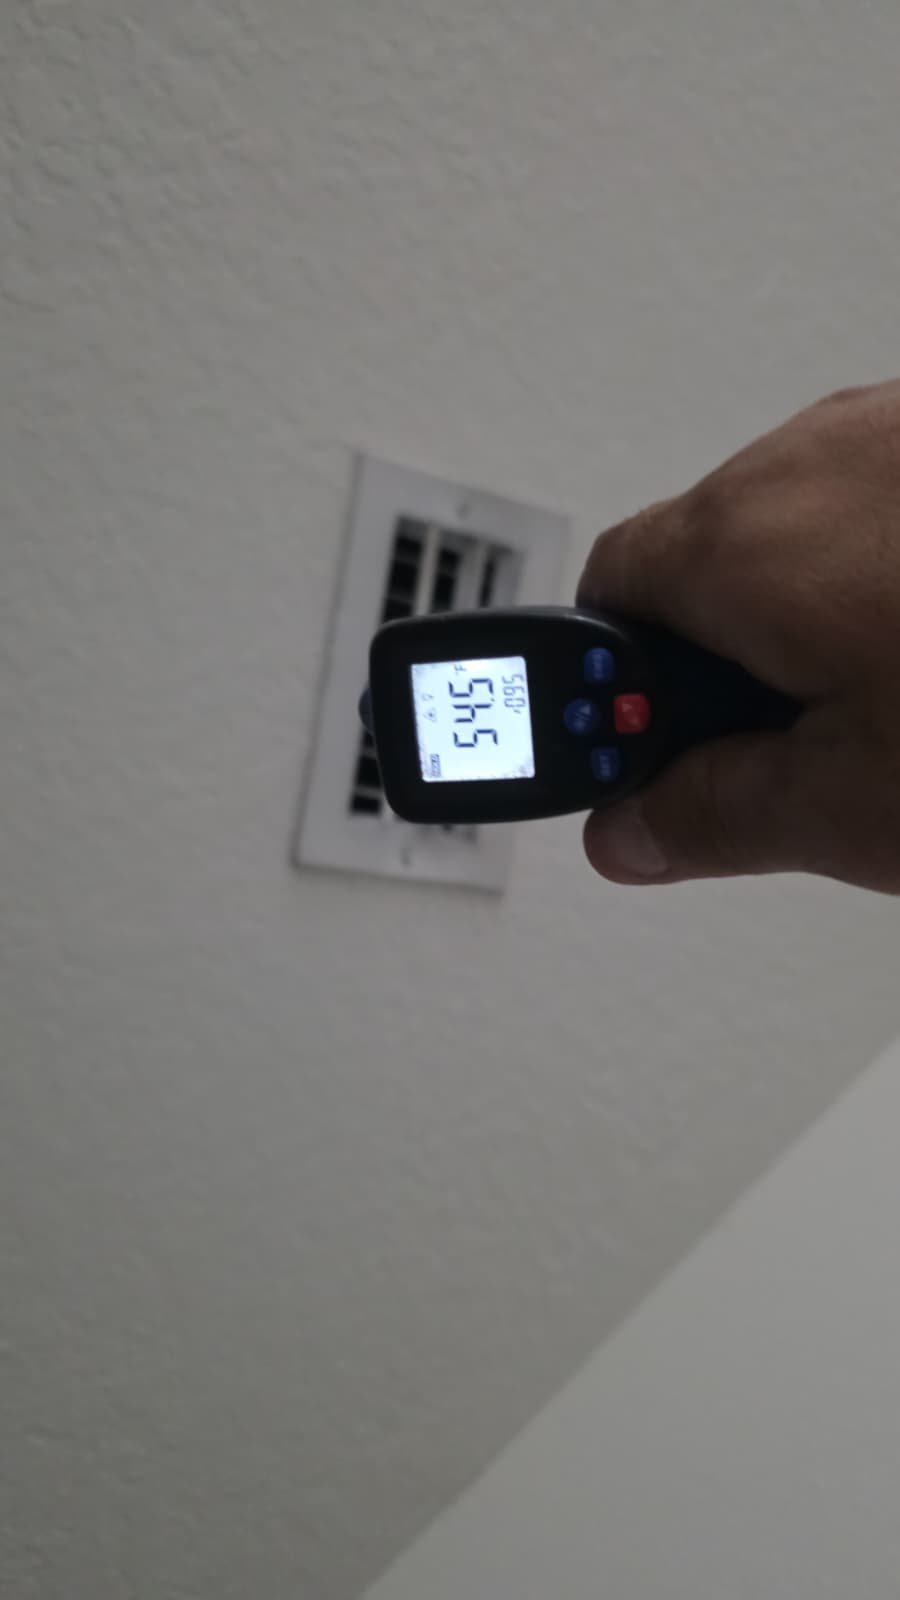
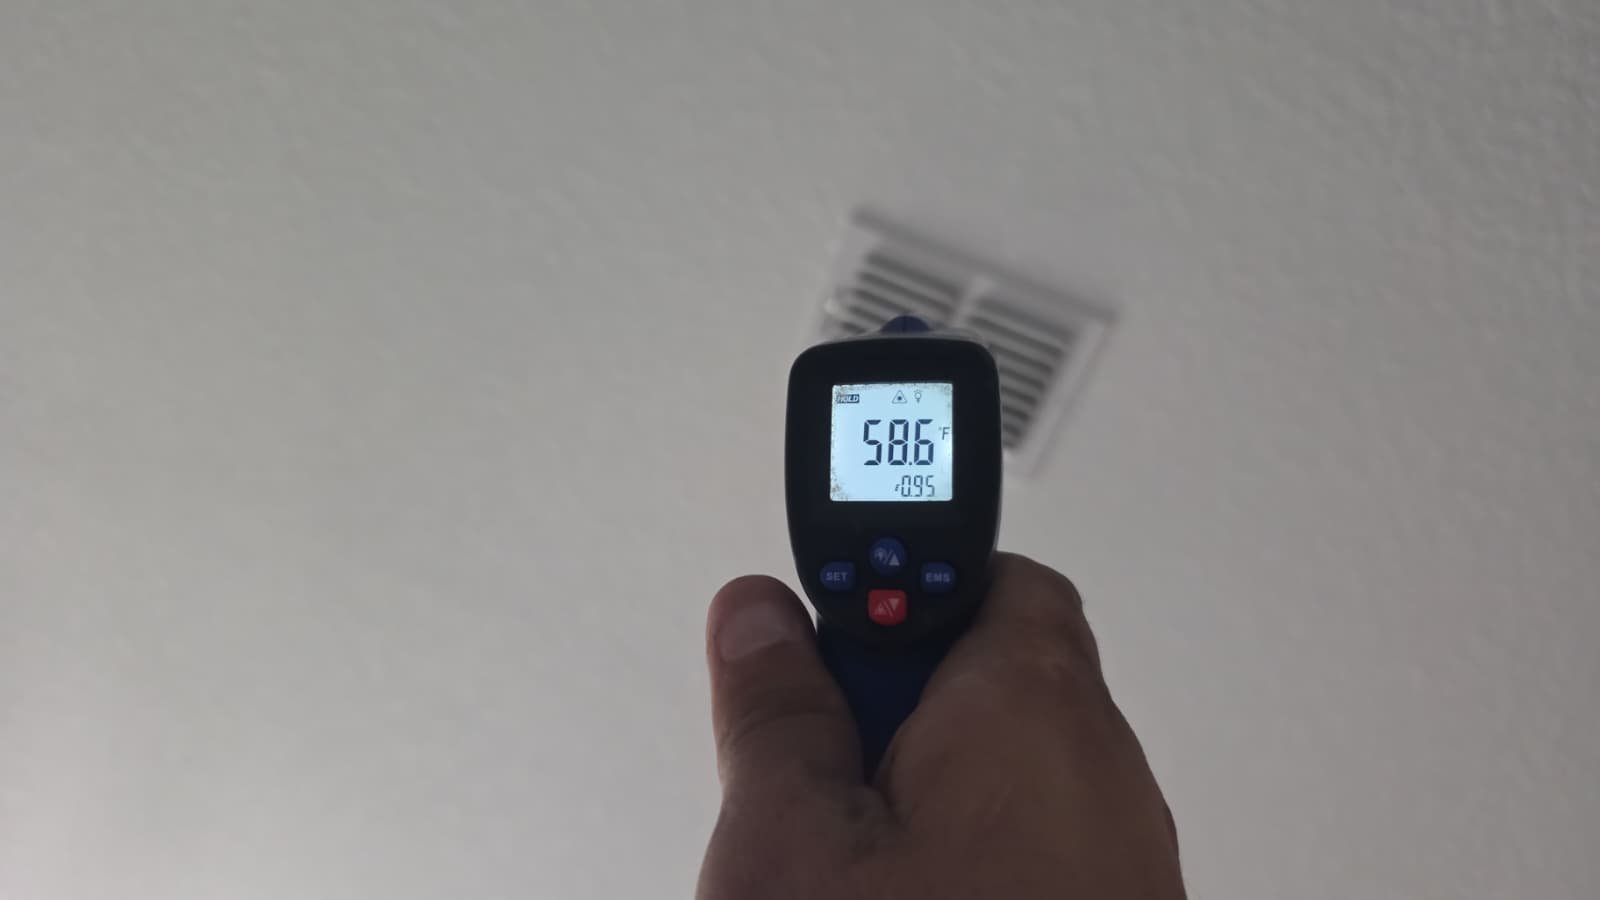
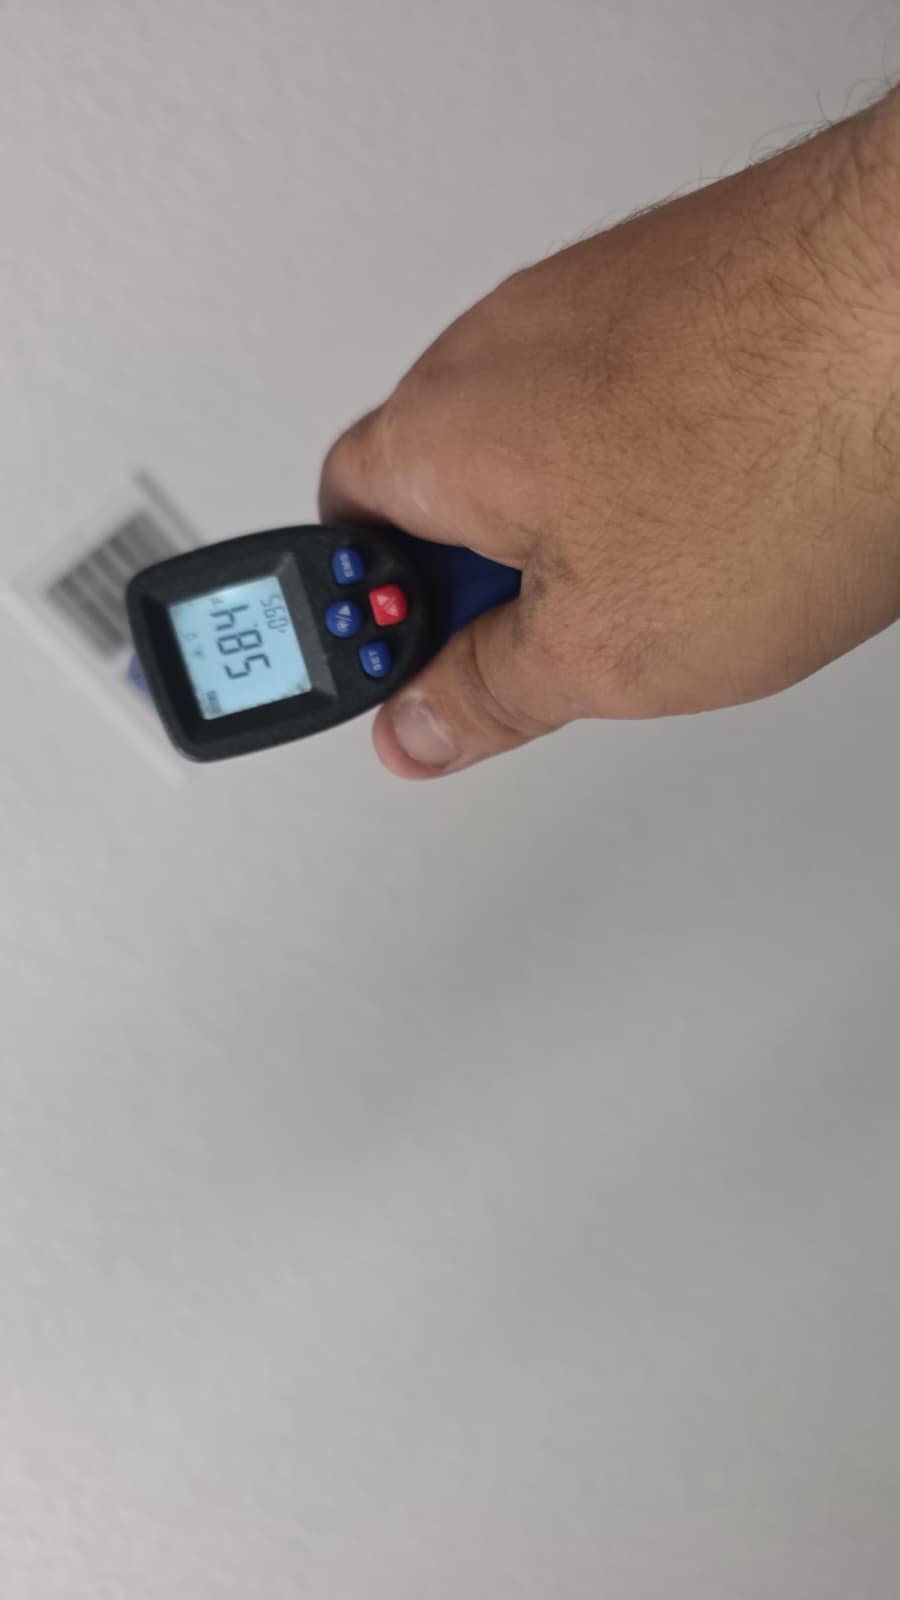
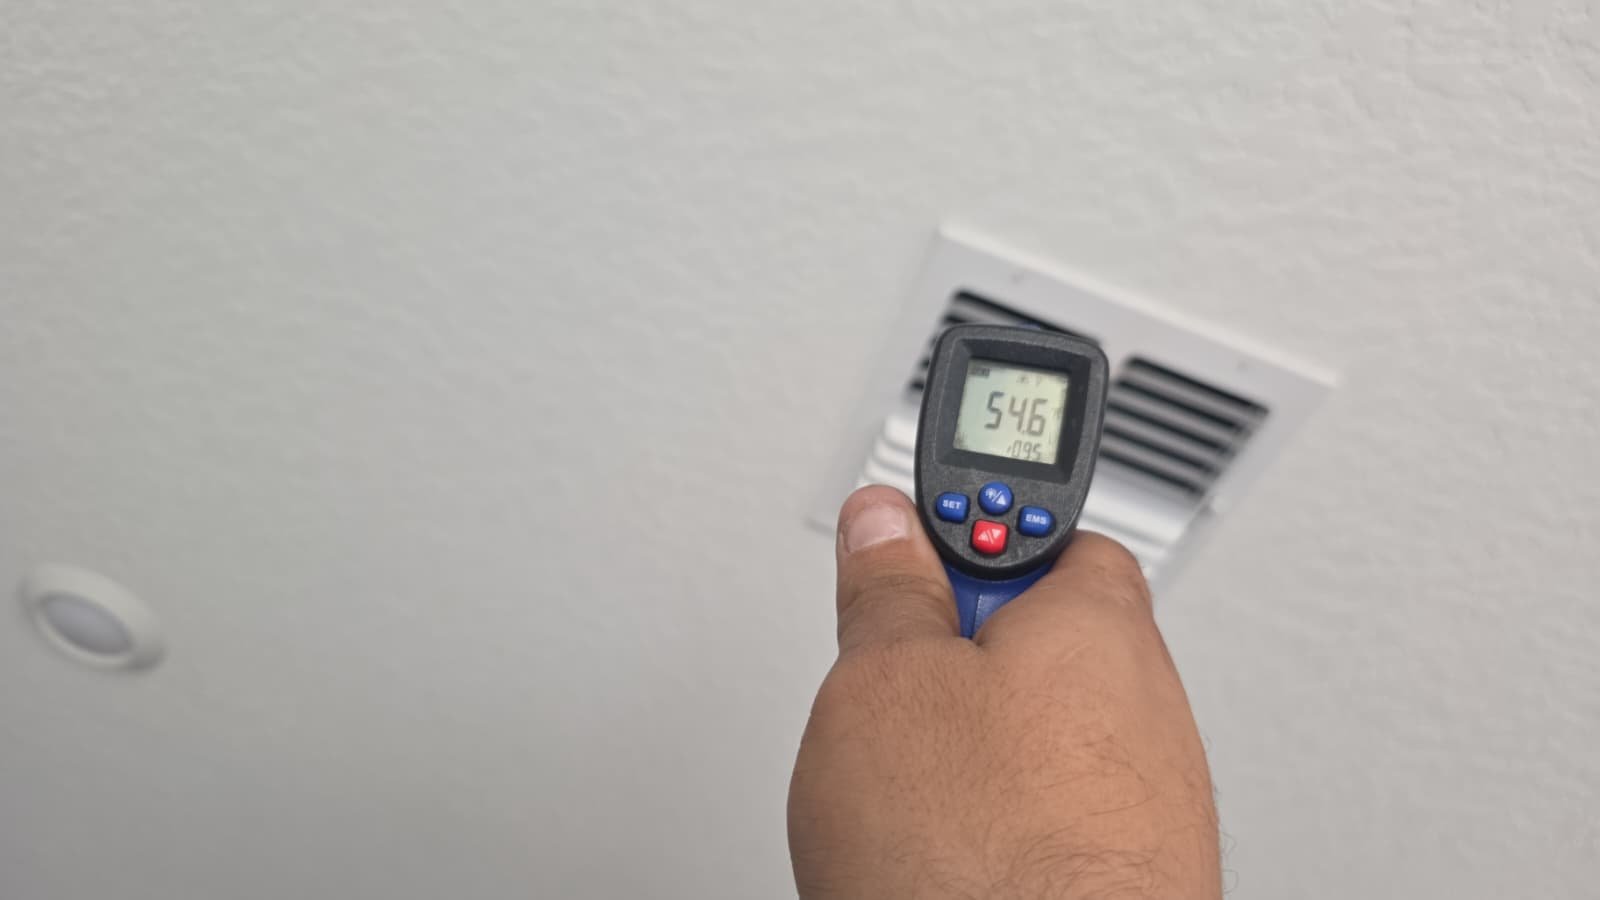
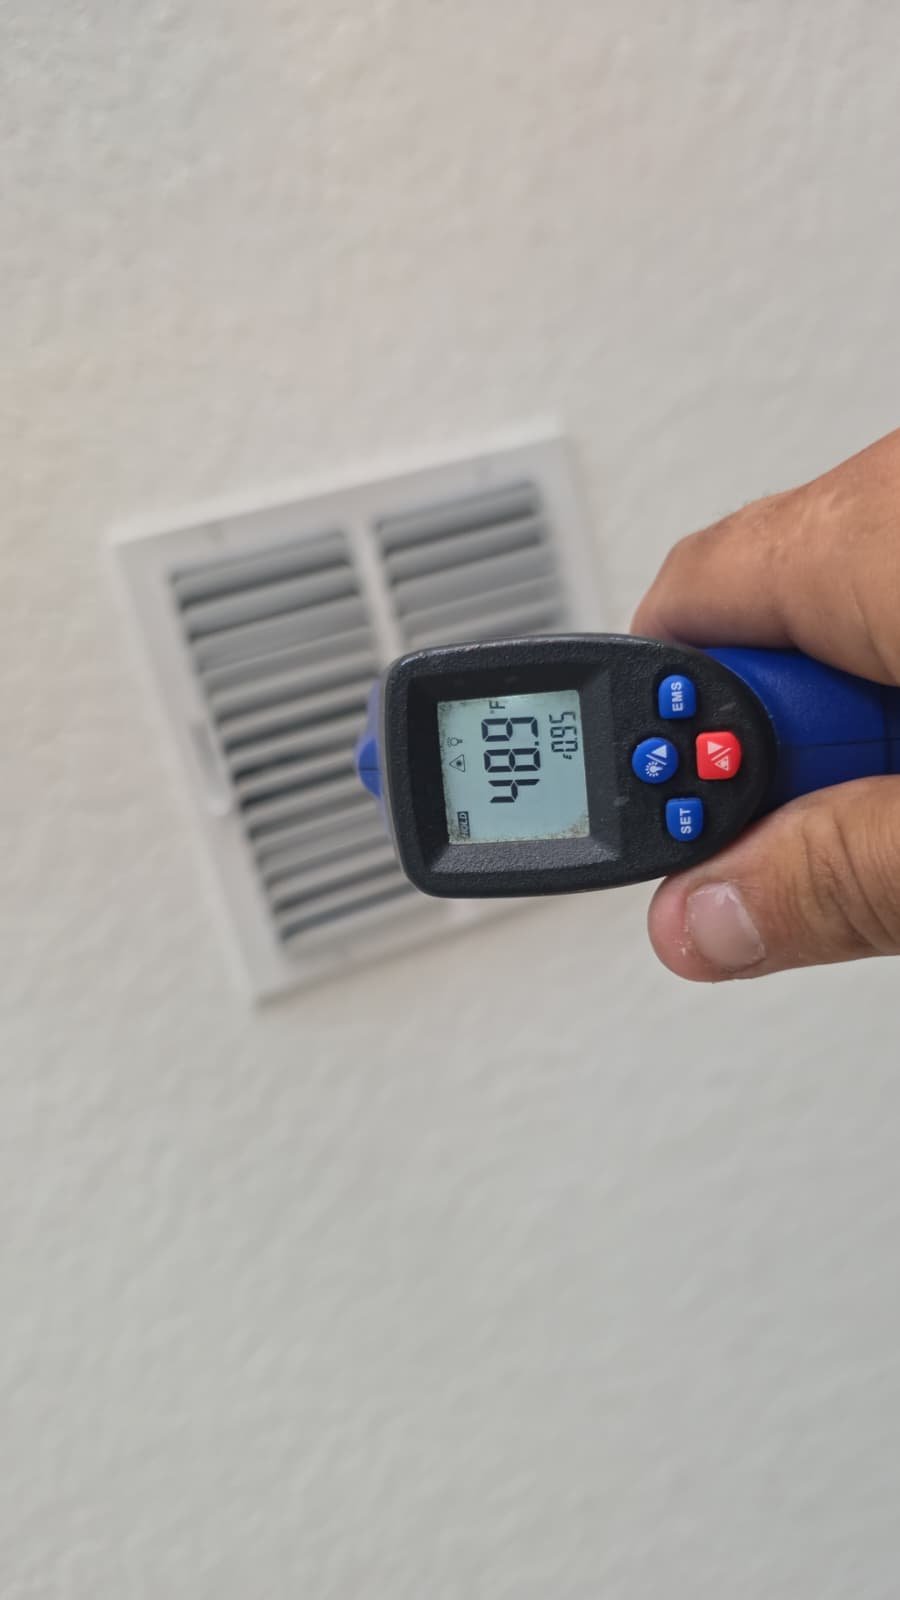
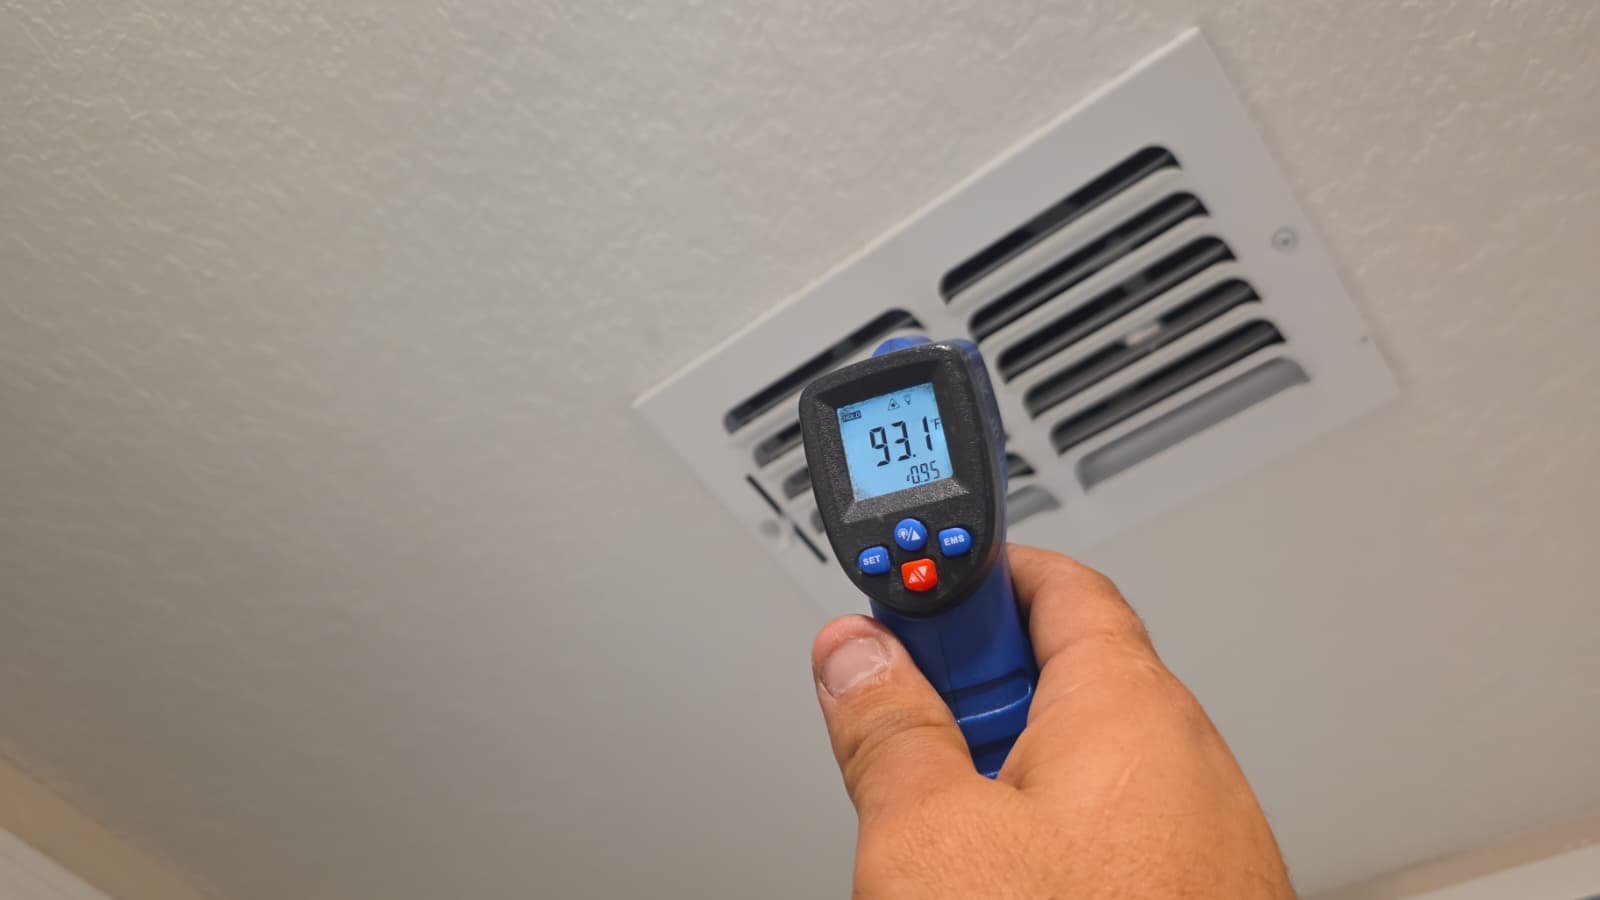
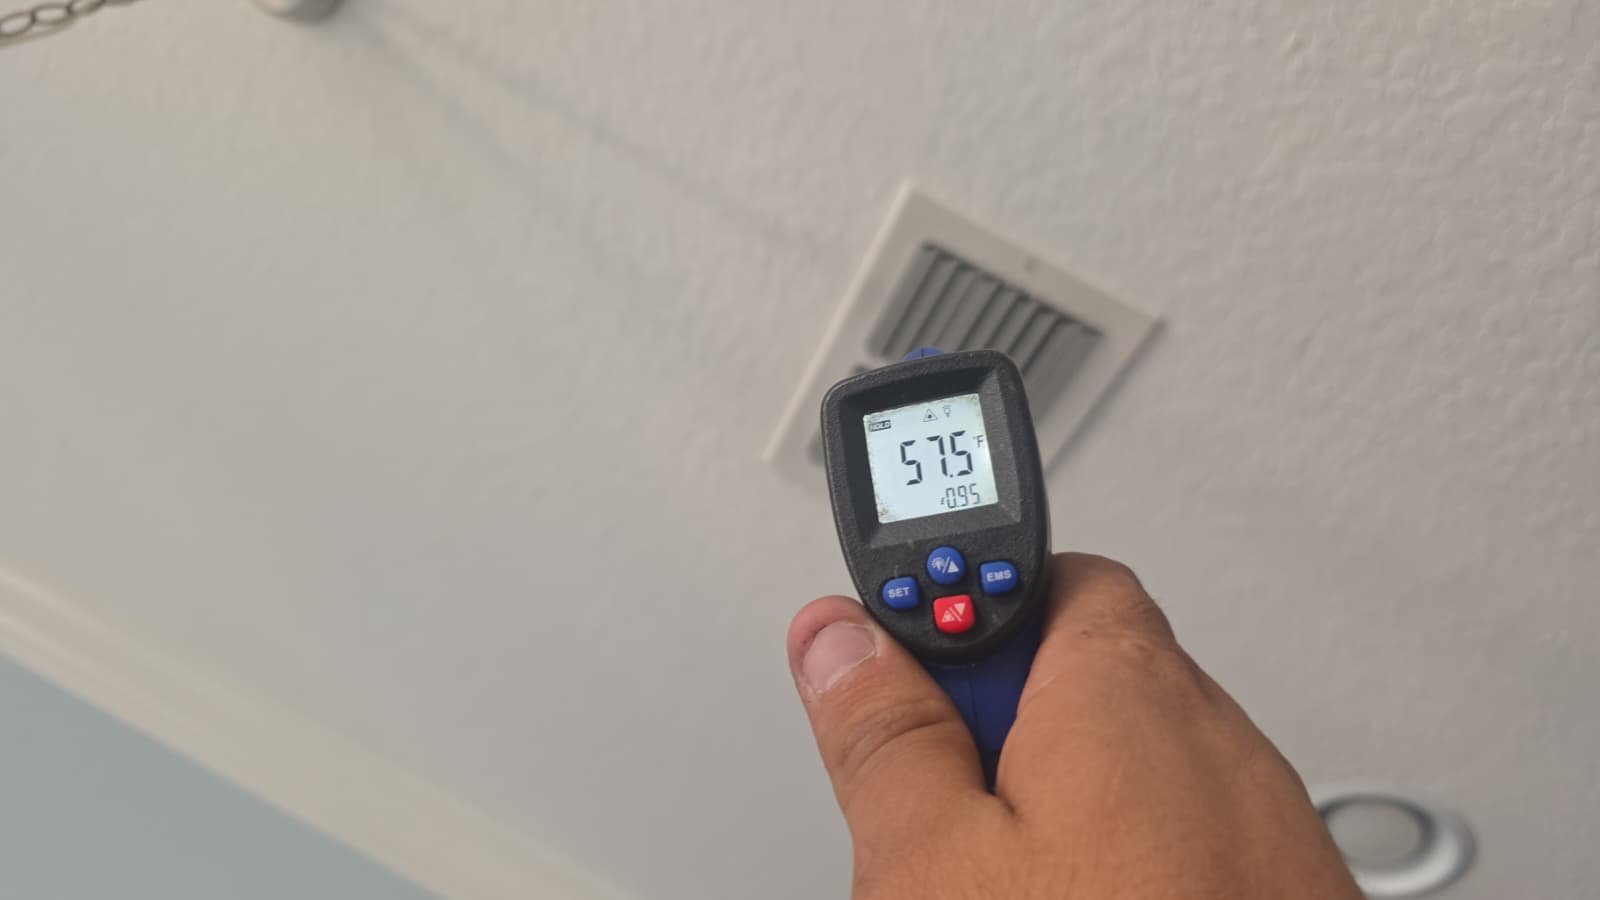
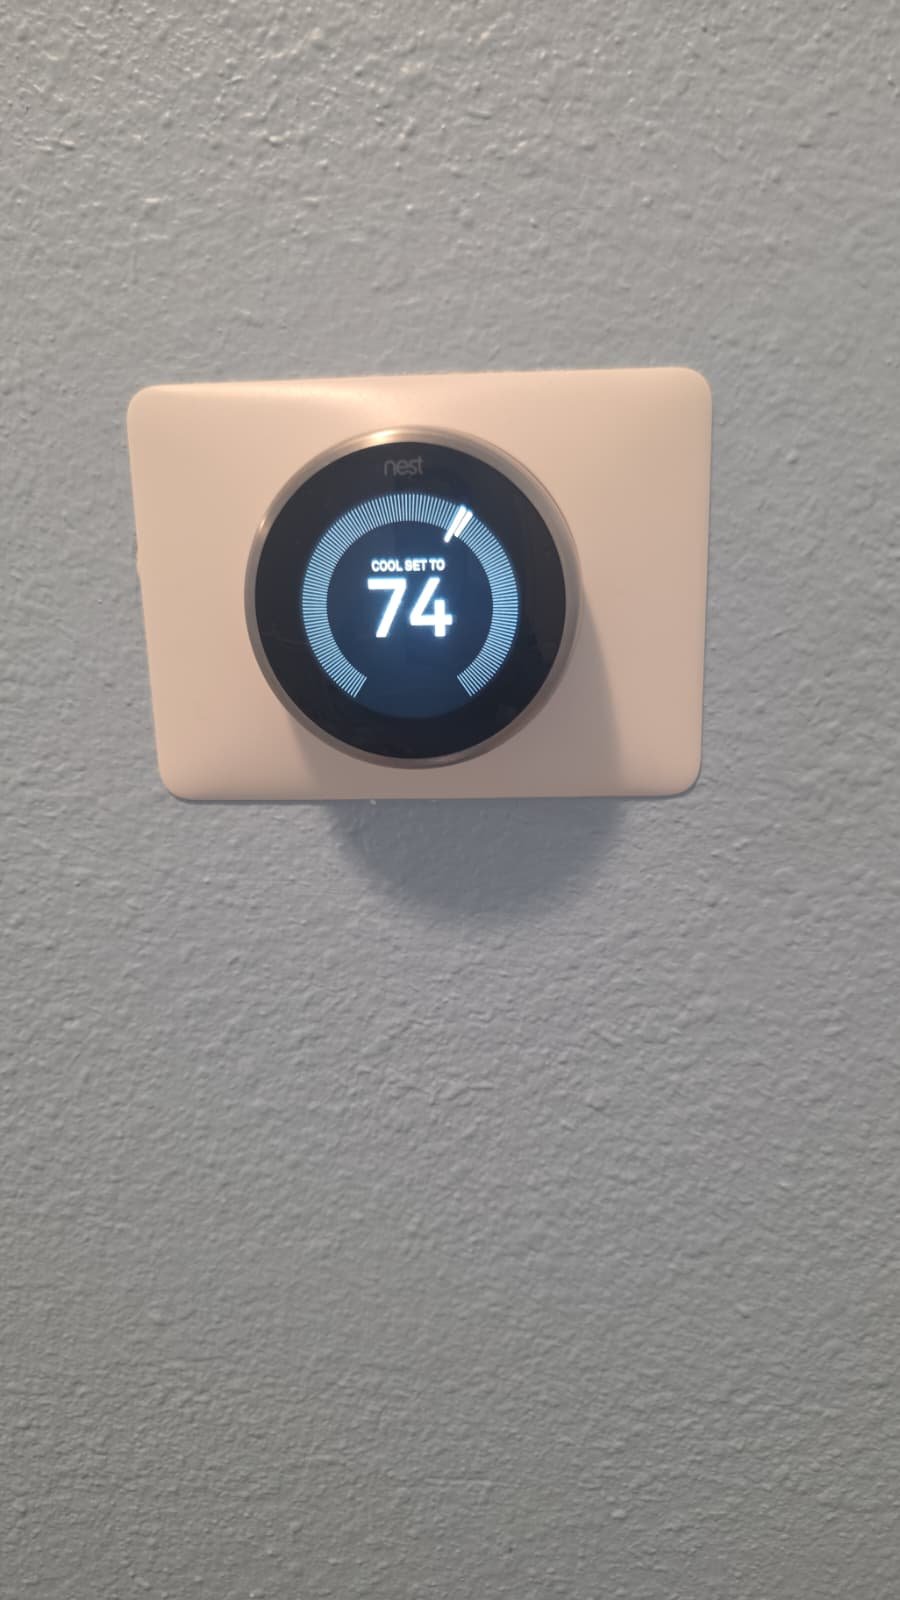
We began by running the system in cooling mode and observing how it started up and cycled. We listened for unusual noises, looked for vibration or movement where there shouldn’t be any, and verified that air was moving consistently from the supply vents.
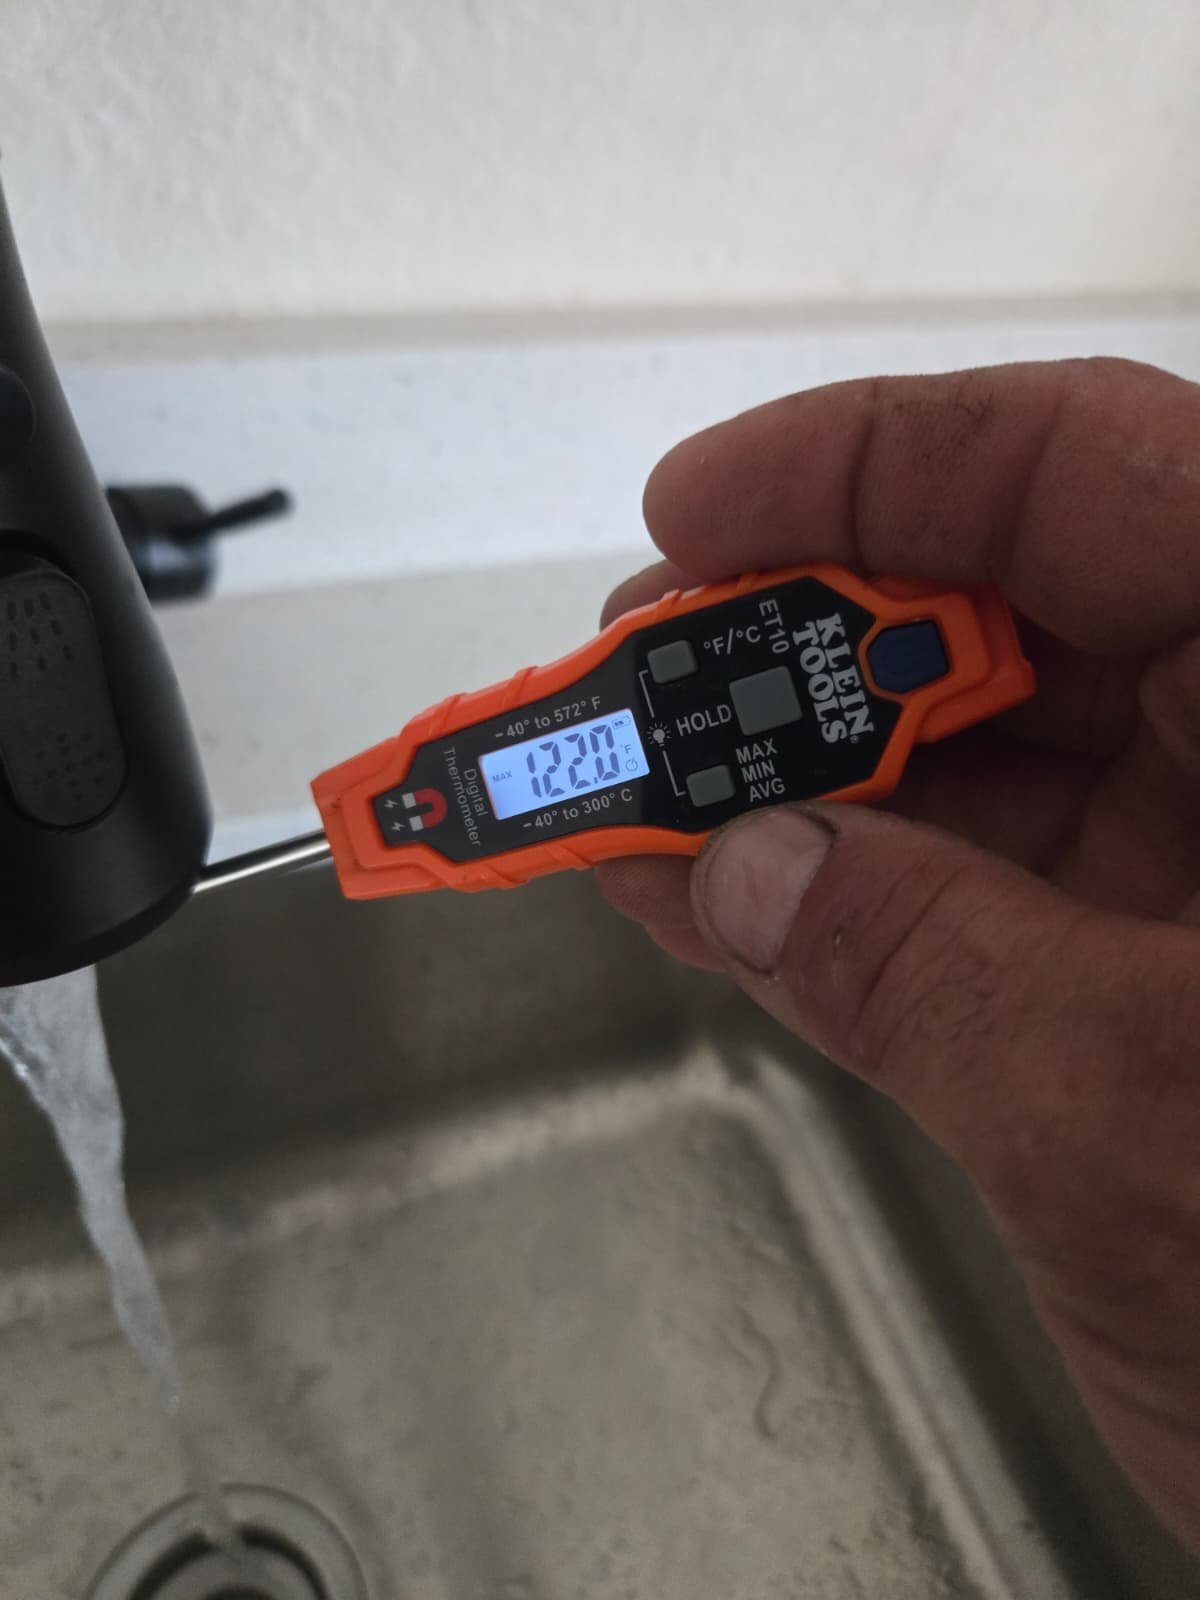
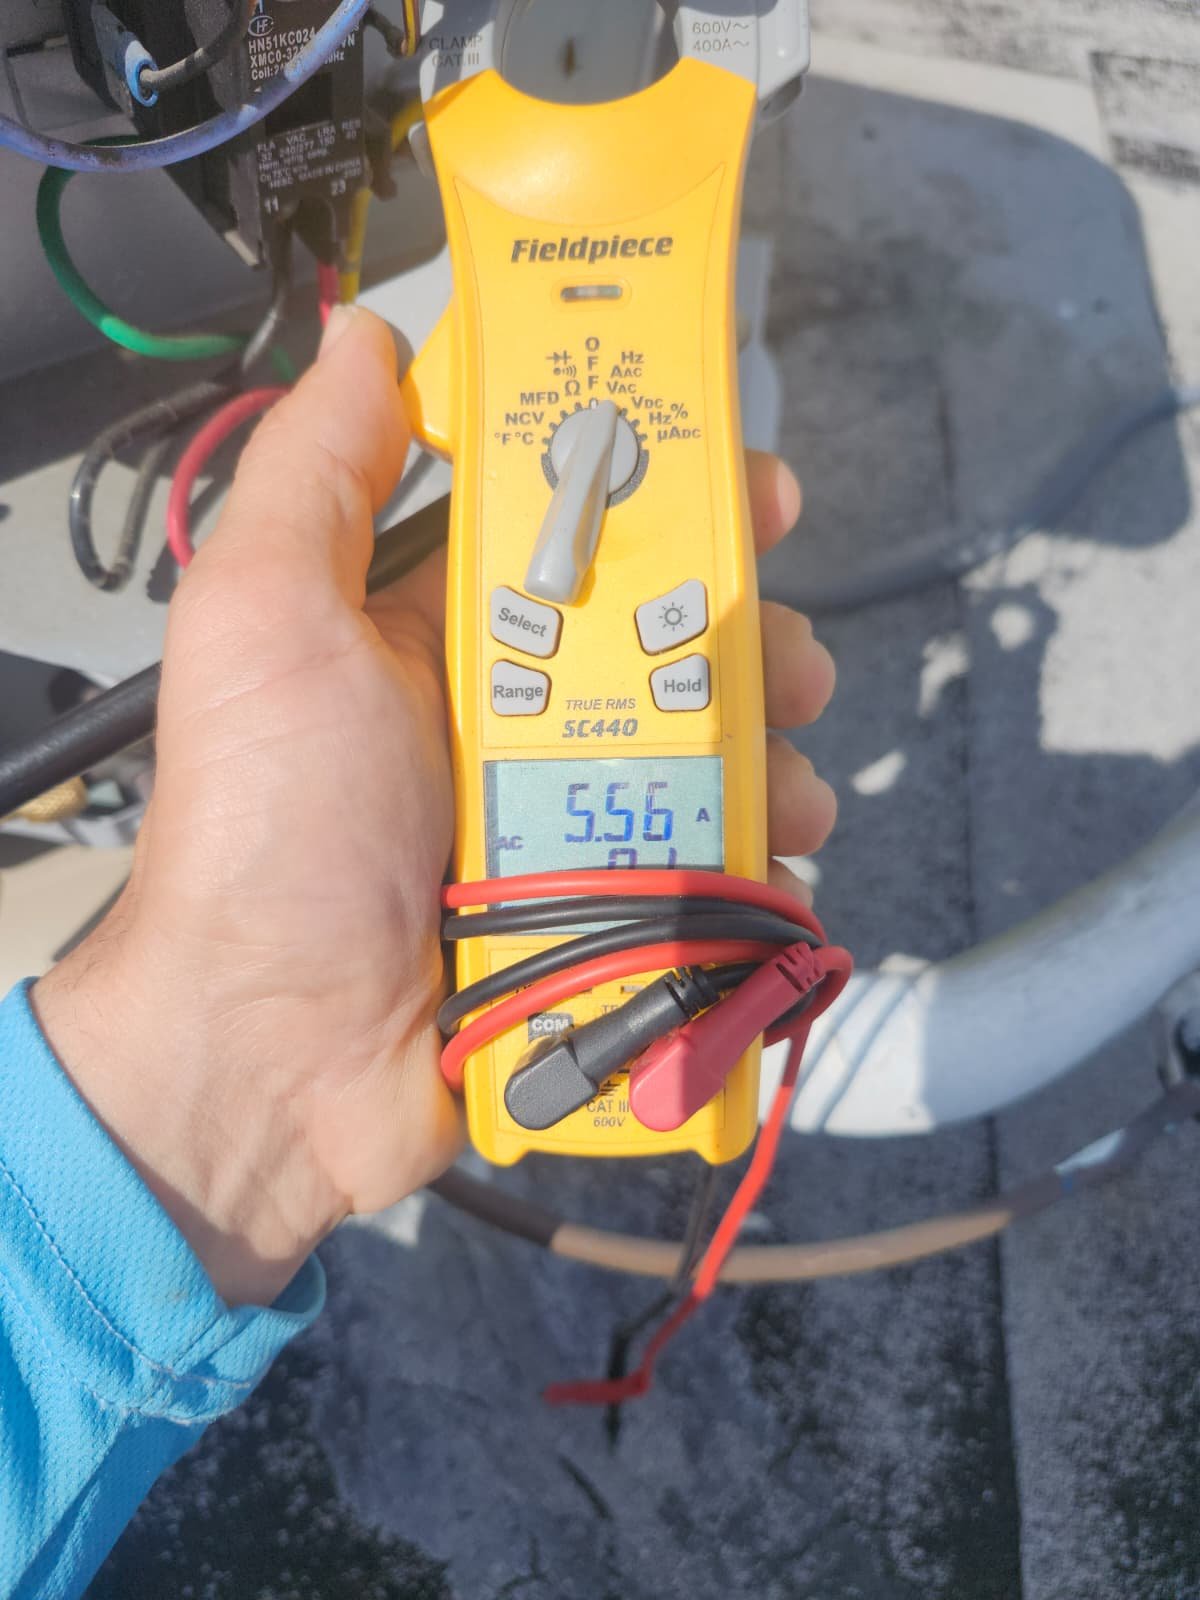
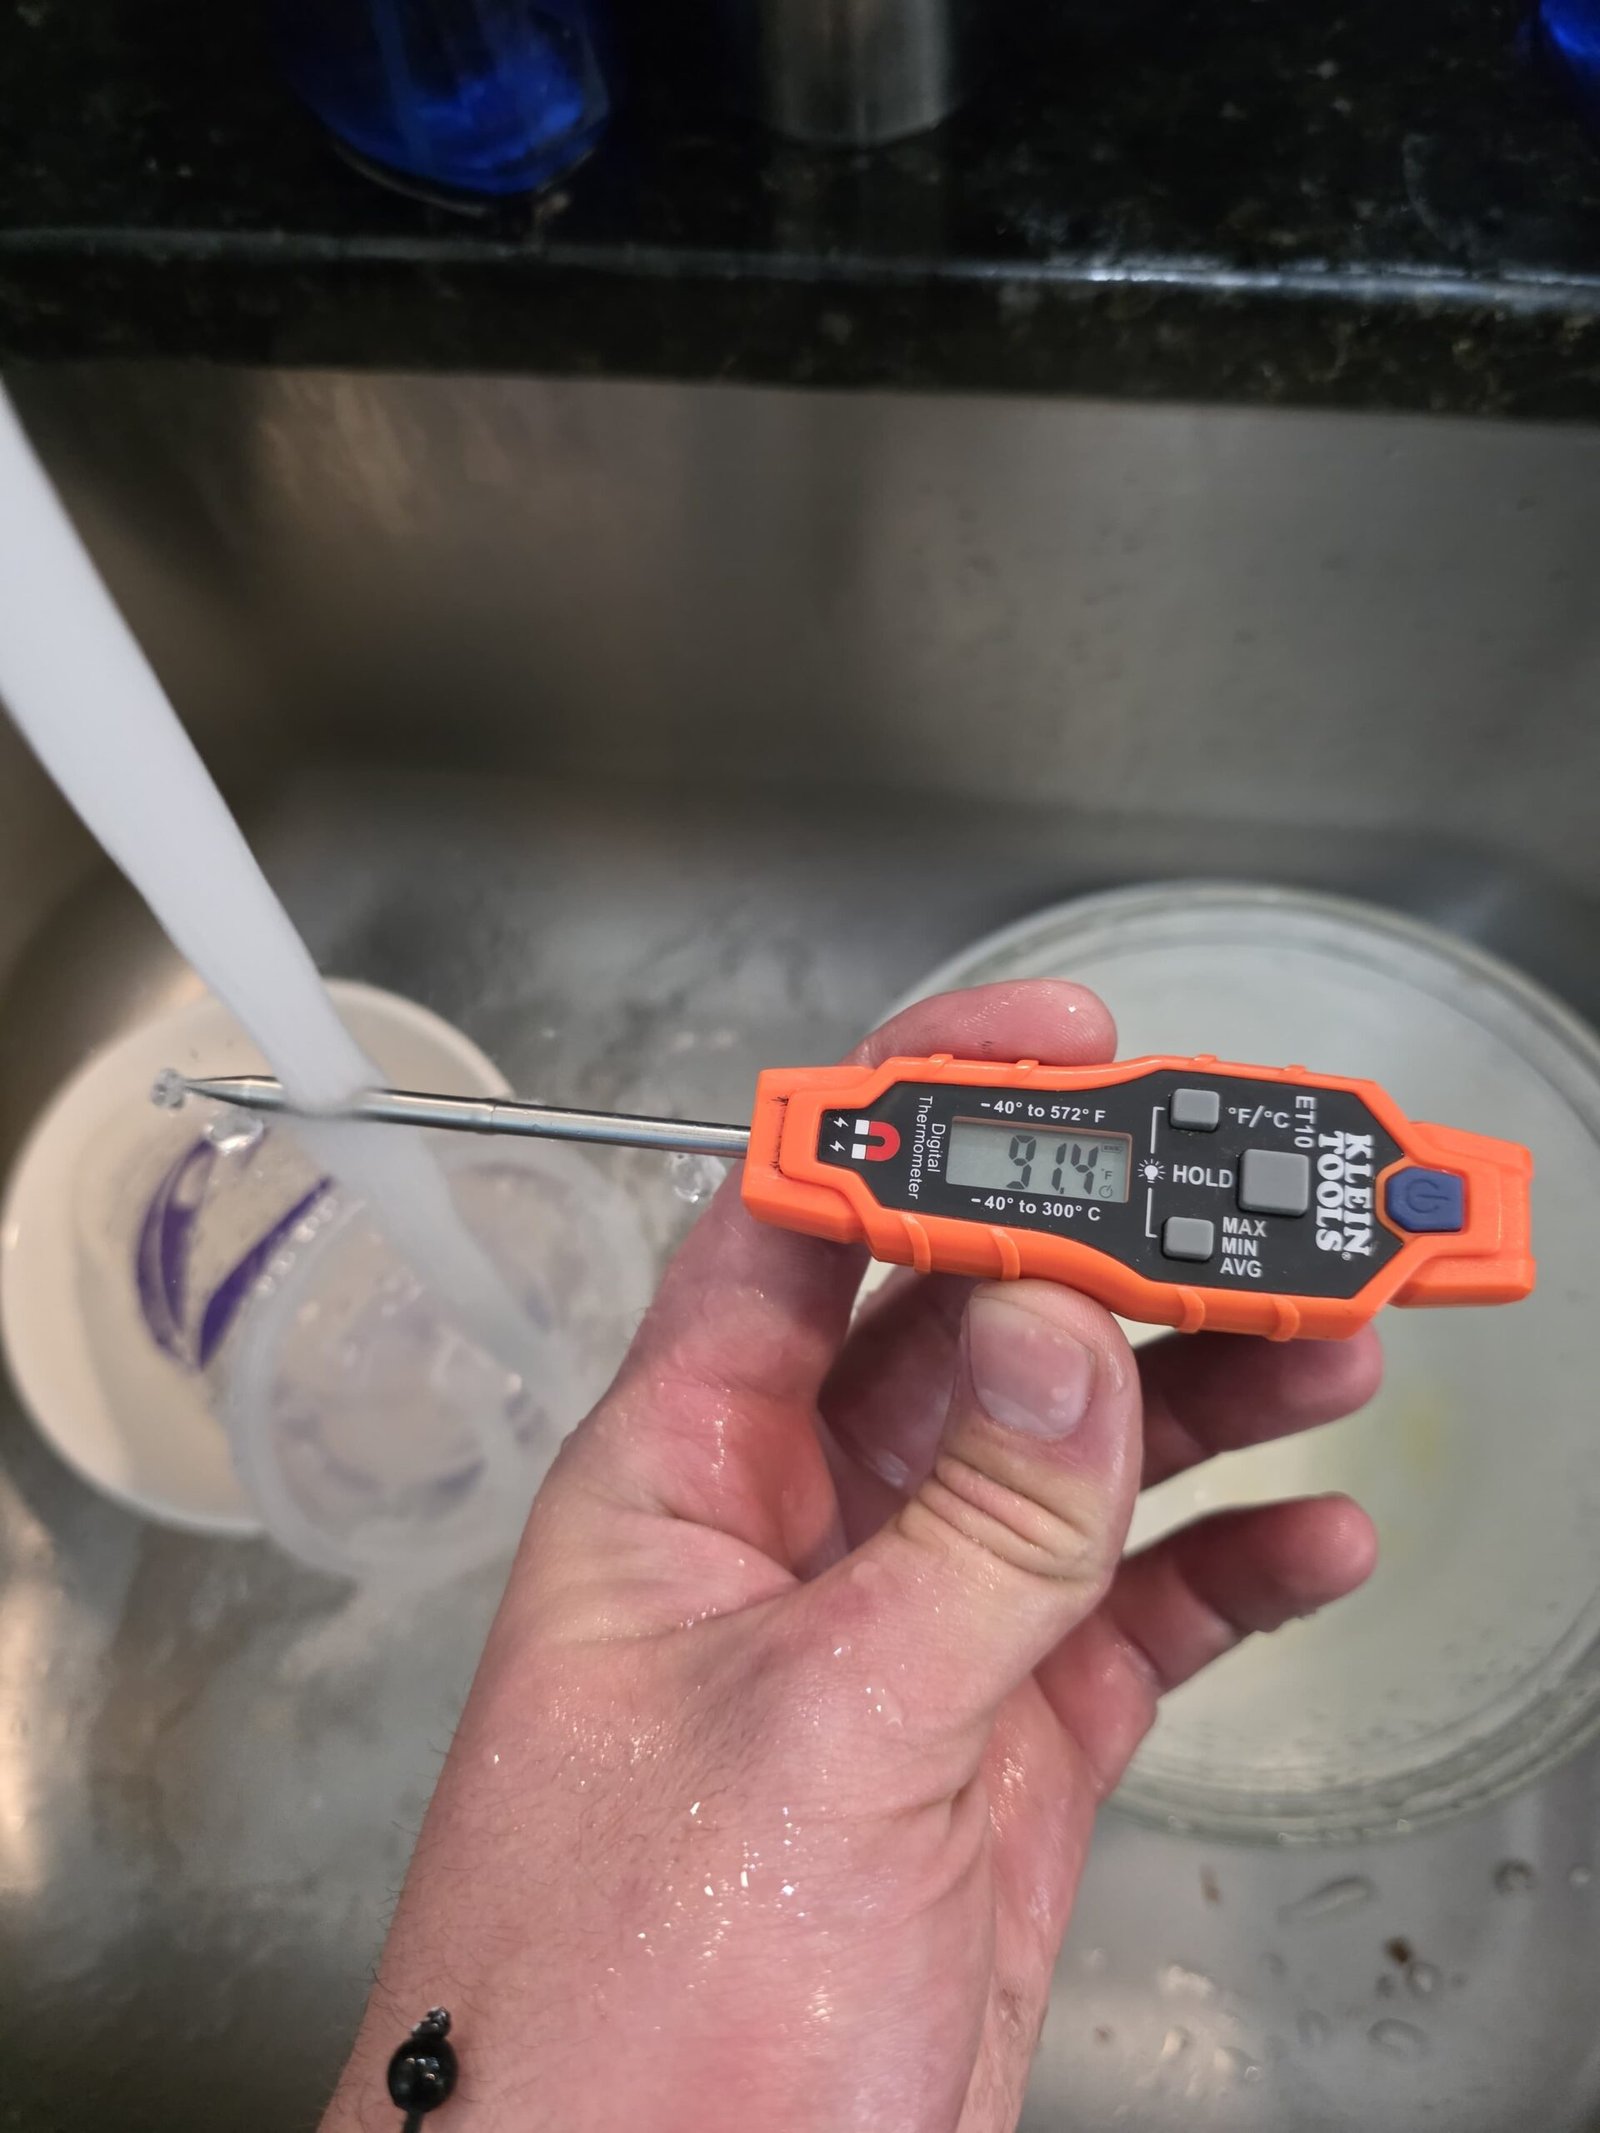
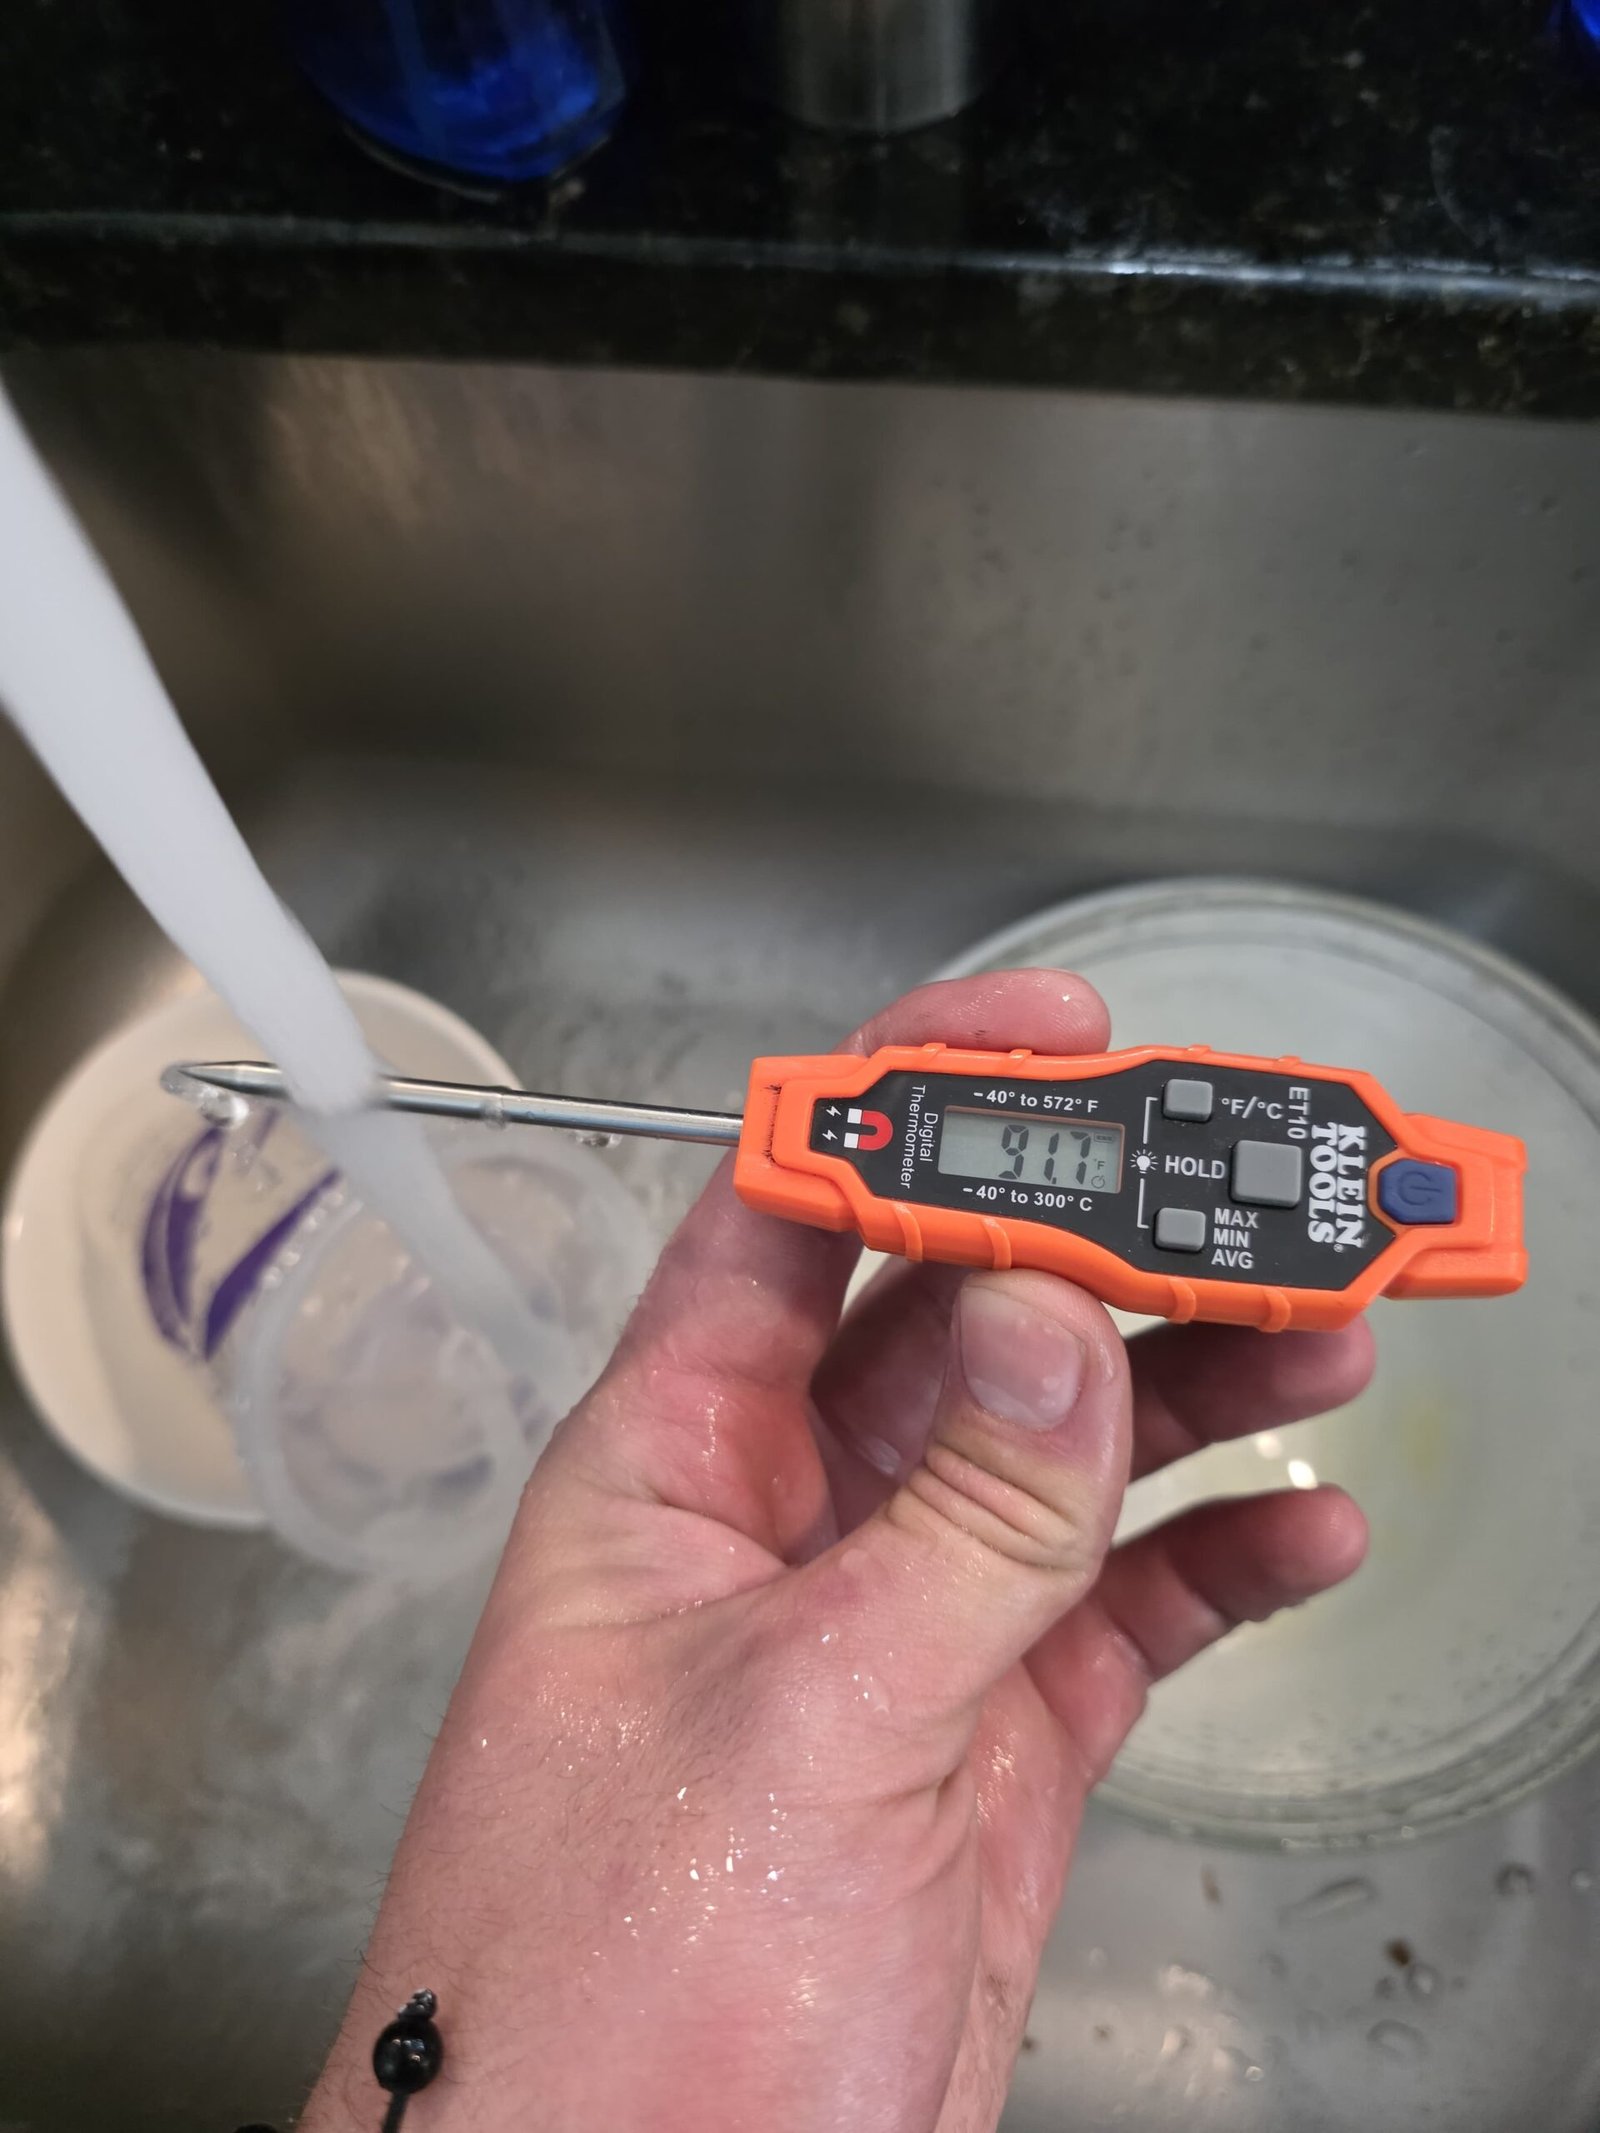
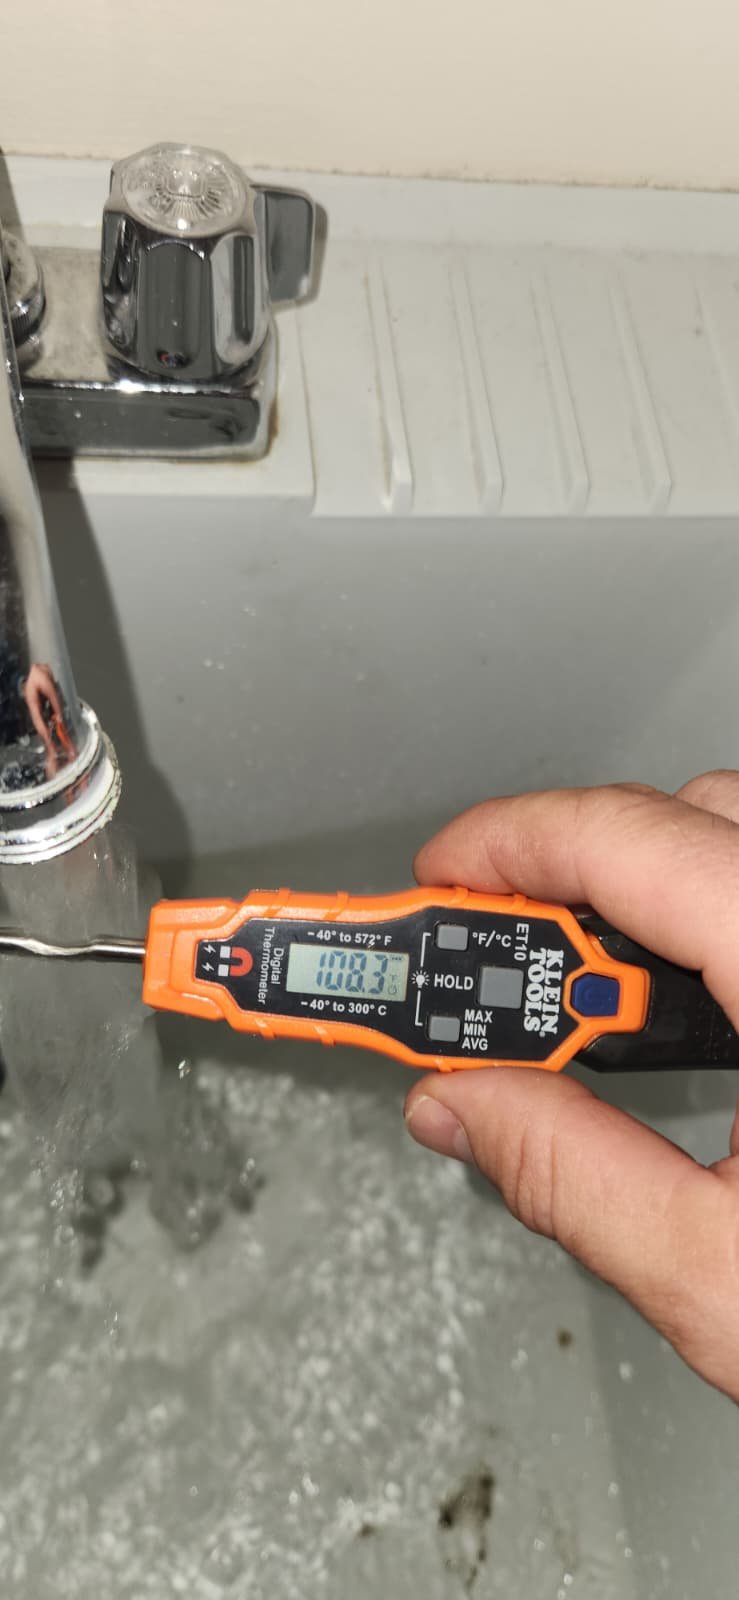
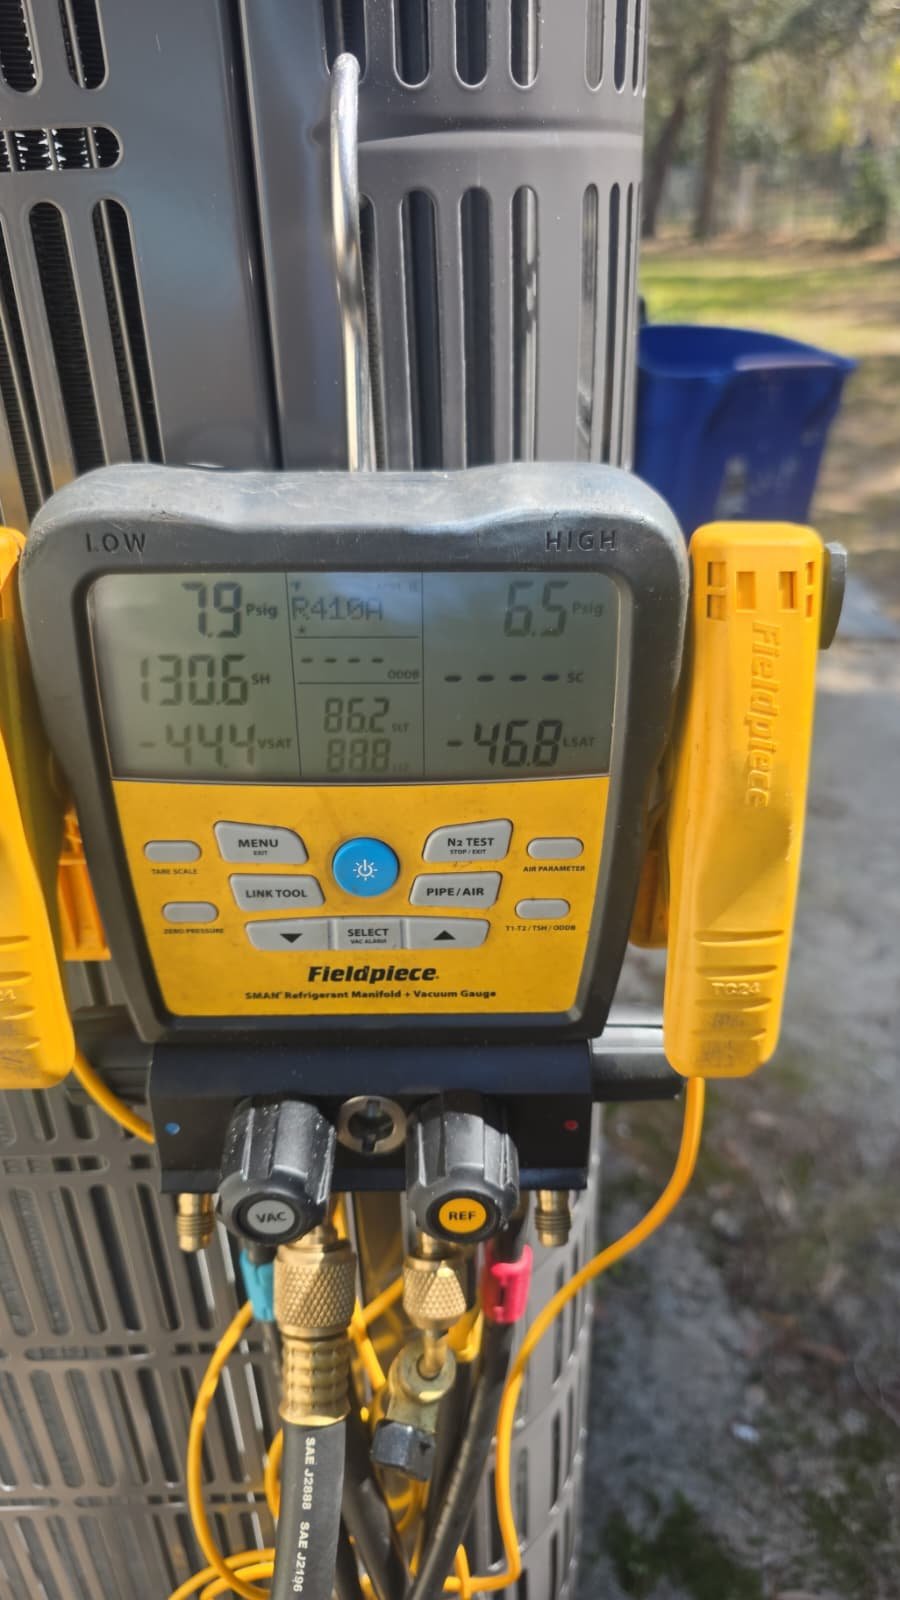
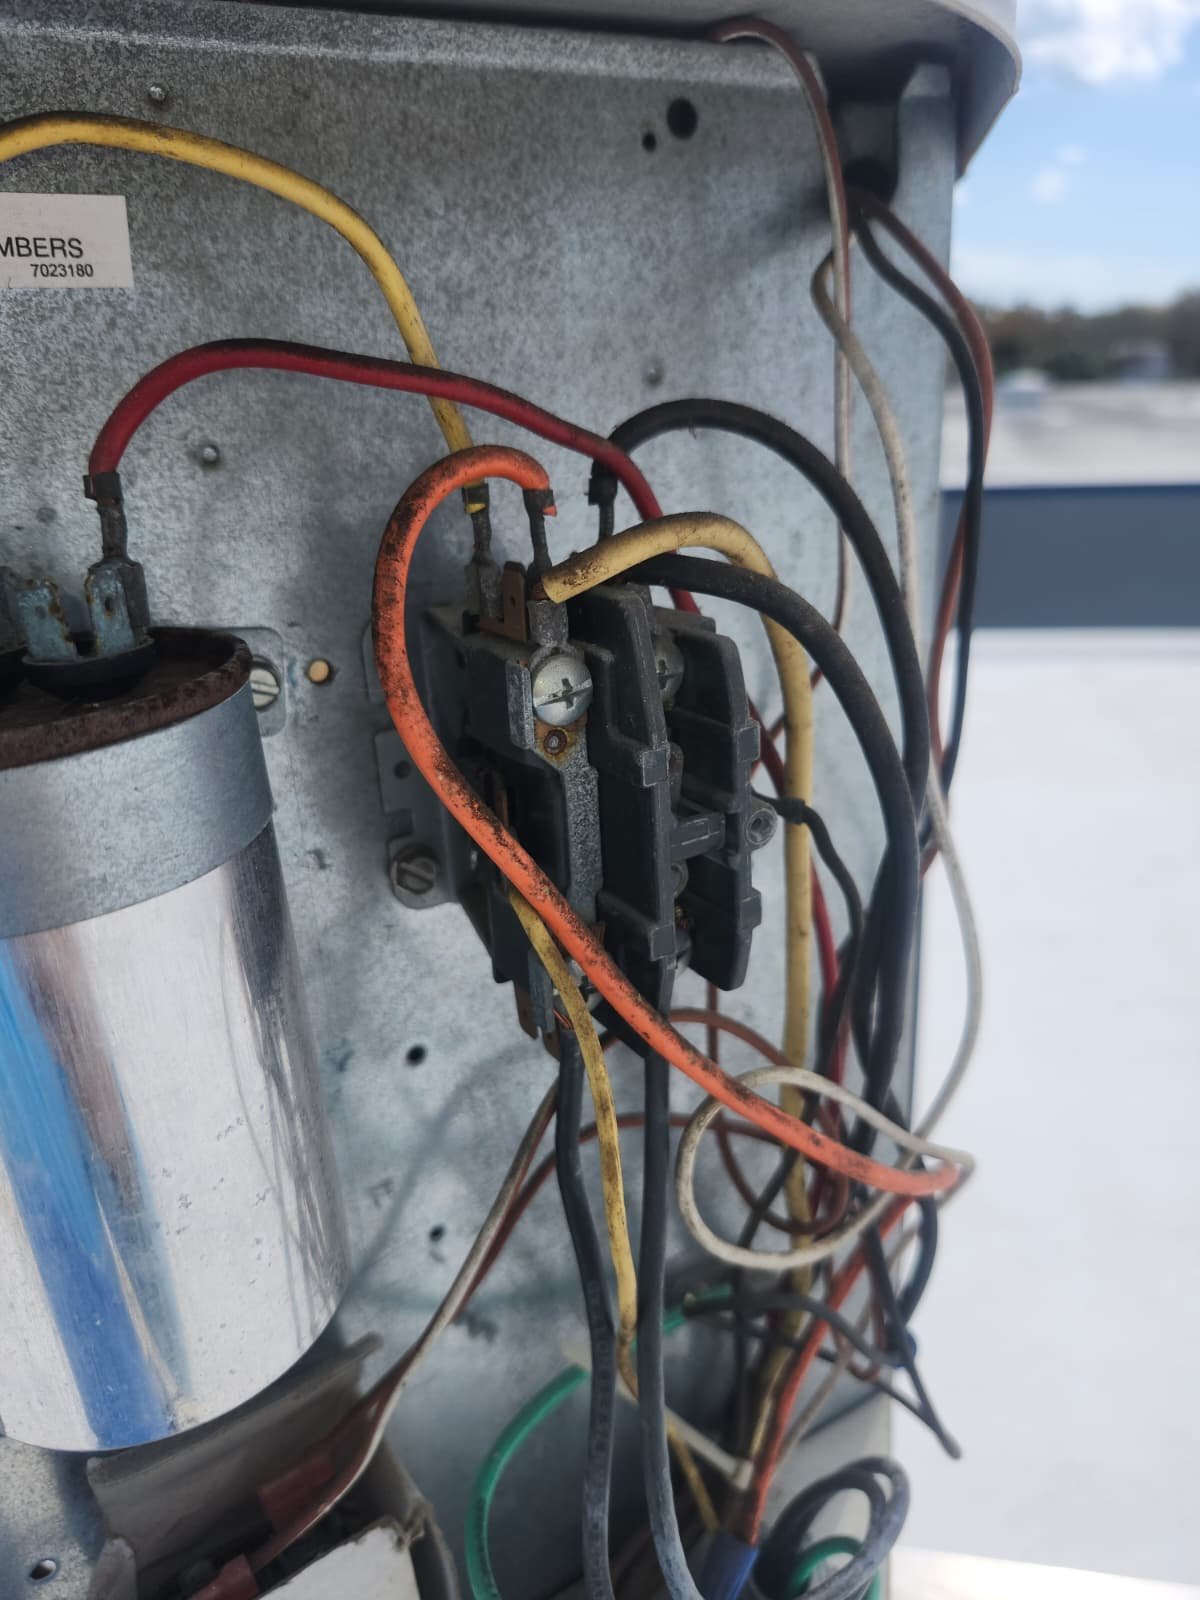
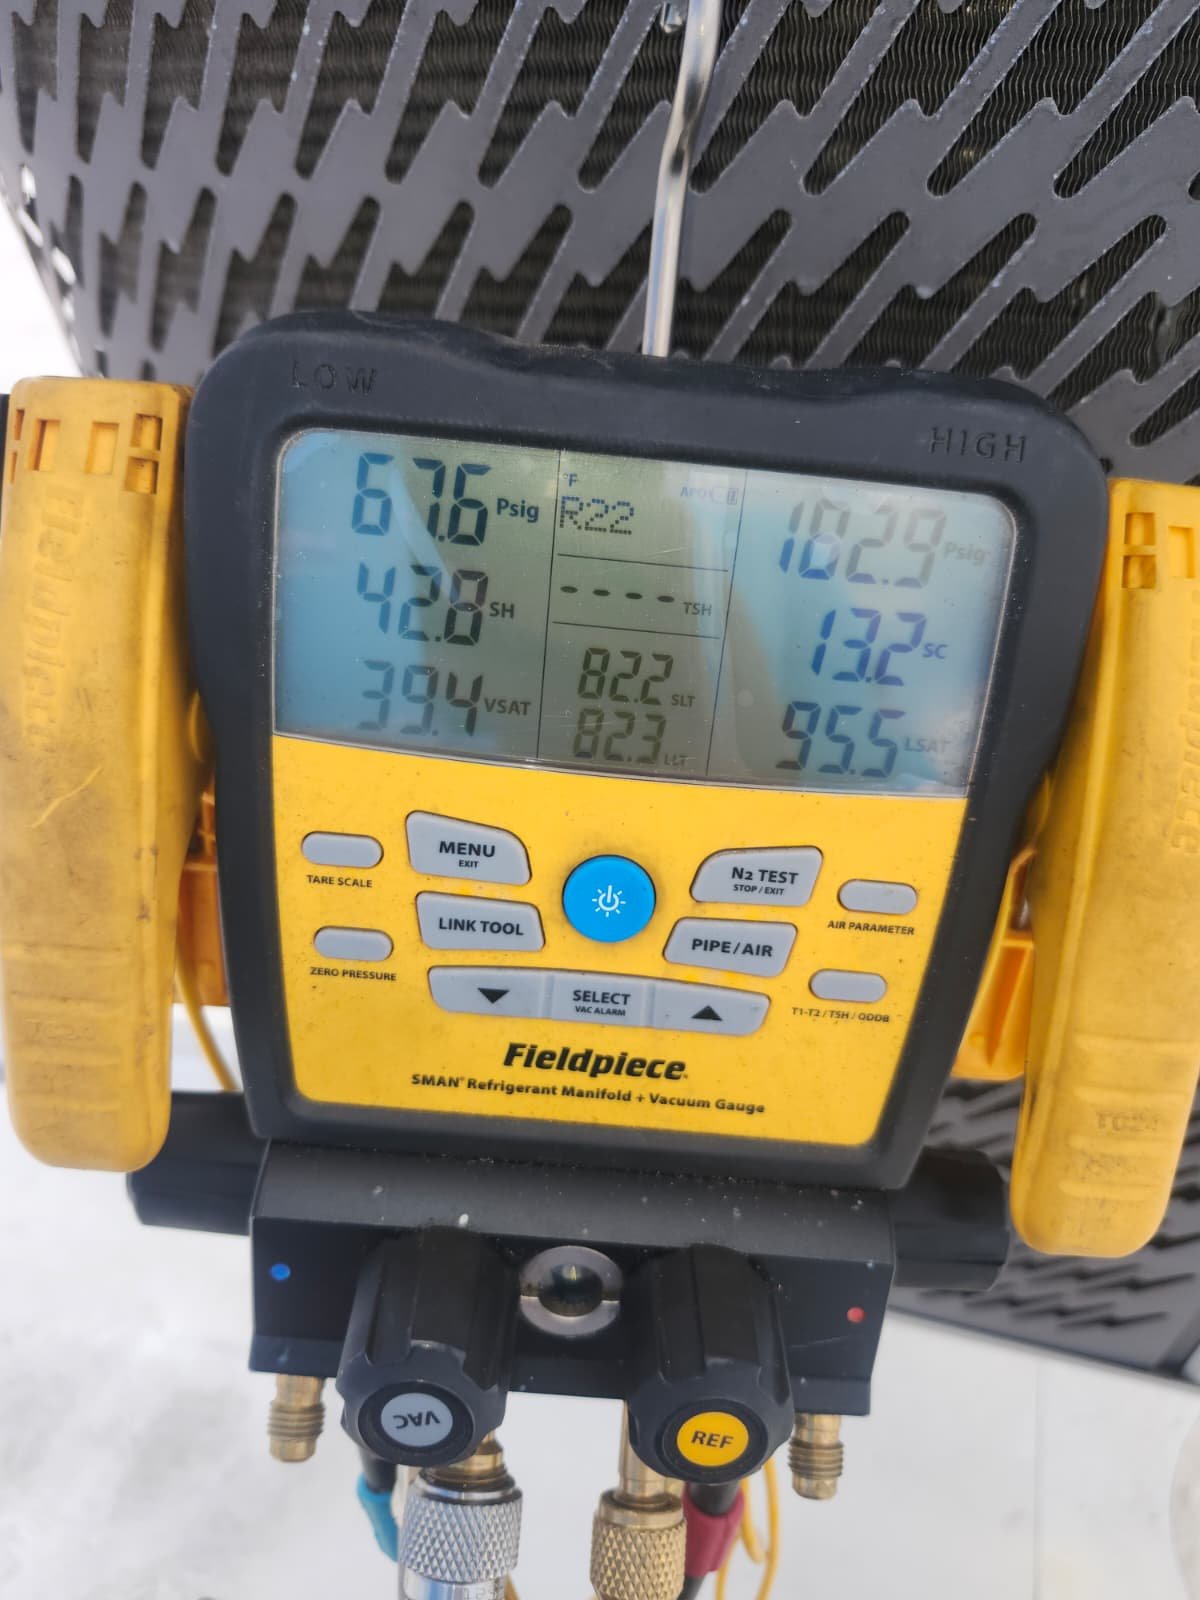
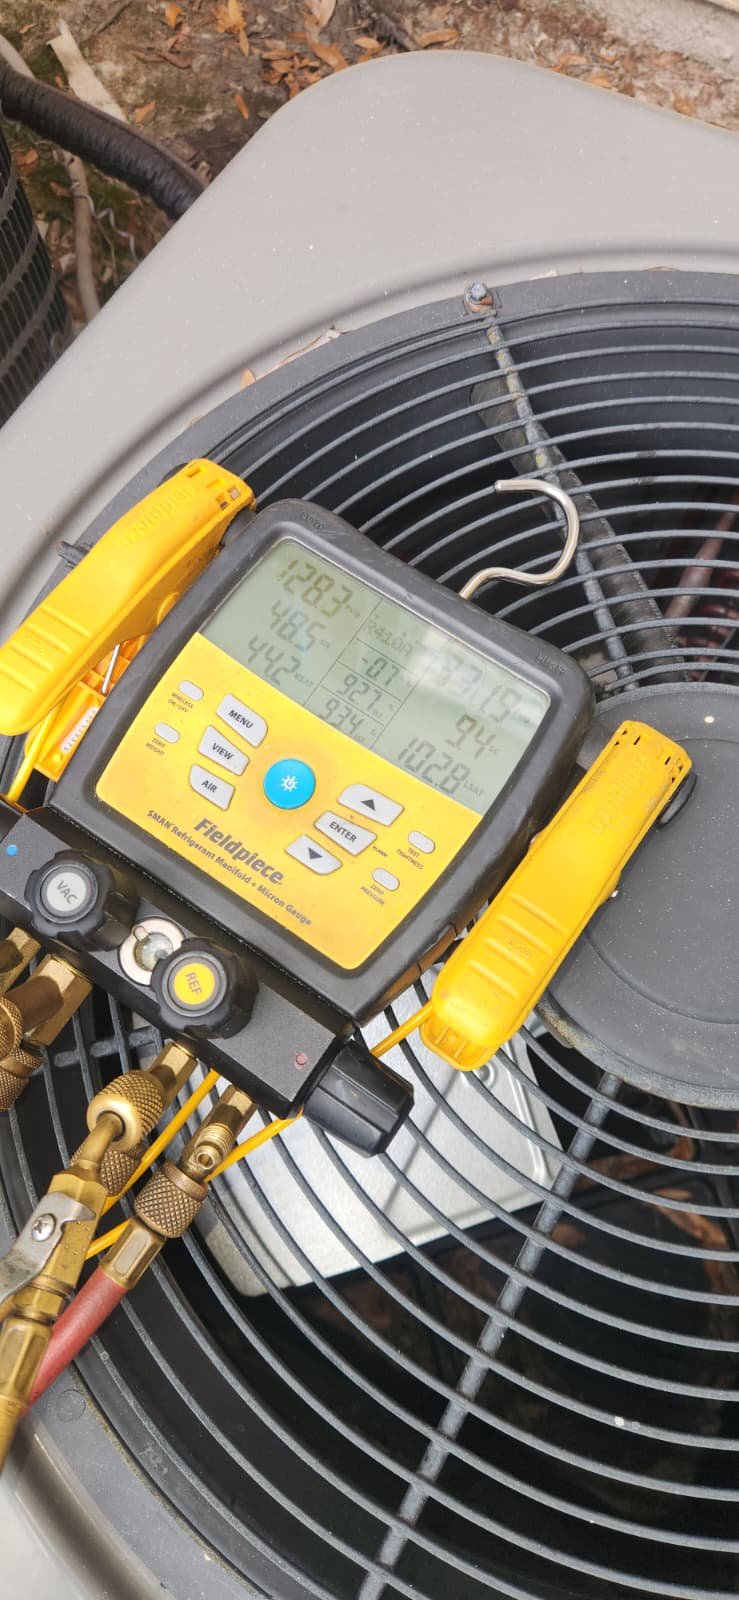
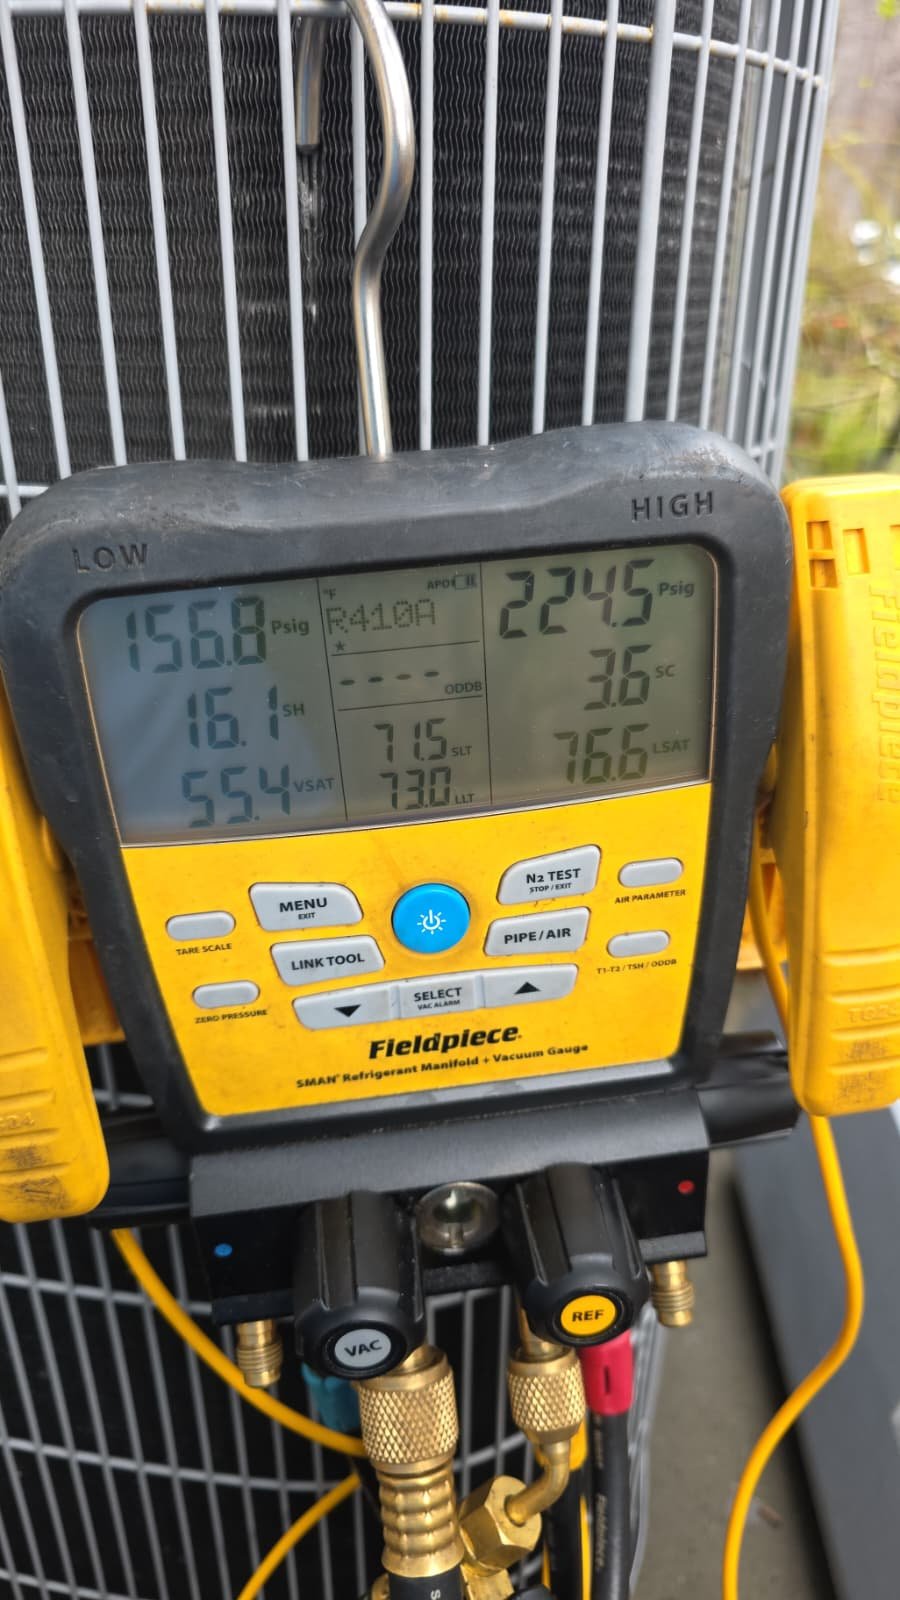
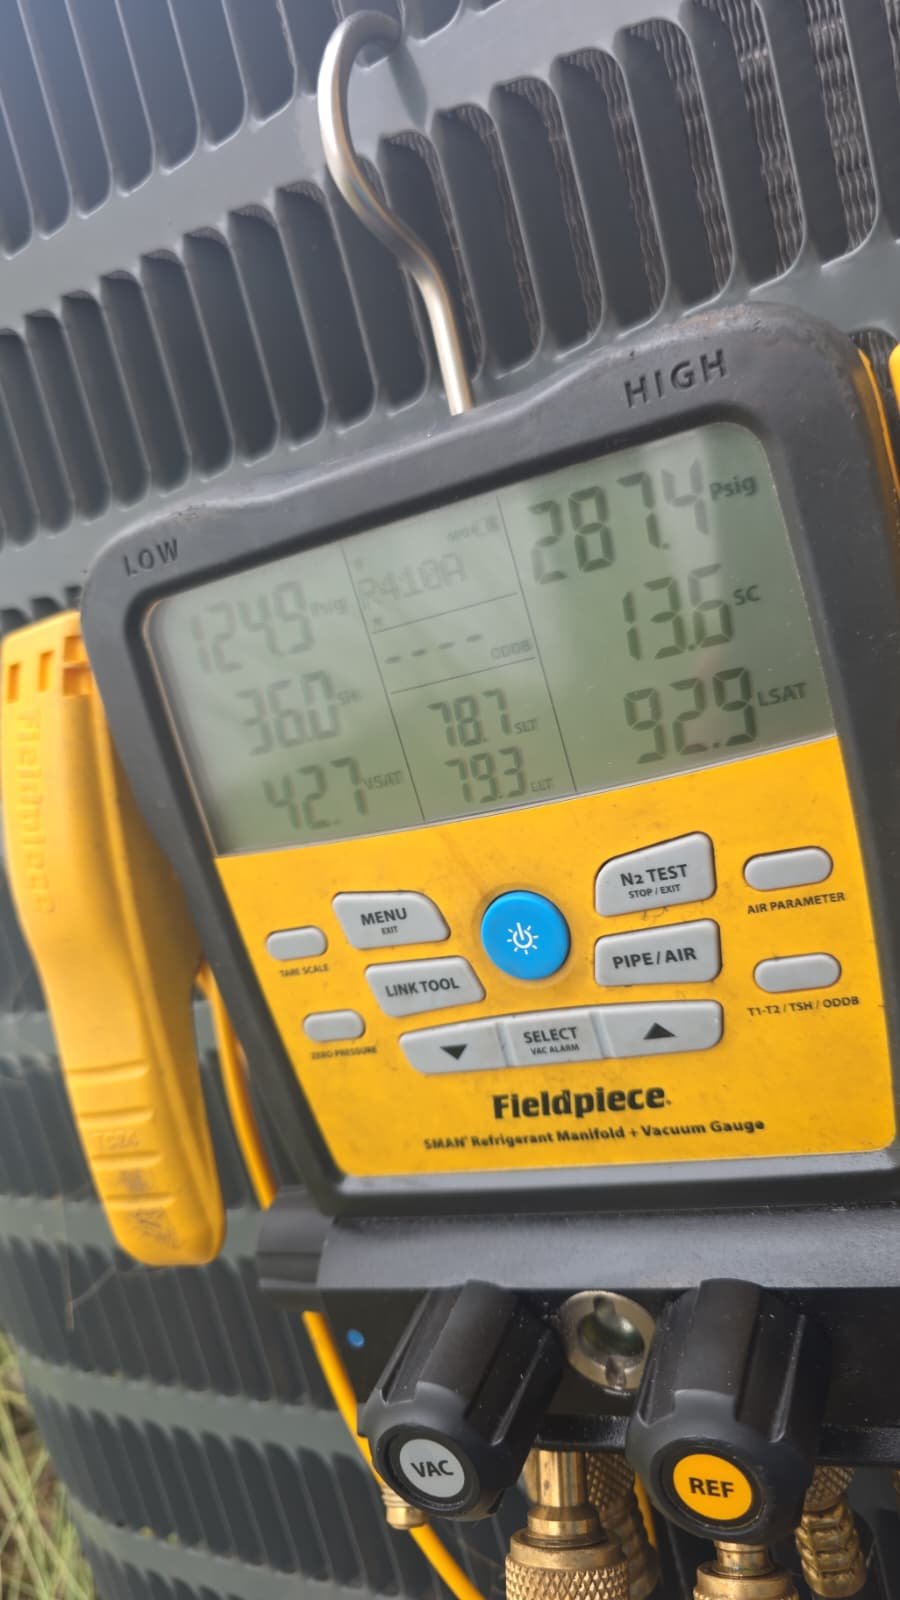
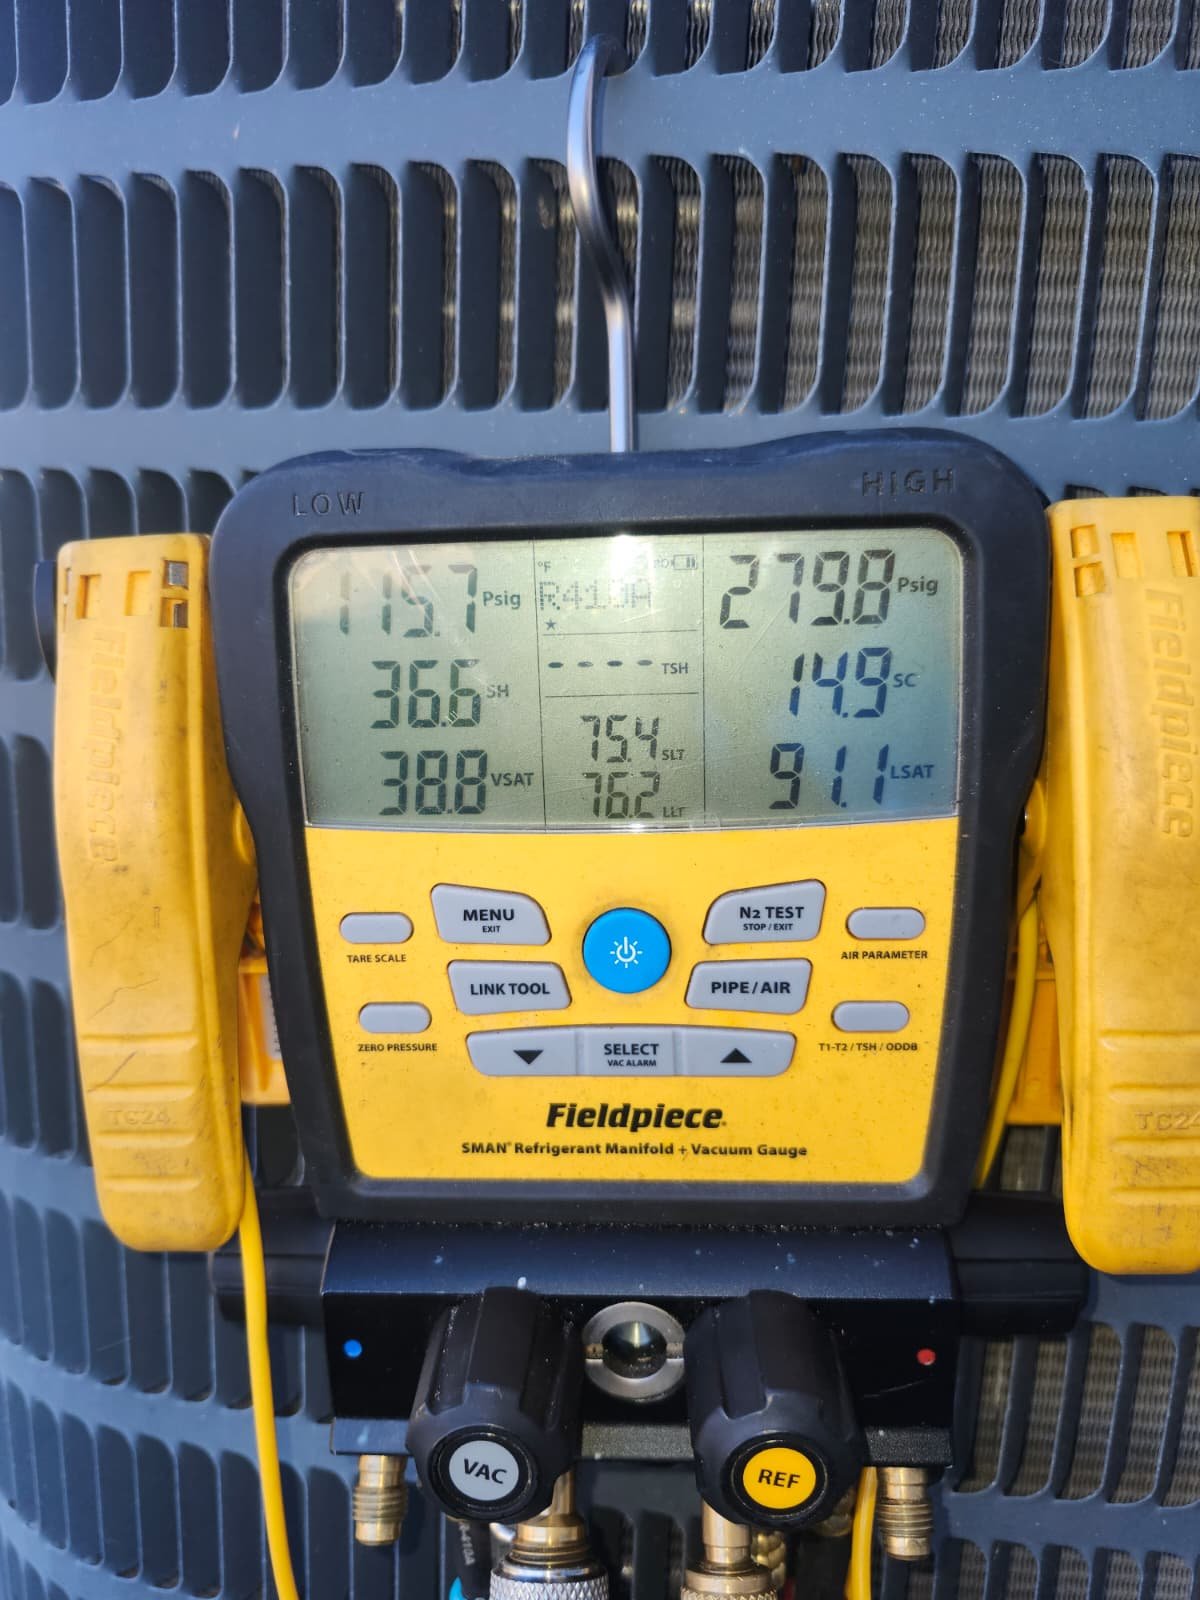
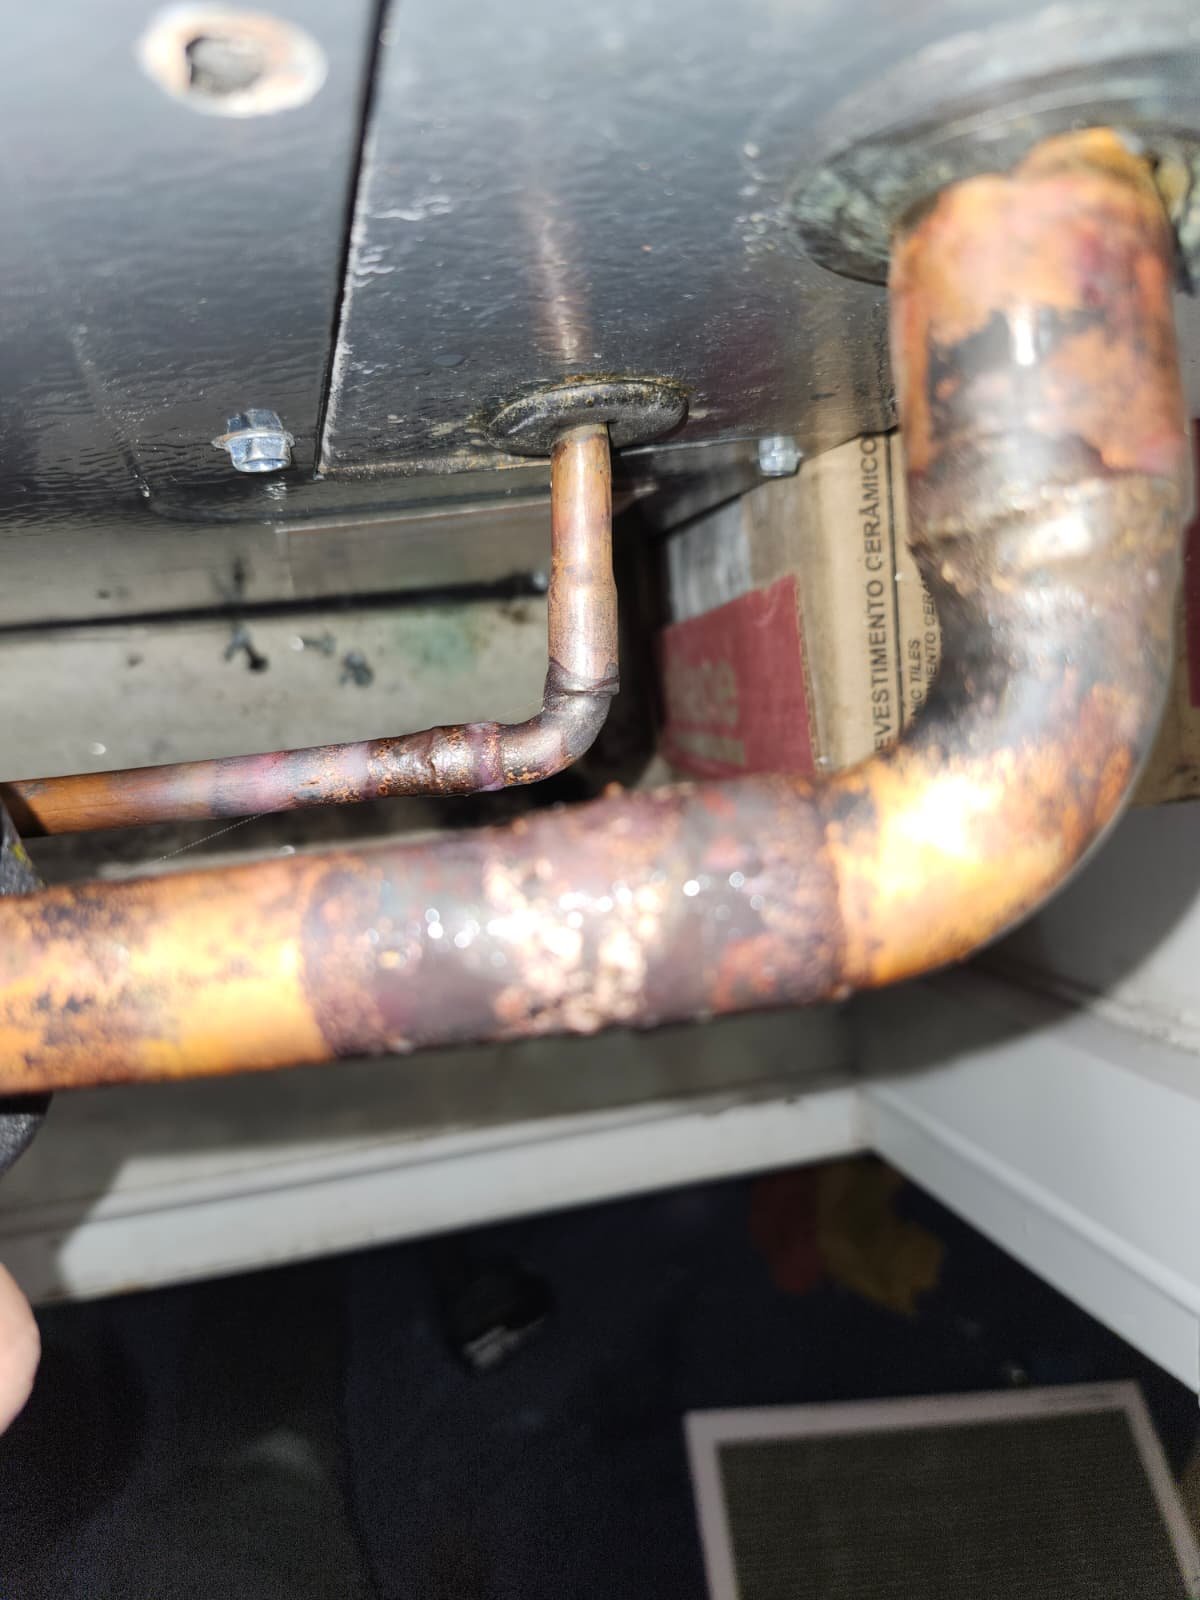
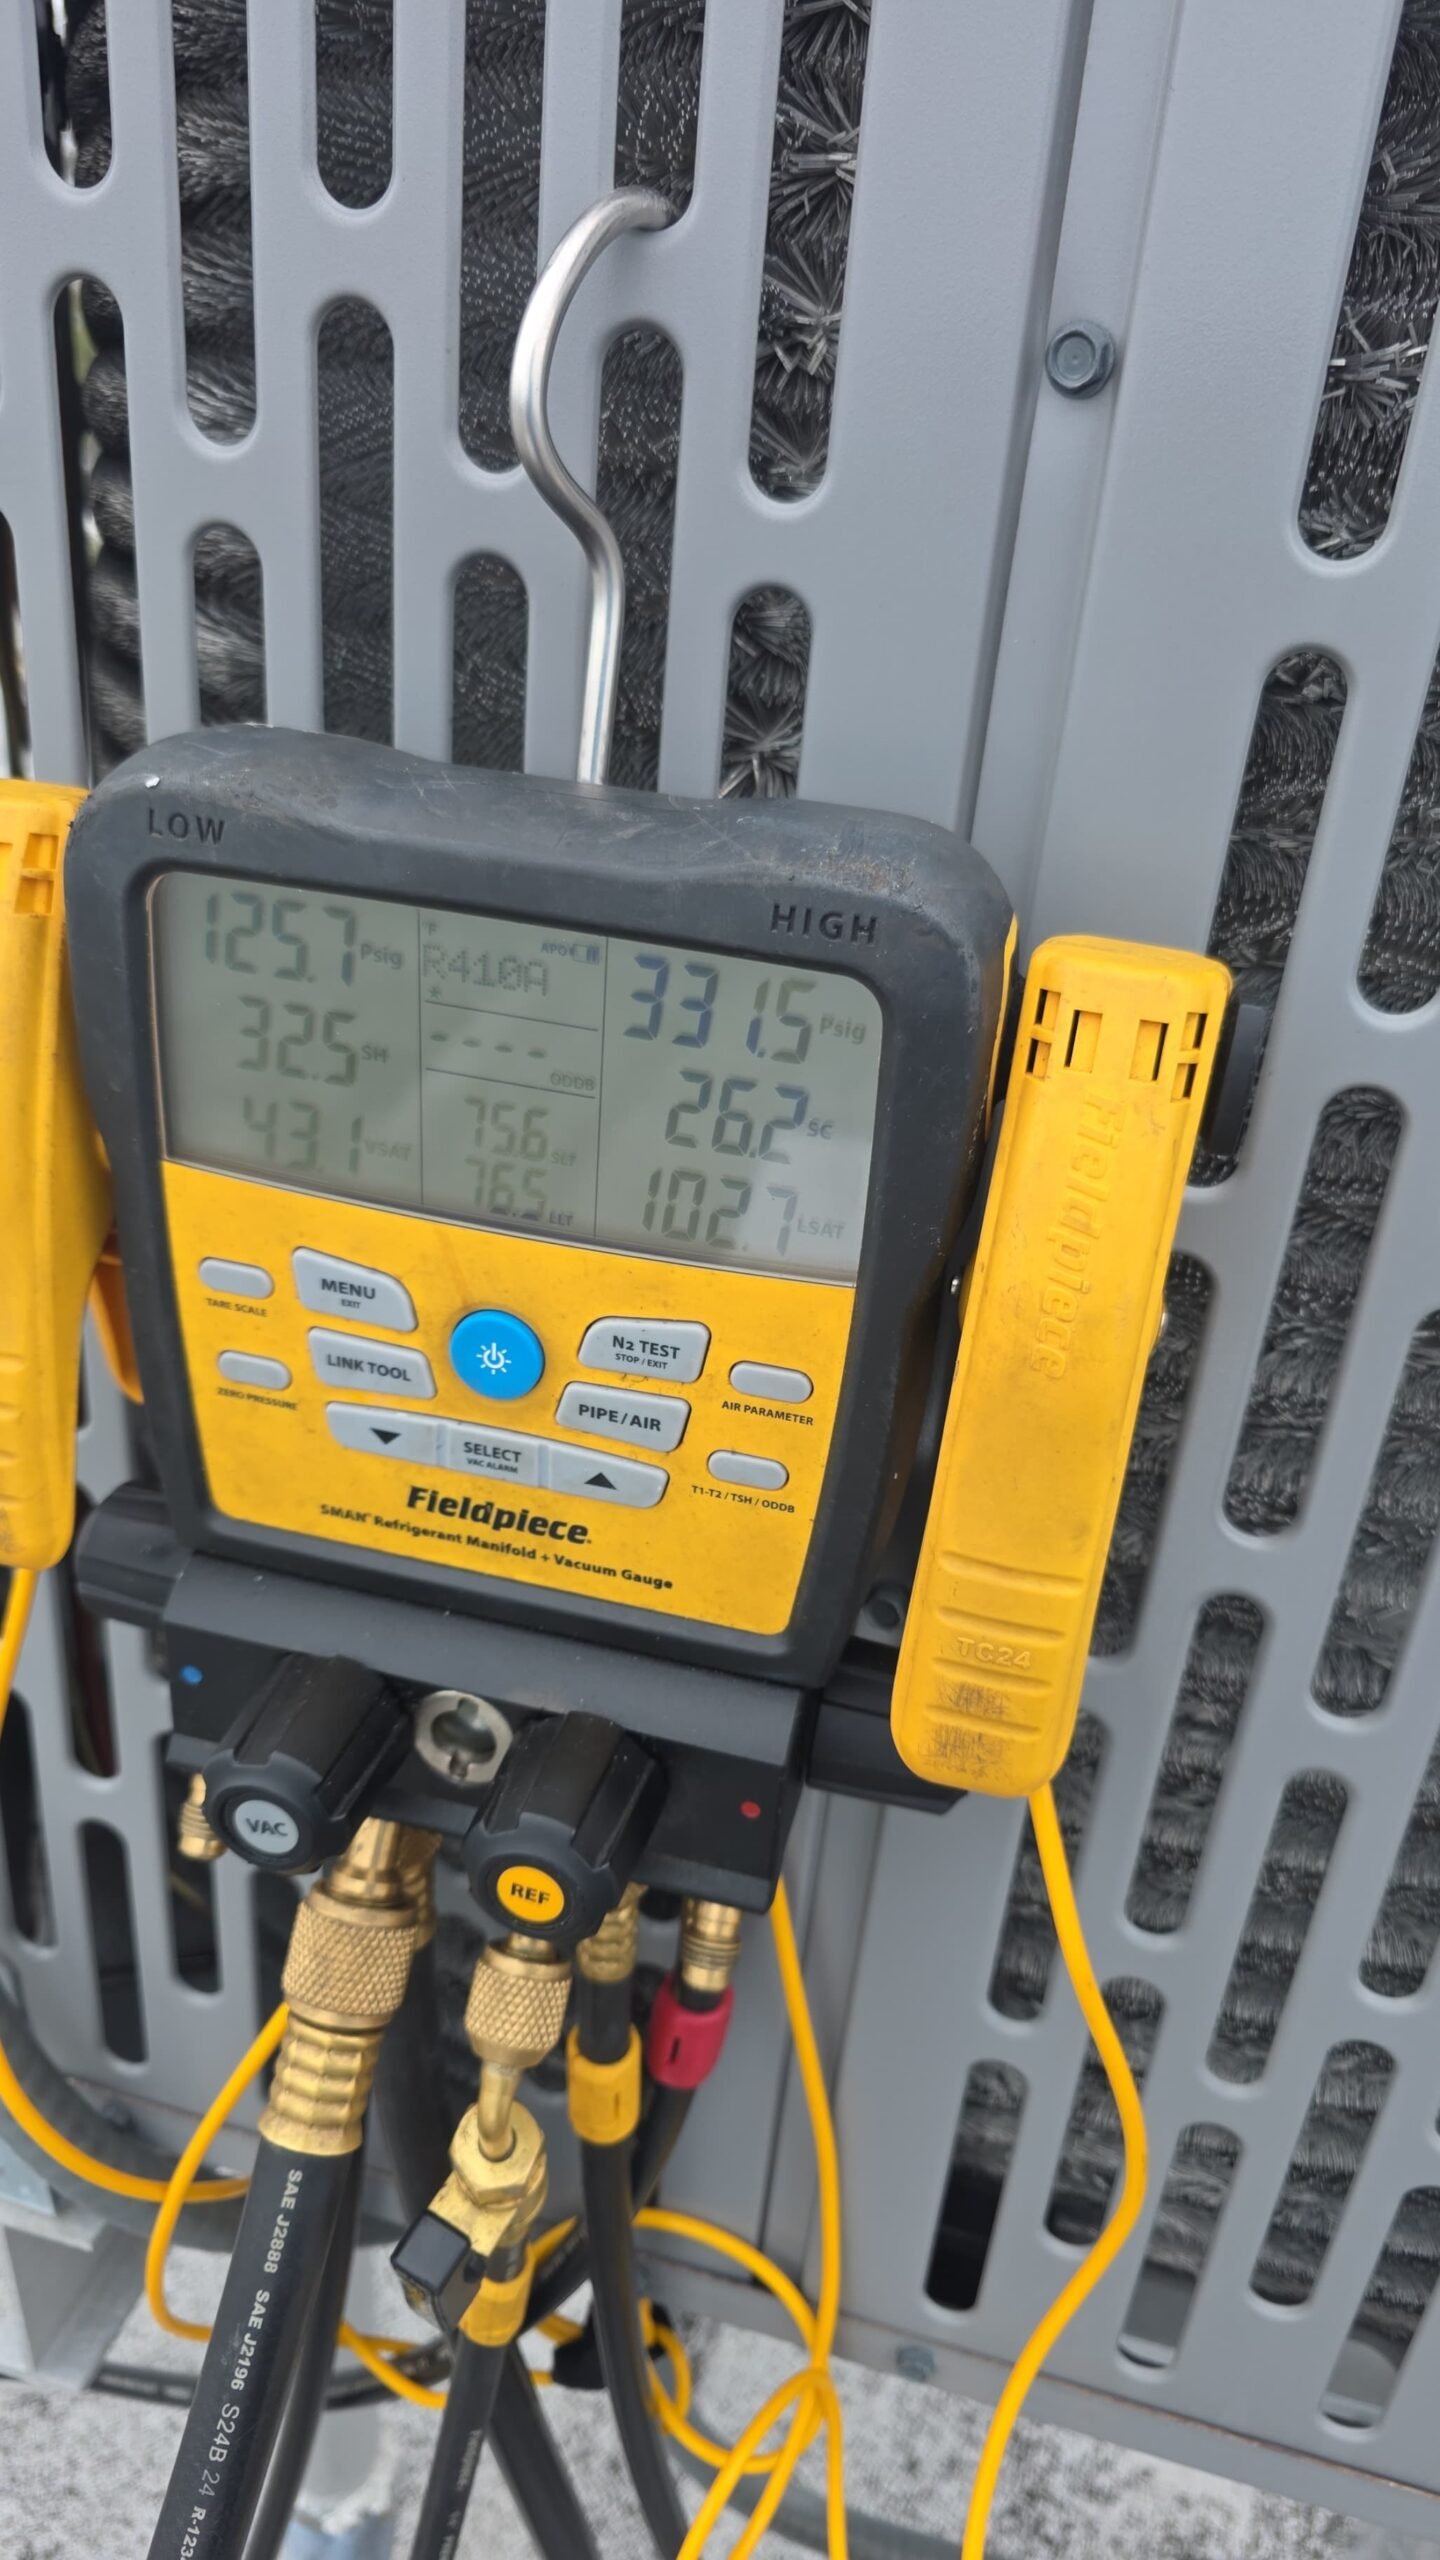
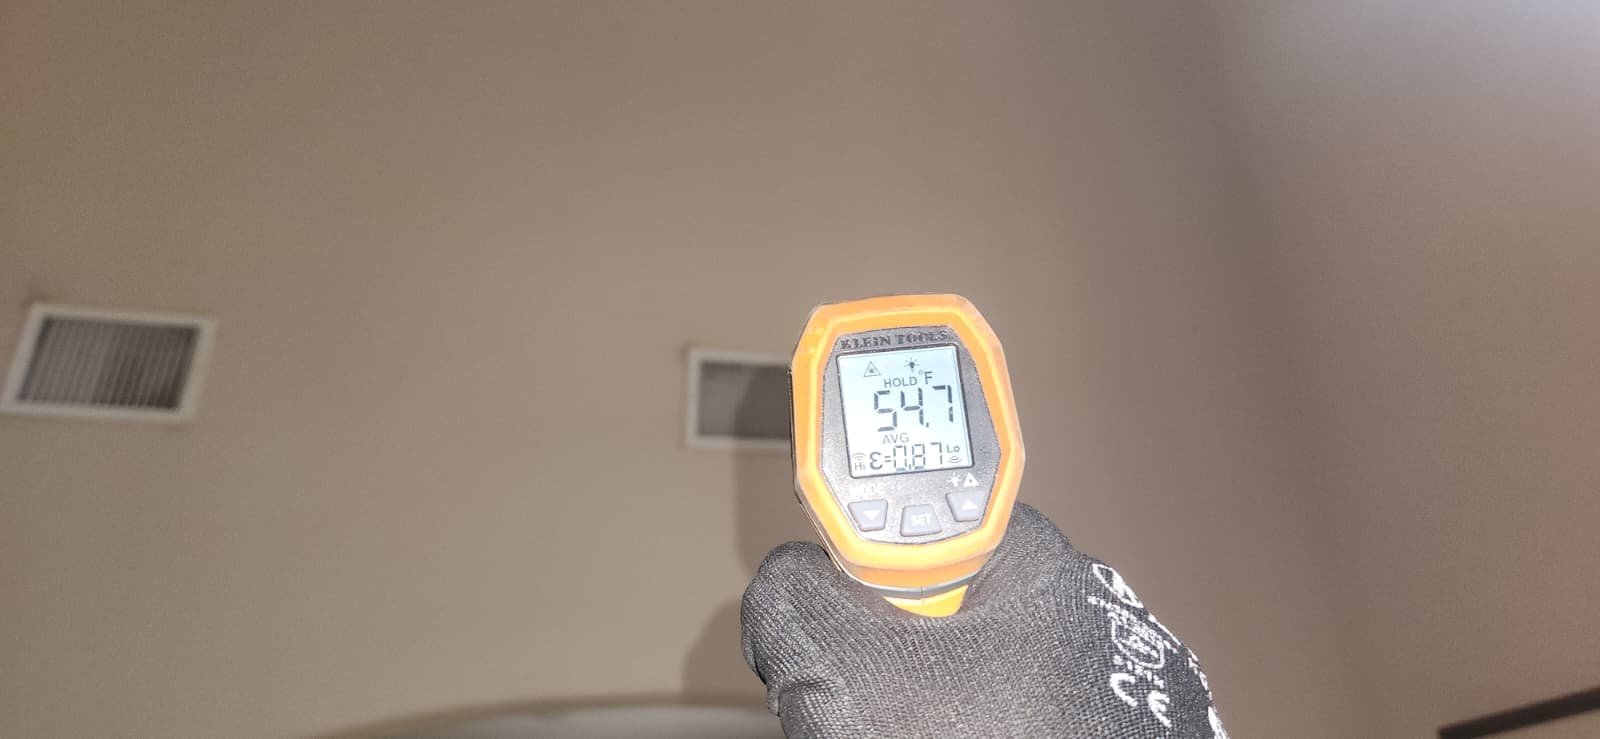
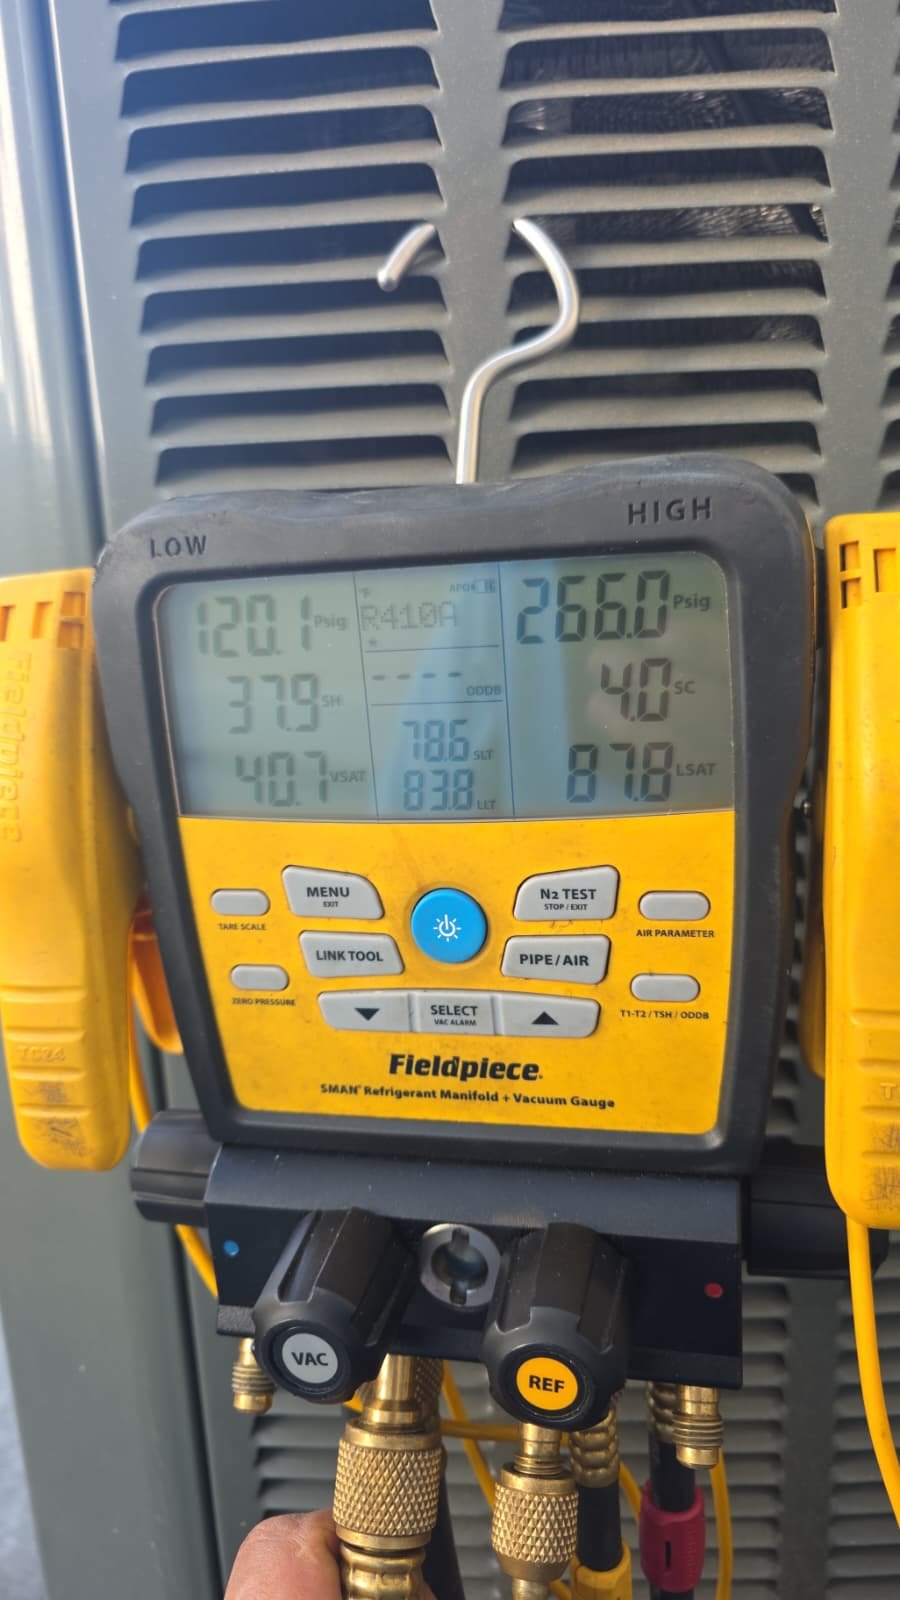
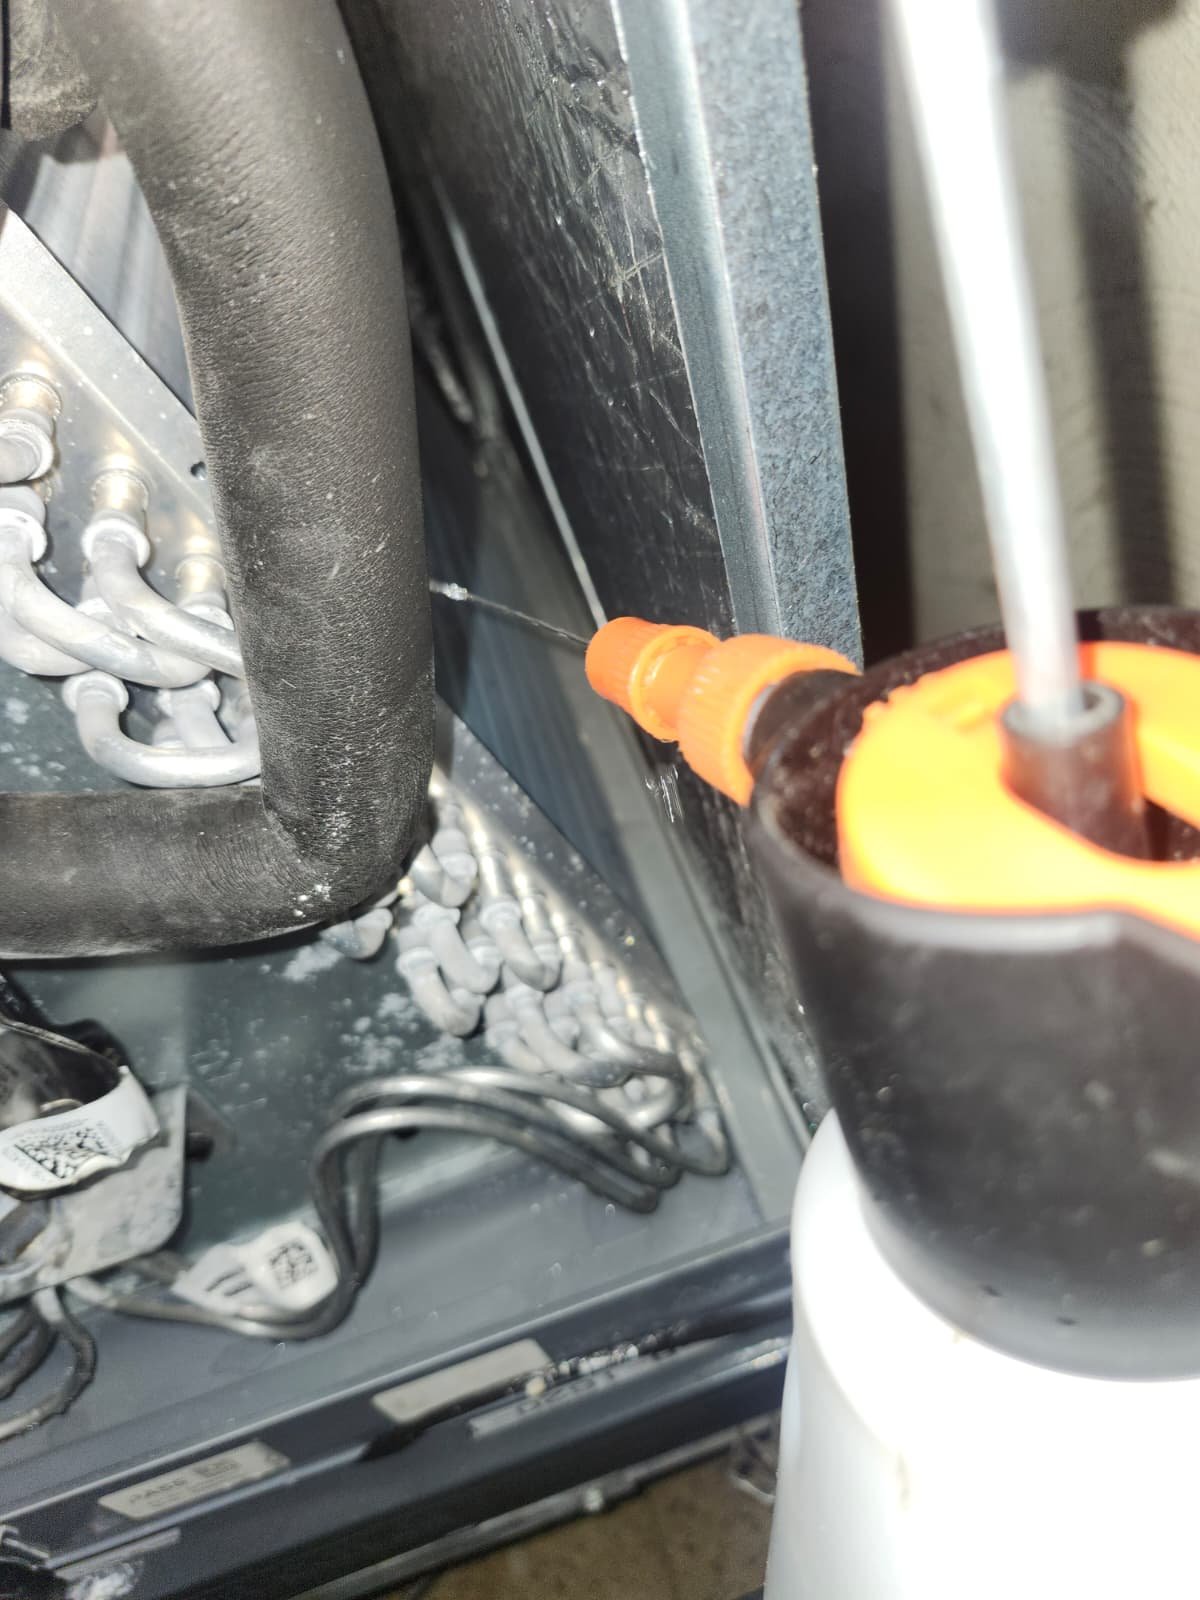
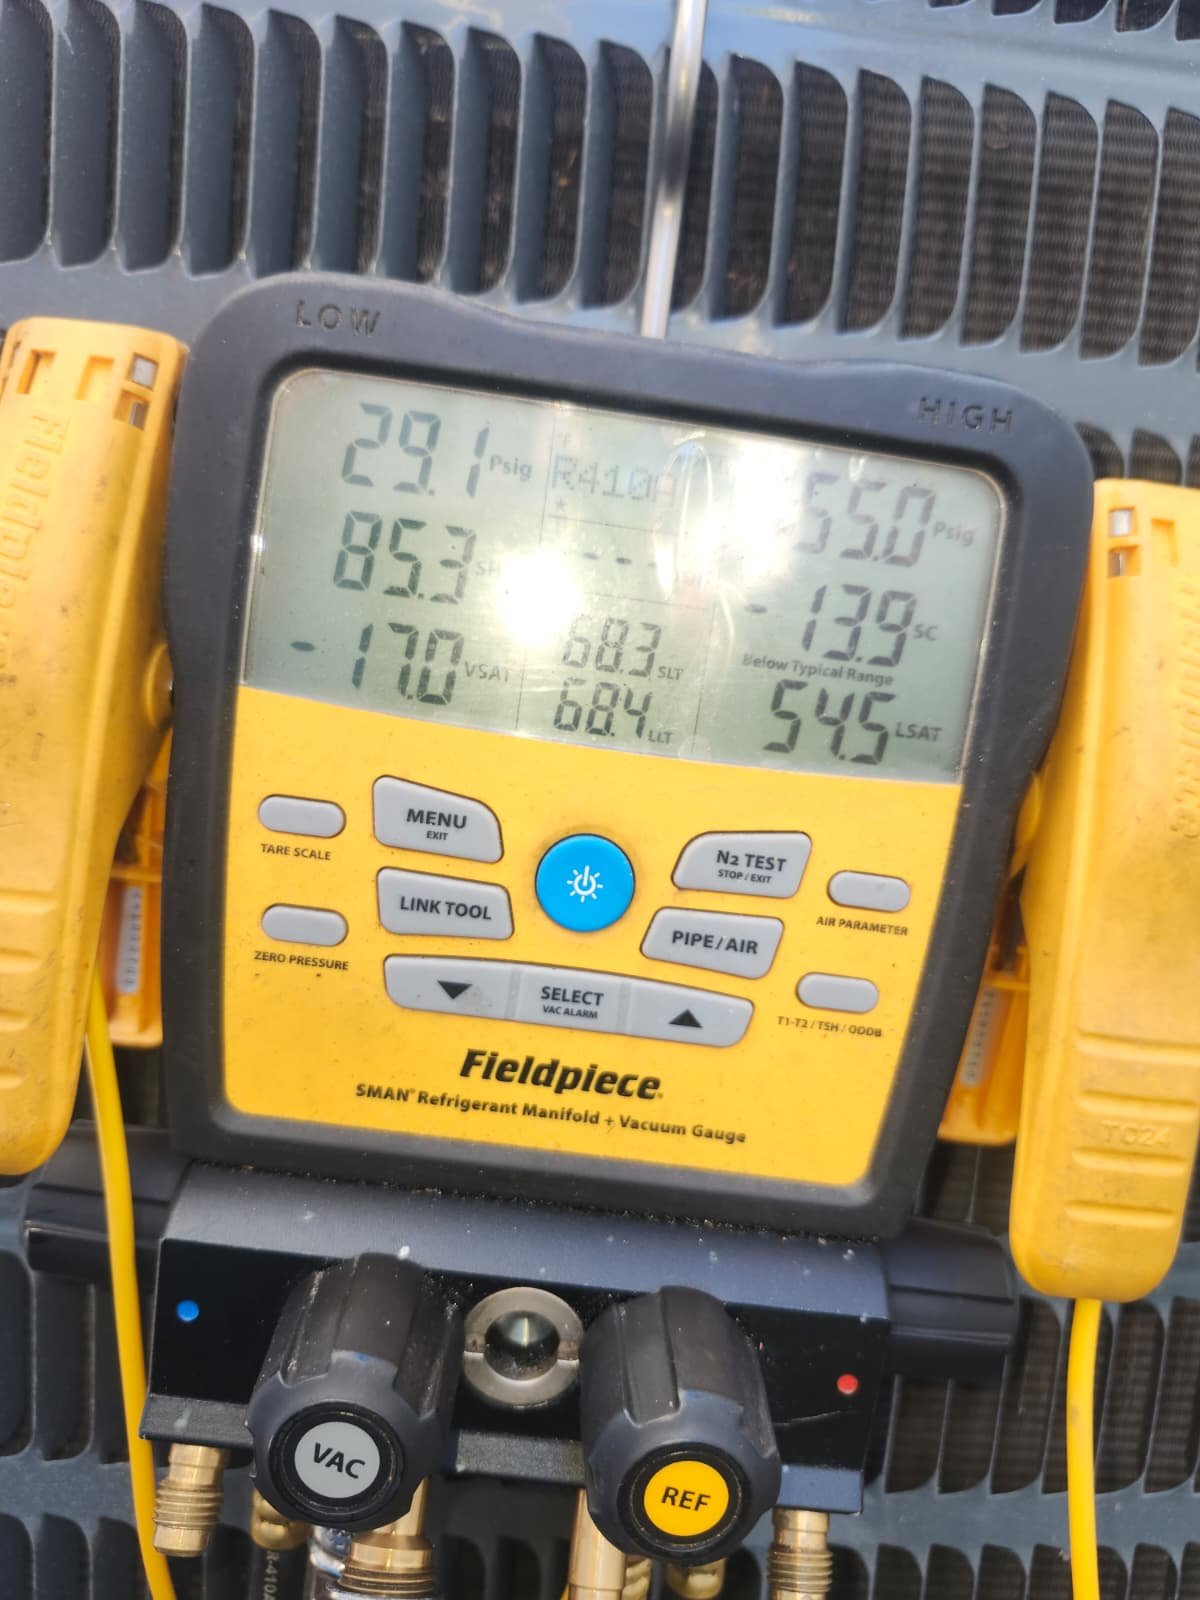
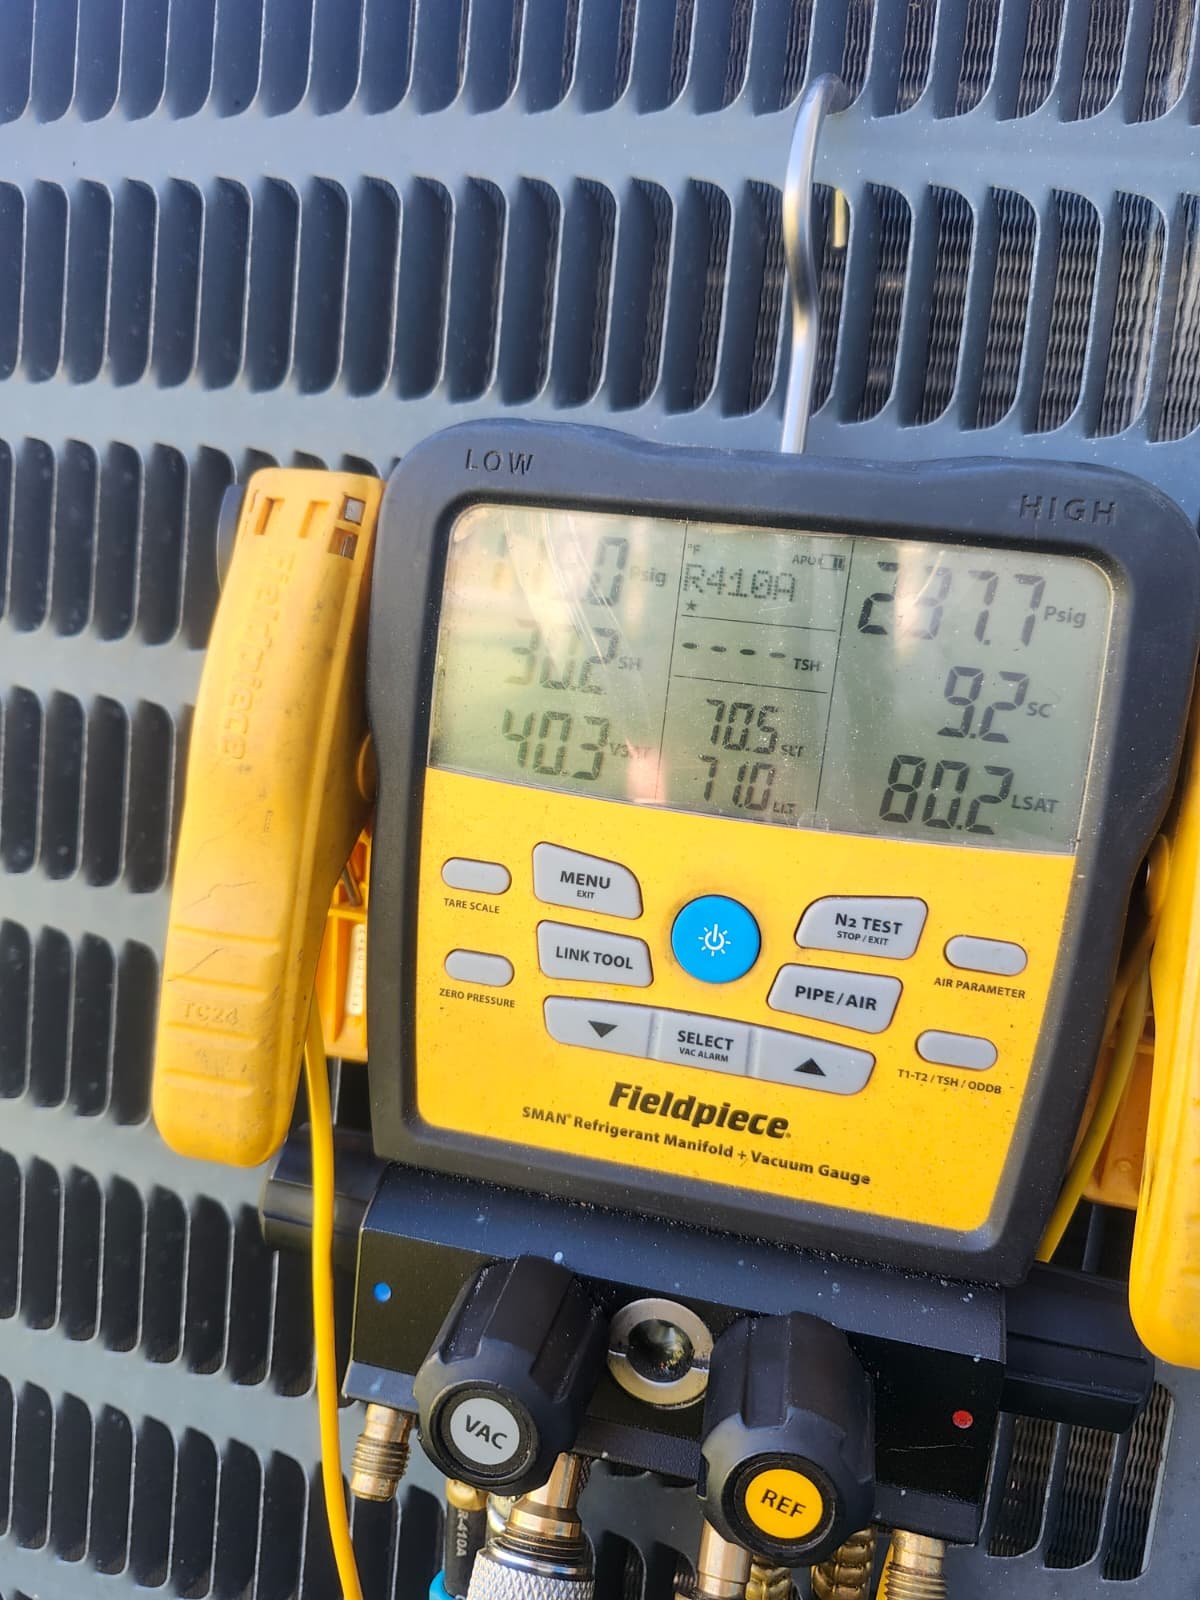
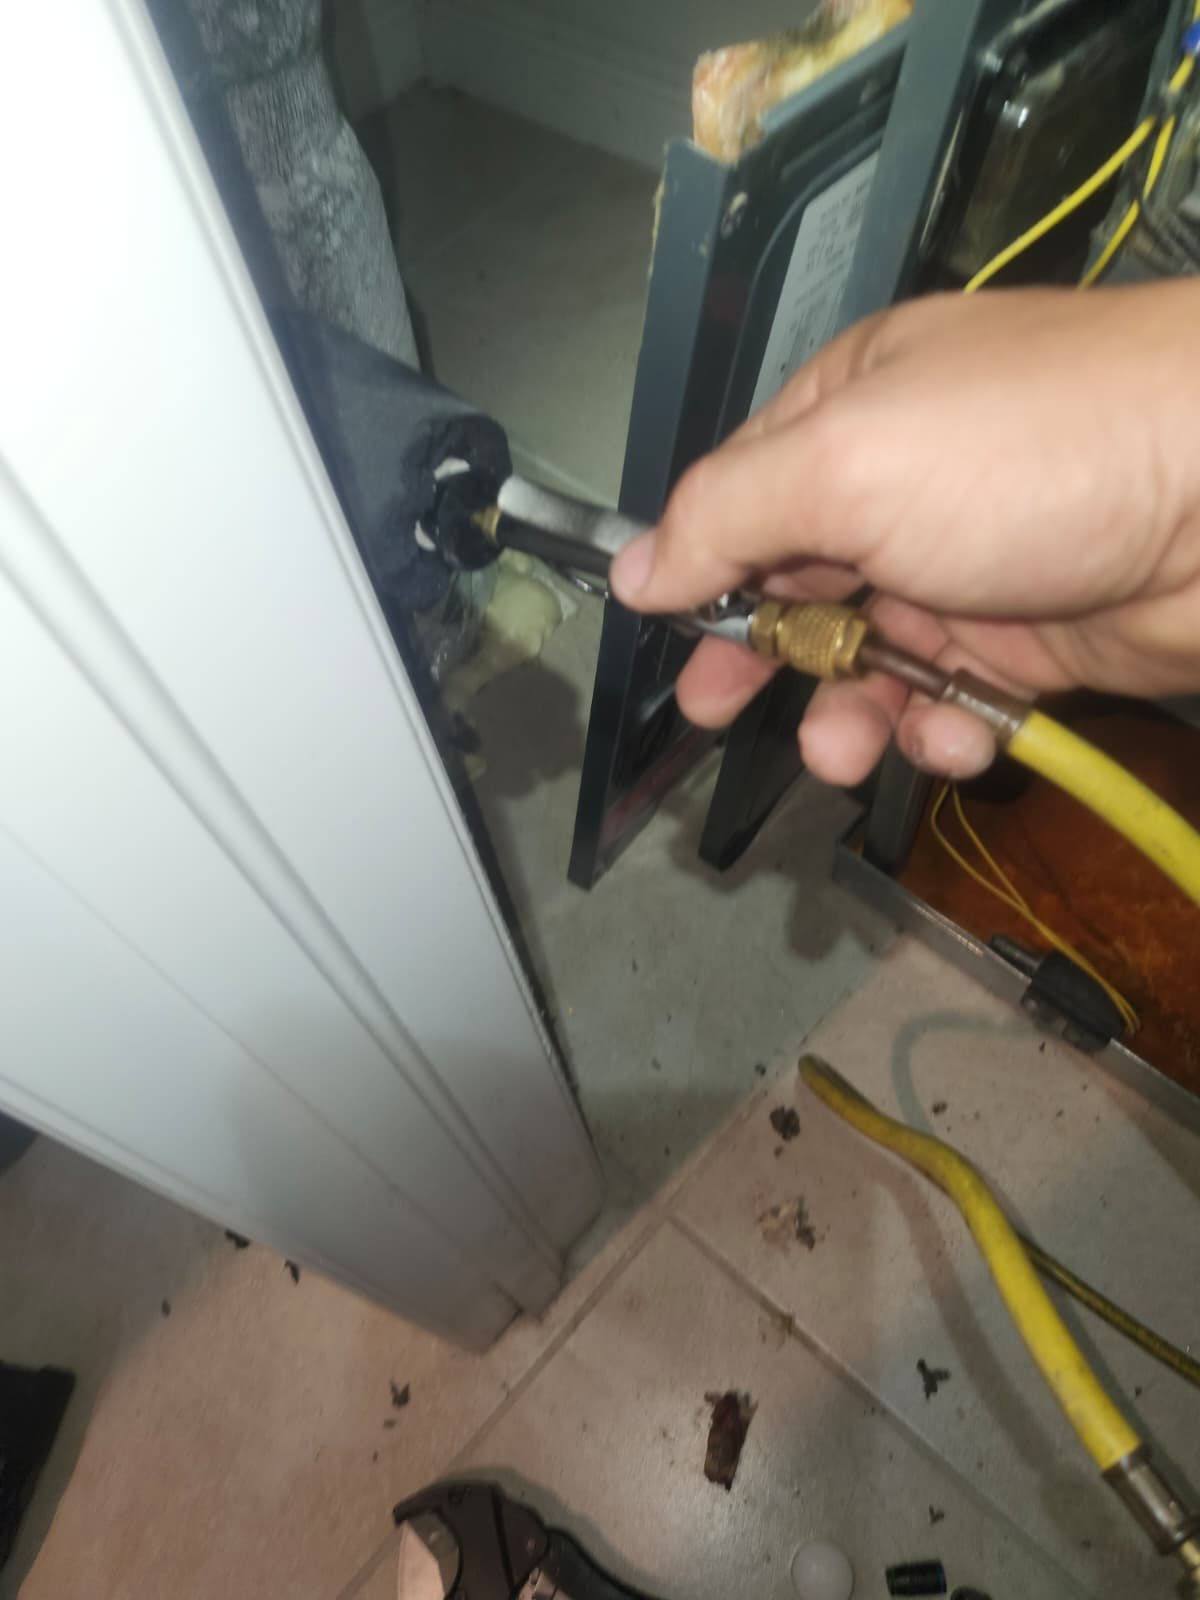
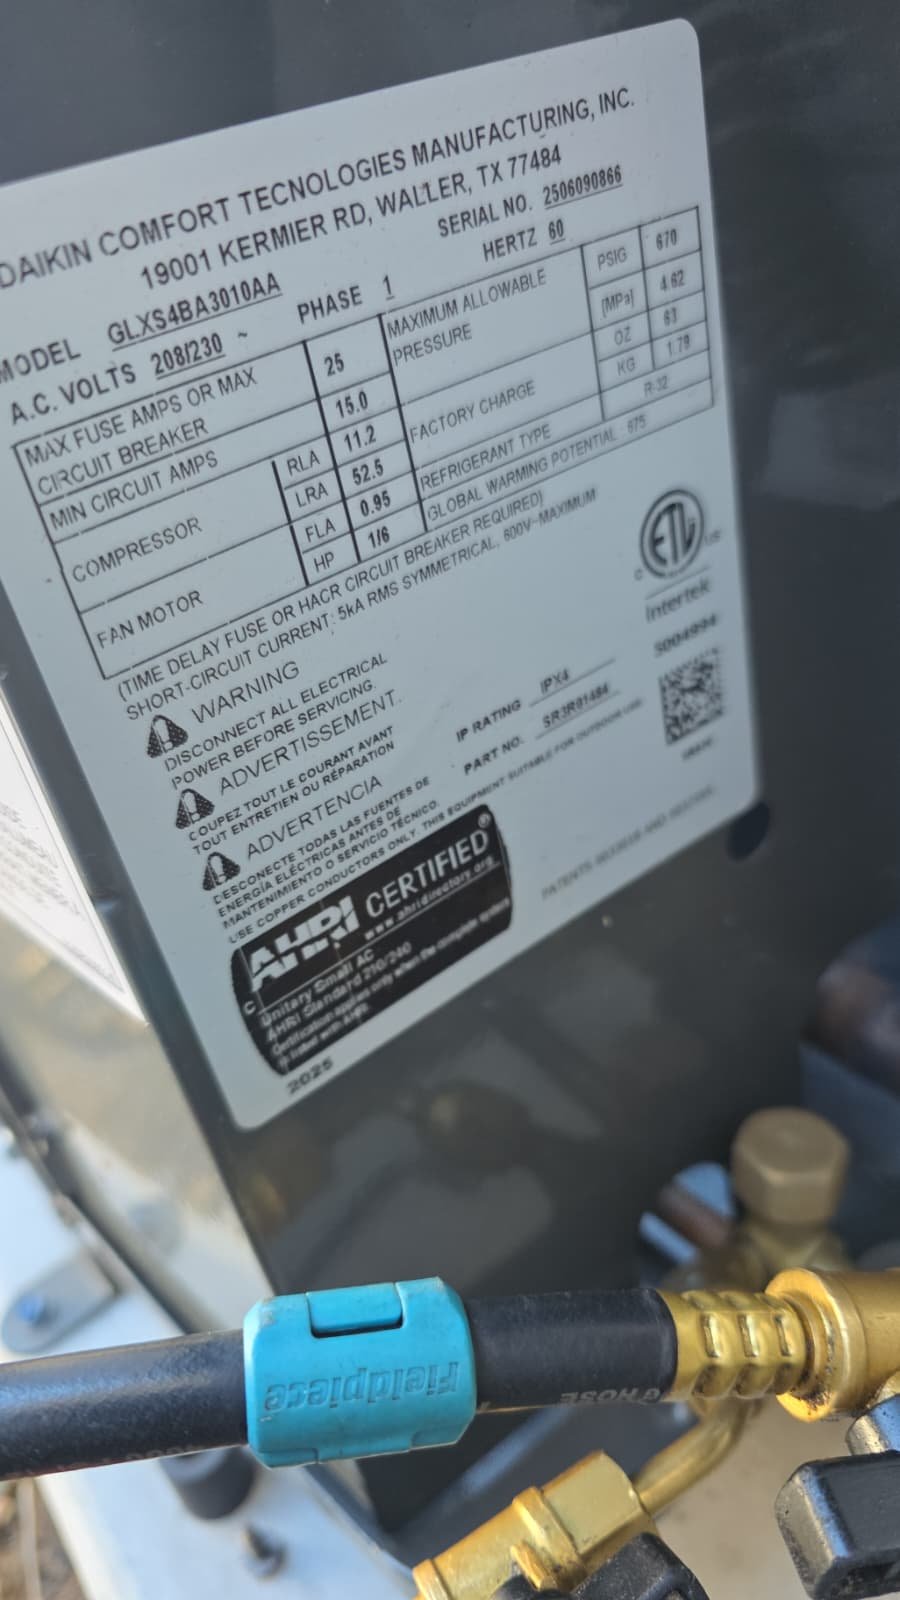
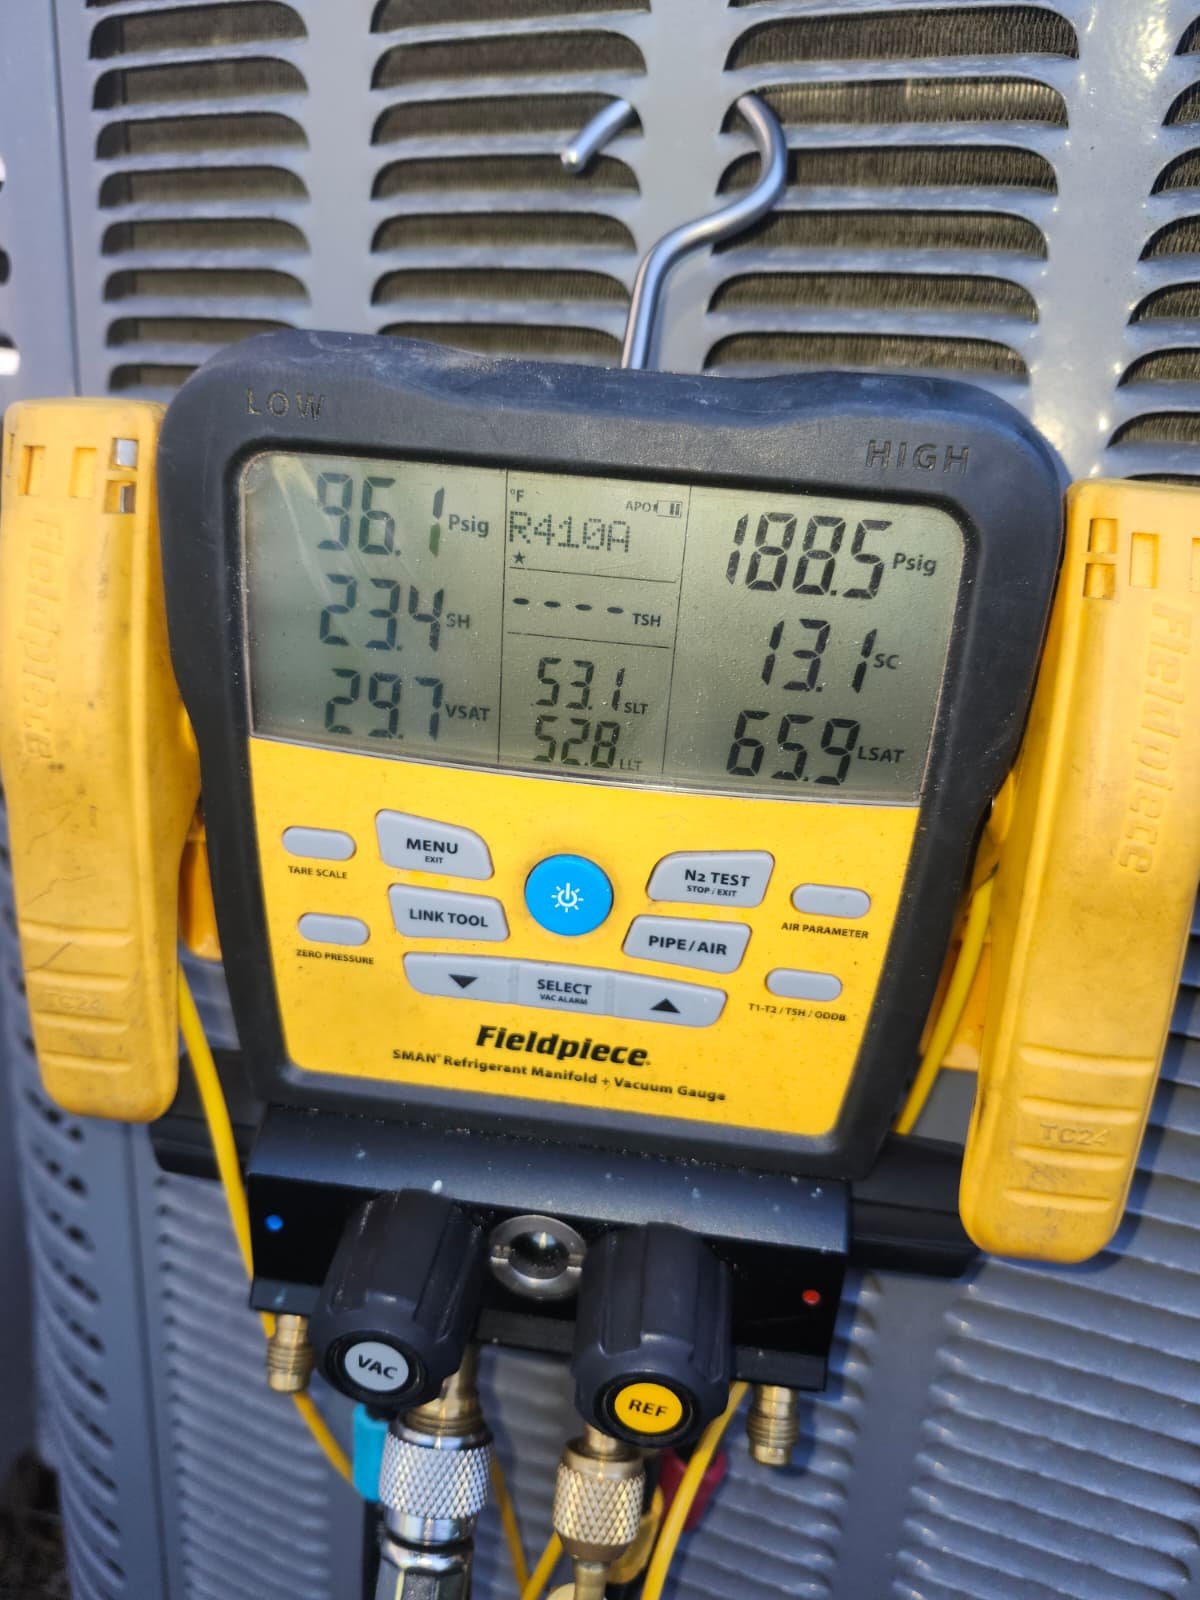
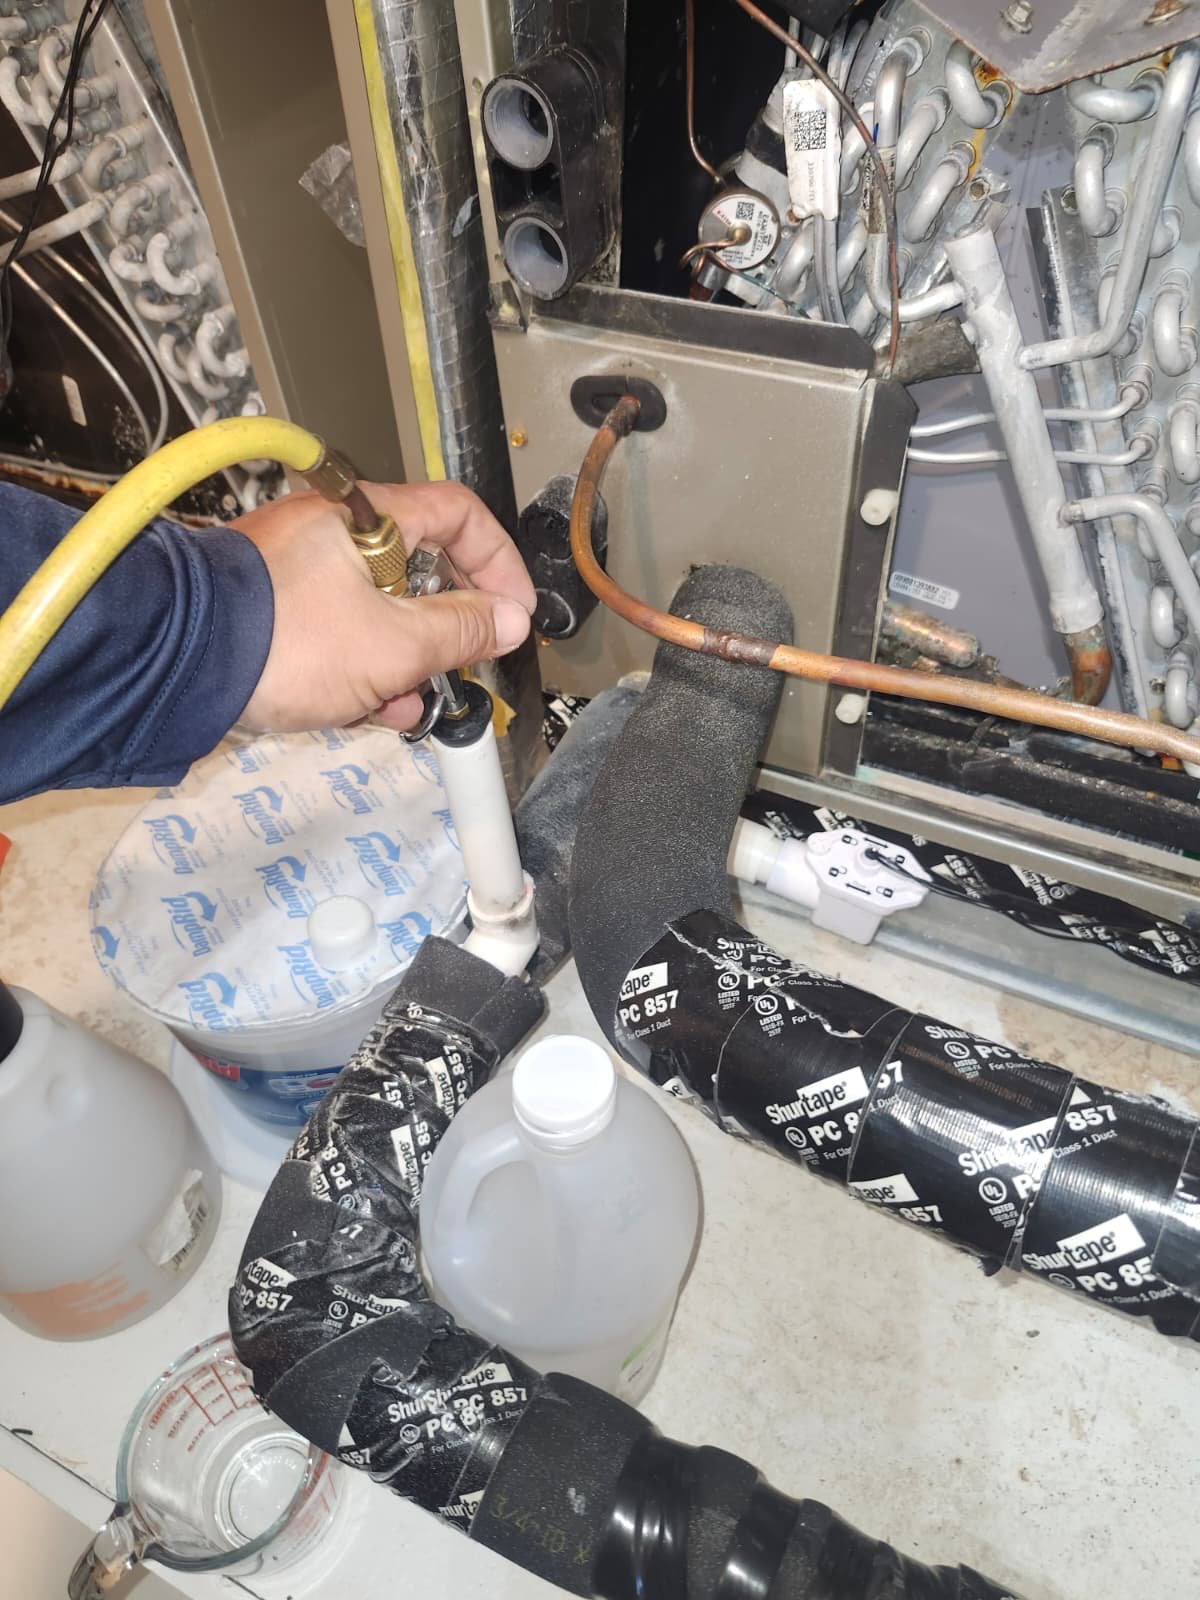
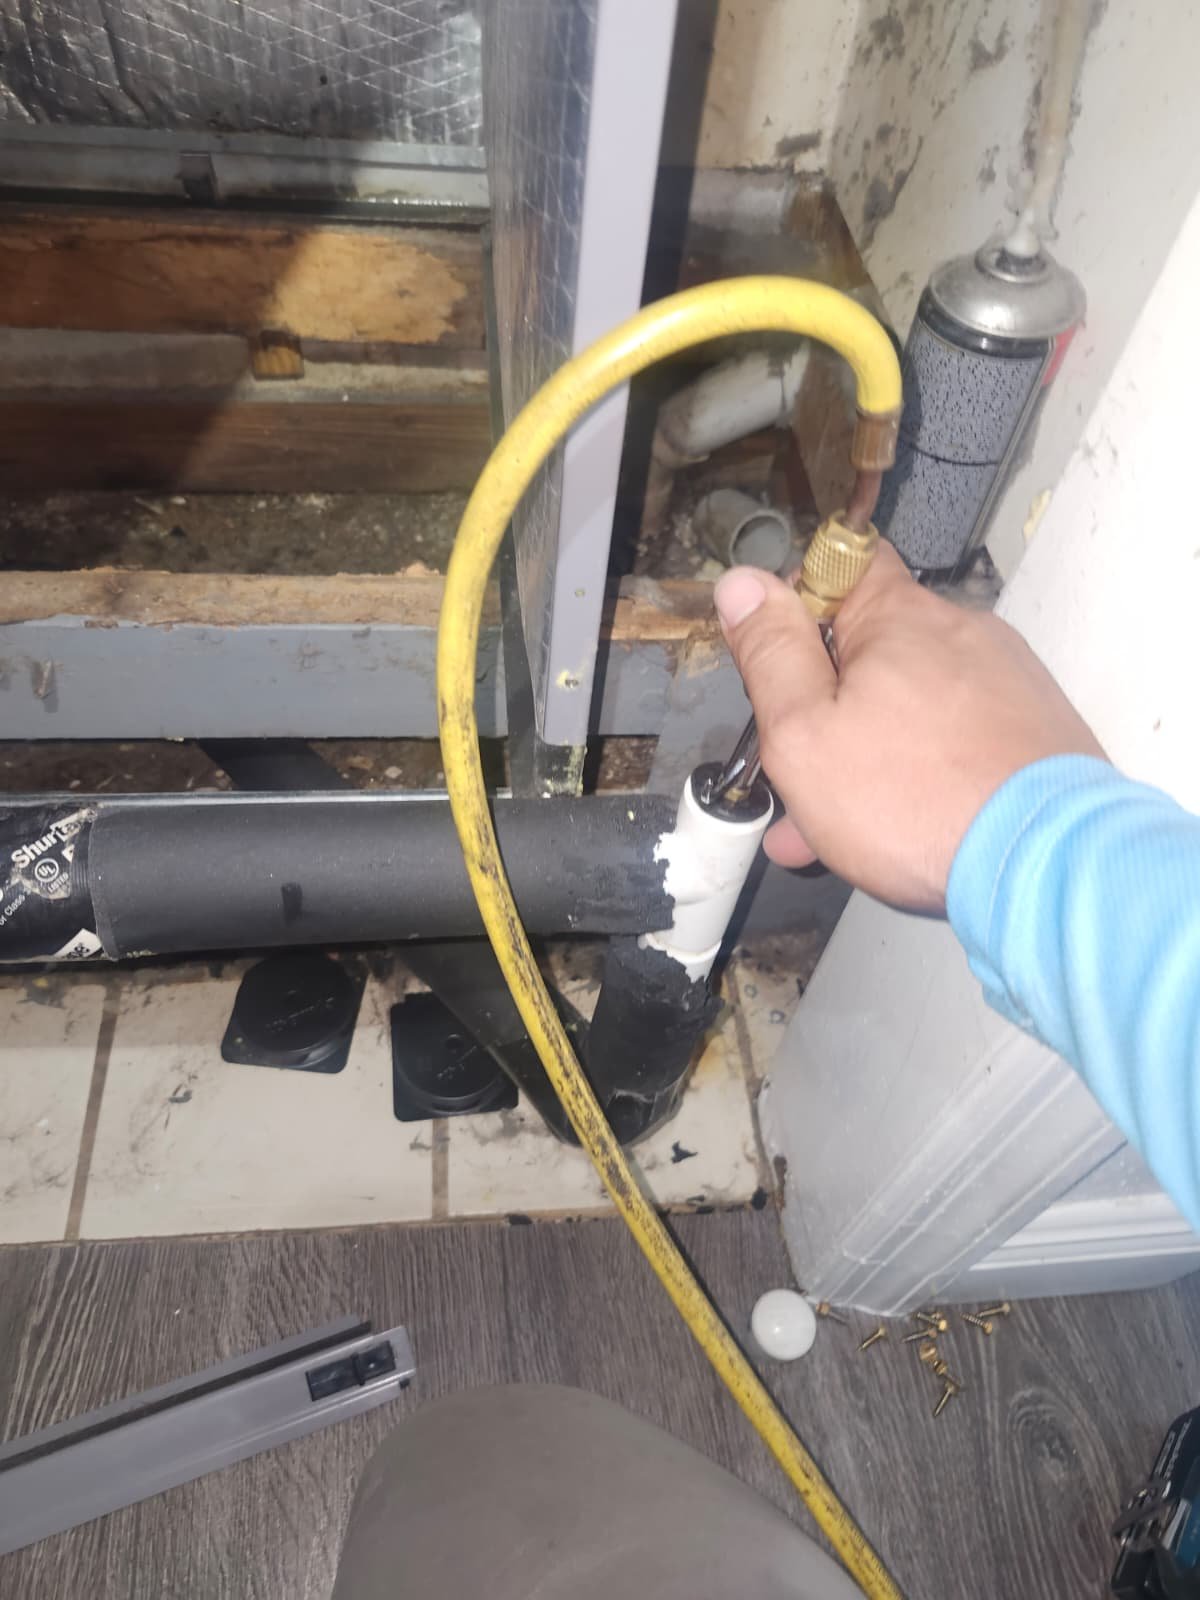
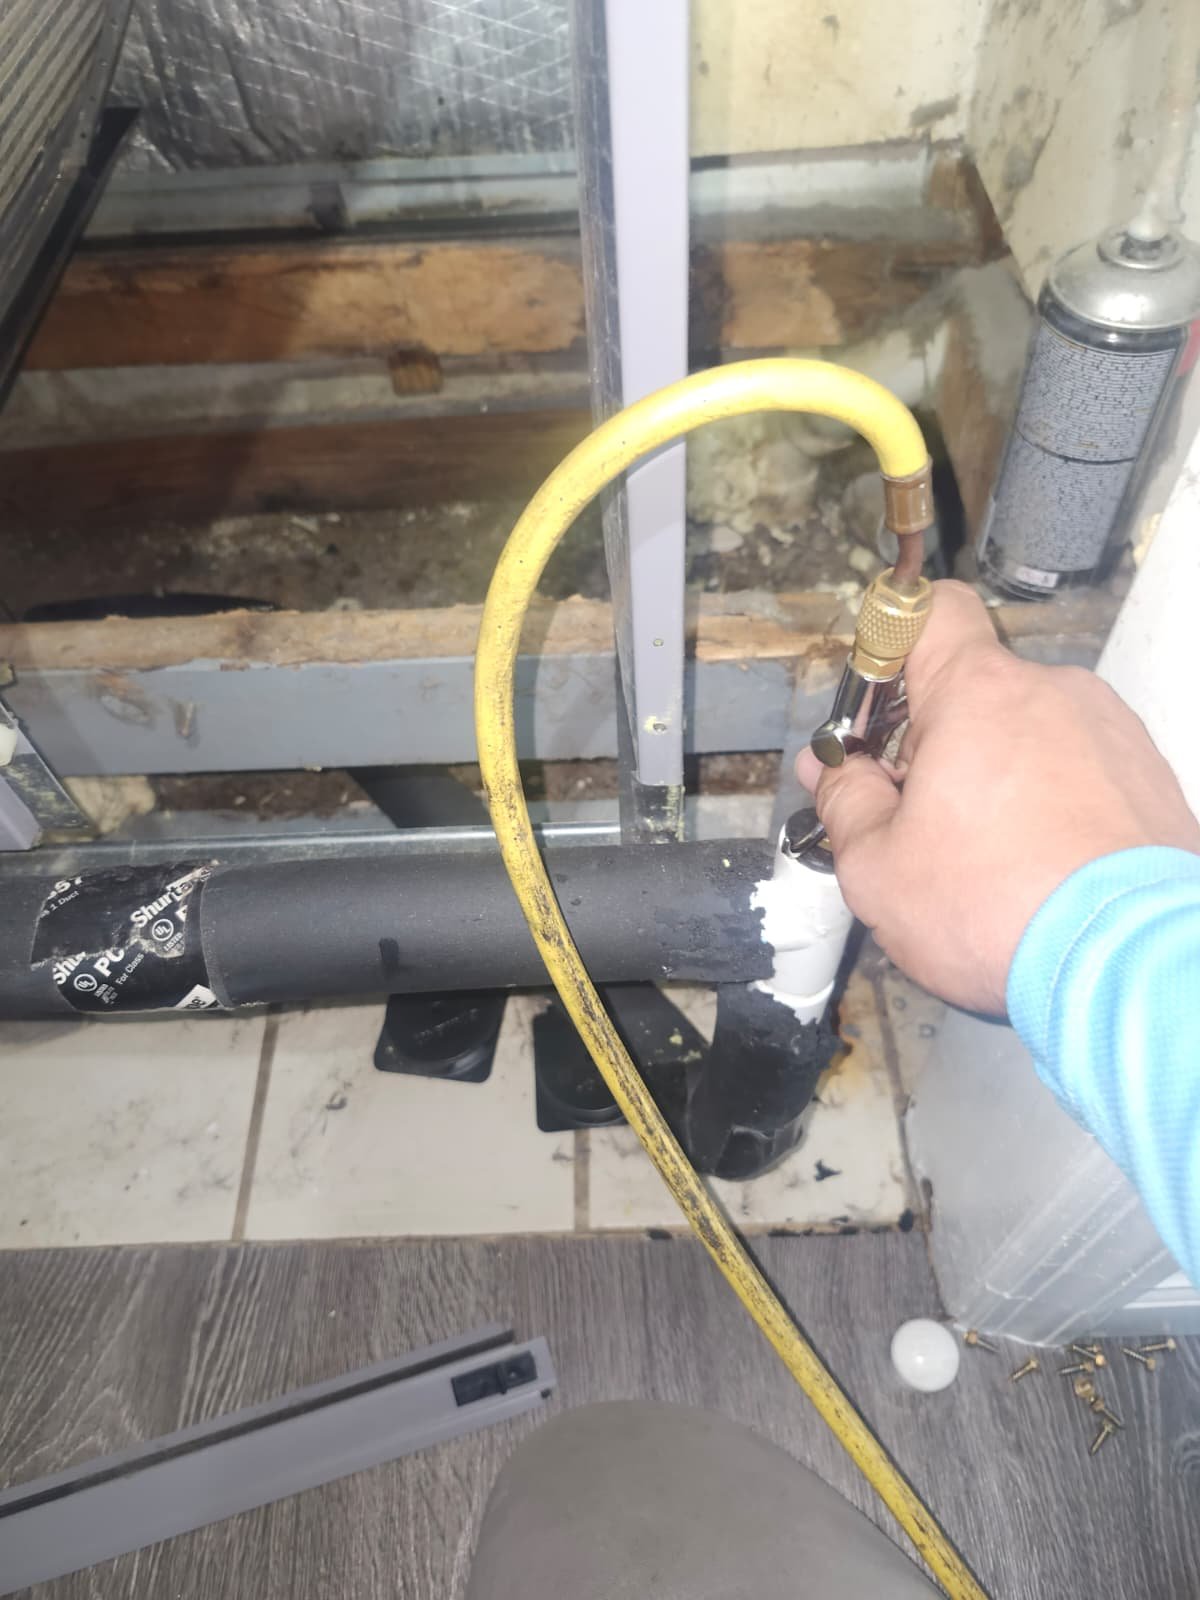
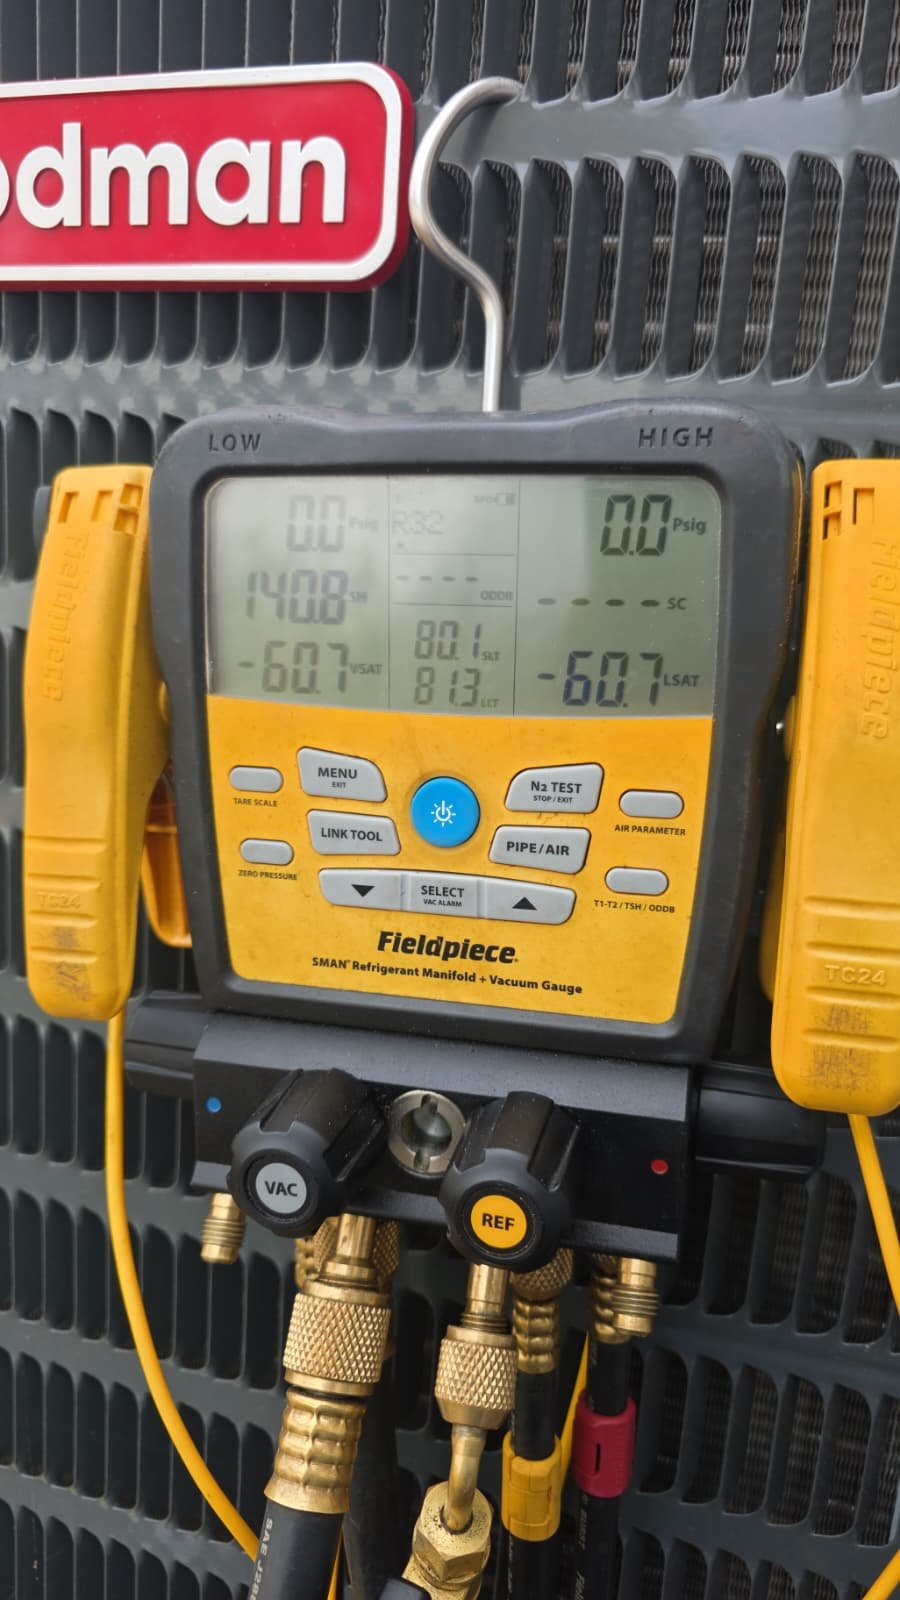
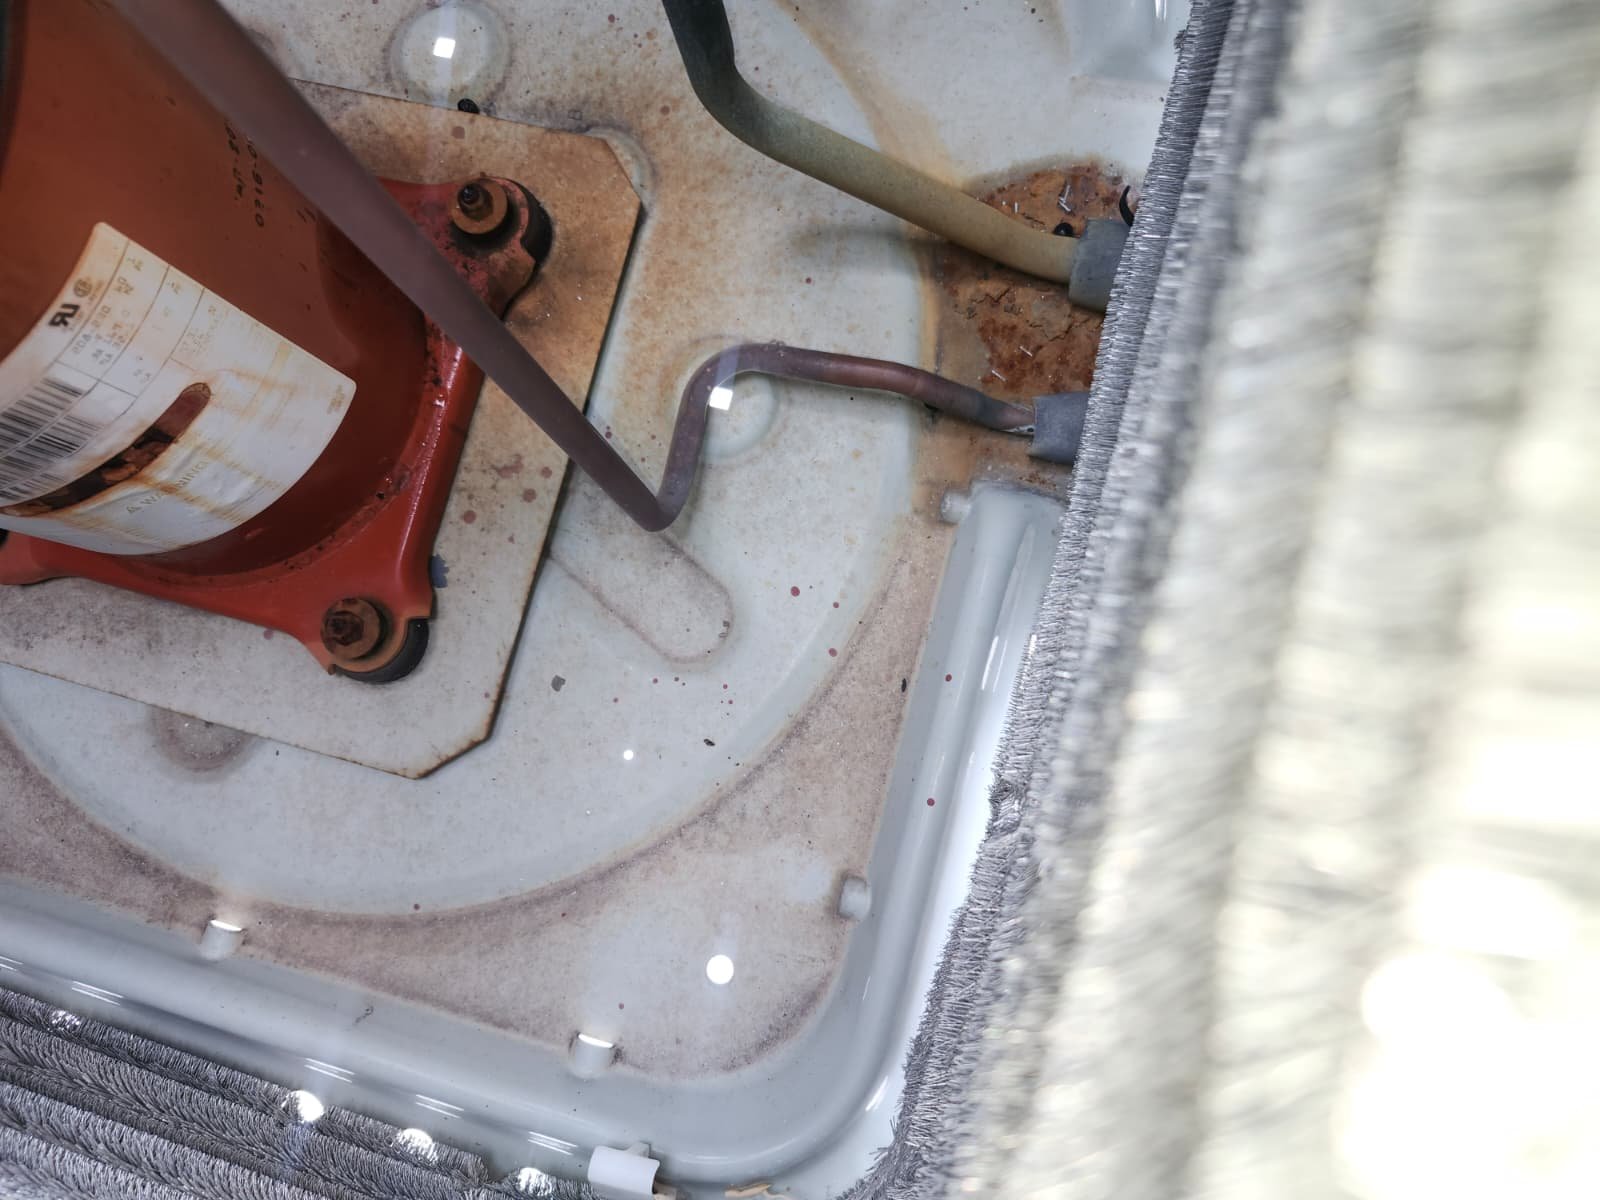
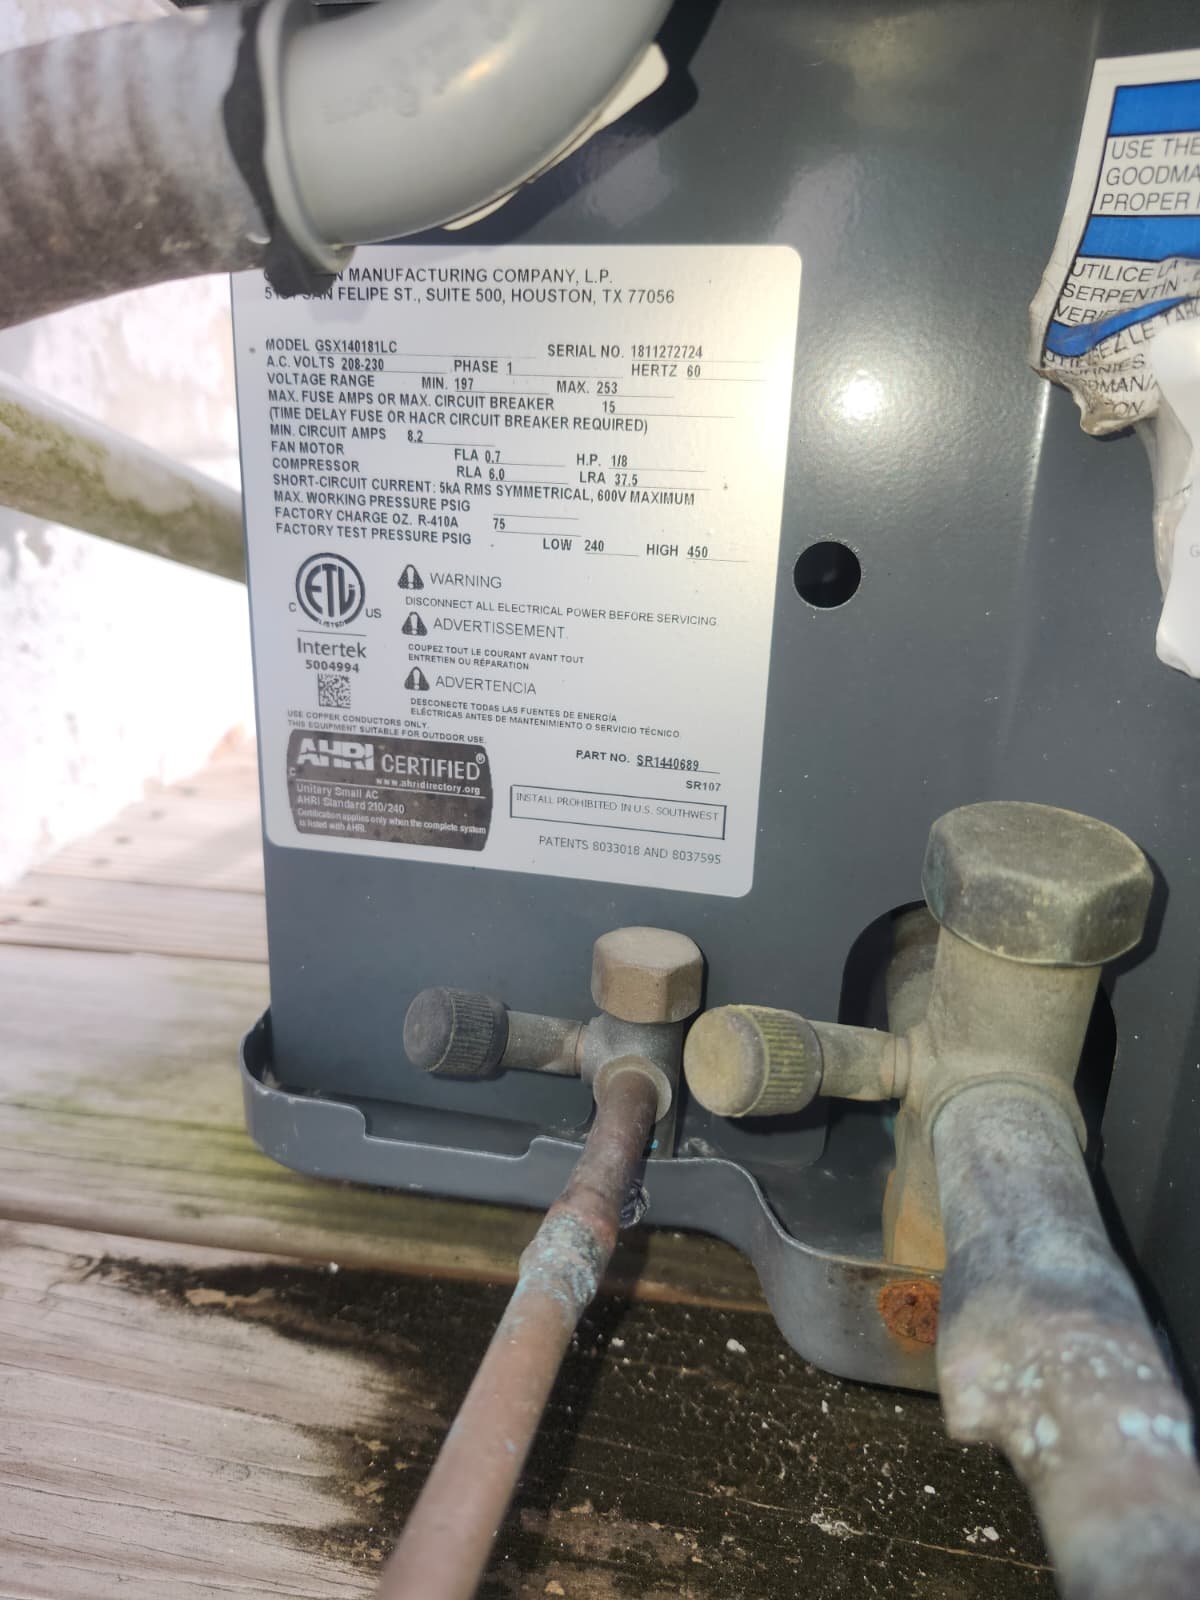
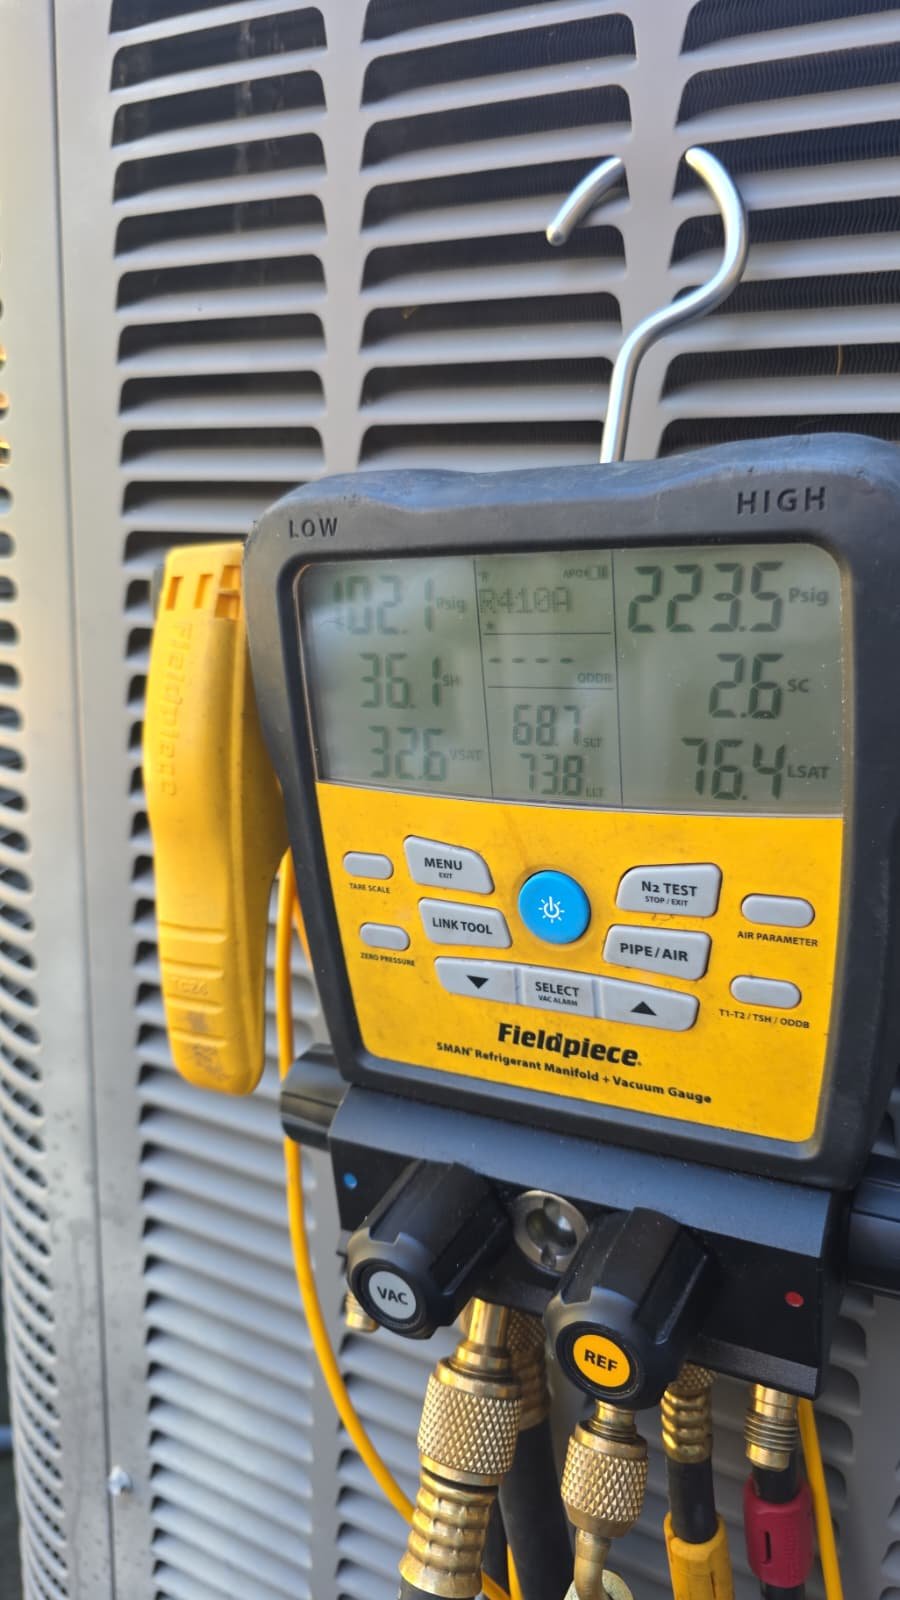
2. Refrigerant Pressures
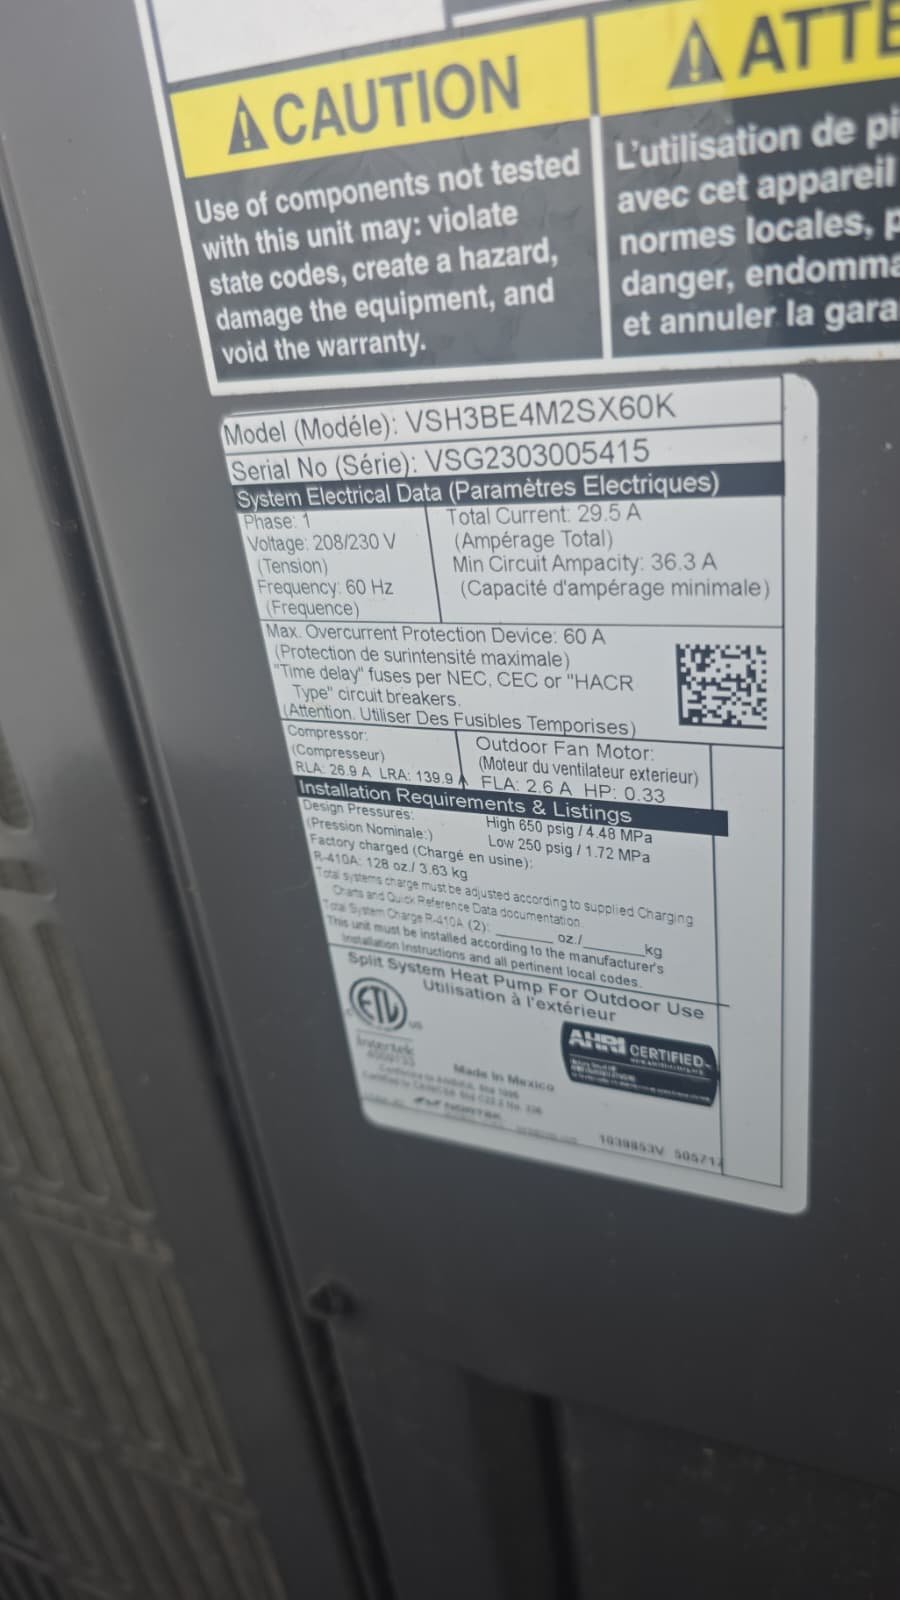
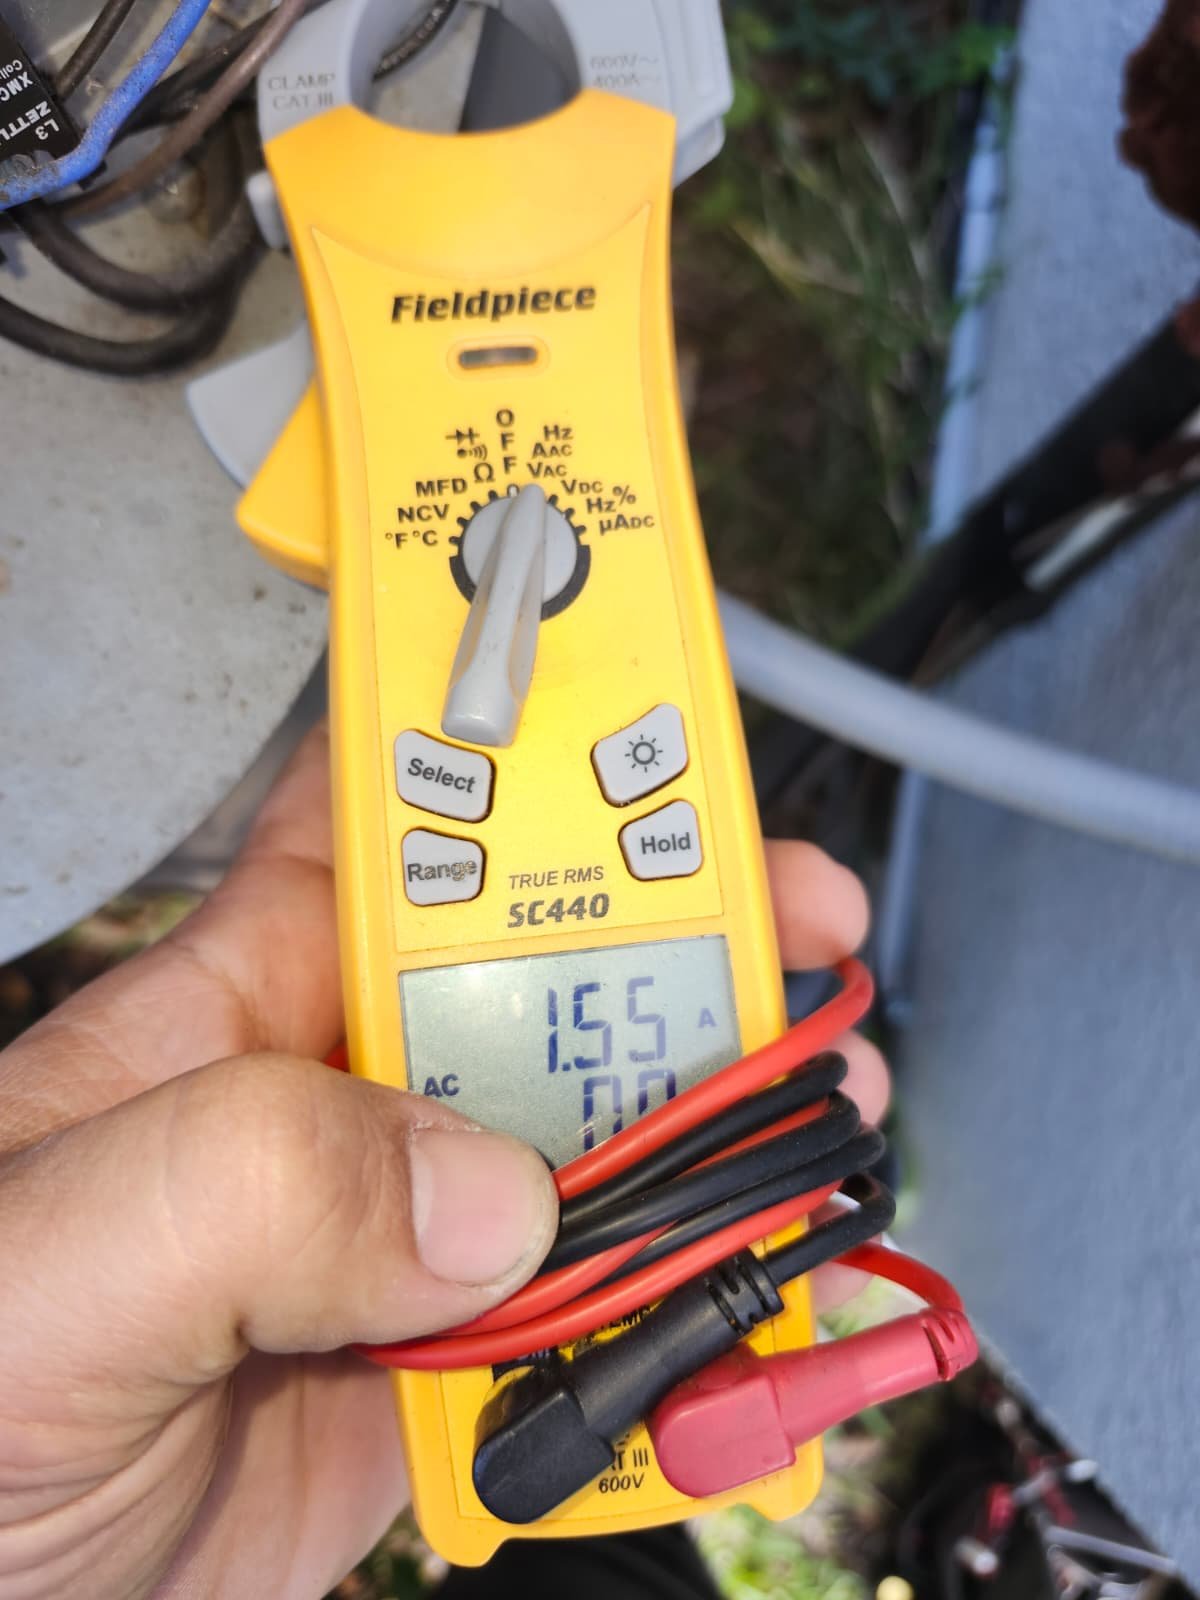
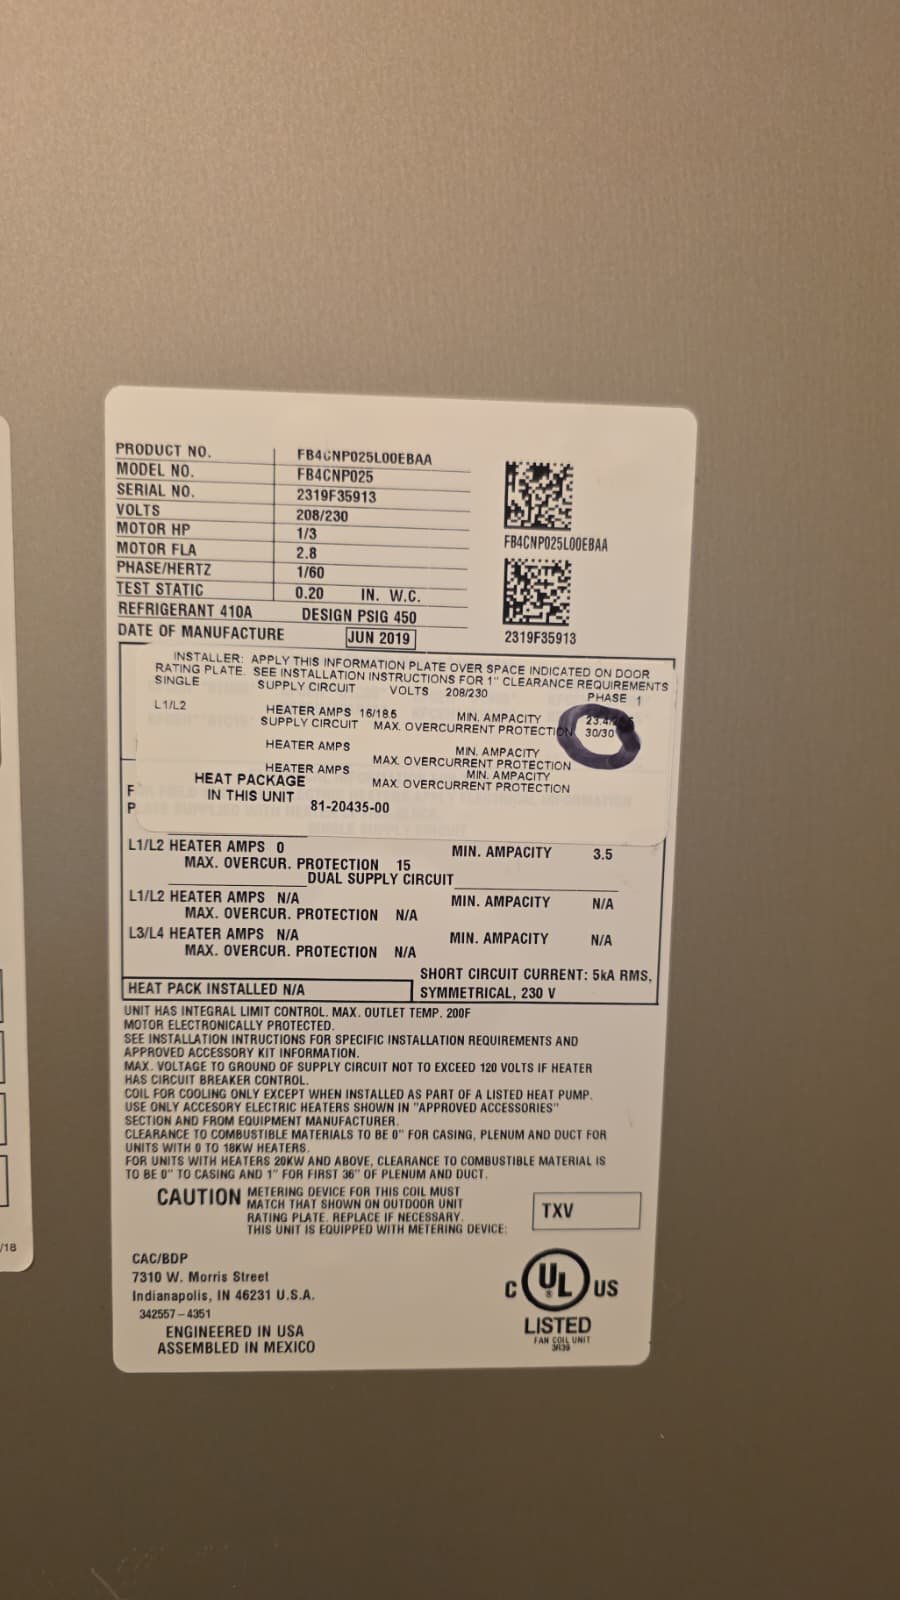
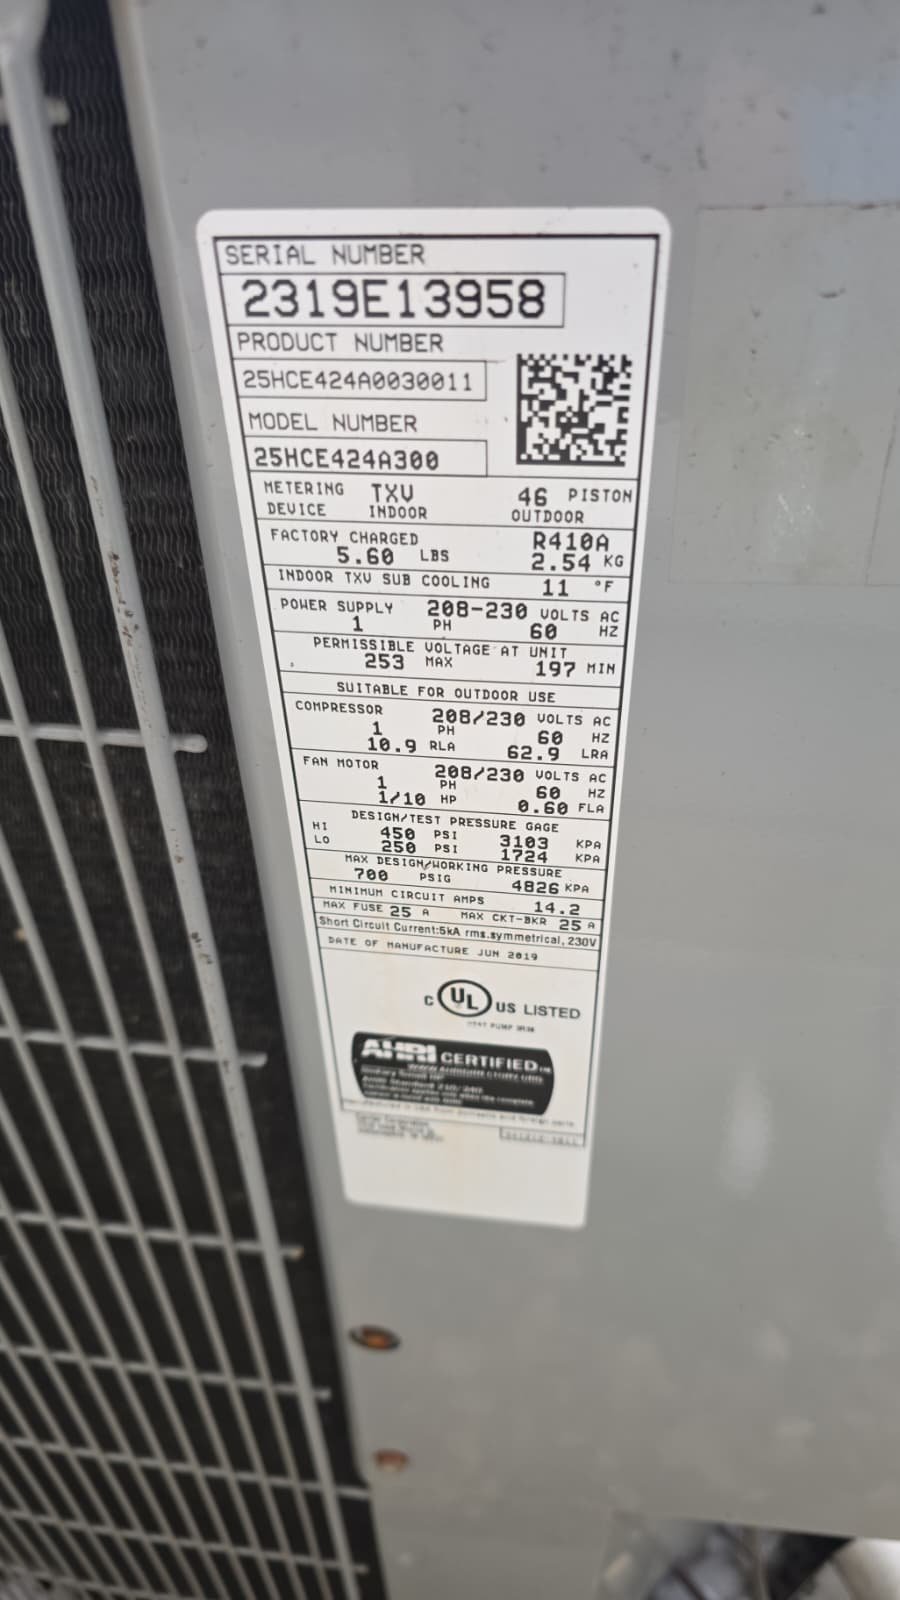
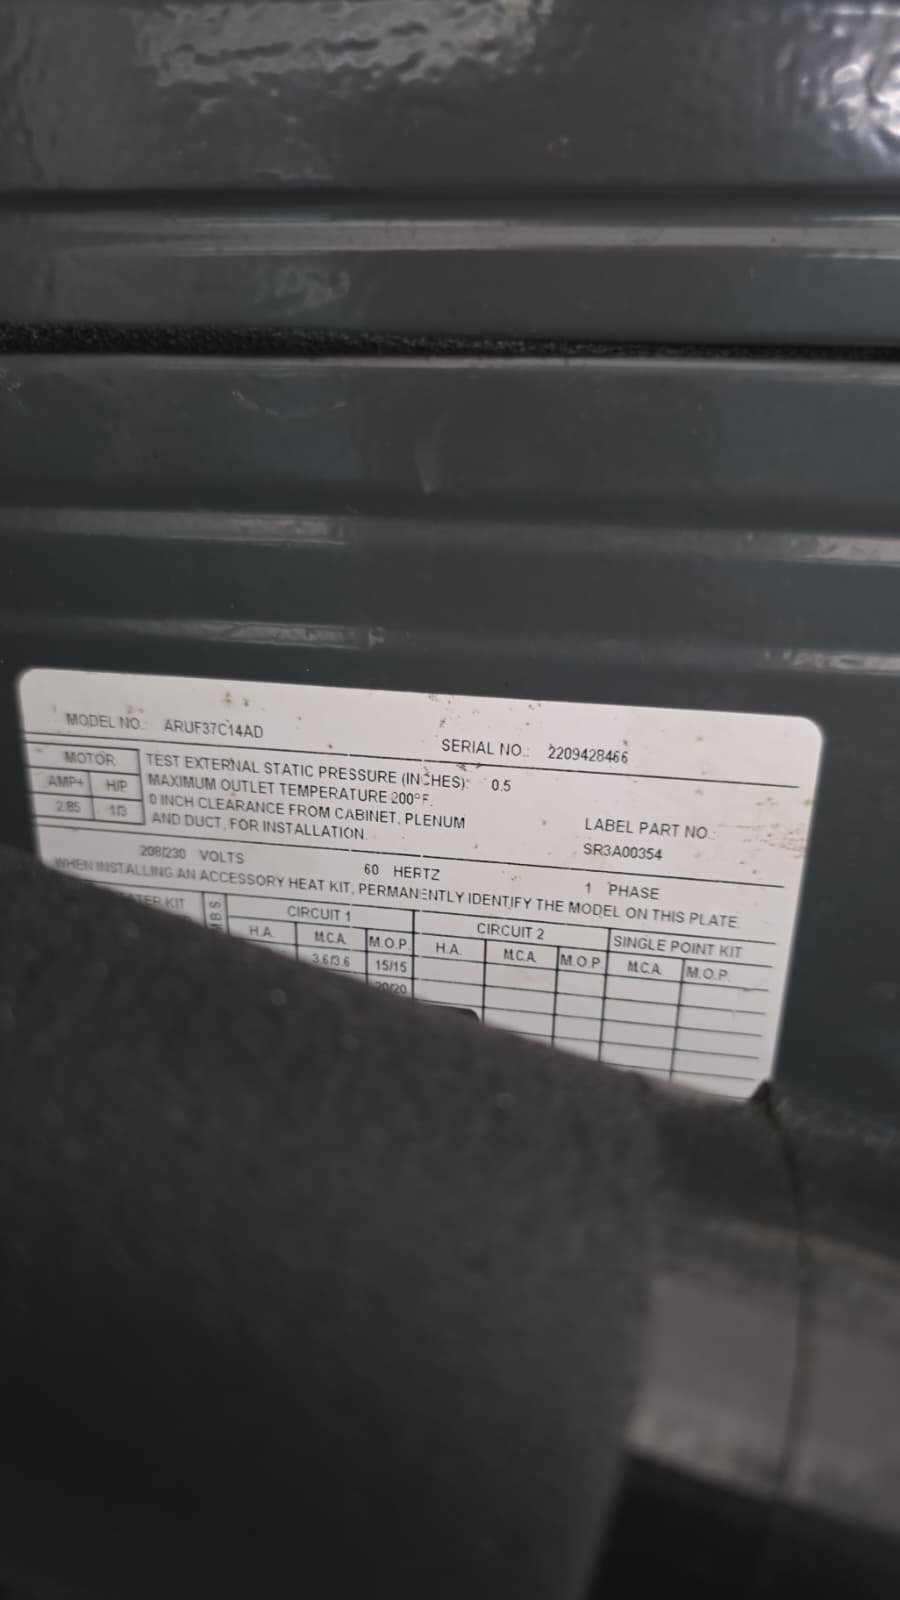
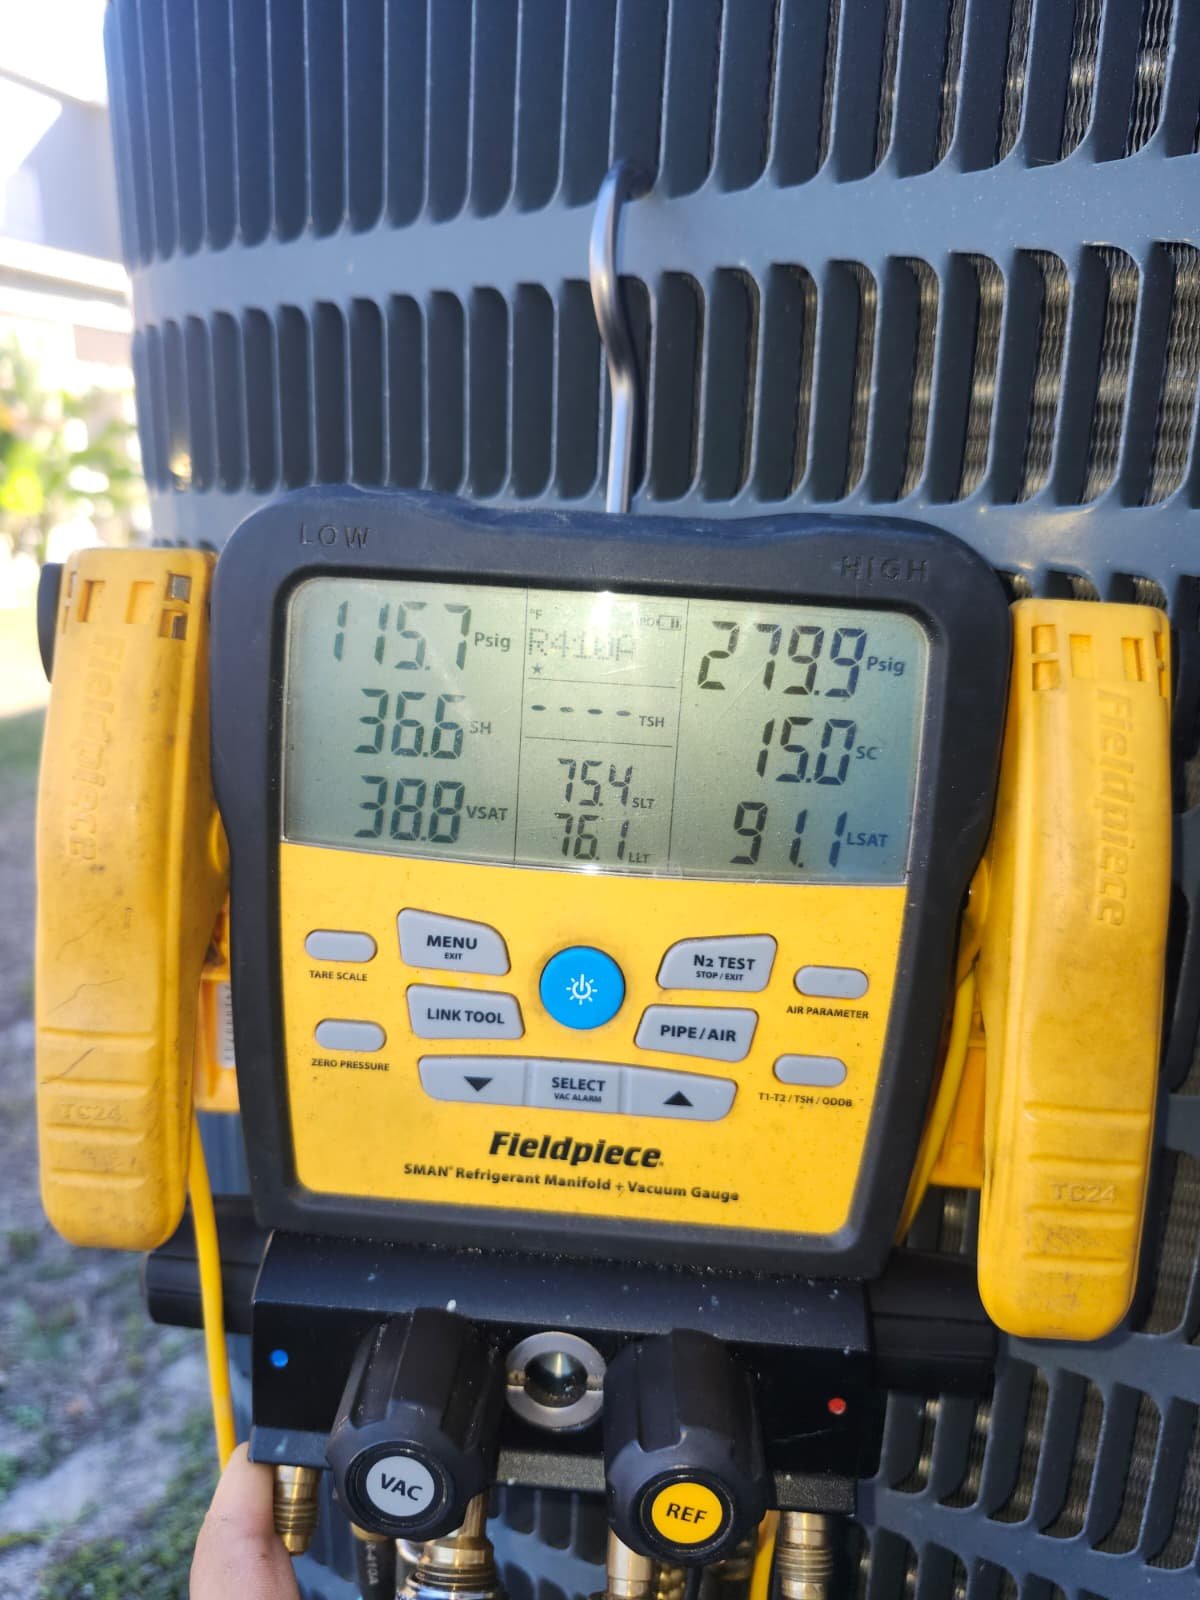
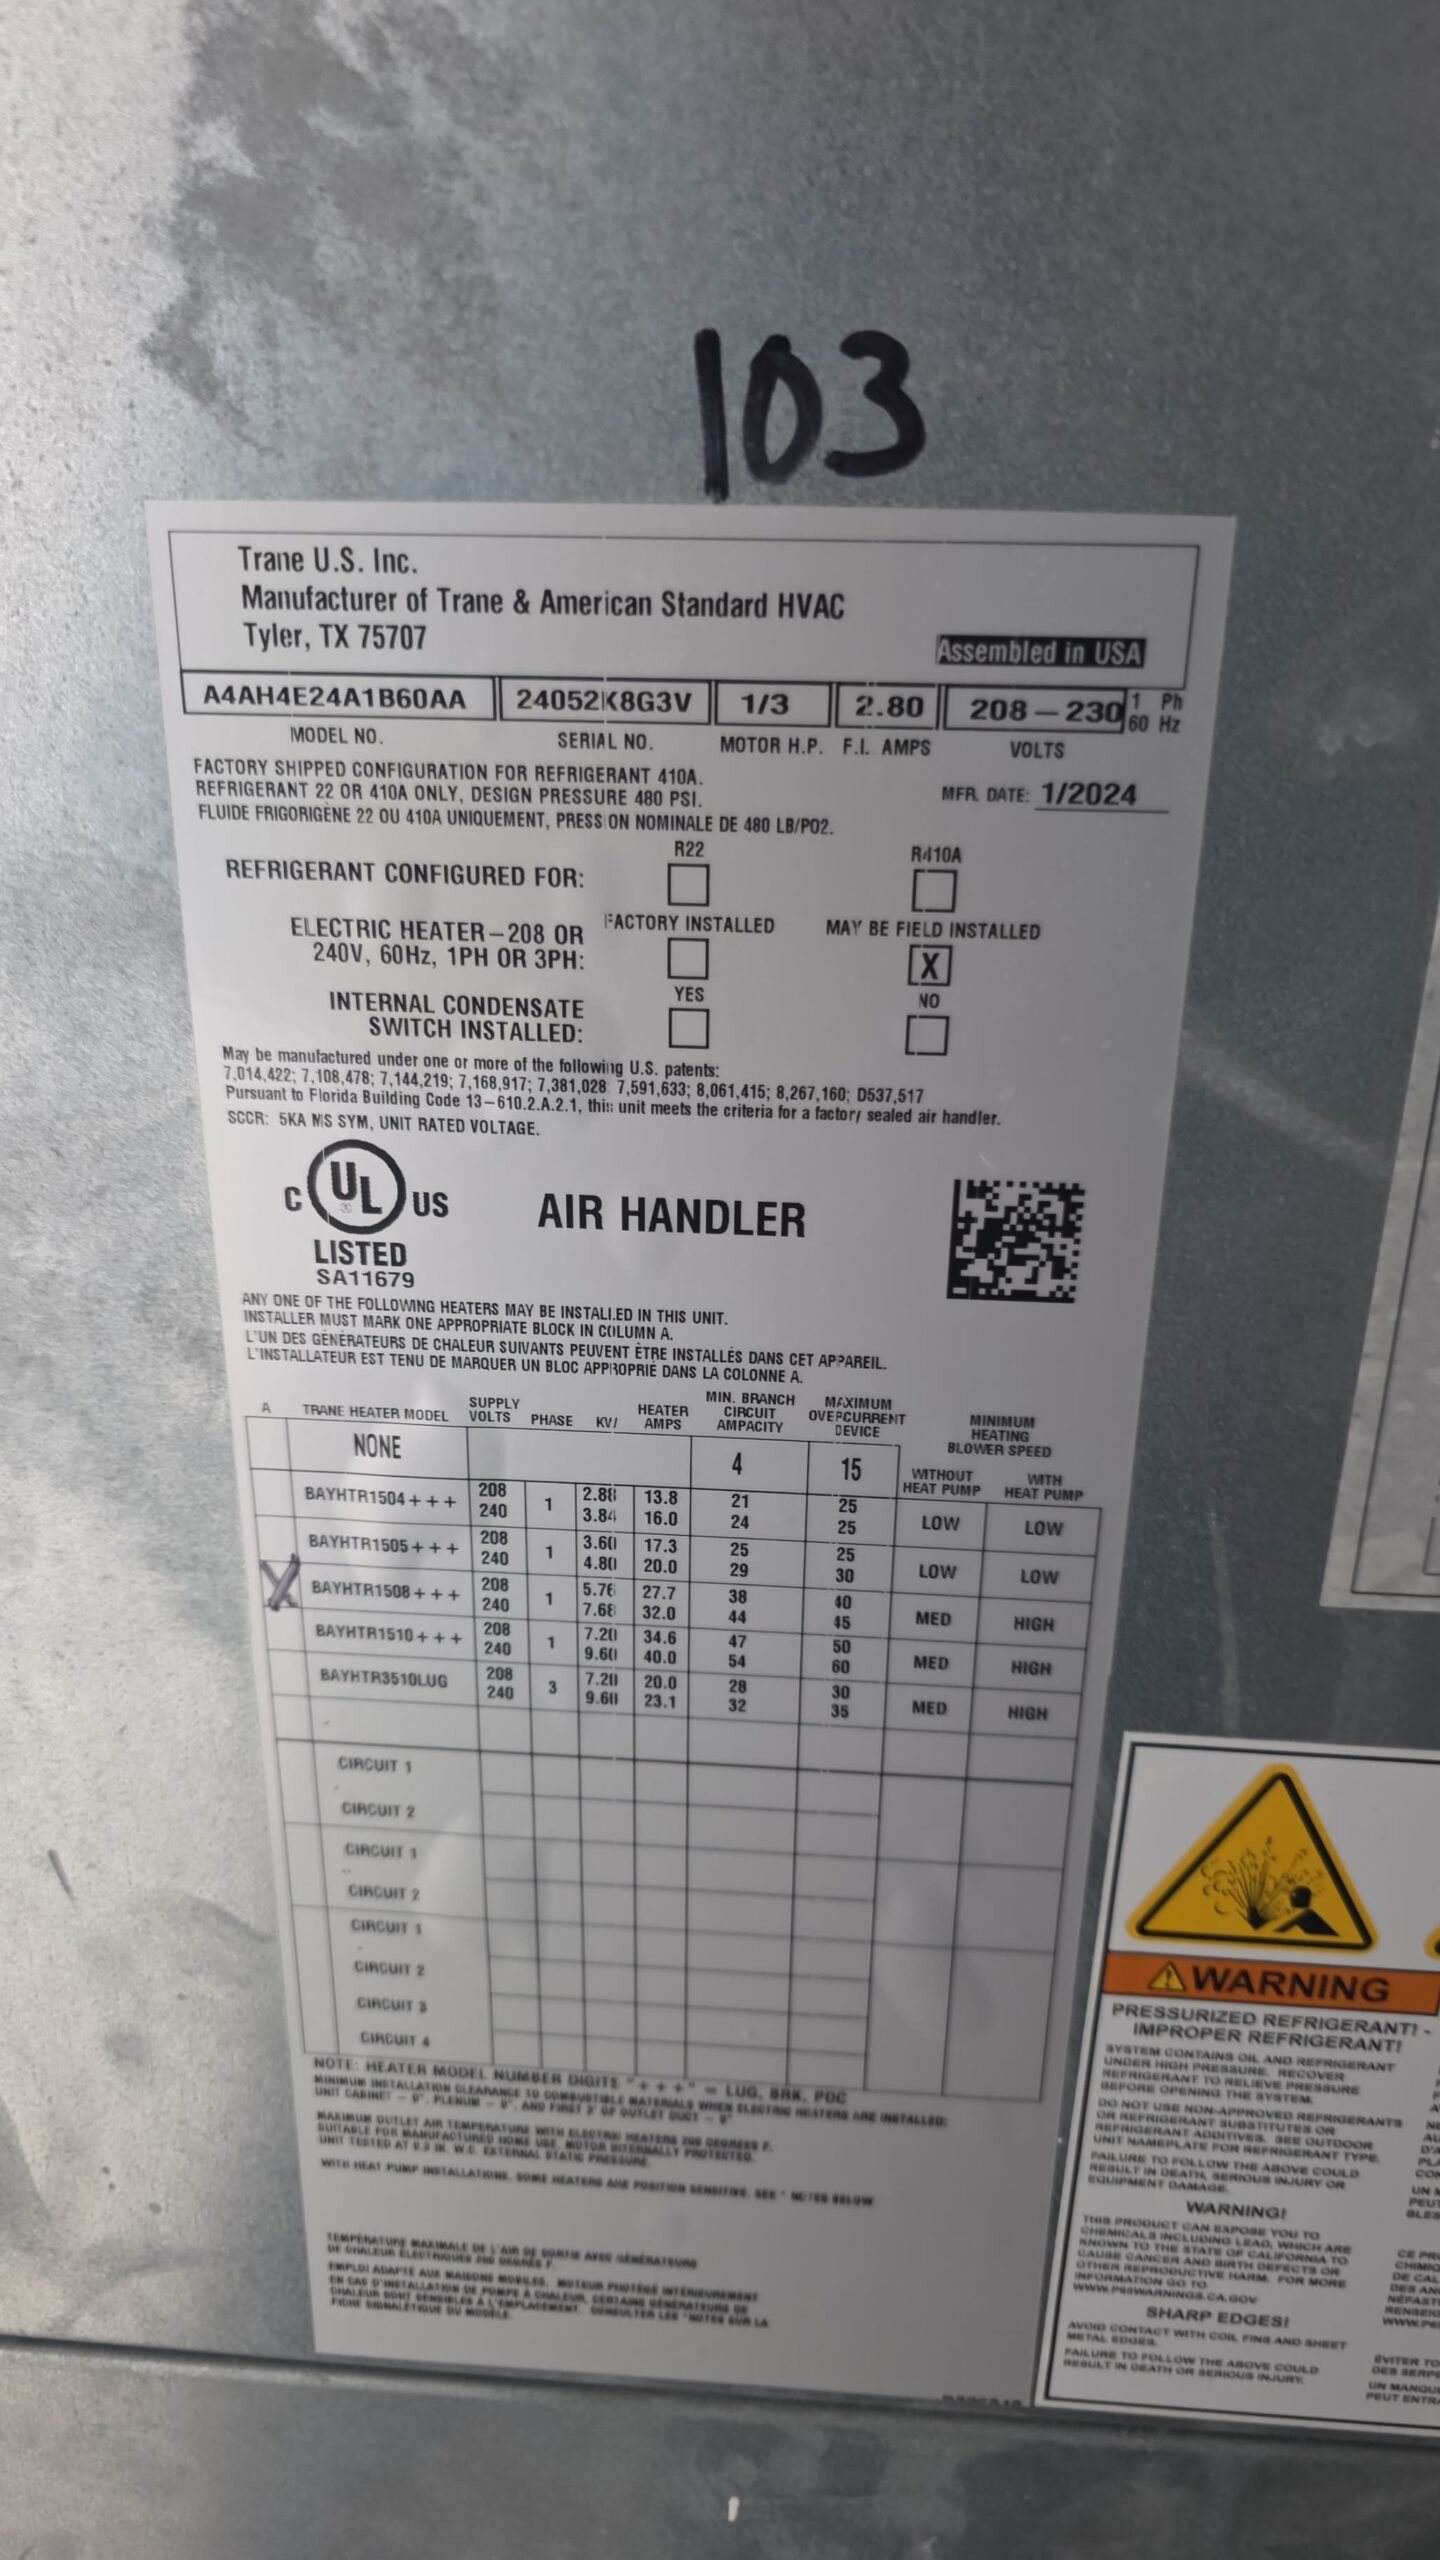
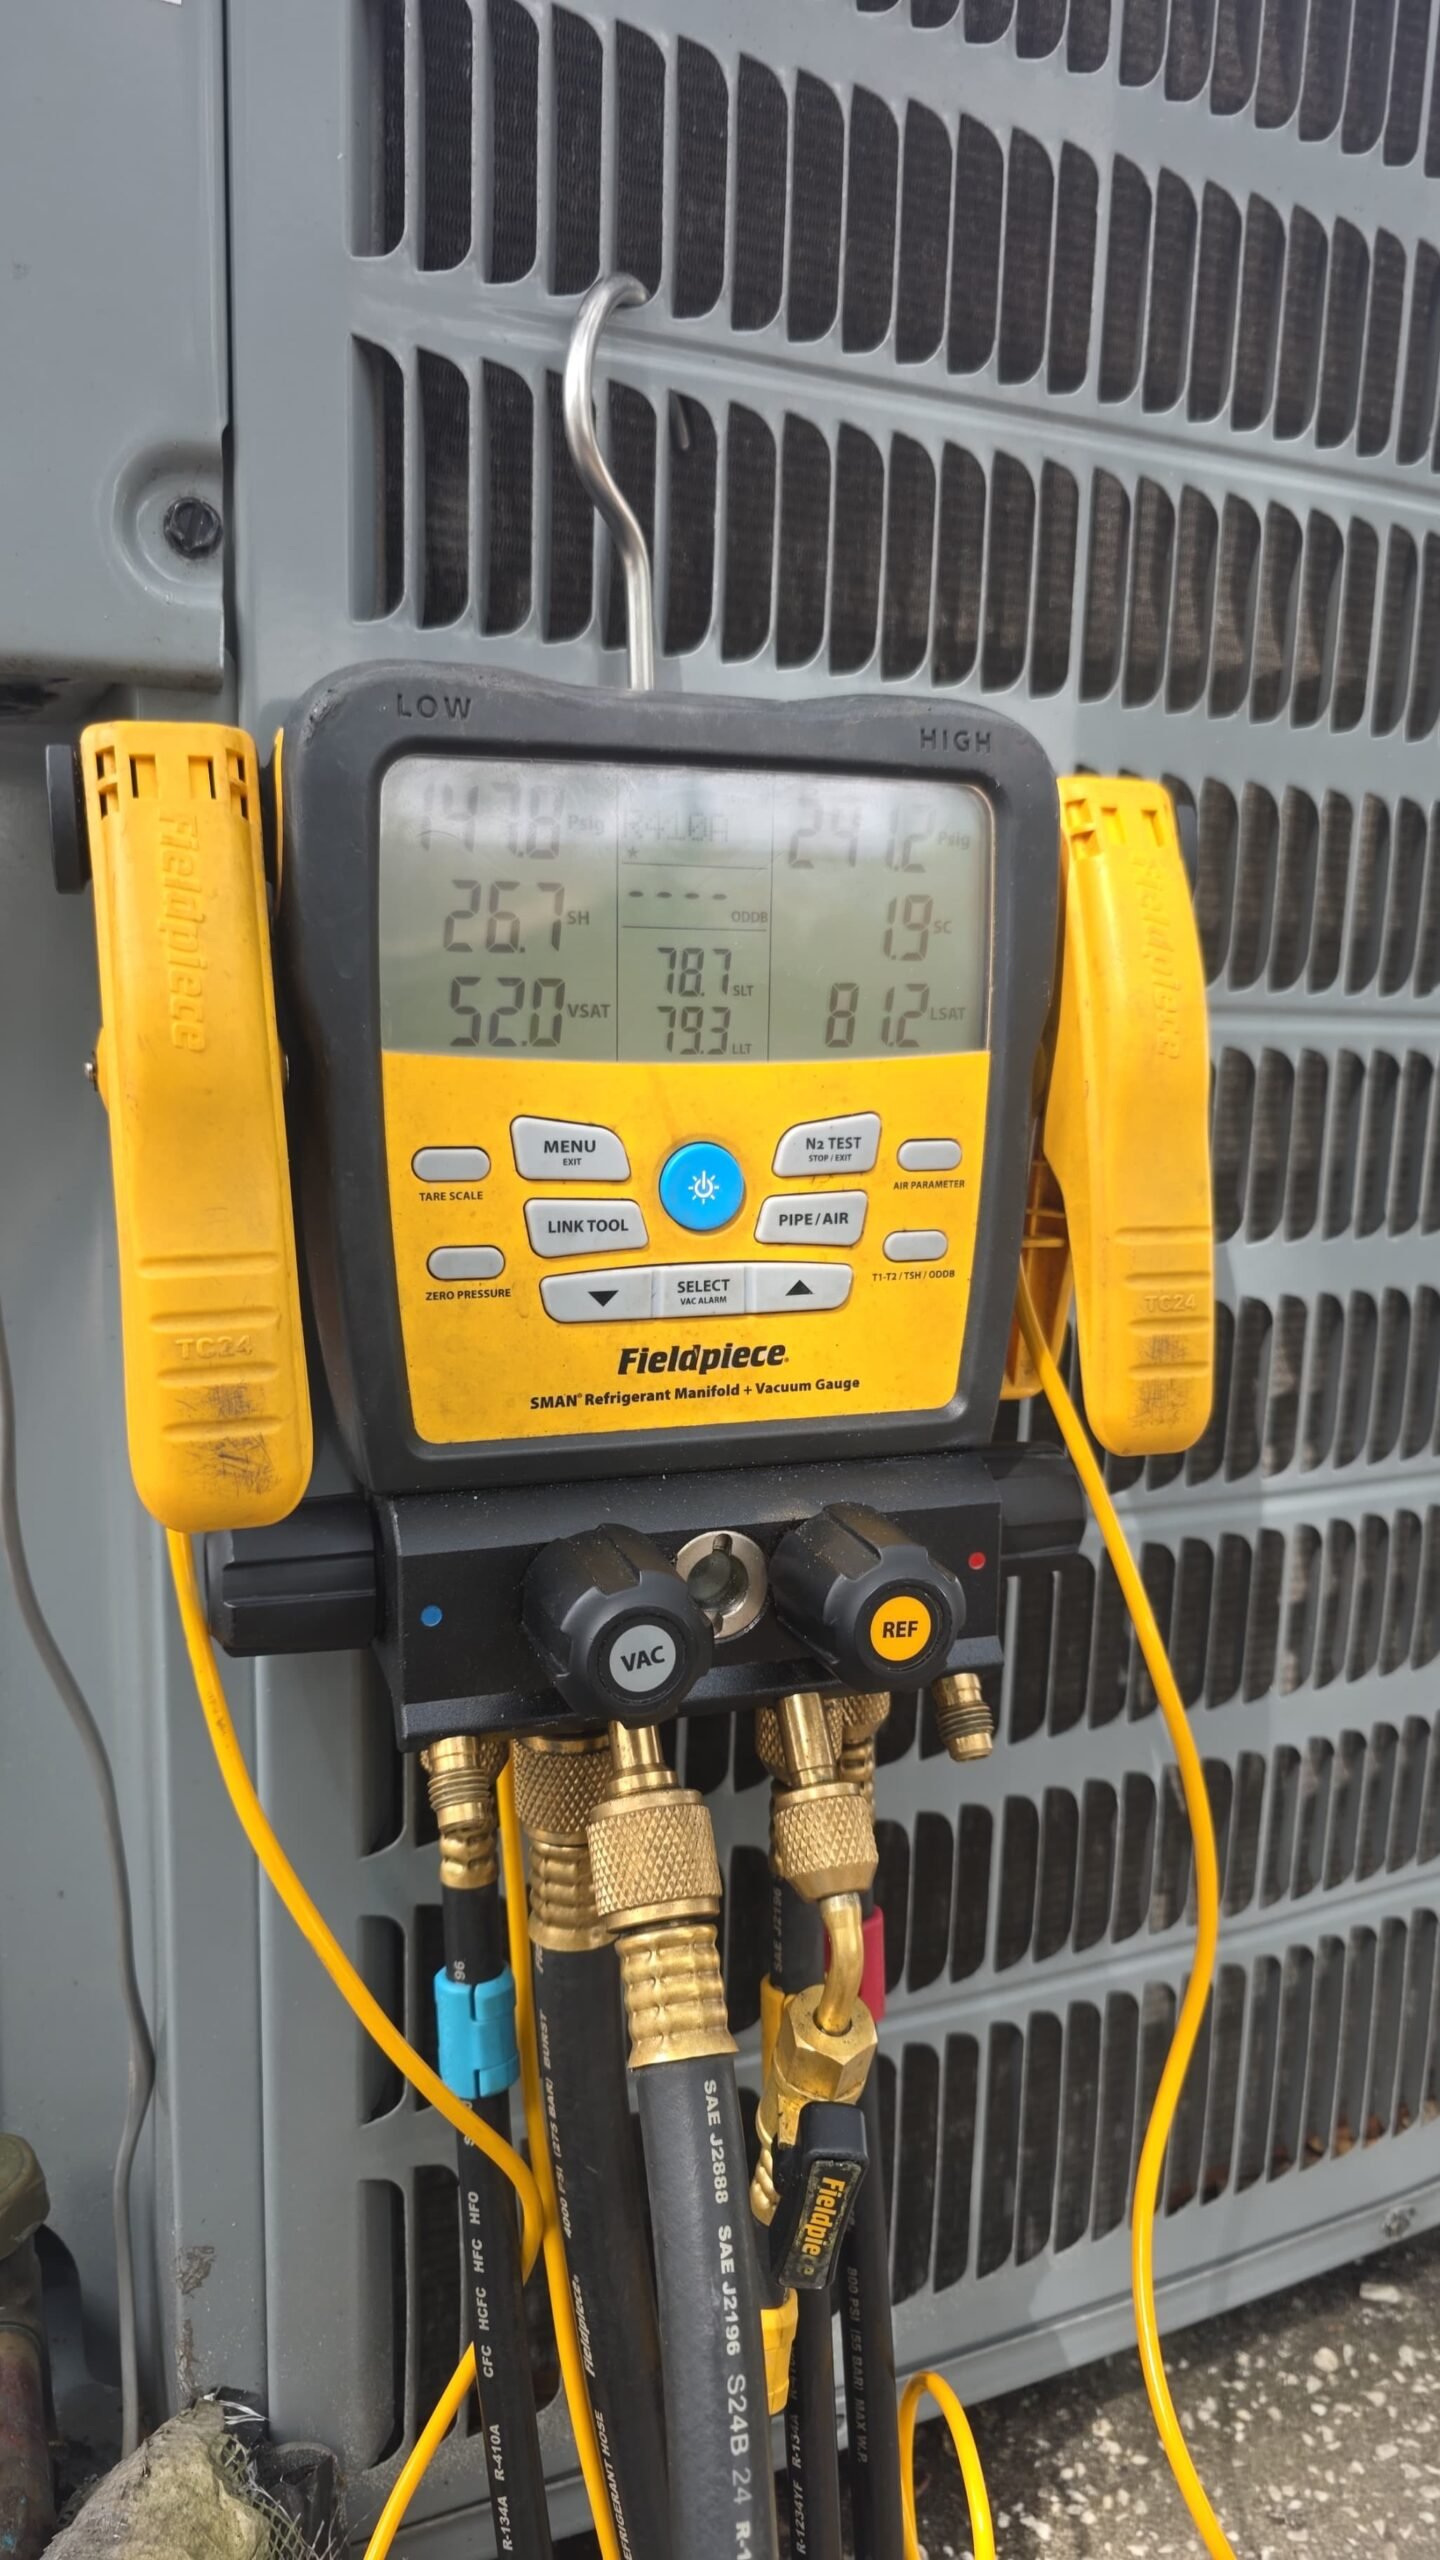
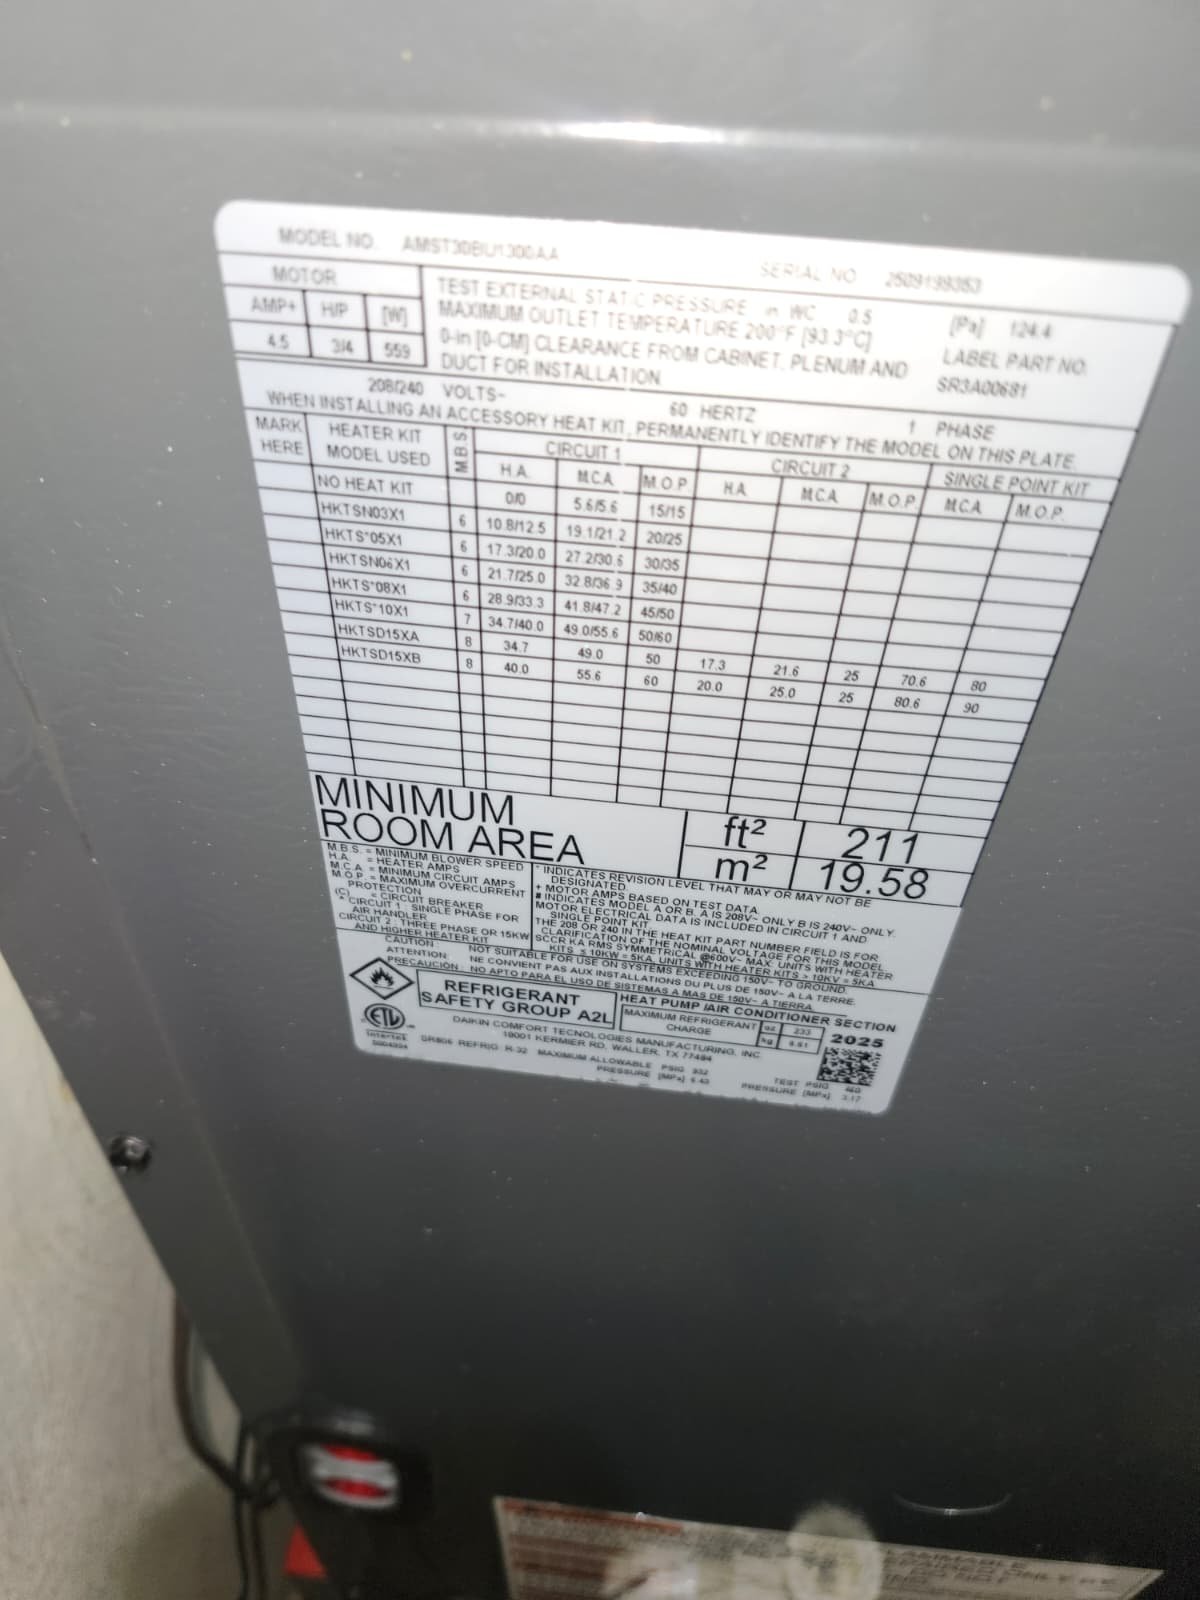
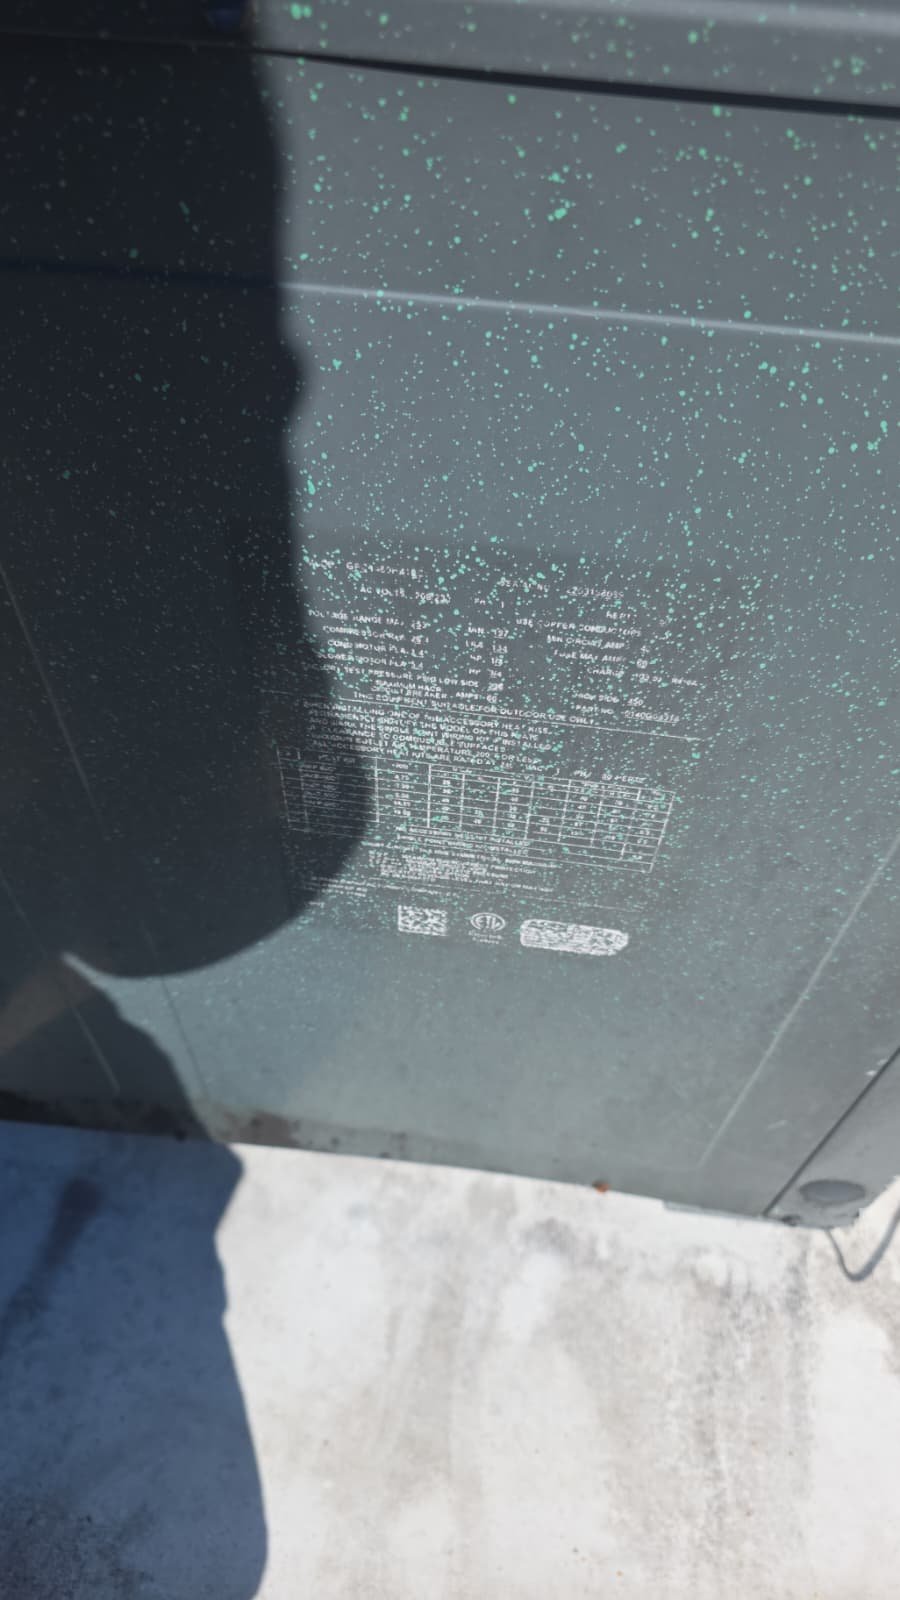
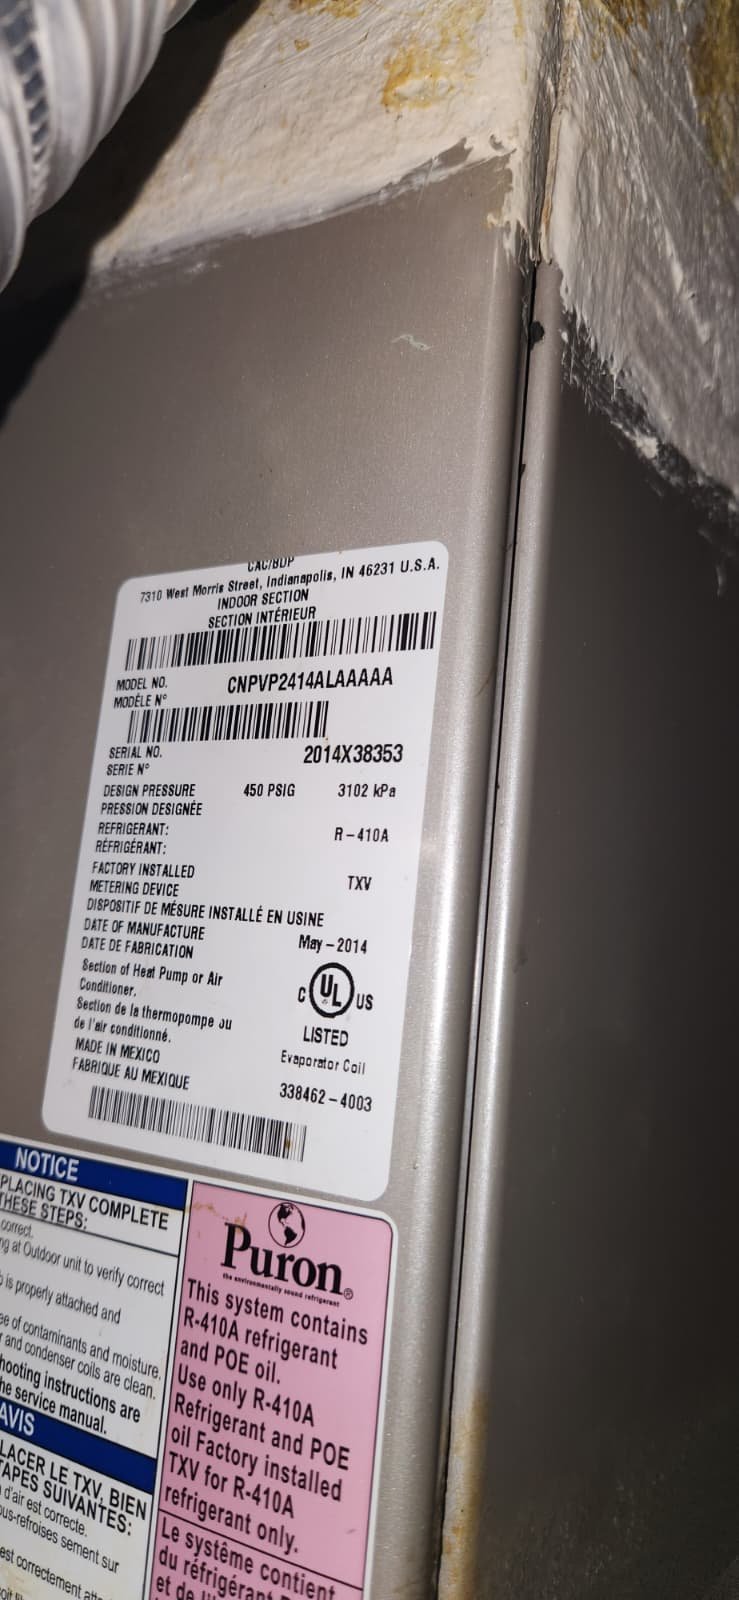
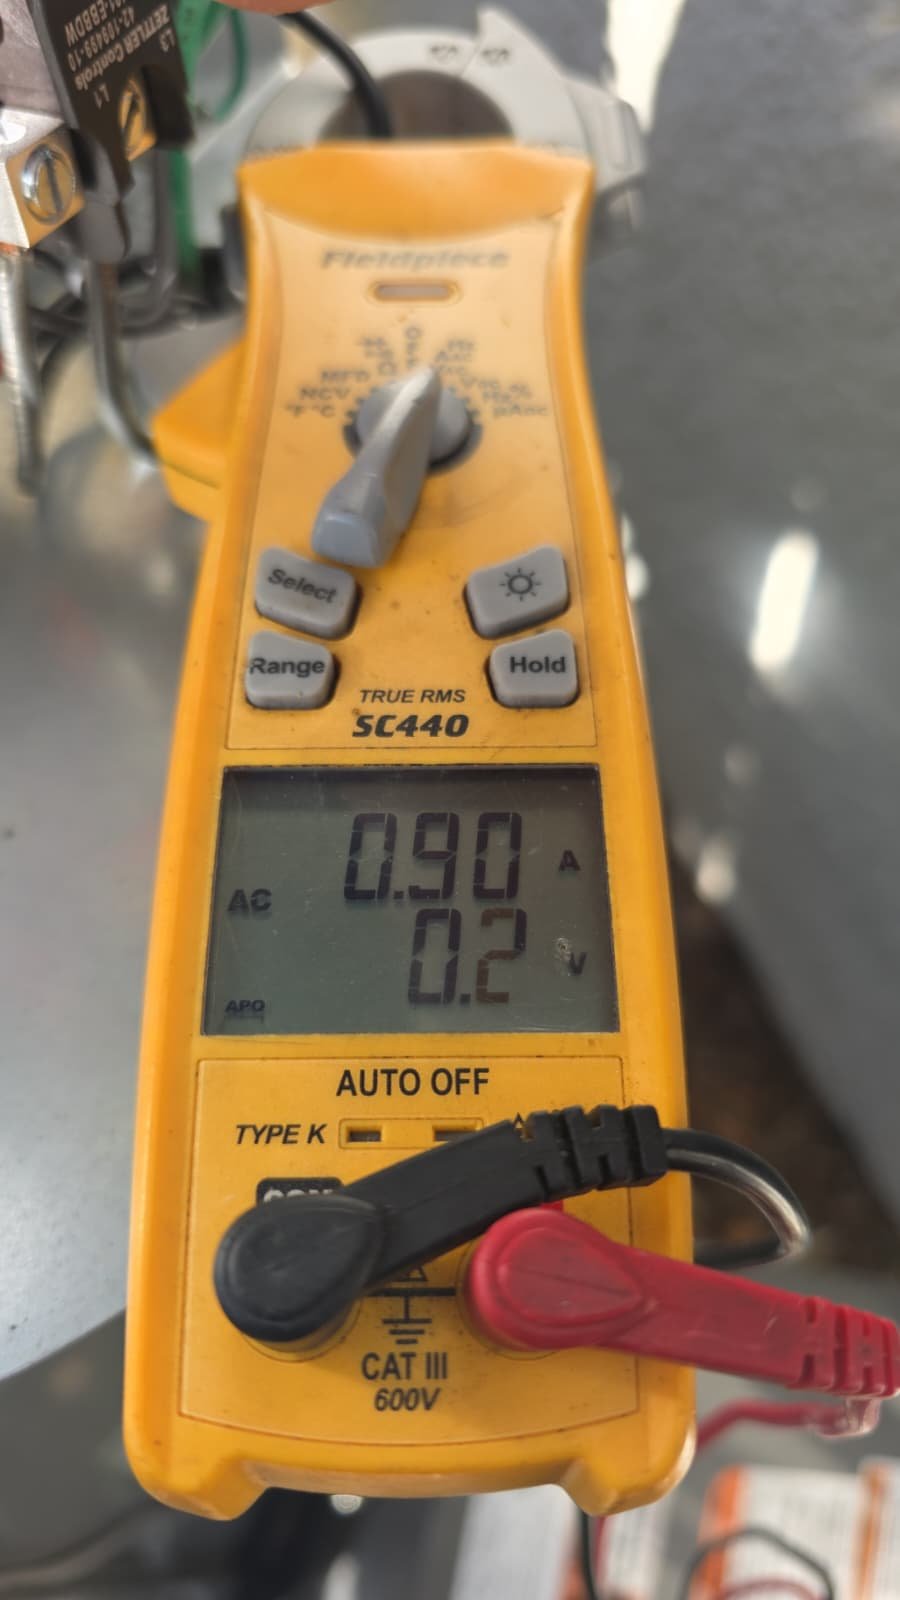
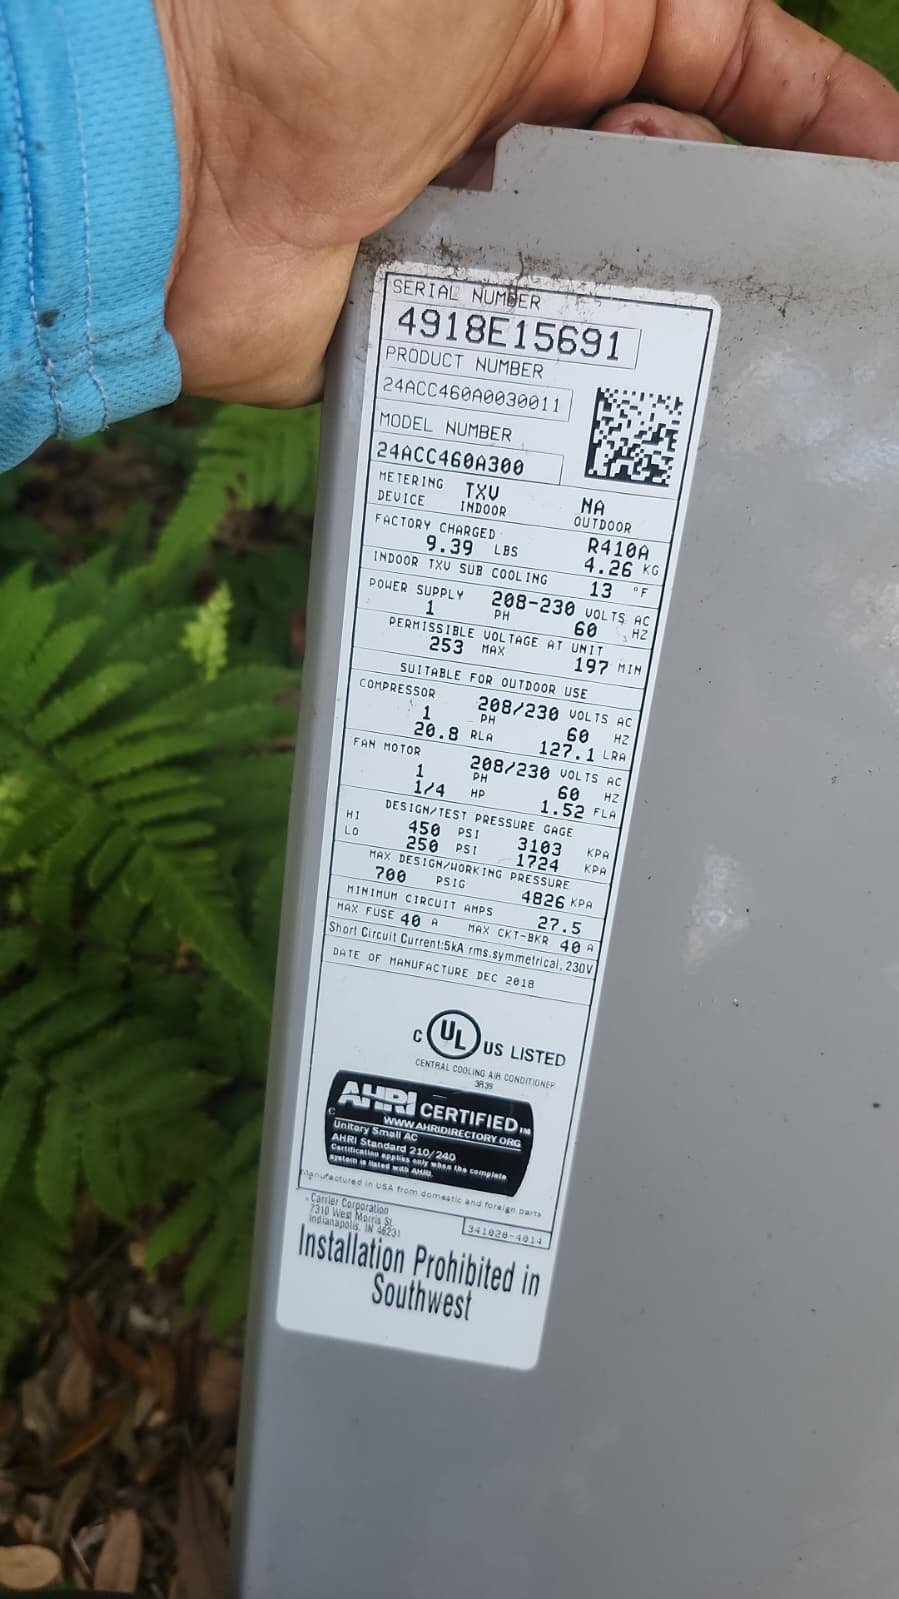
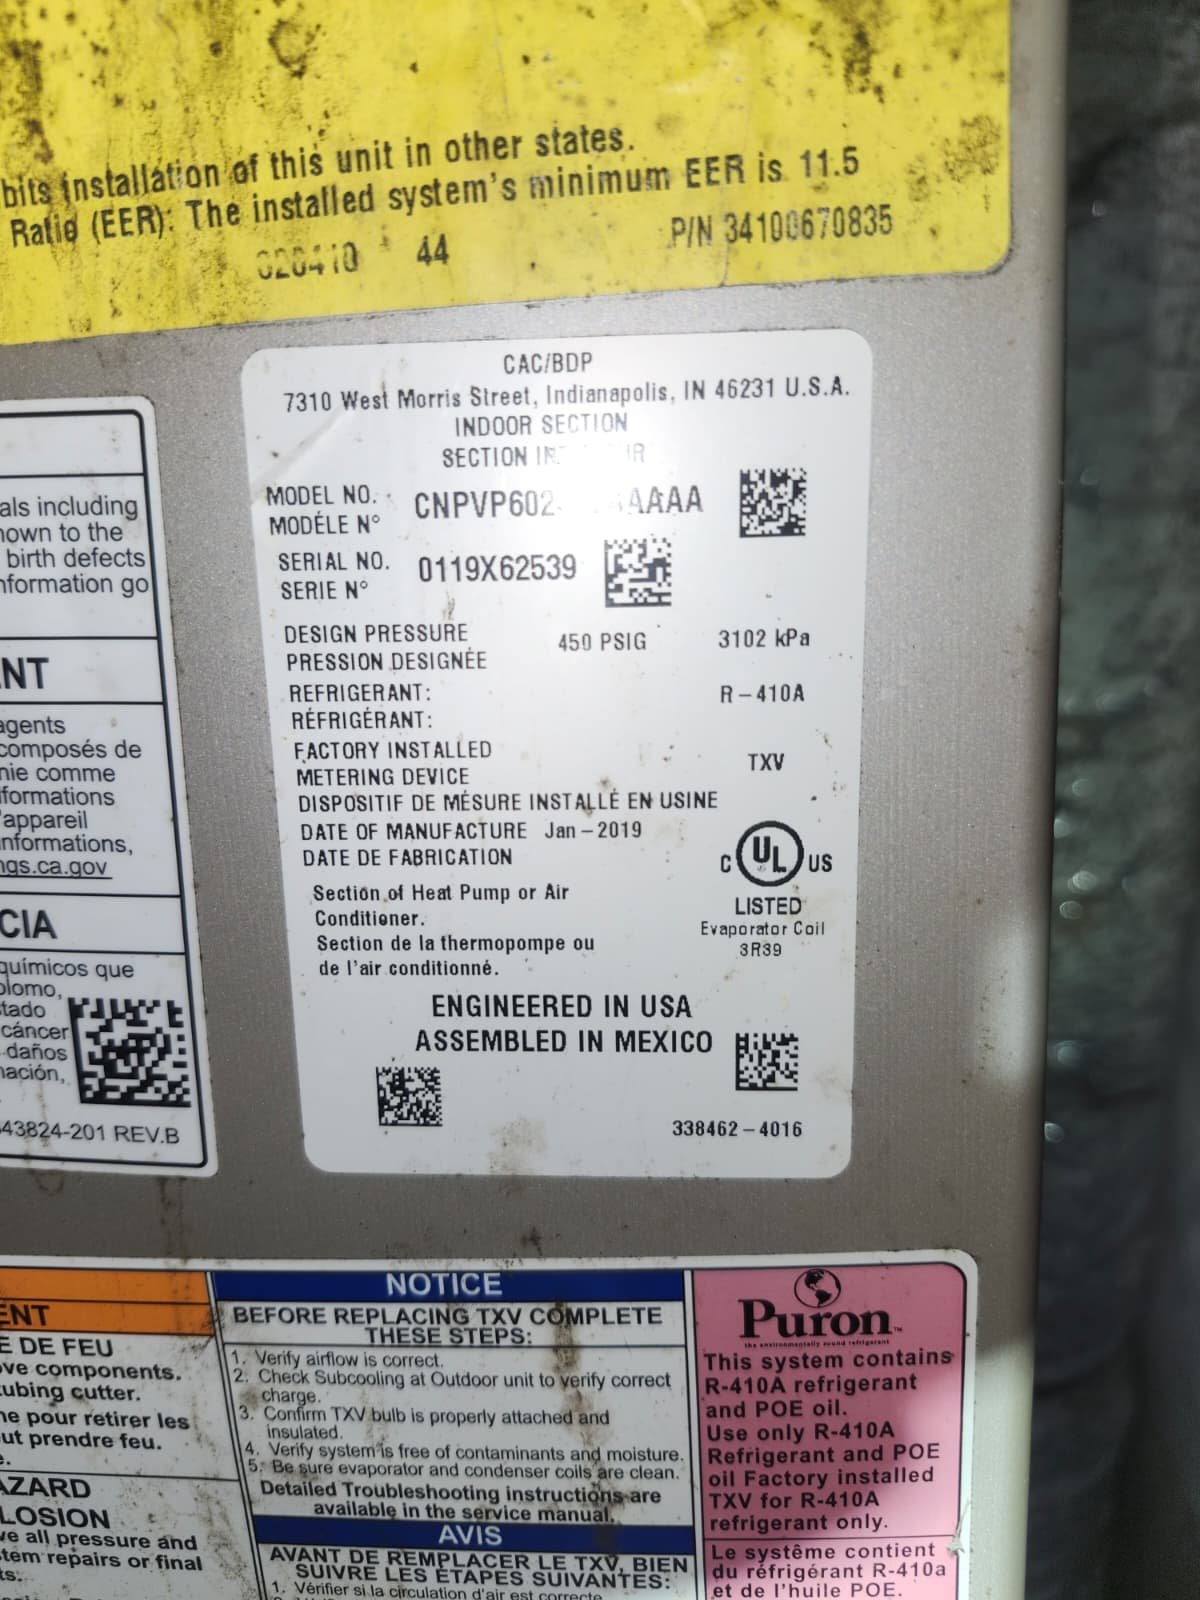
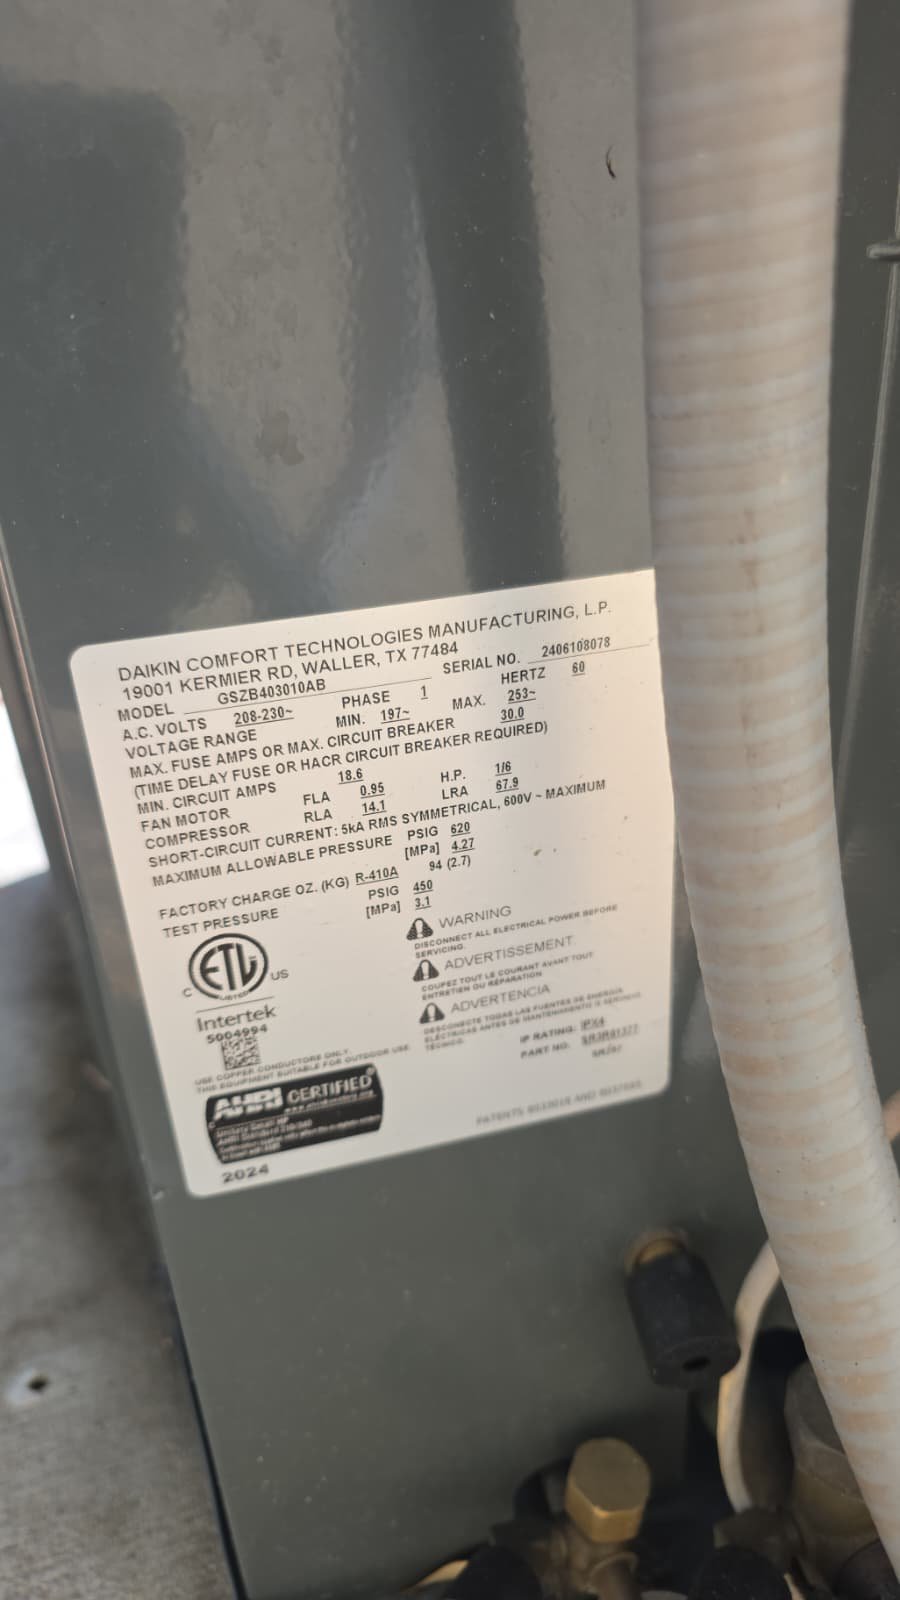
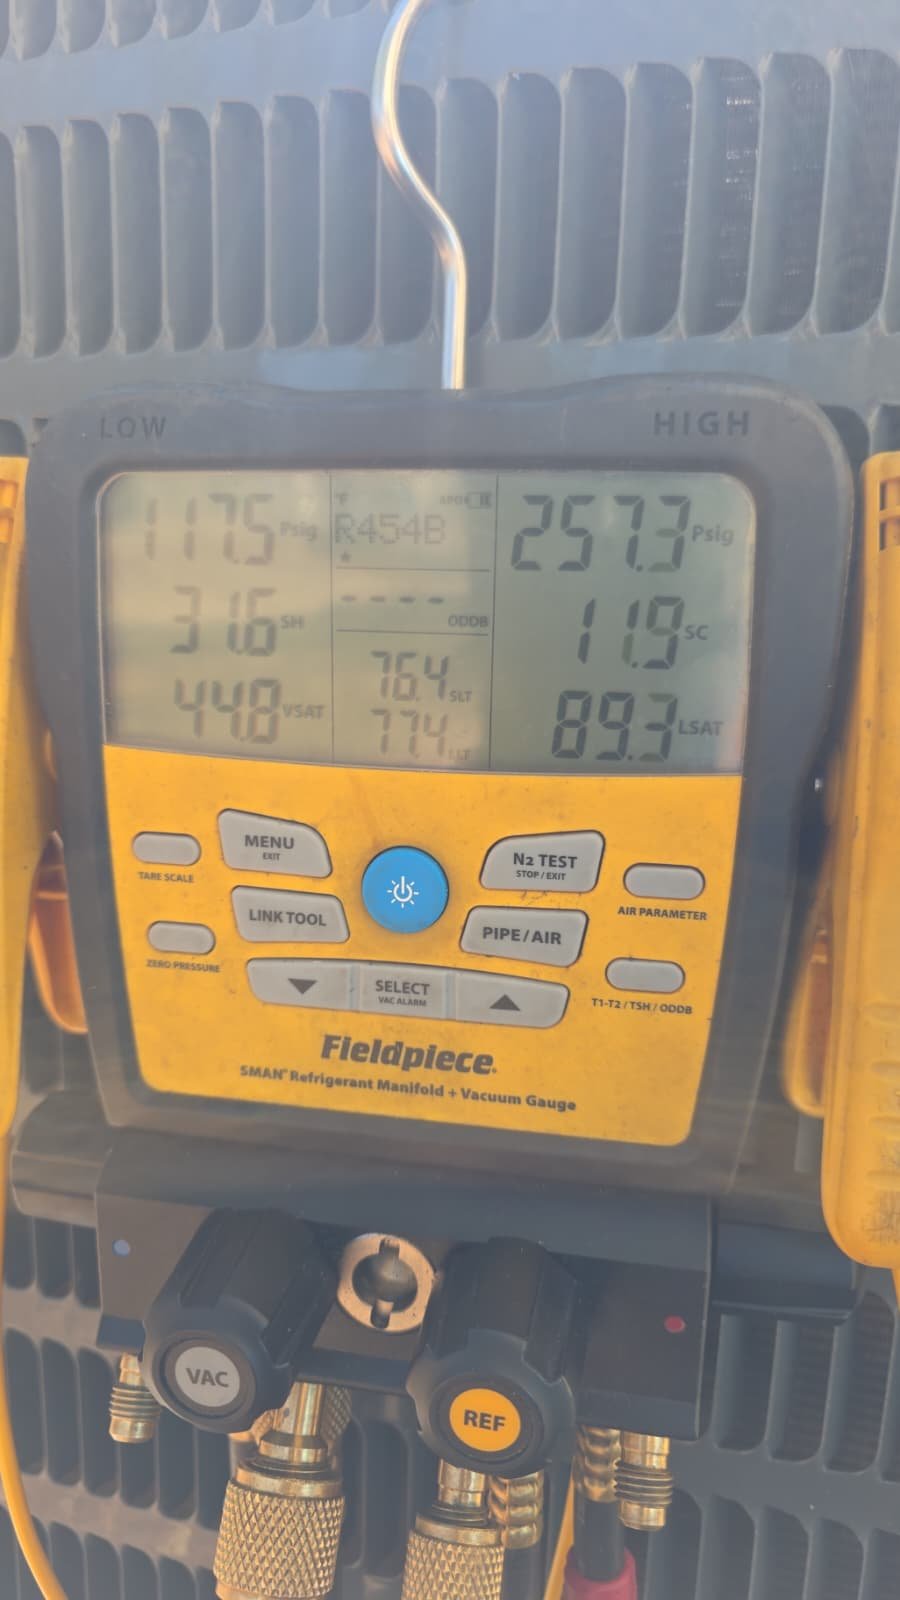
Next, we checked refrigerant pressures. While we don’t list specific numbers, what matters is that the readings fell within normal operating range for the conditions and the equipment. This lets us know the system is not showing signs of a significant refrigerant issue such as severe undercharge or overcharge.
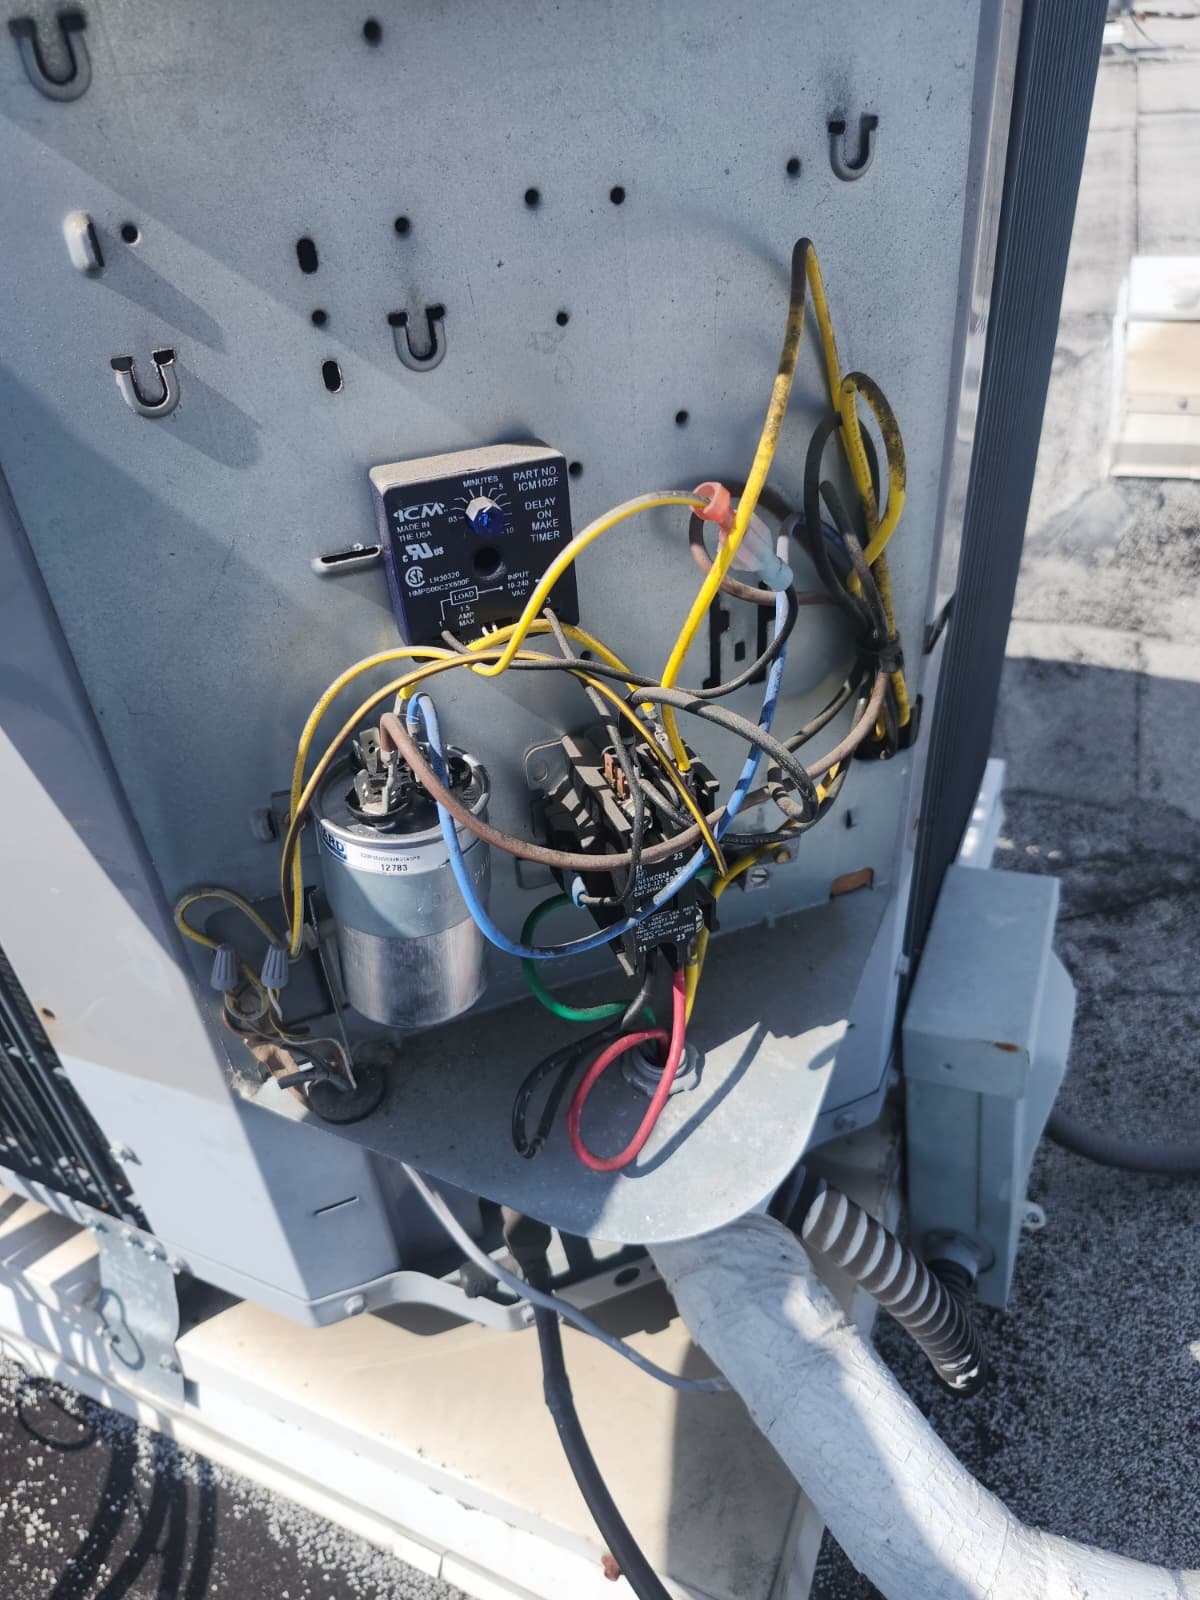
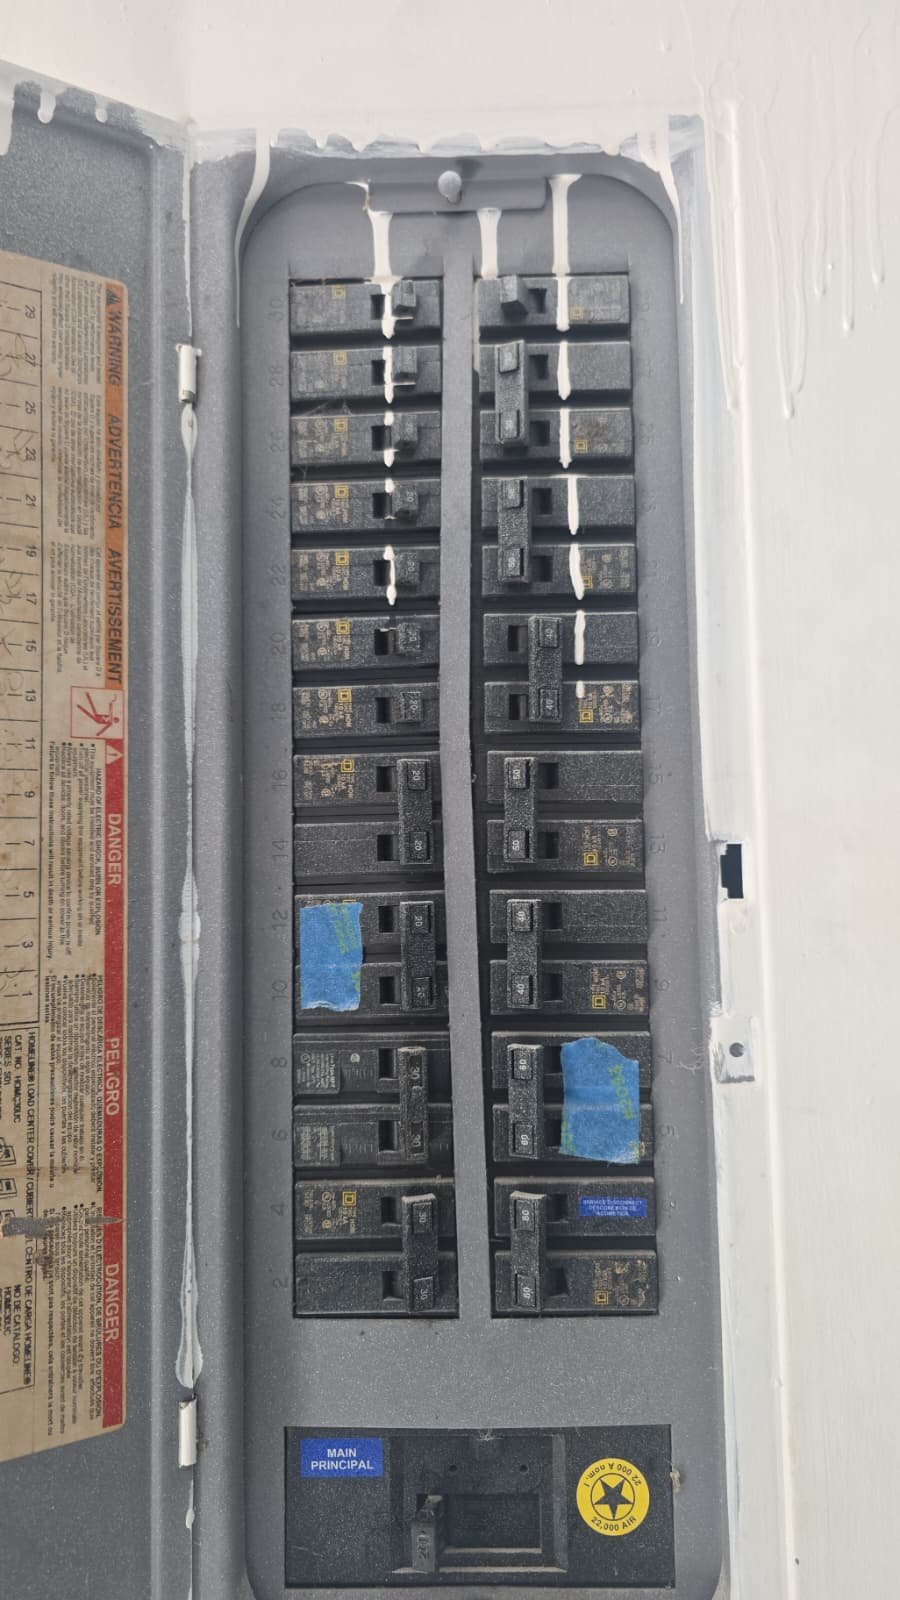
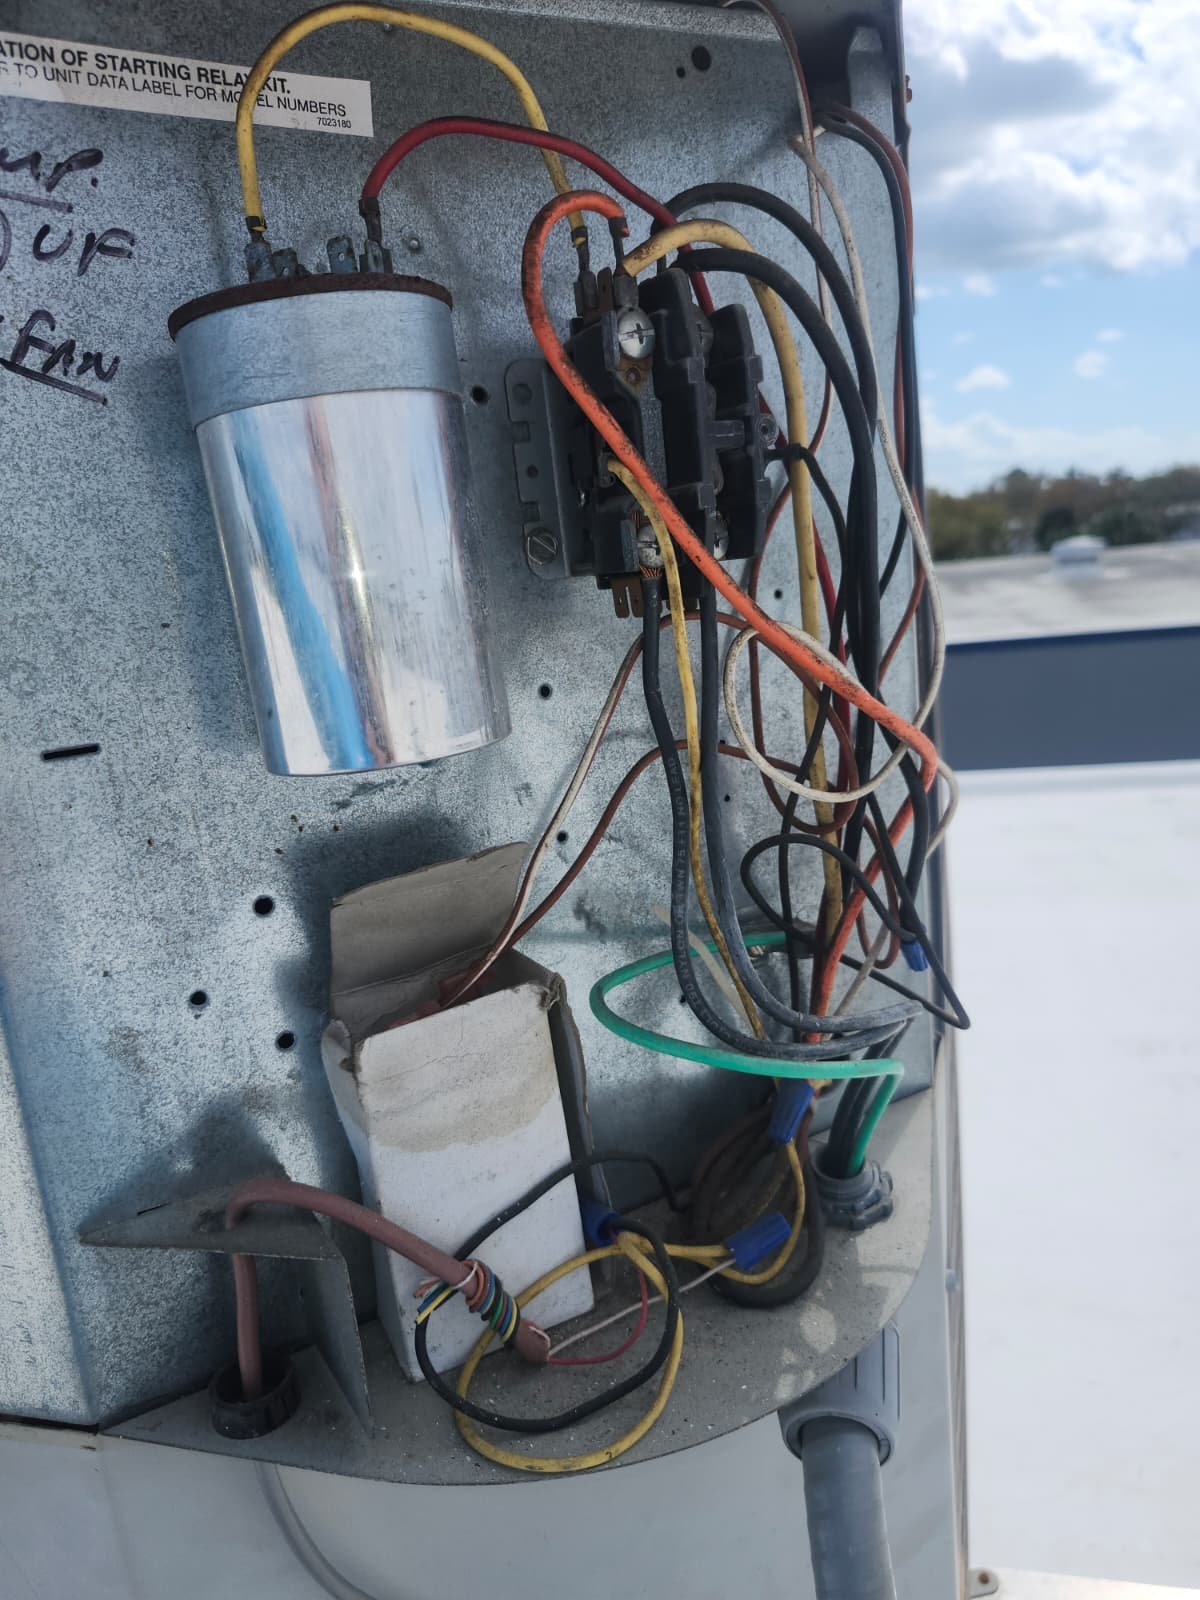
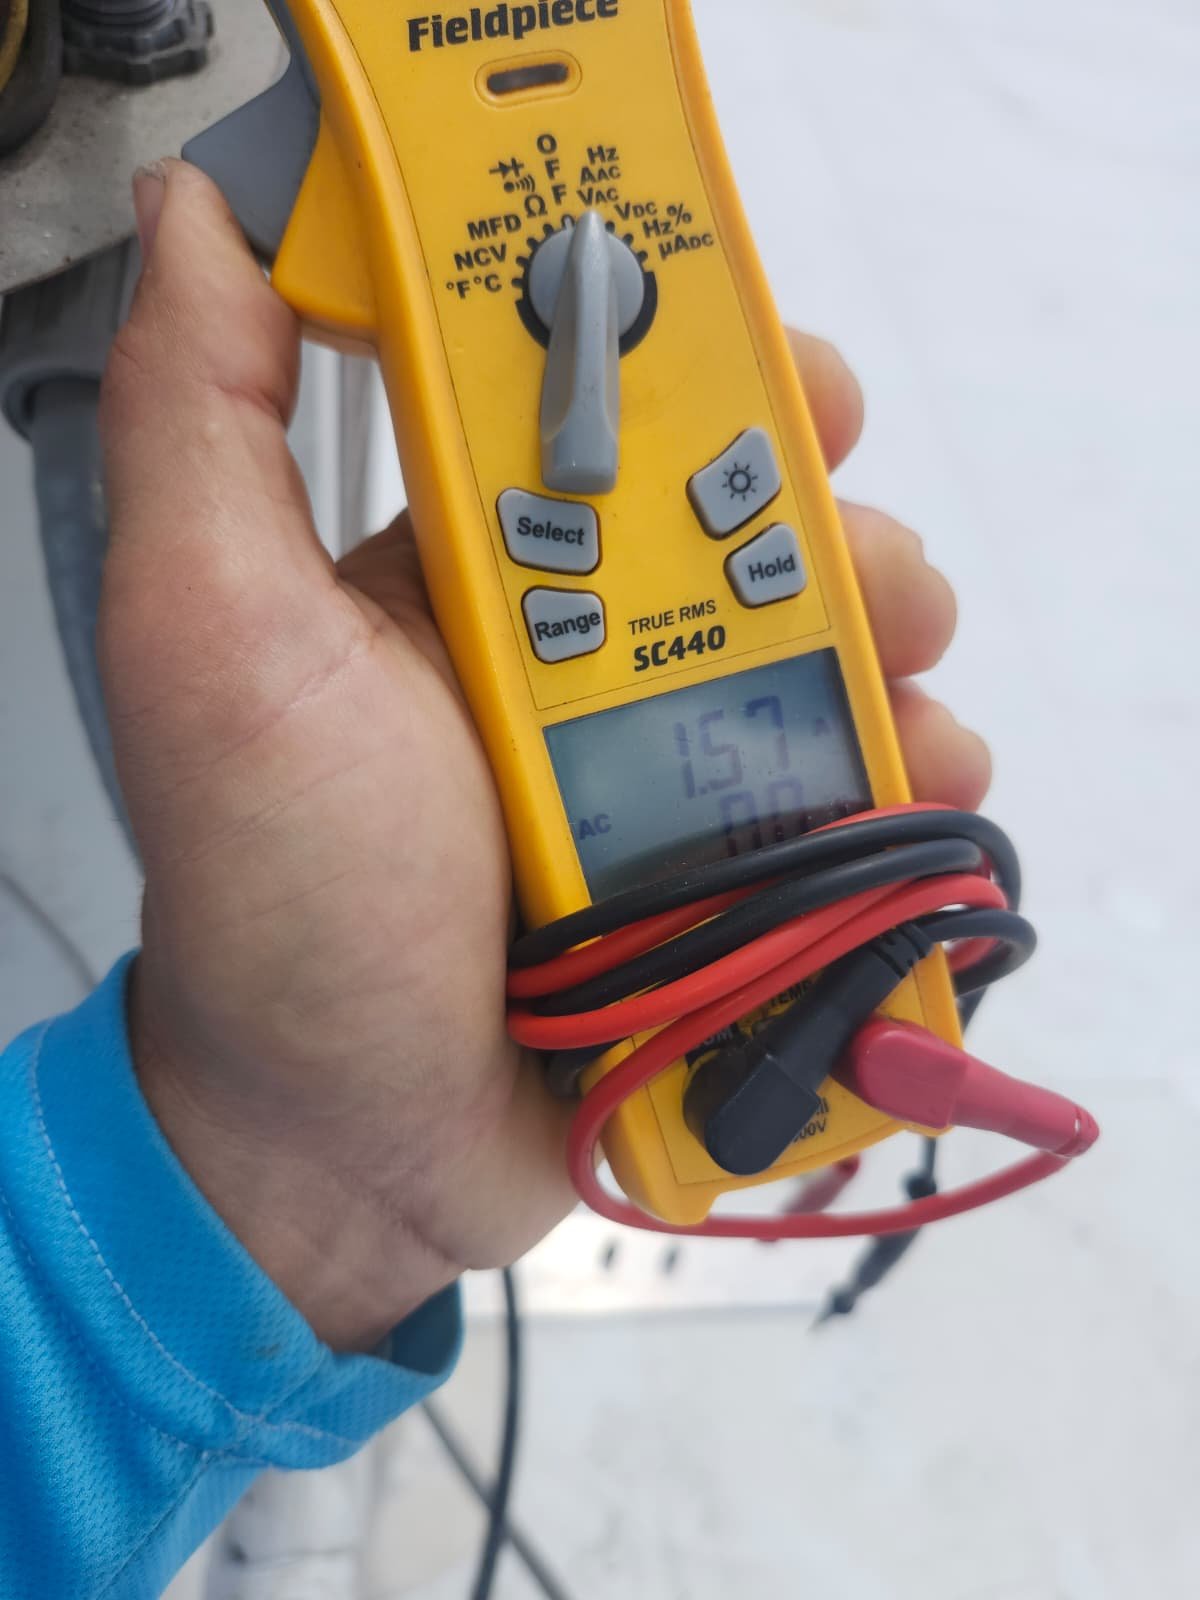
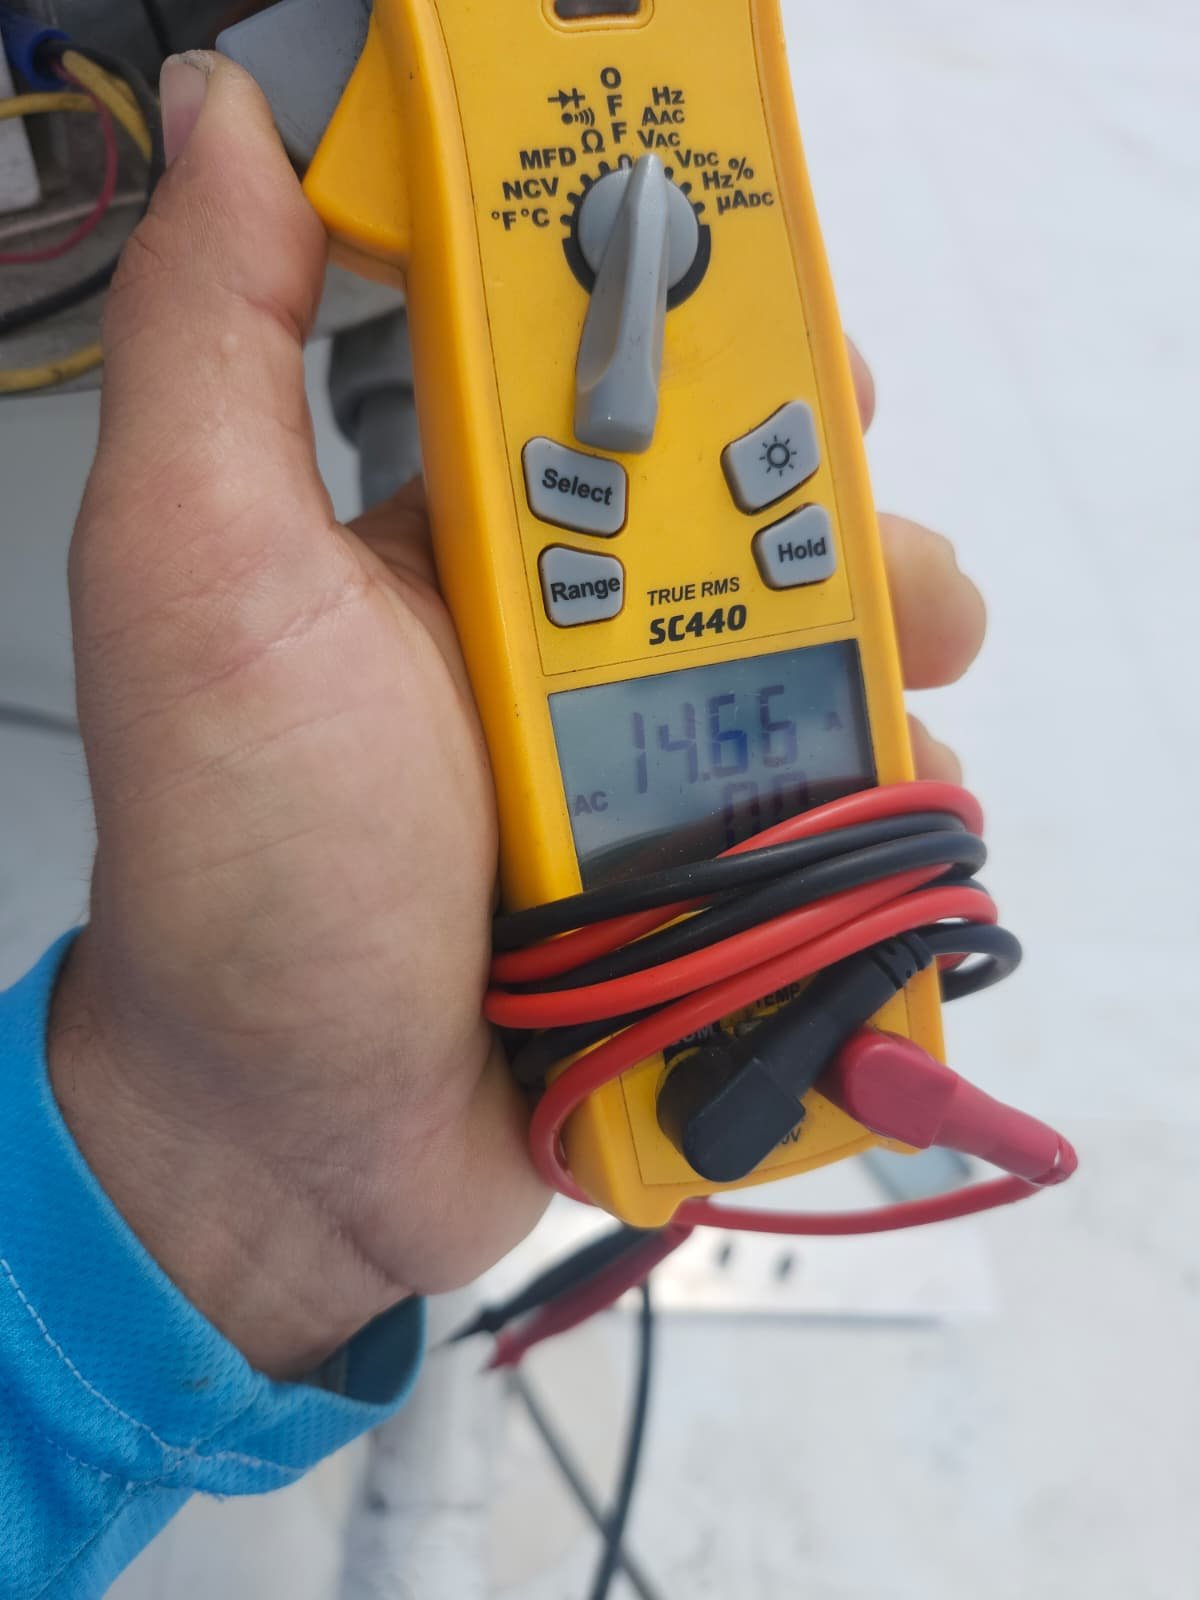
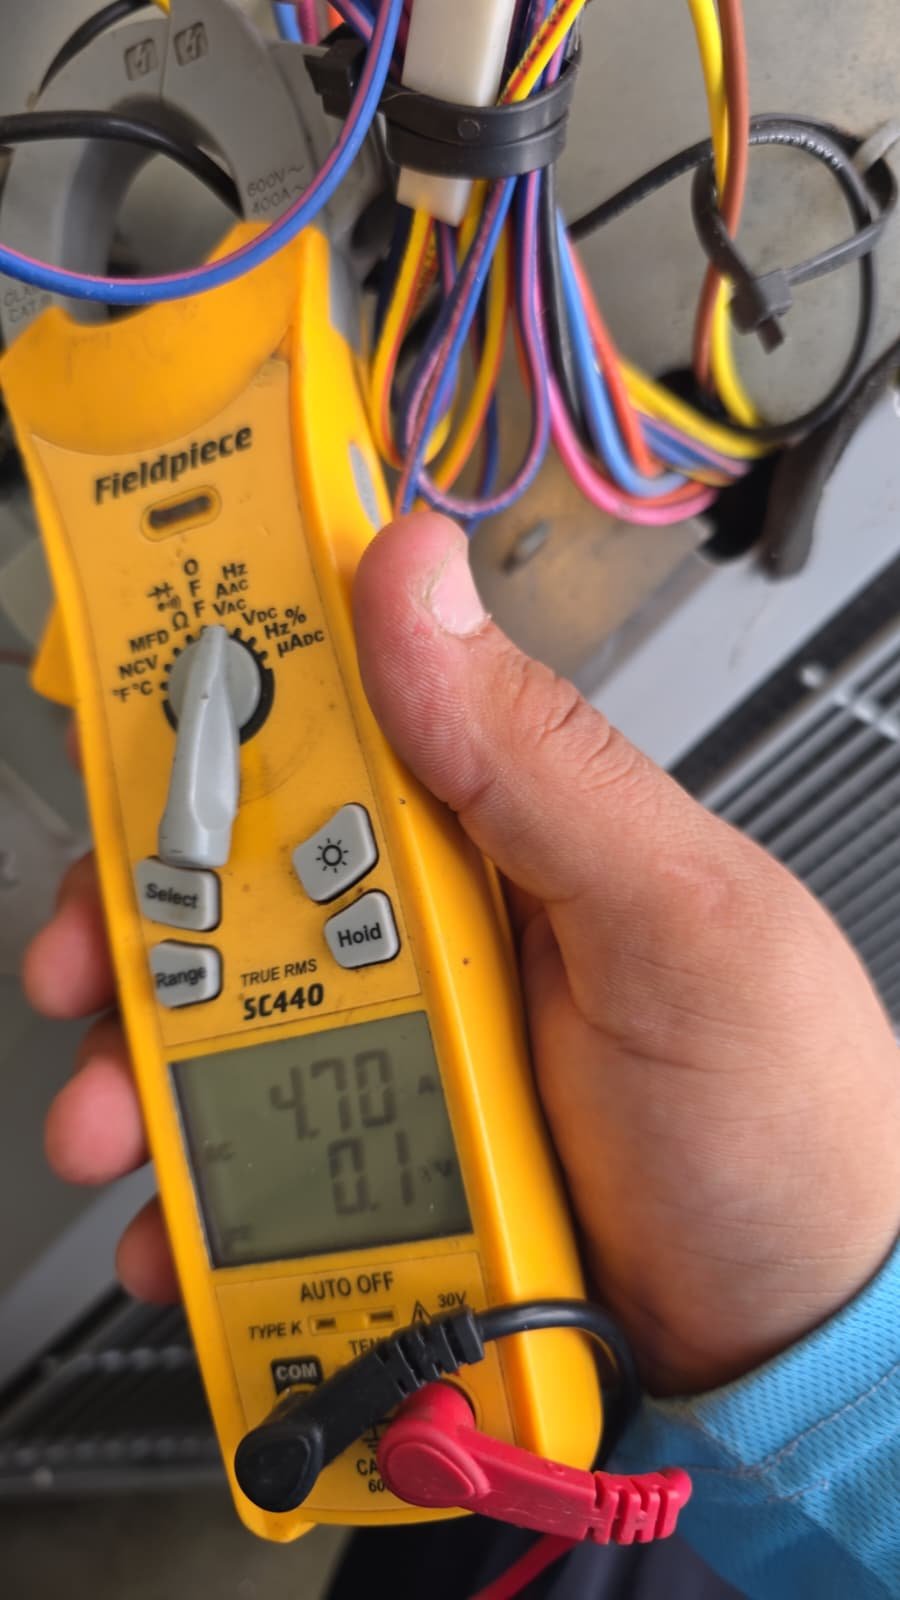
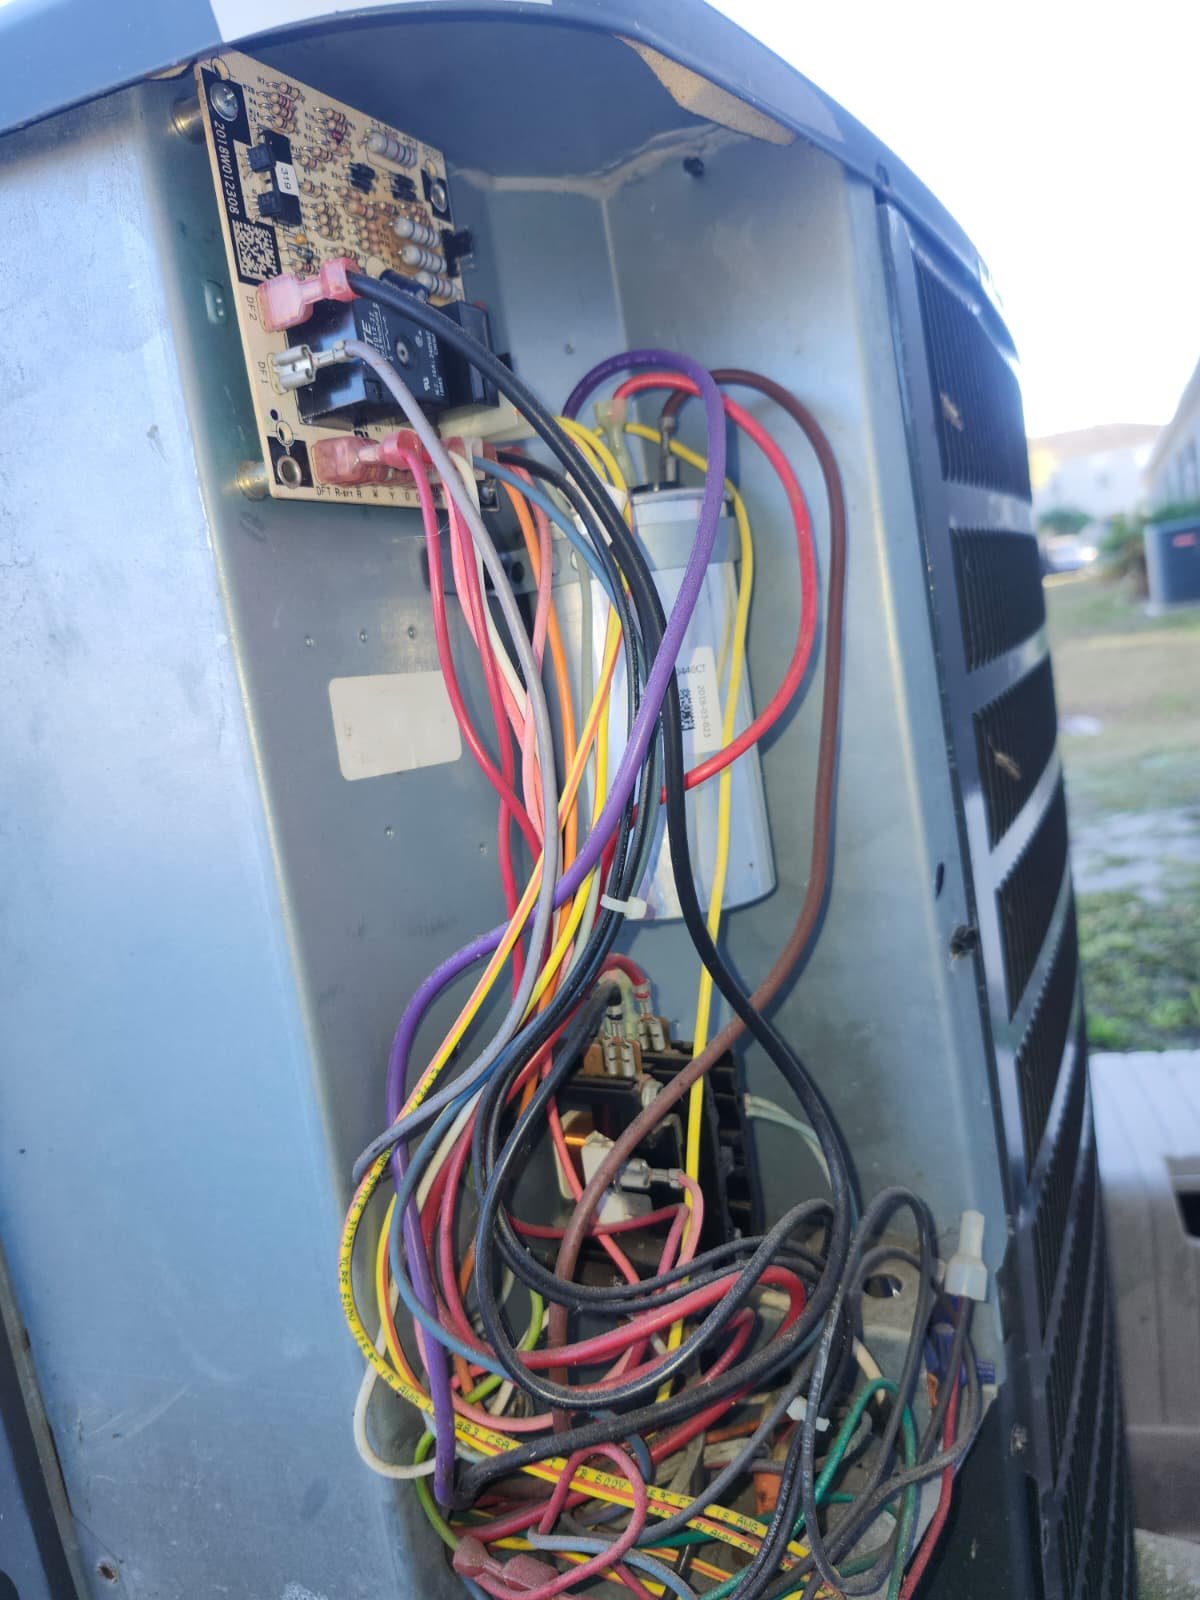
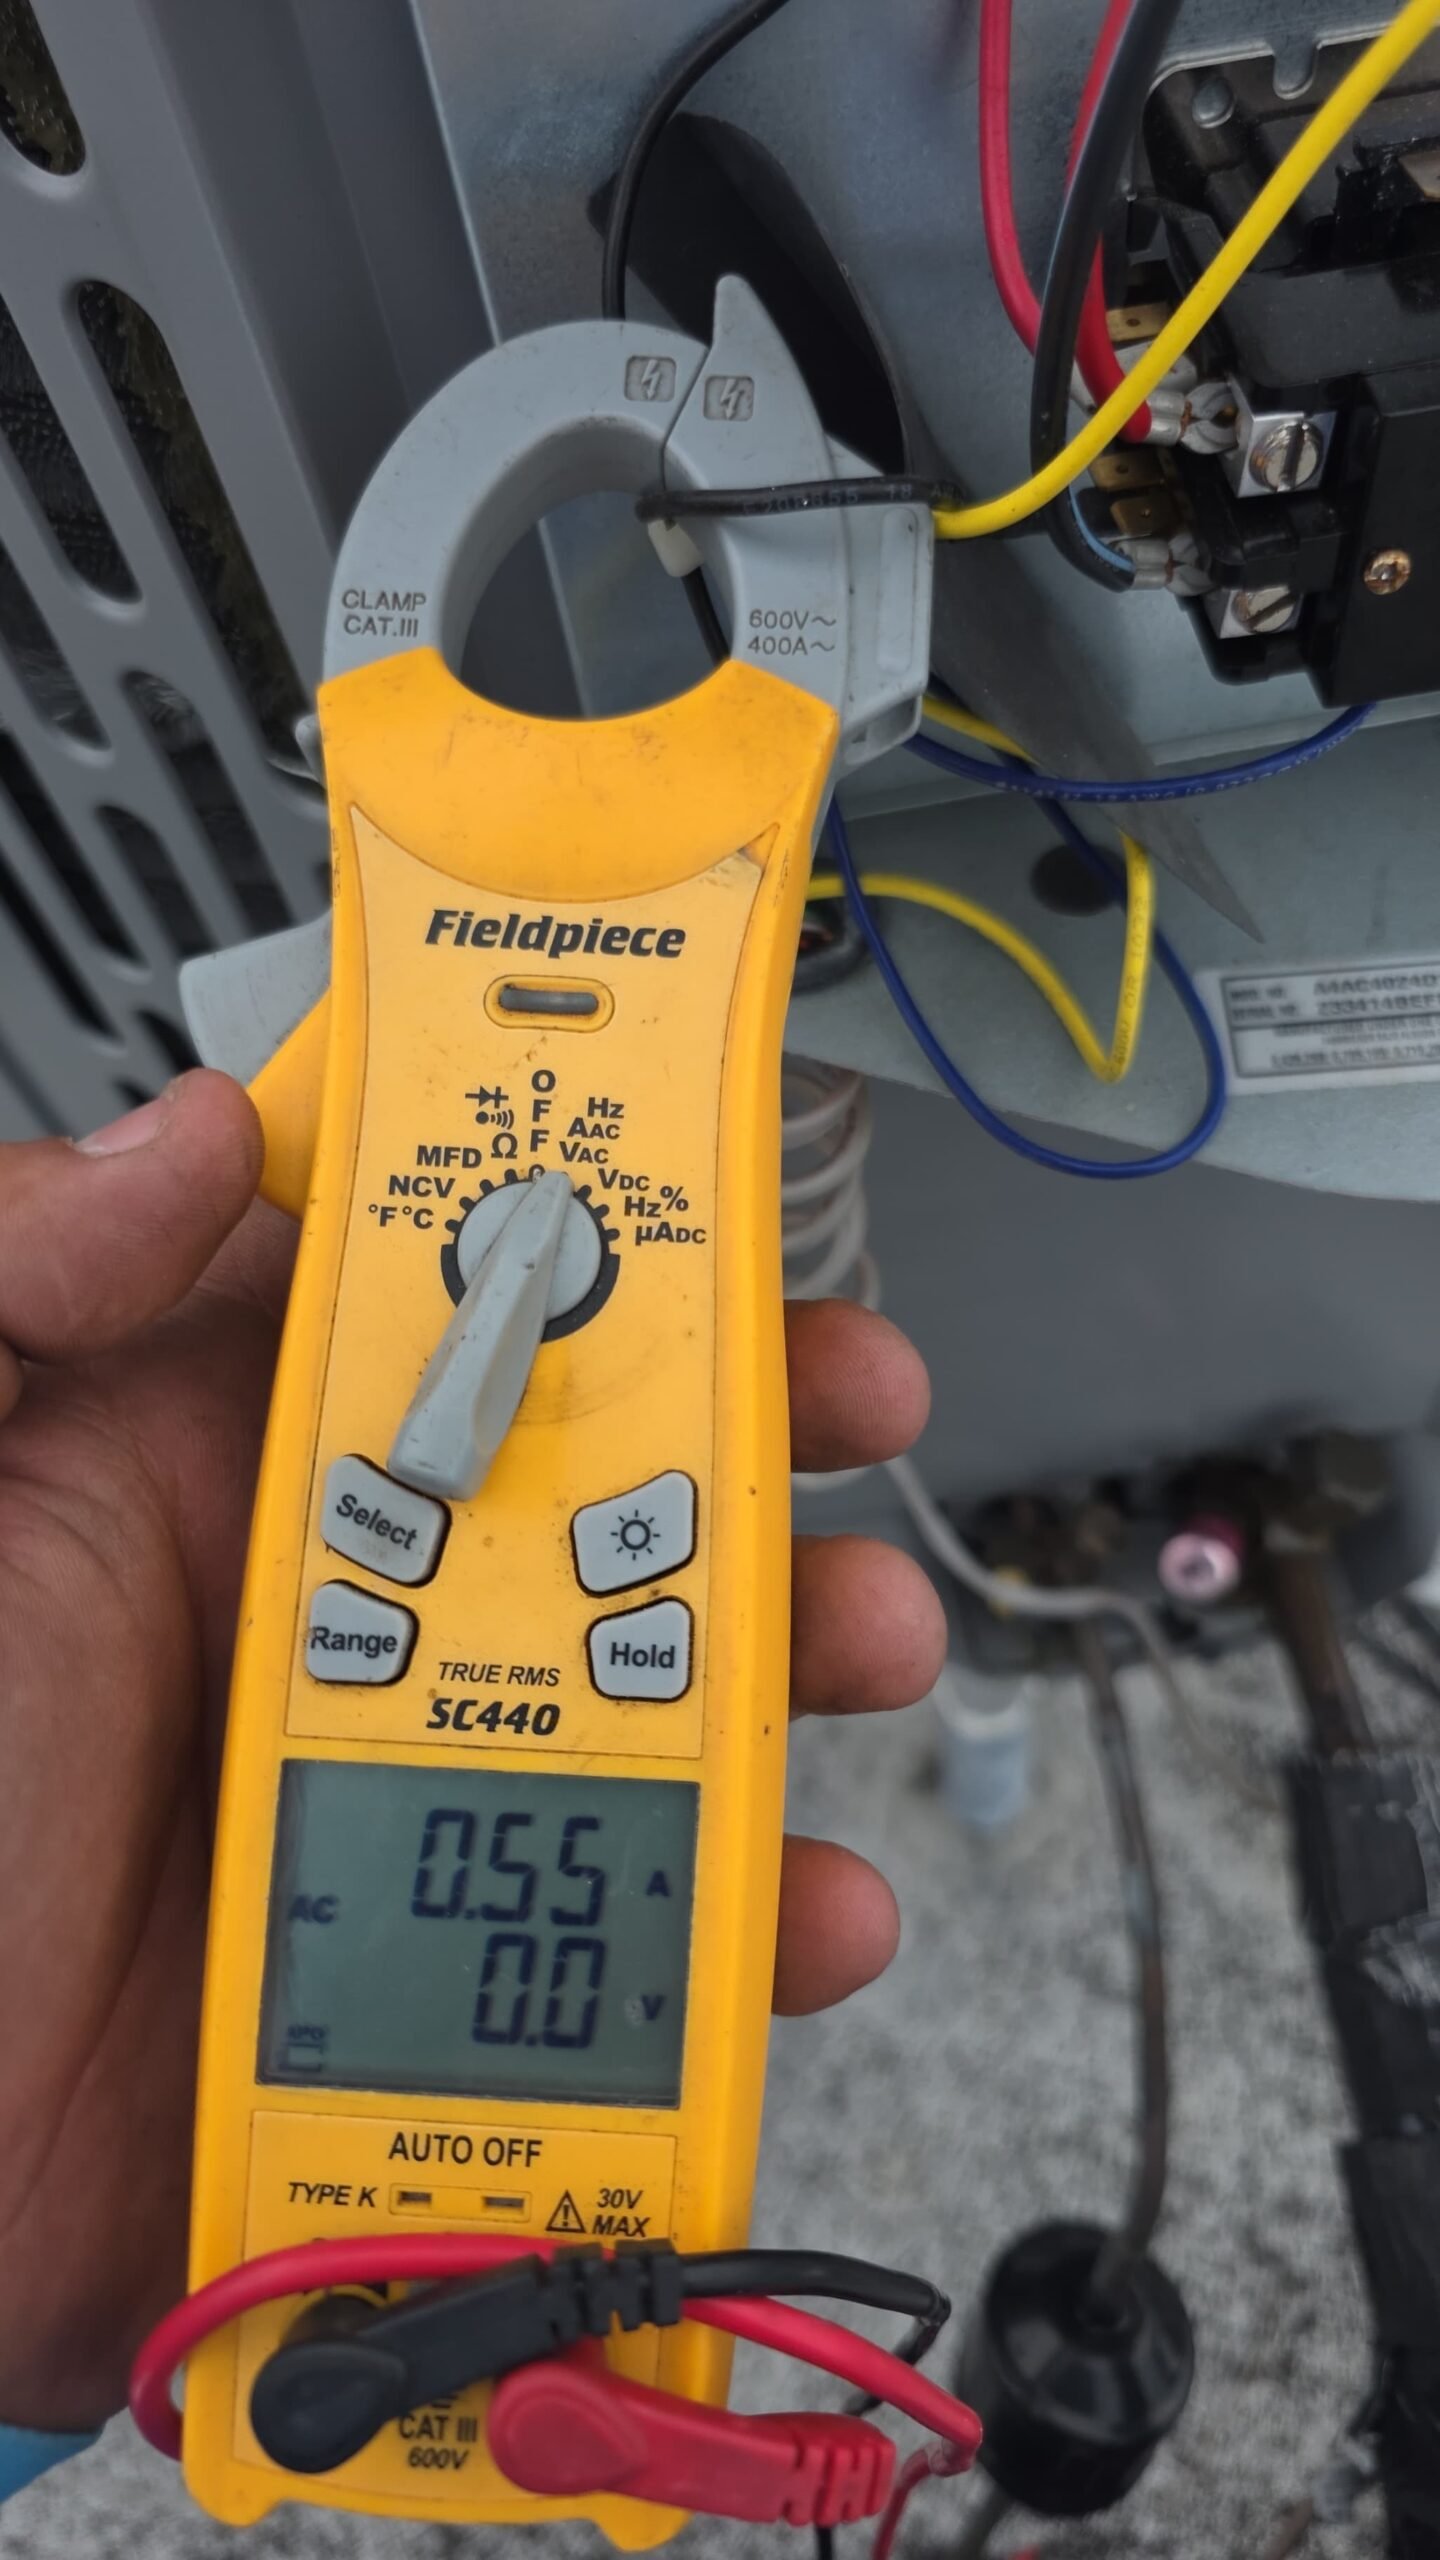
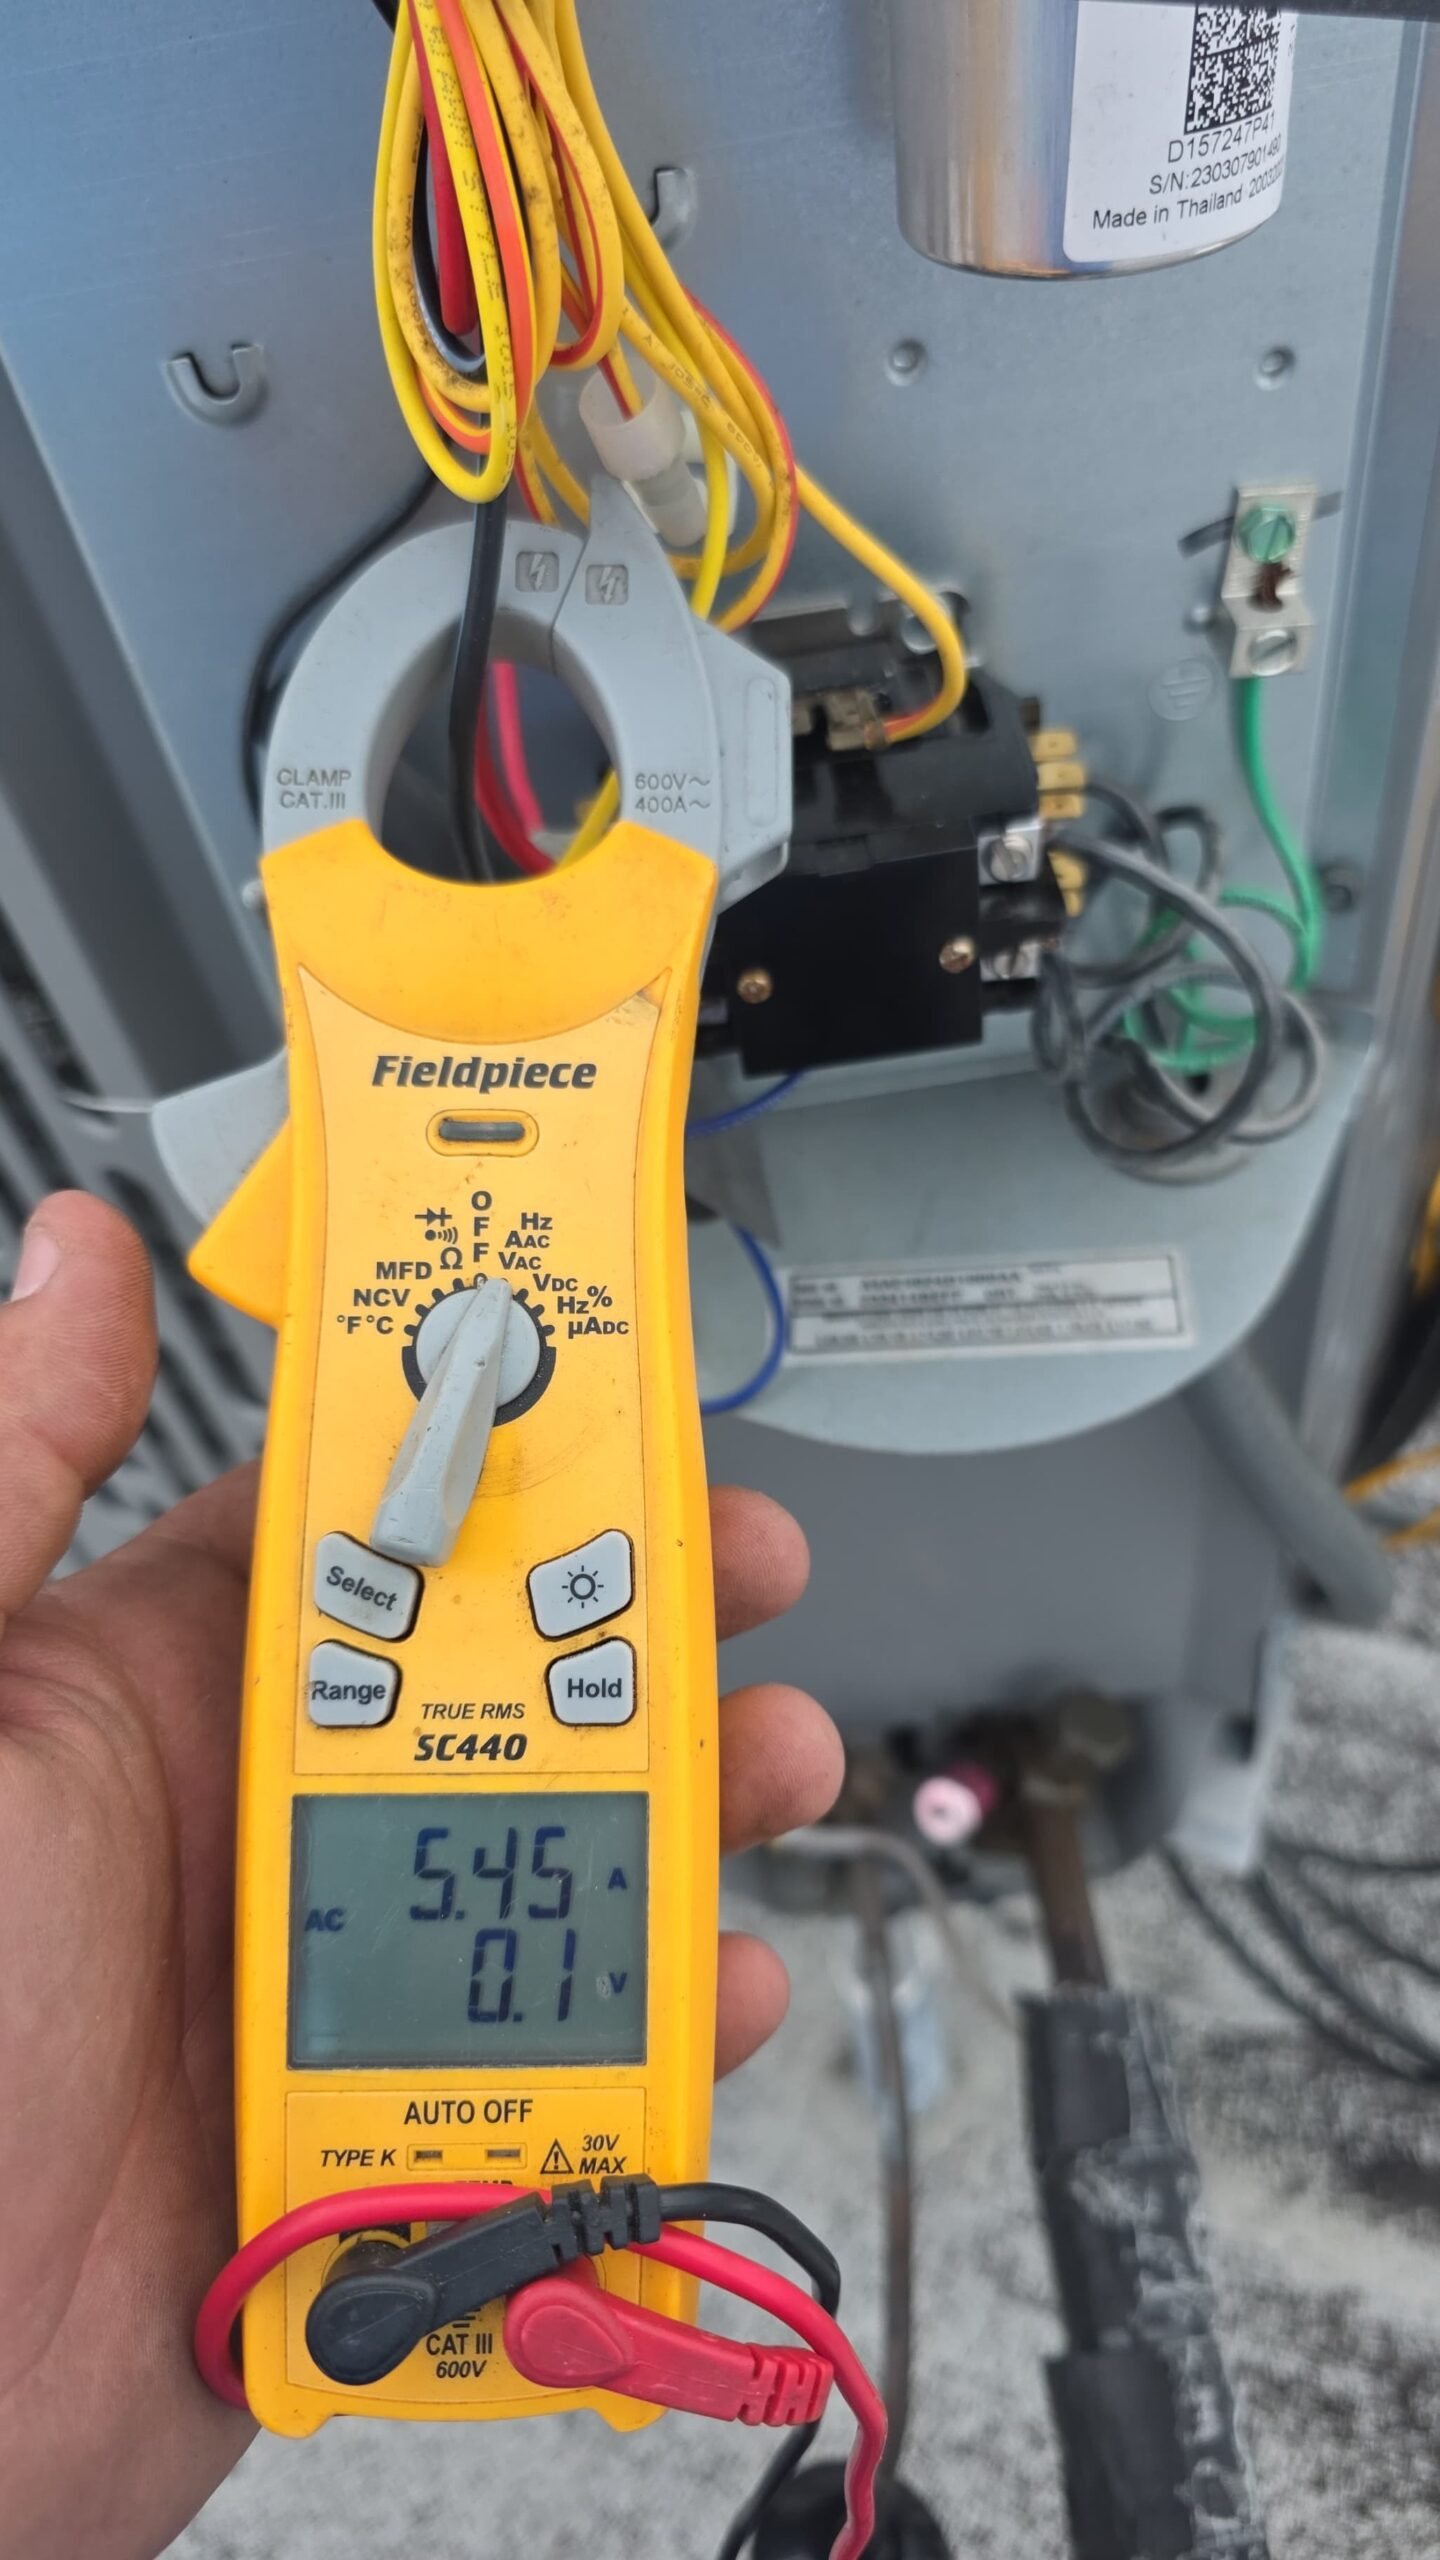
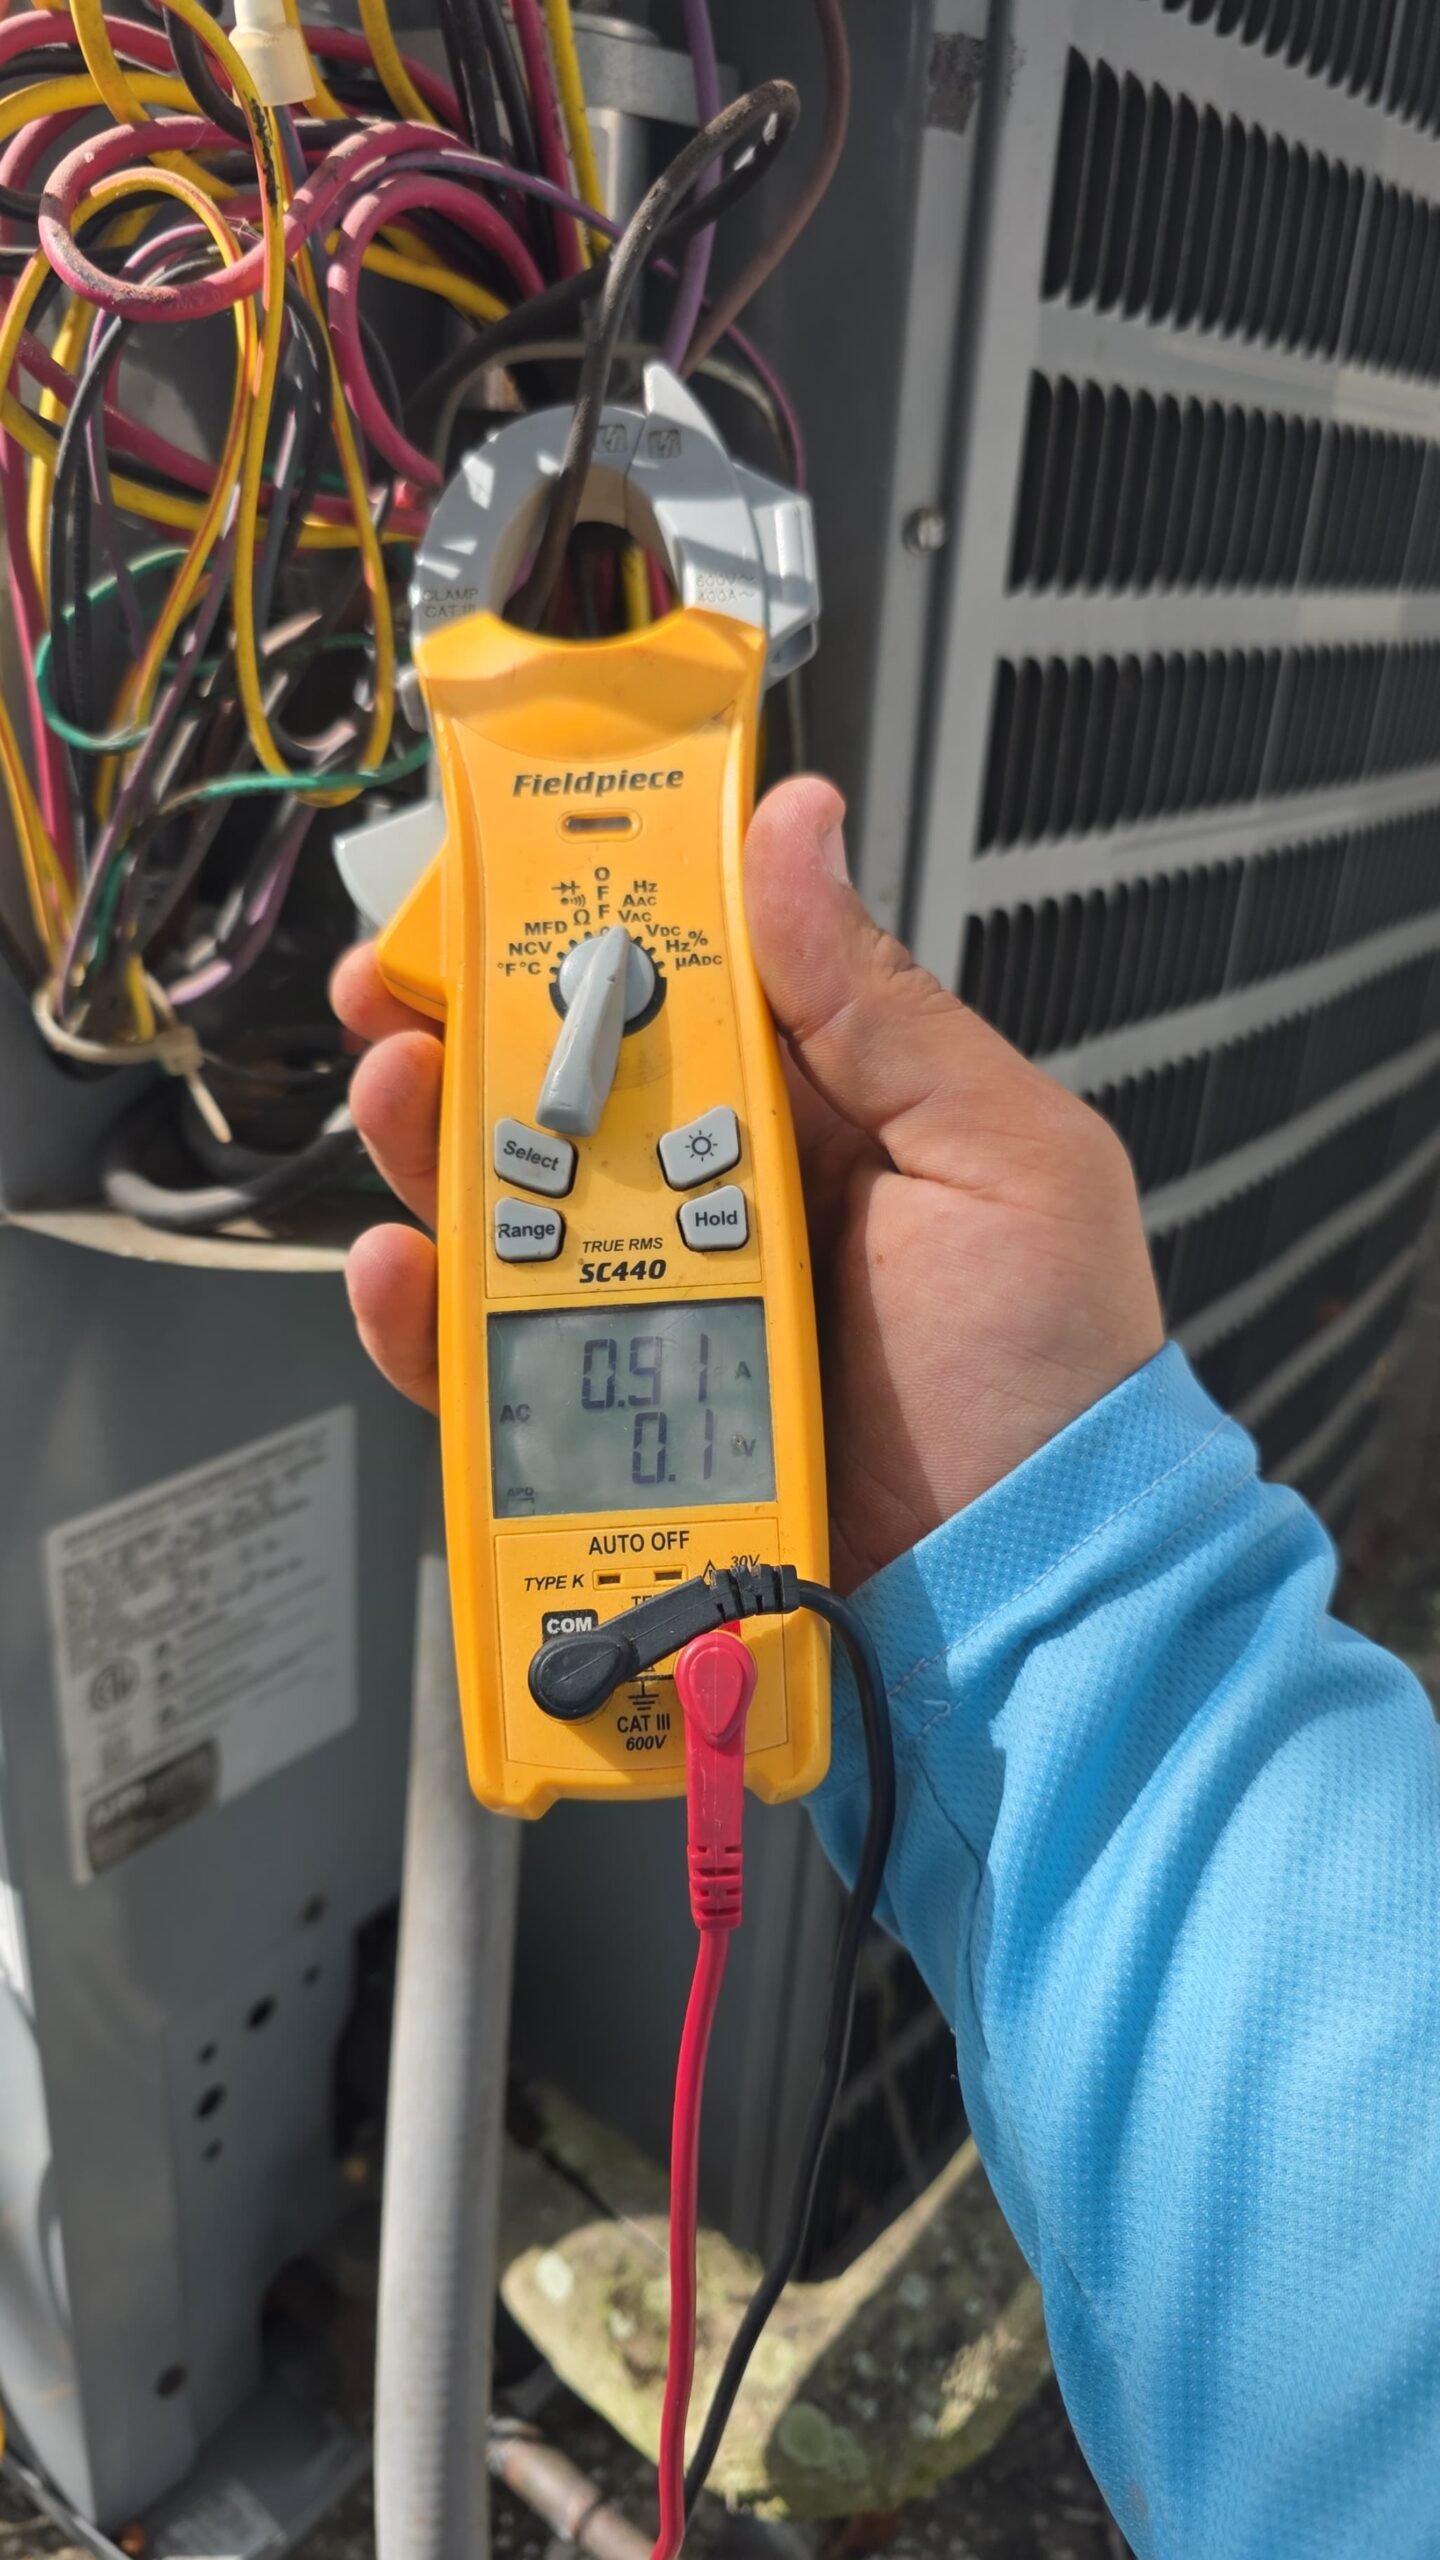
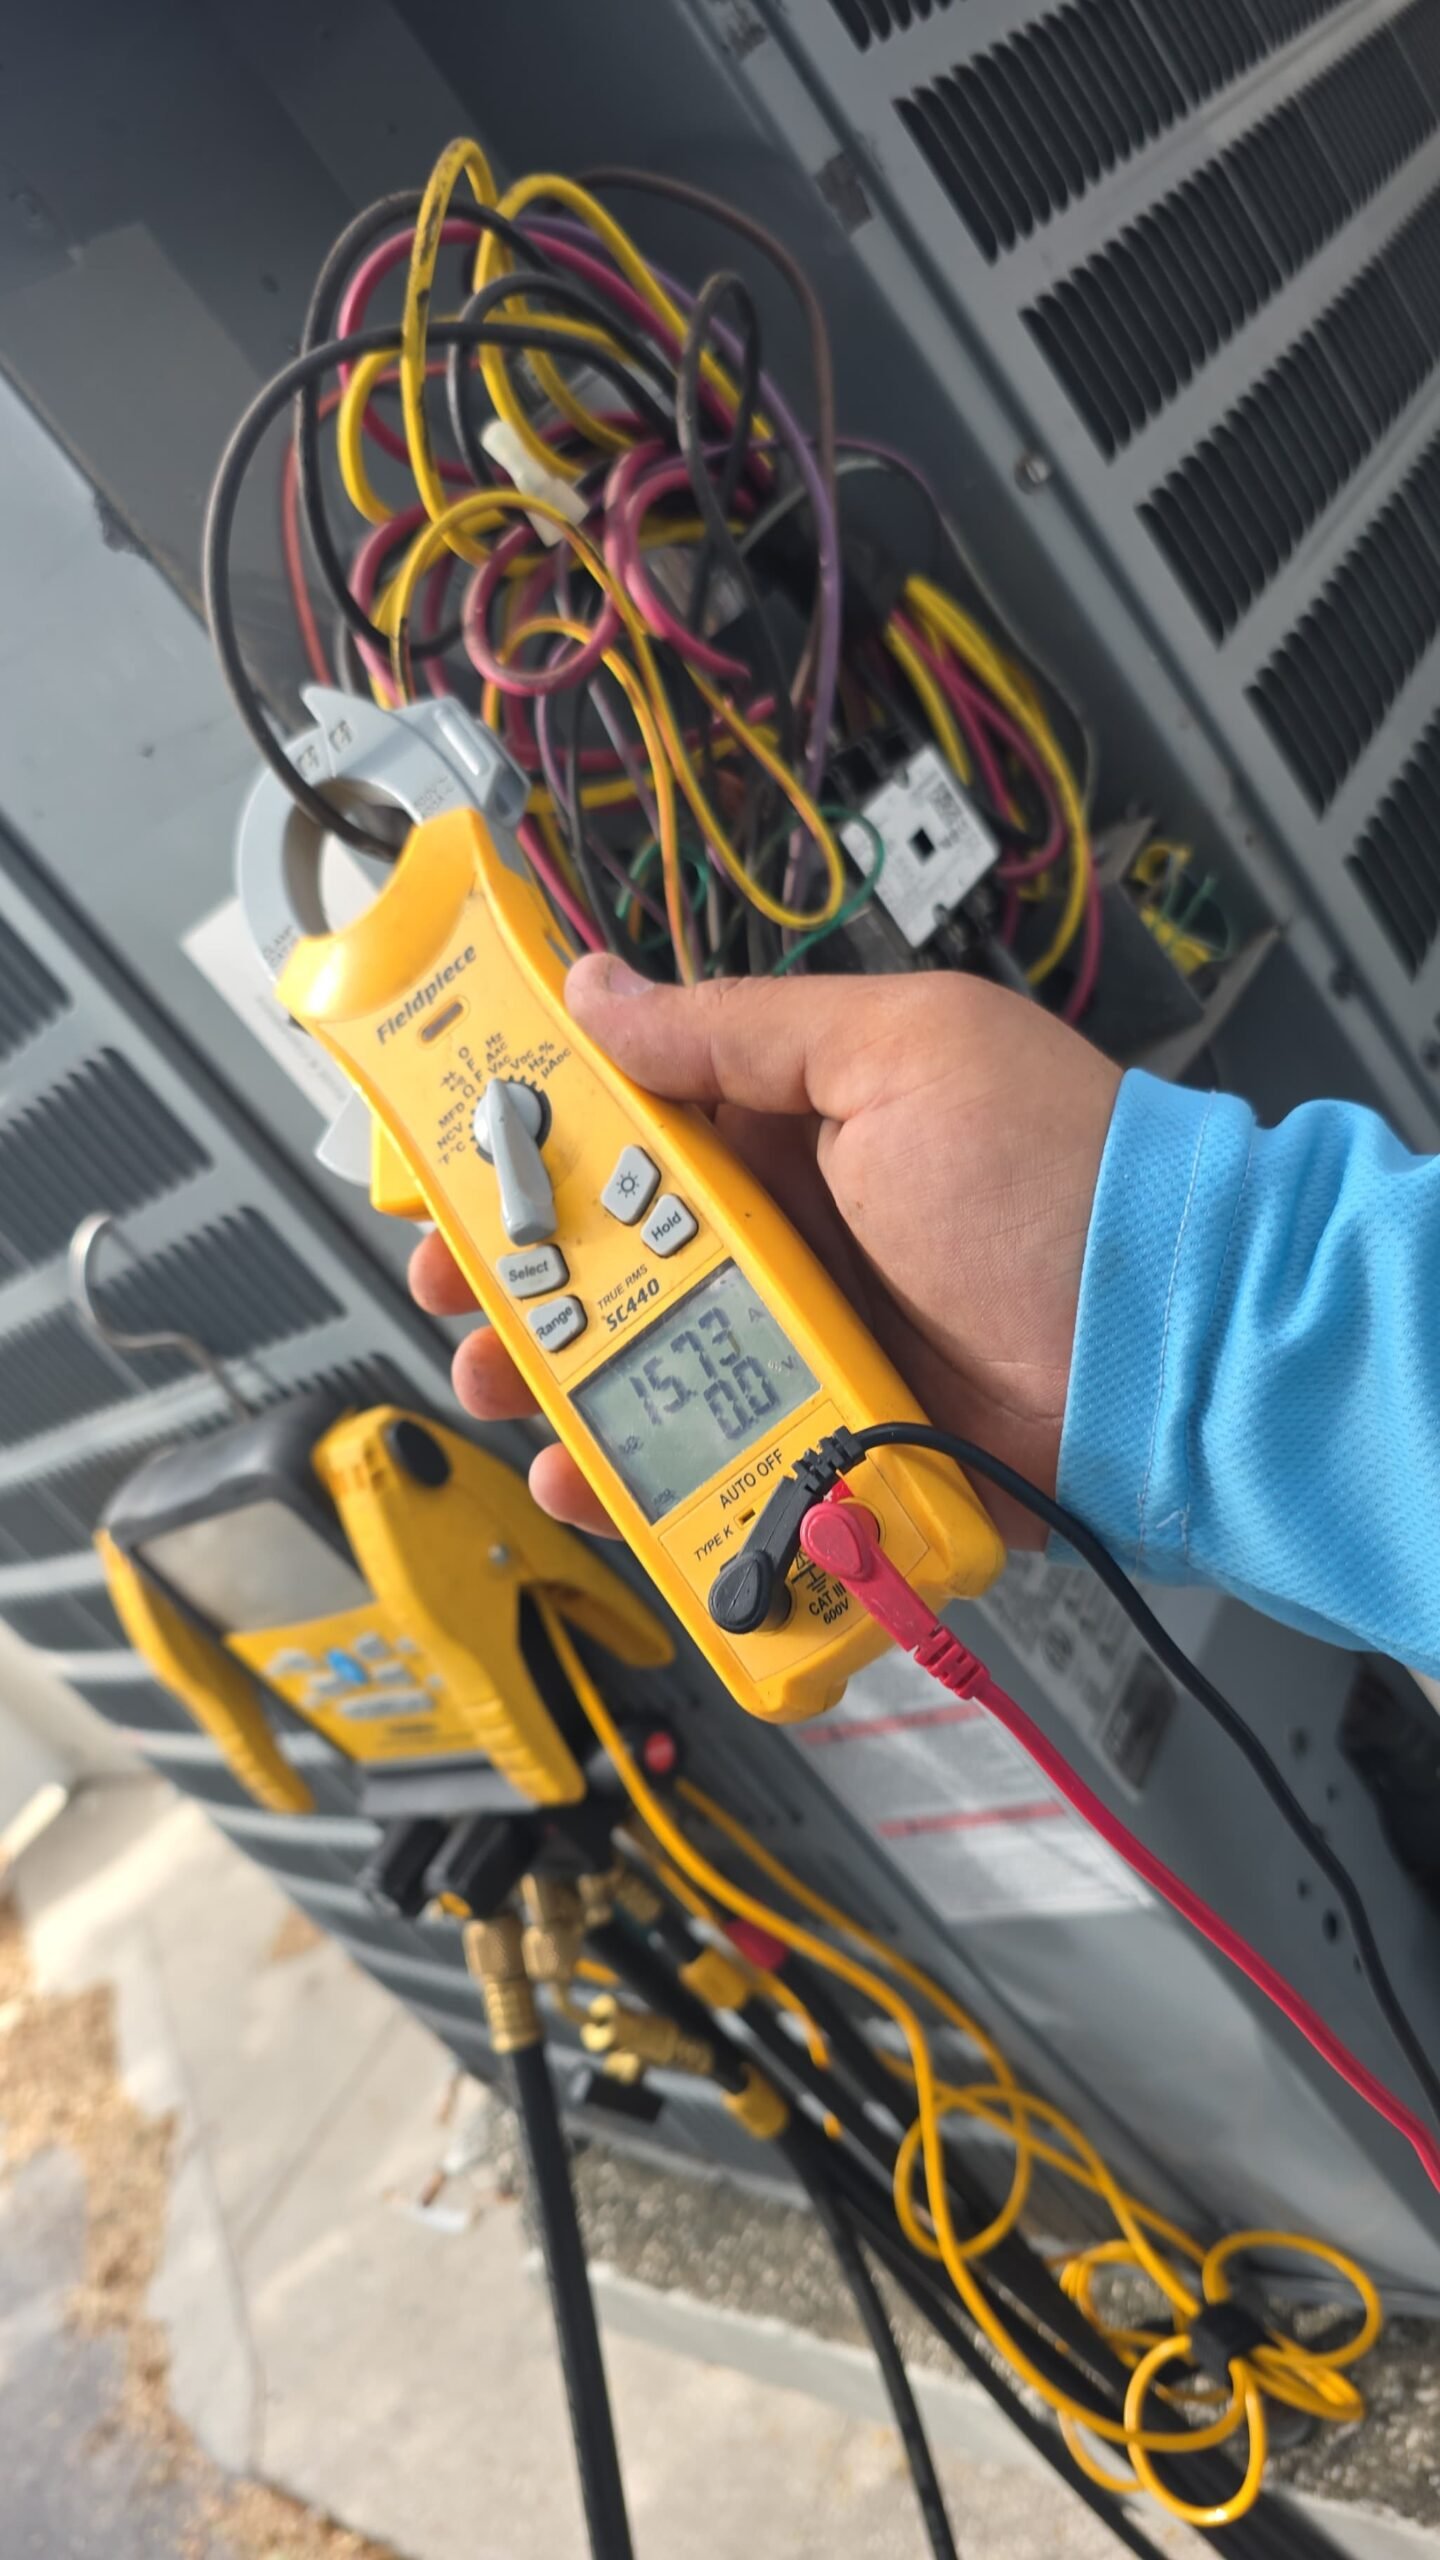
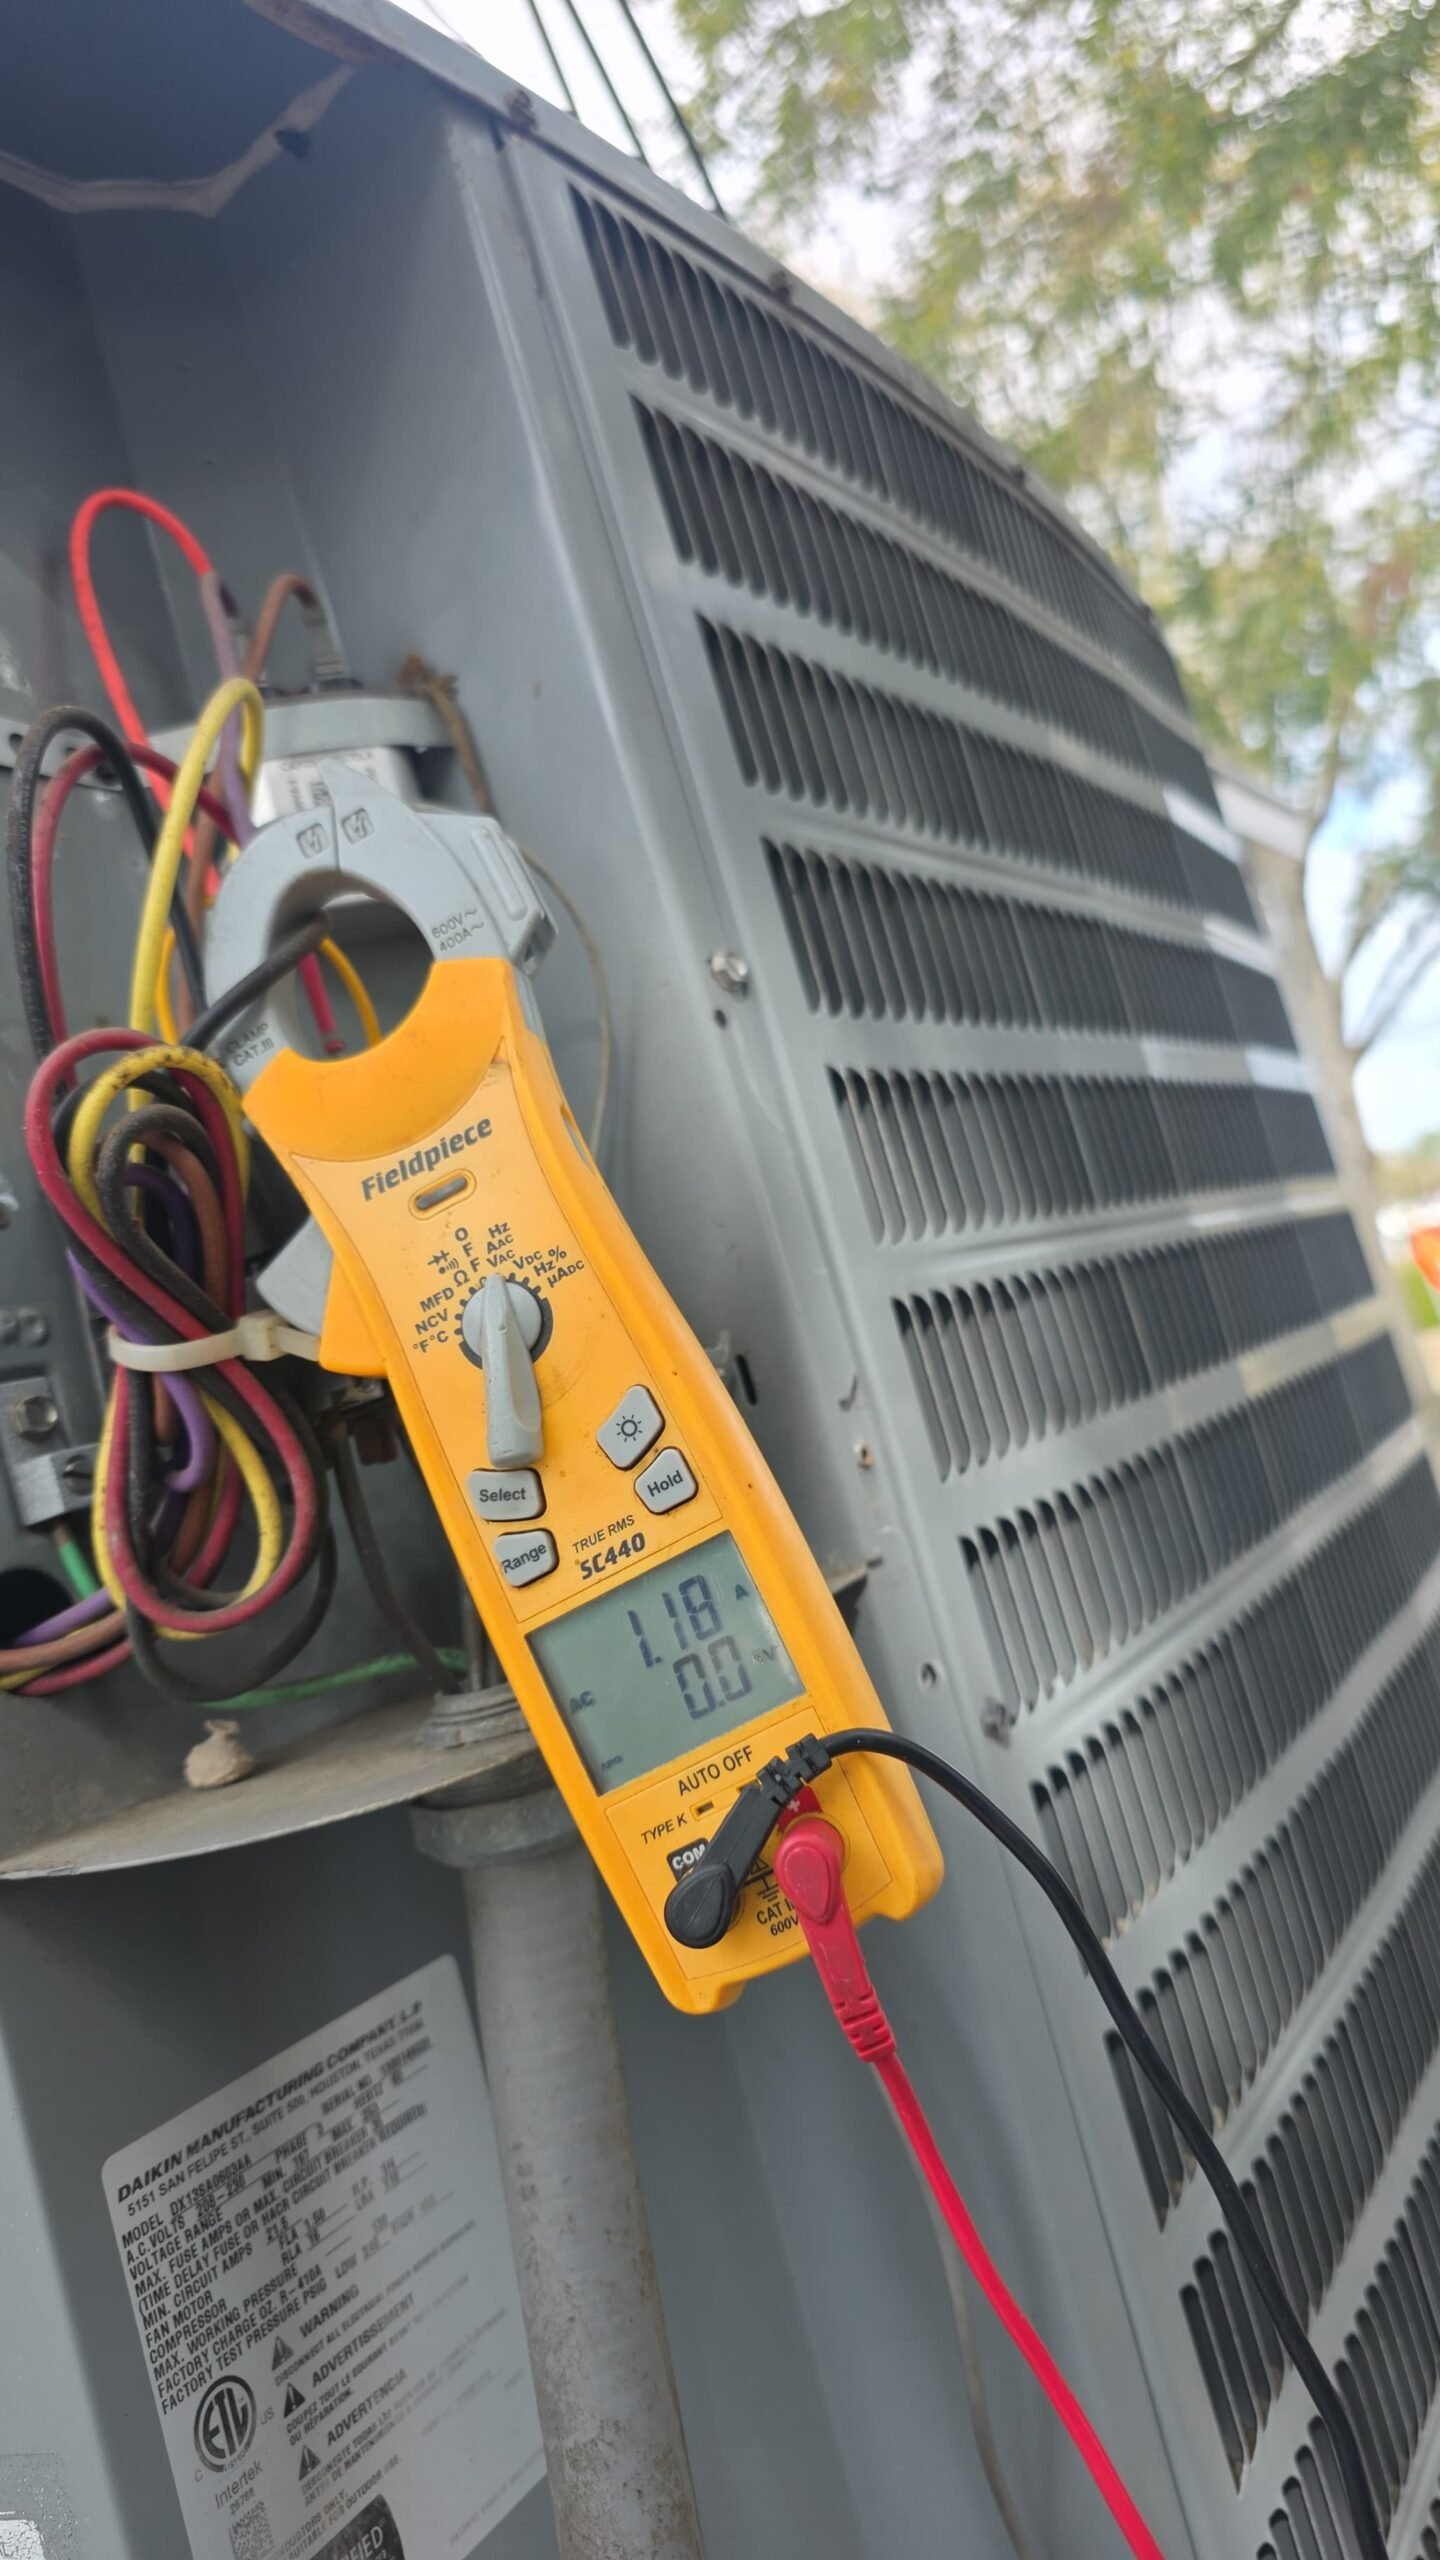
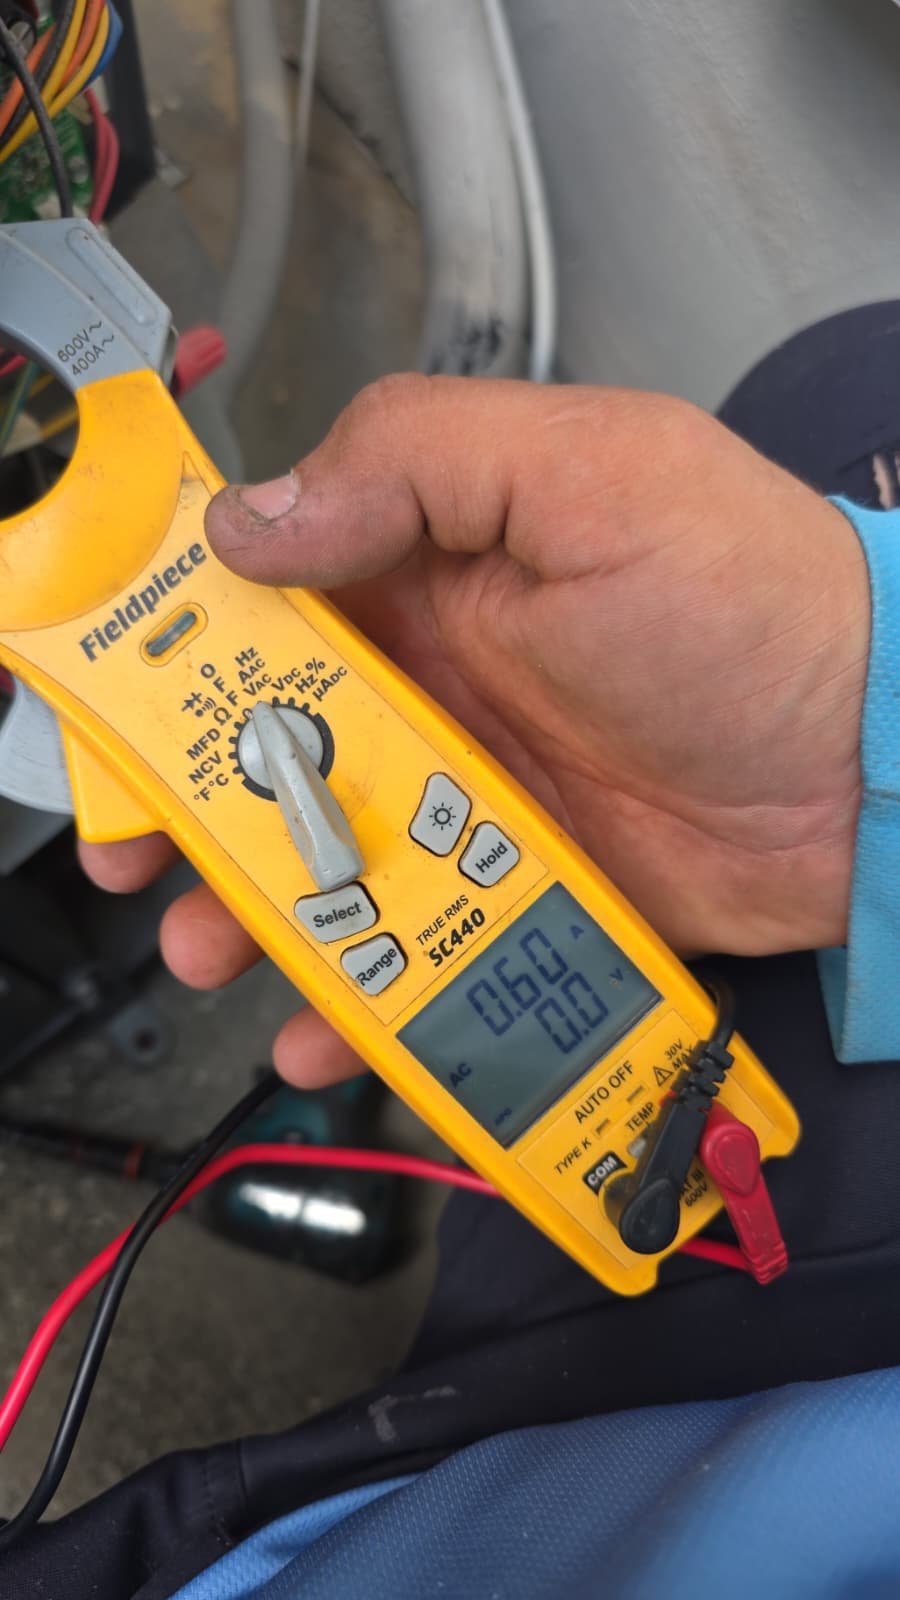
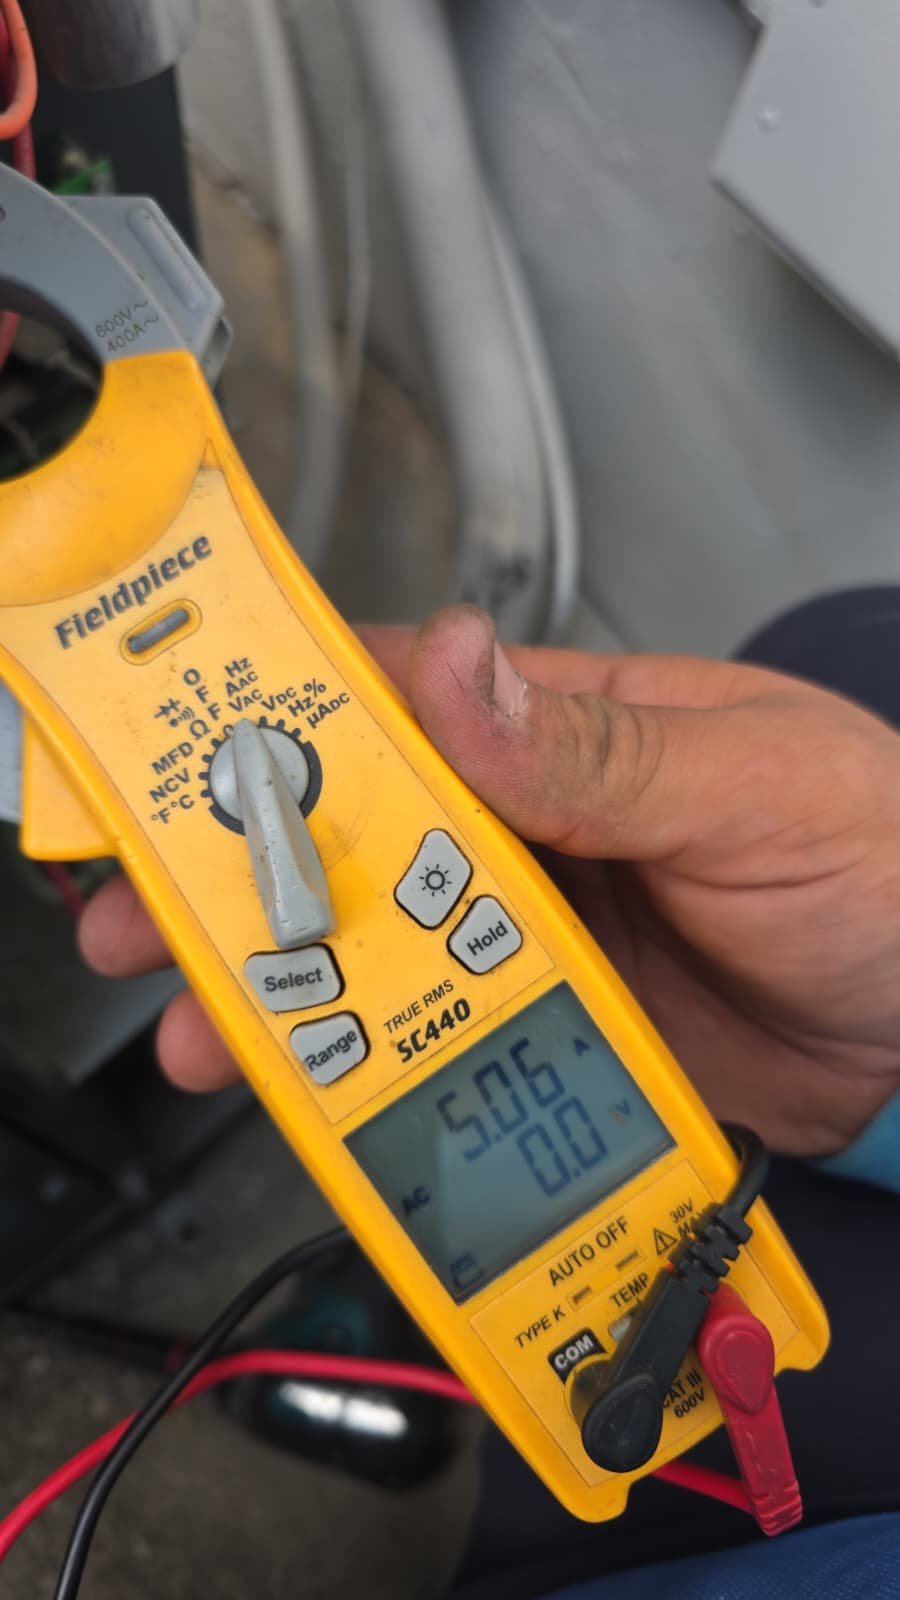
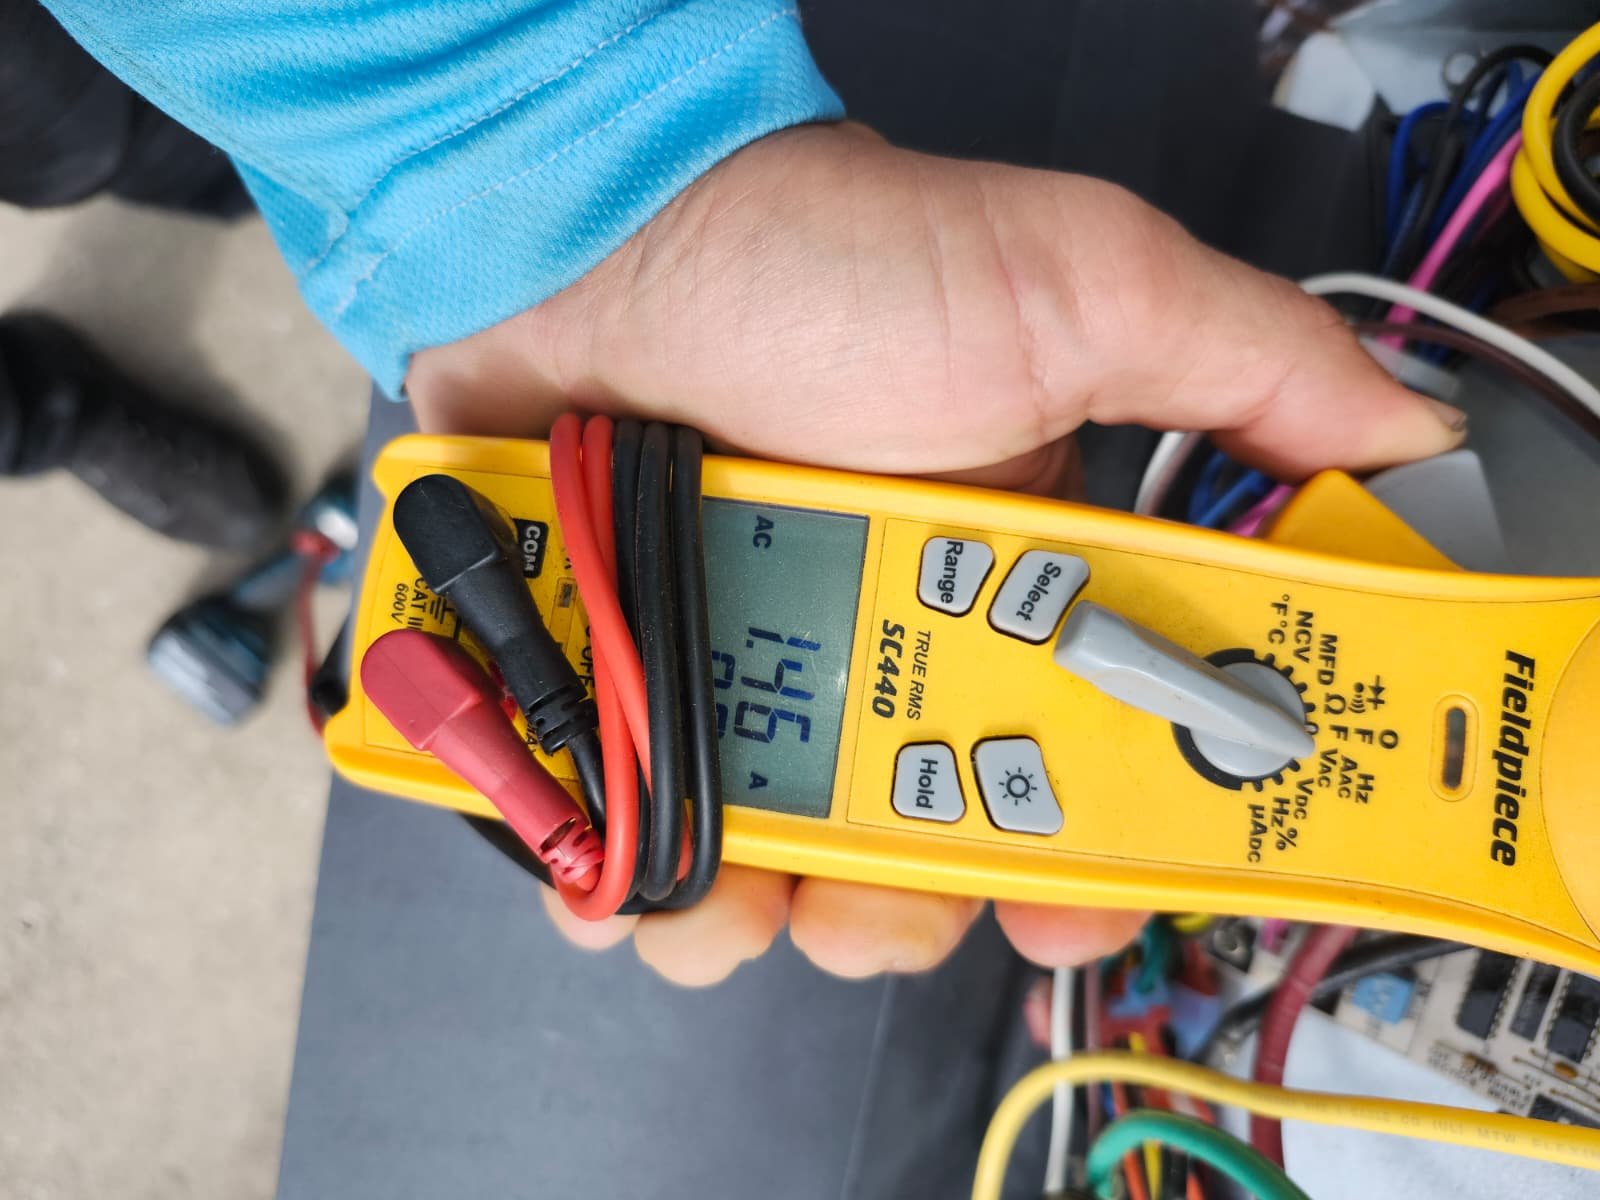
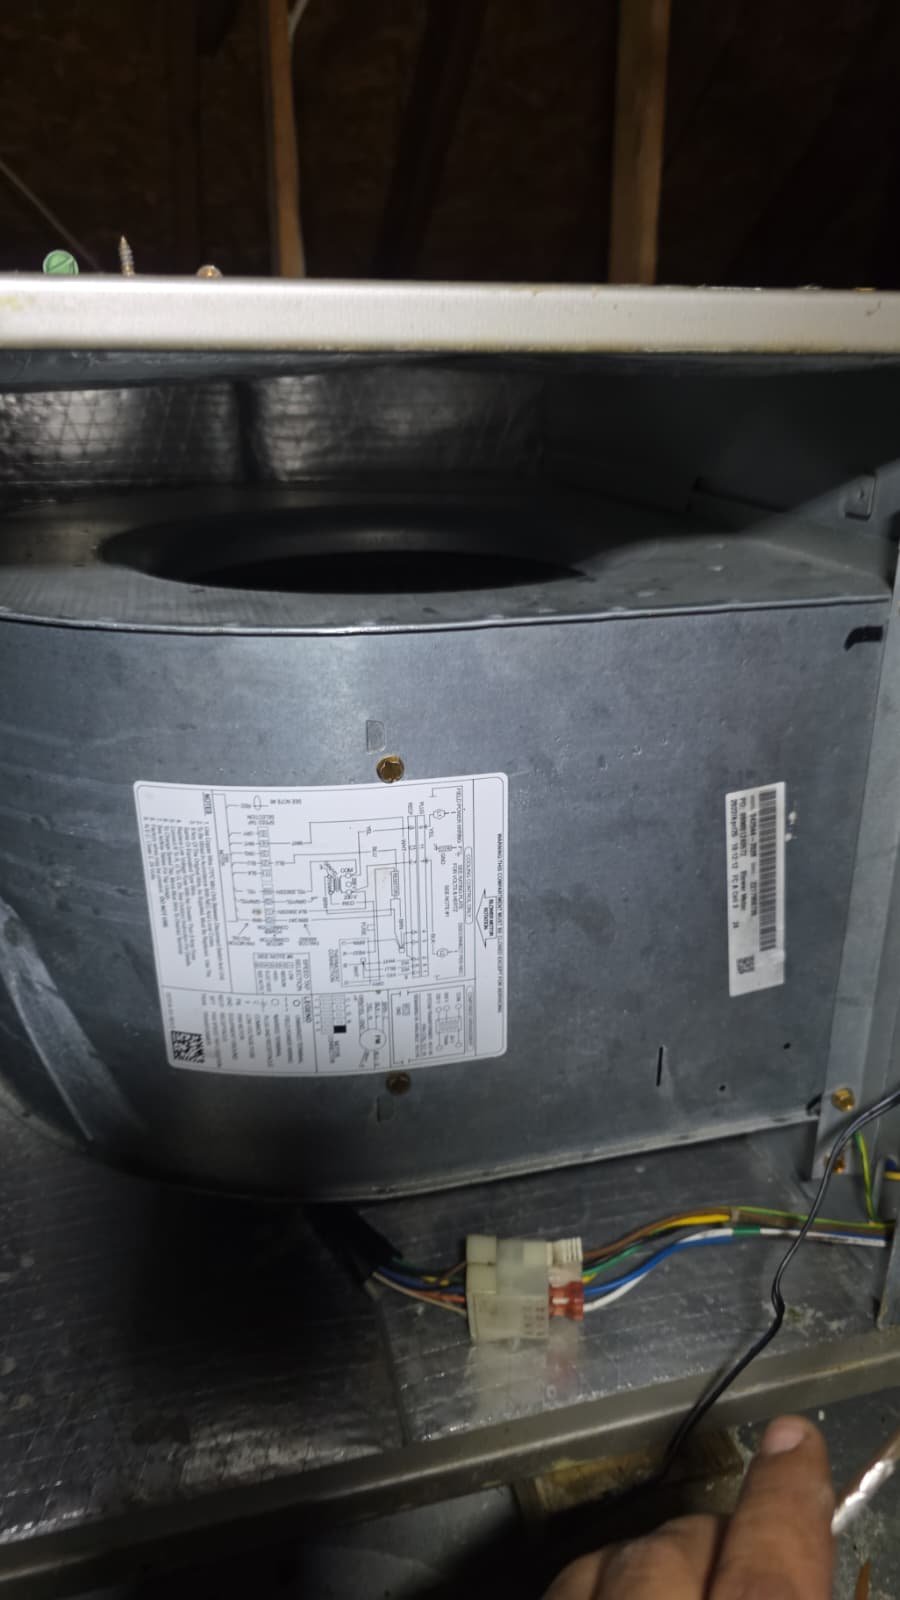
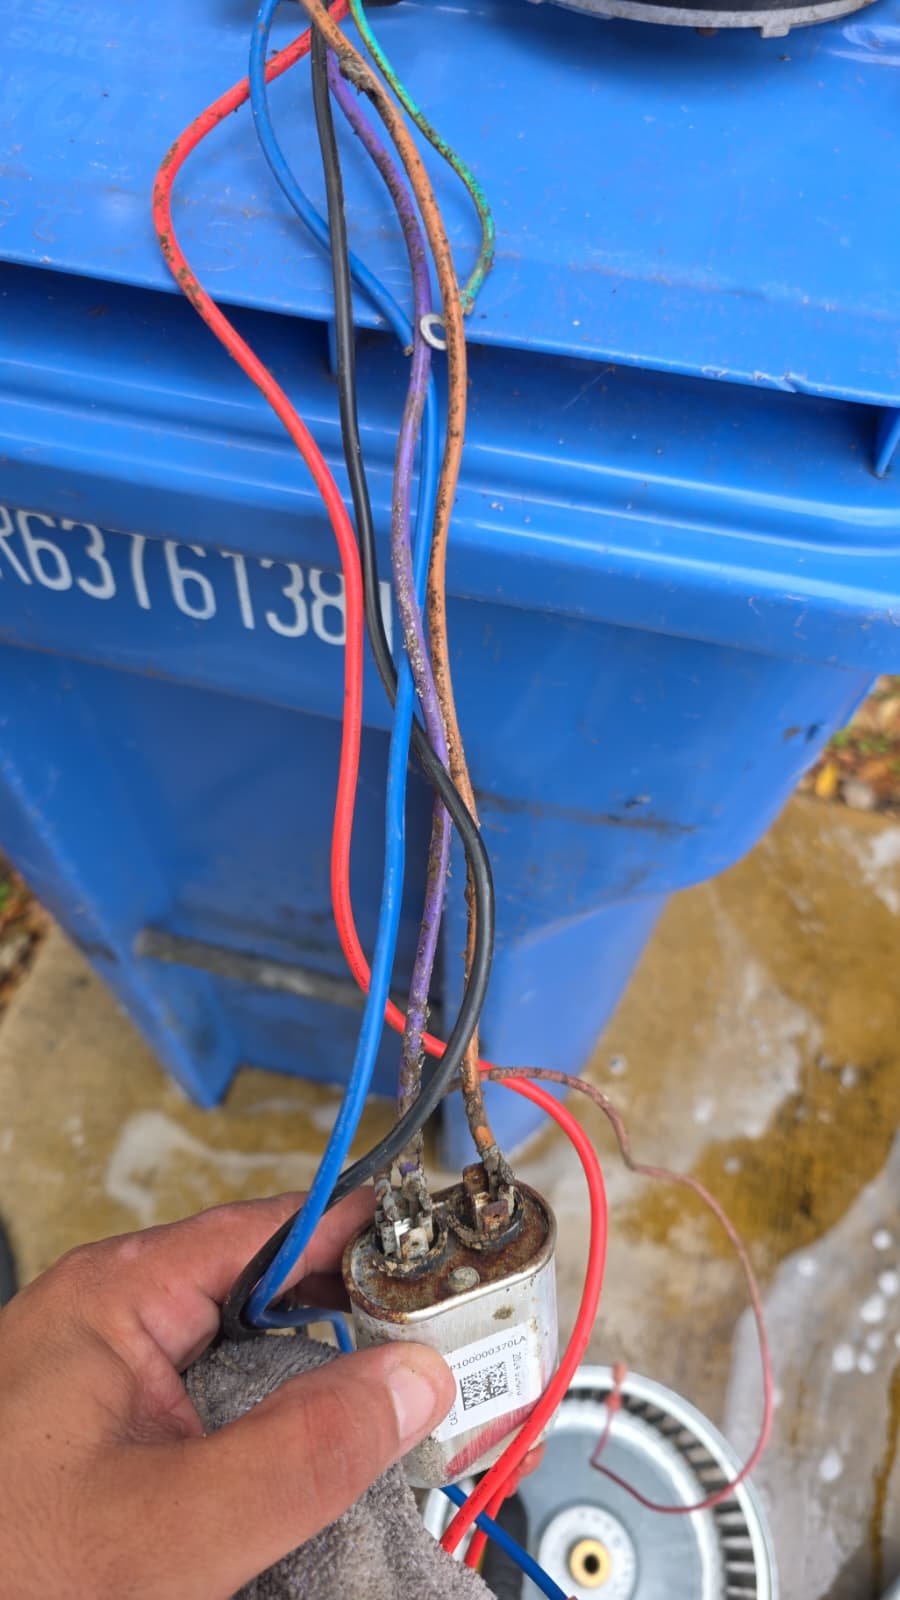
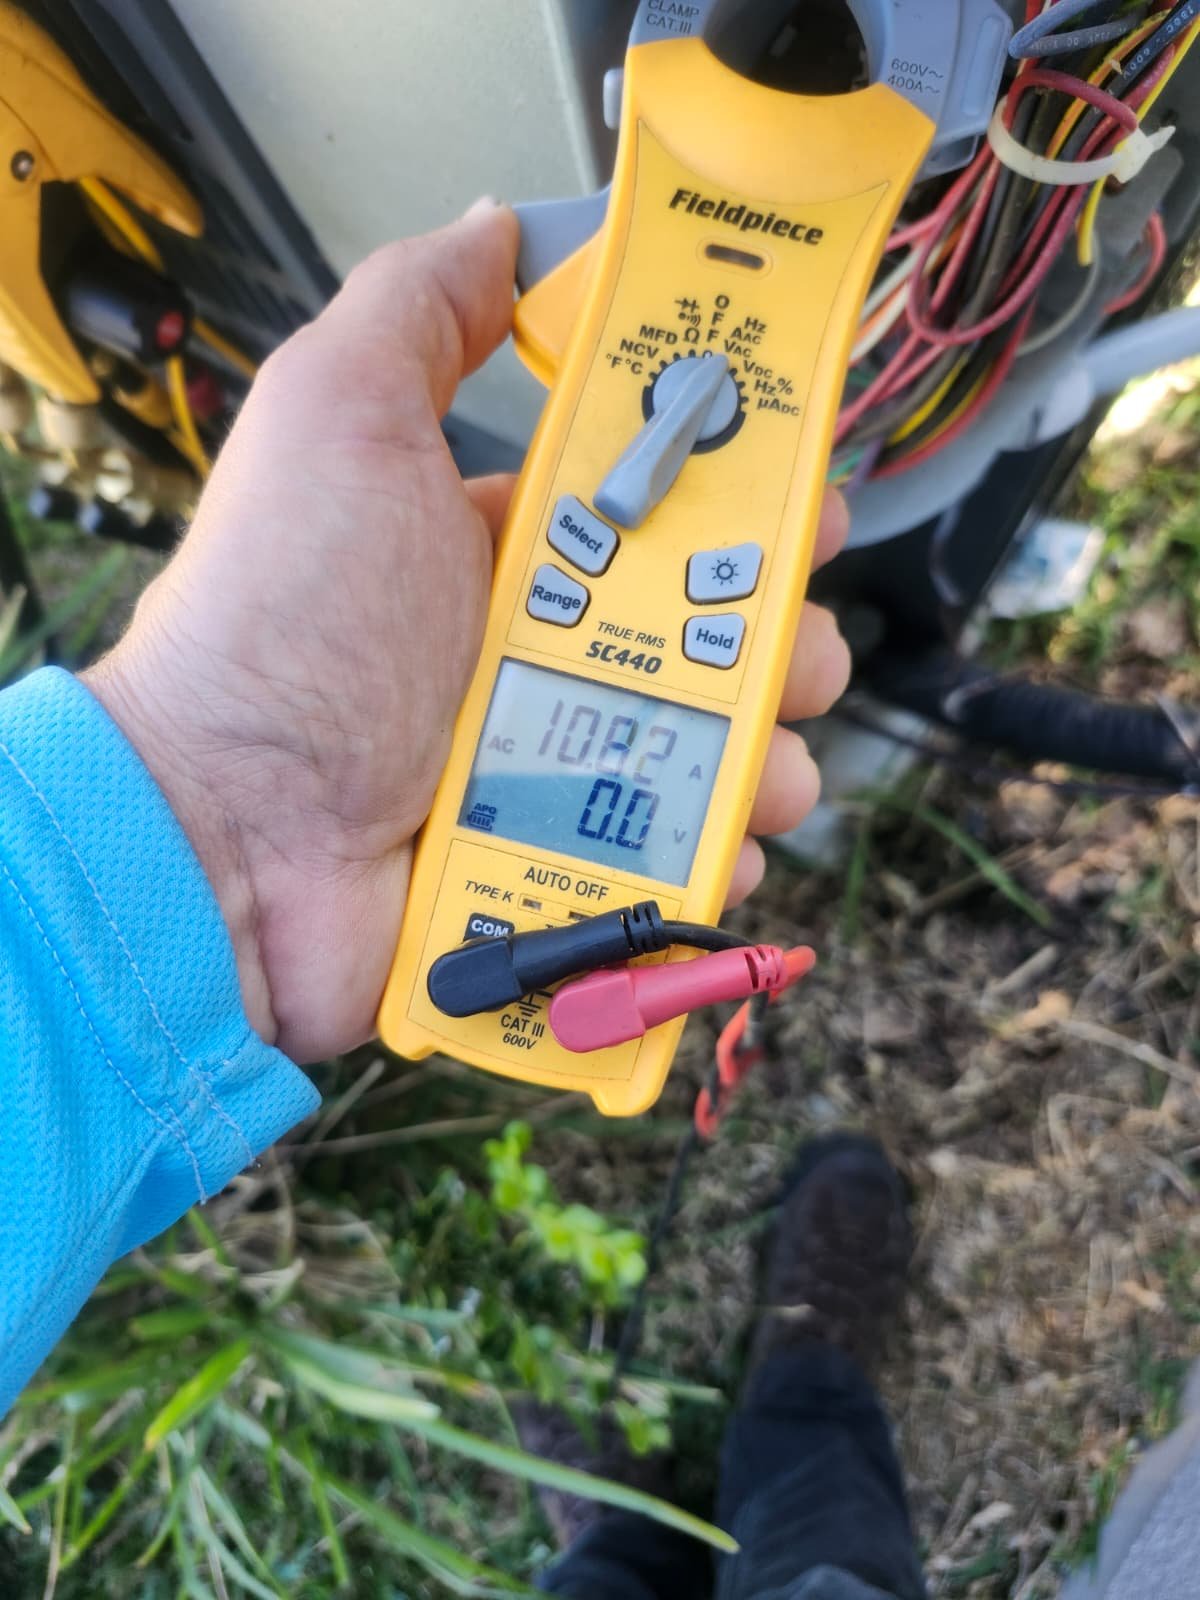
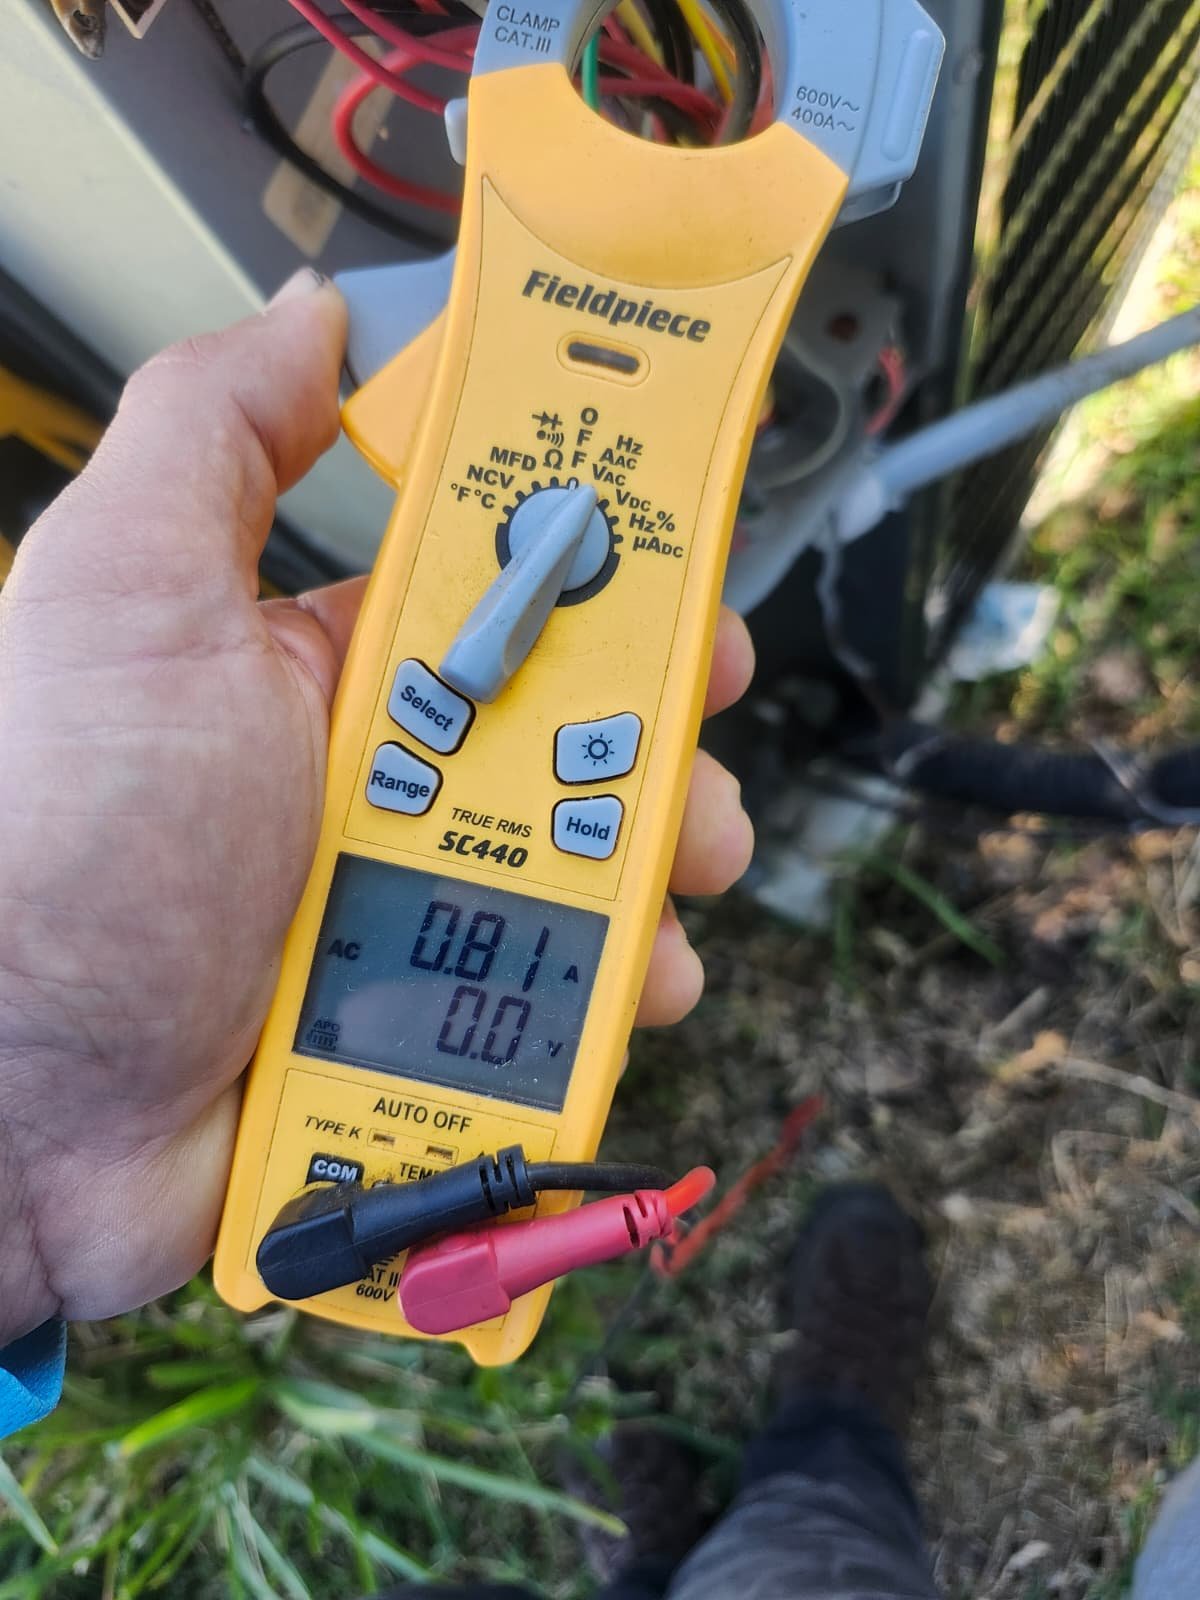
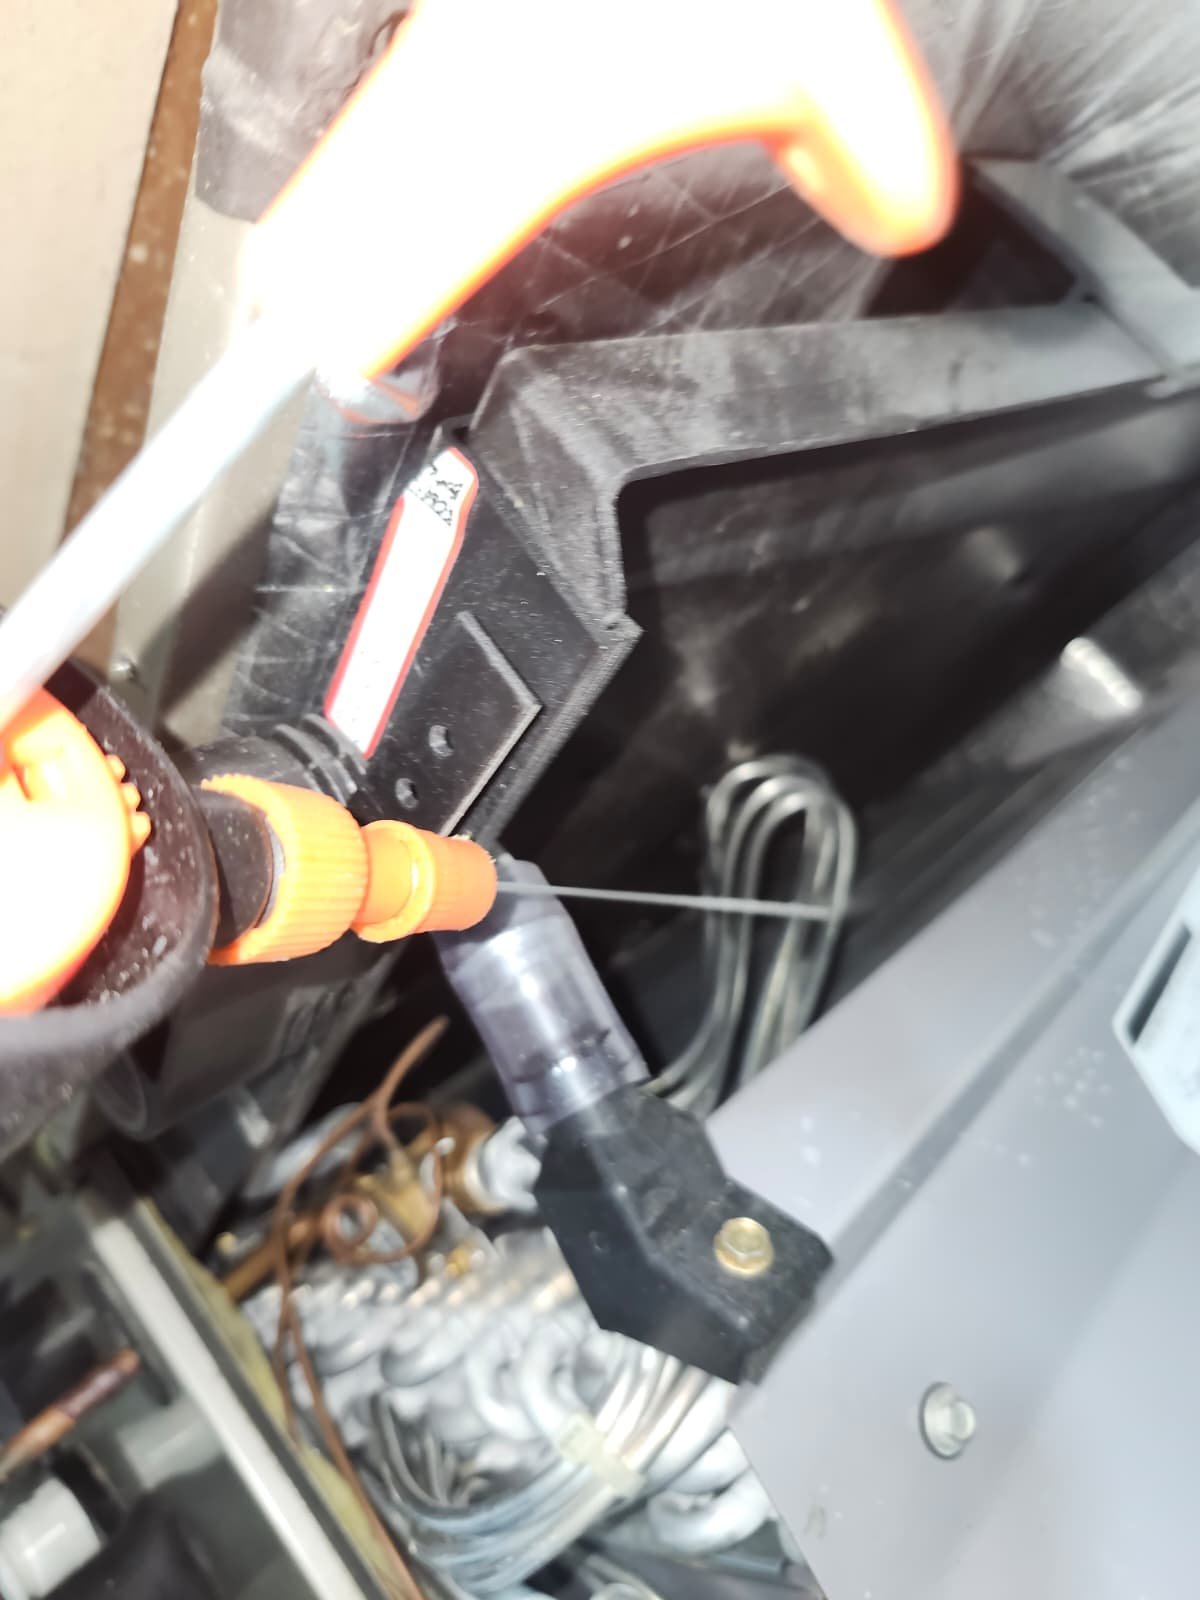
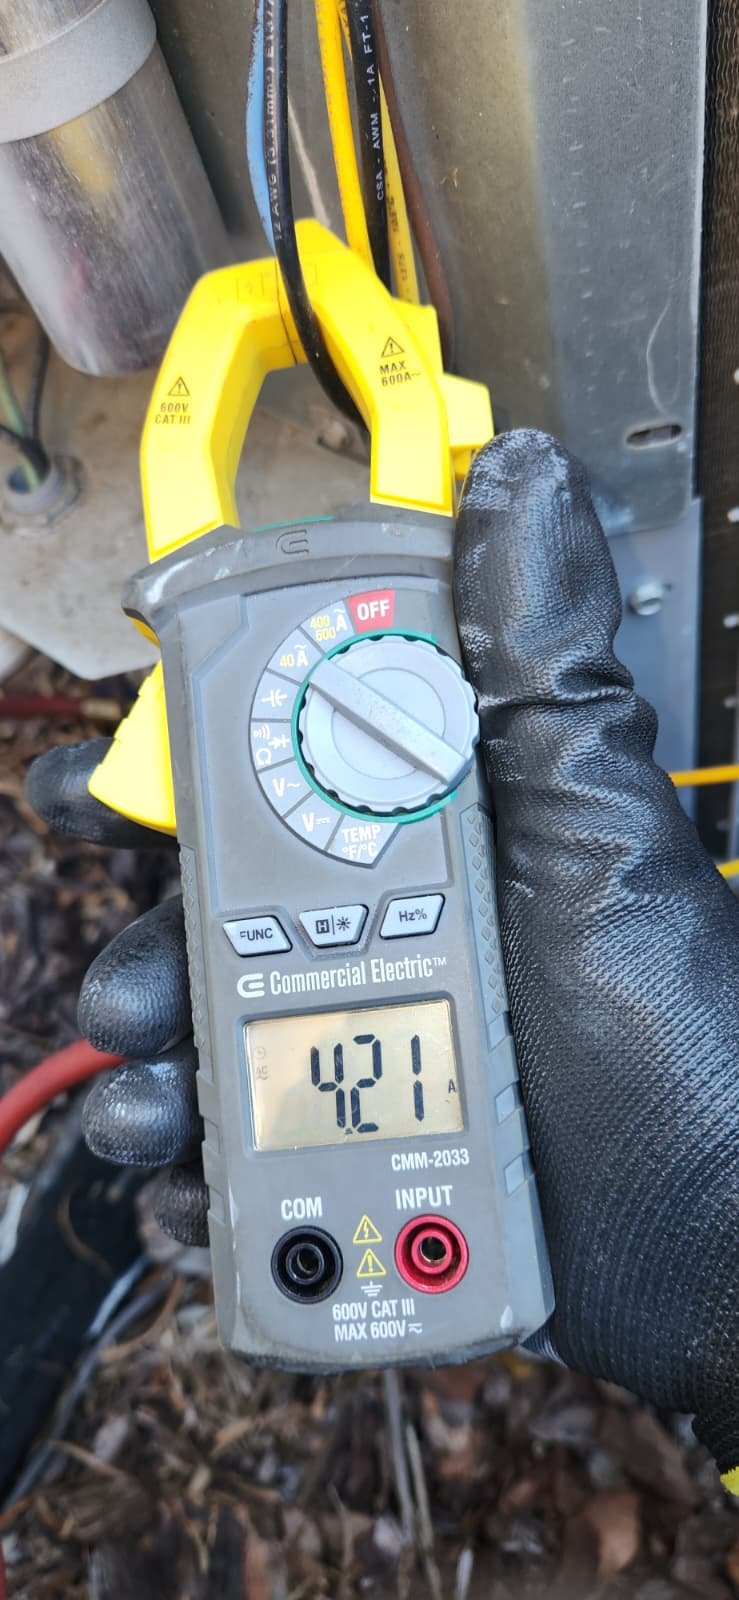
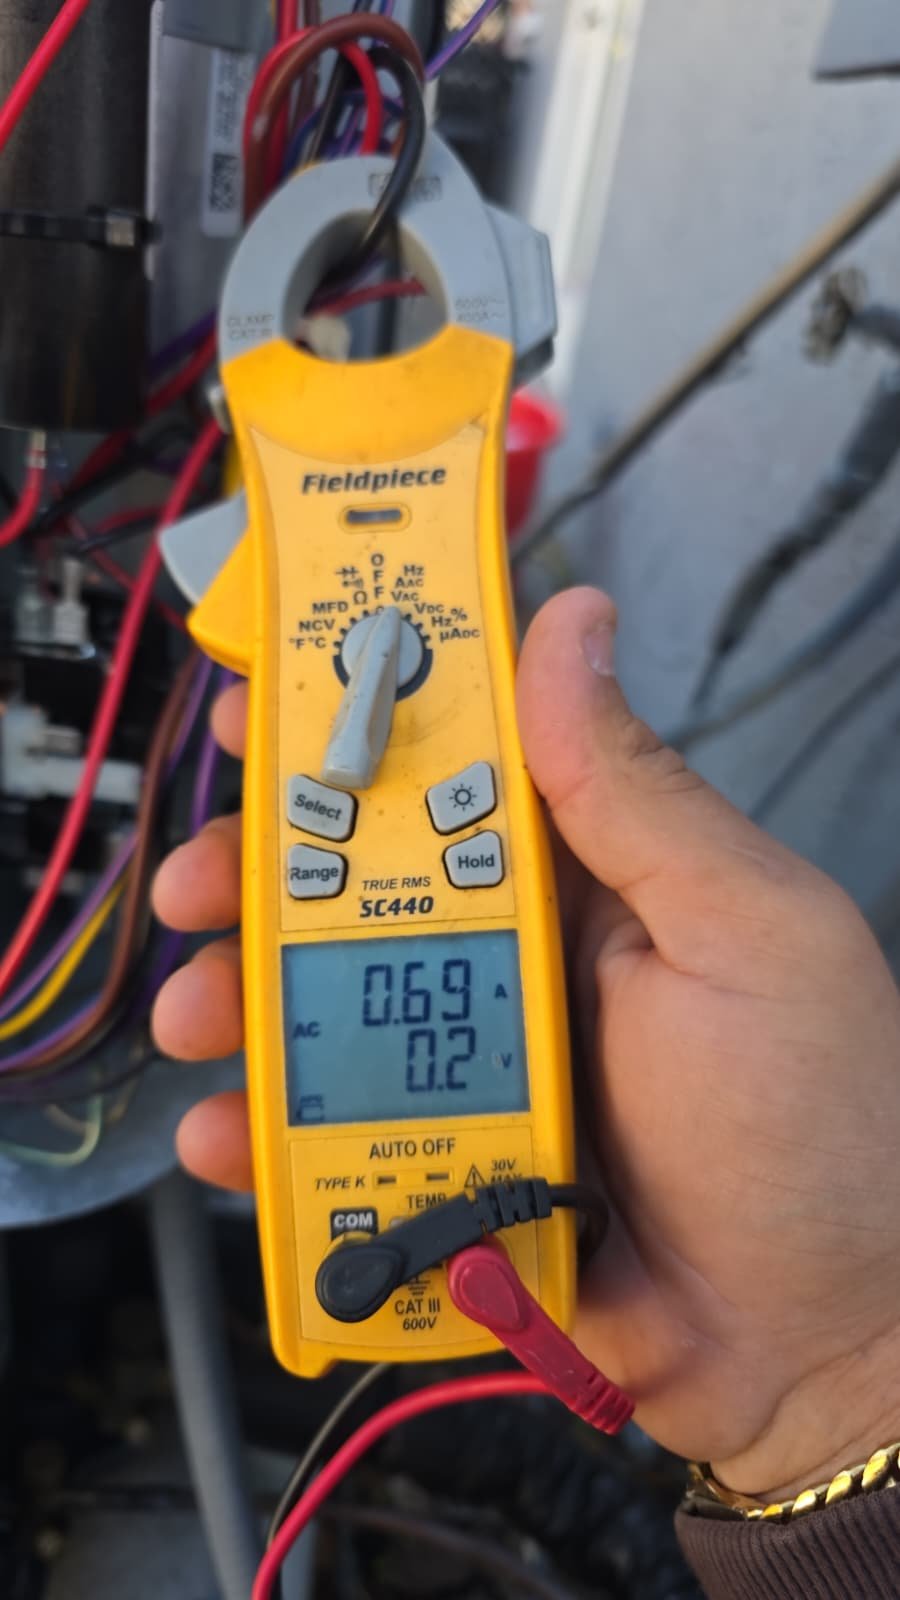
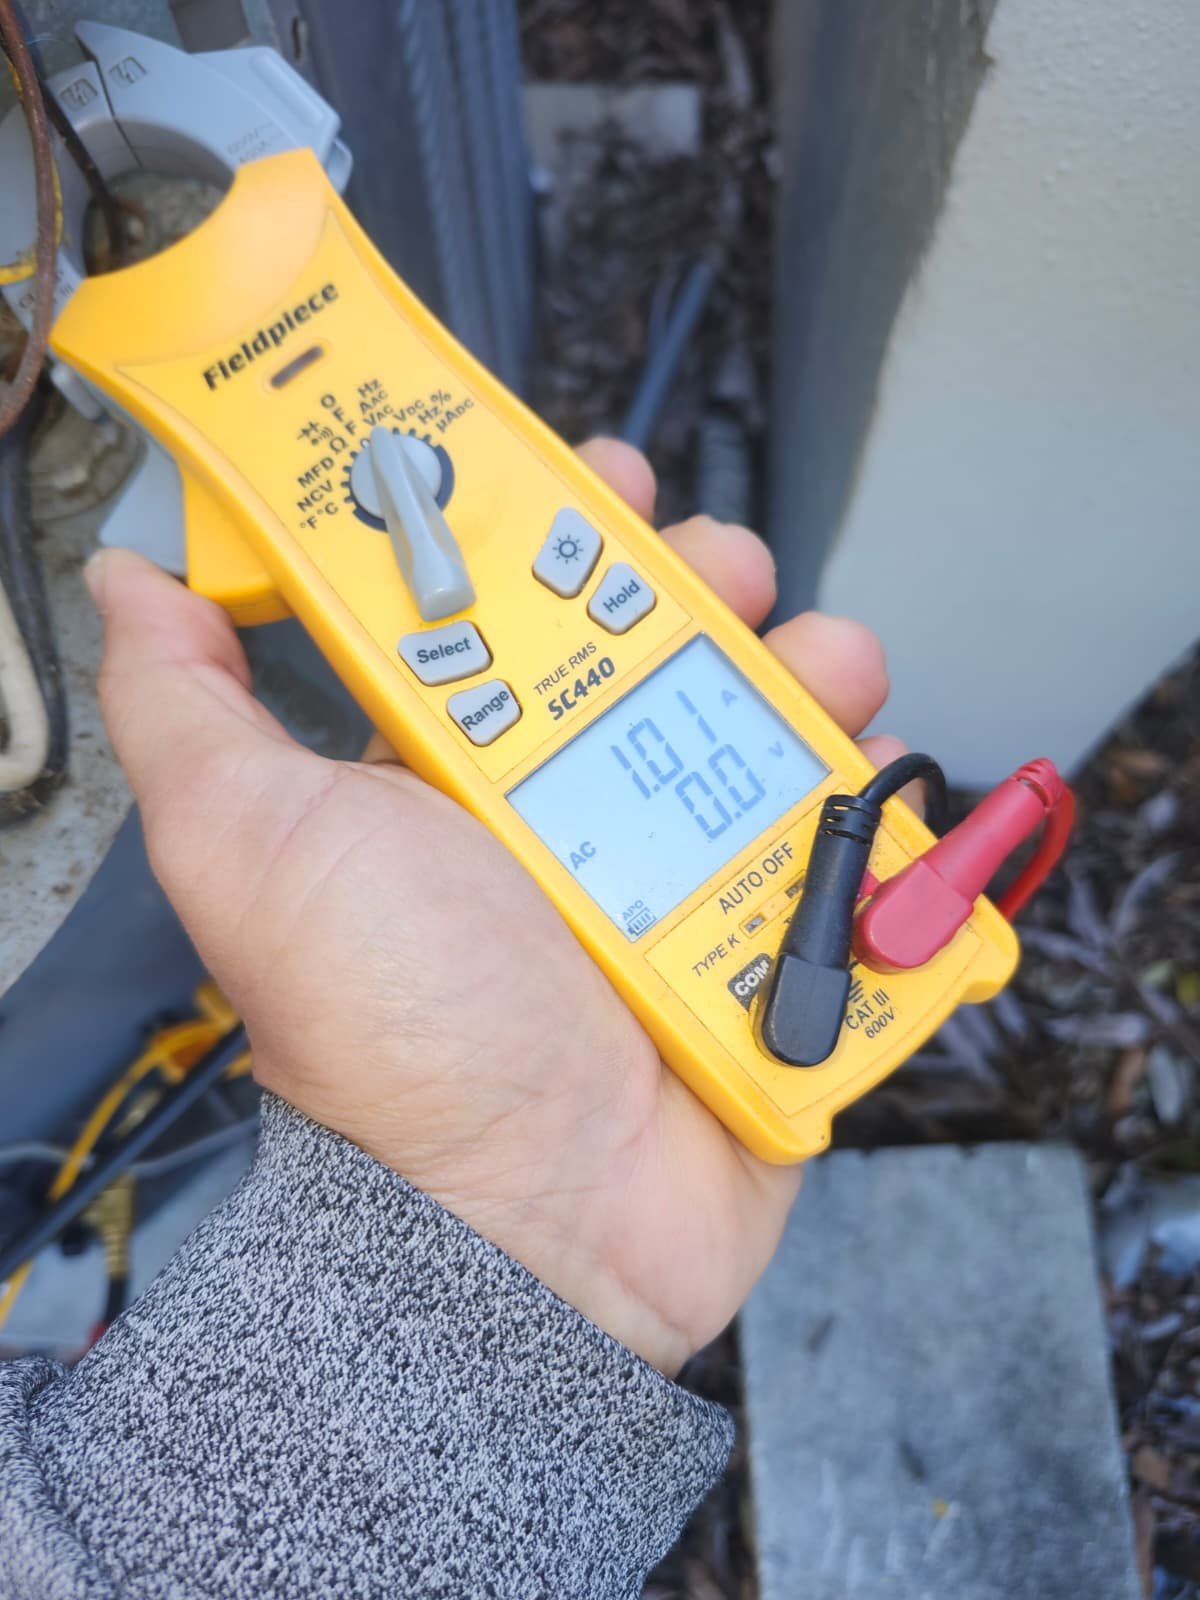
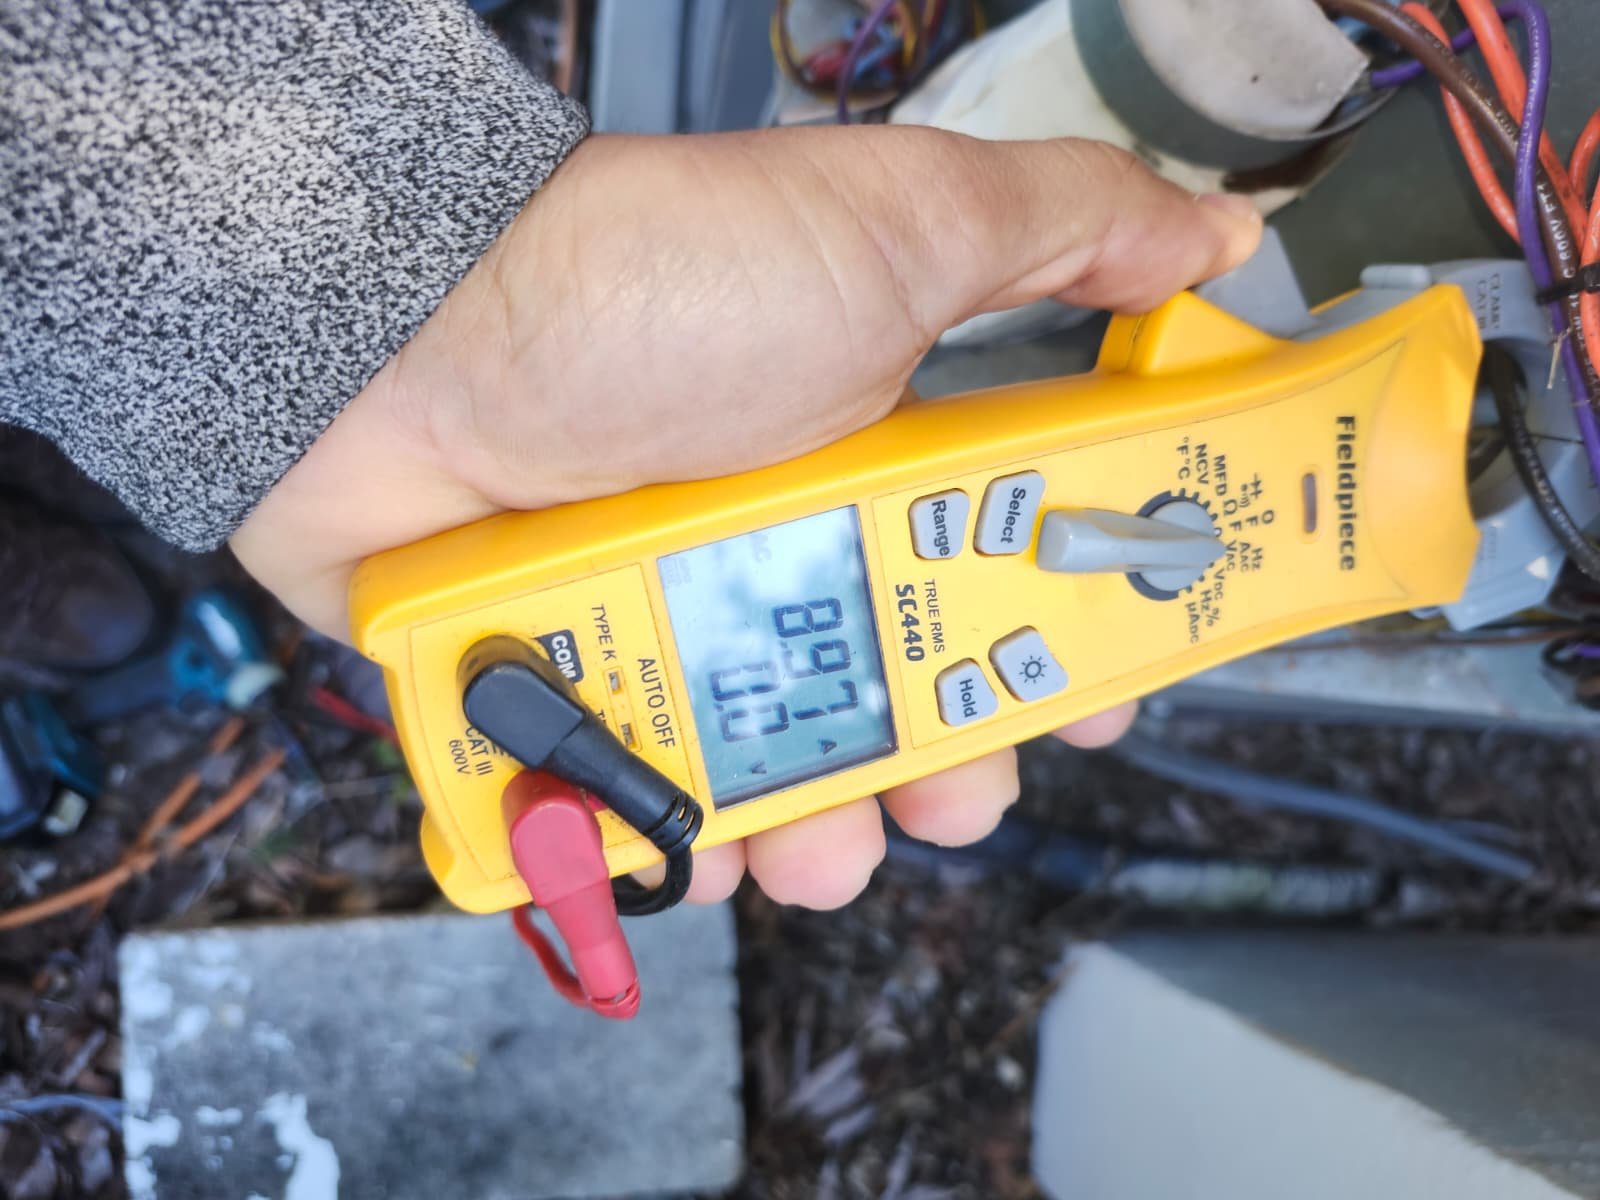
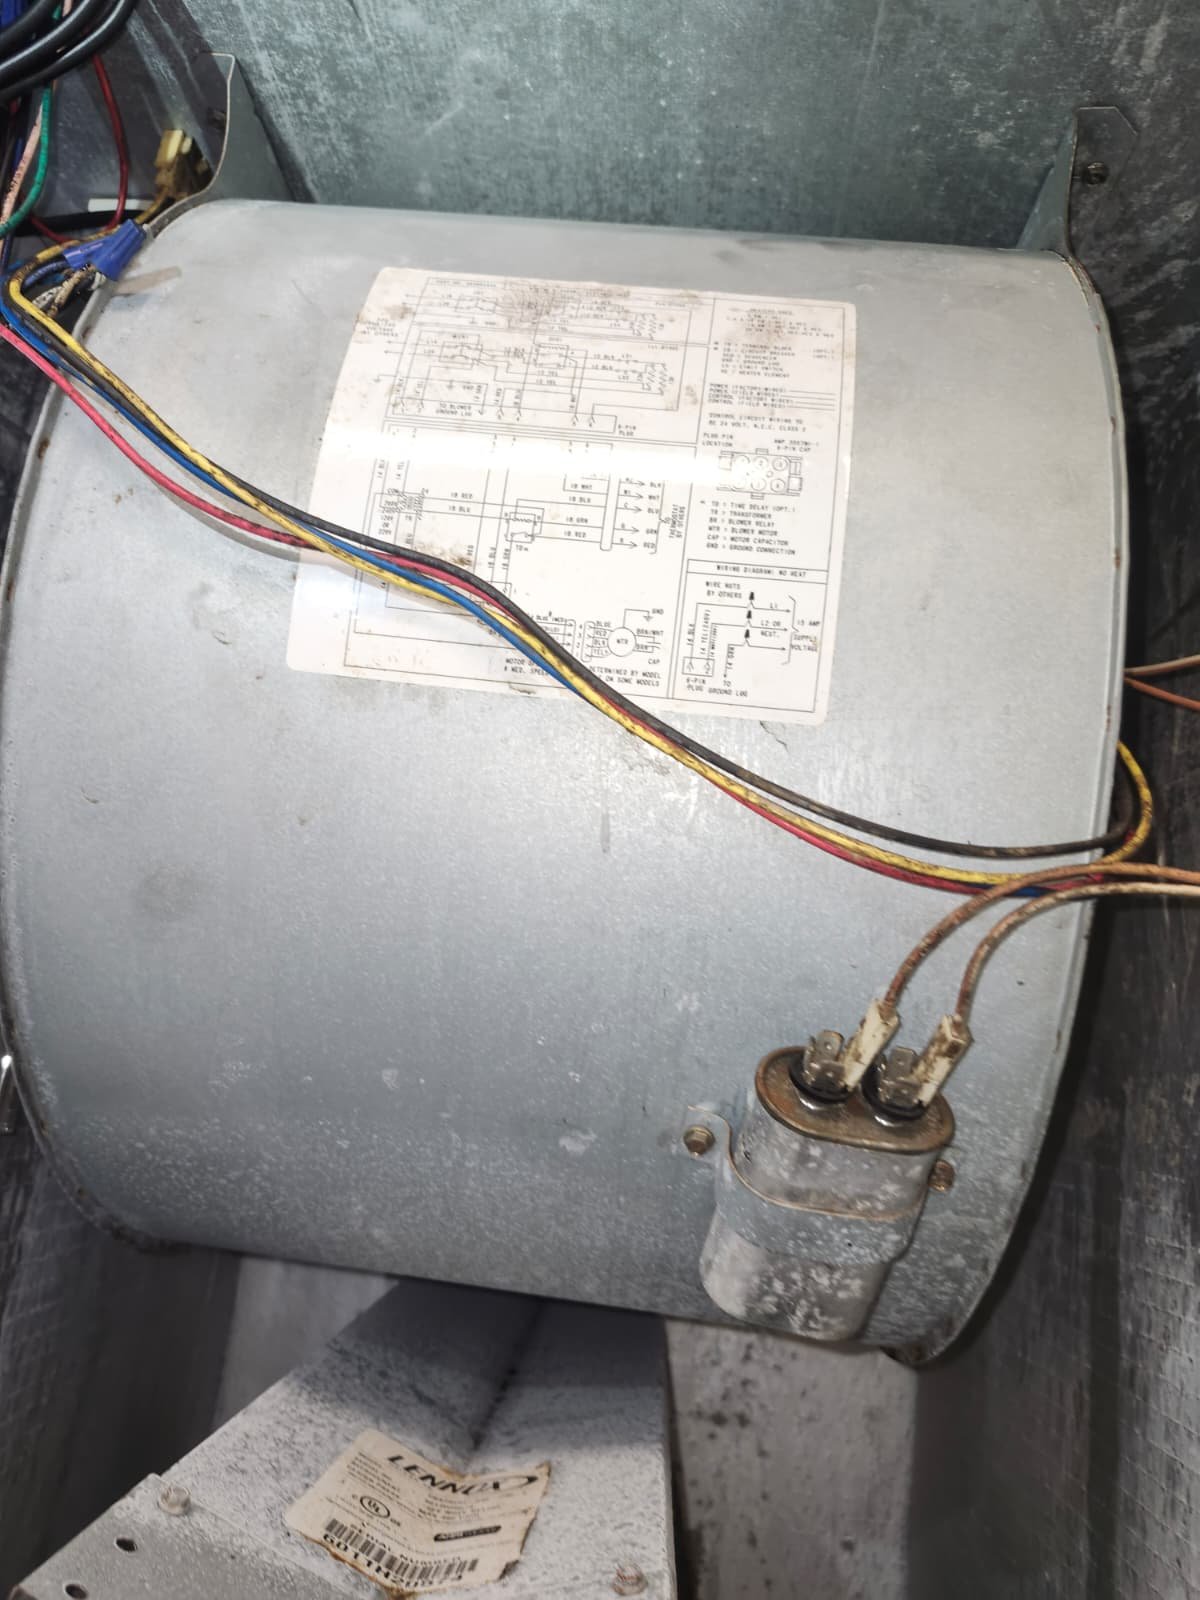
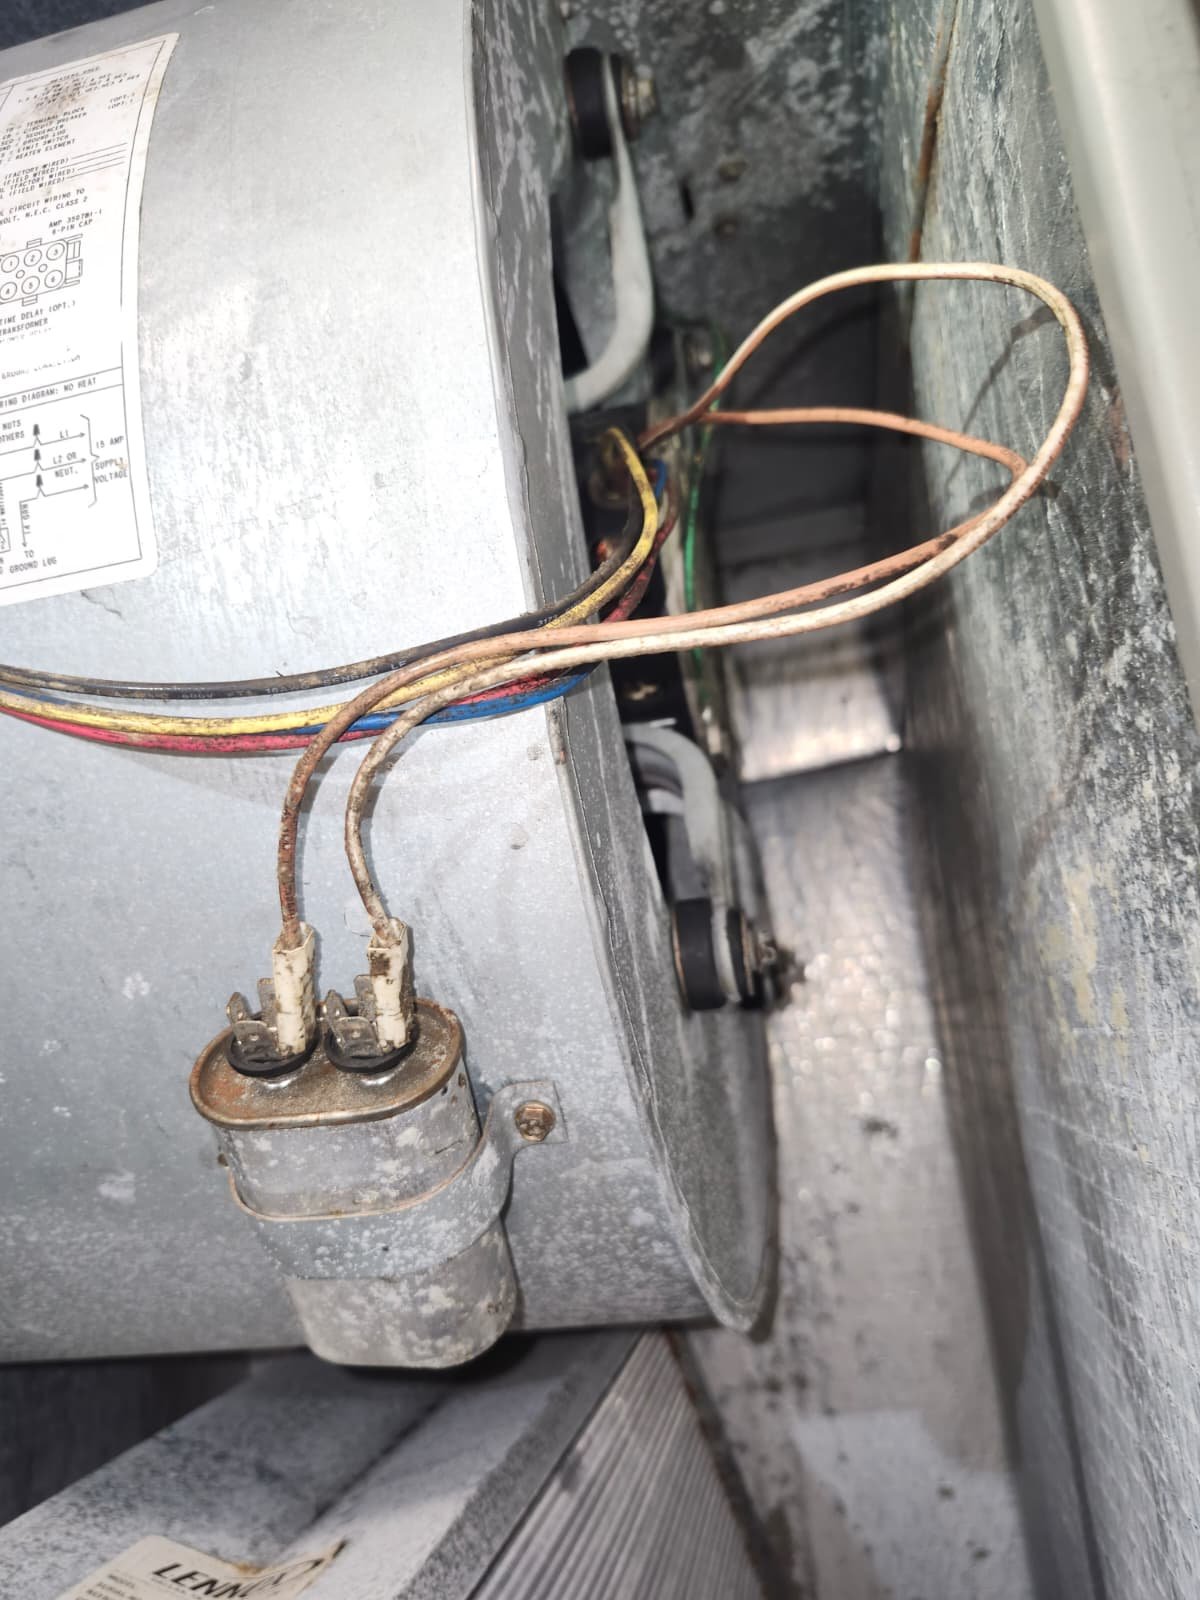
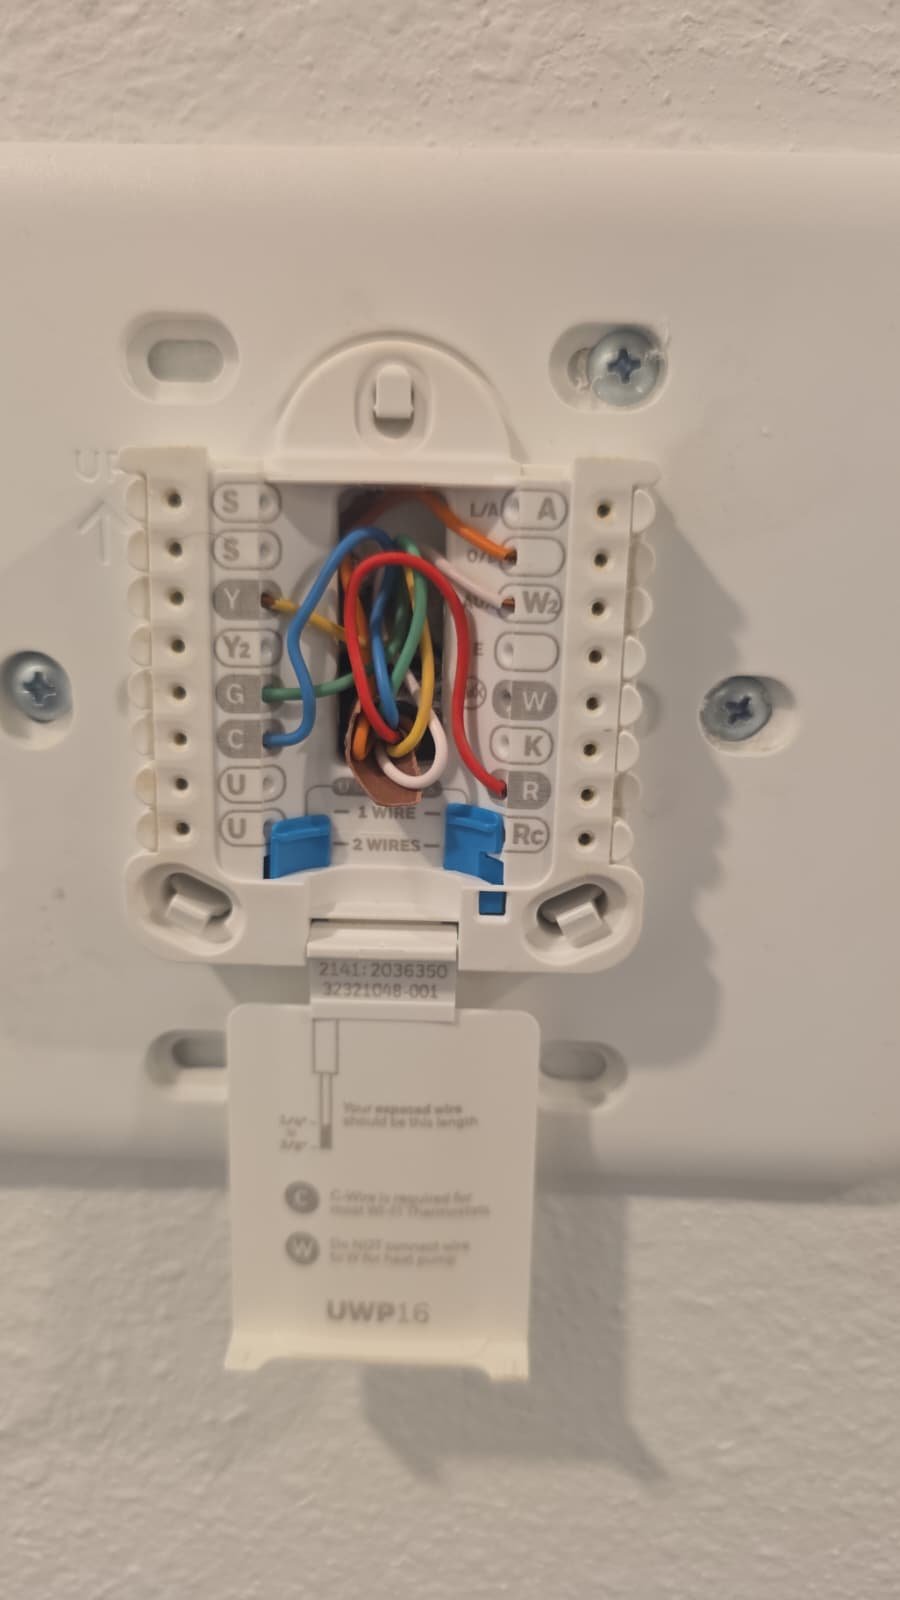
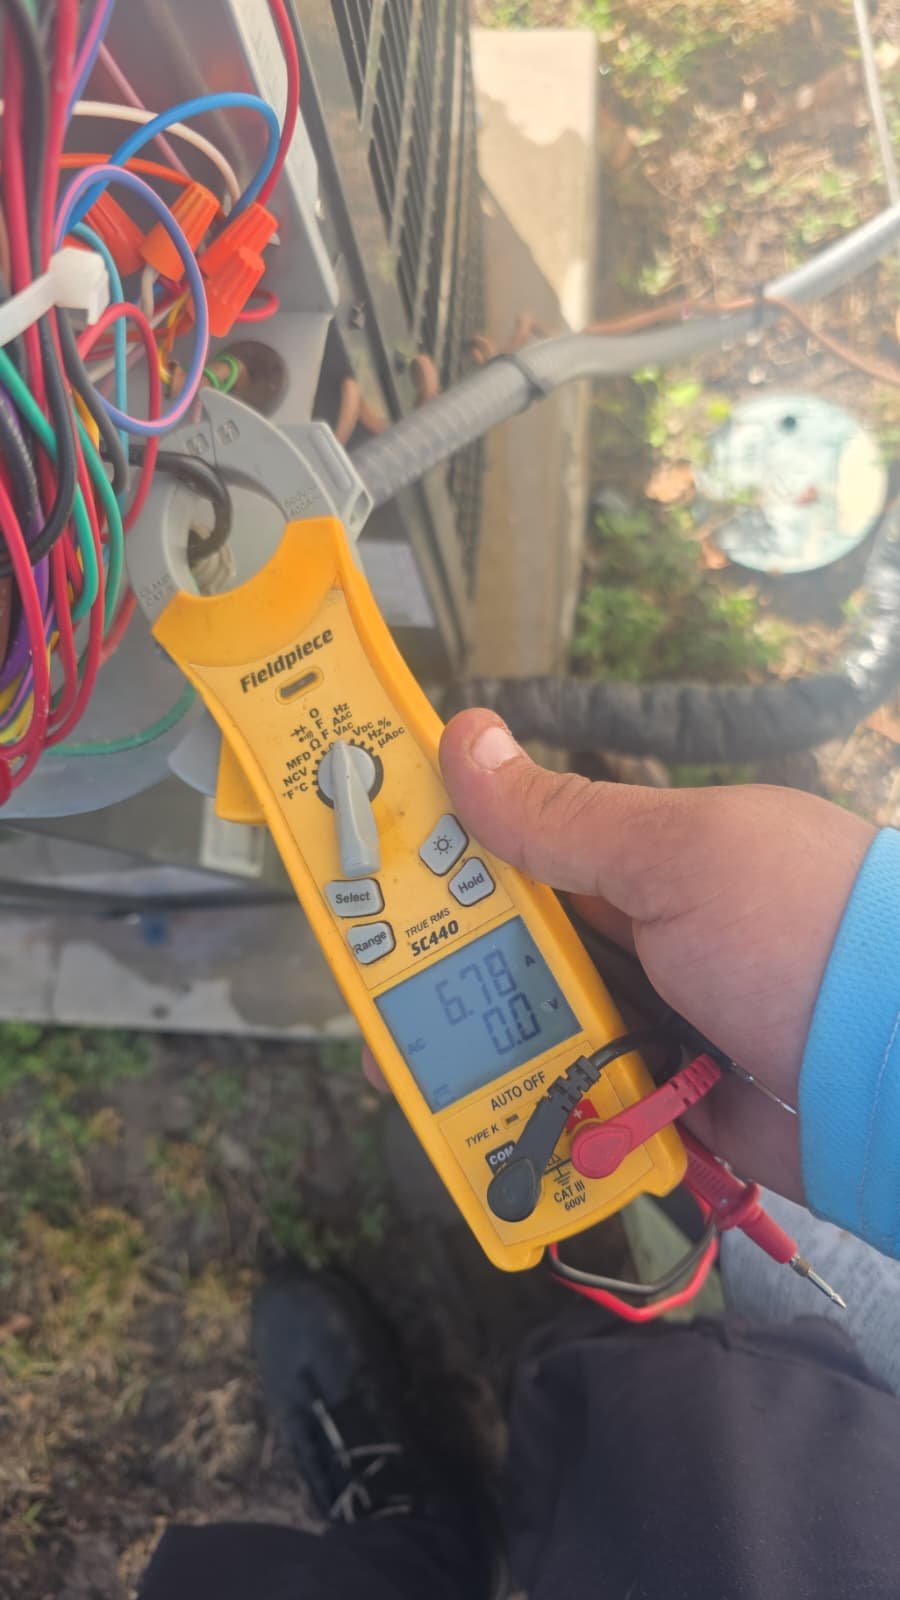
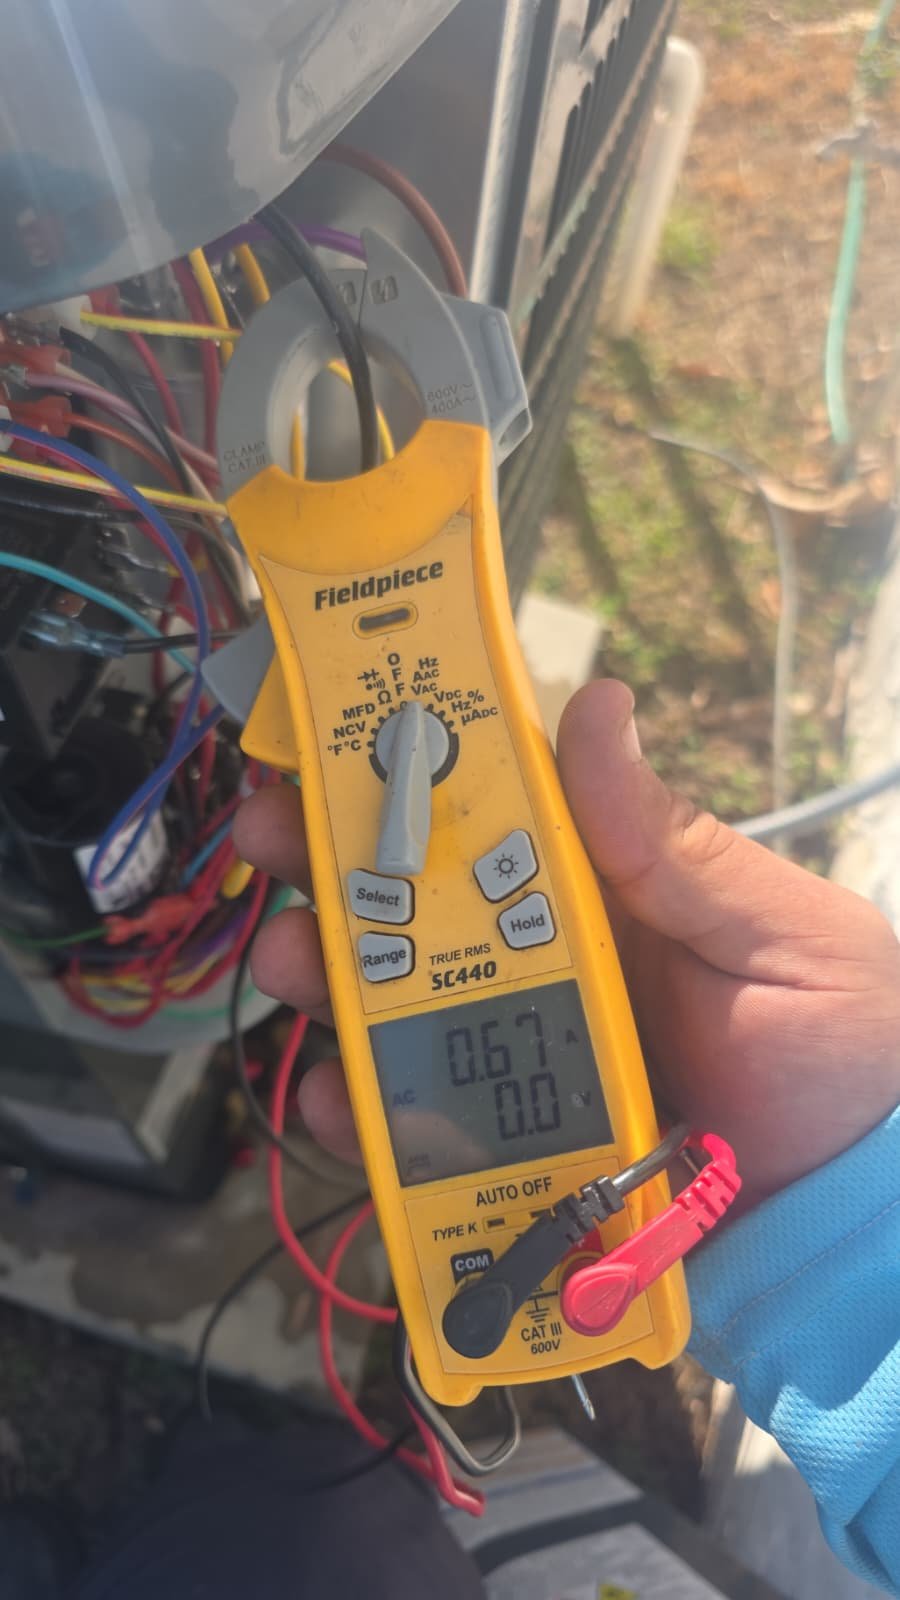
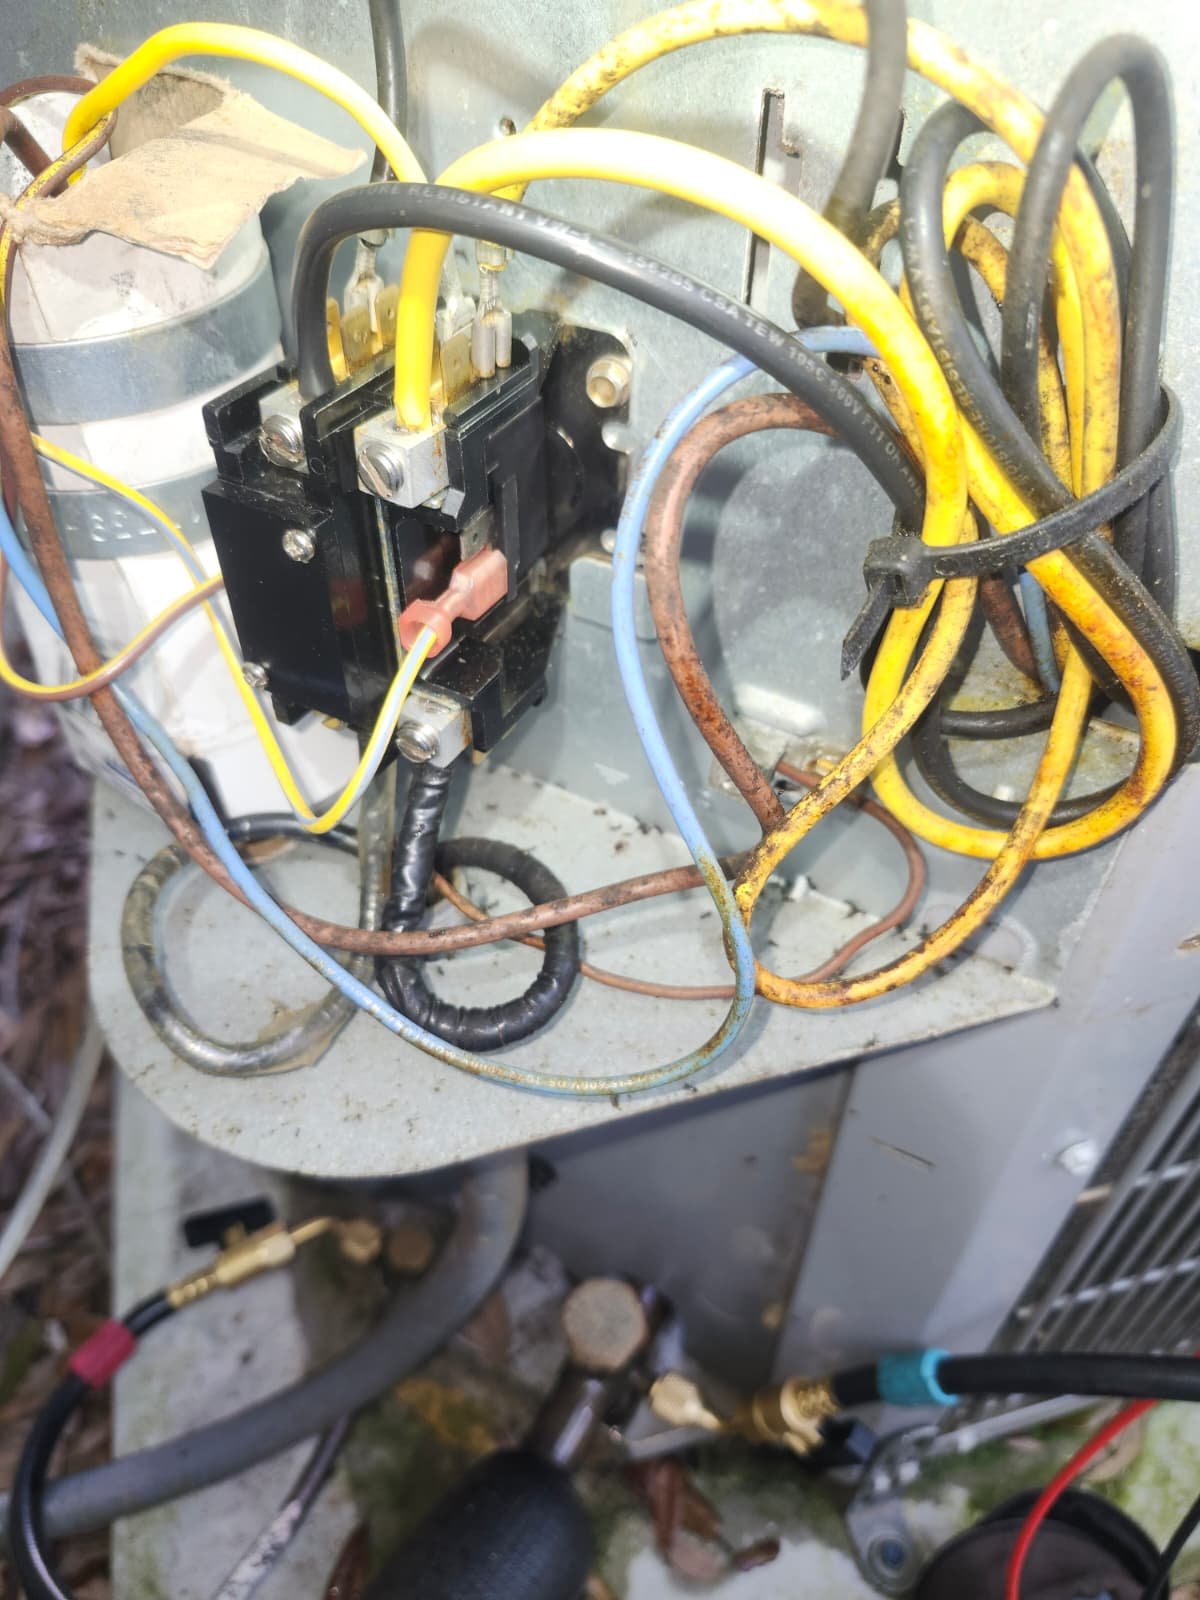
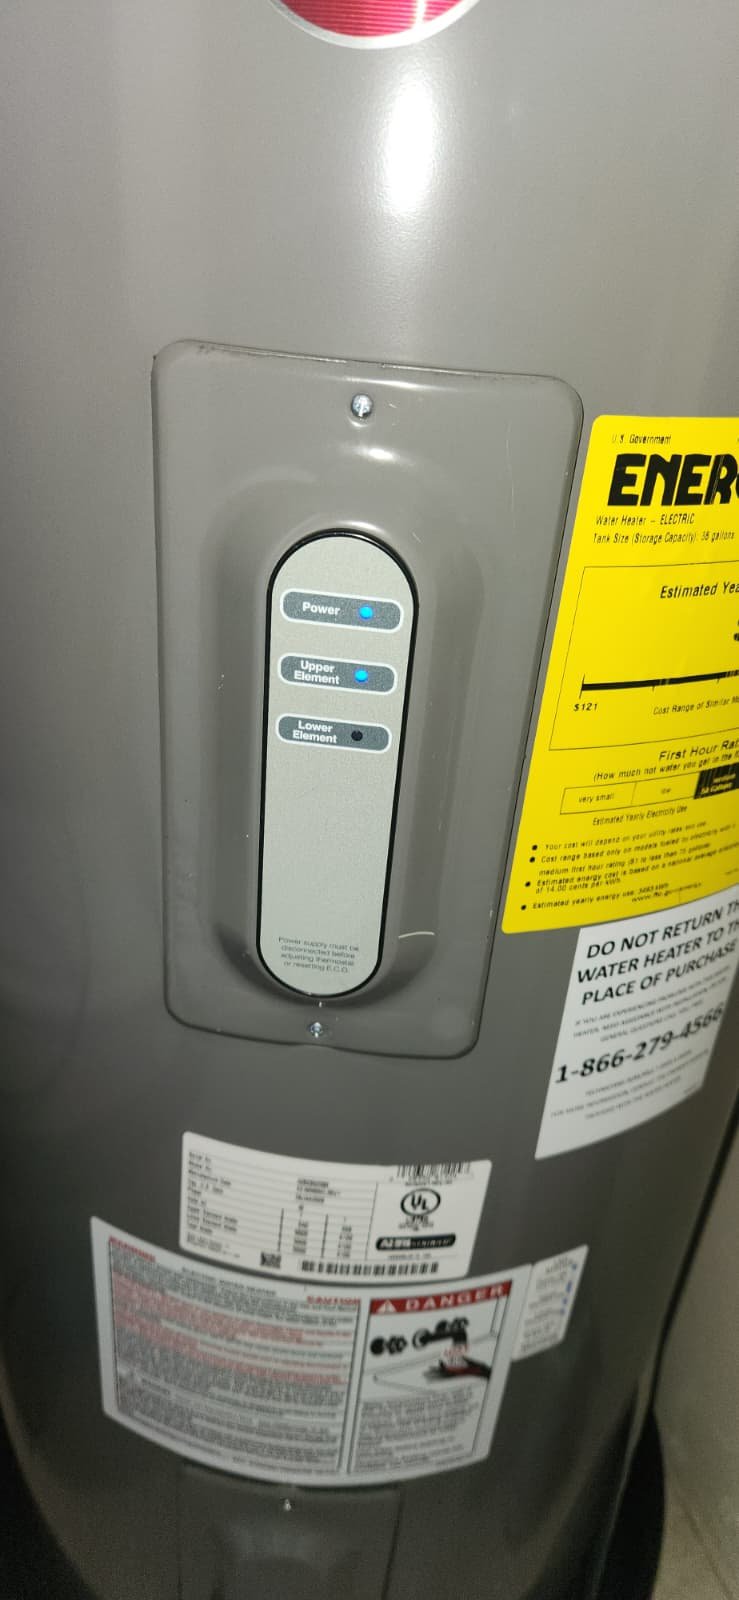
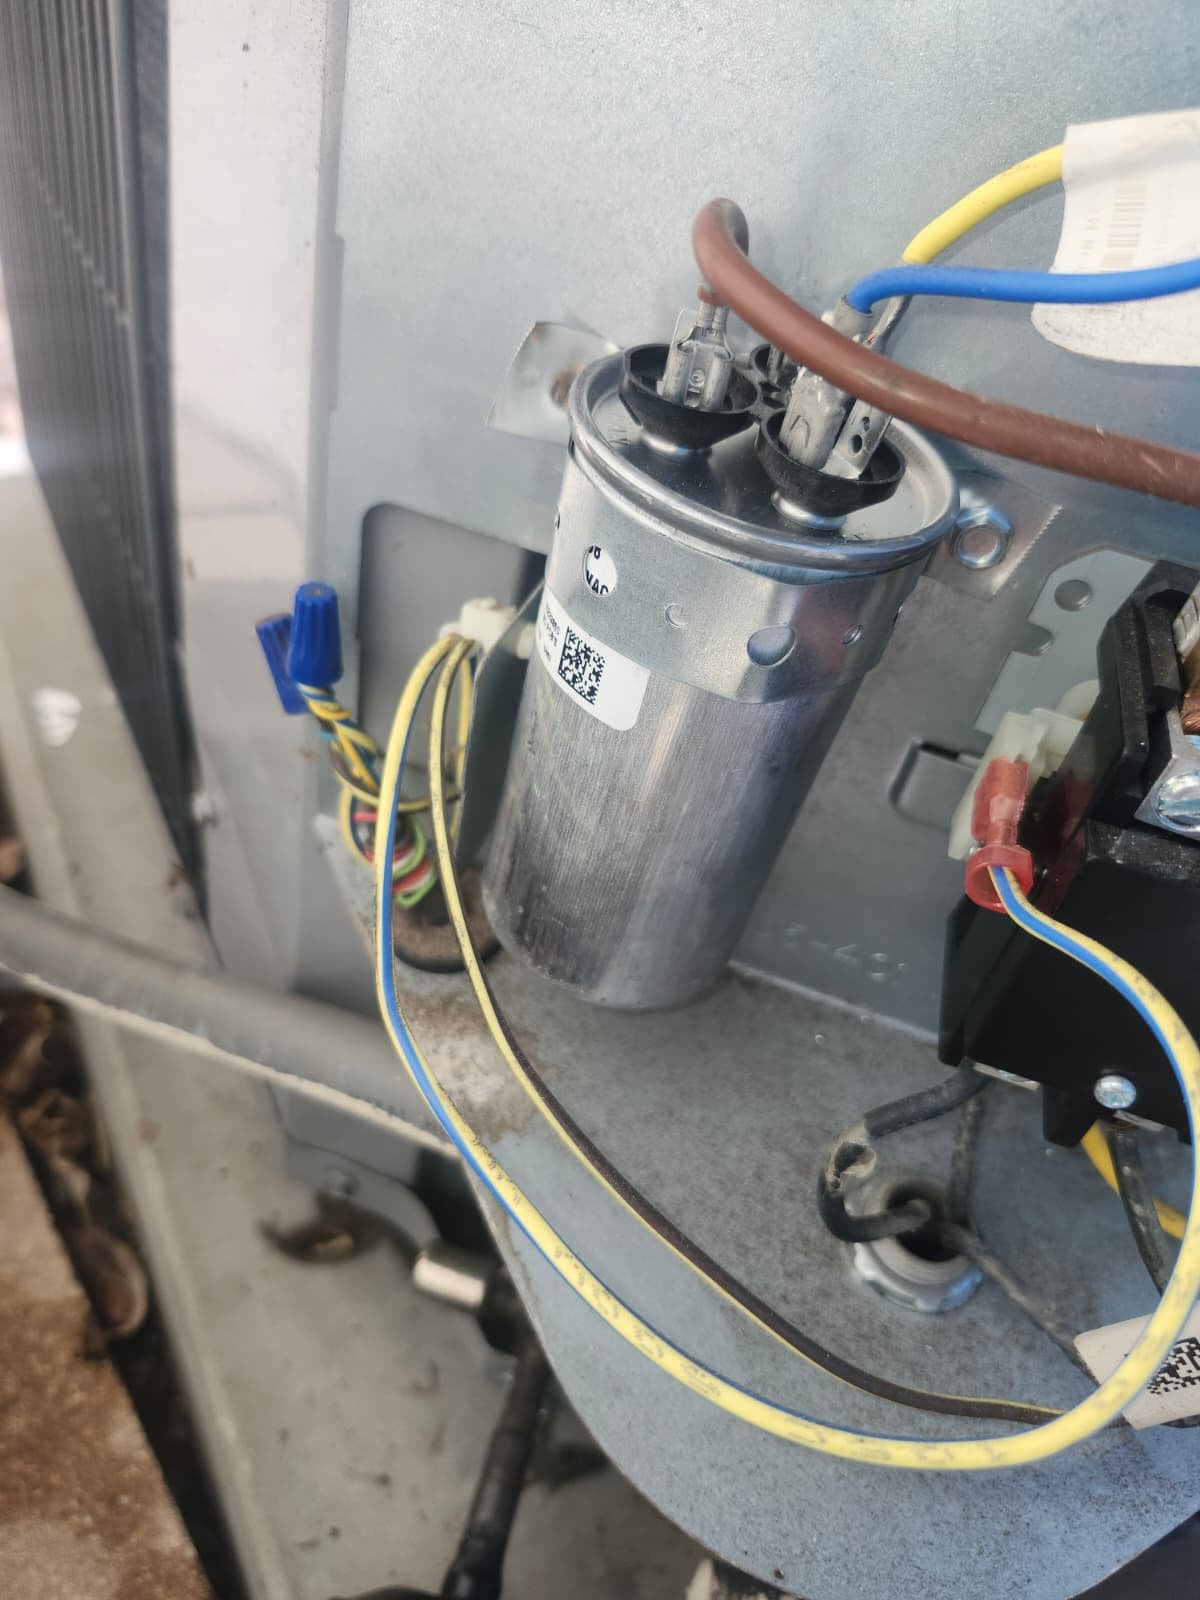
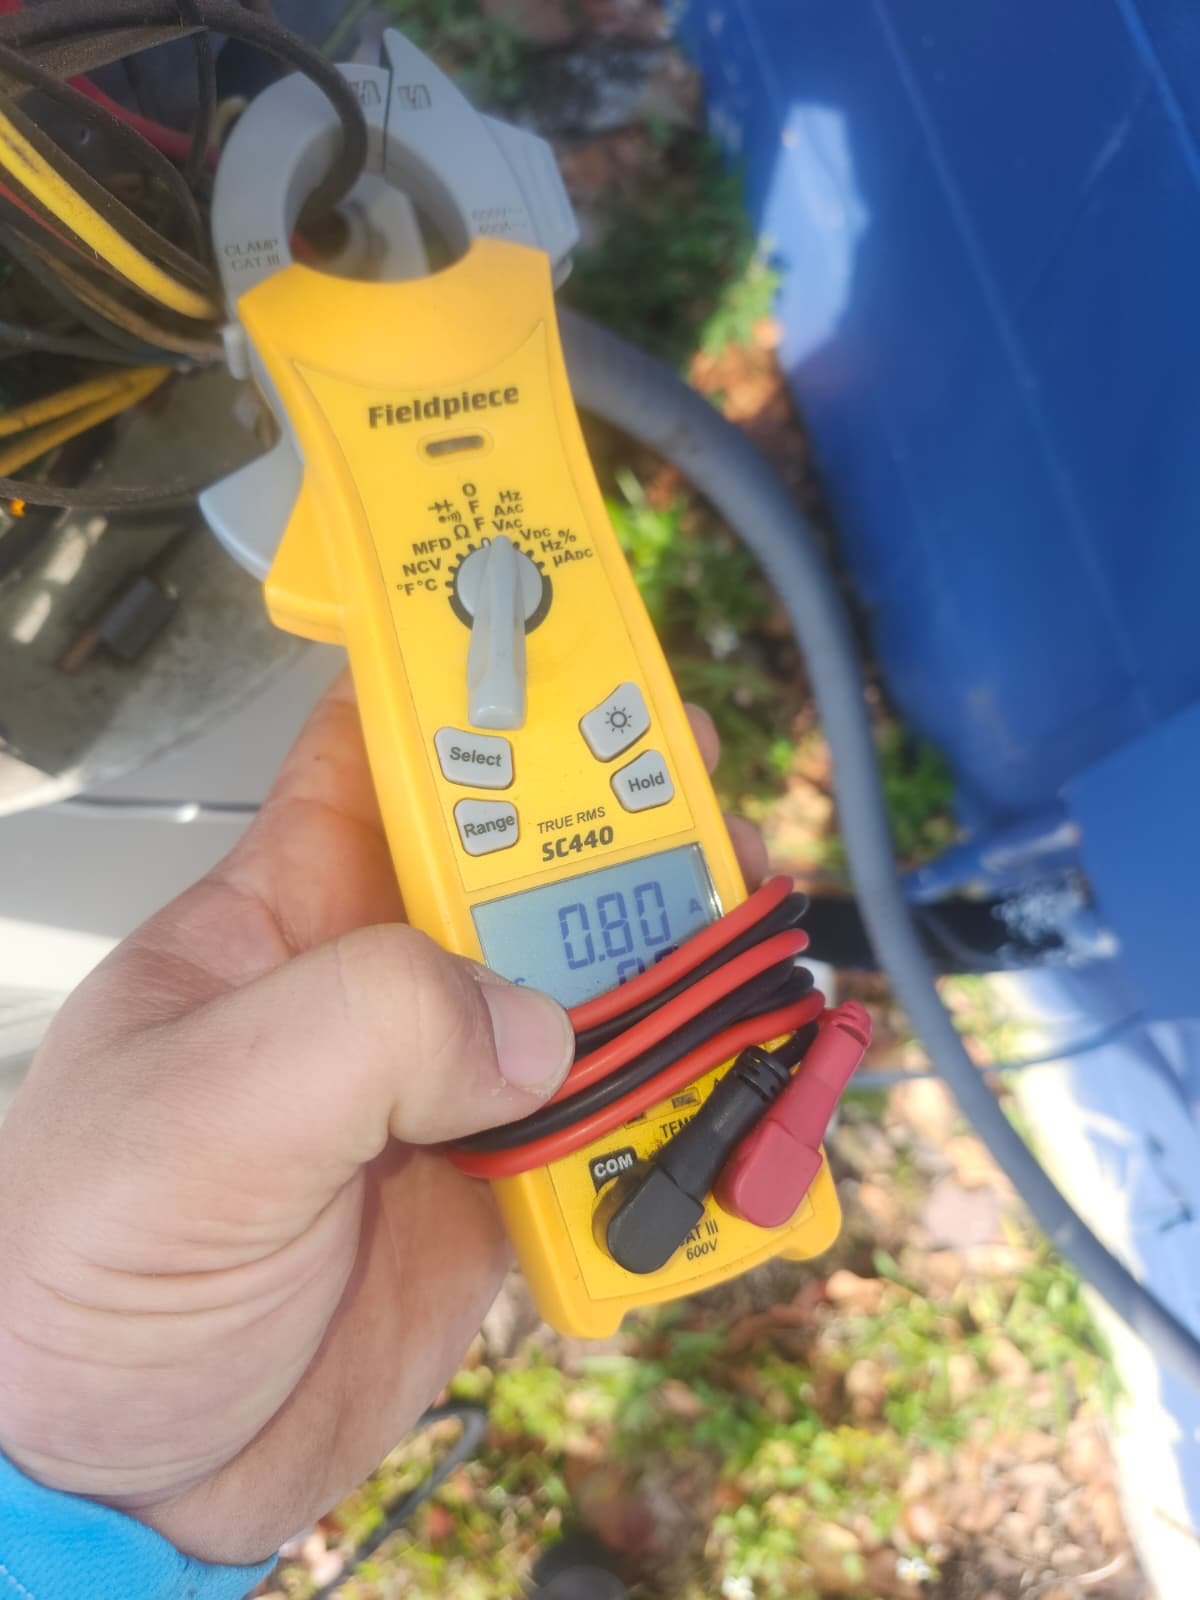
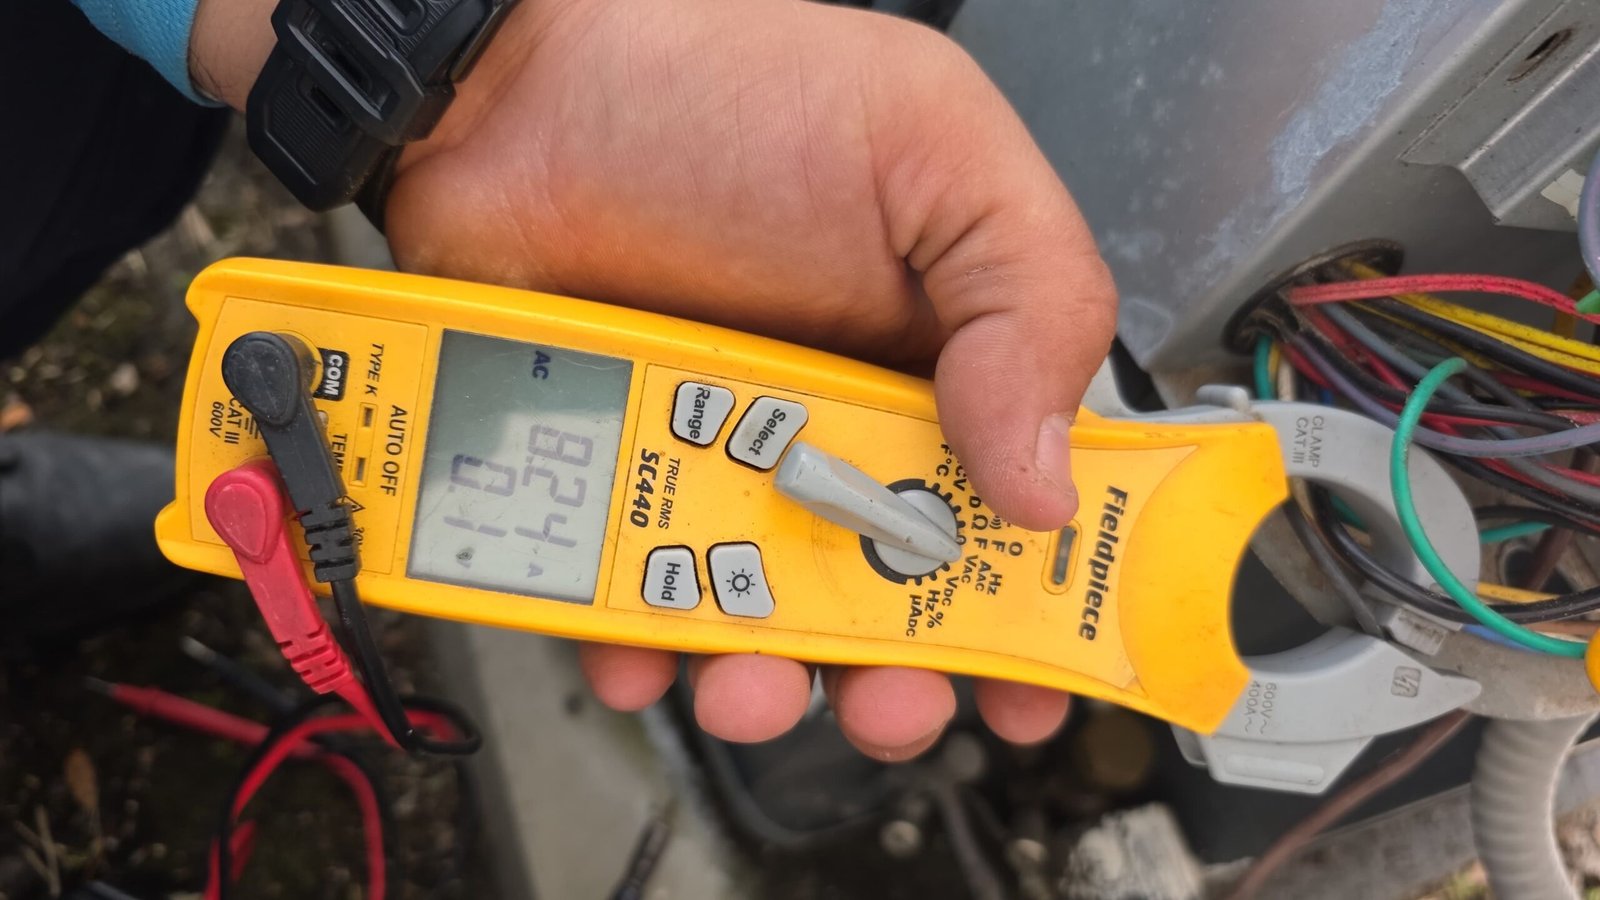
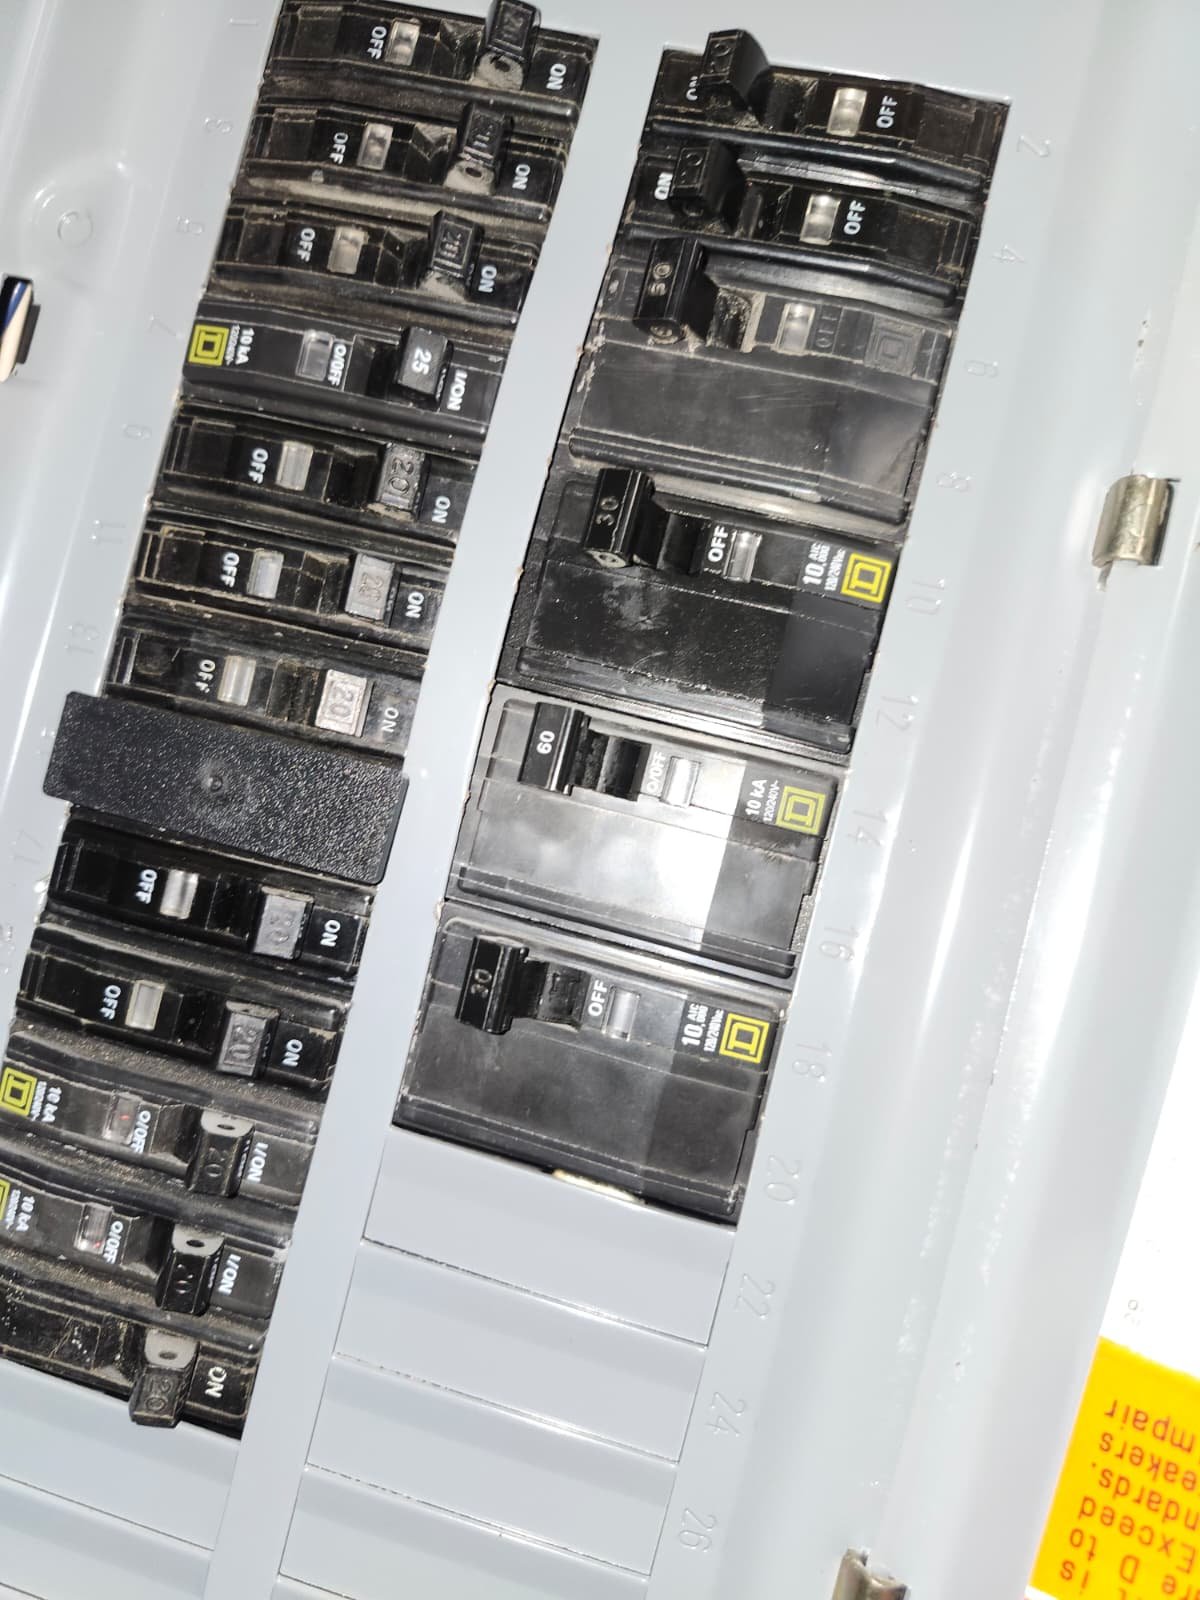
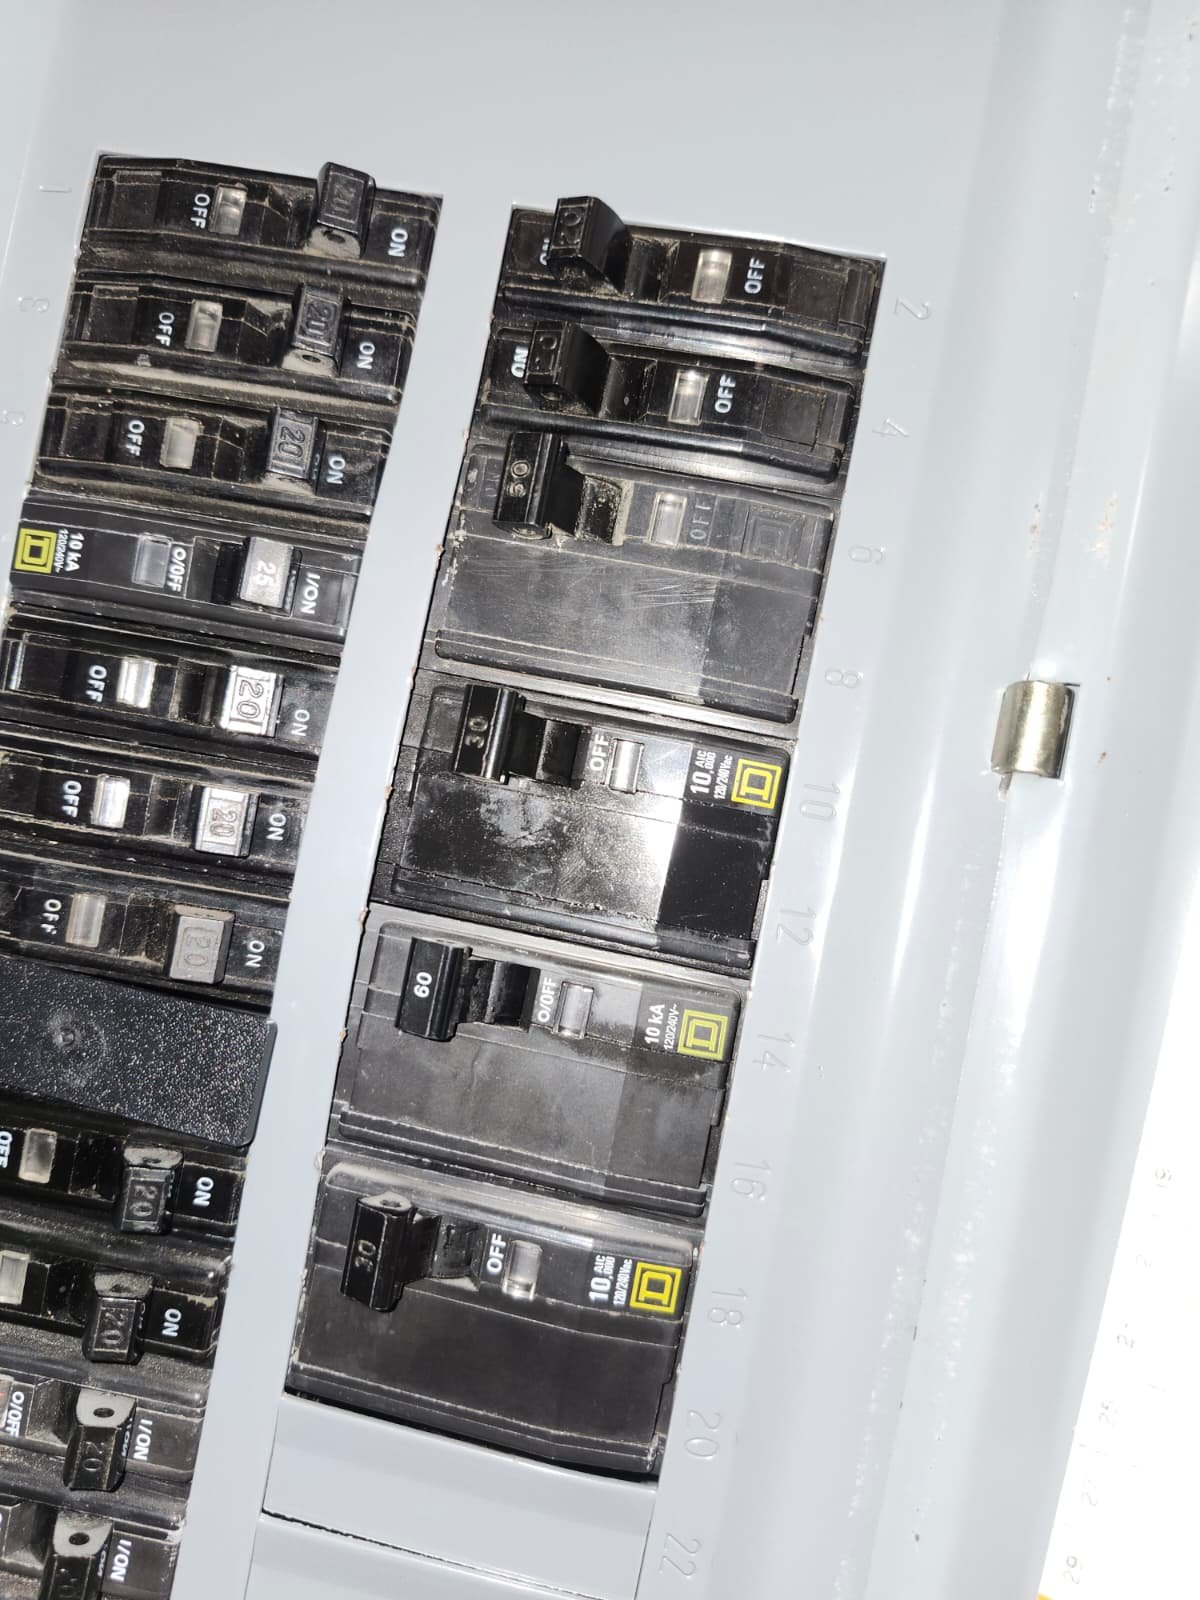
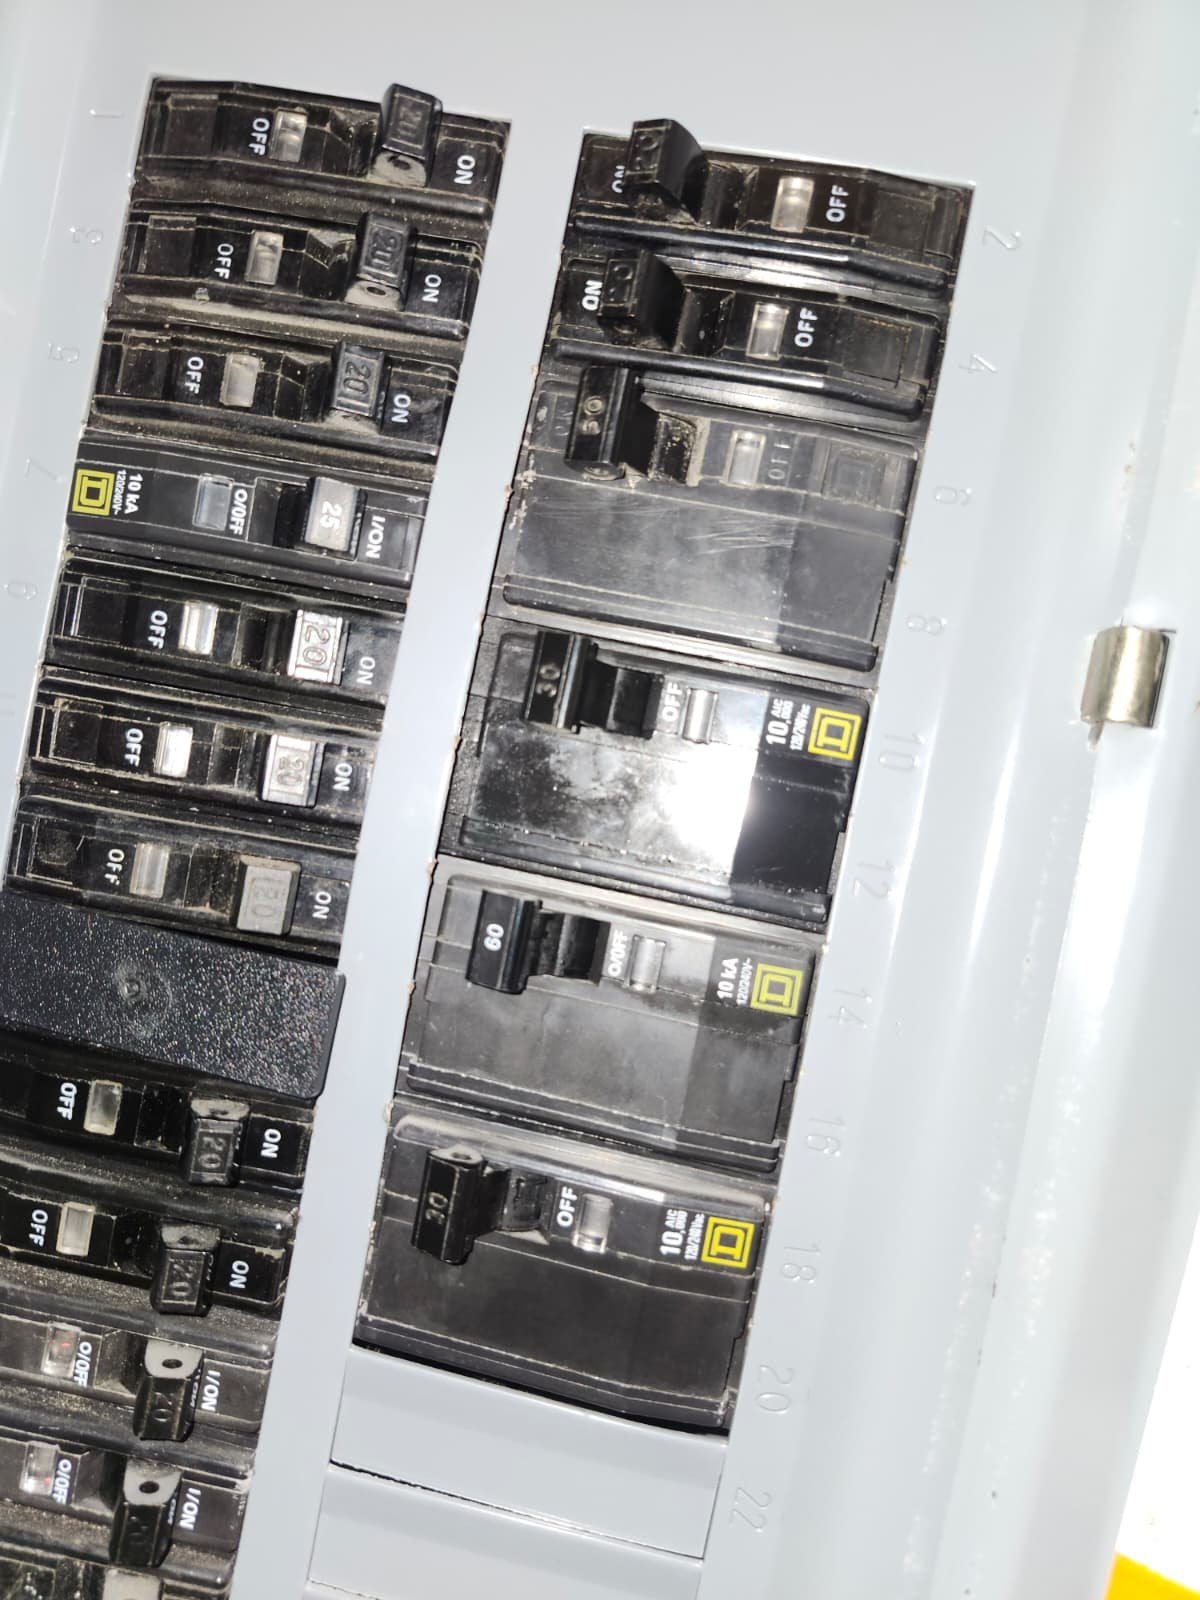
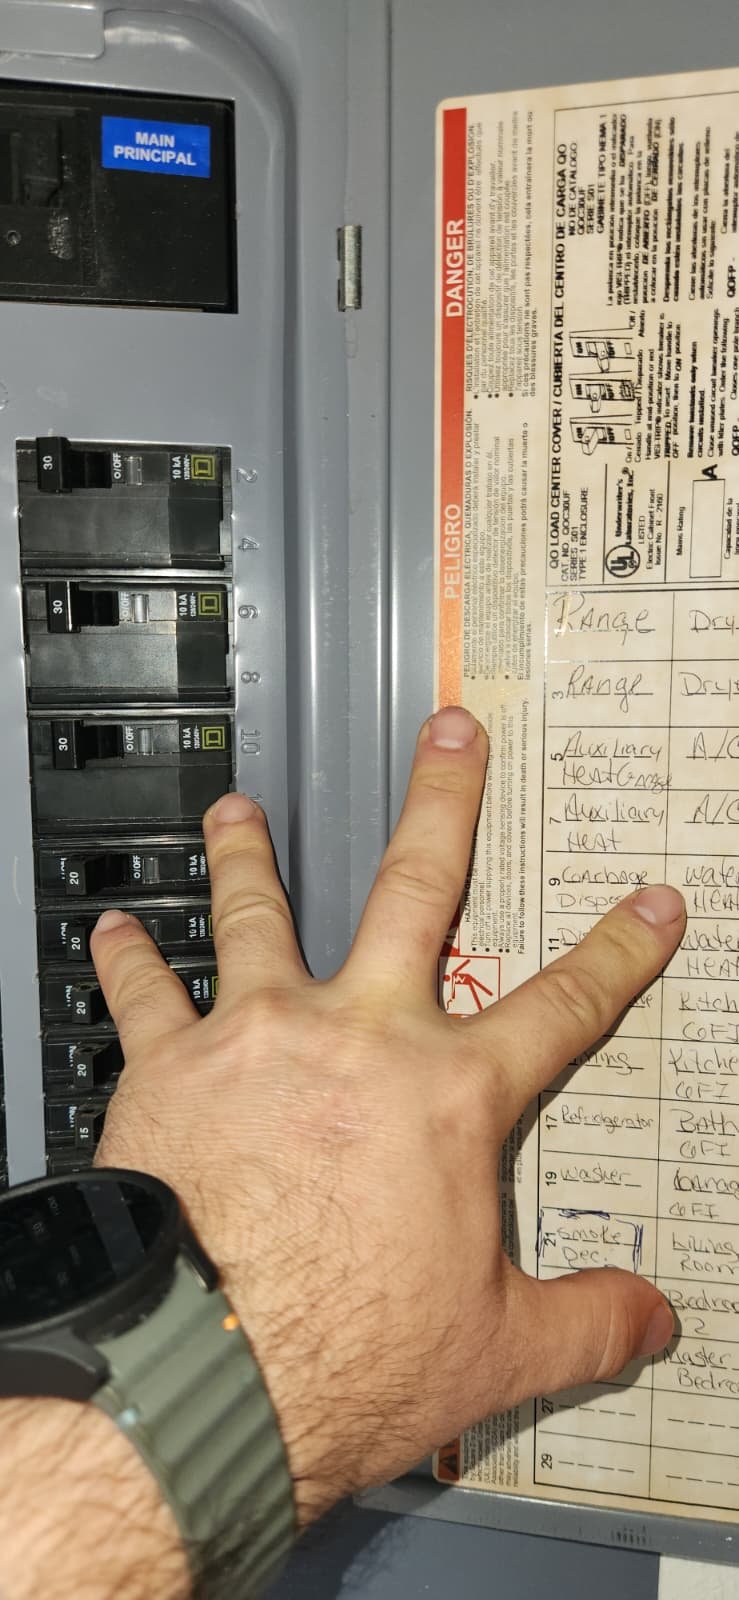
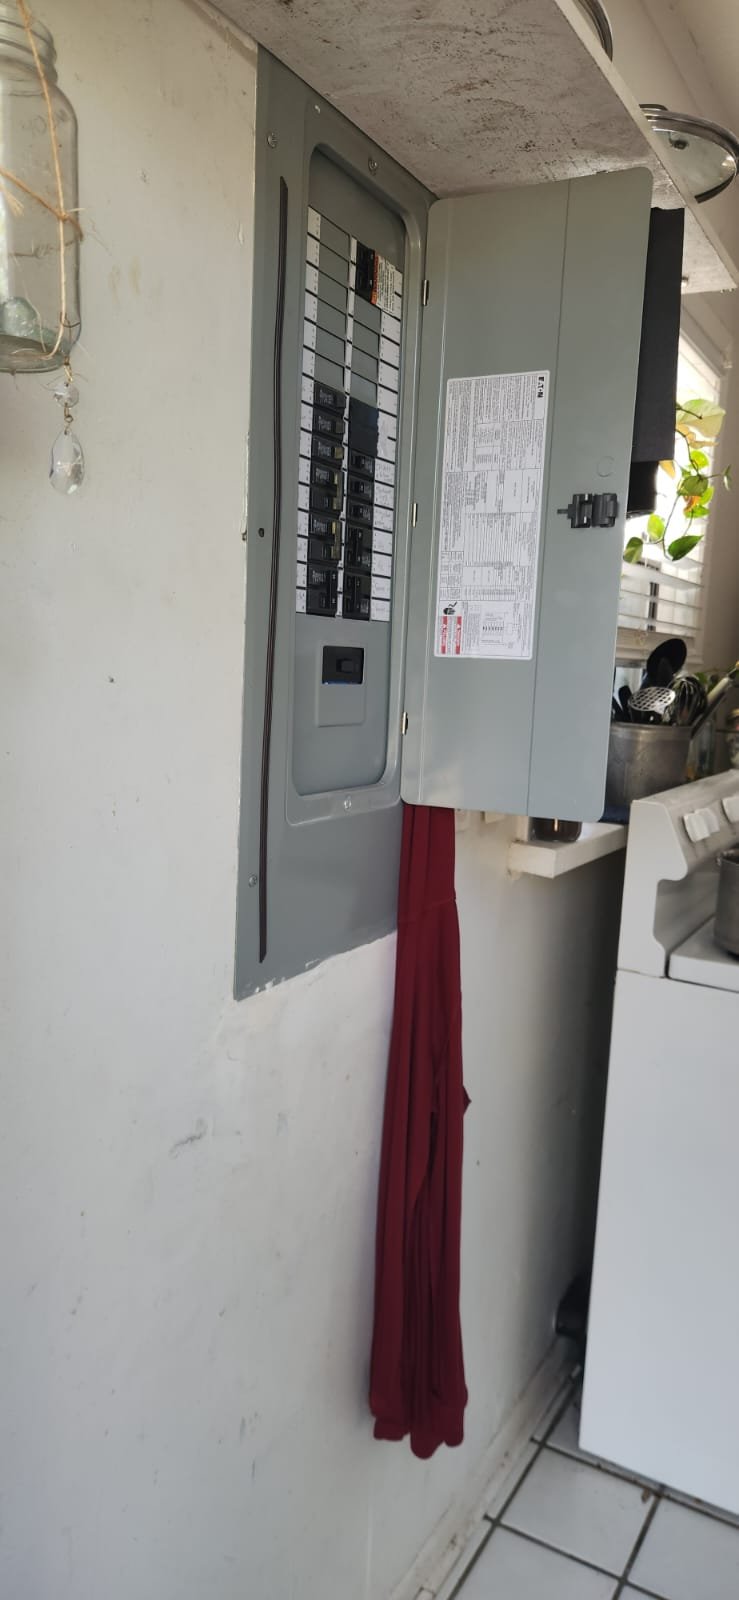
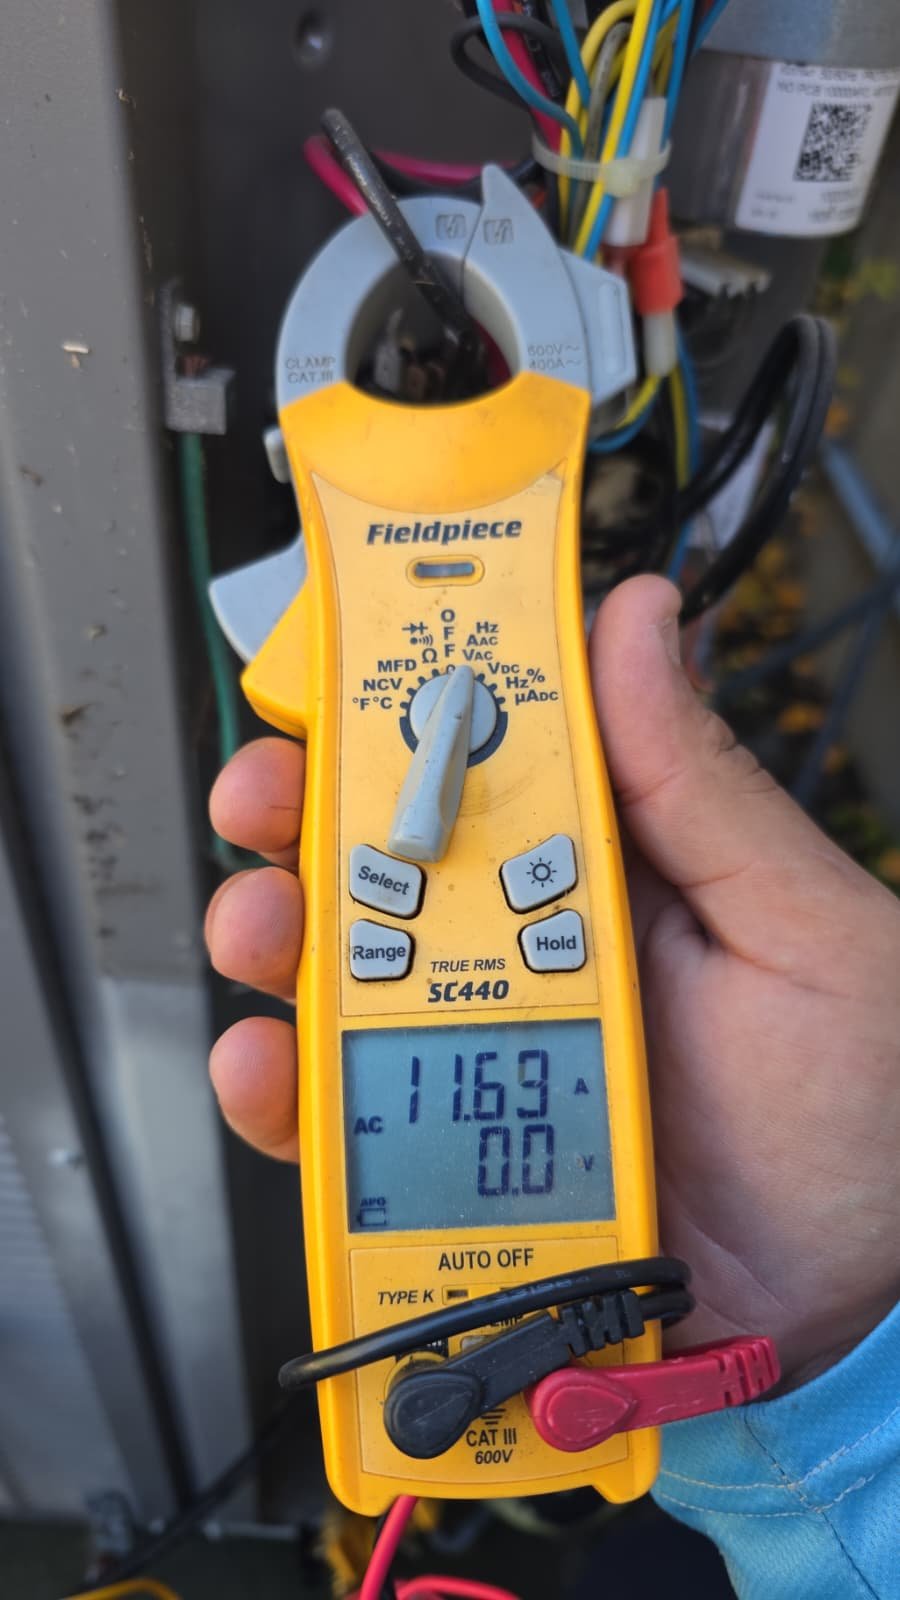
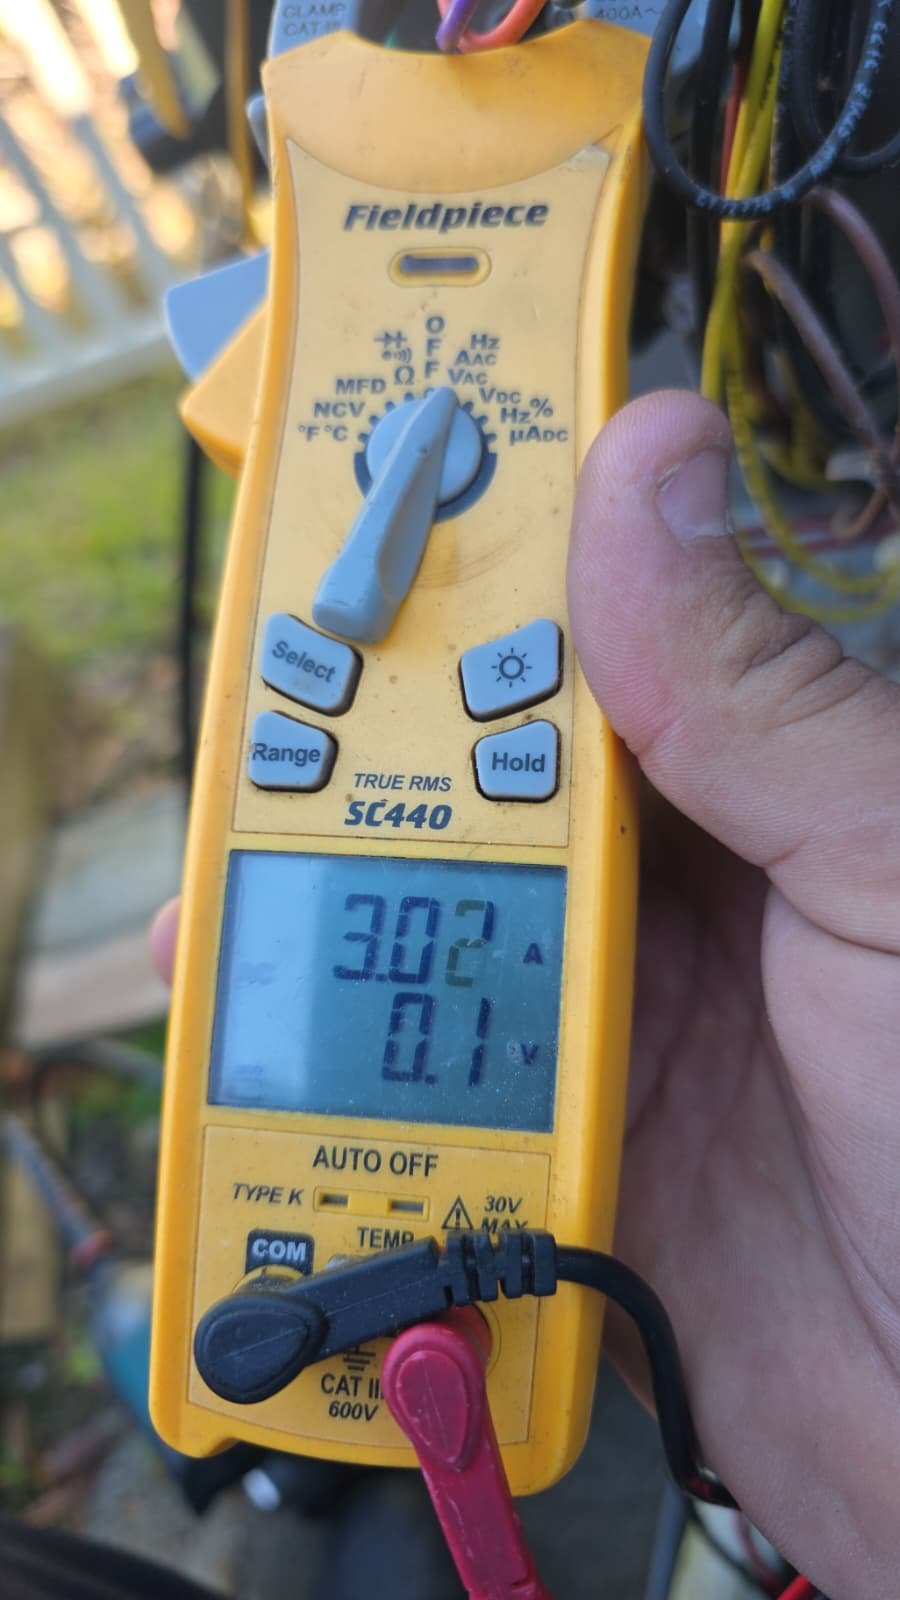
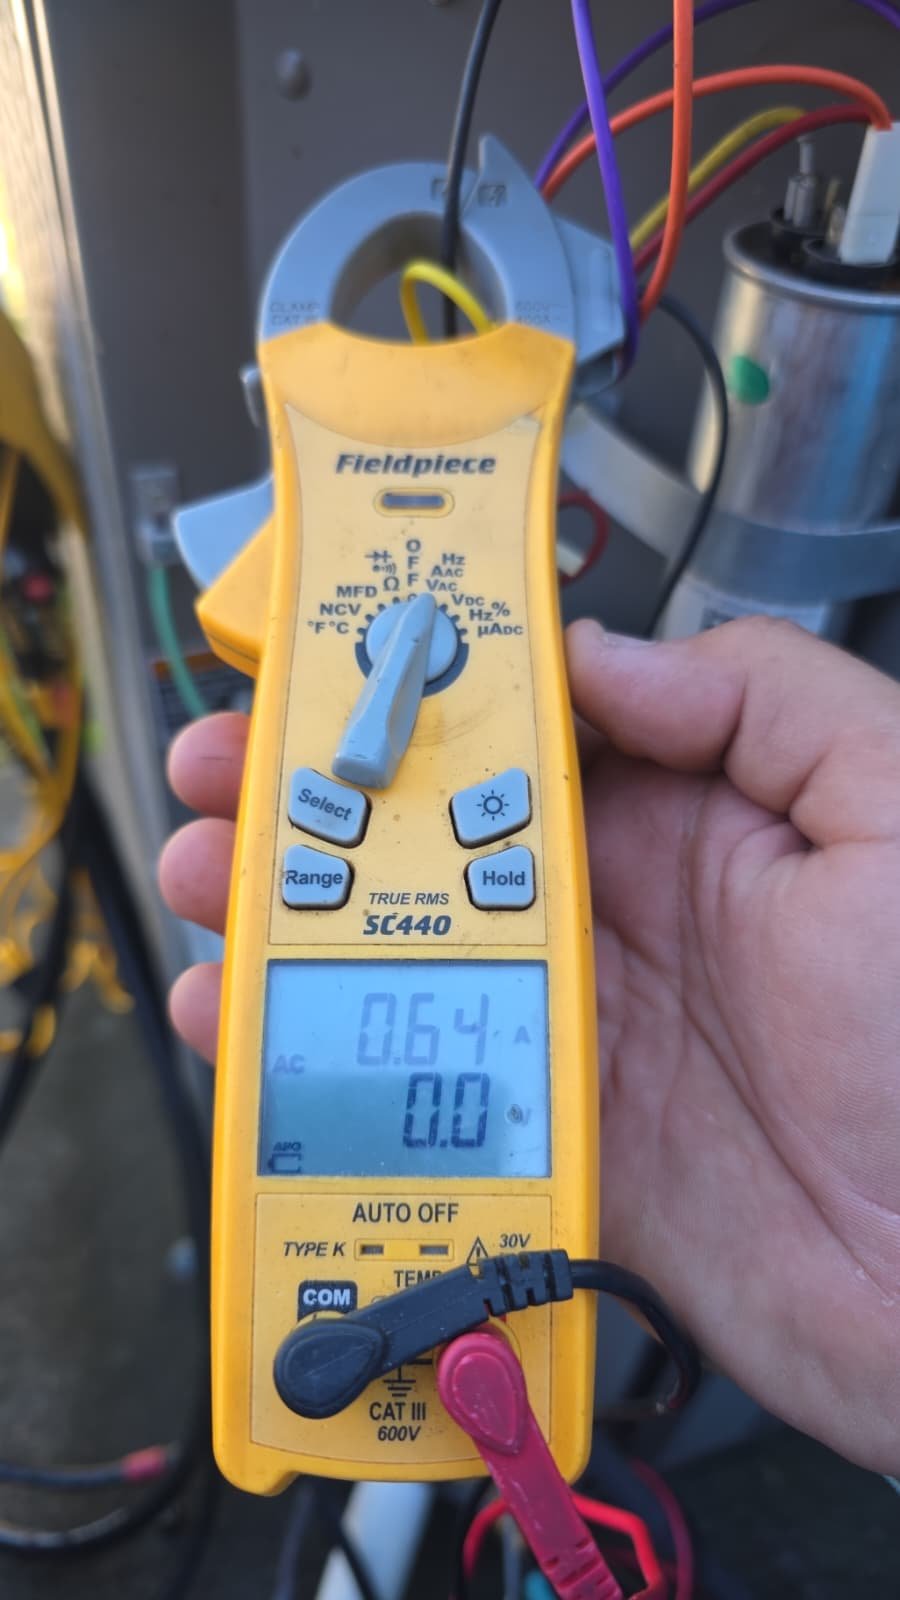
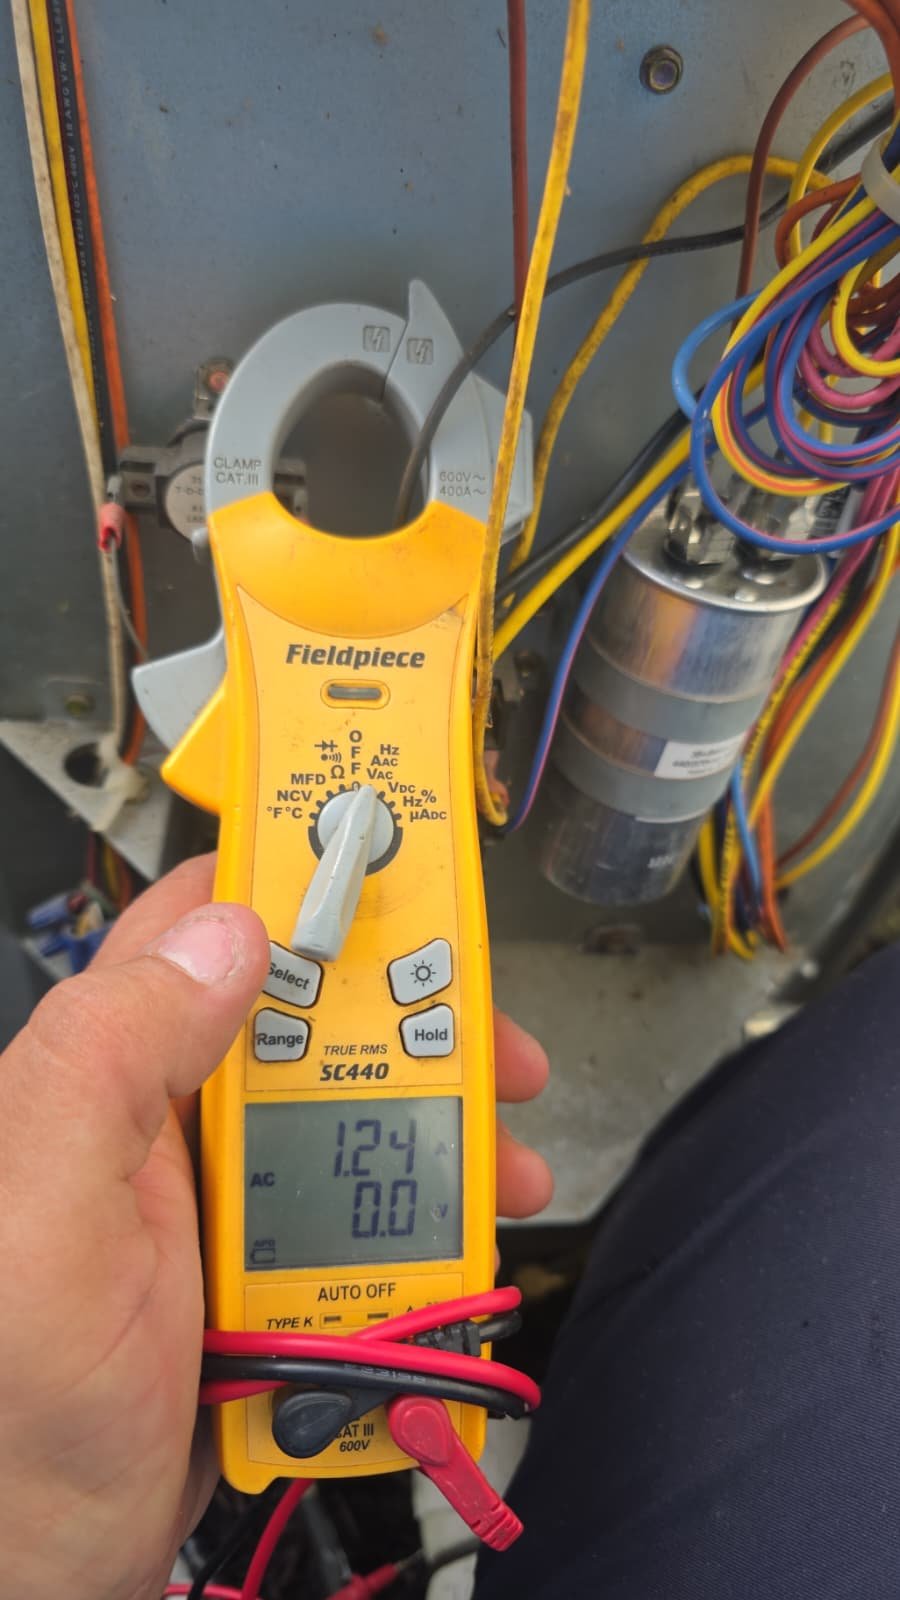
3. Electrical and Amperage Checks
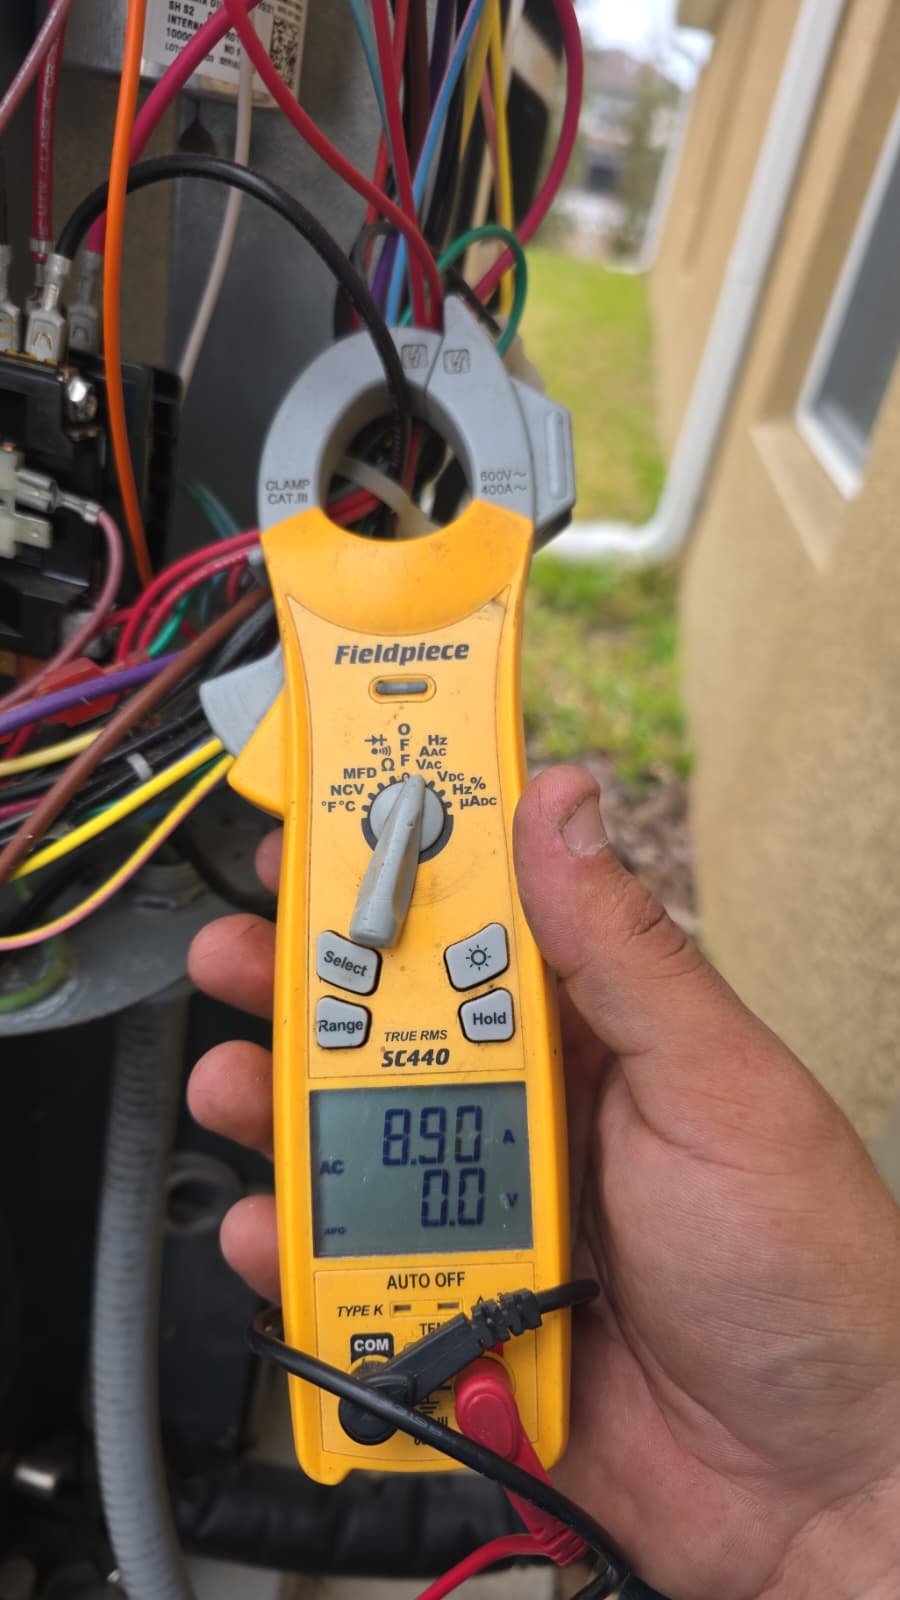
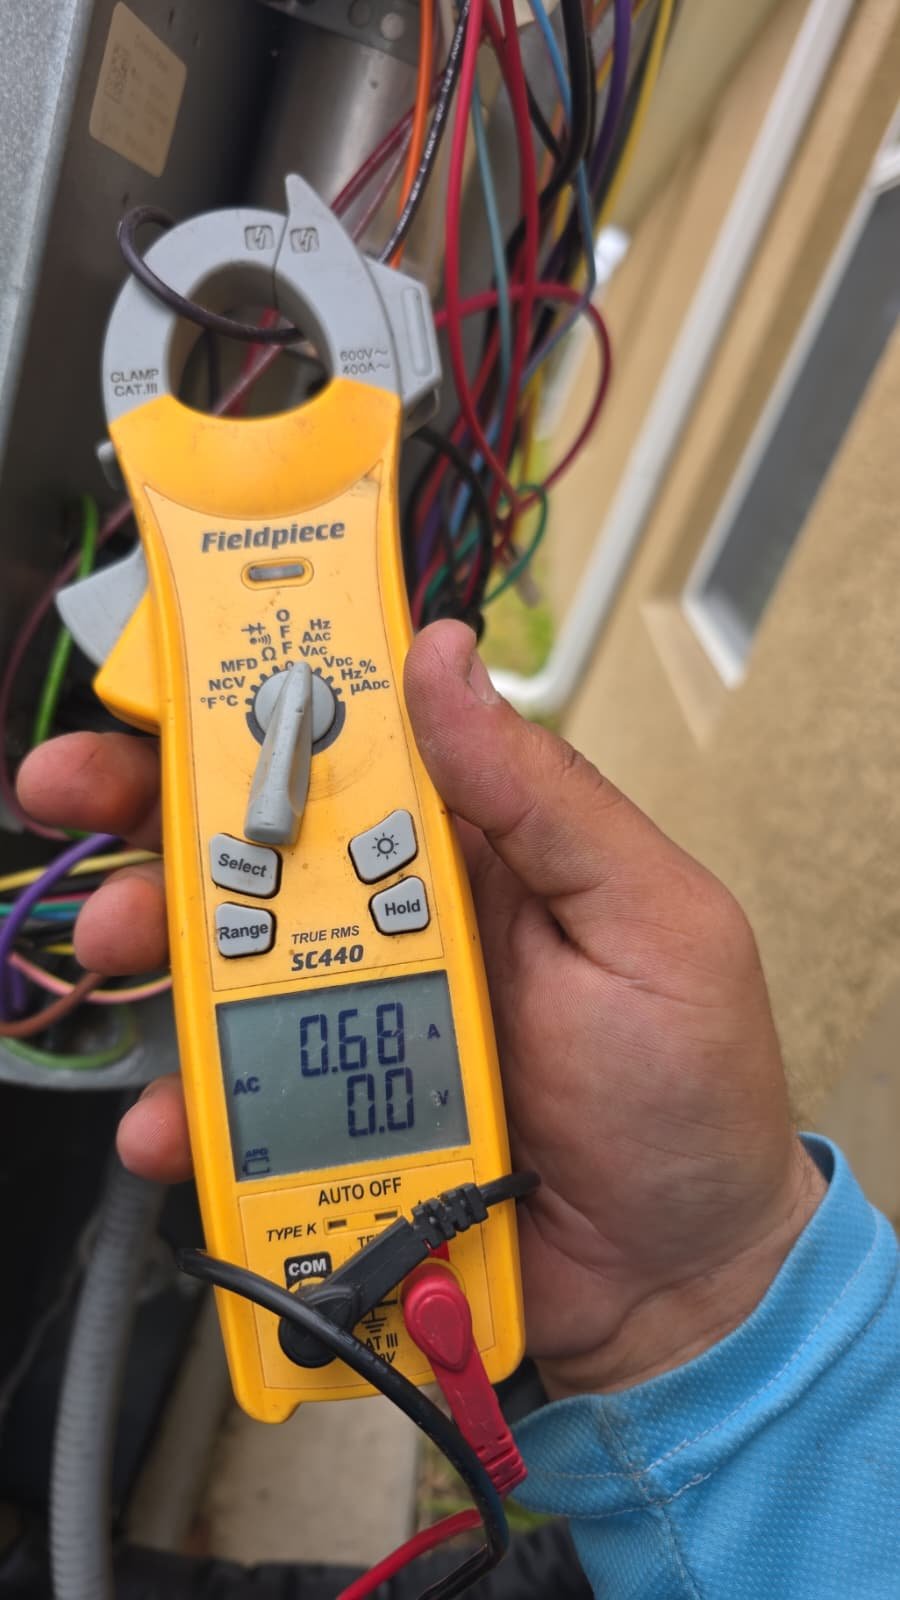
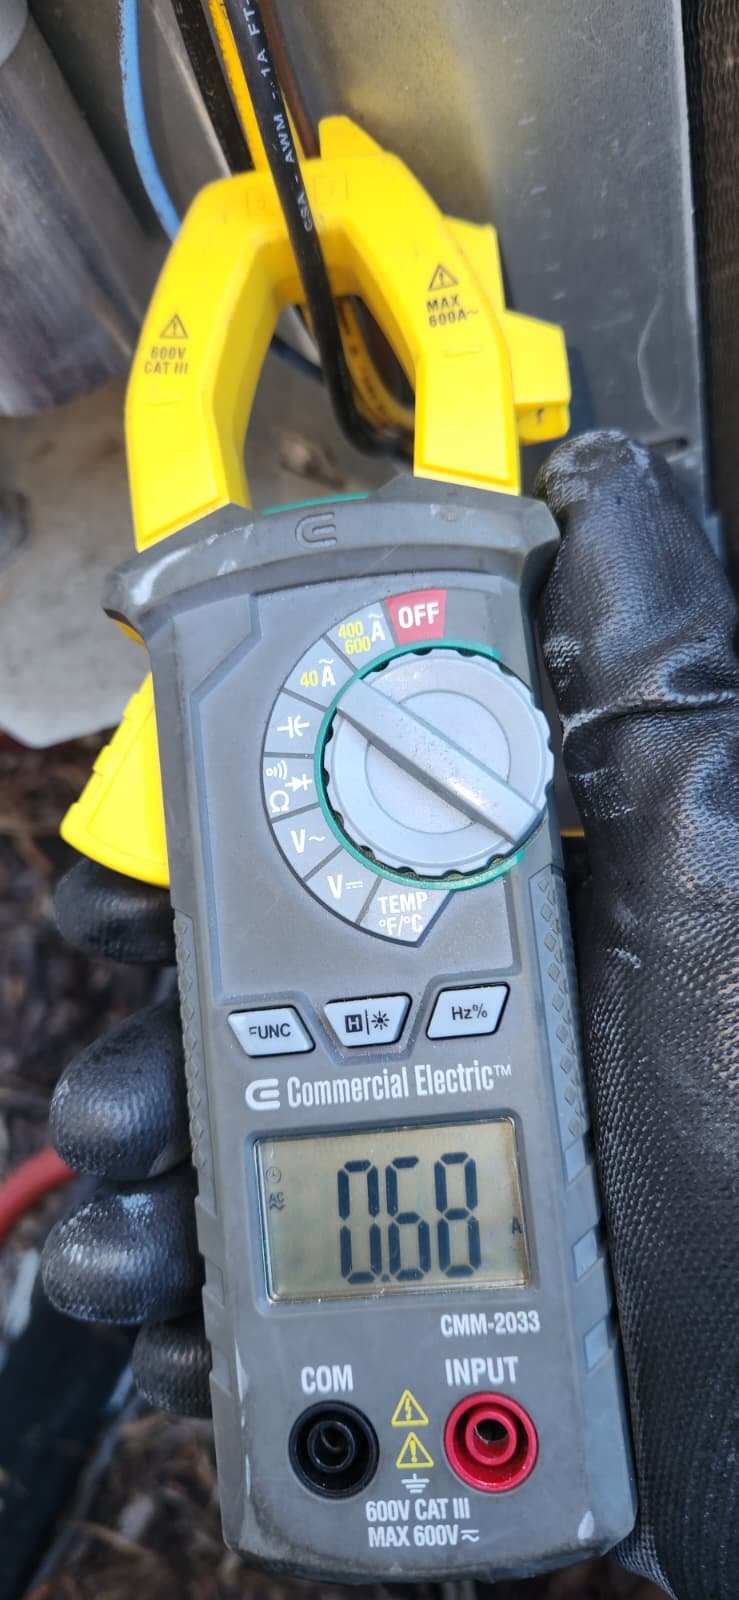
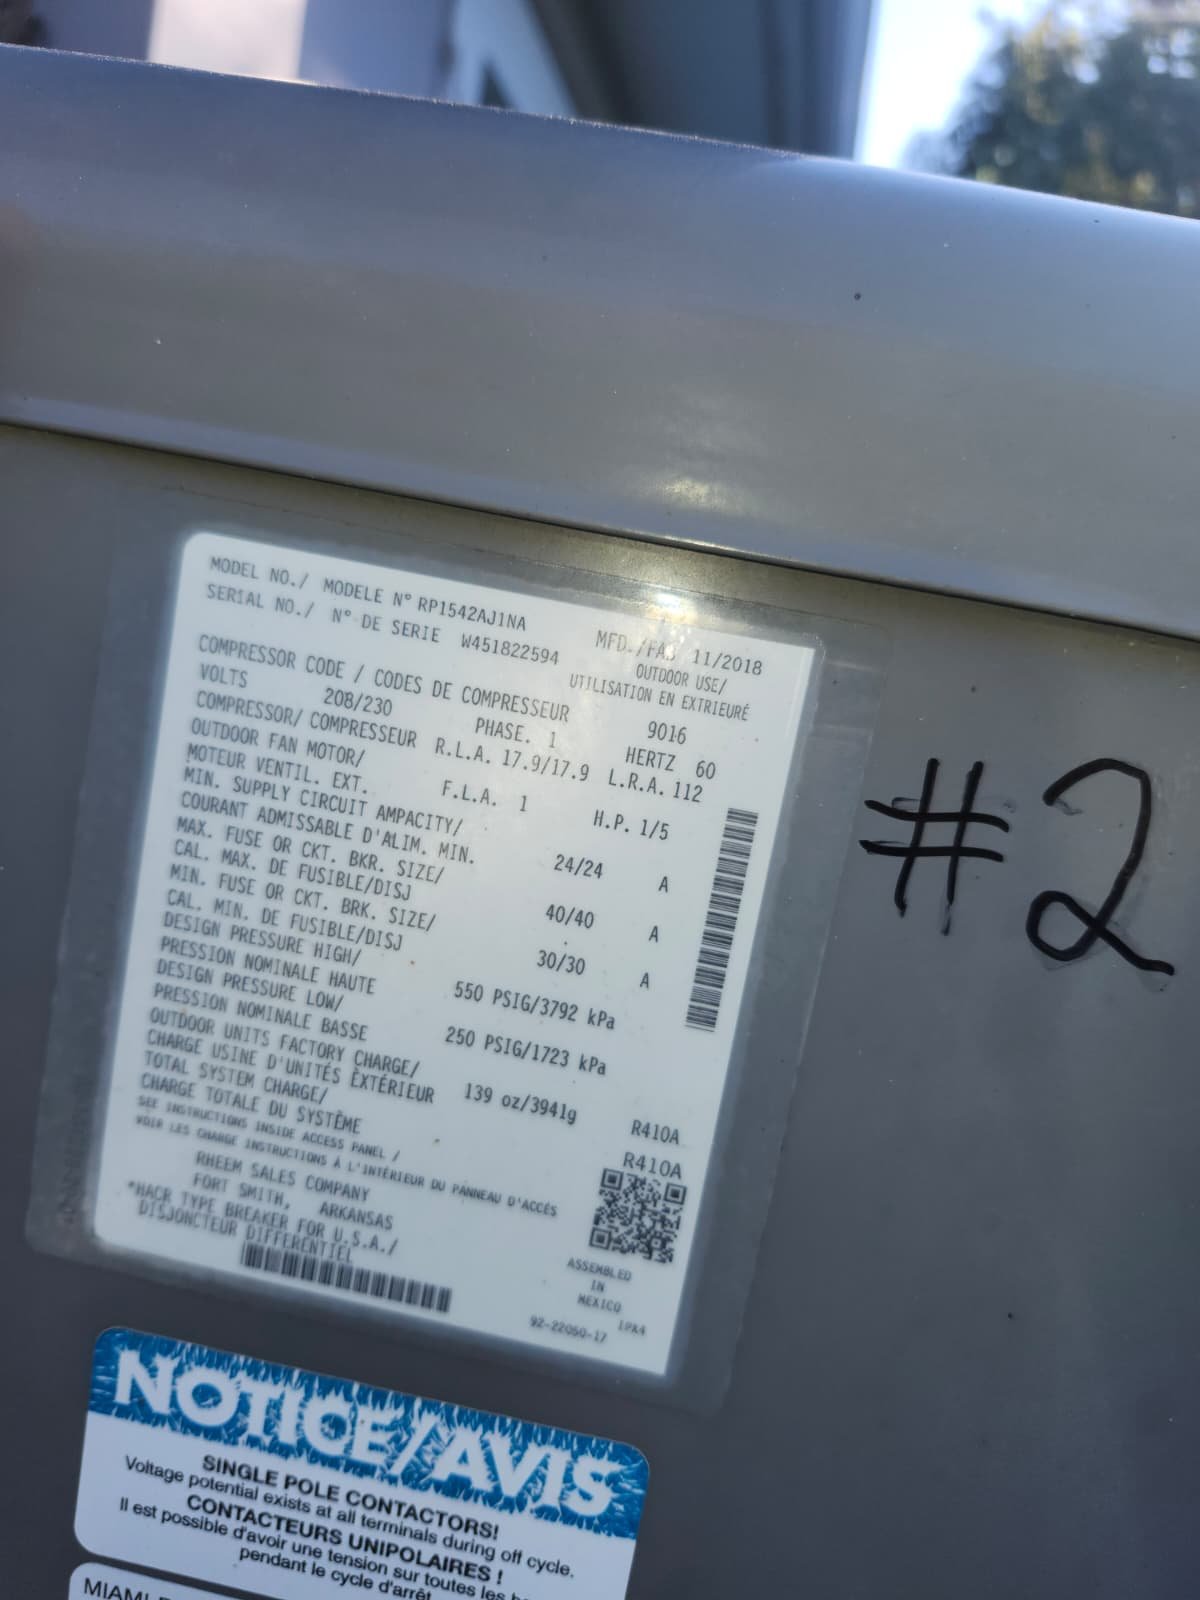
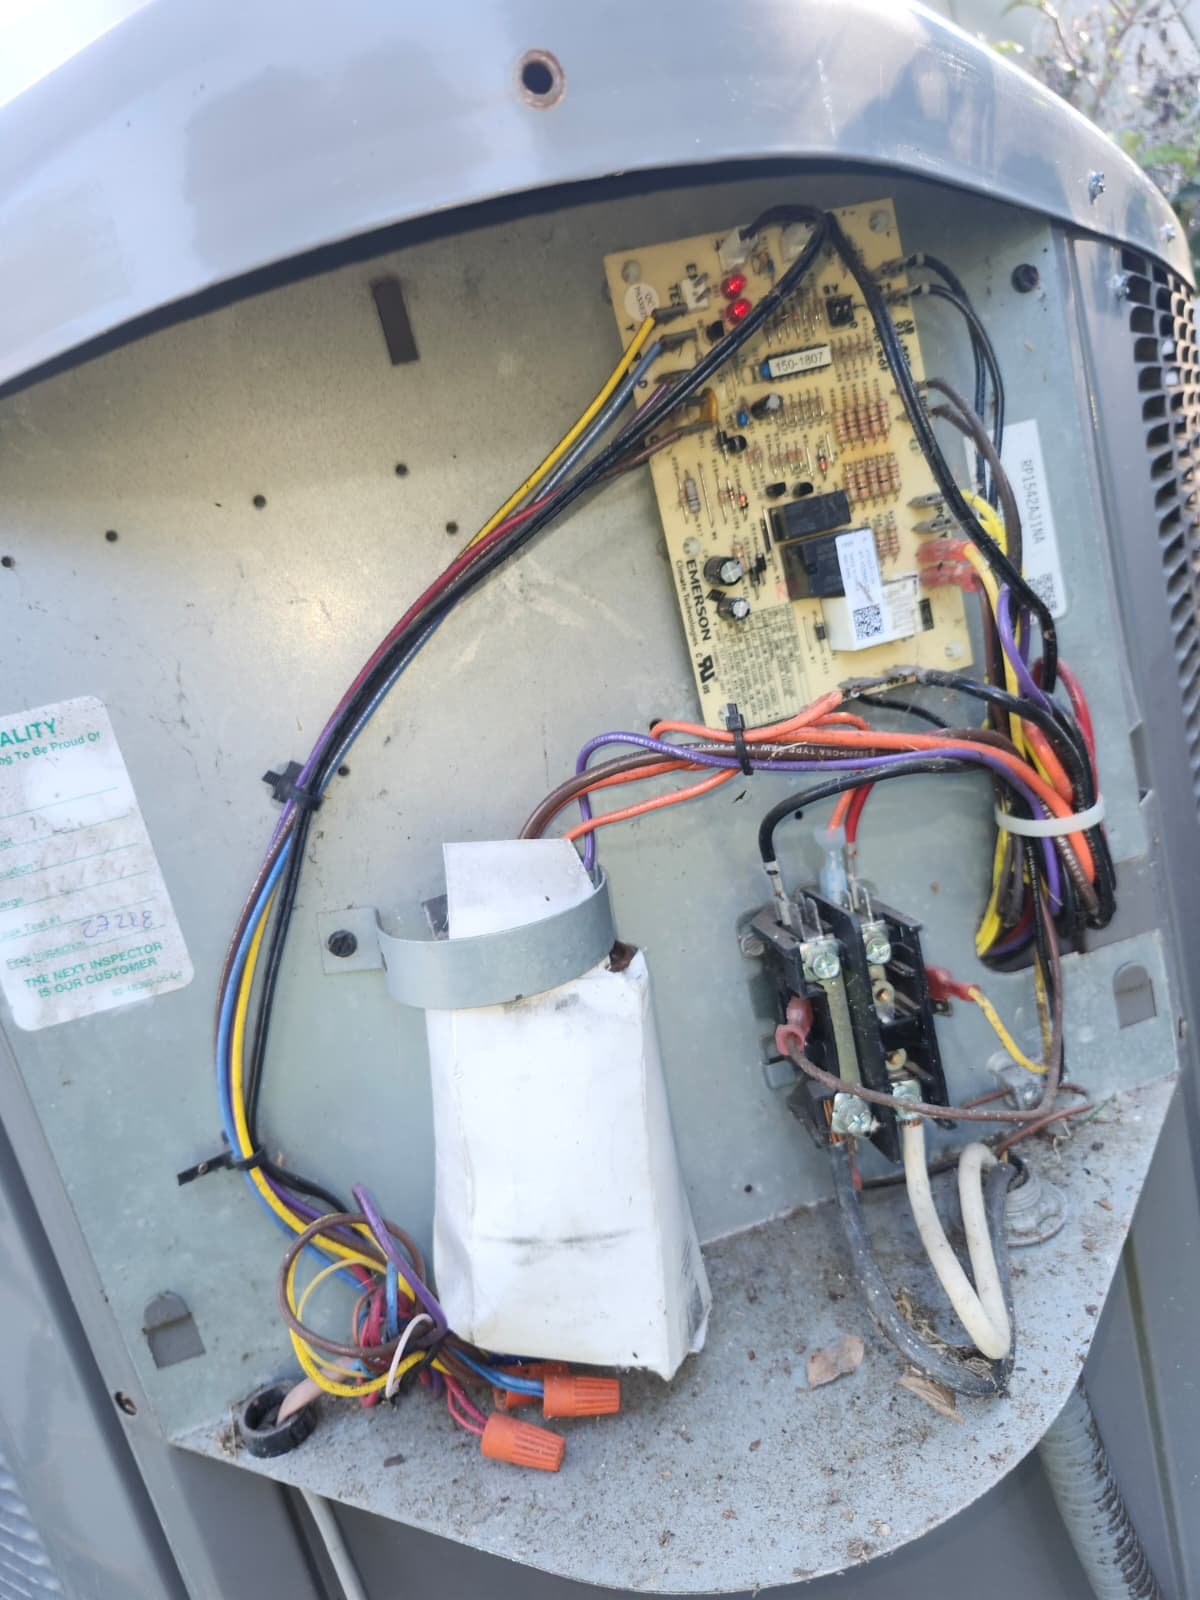
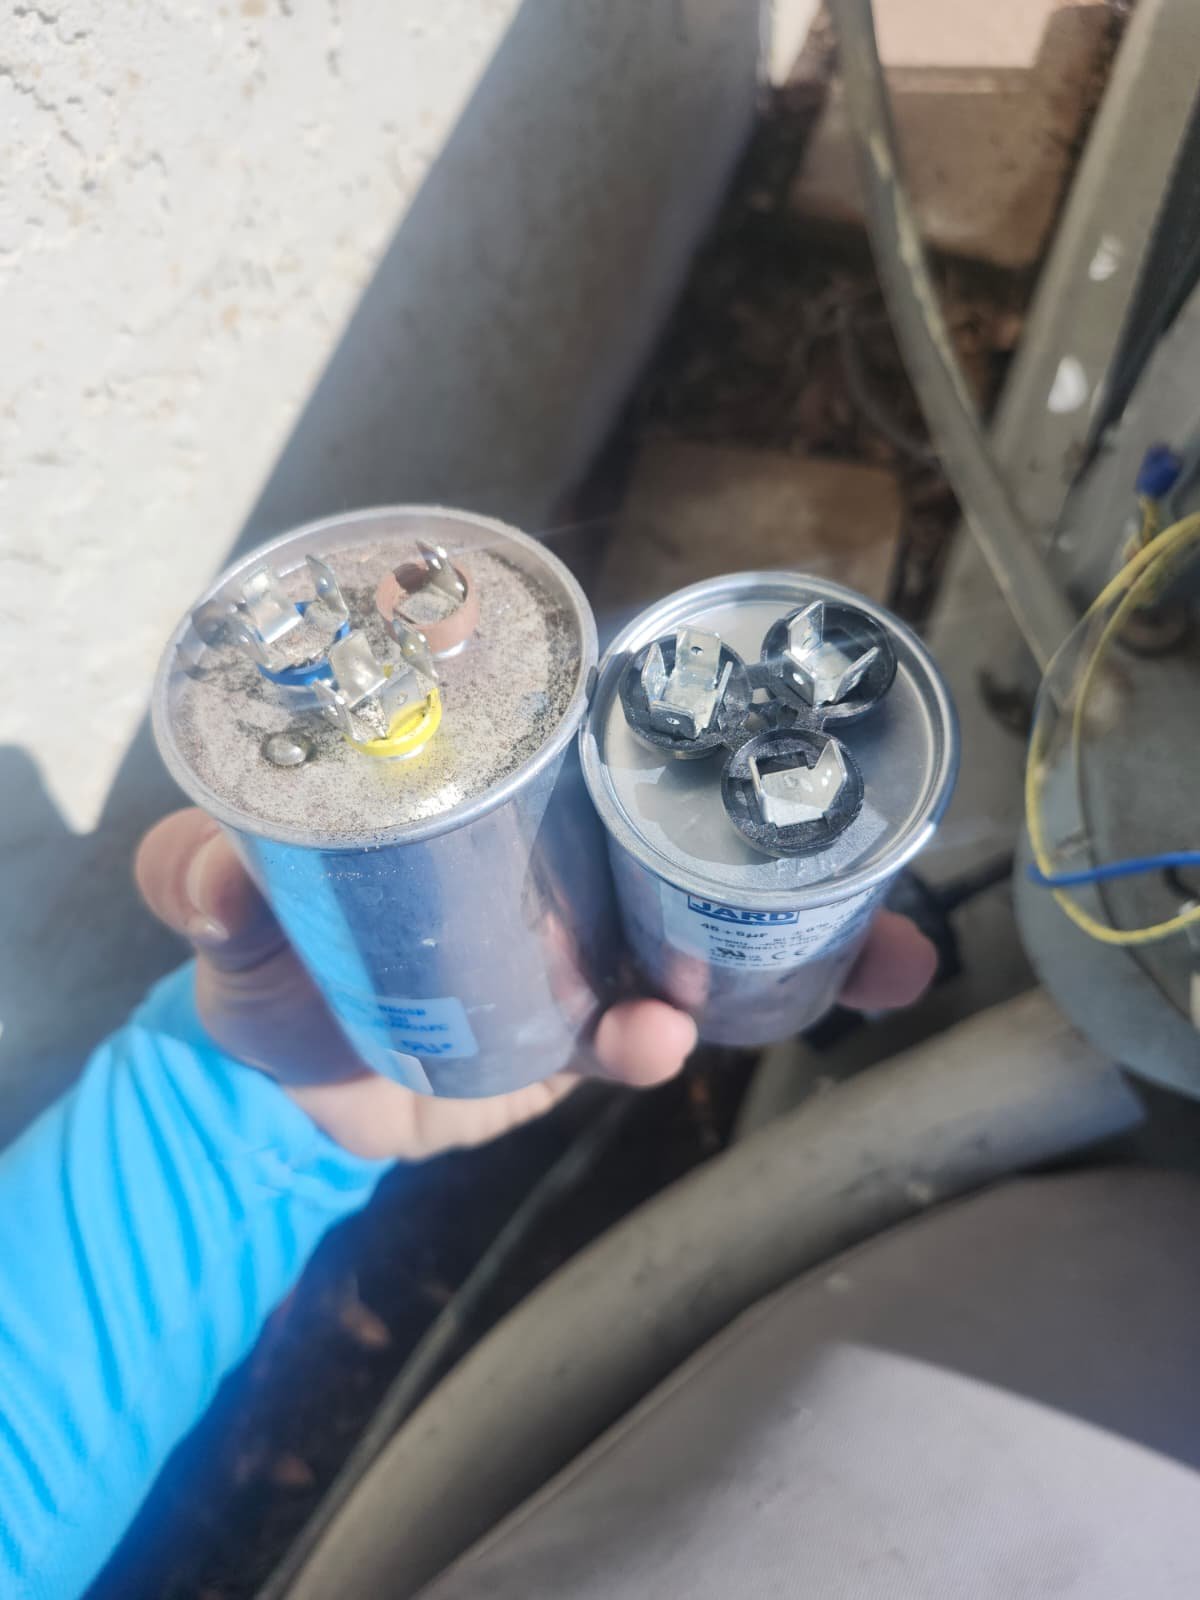
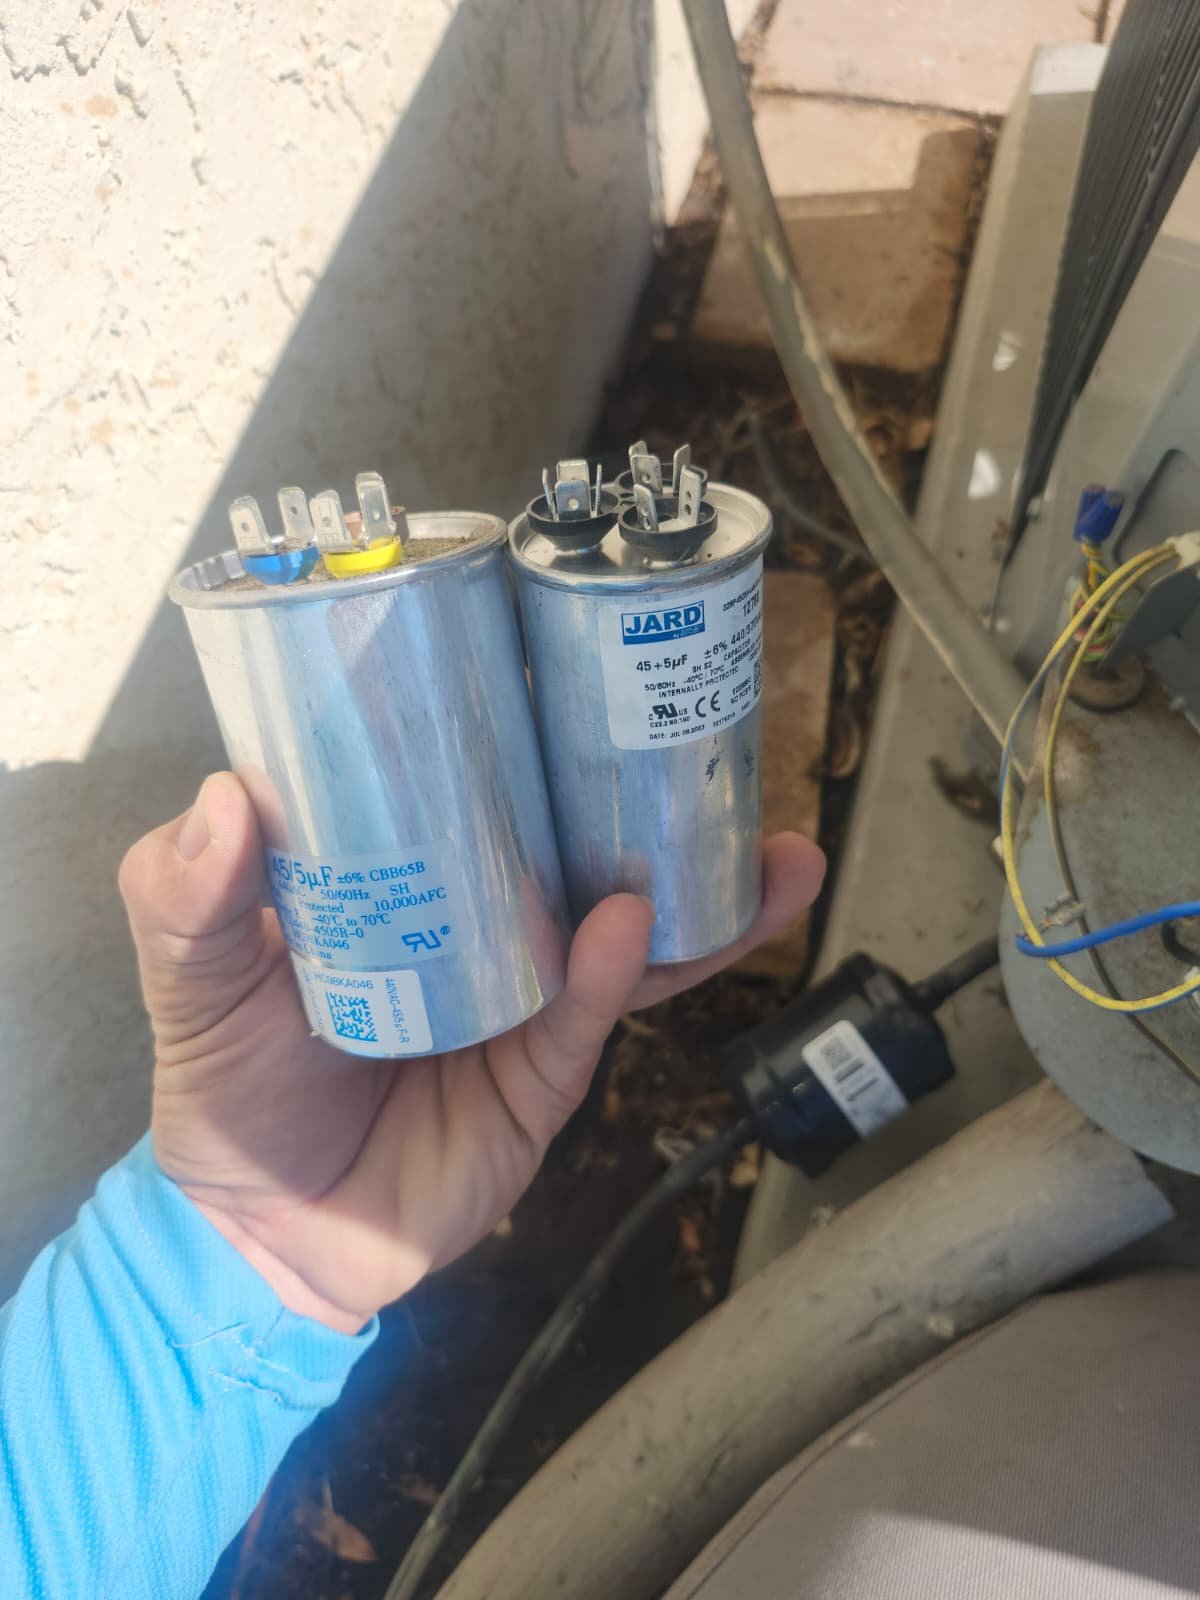
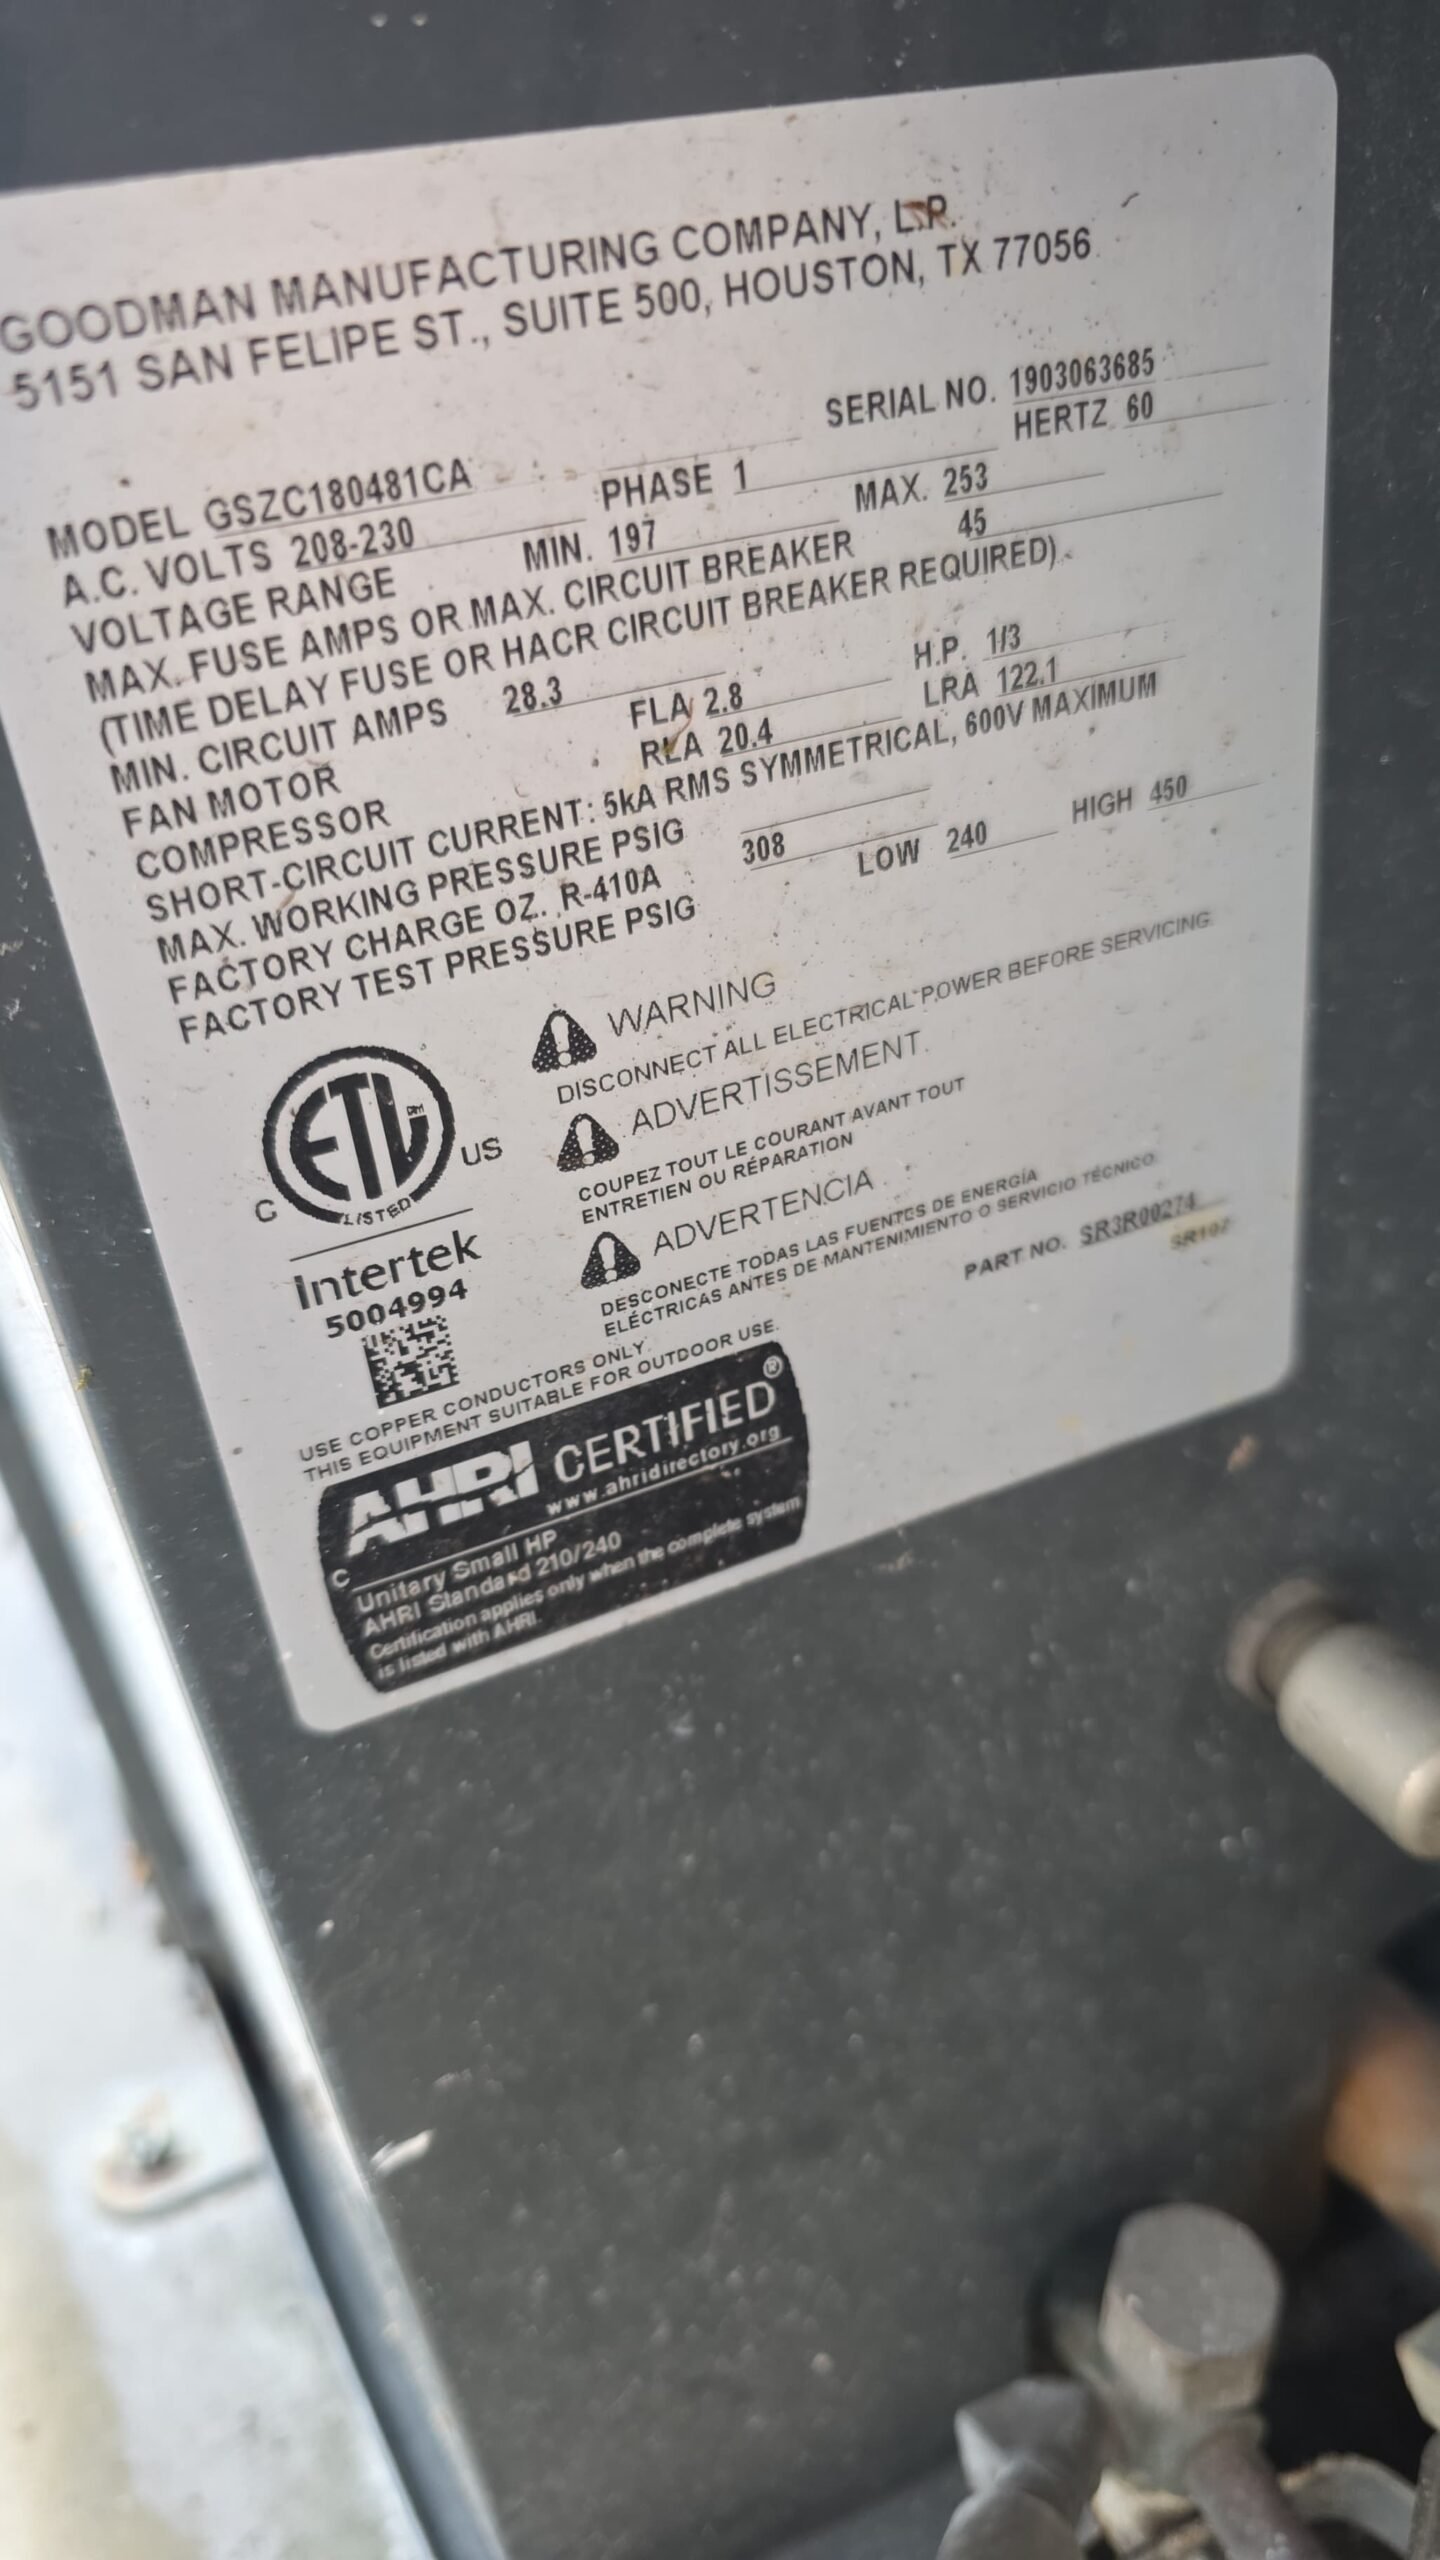
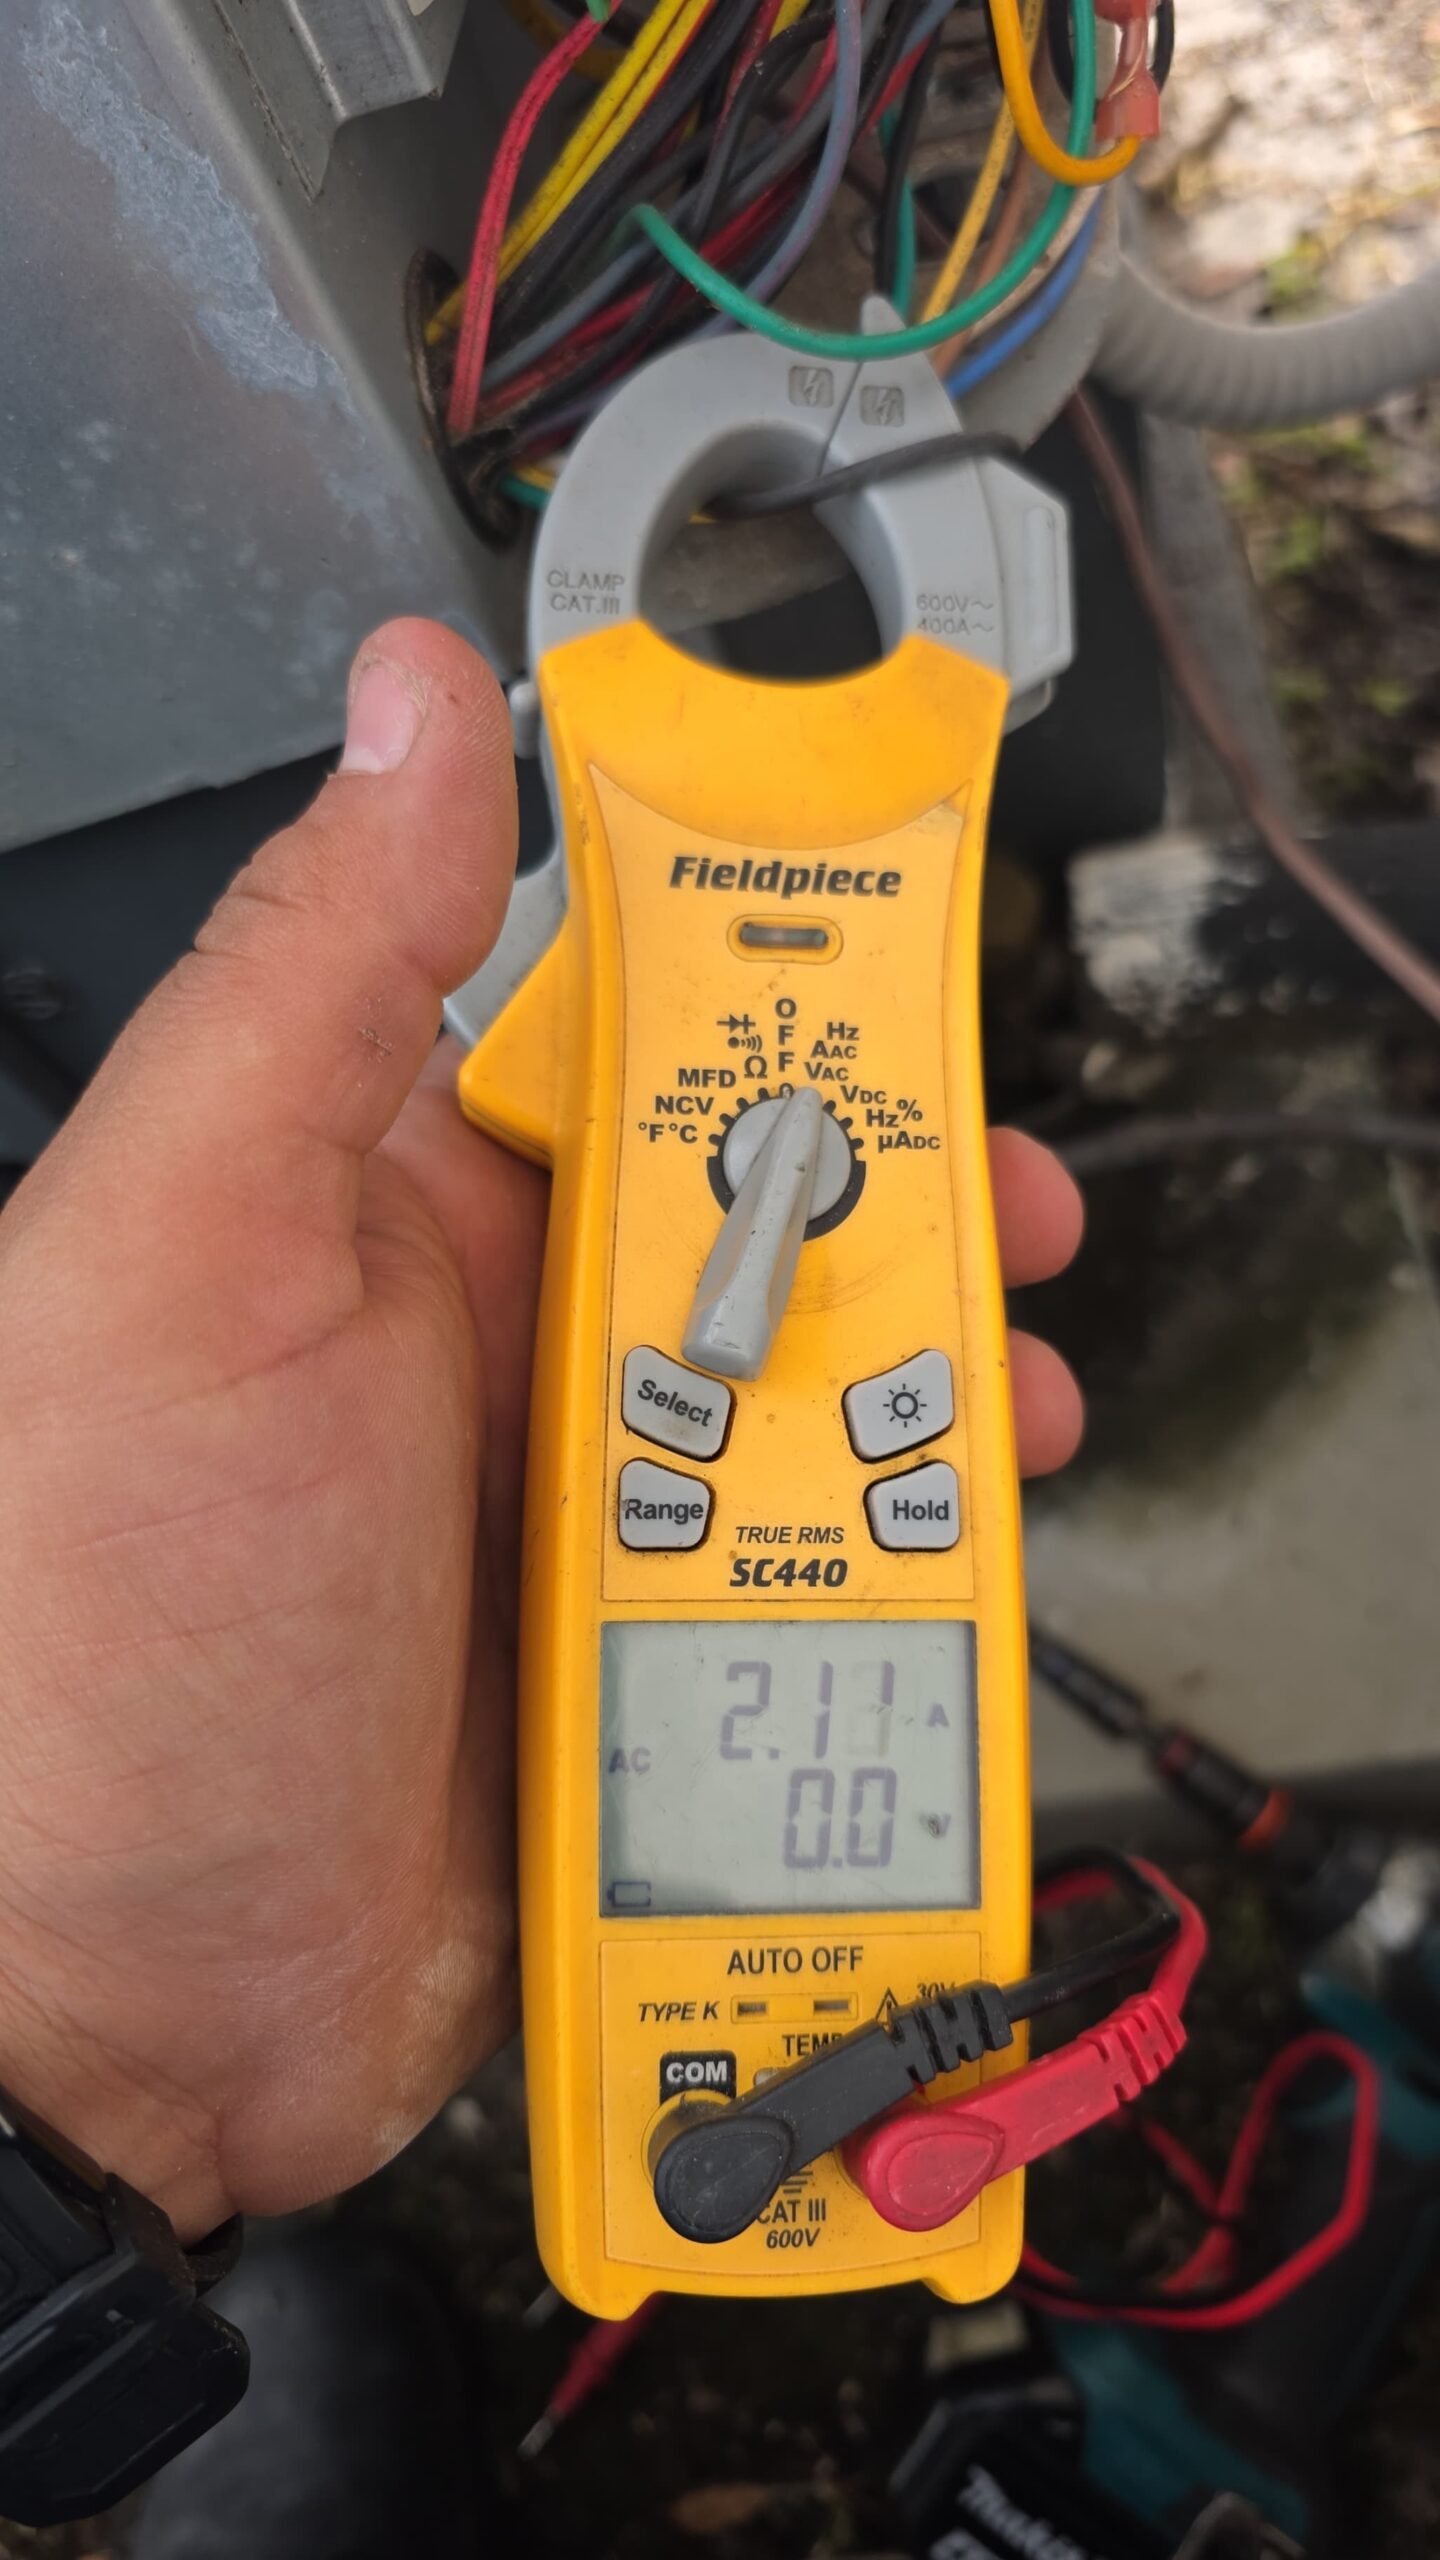
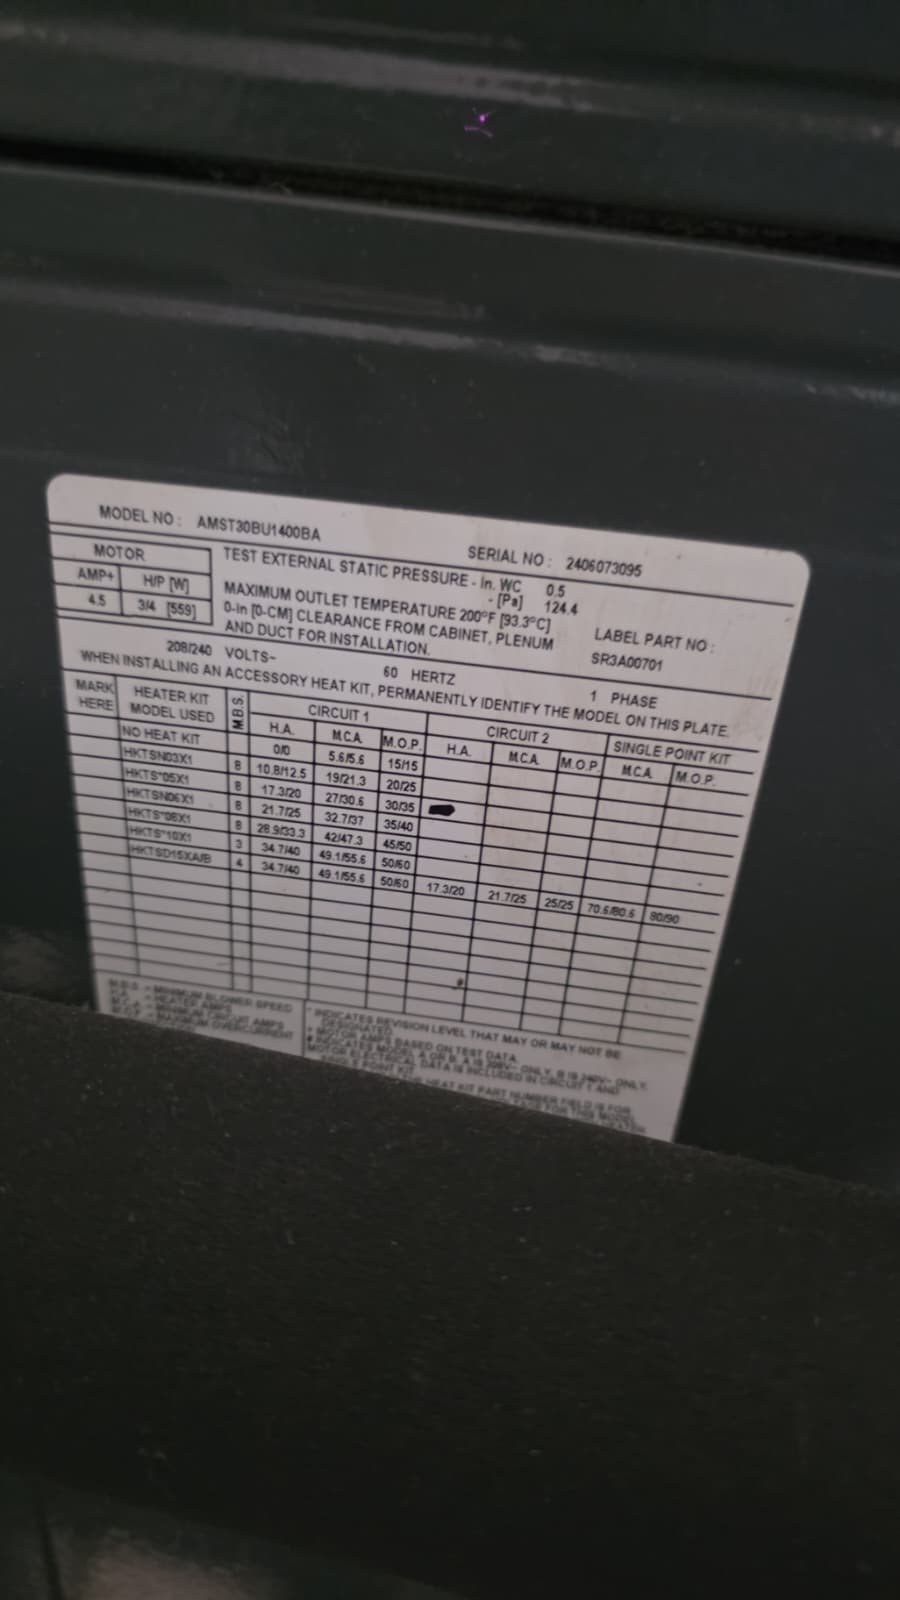
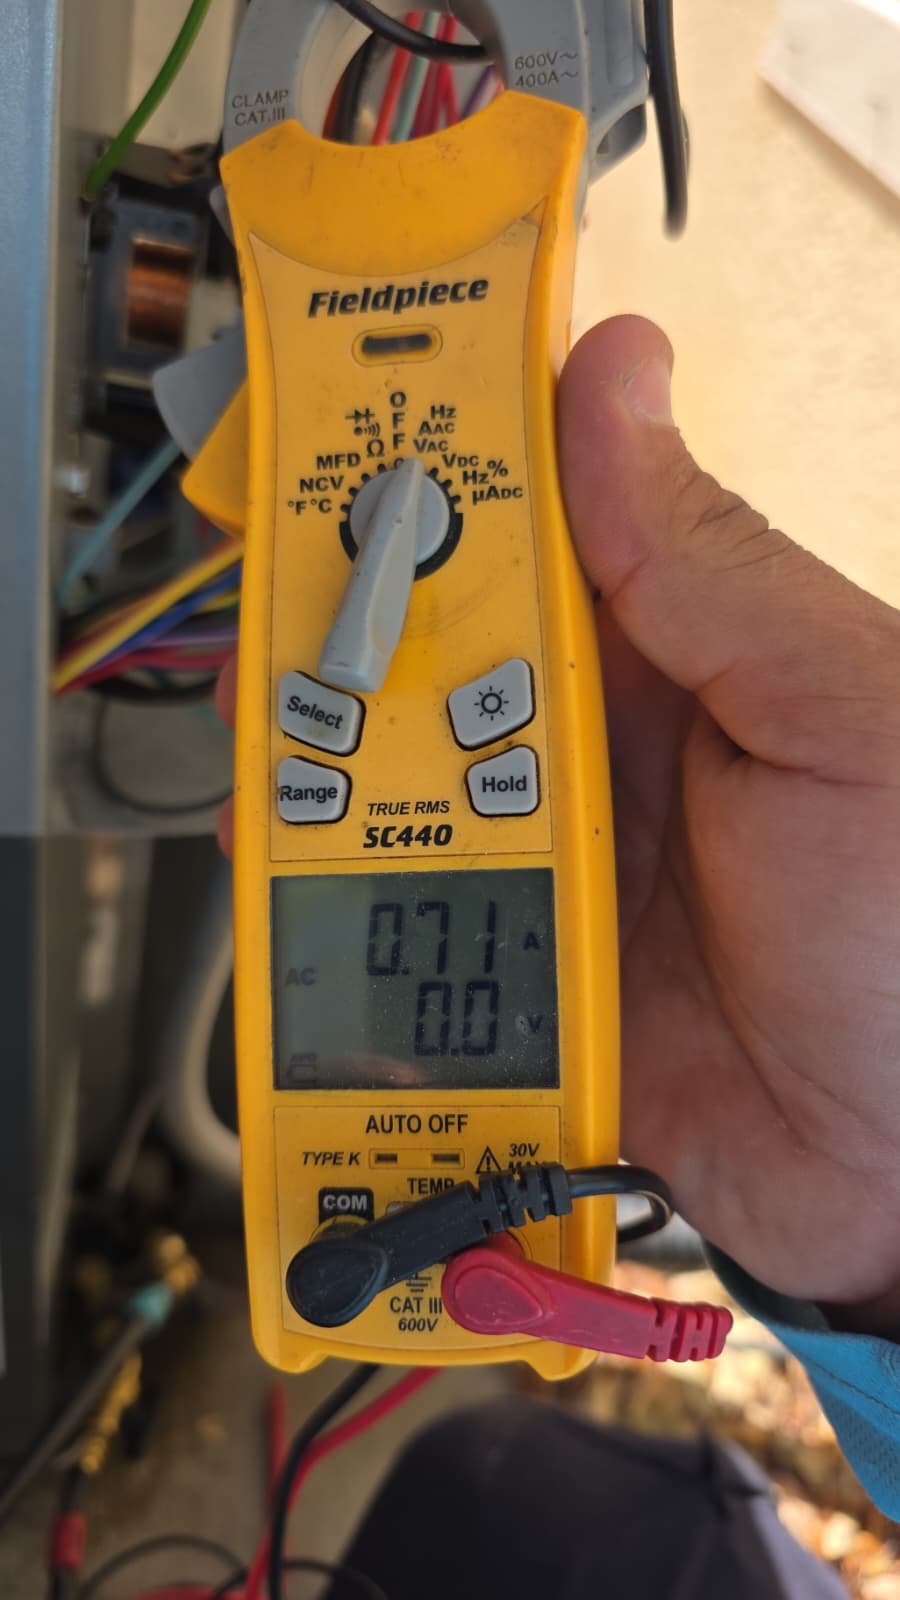
We measured compressor and fan amperage and compared the readings to manufacturer guidelines. Both the compressor and fan motors were operating within expected ranges, which is a good indication that the motors are not overworking or overheating under normal conditions.
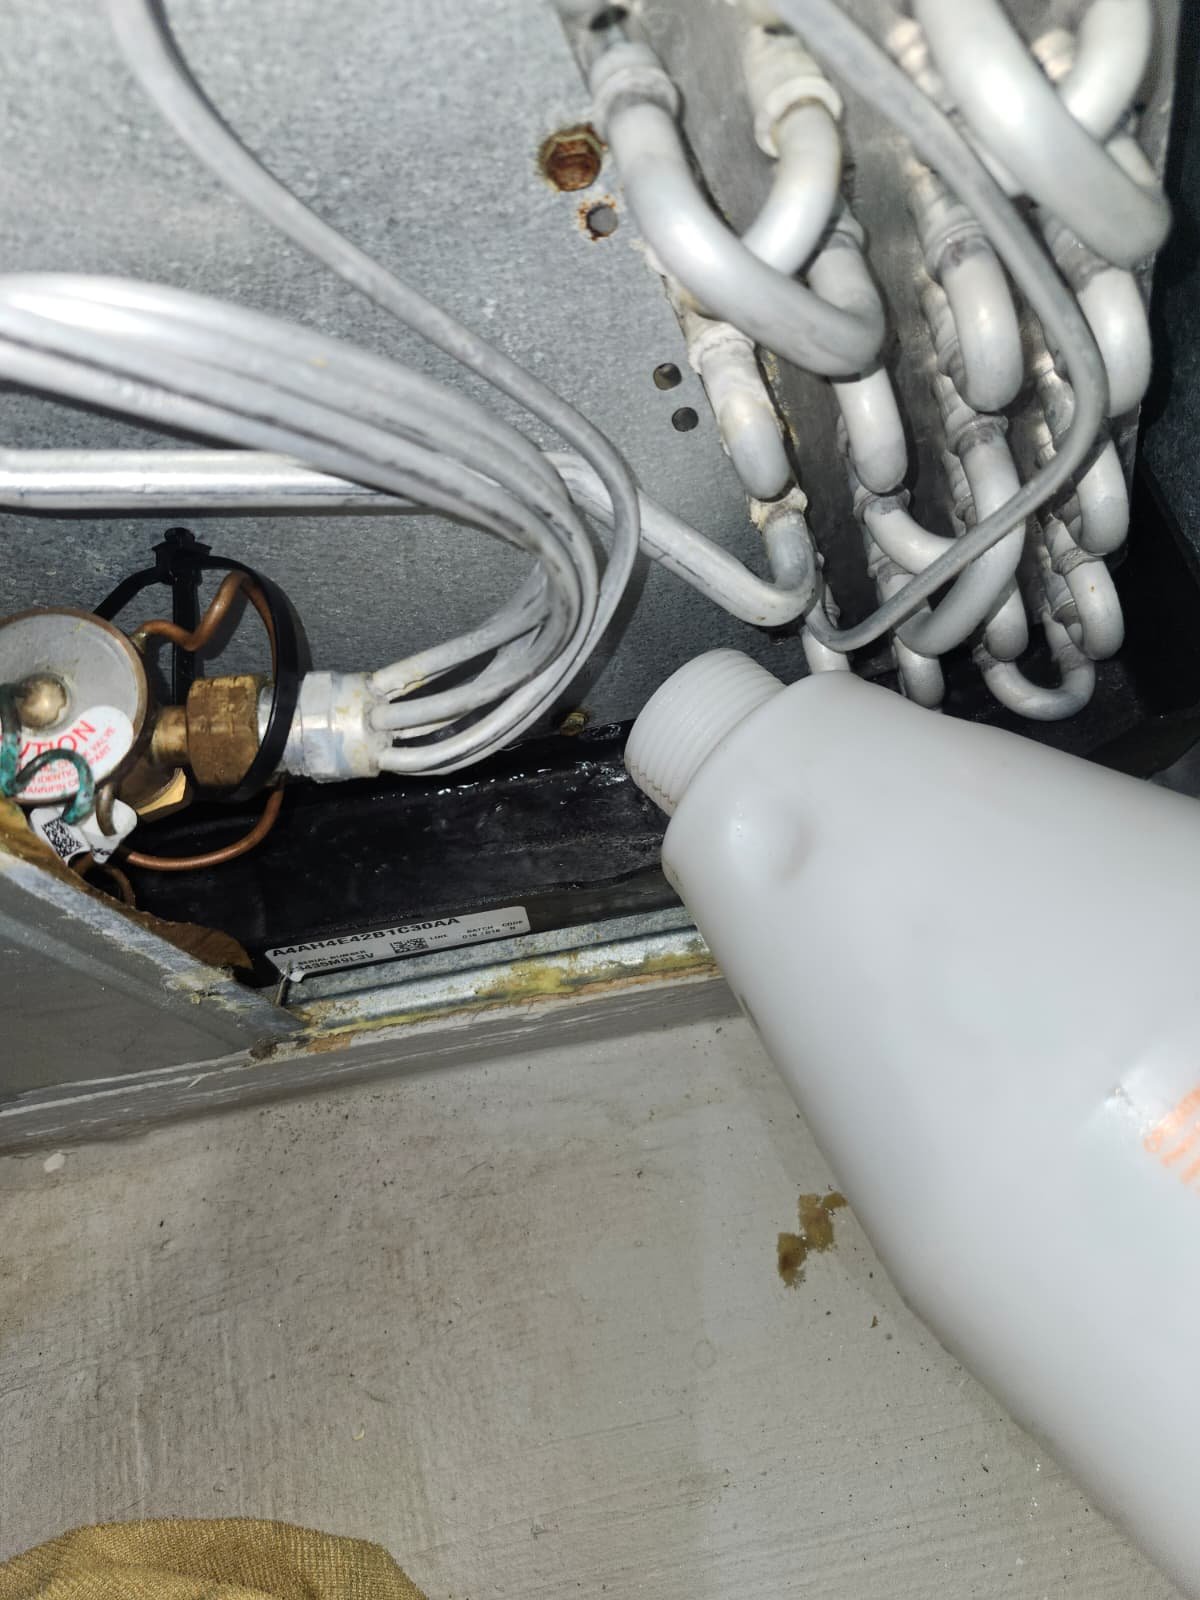
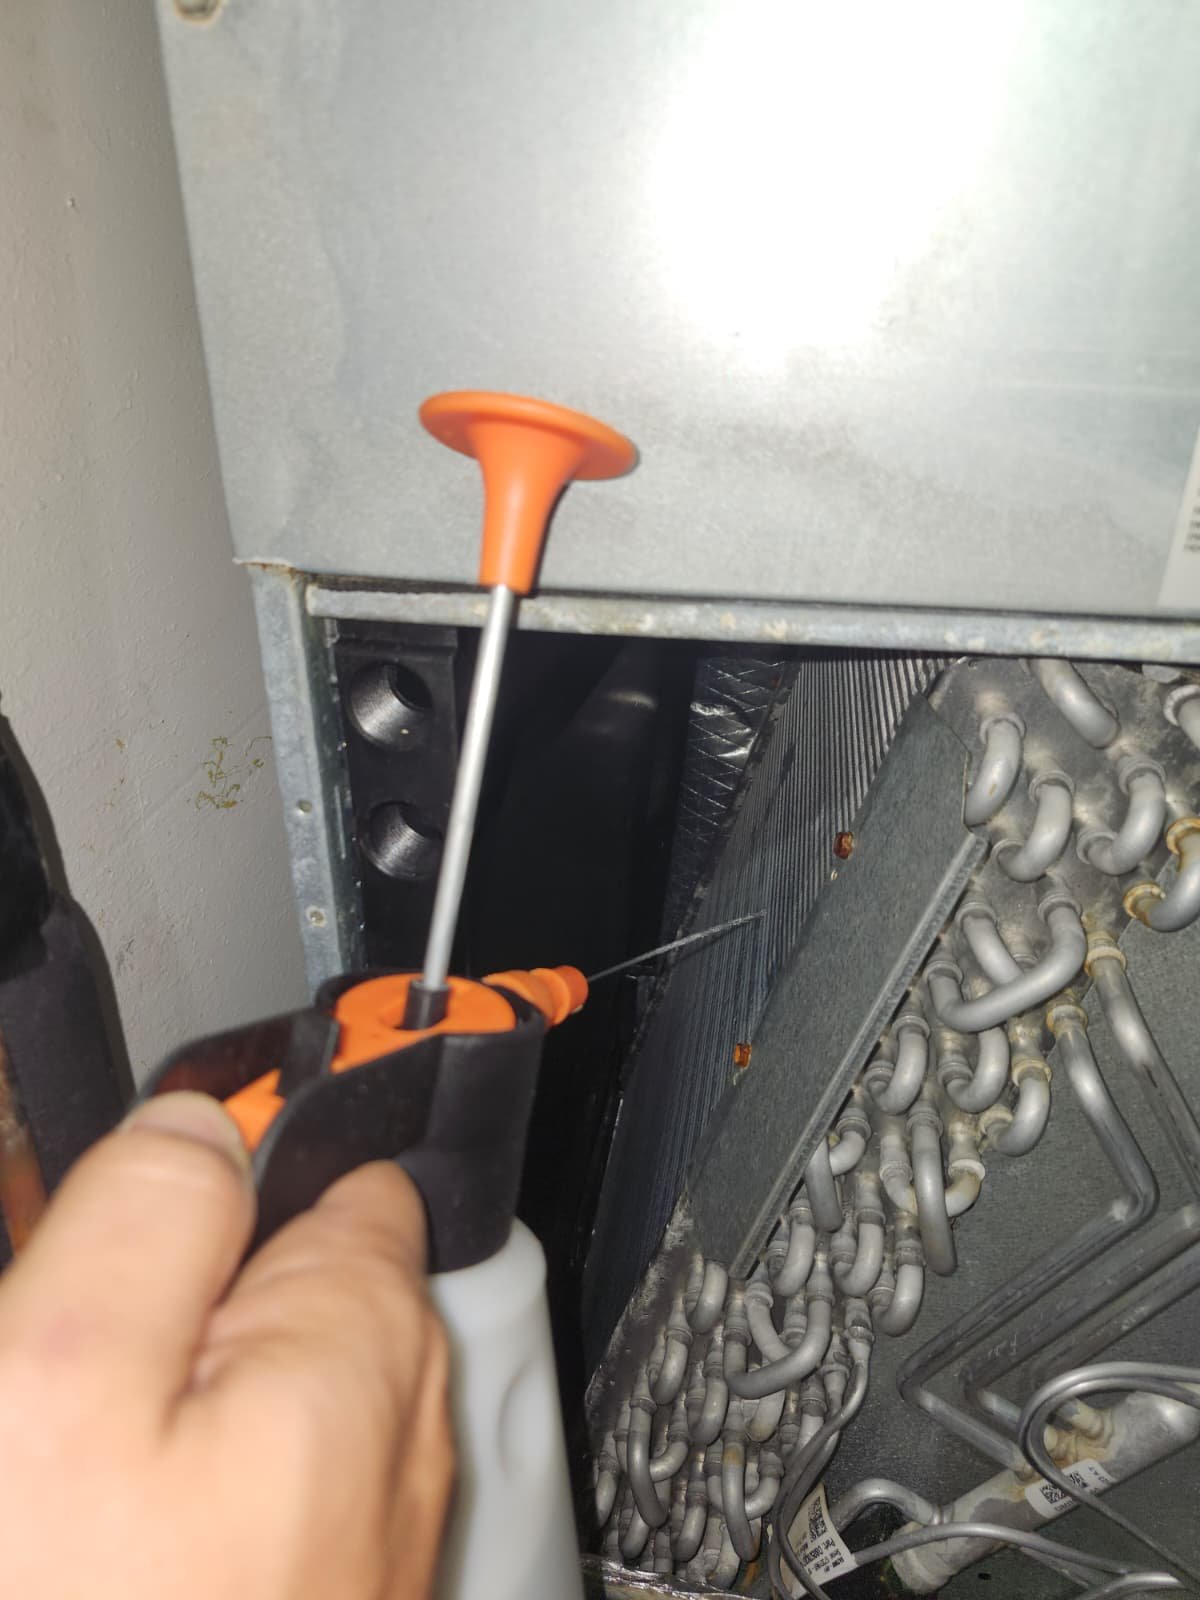
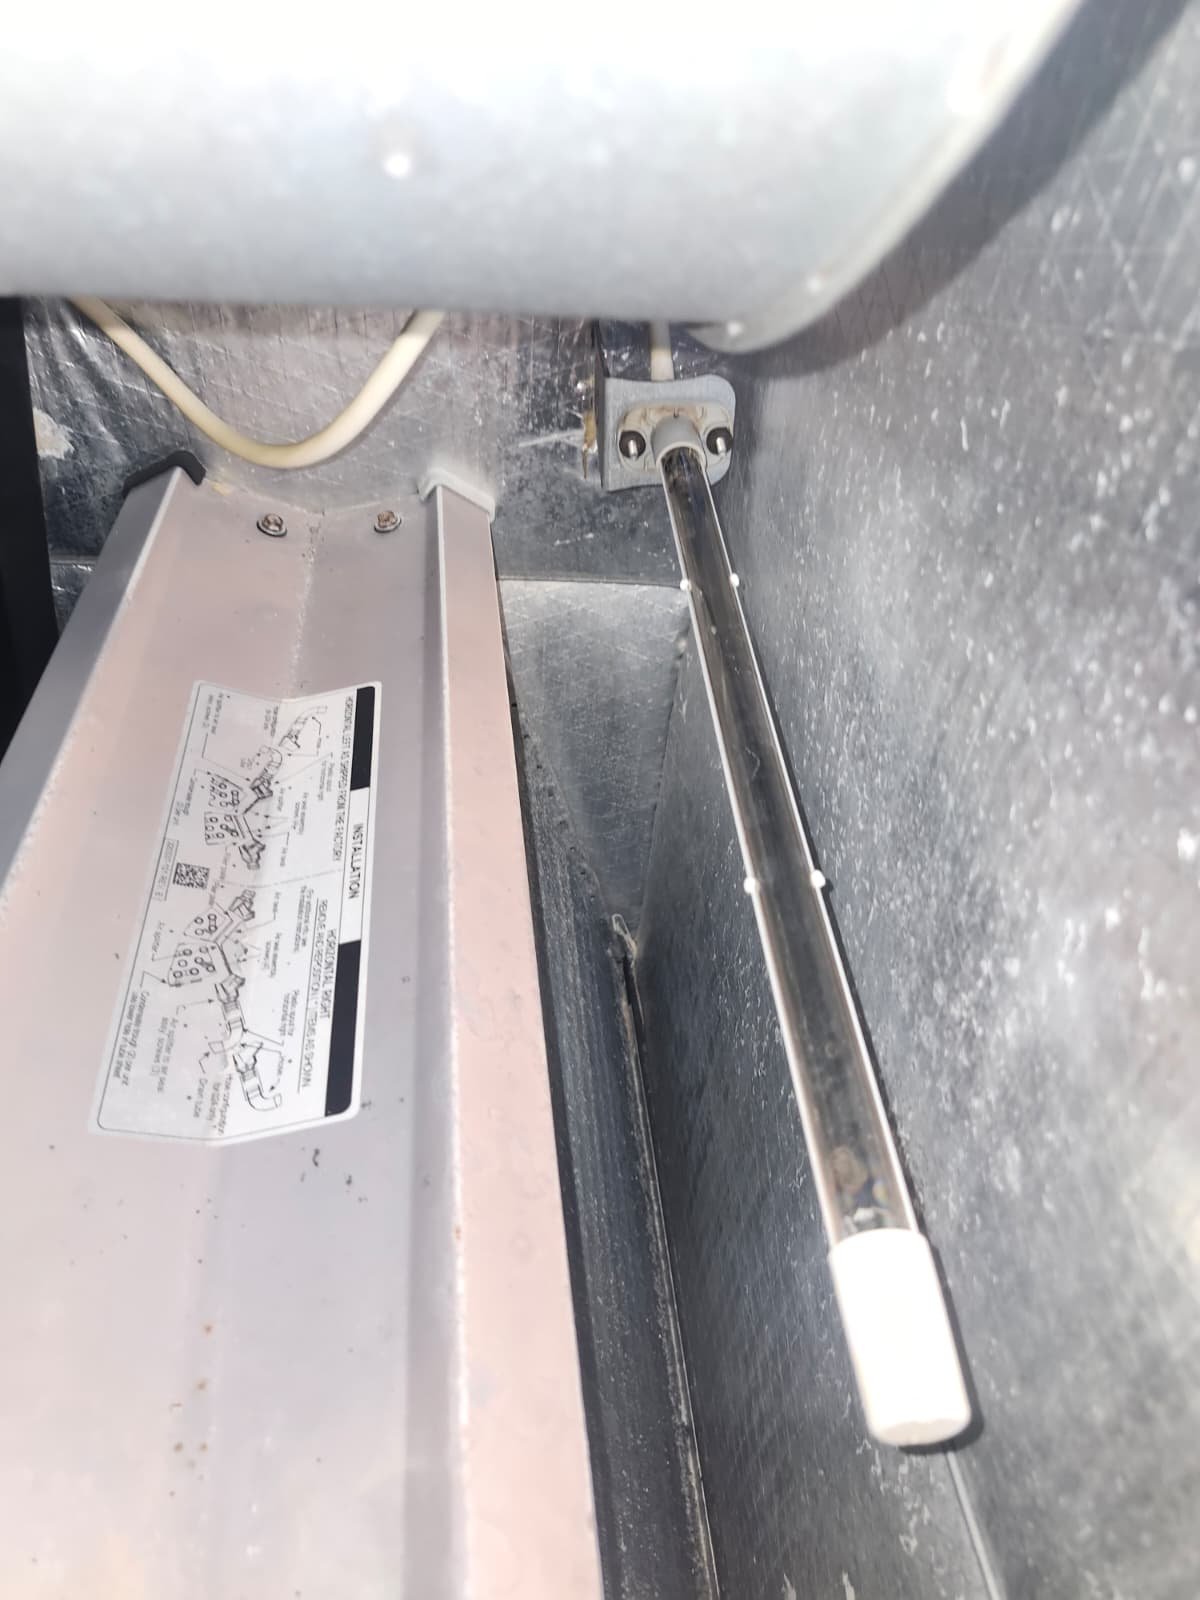
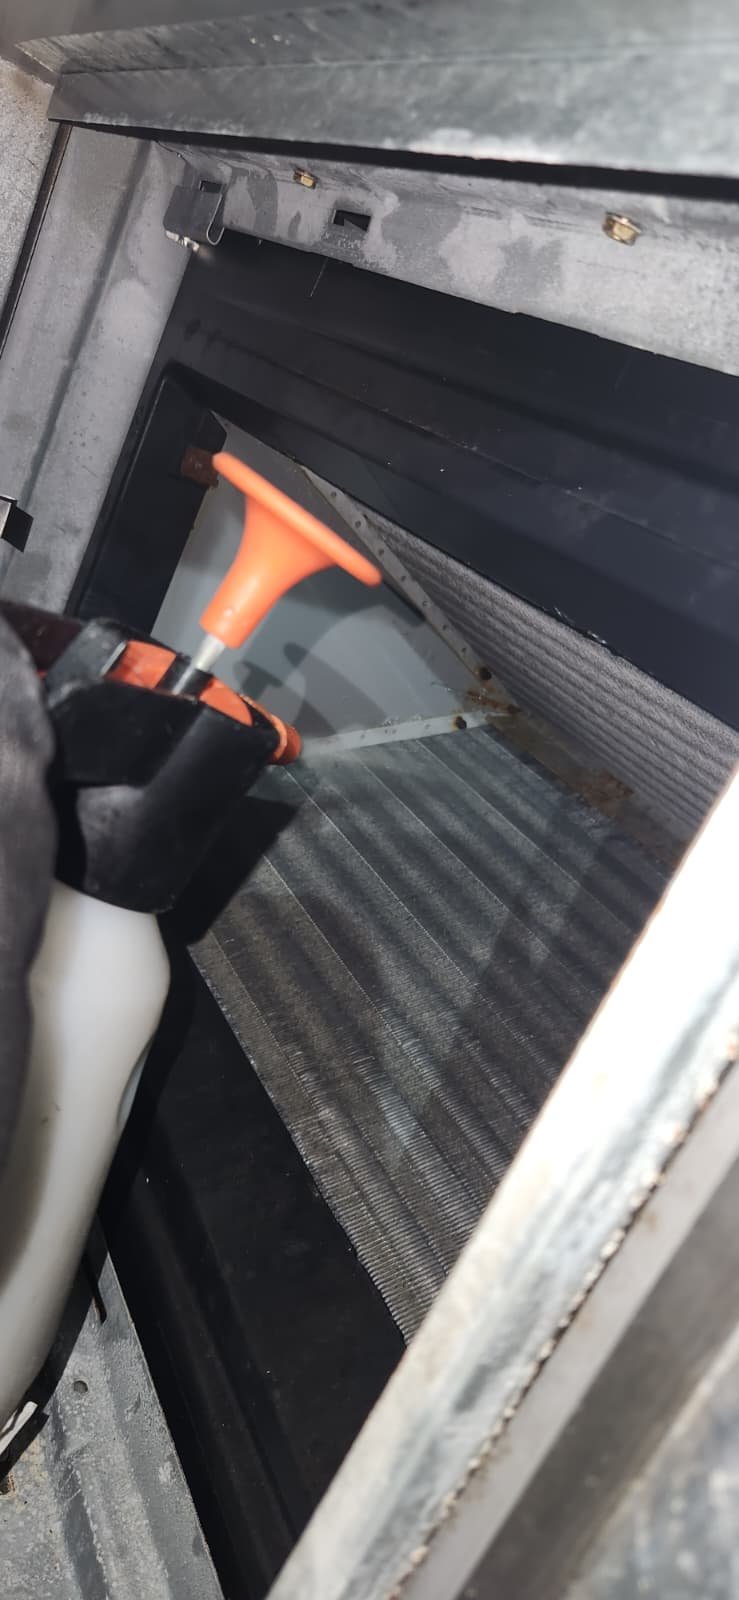
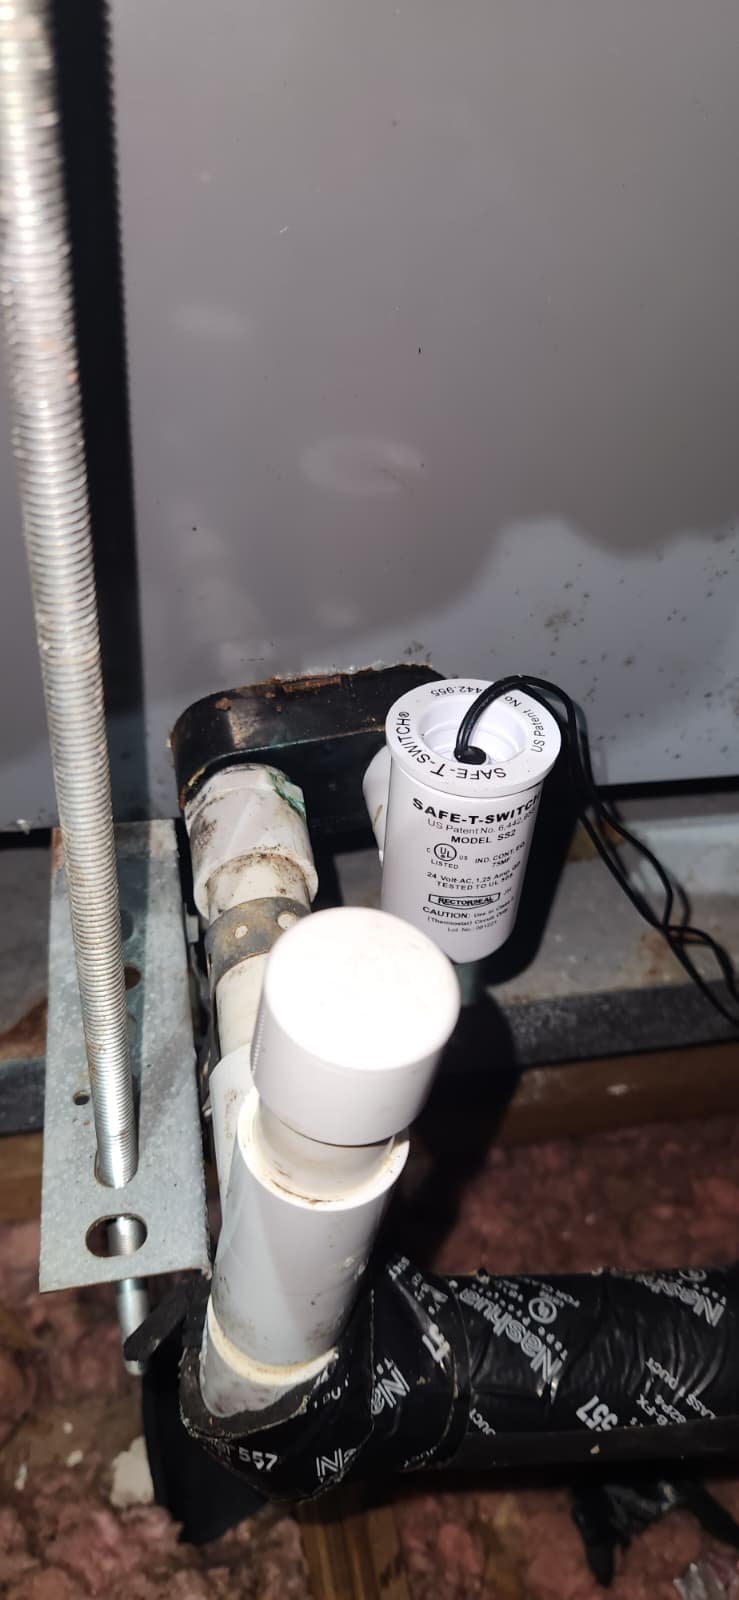
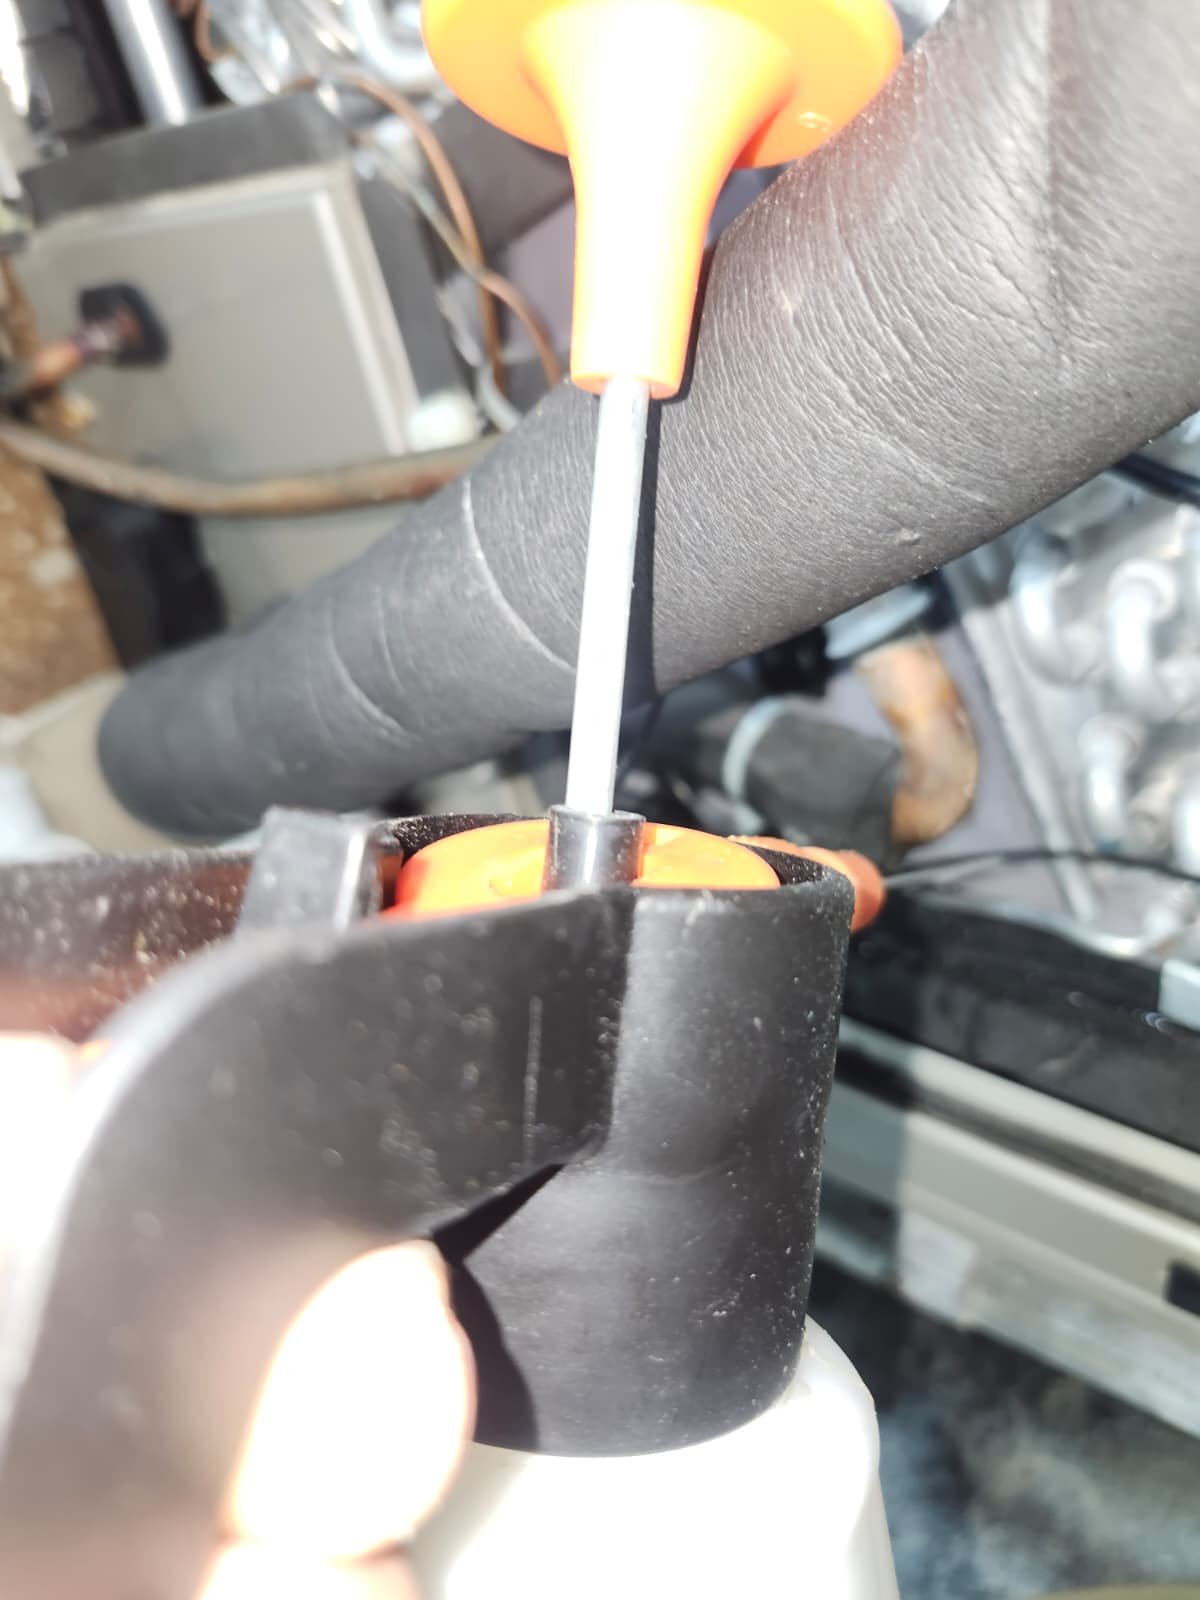
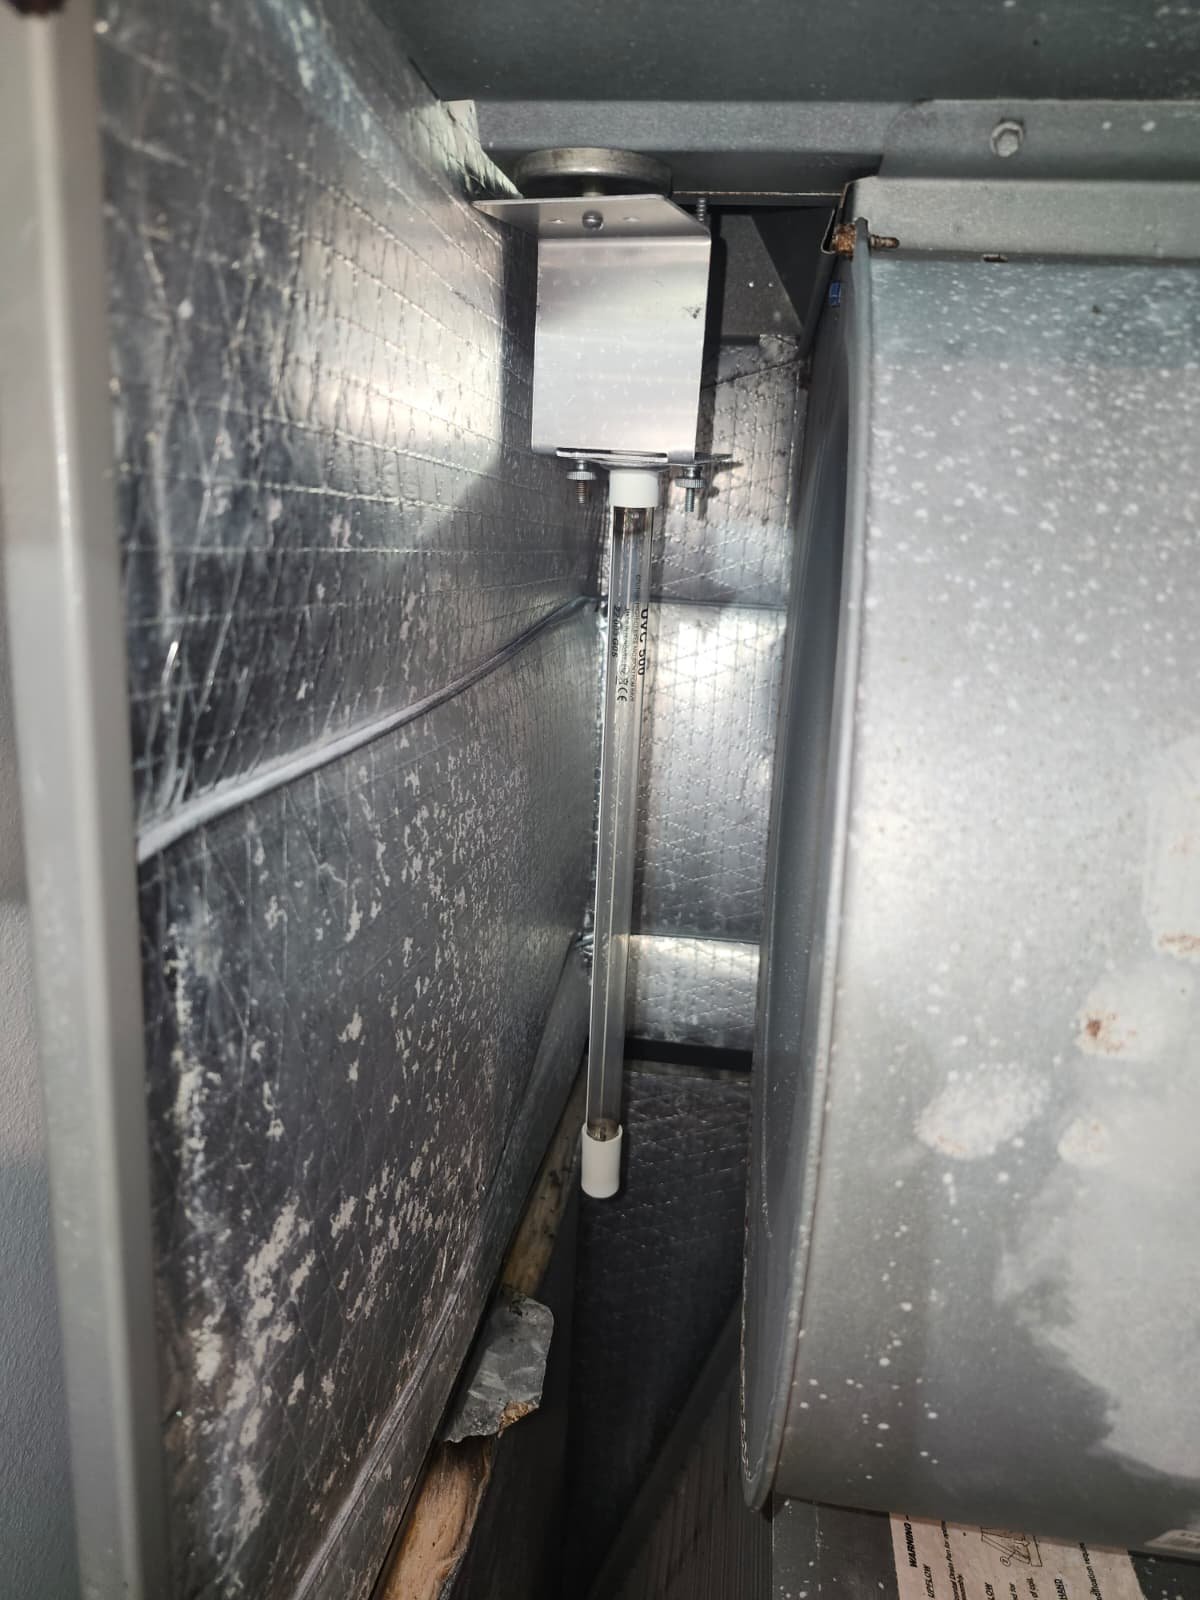
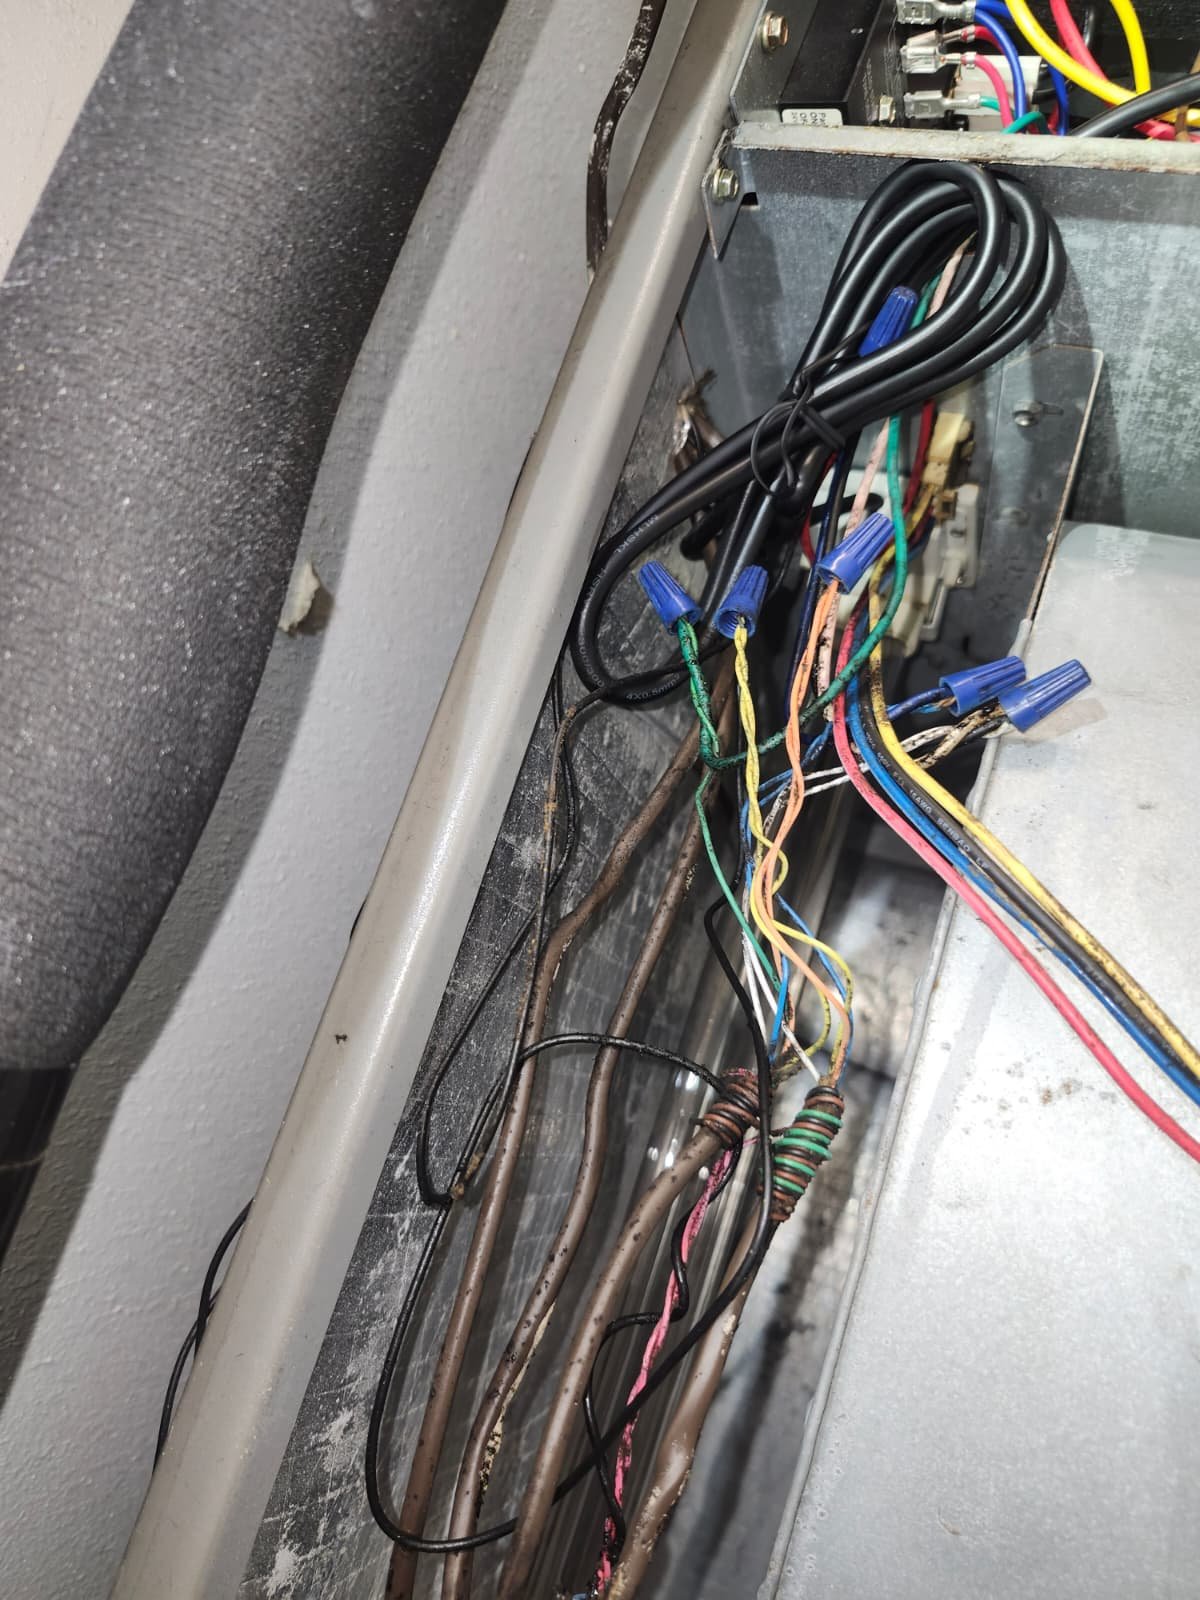
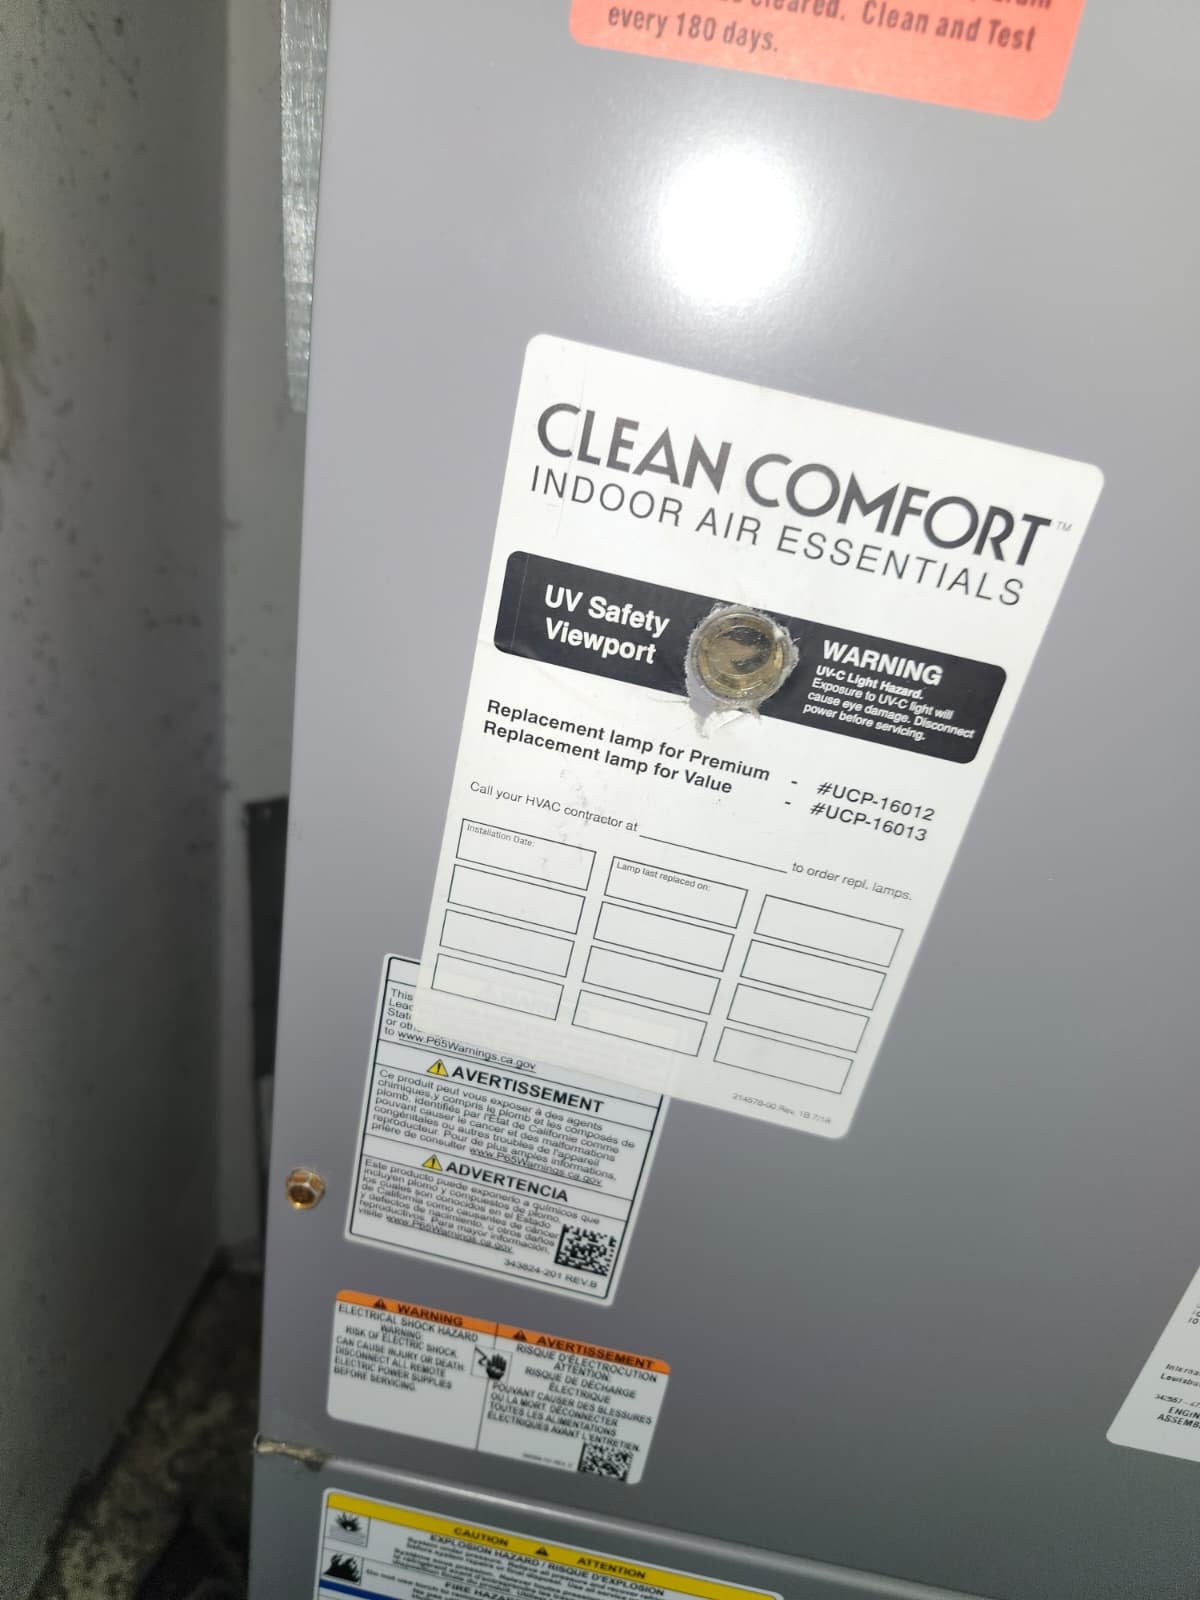
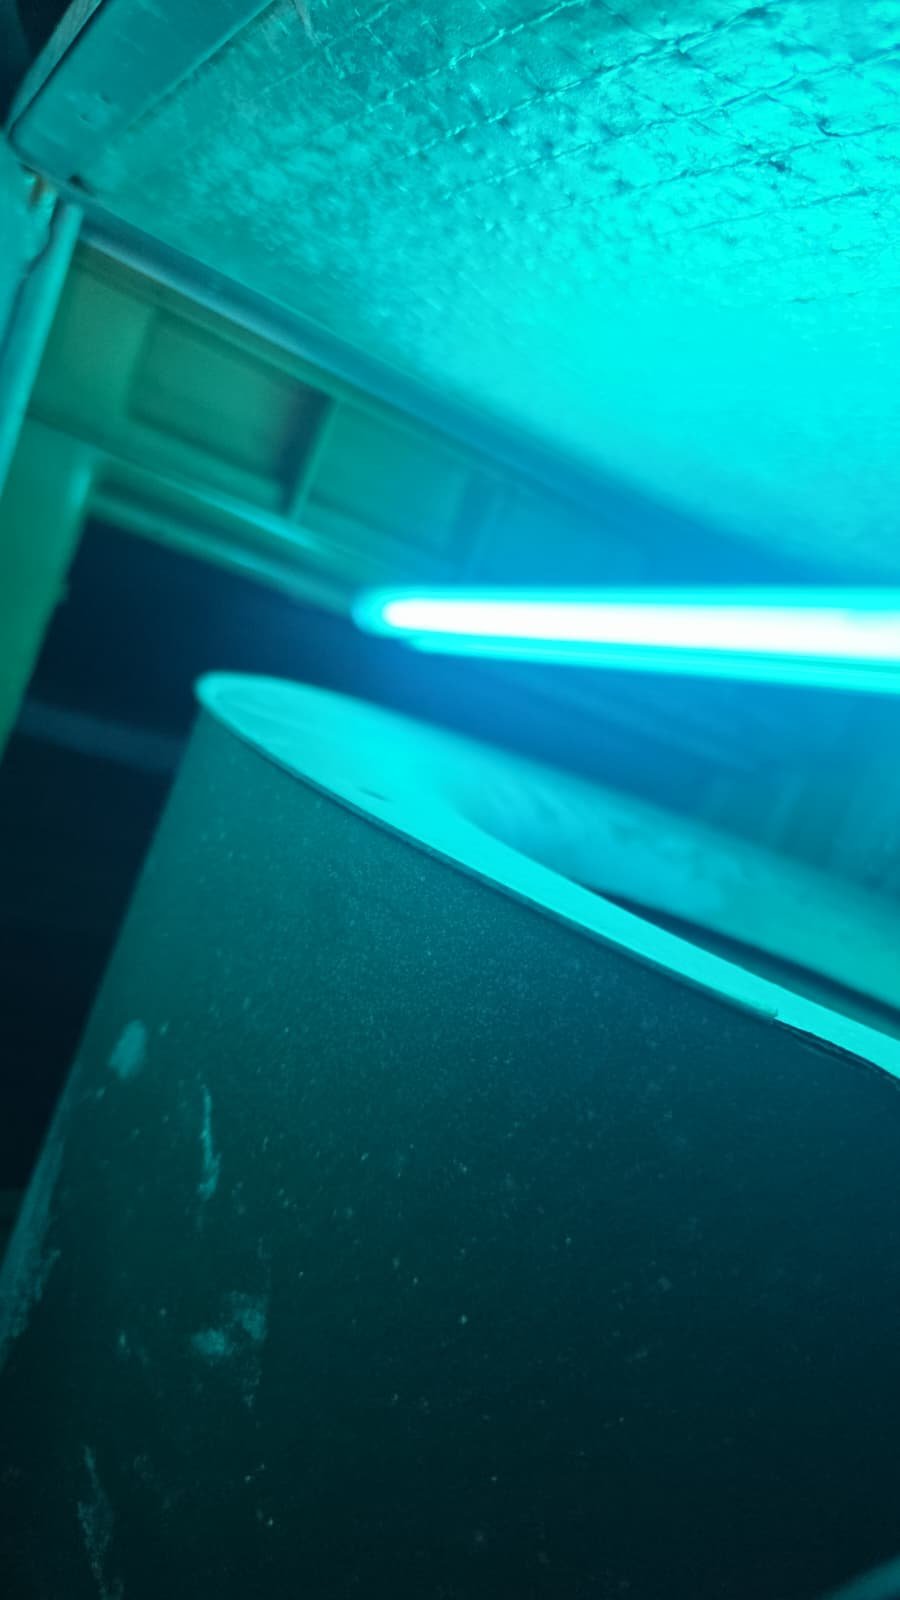
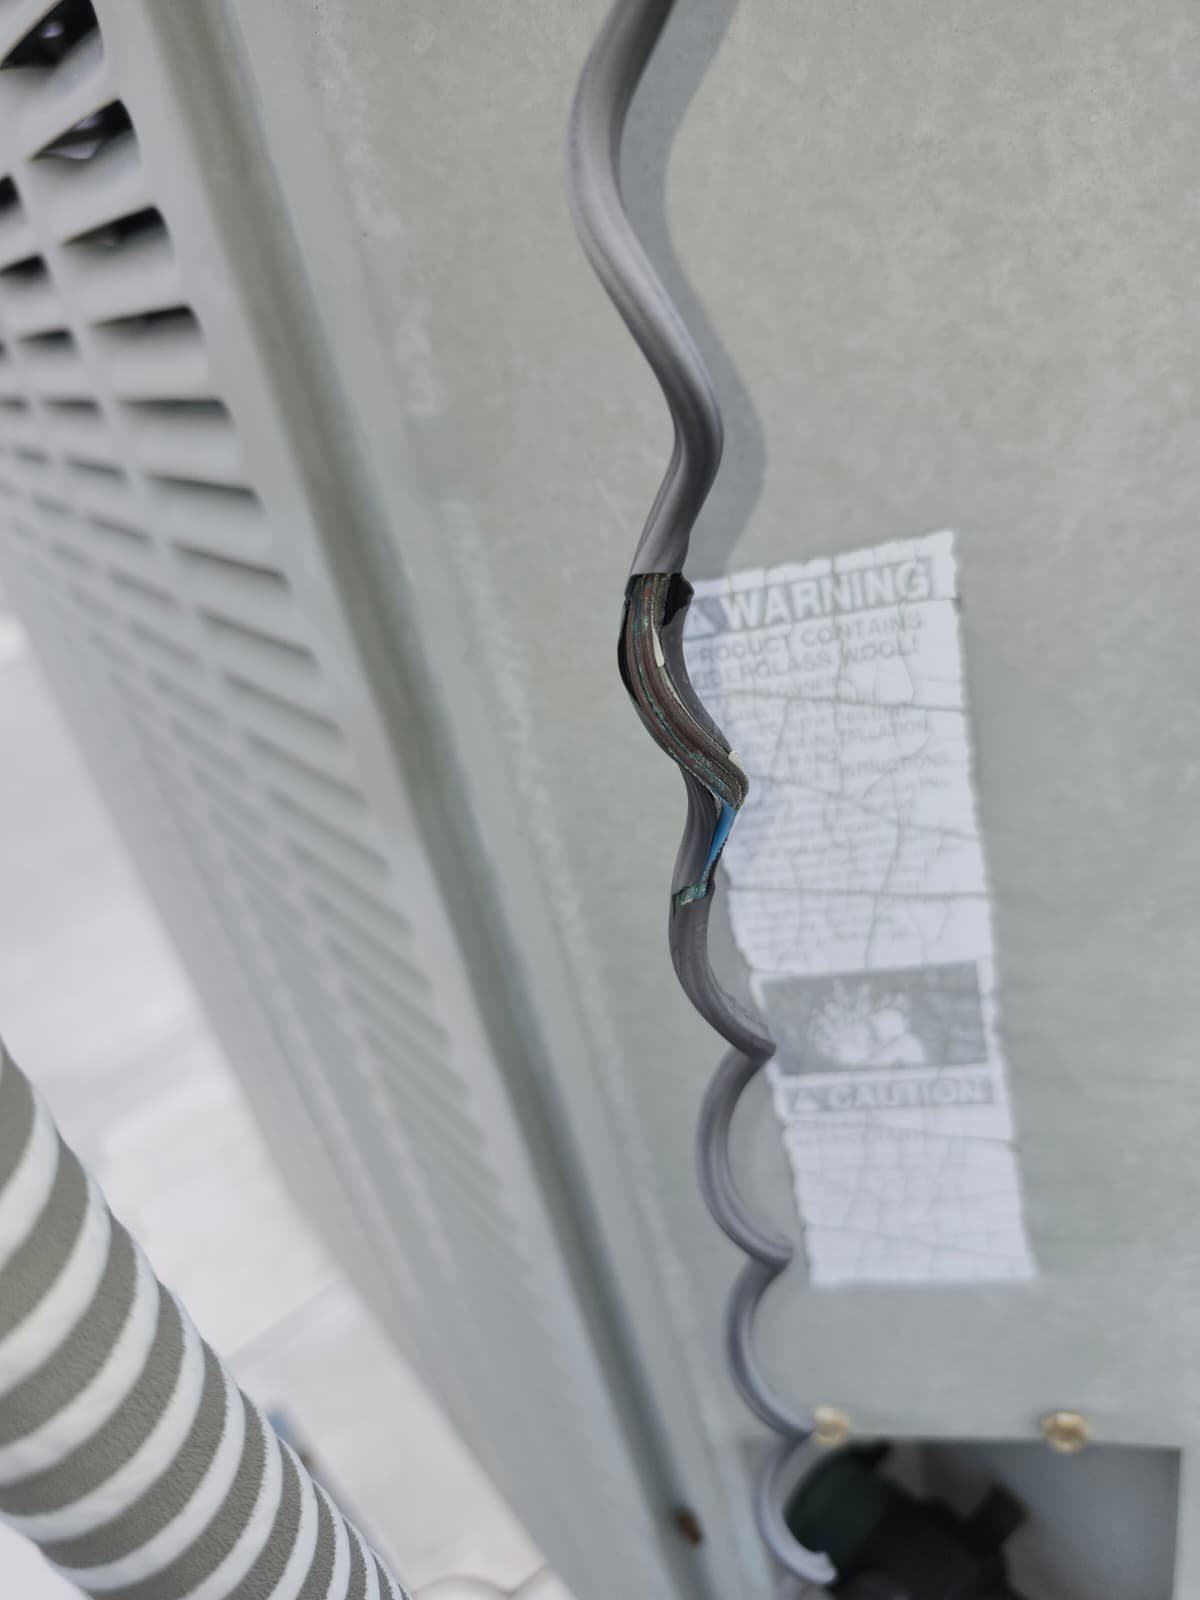
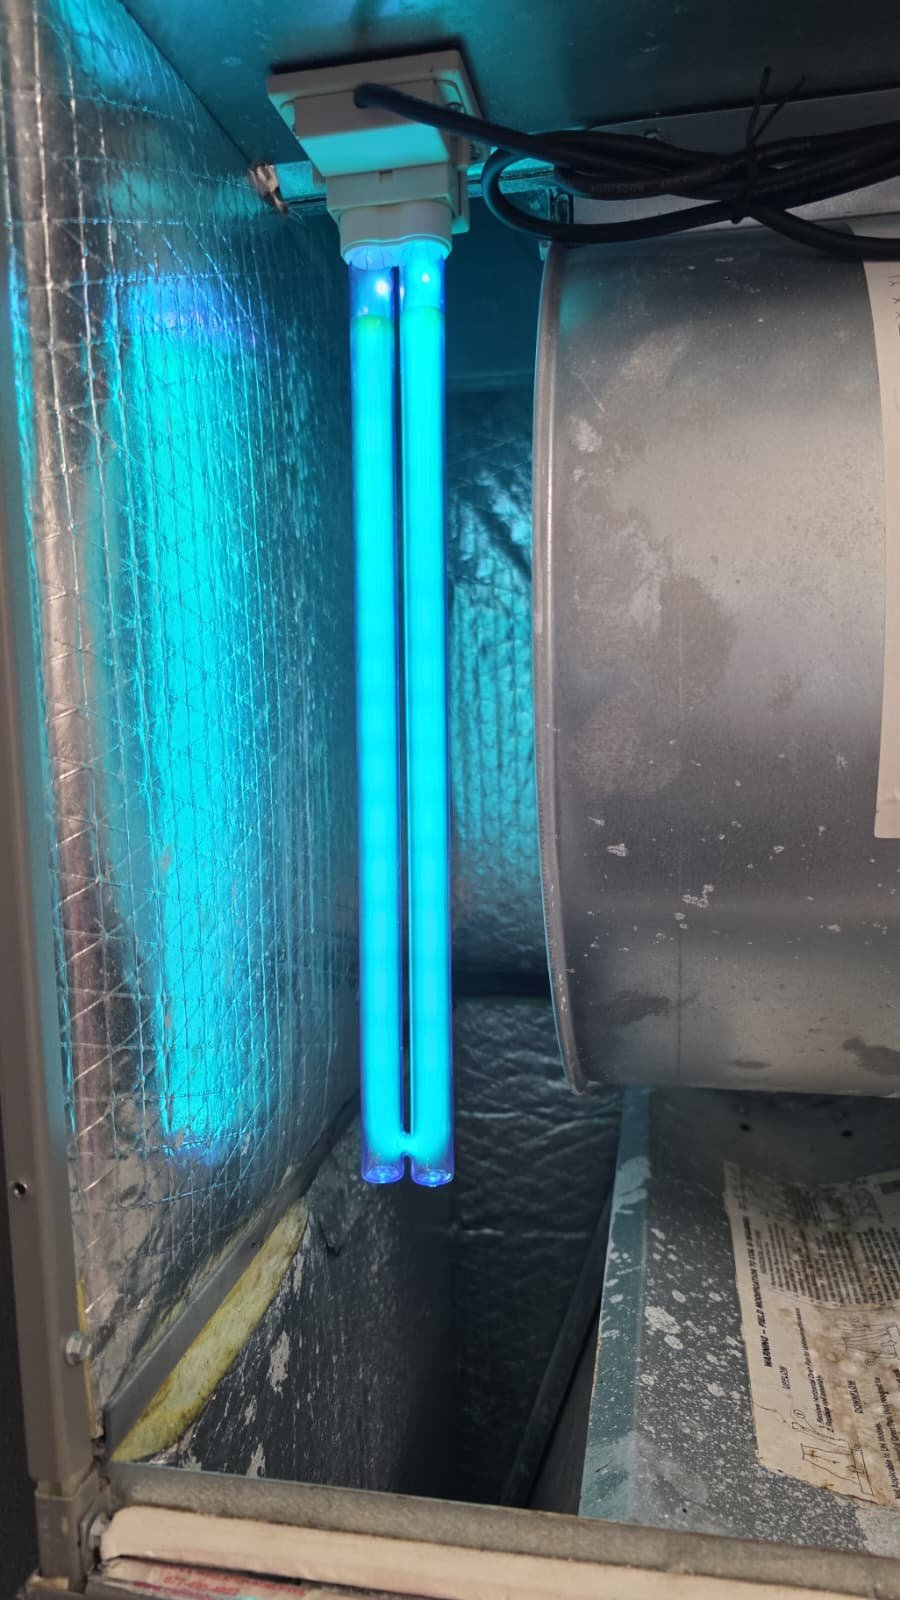
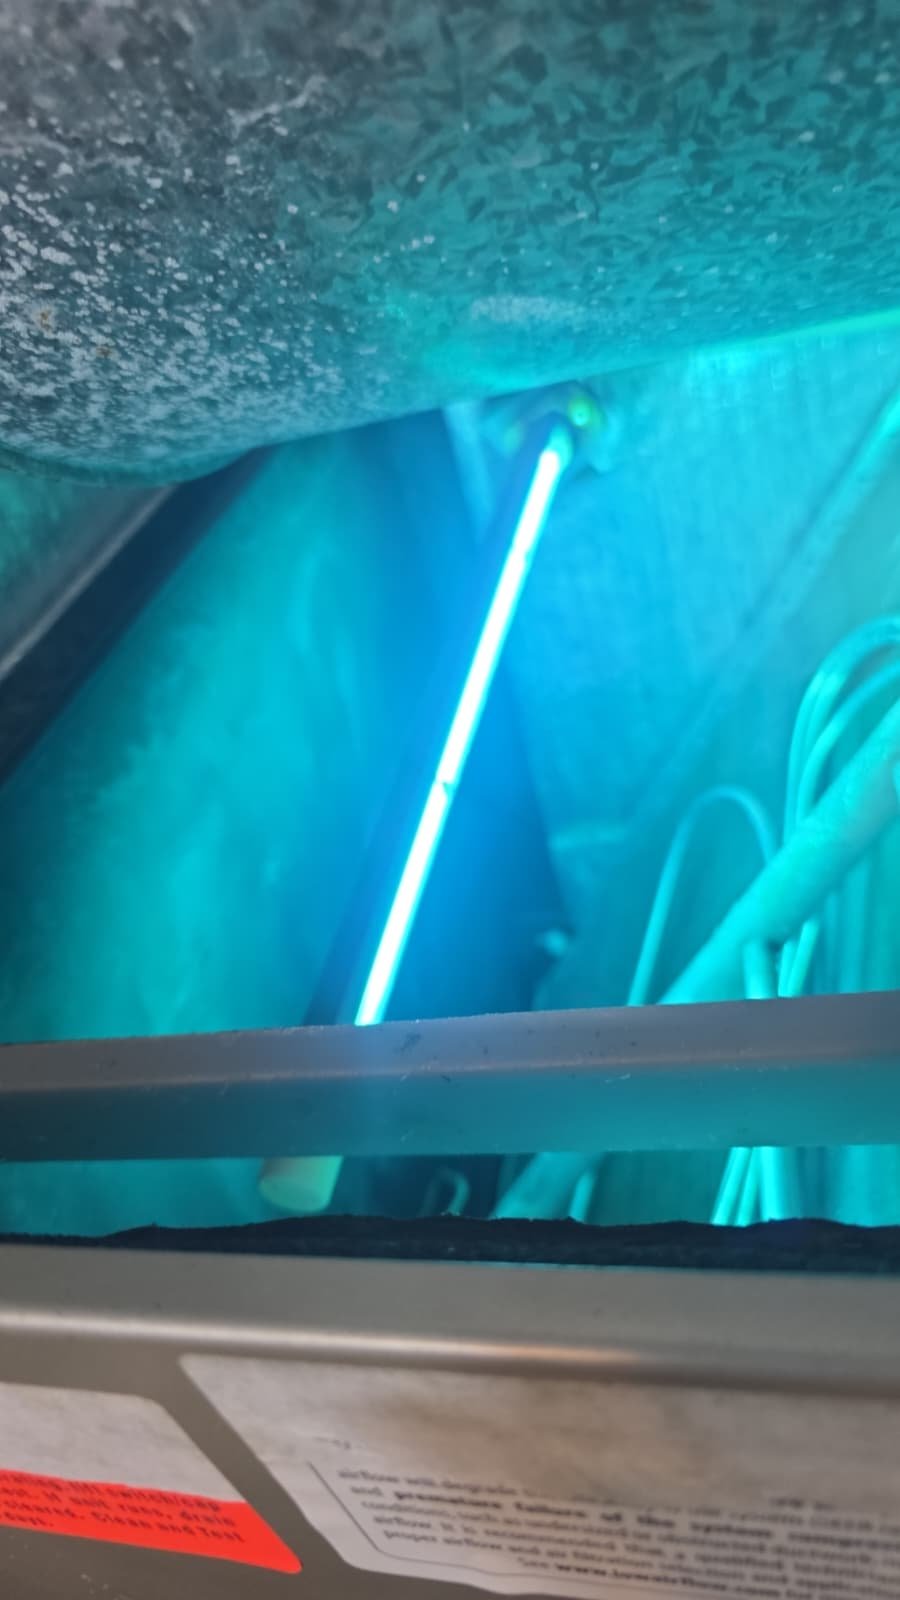
4. UV Light Inspection
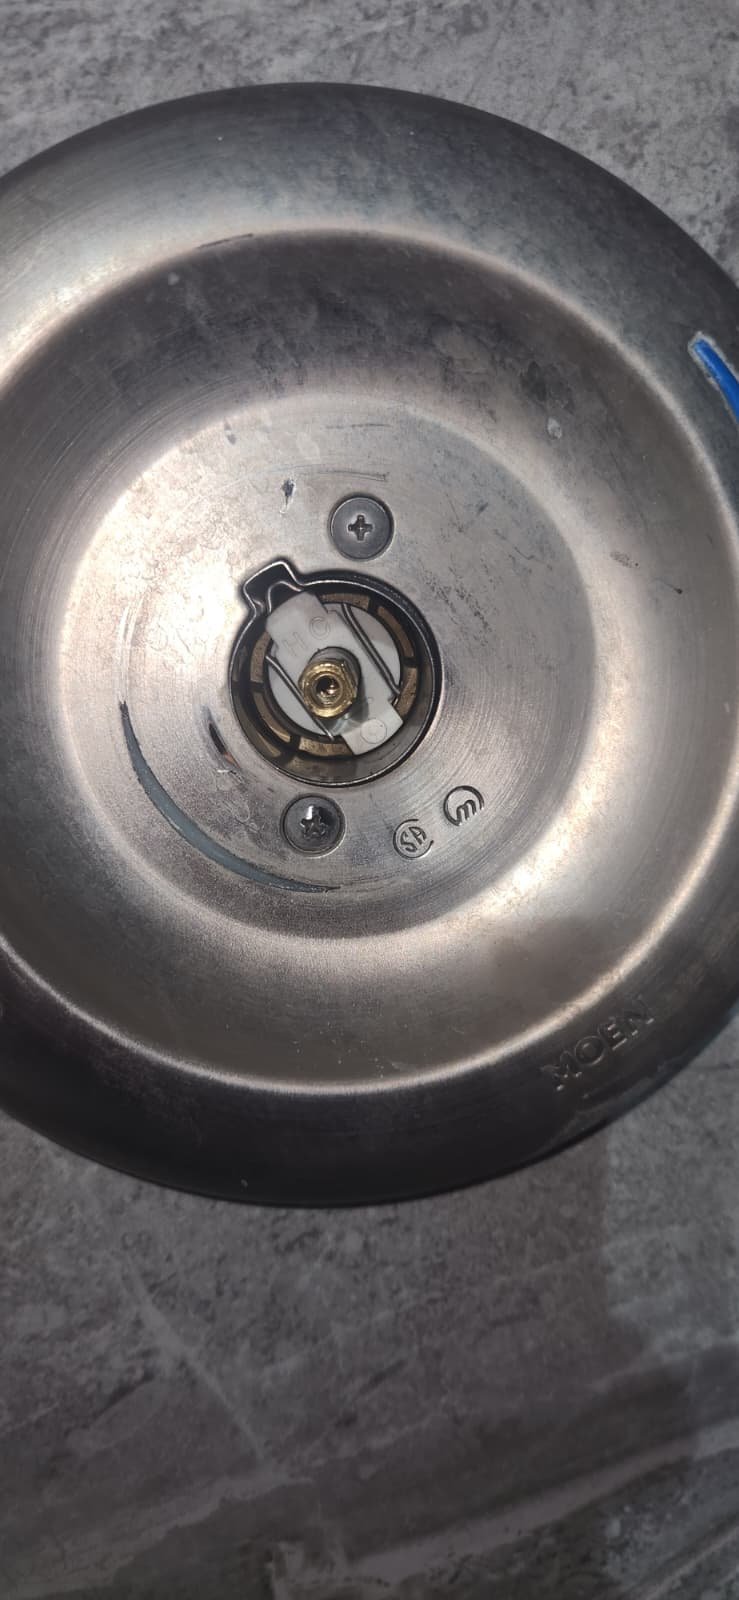
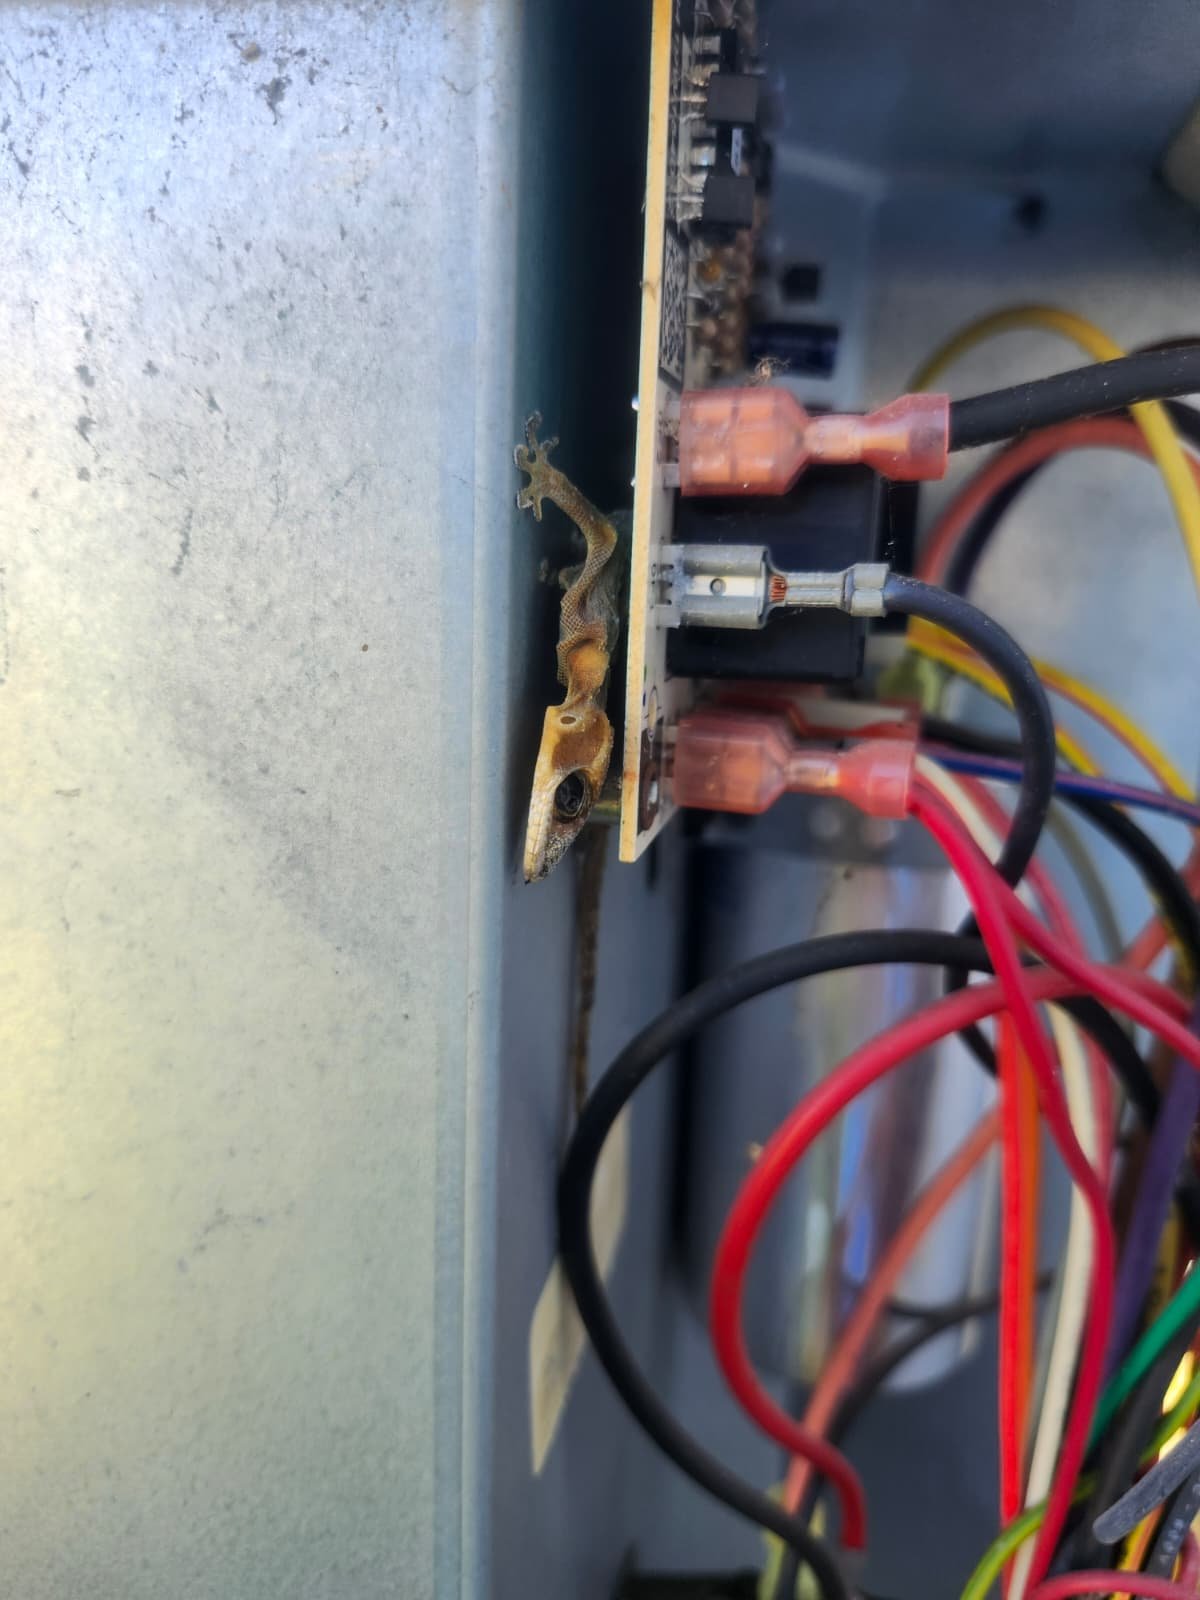
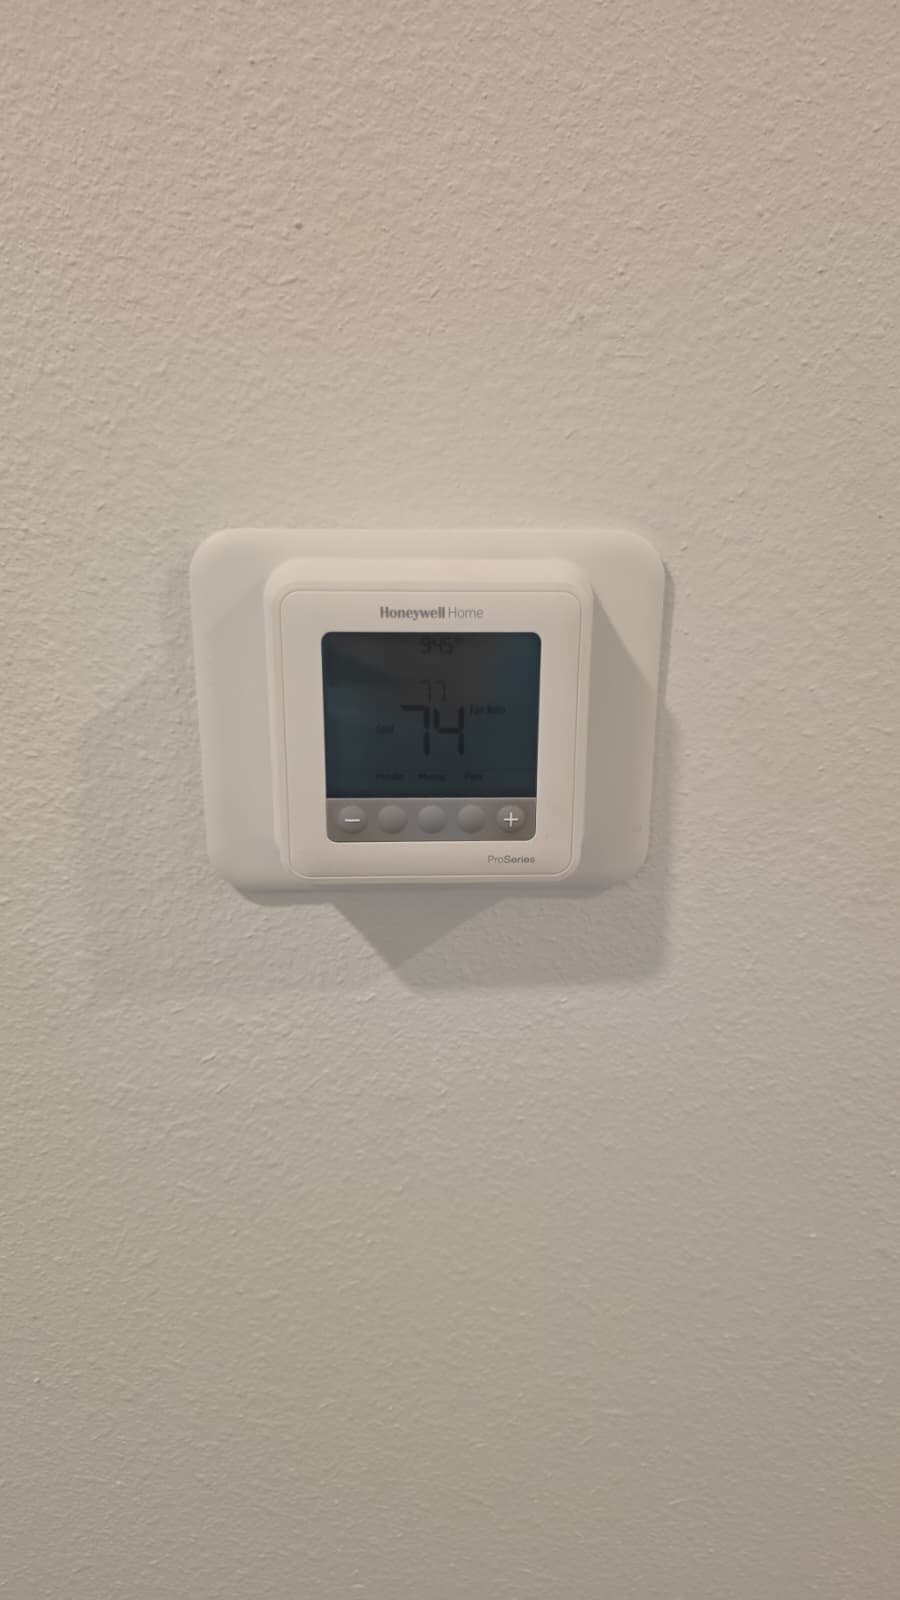
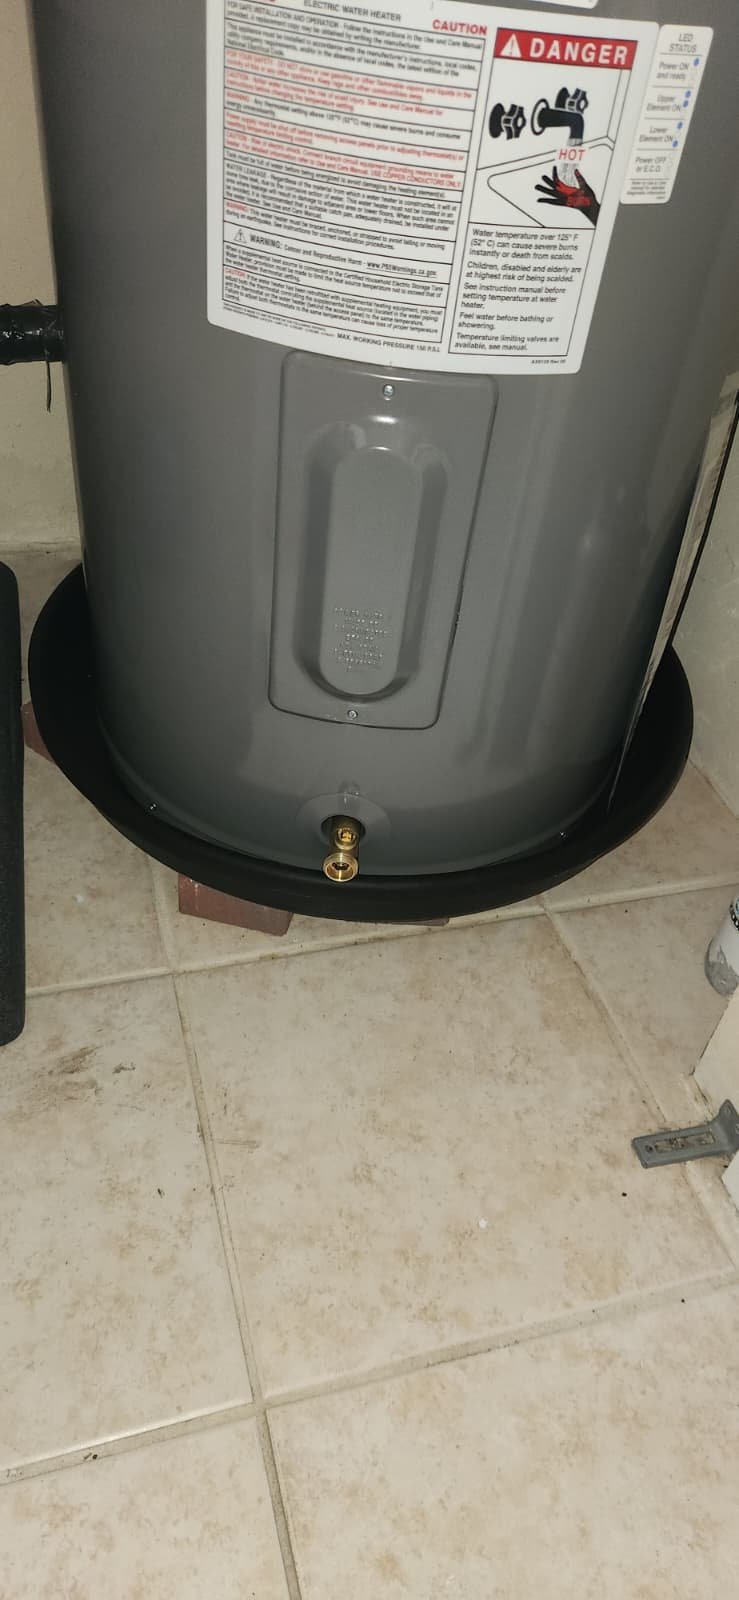
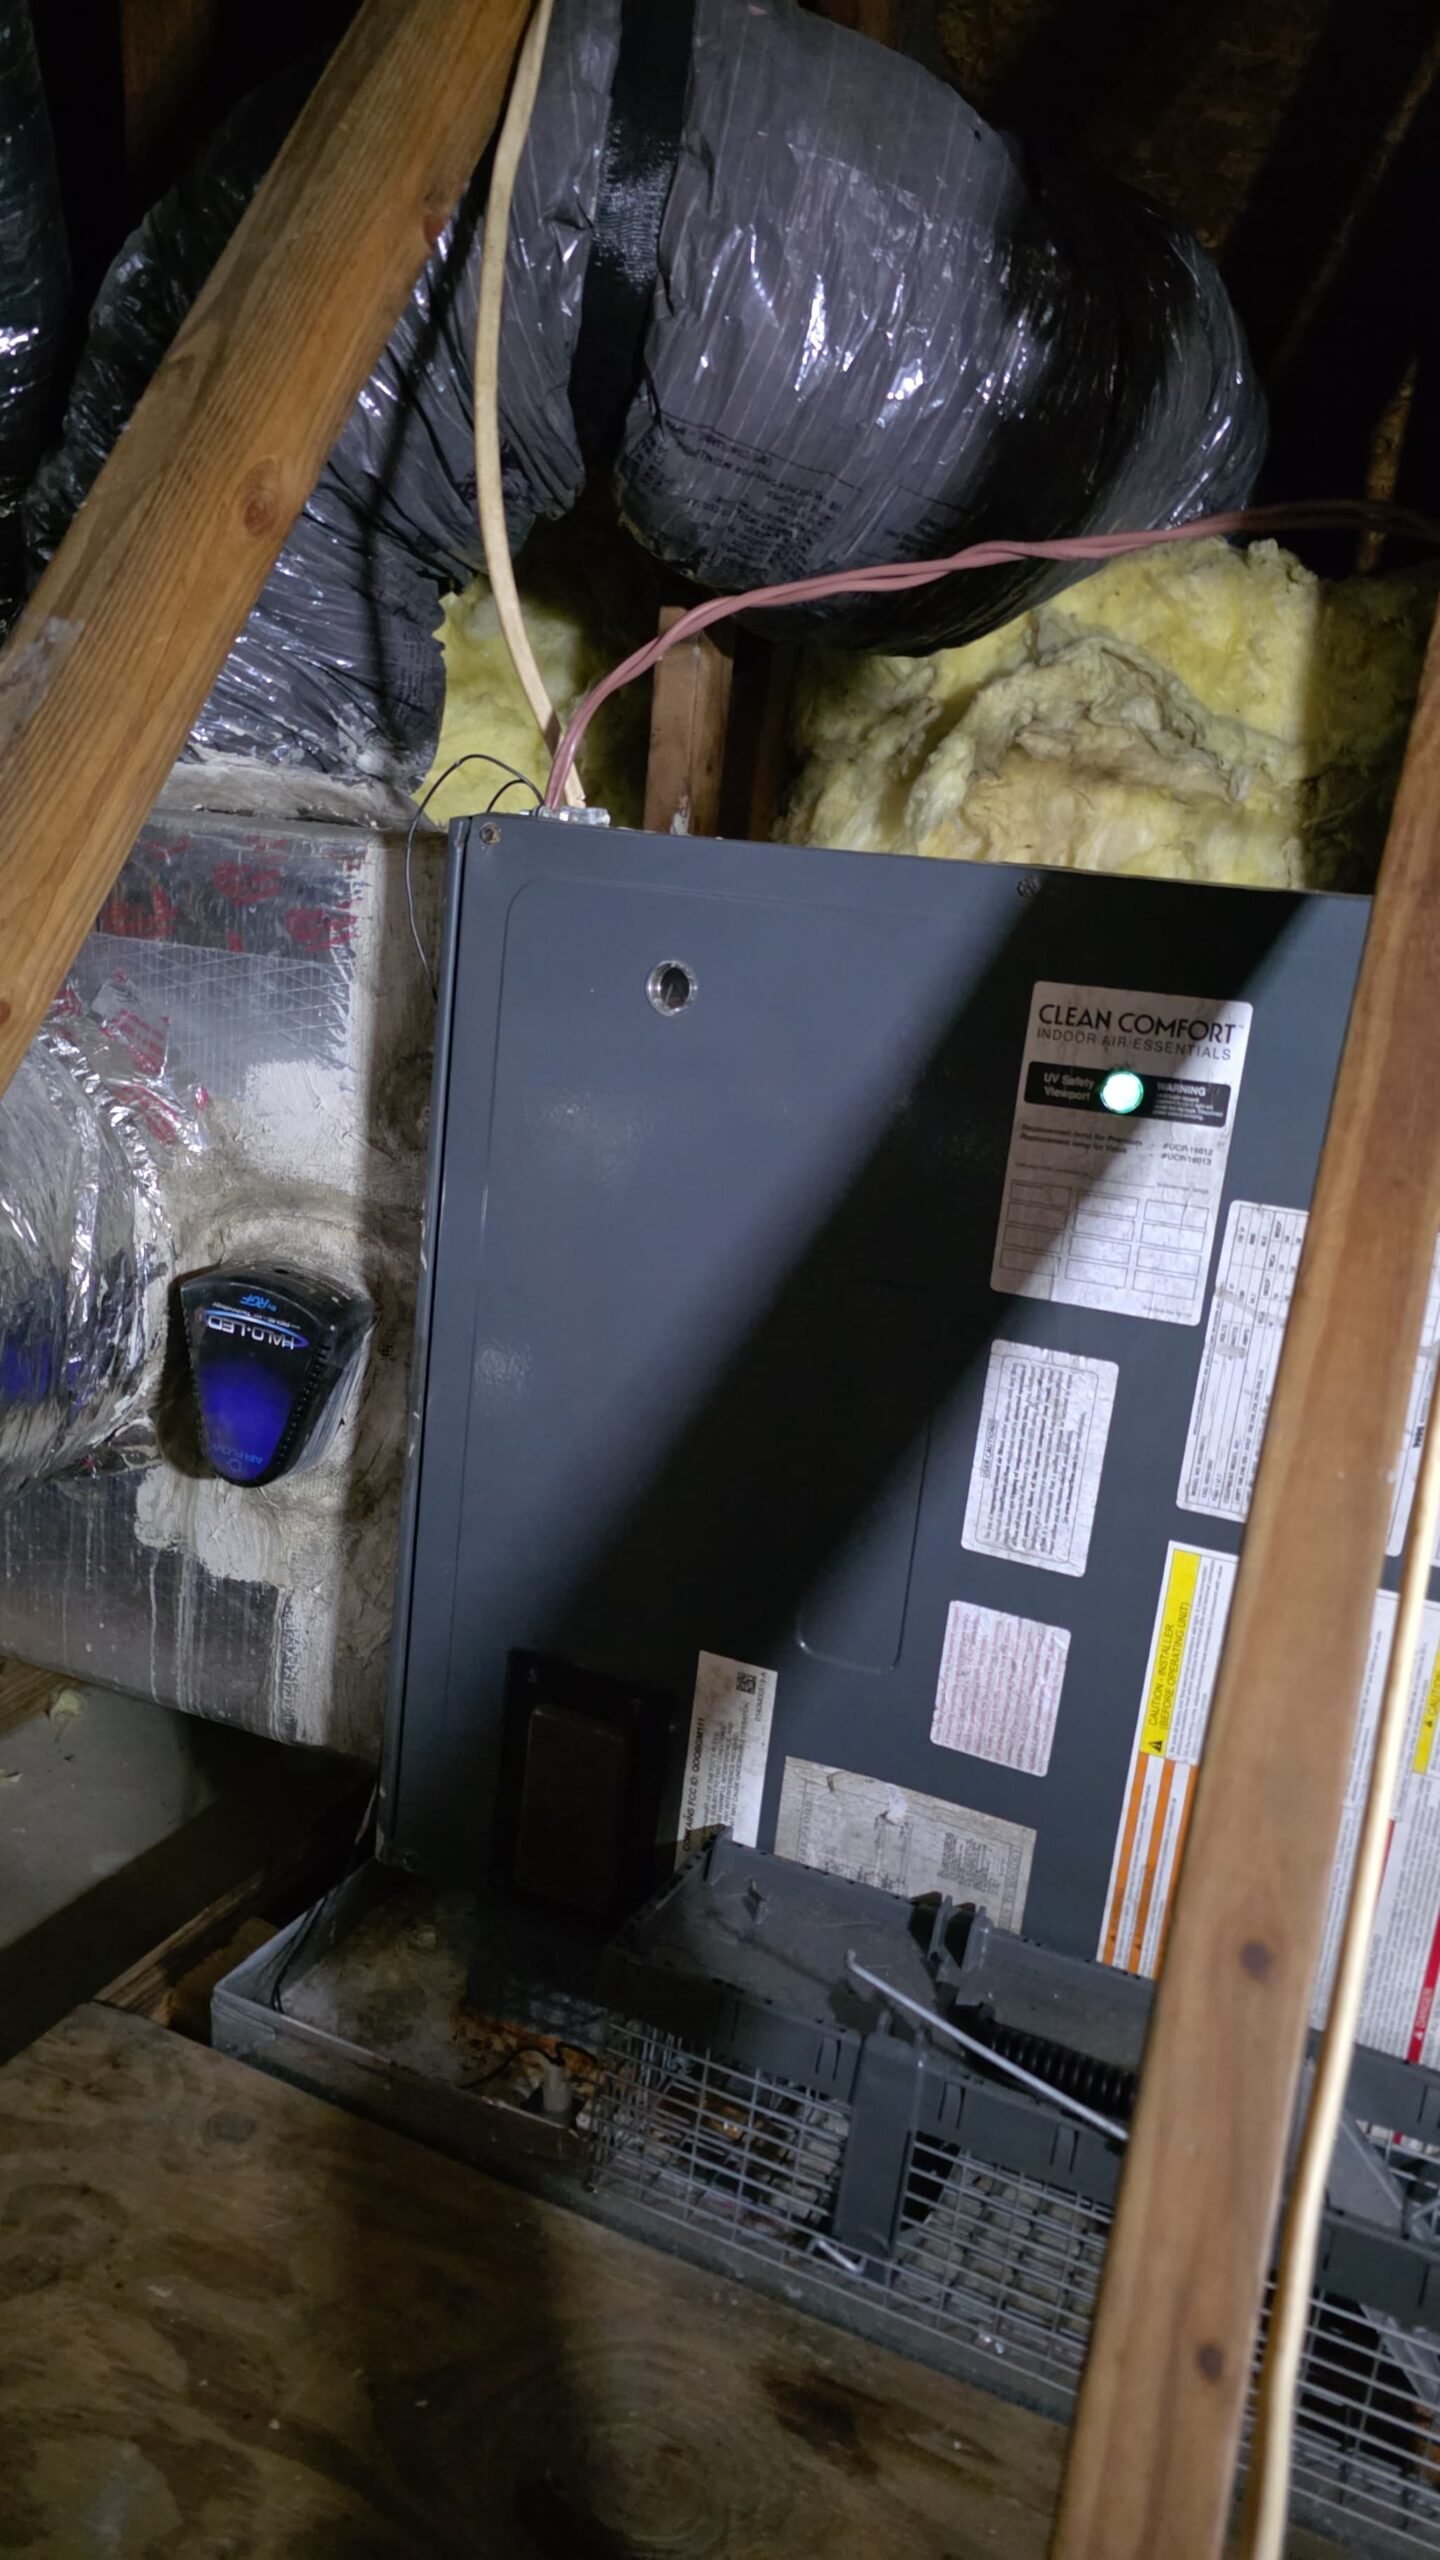
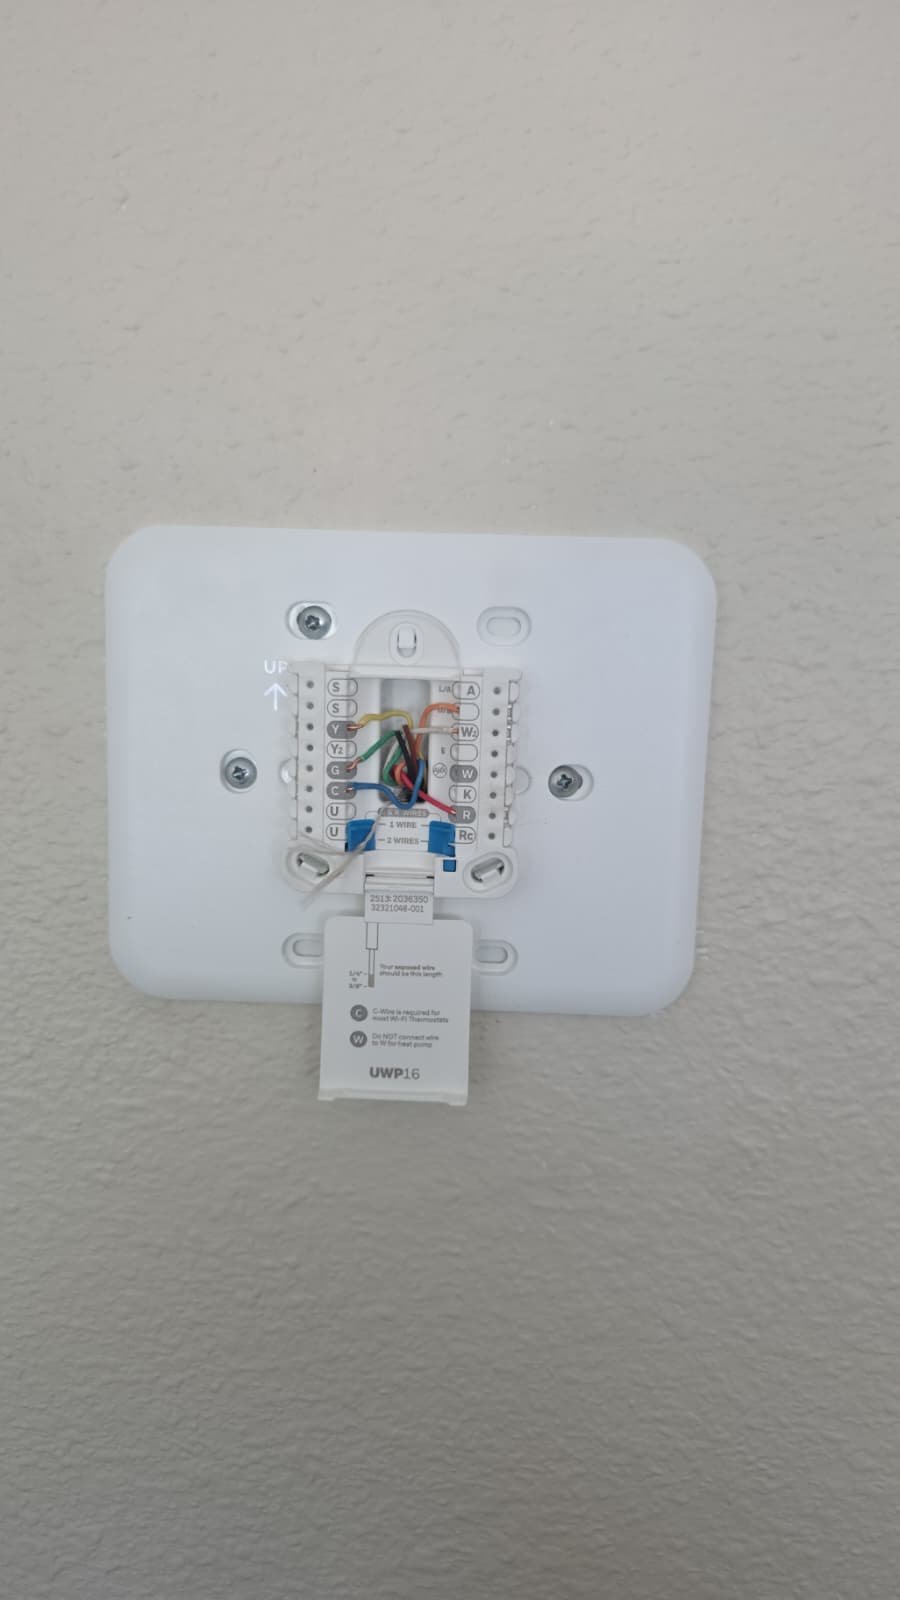
The homeowner’s system is equipped with a UV light, which is often installed to help control microbial growth on indoor coils and within the air handler. We confirmed that the UV light was on and operating. A non-functional UV light can give a false sense of protection, so this is always worth checking during maintenance.
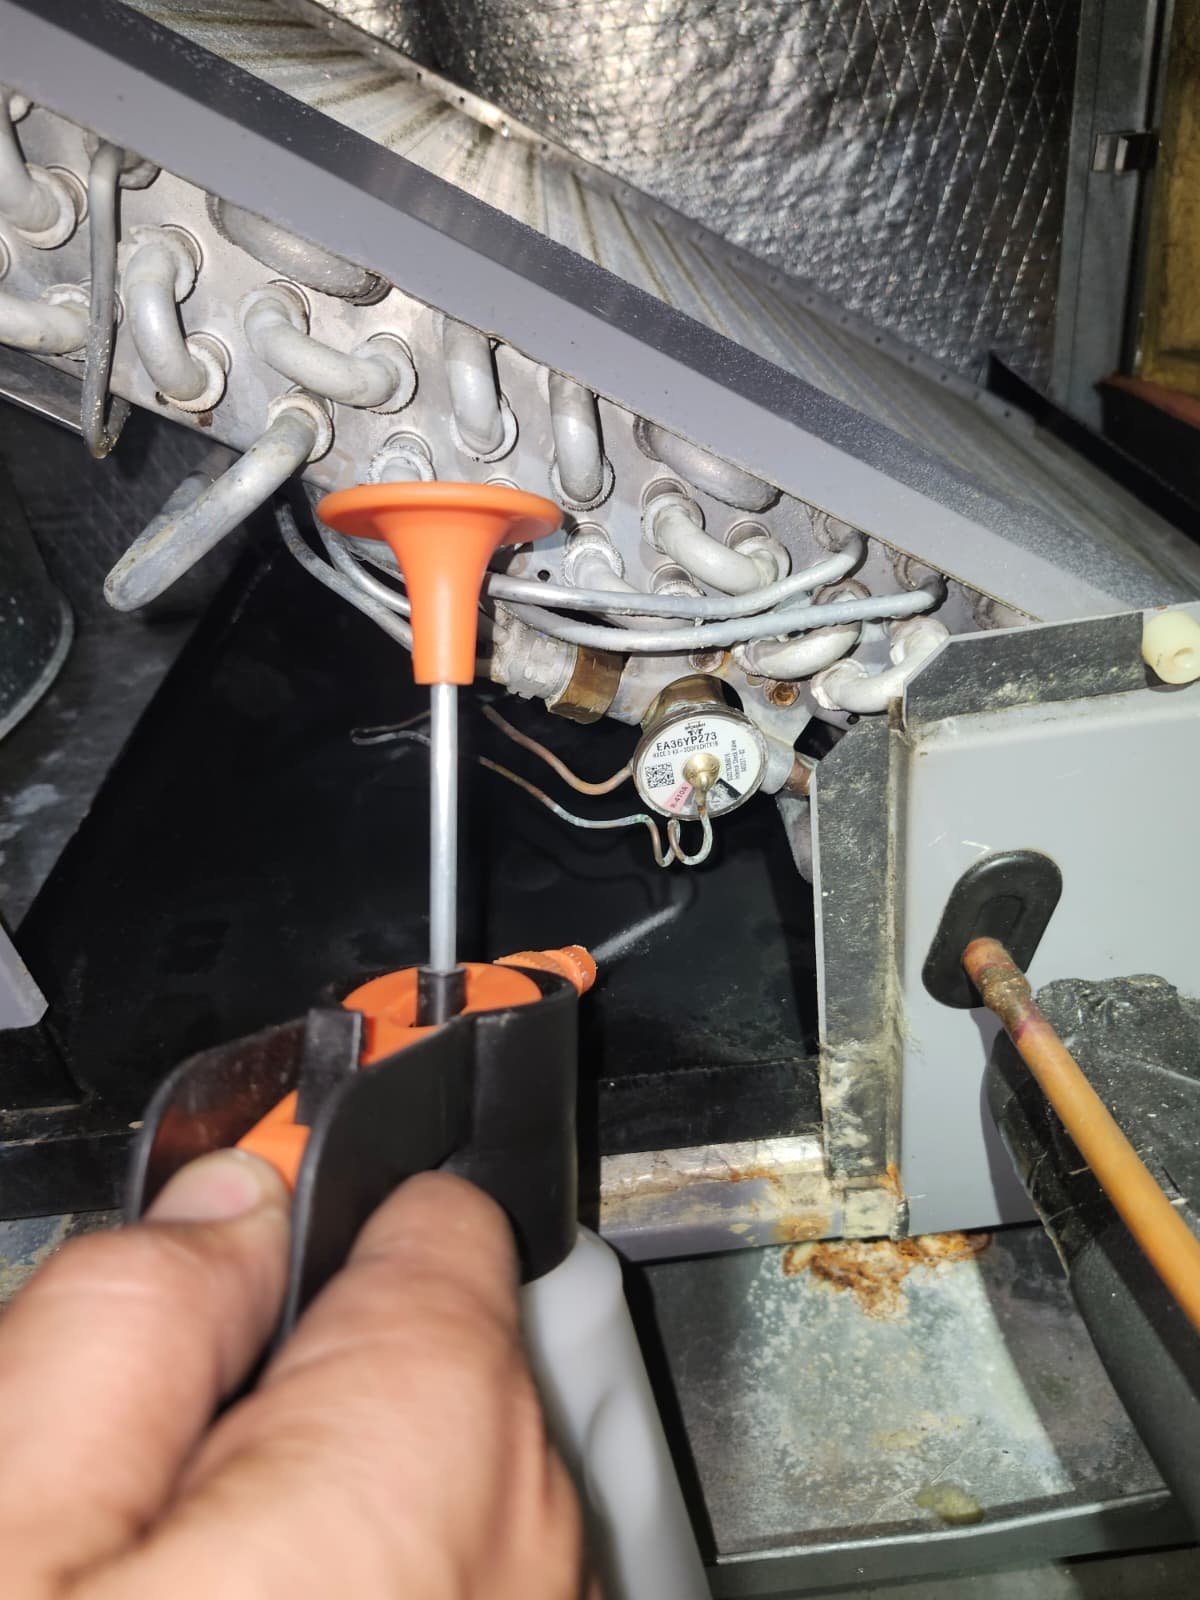
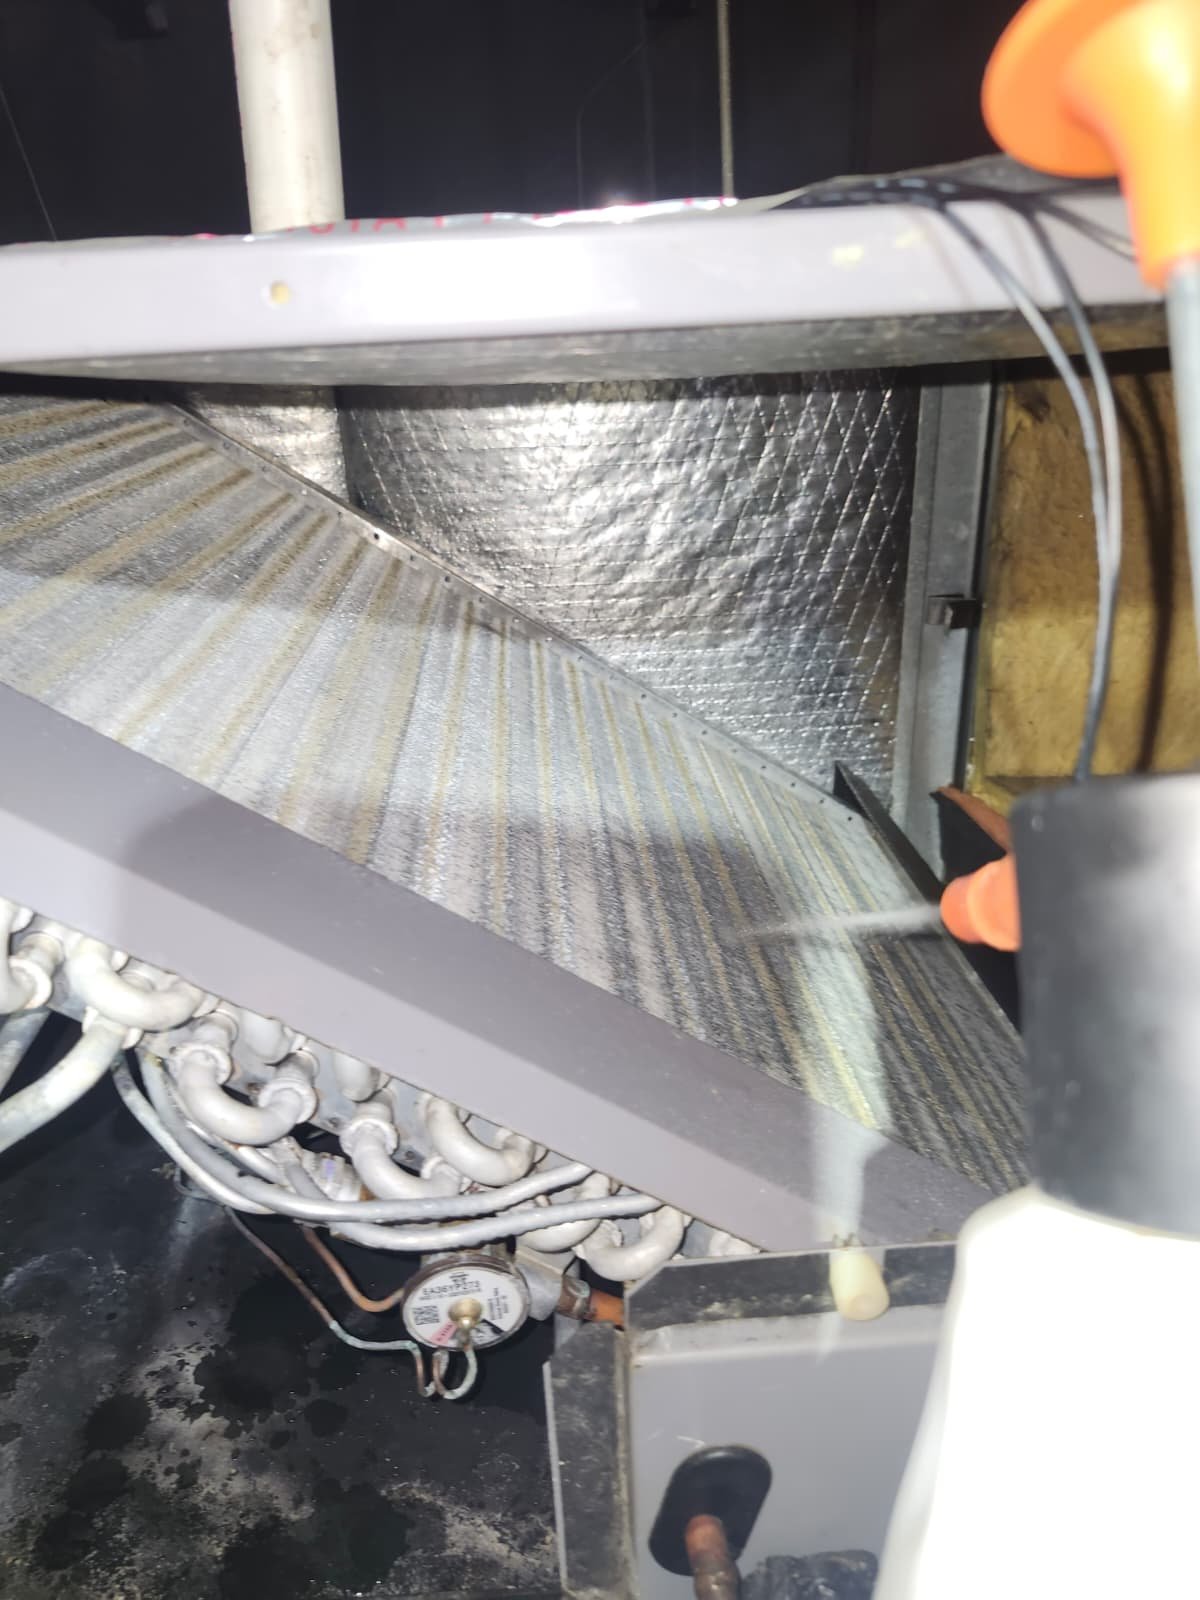
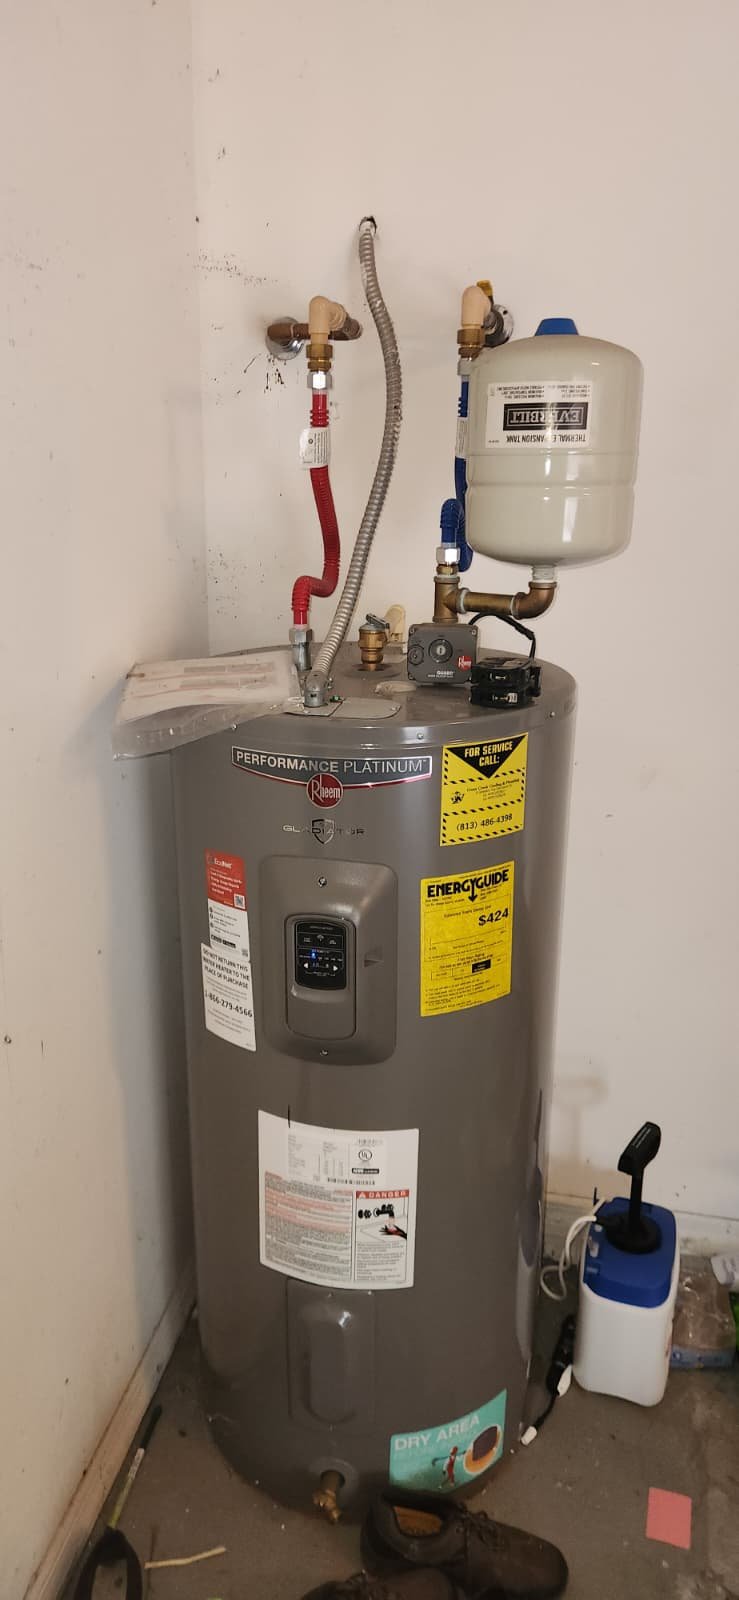
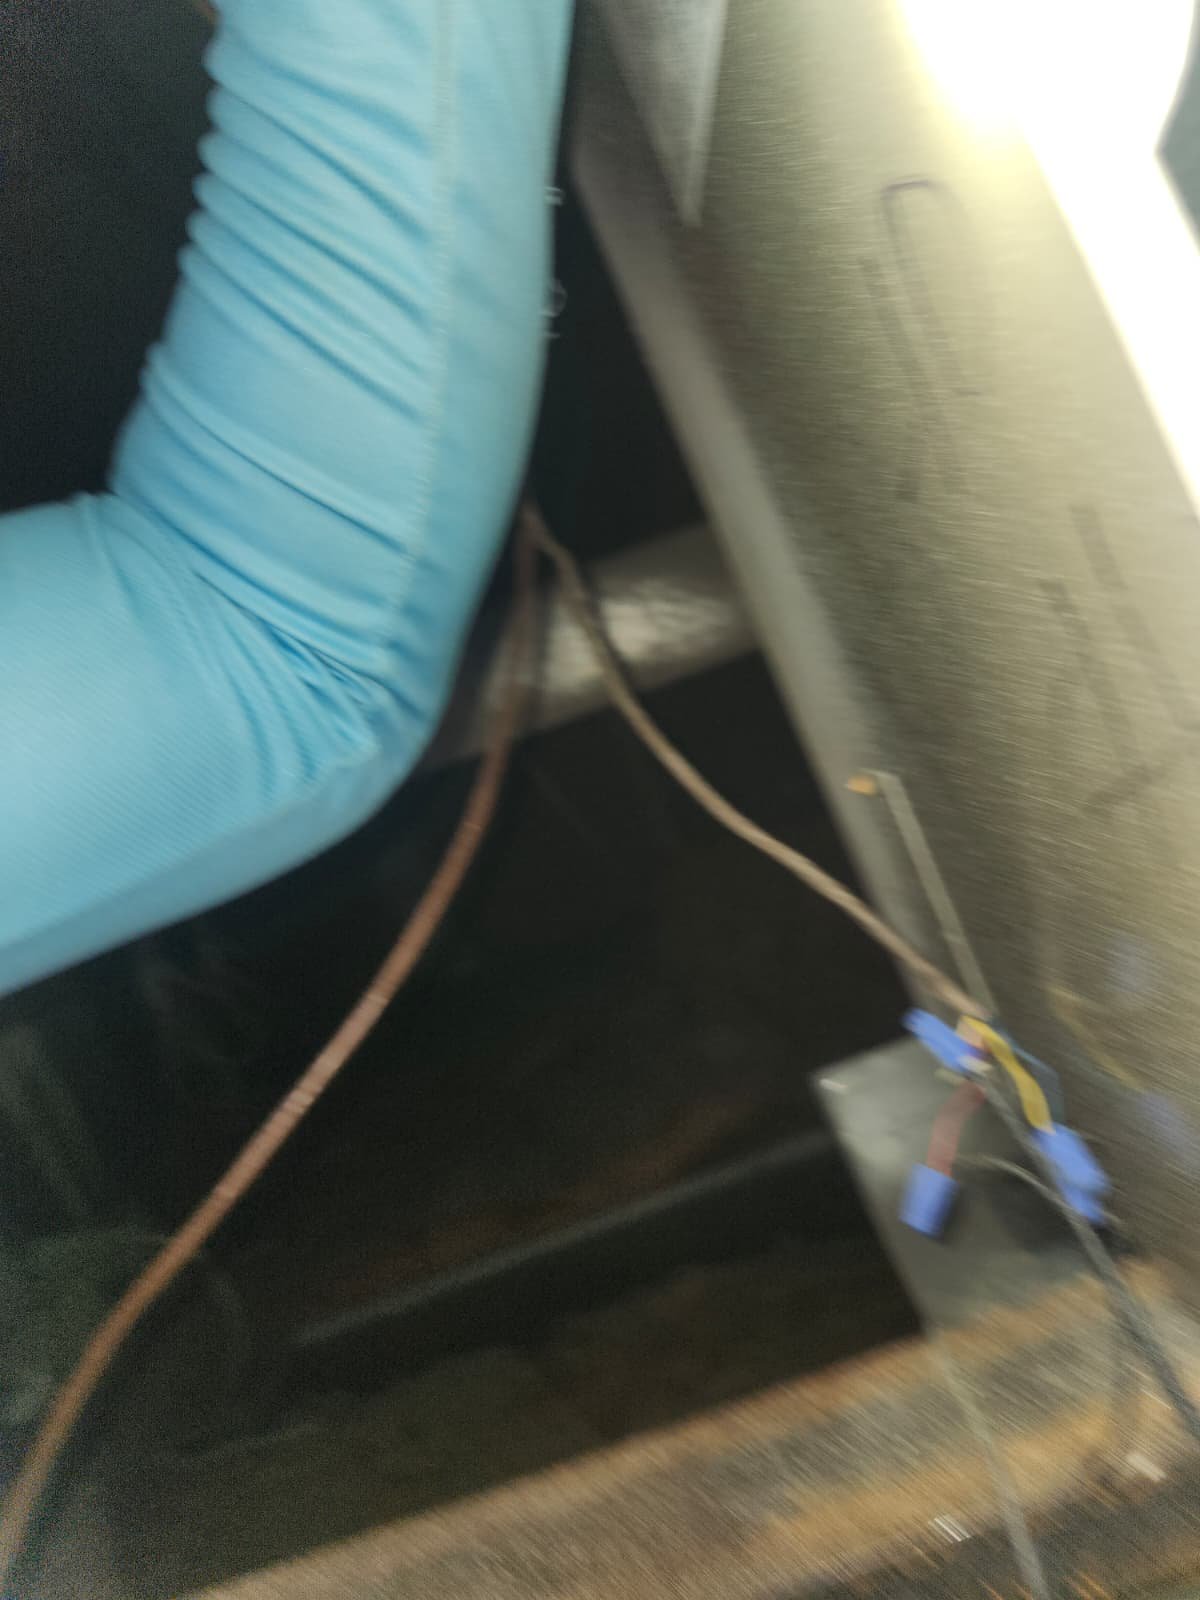
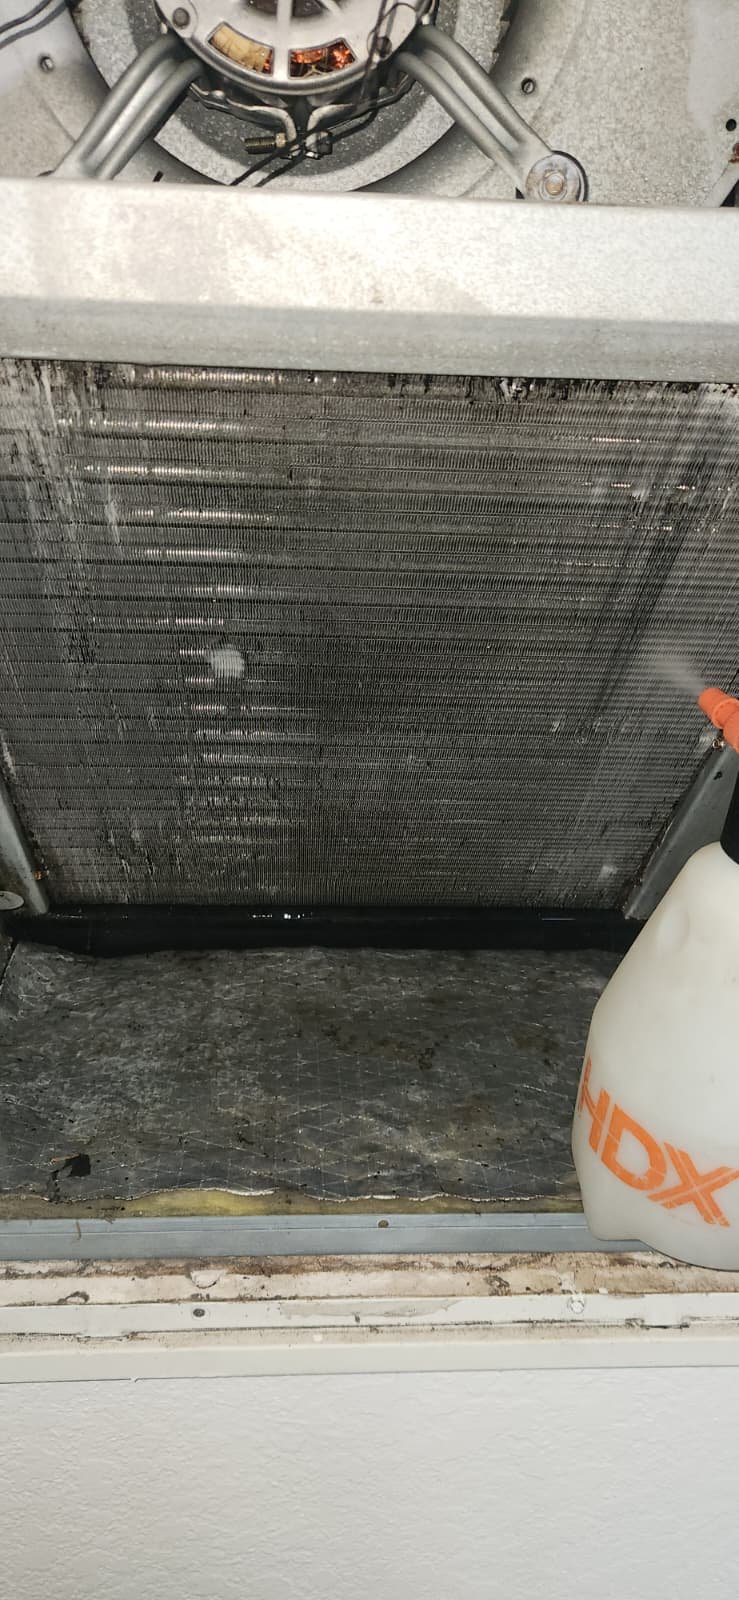
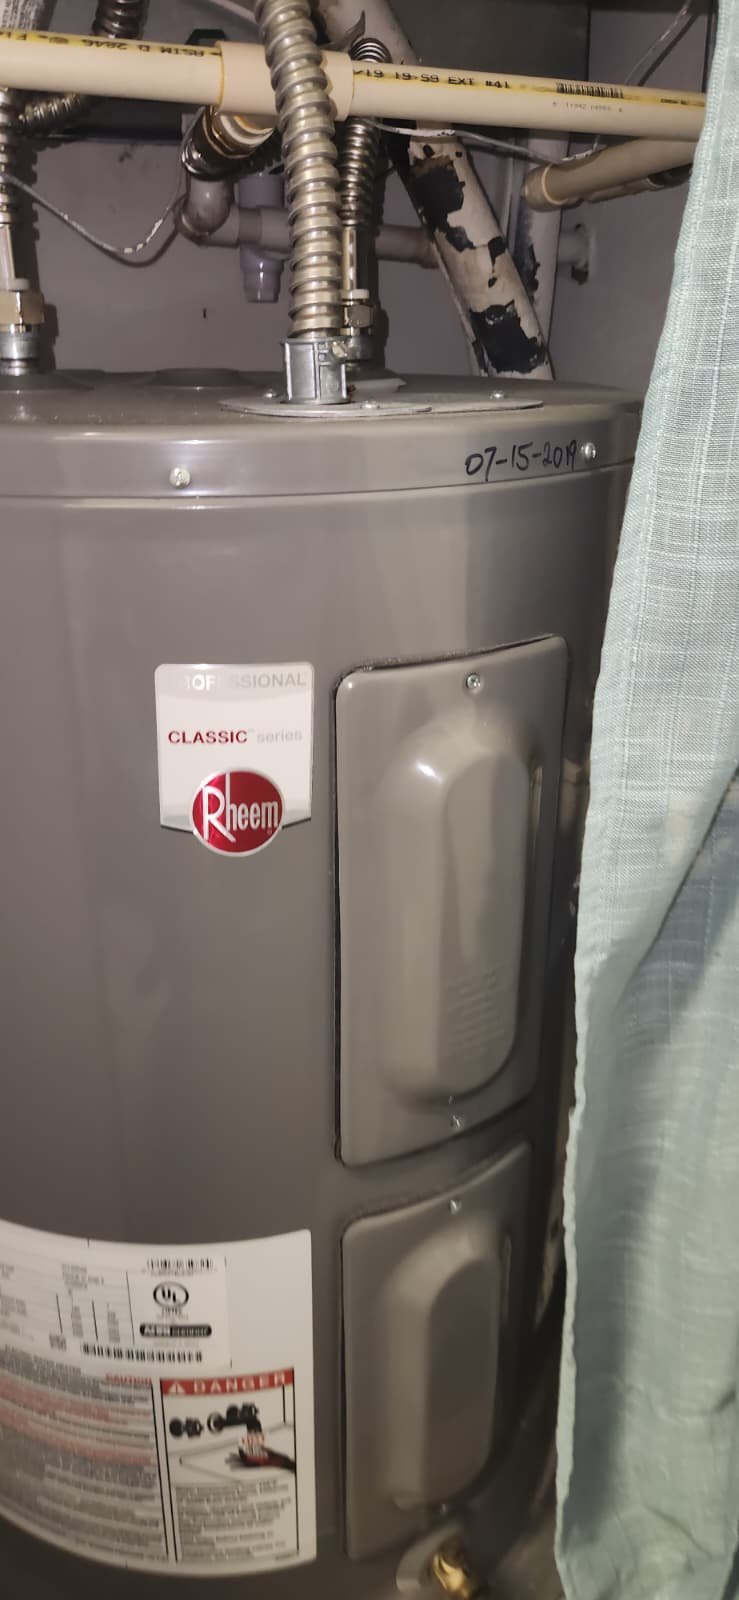
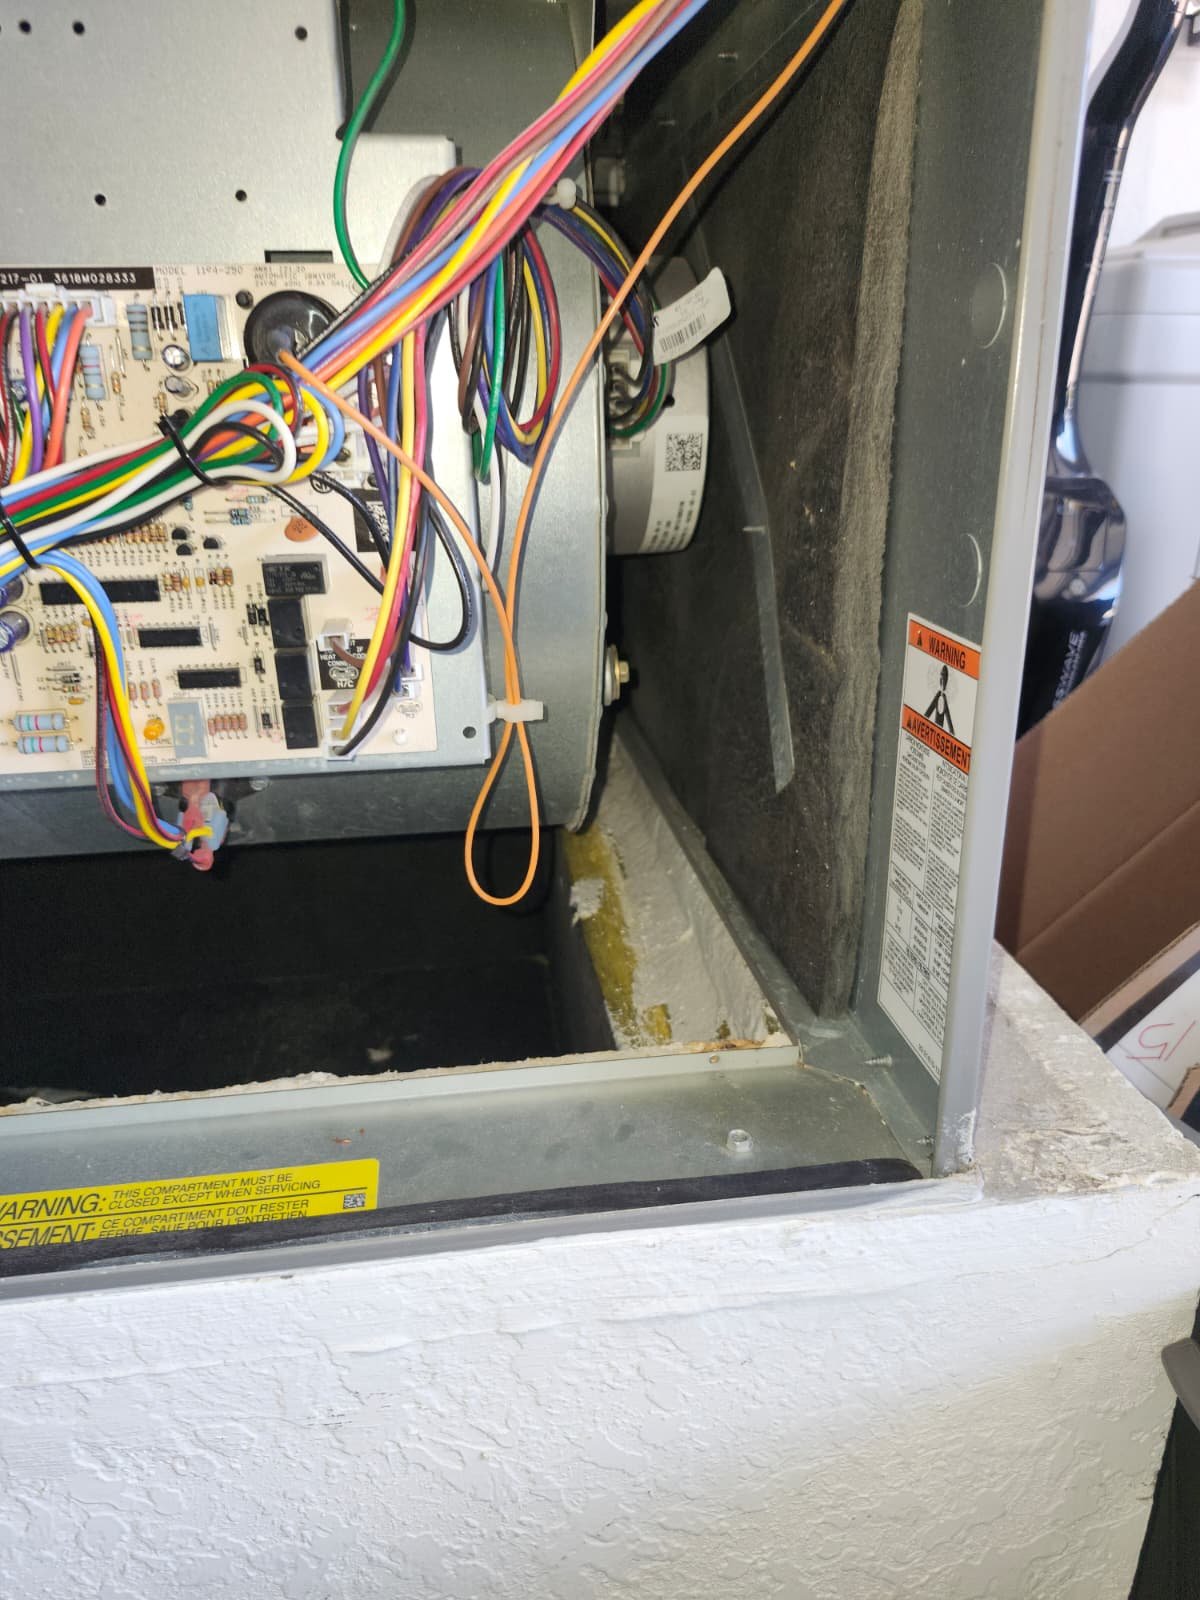
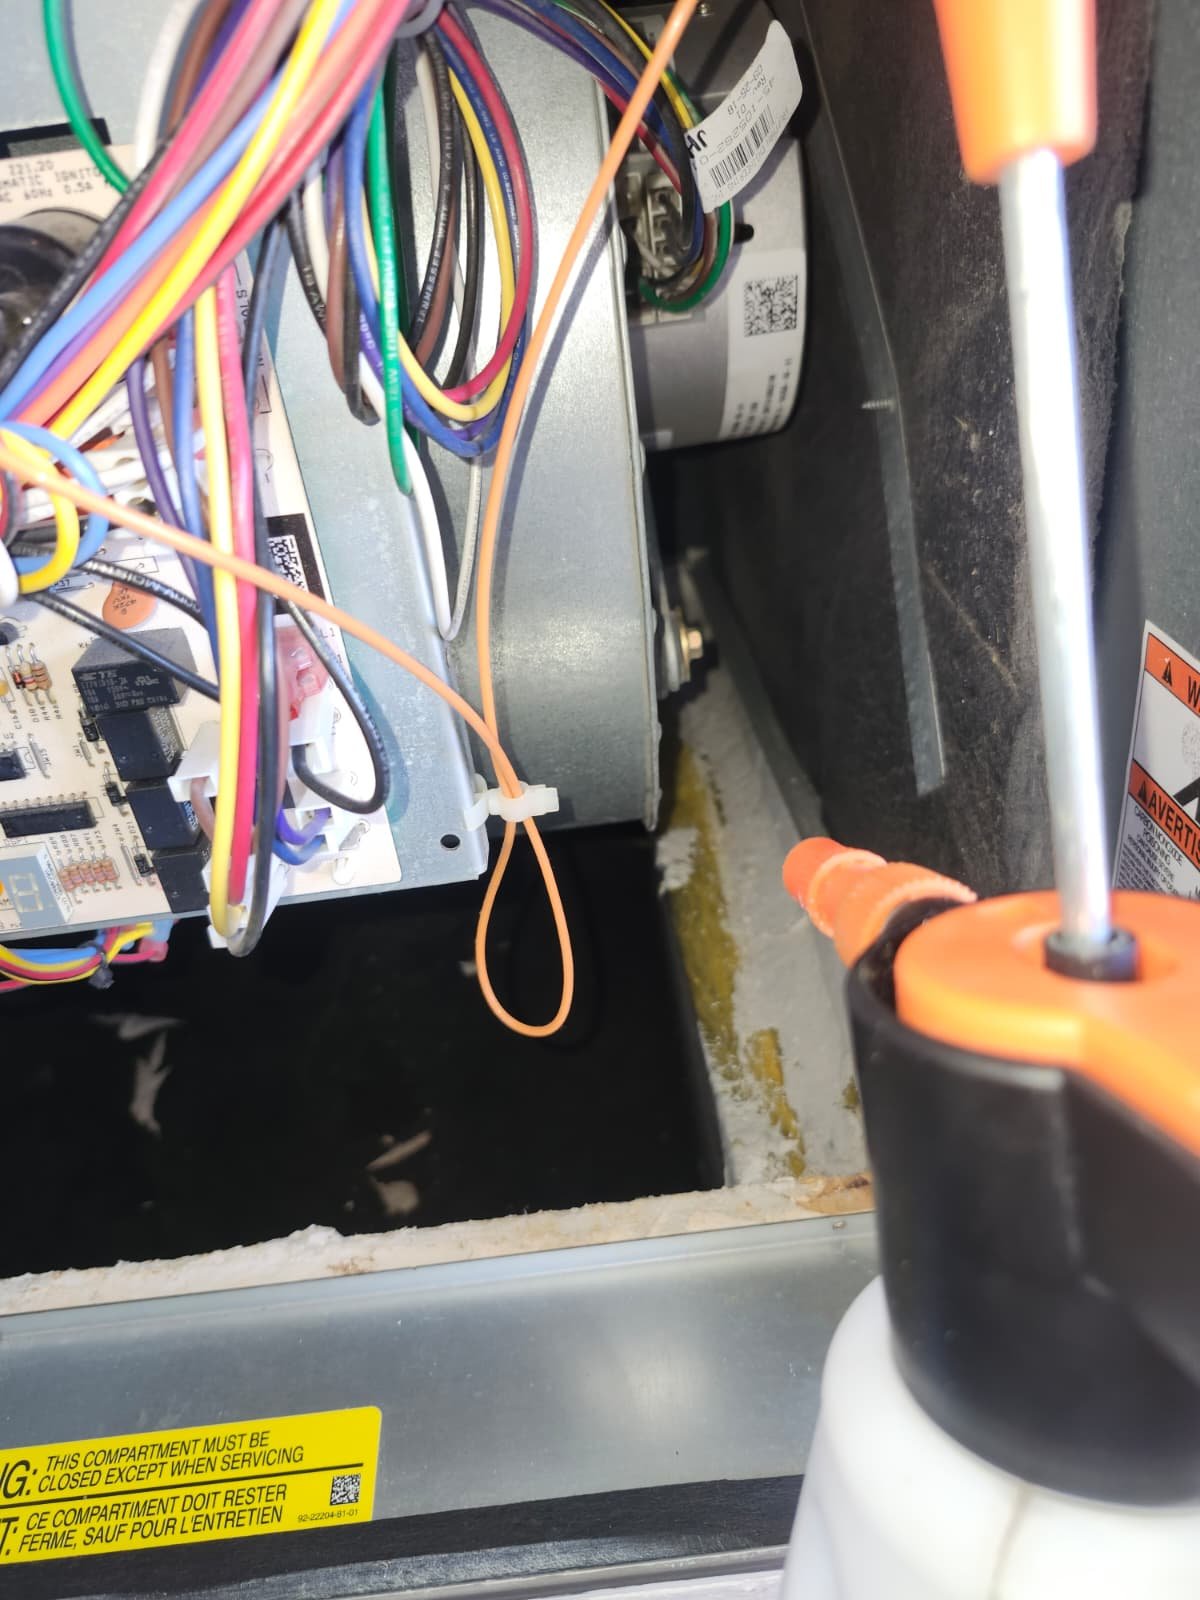
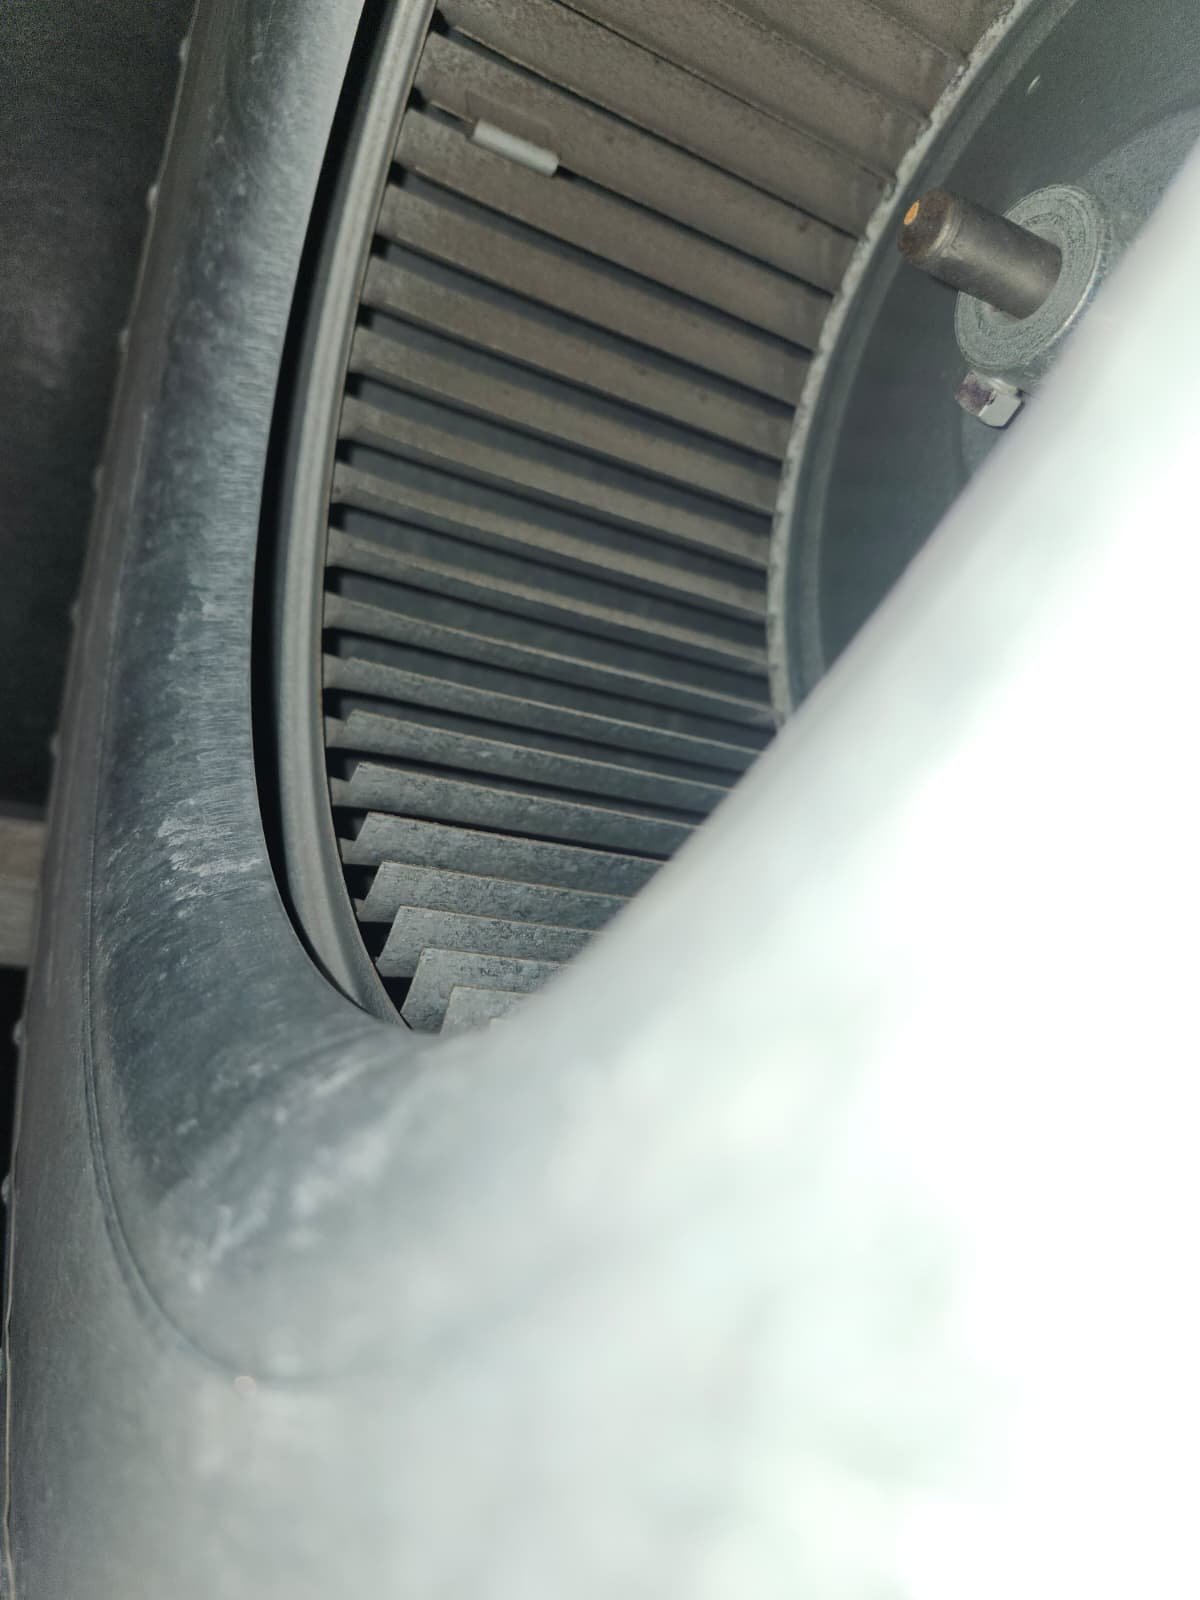
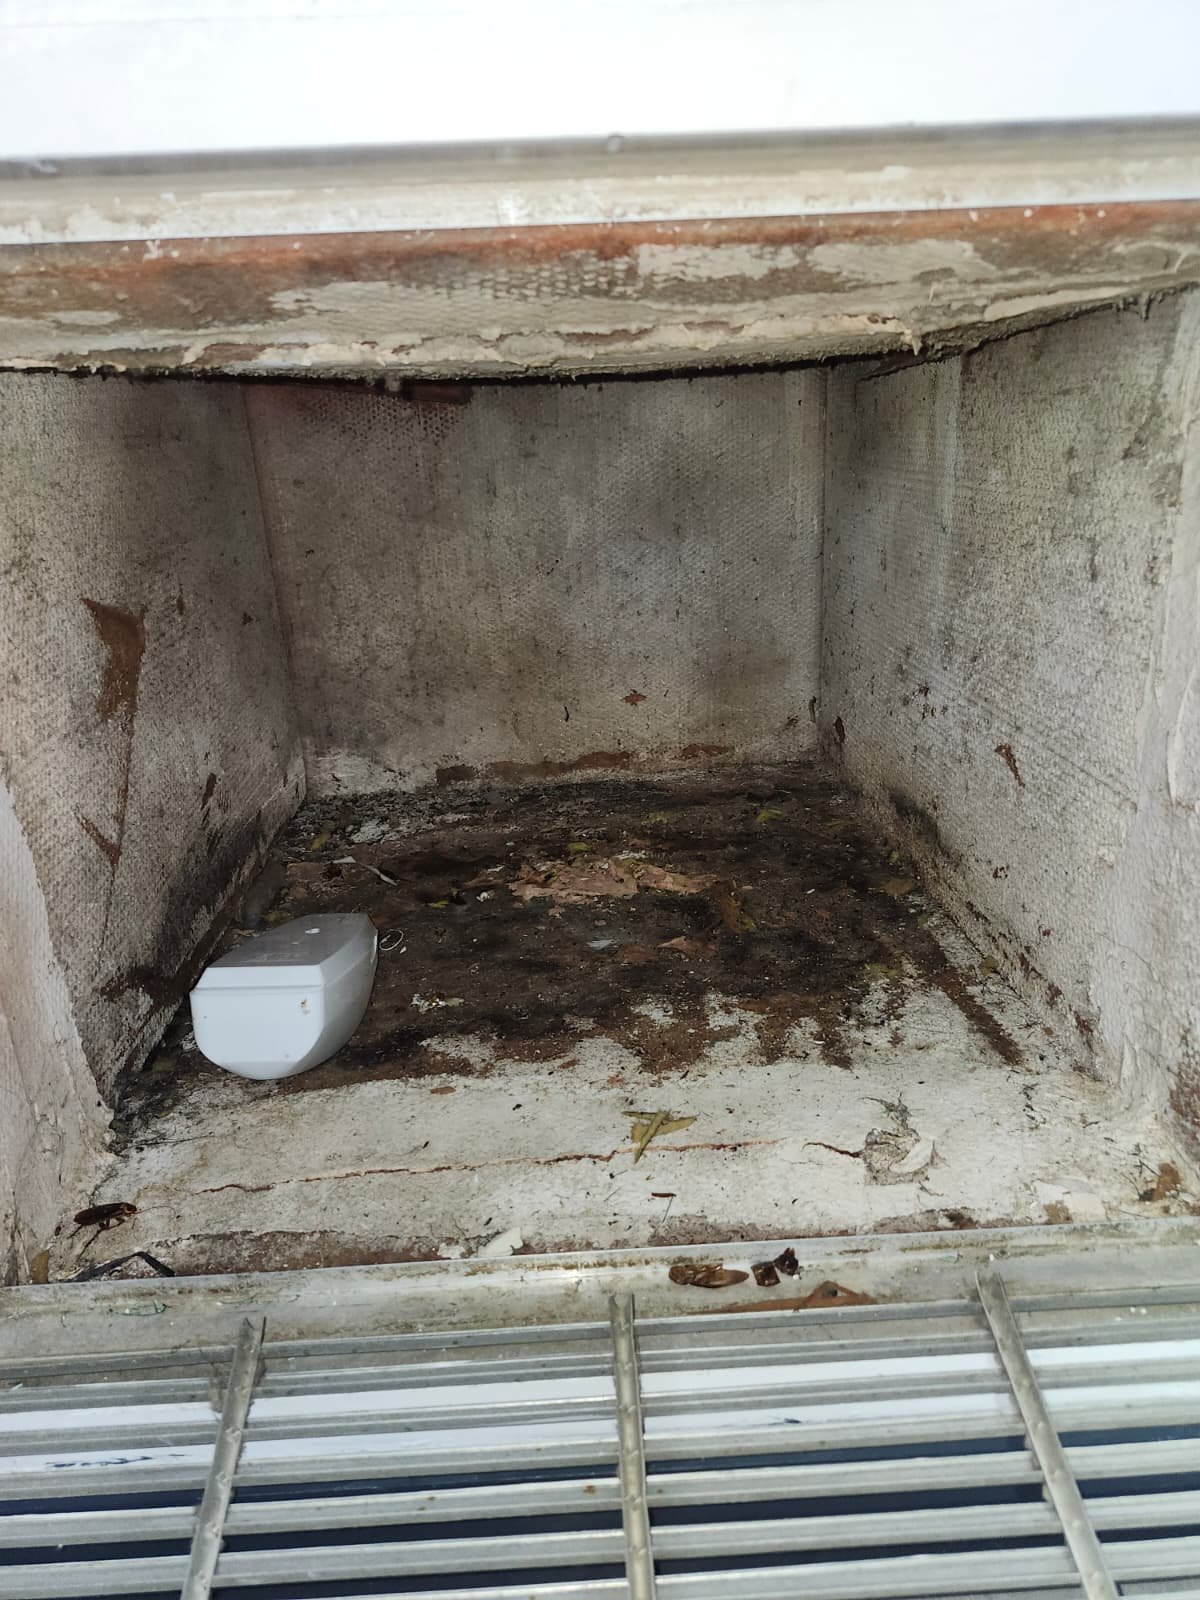
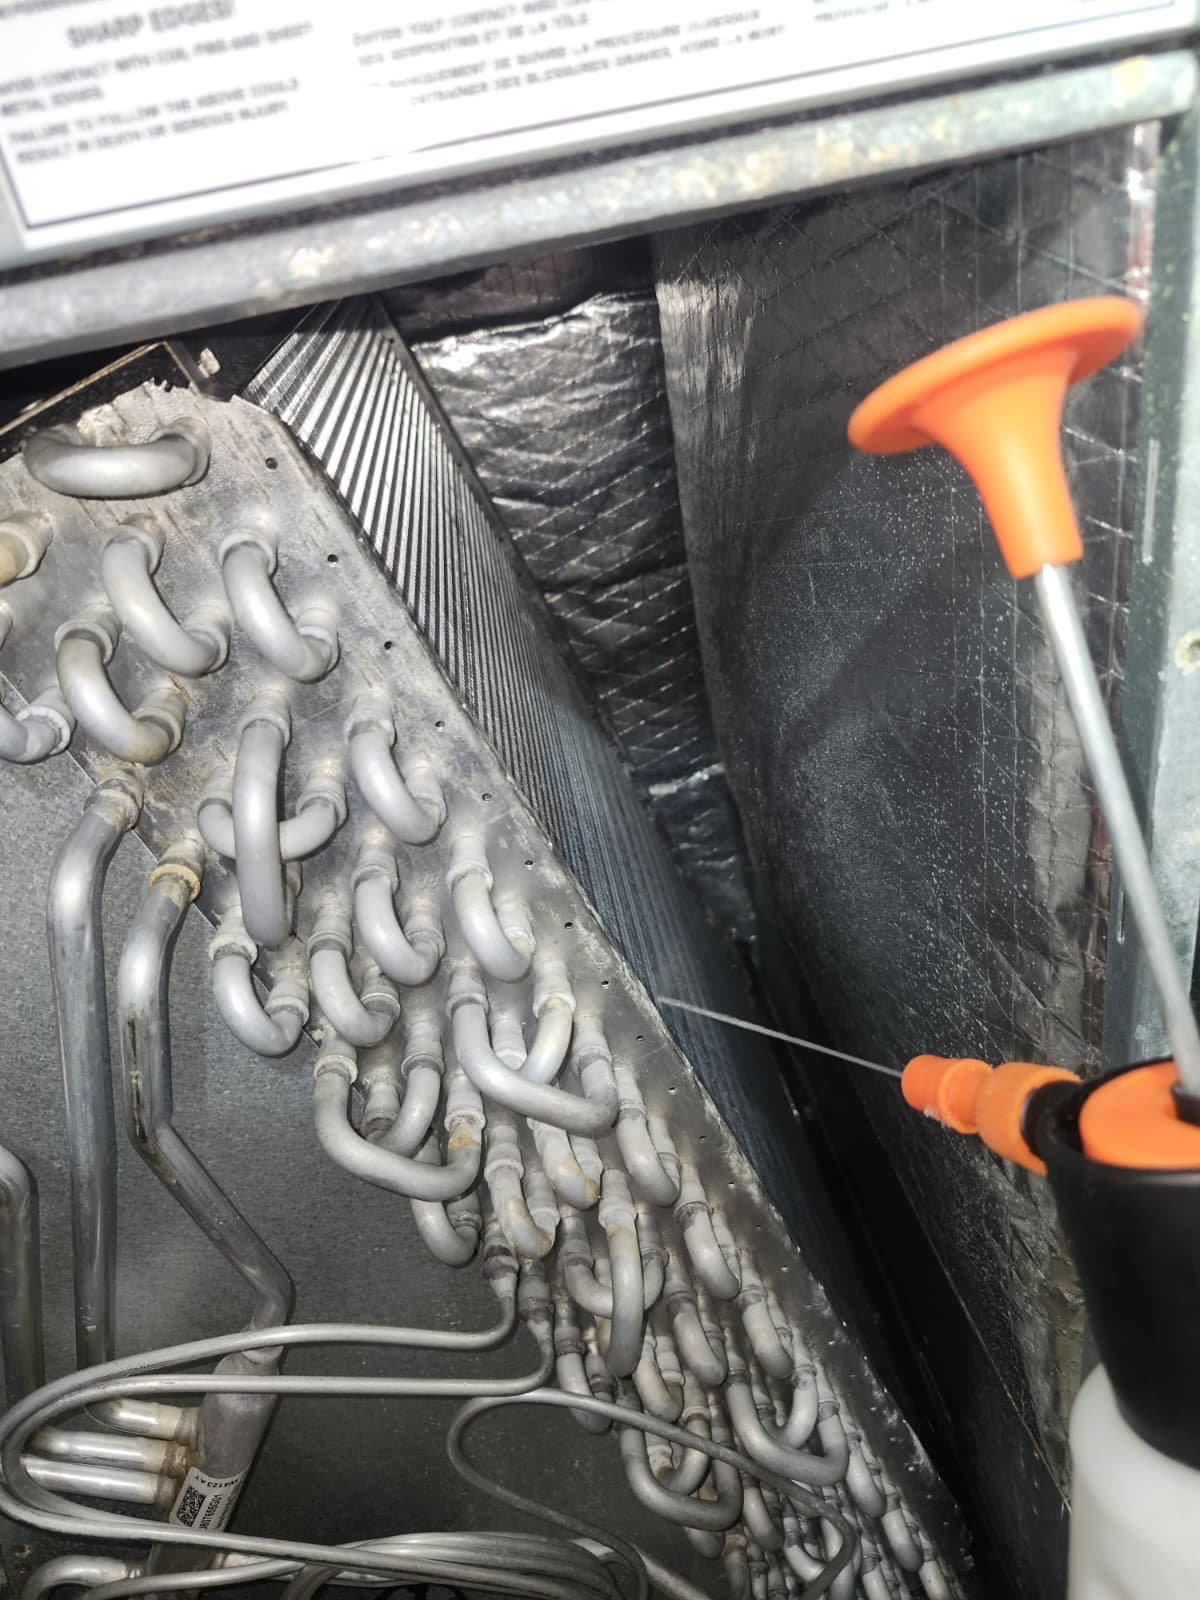
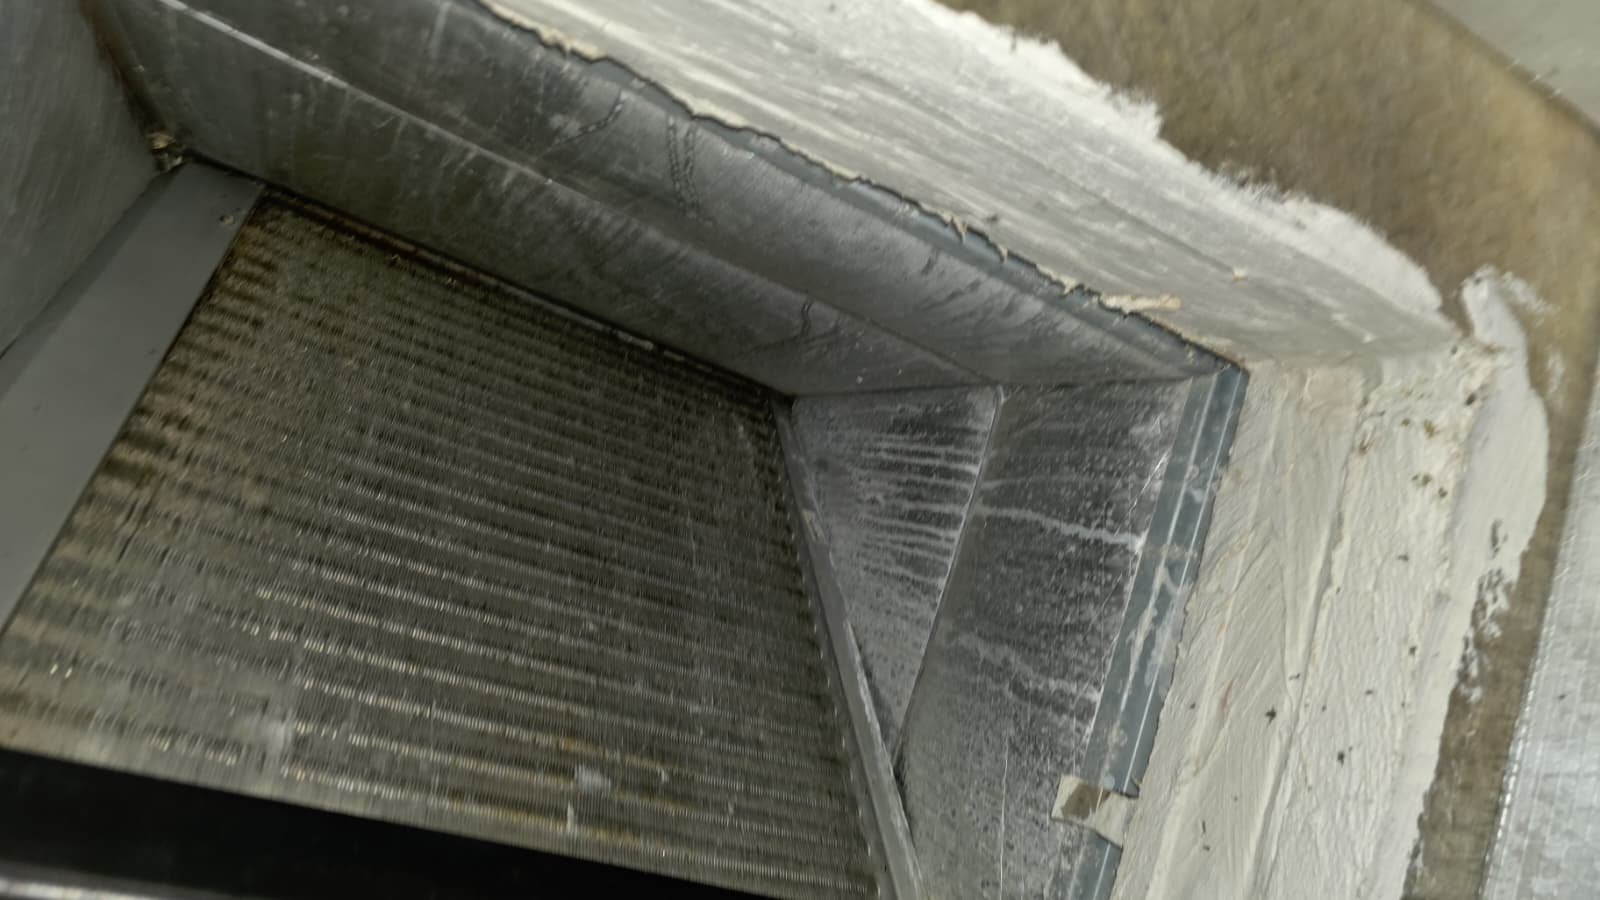
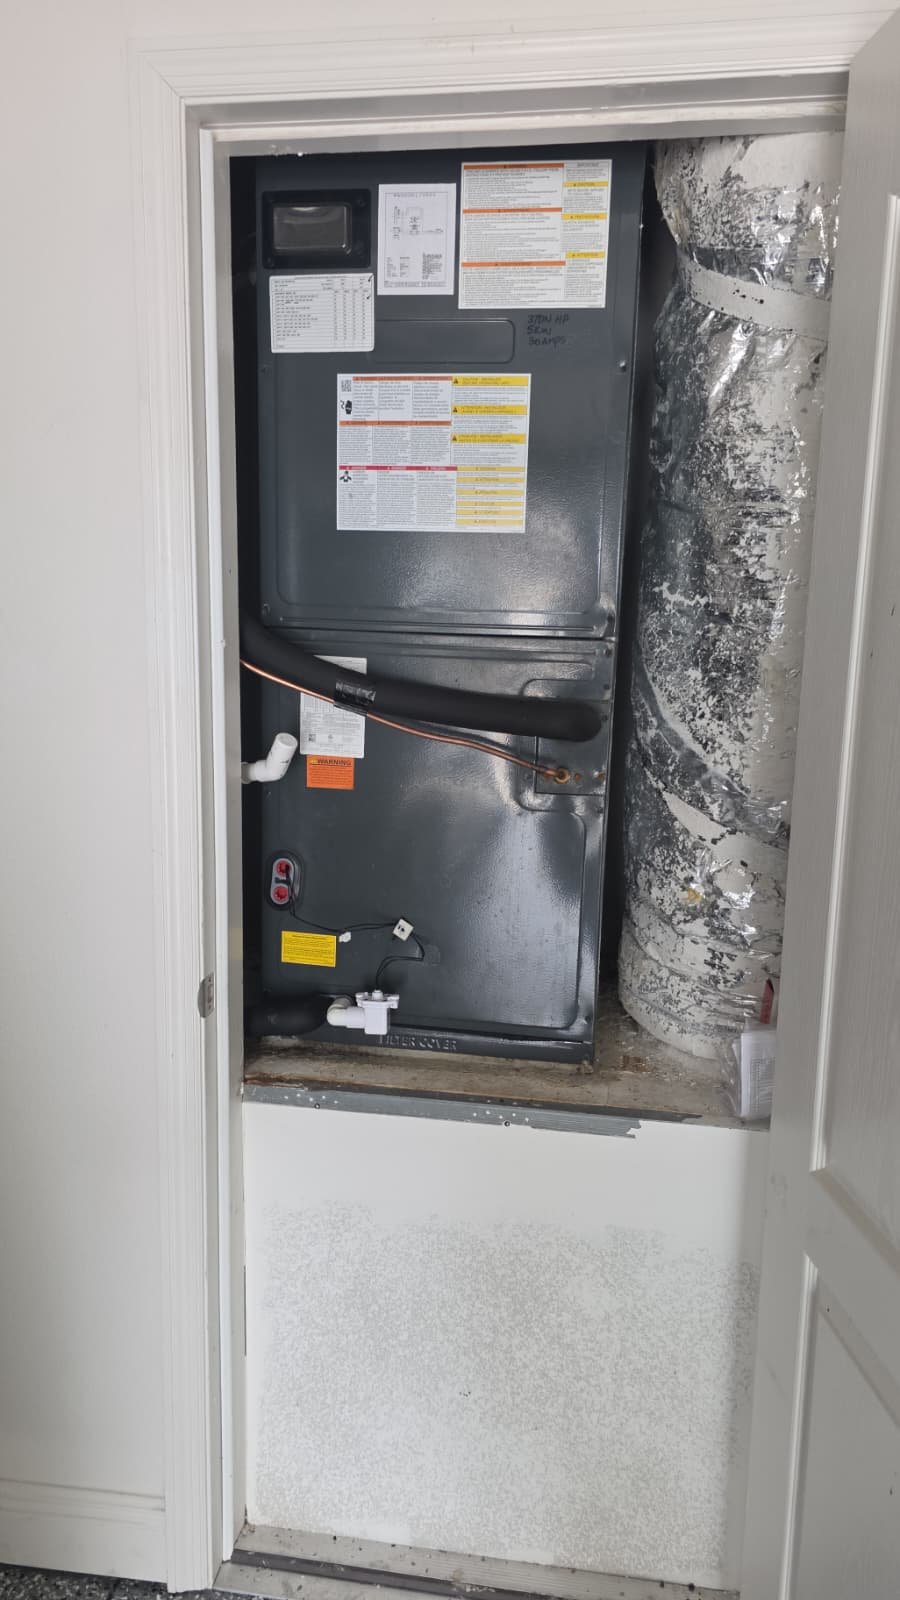
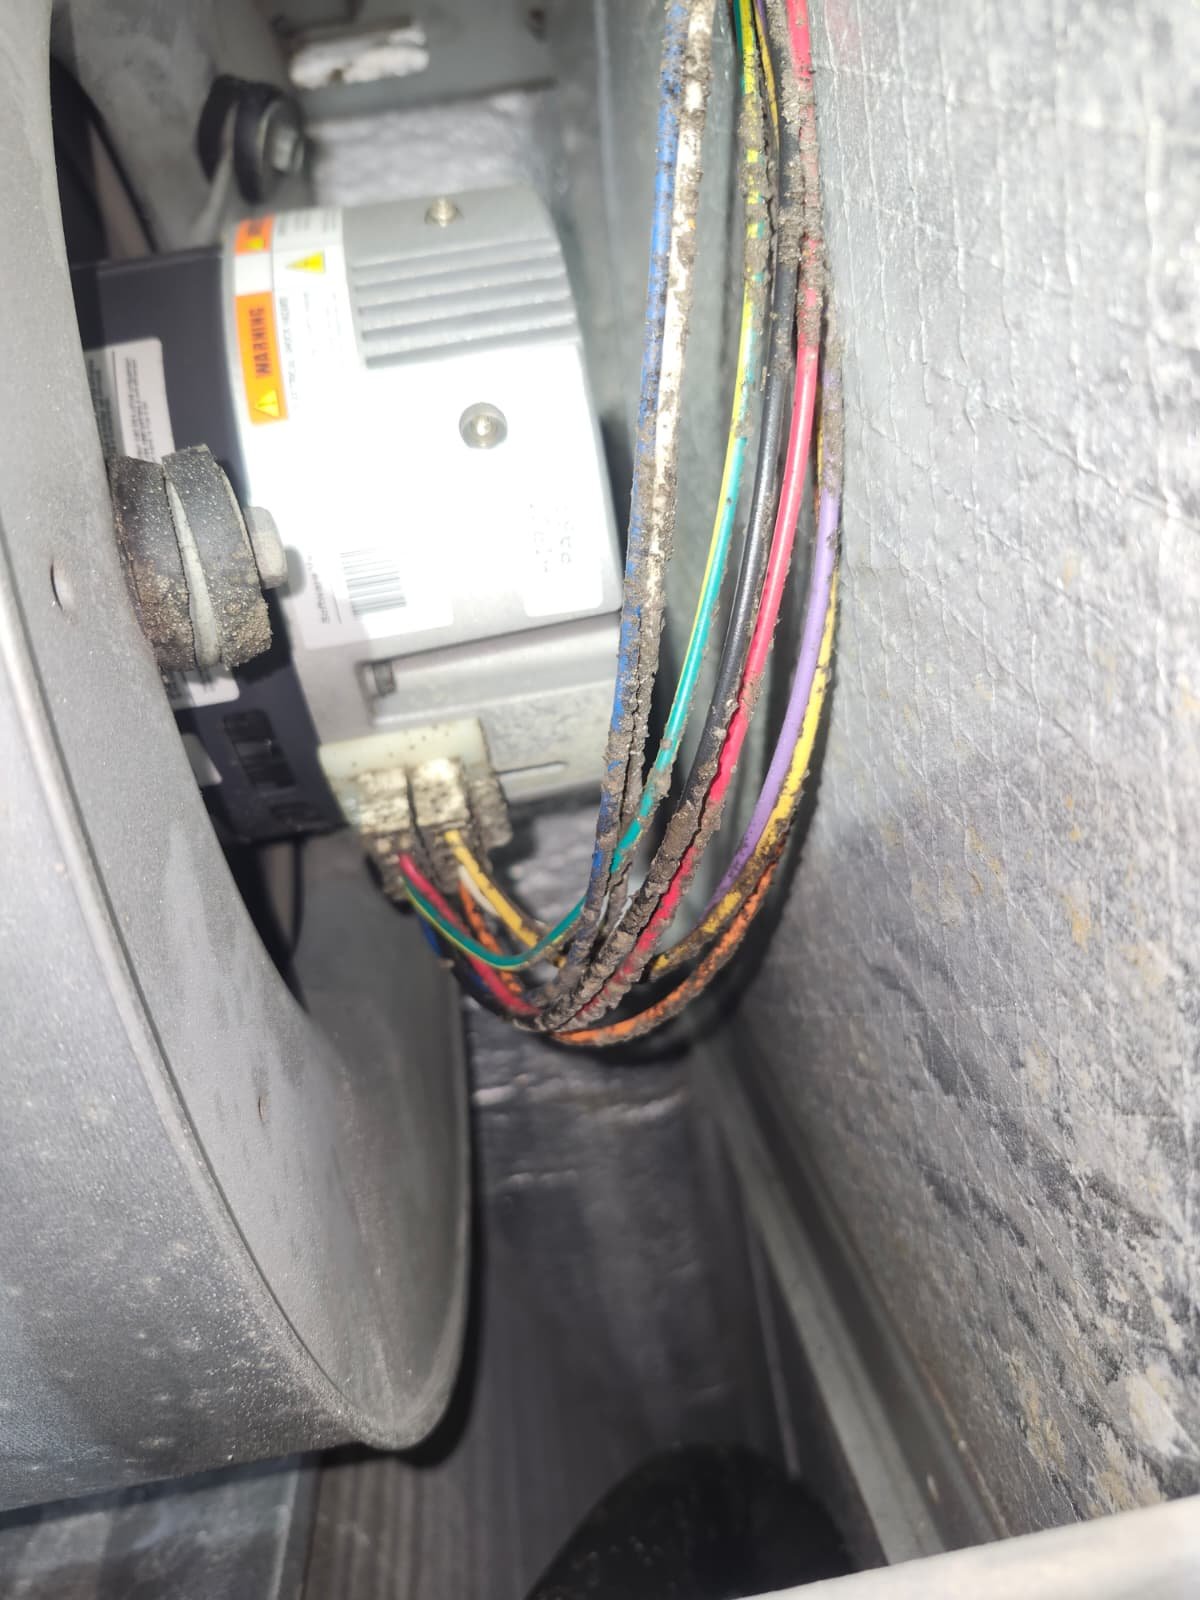
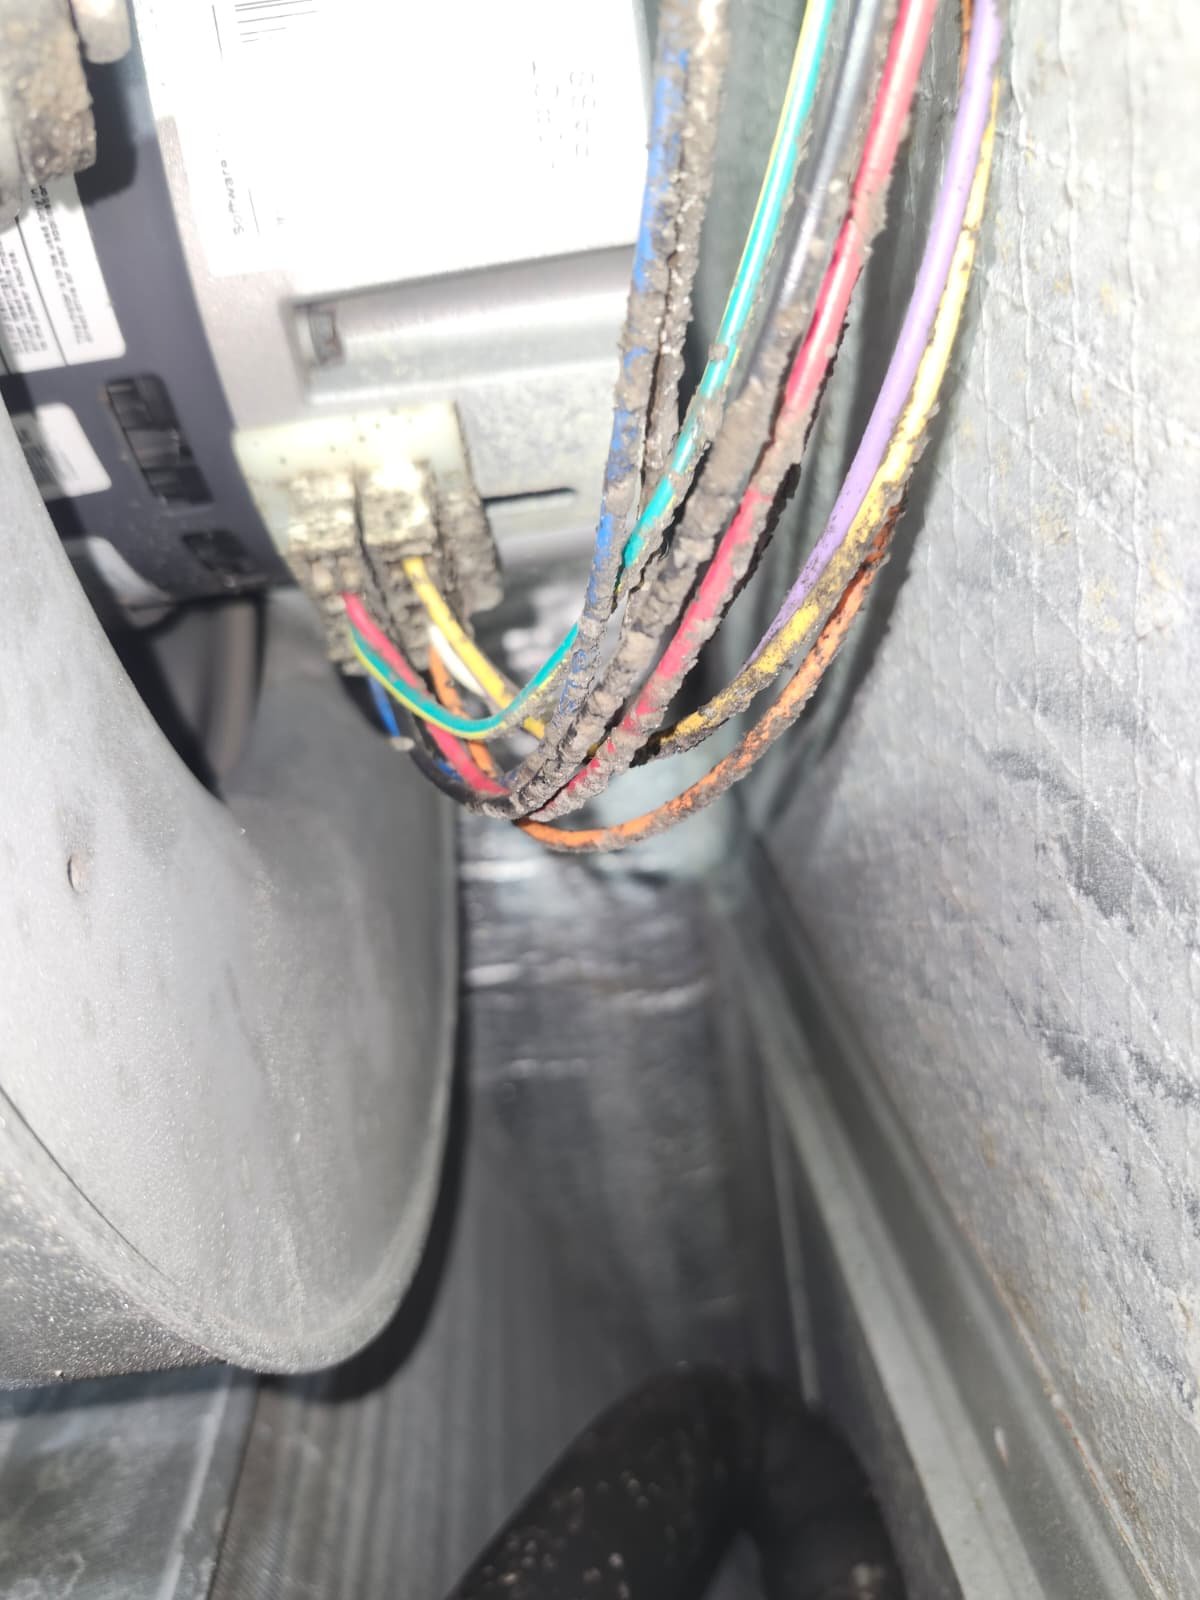
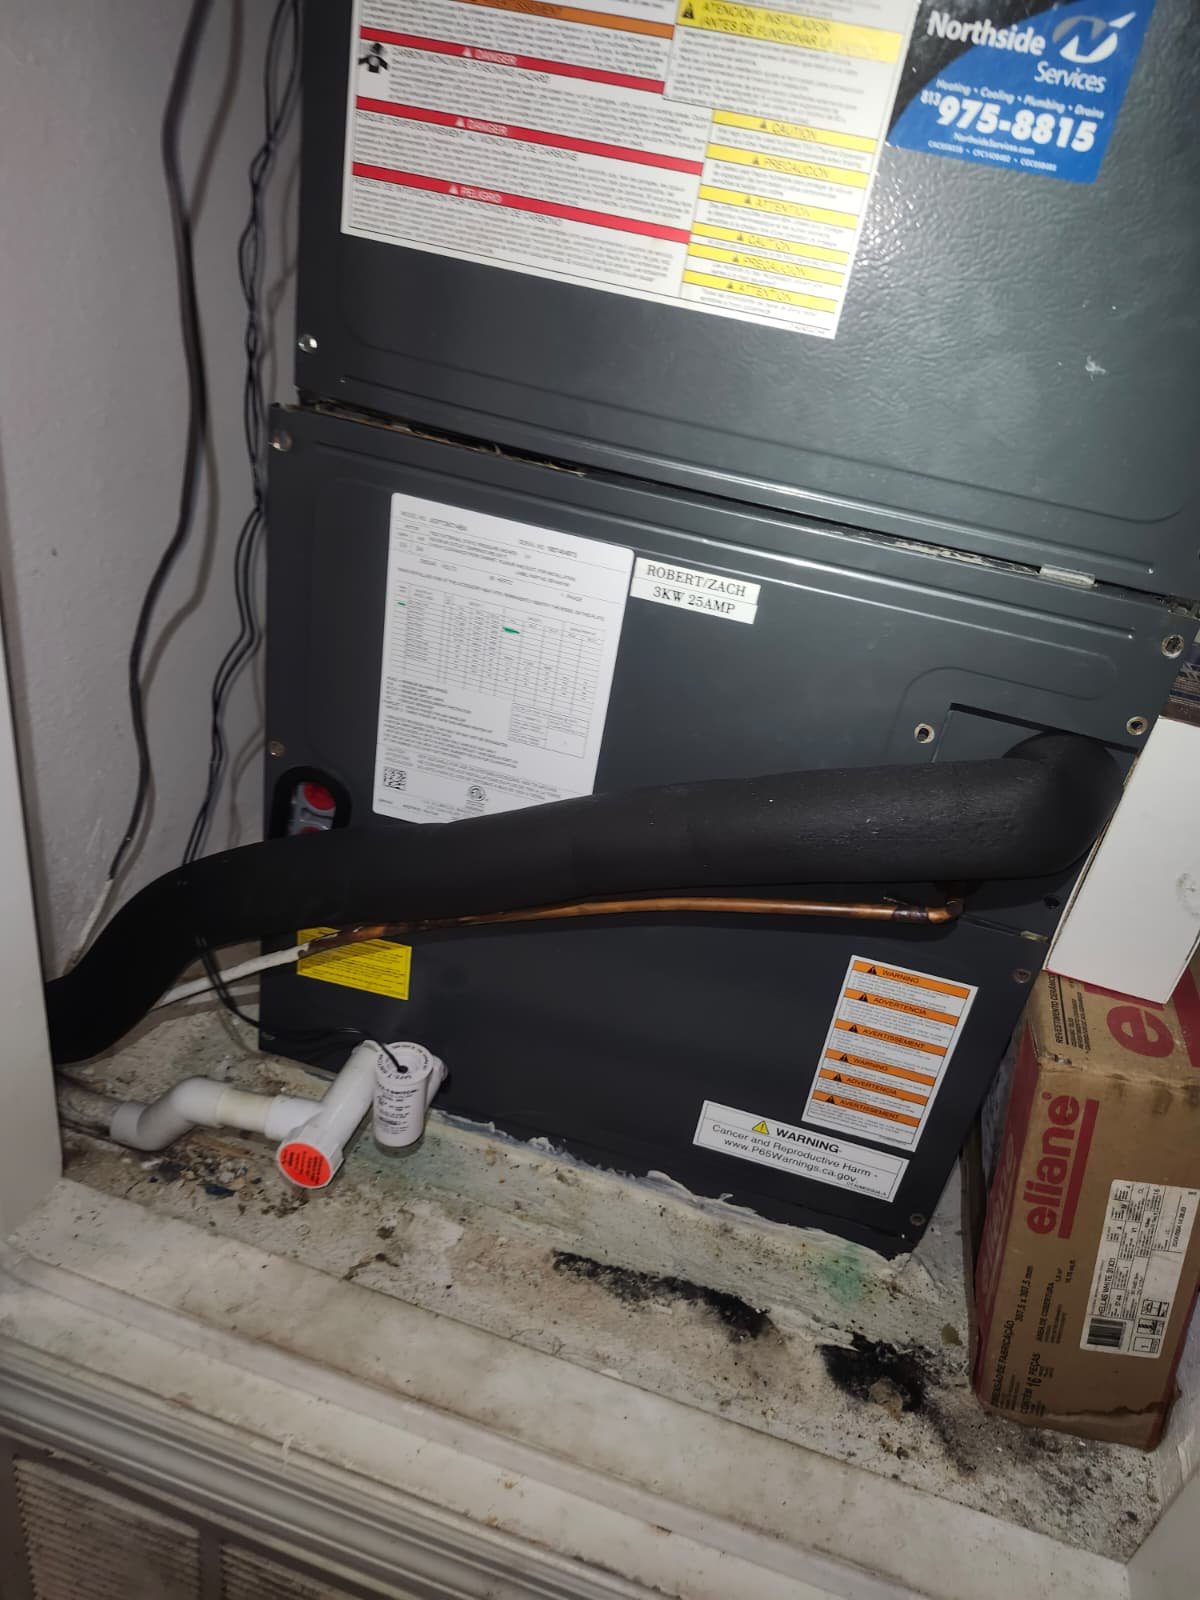
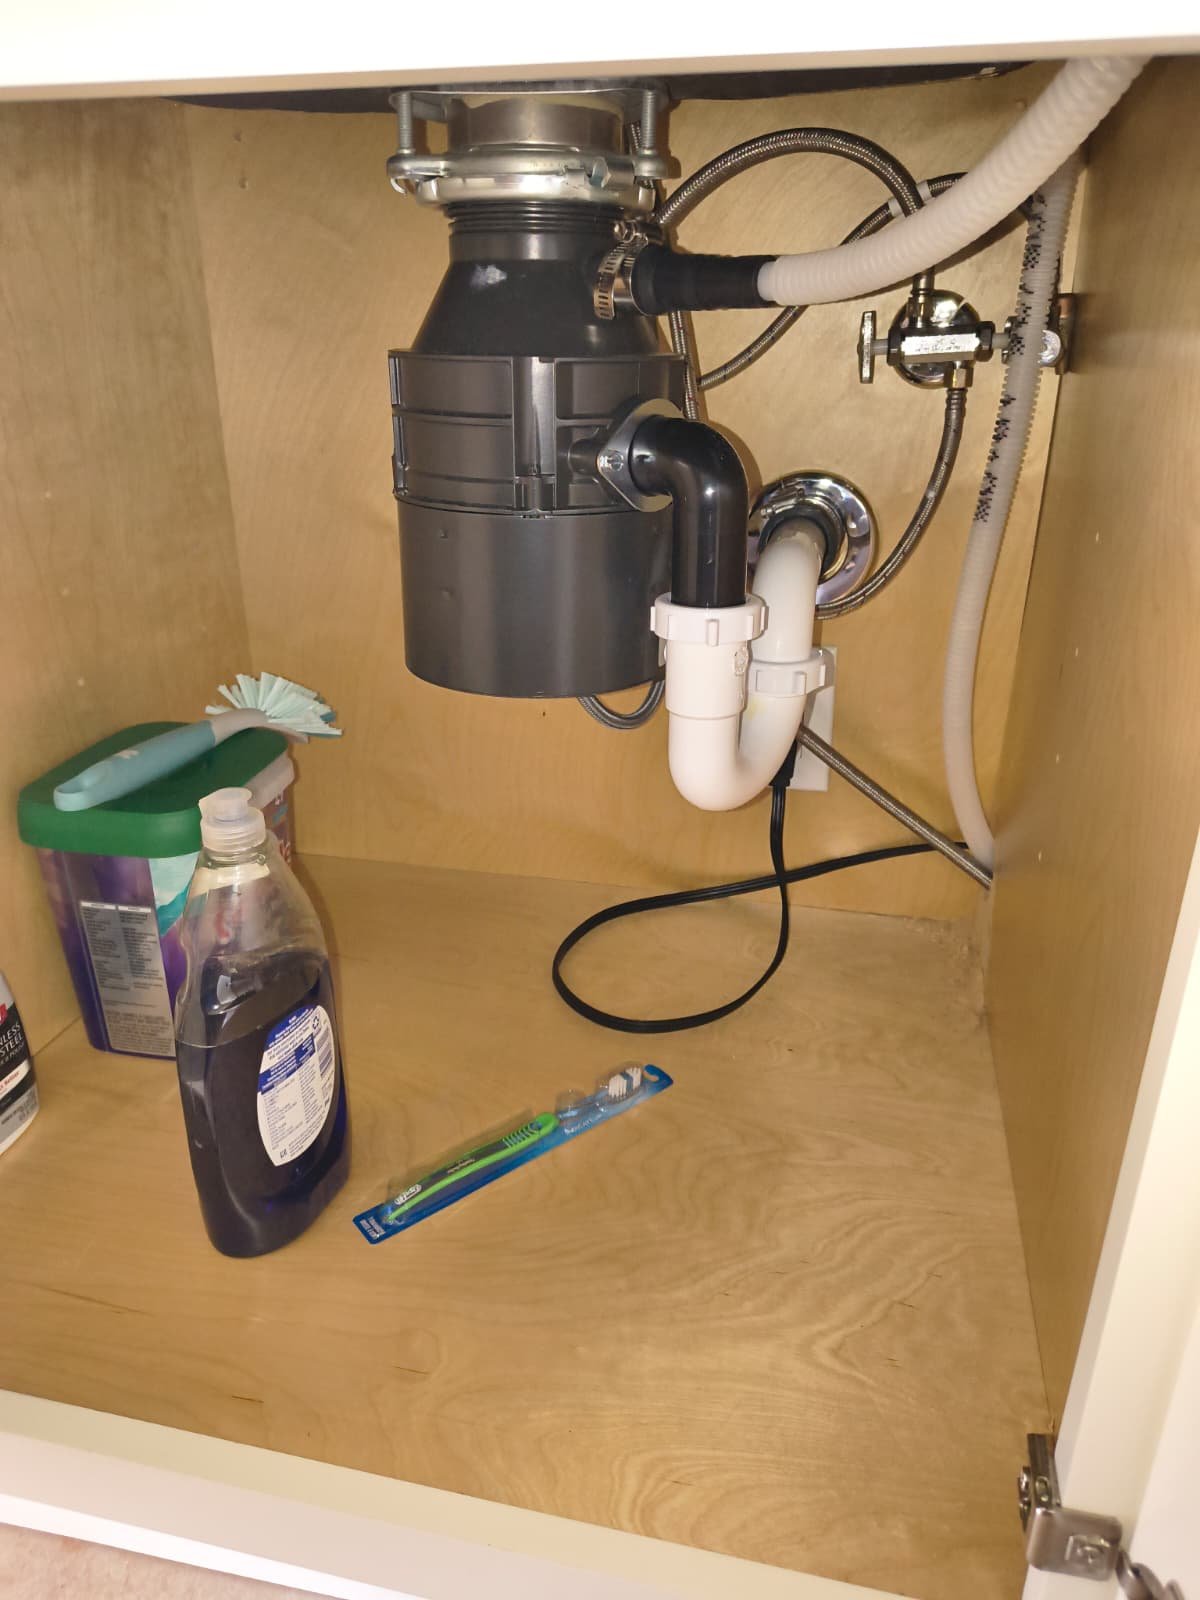
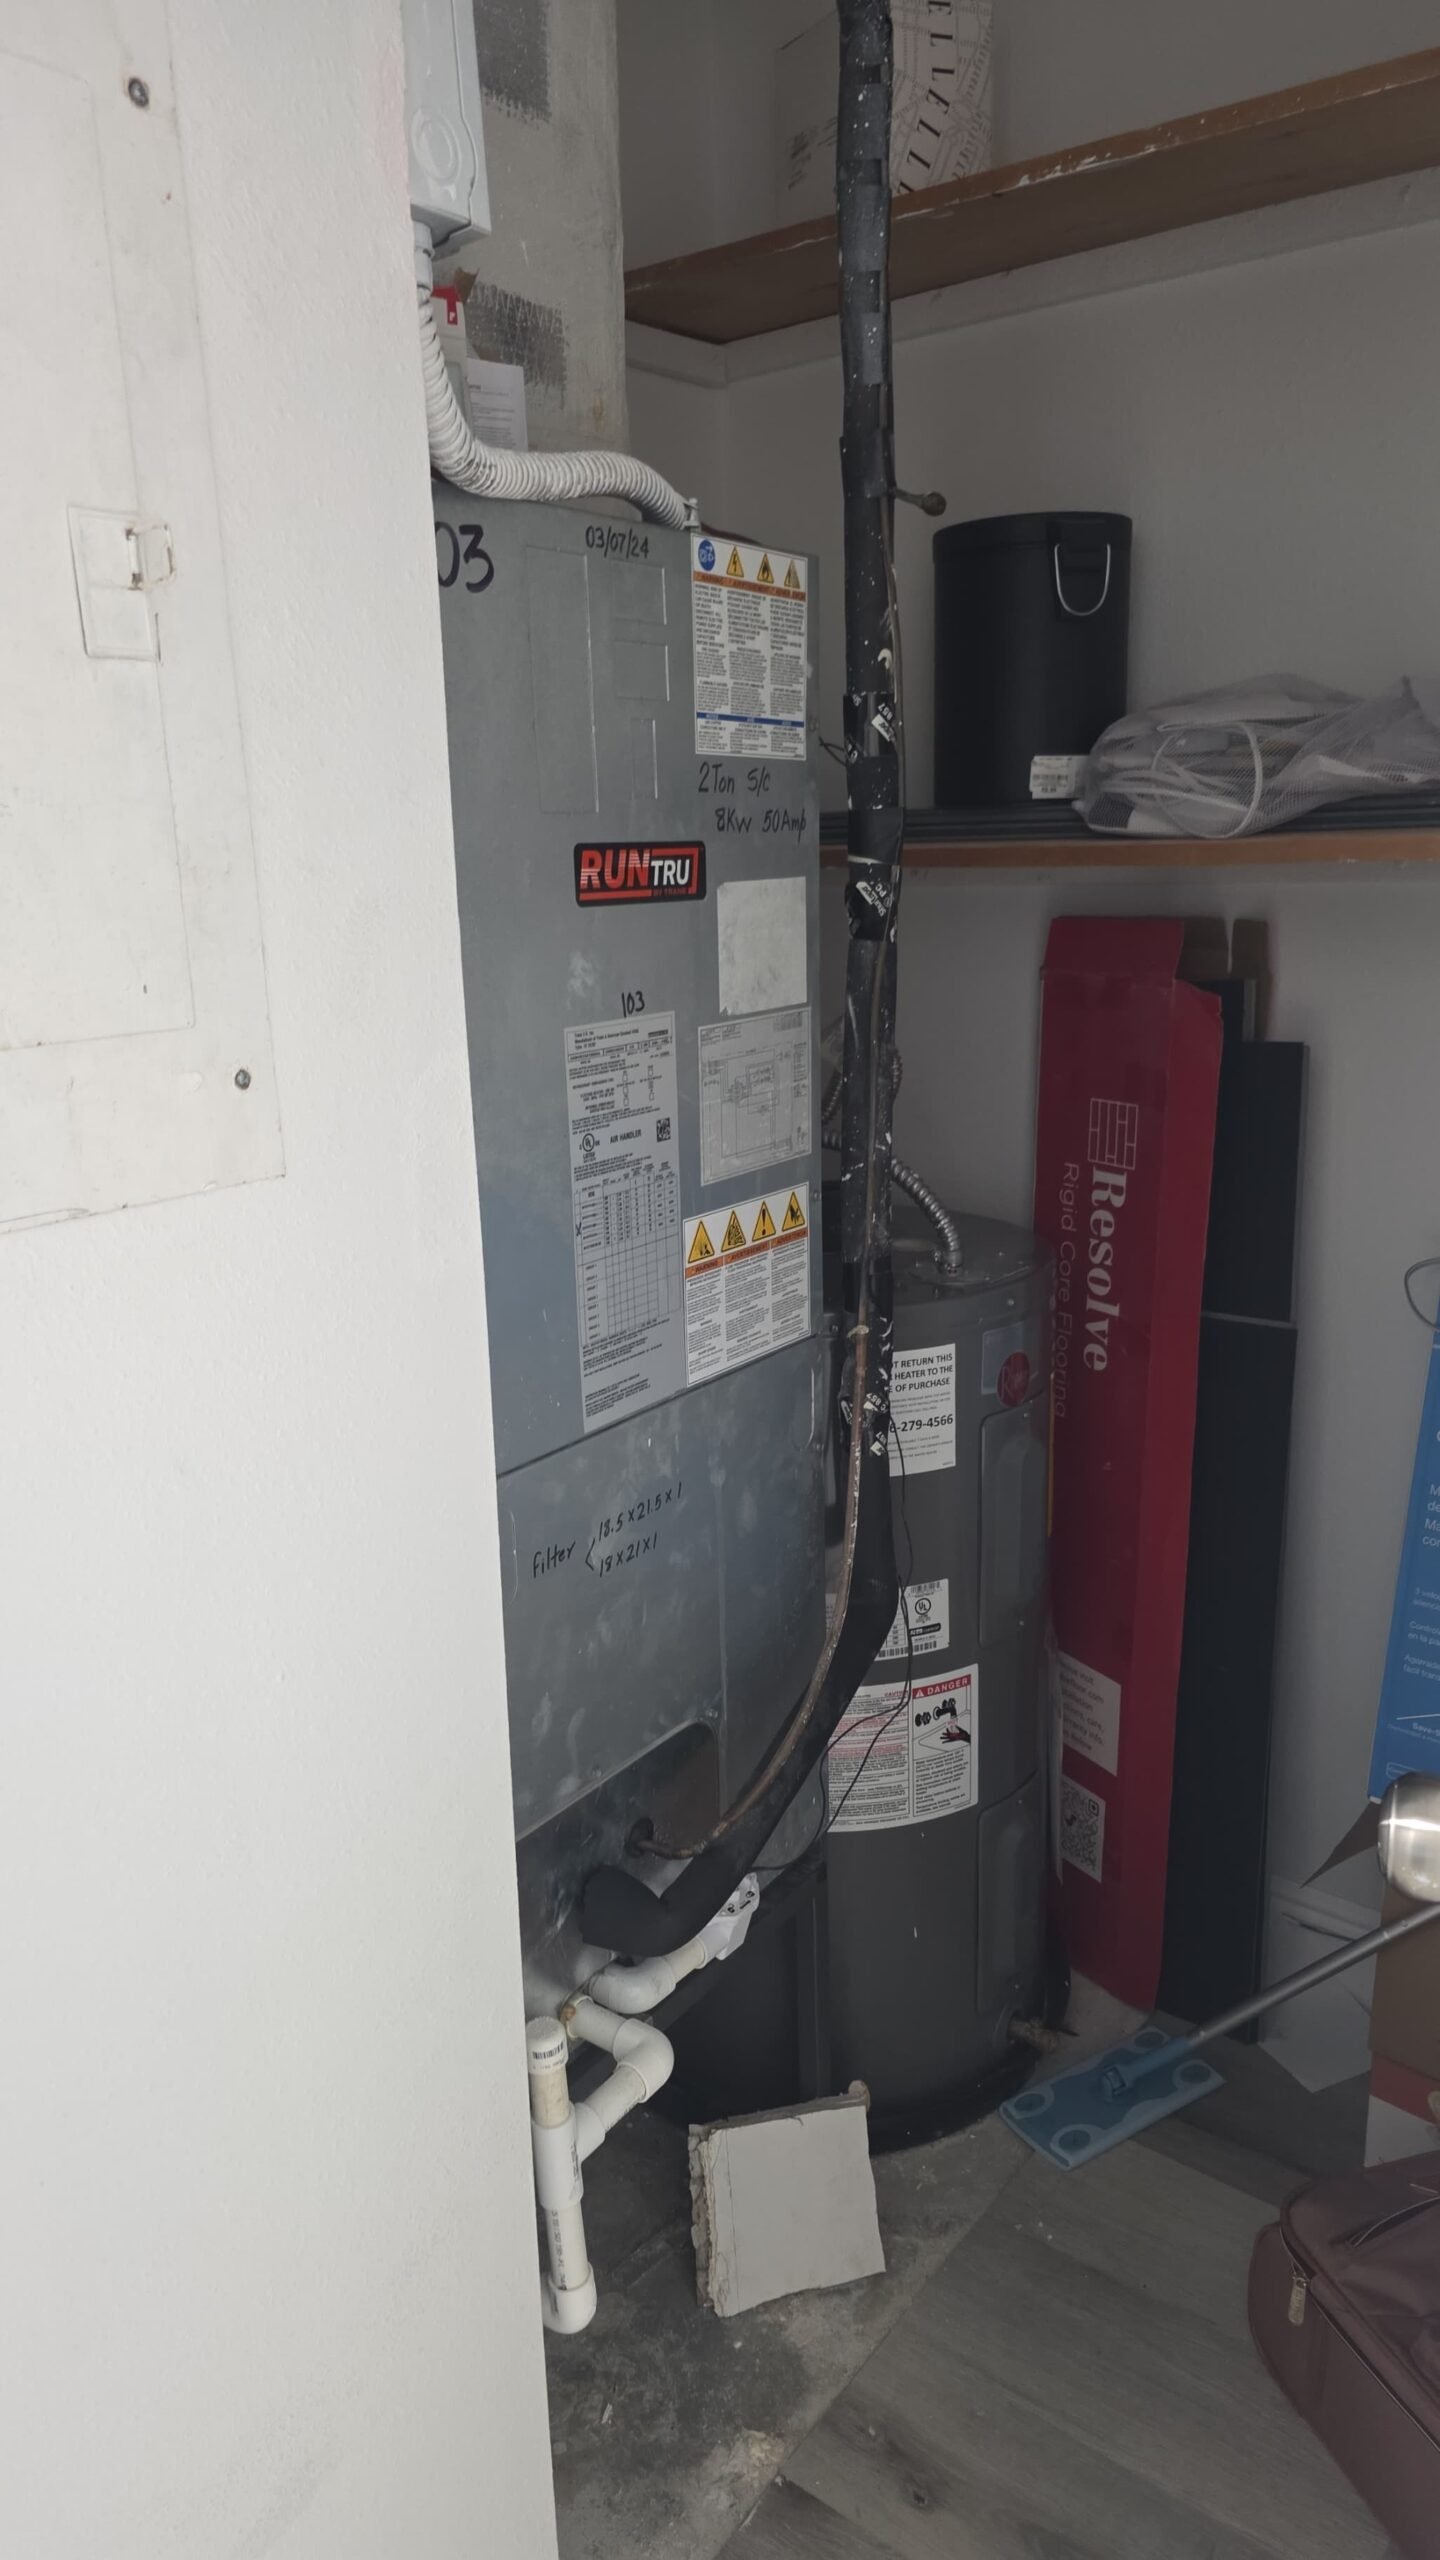
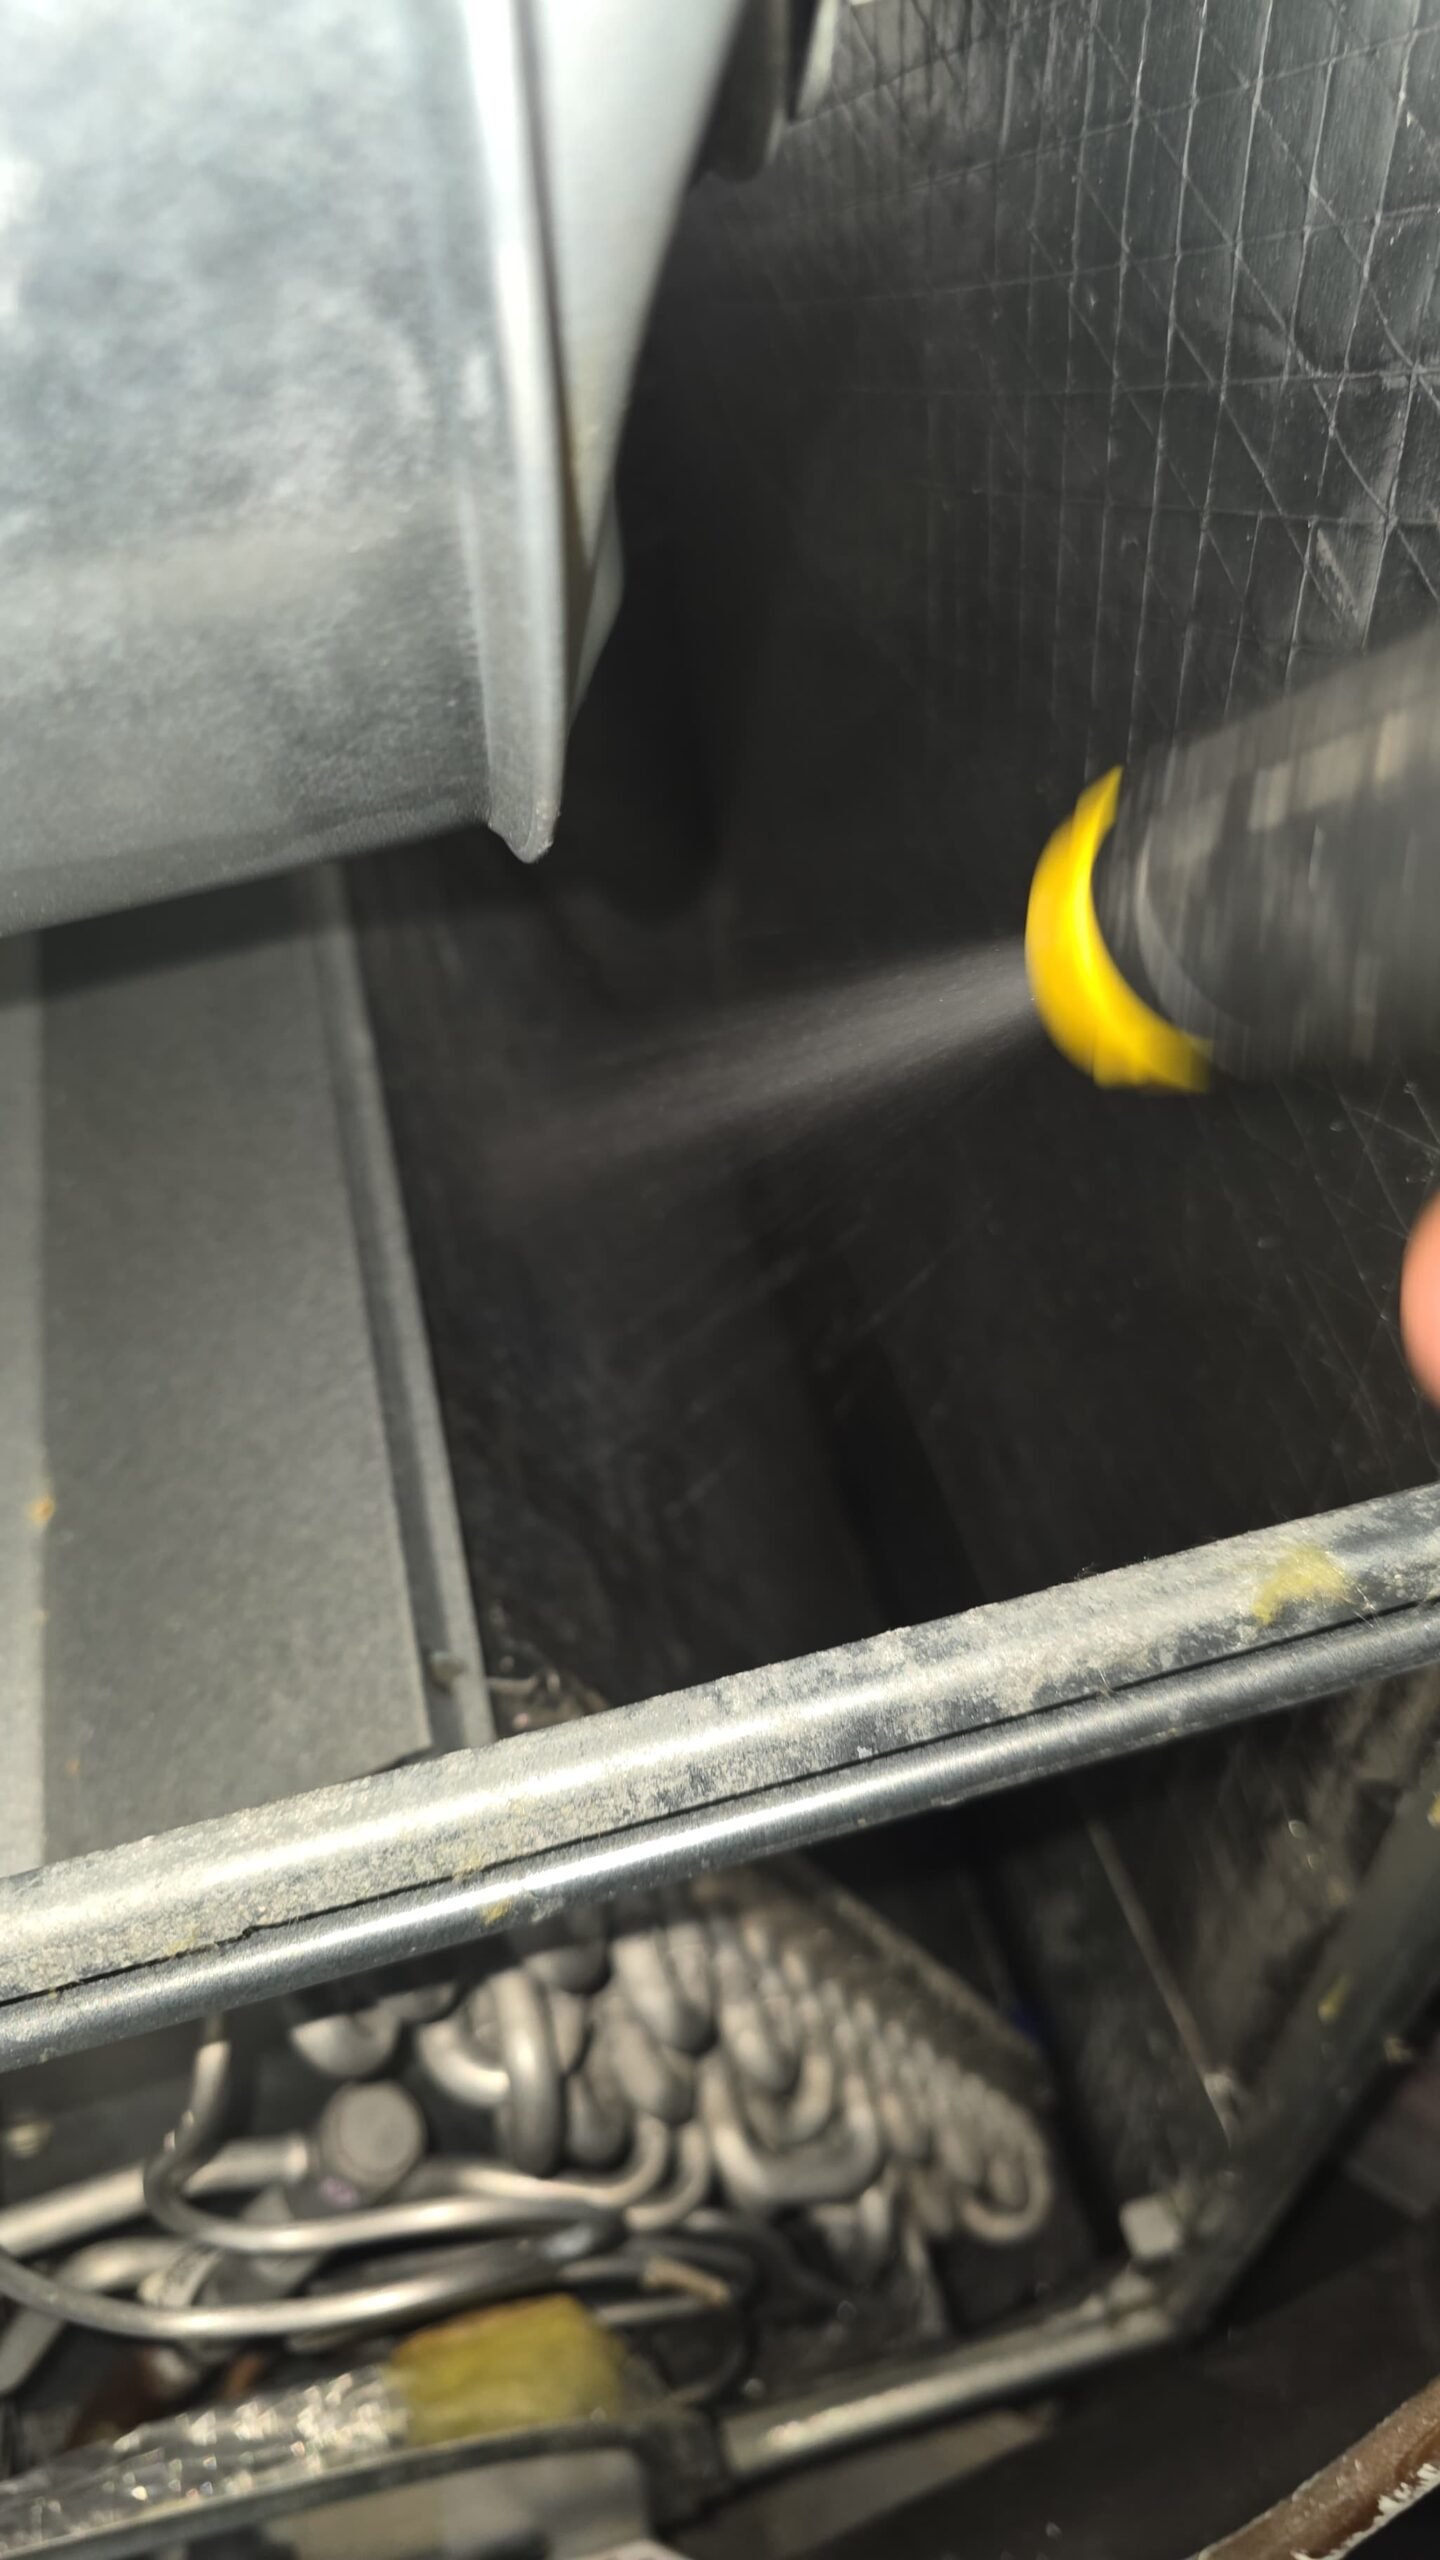
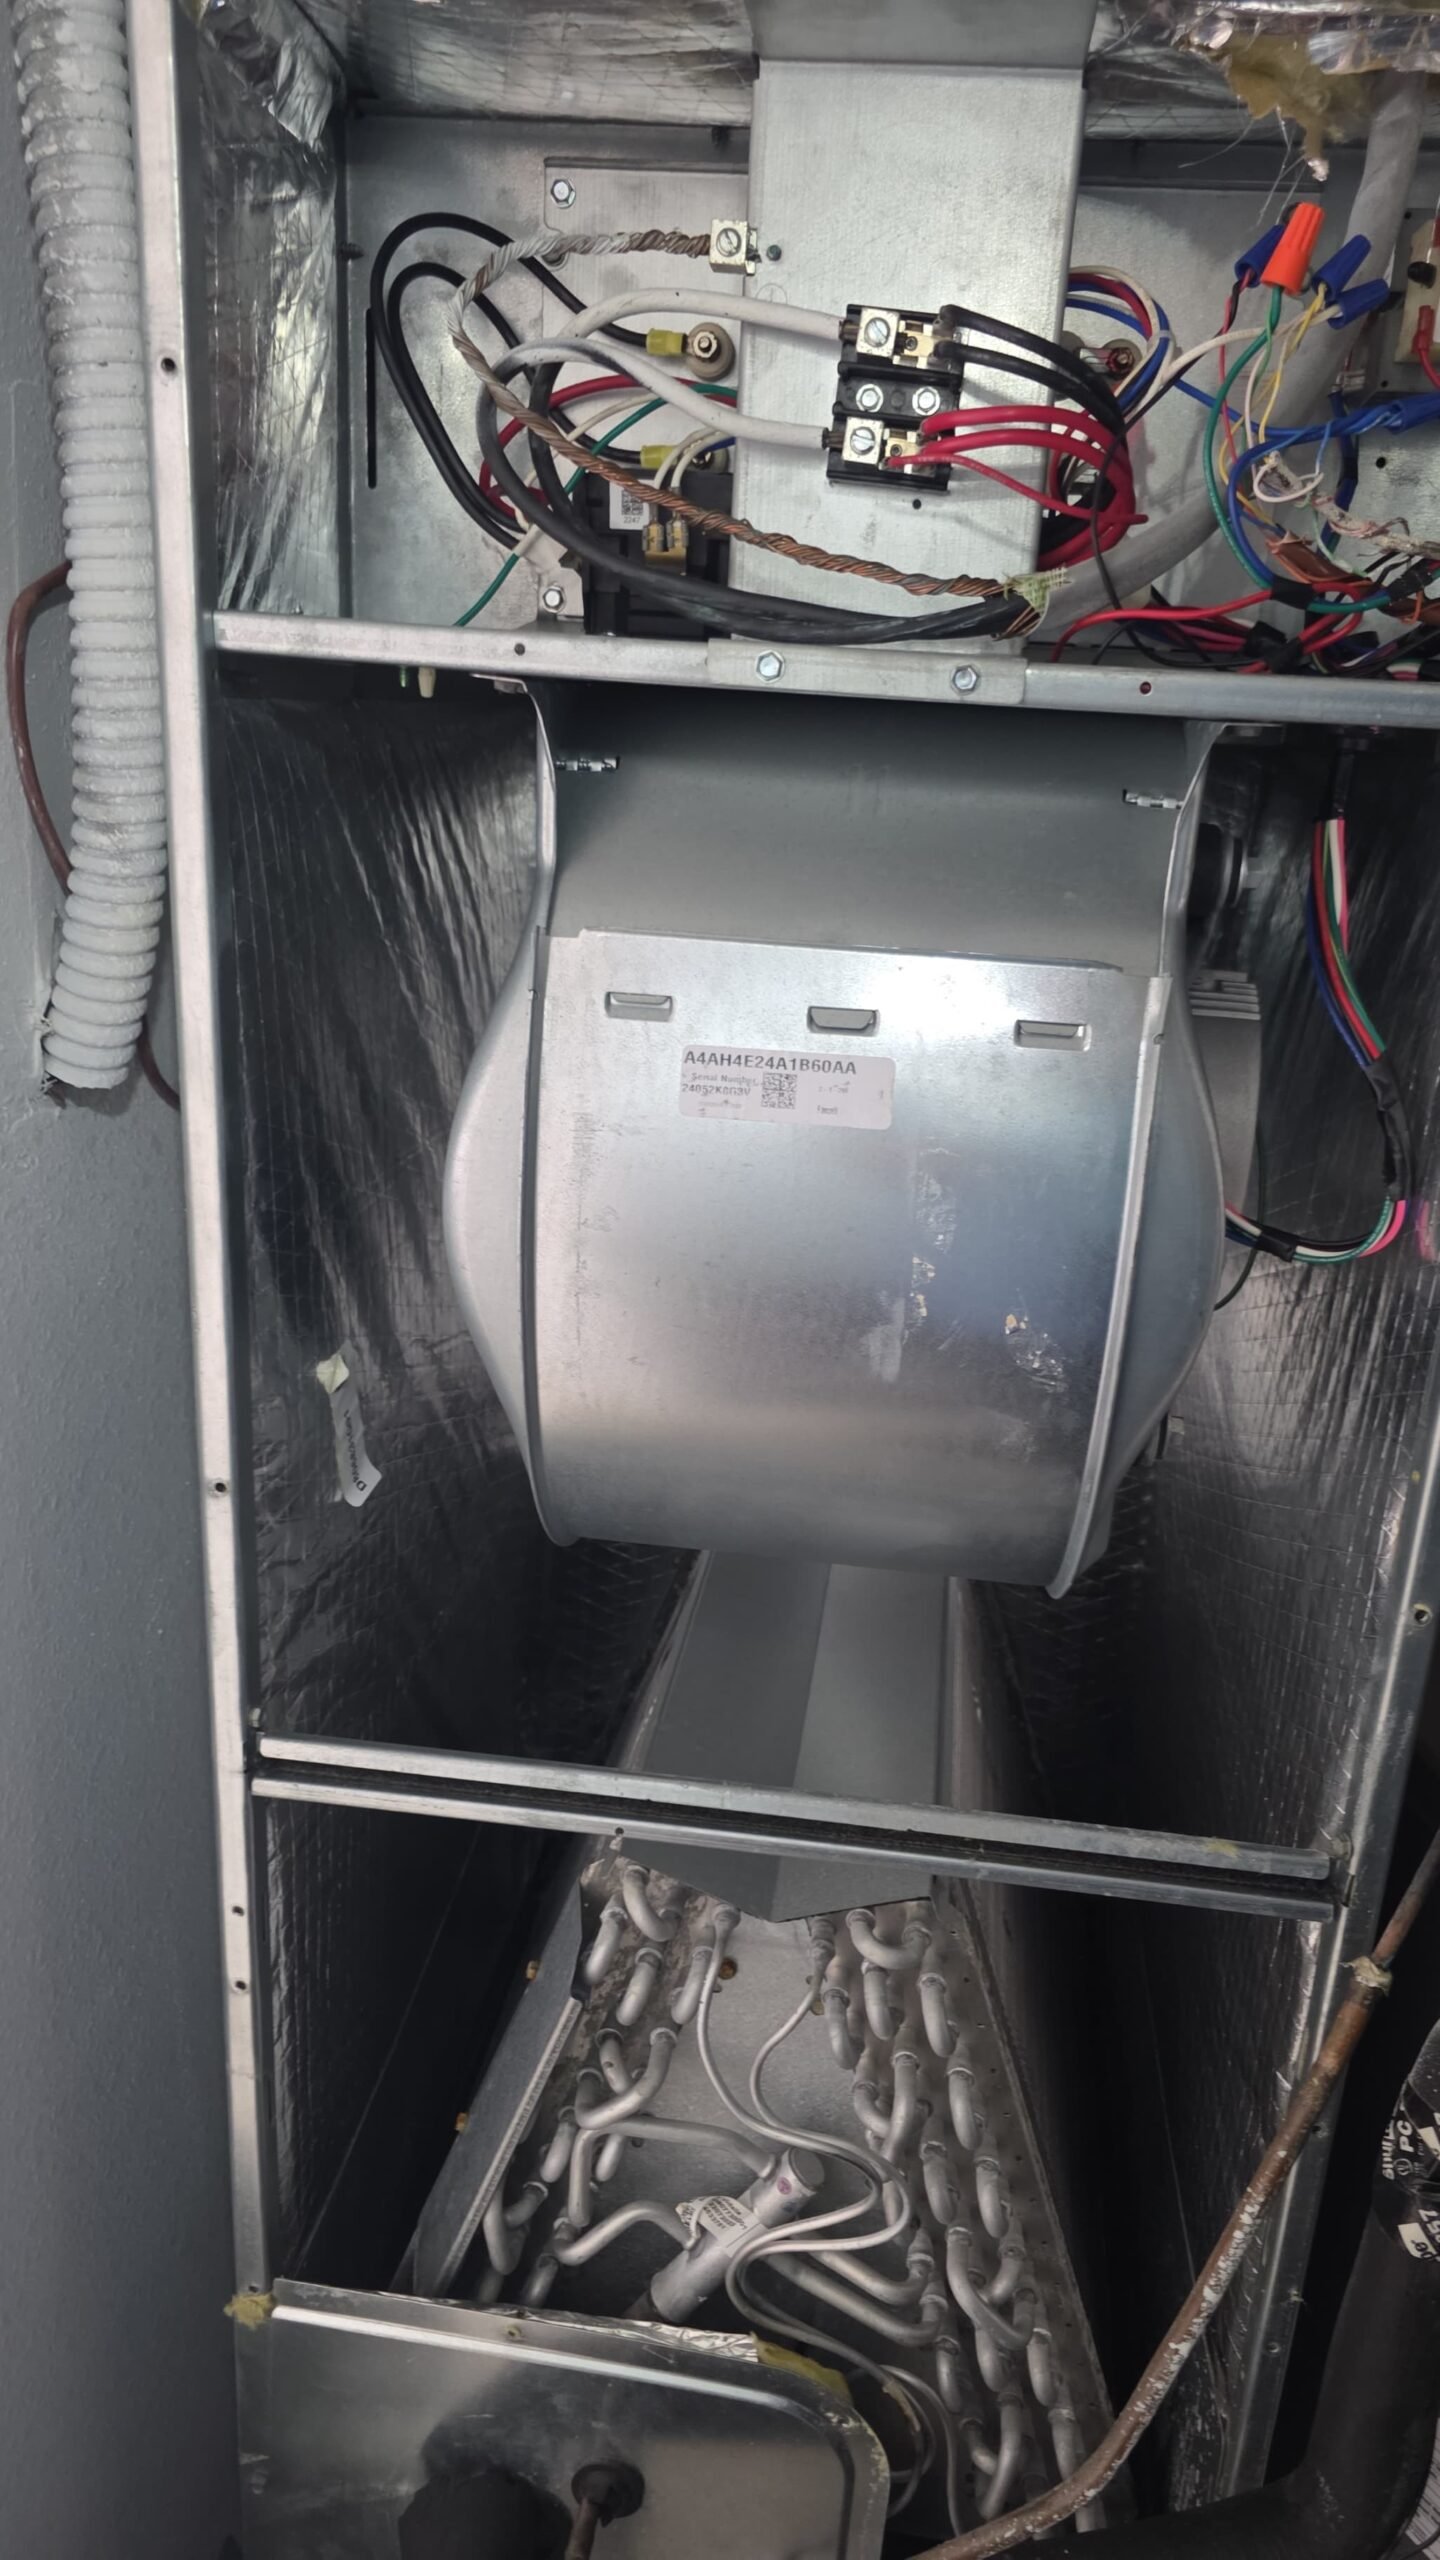
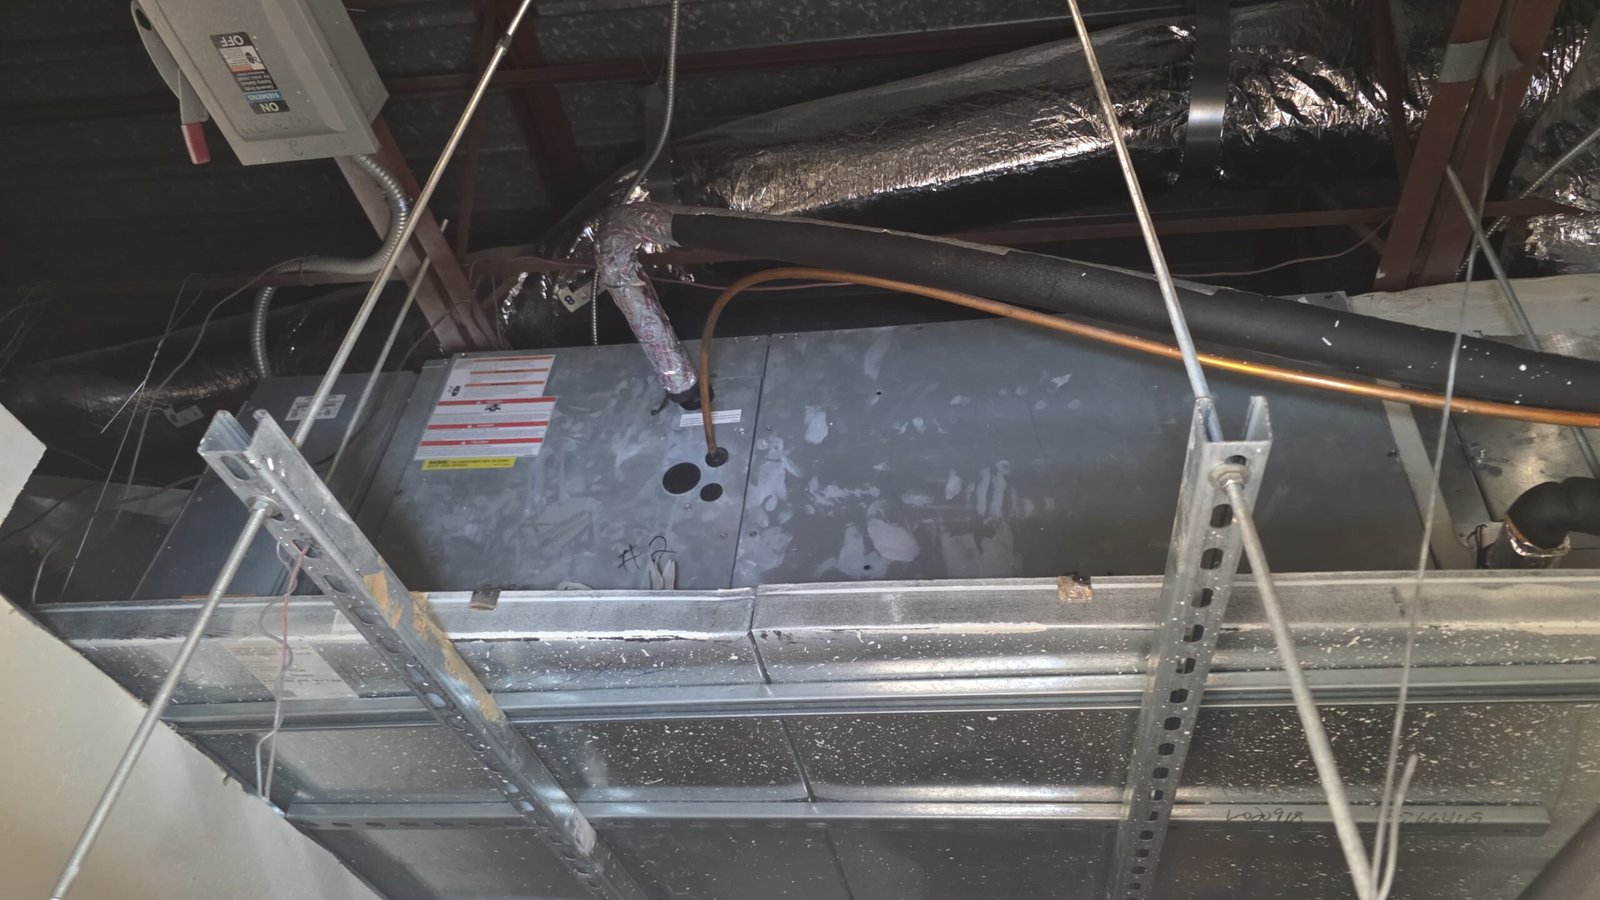
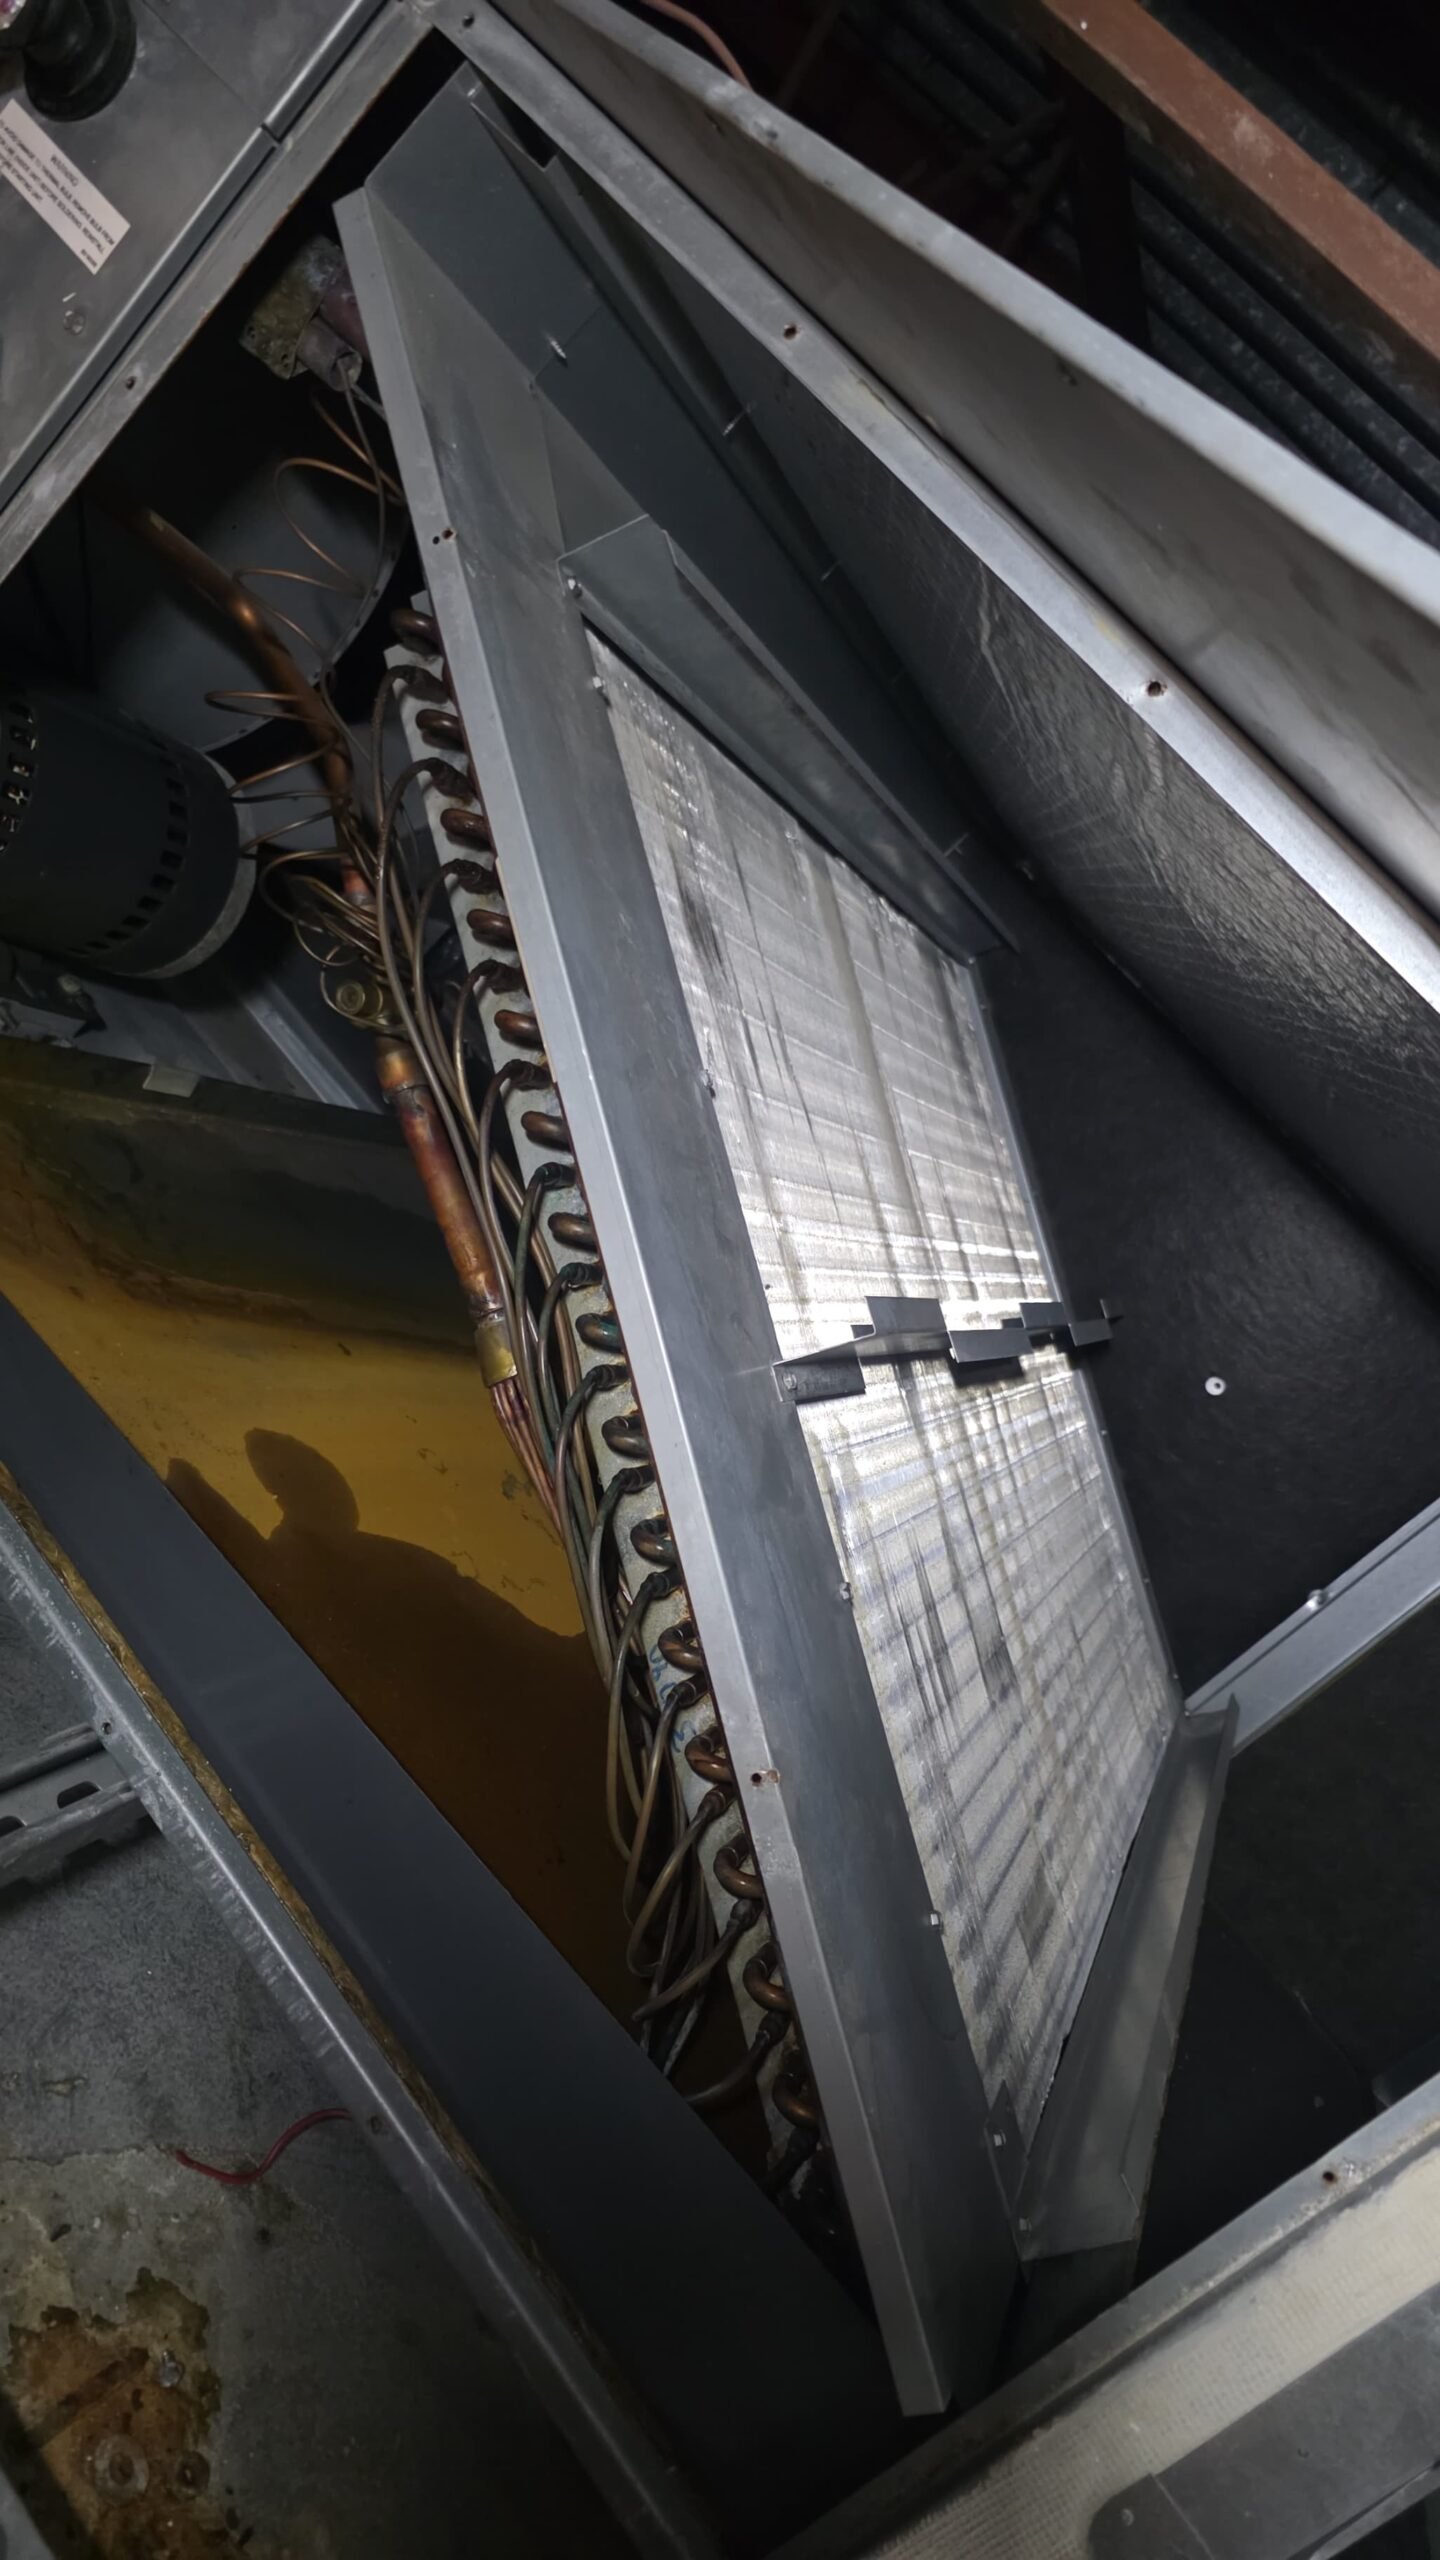
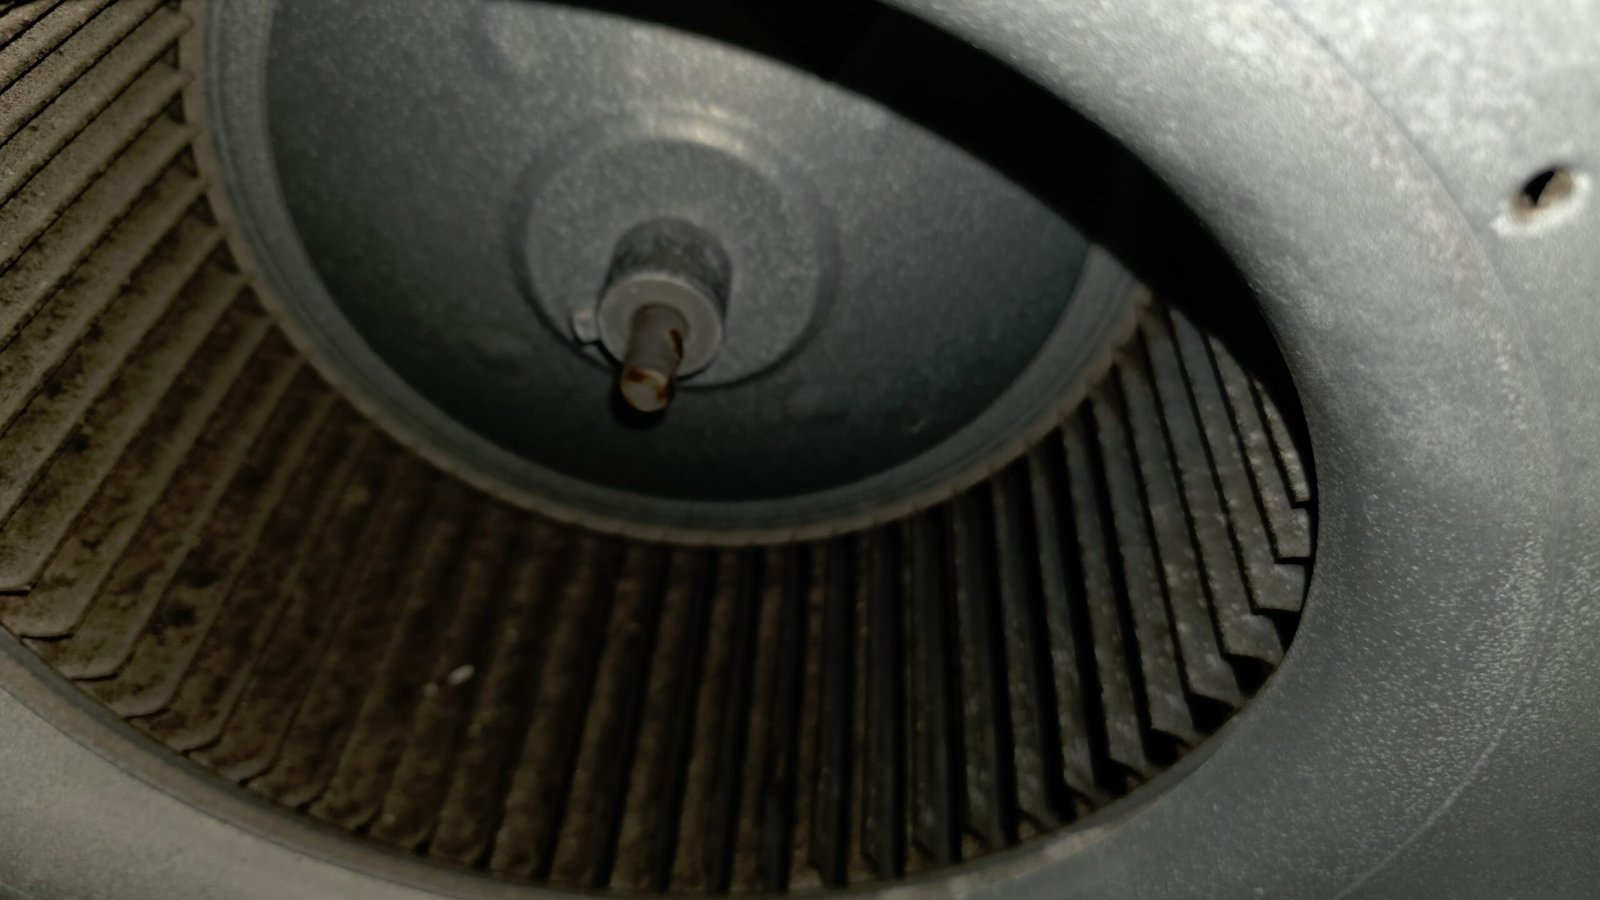
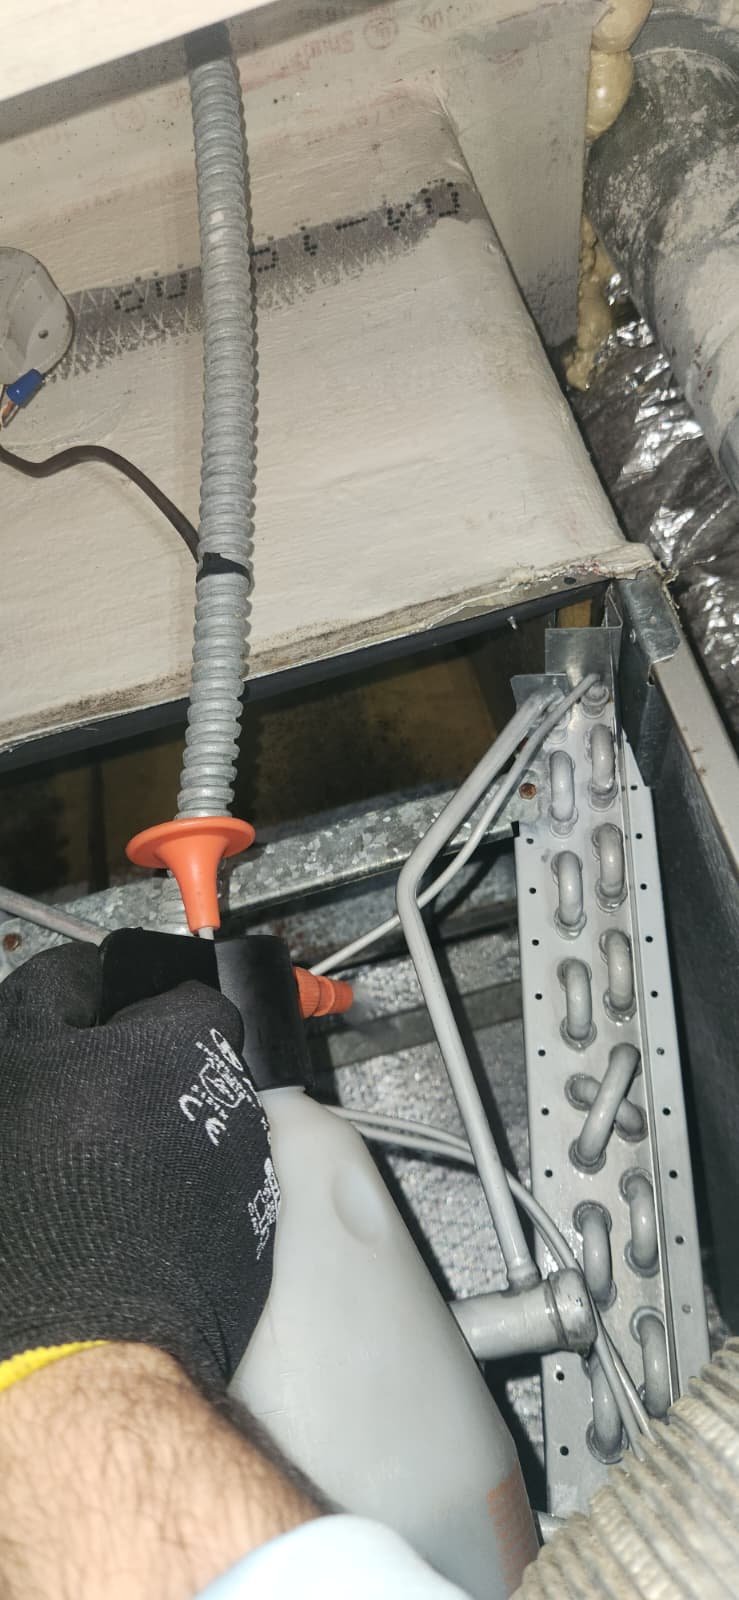
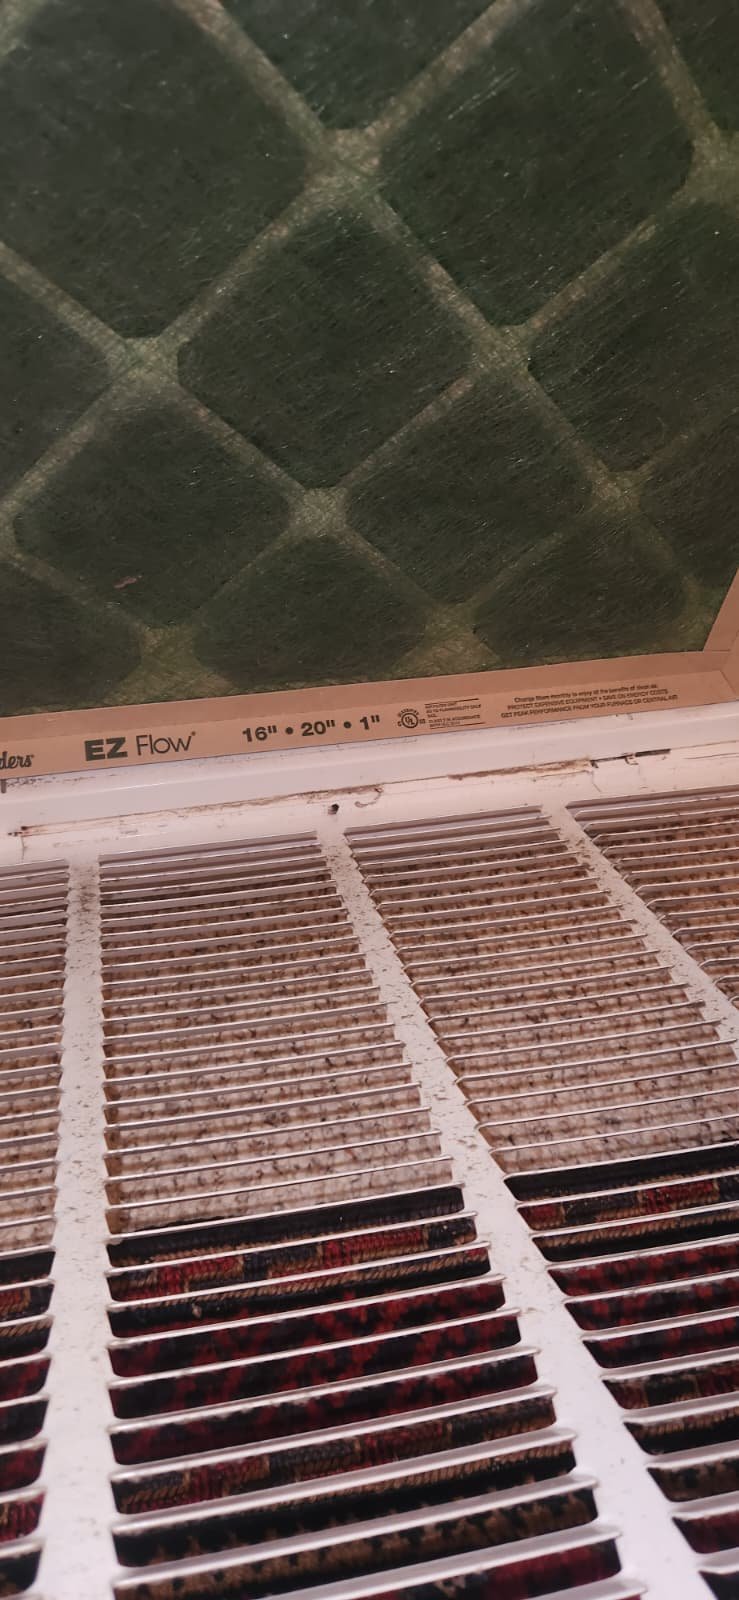
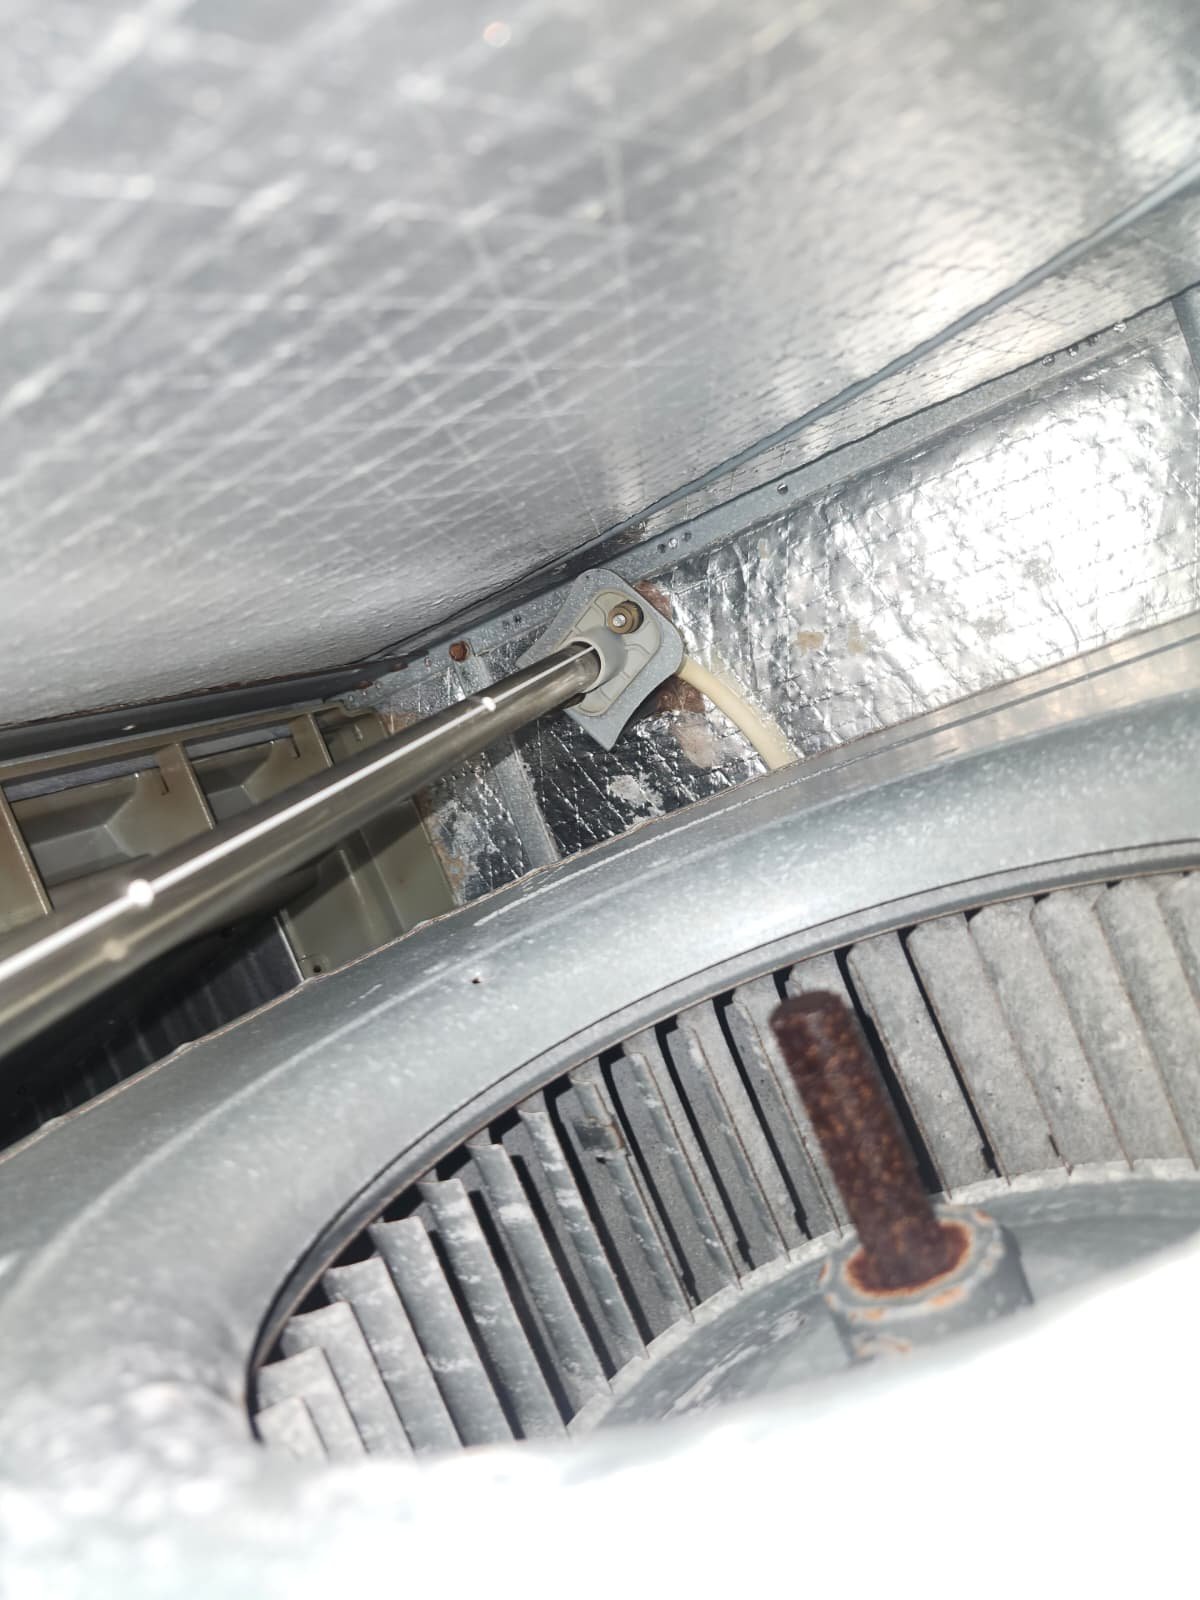
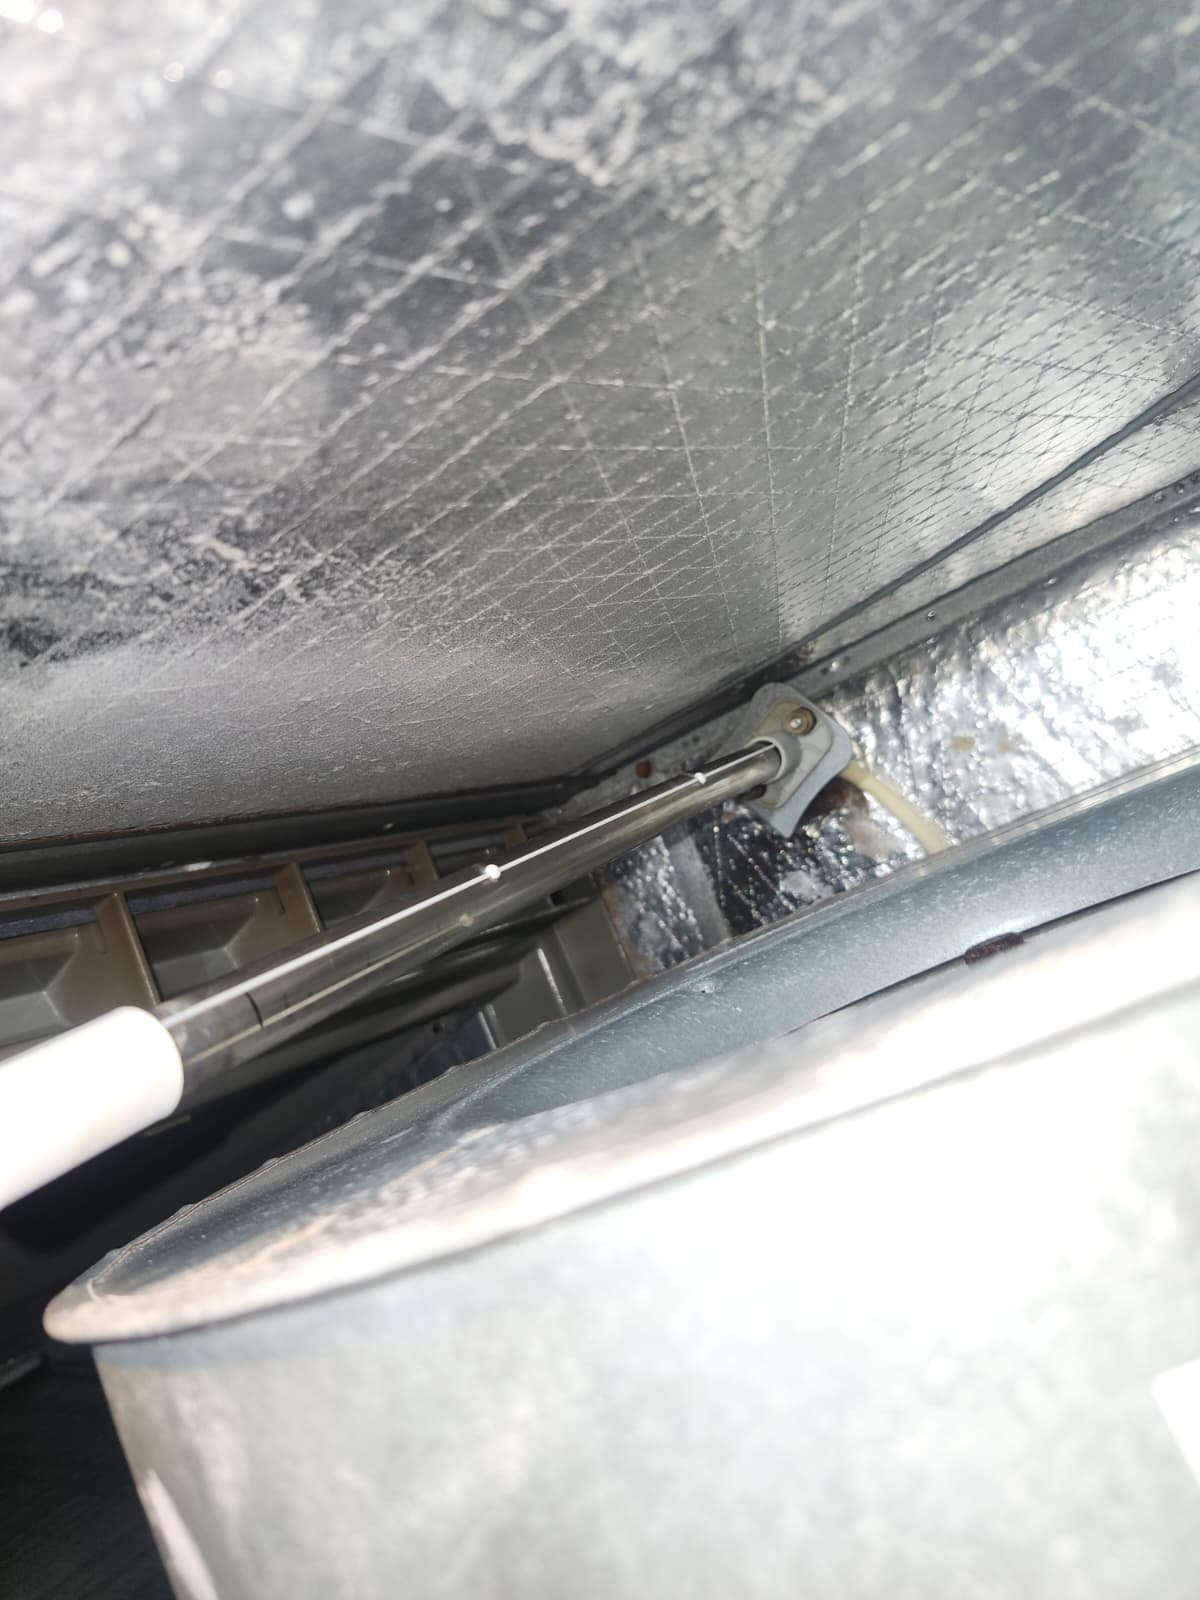
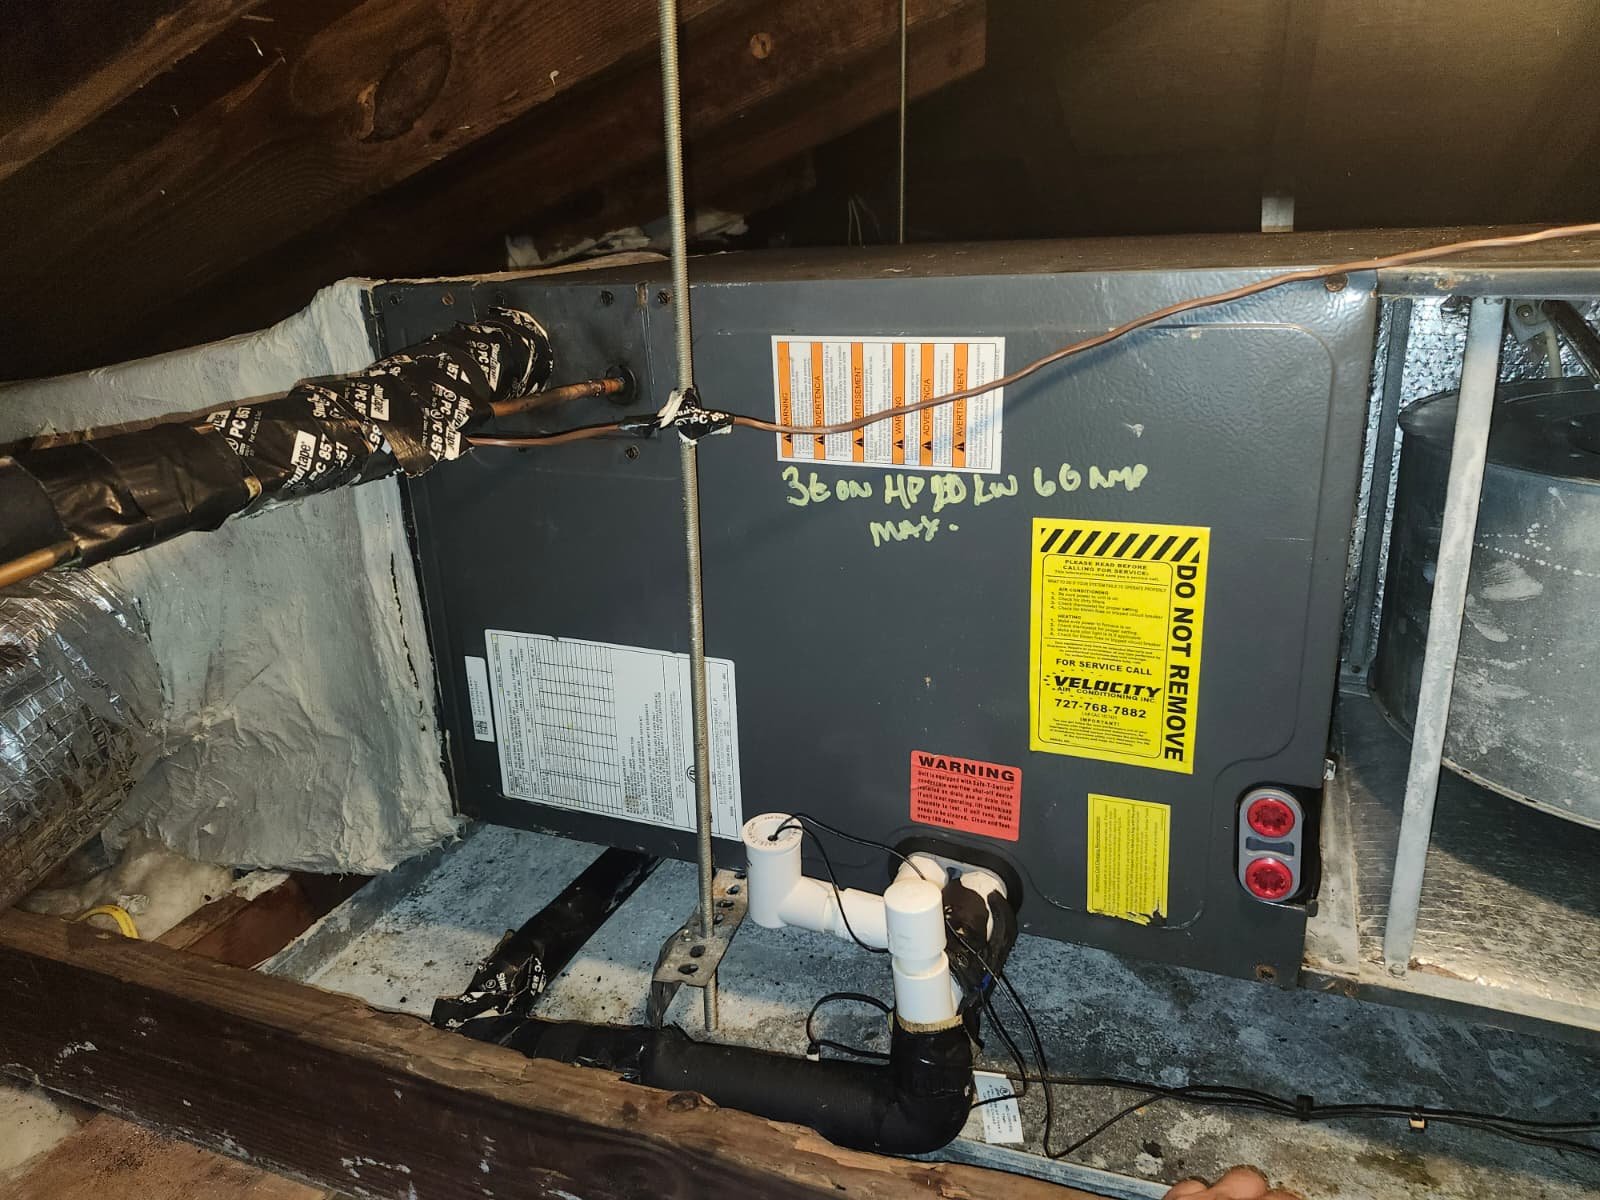
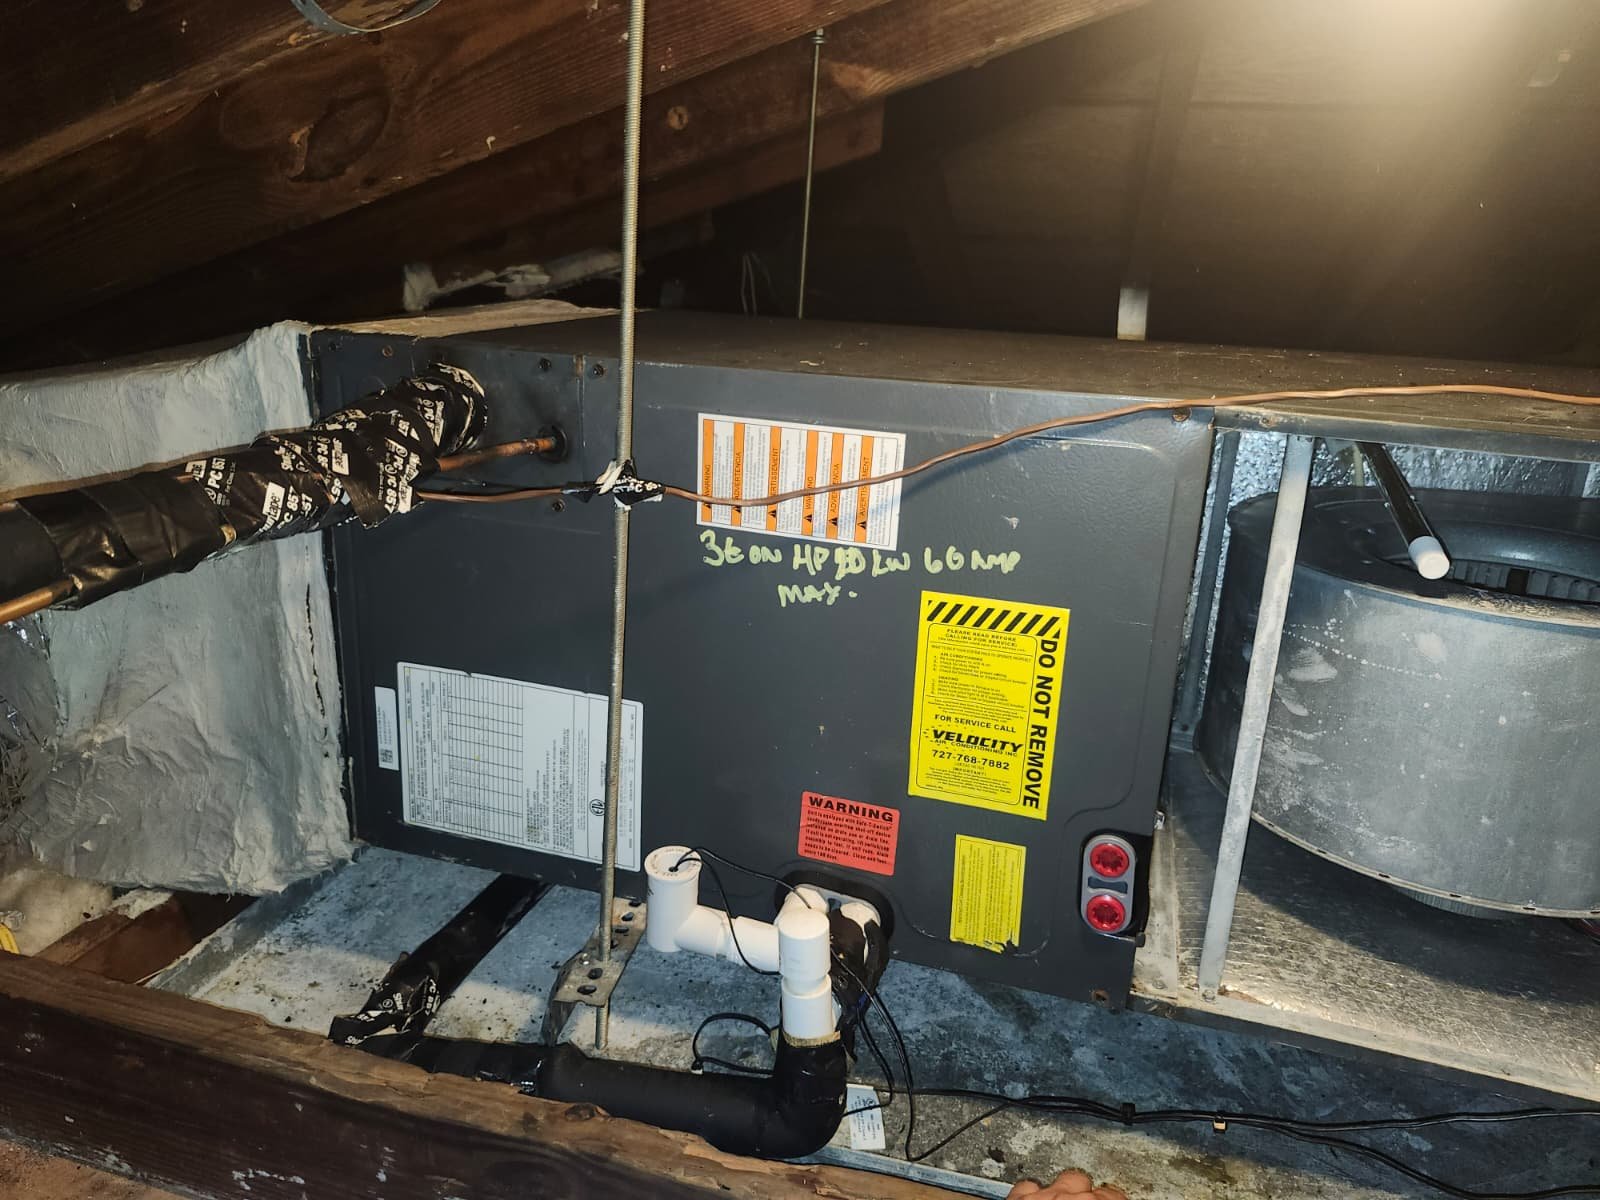
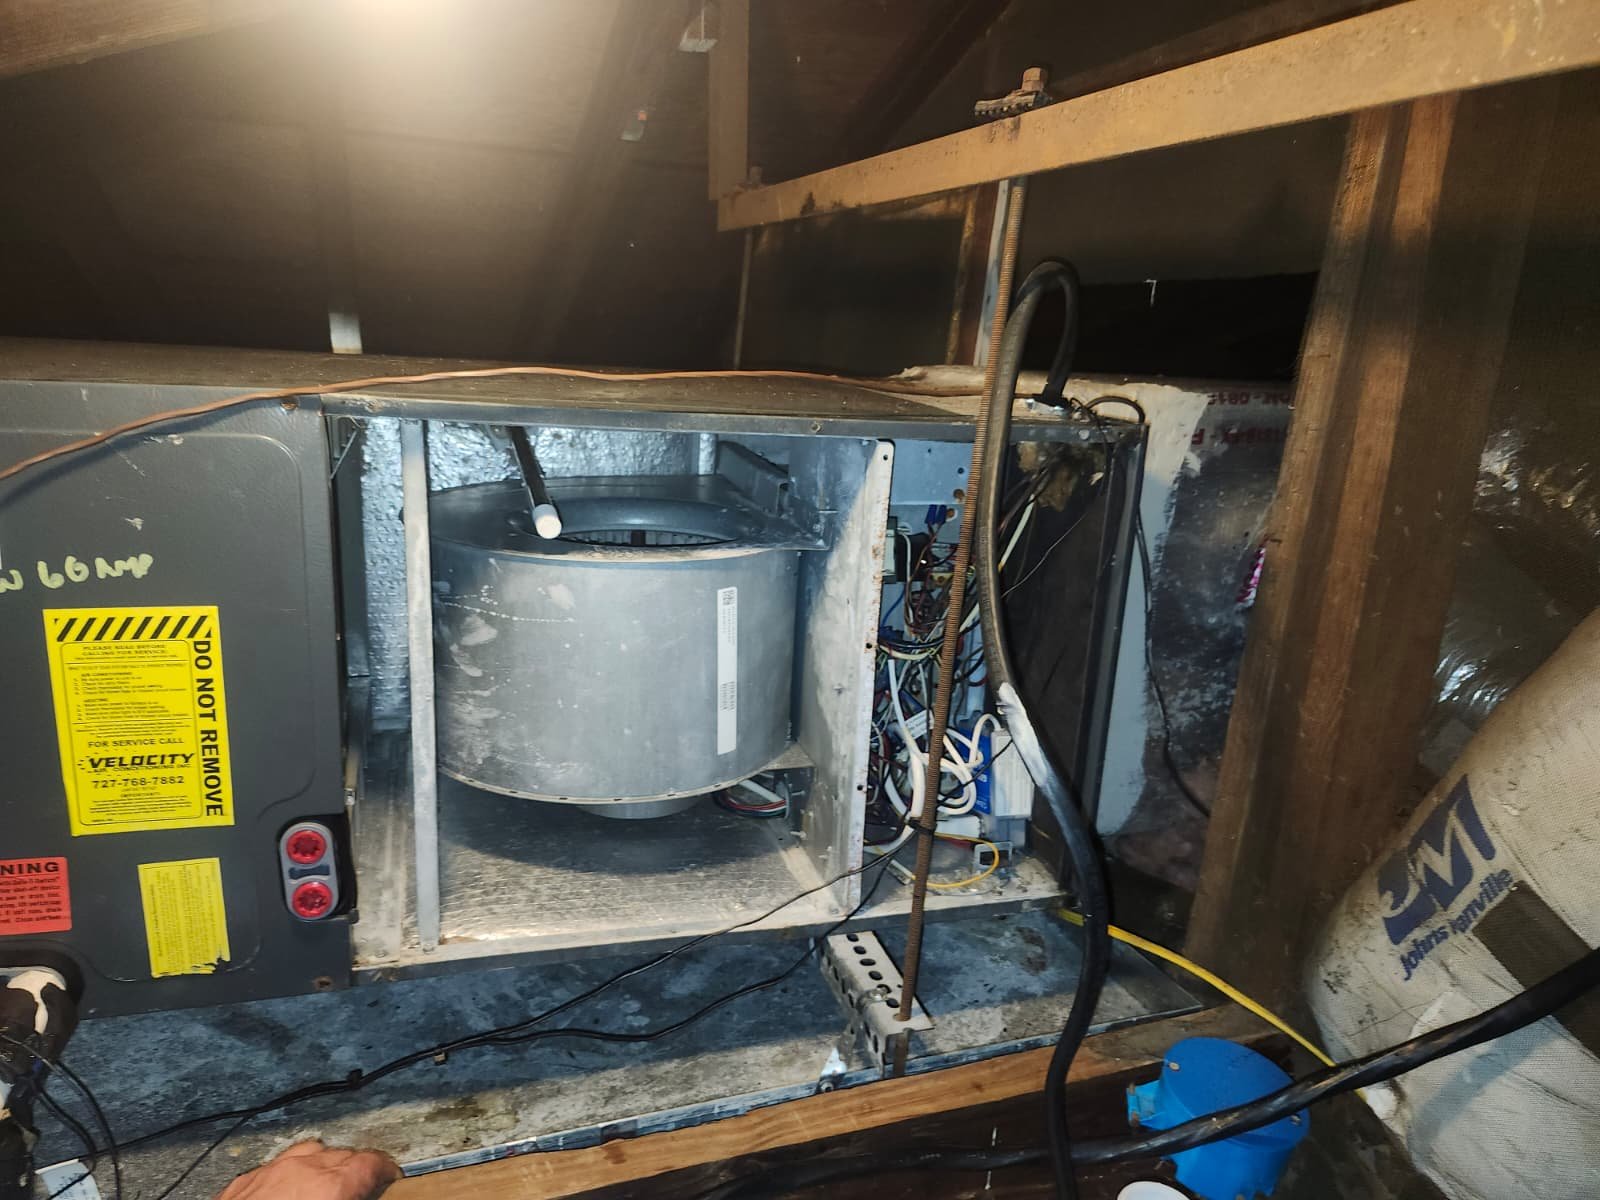
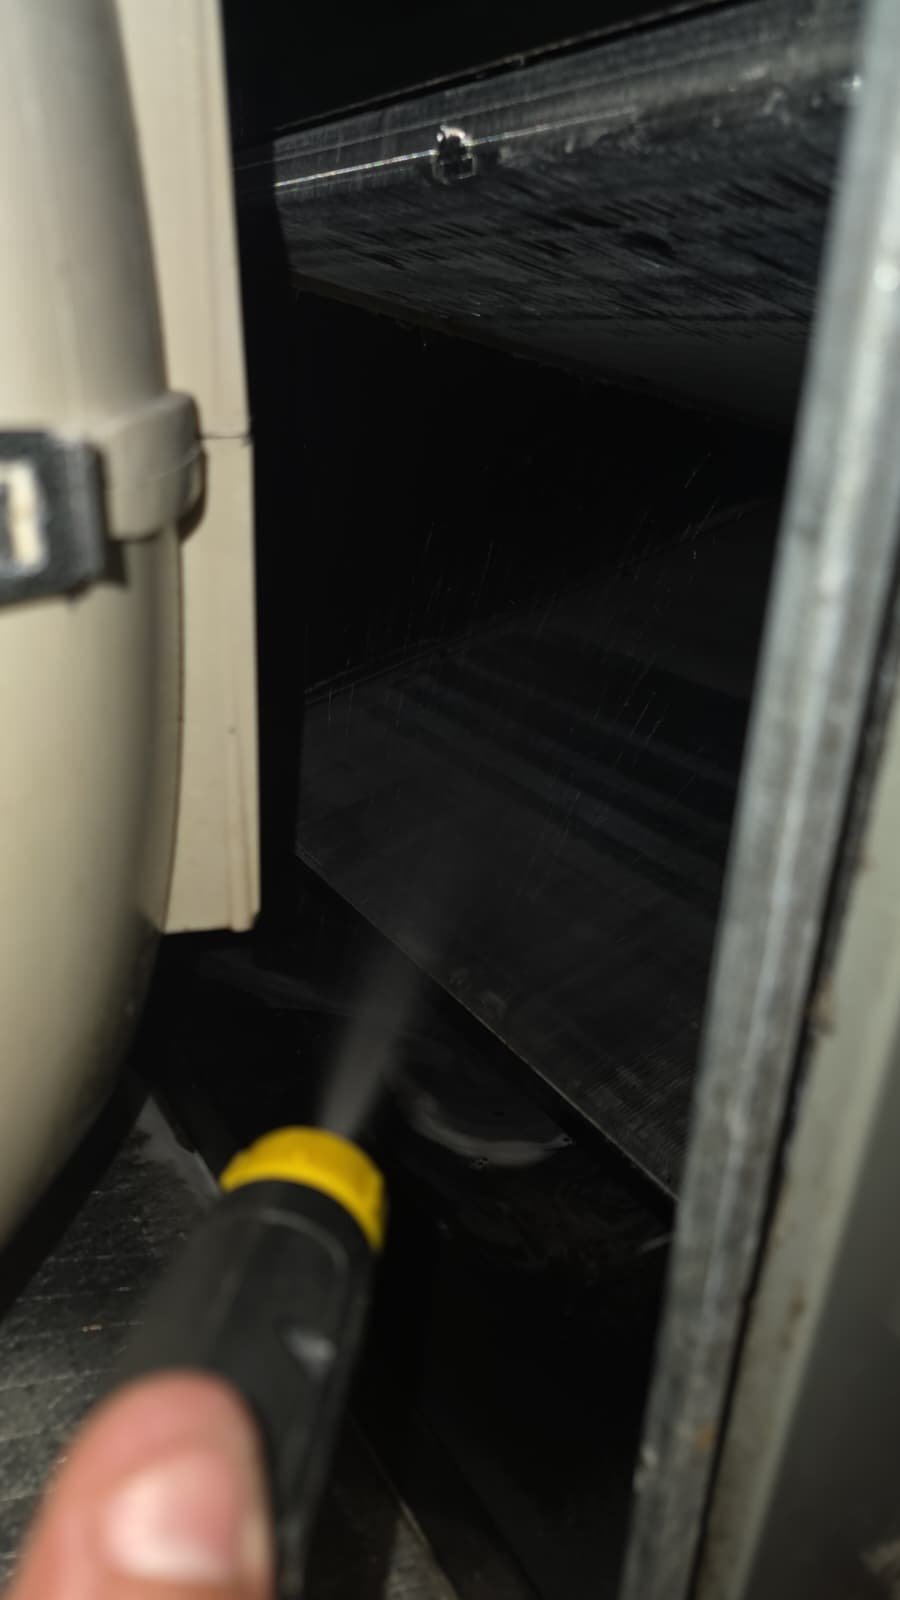
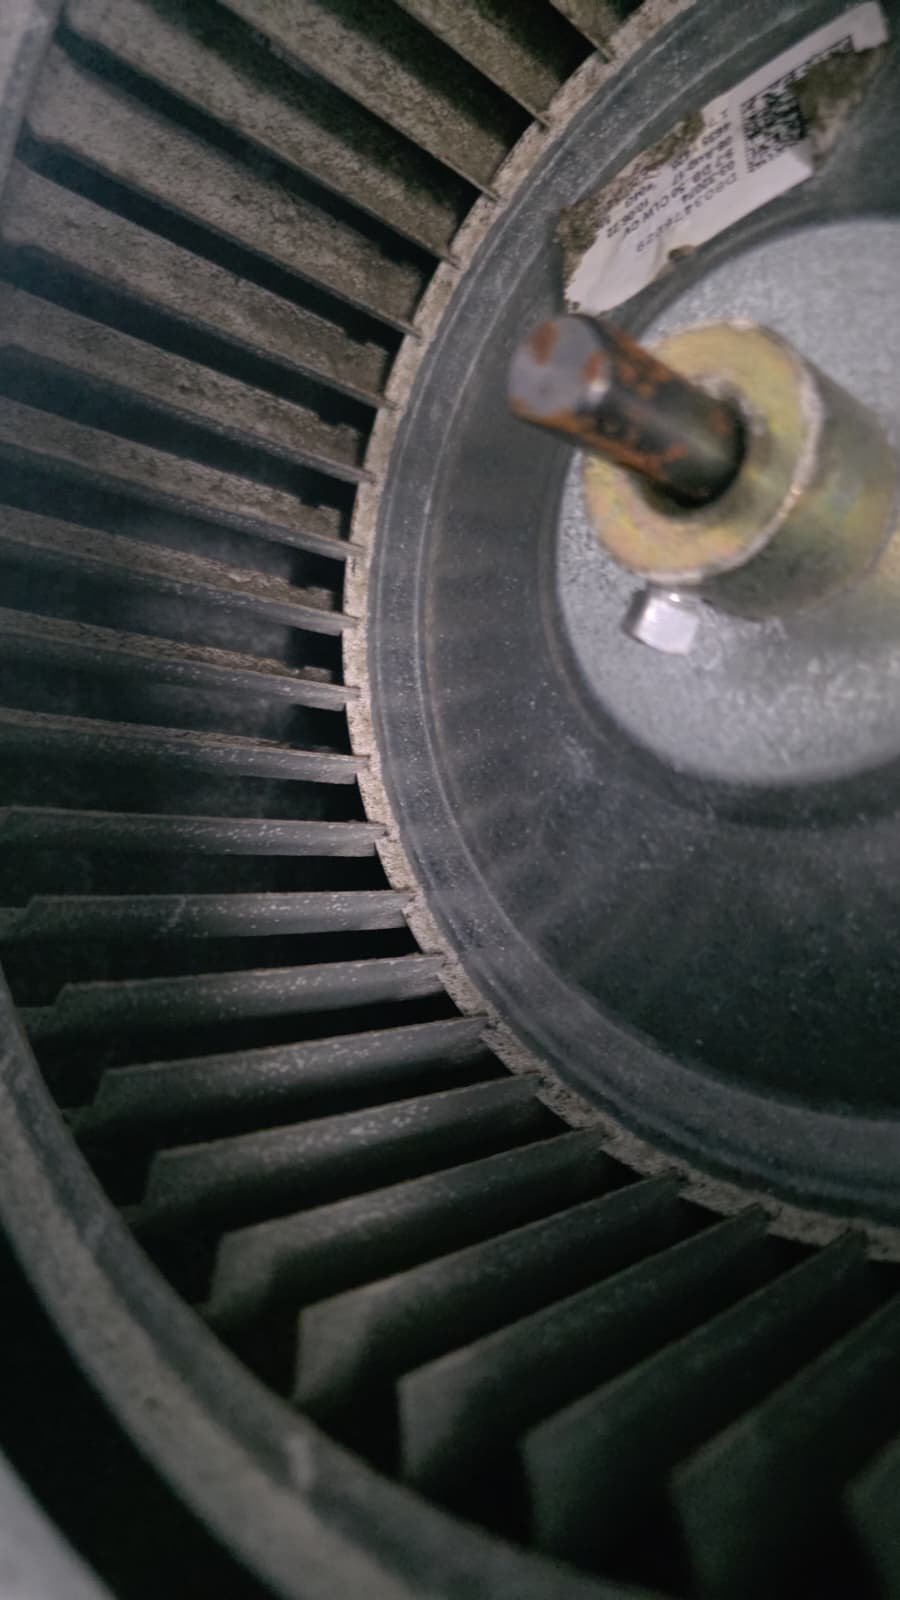
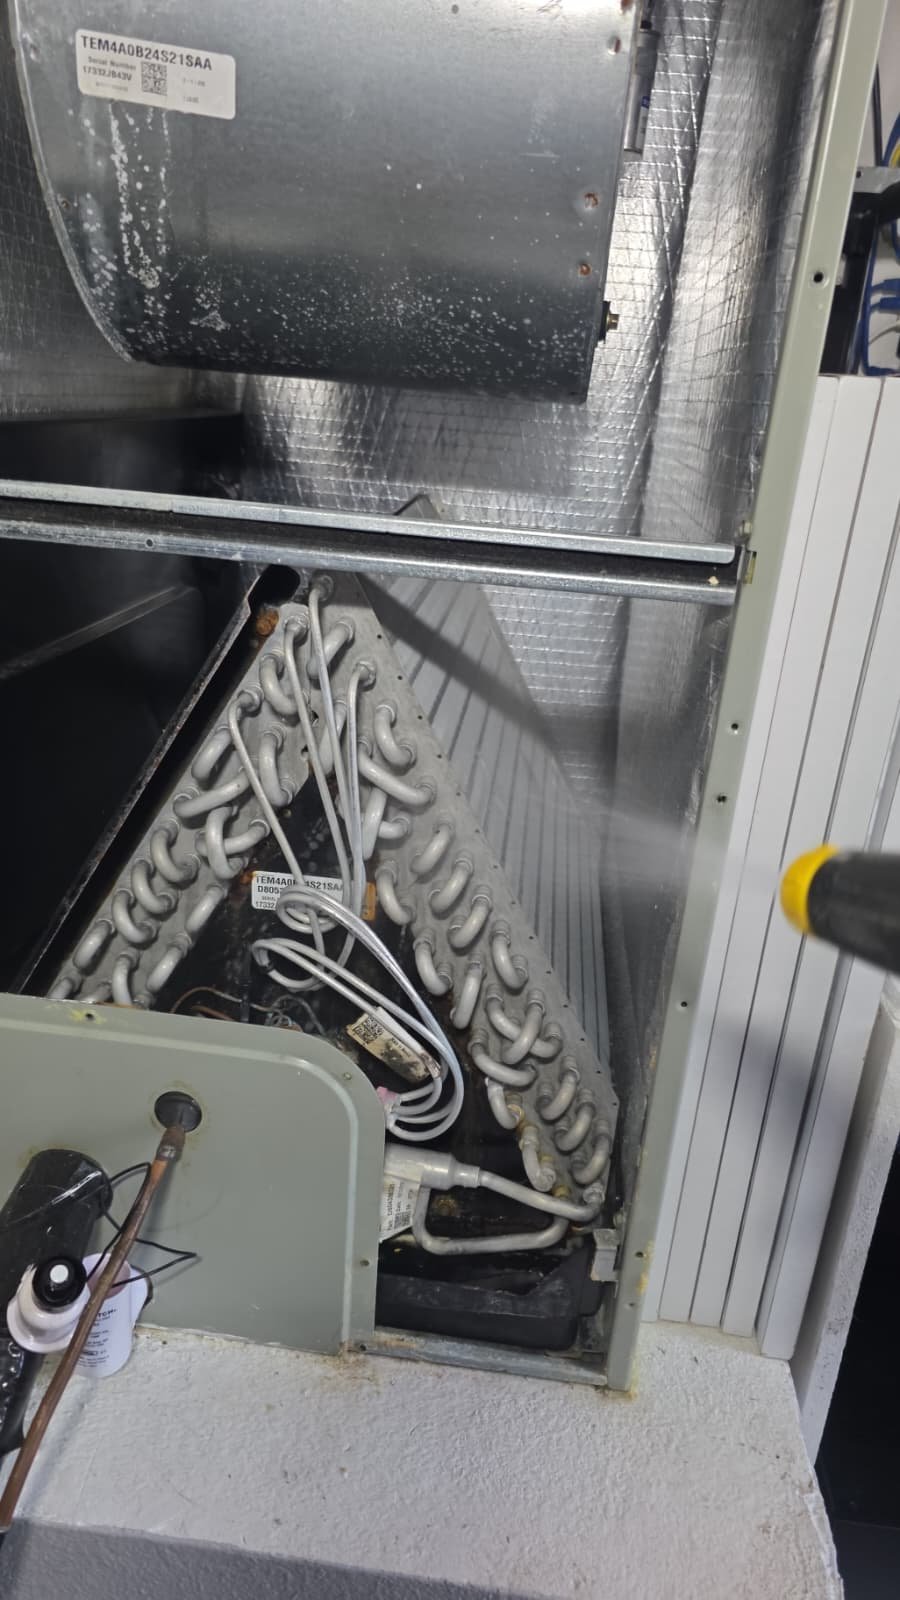
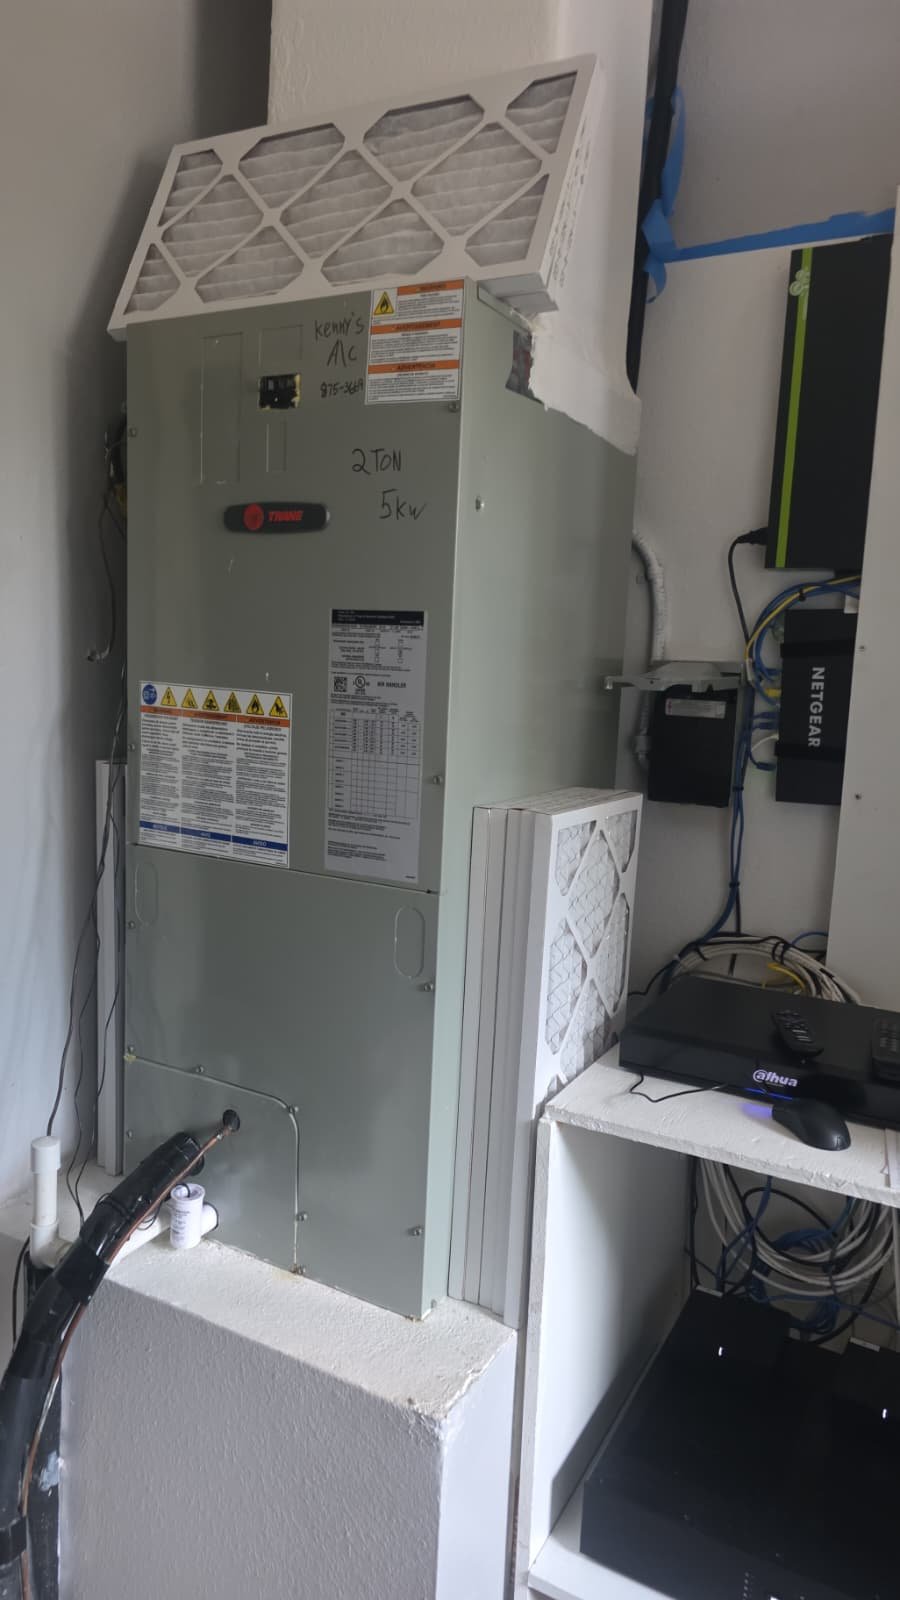
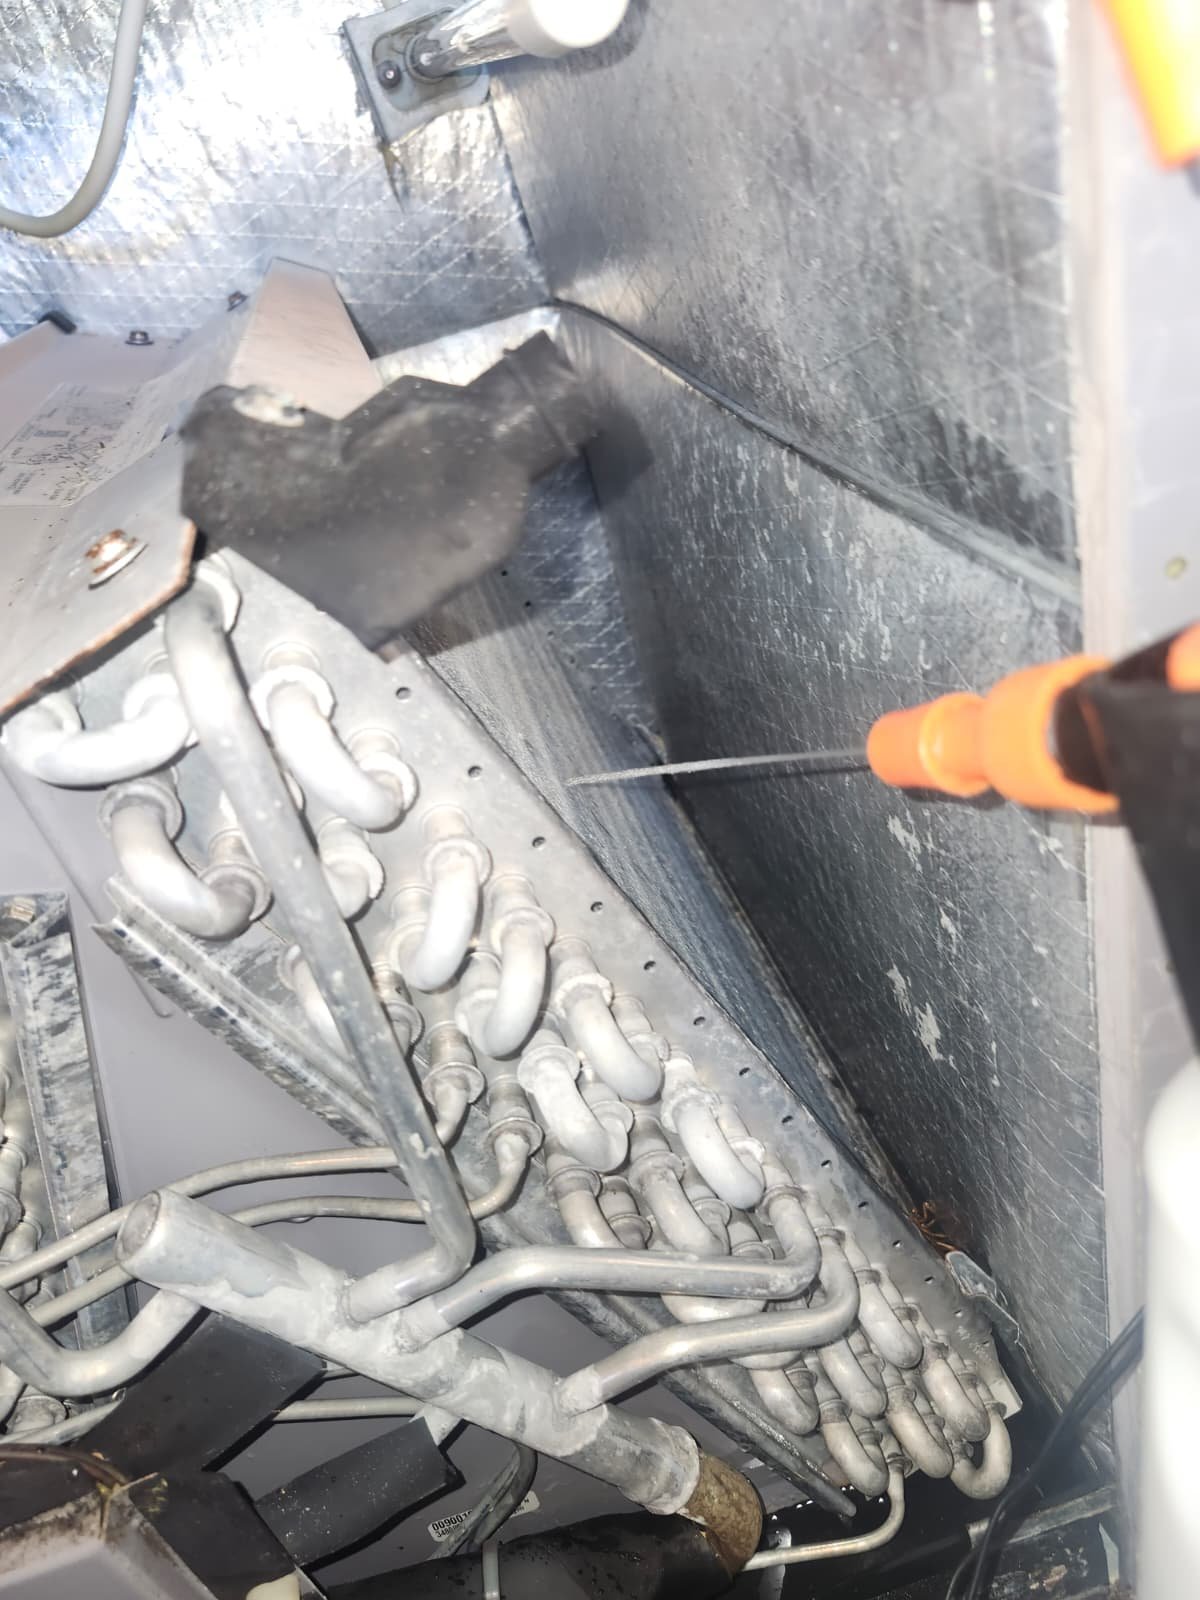
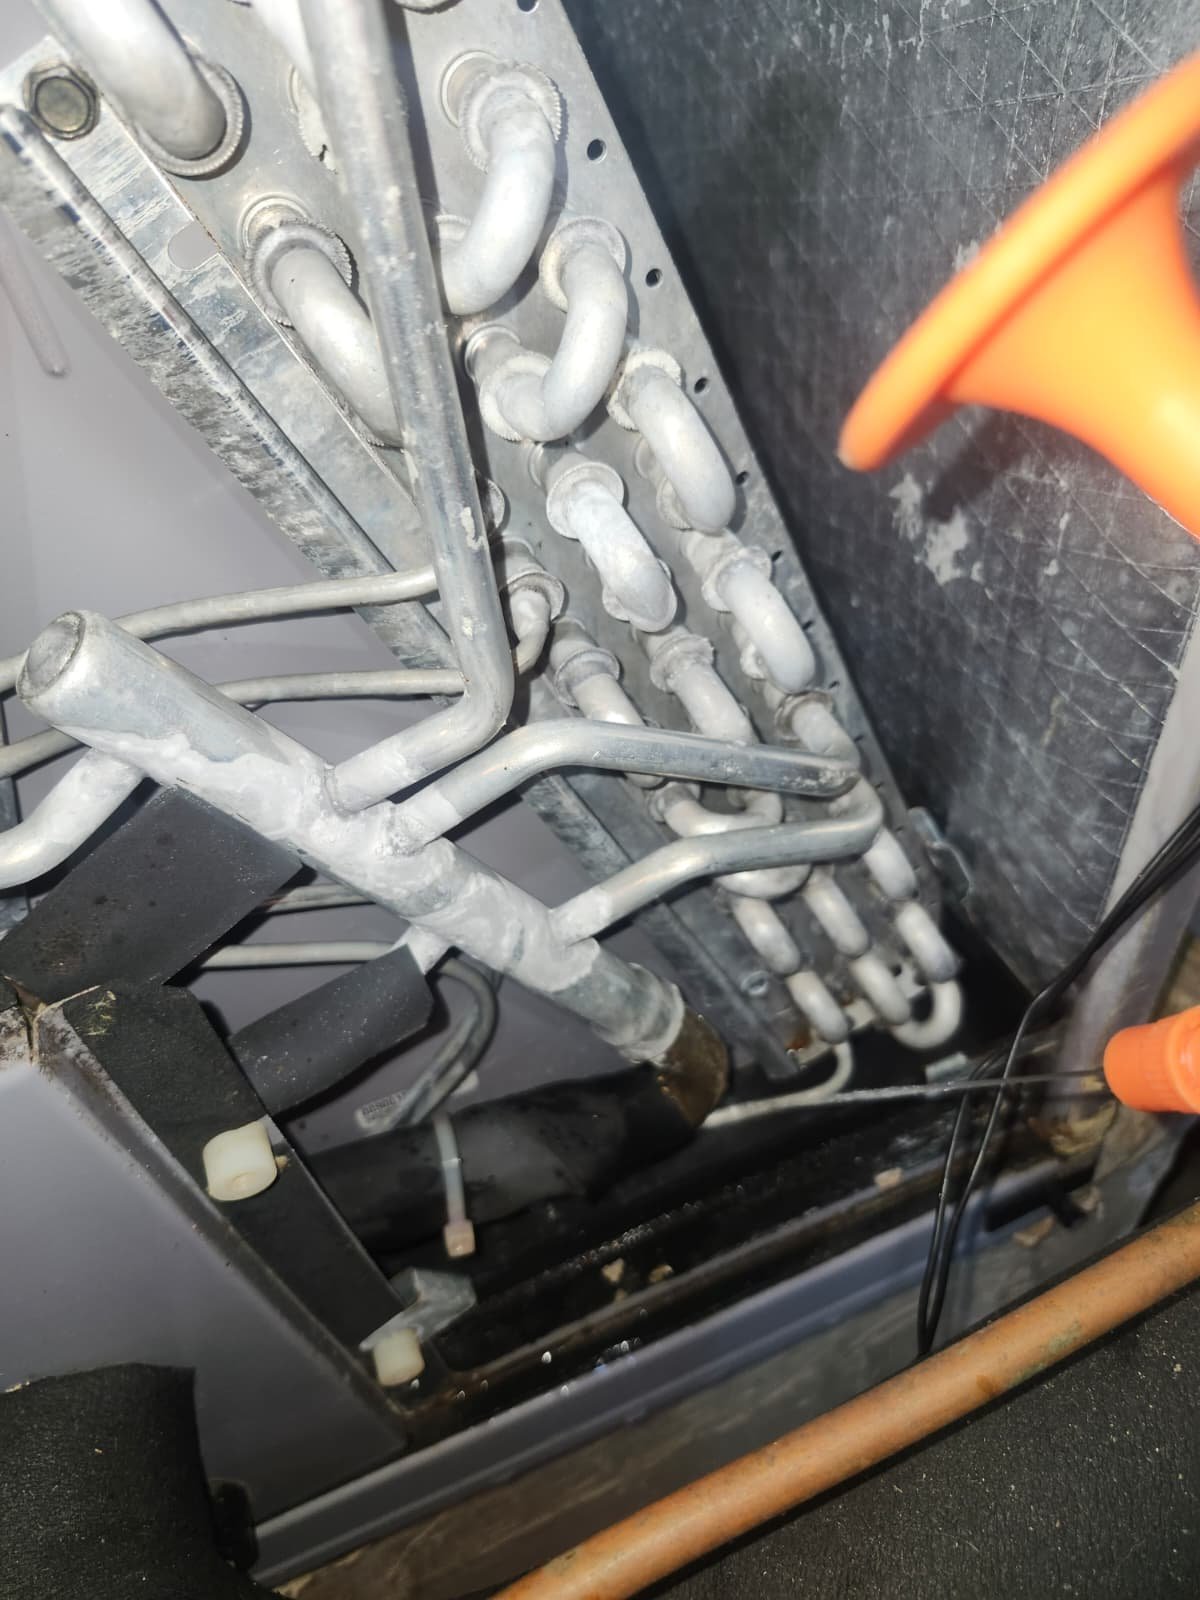
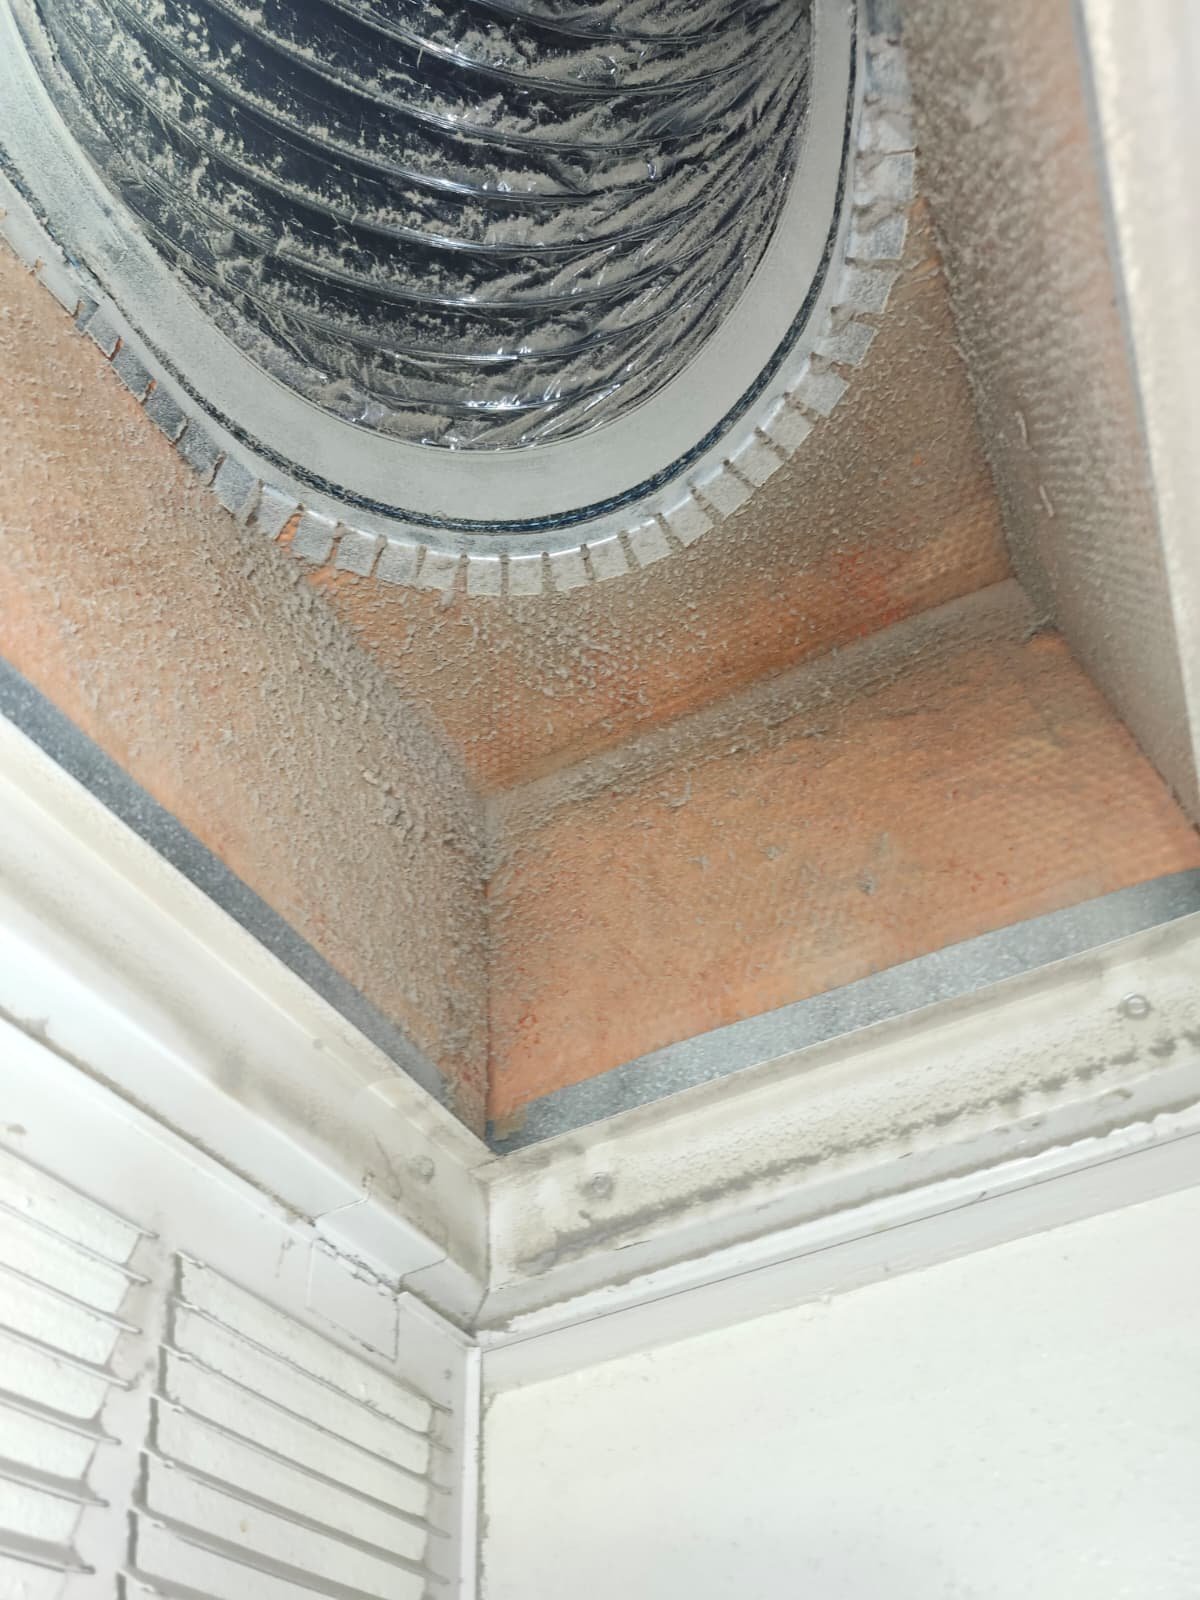
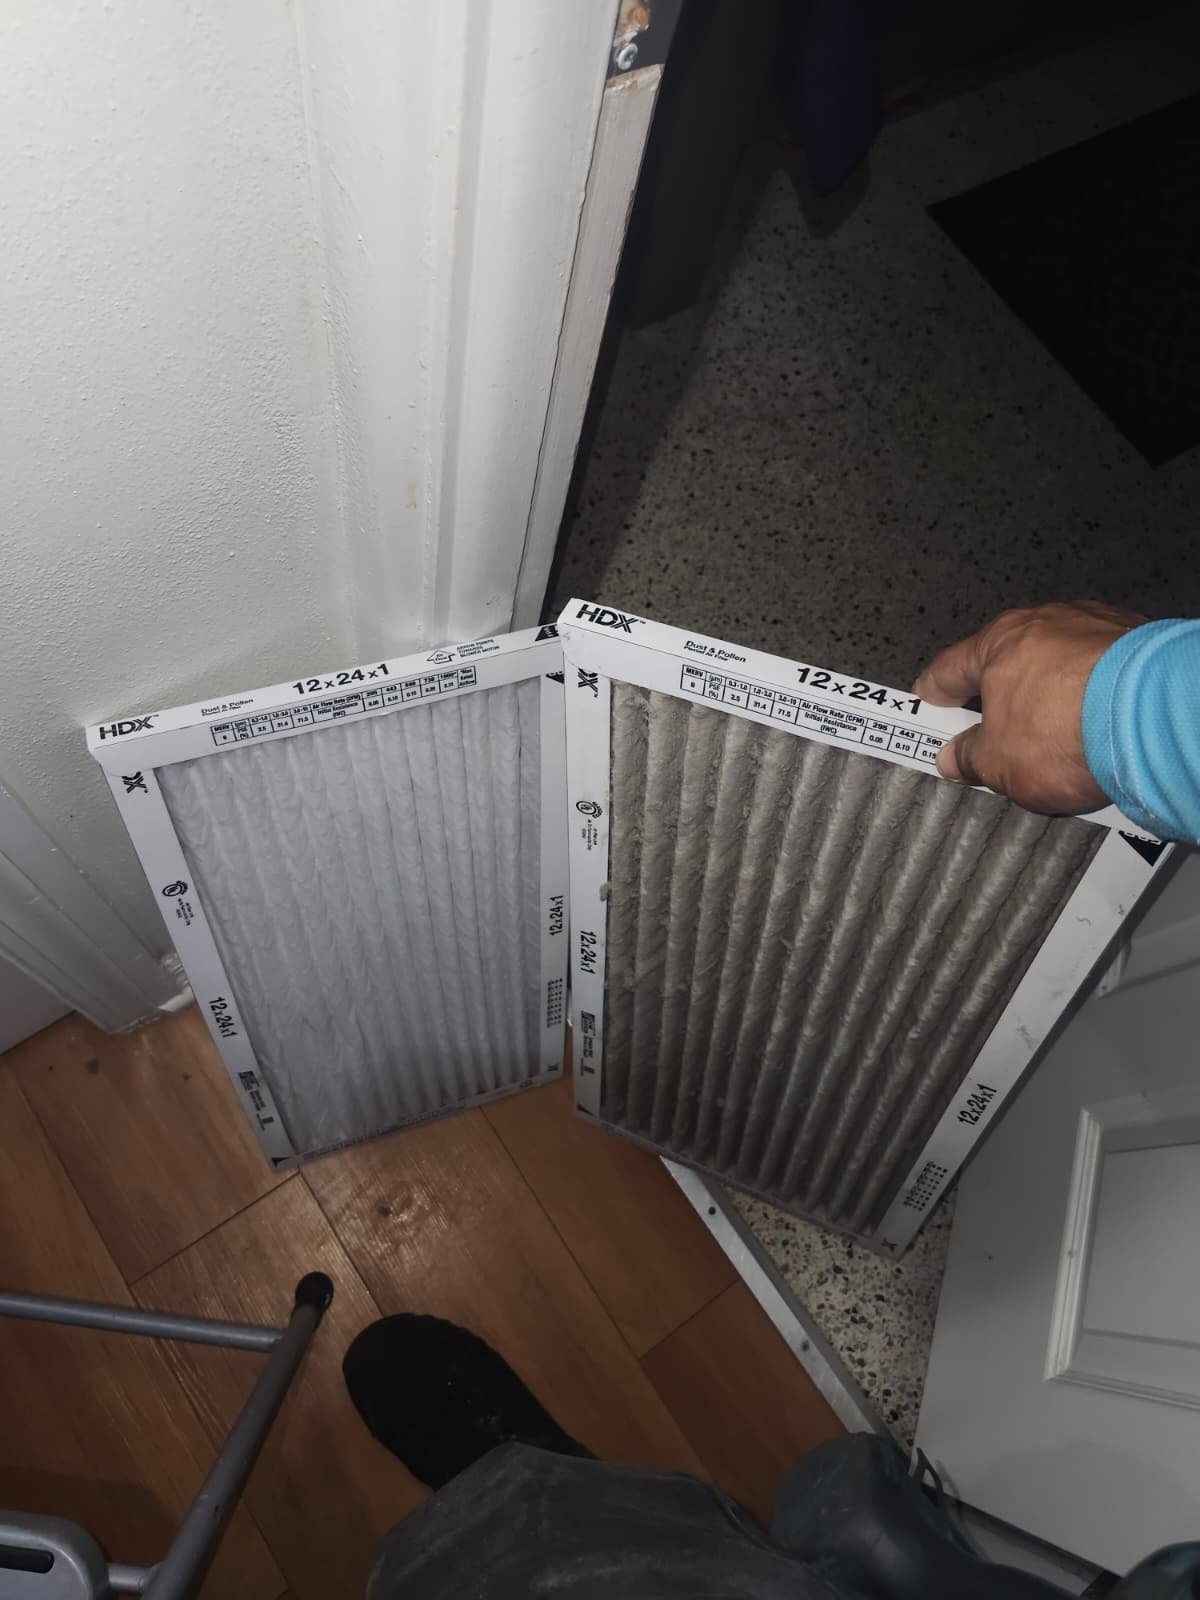
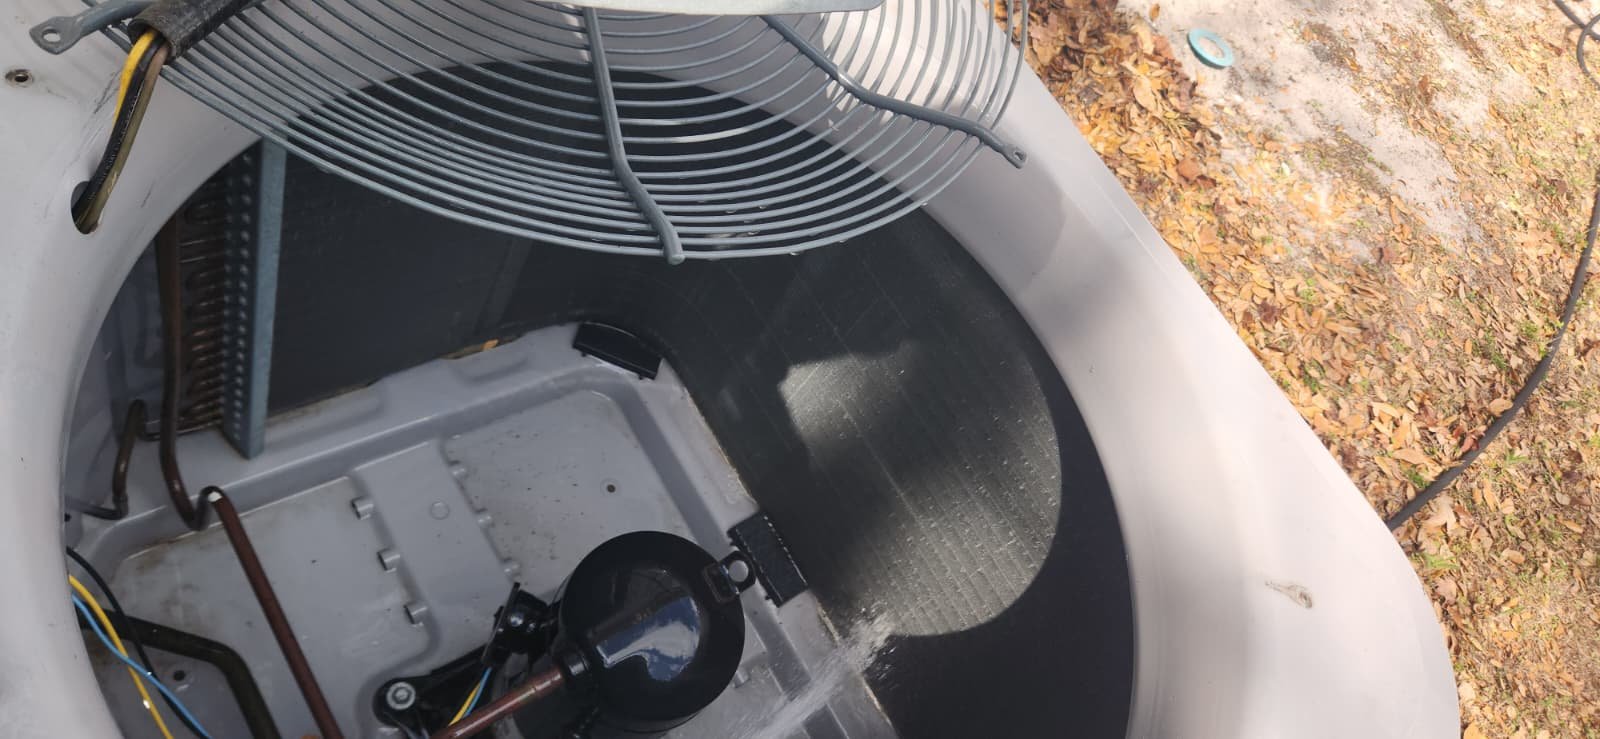
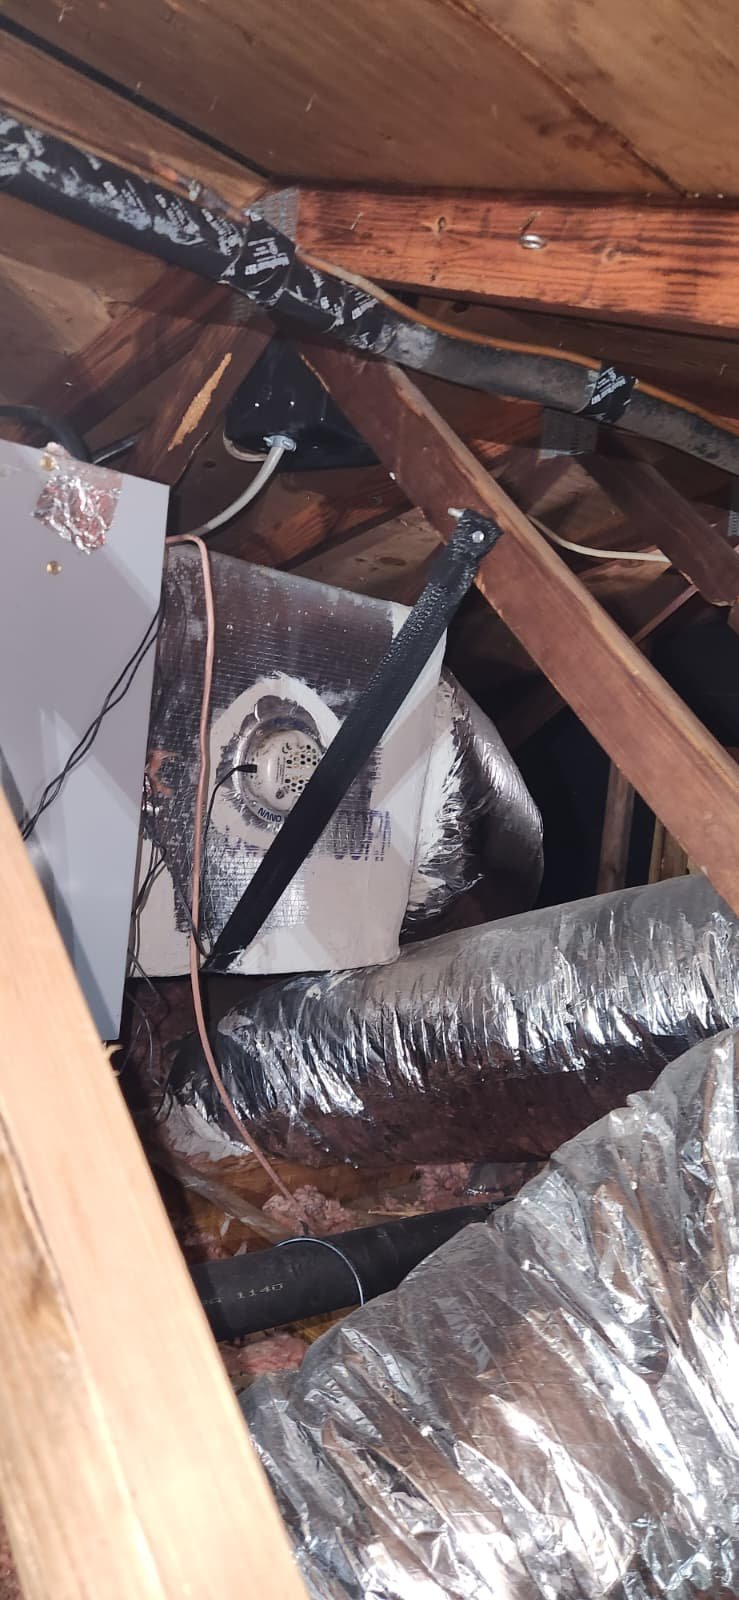
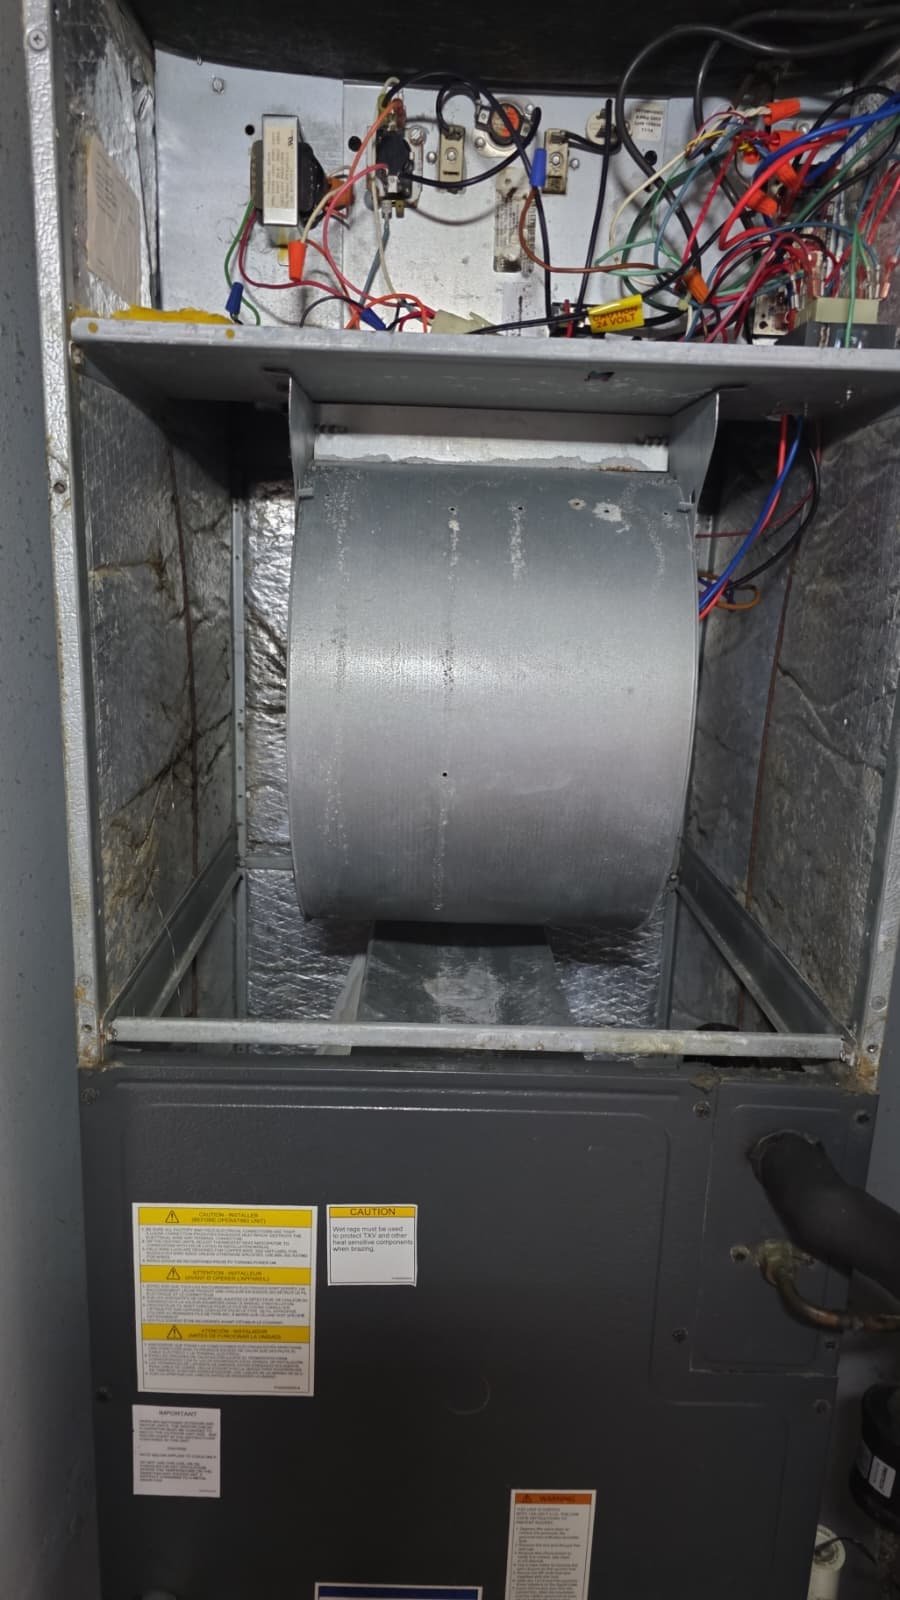
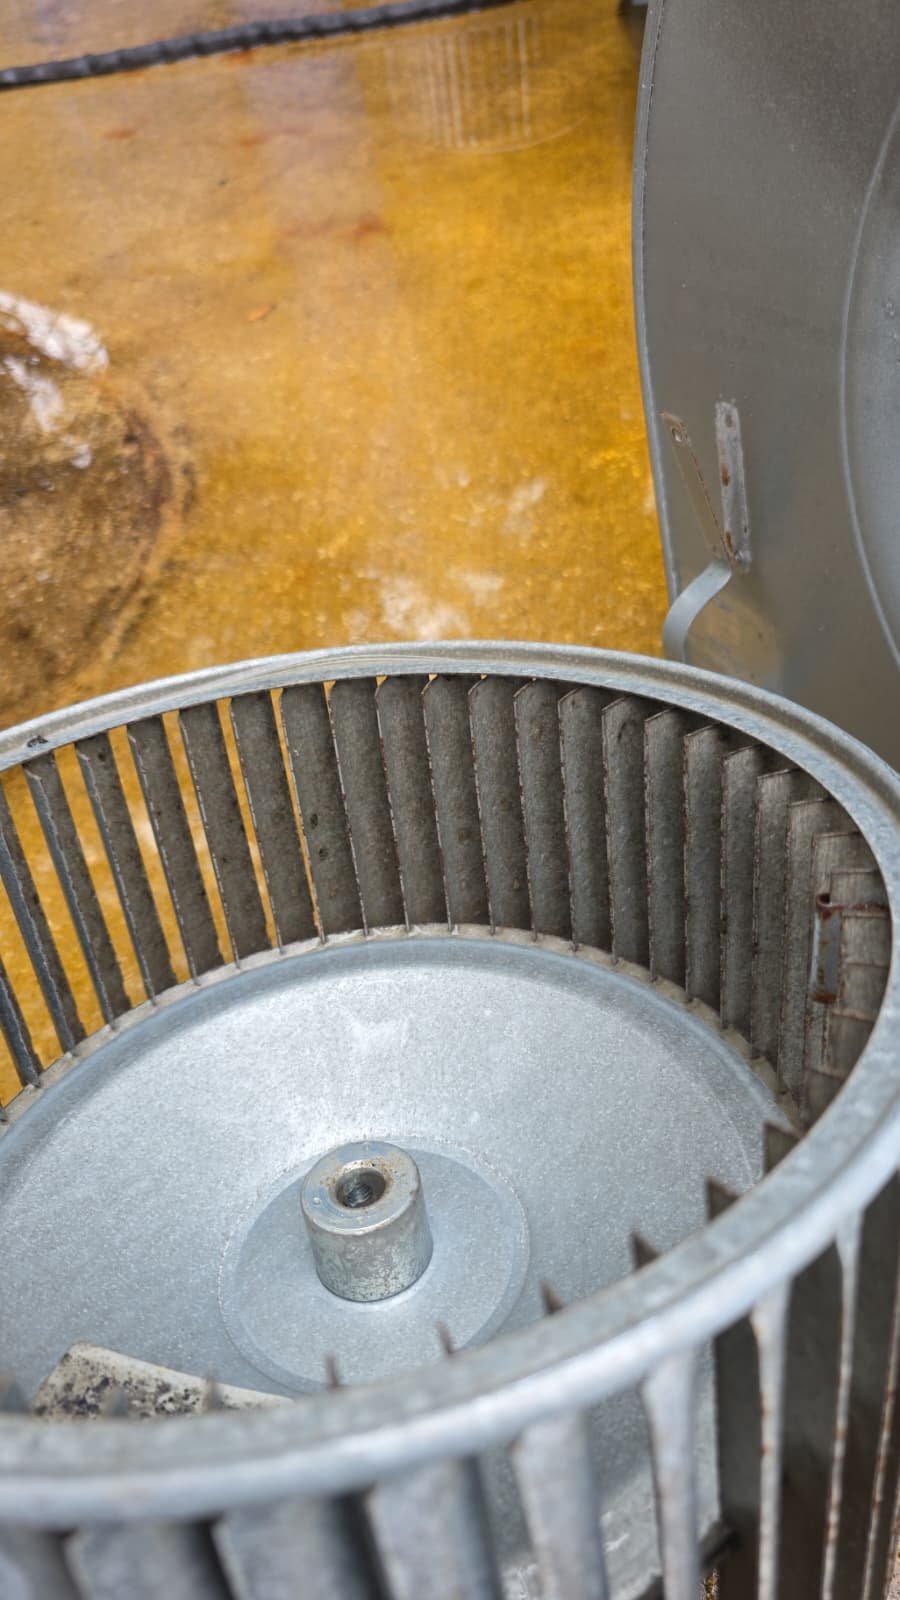
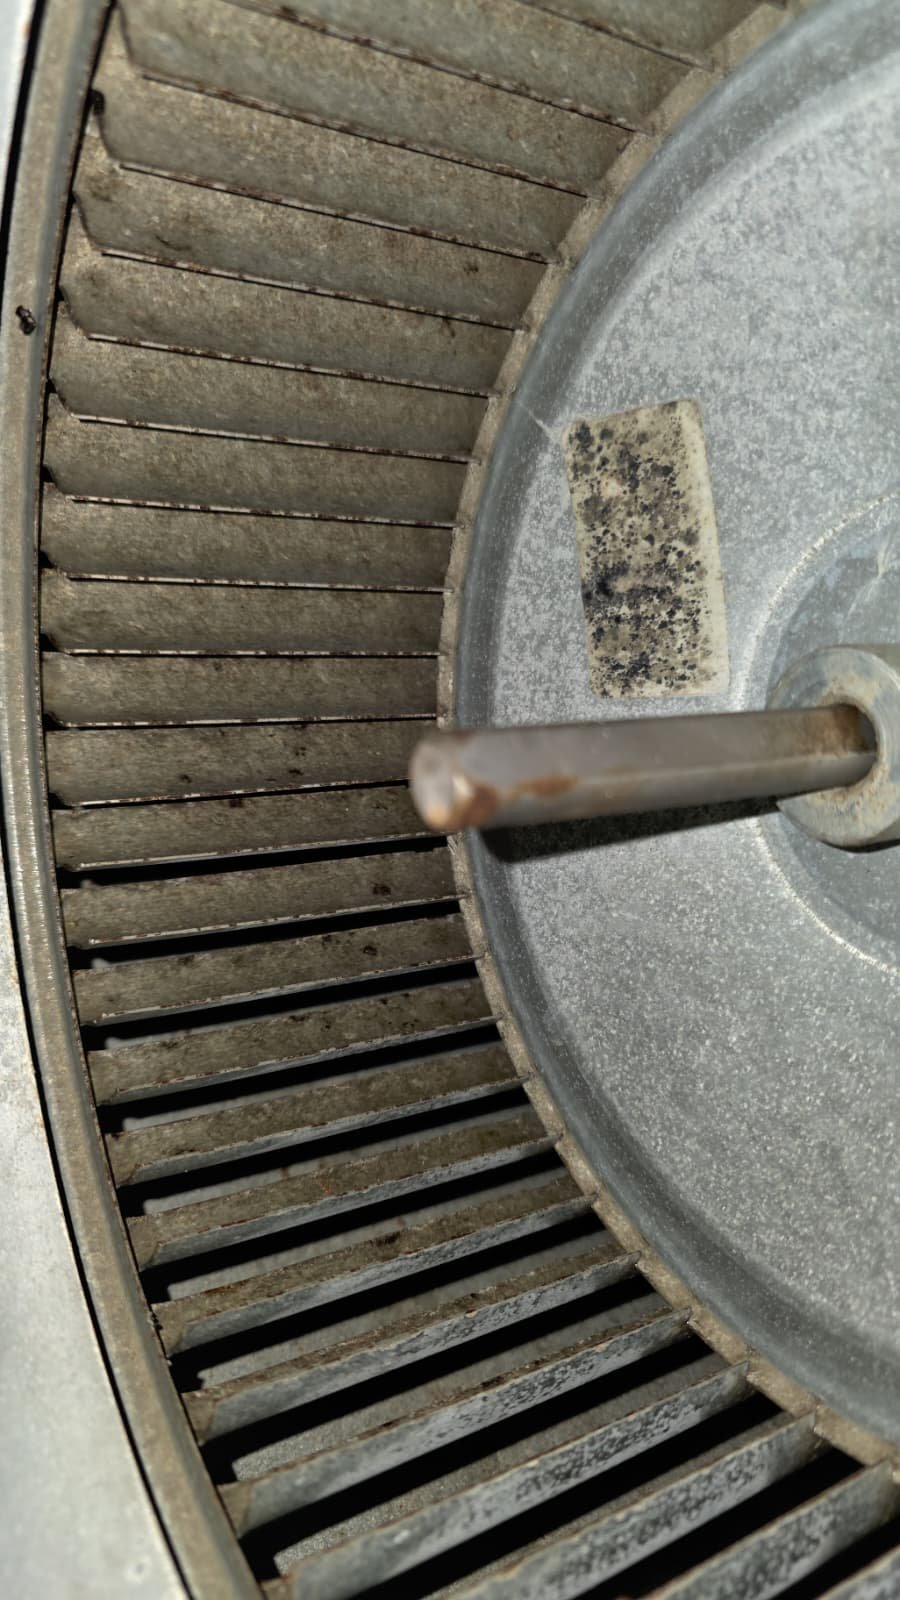
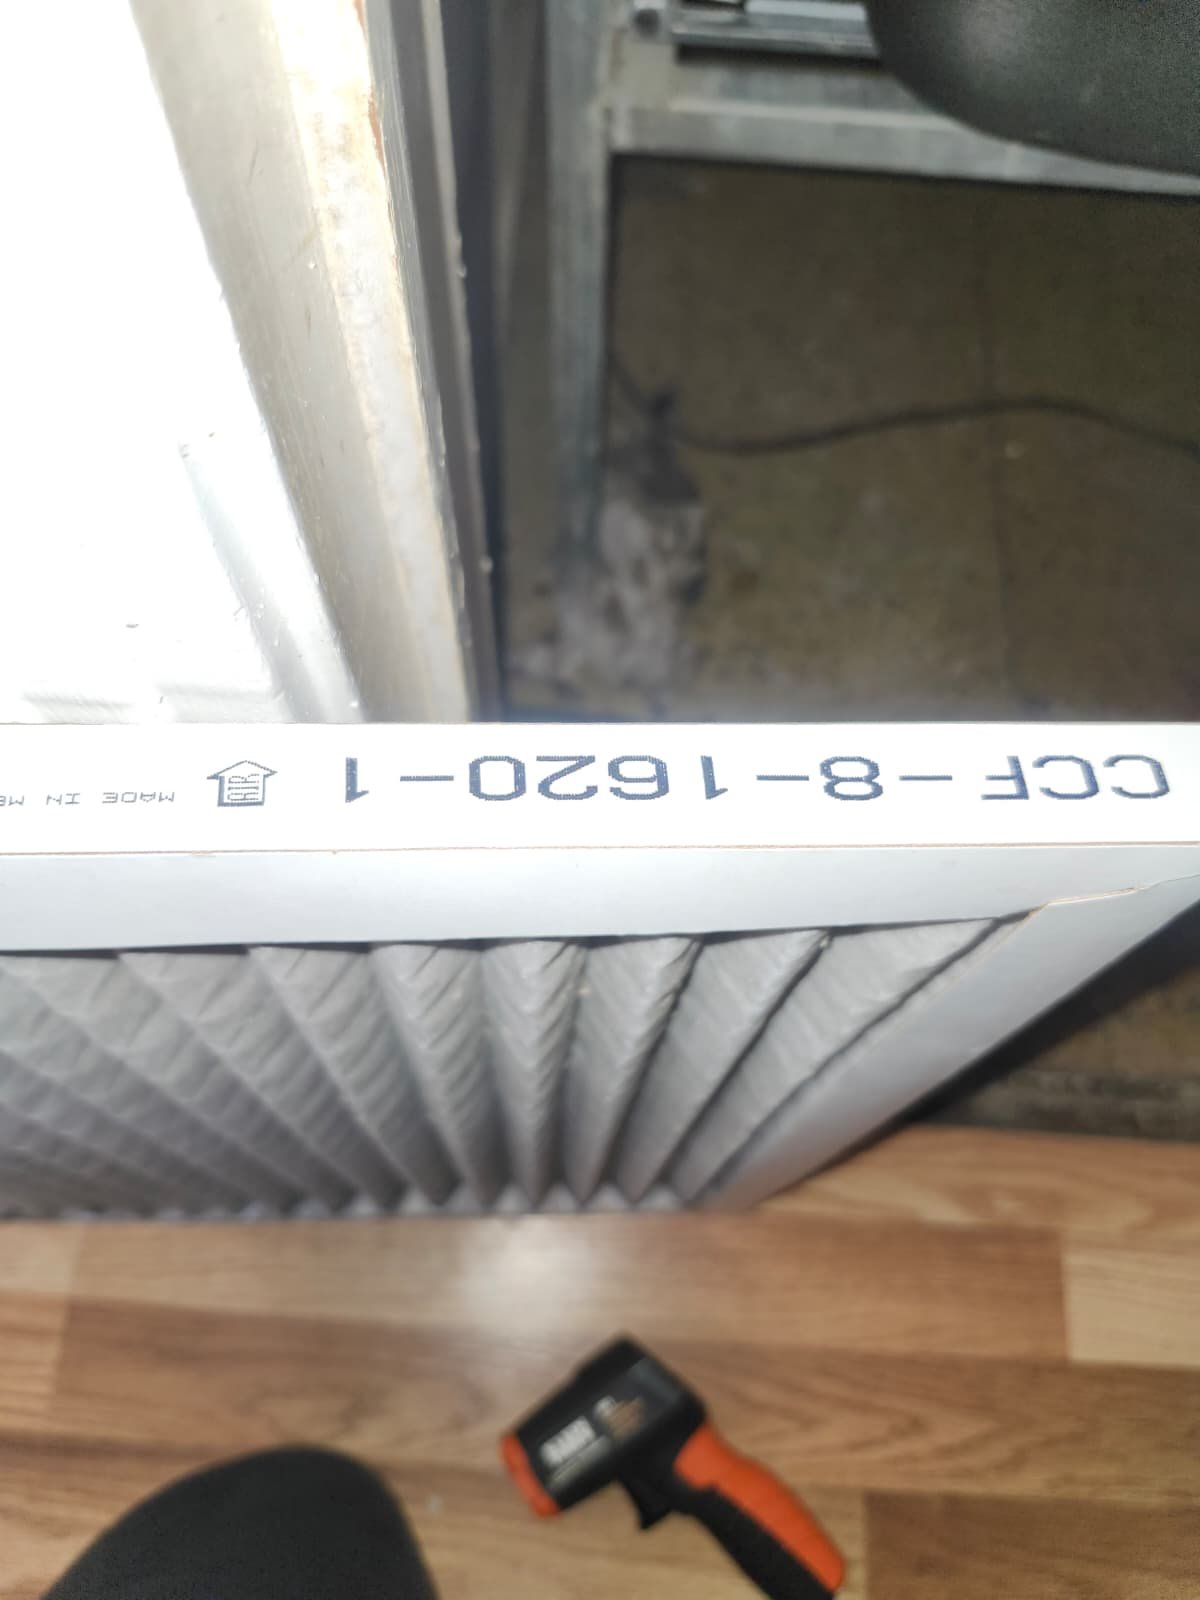
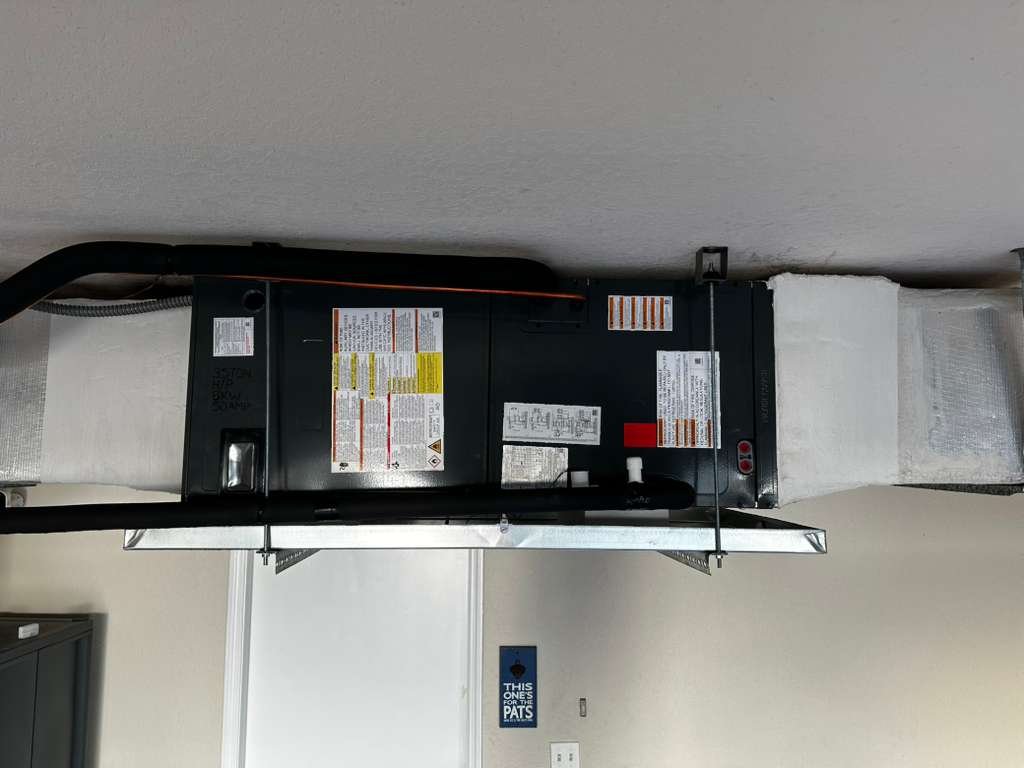
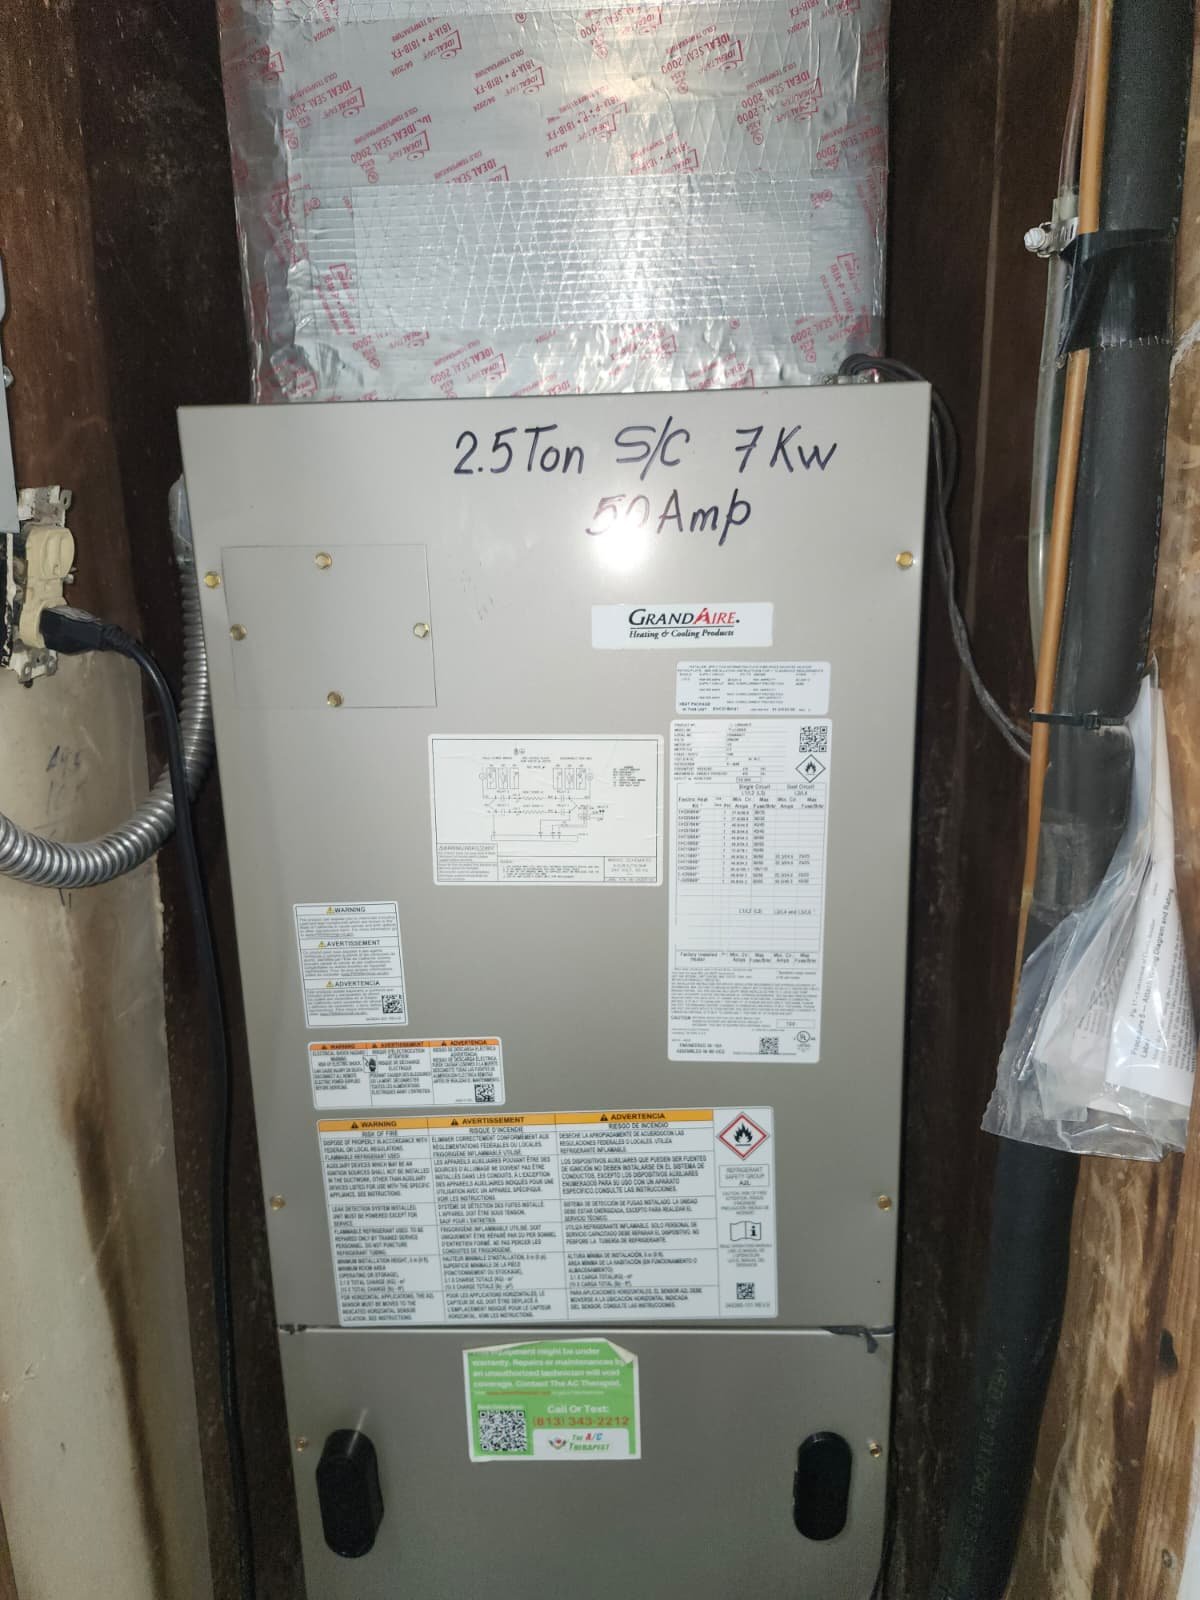
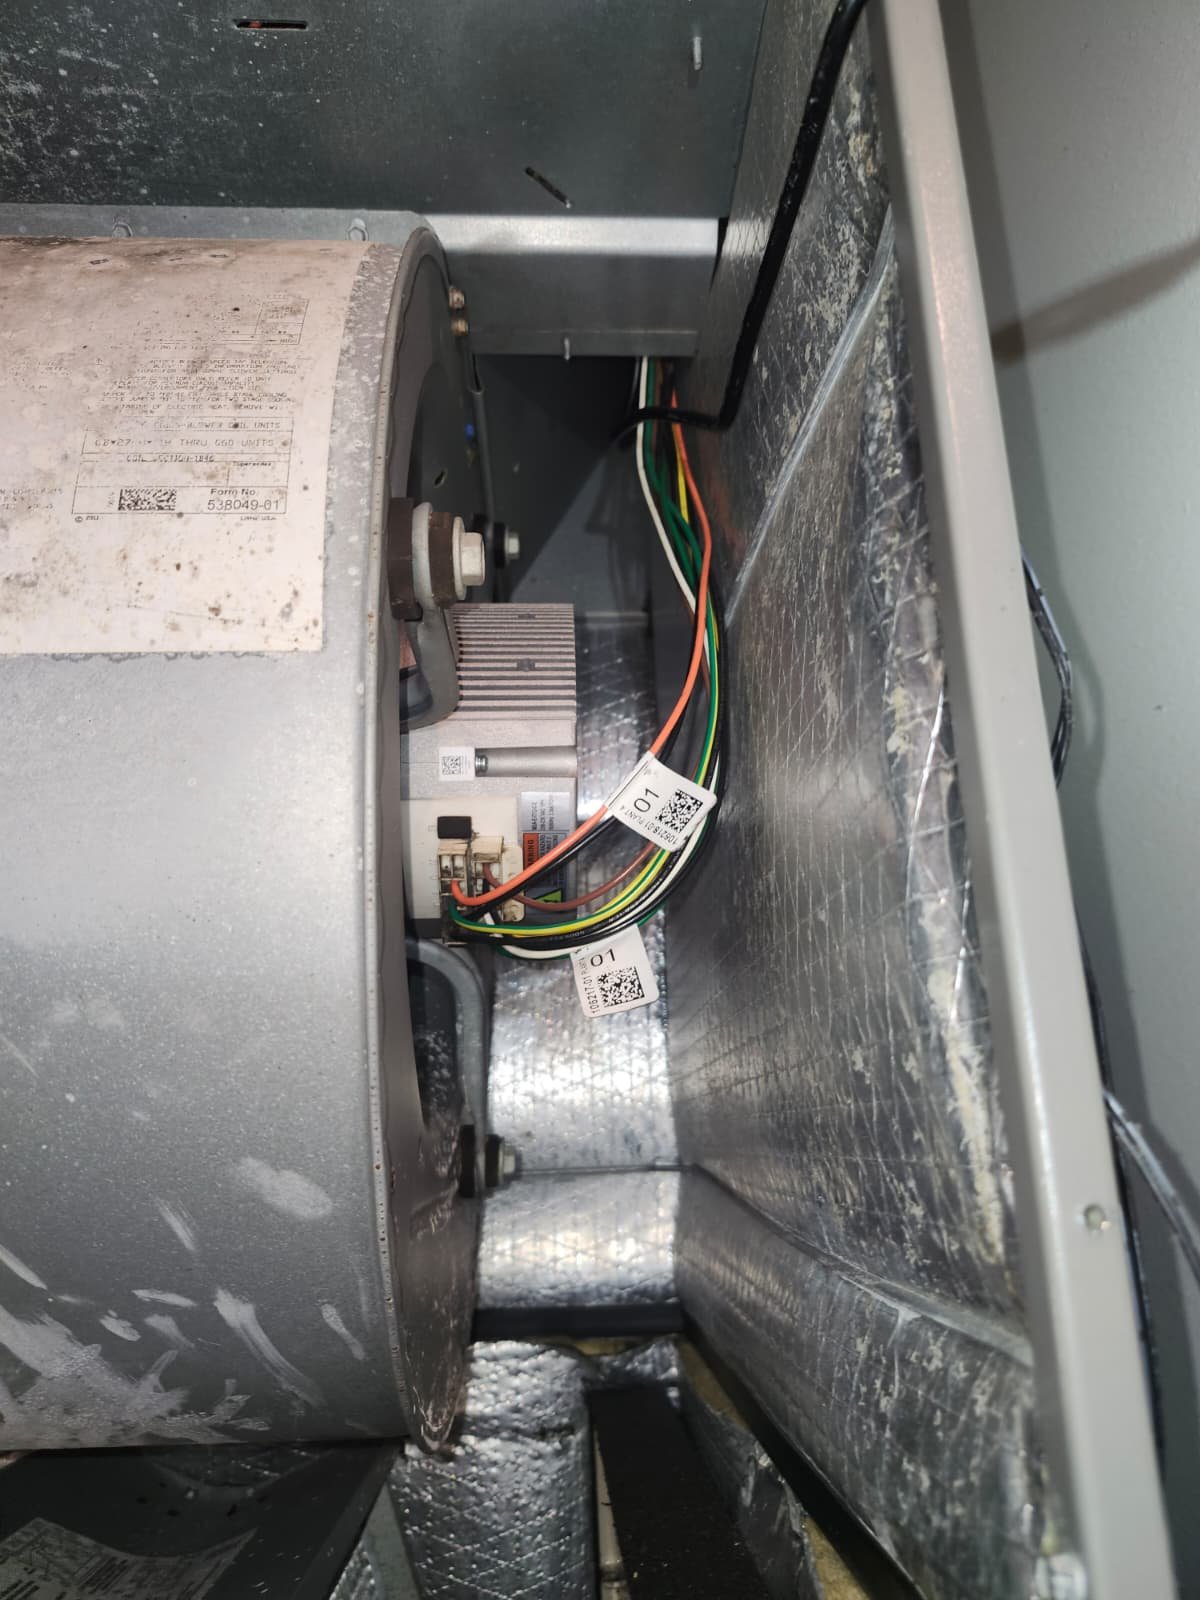
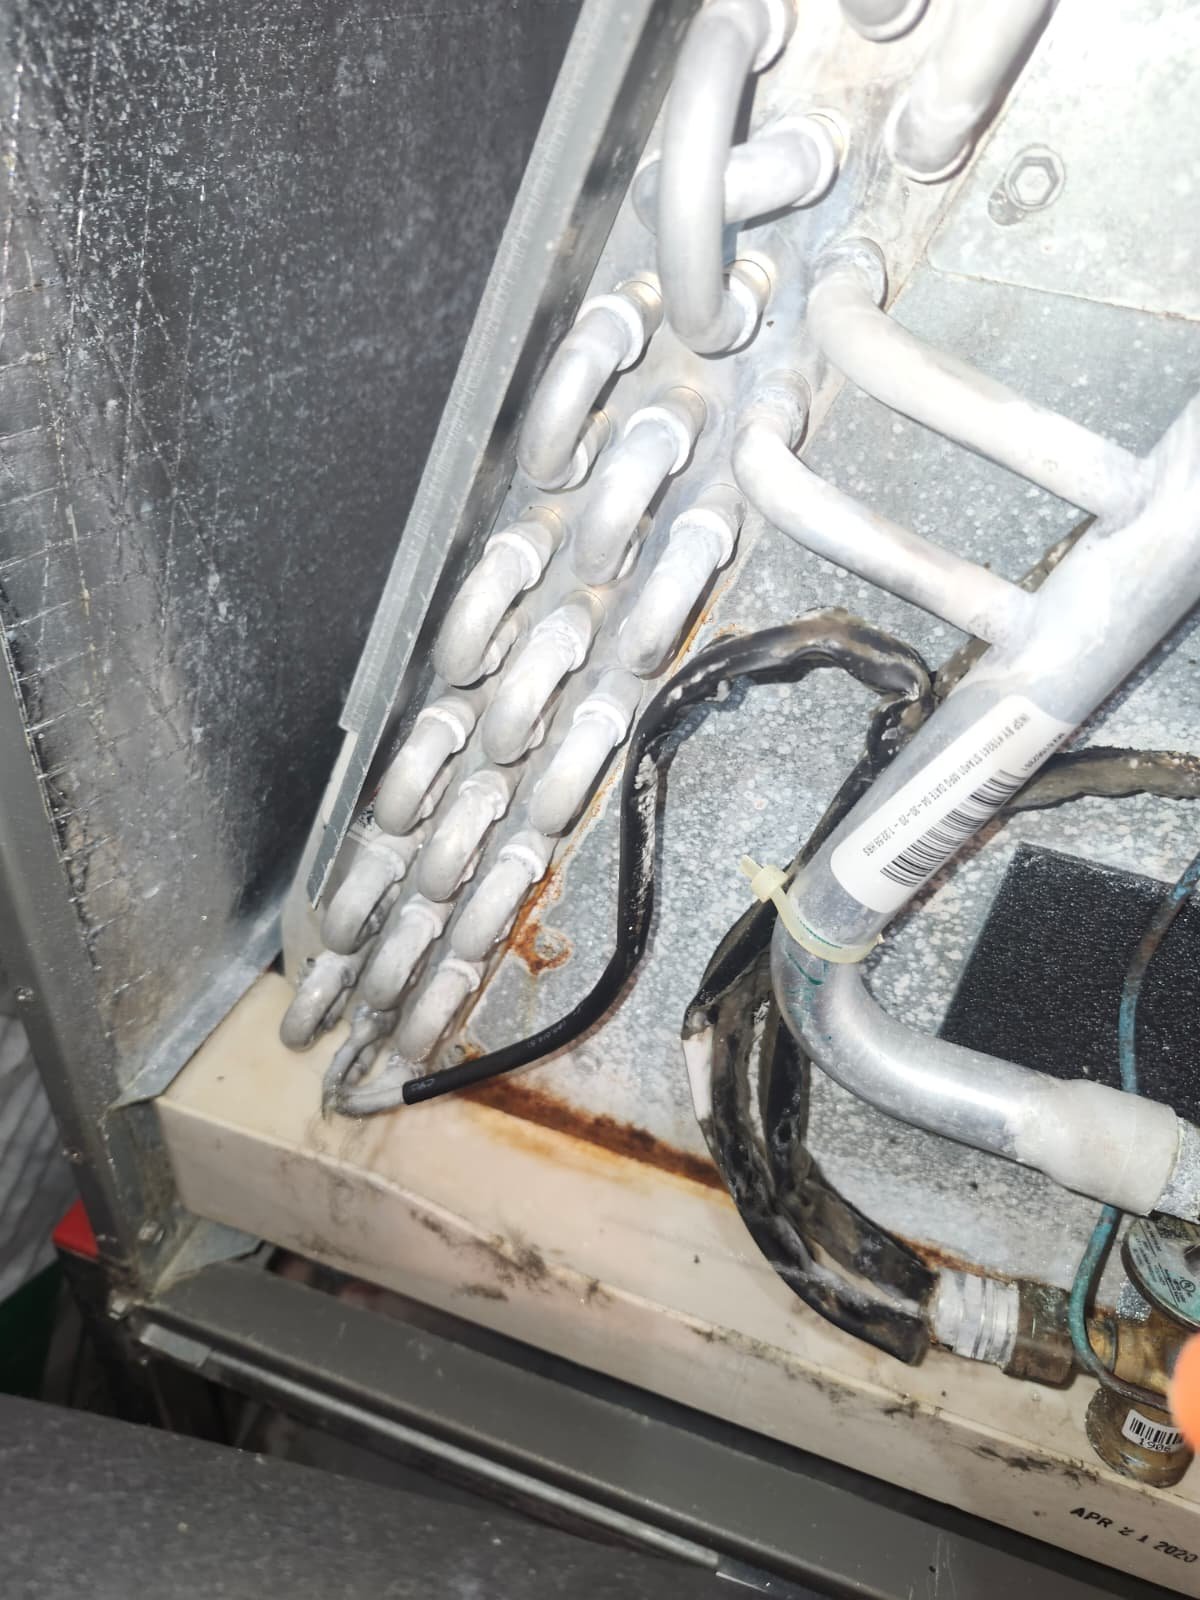
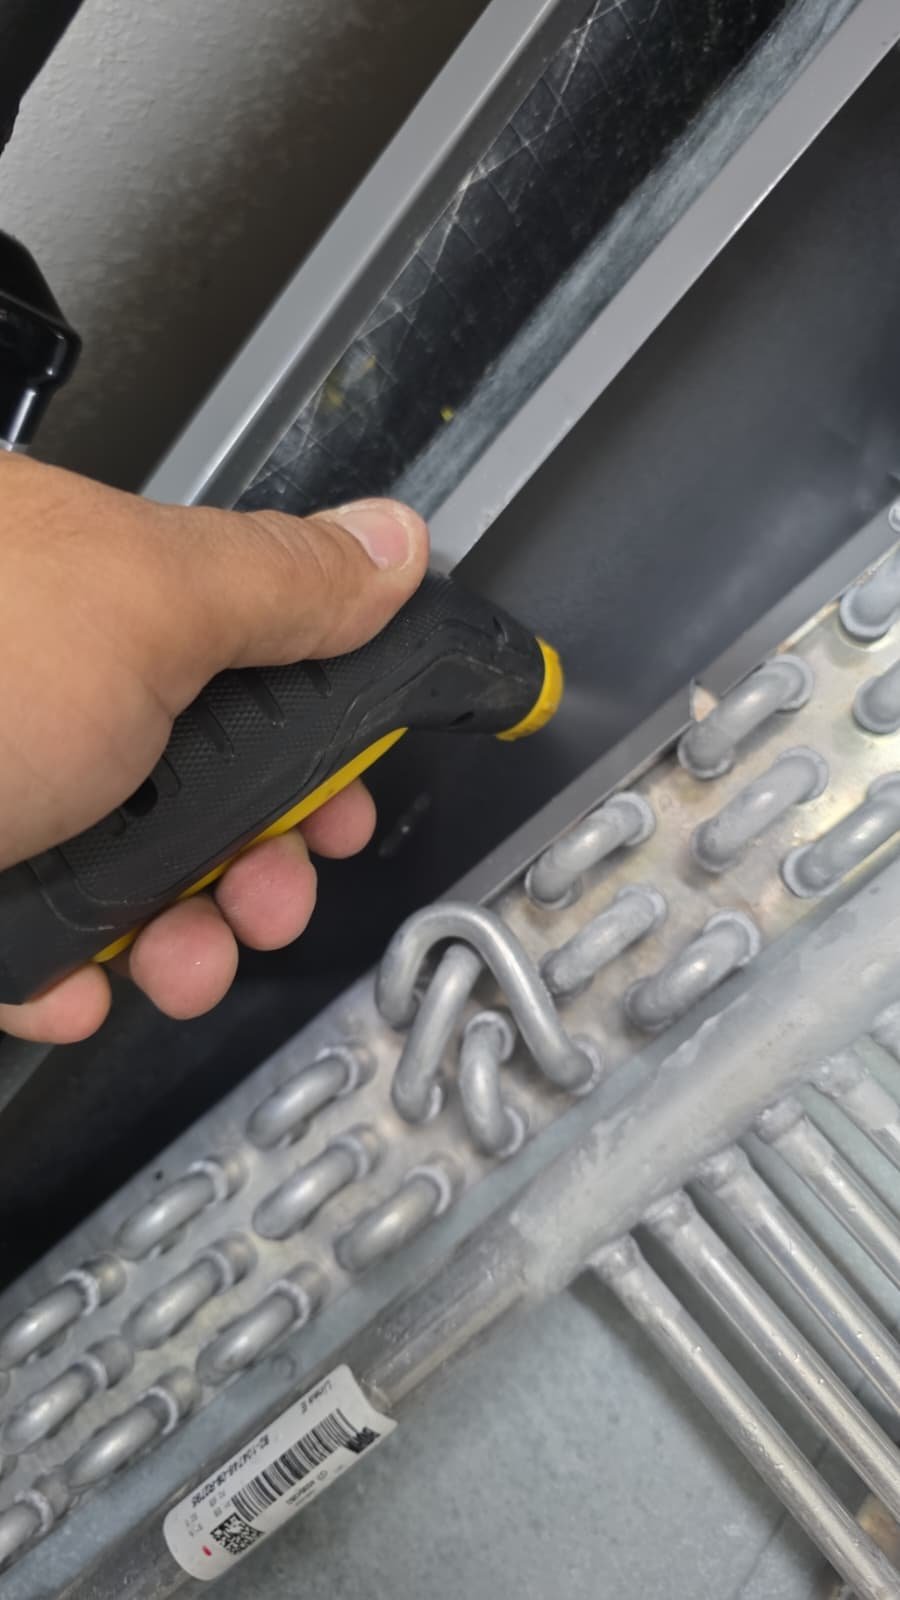
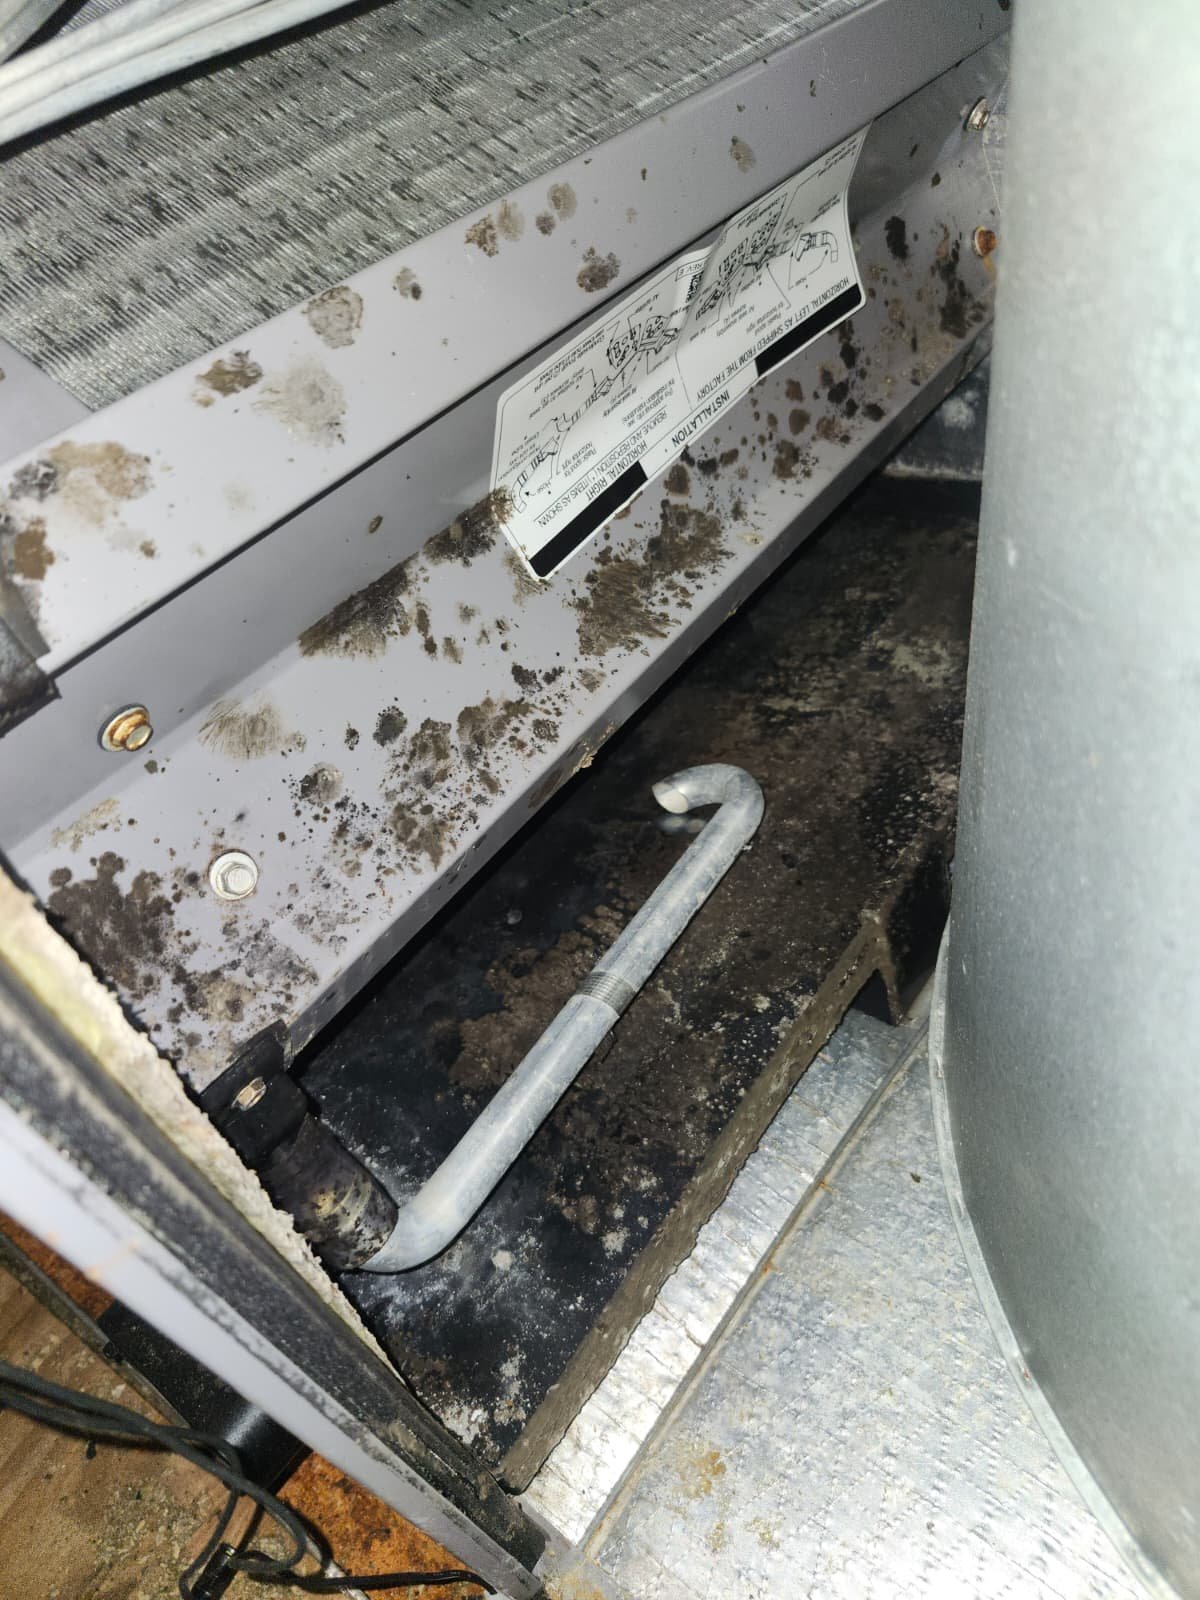
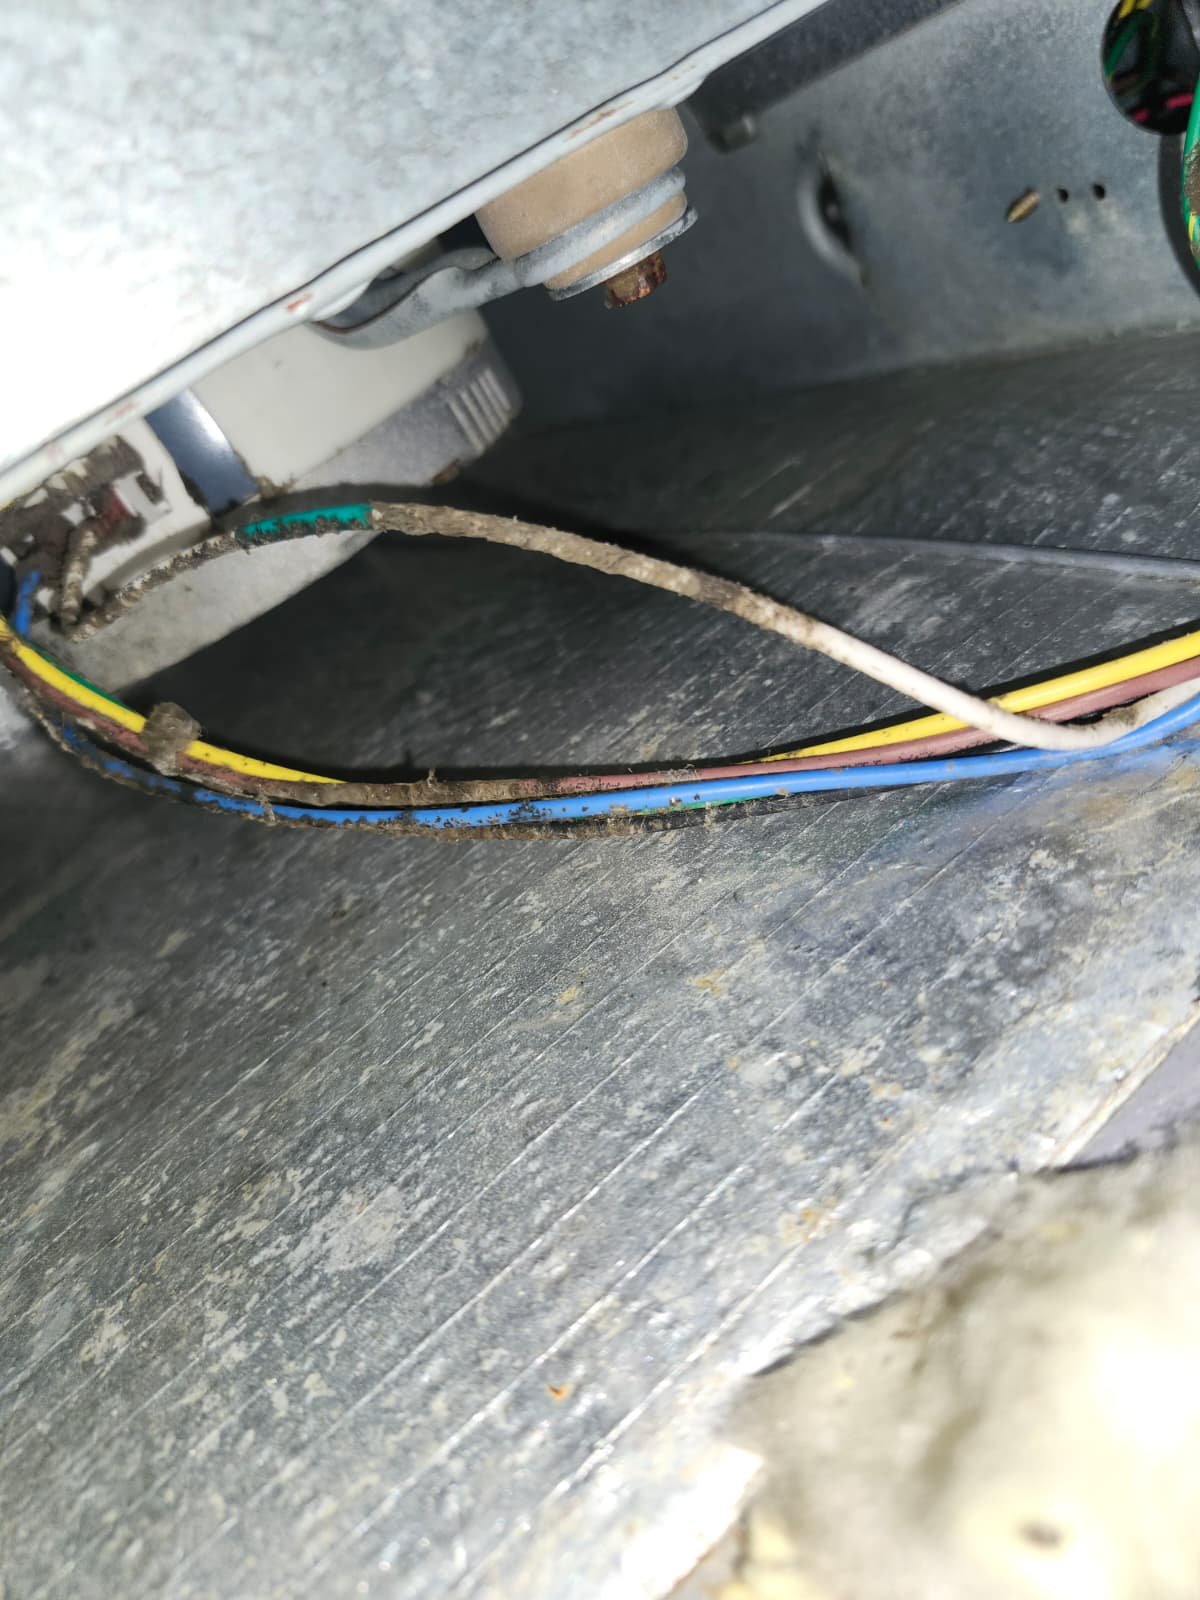
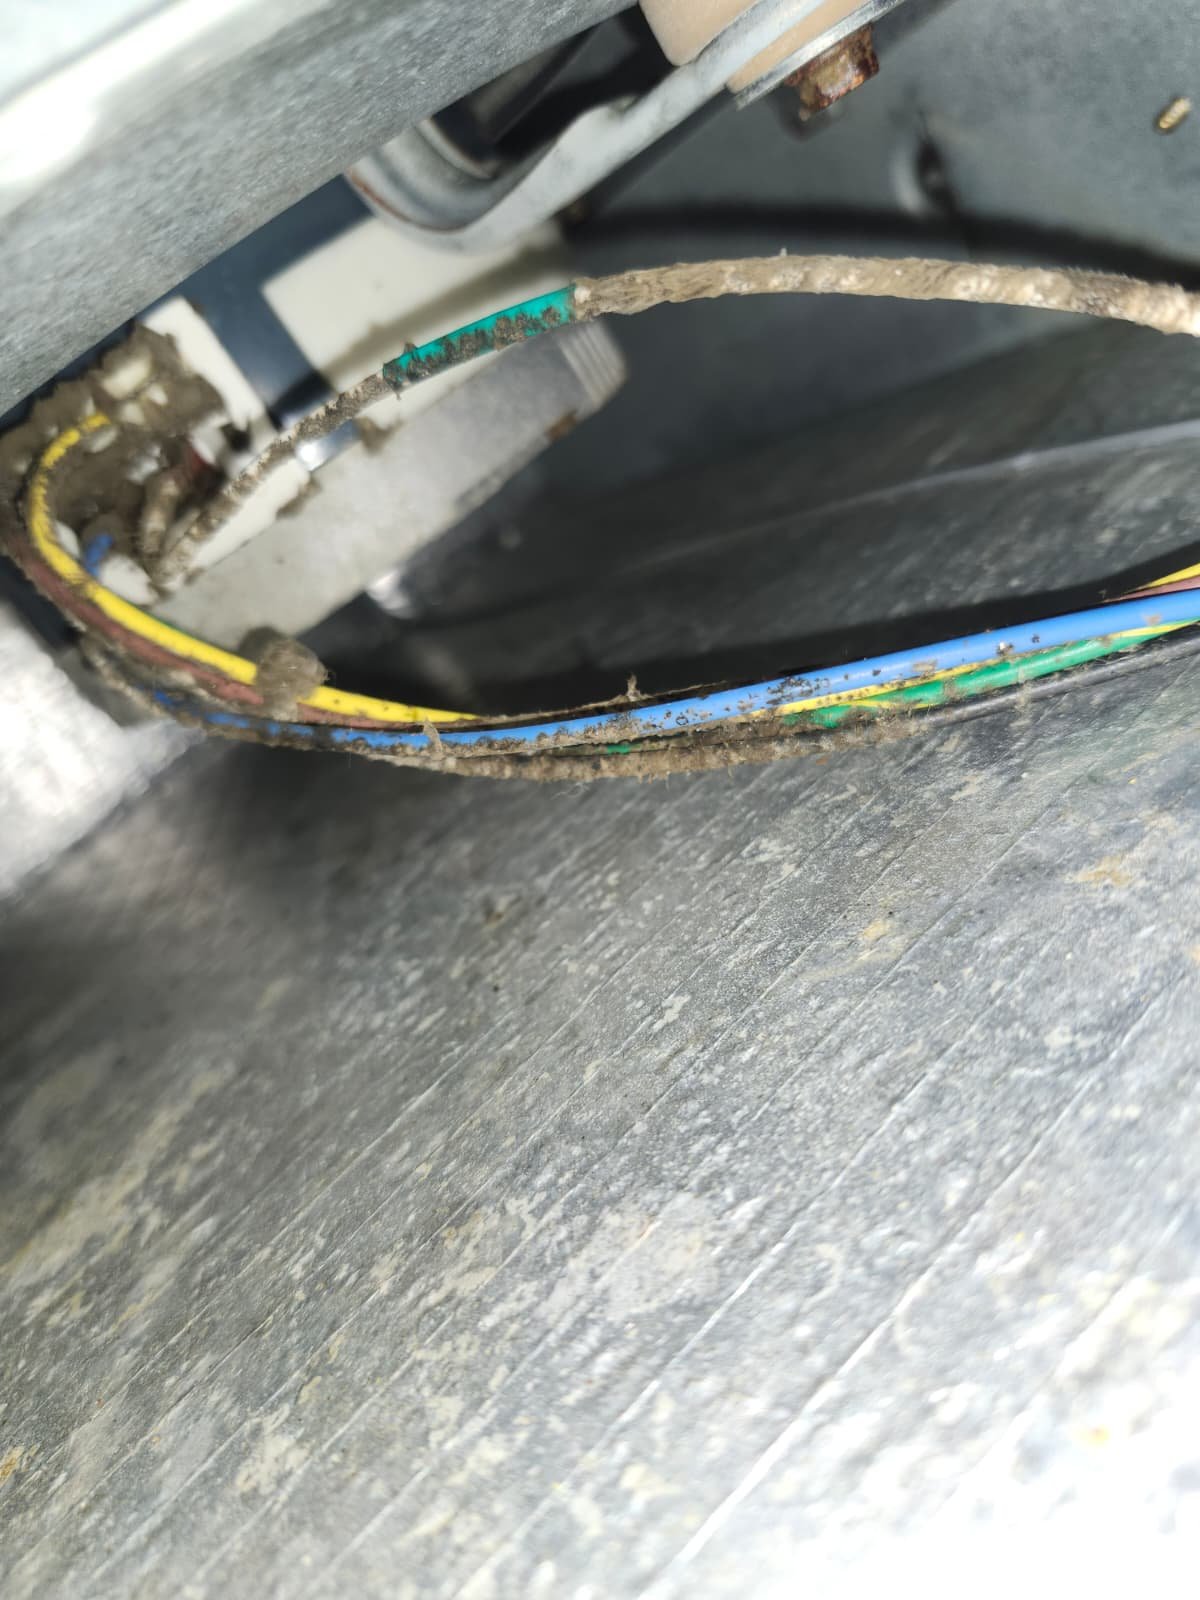
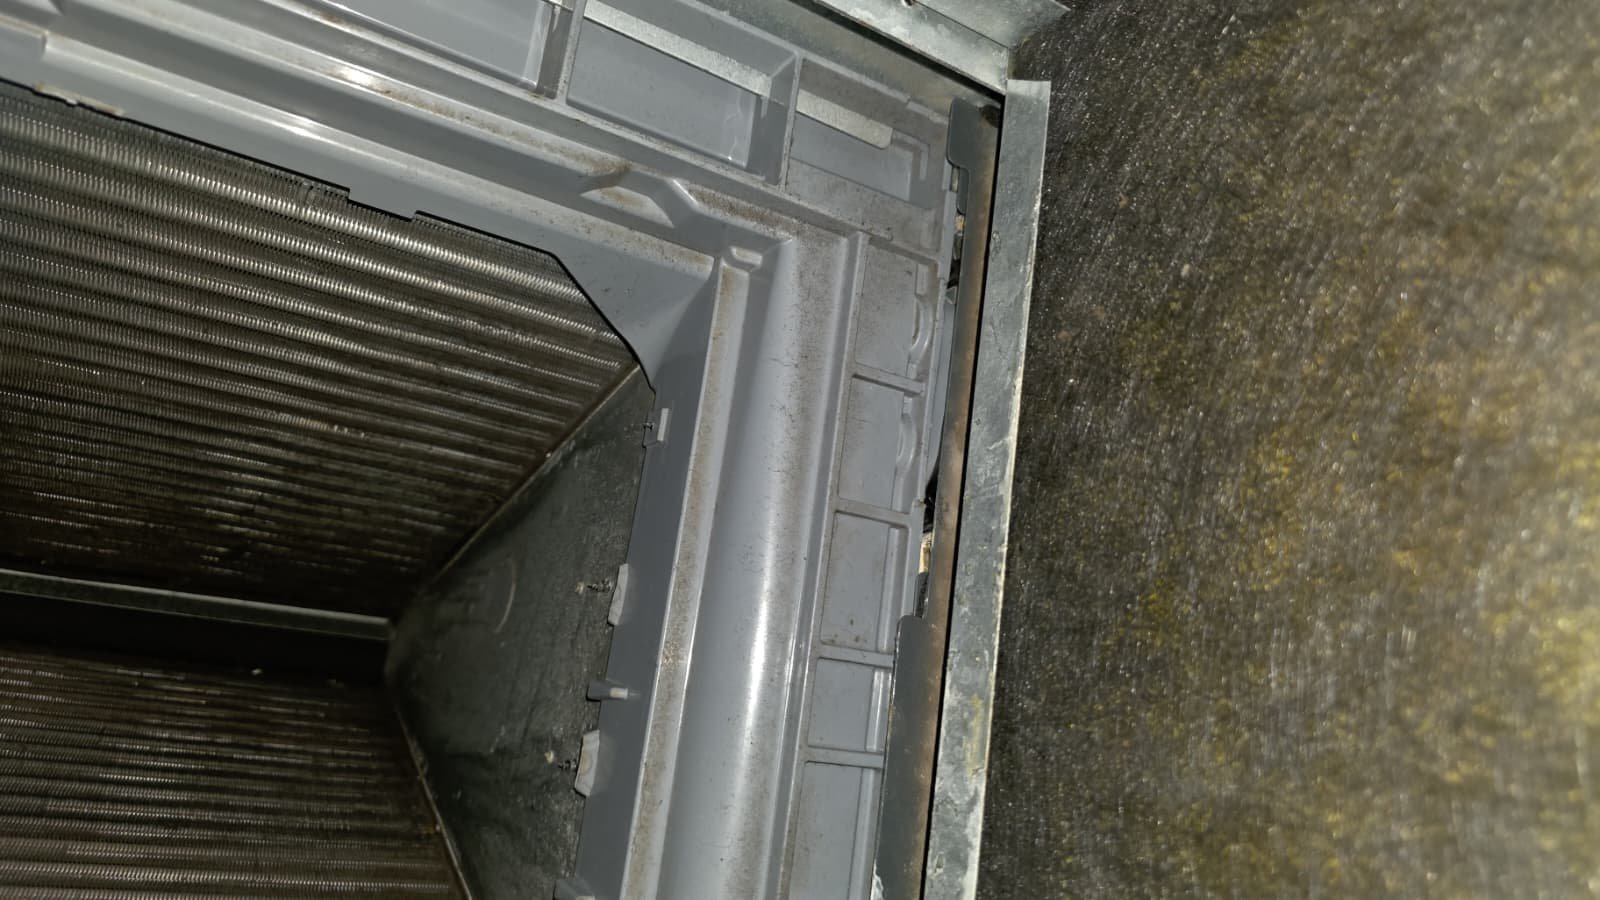
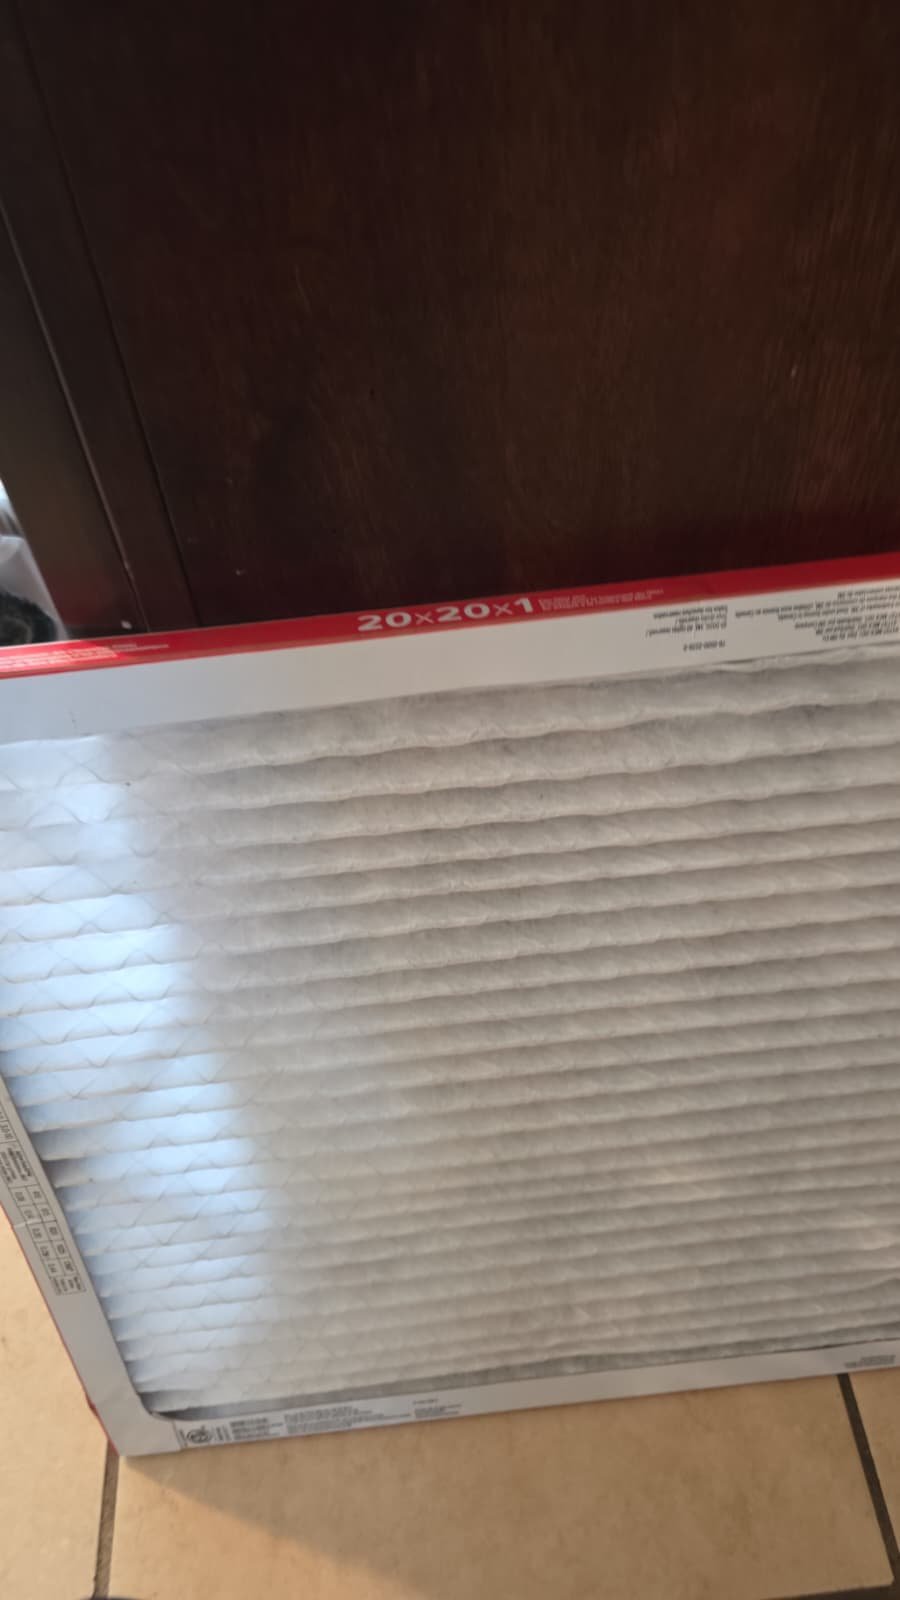
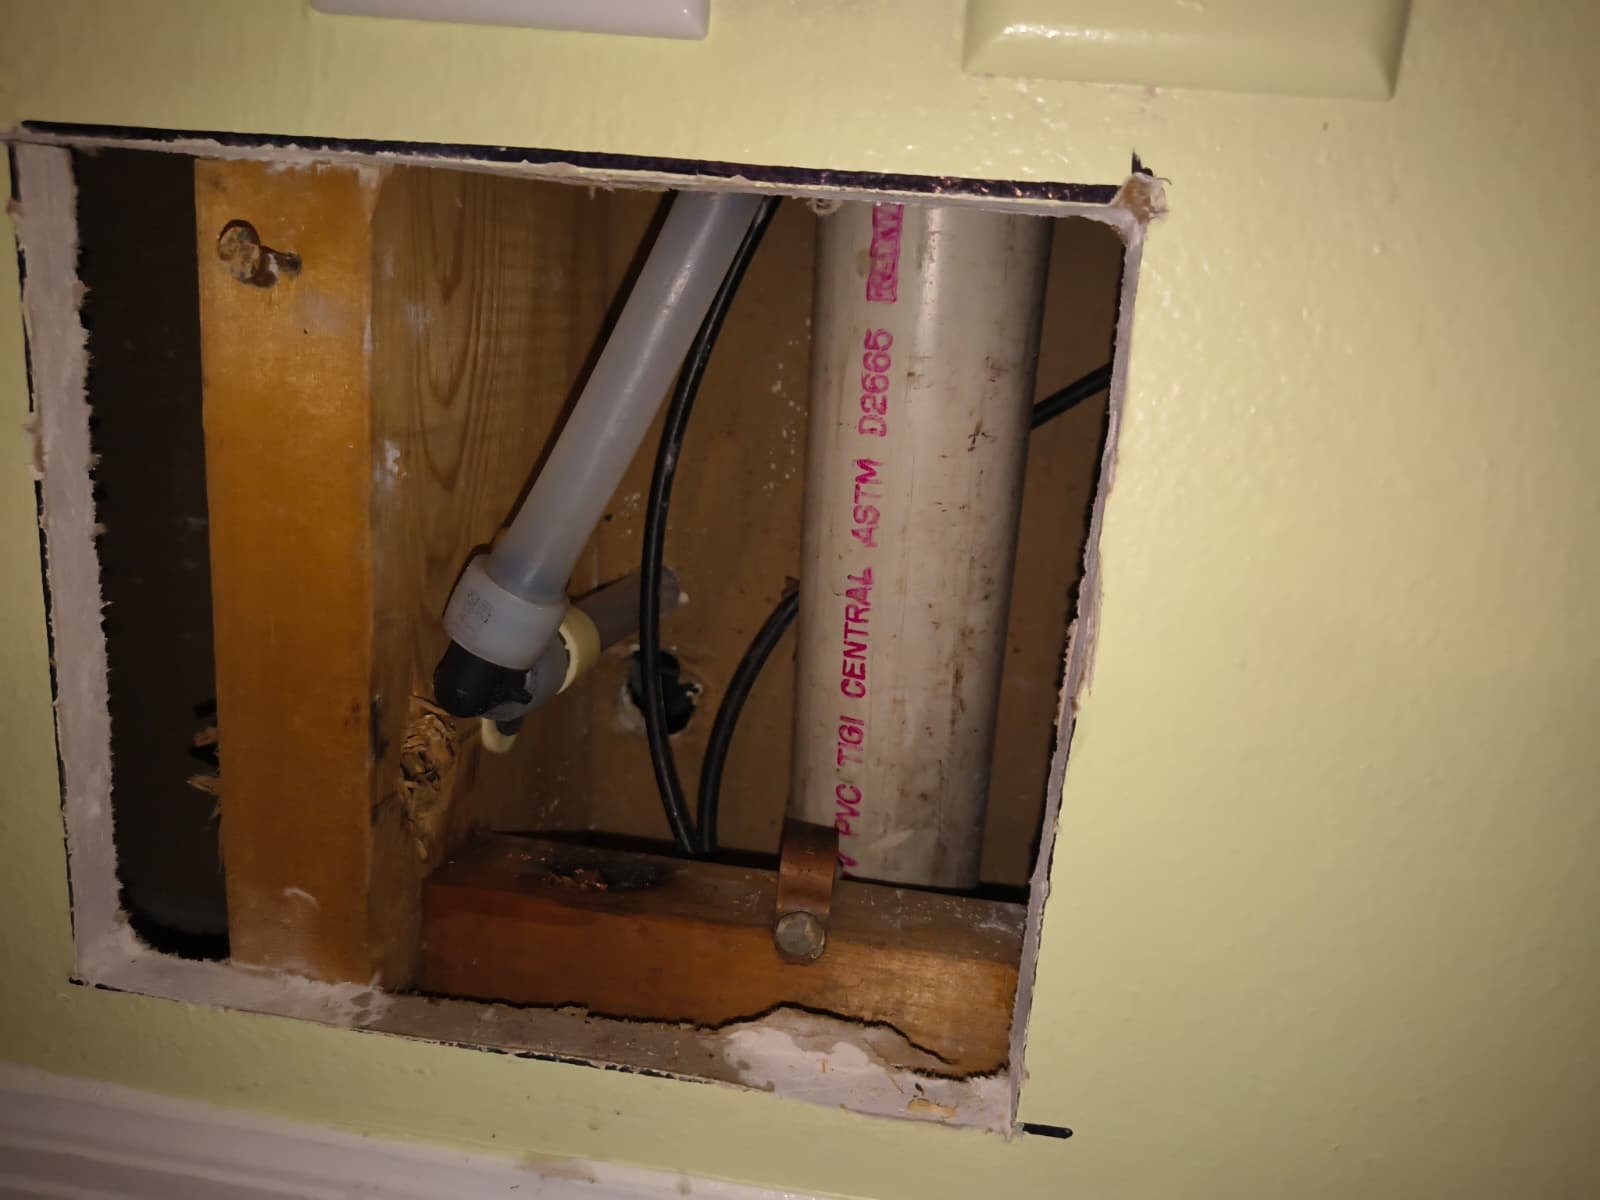
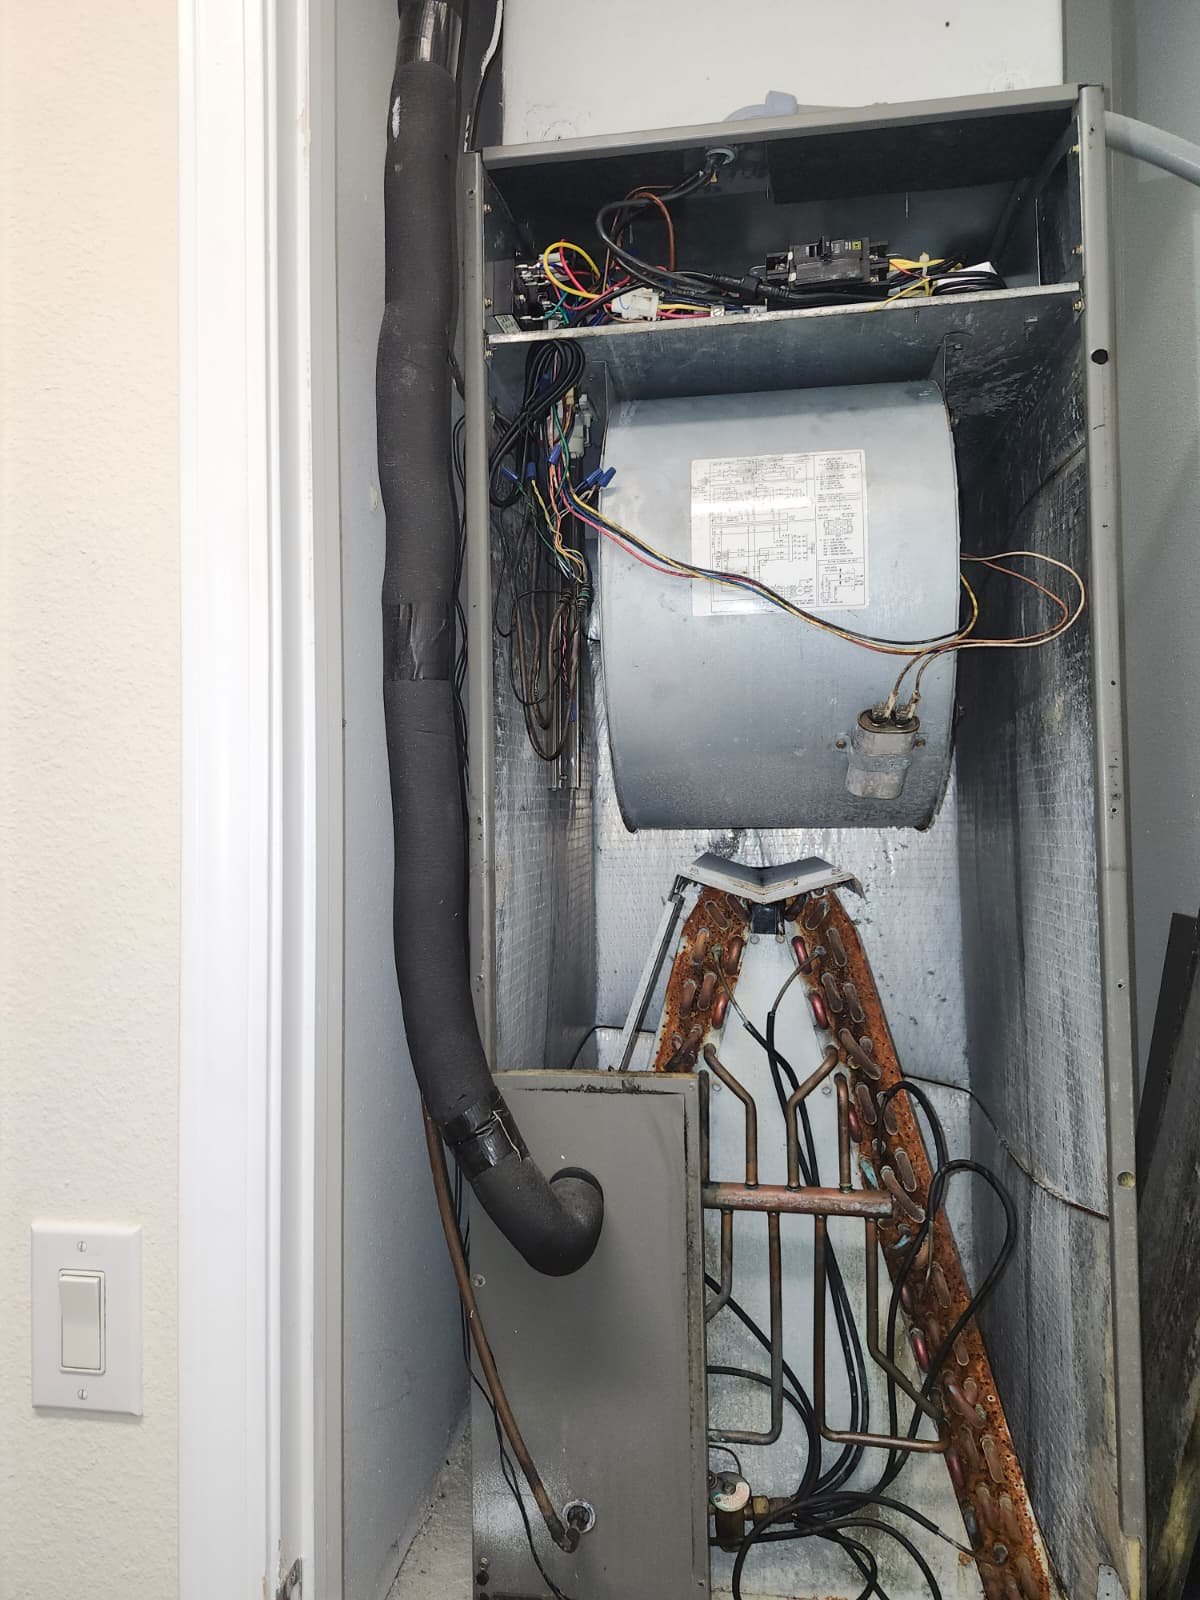
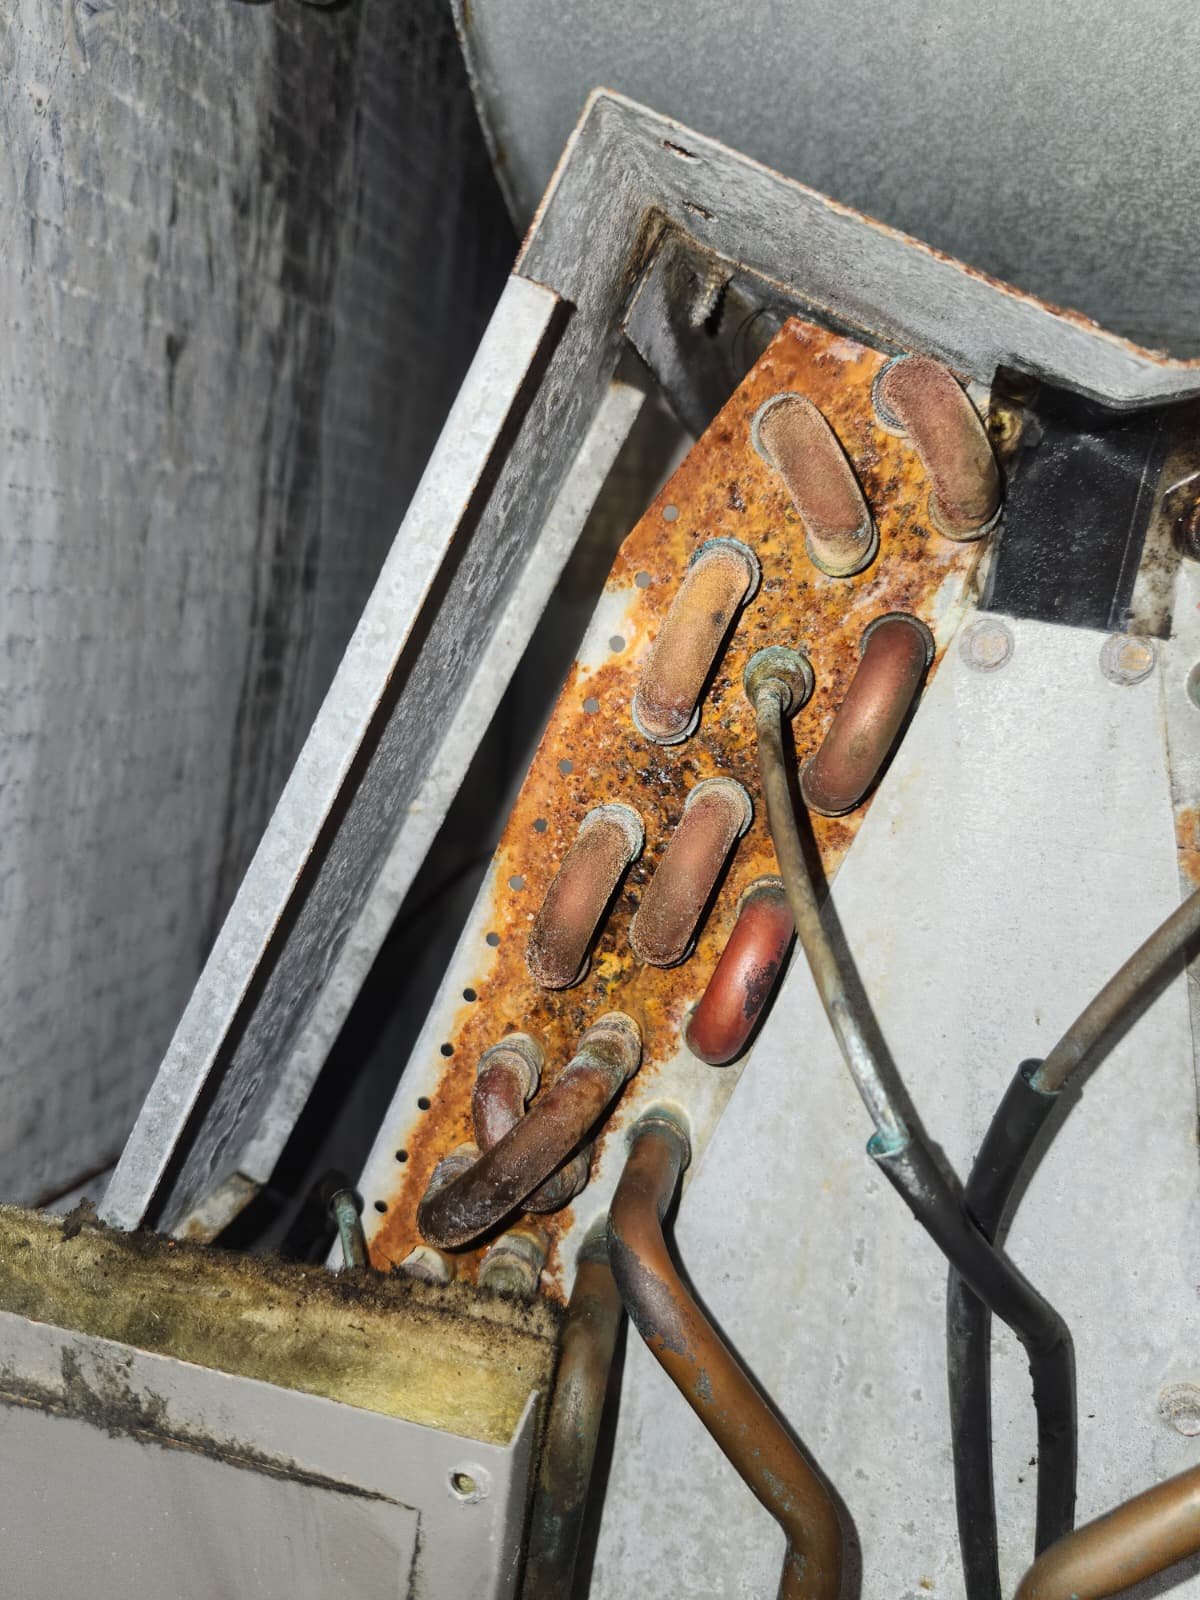
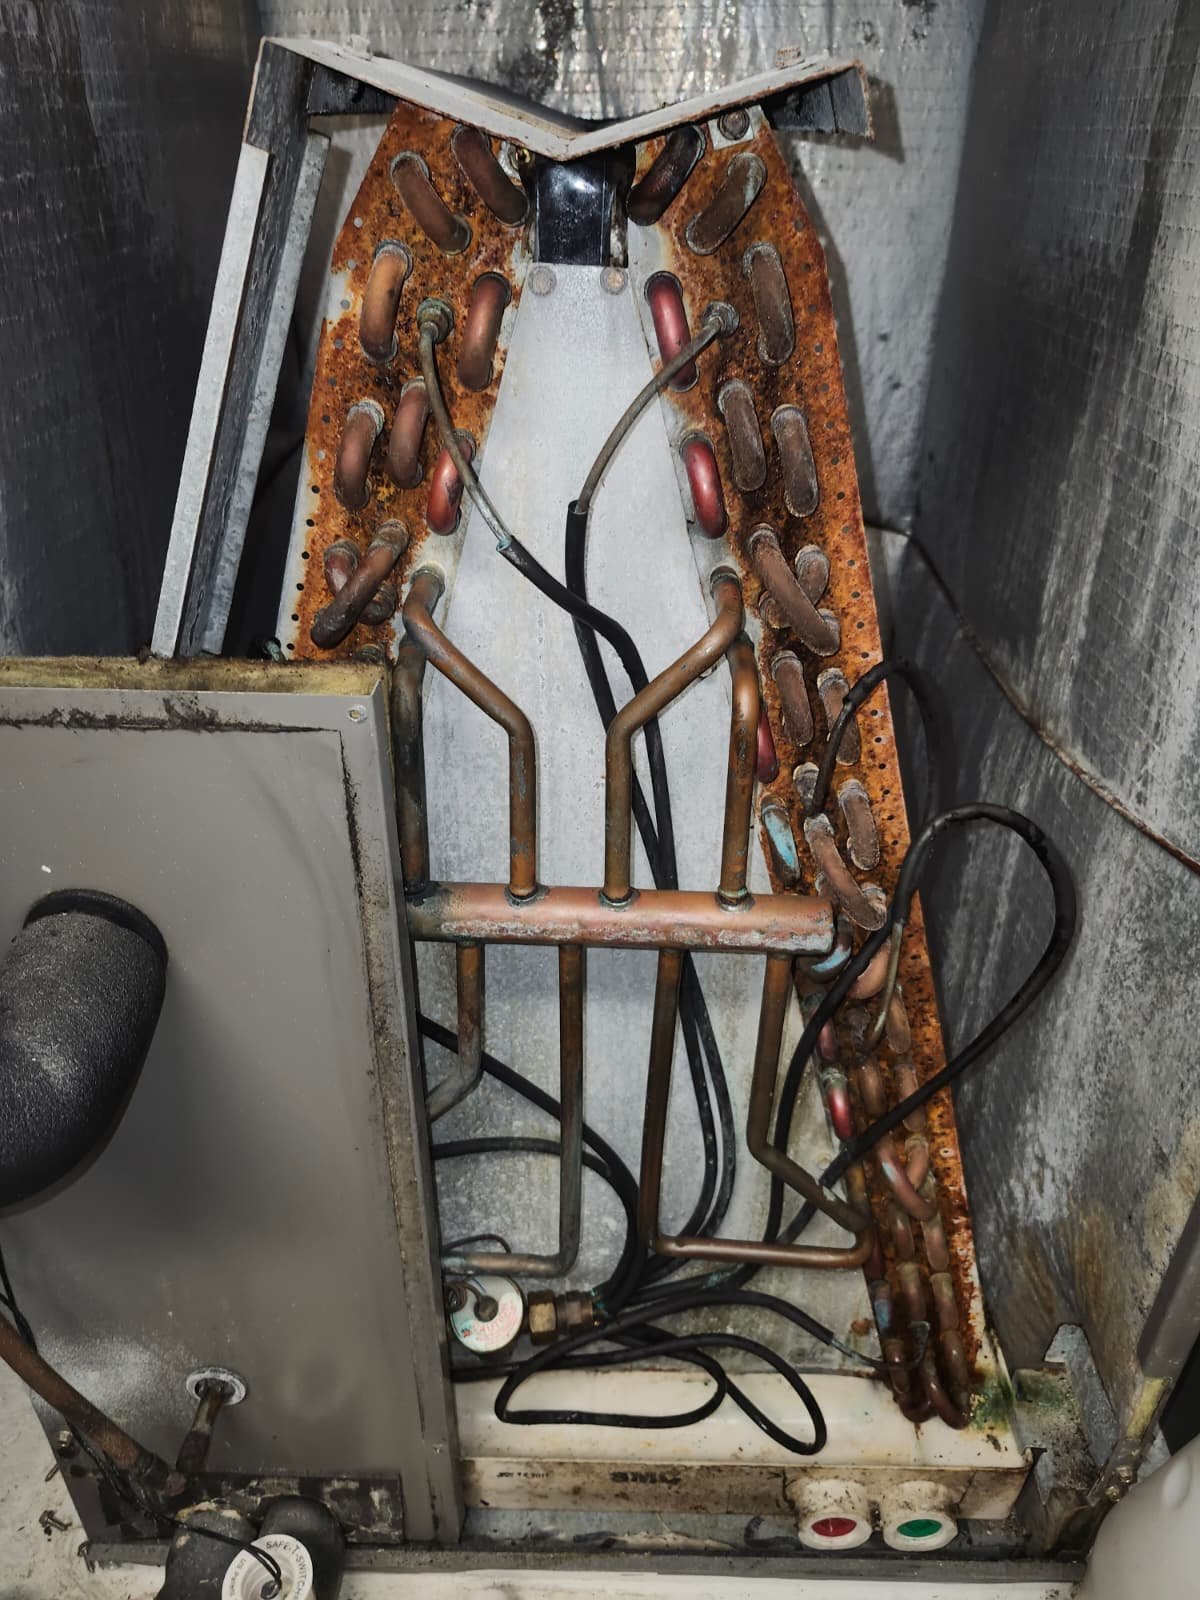
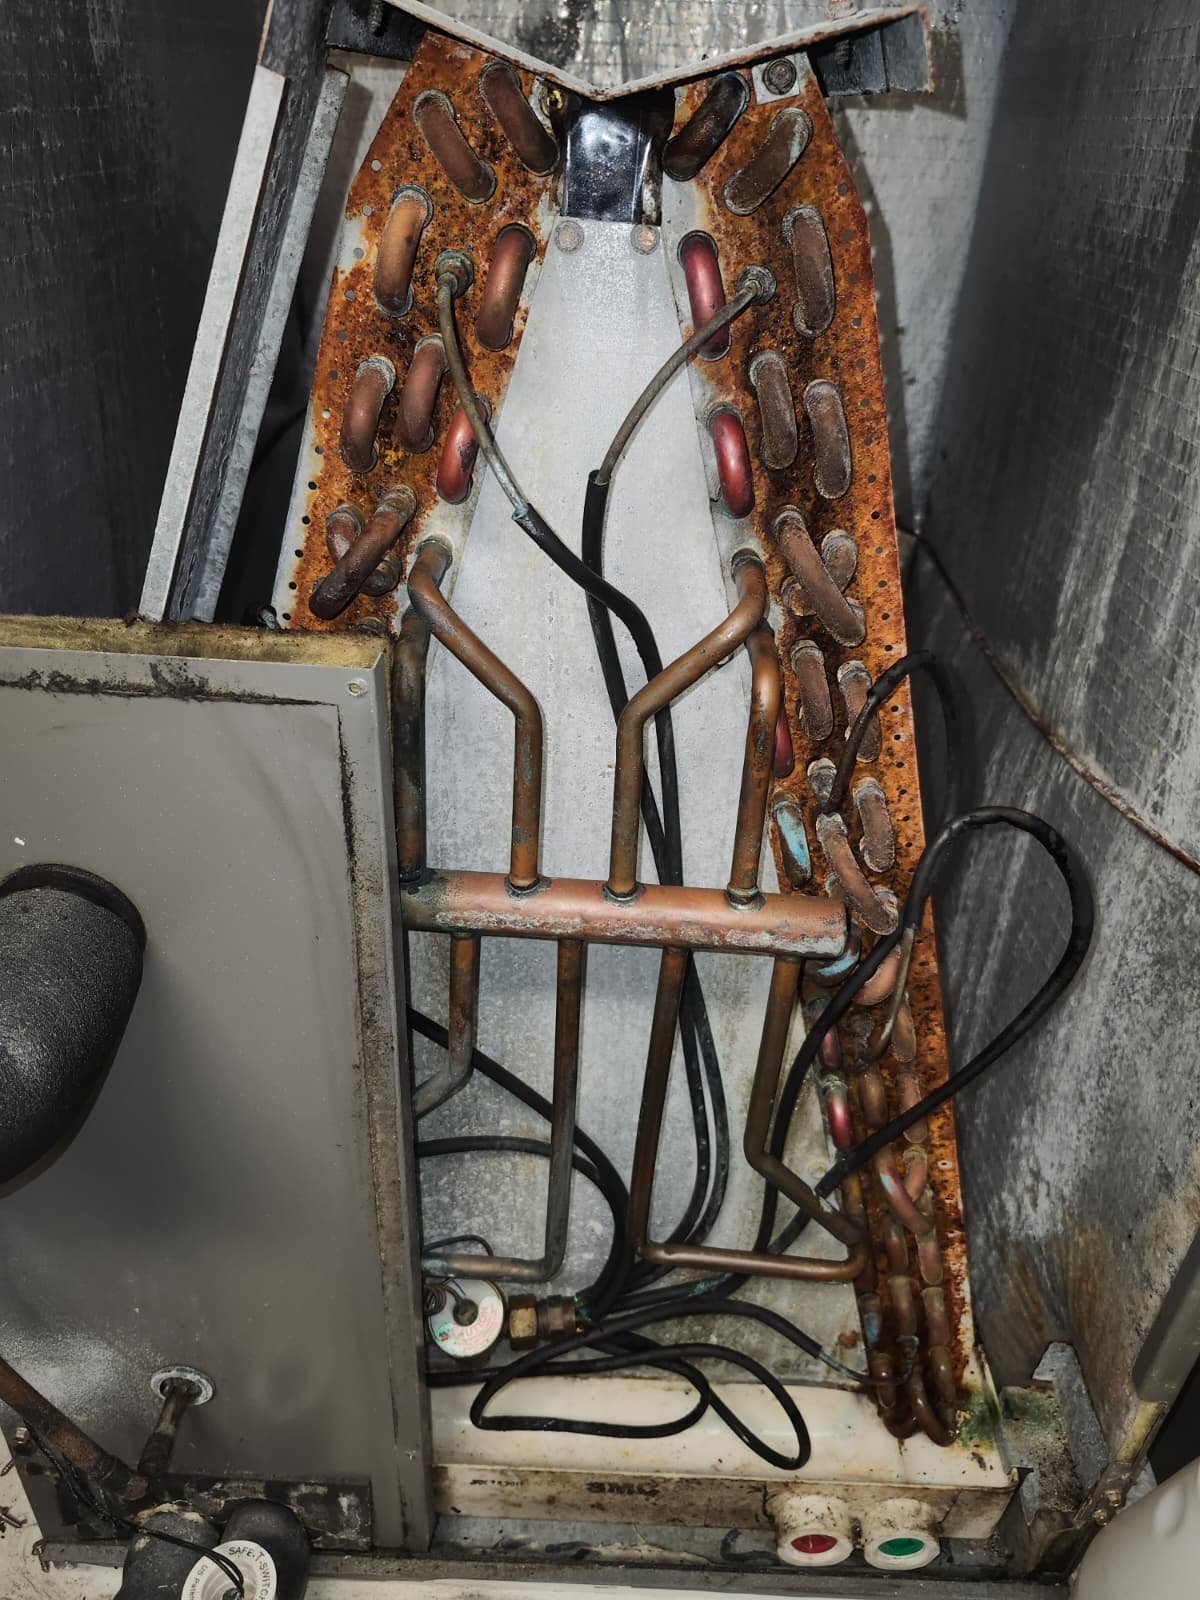
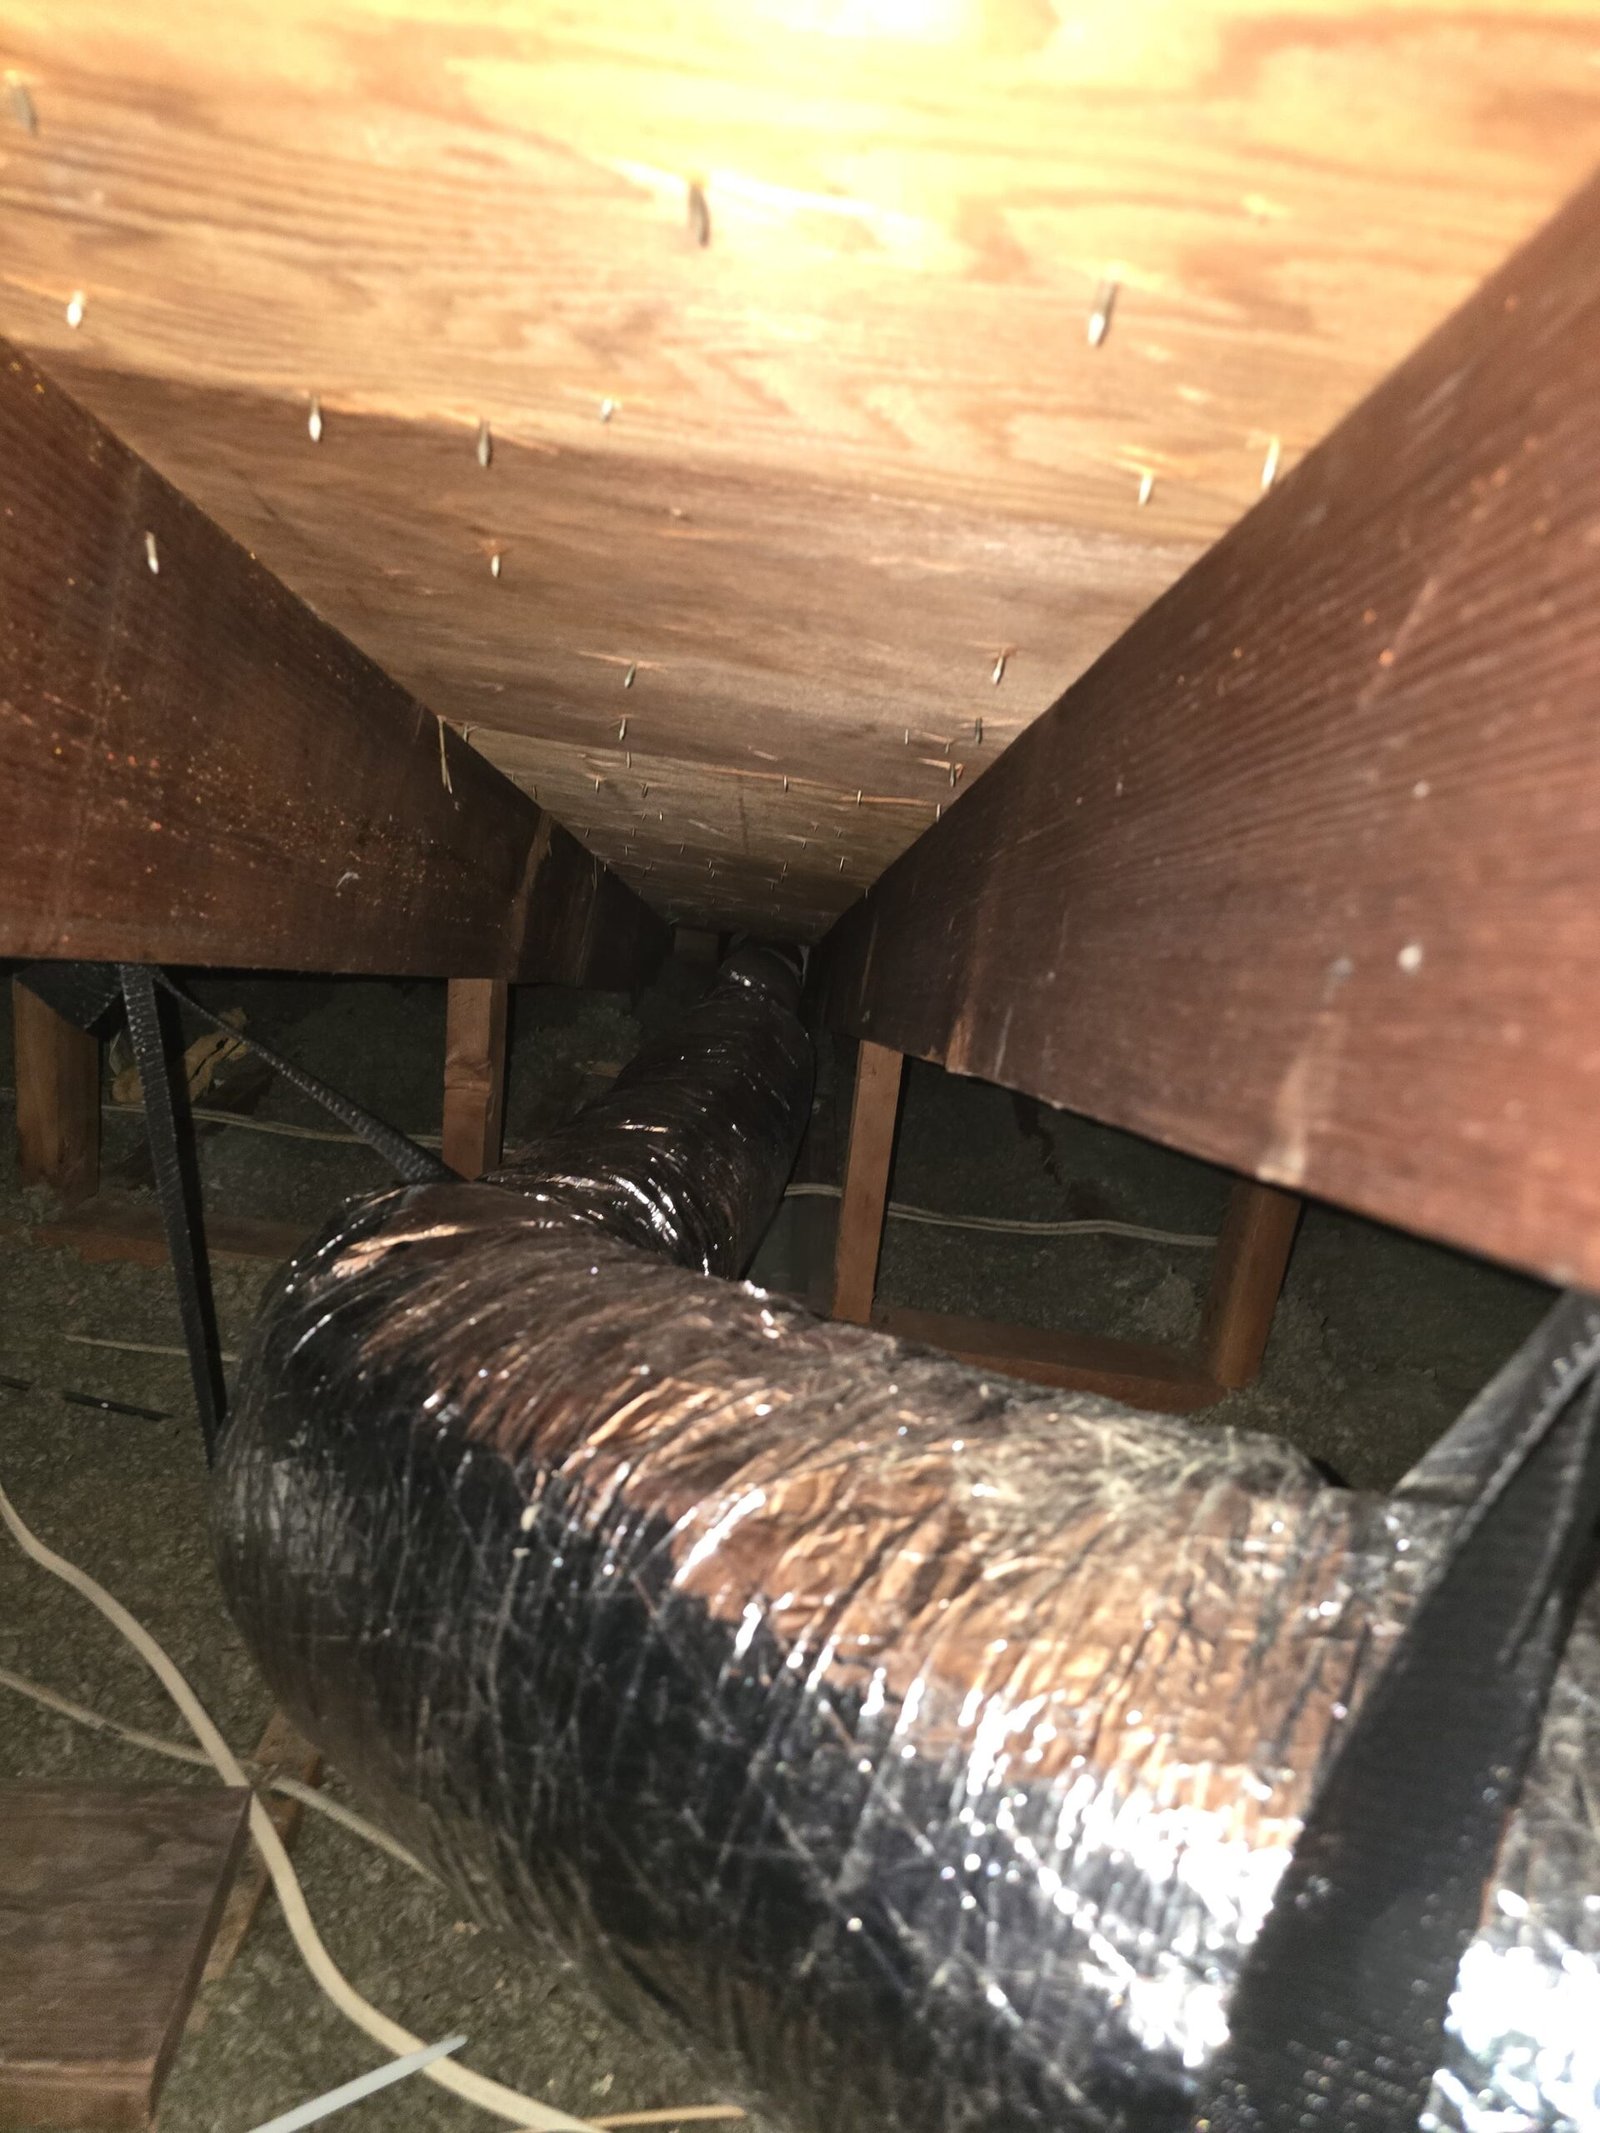
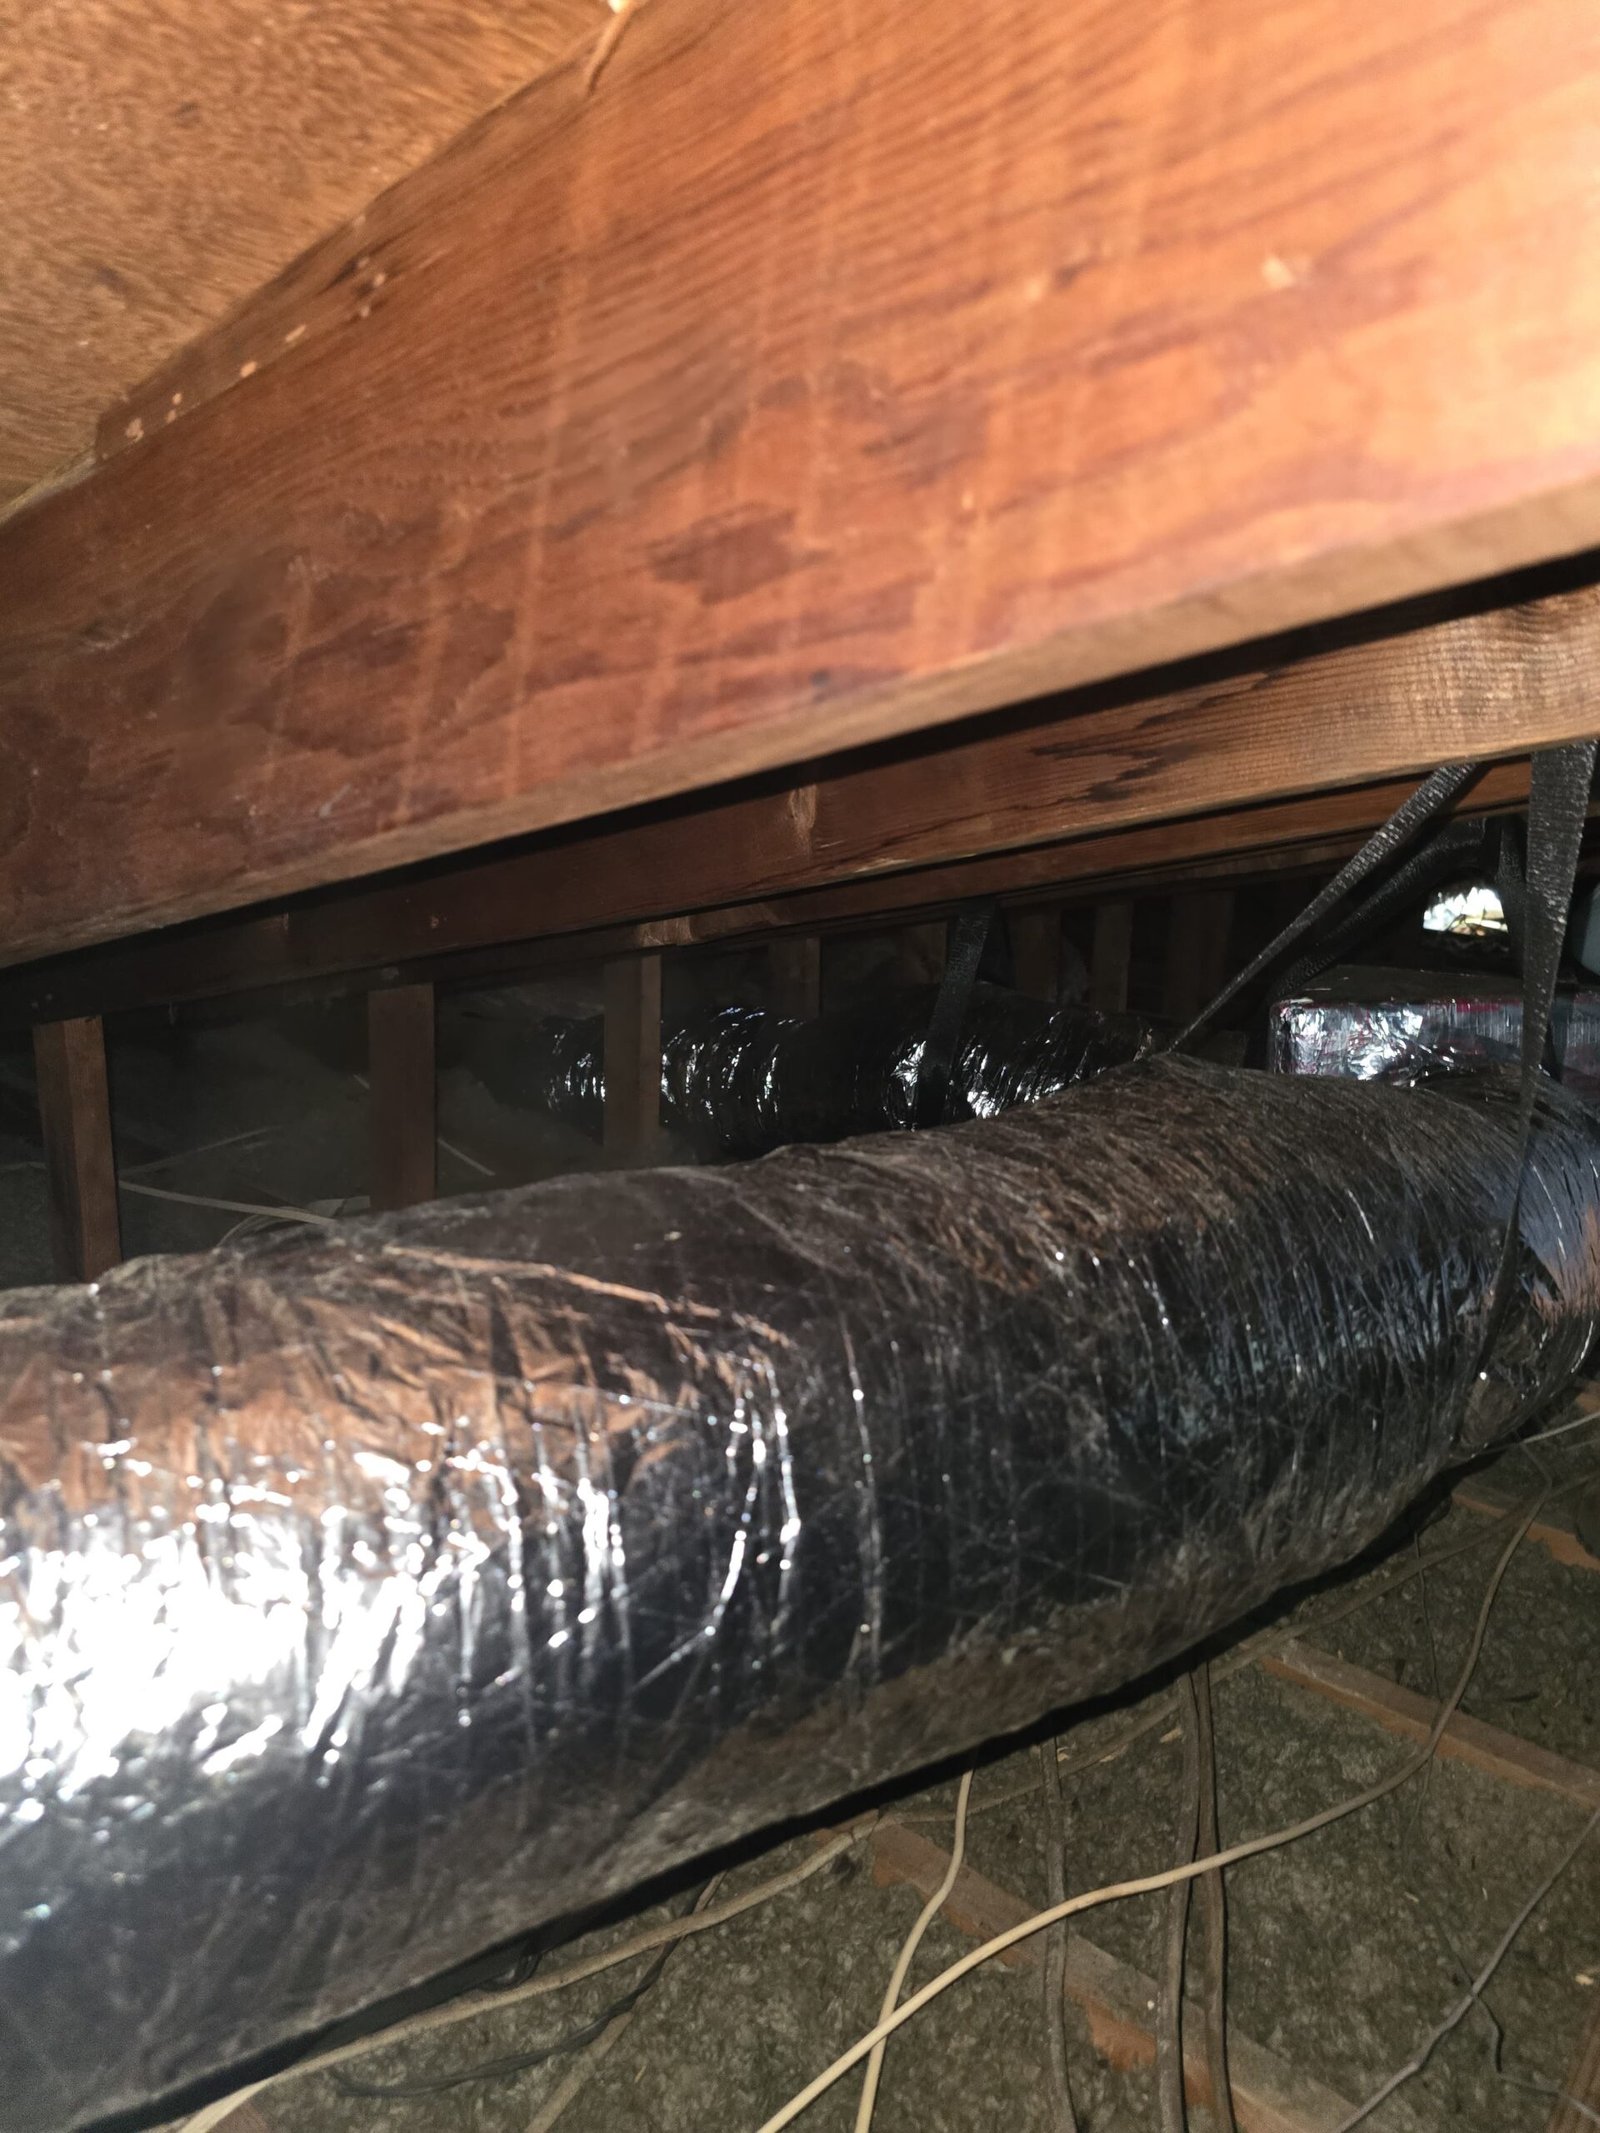
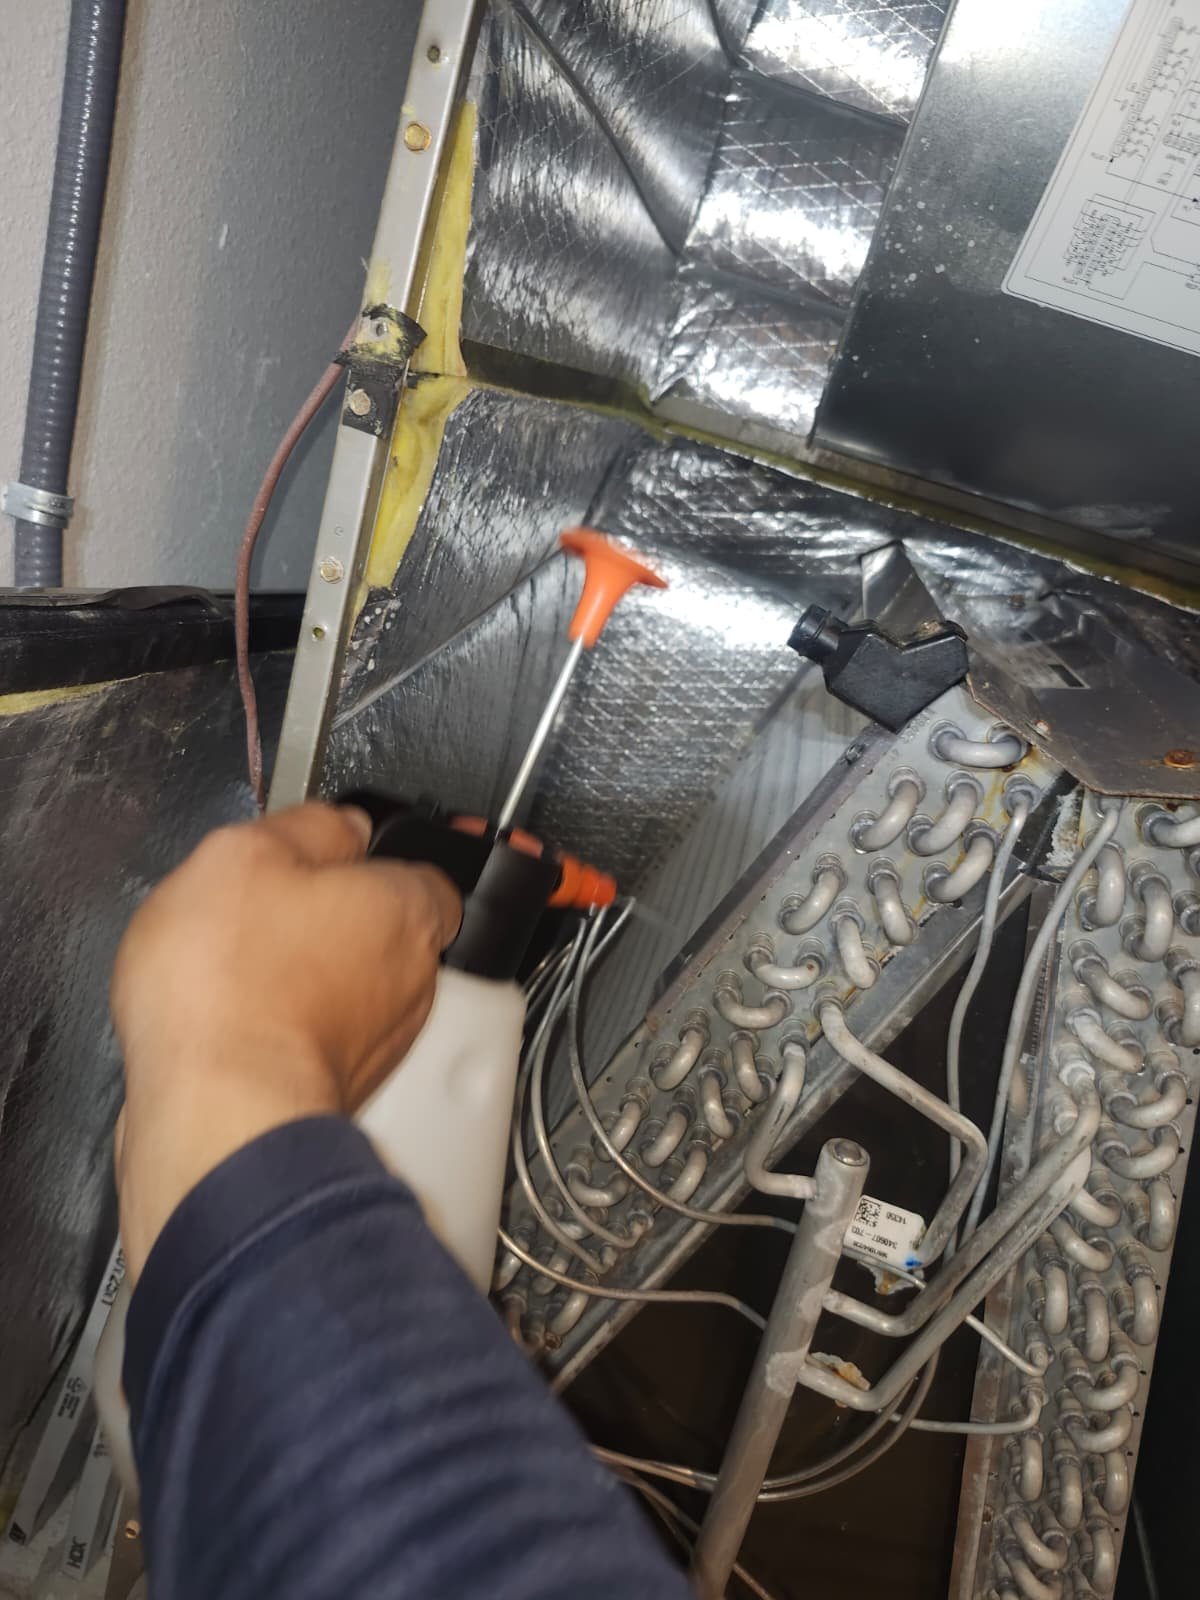
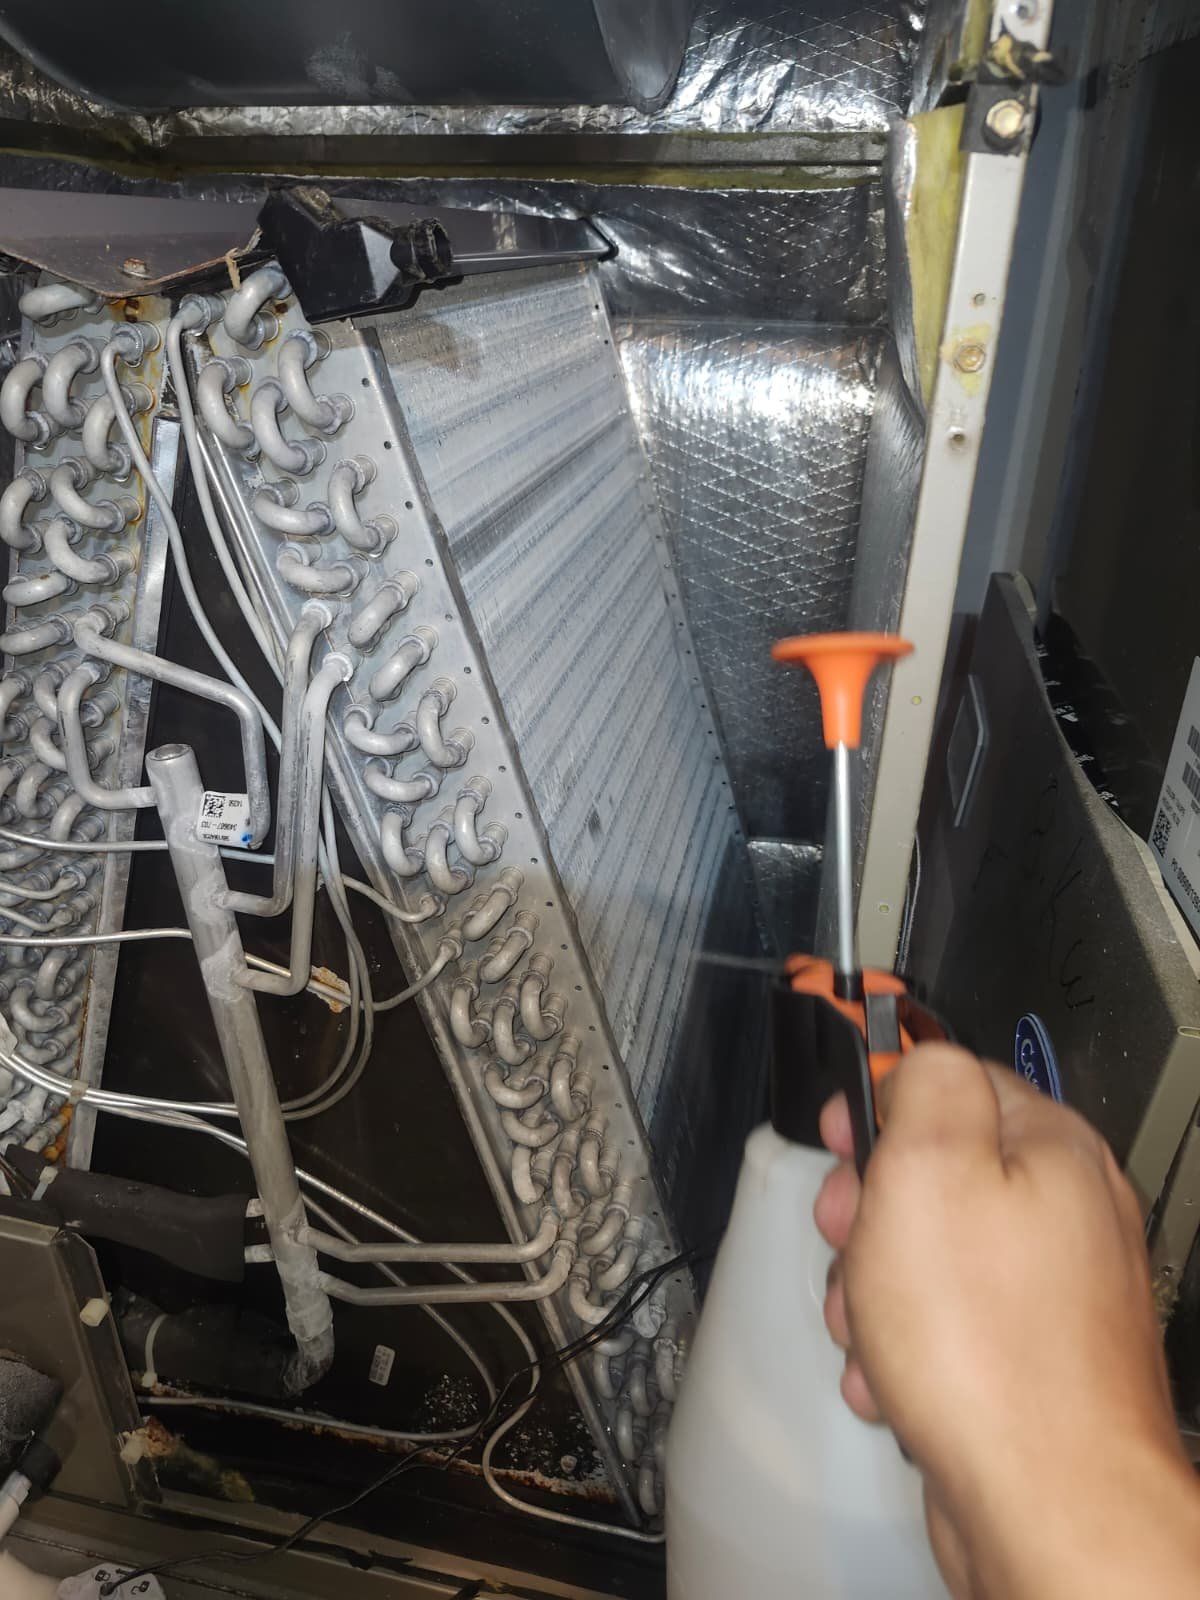
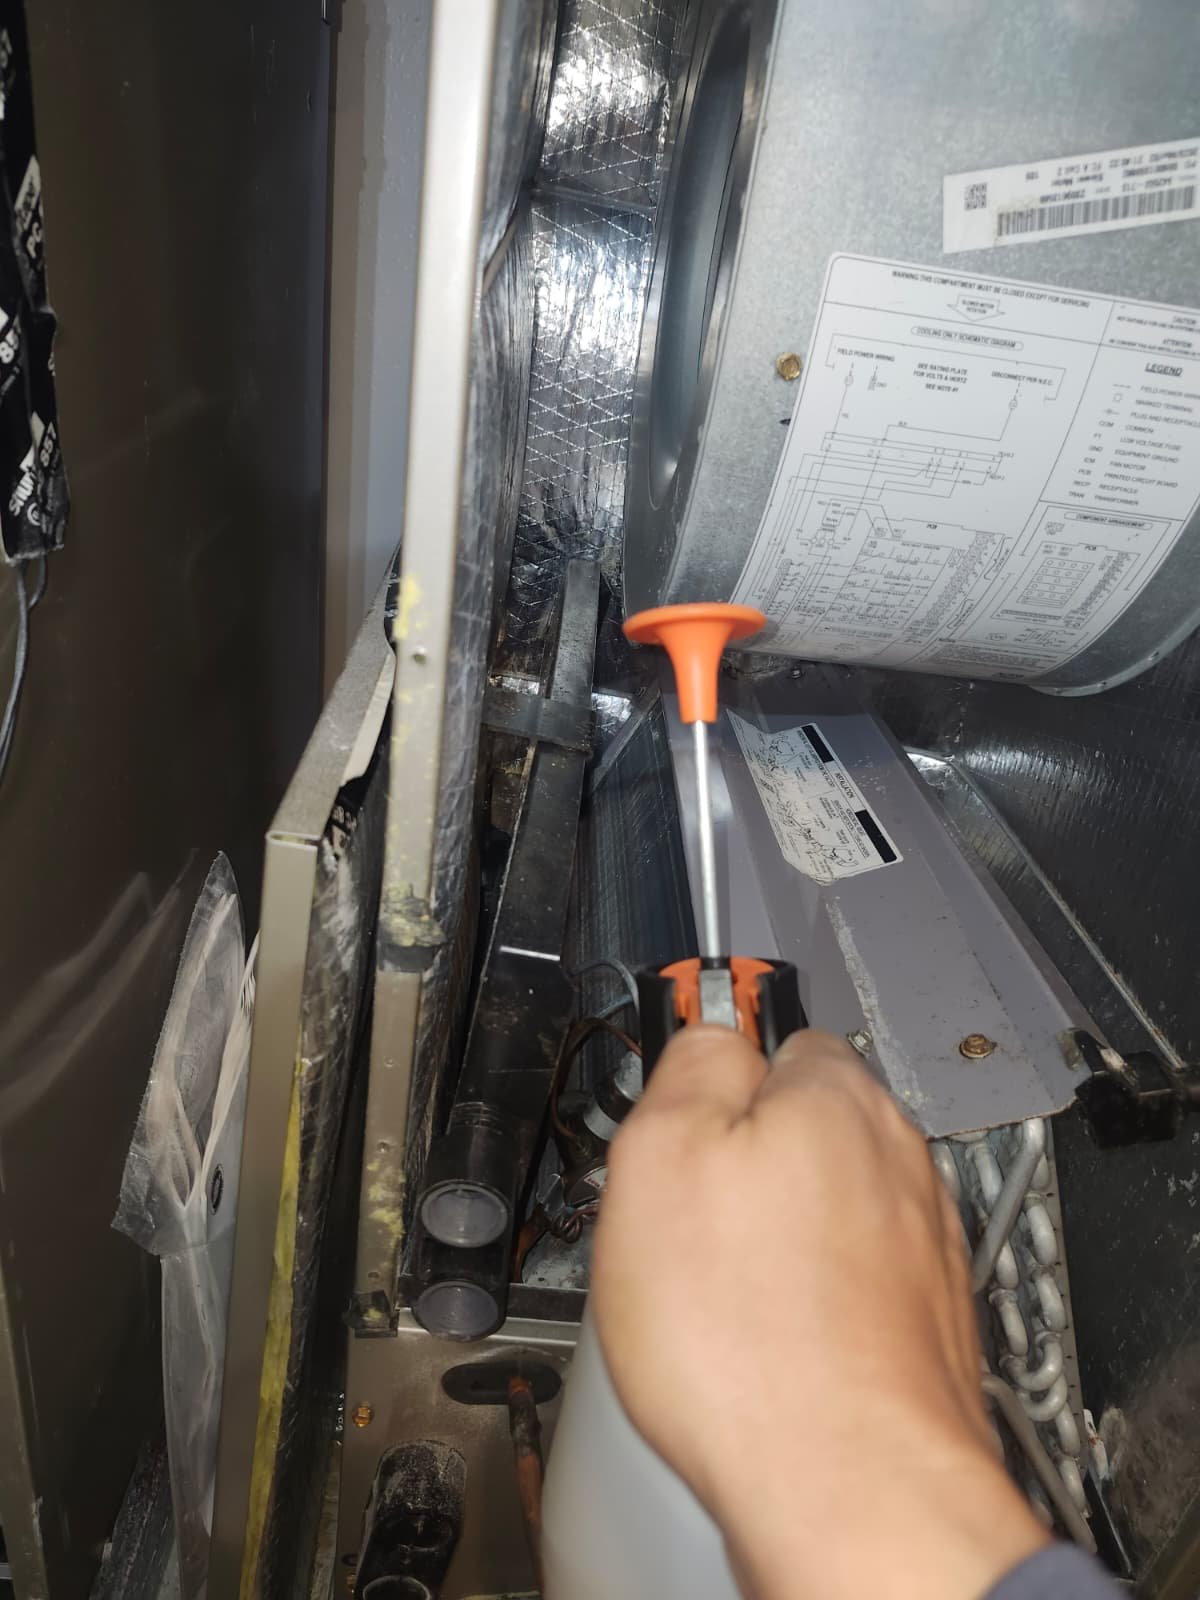
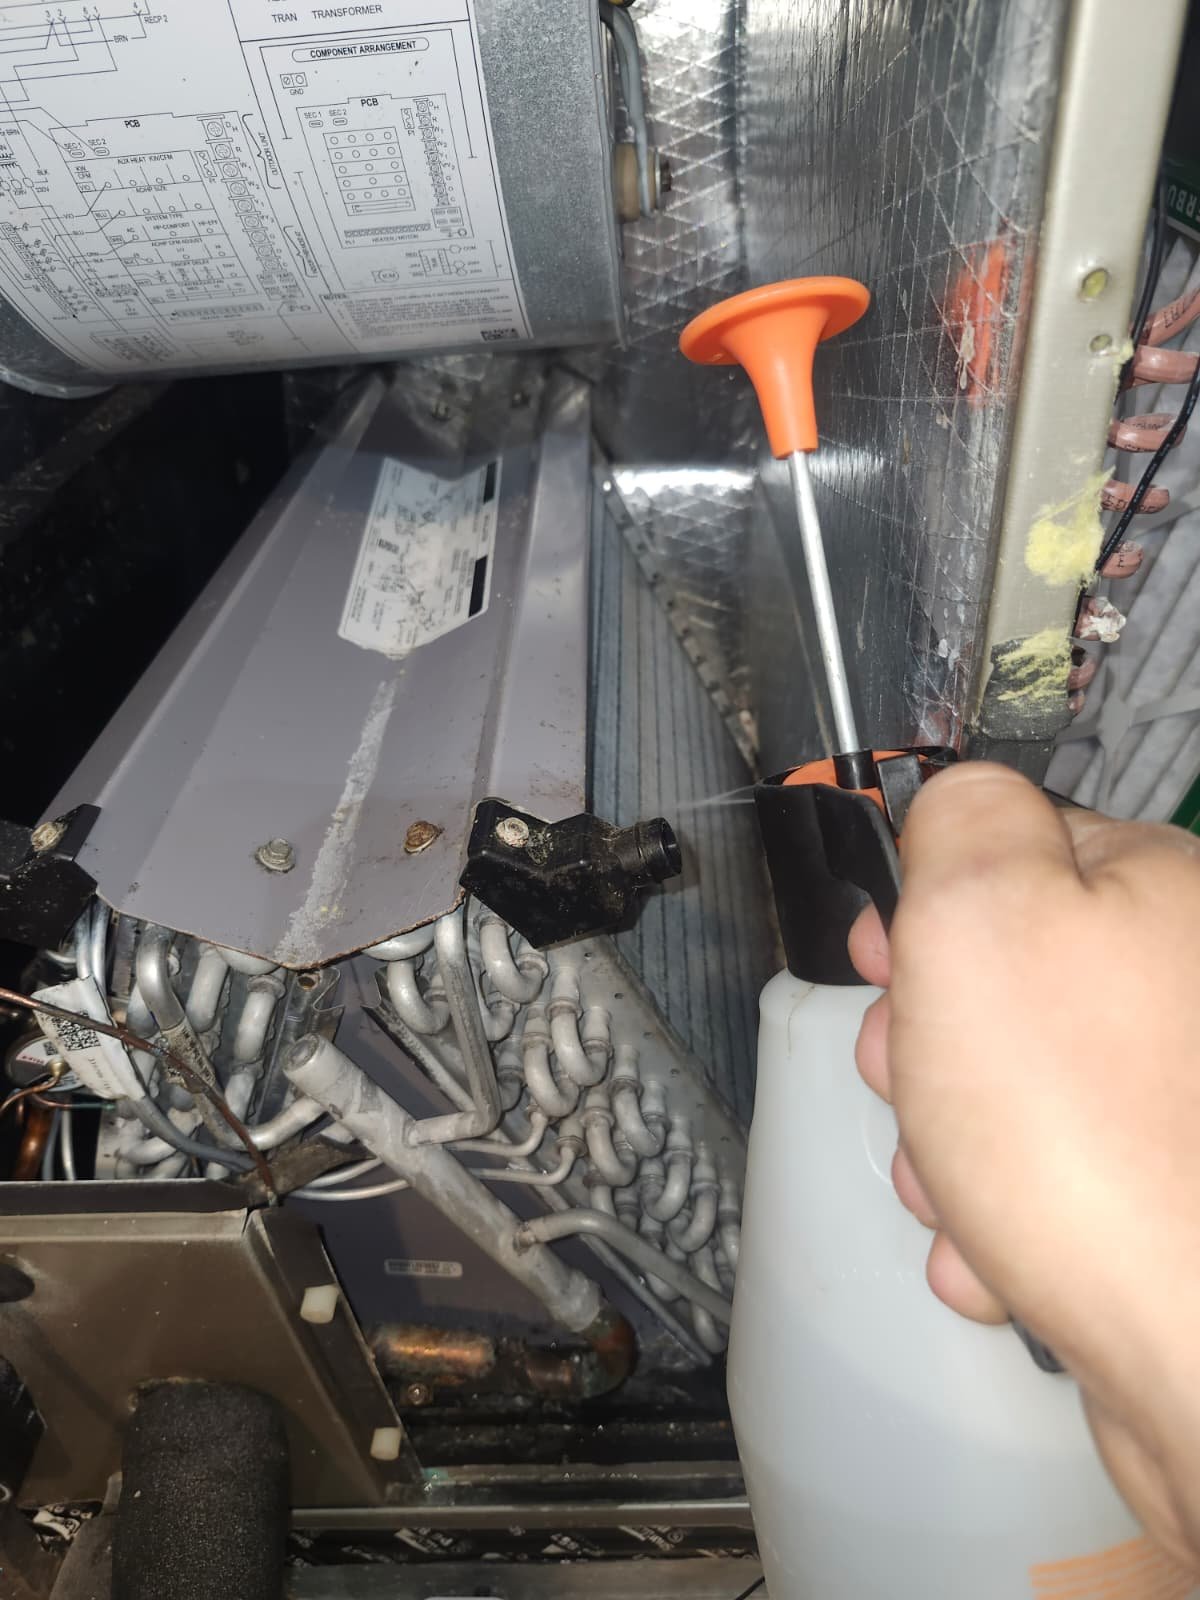
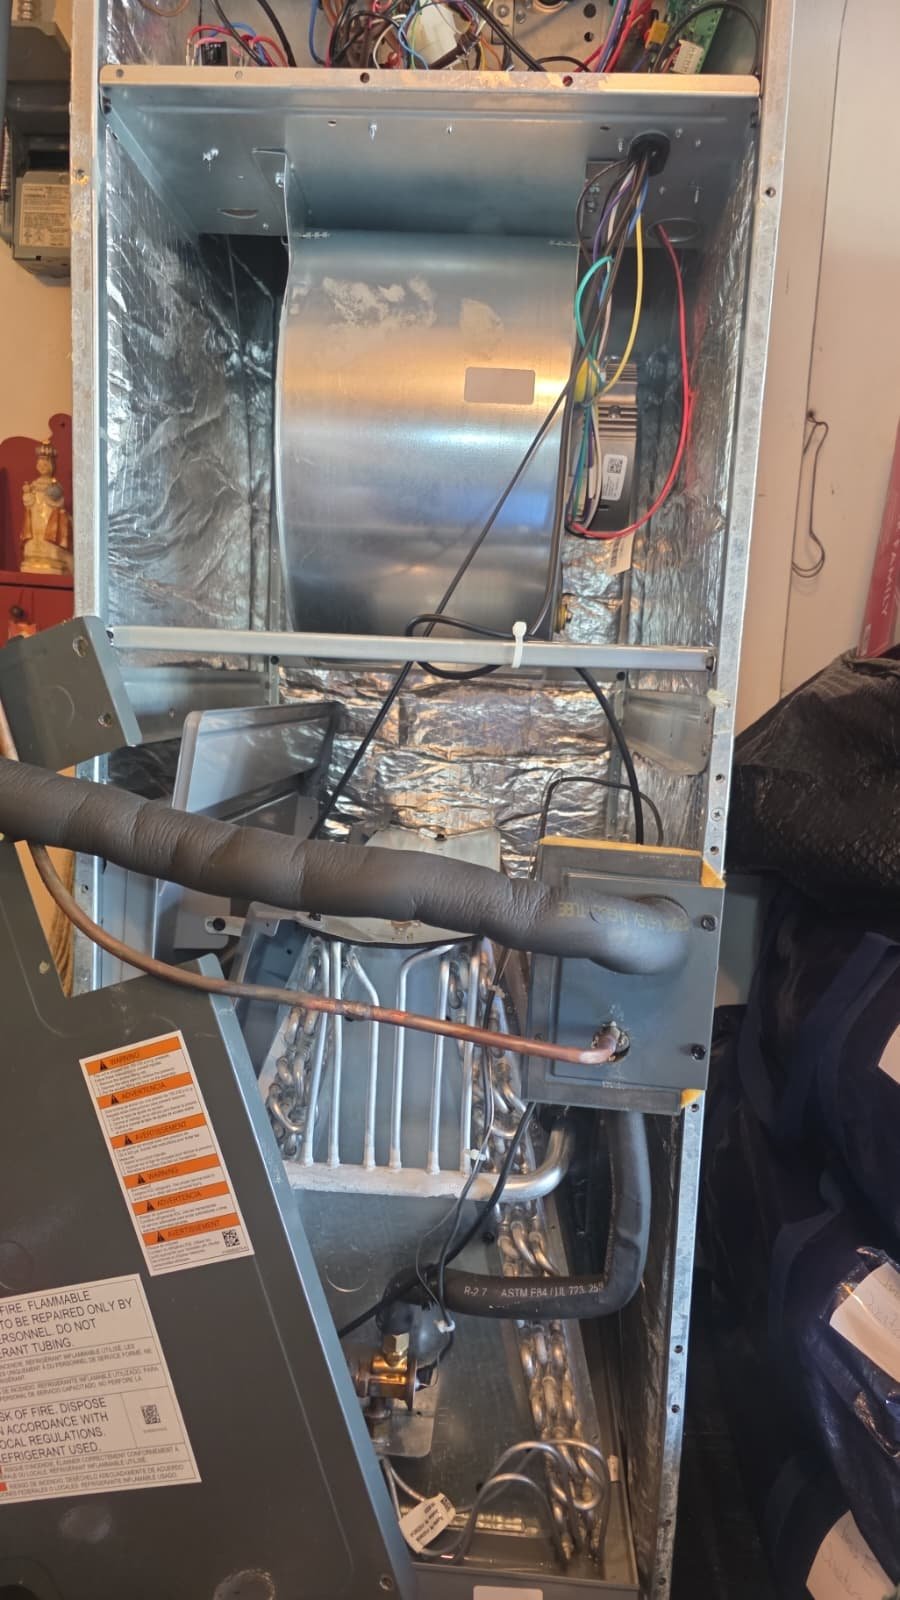
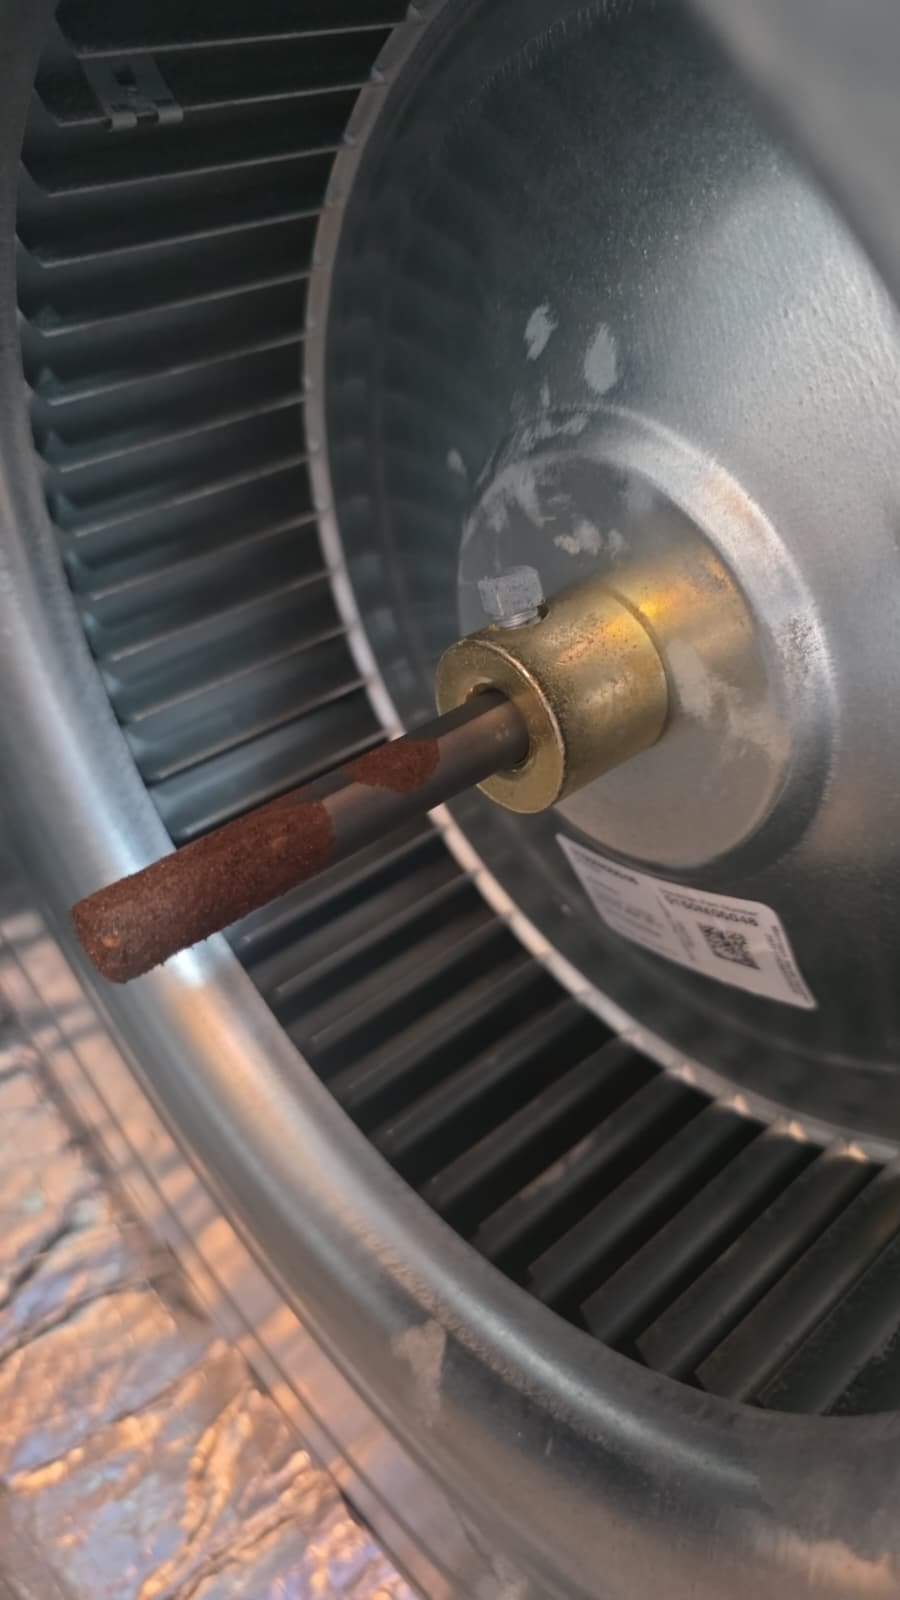
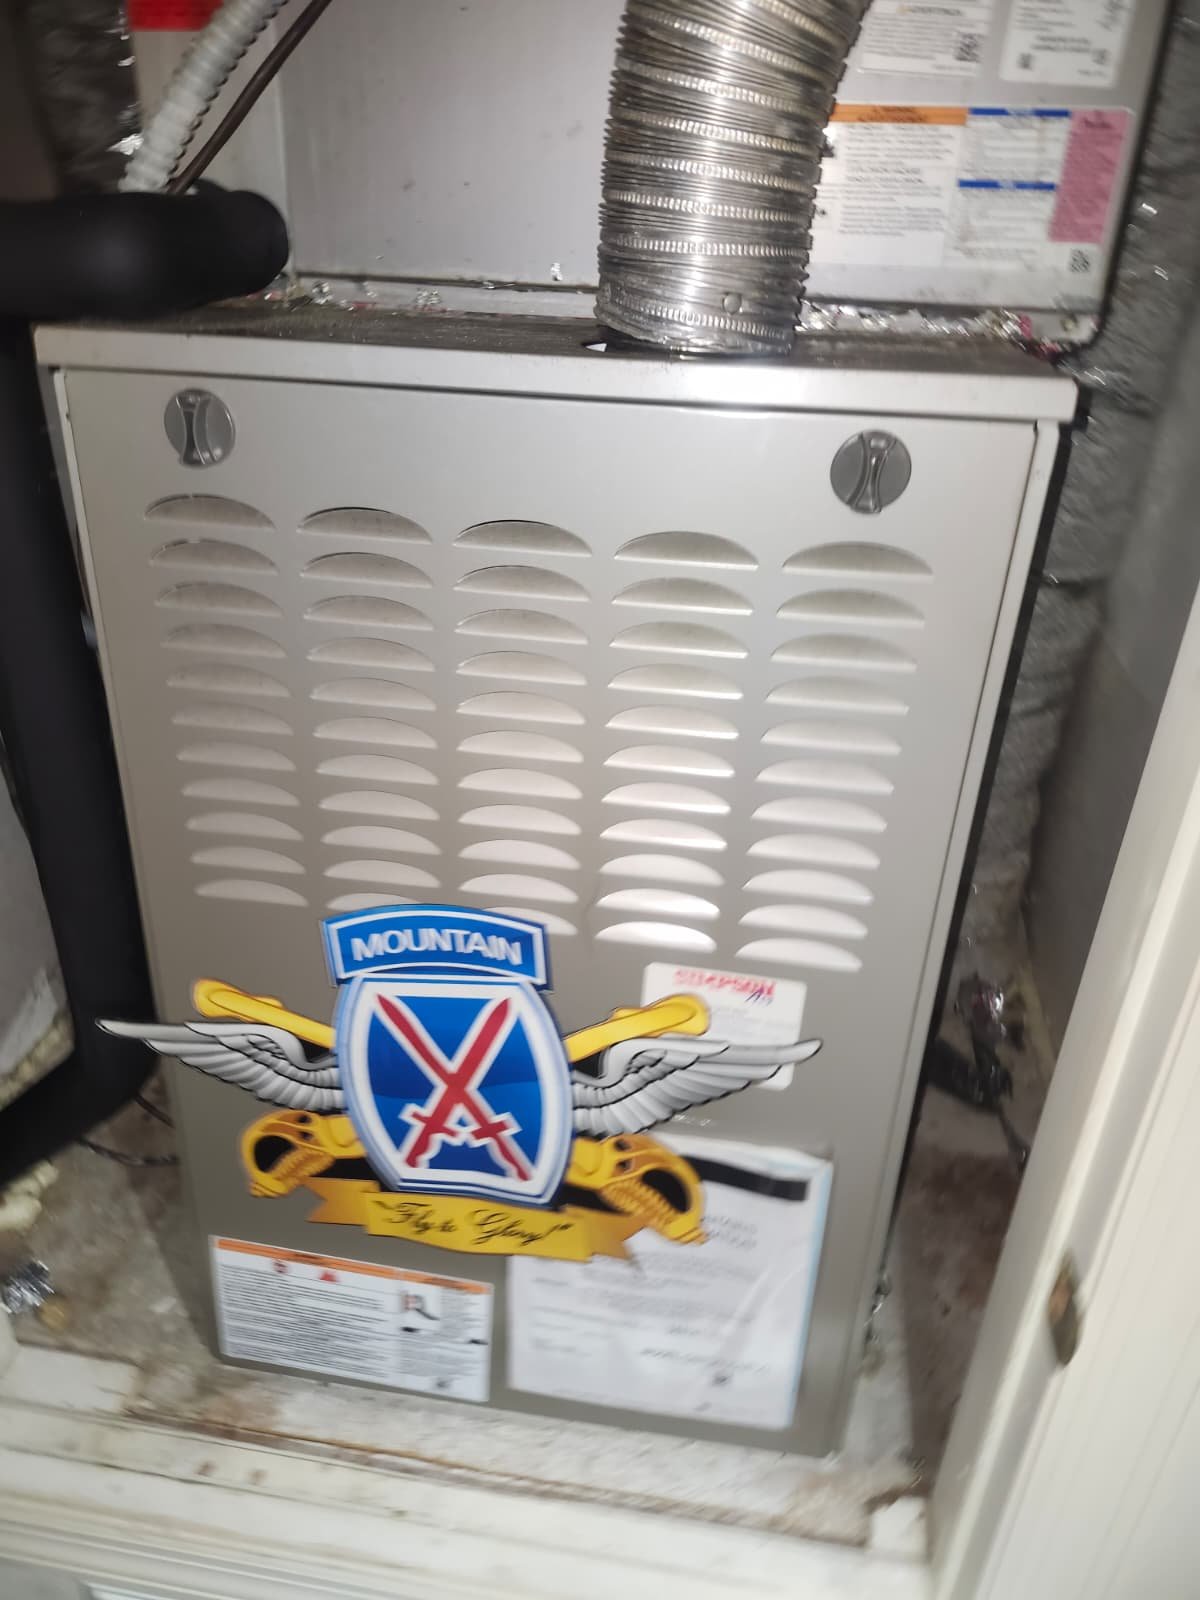
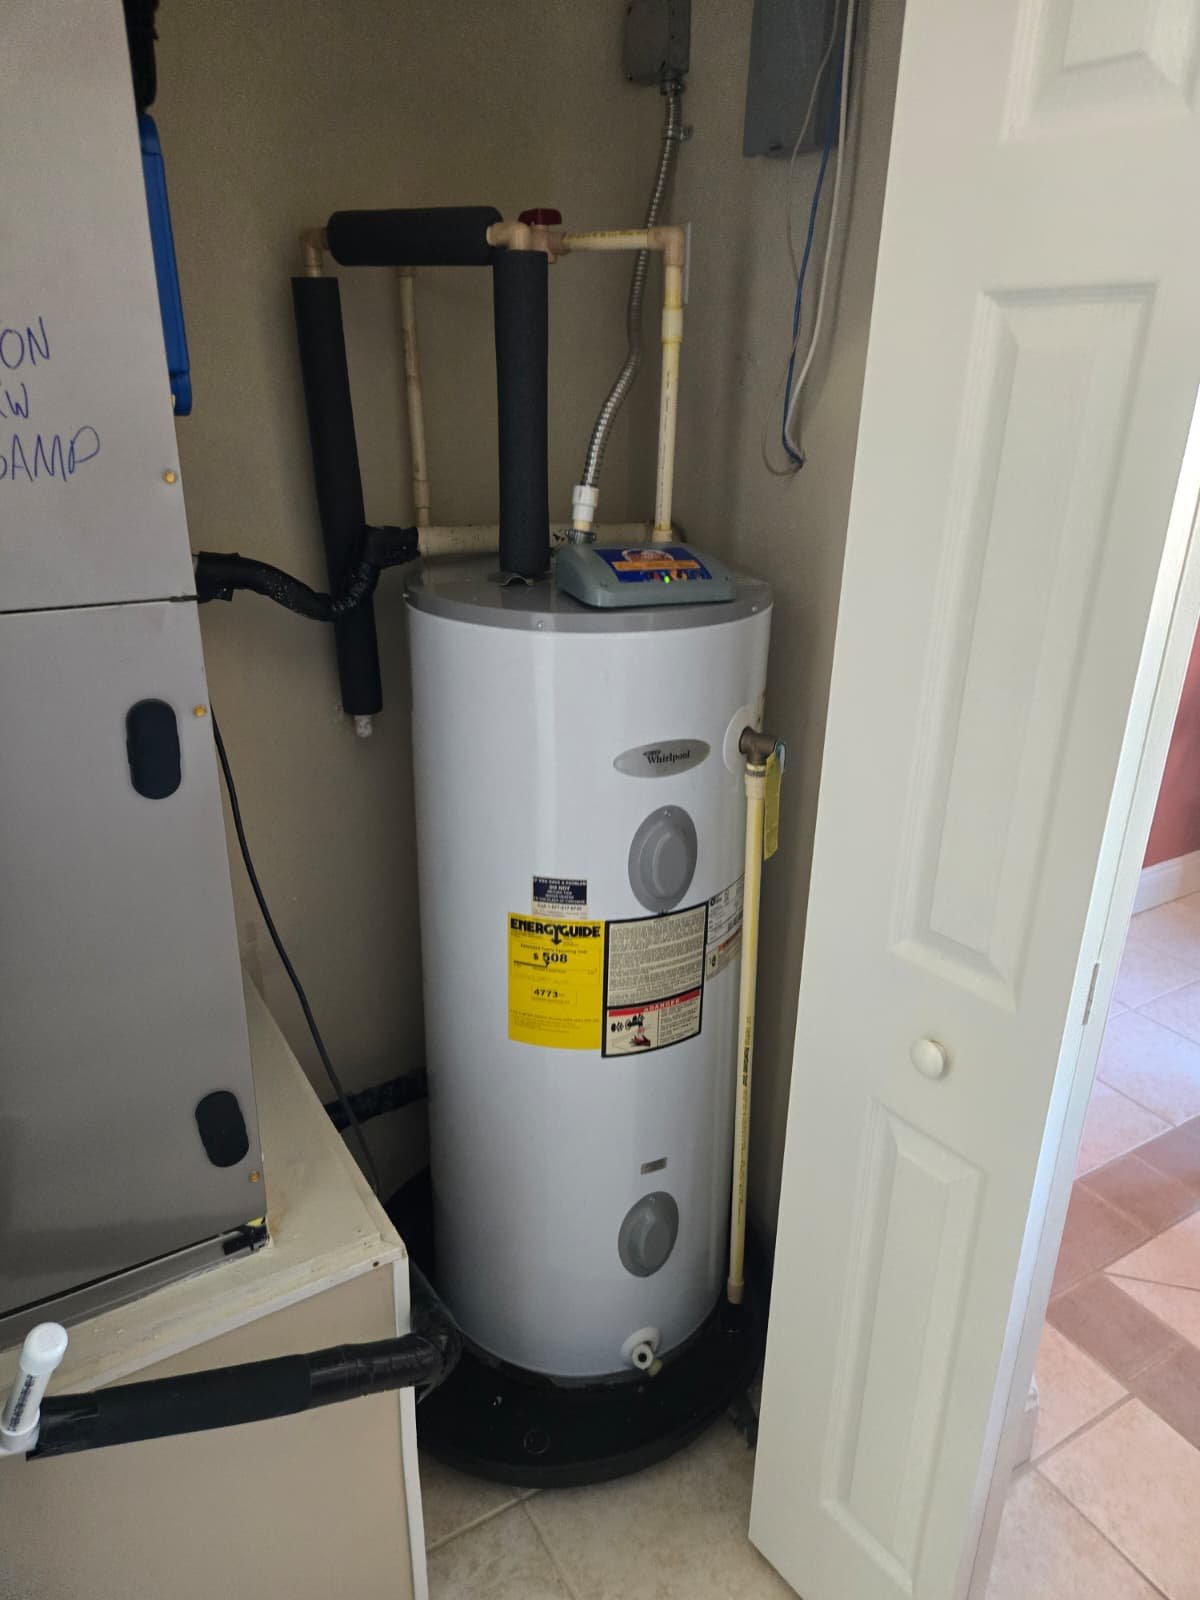
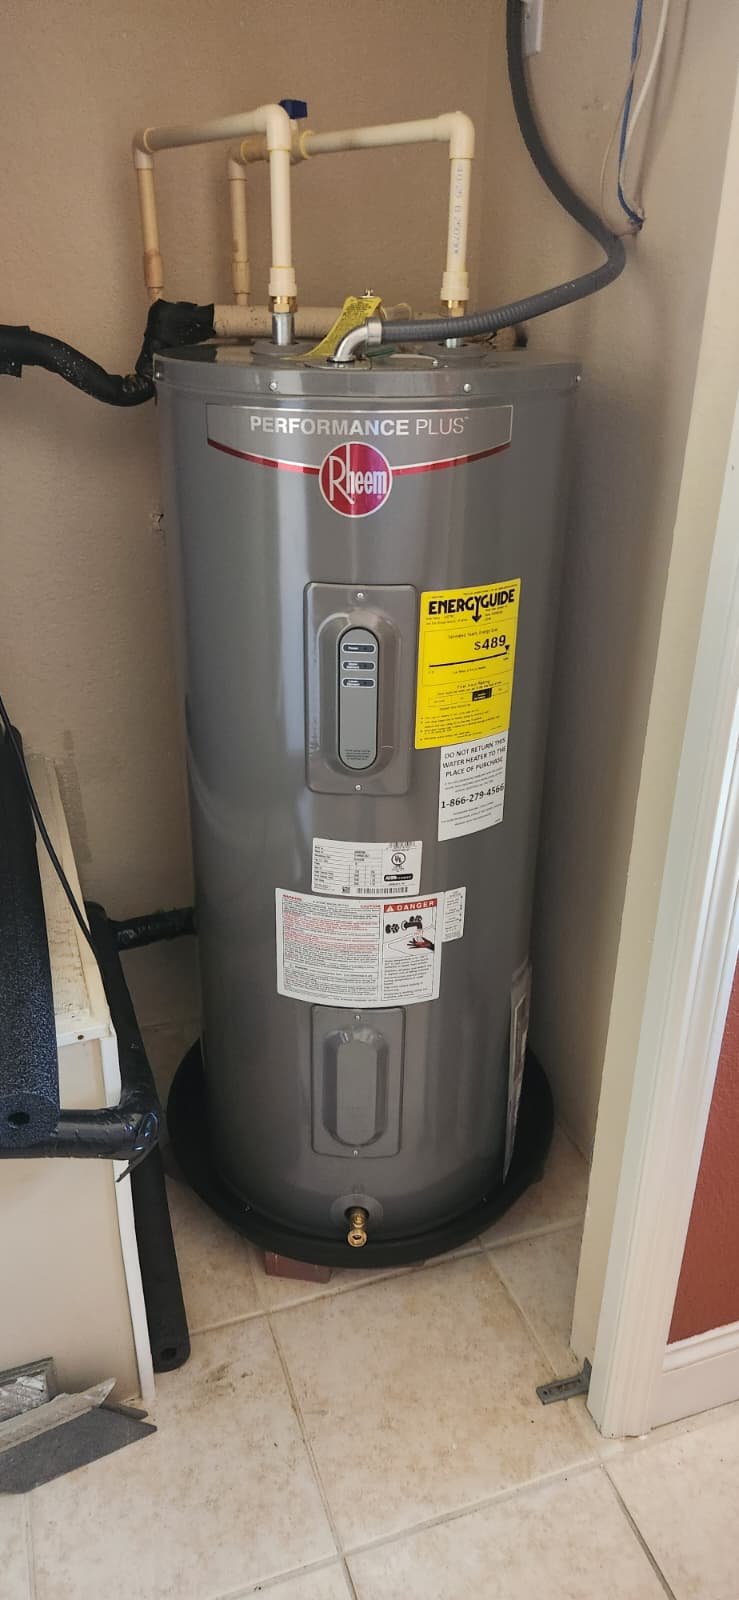
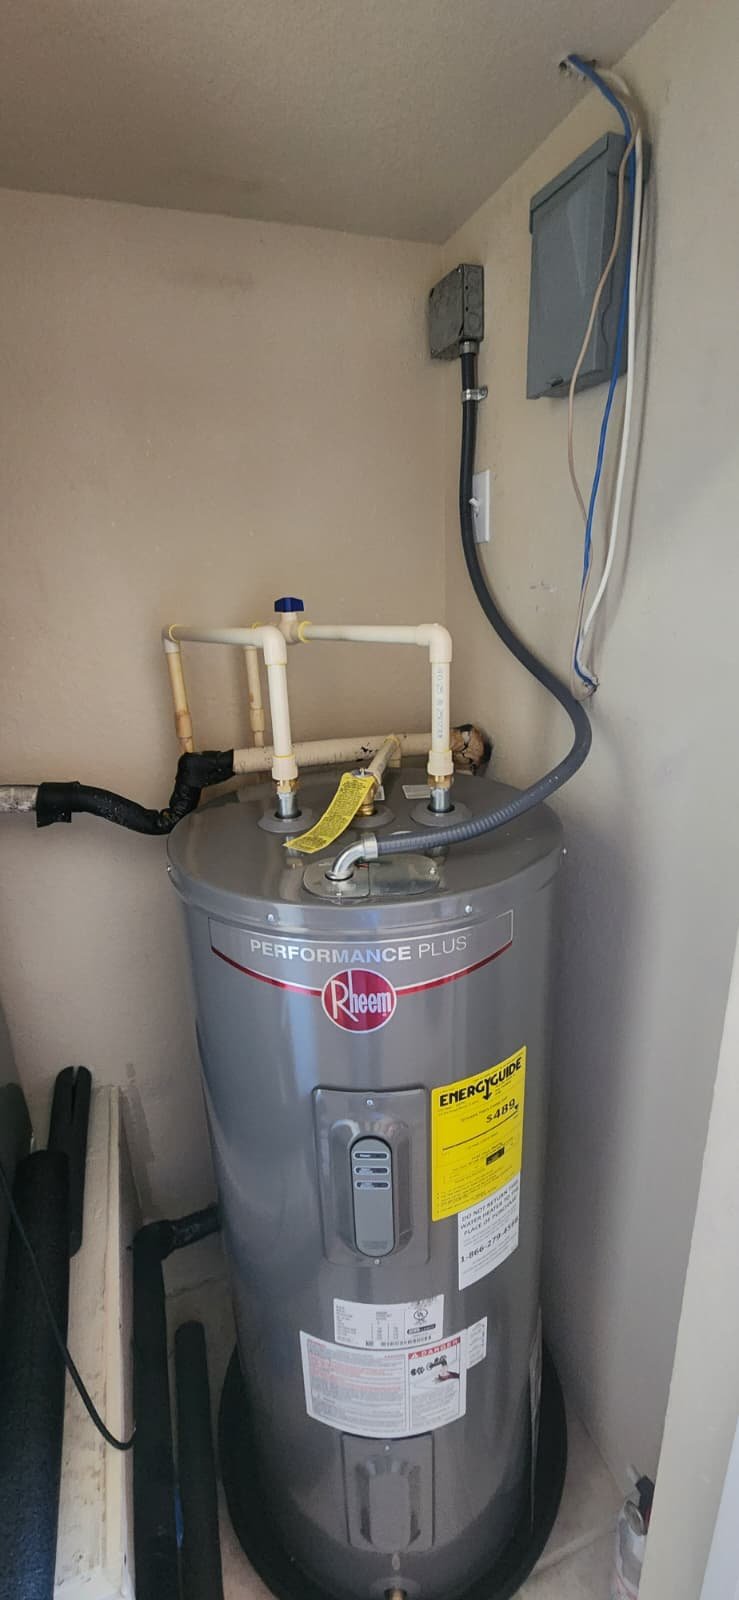
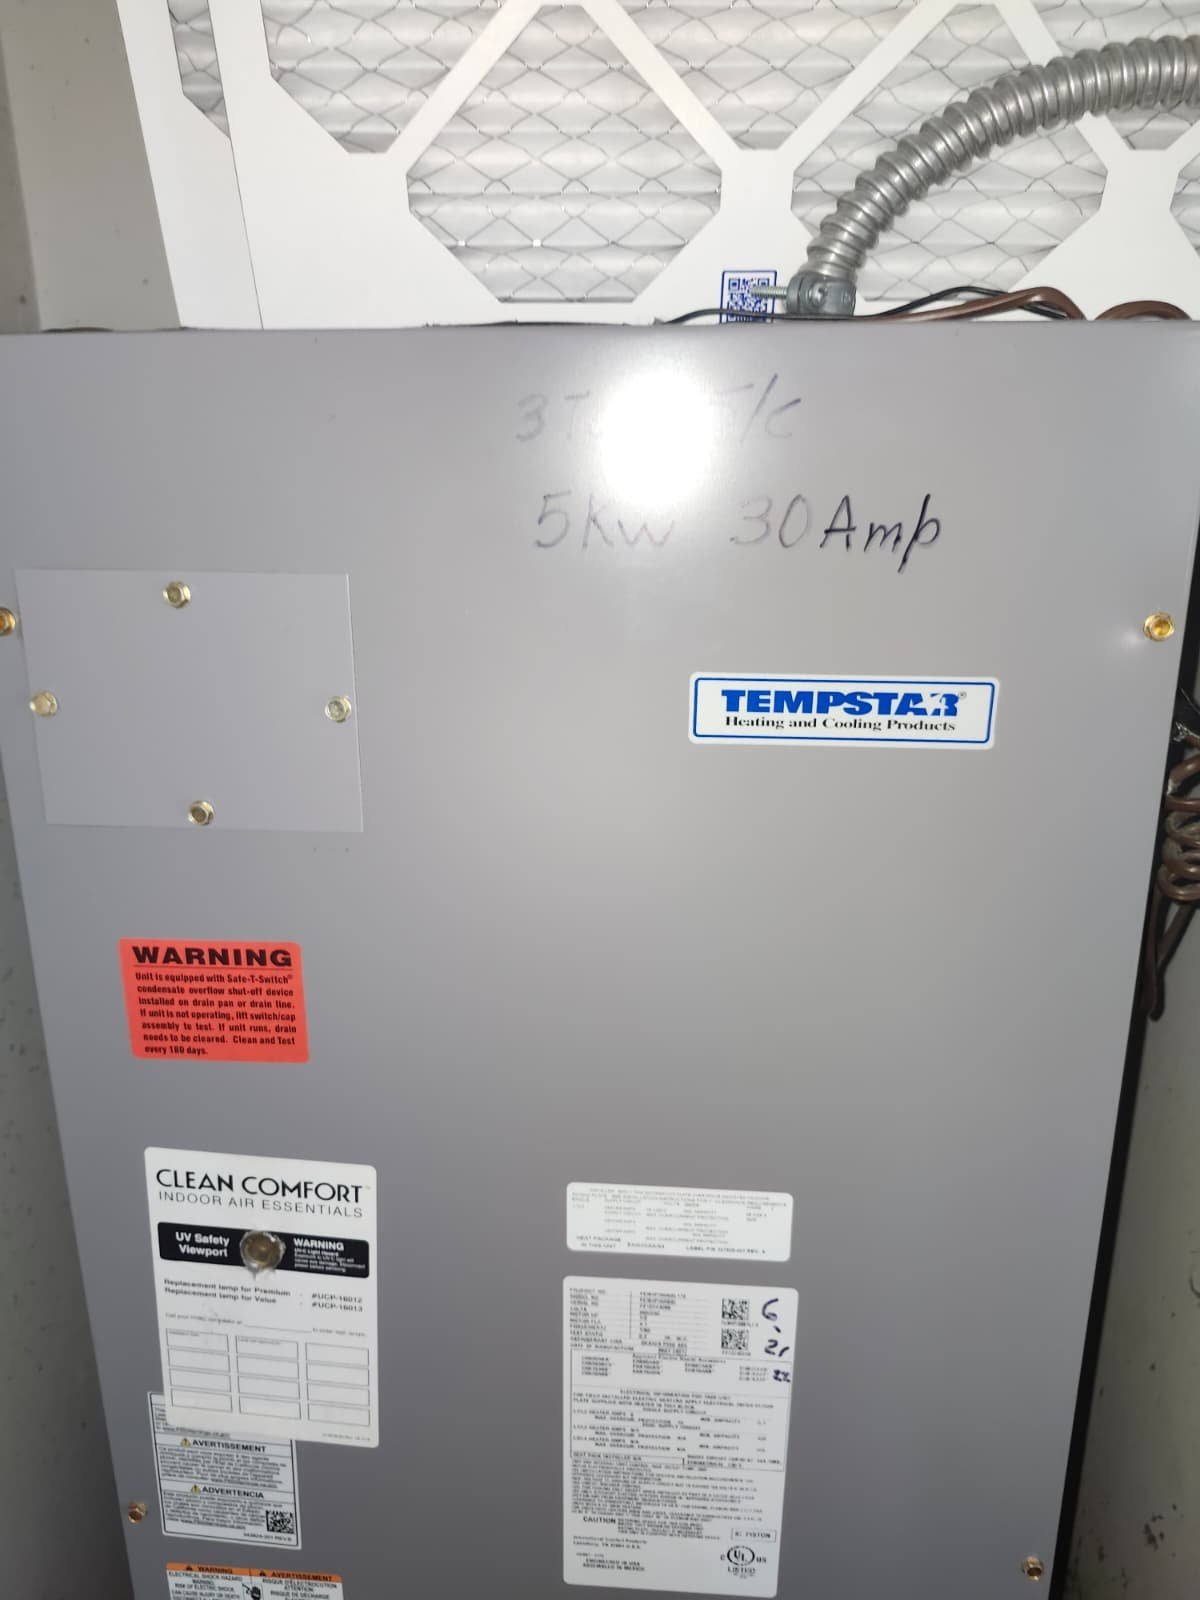
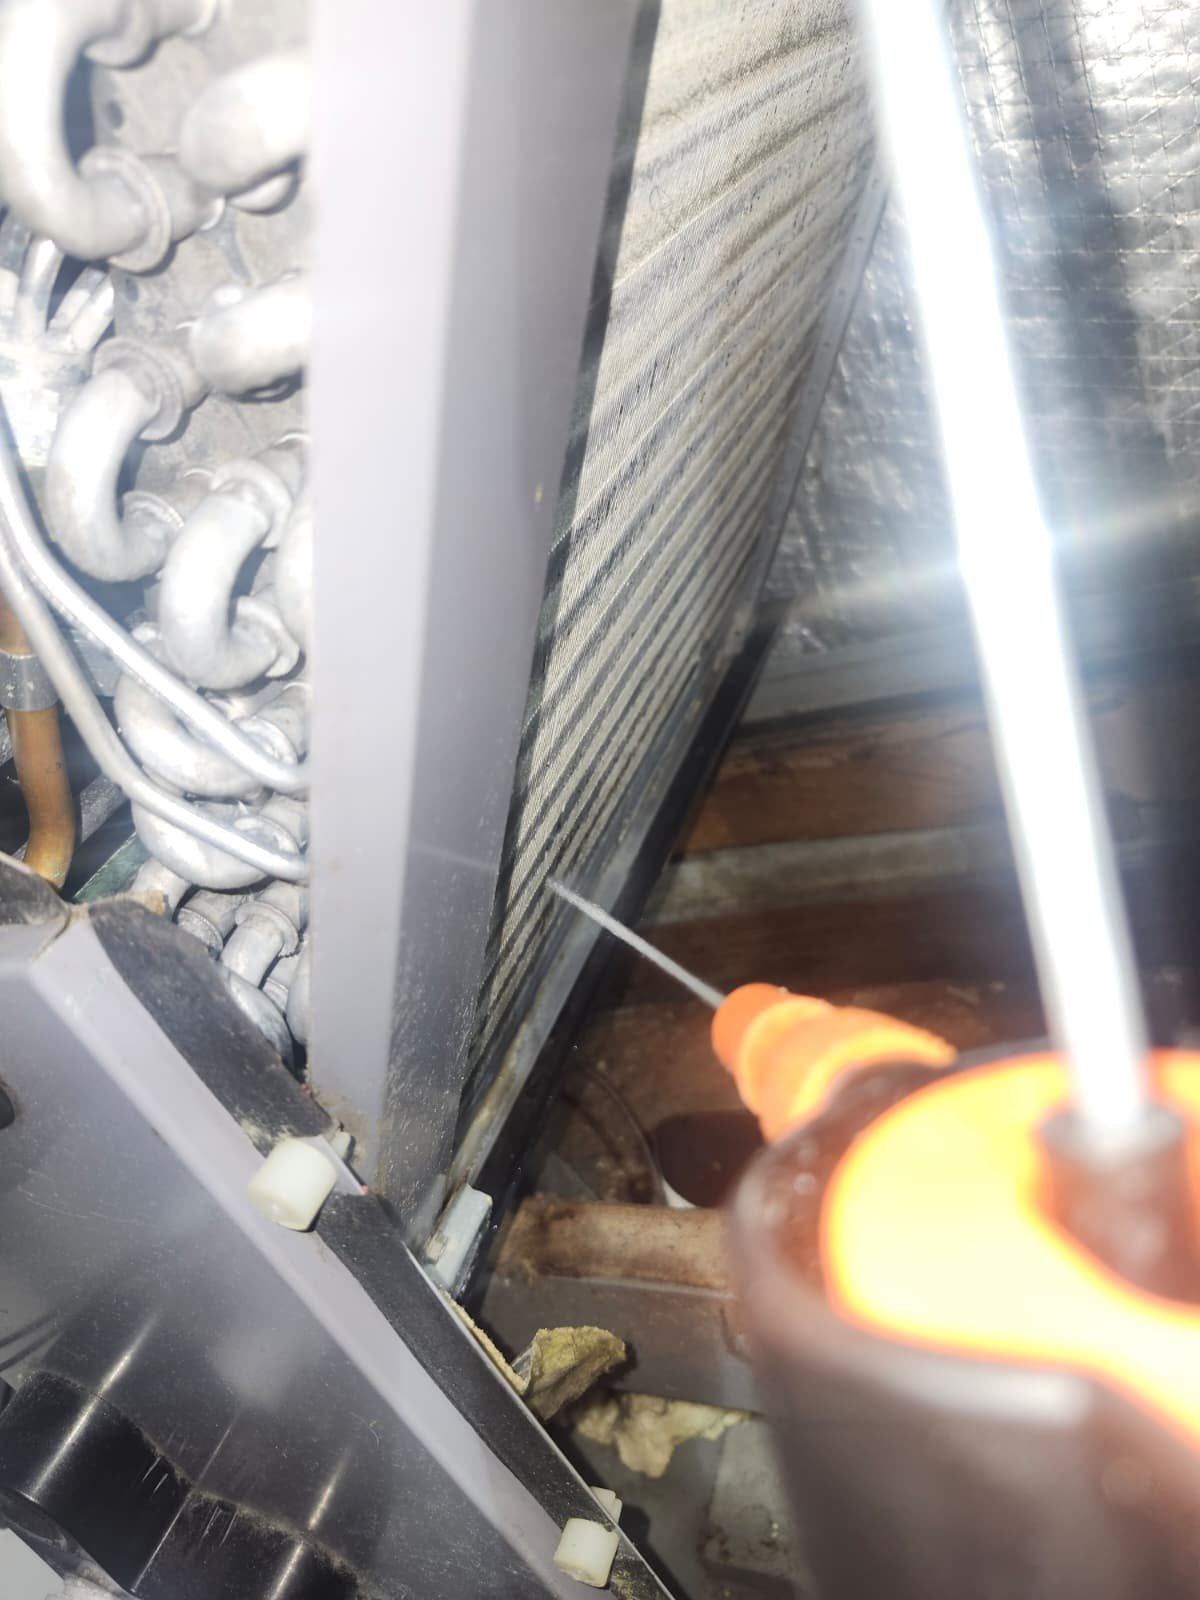
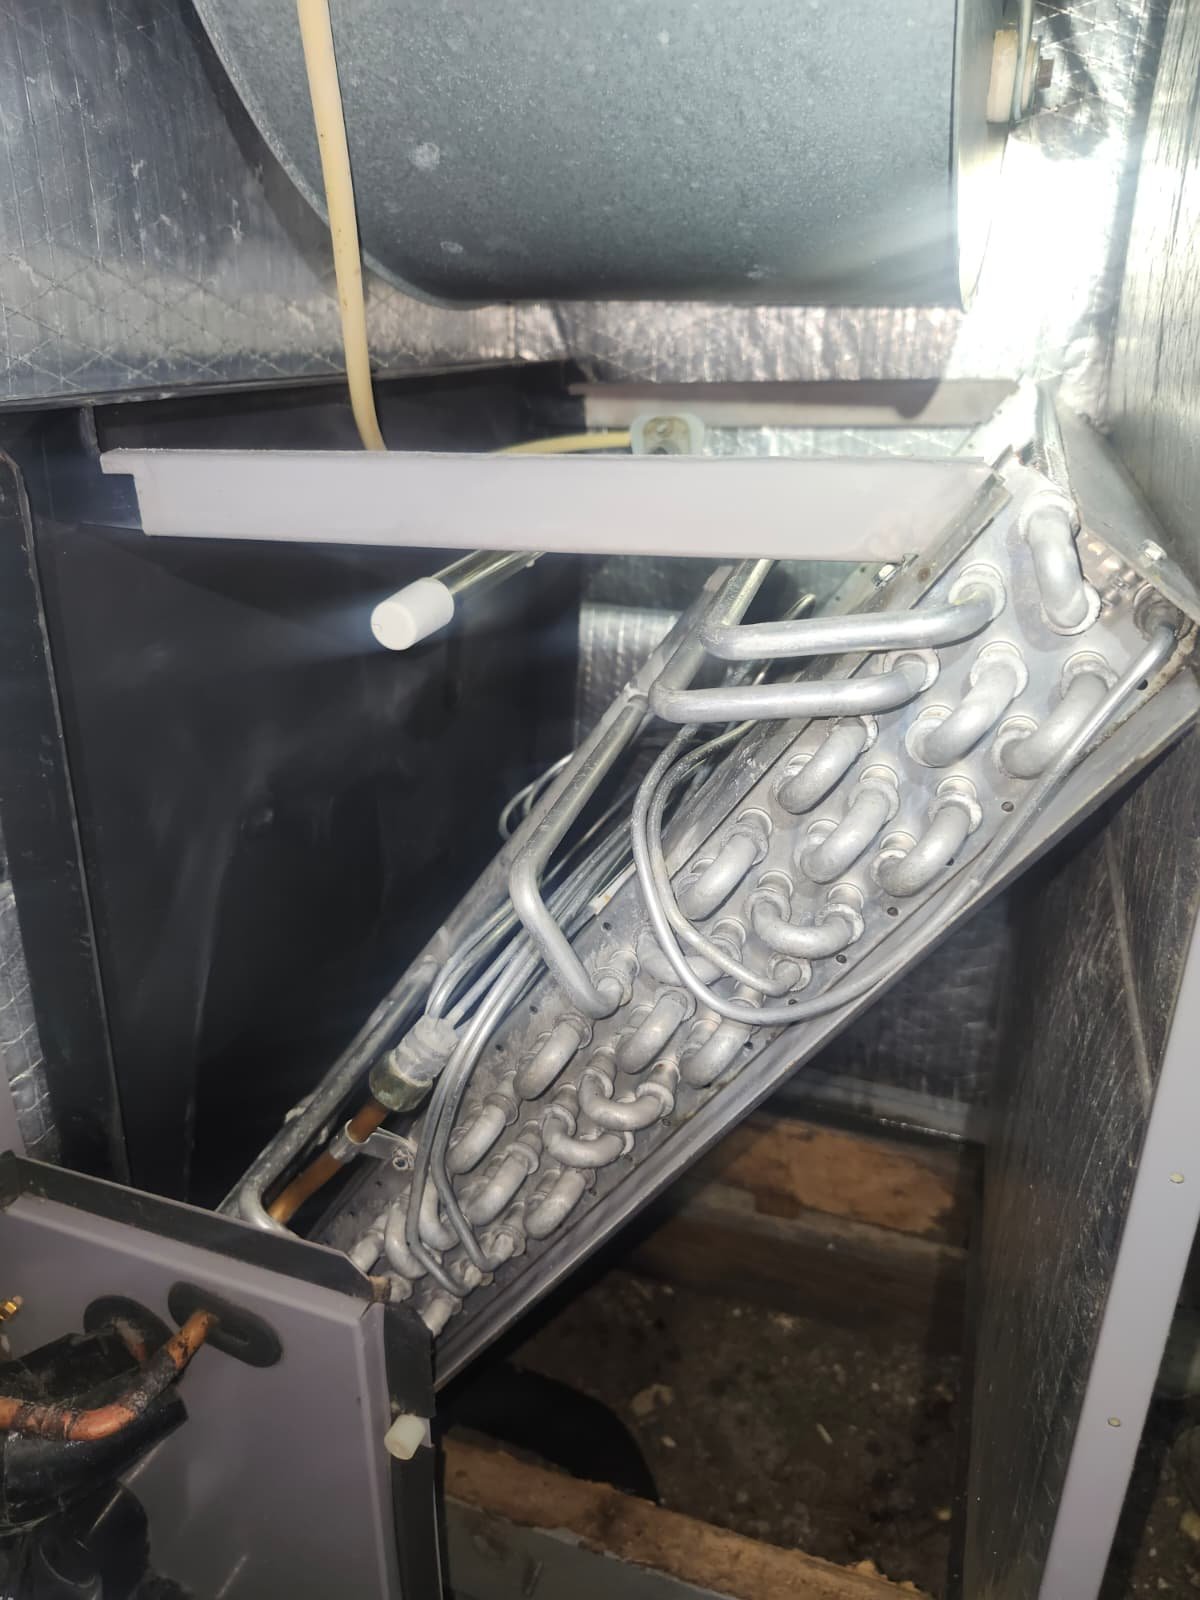
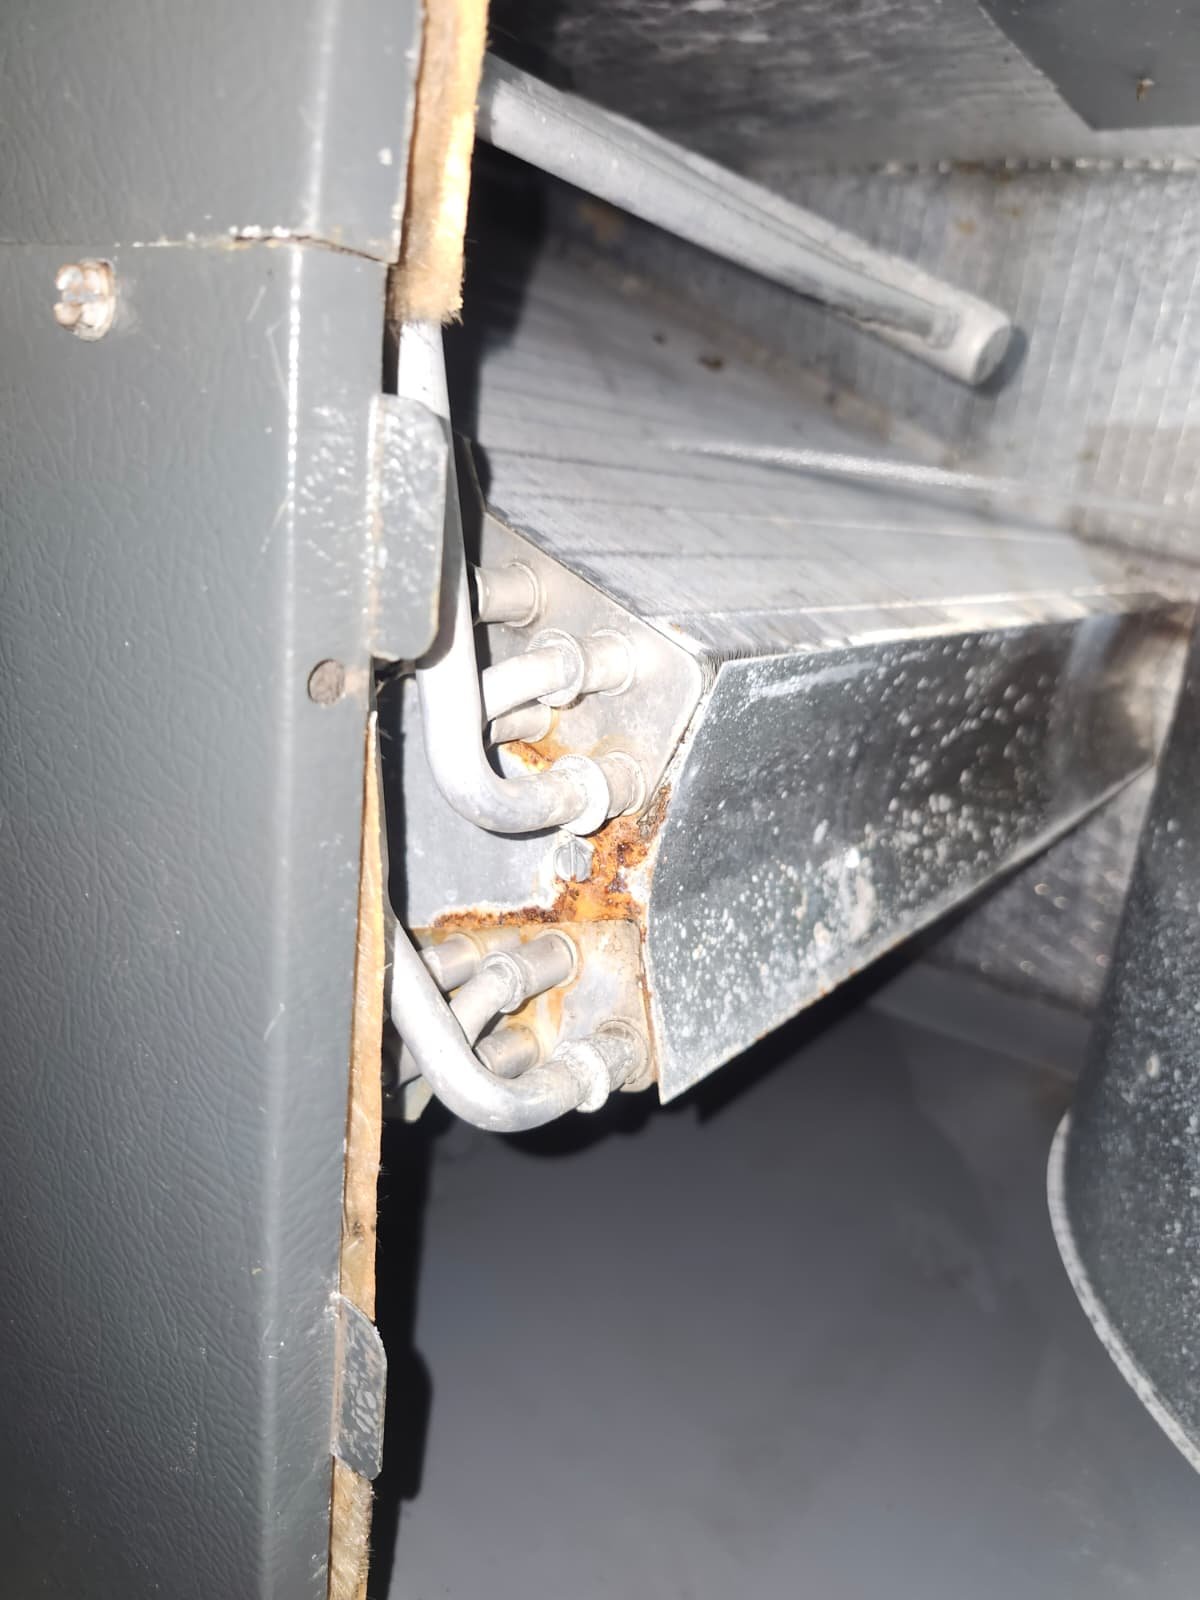
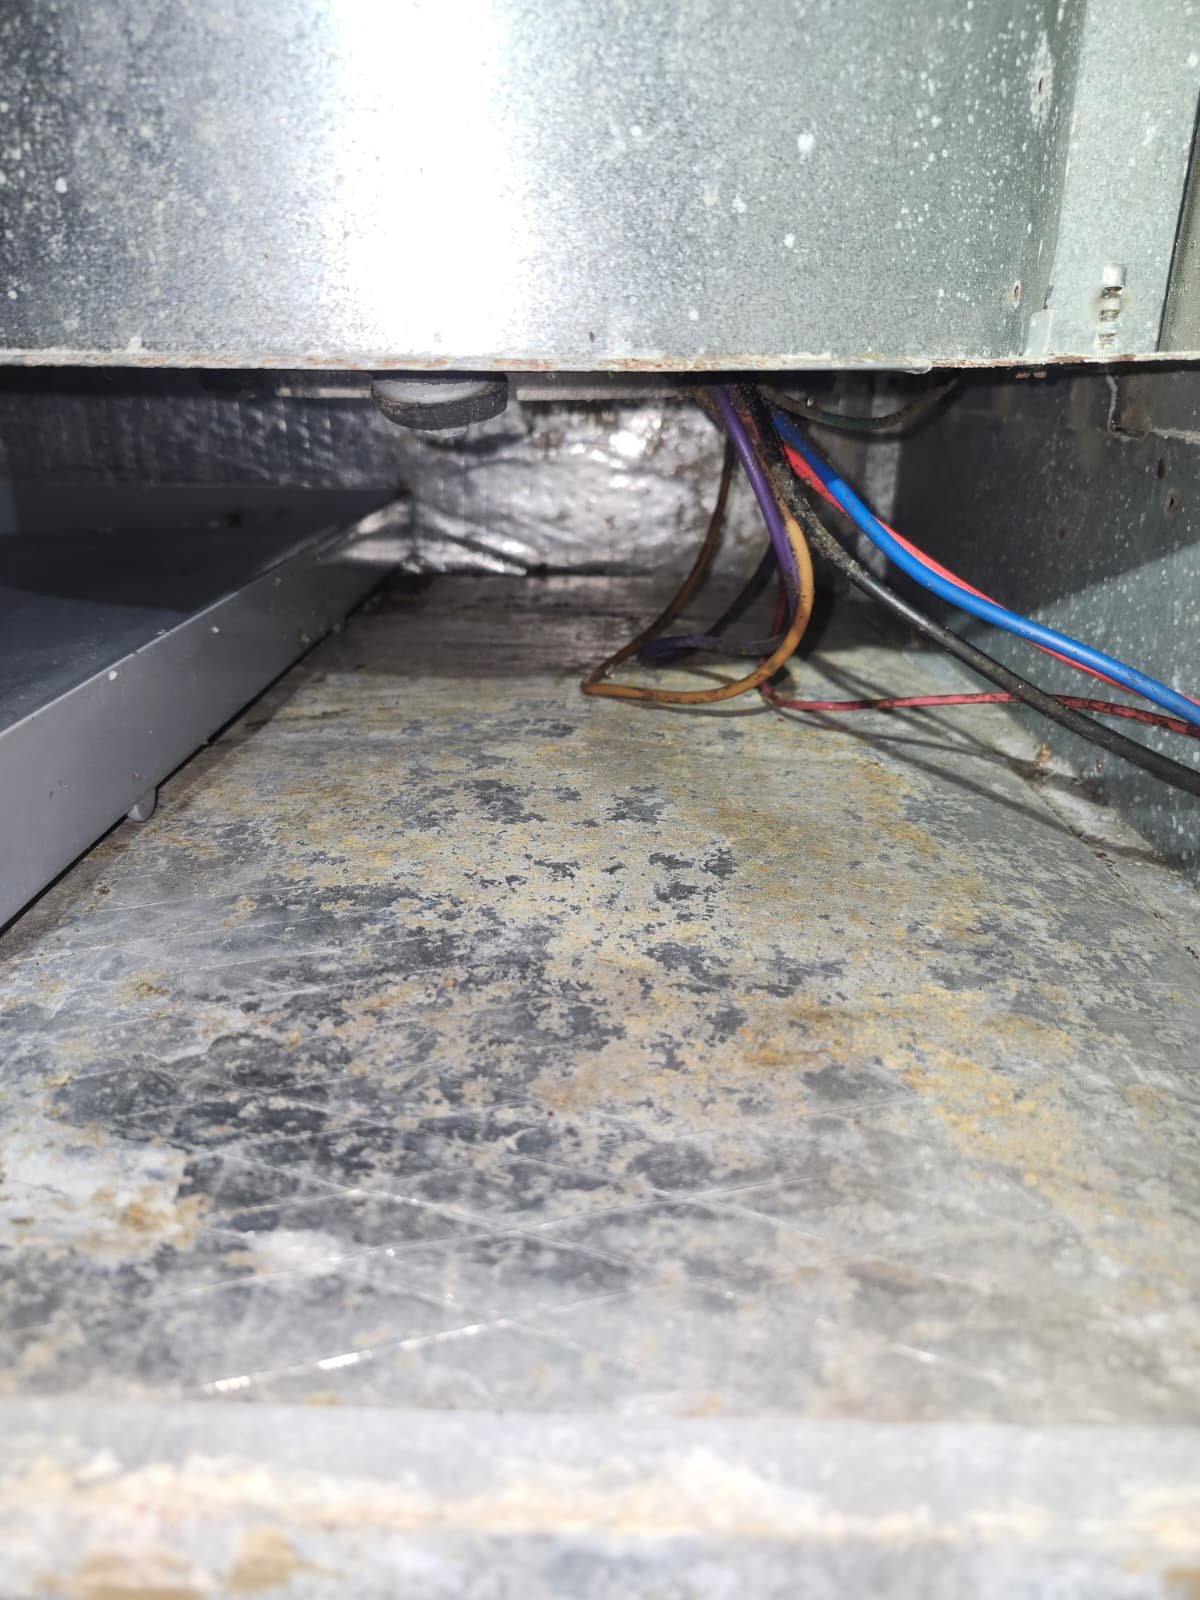
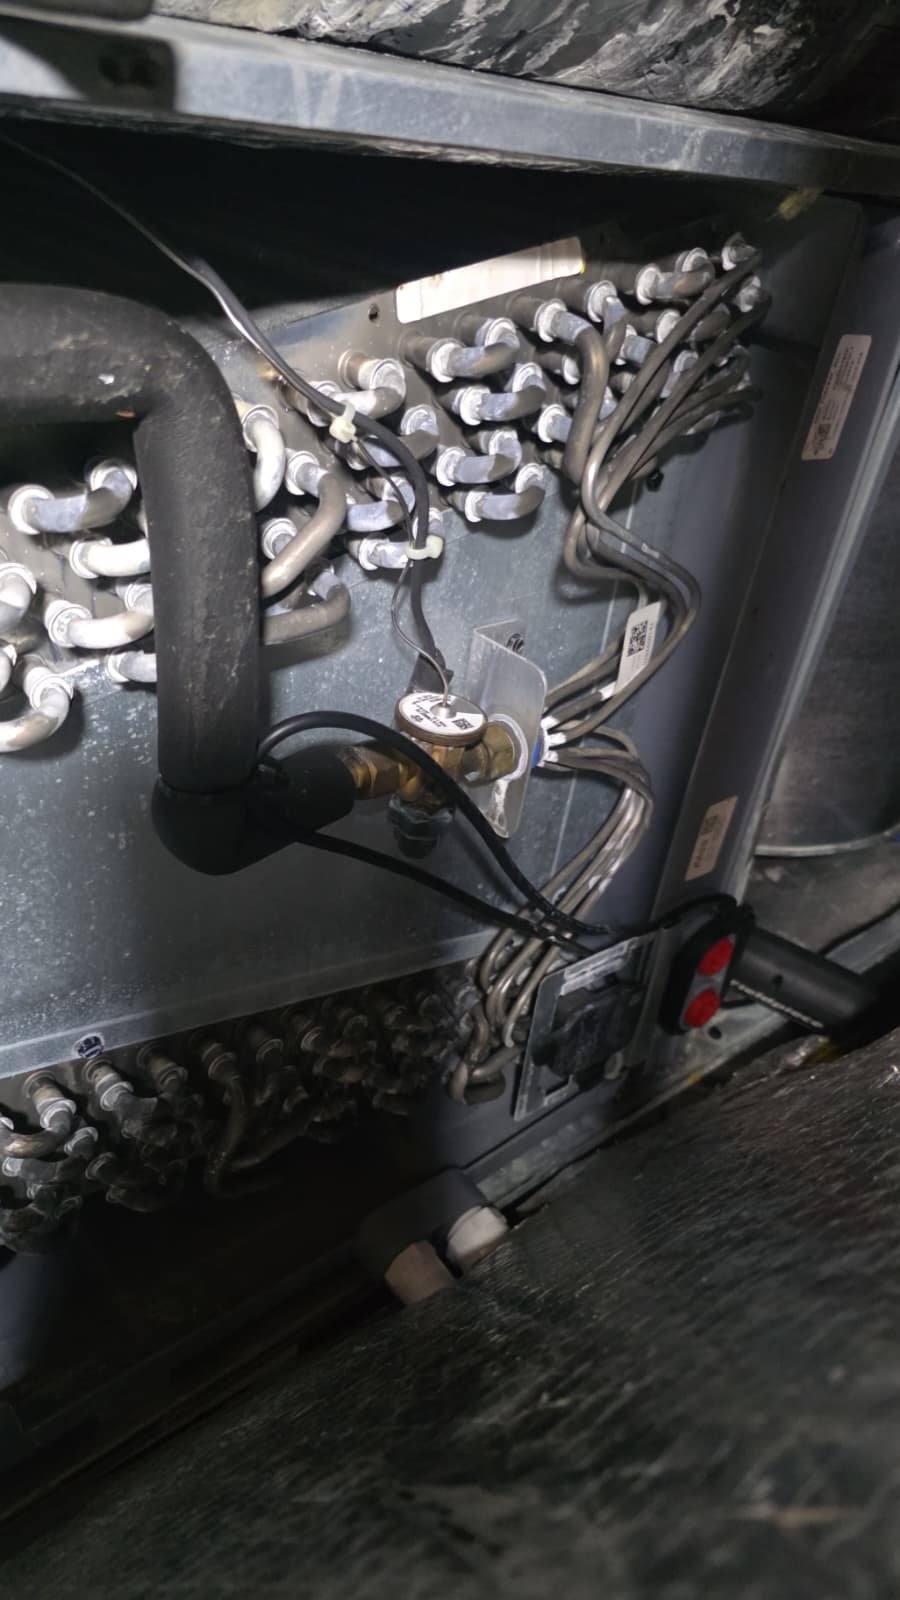
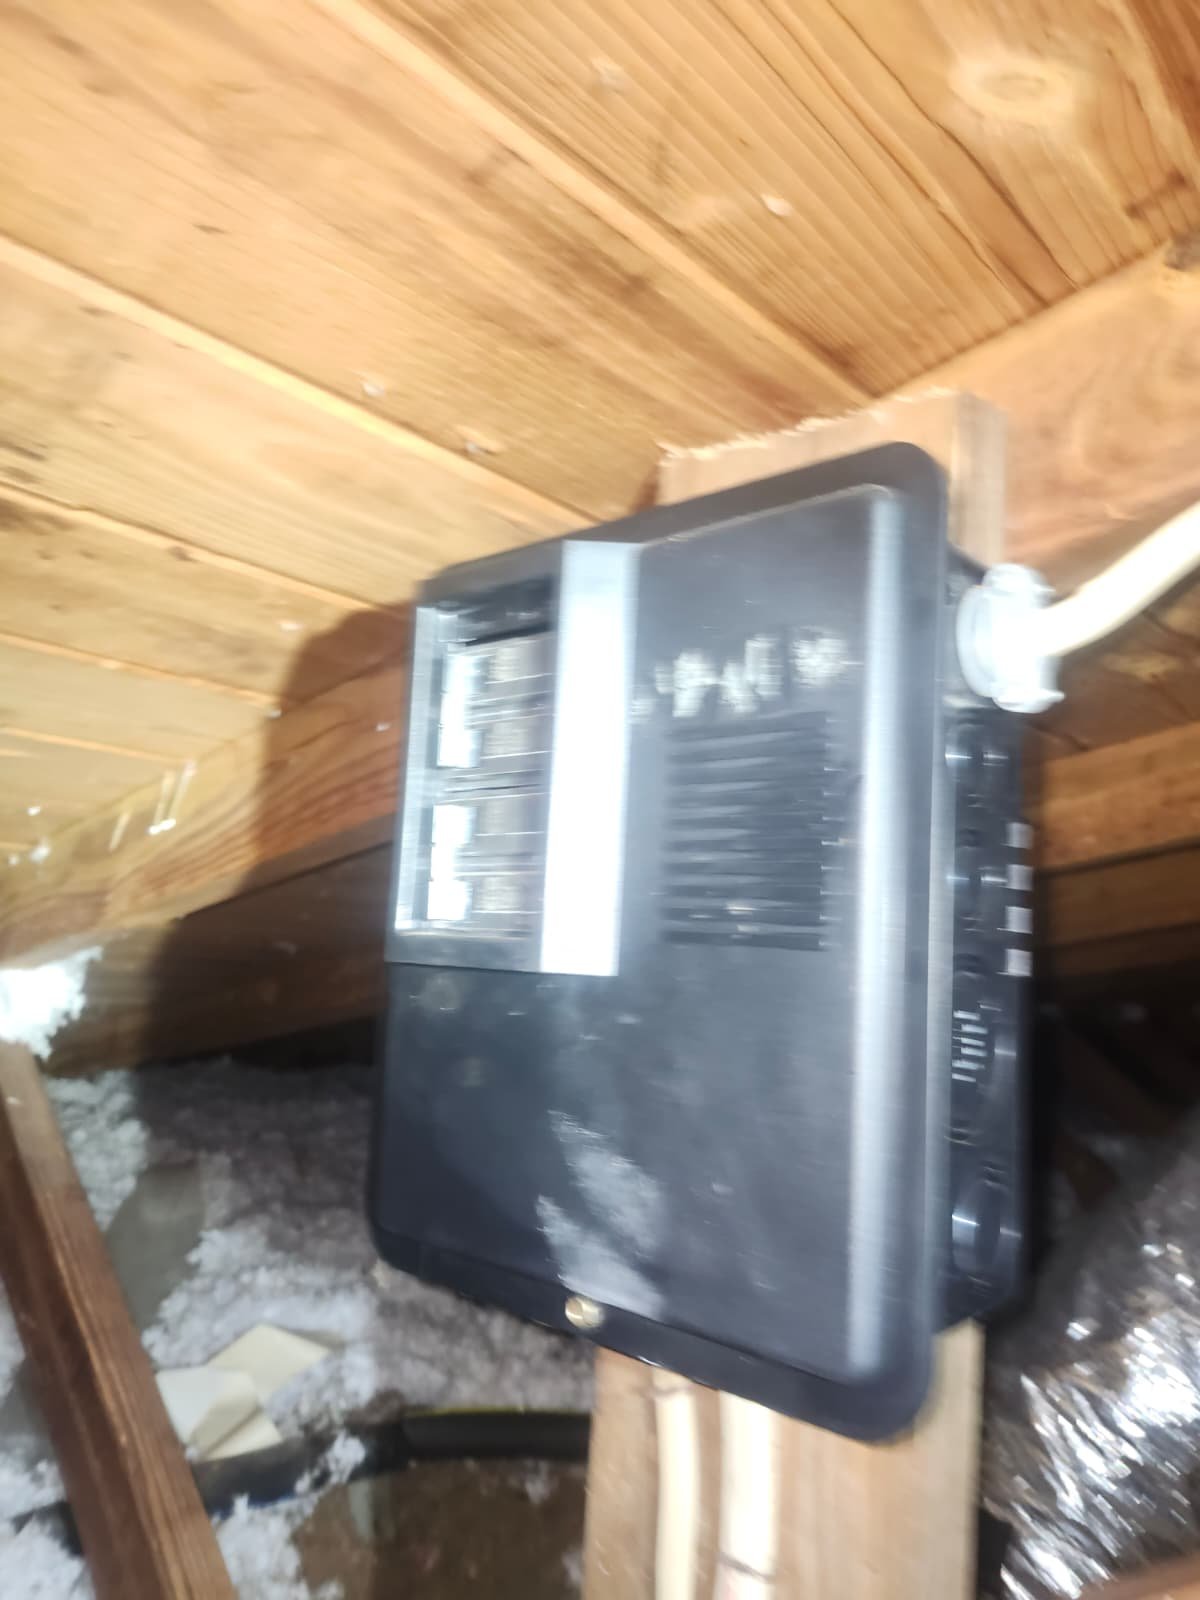
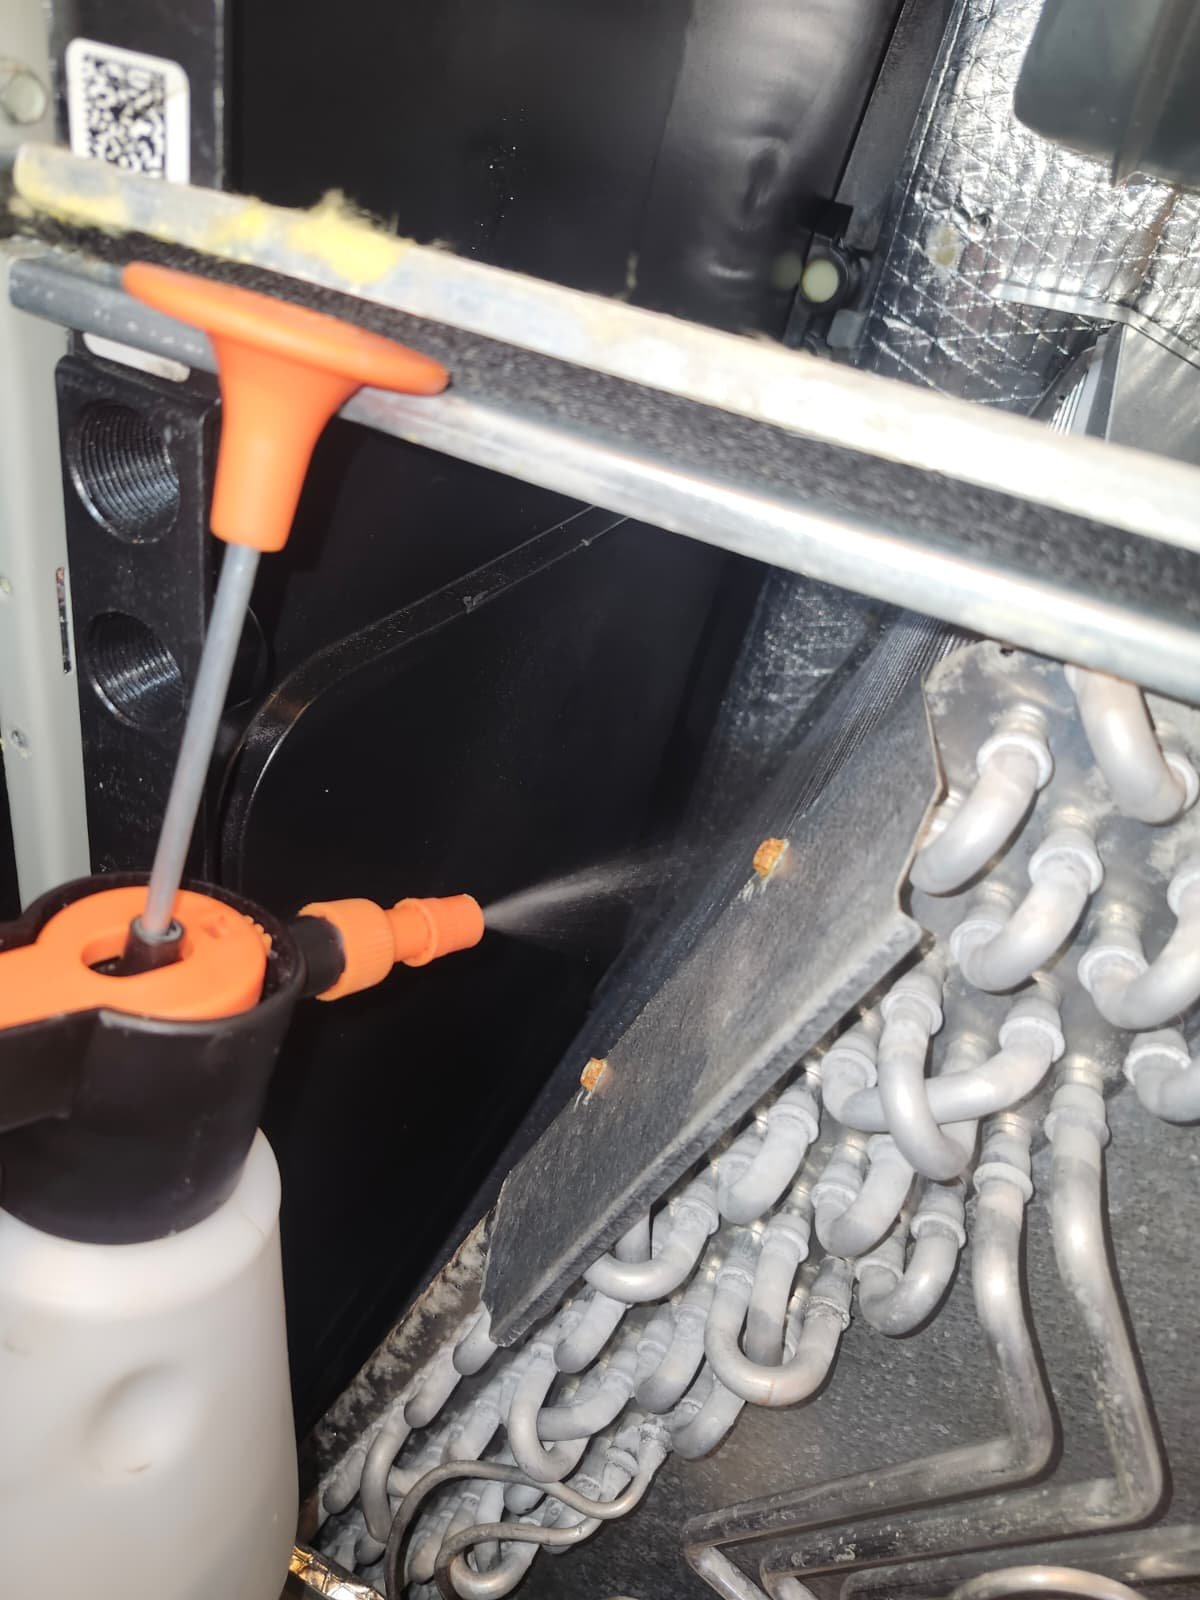
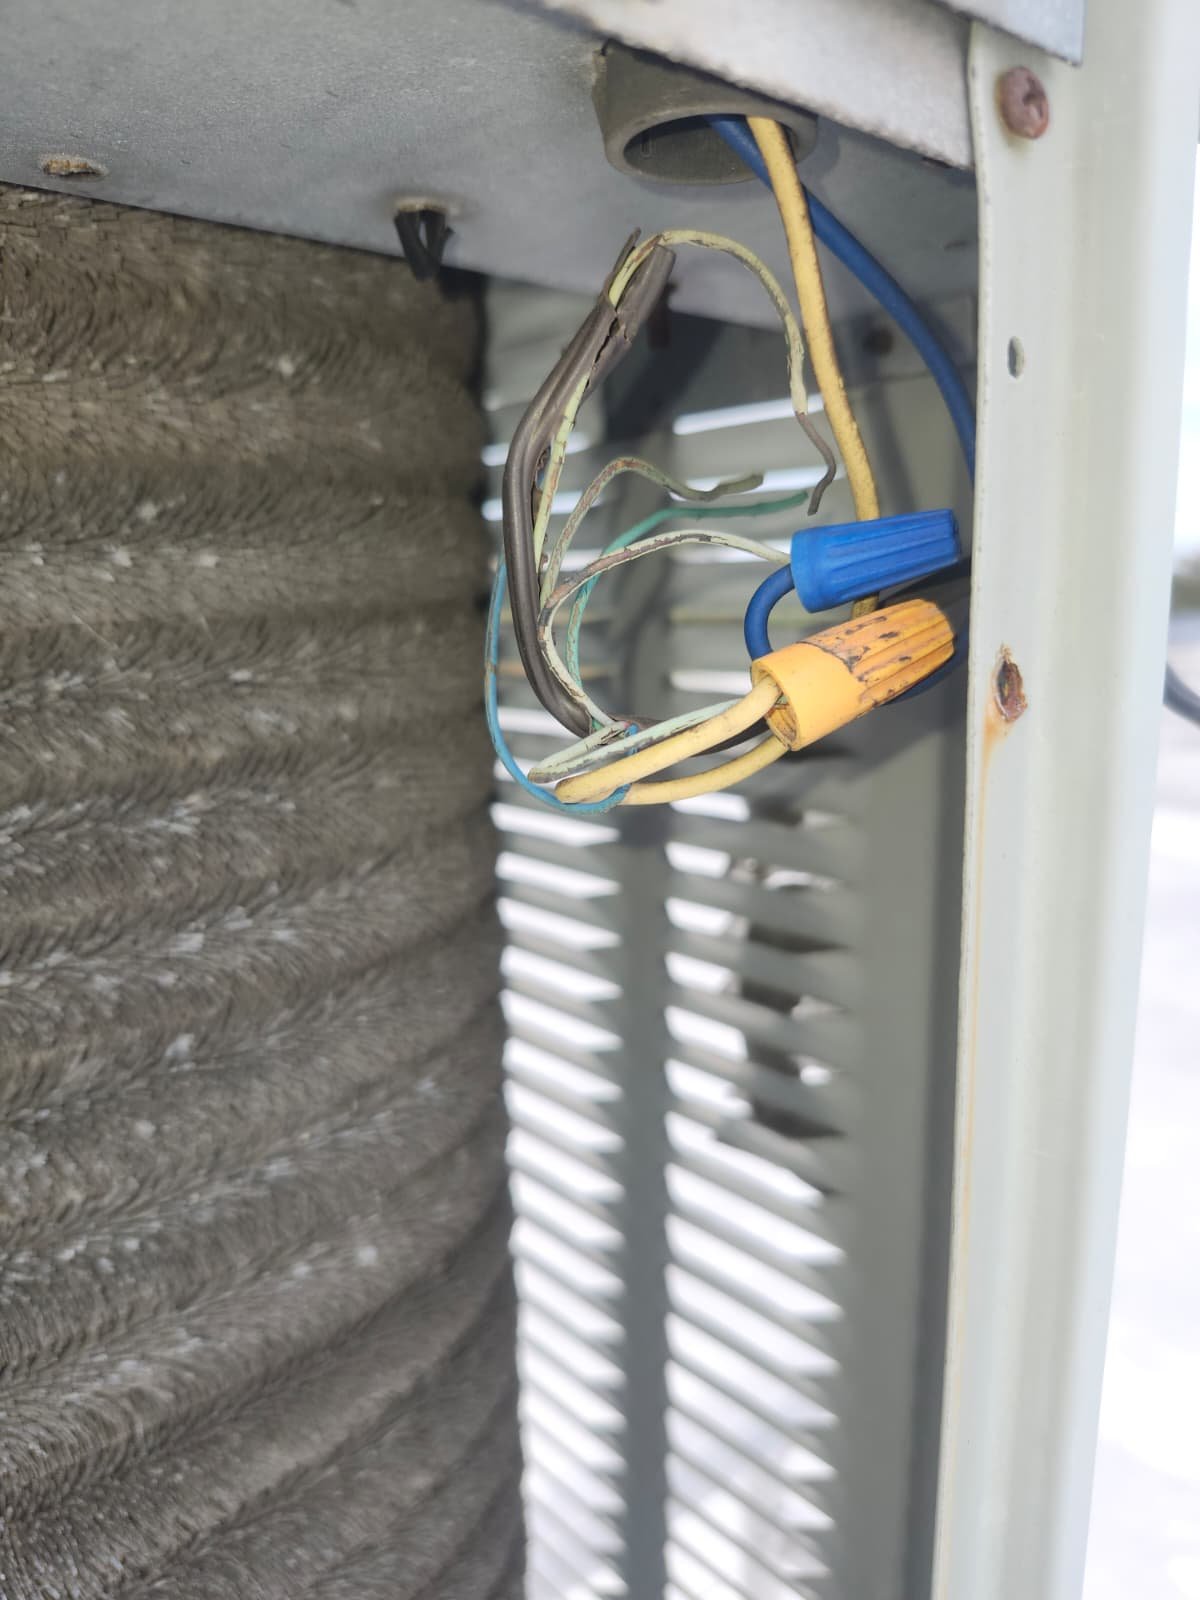
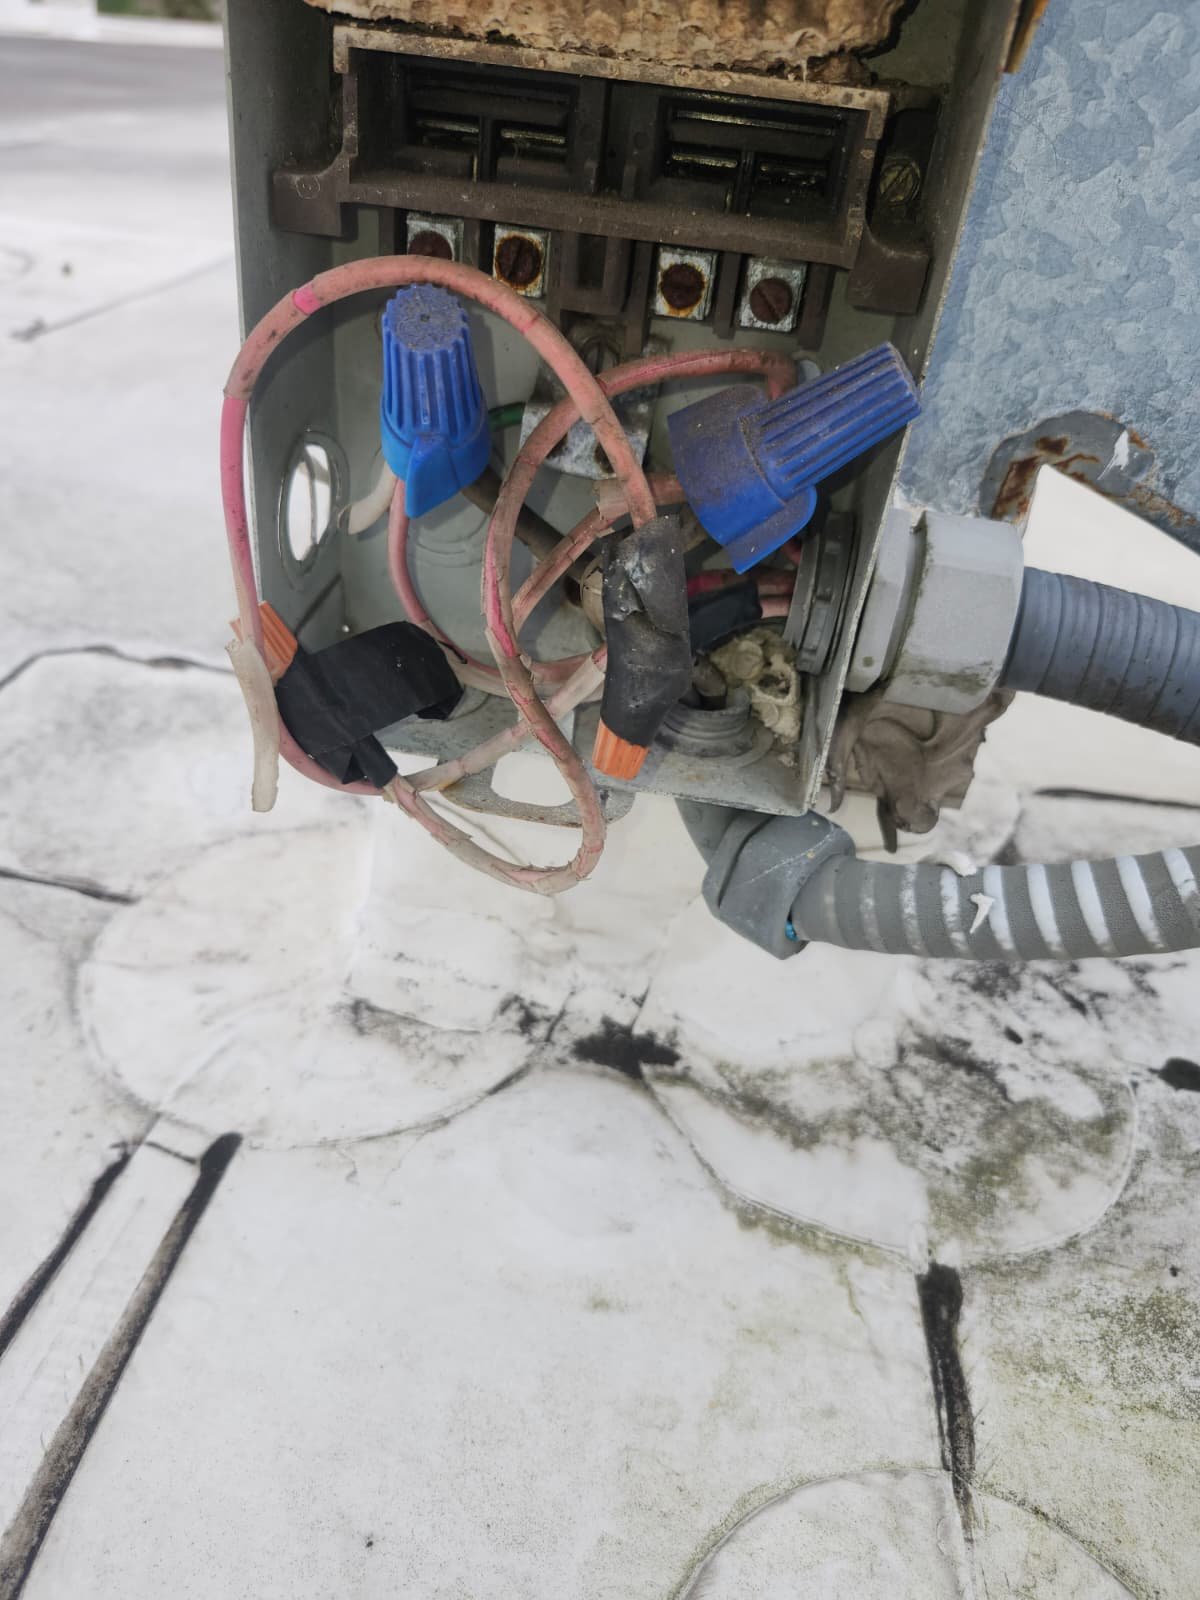
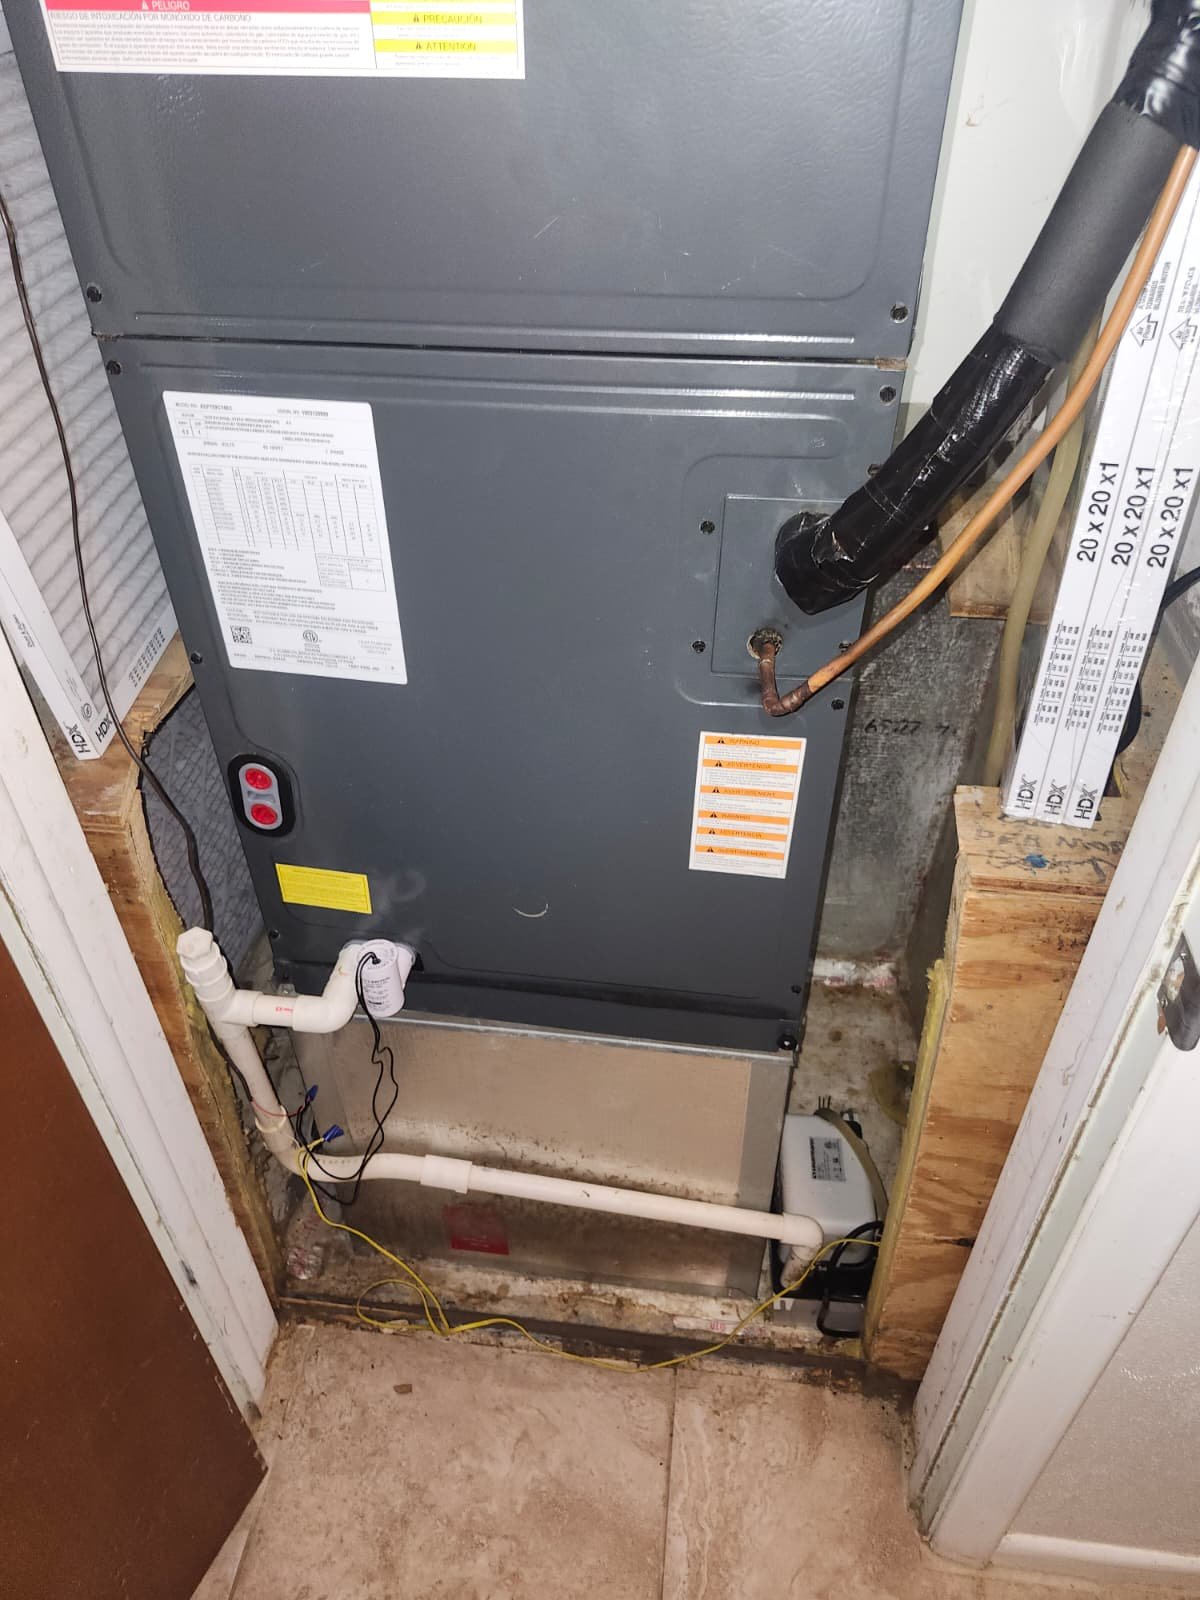
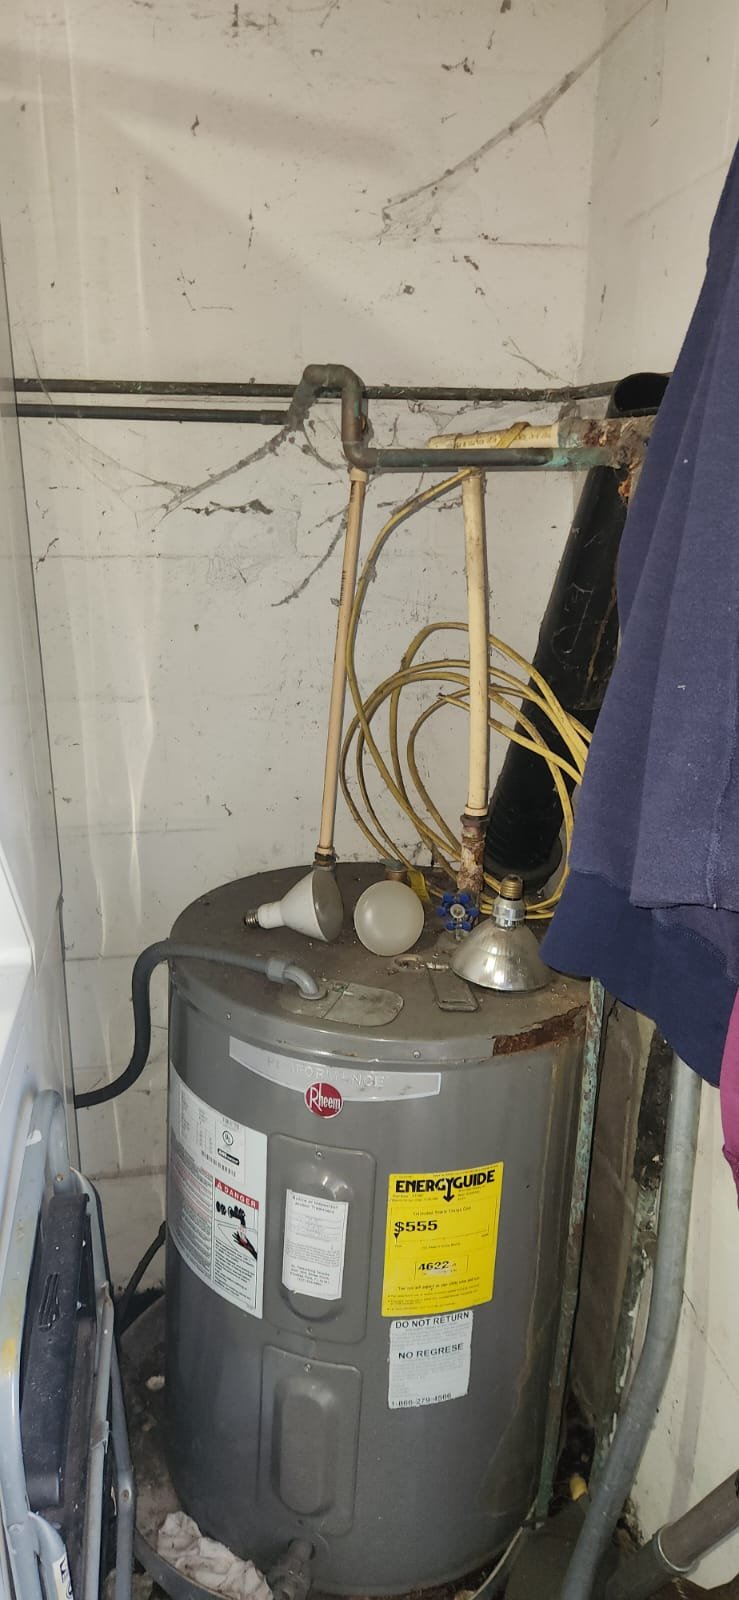
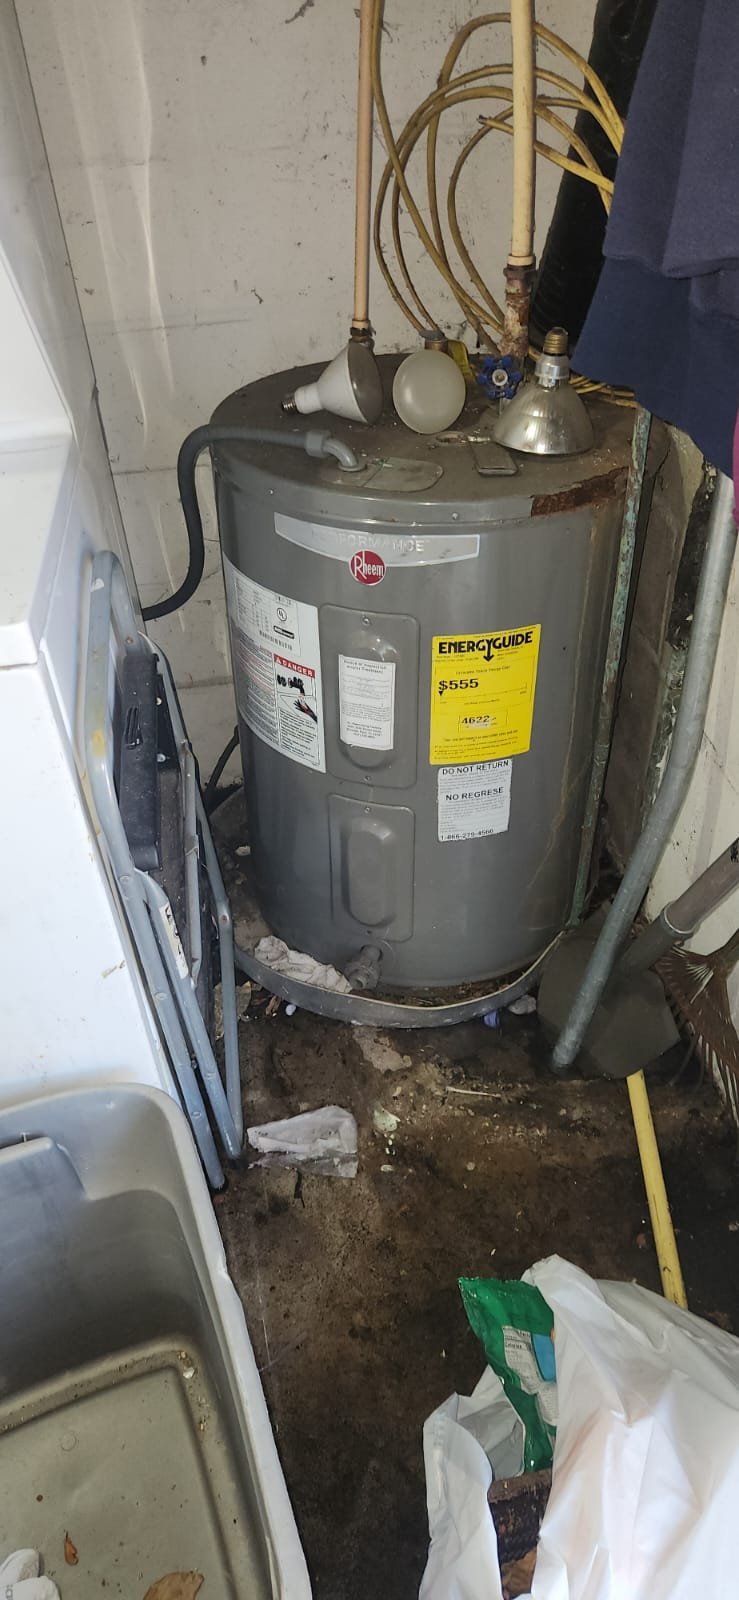
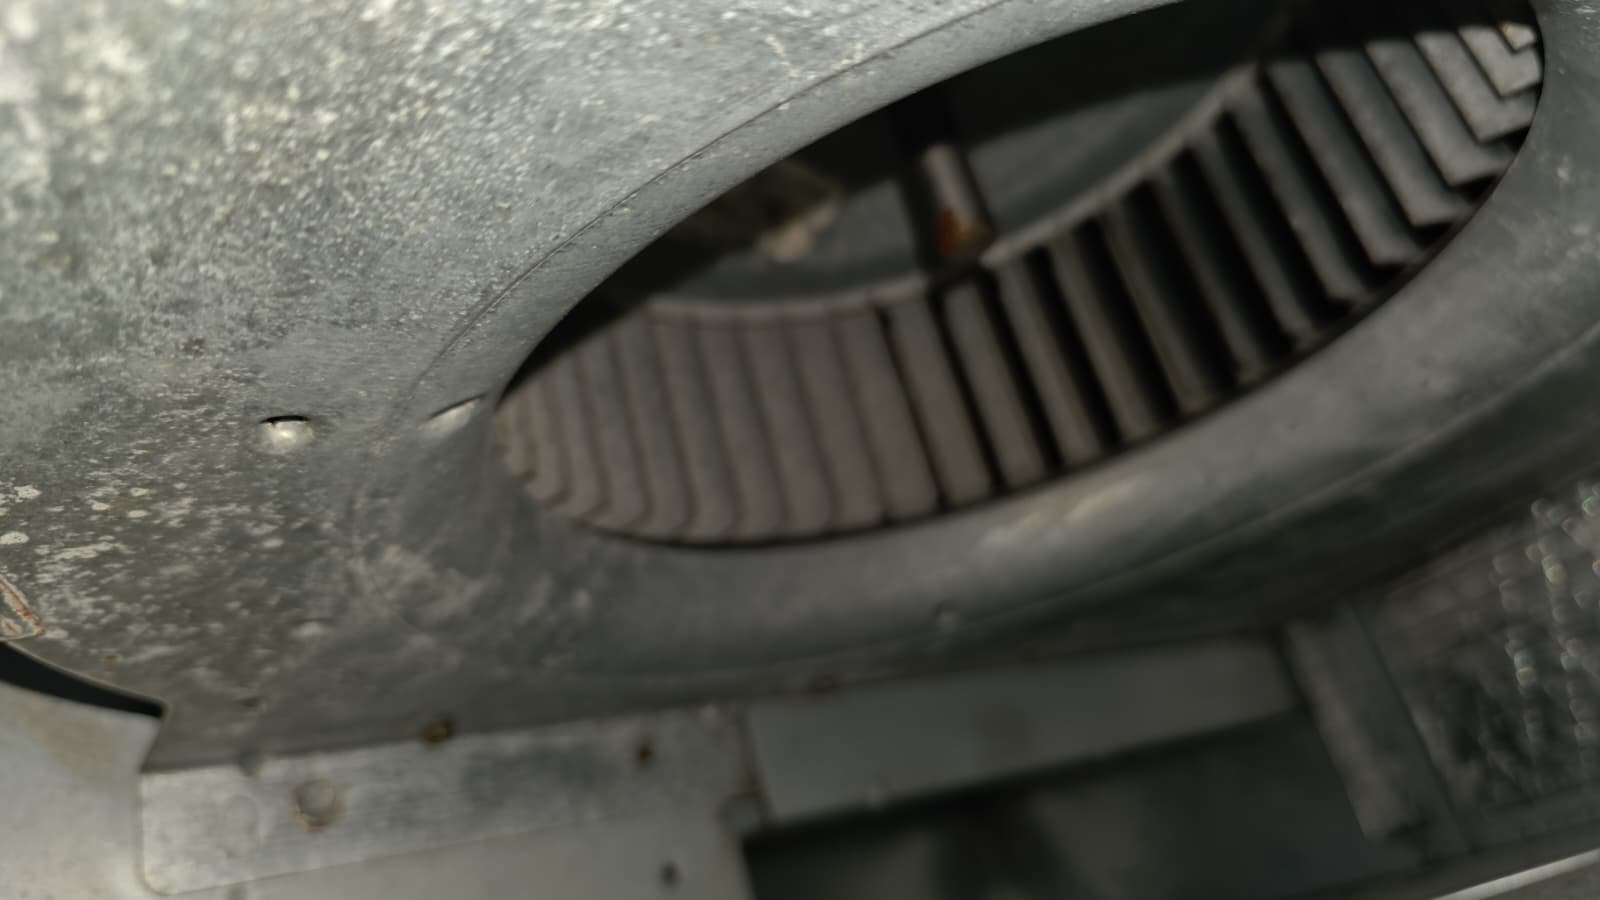
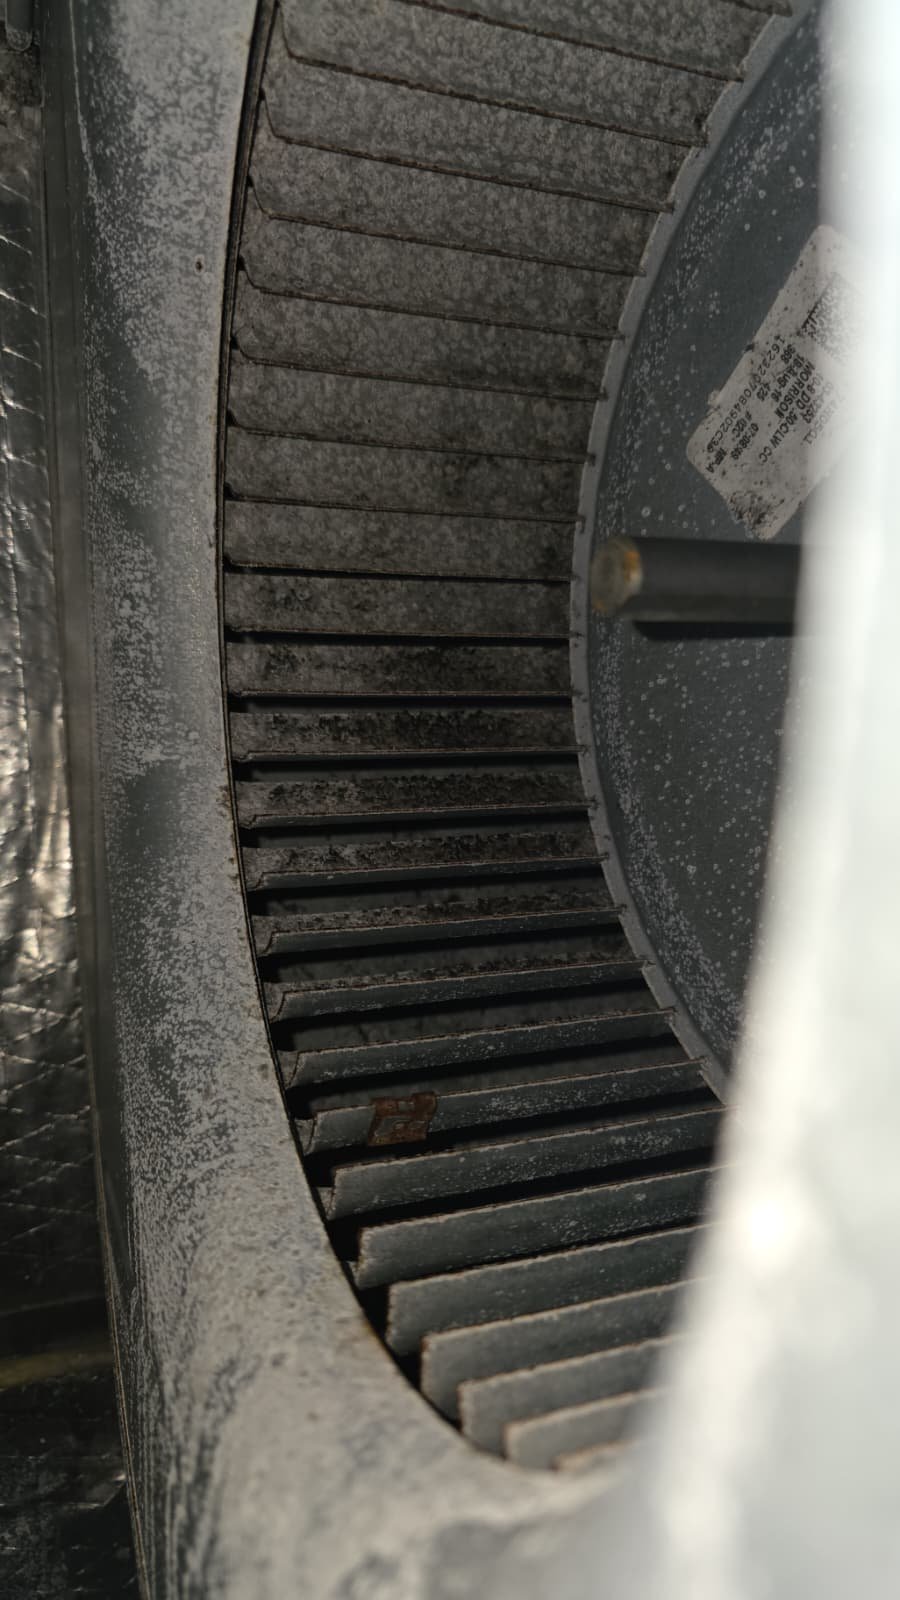
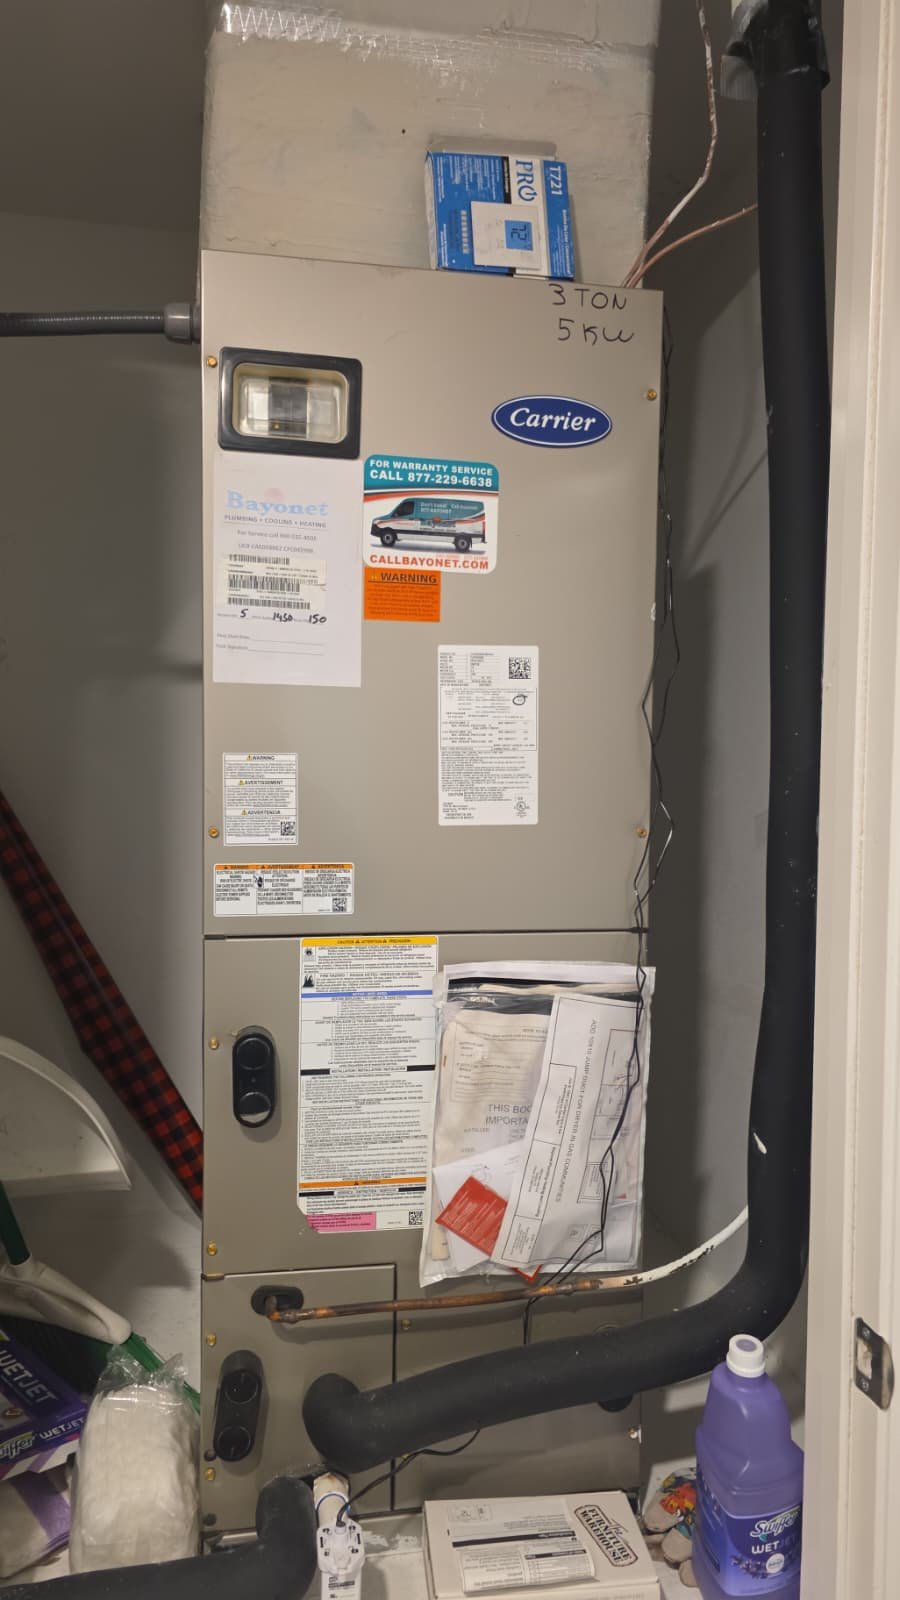
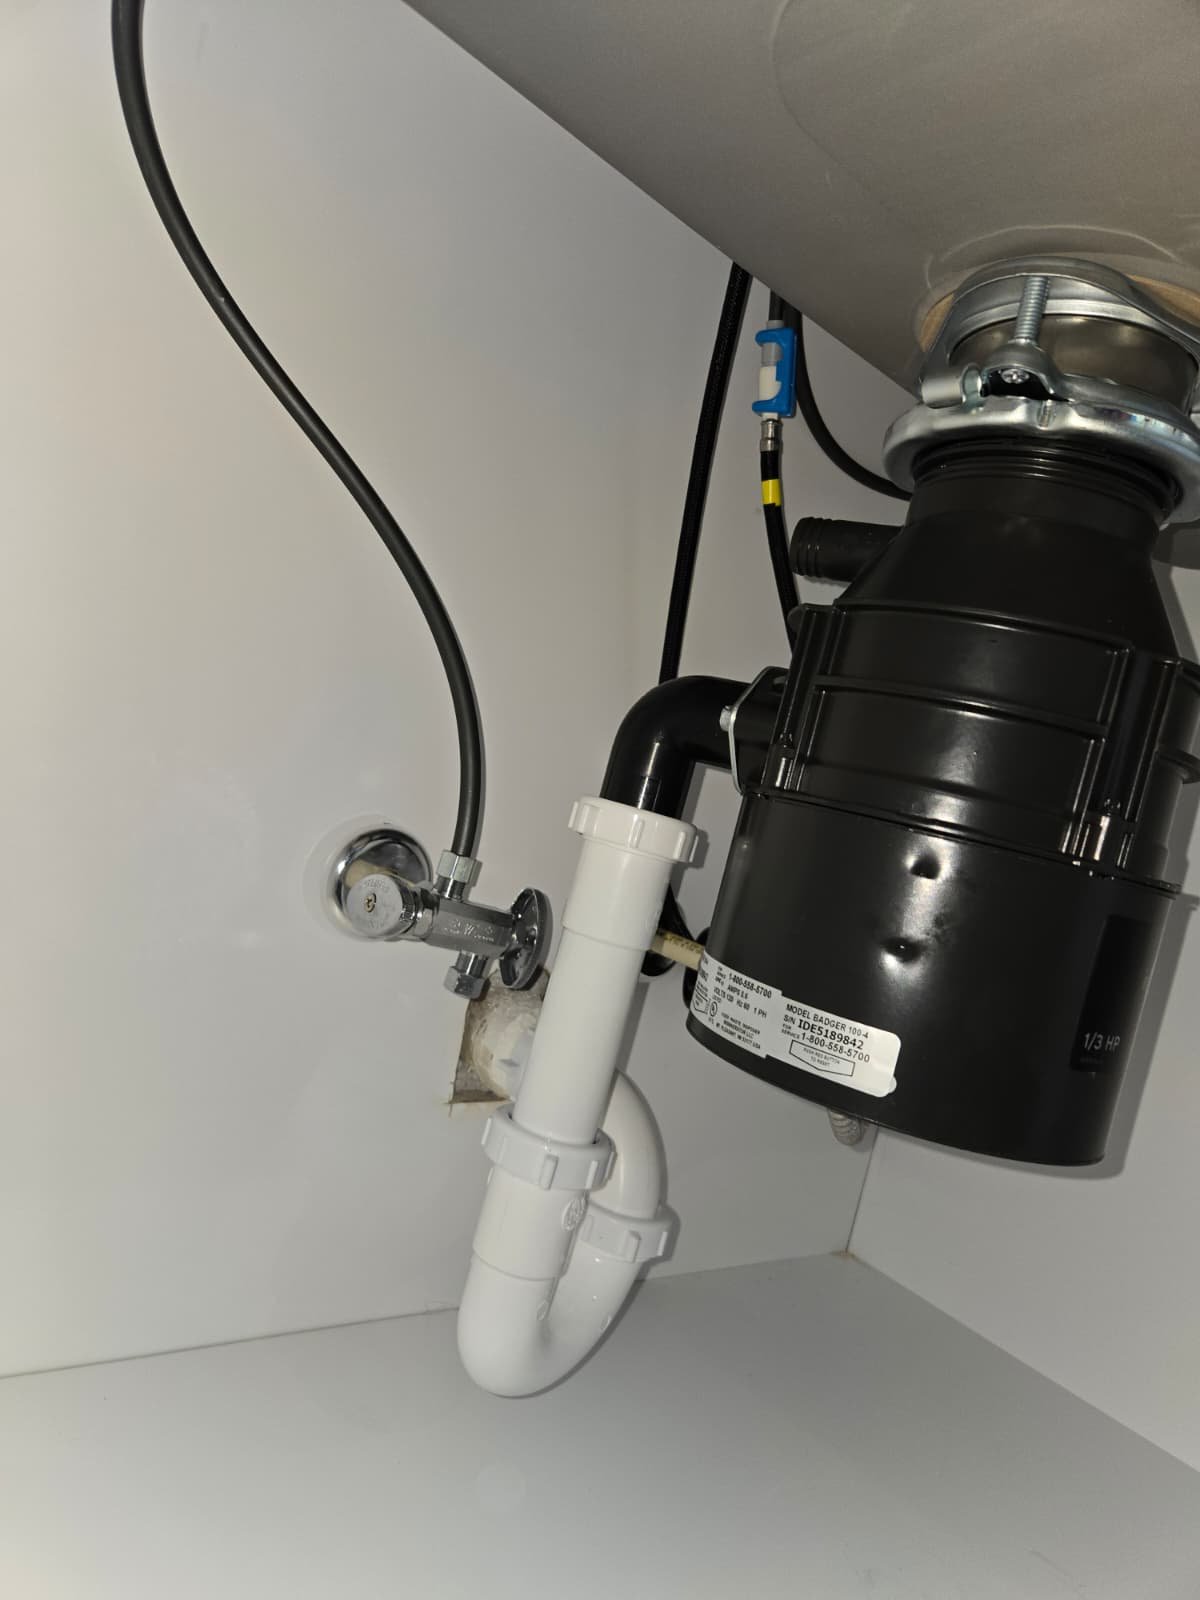
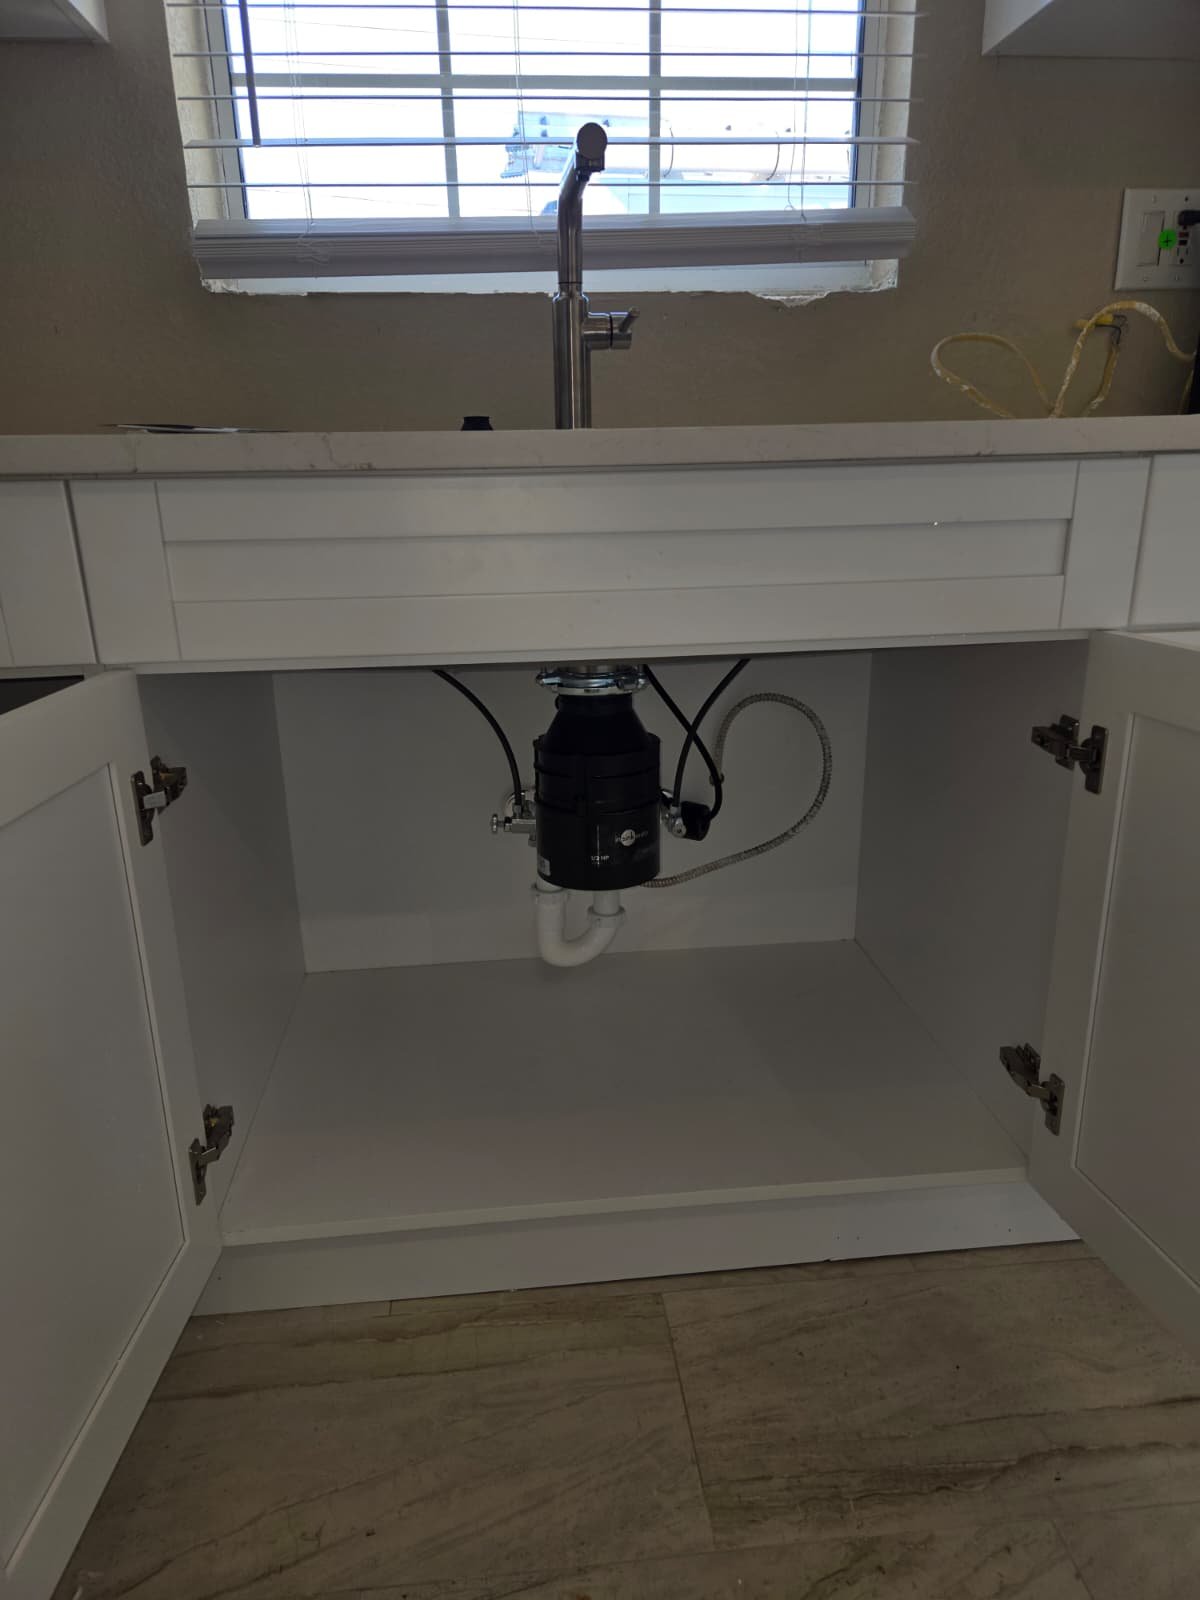
5. Indoor Unit Condition
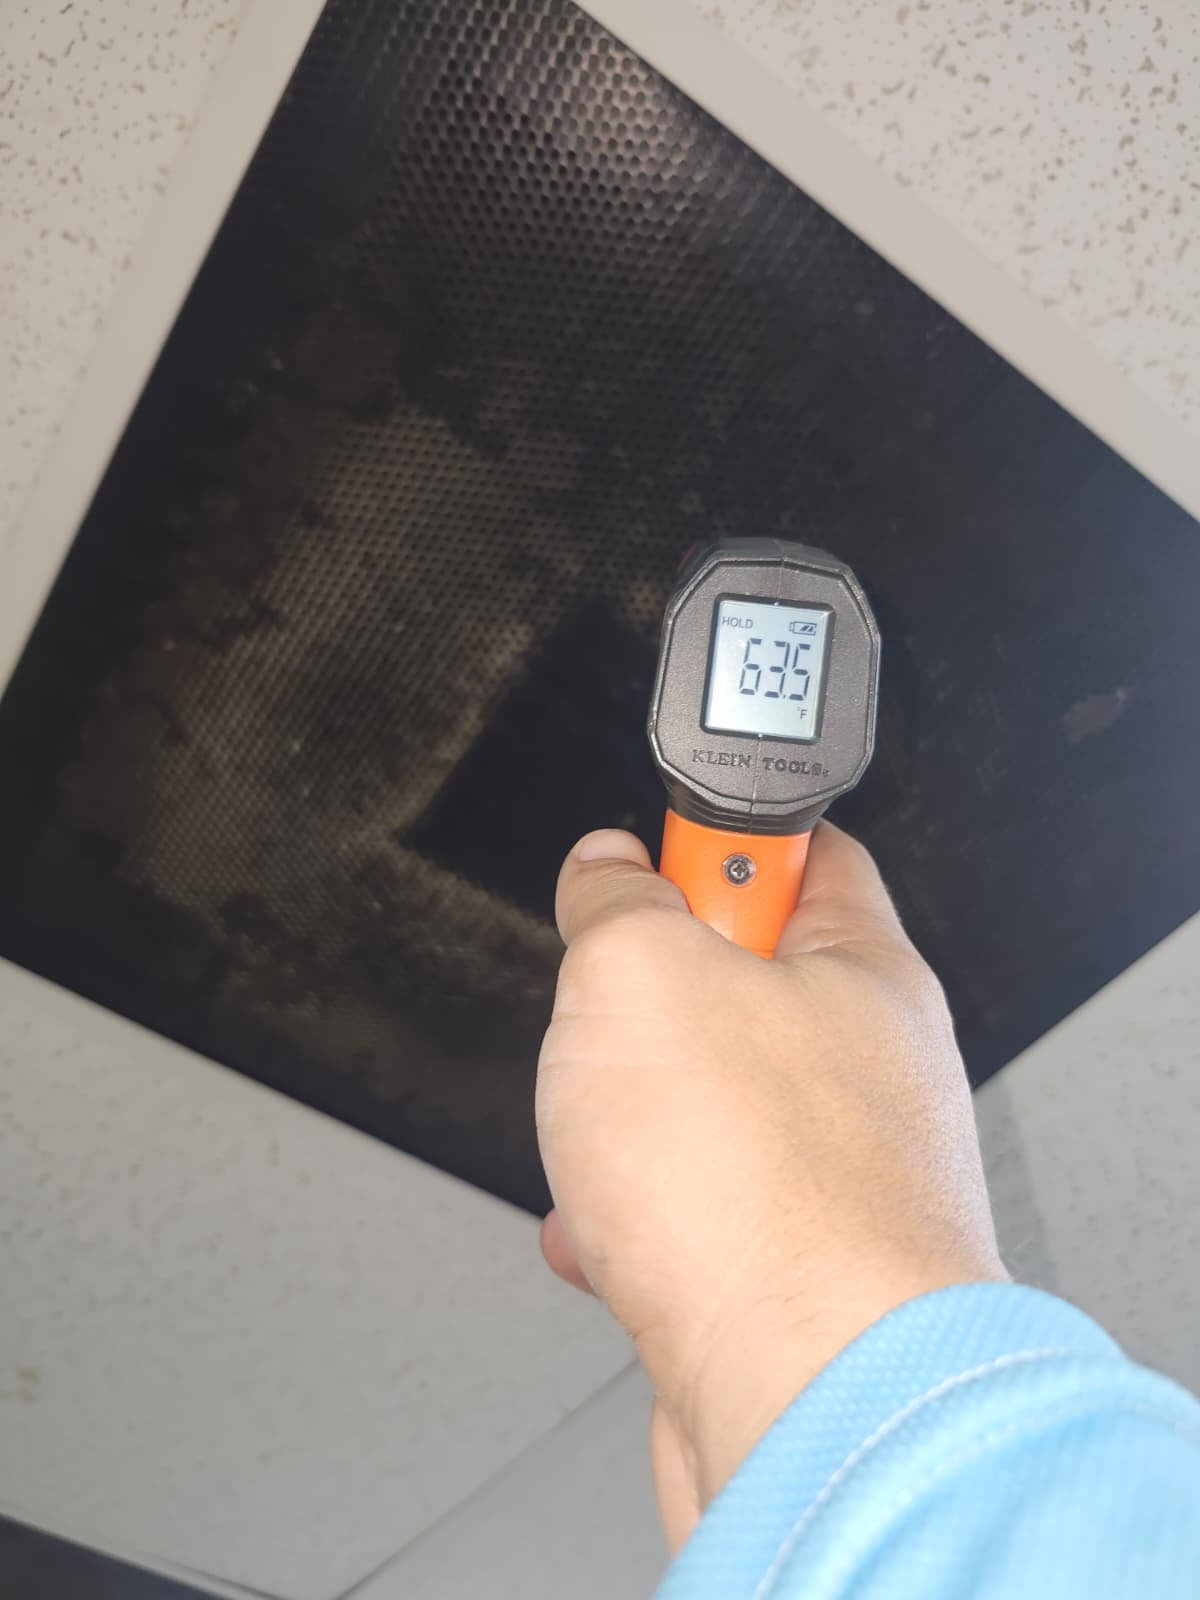
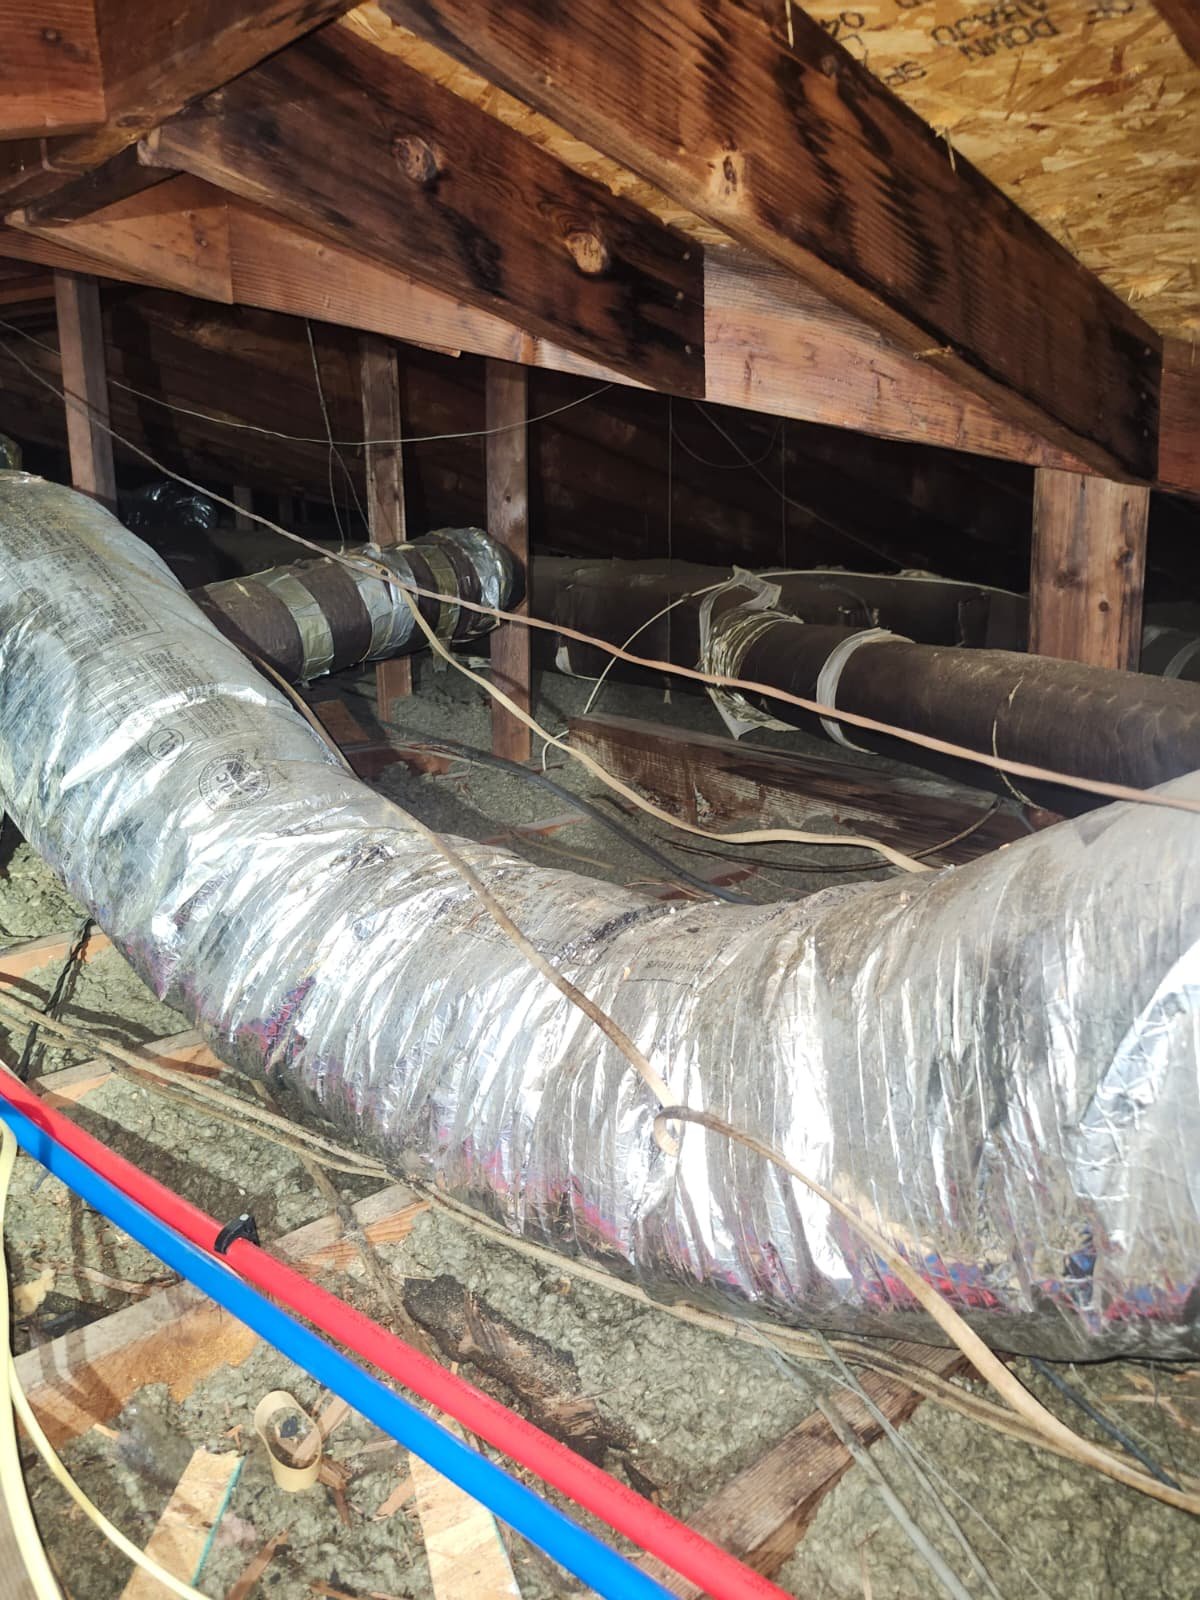
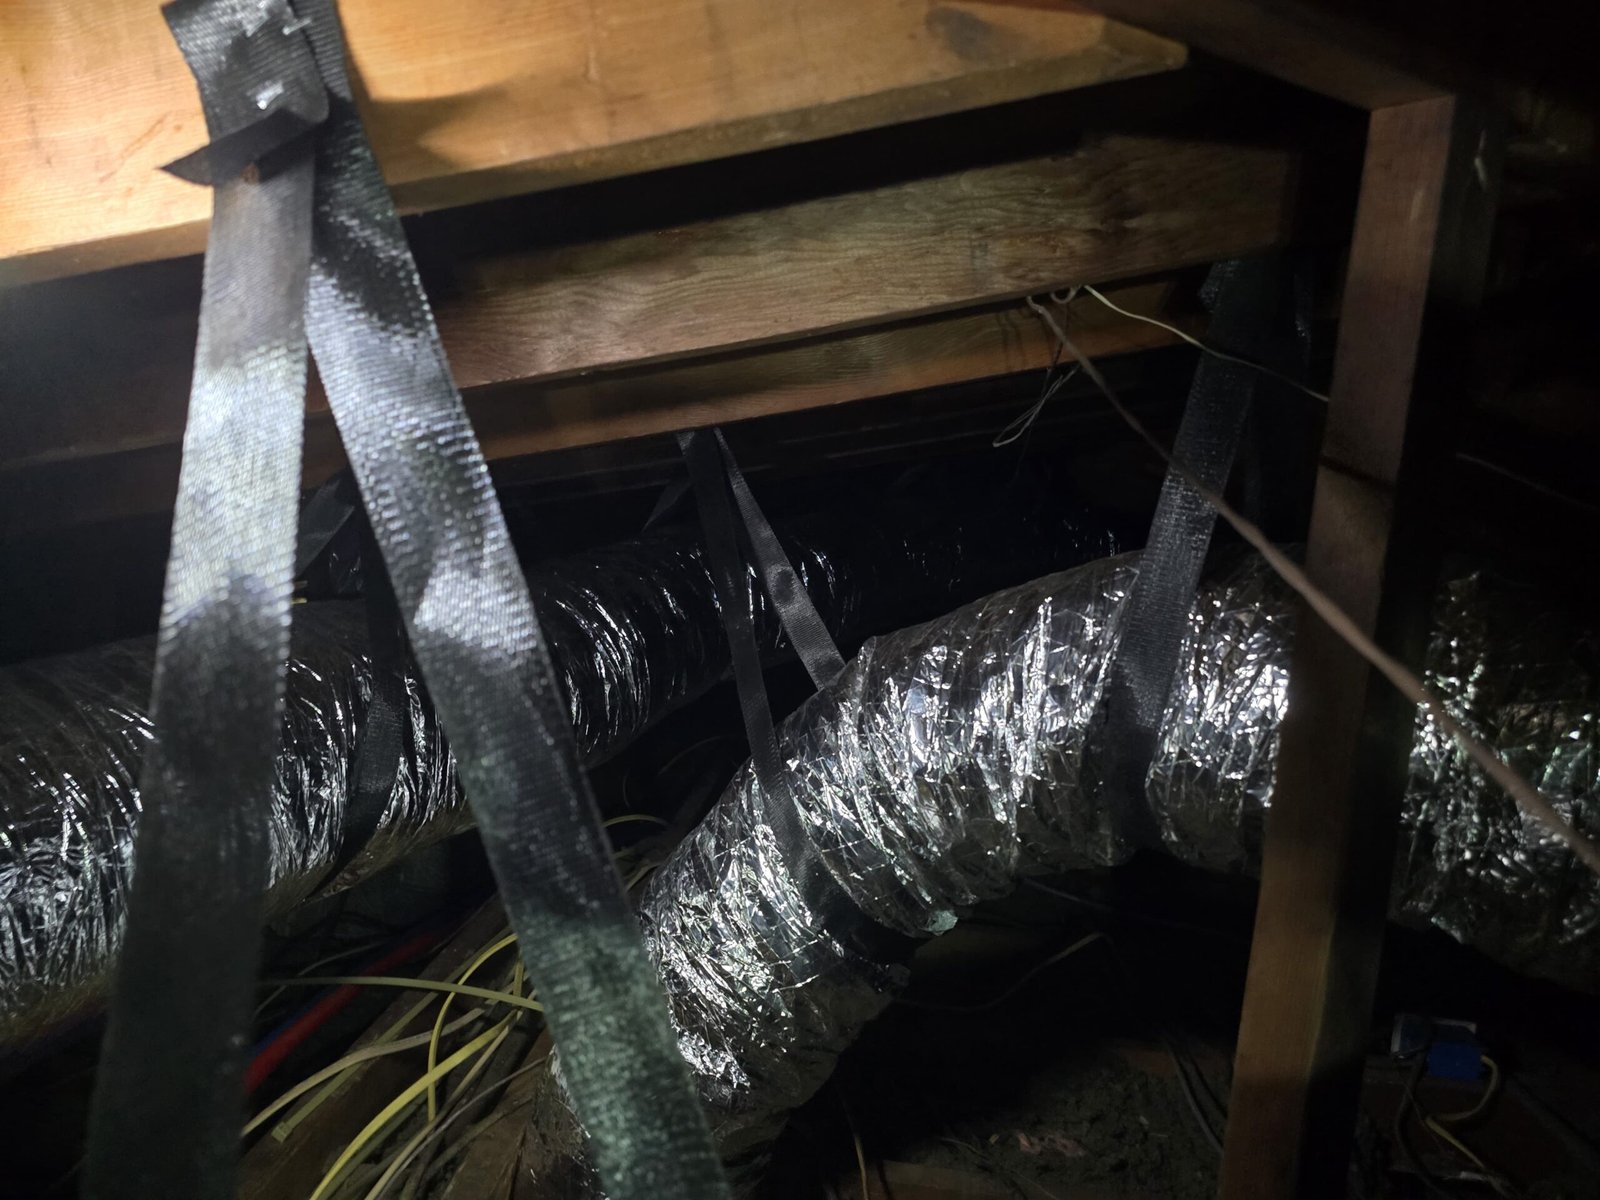
We inspected the indoor unit (air handler), looking at the coil surfaces, blower area, and cabinet. We looked for signs of dirt buildup, microbial growth, or any blockage that could restrict airflow or reduce efficiency.
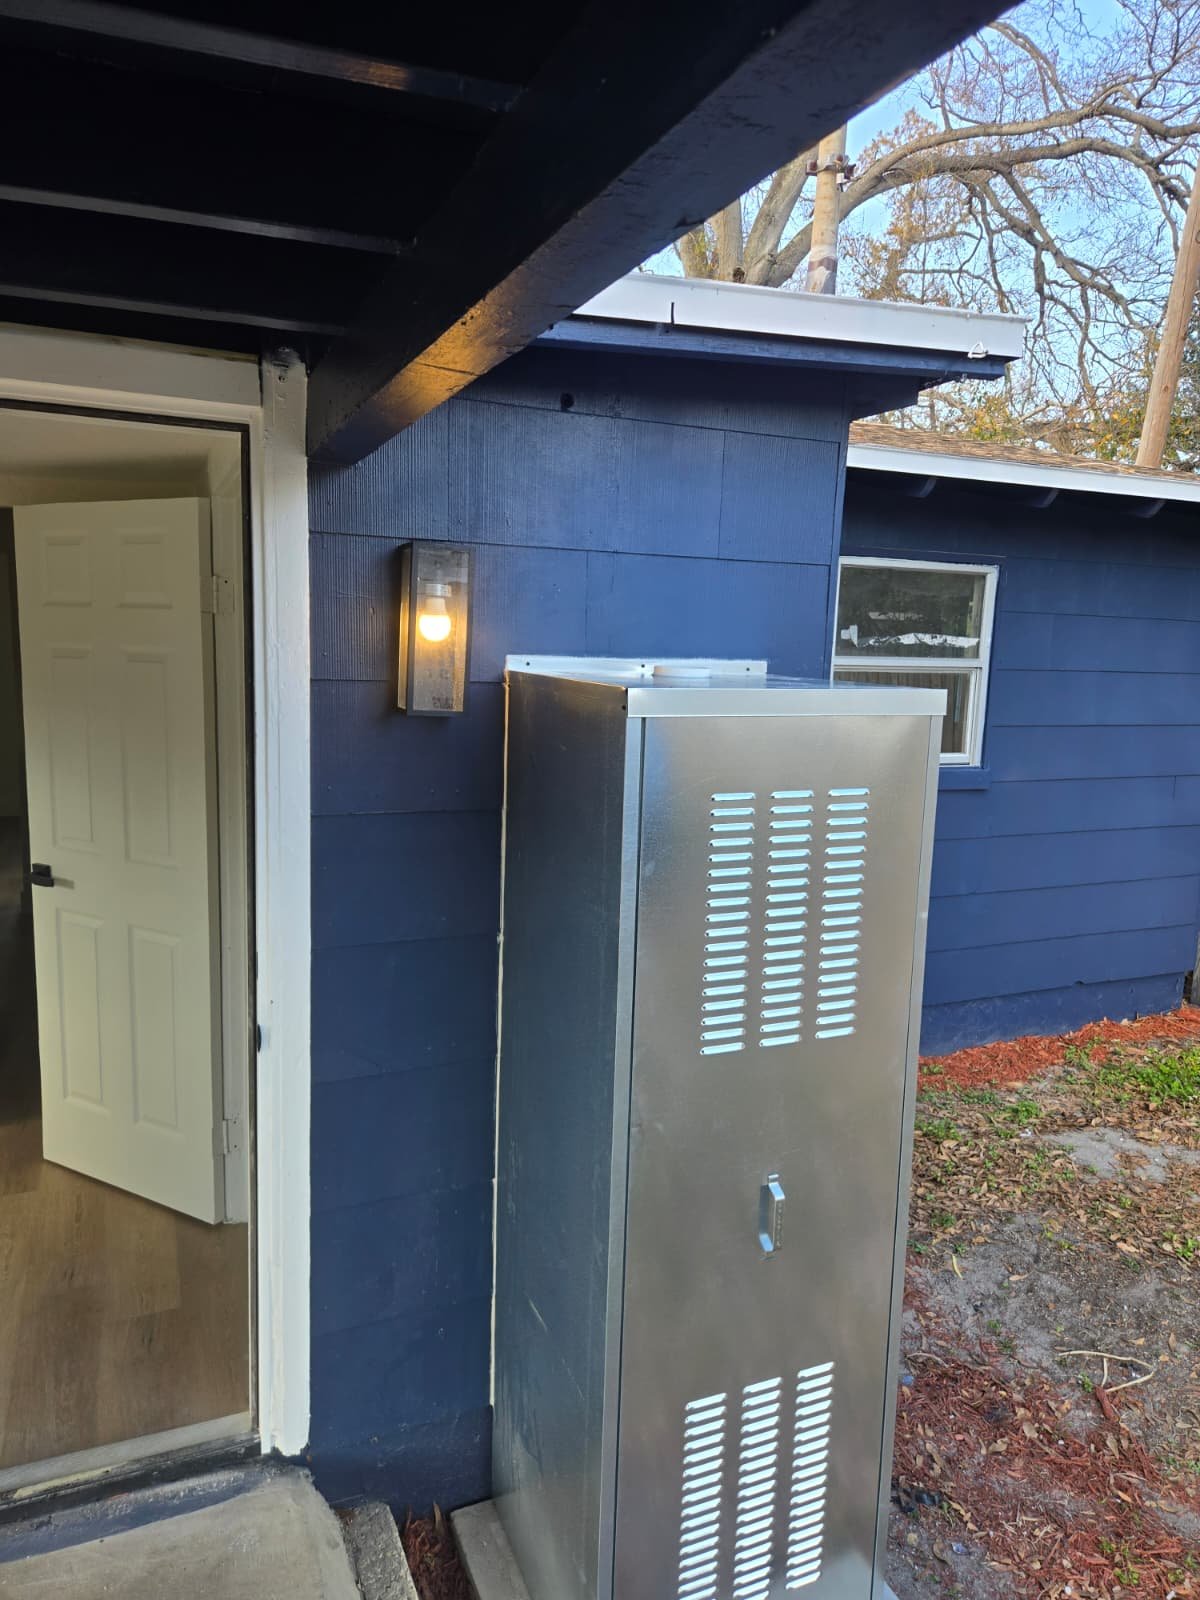
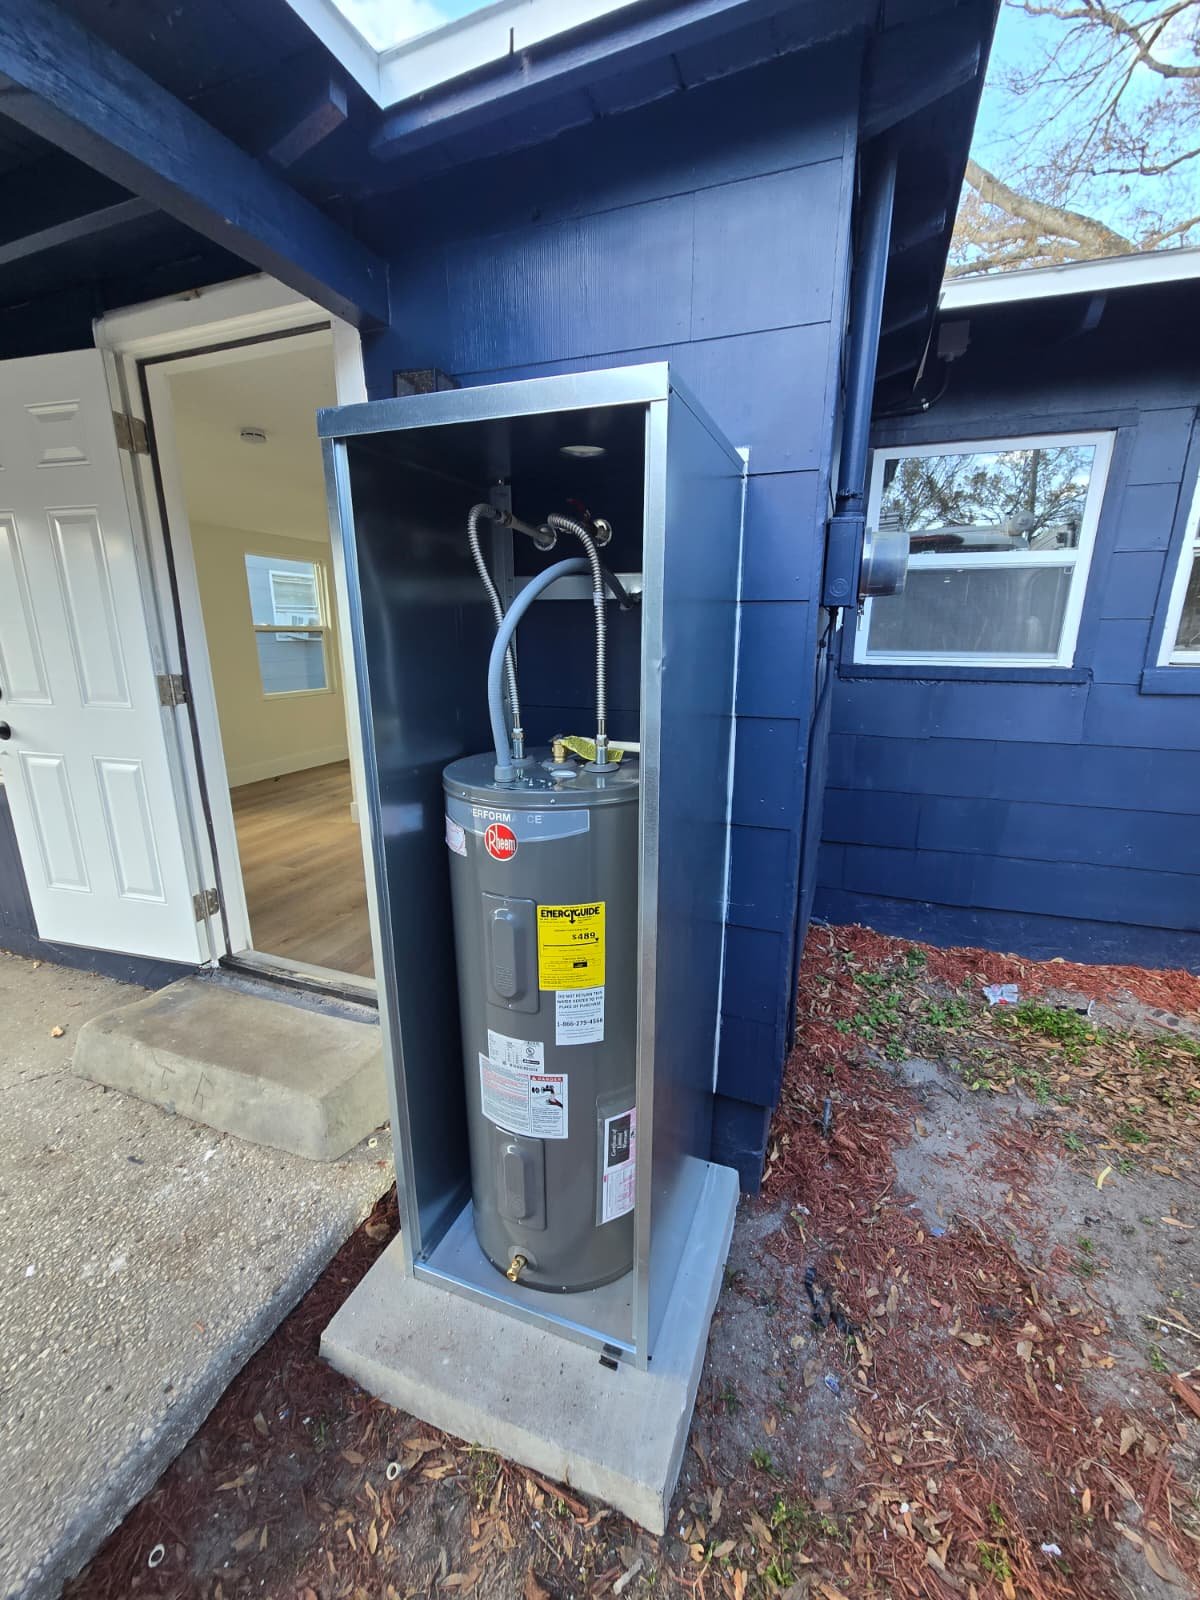
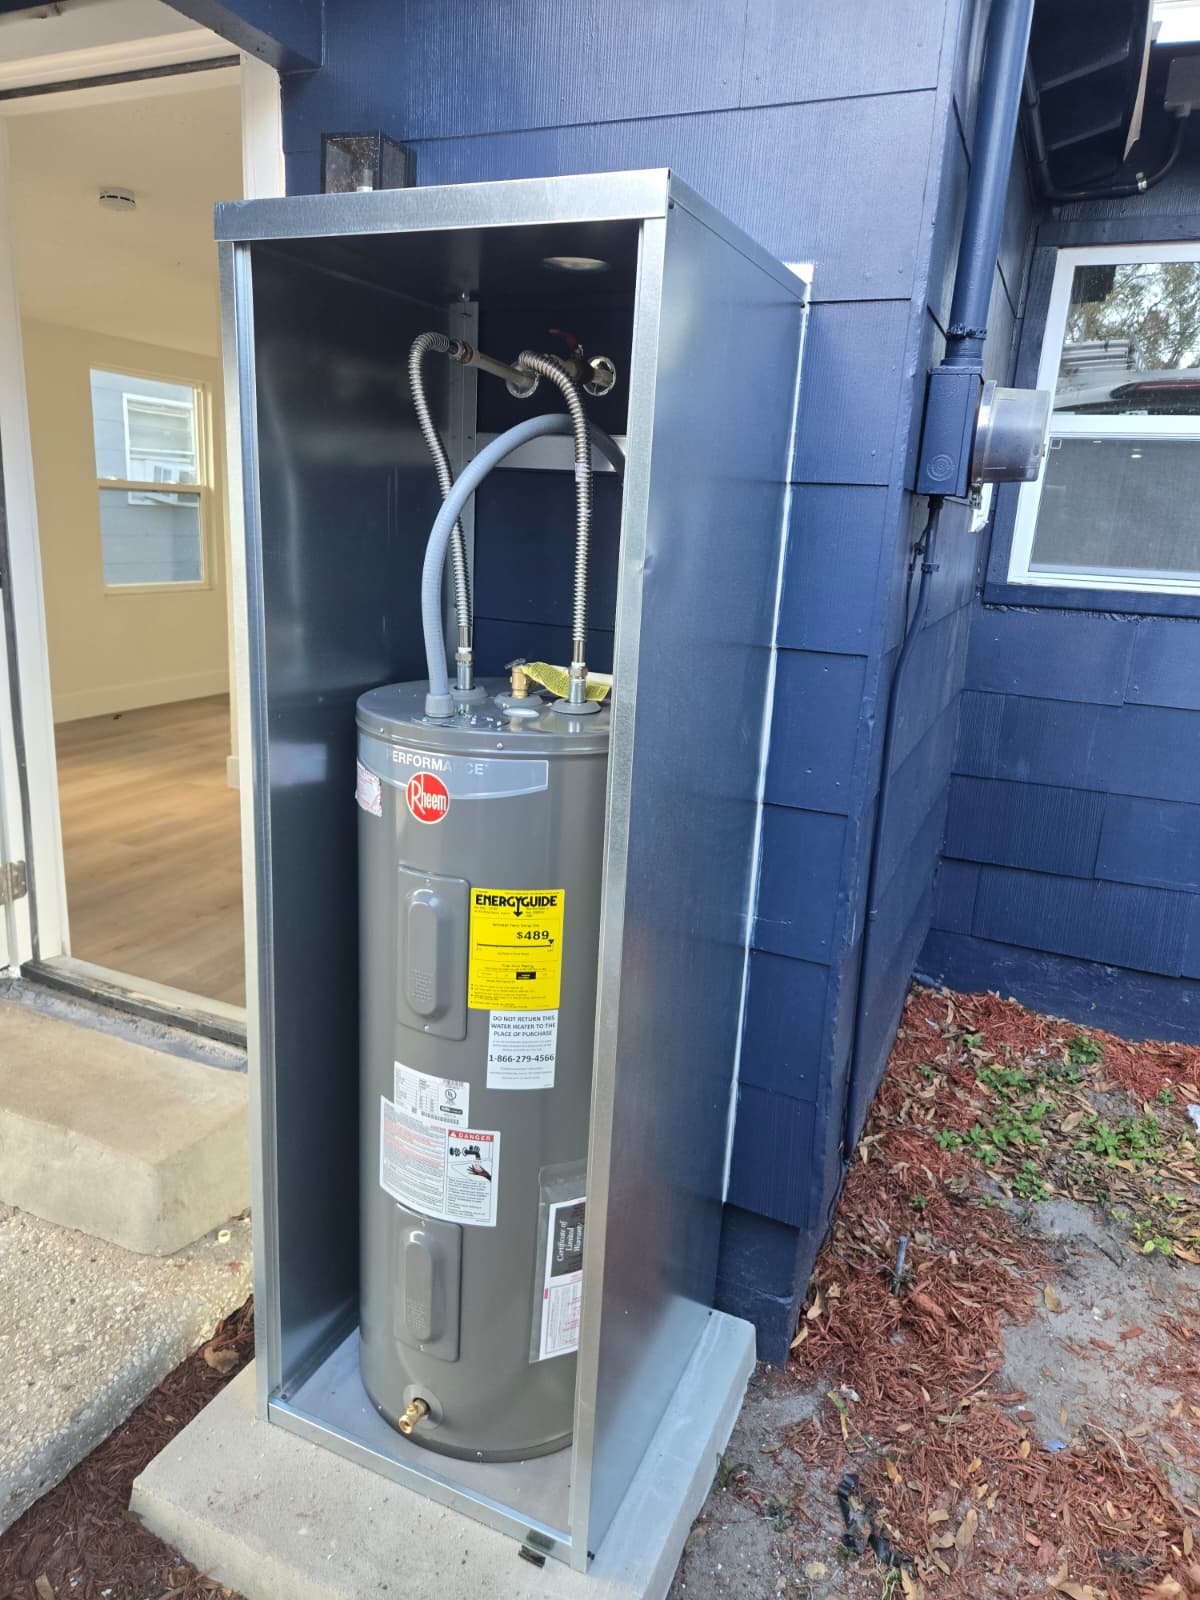
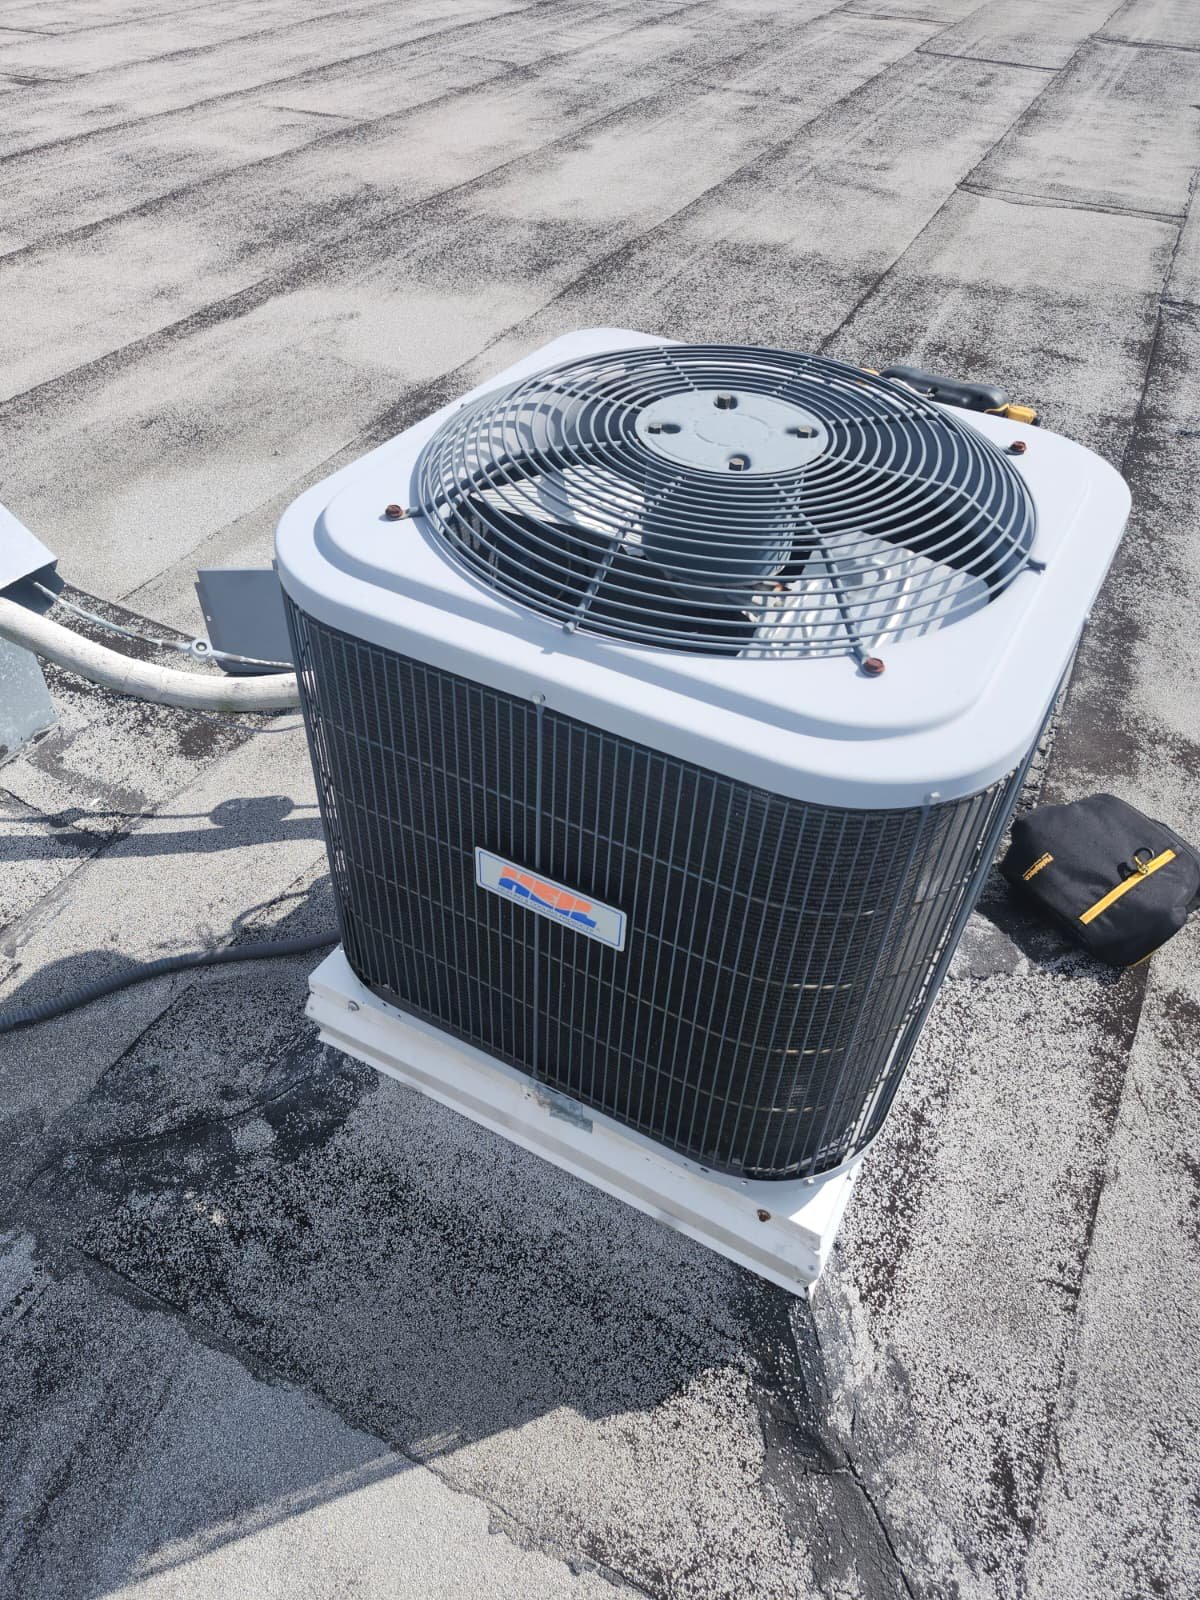
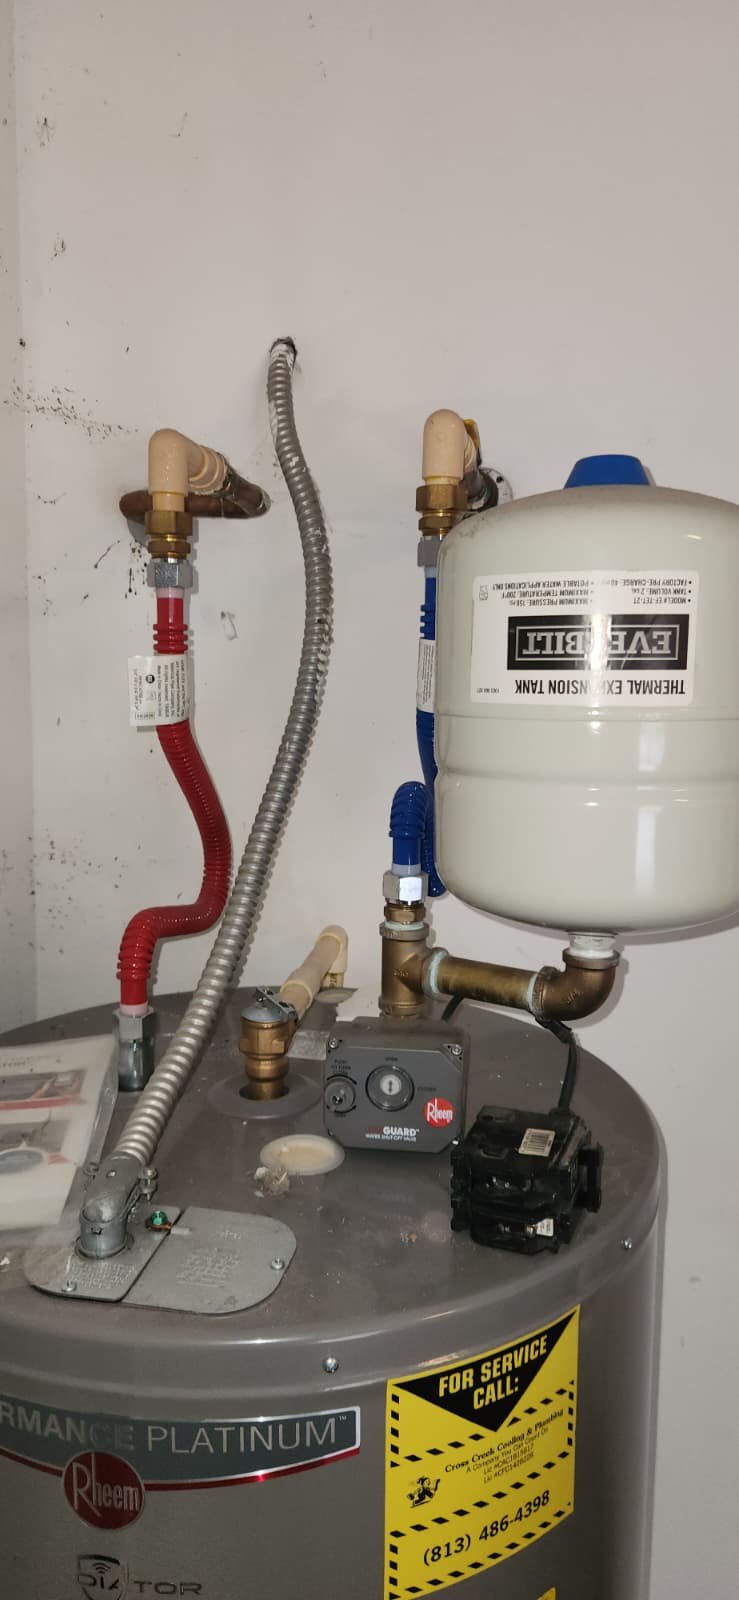
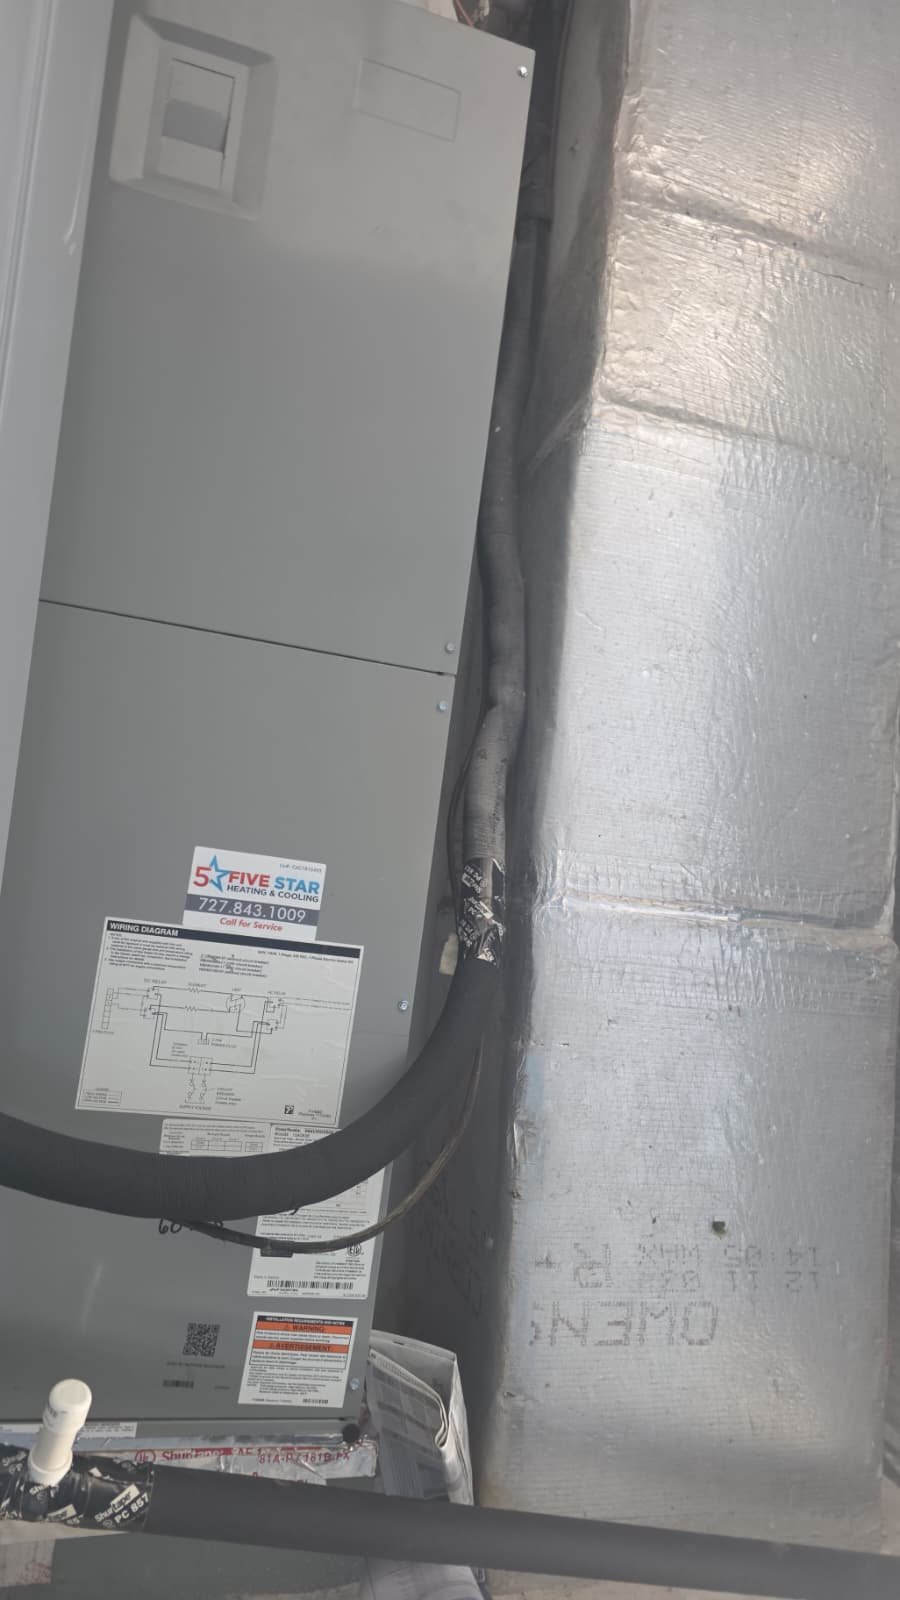
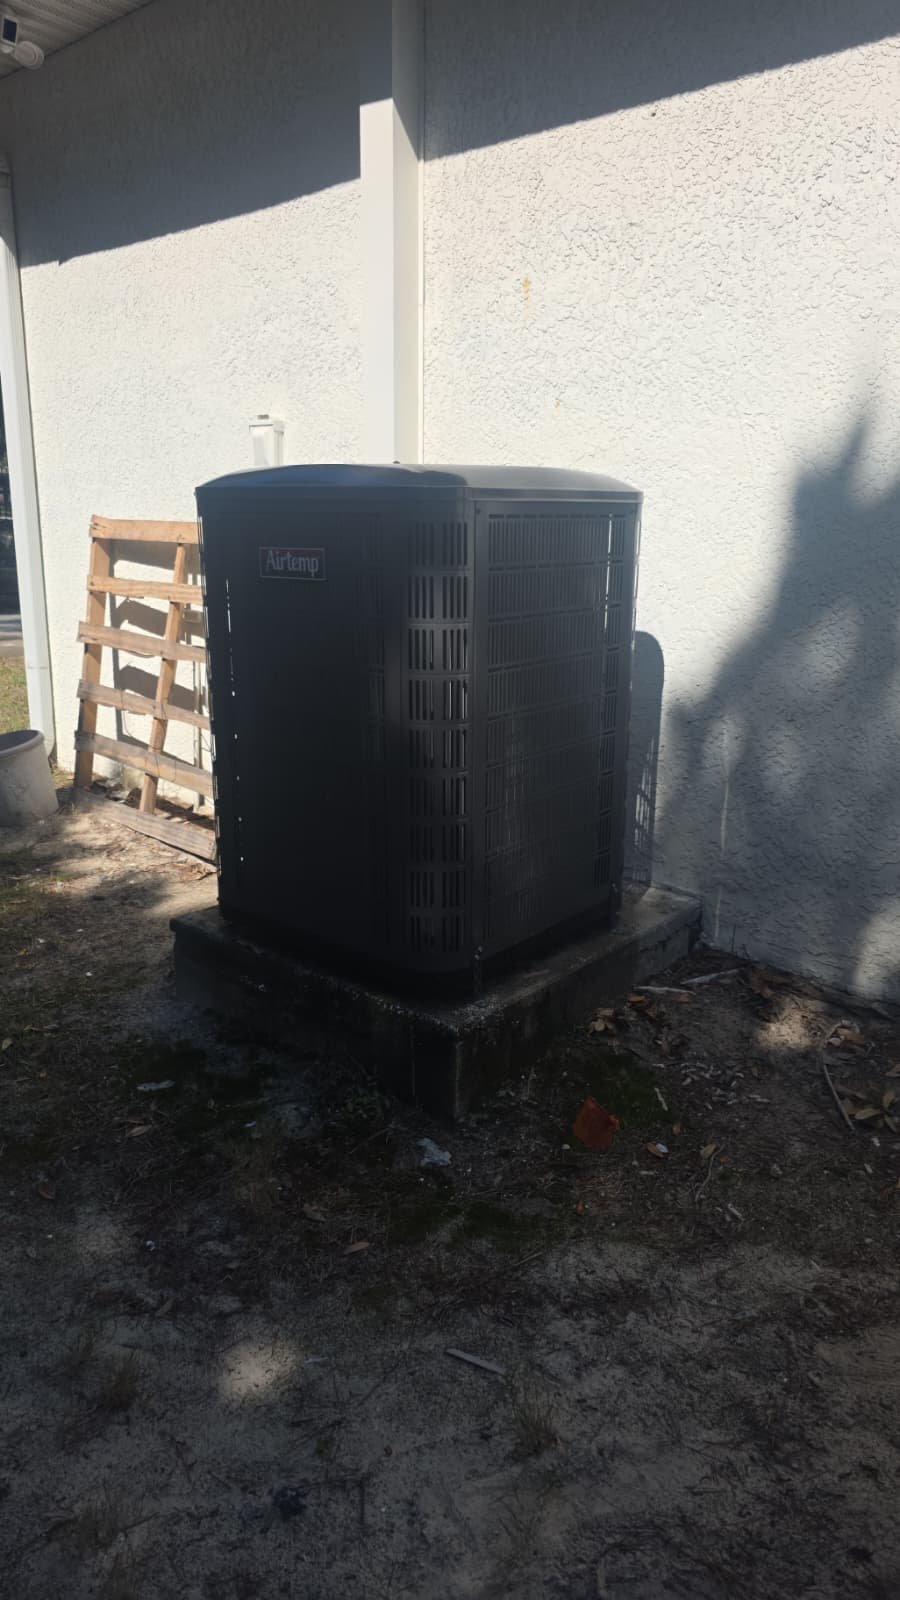
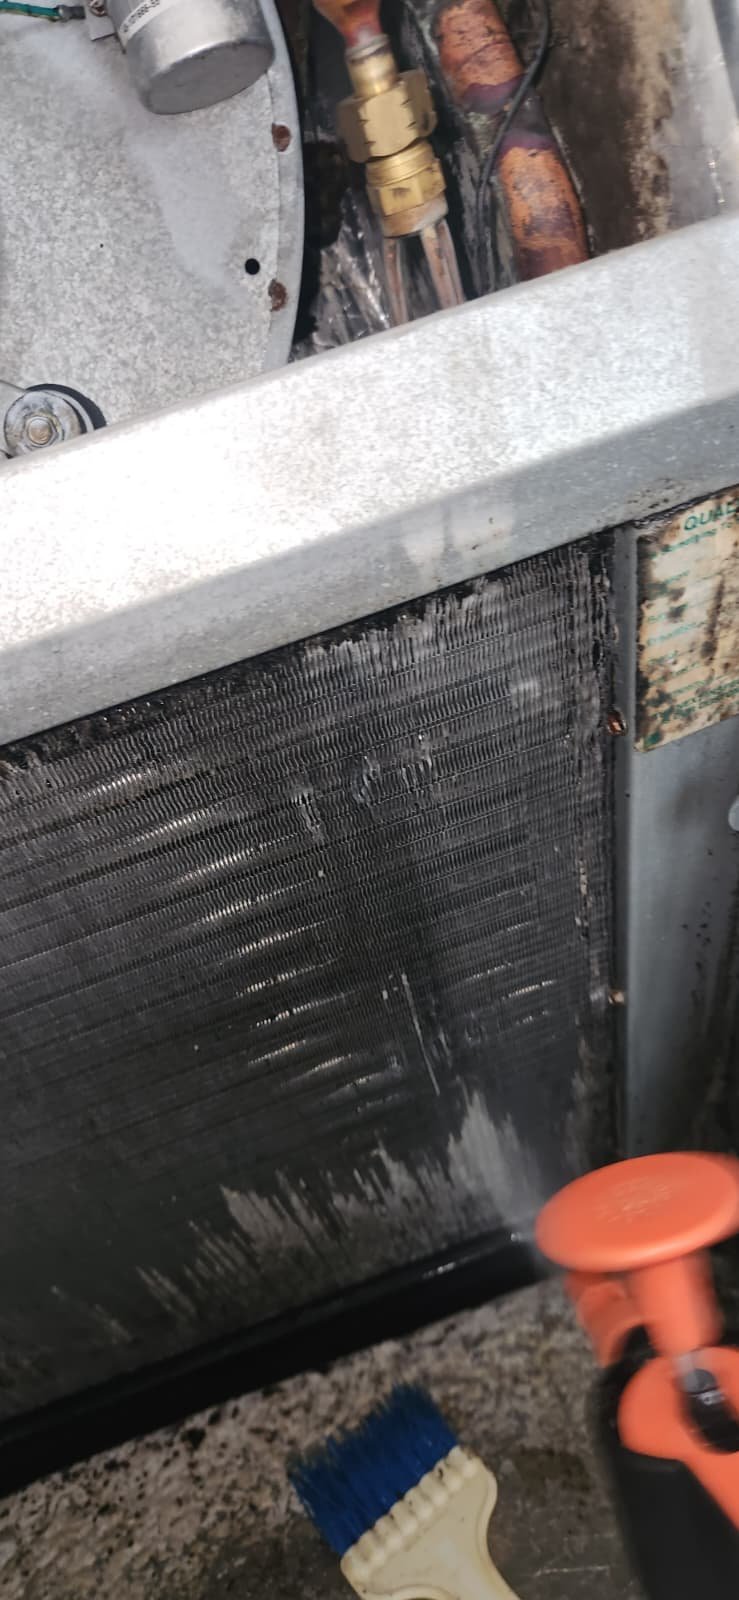
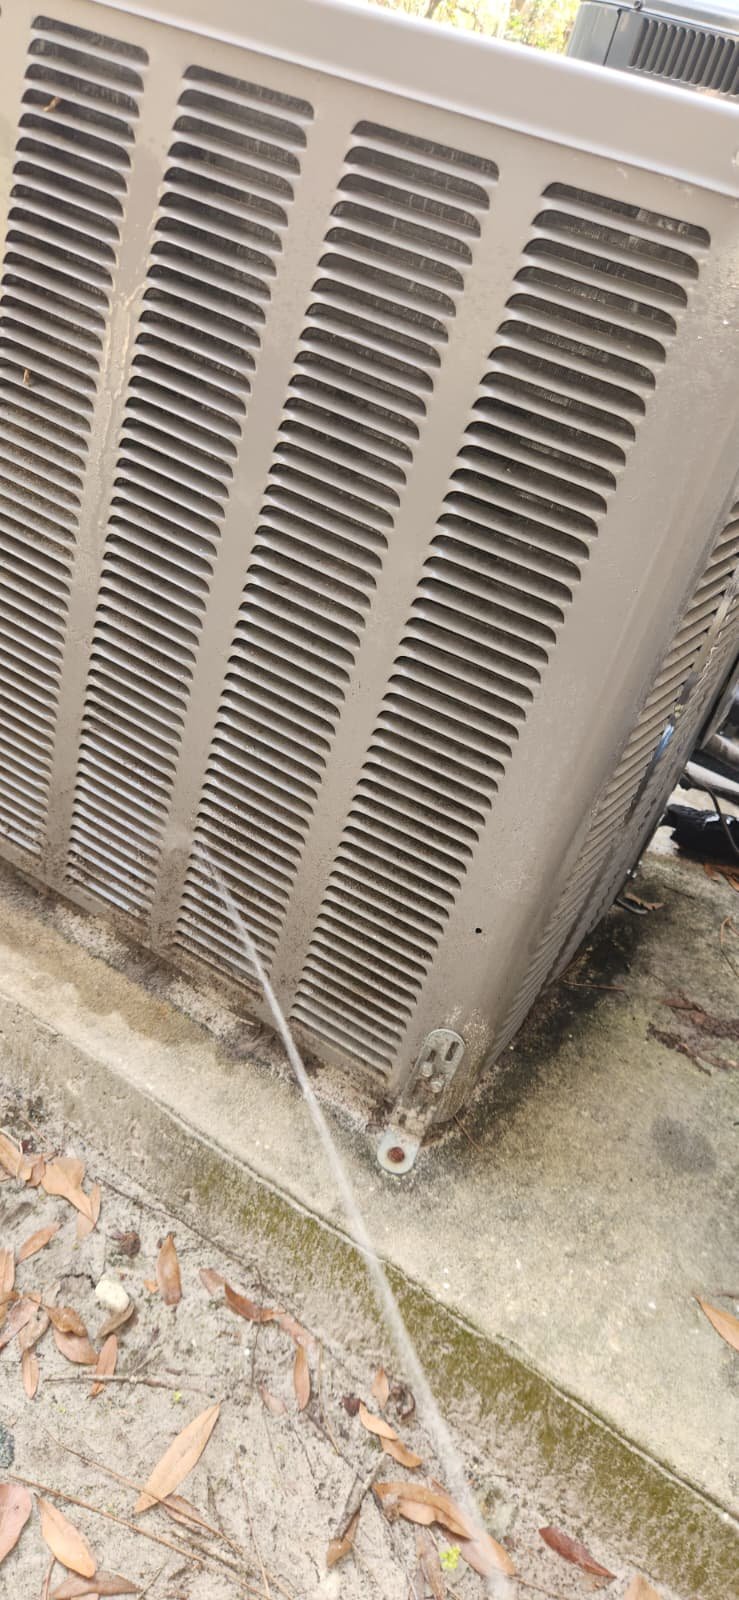
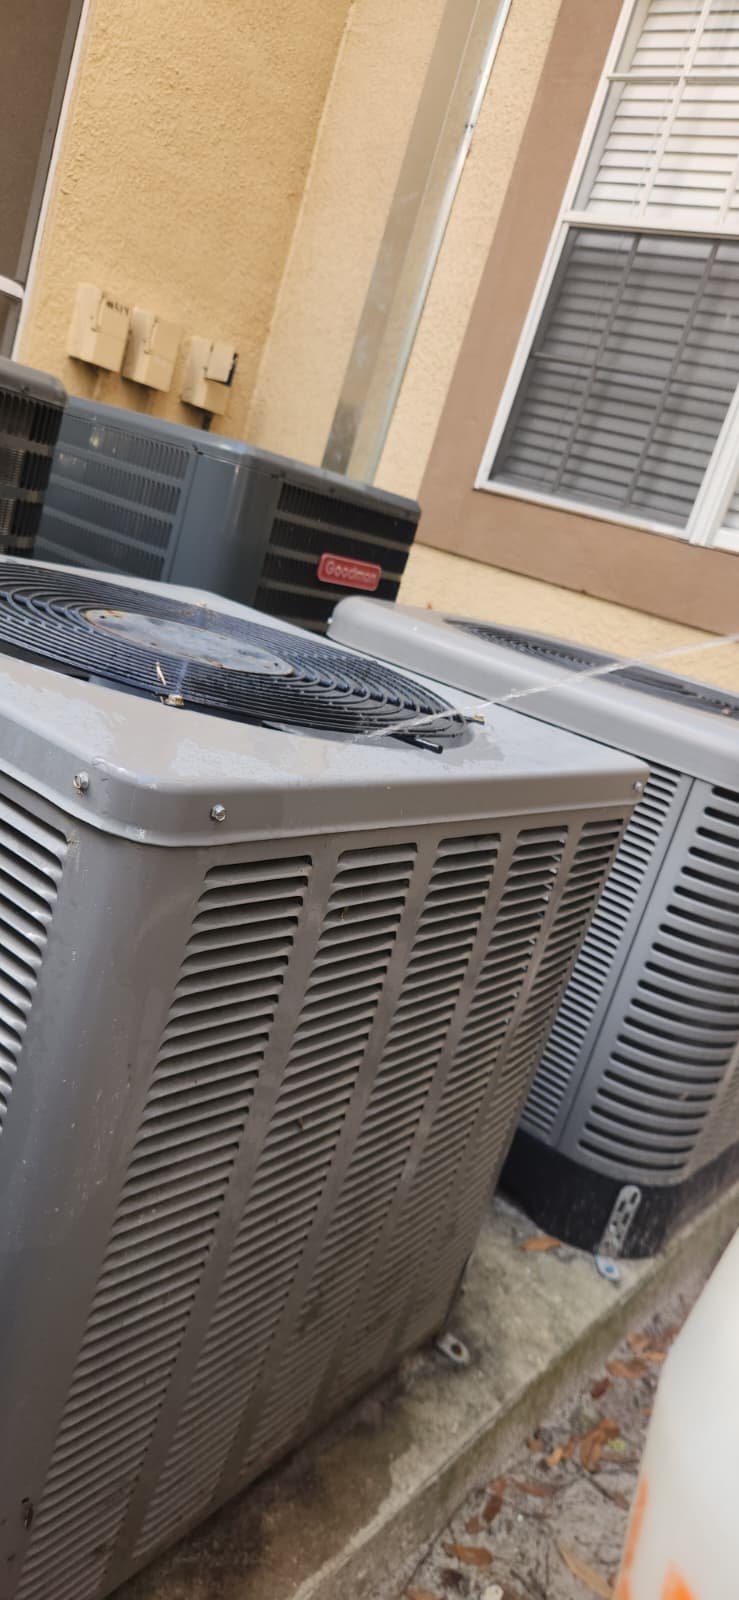
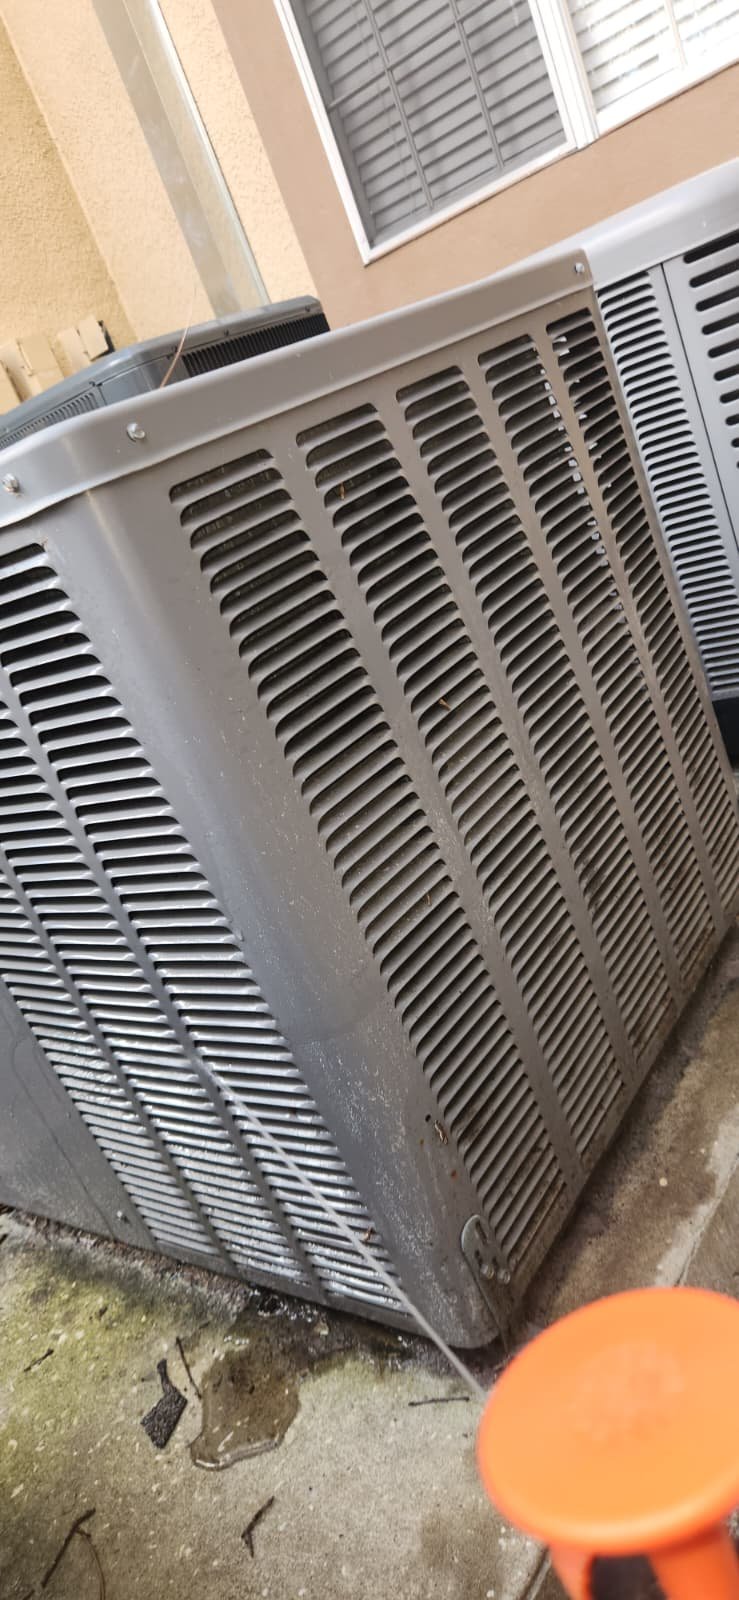
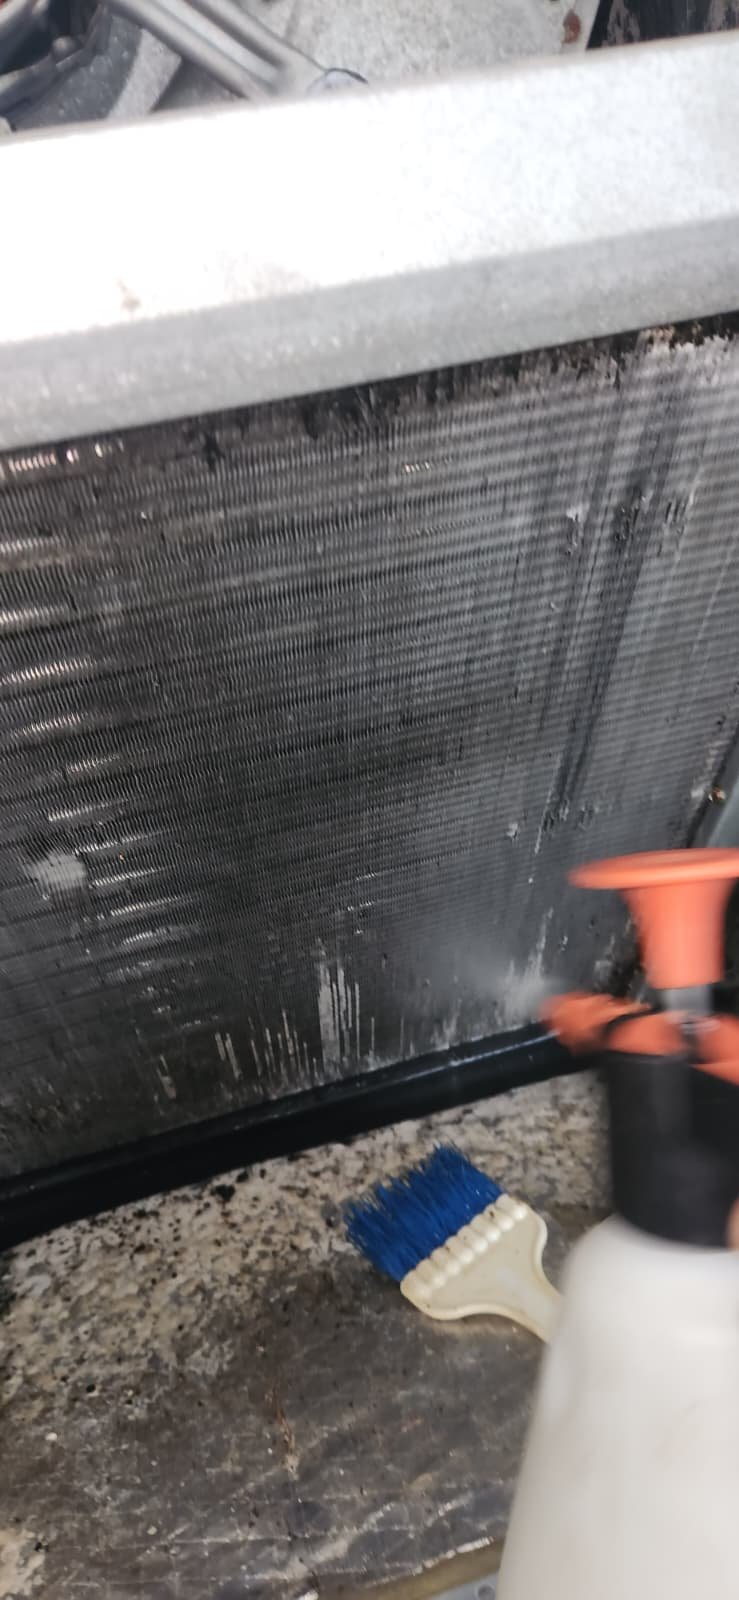
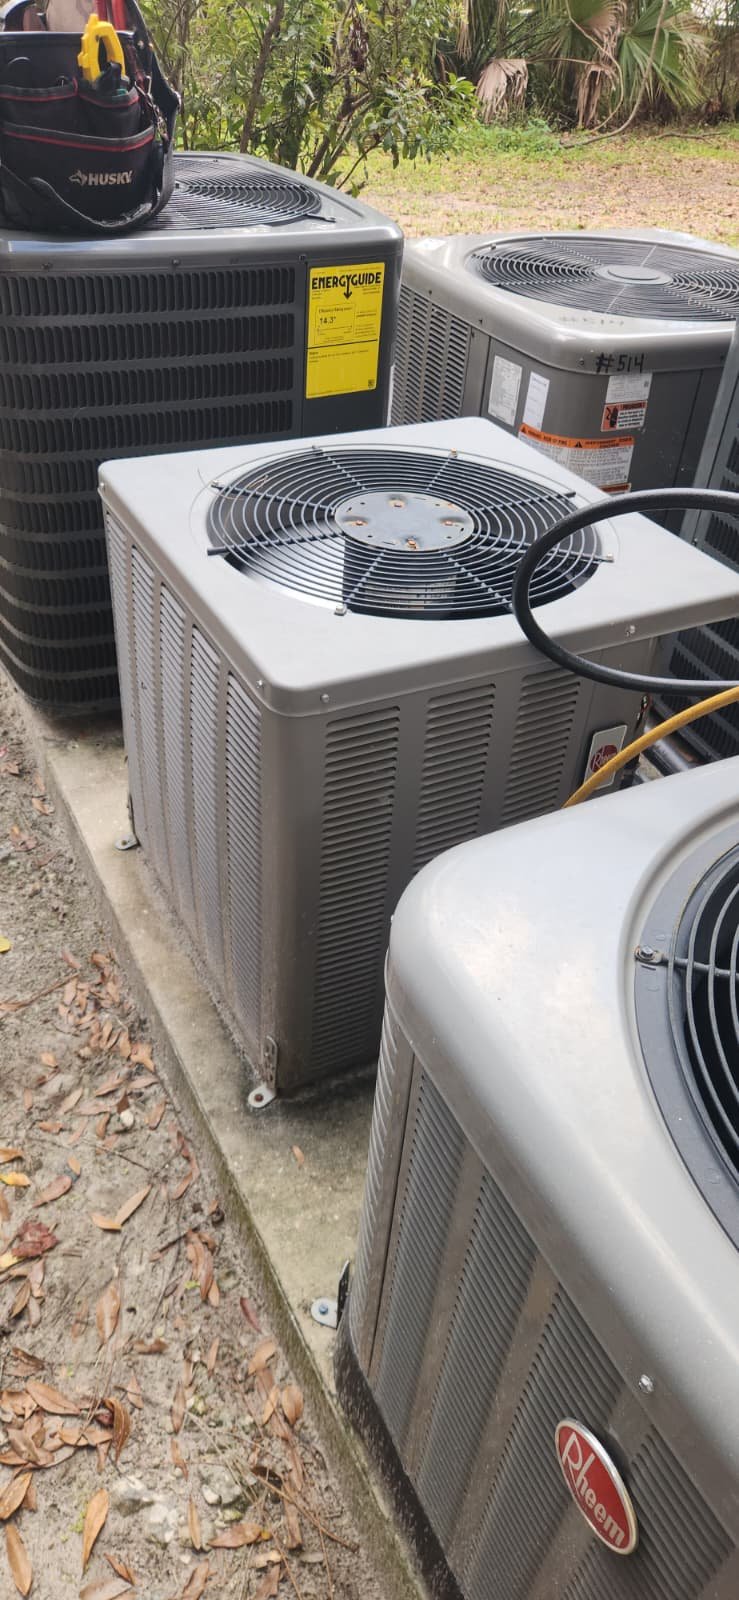
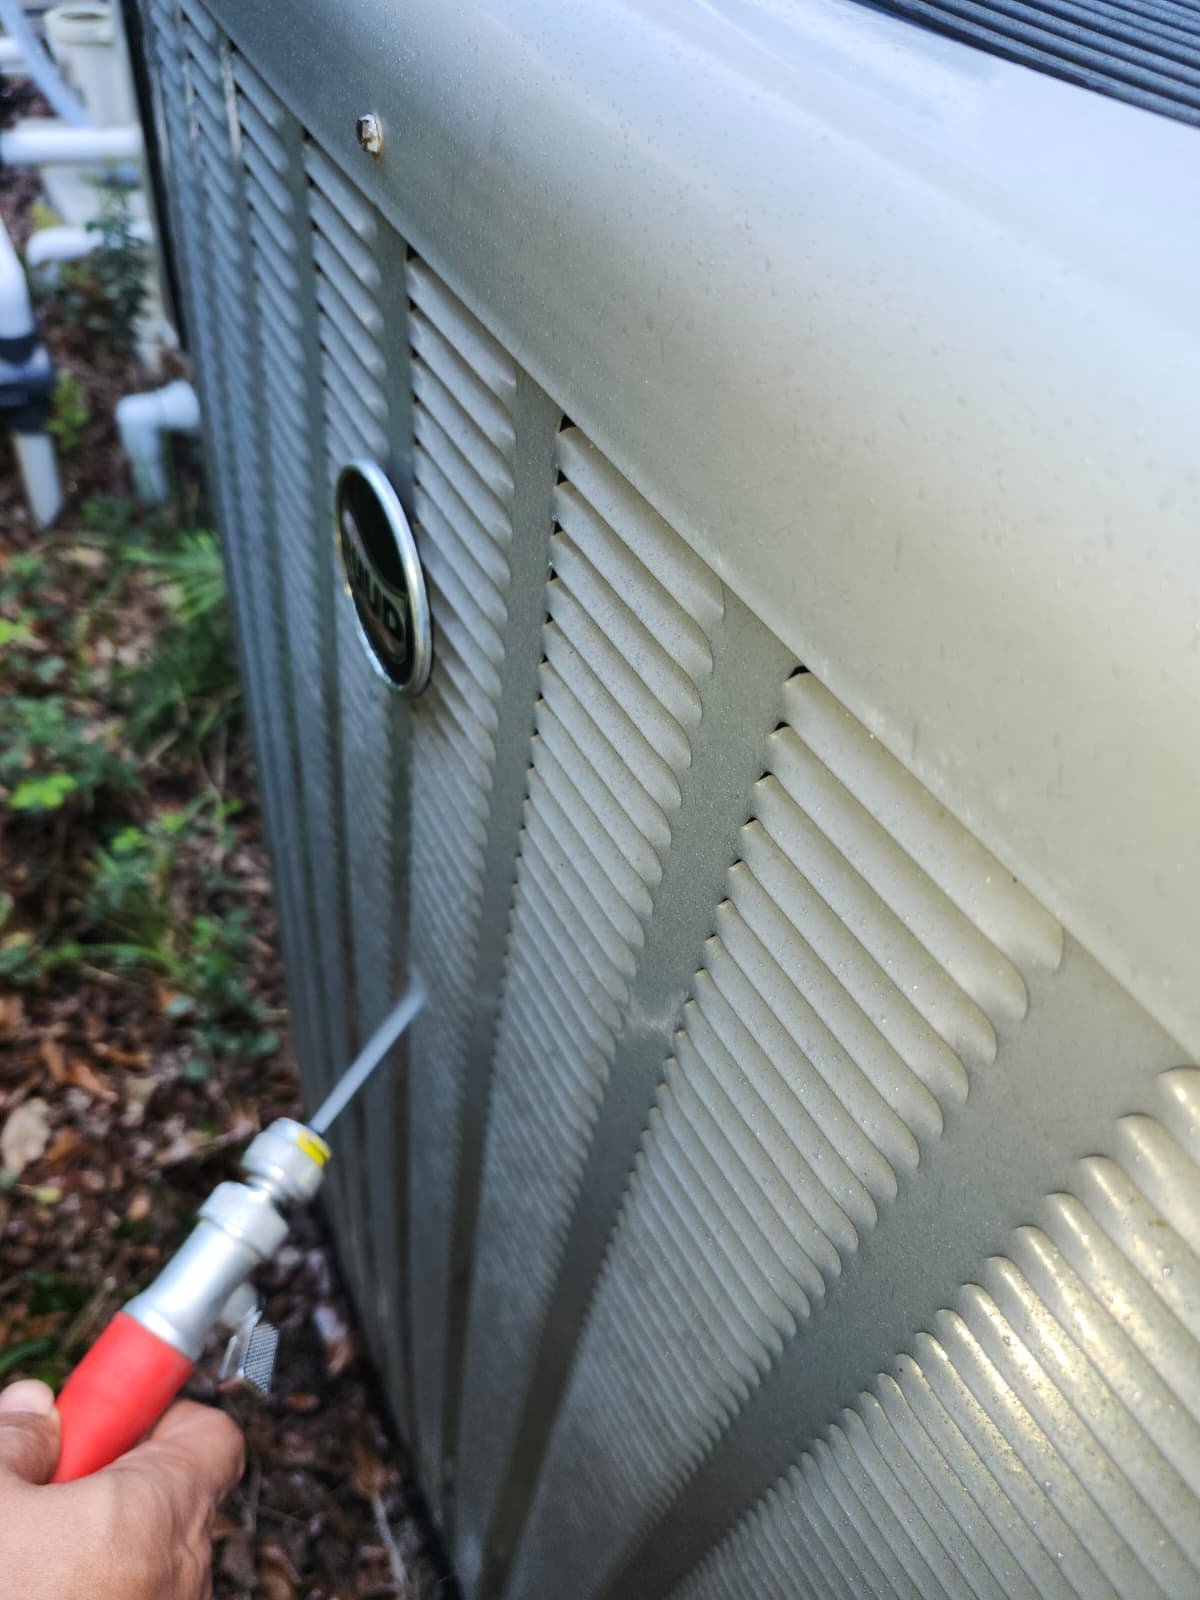
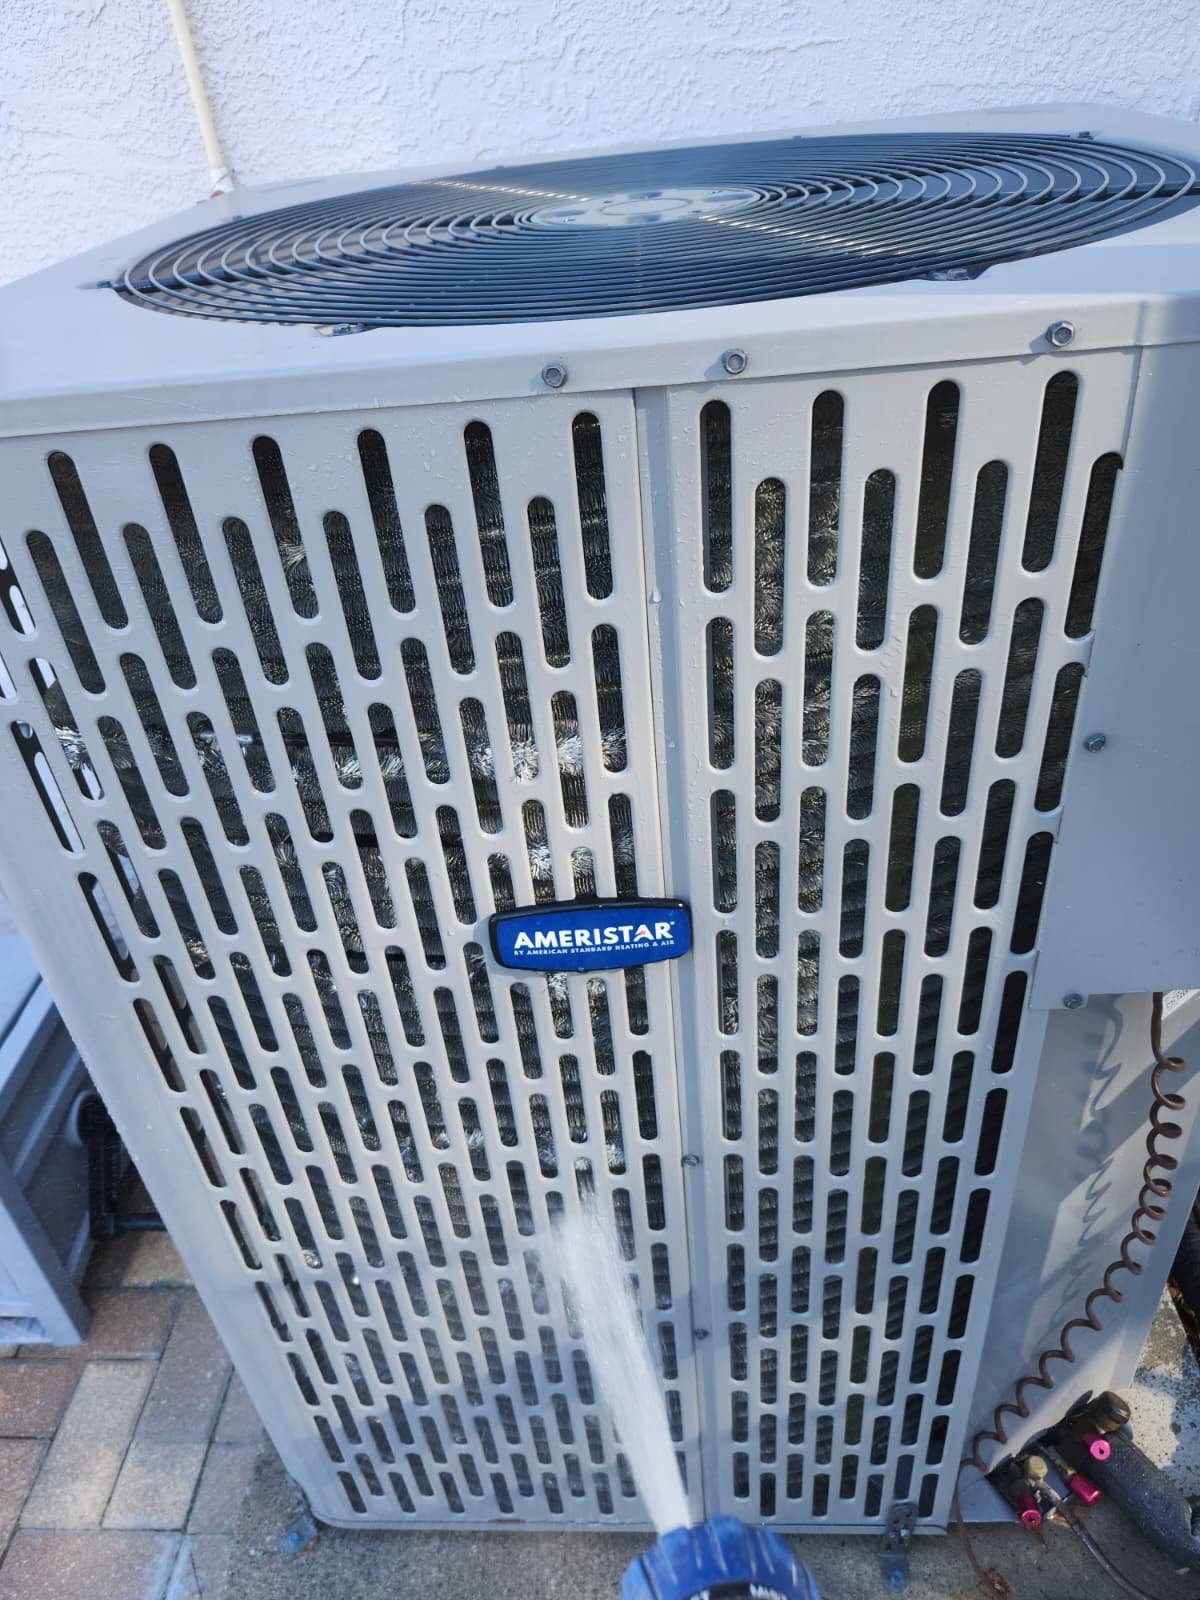
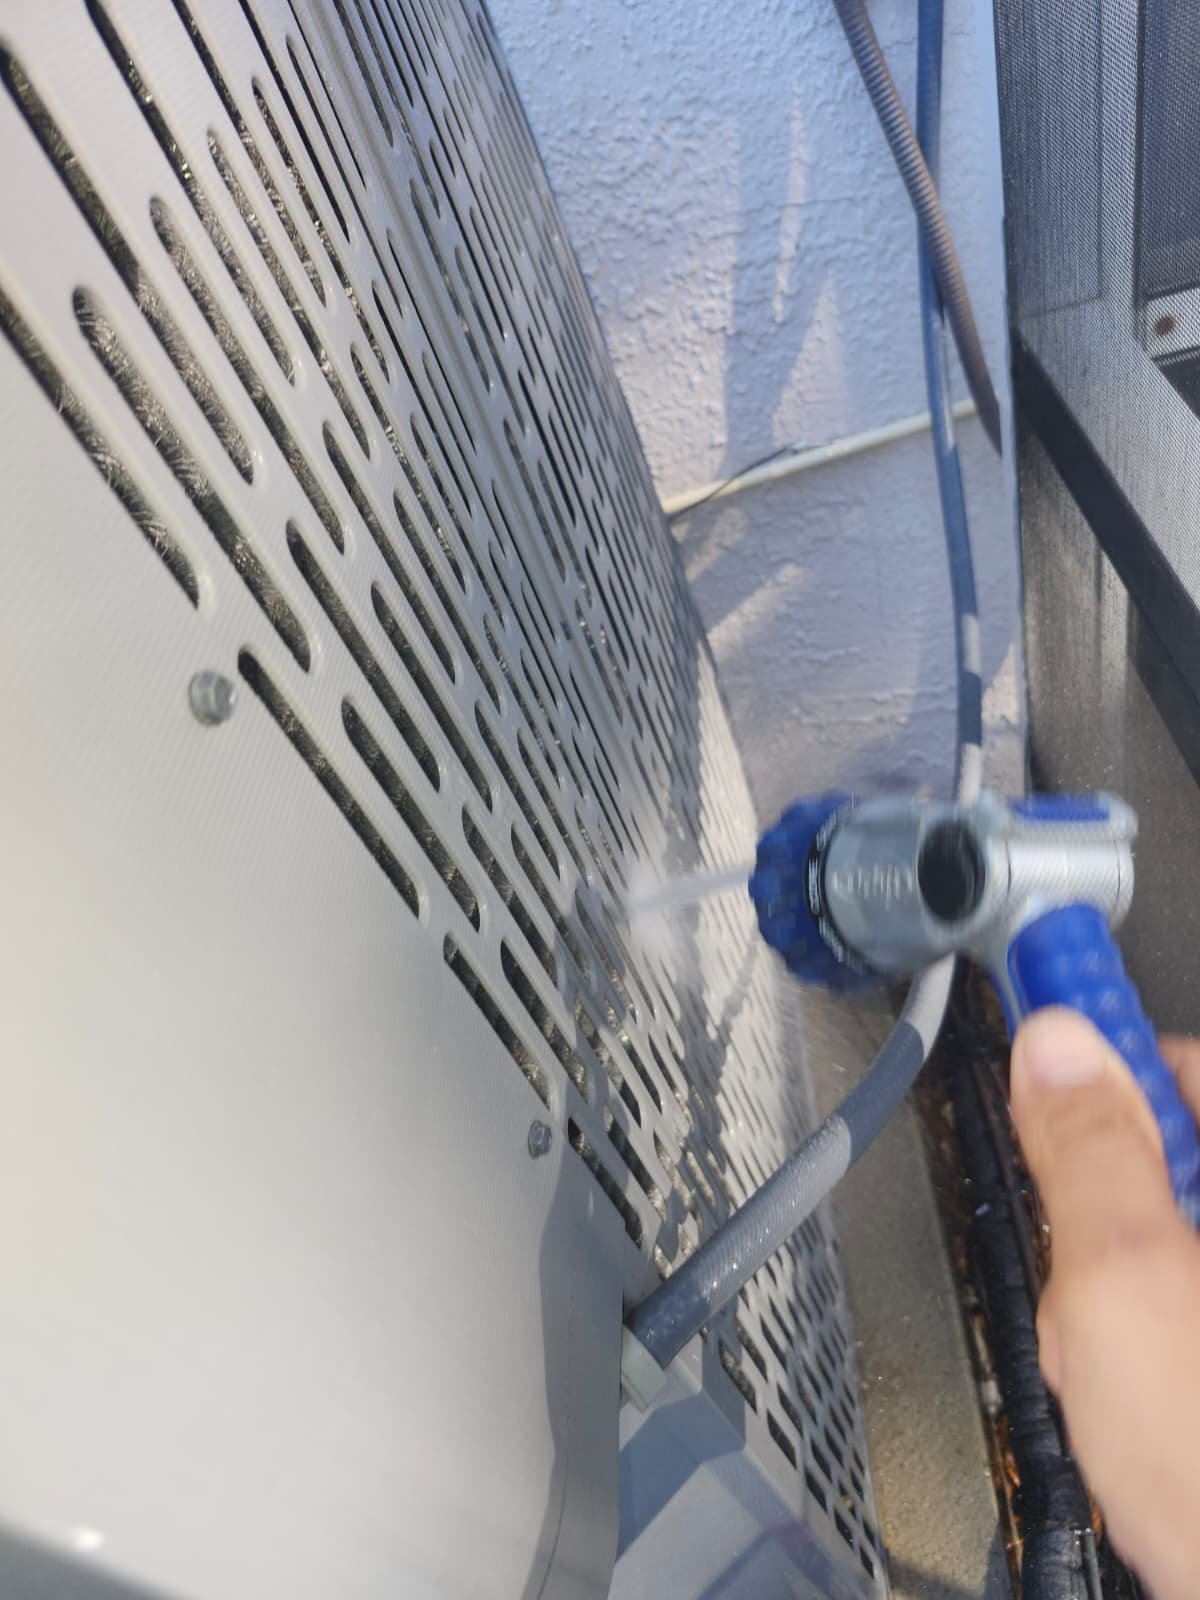
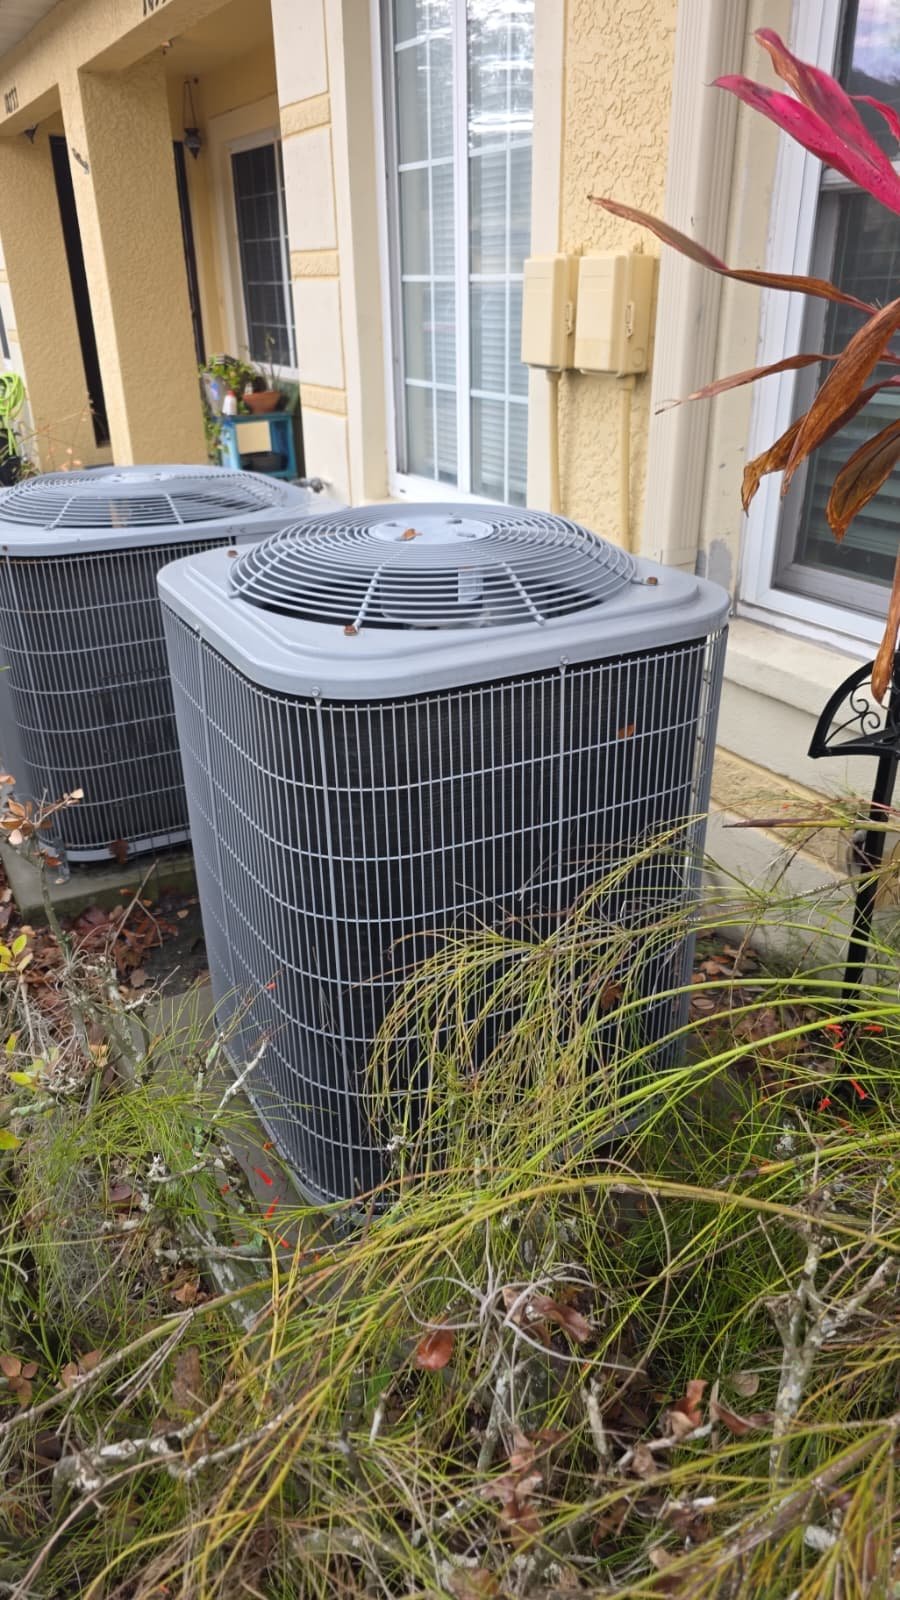
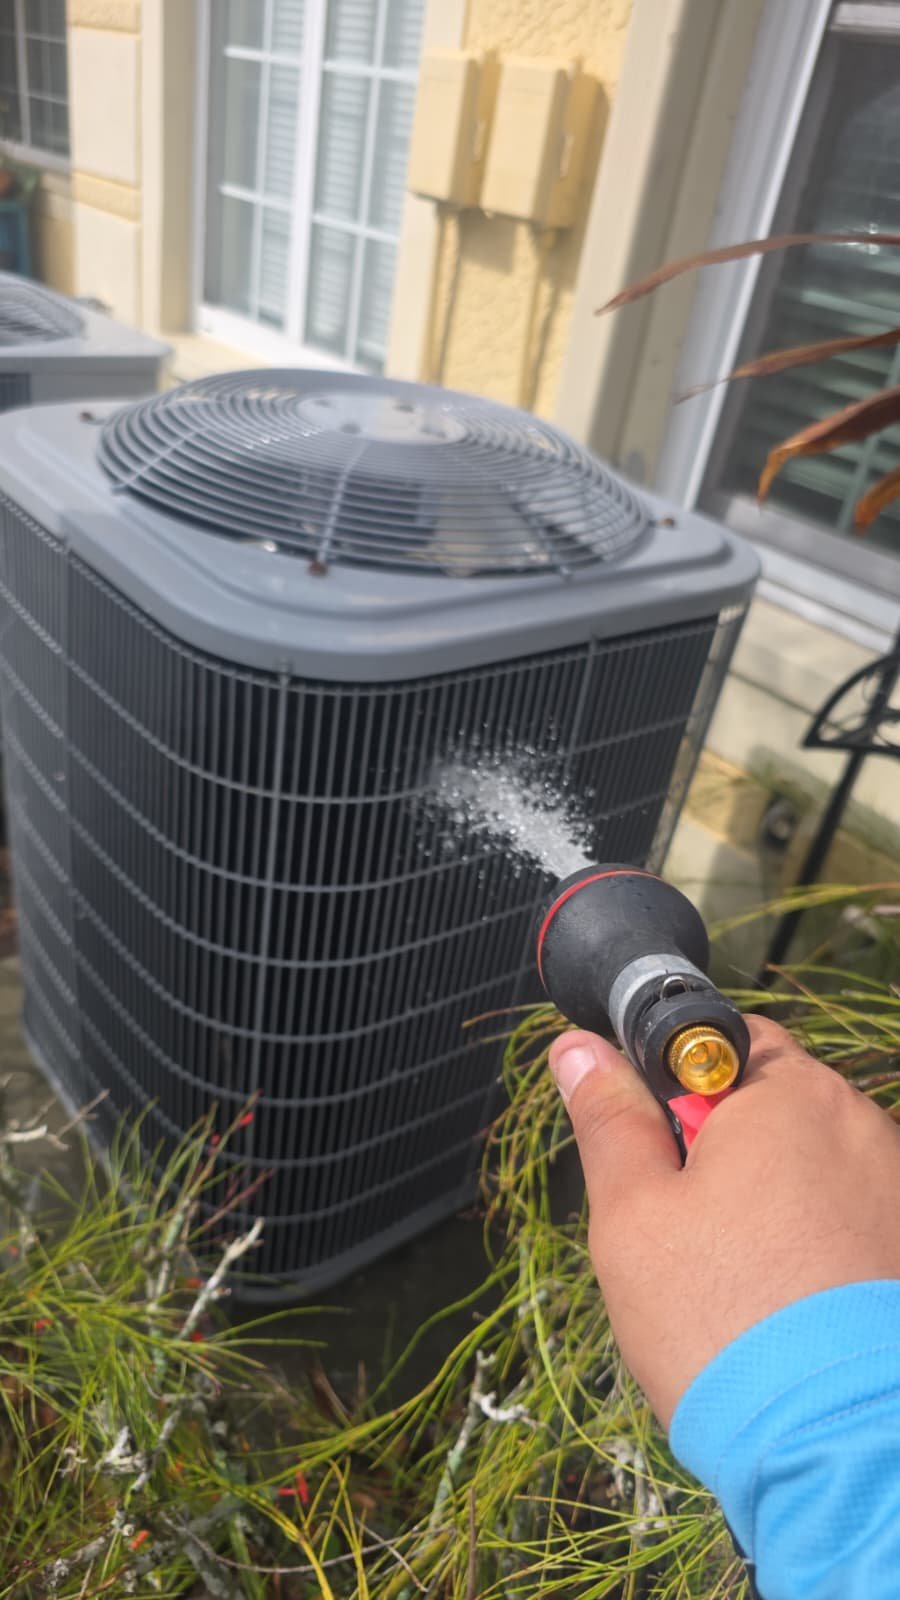
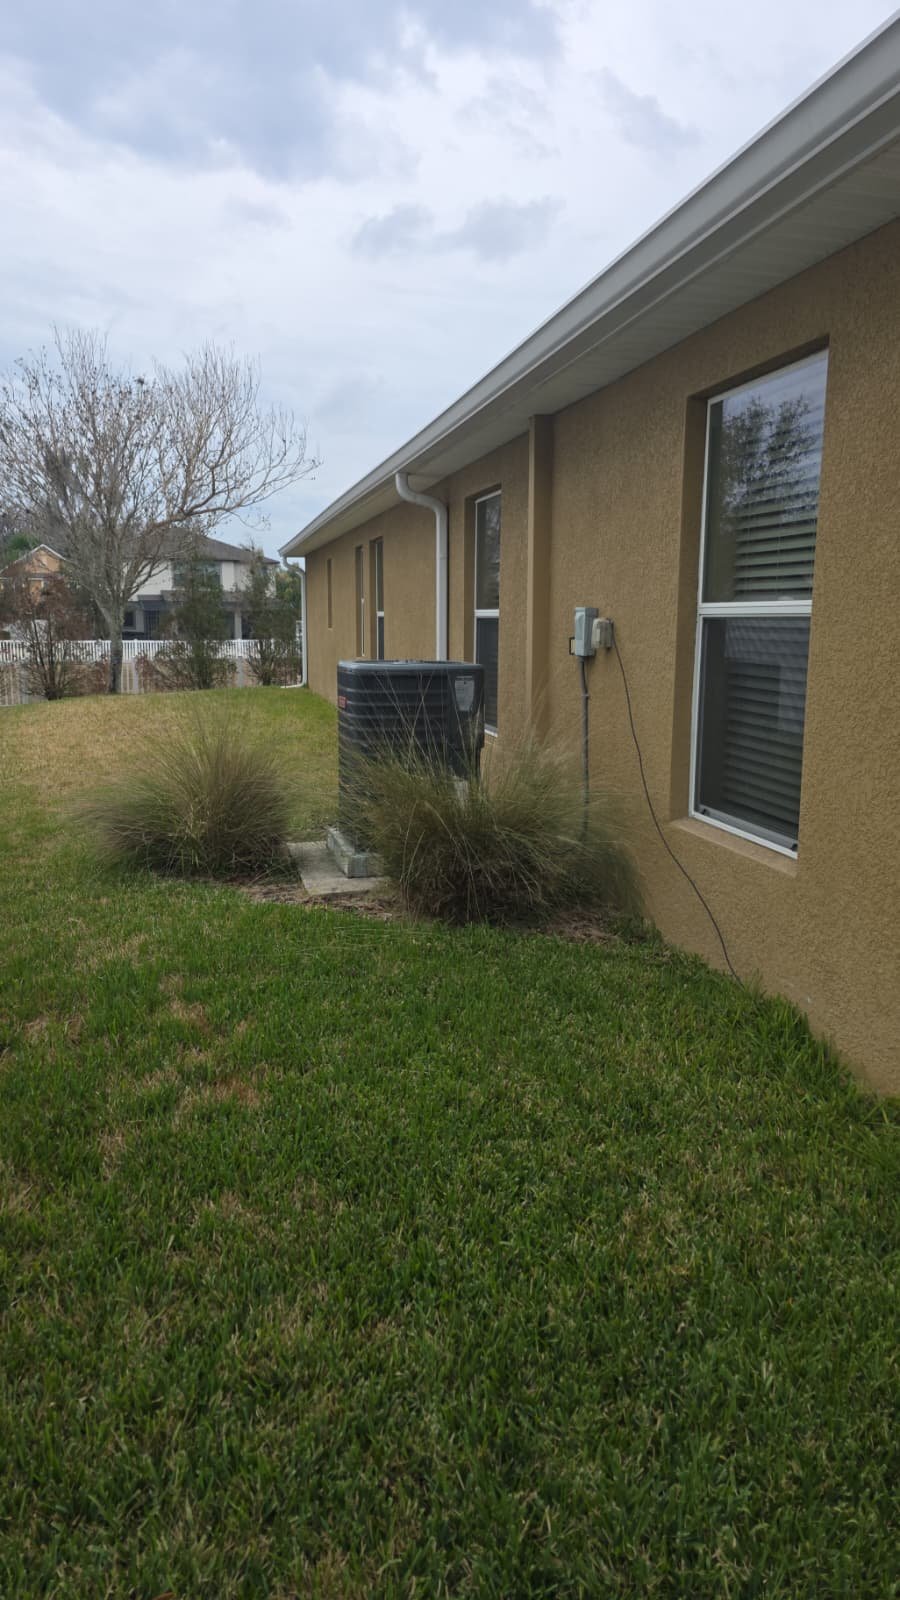
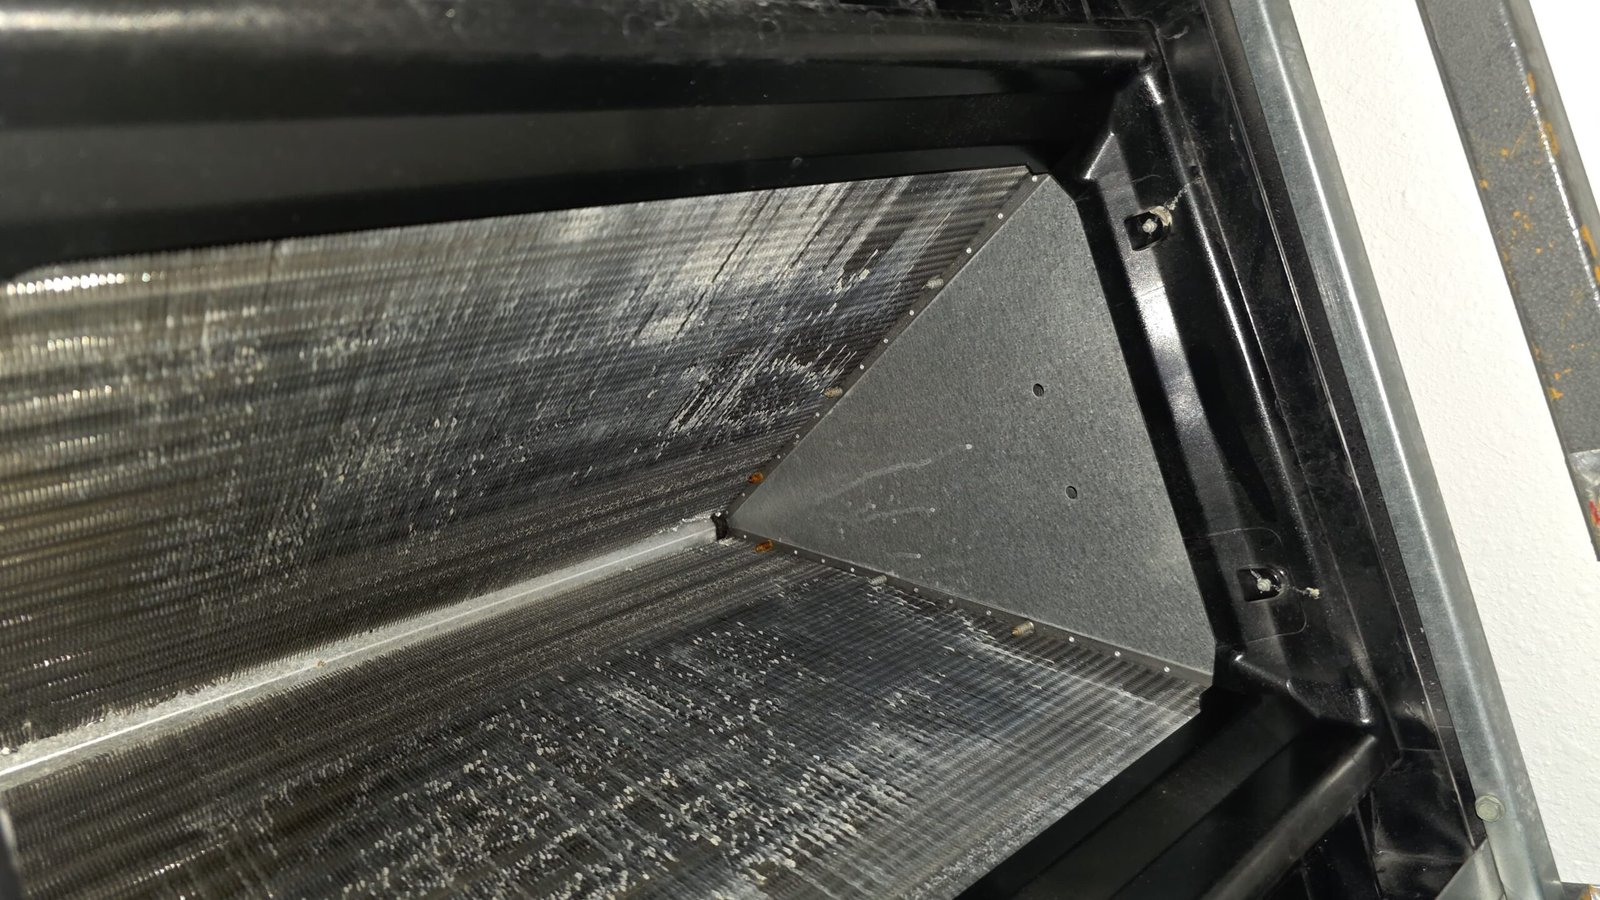
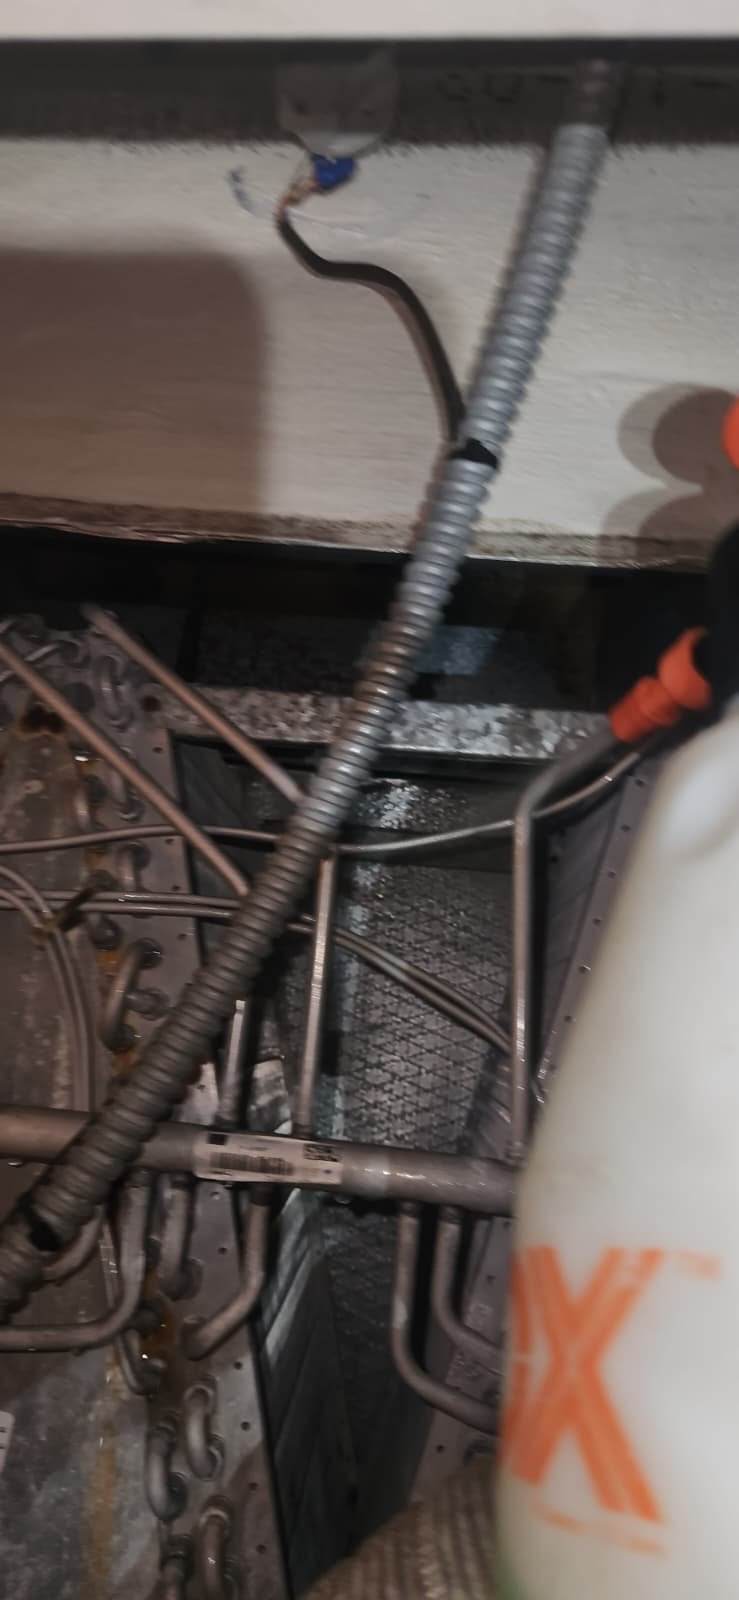
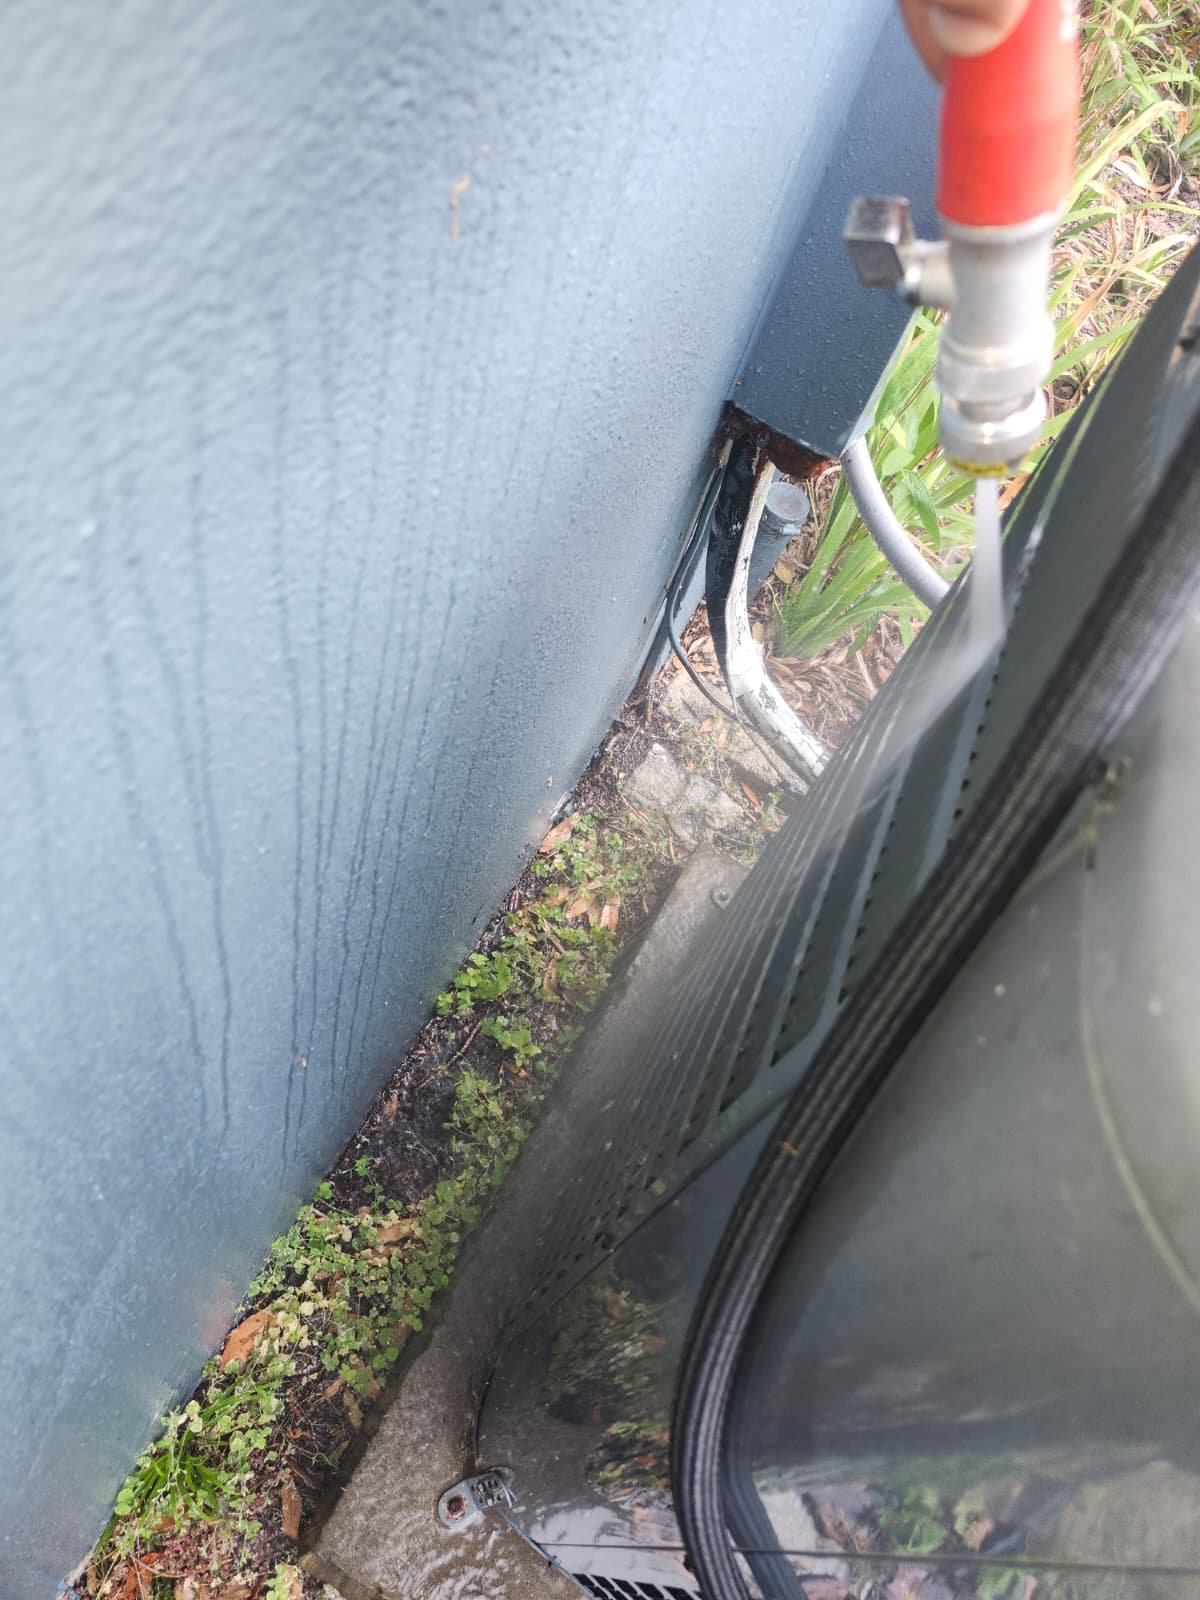
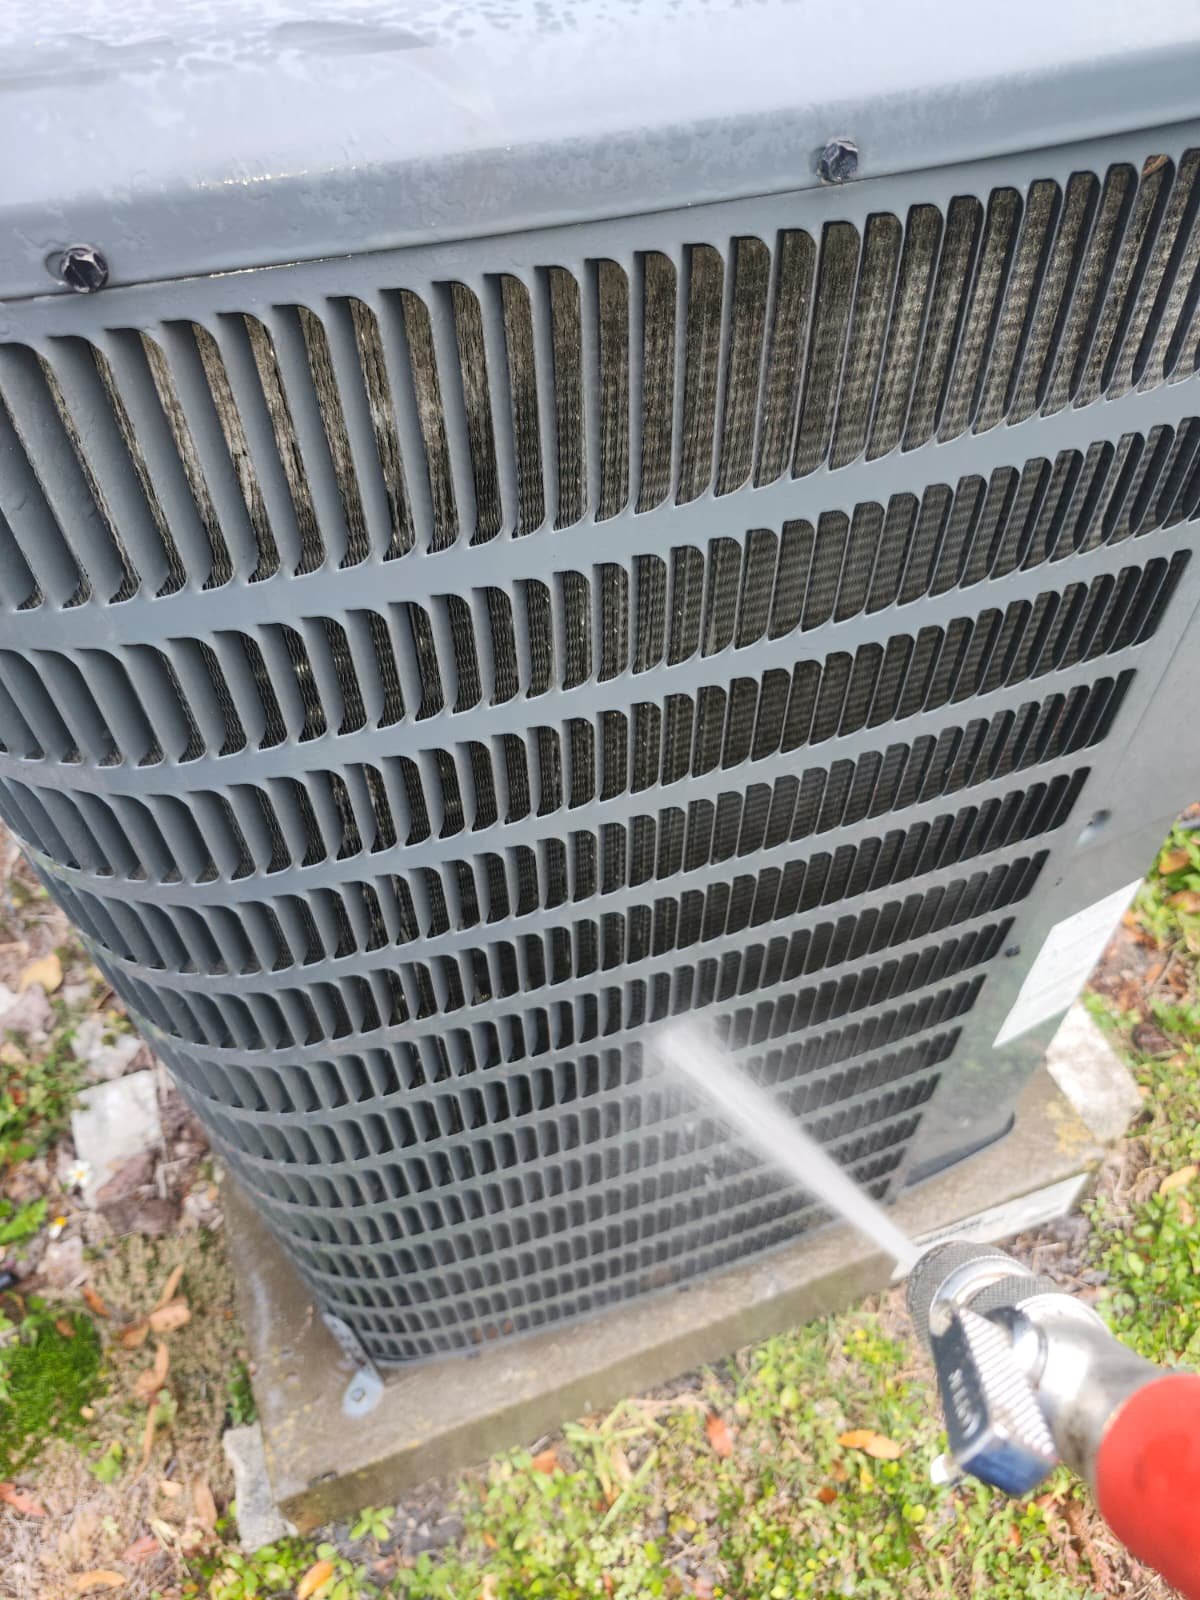
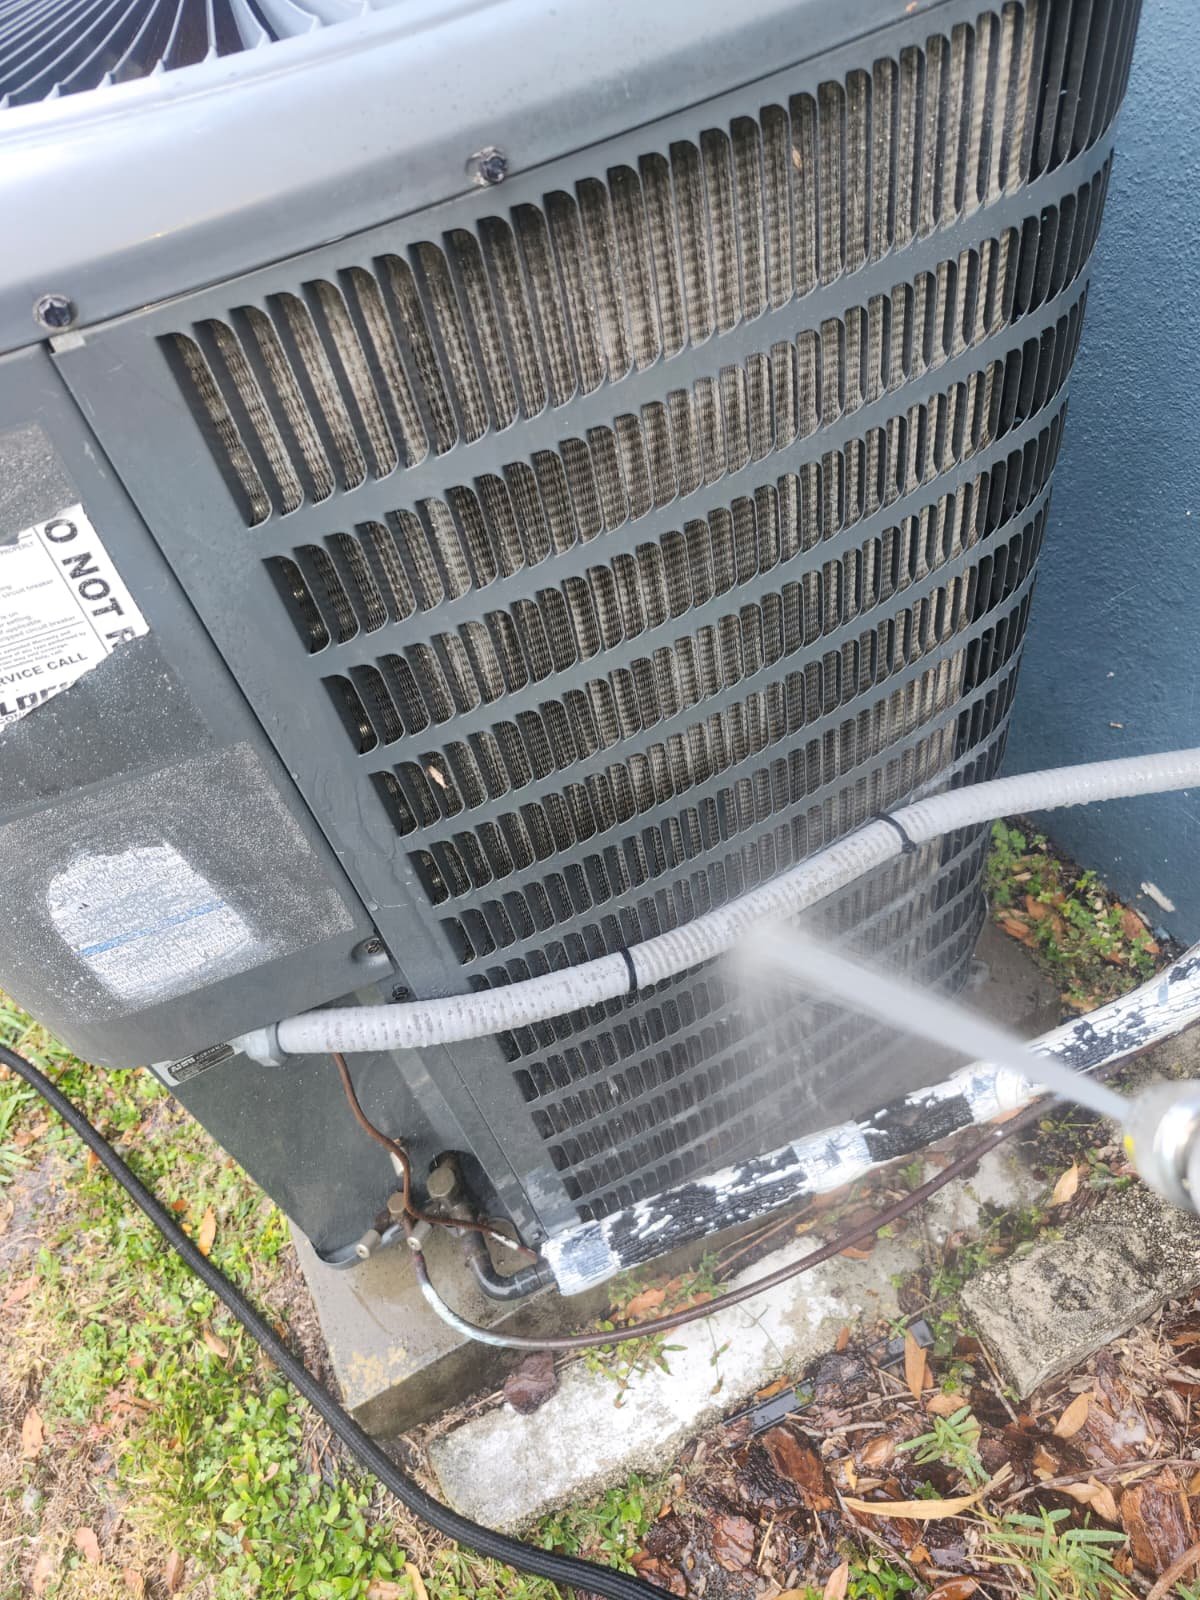
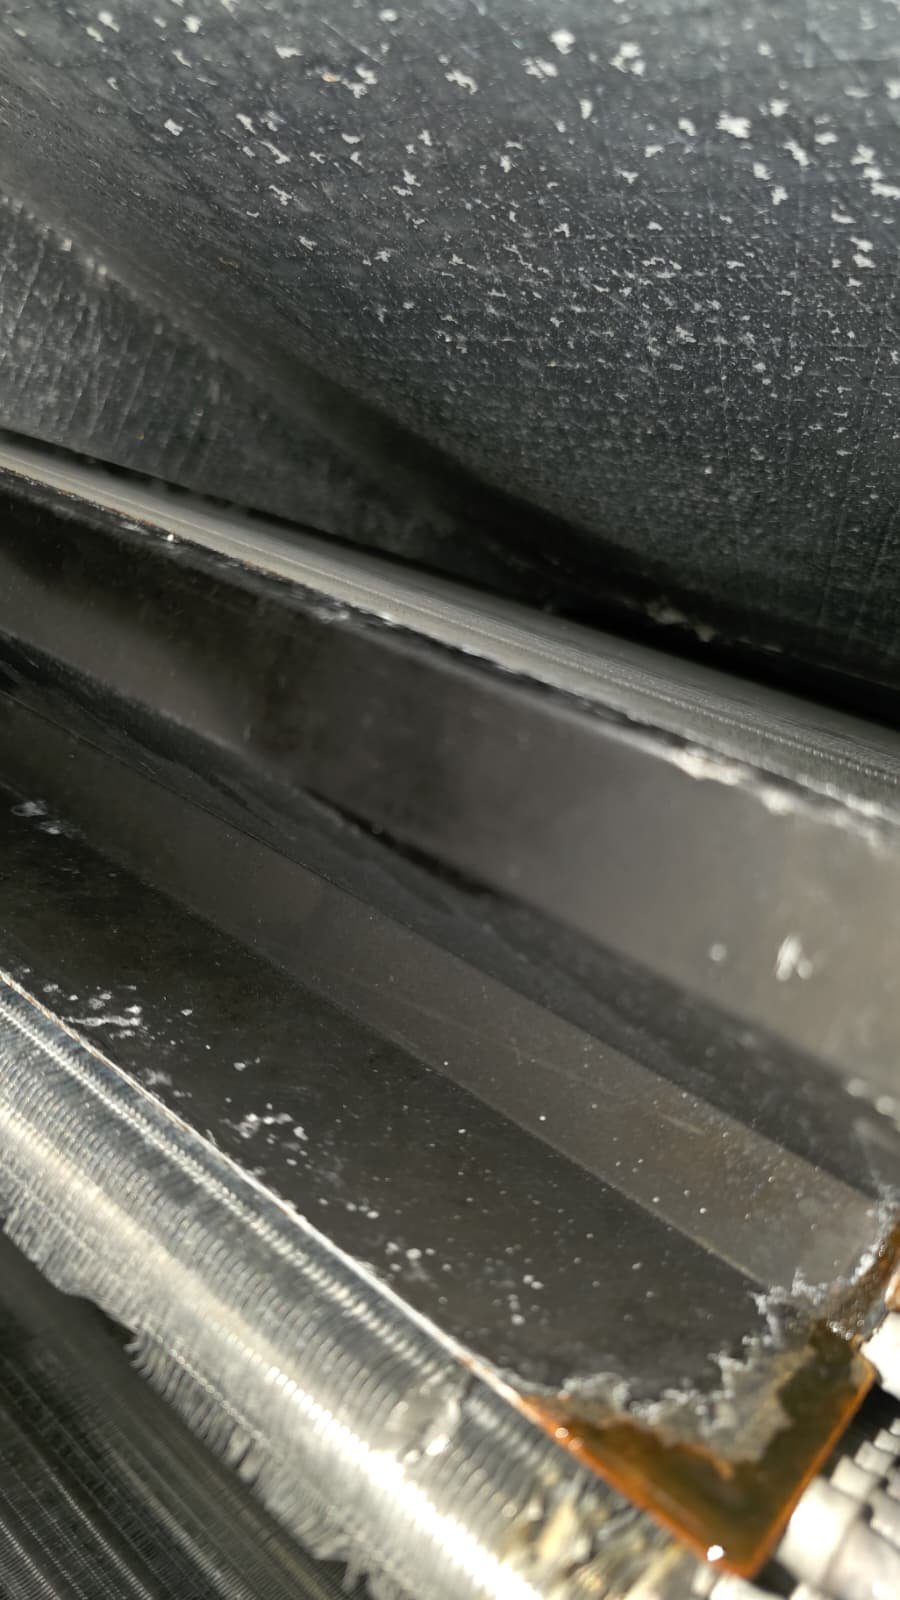
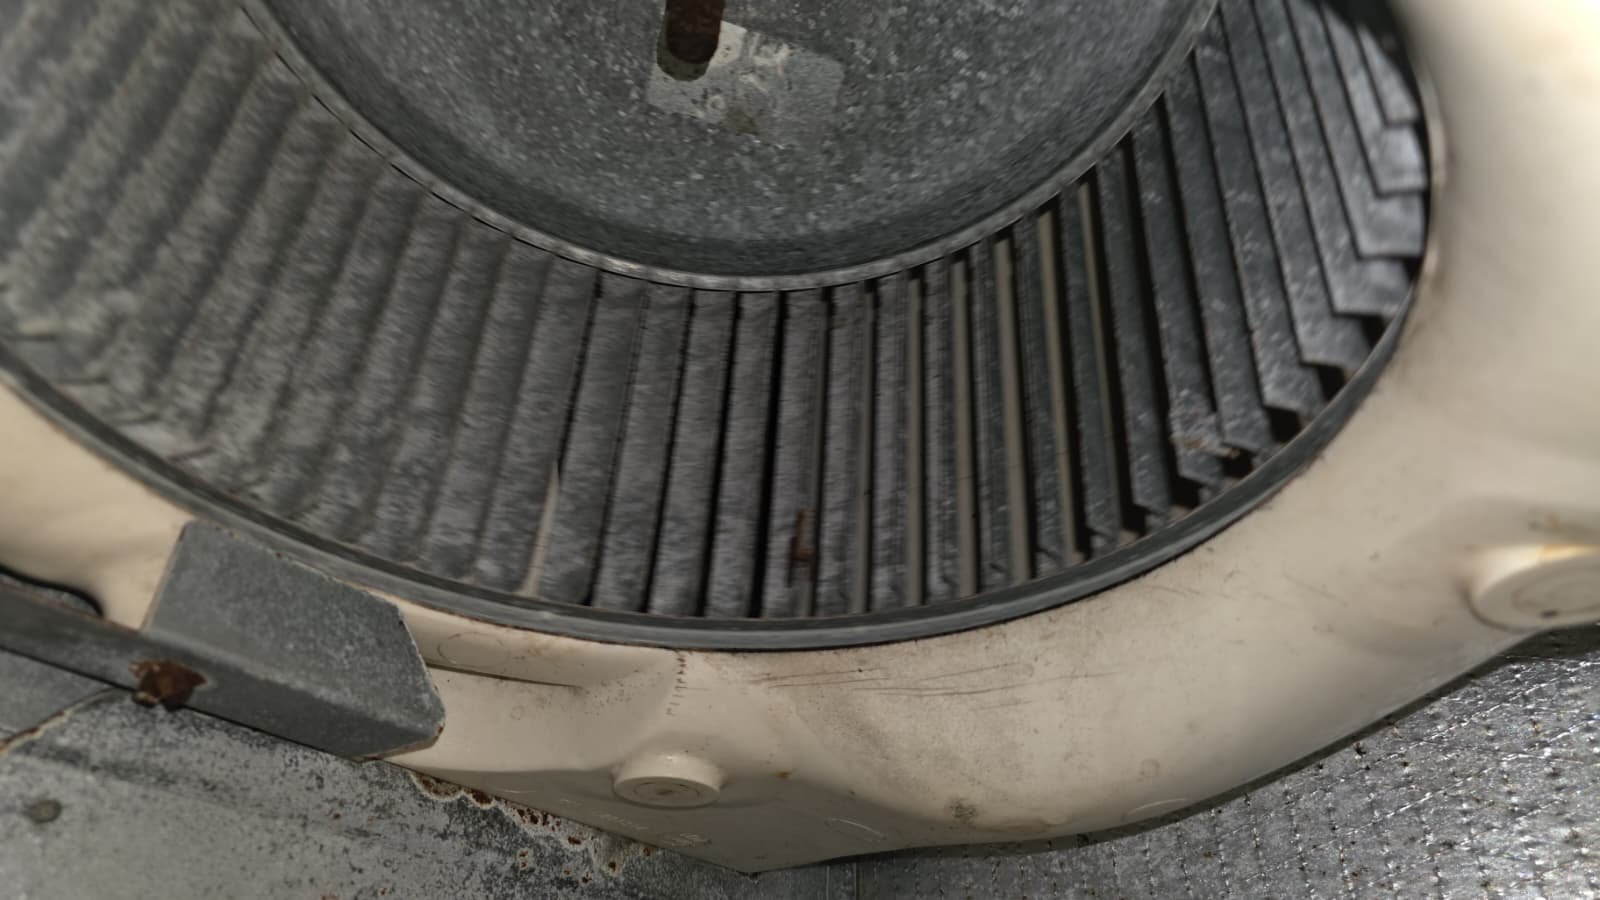
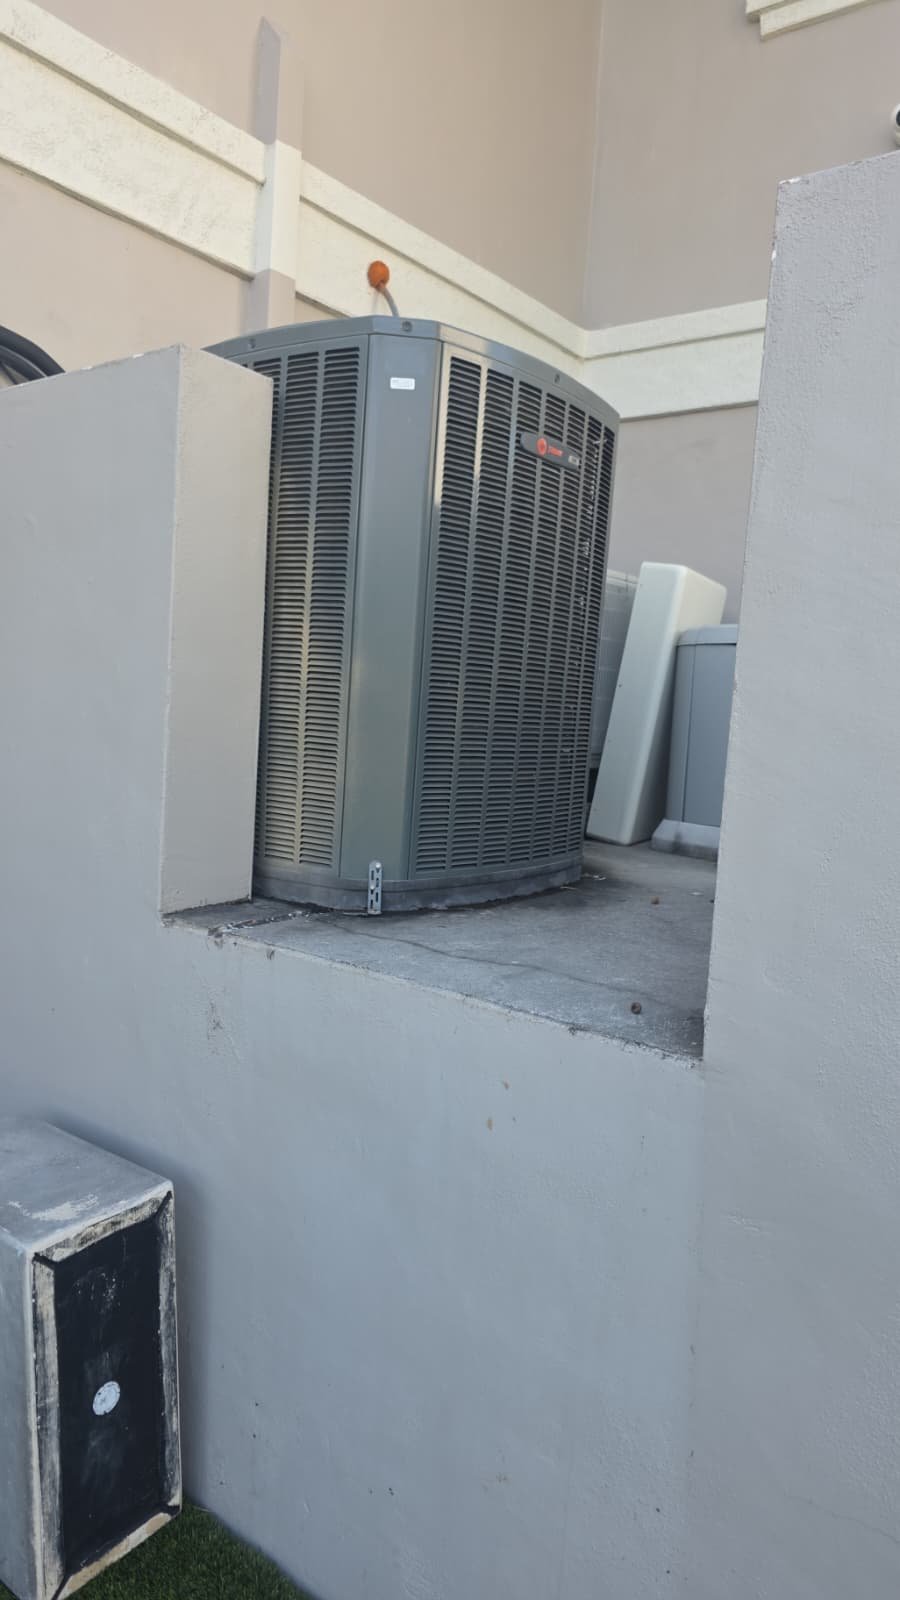
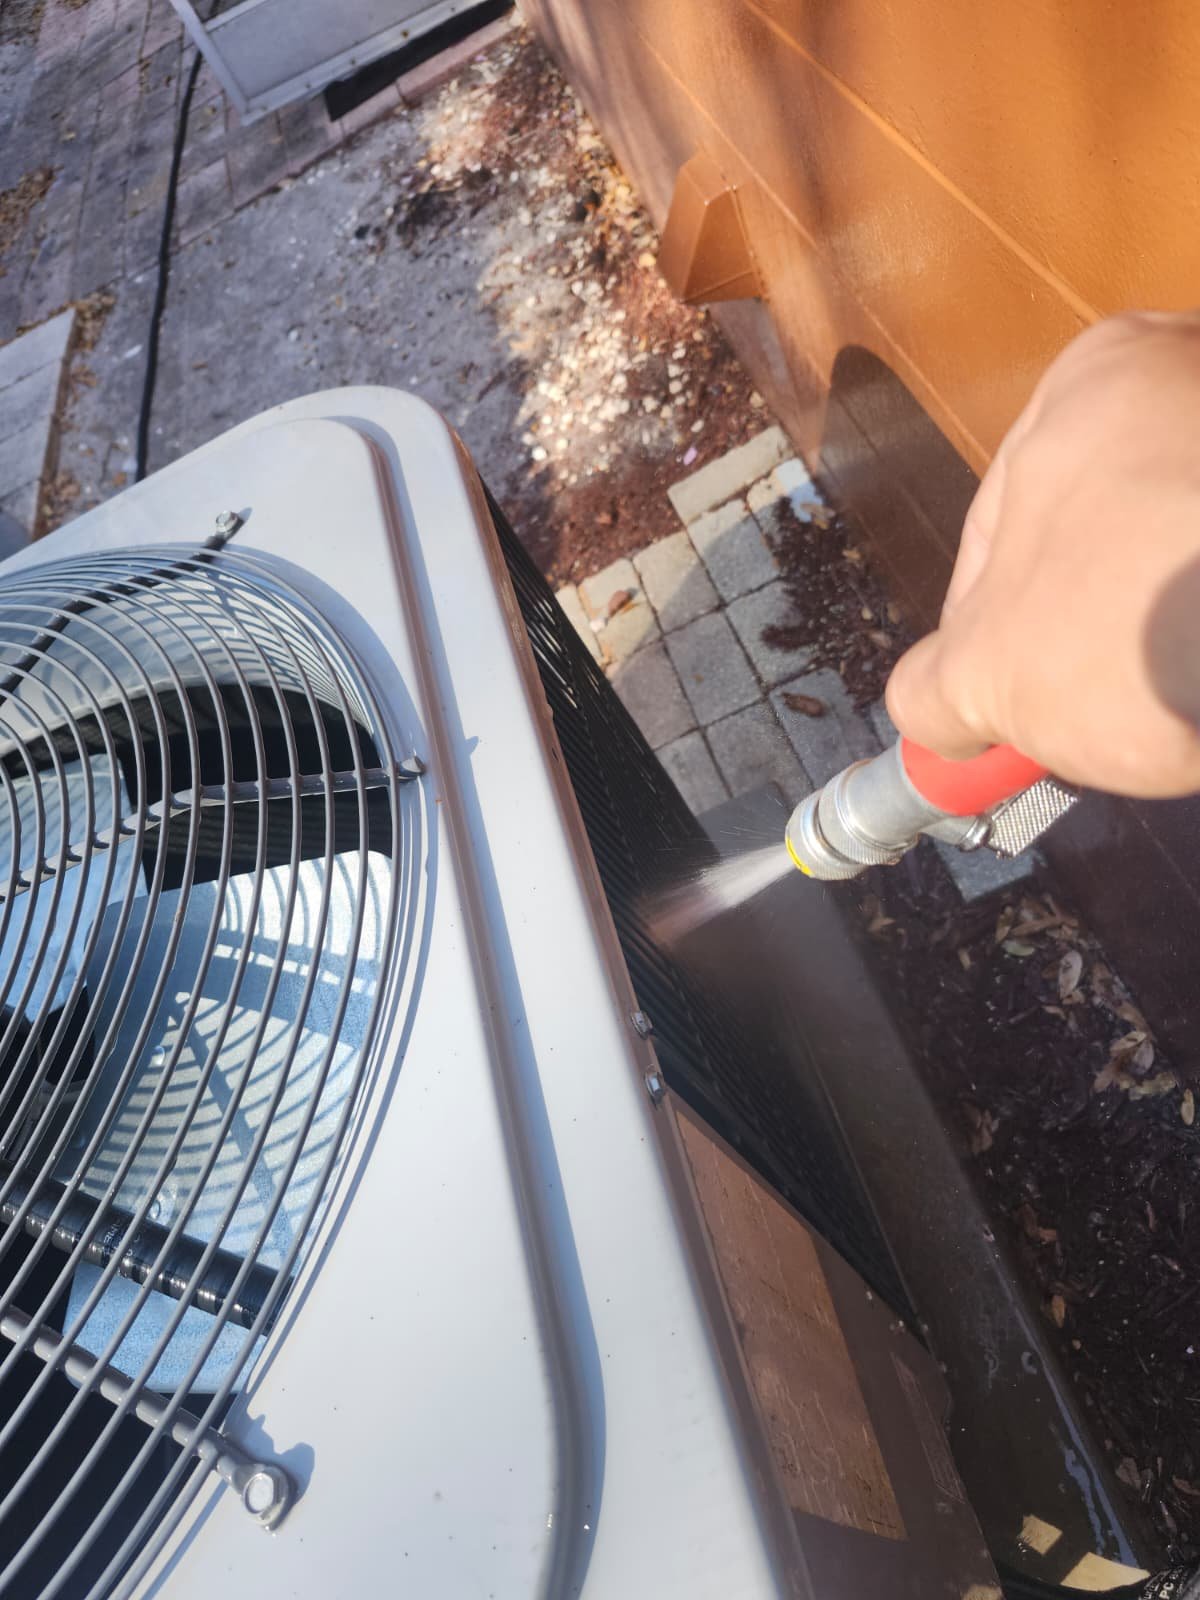
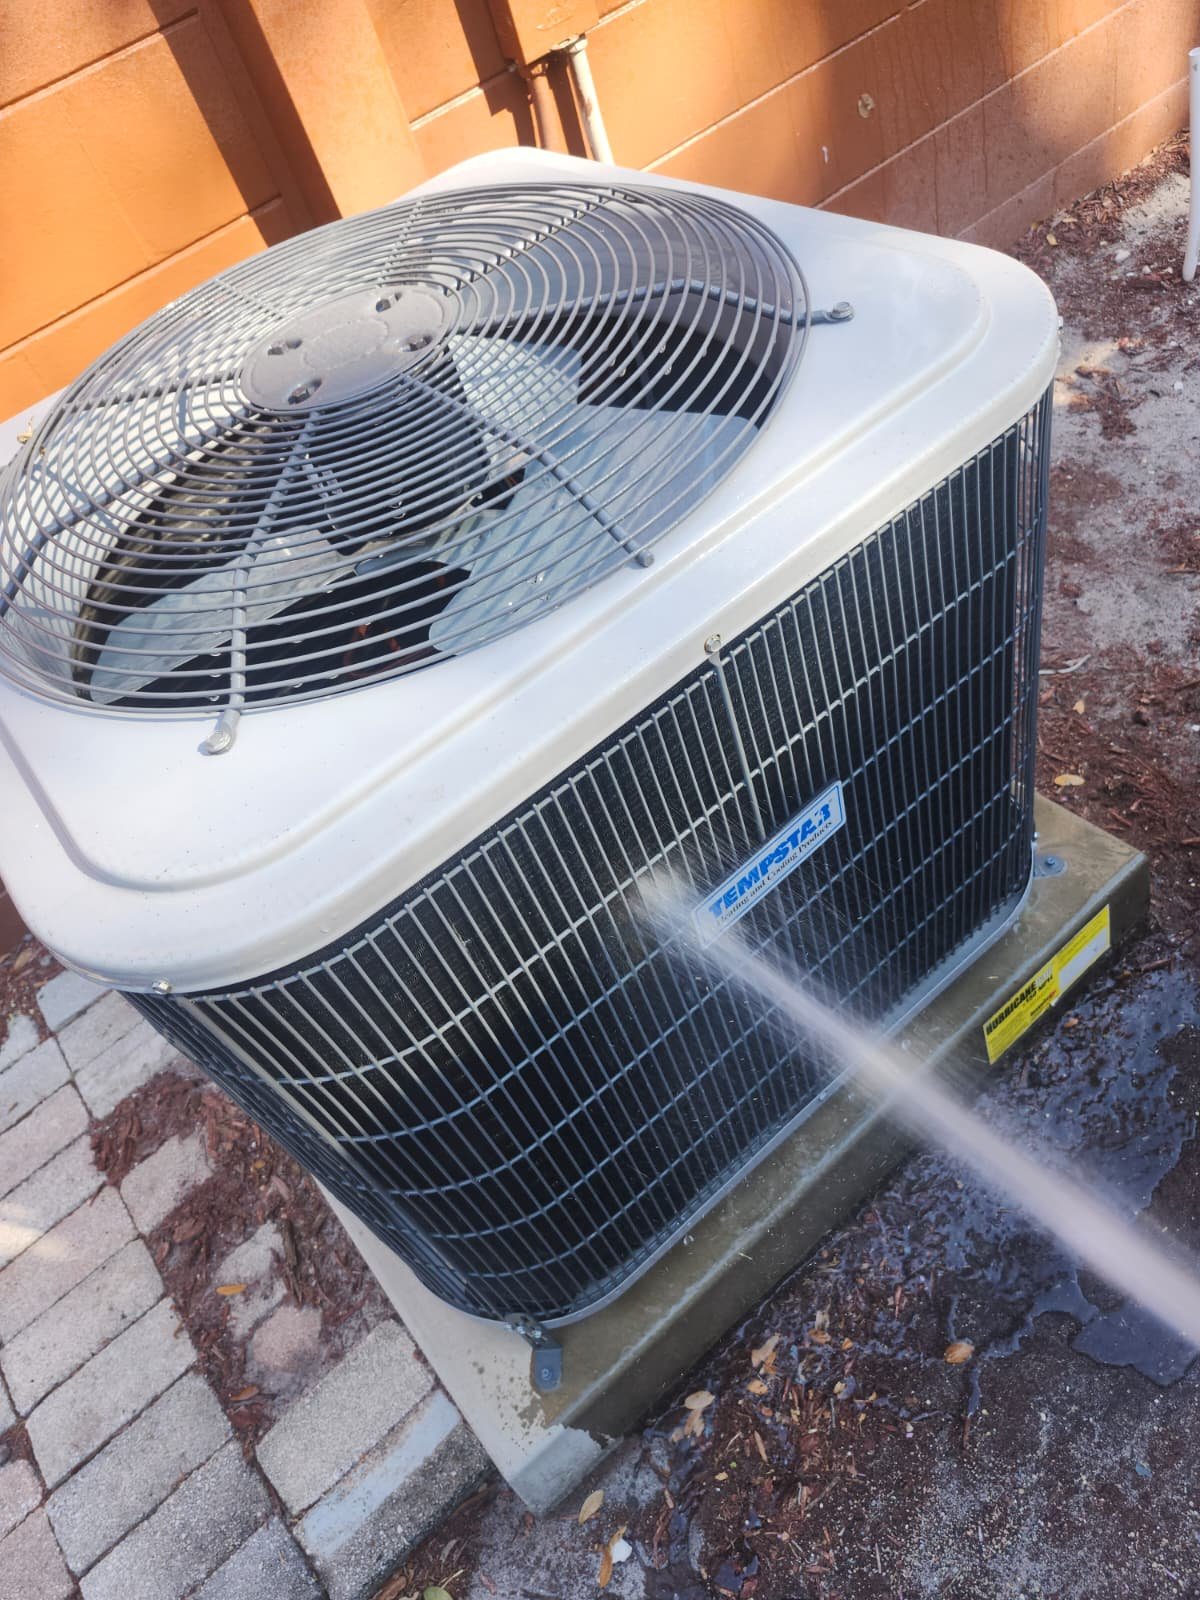
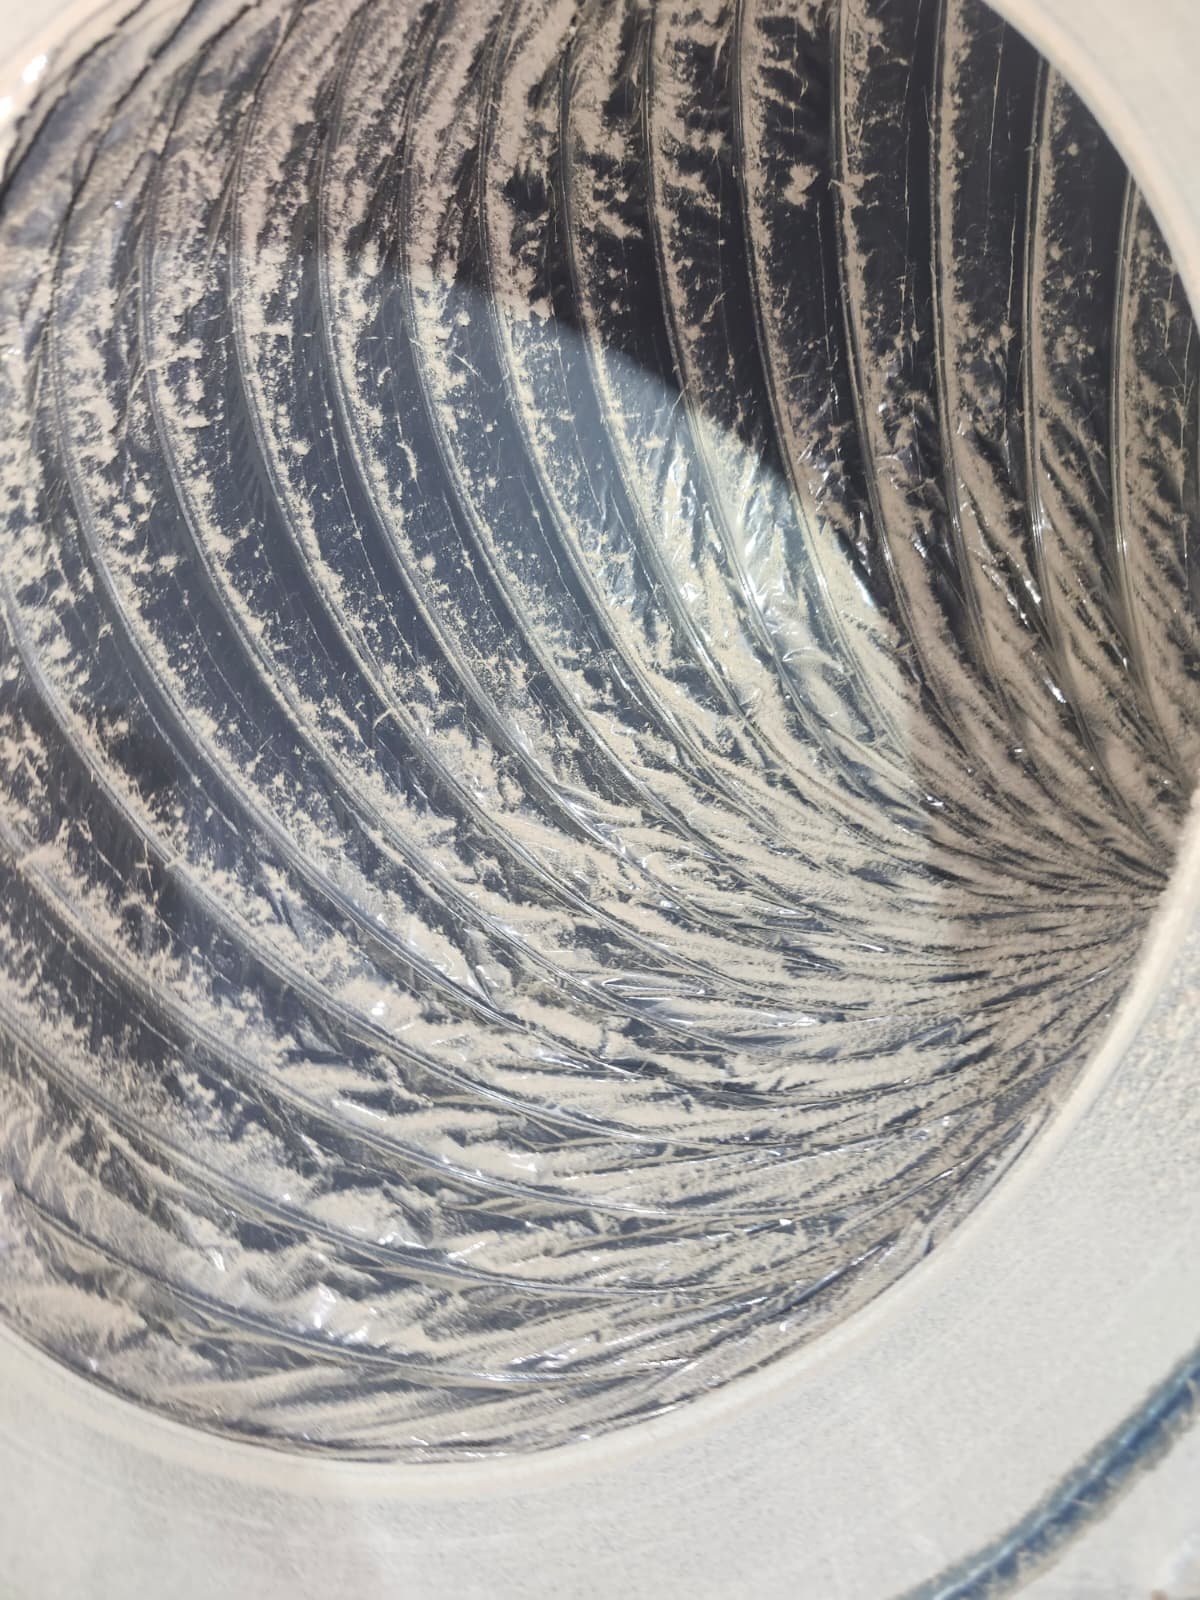
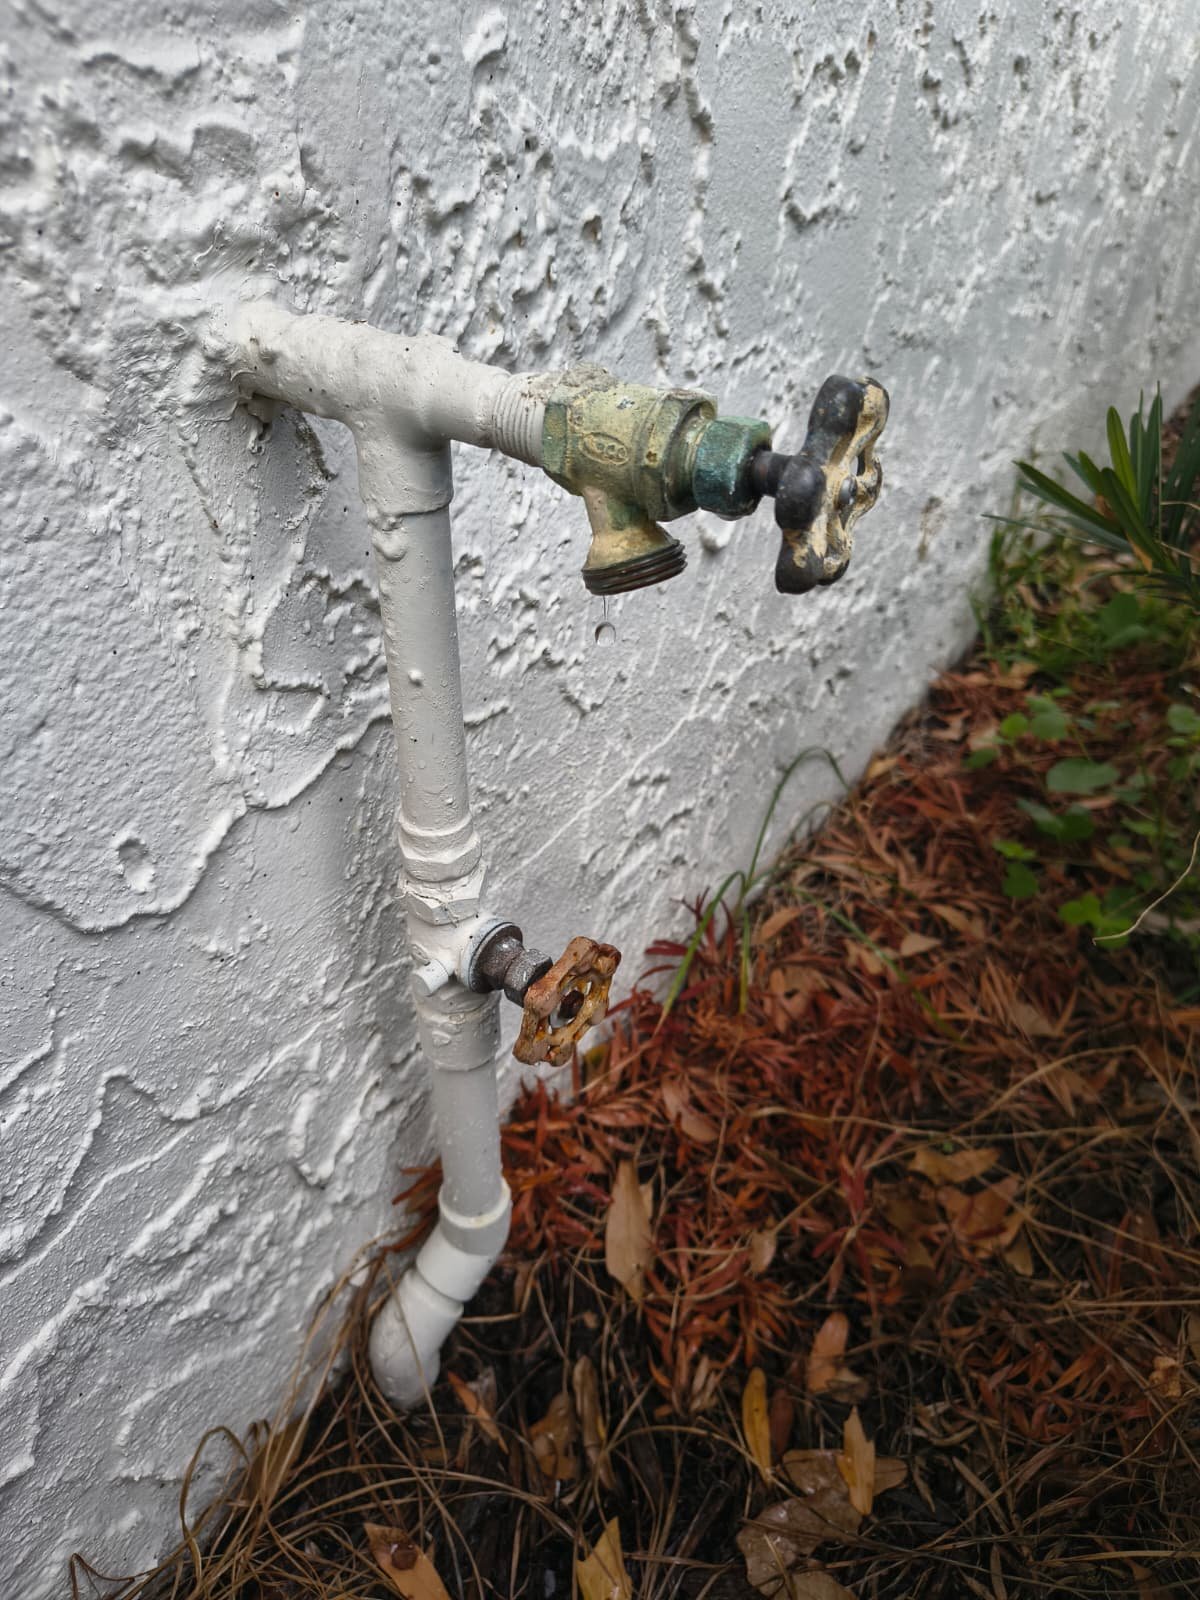
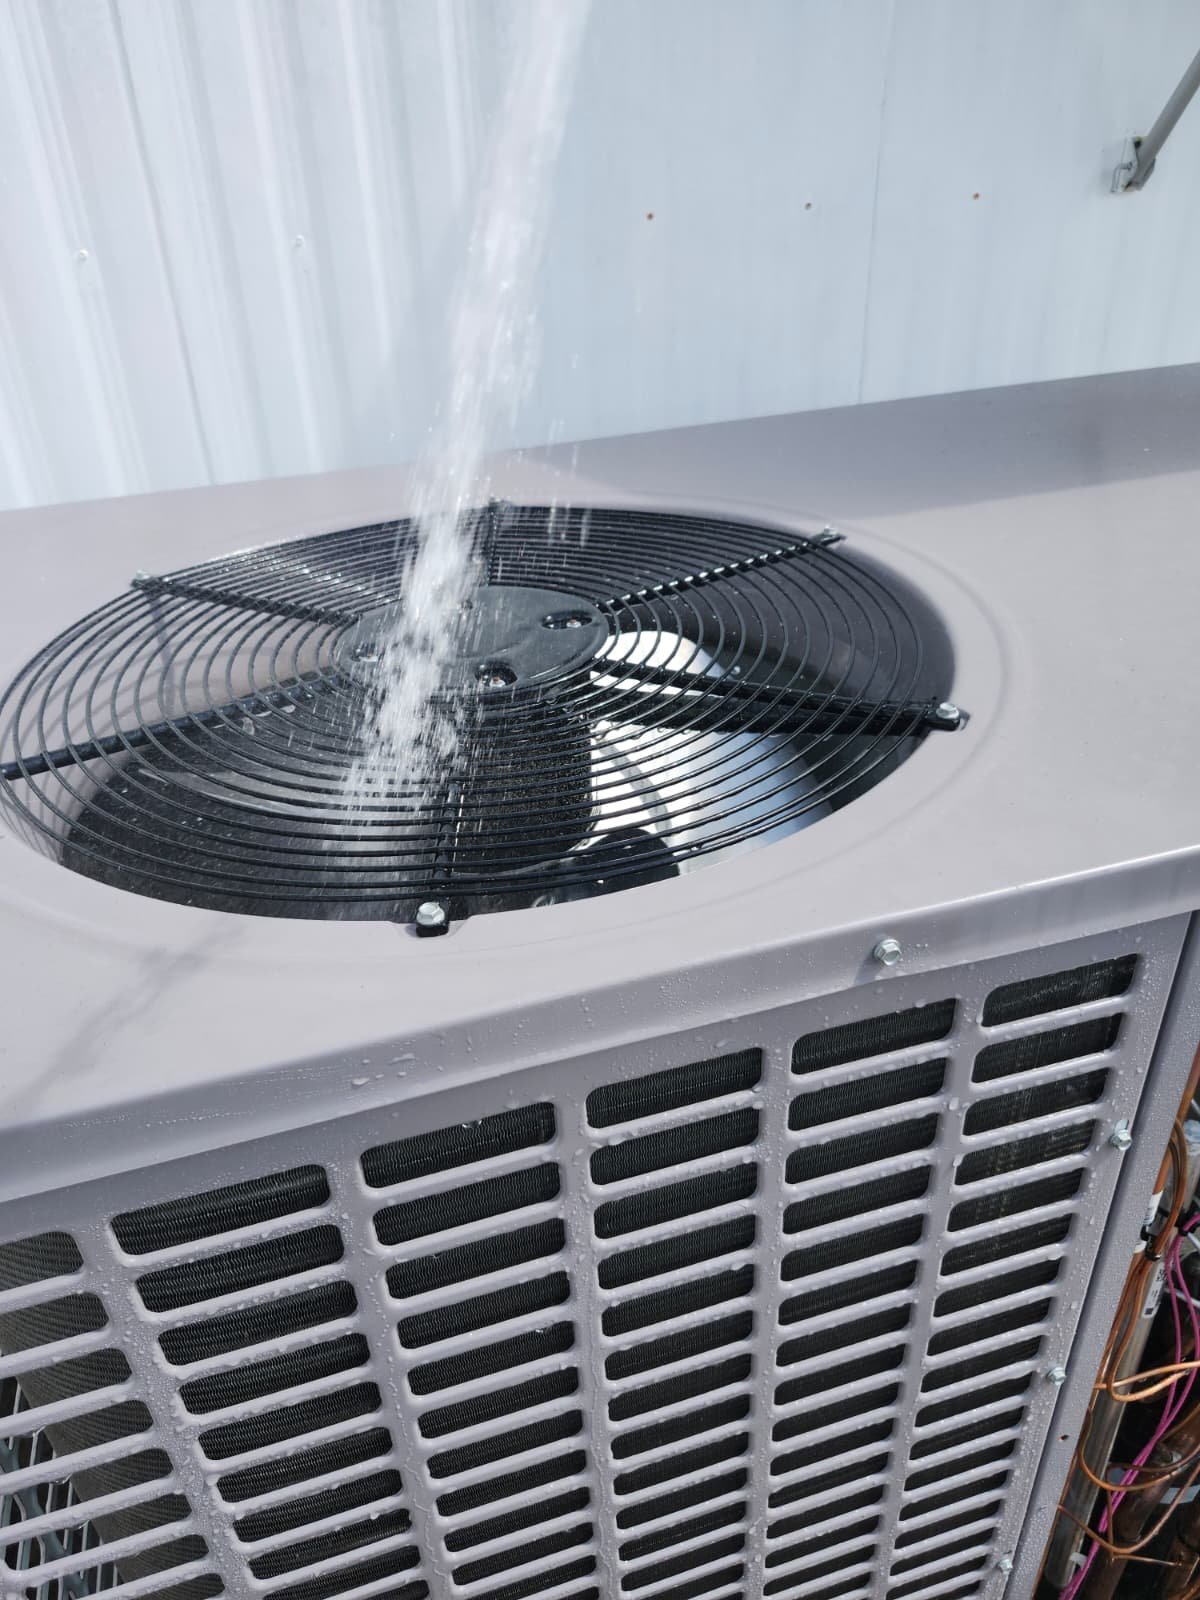
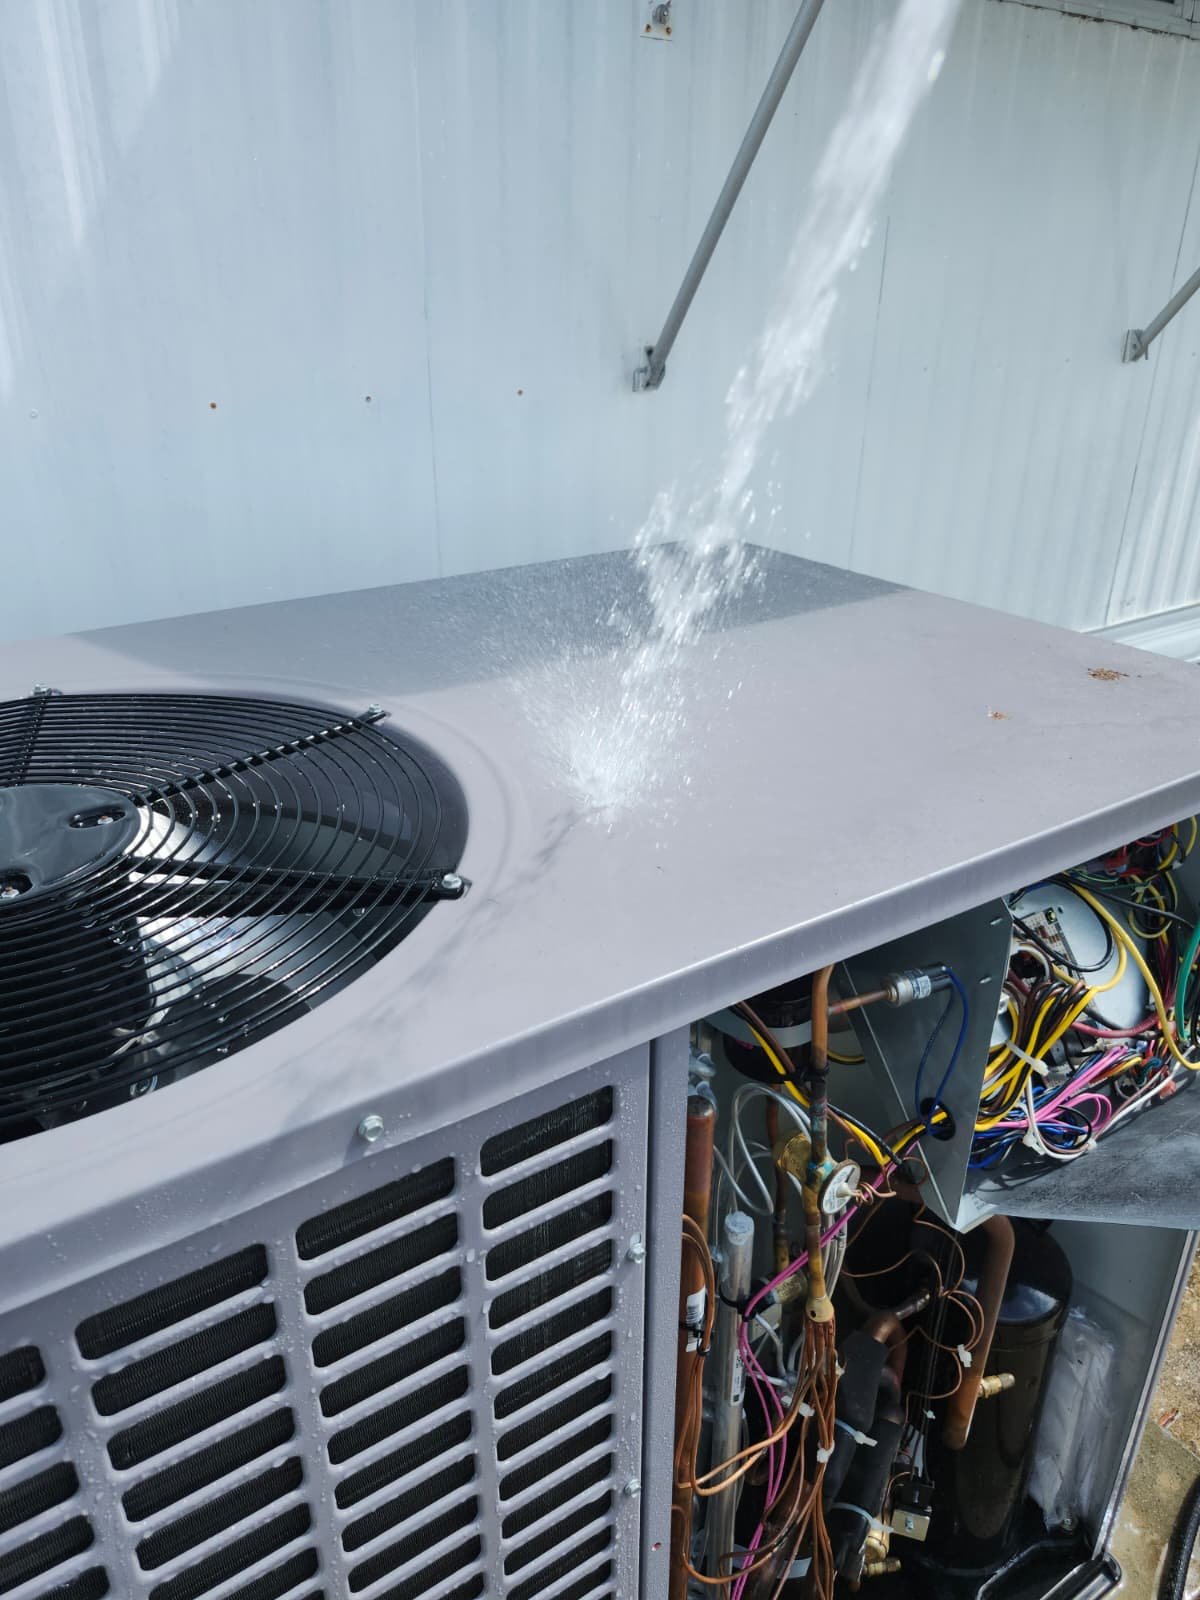
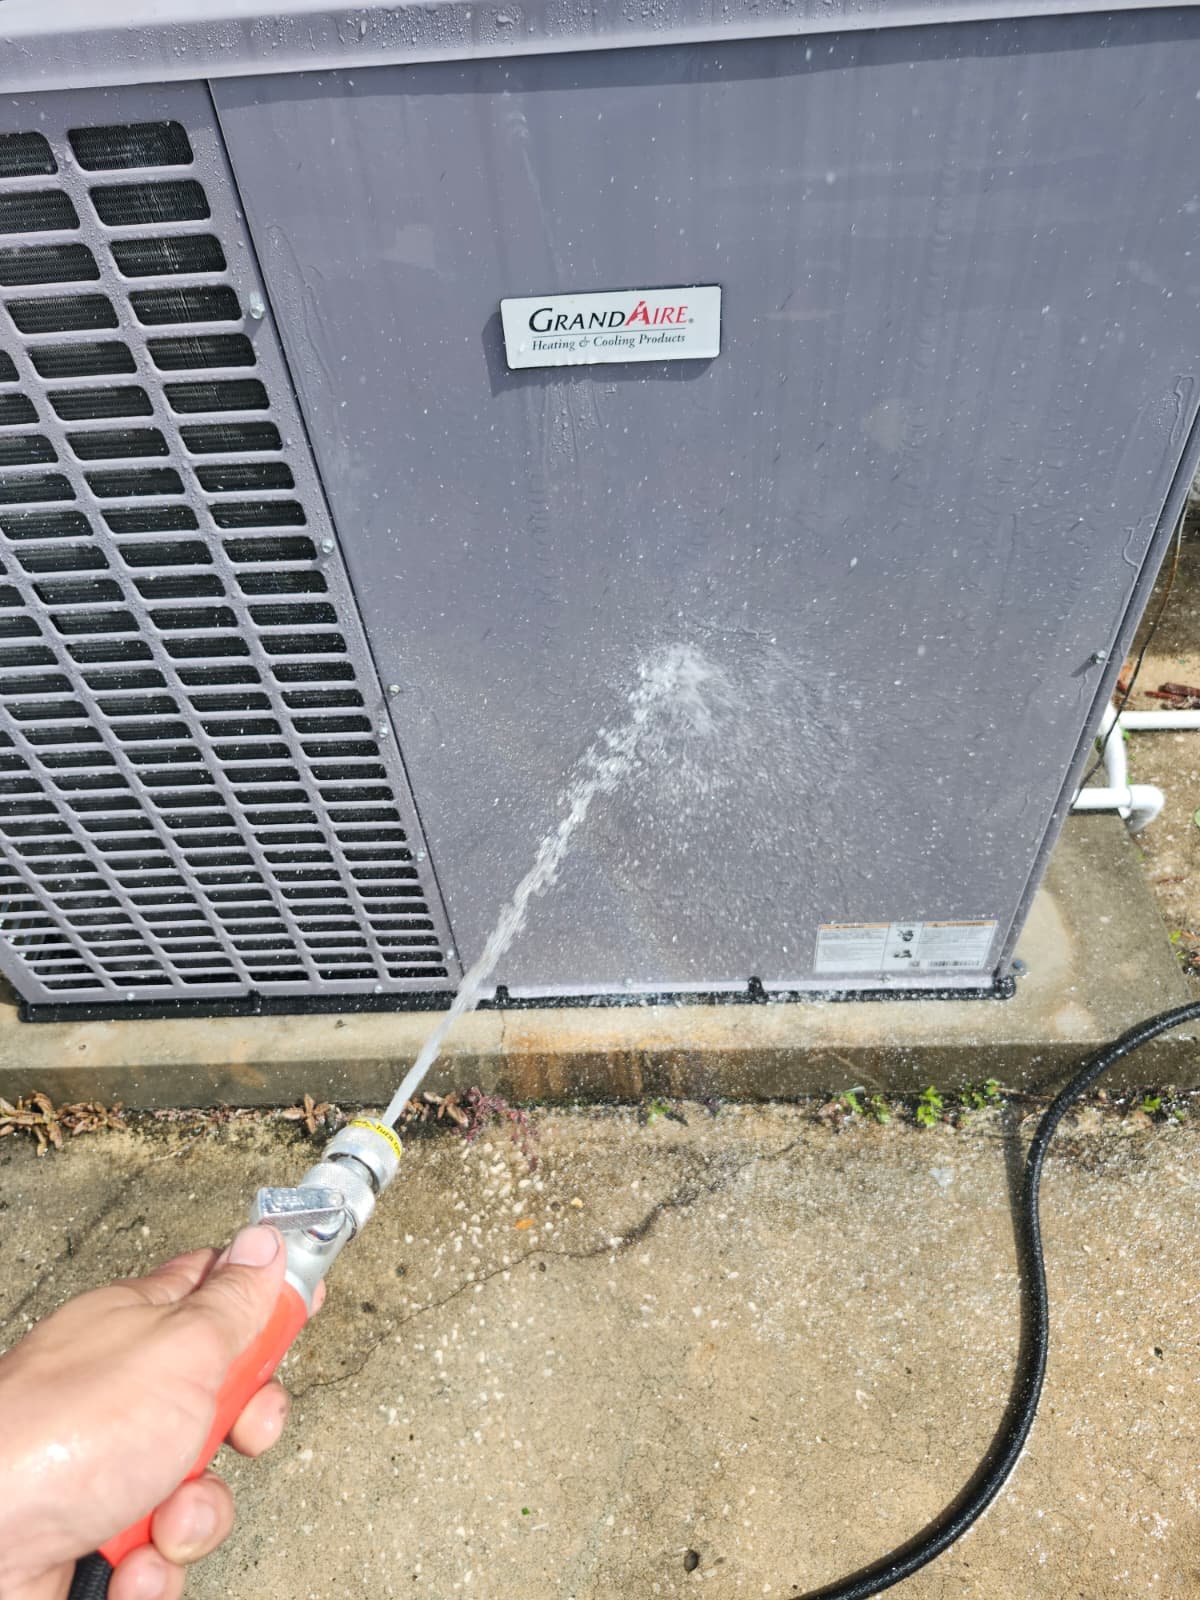
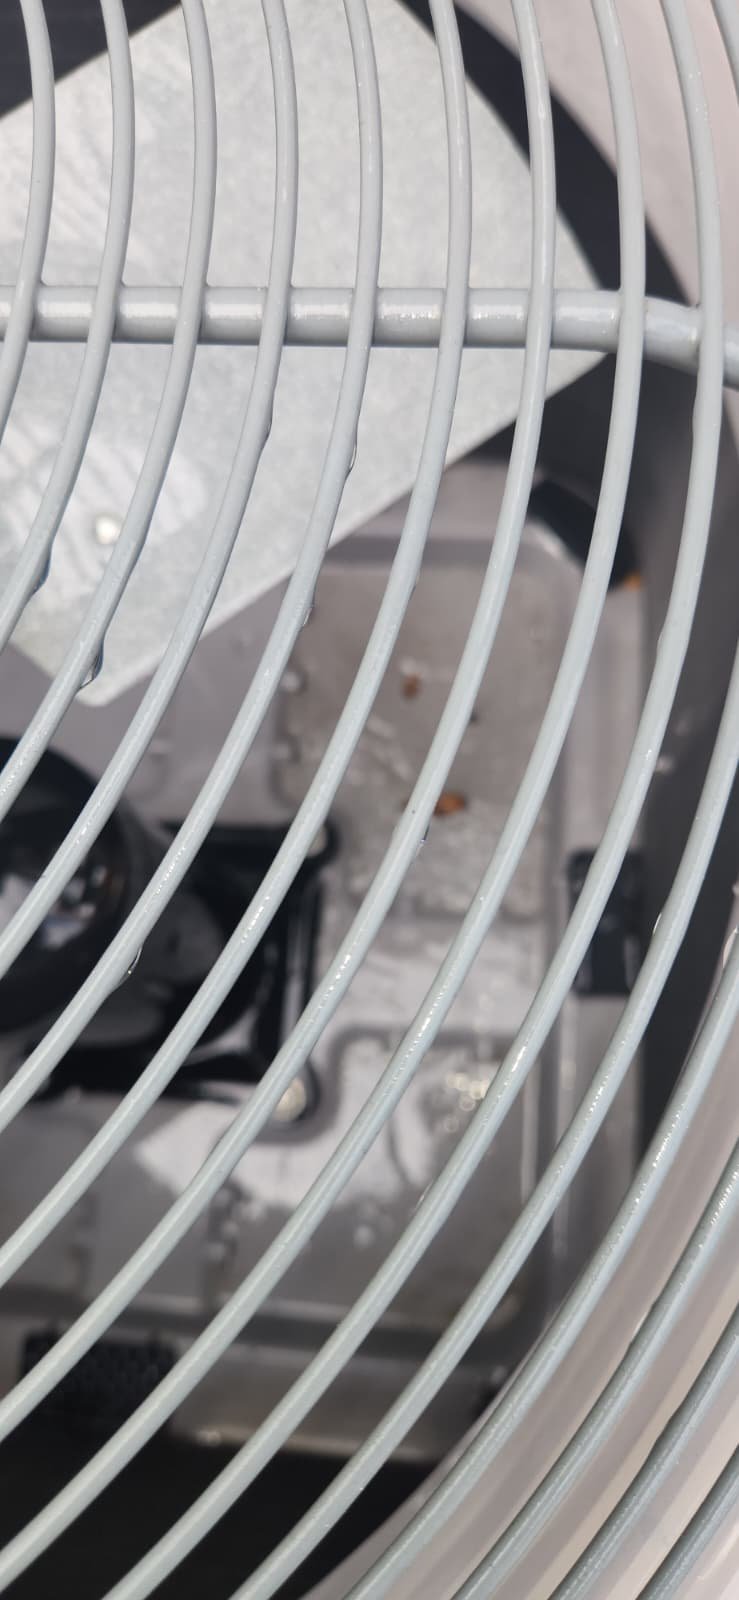
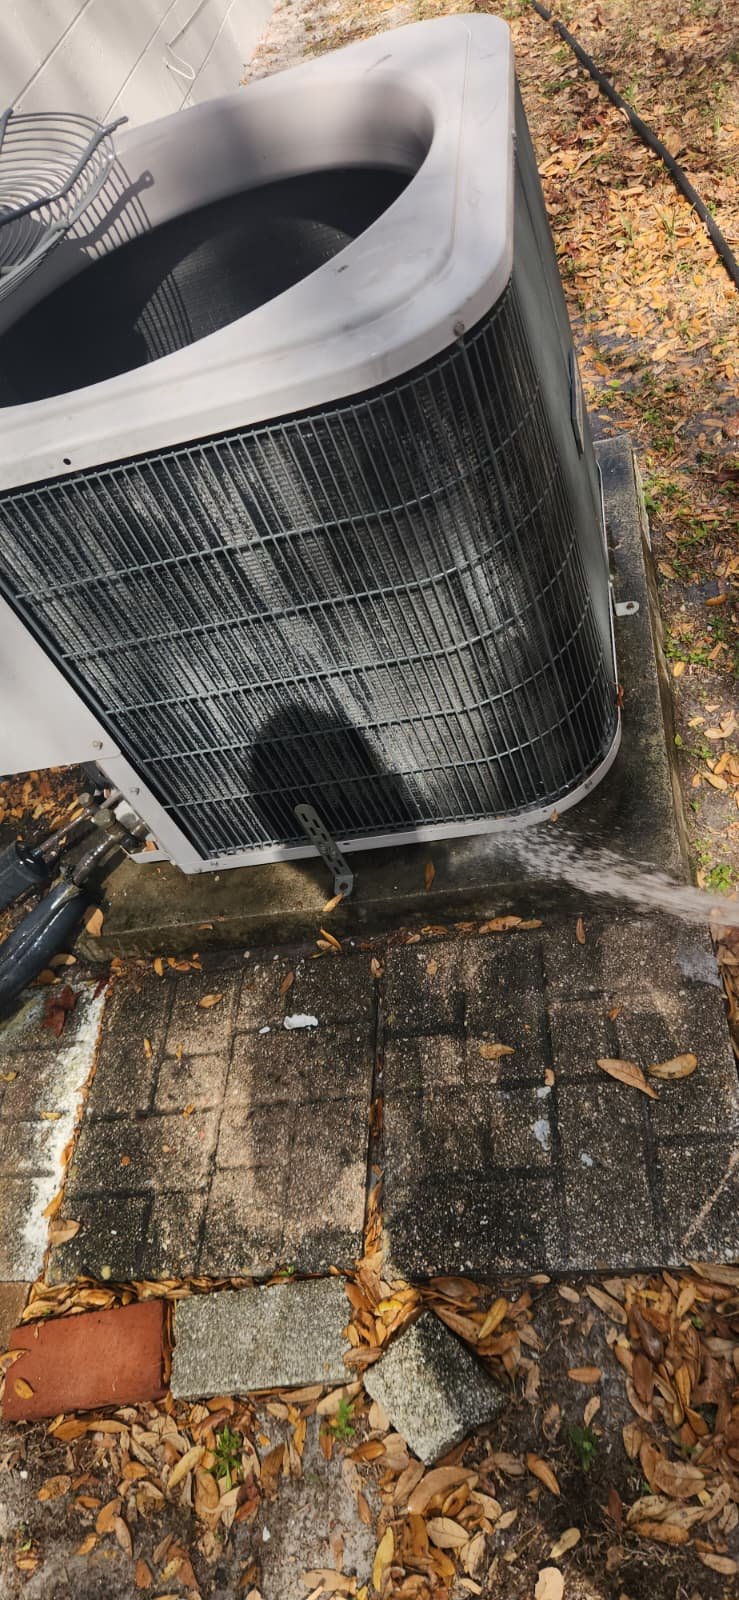
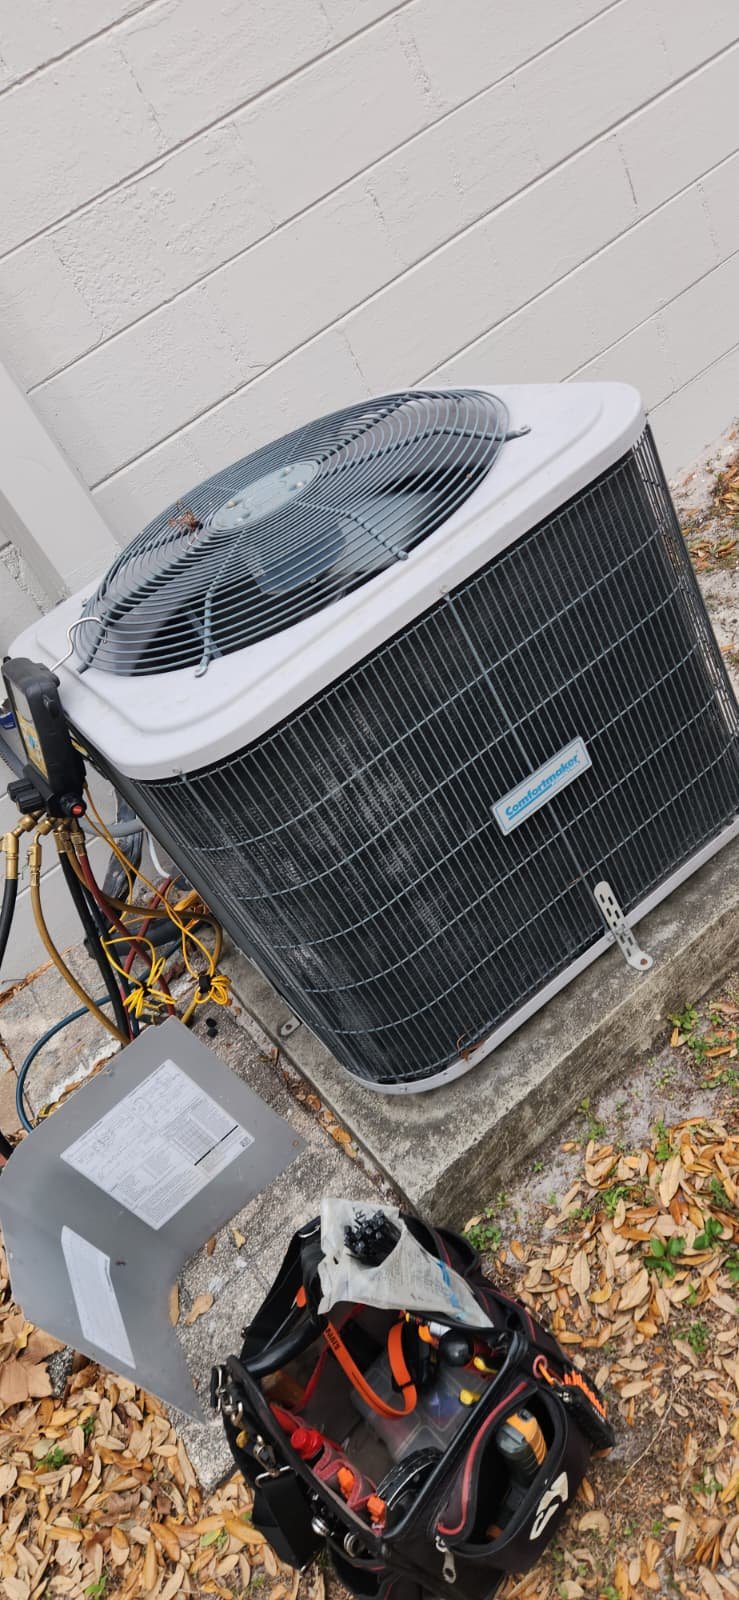
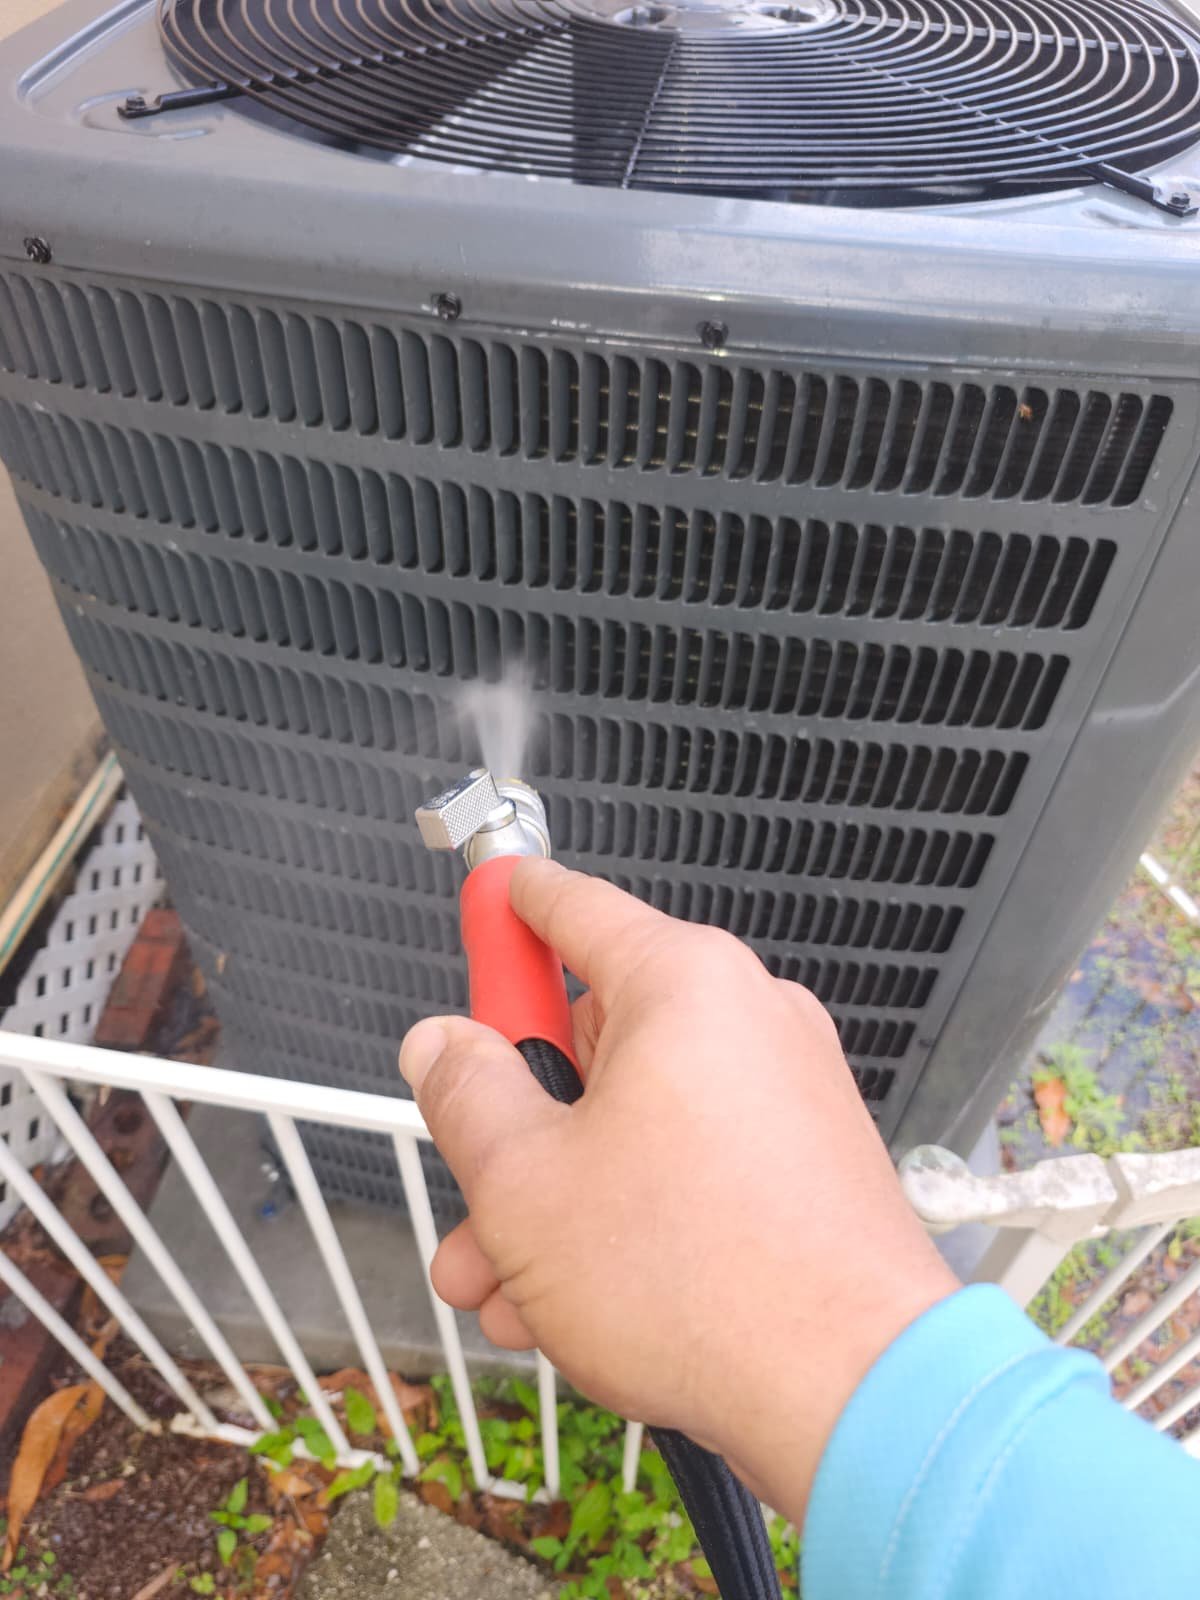
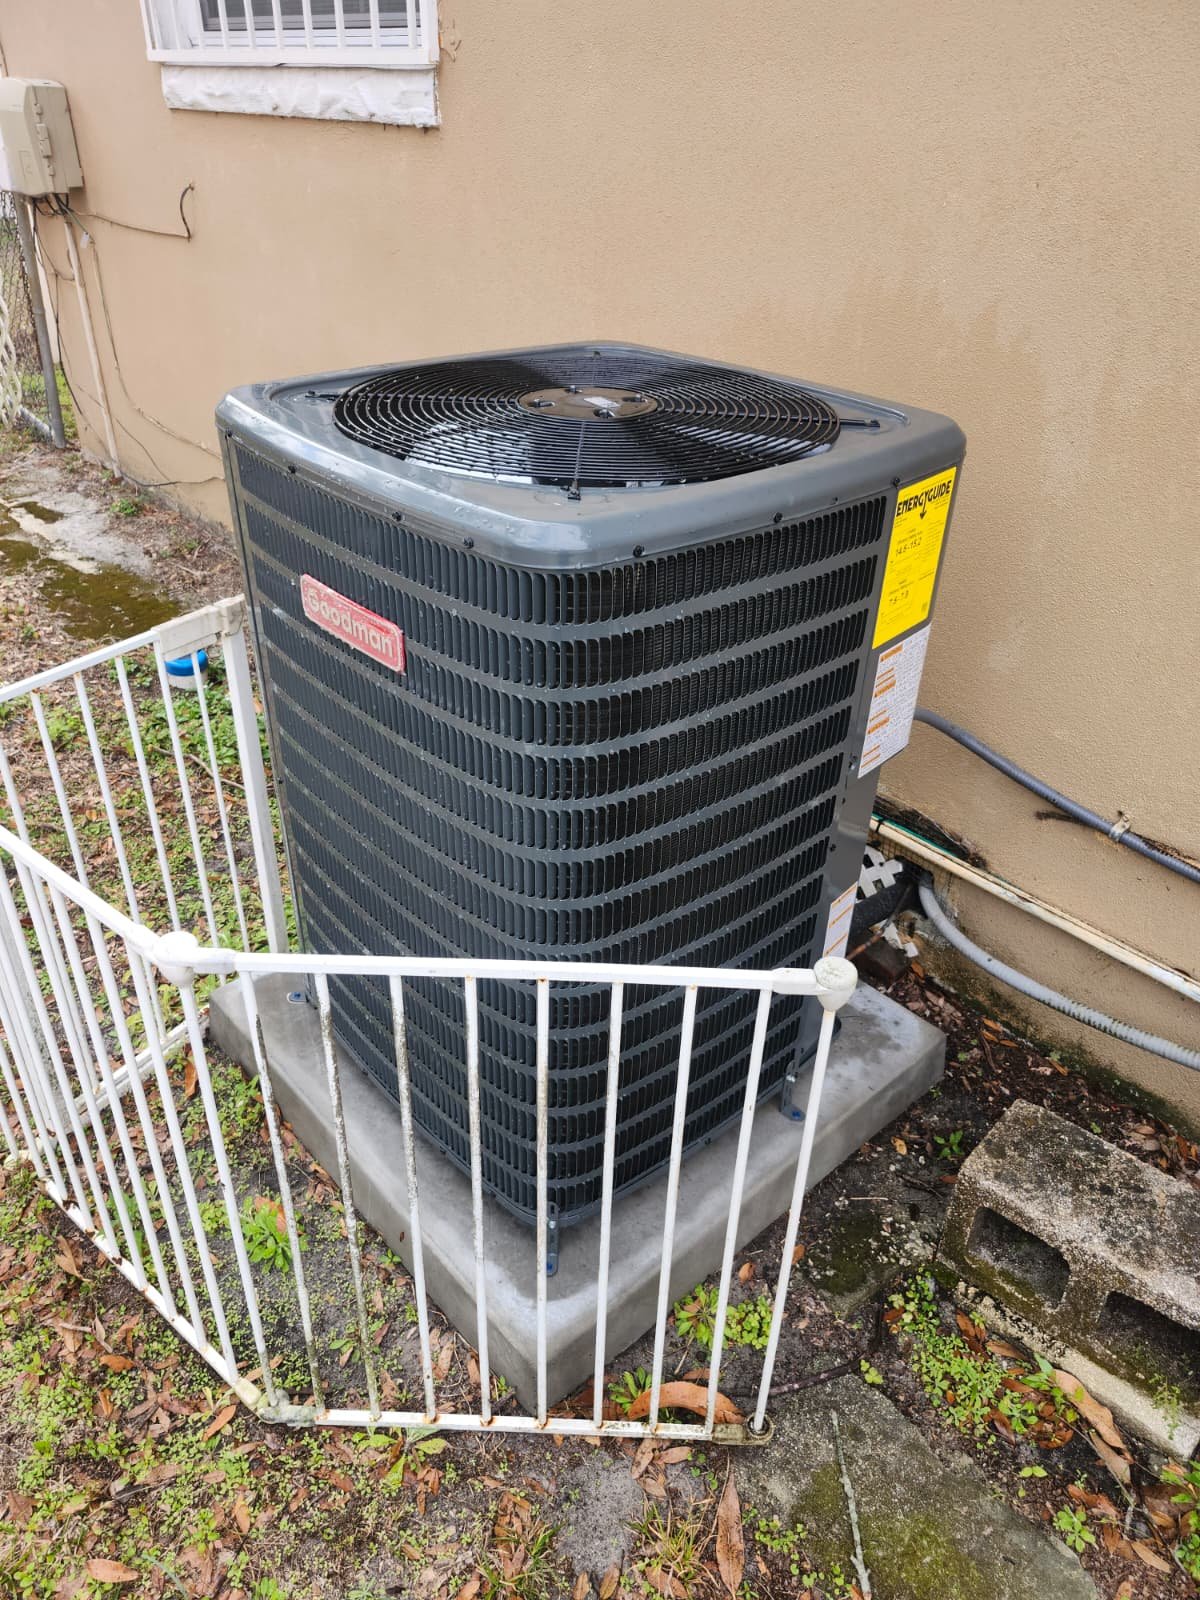
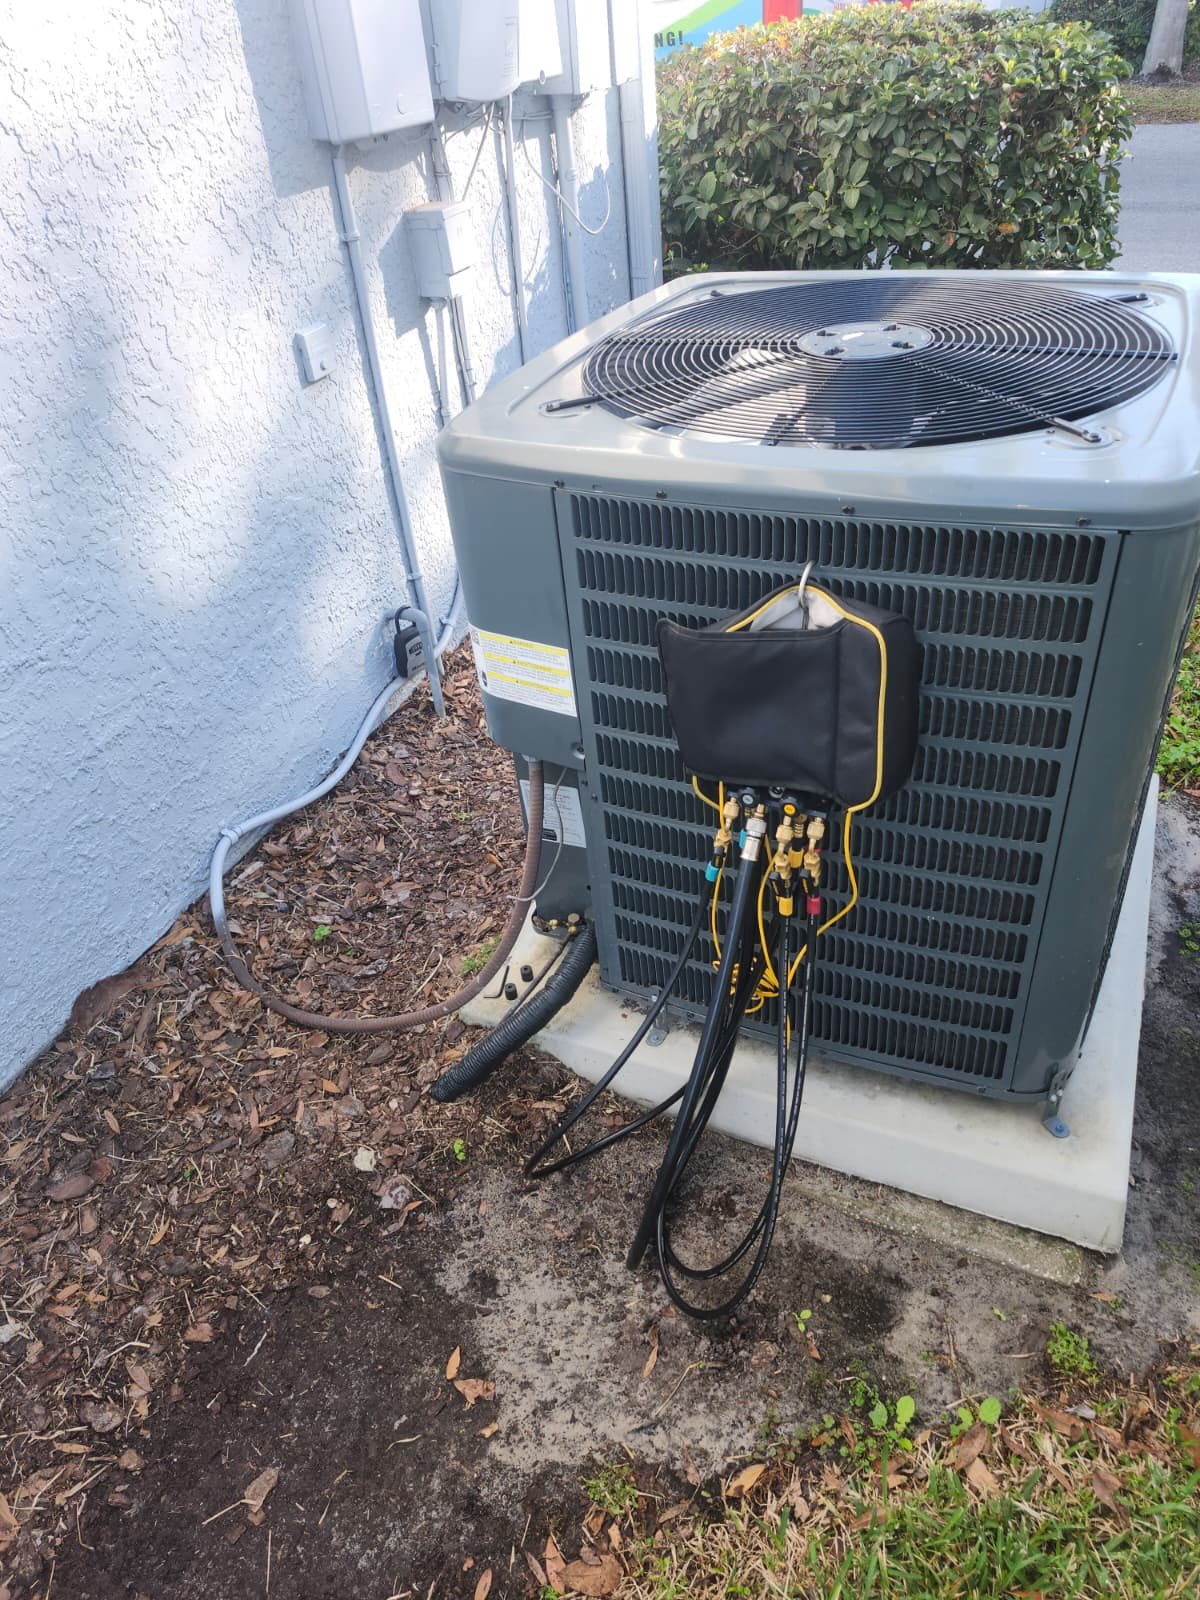
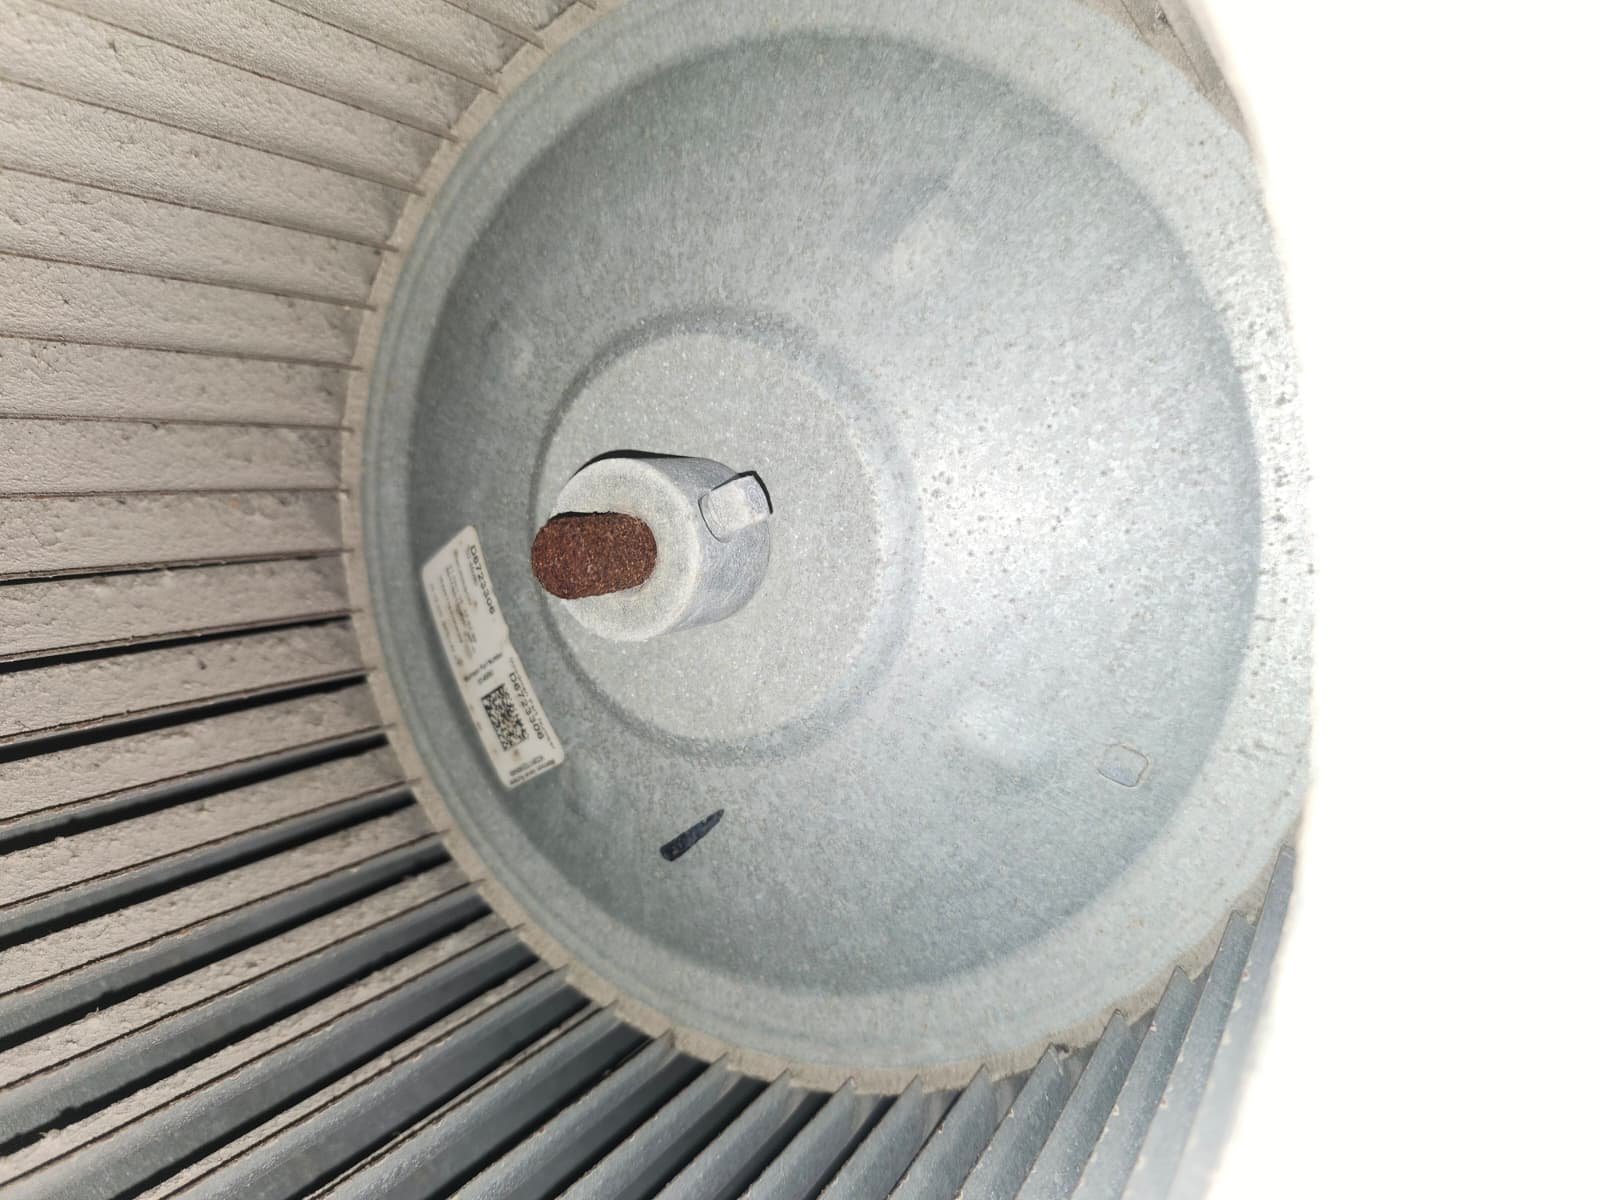
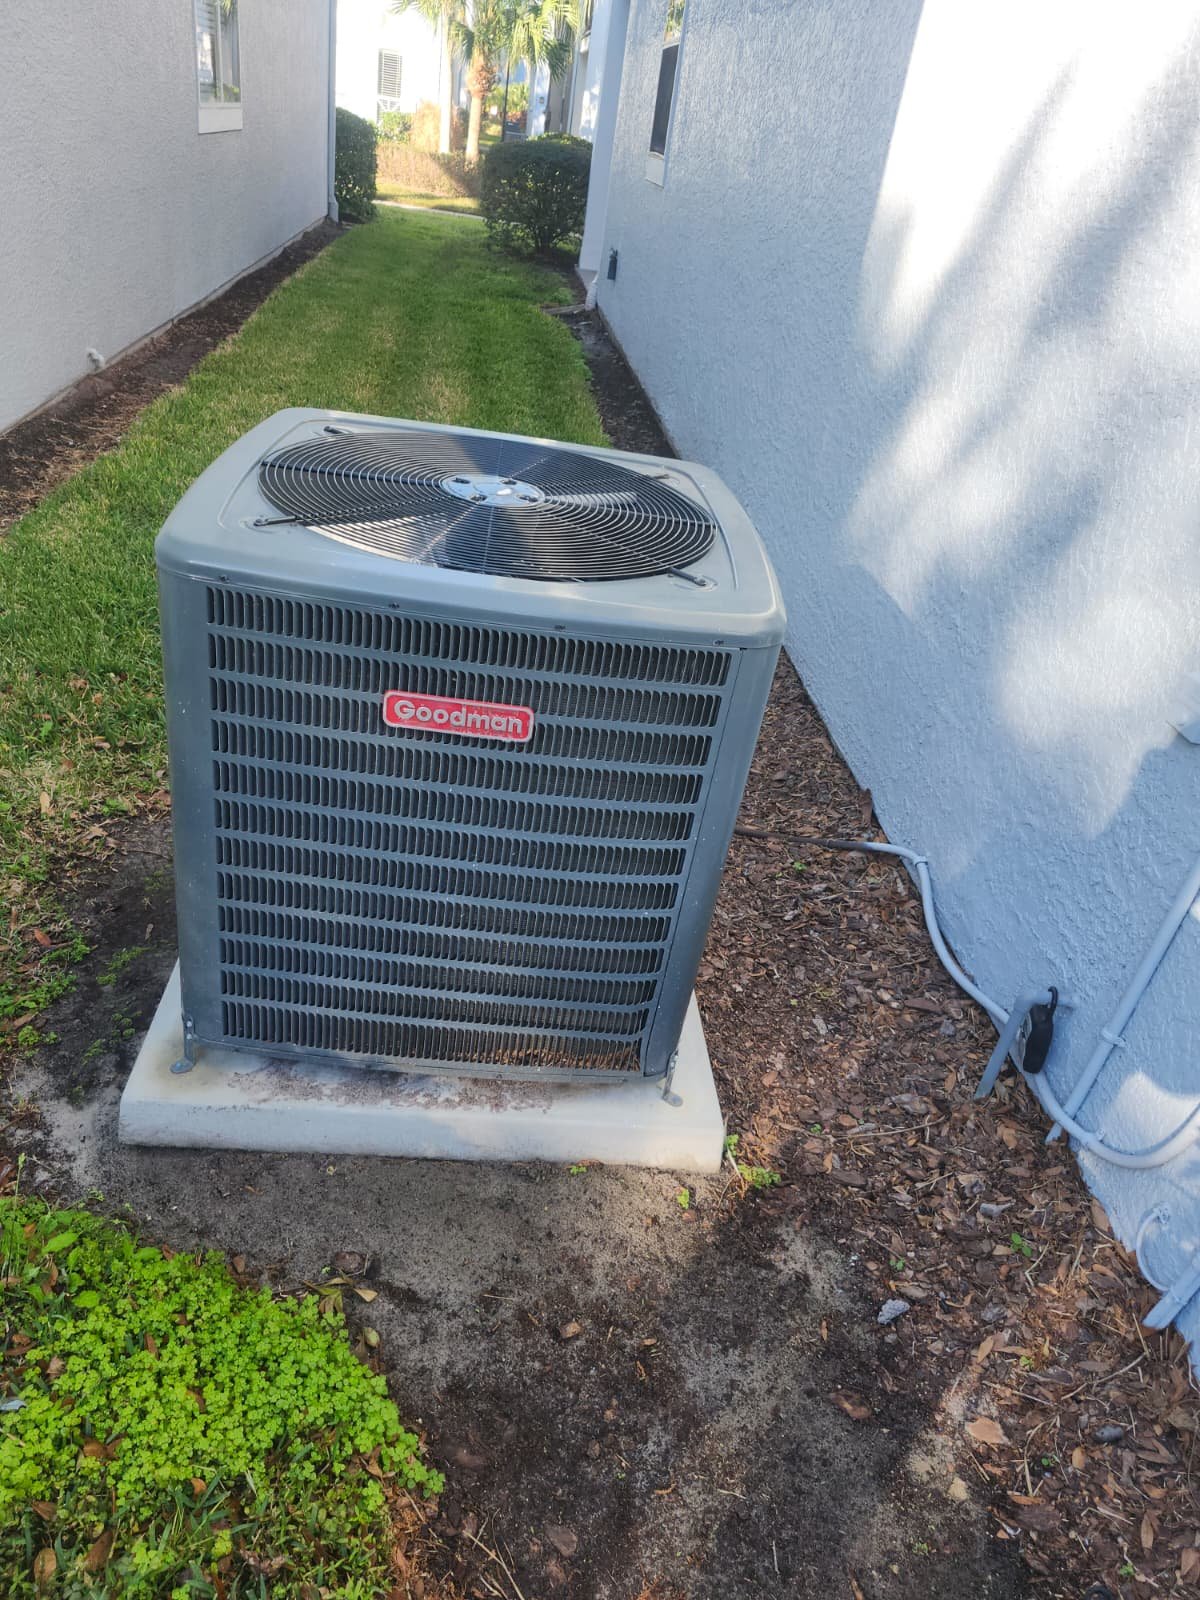
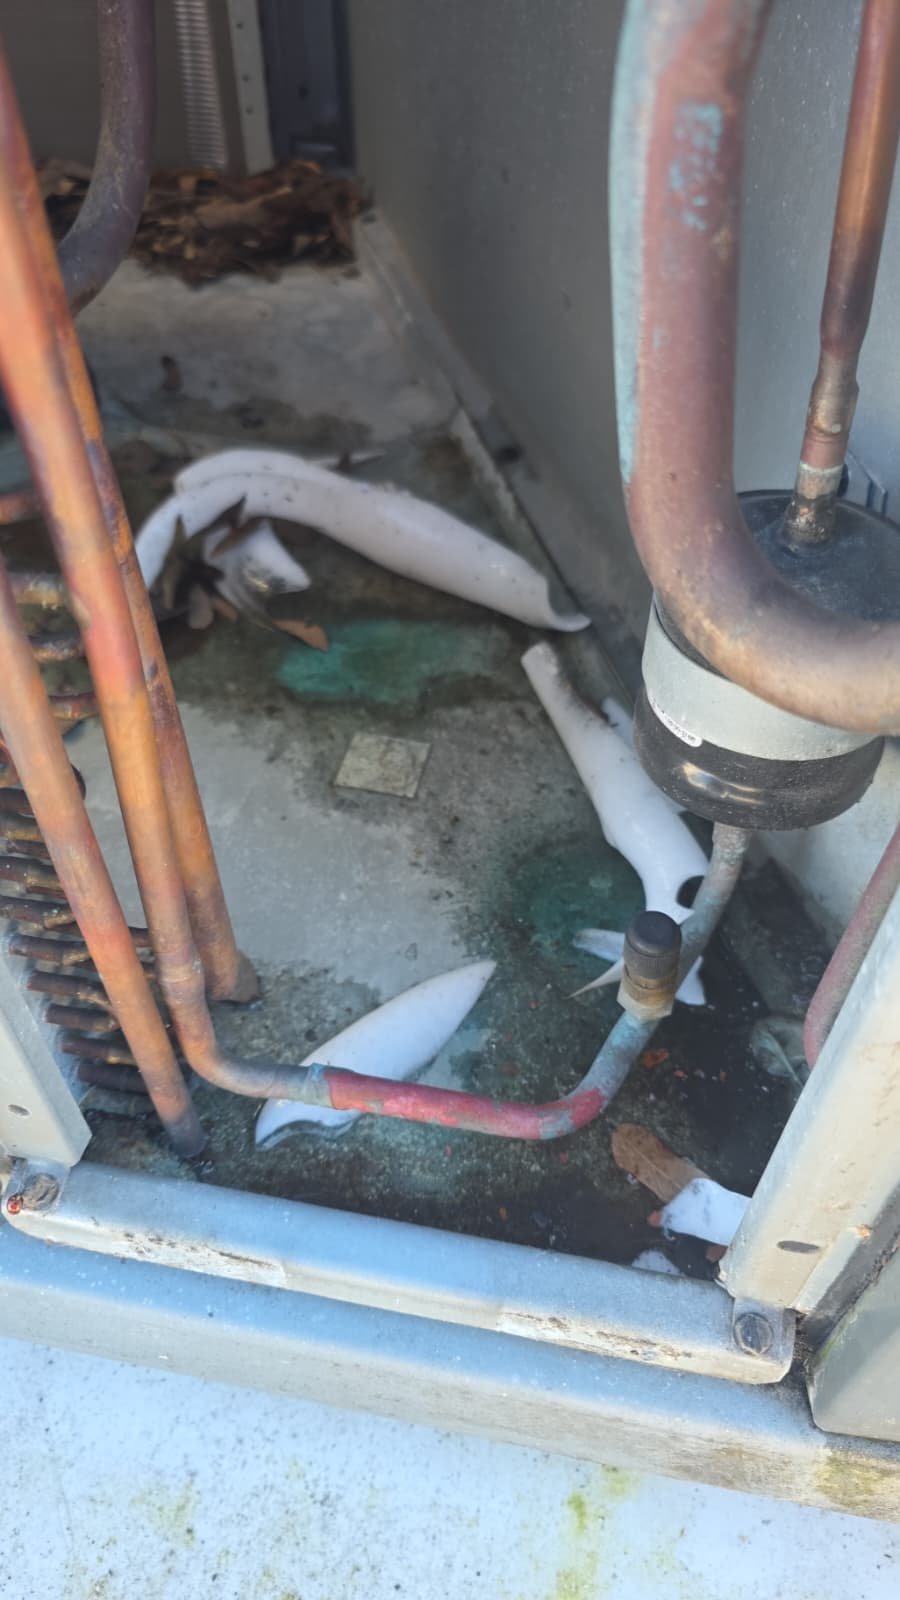
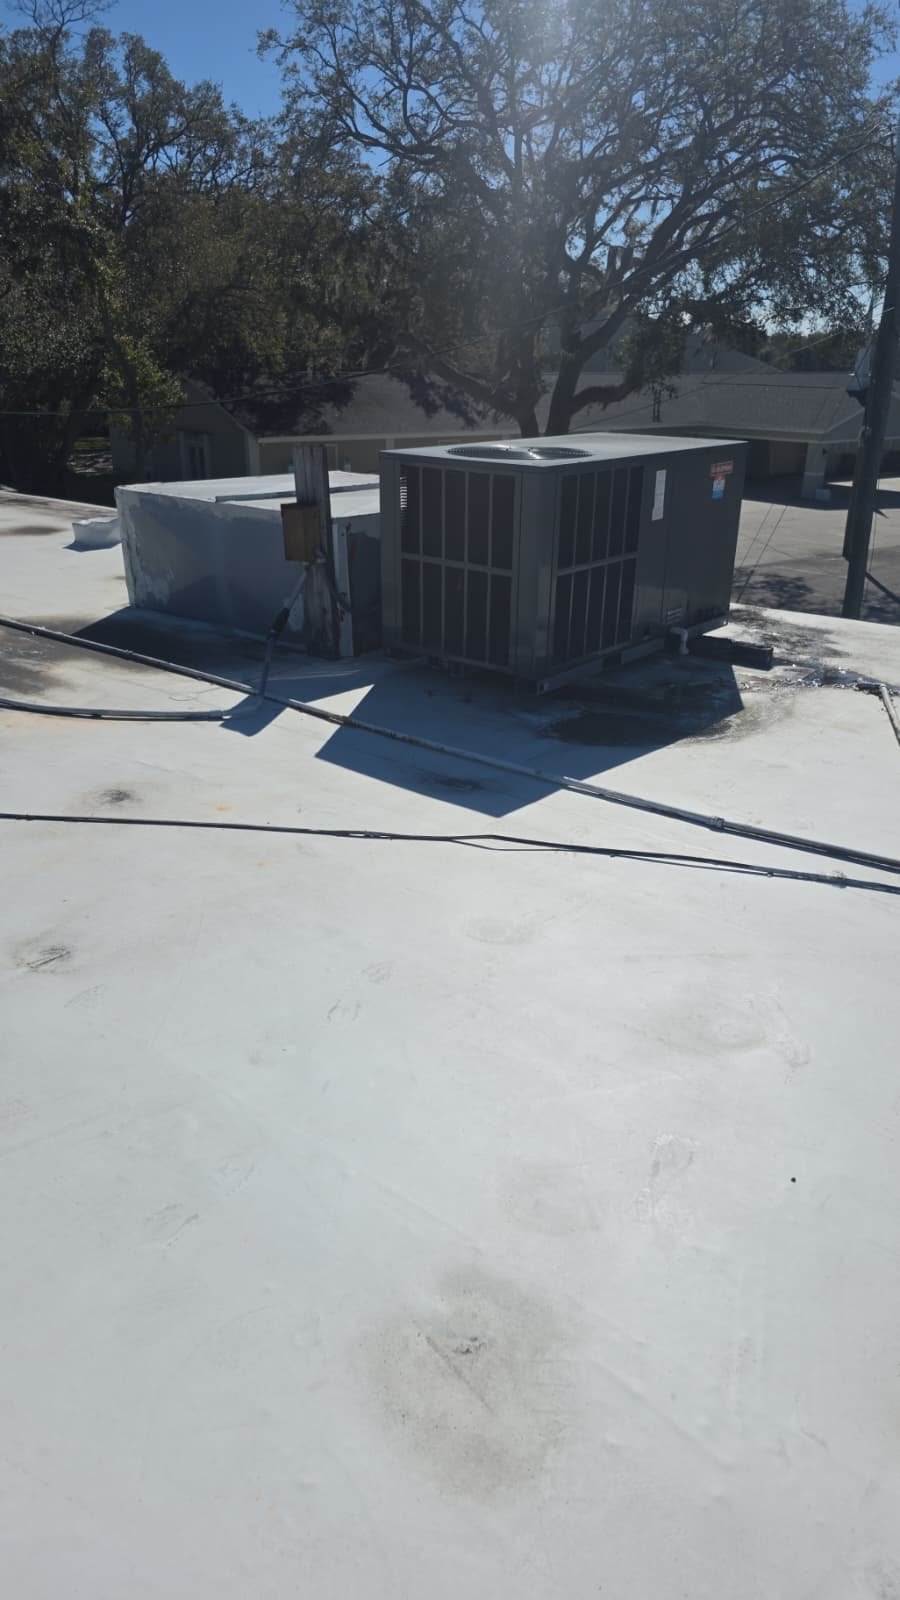
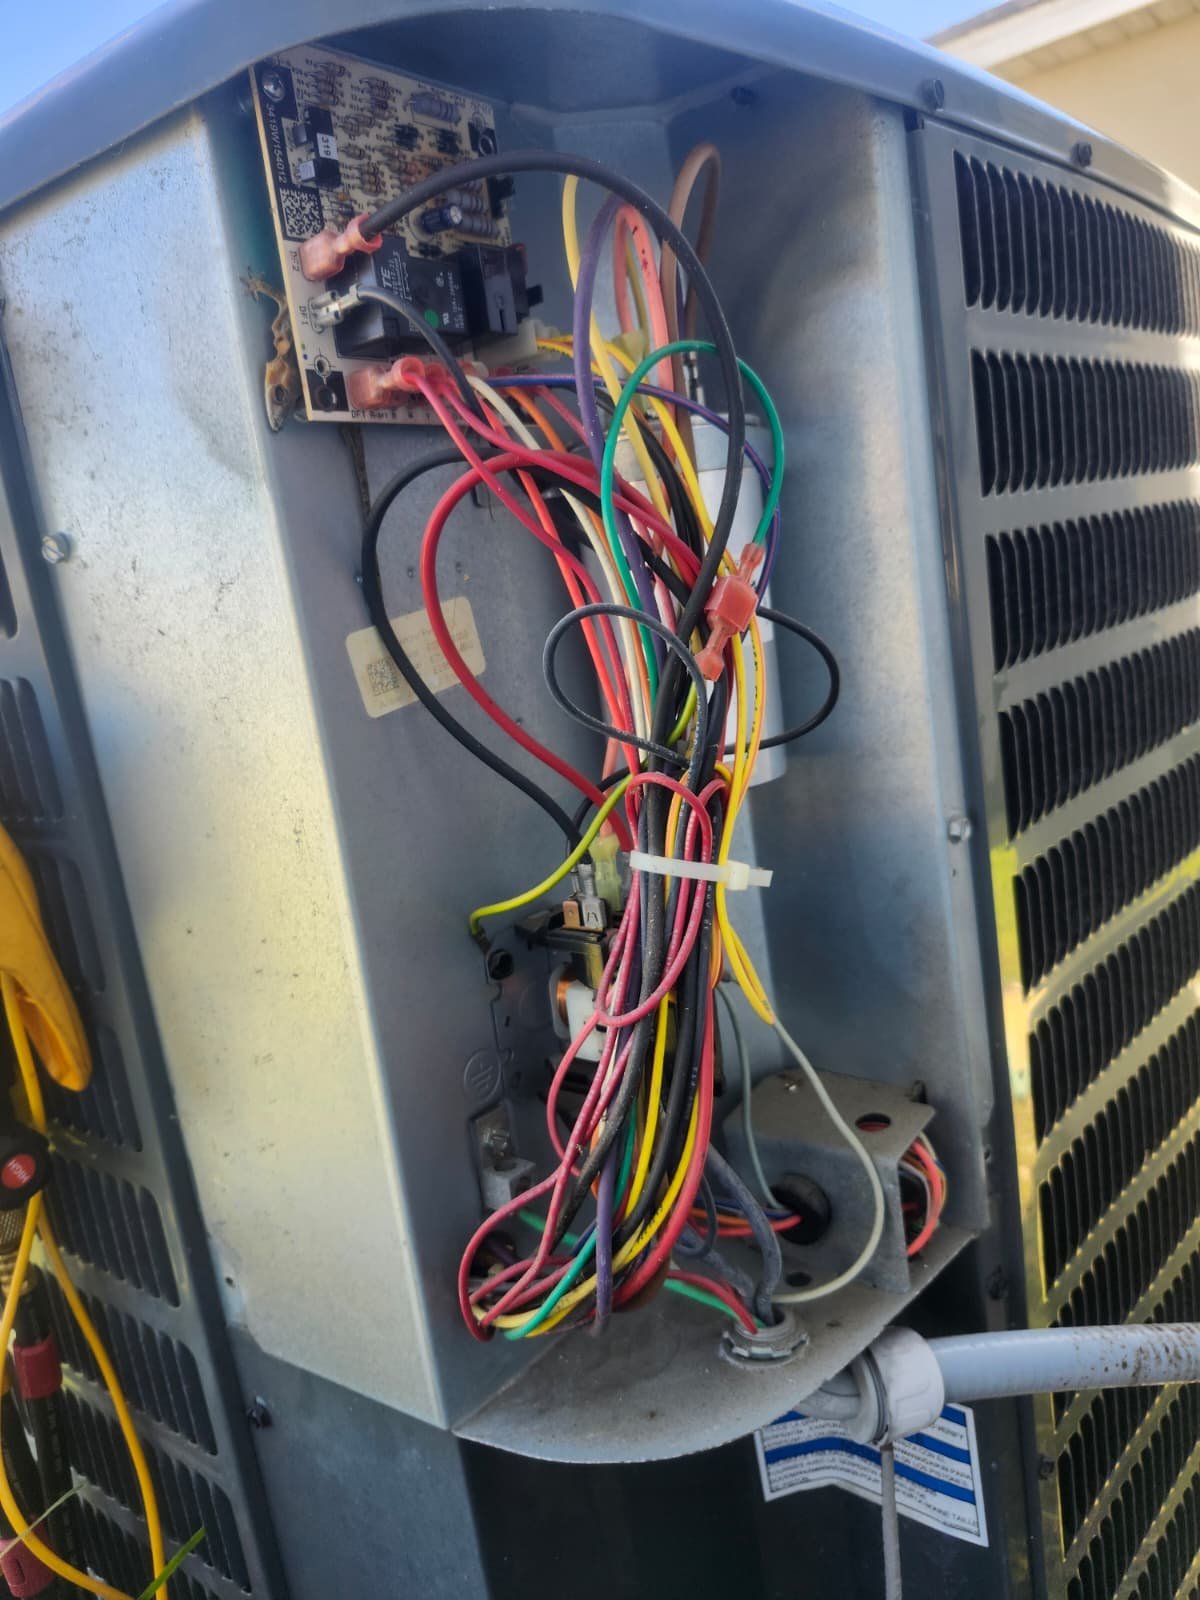
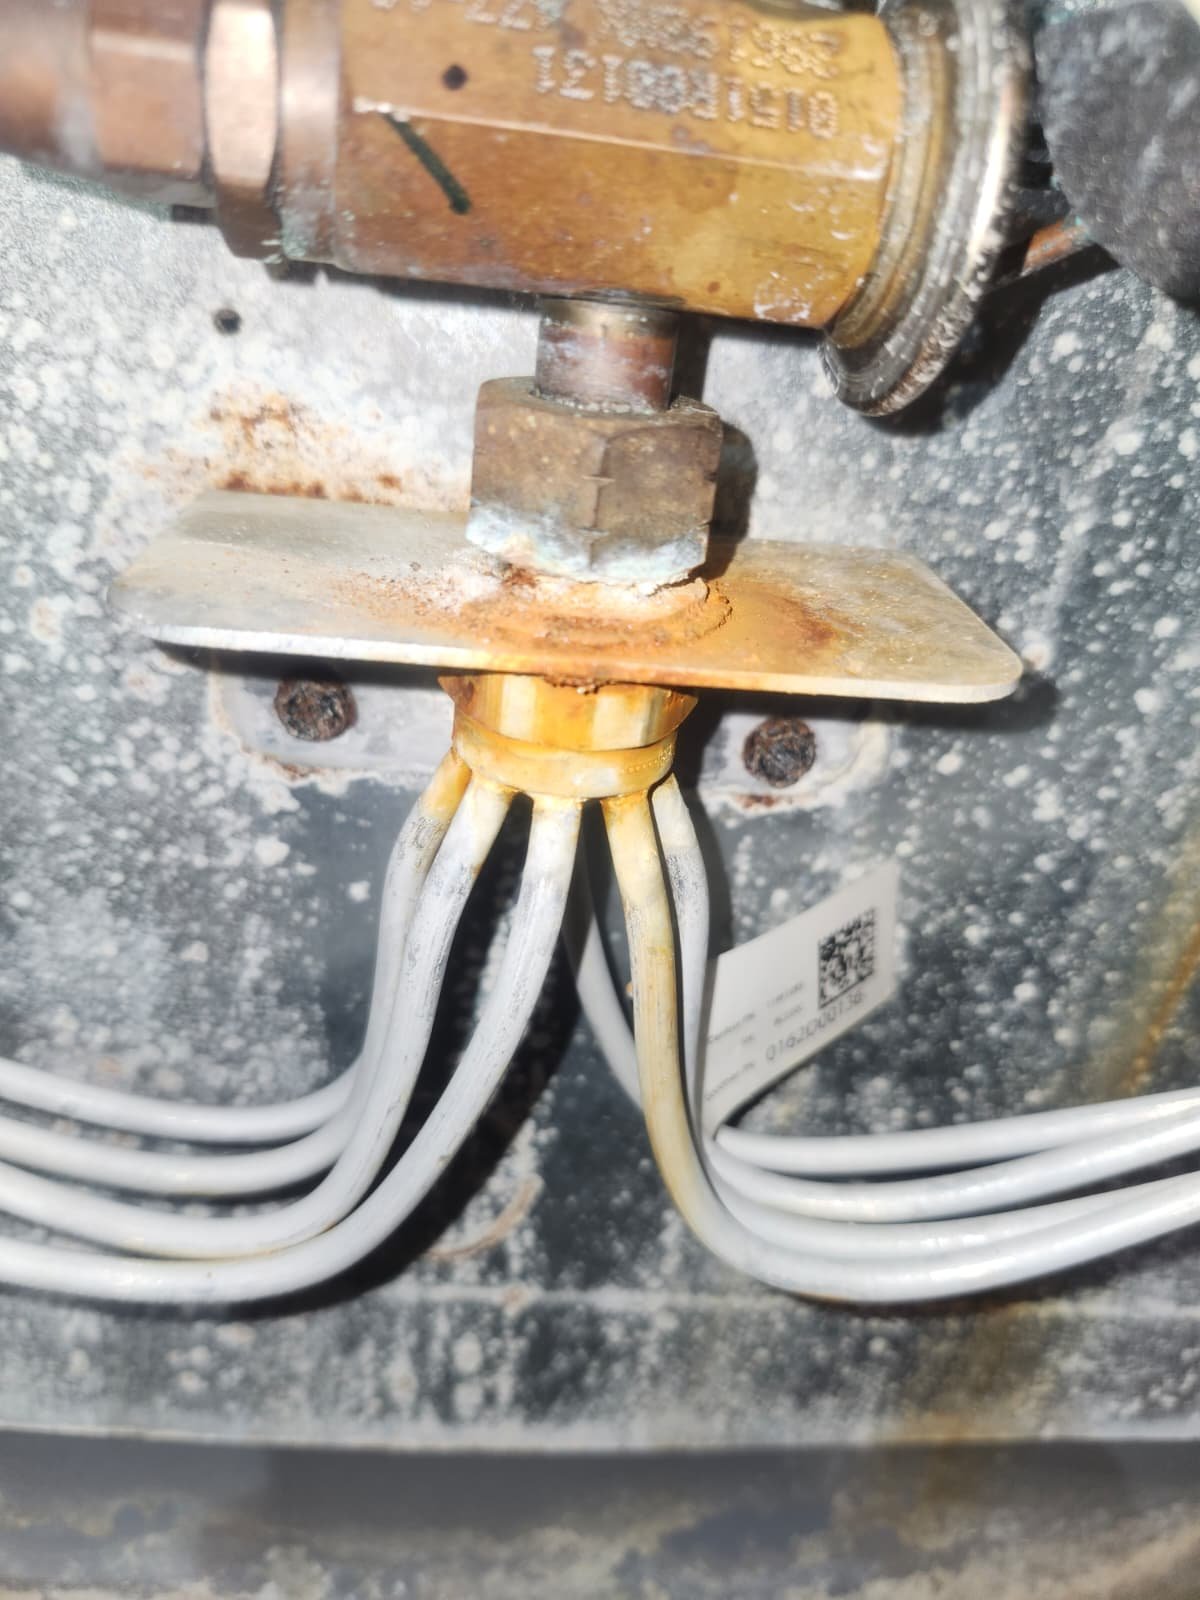
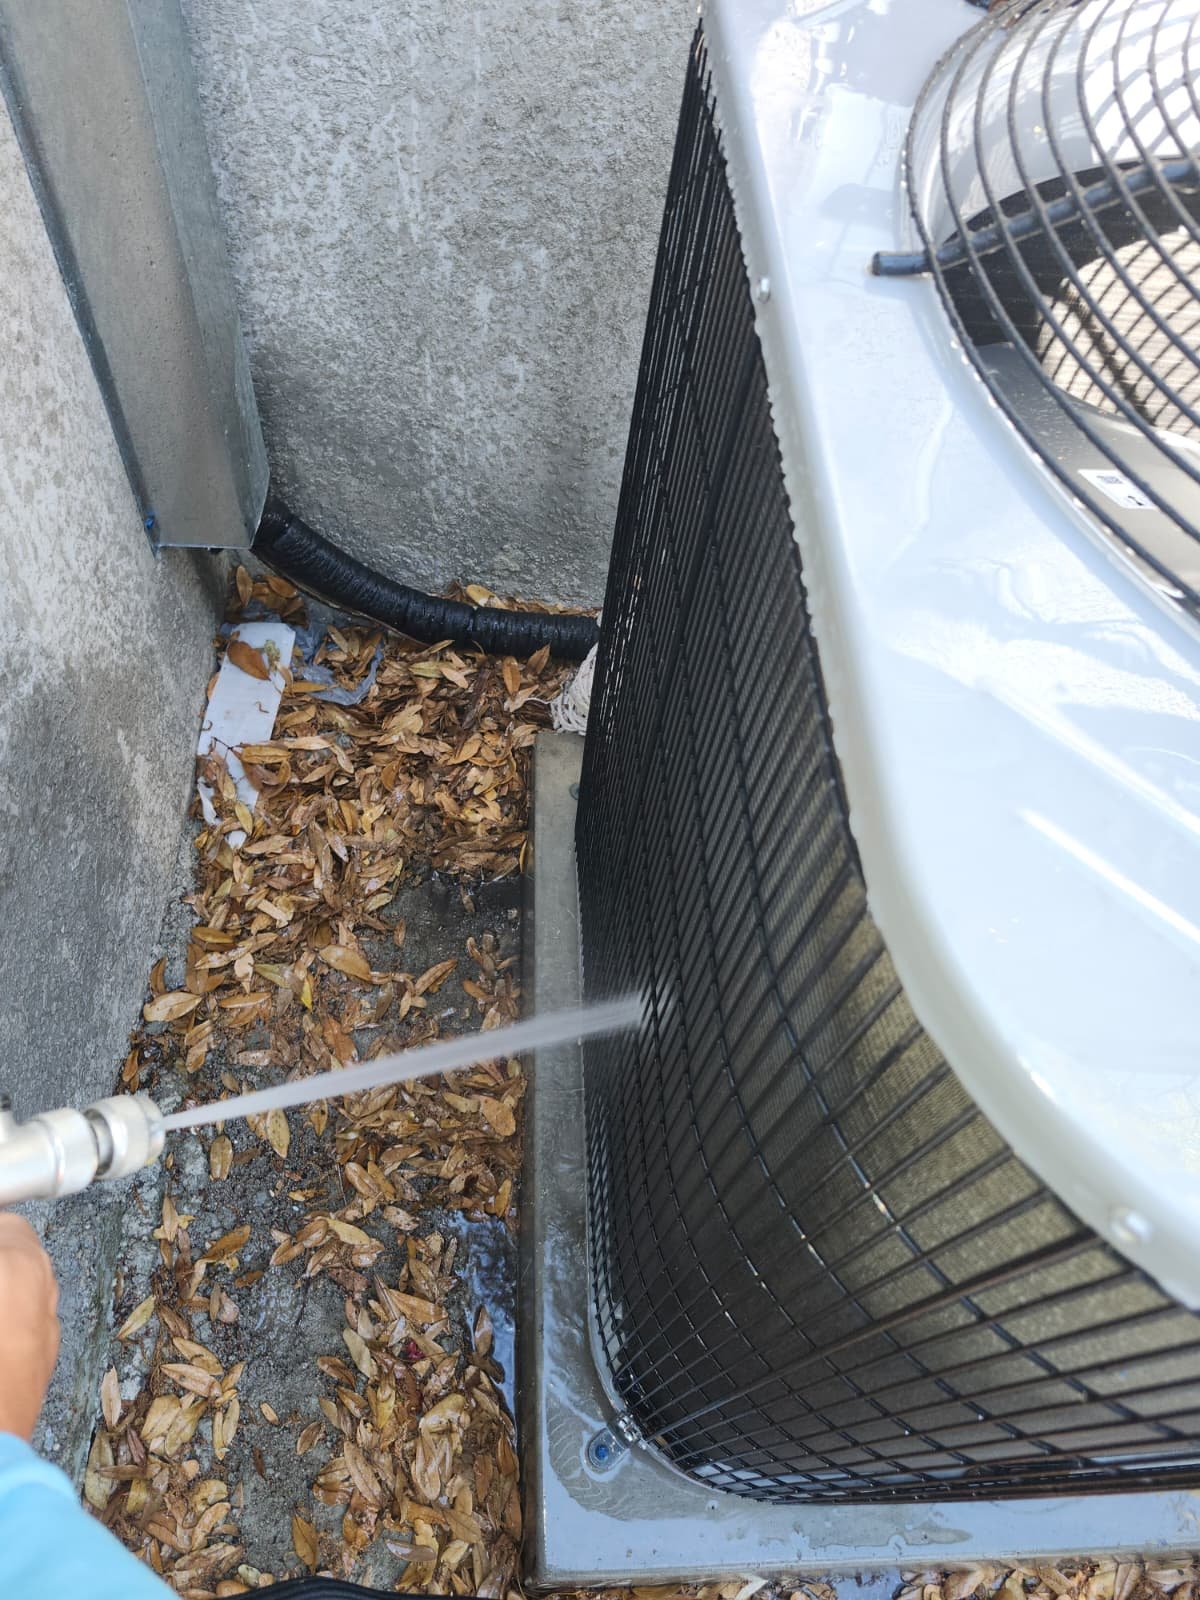
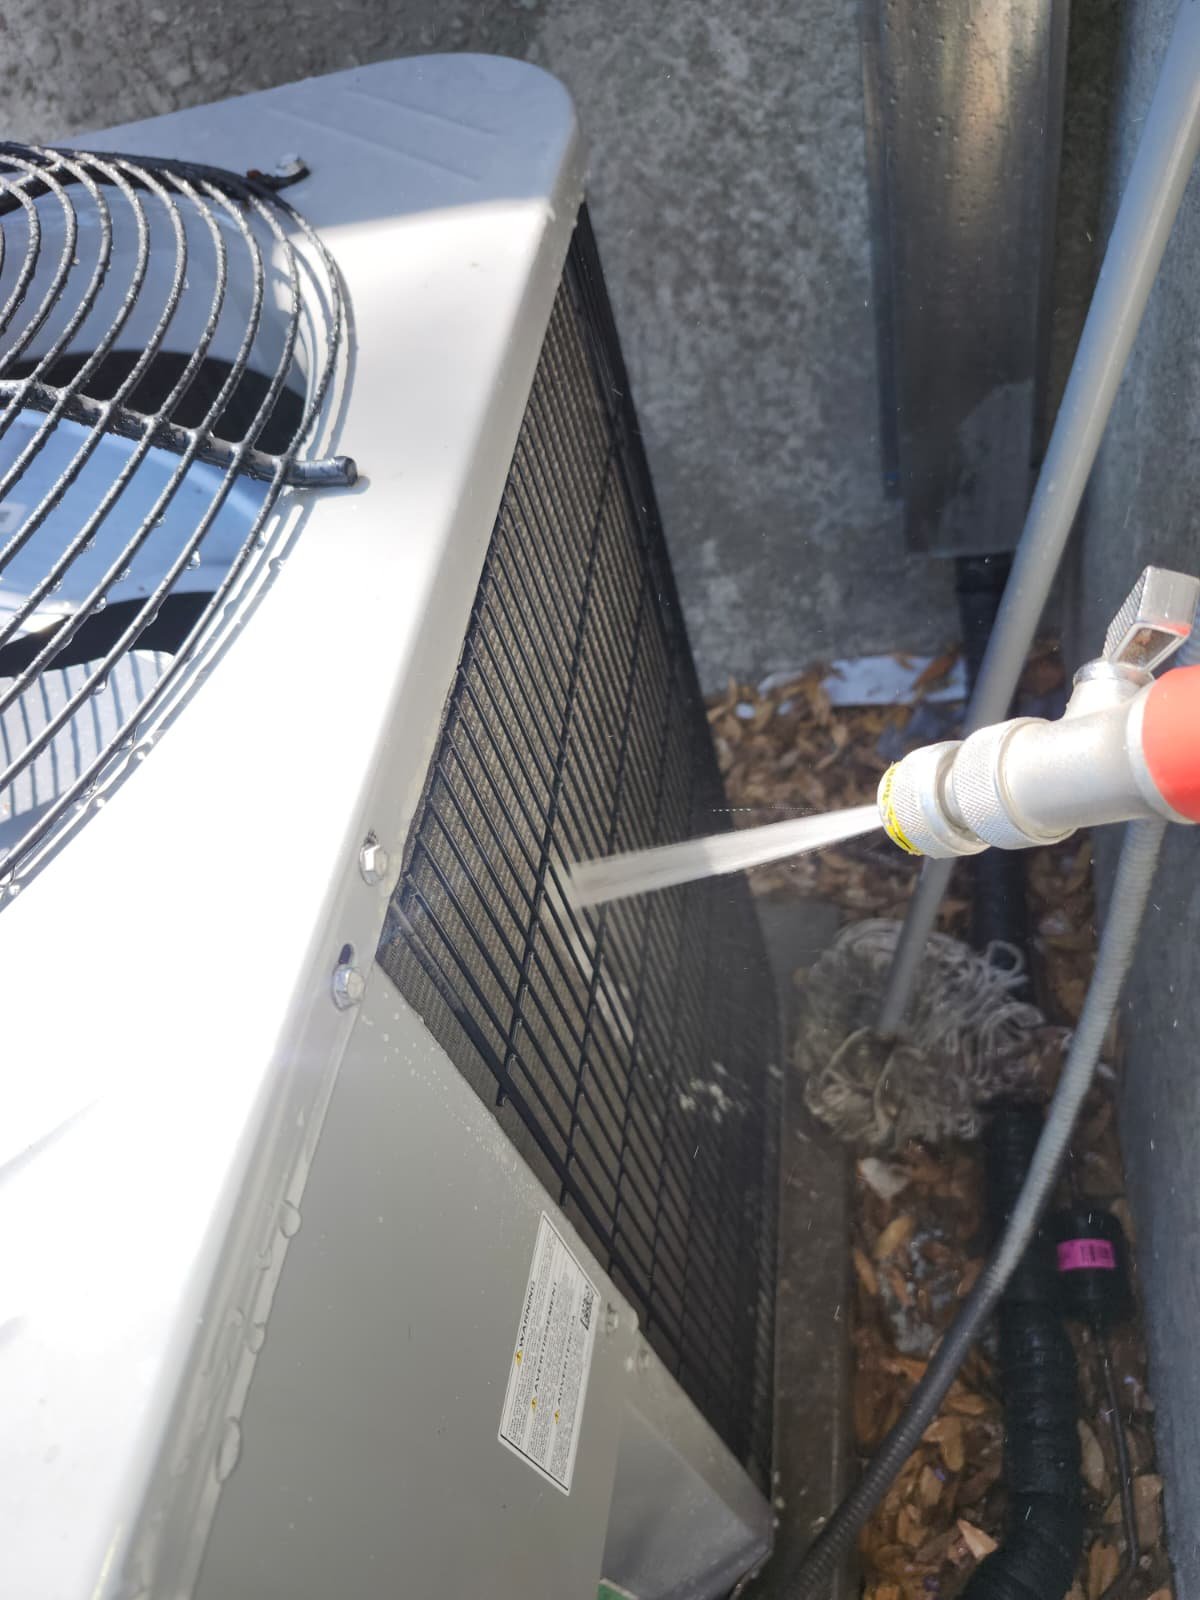
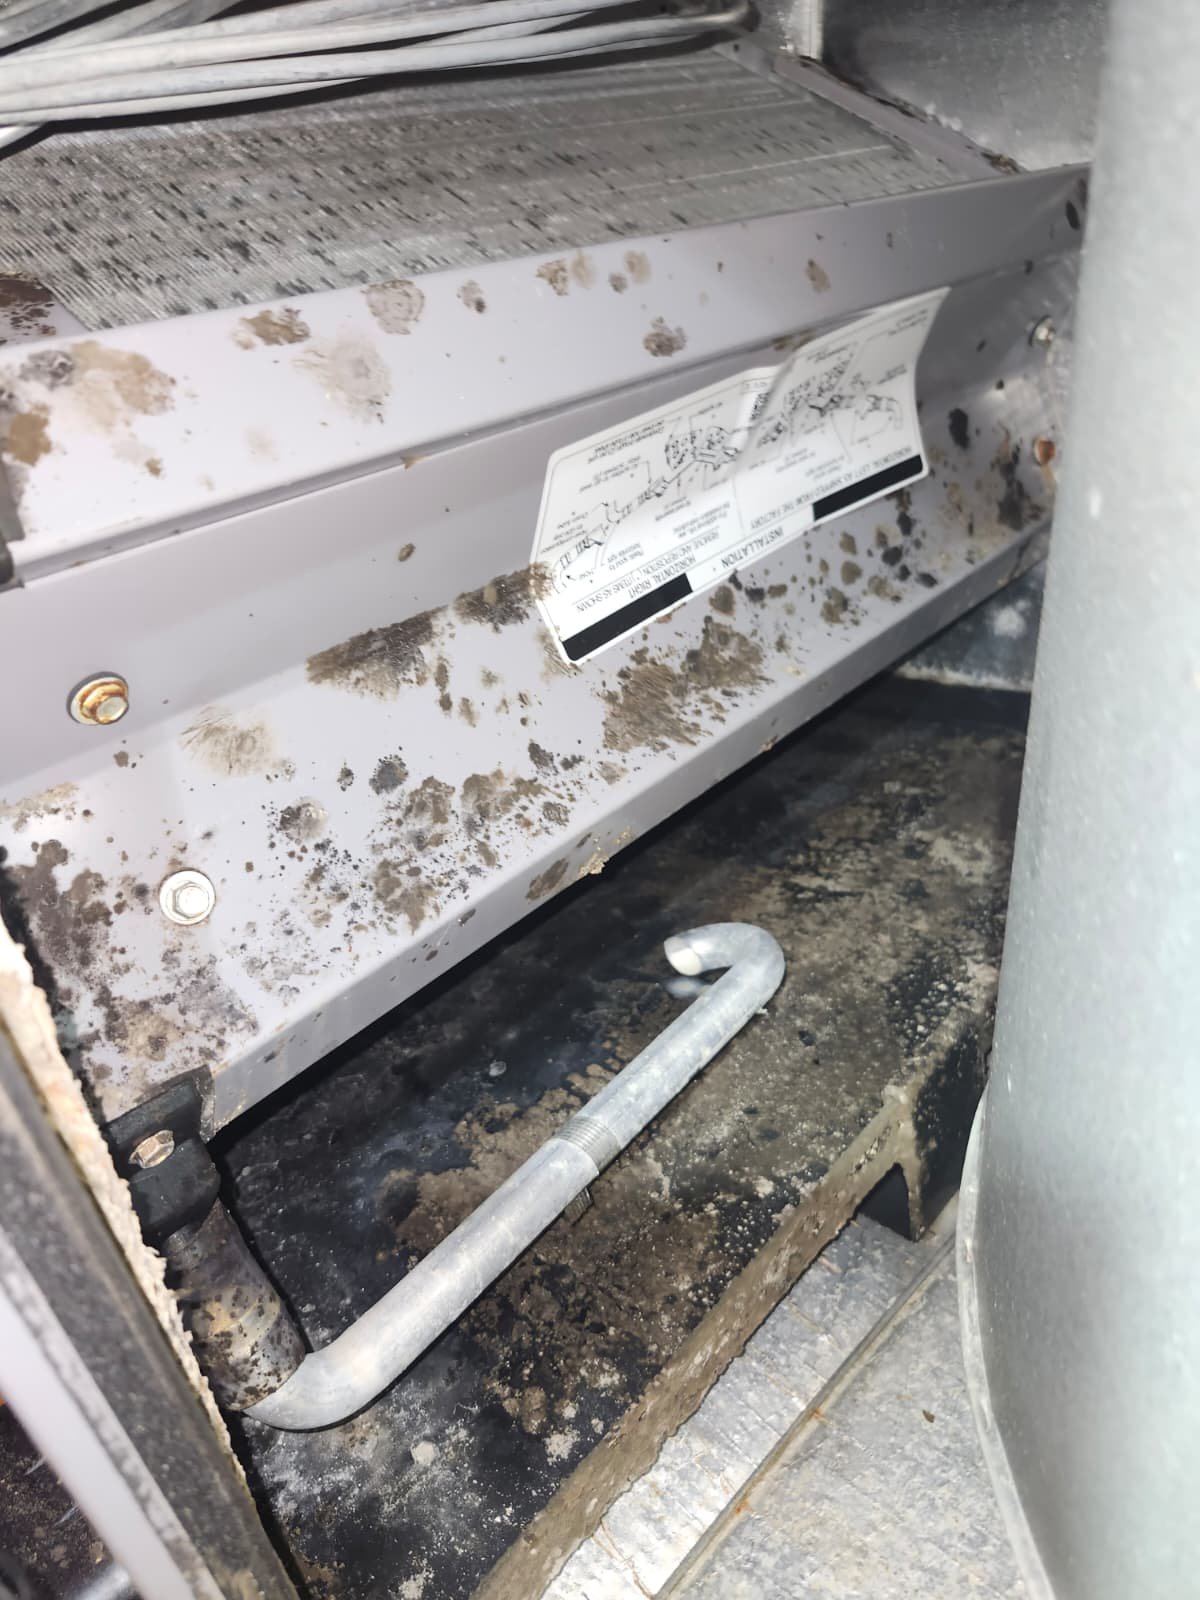
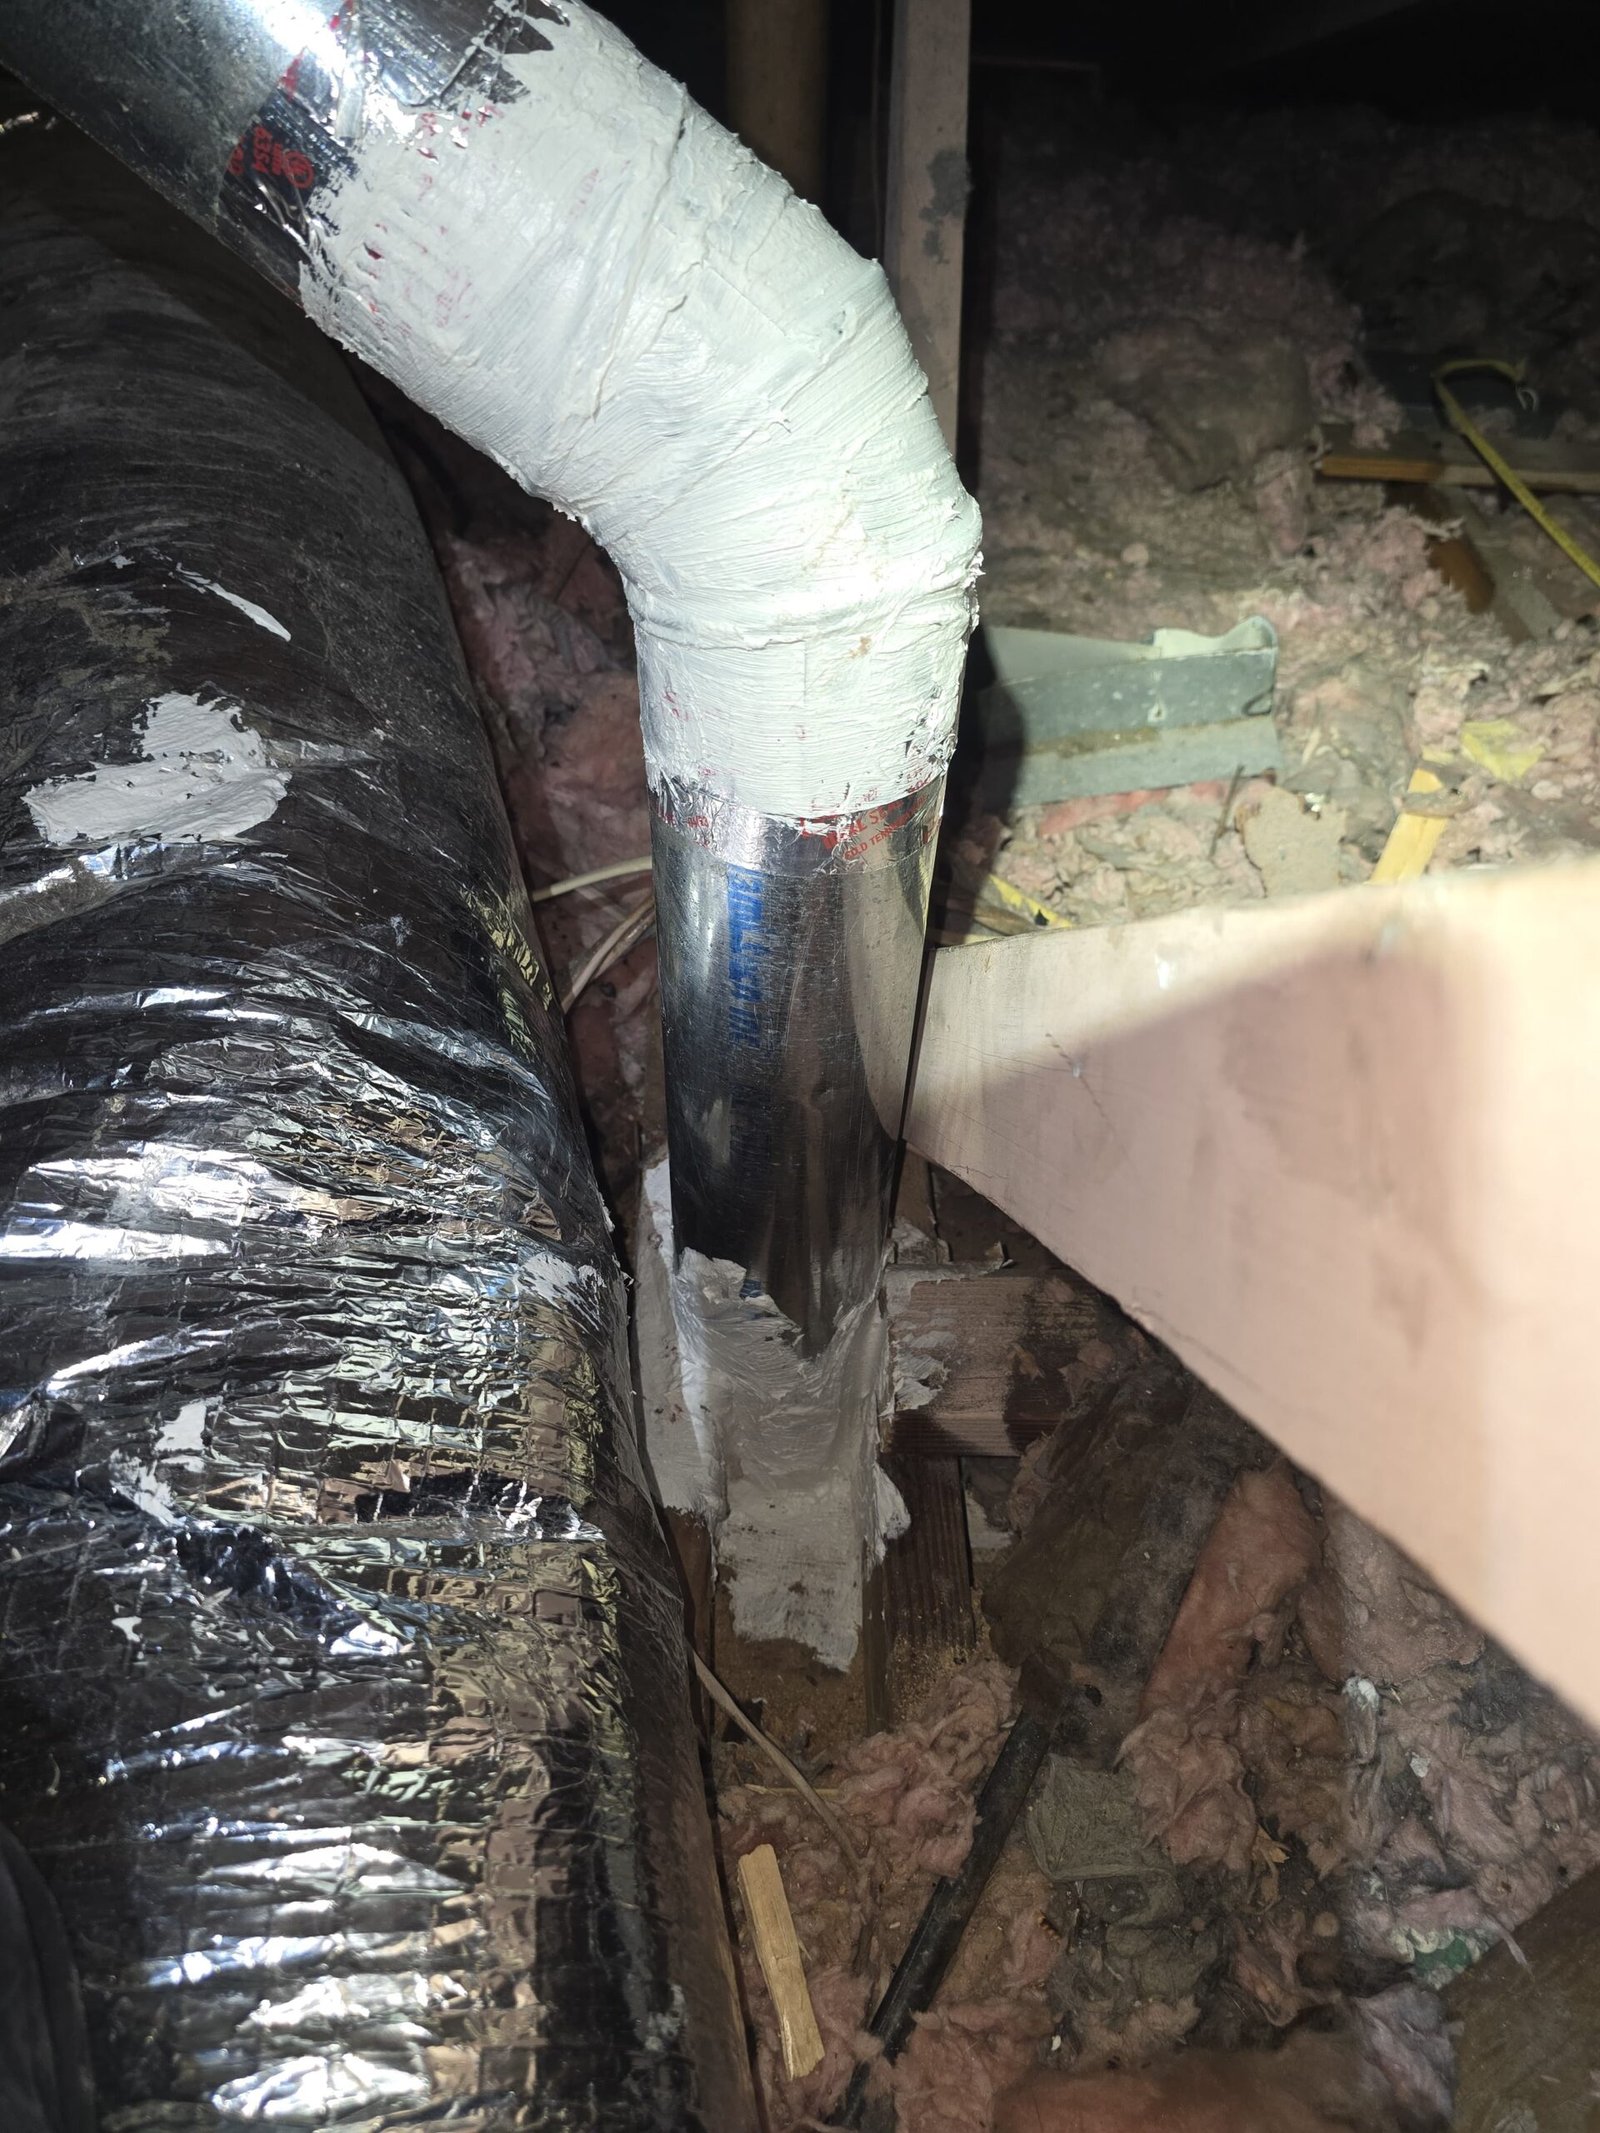
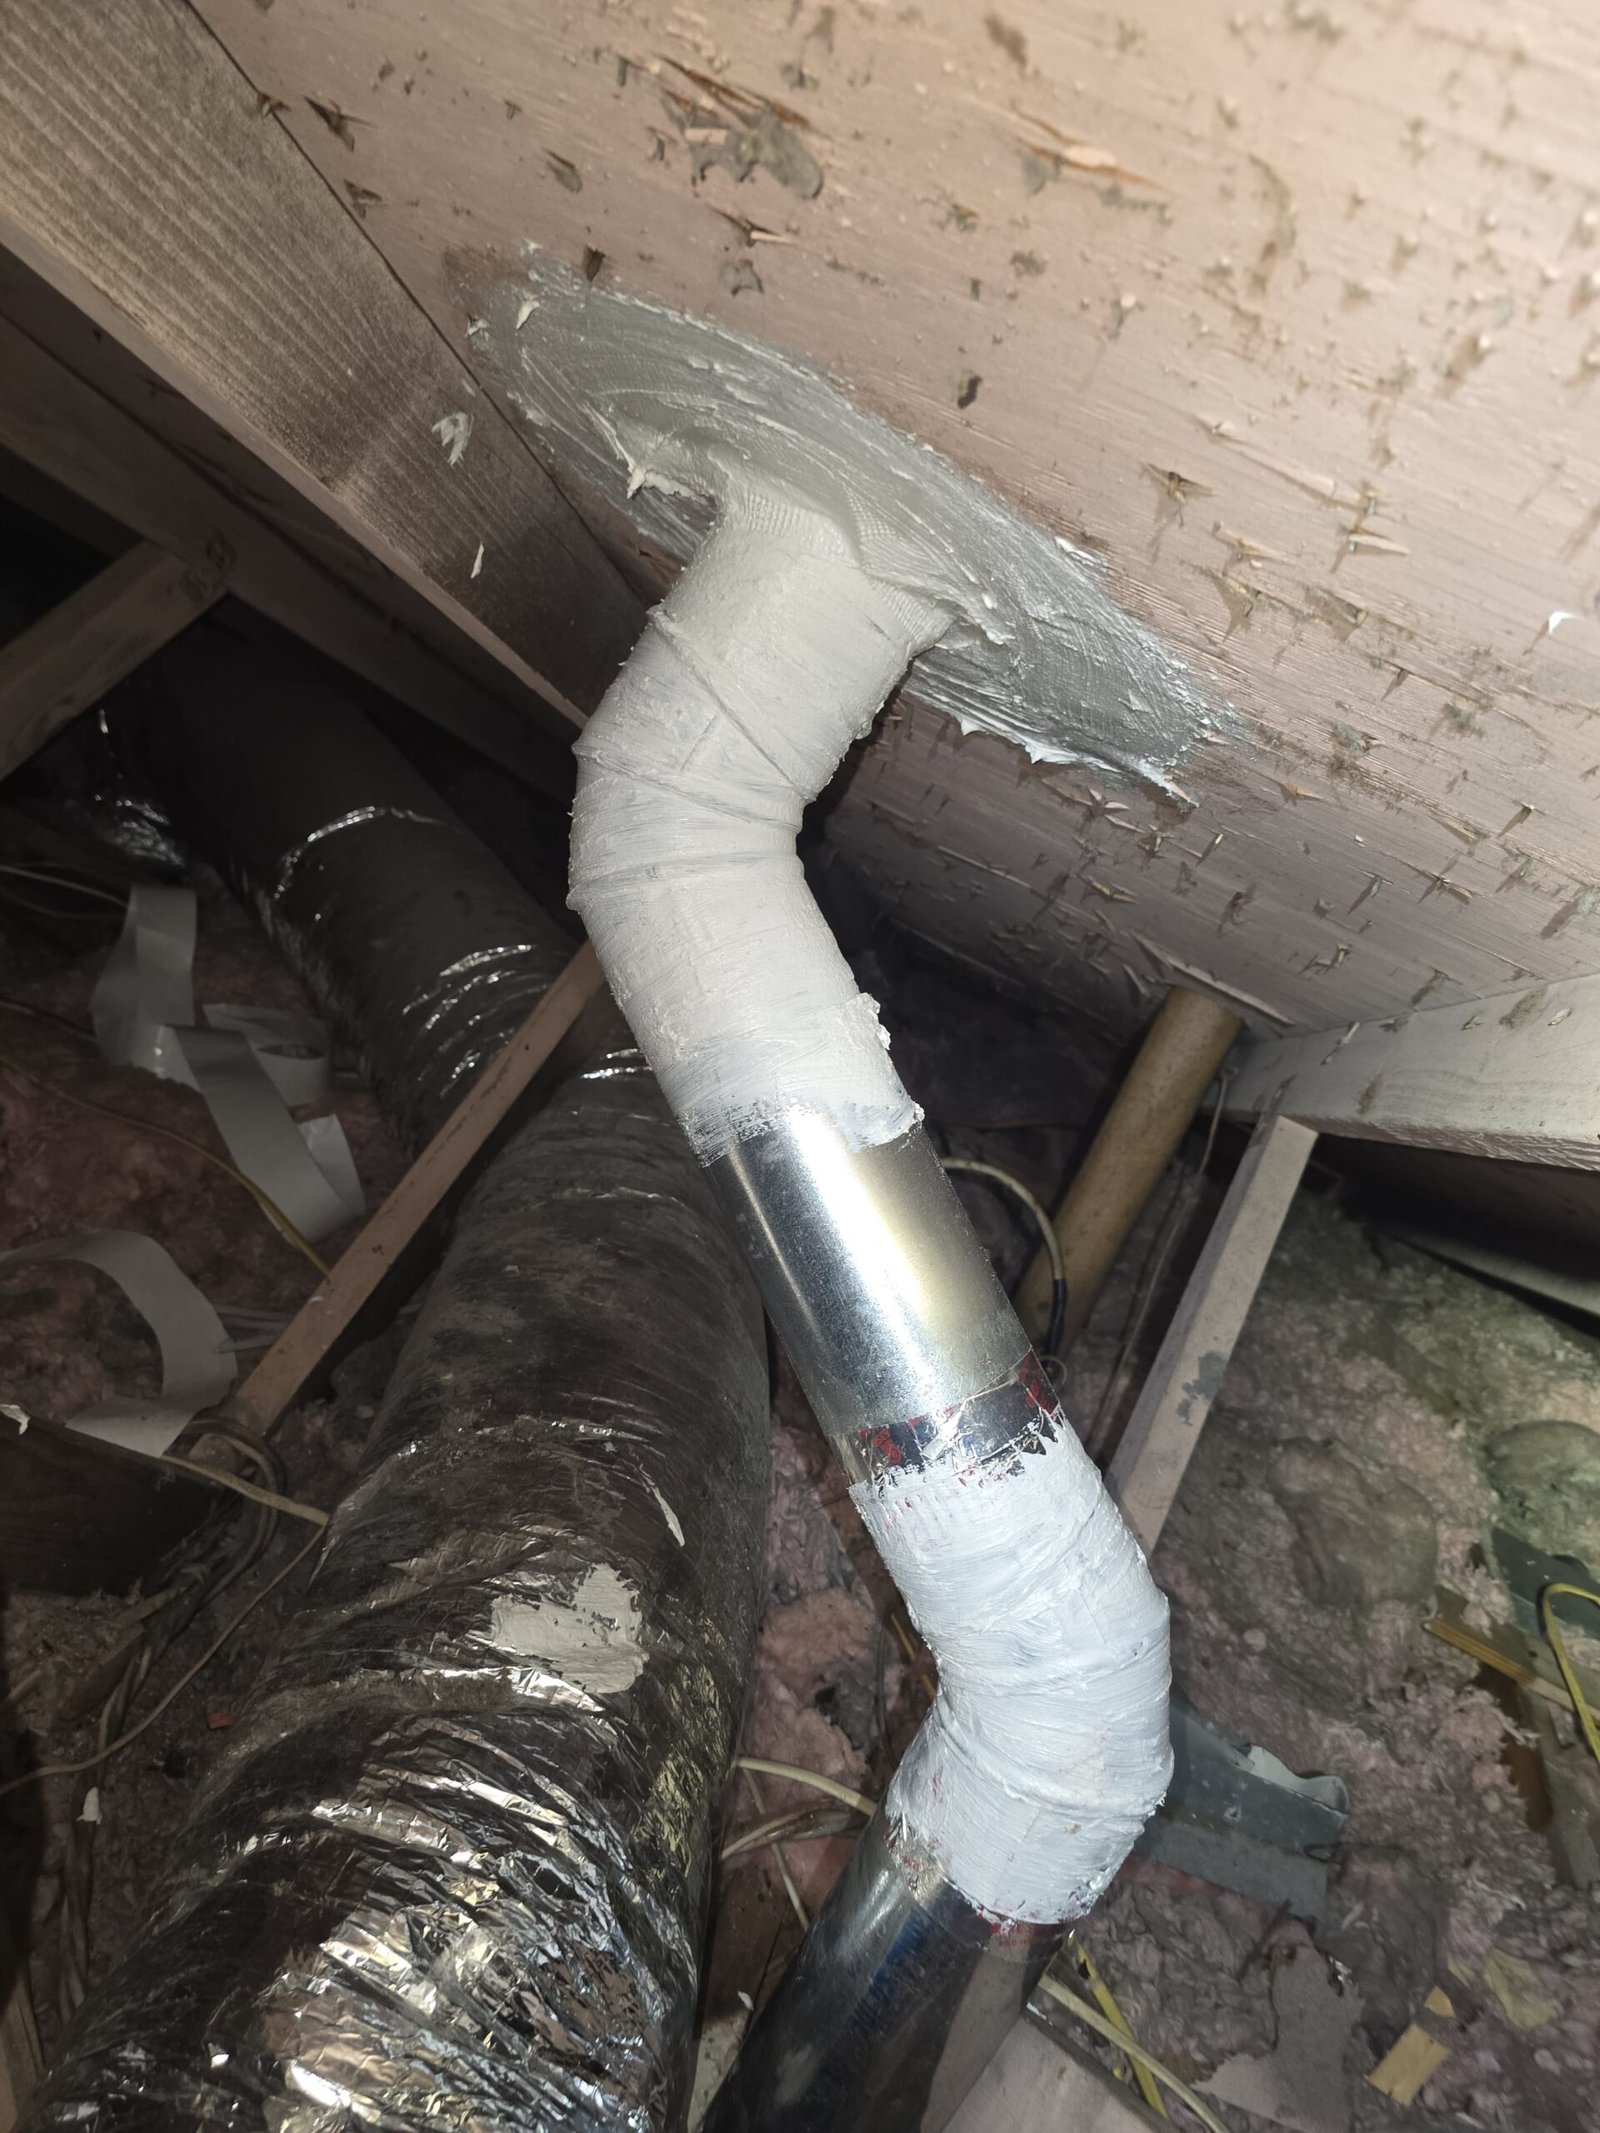
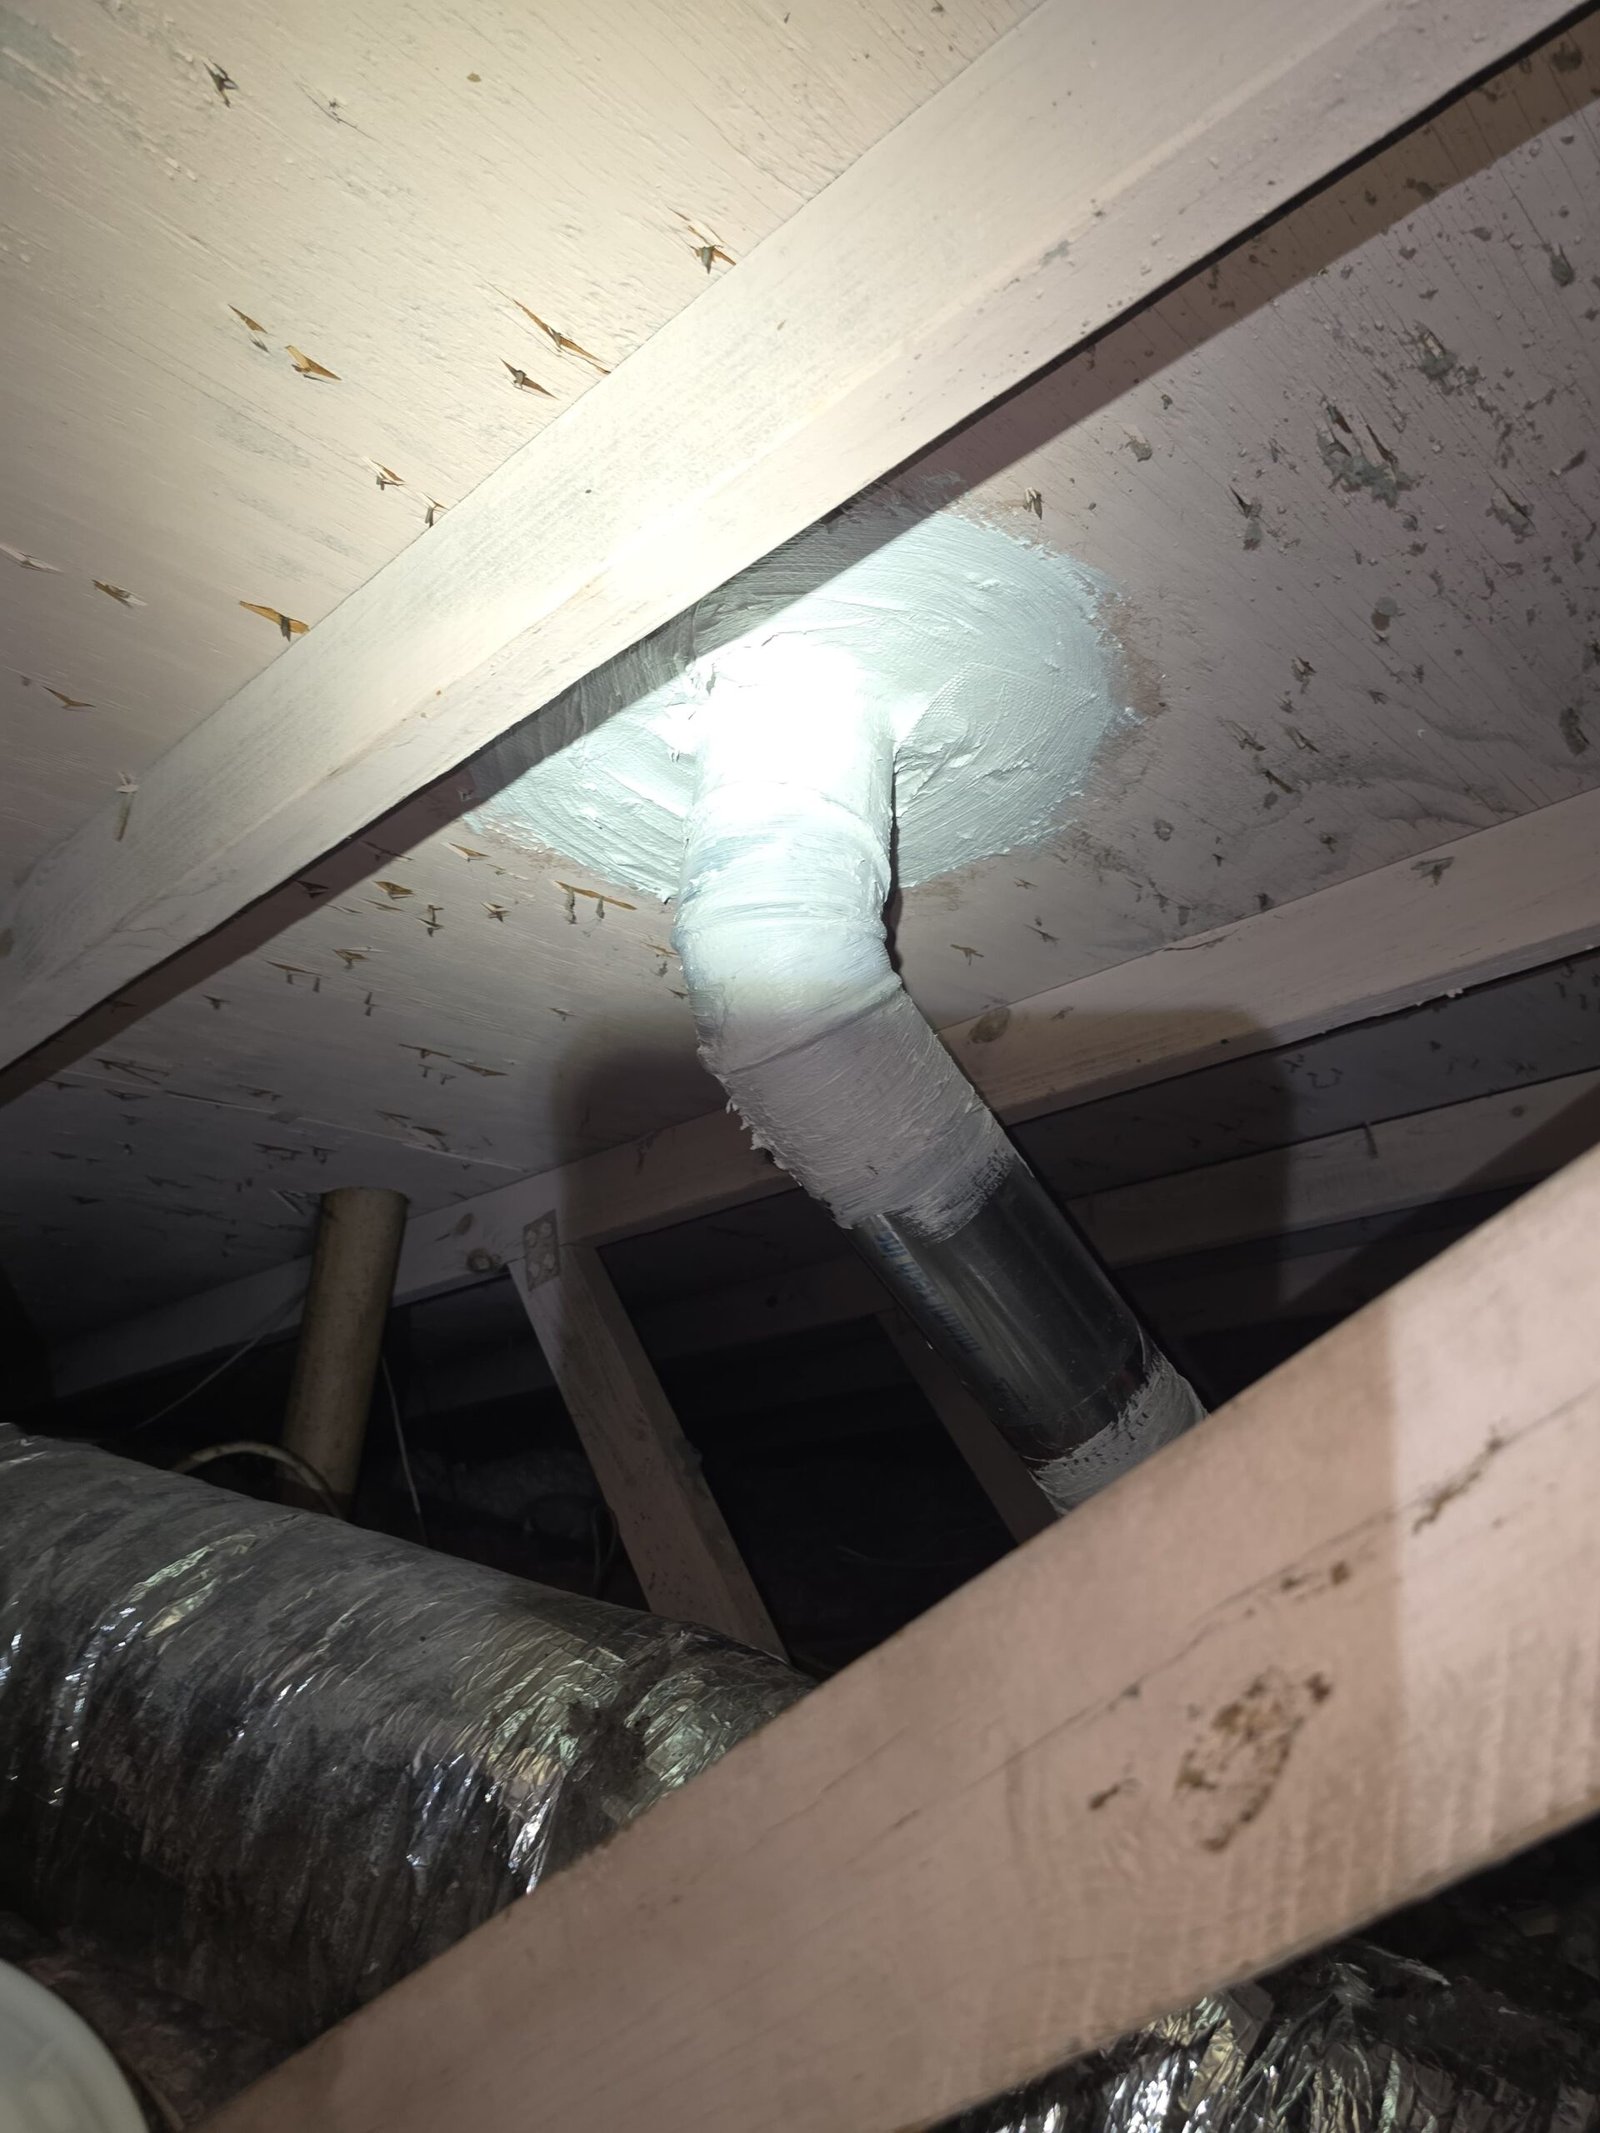
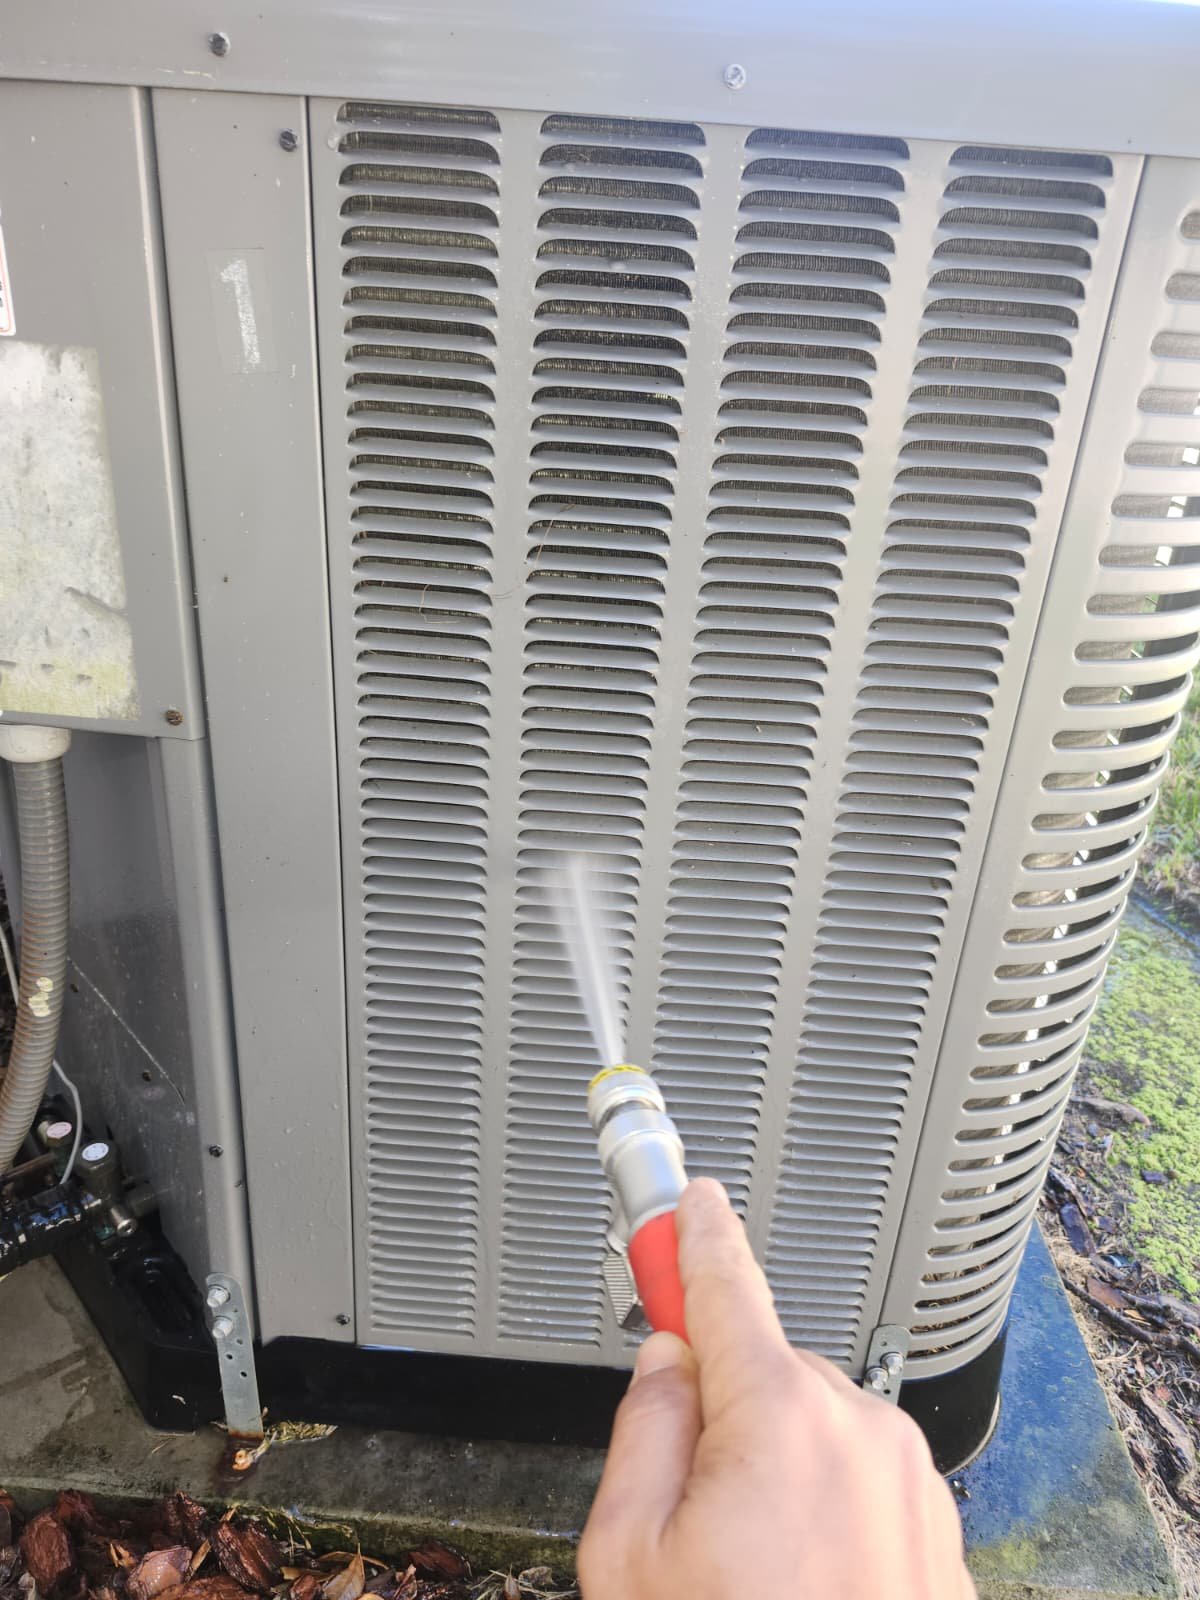
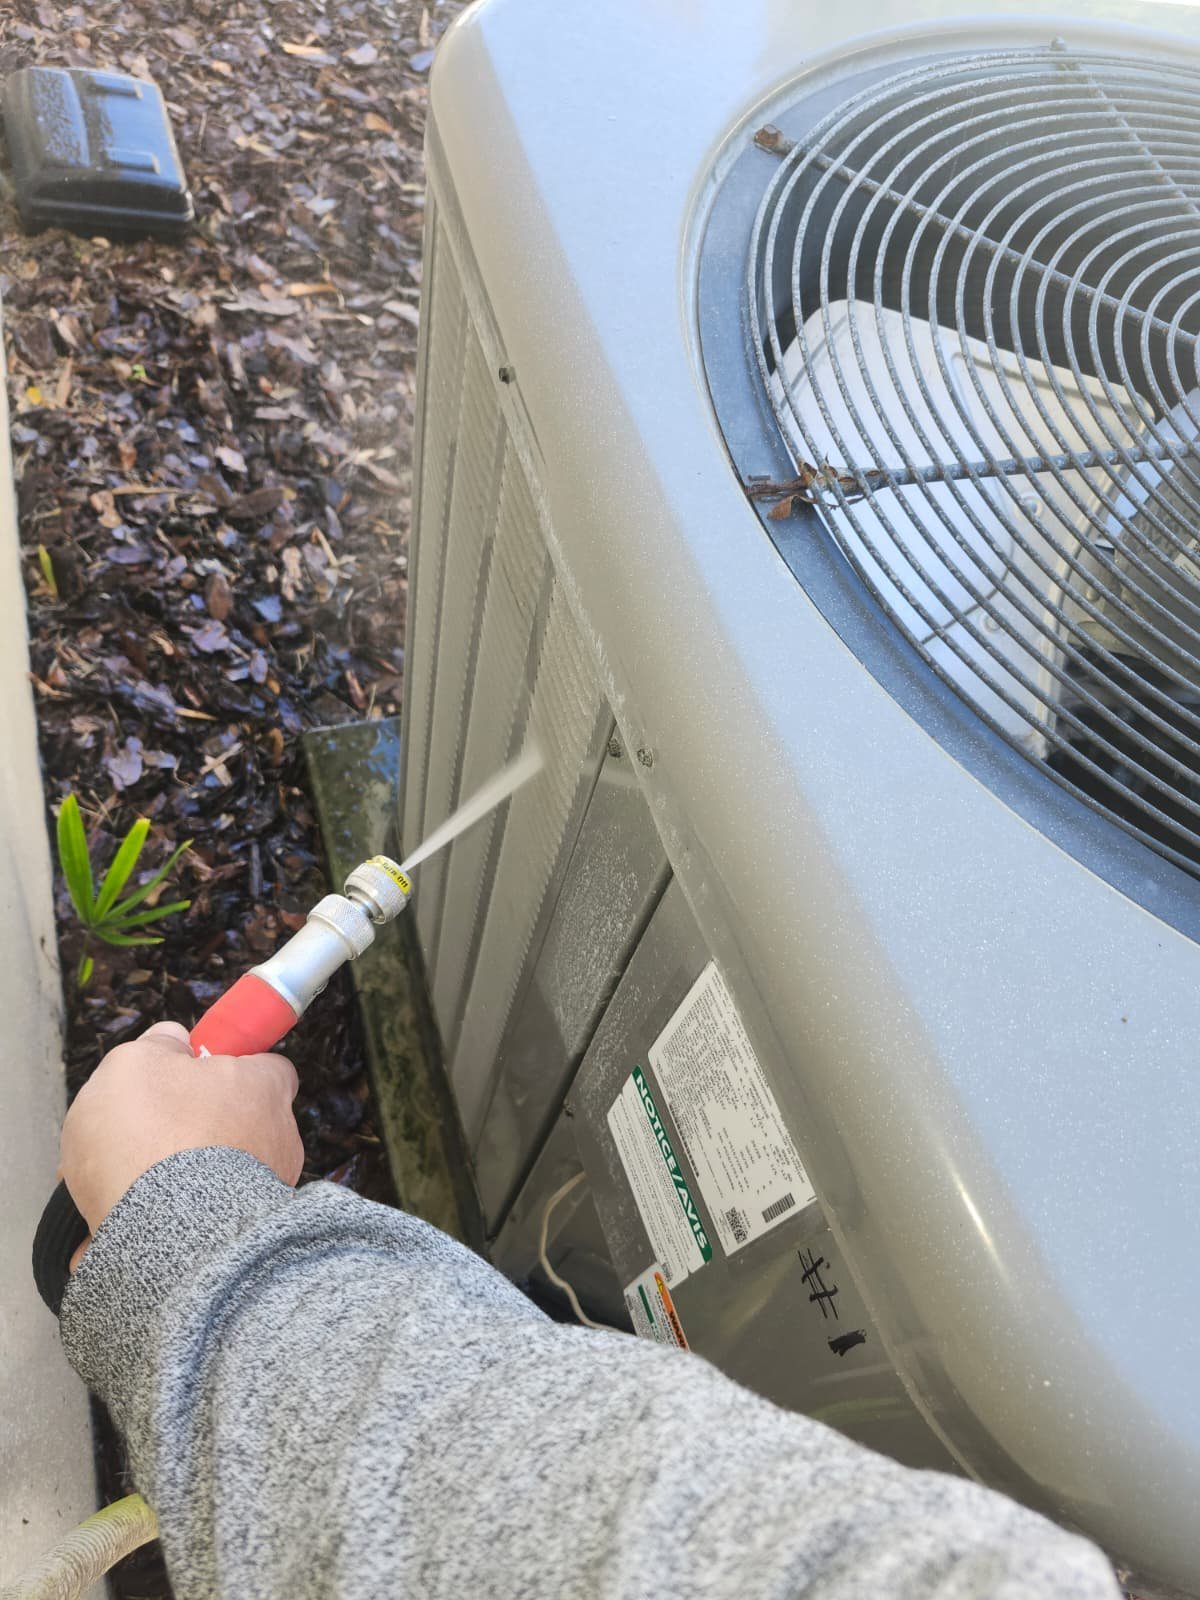
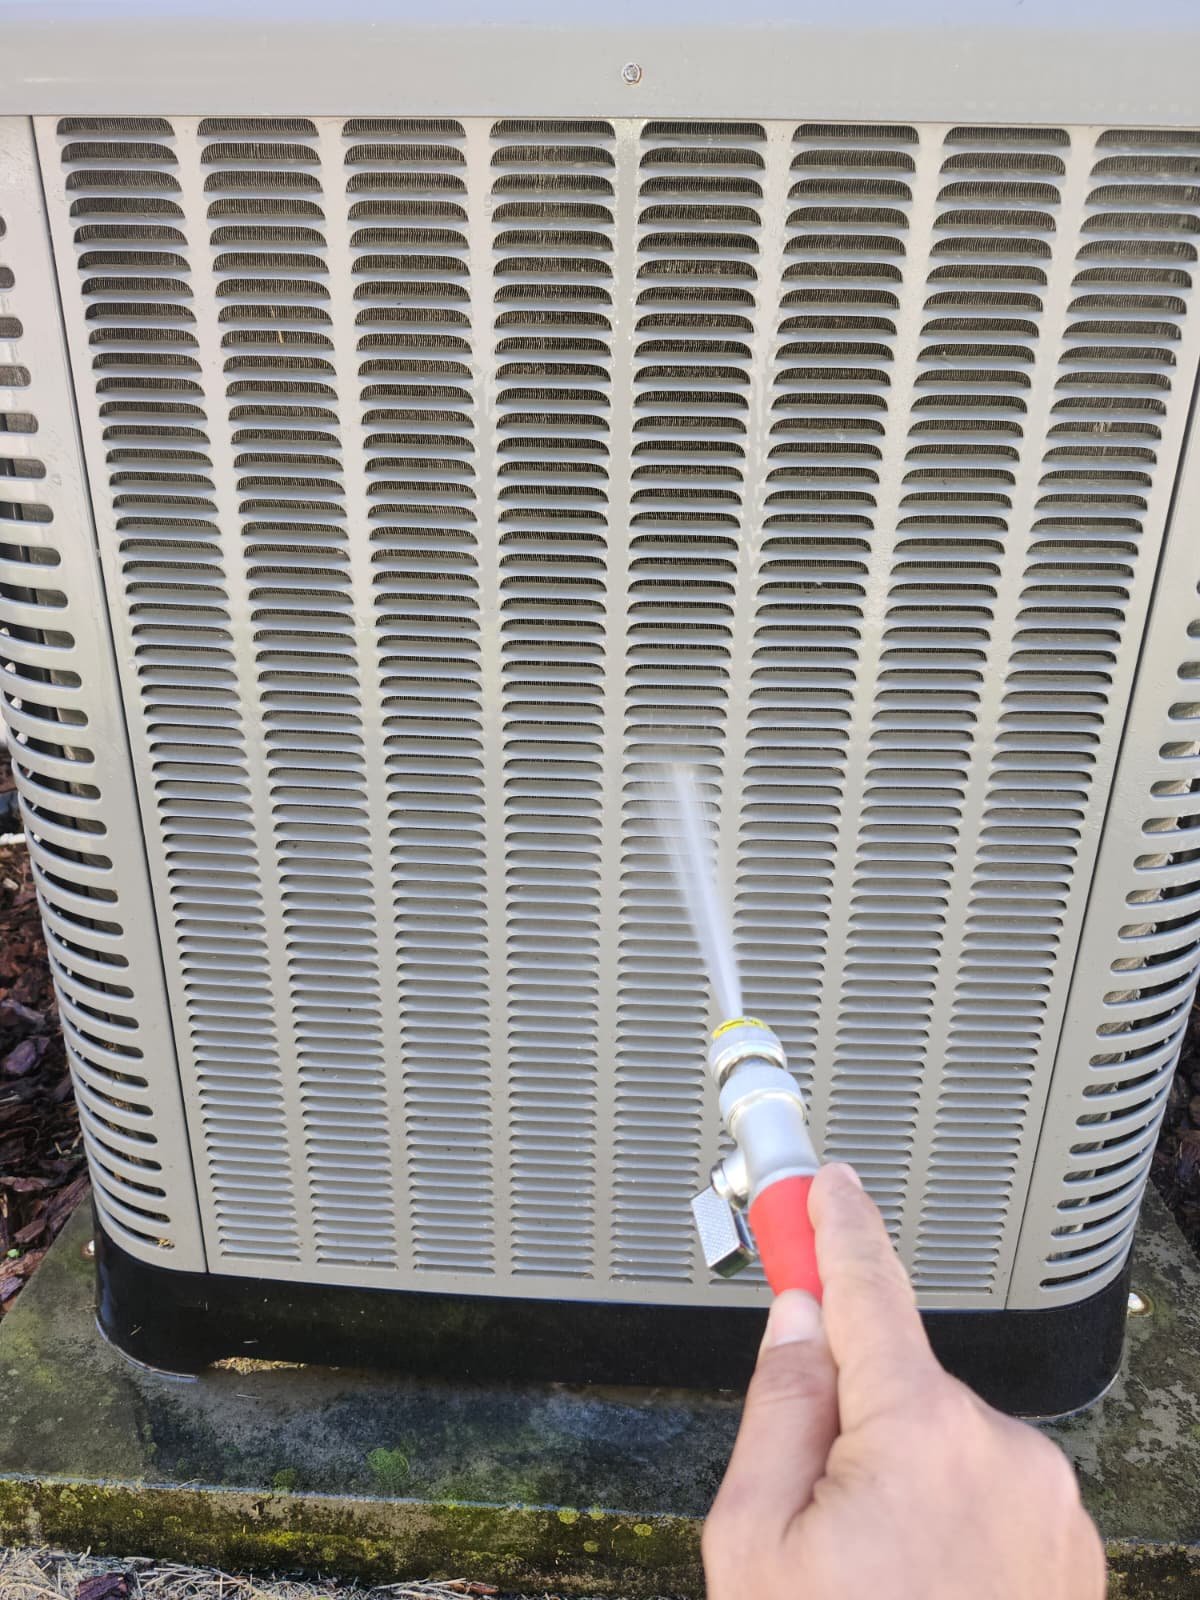
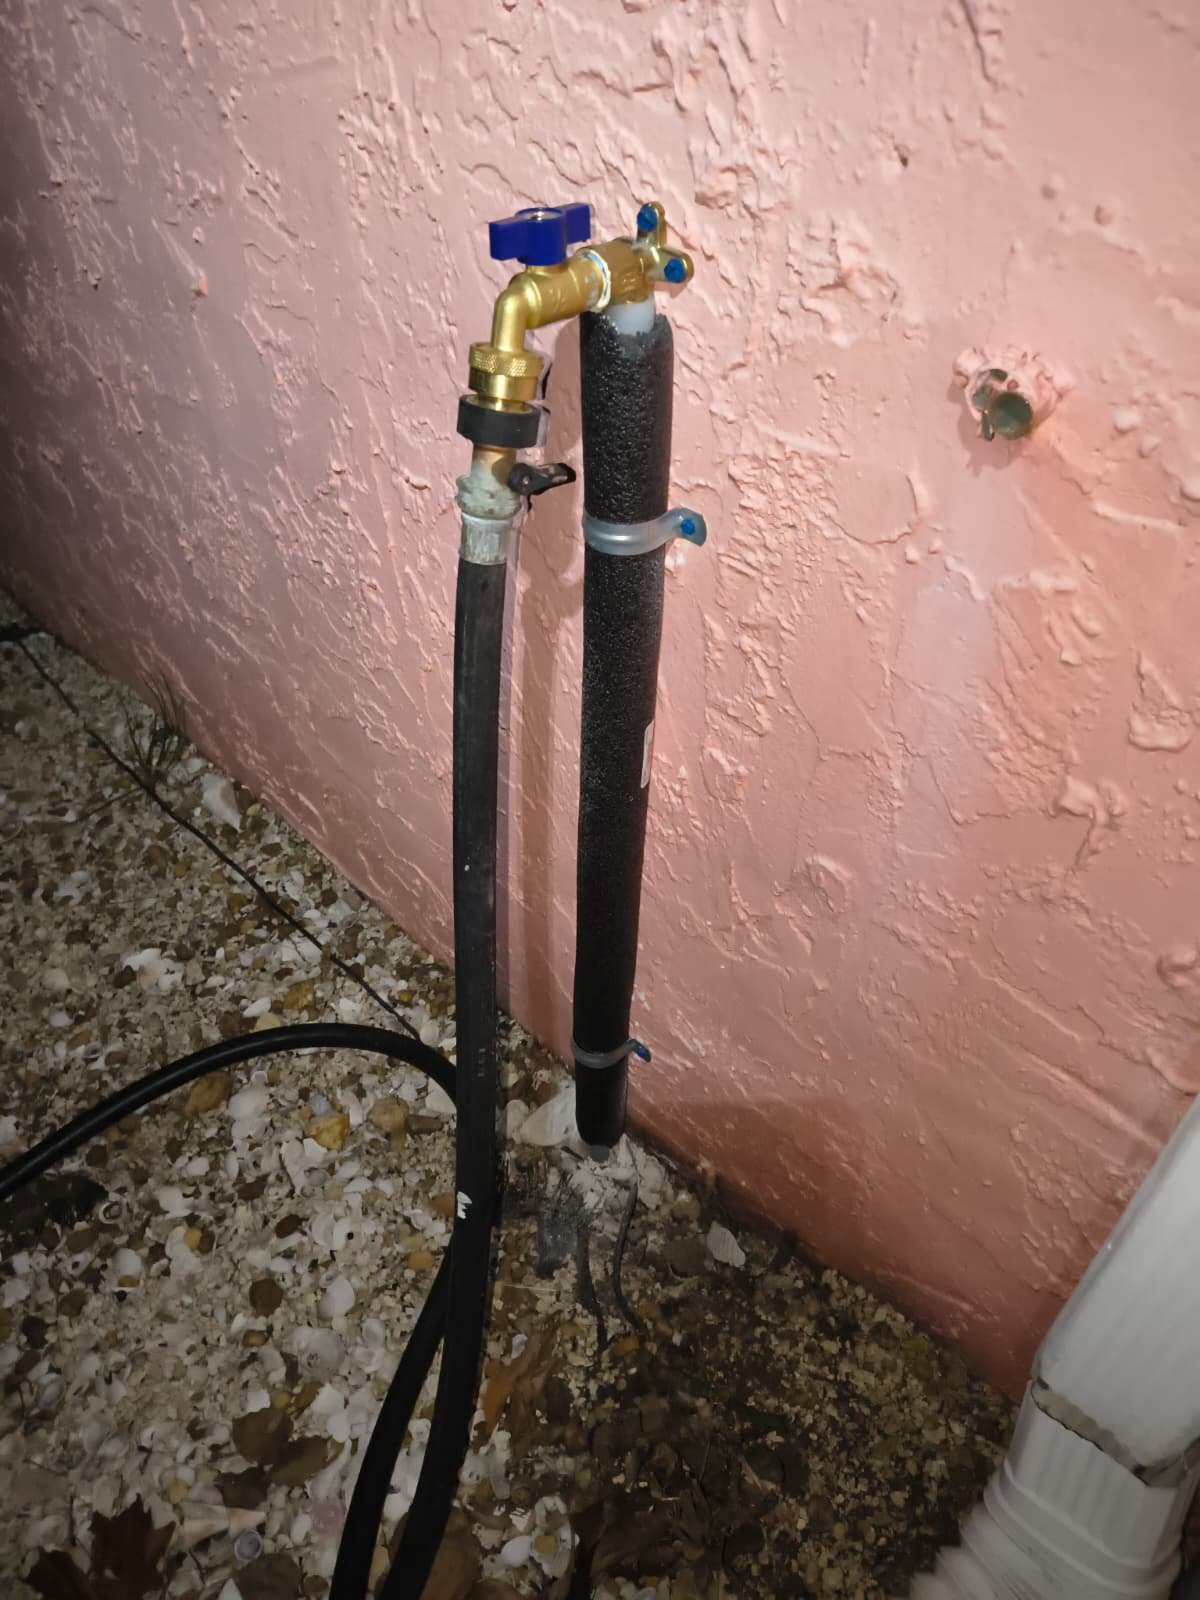
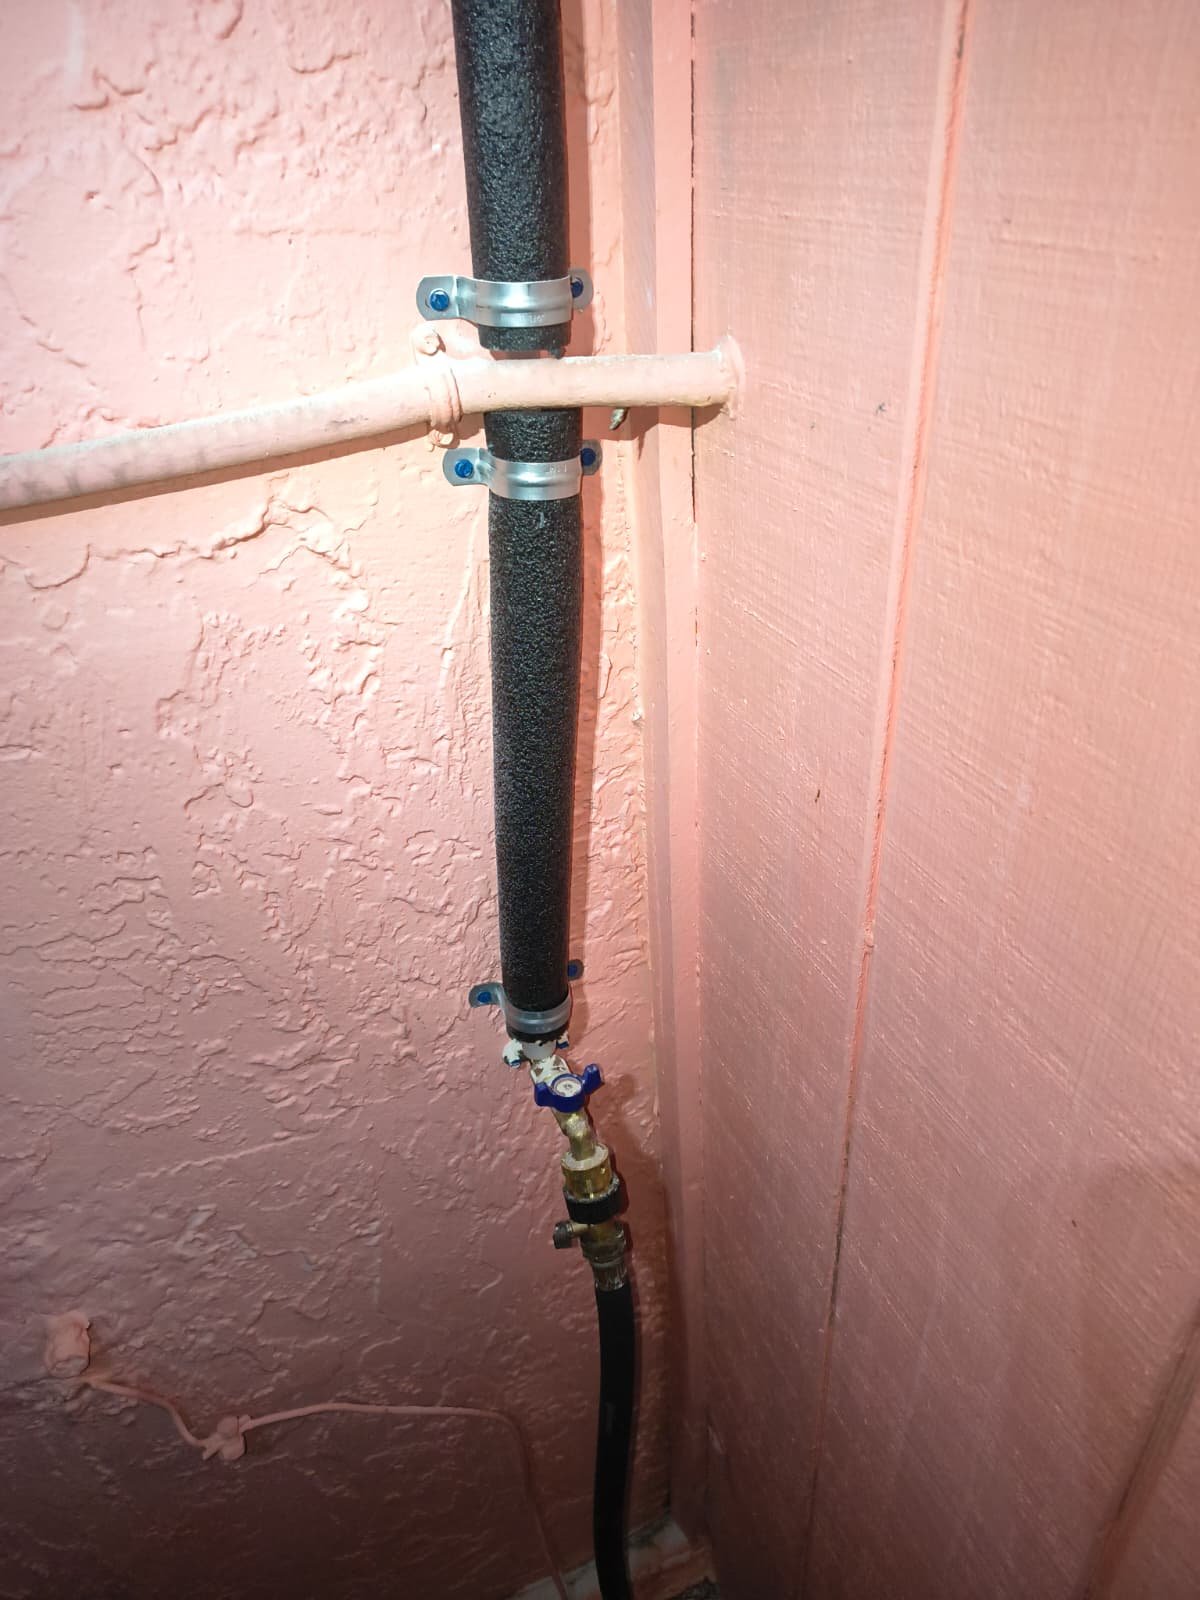
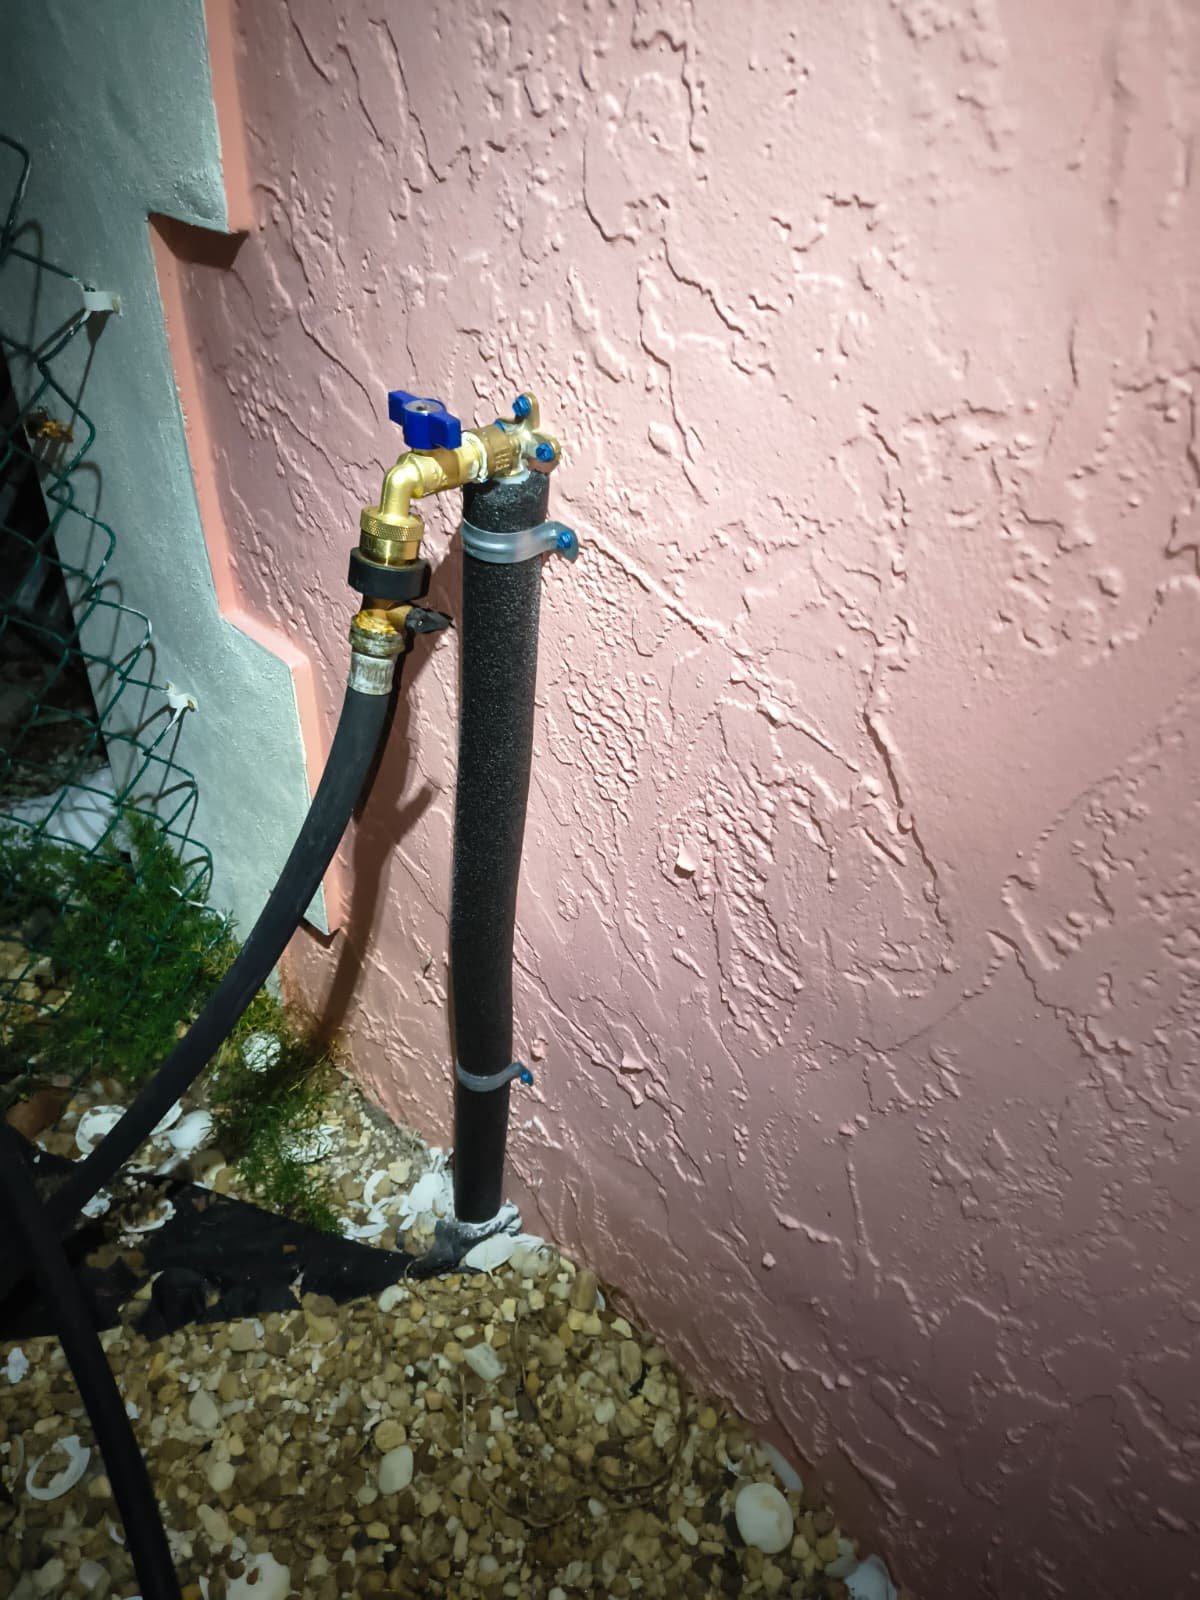
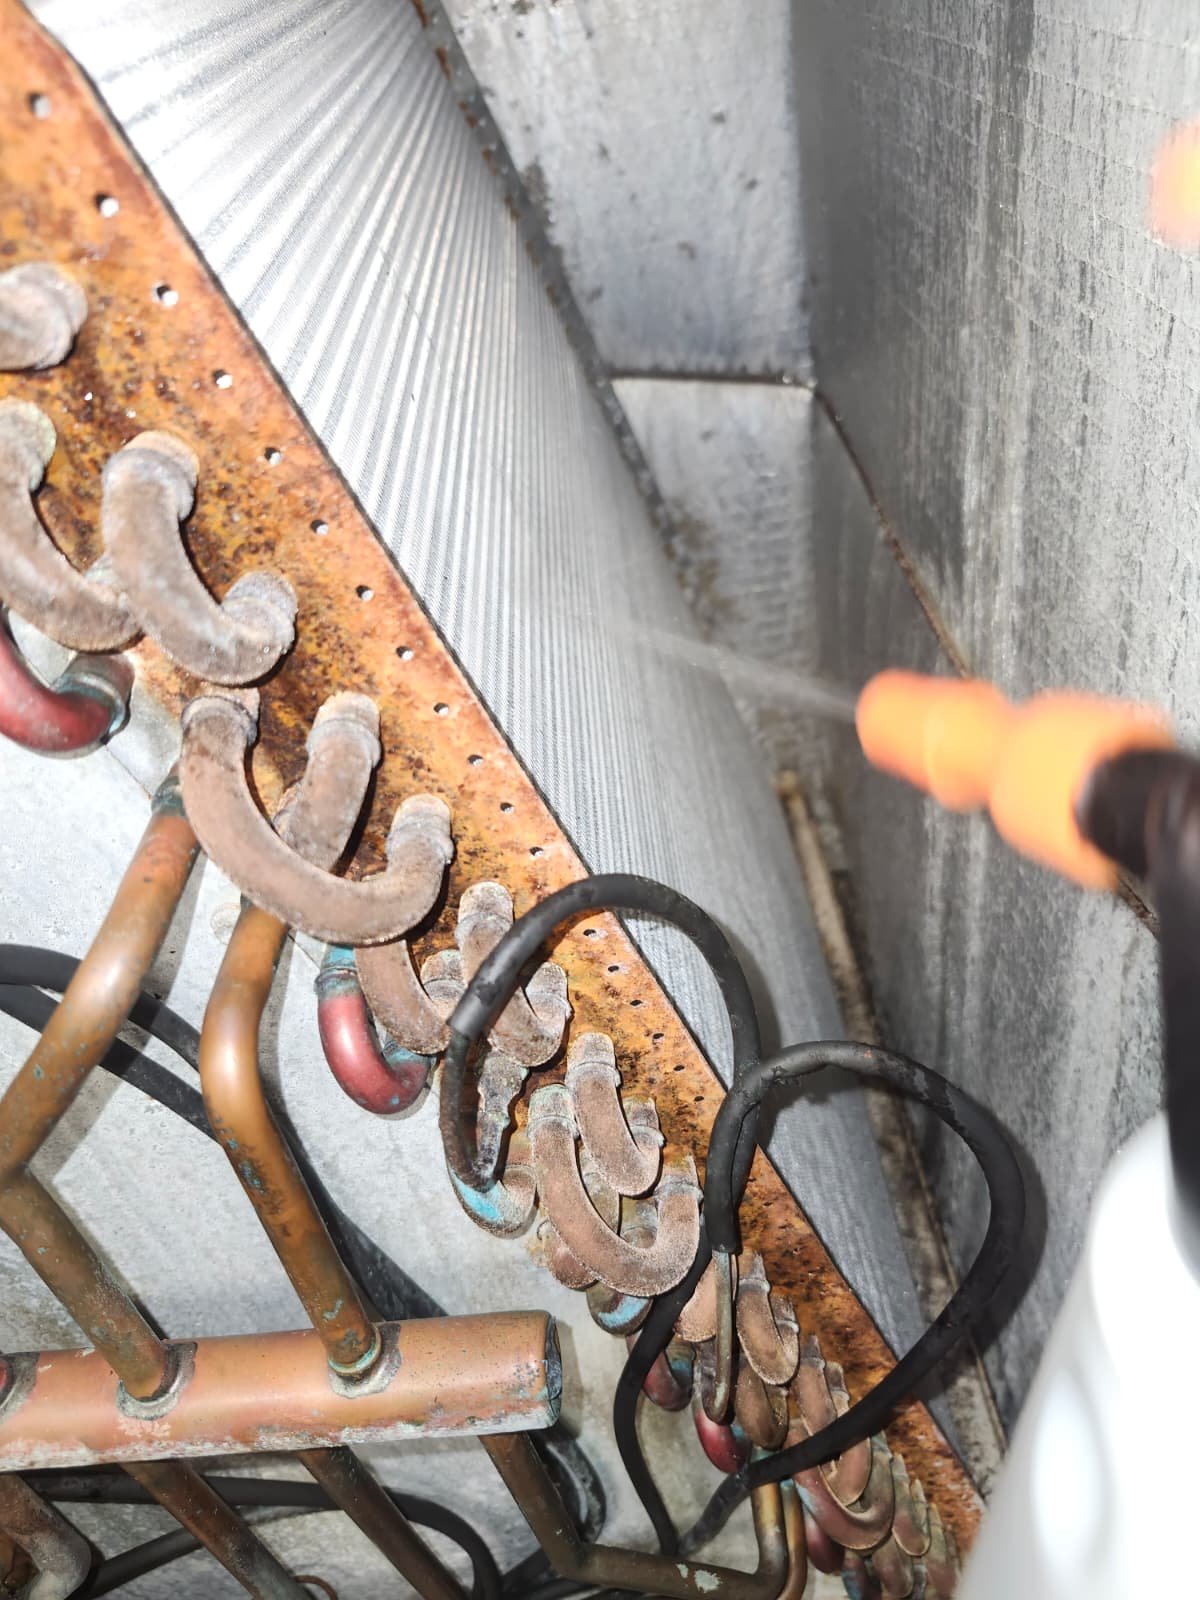
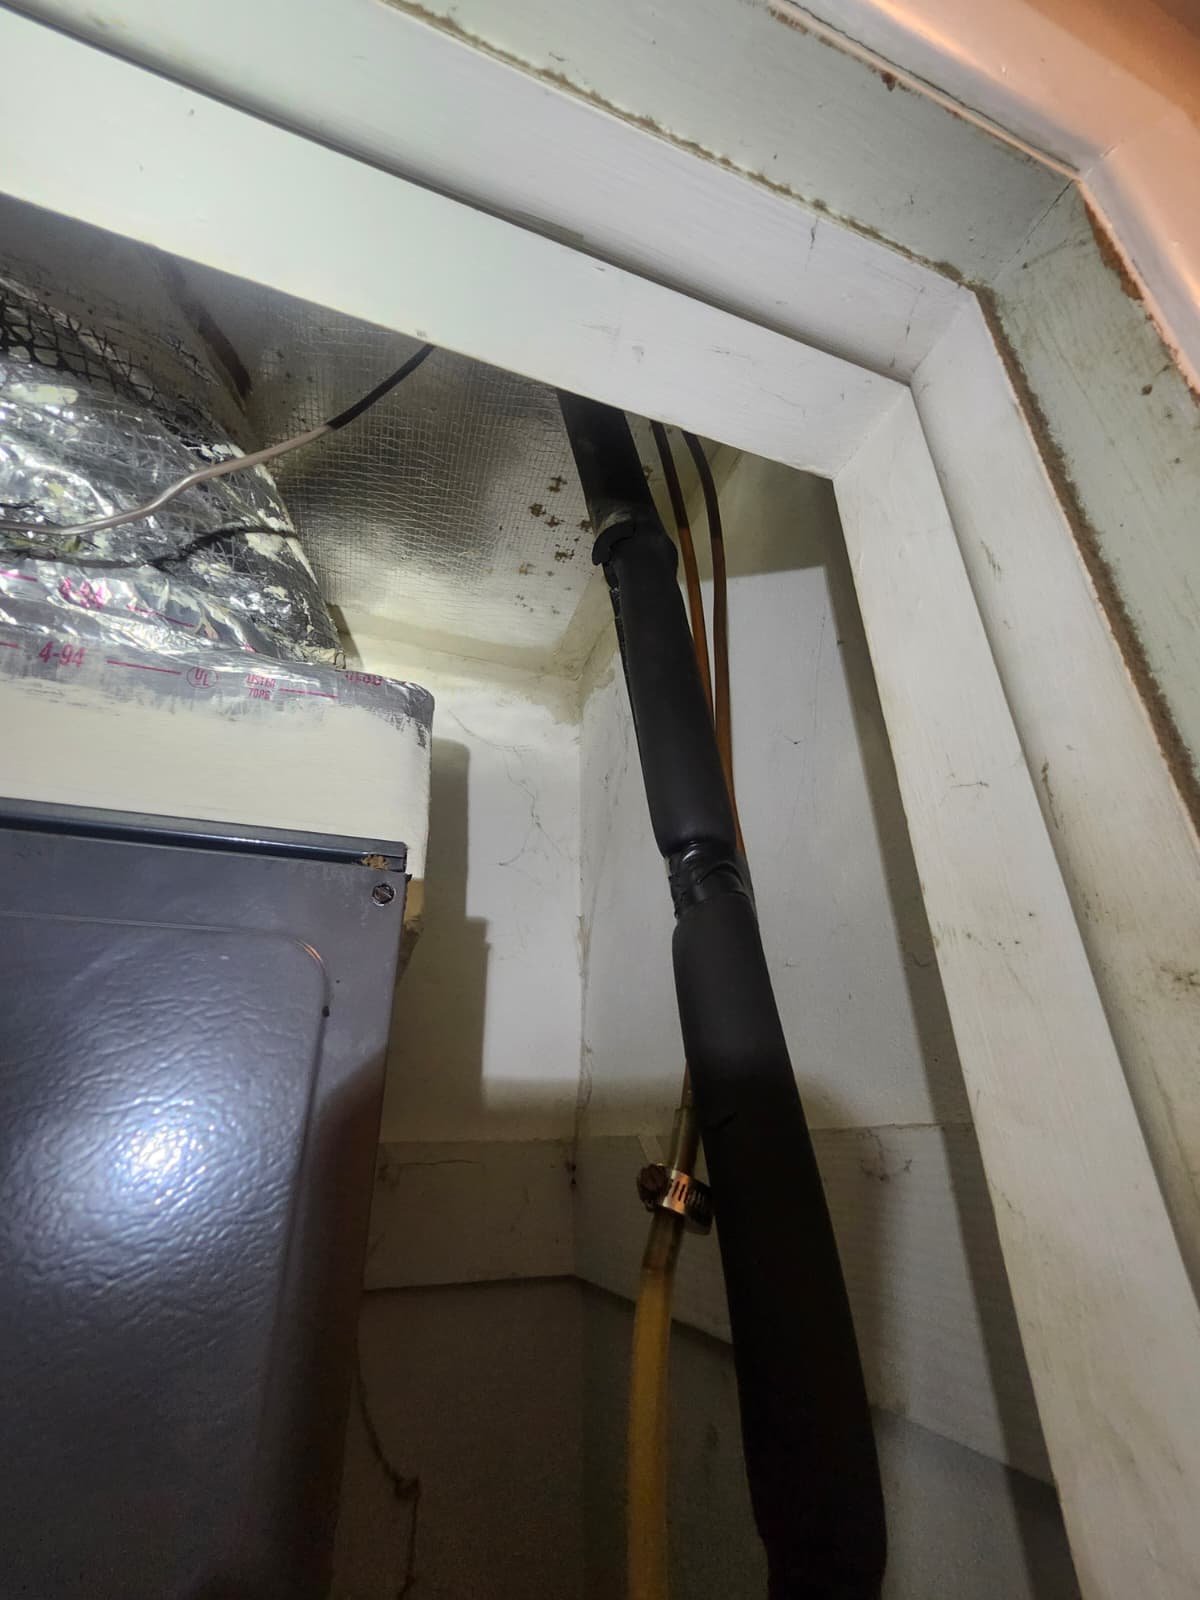
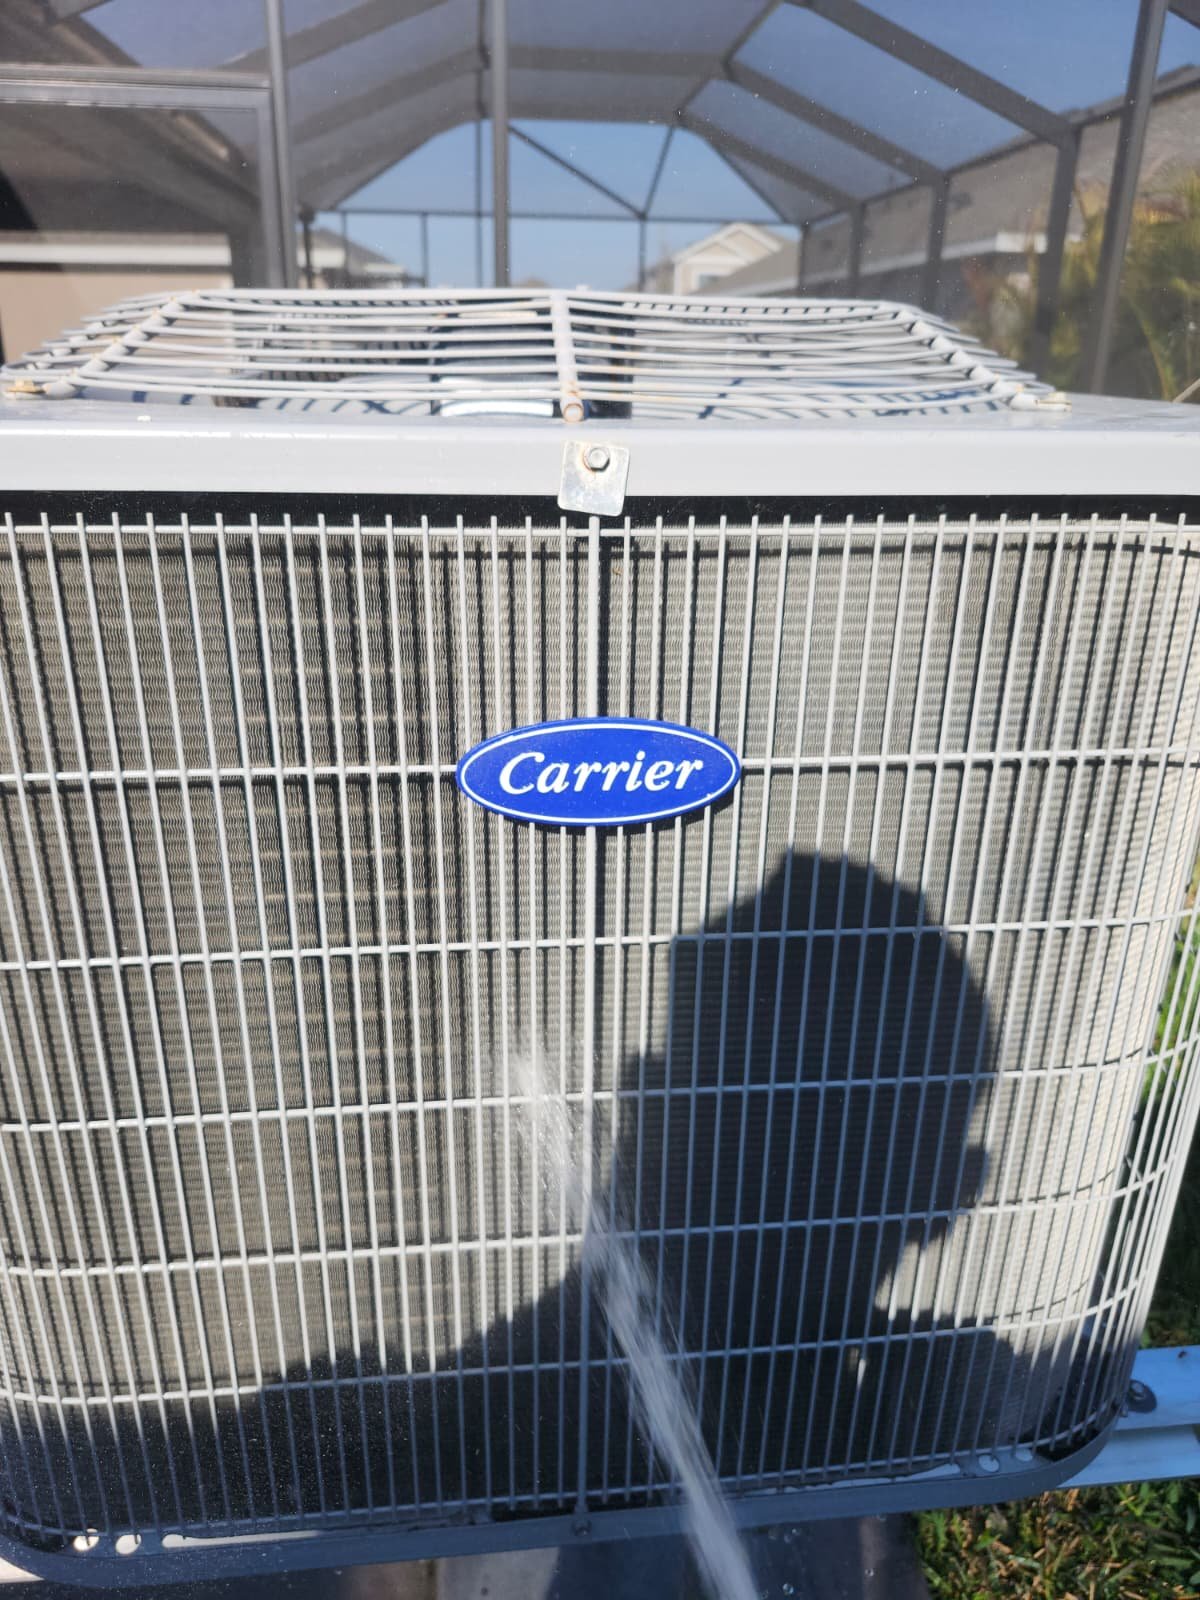
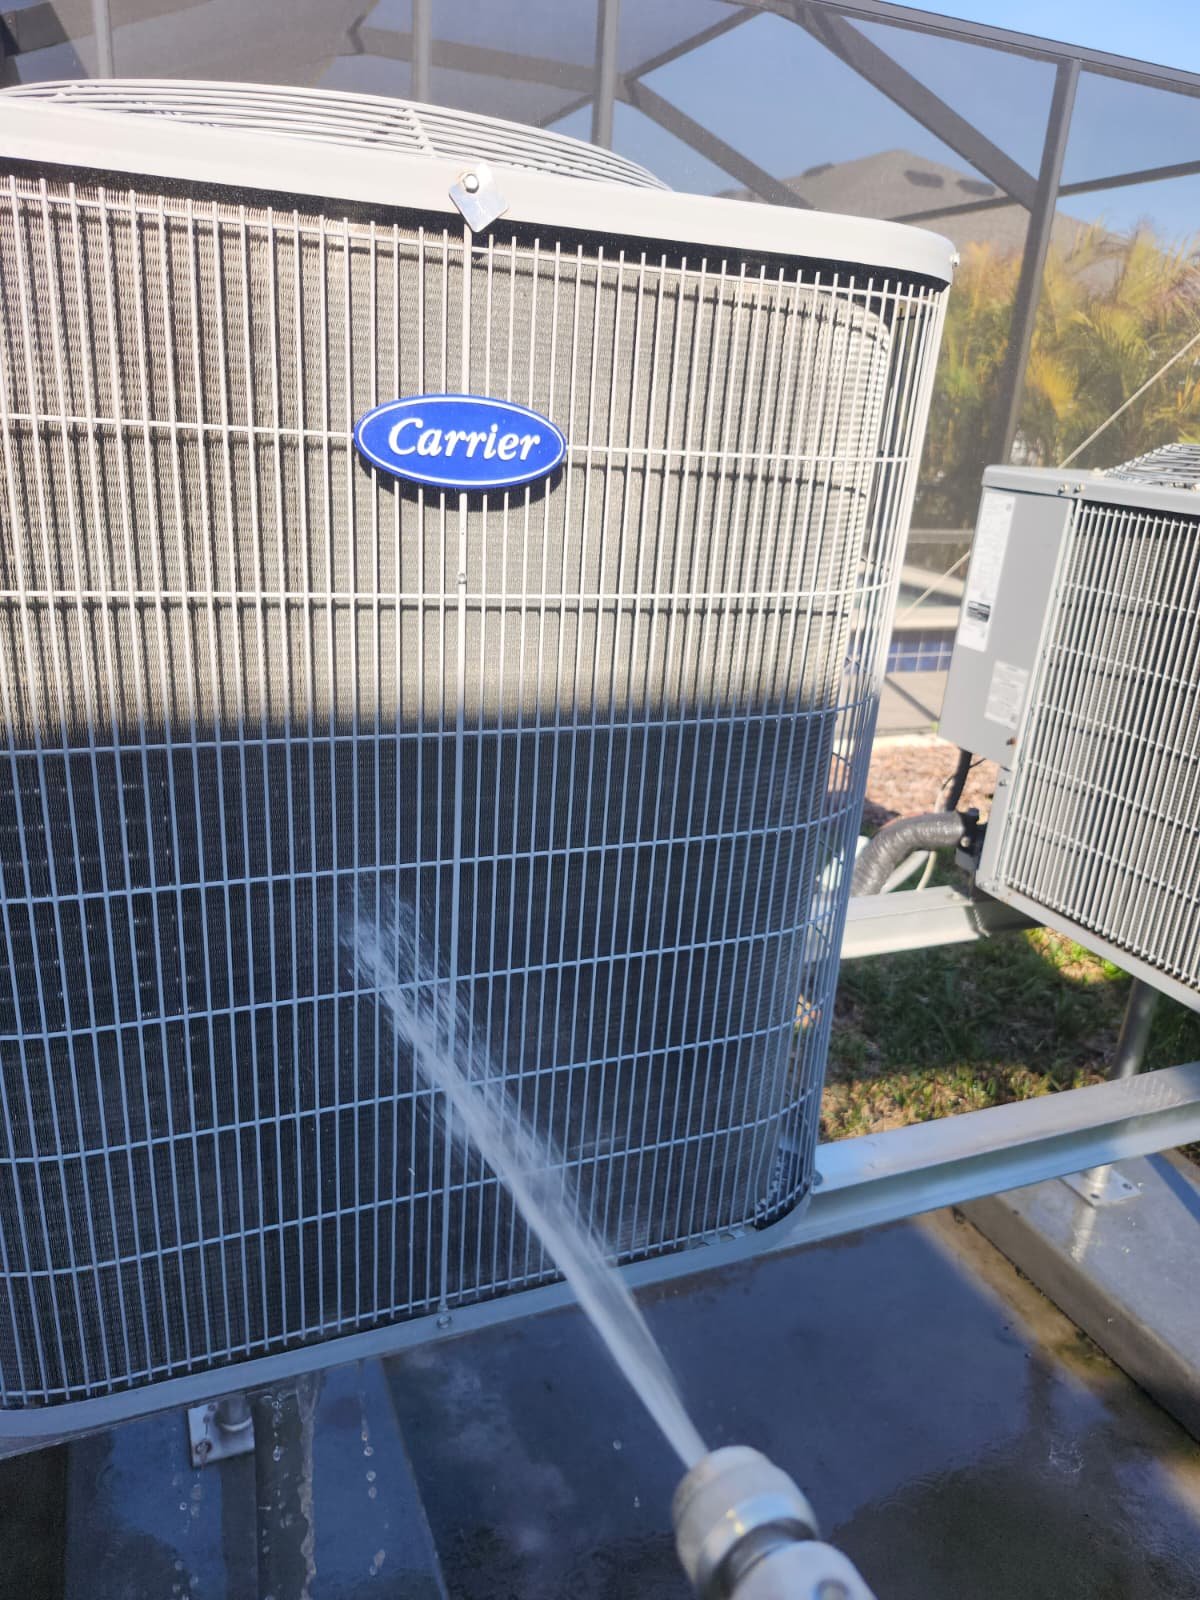
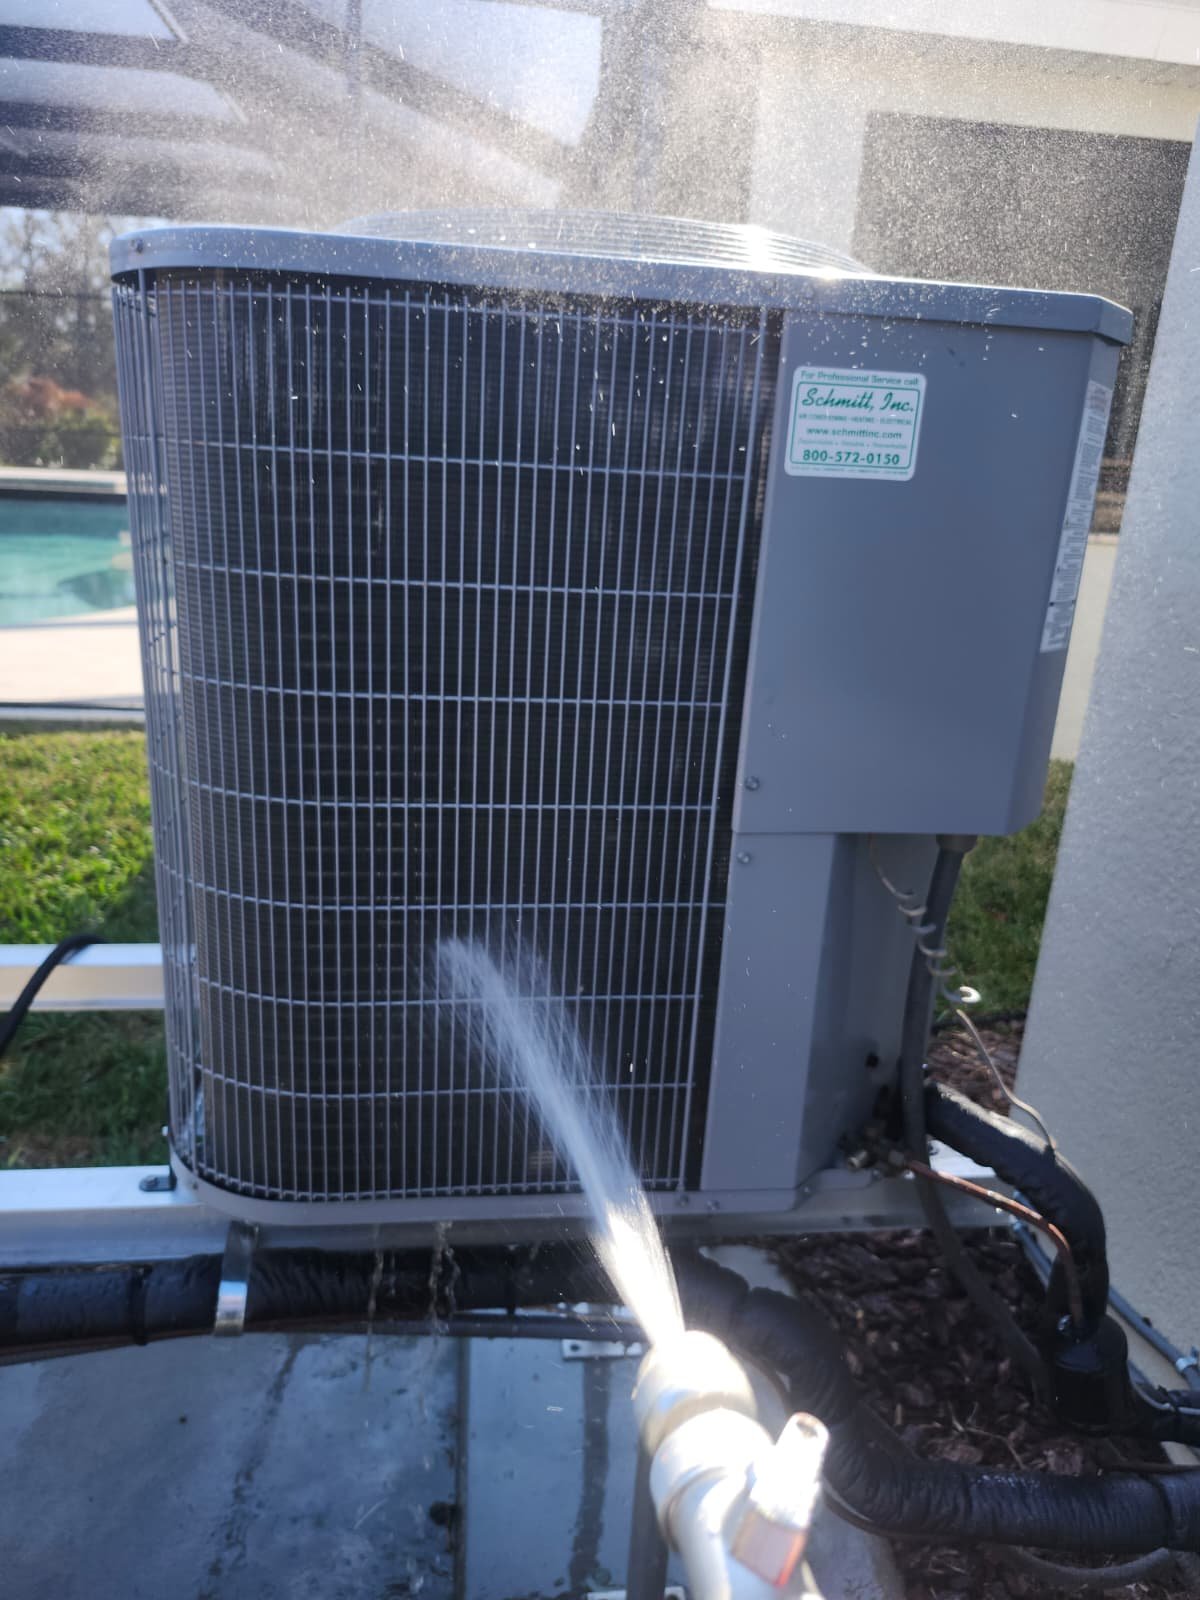
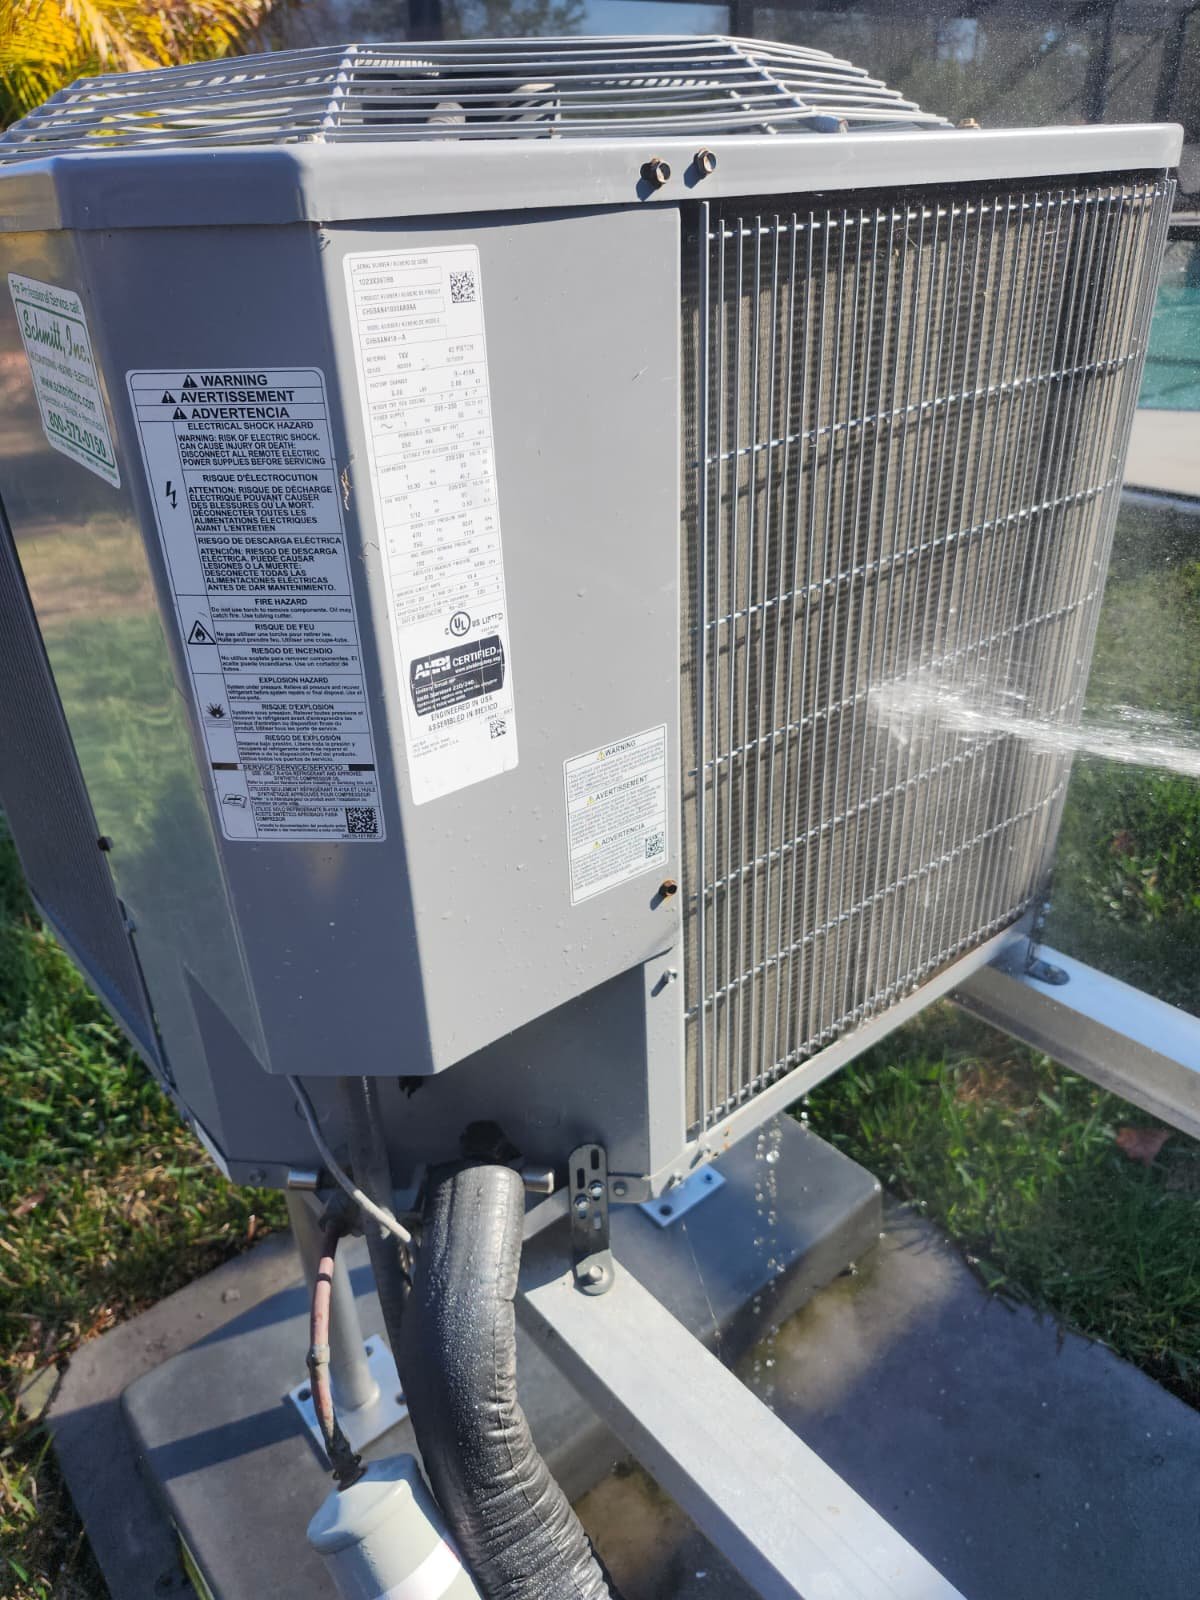
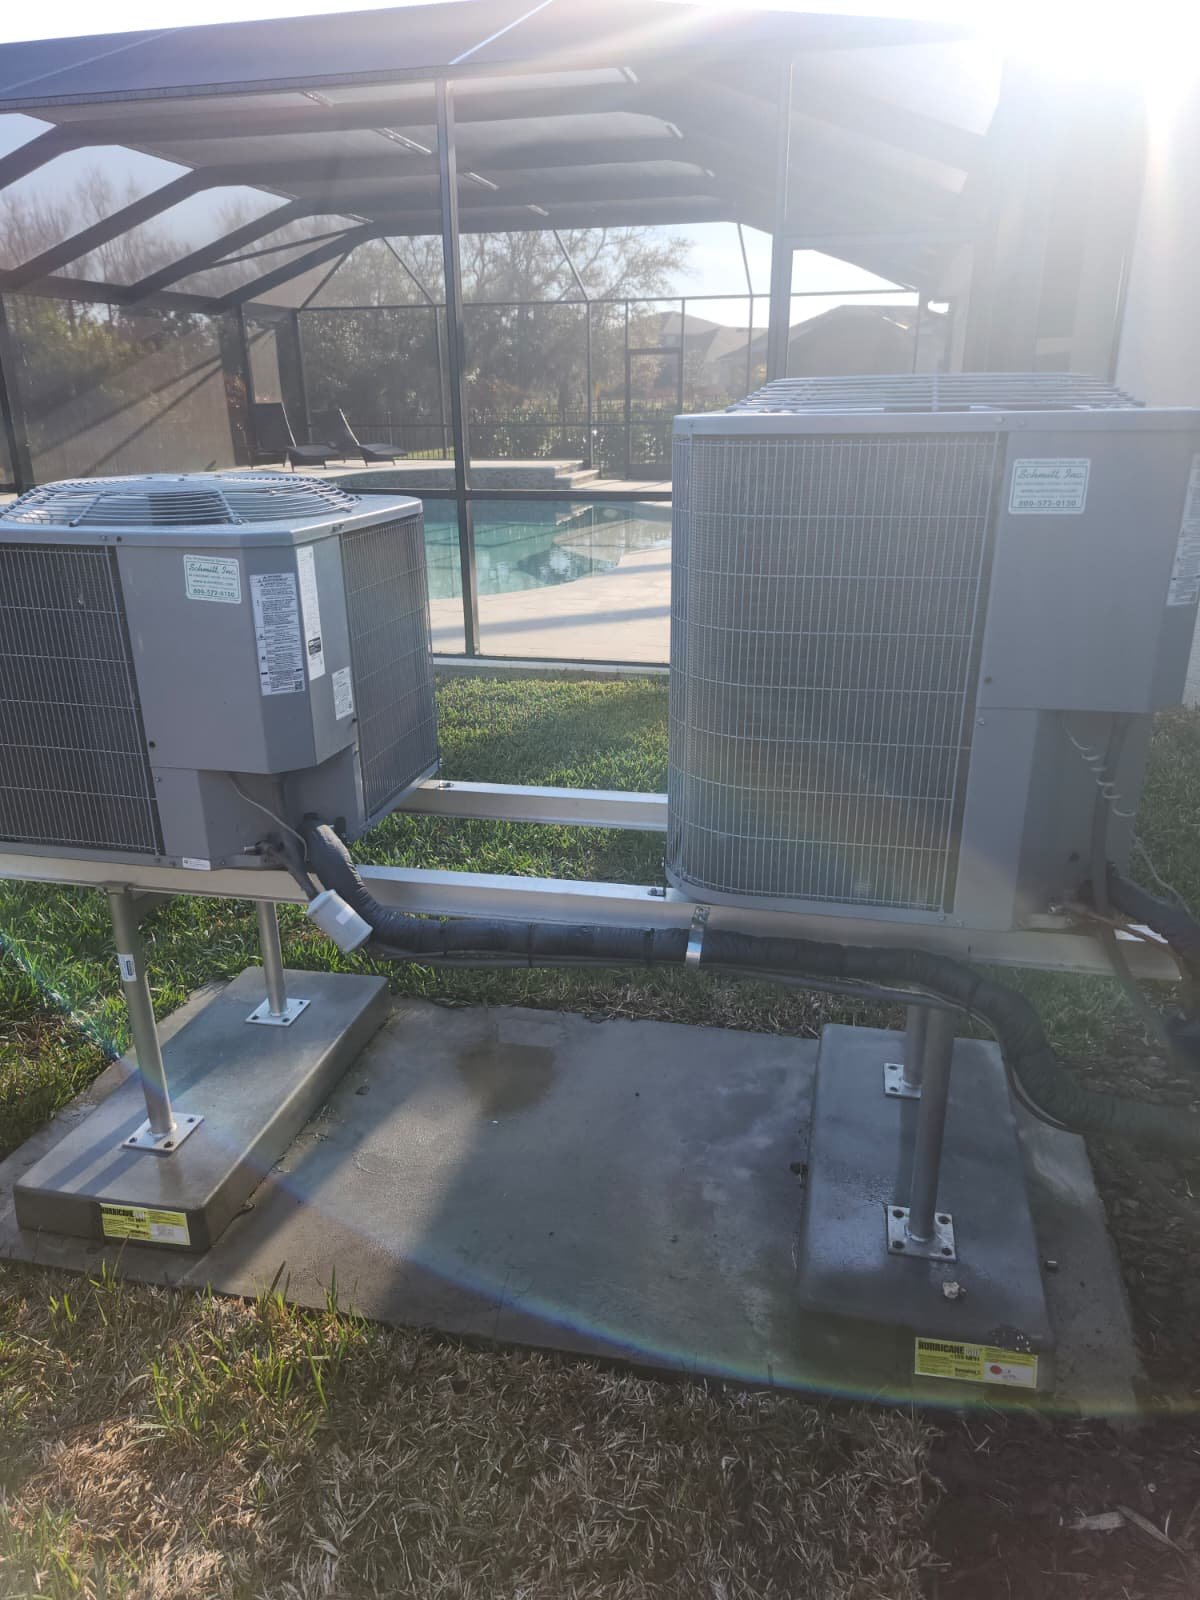
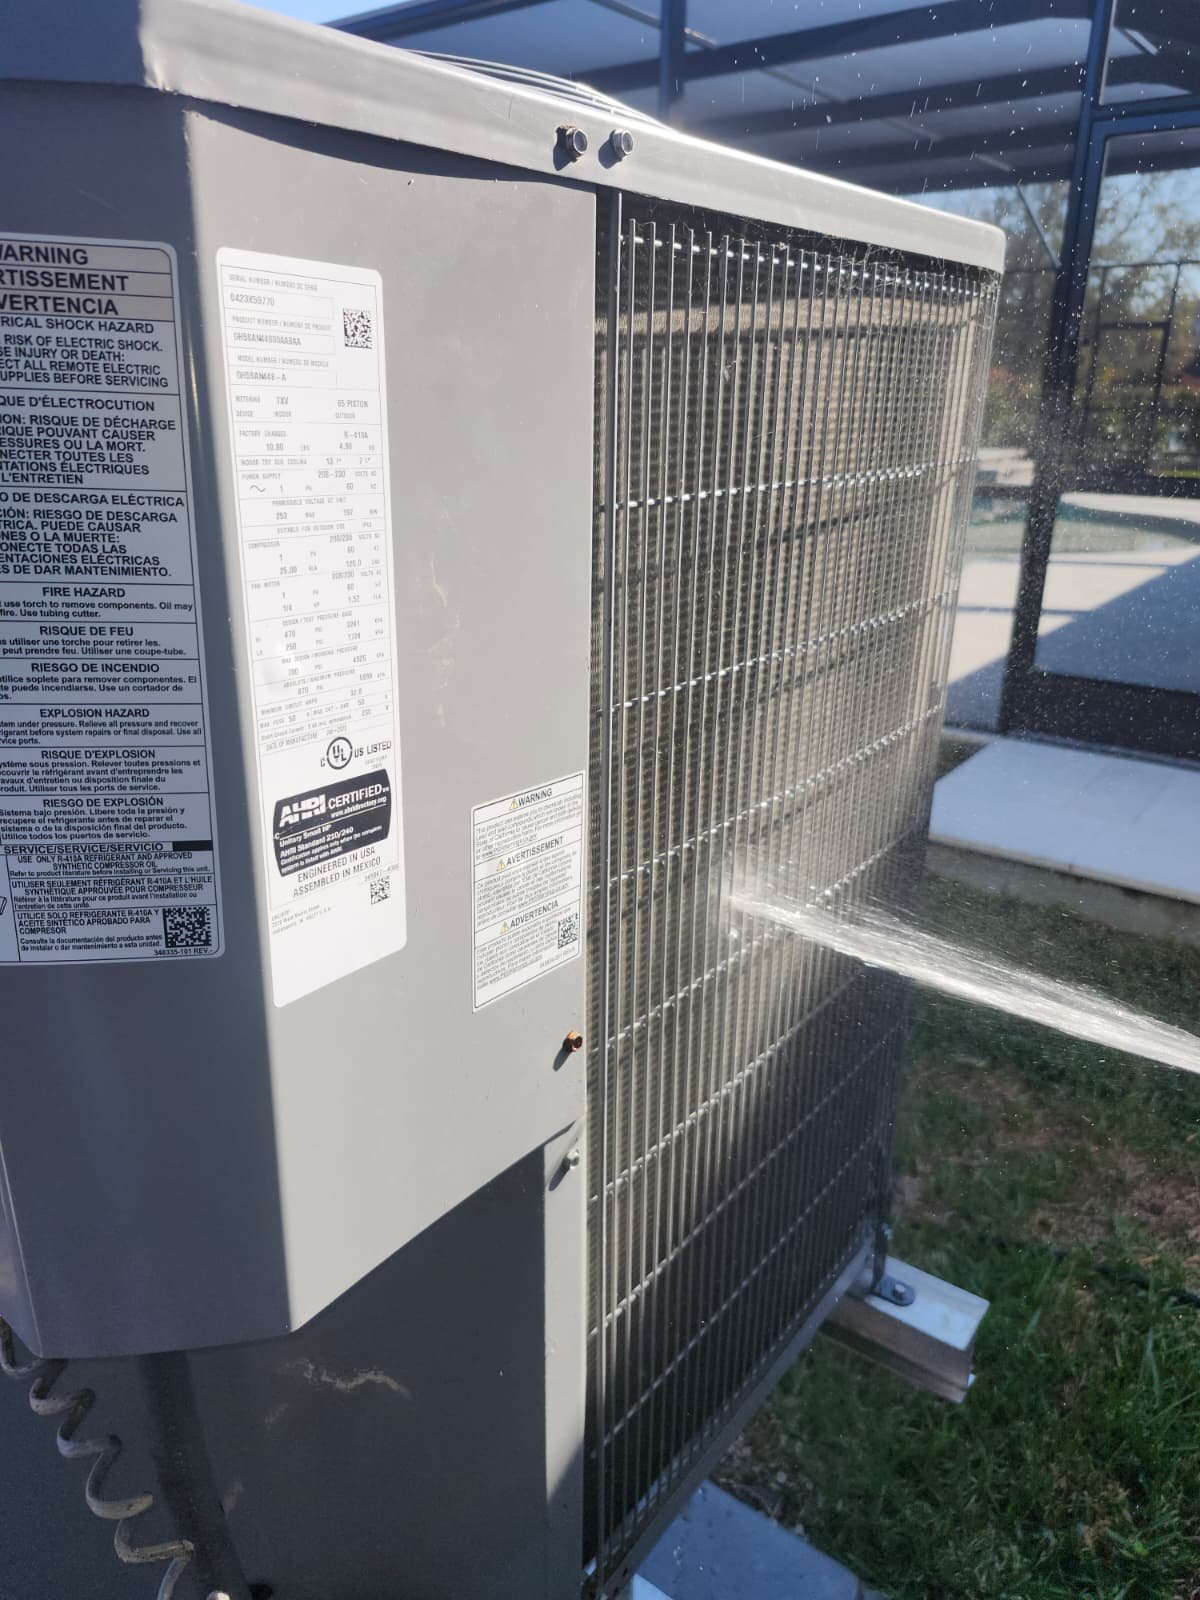
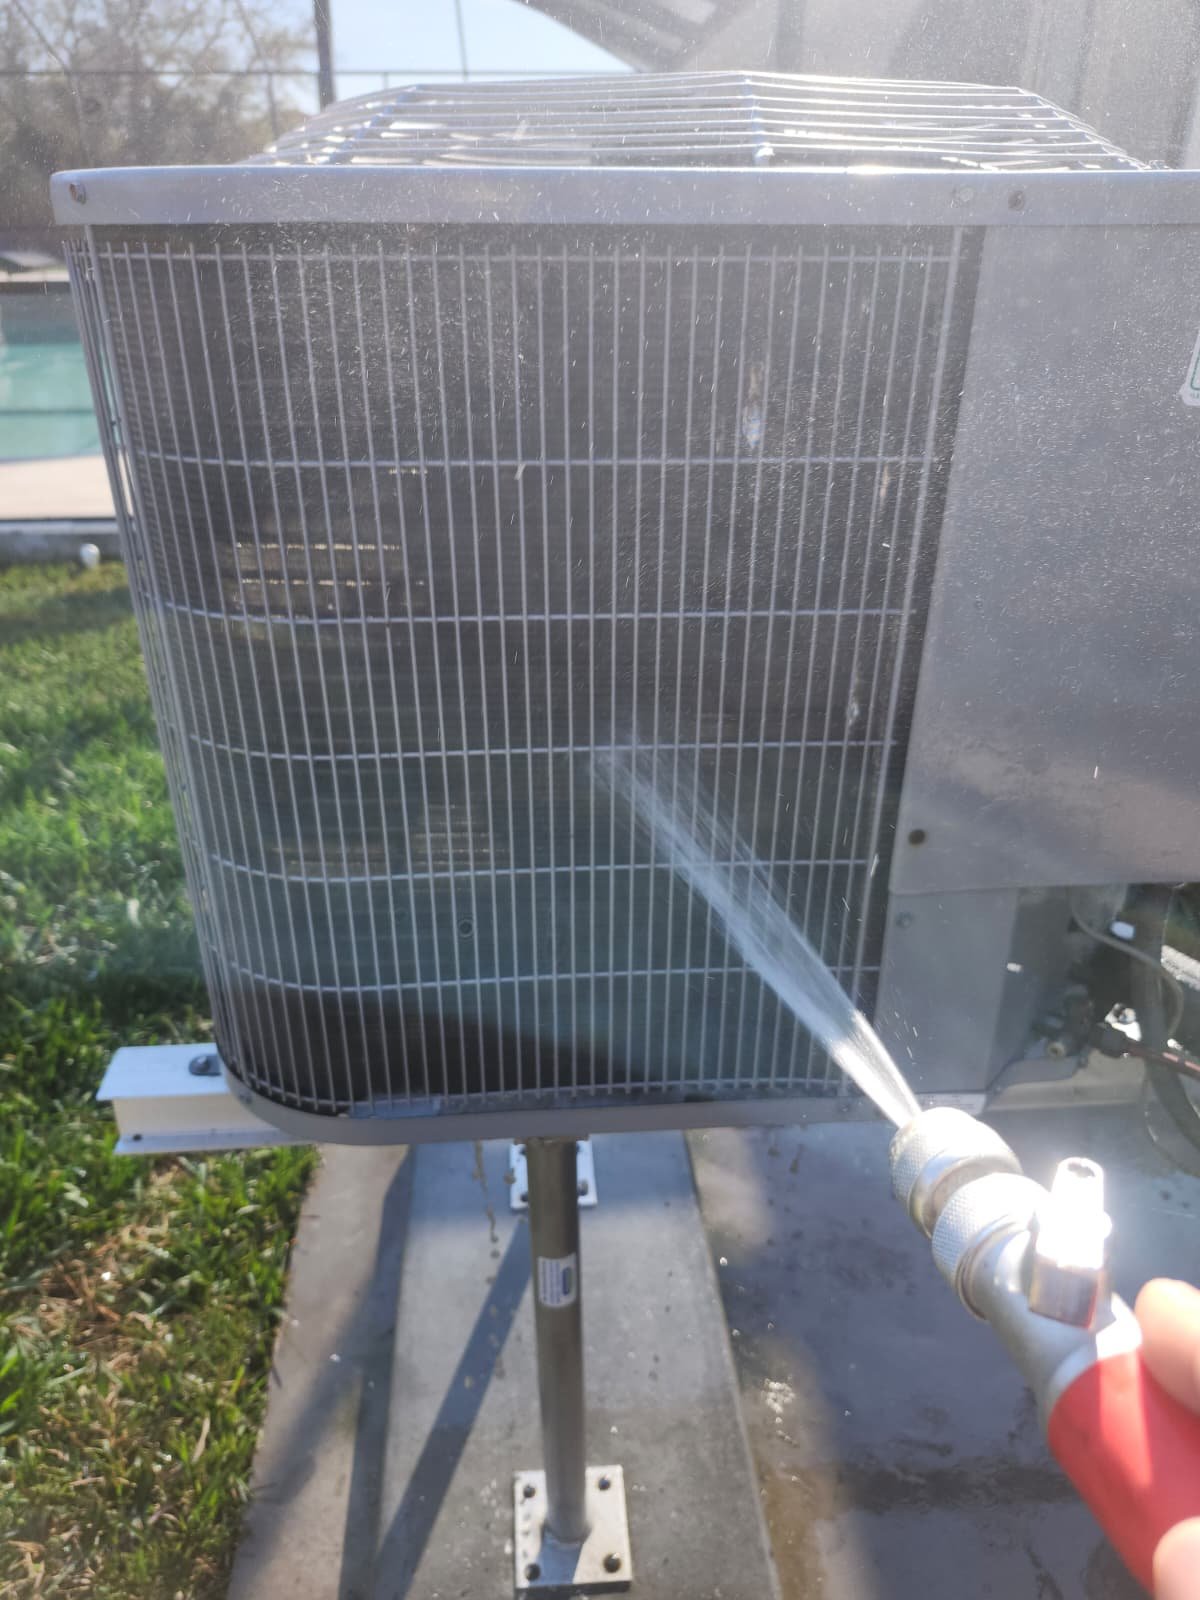
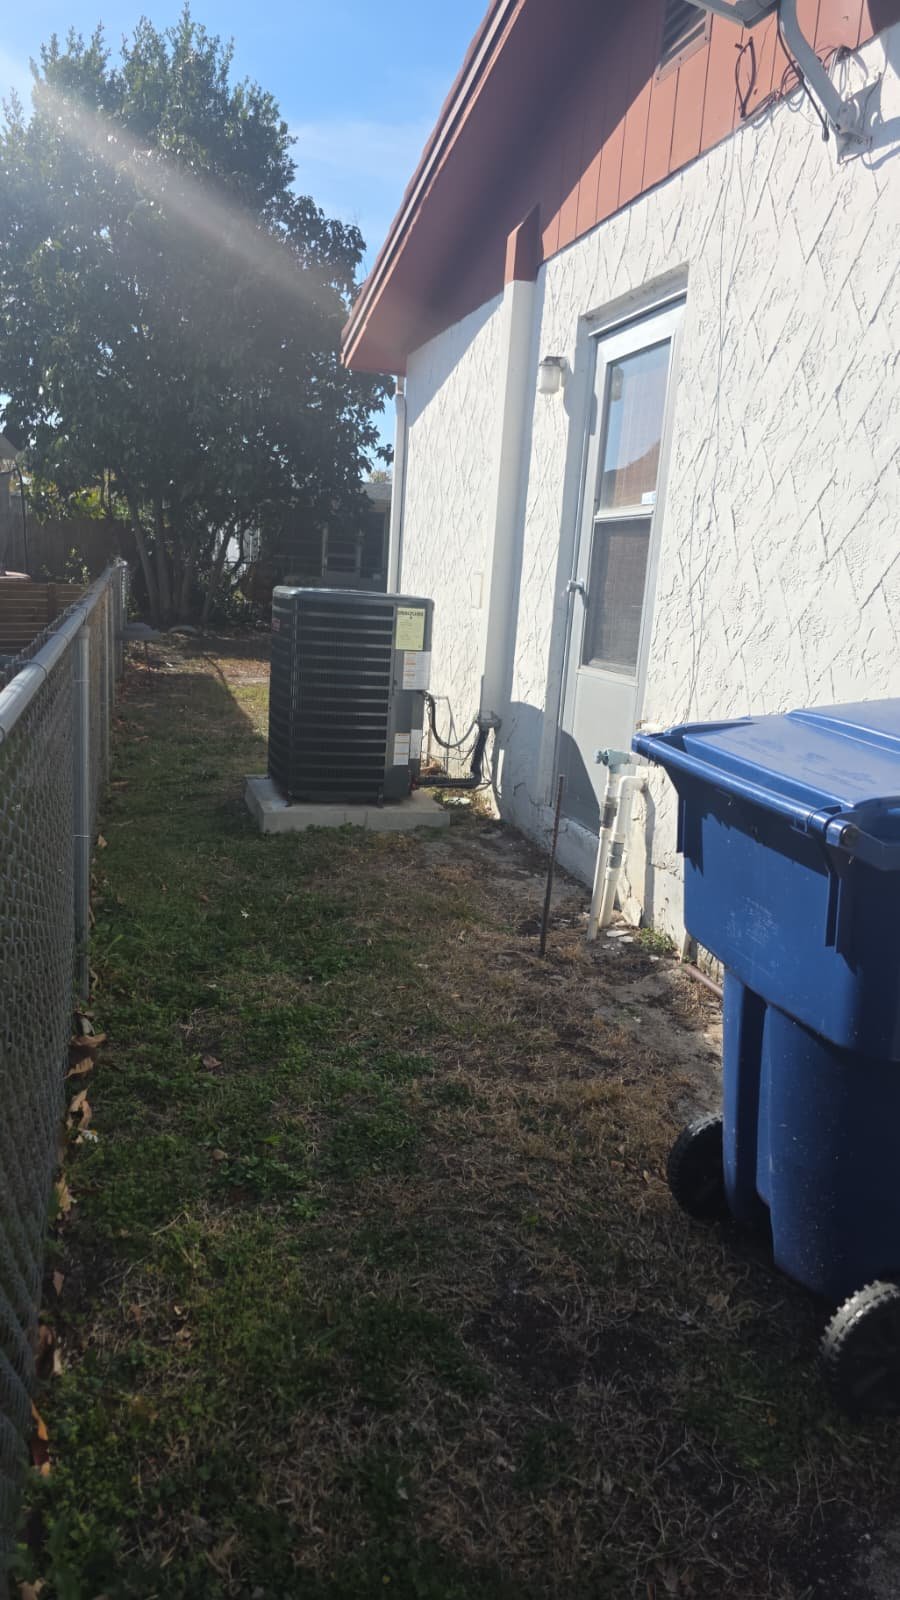
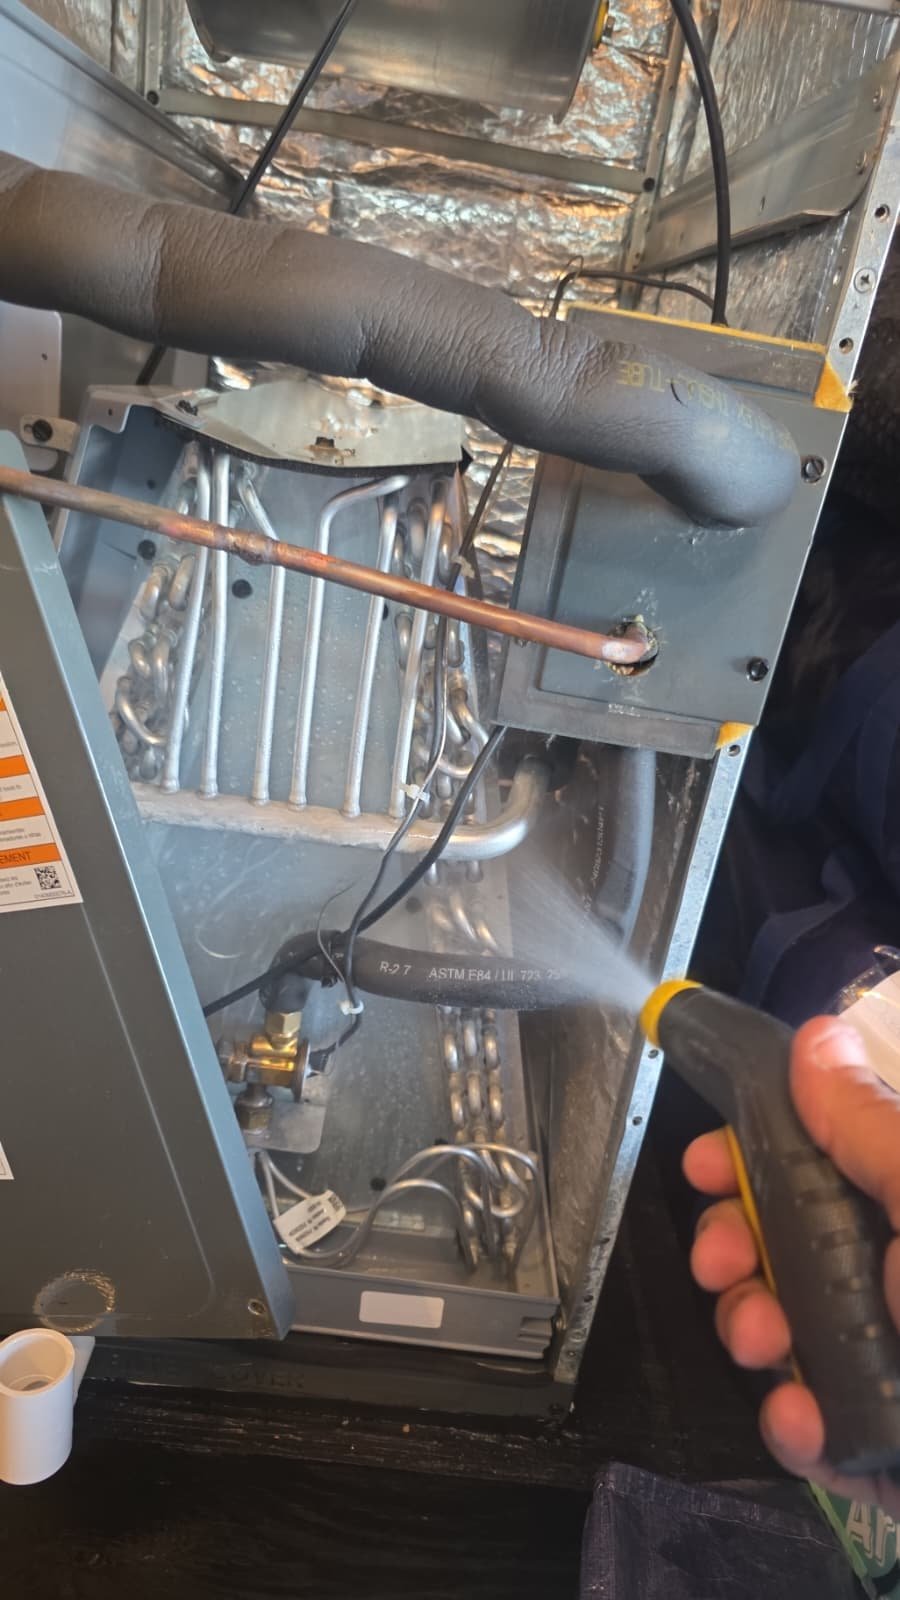
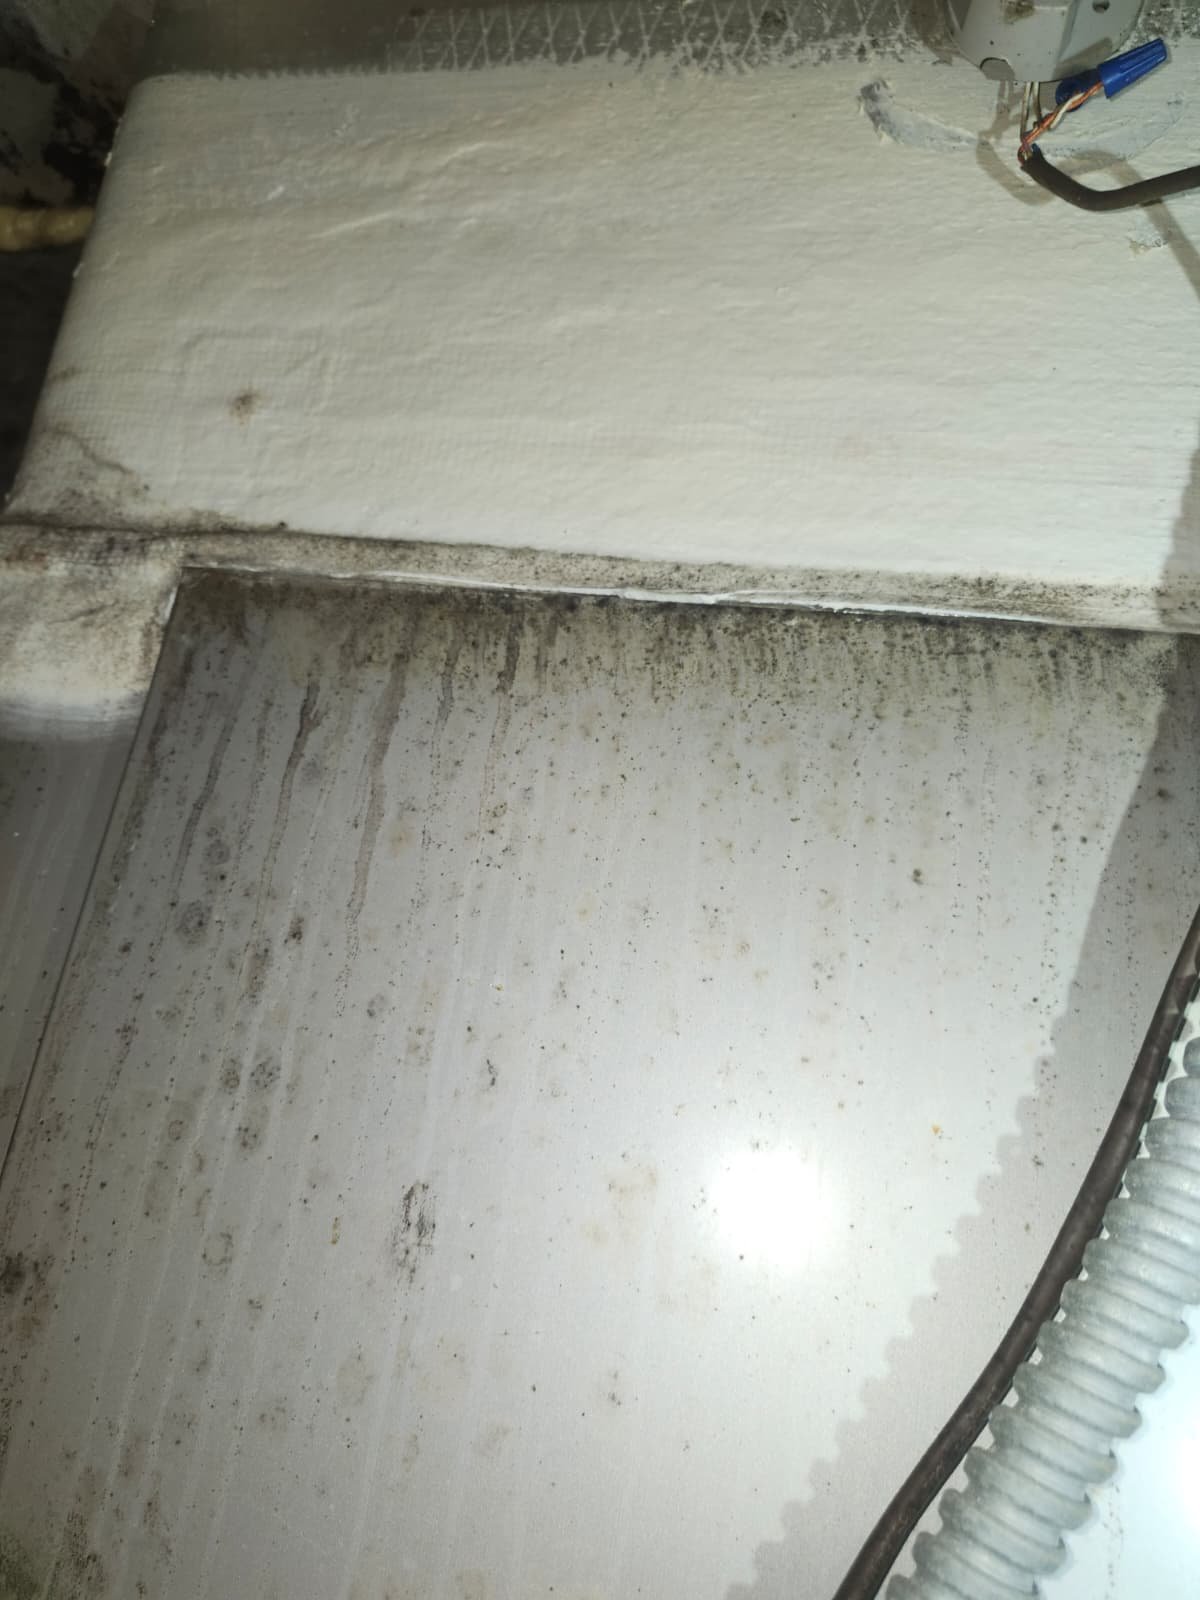
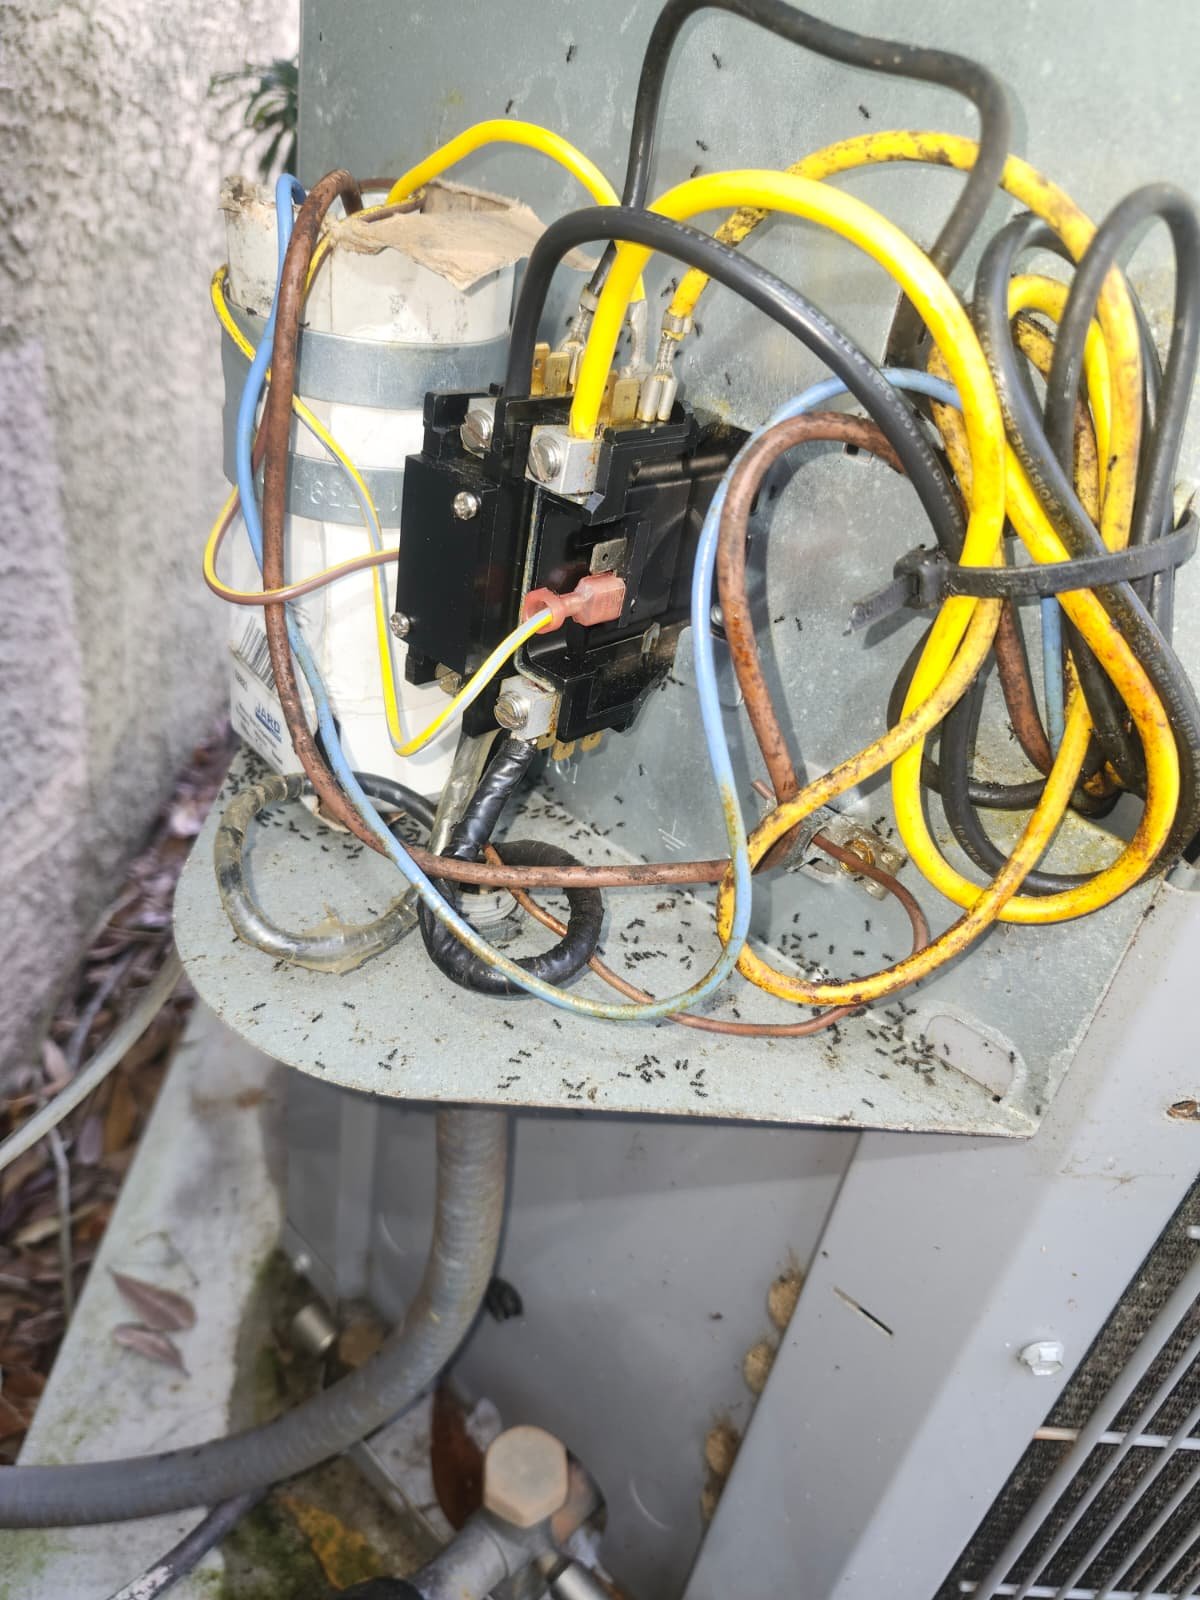
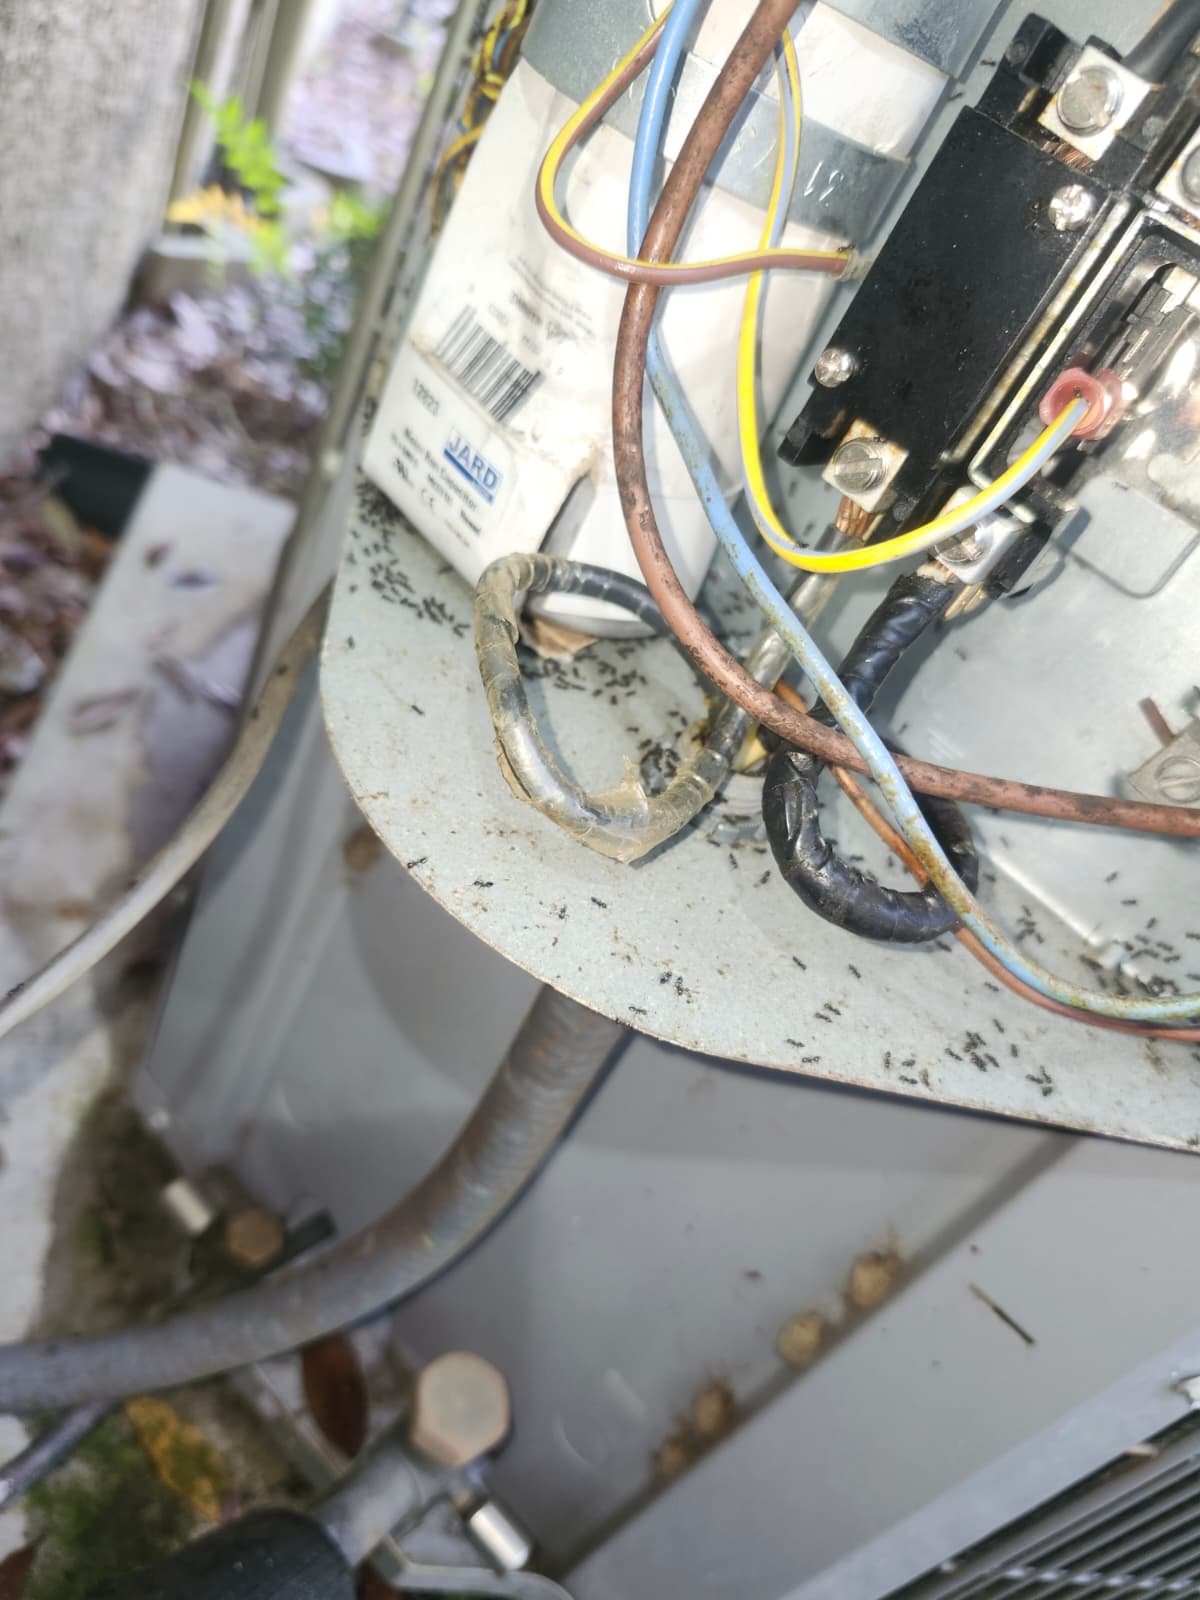
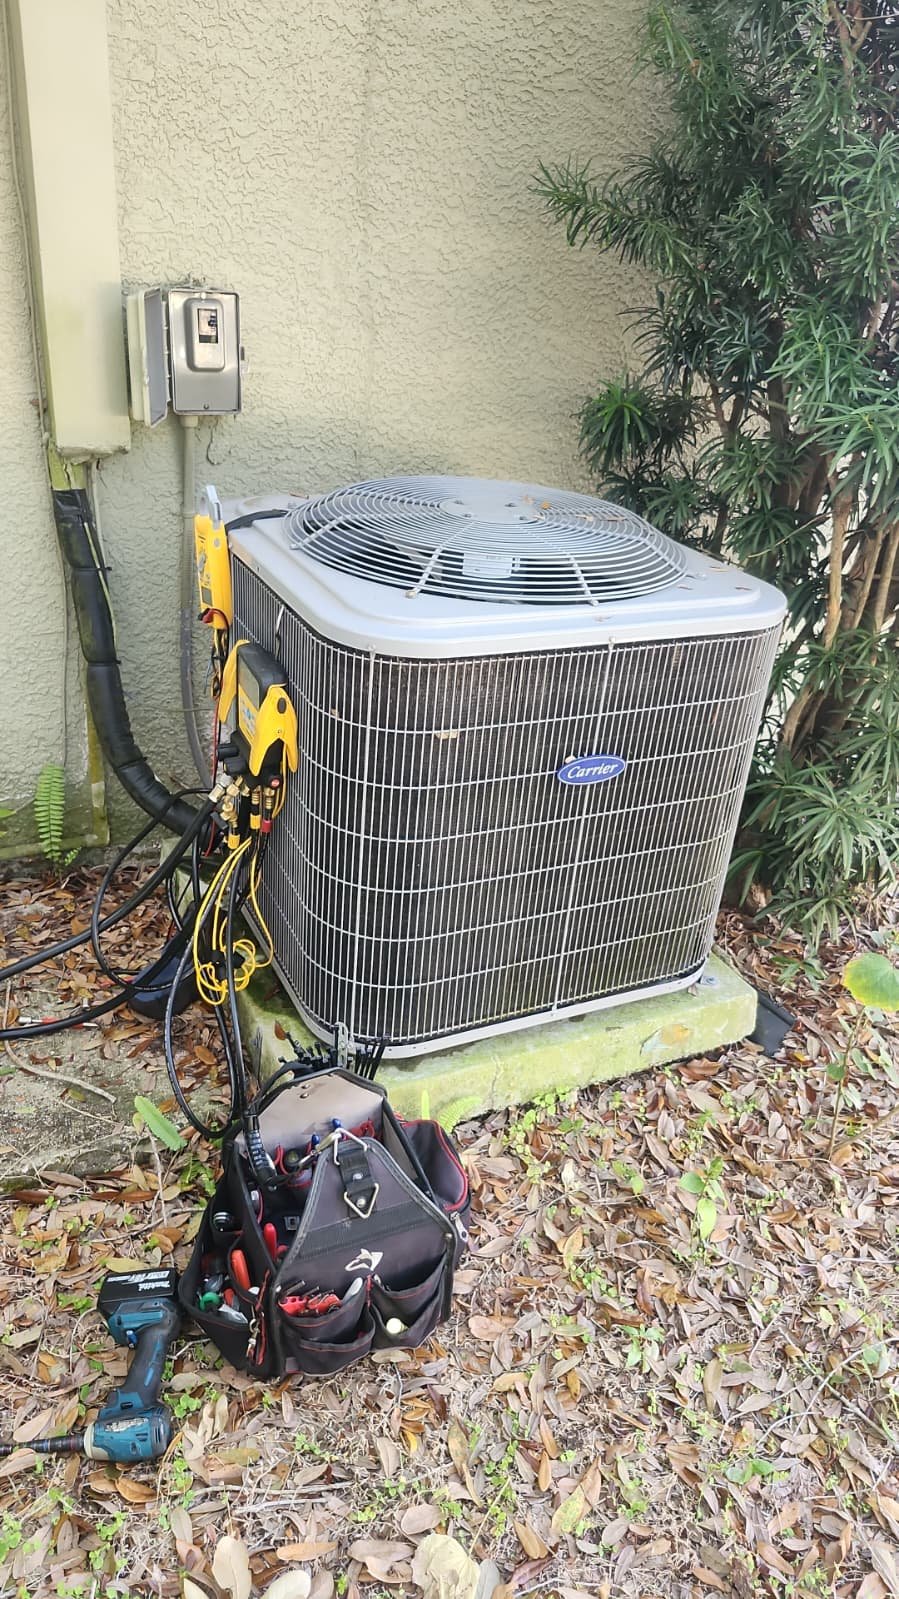
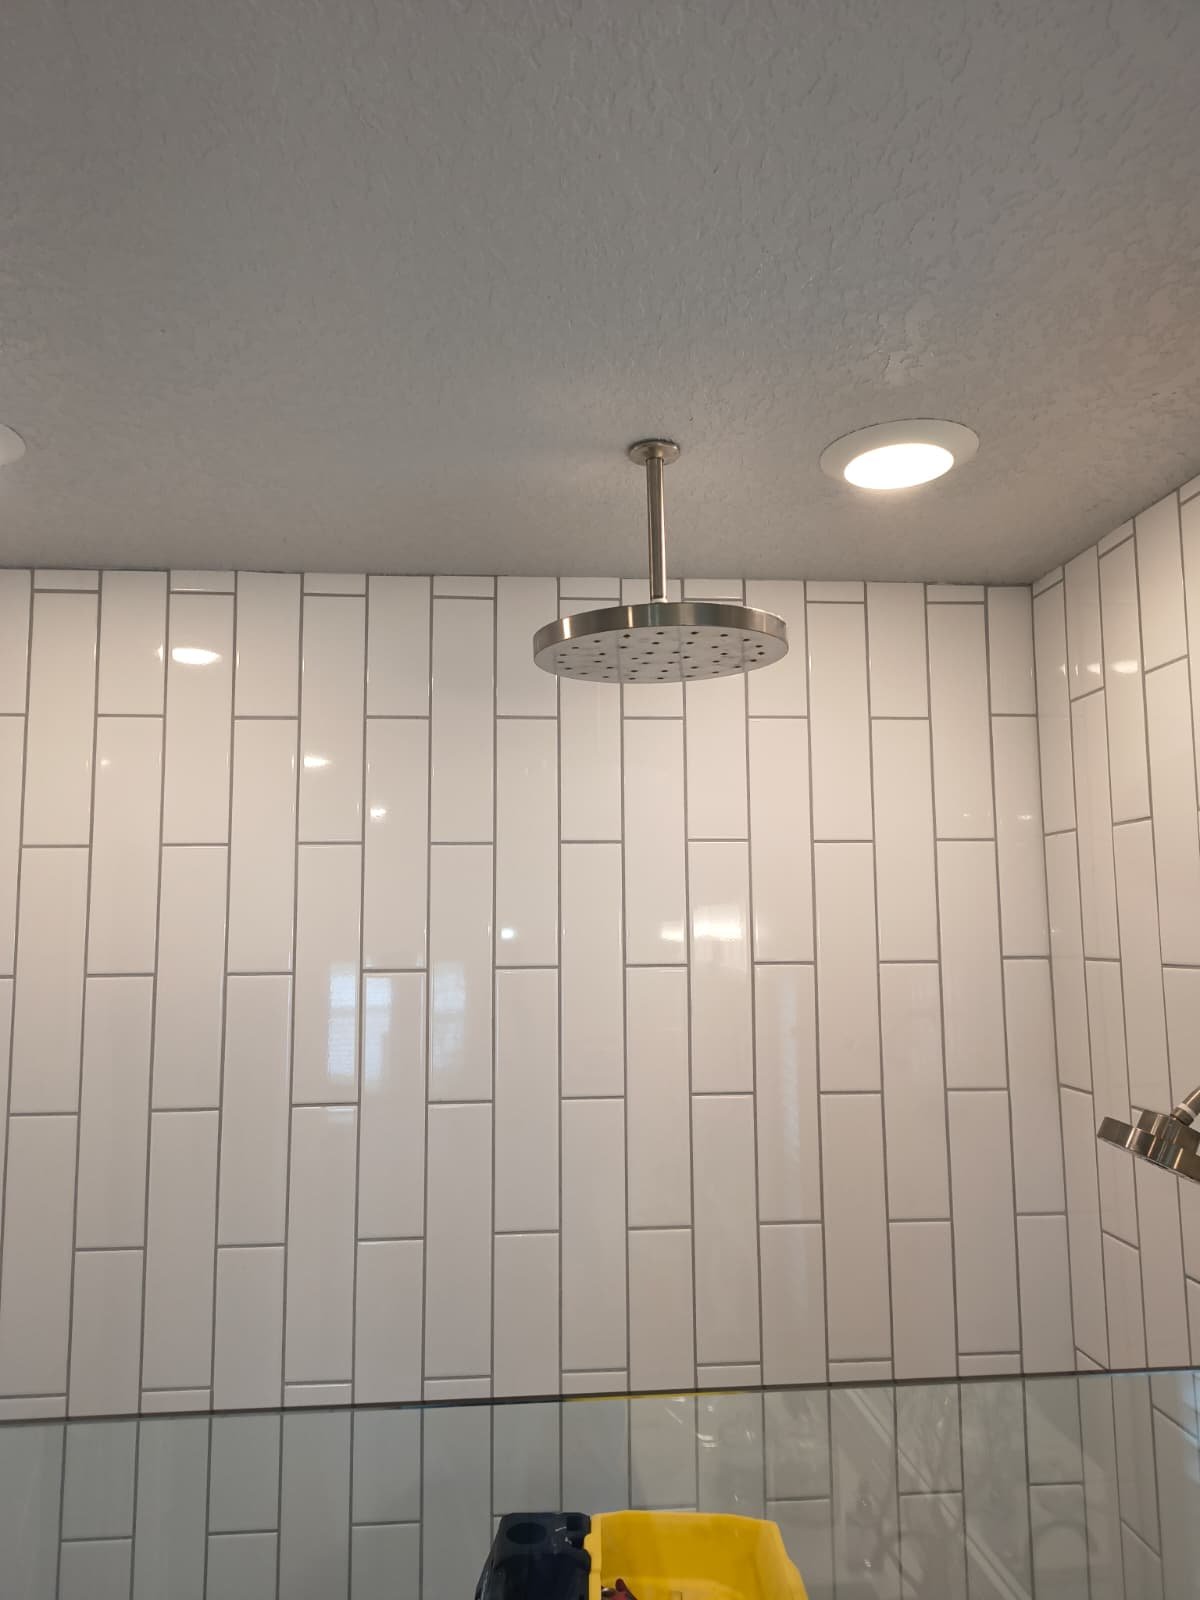
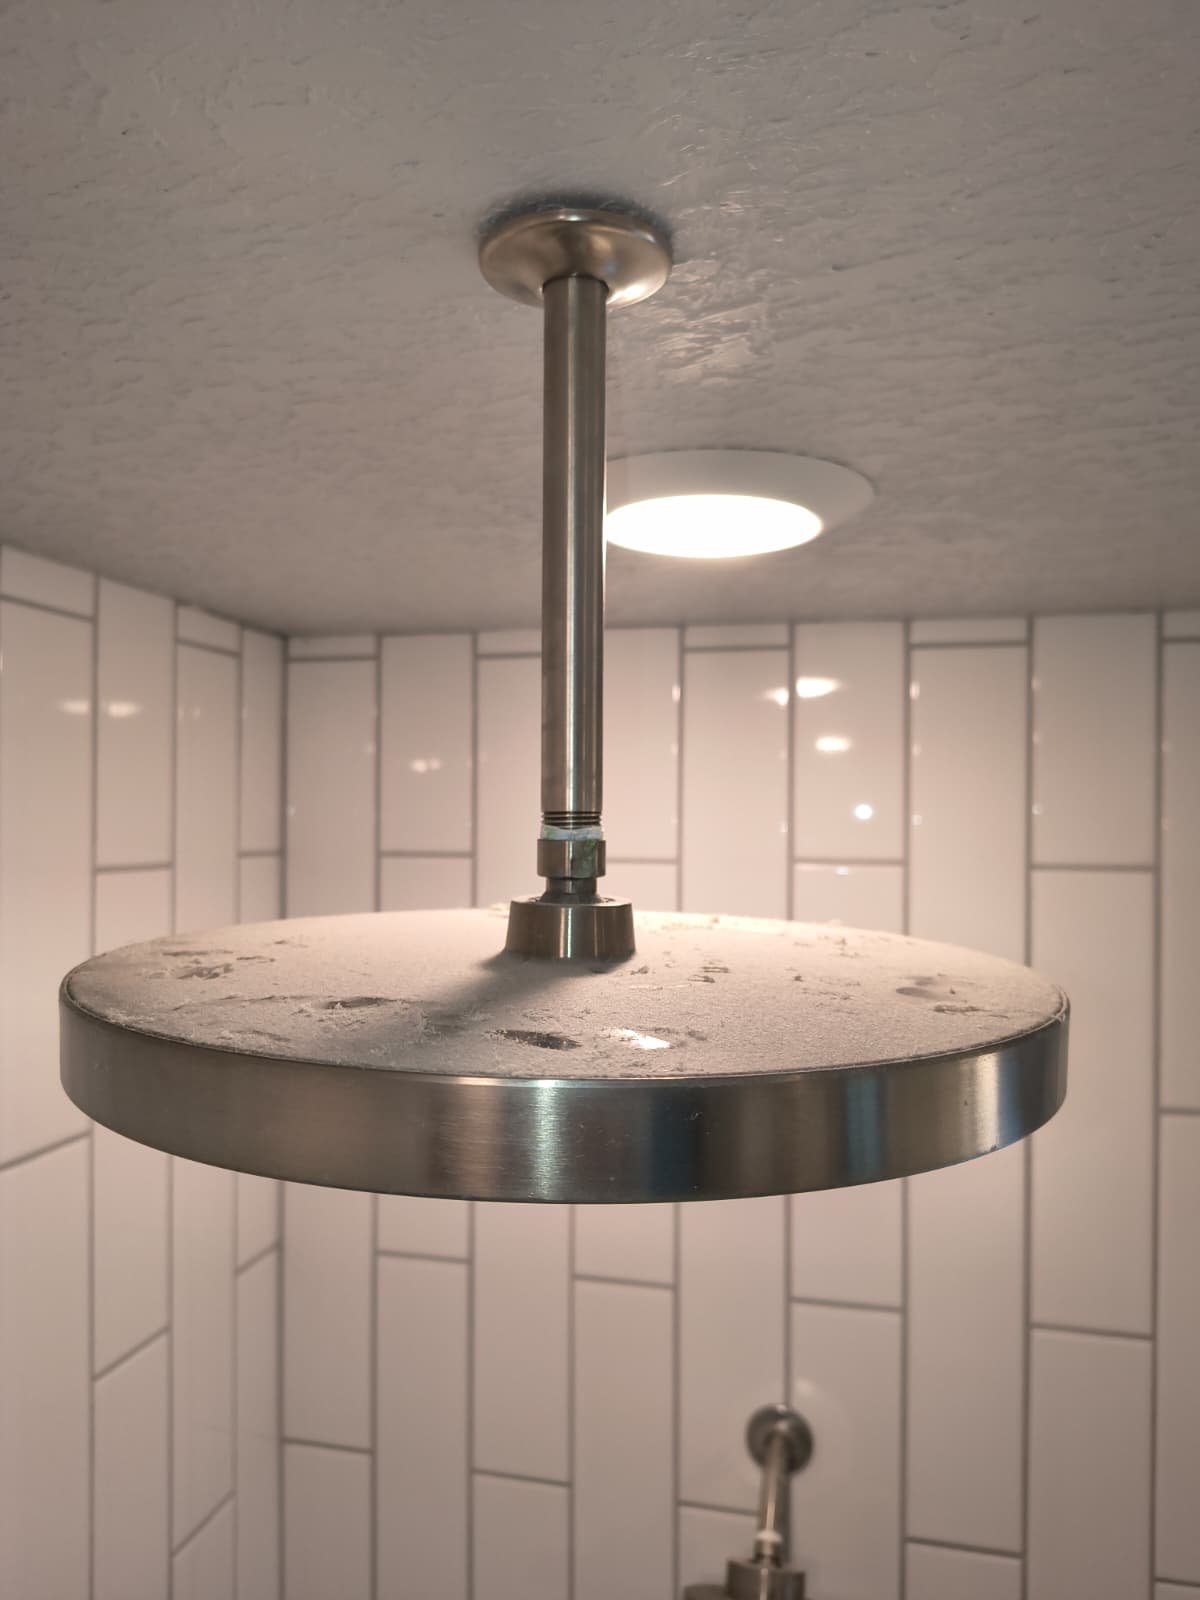
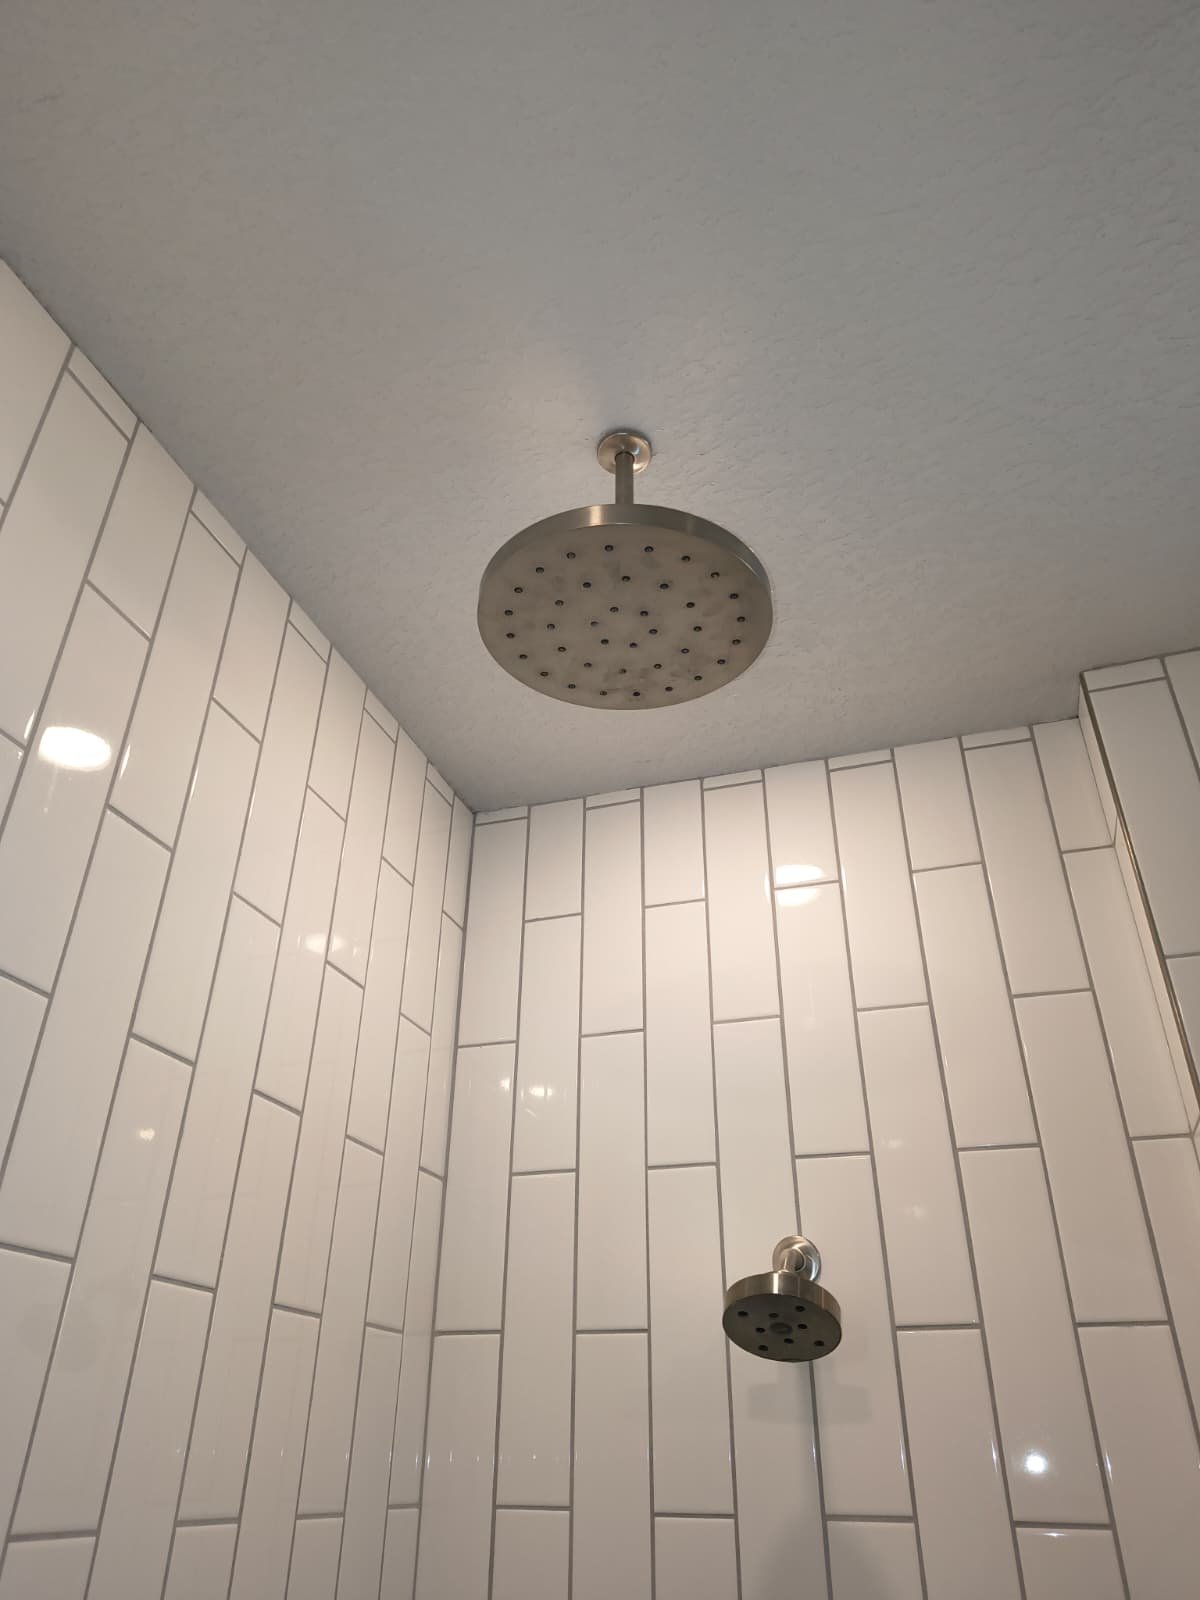
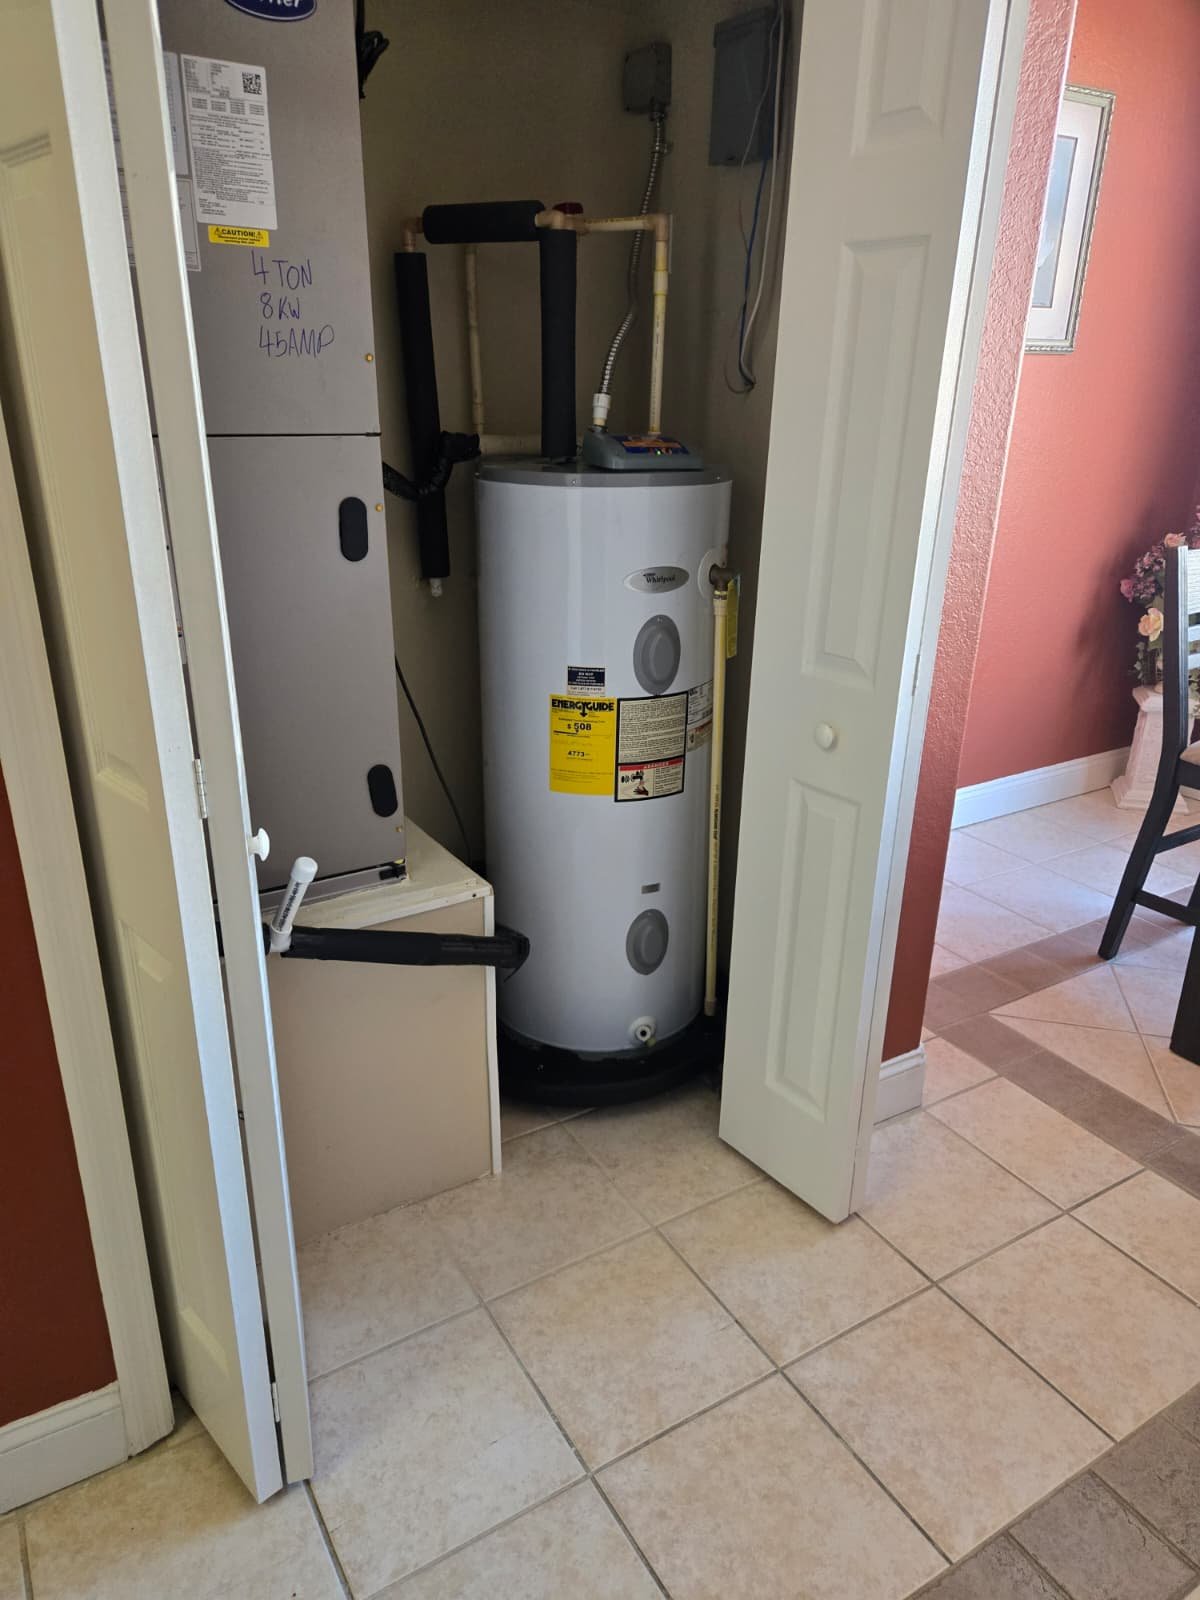
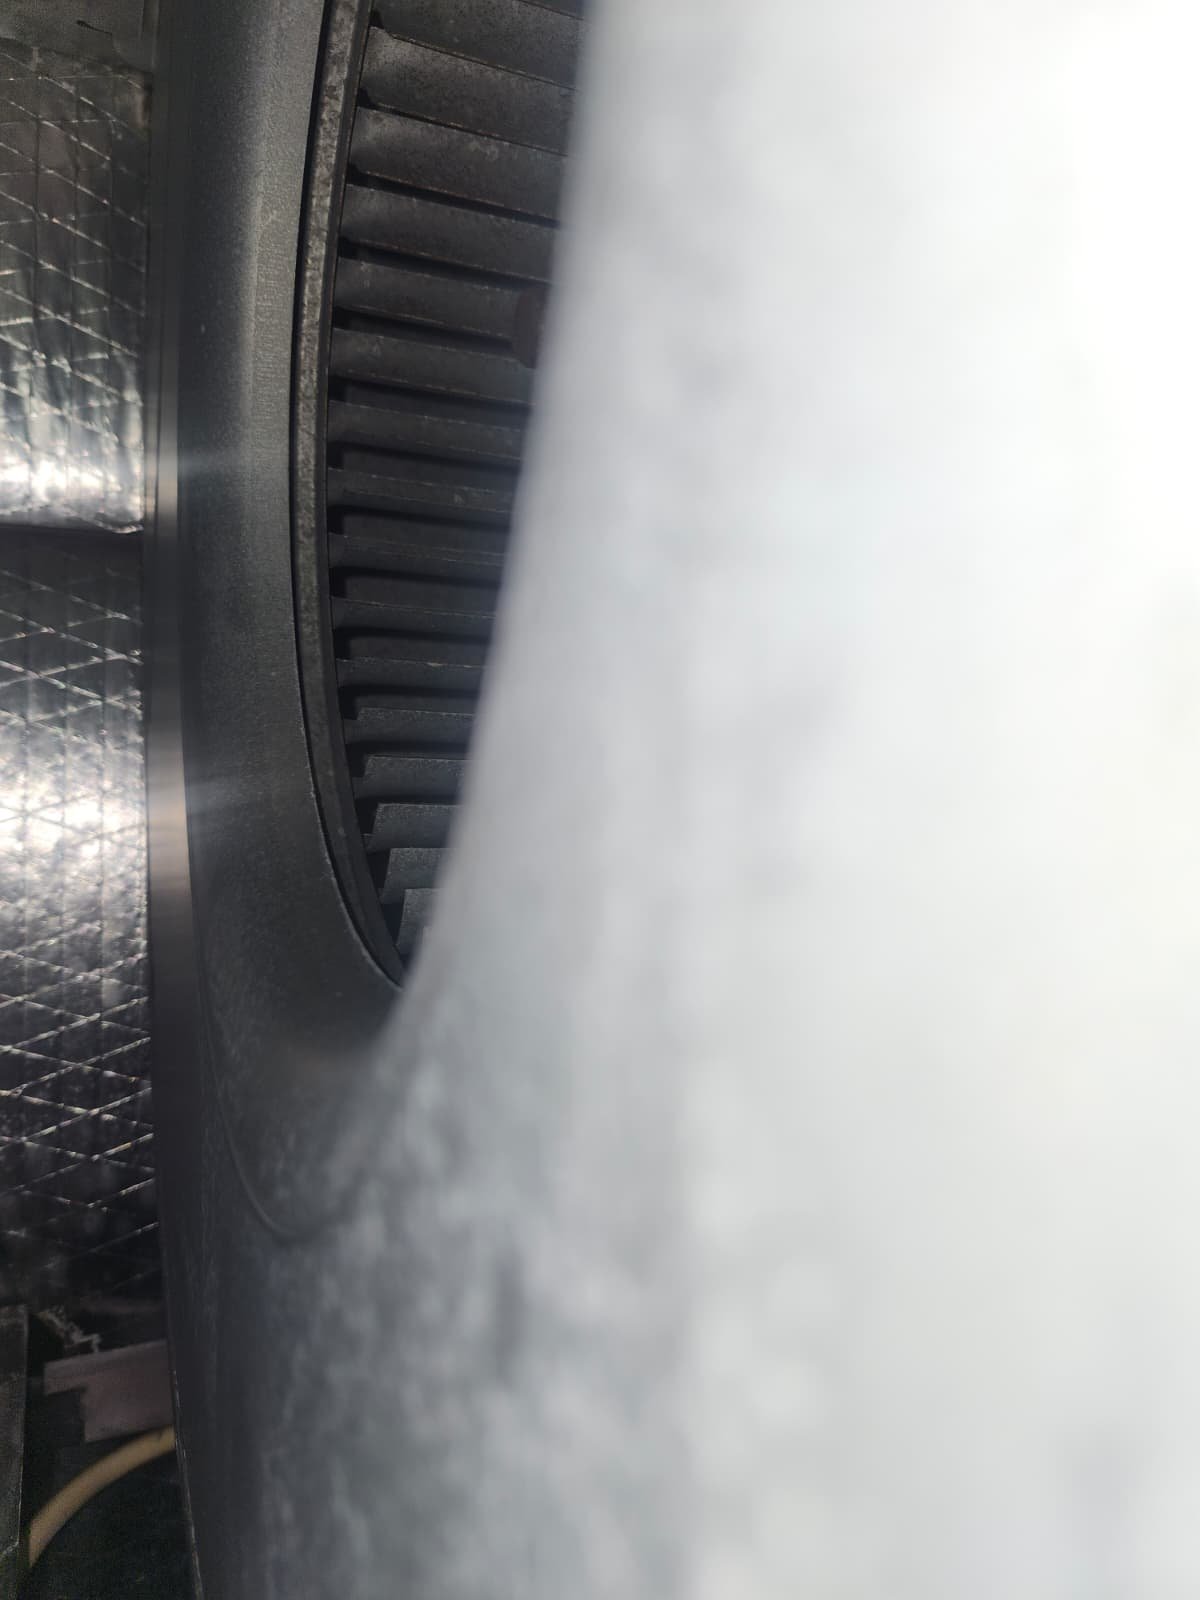
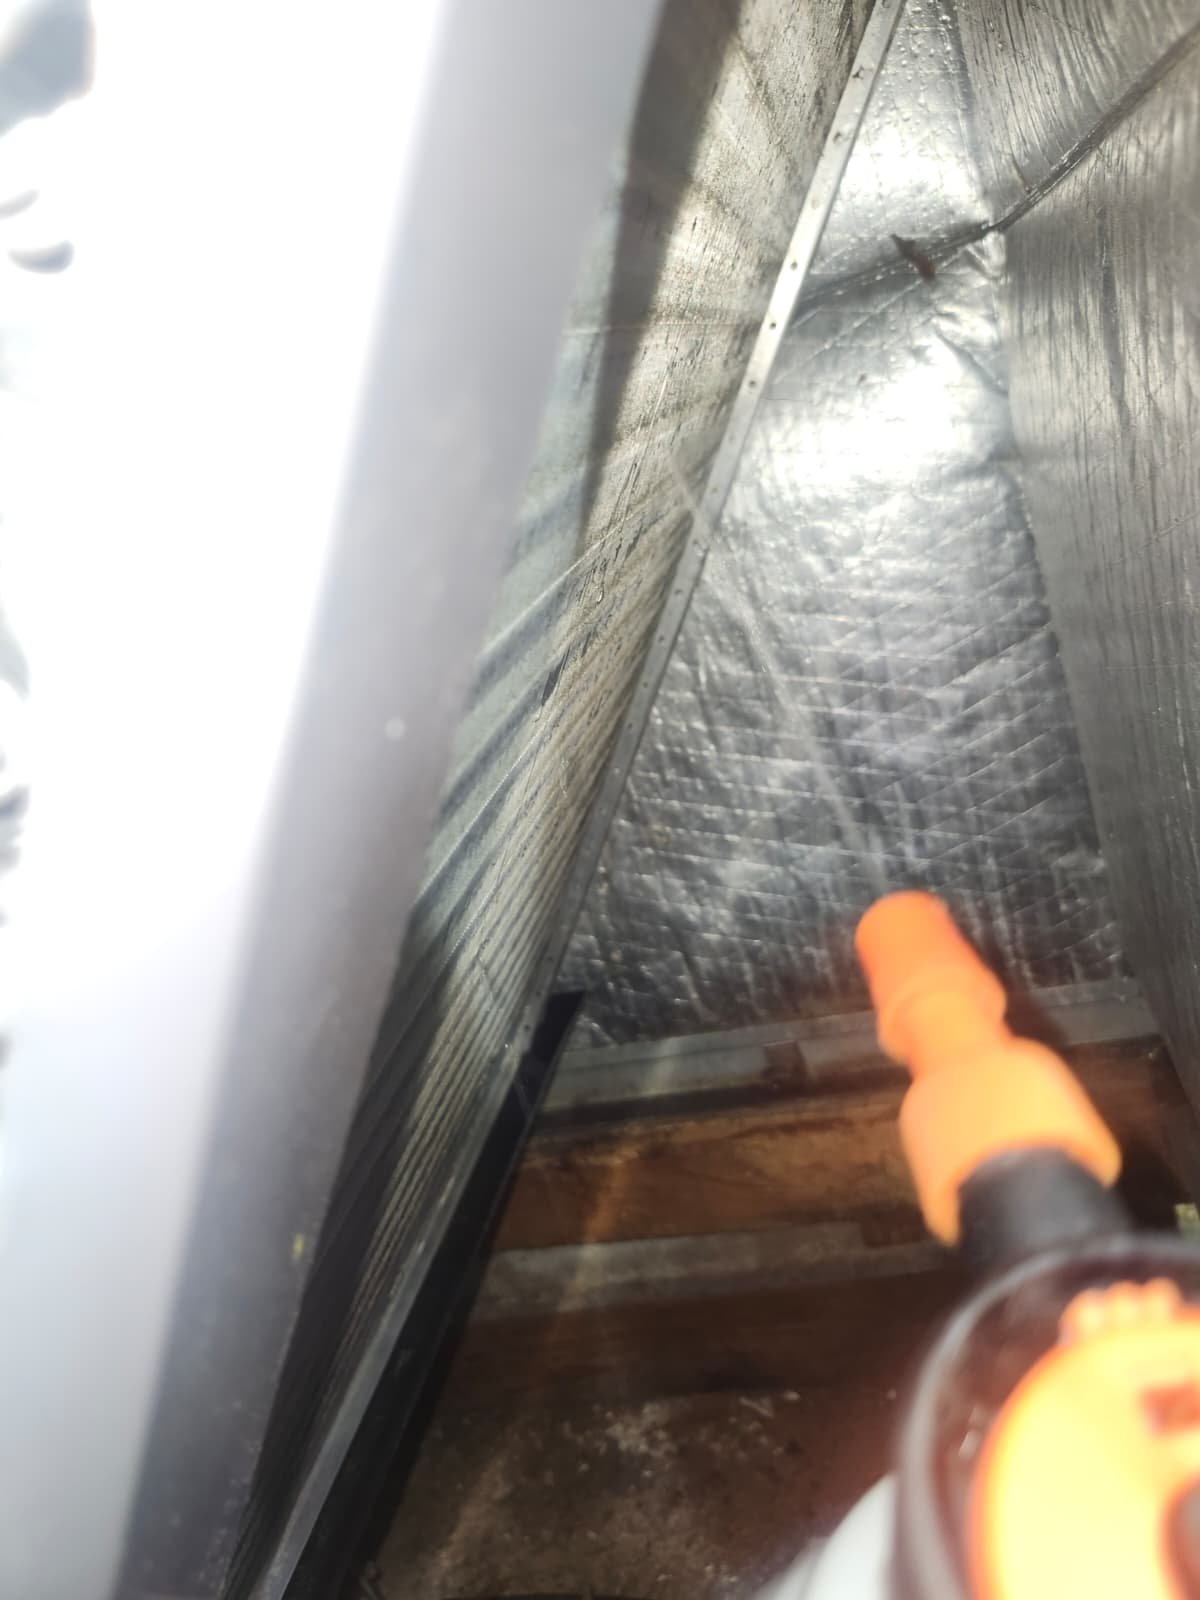
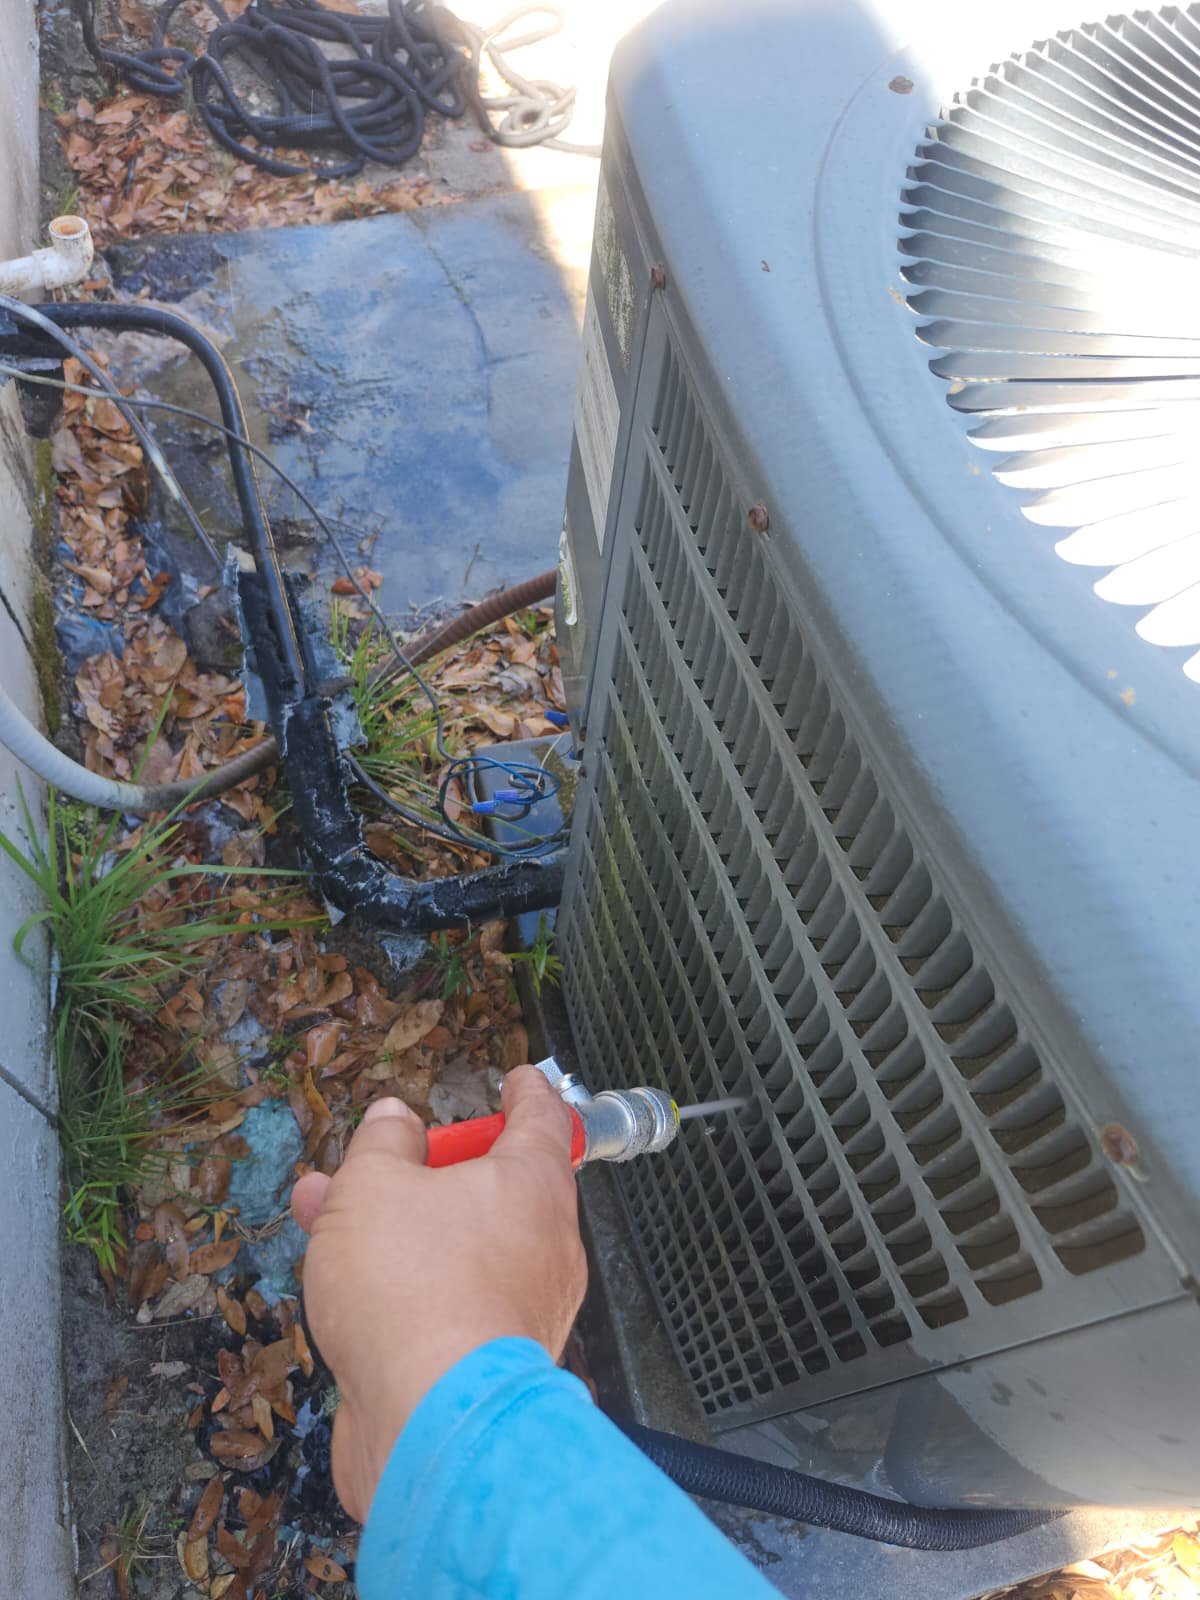
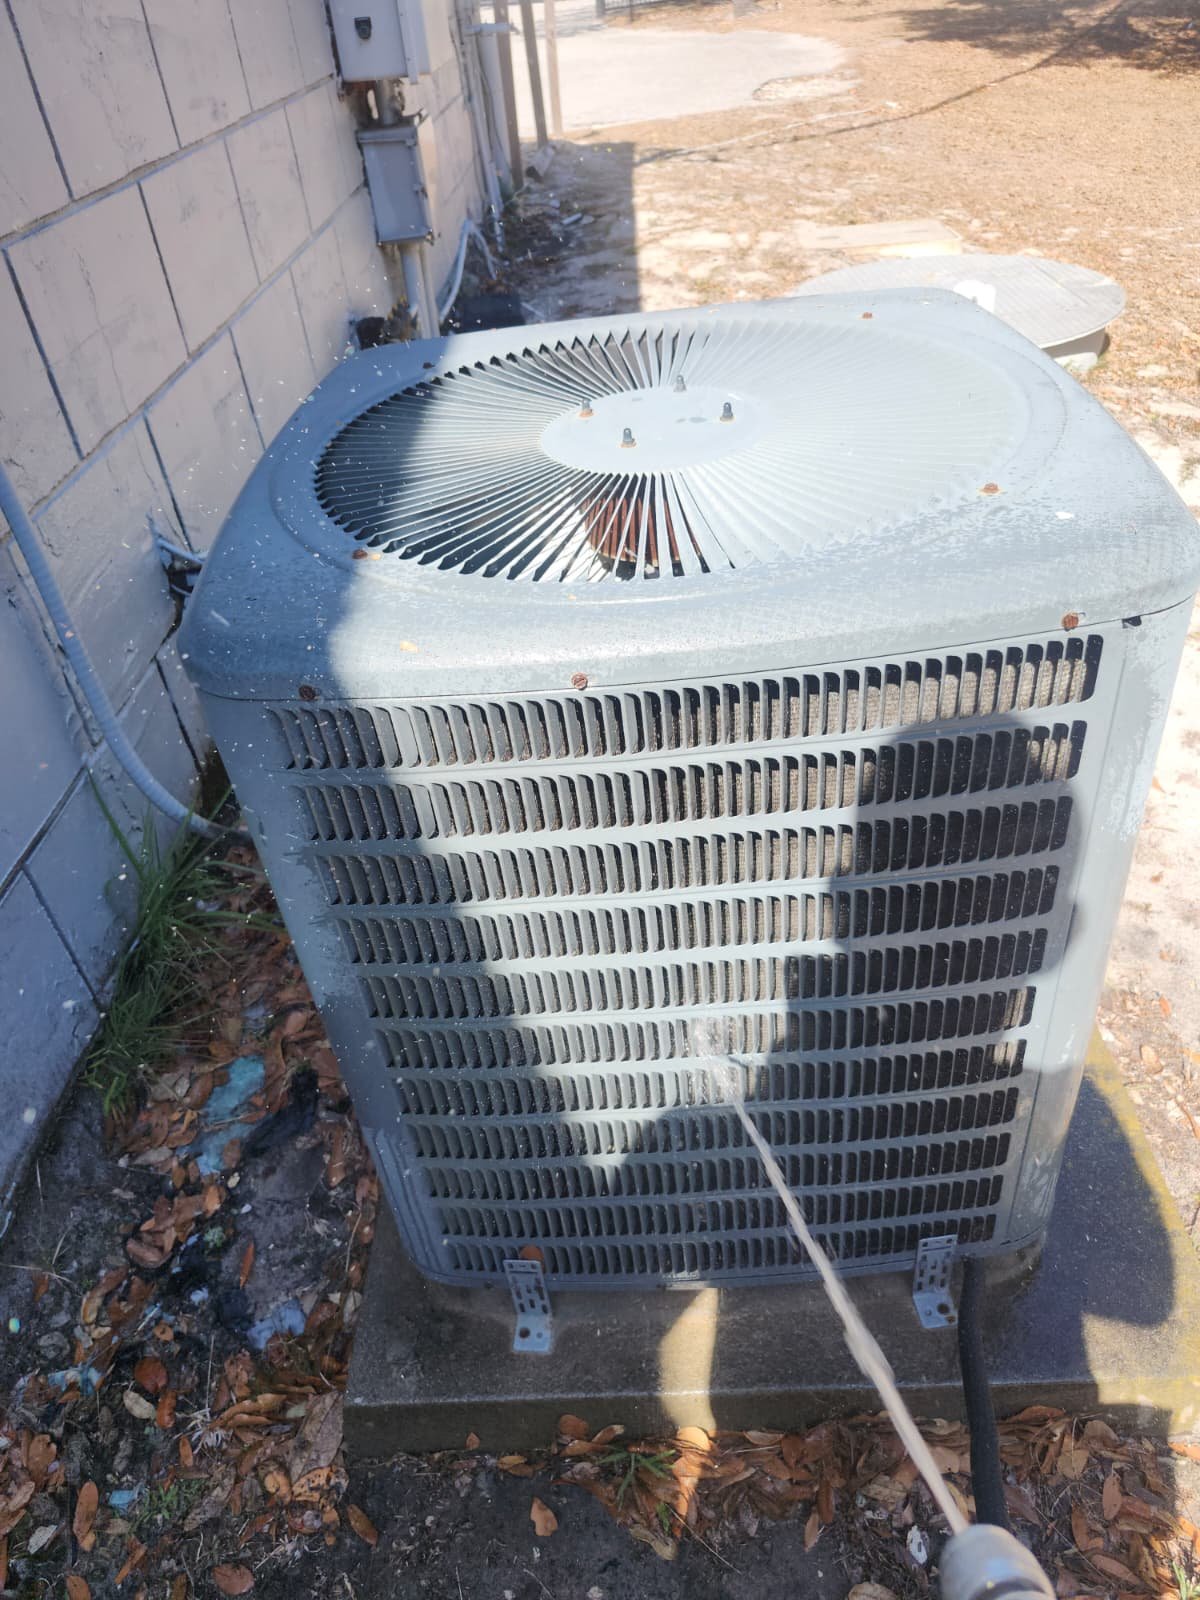
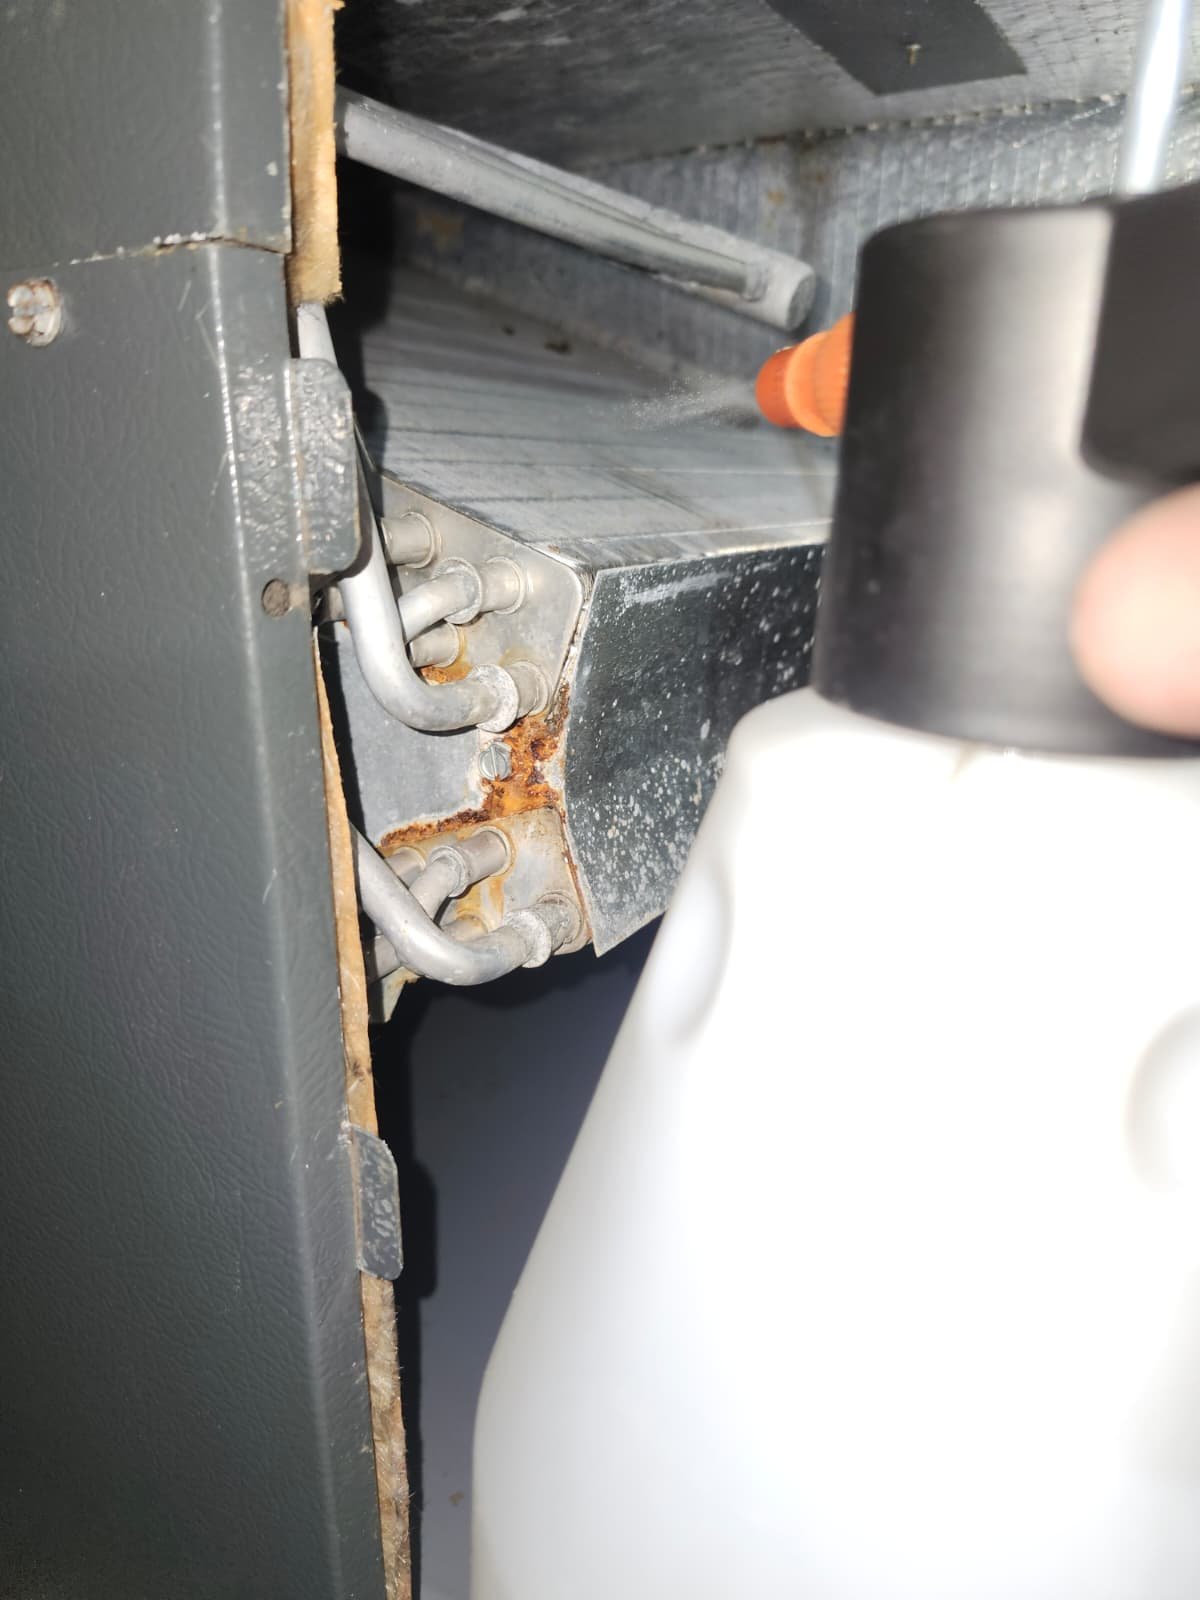
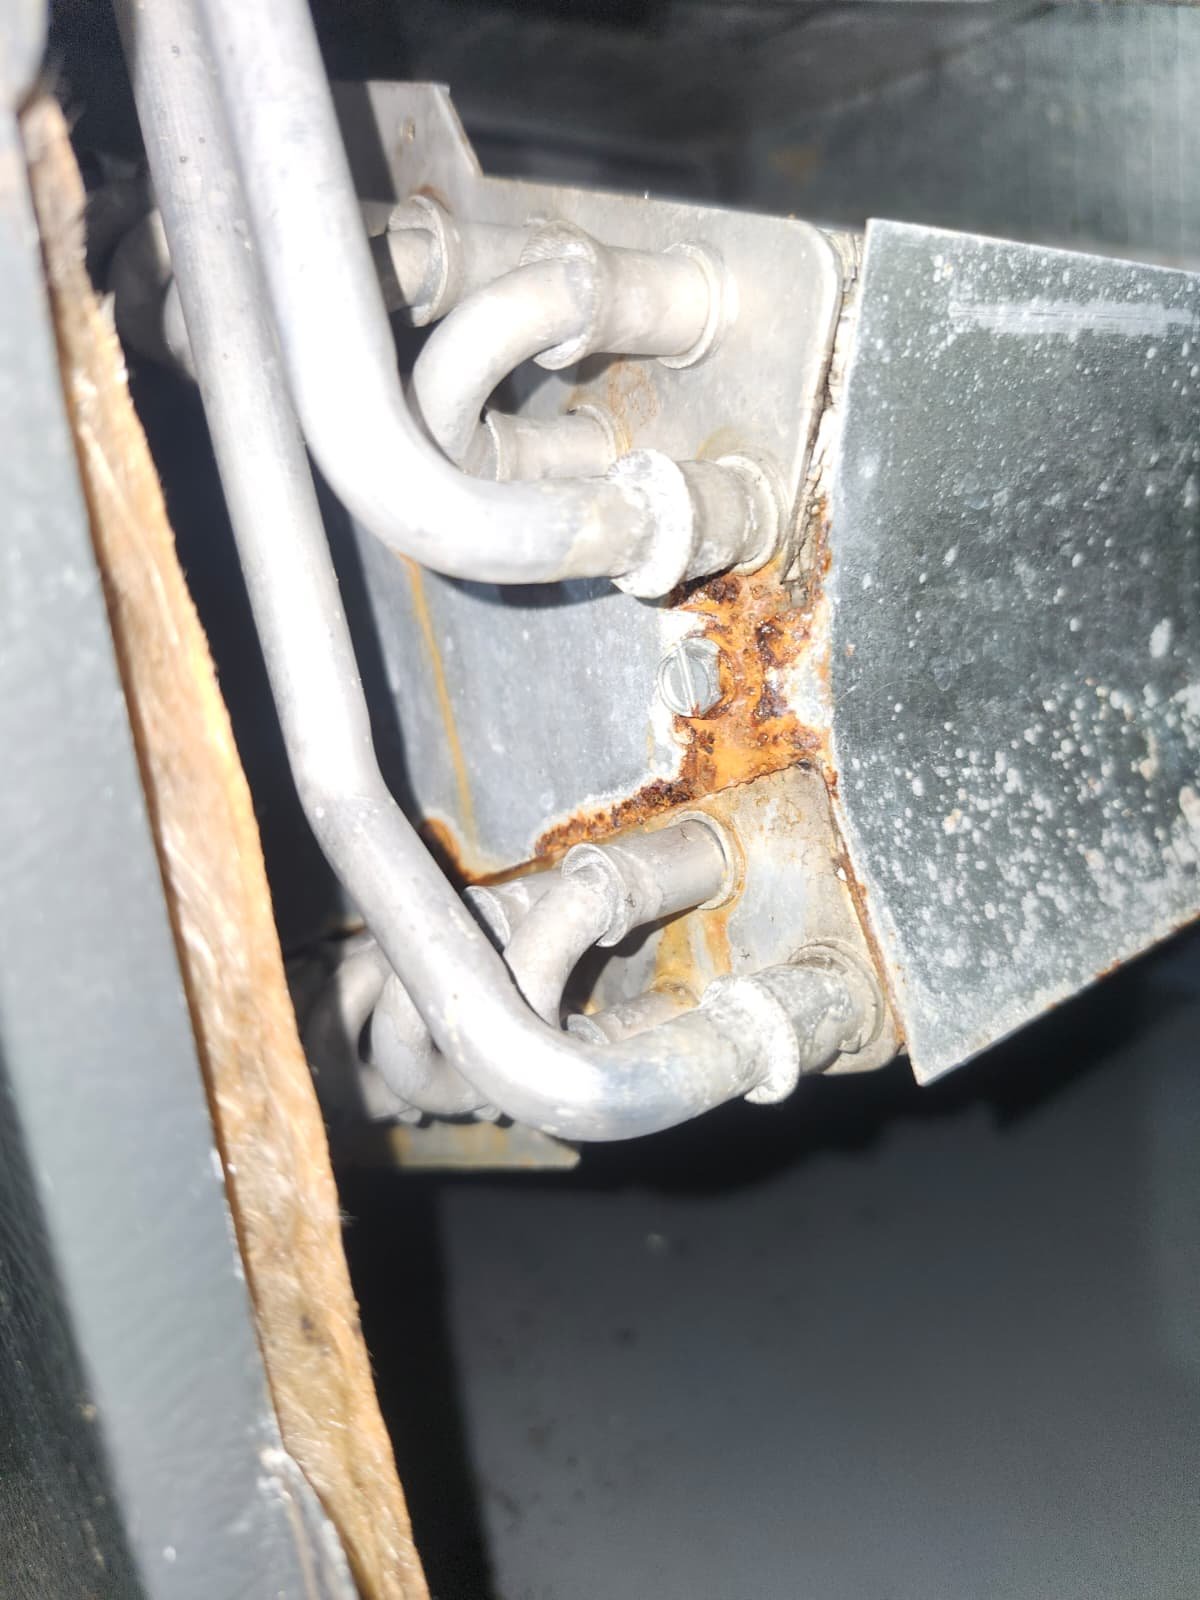
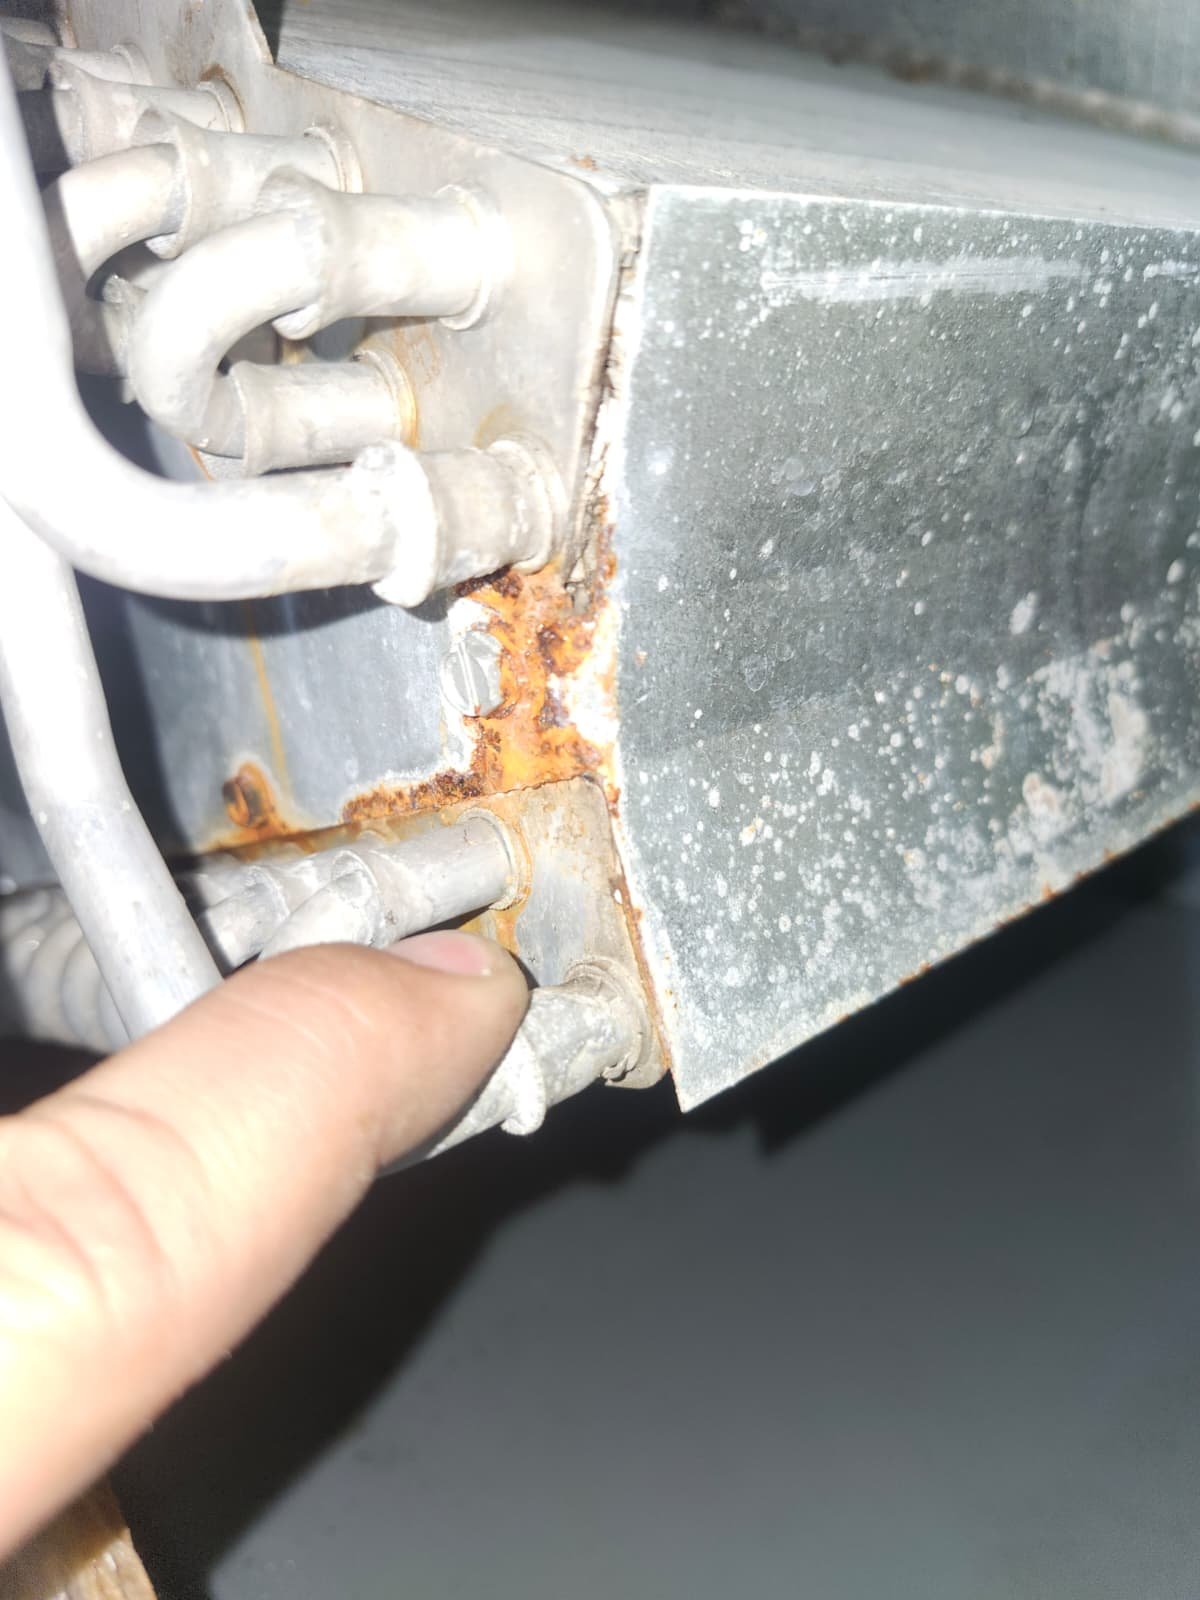
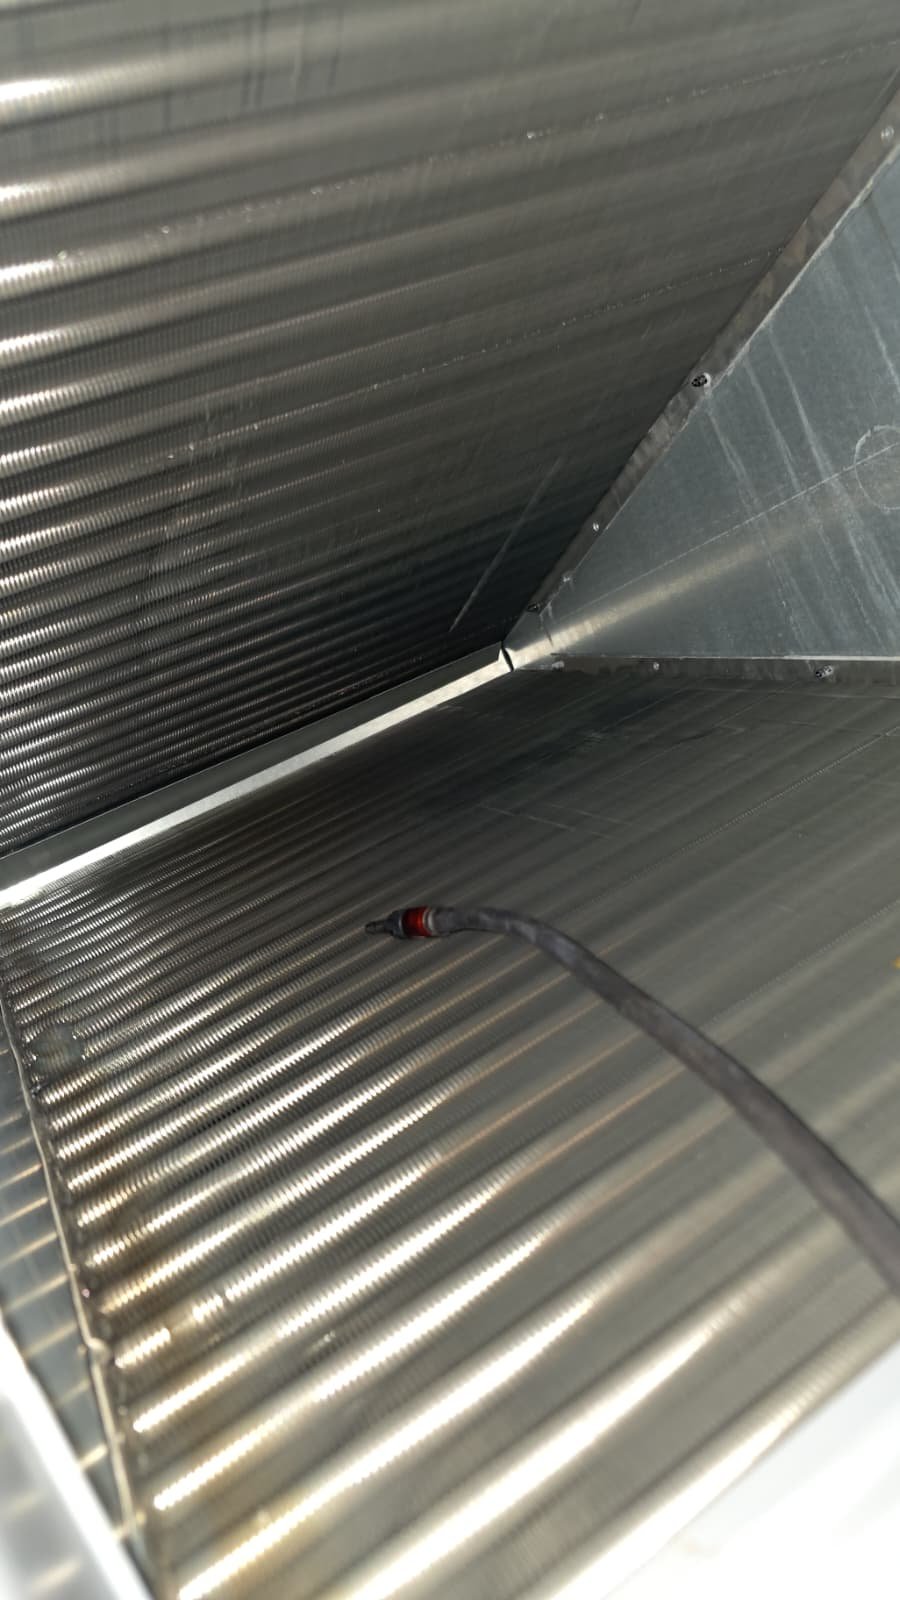
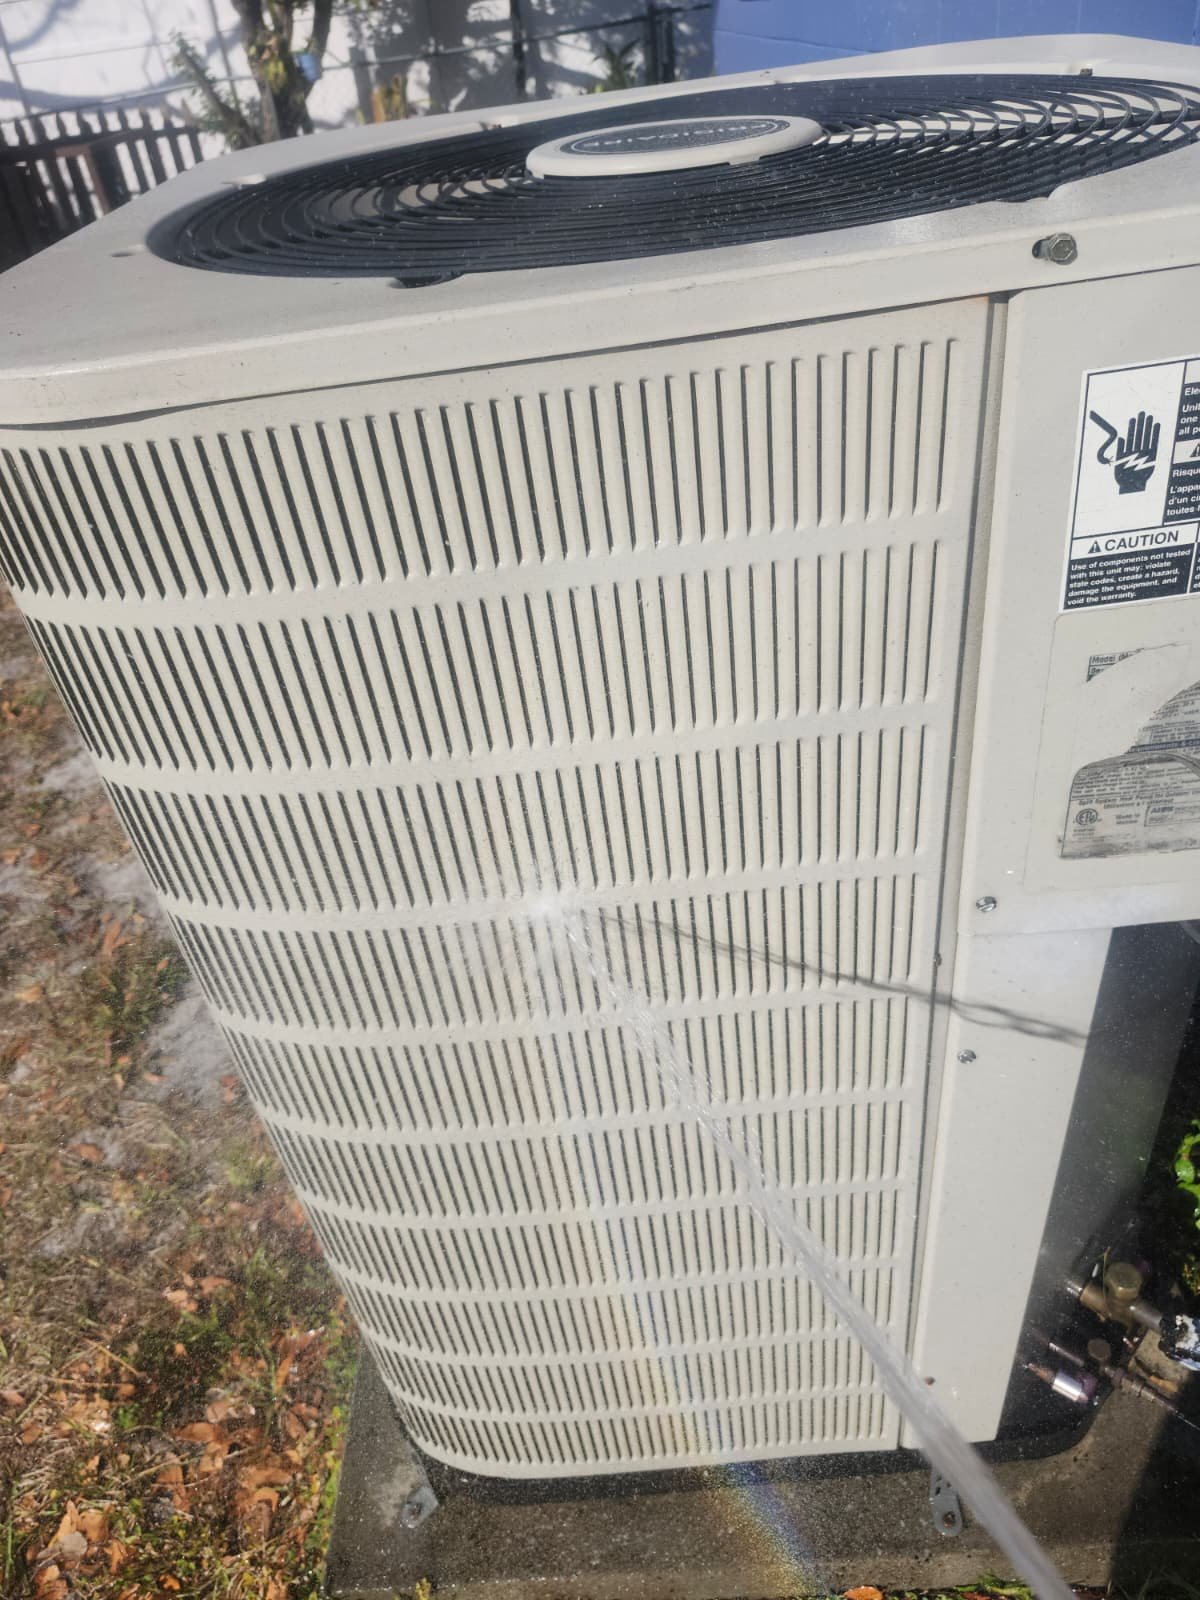
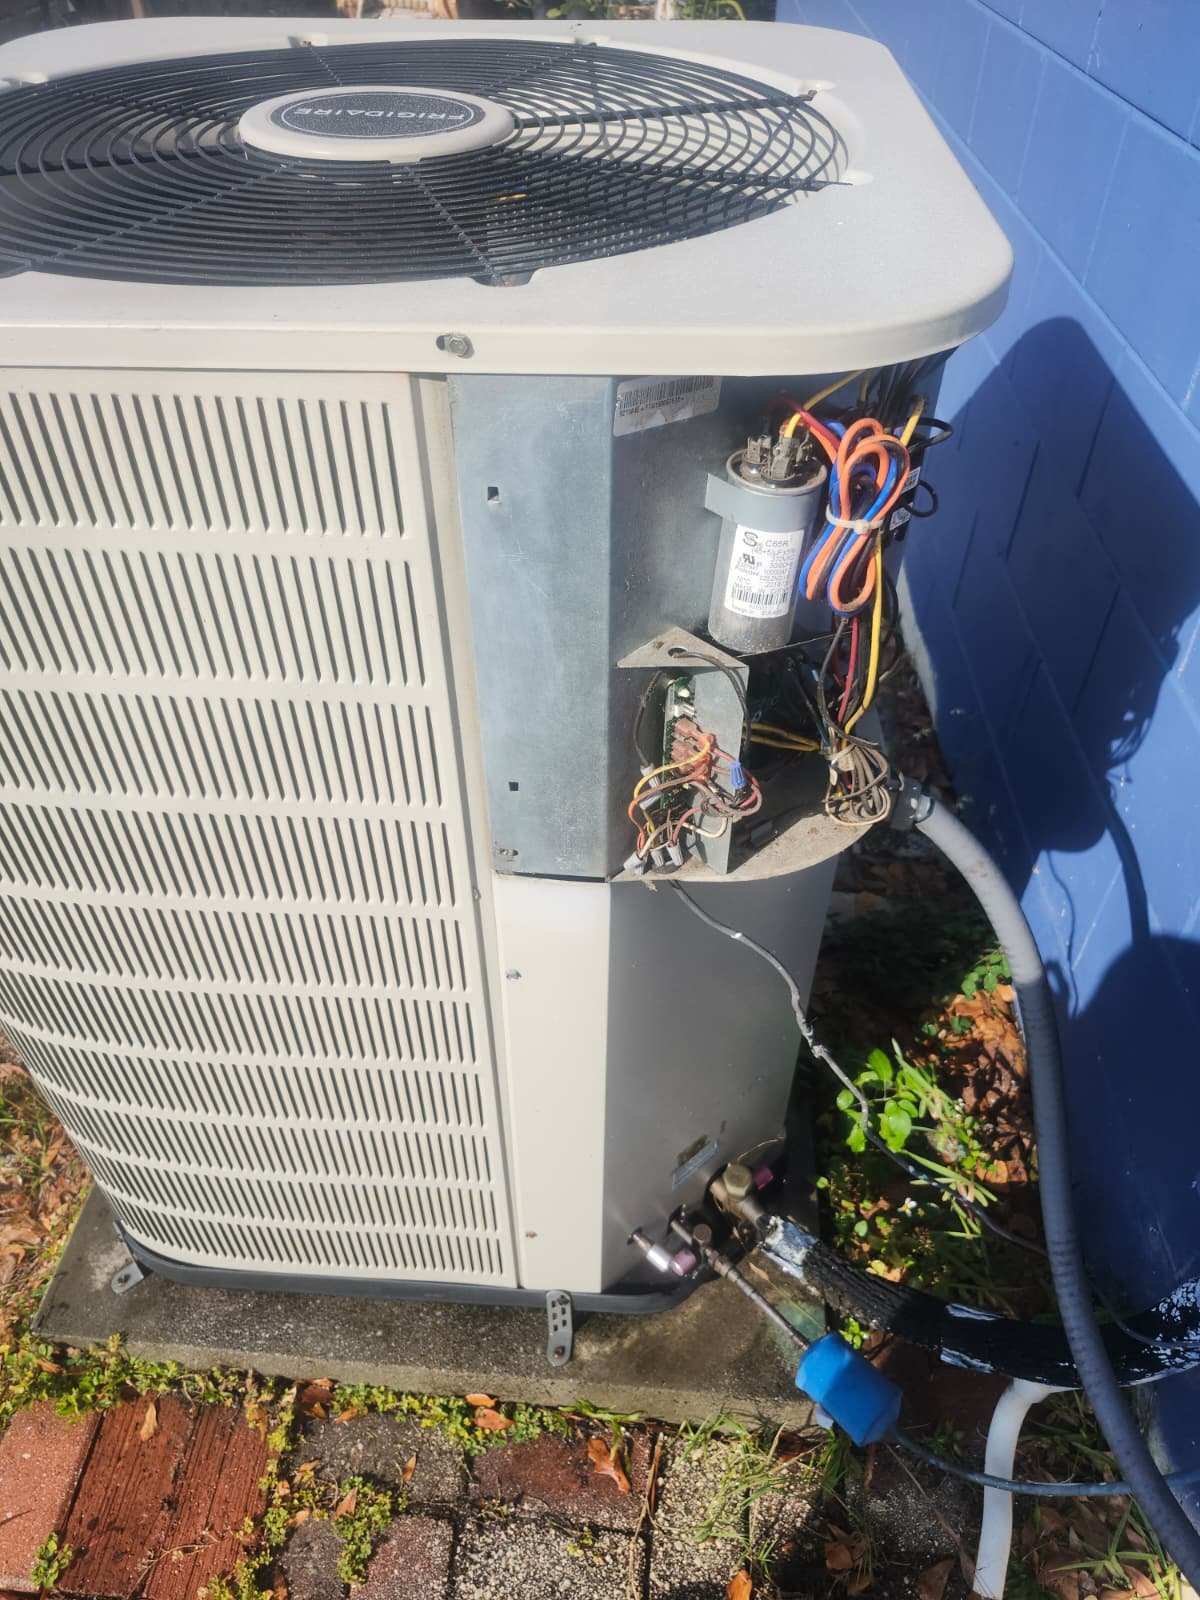
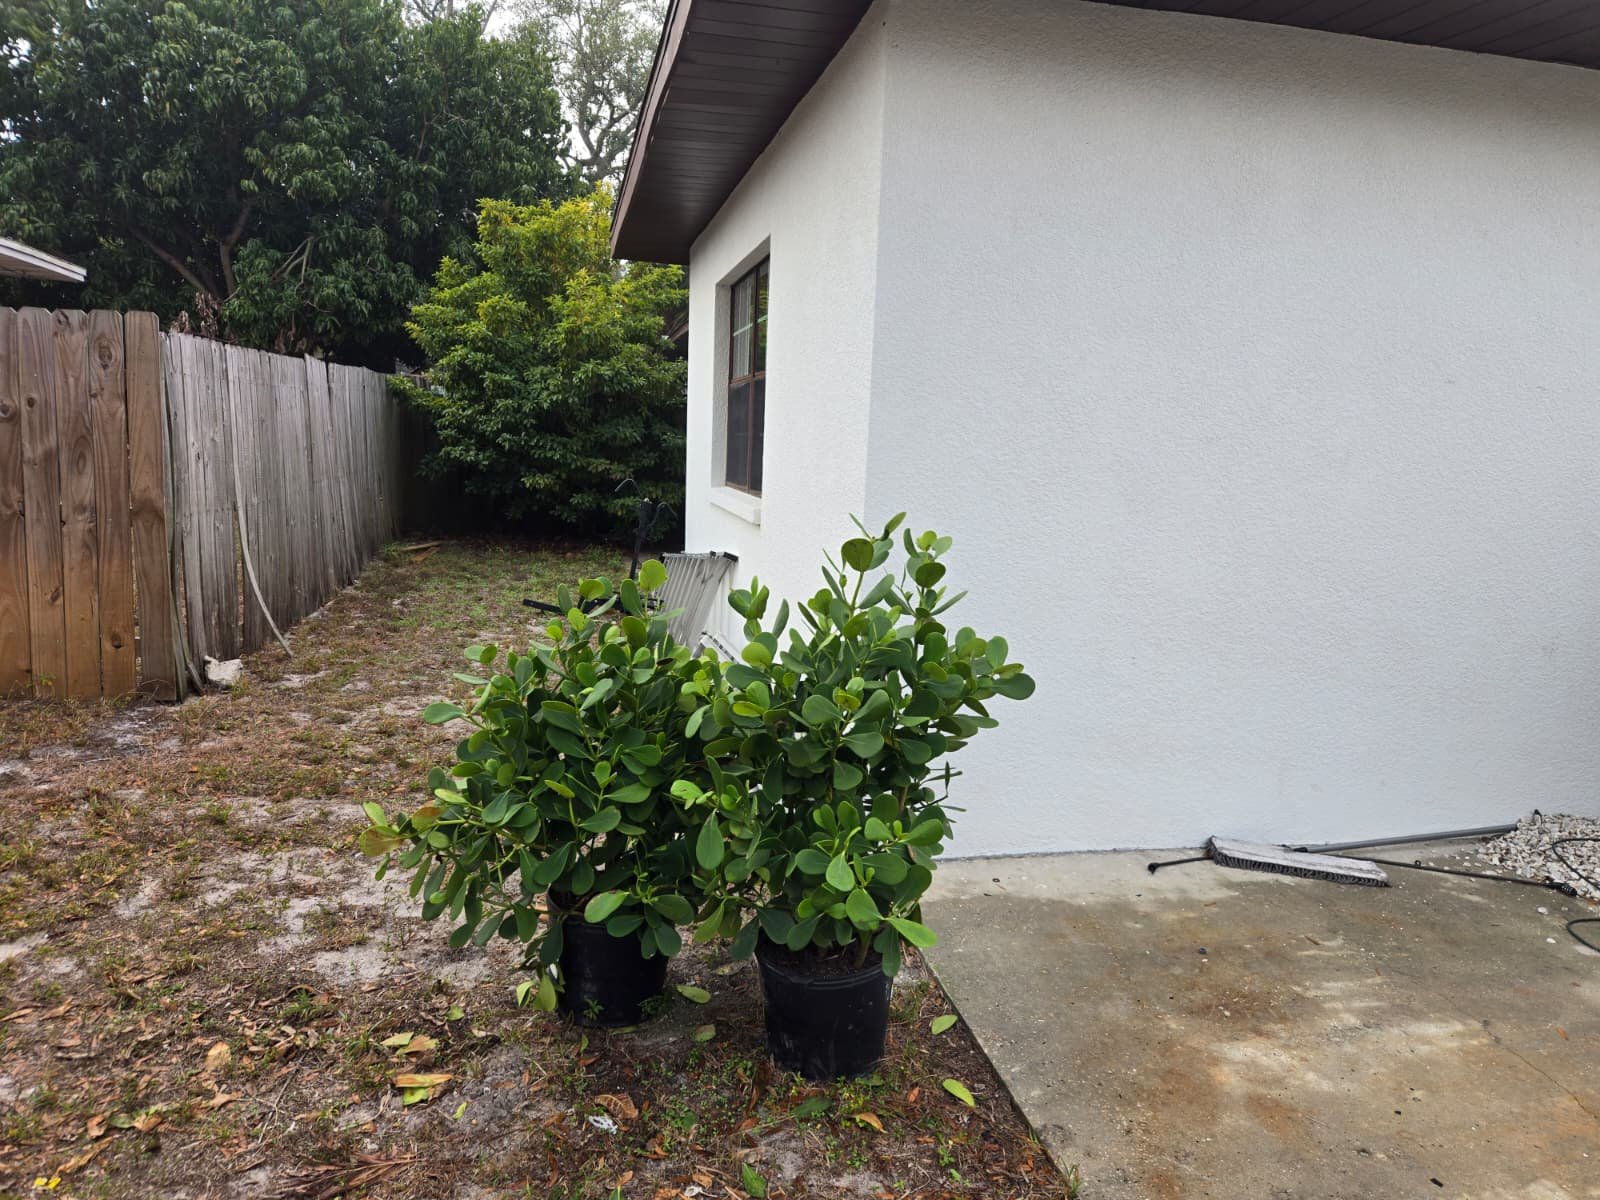
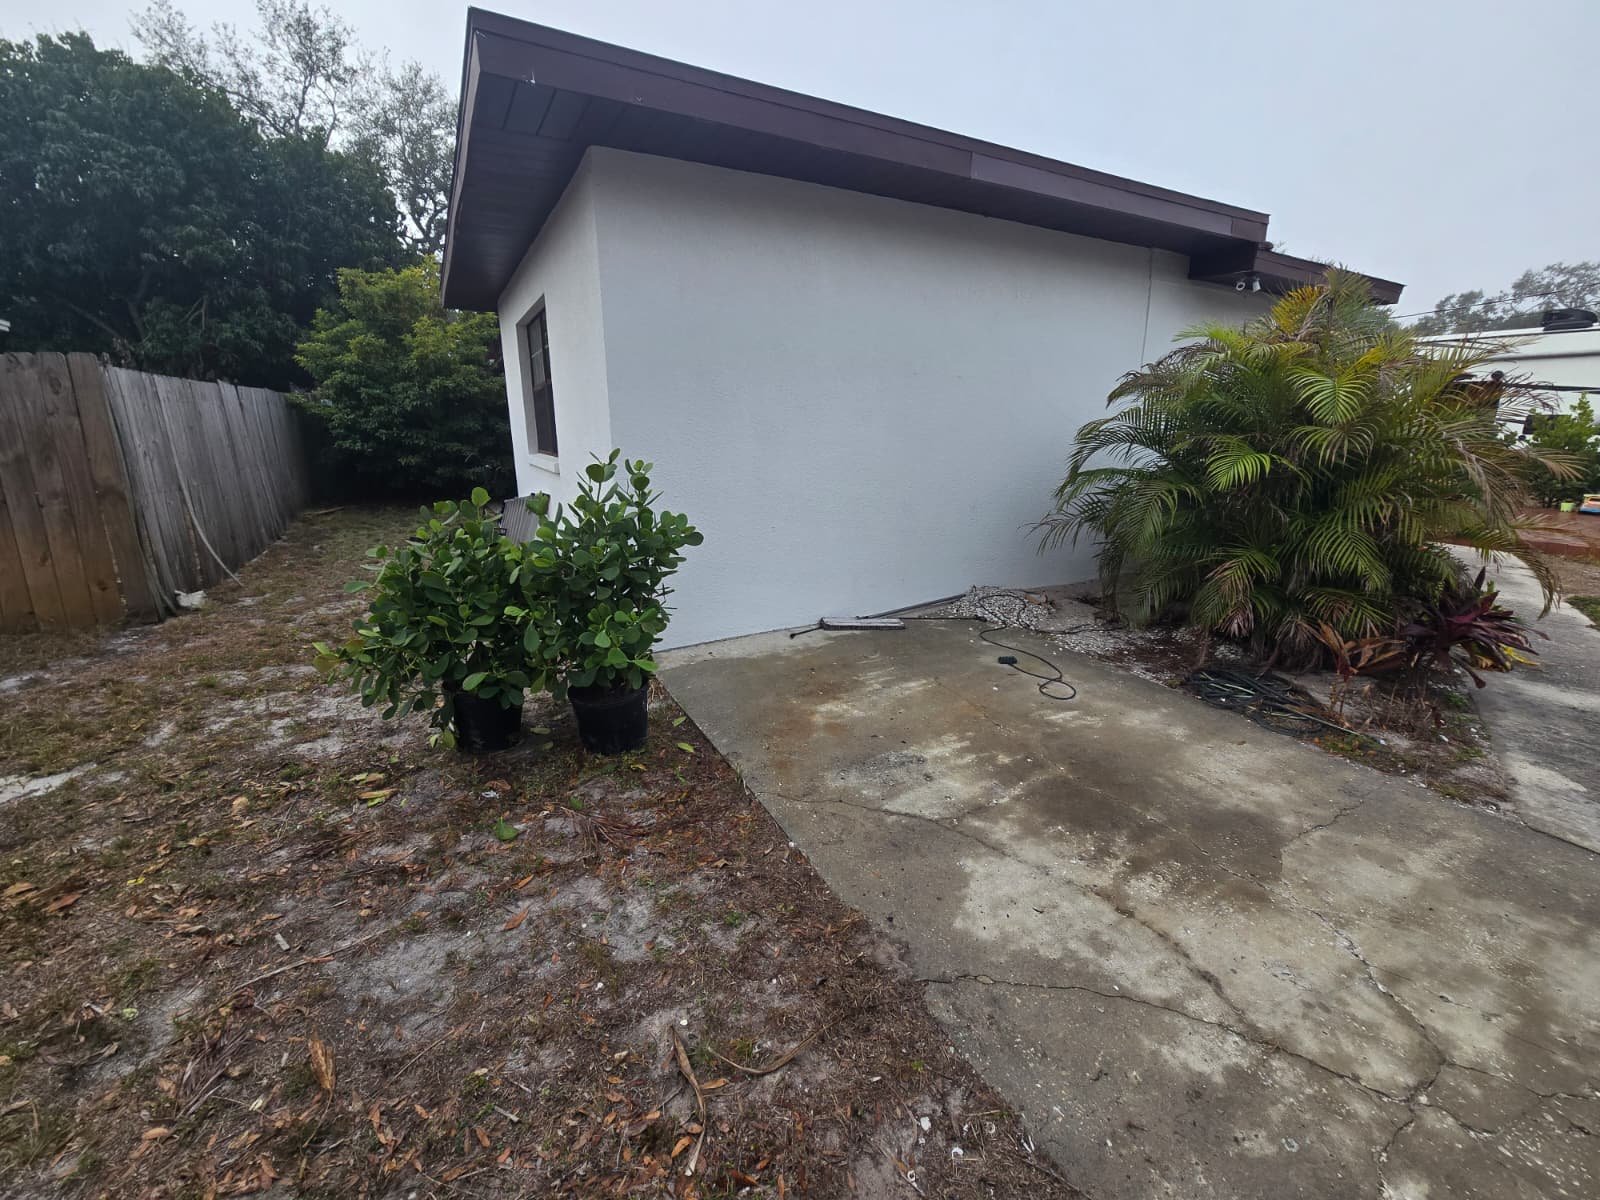
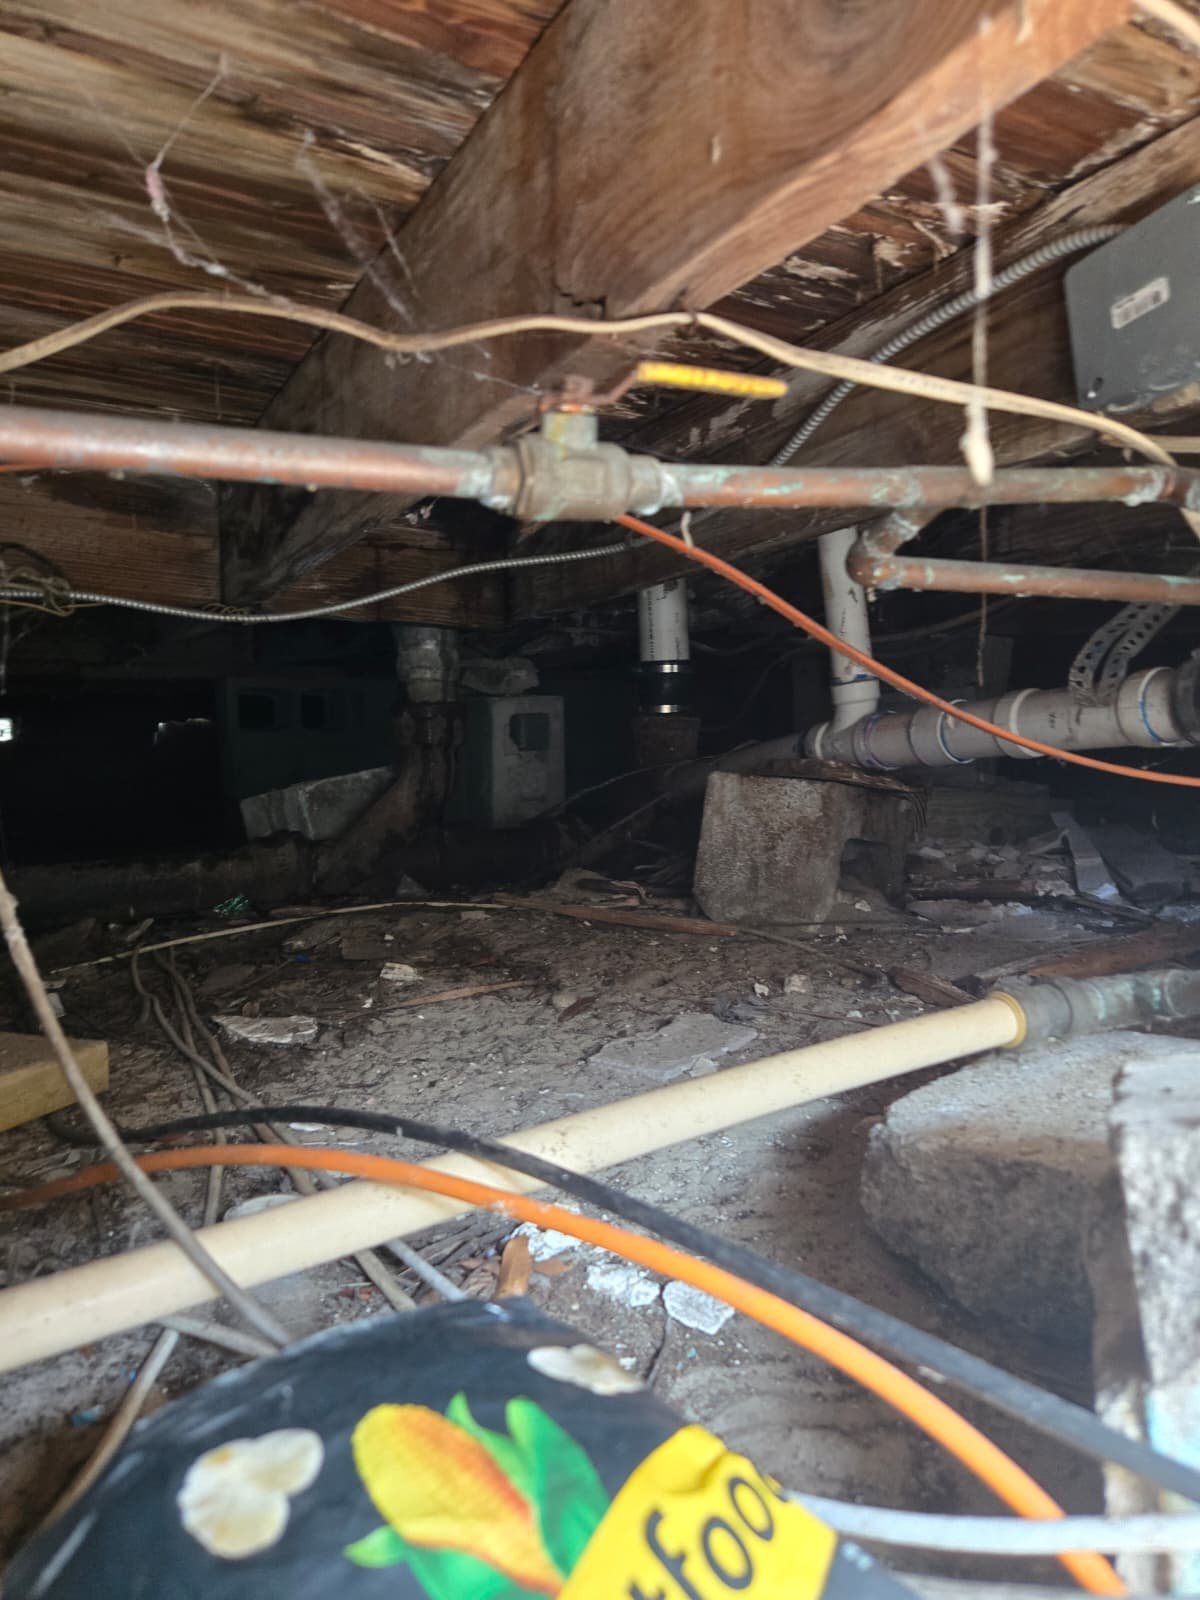
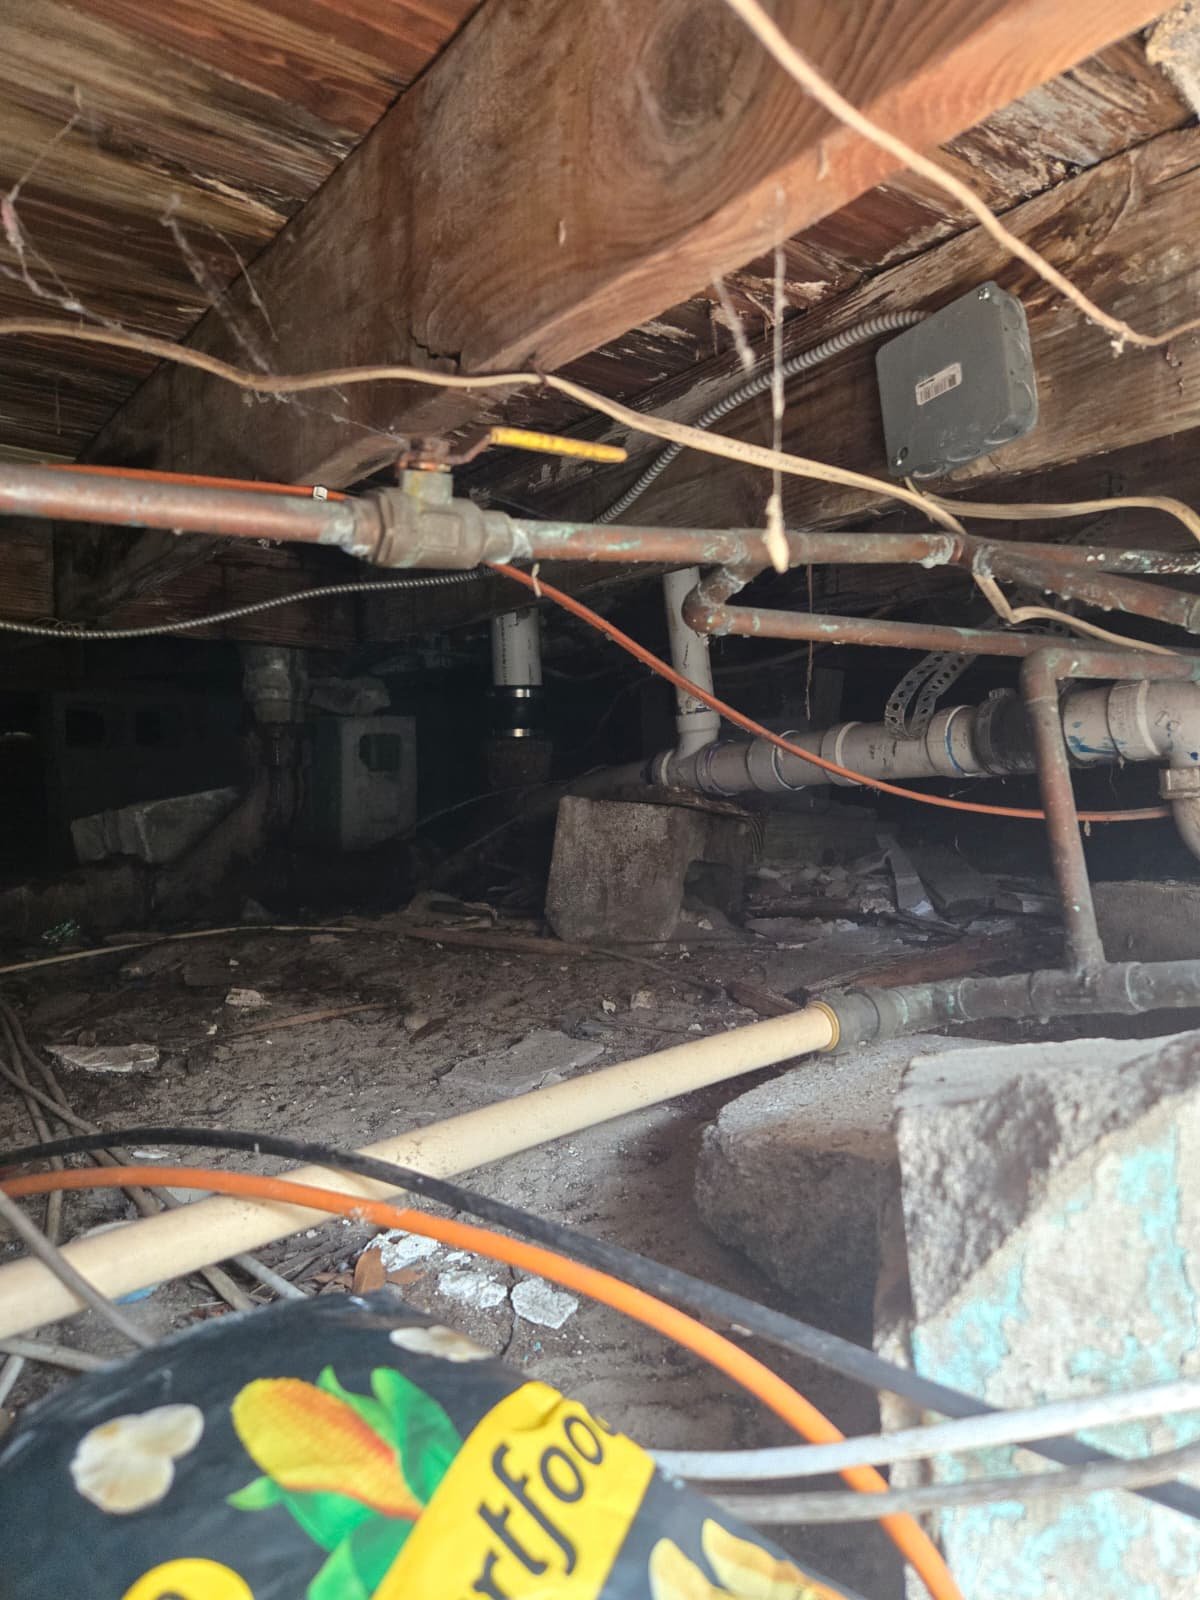
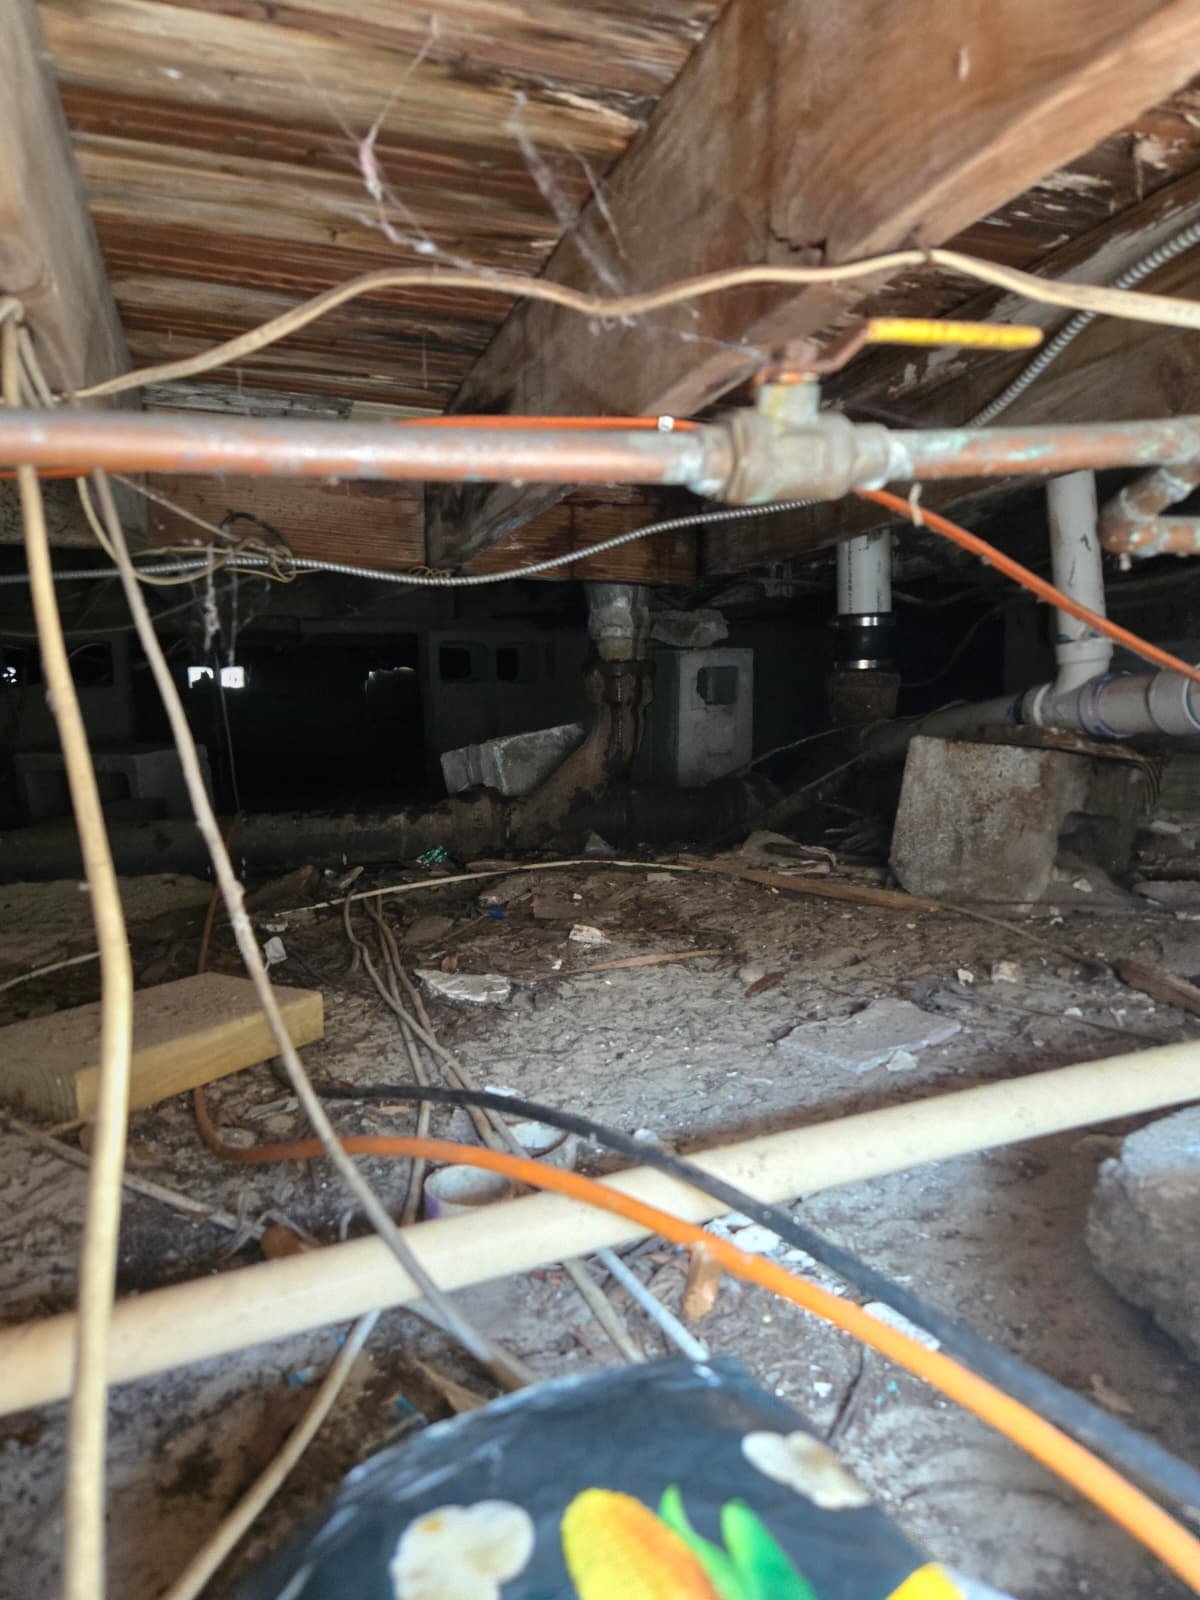
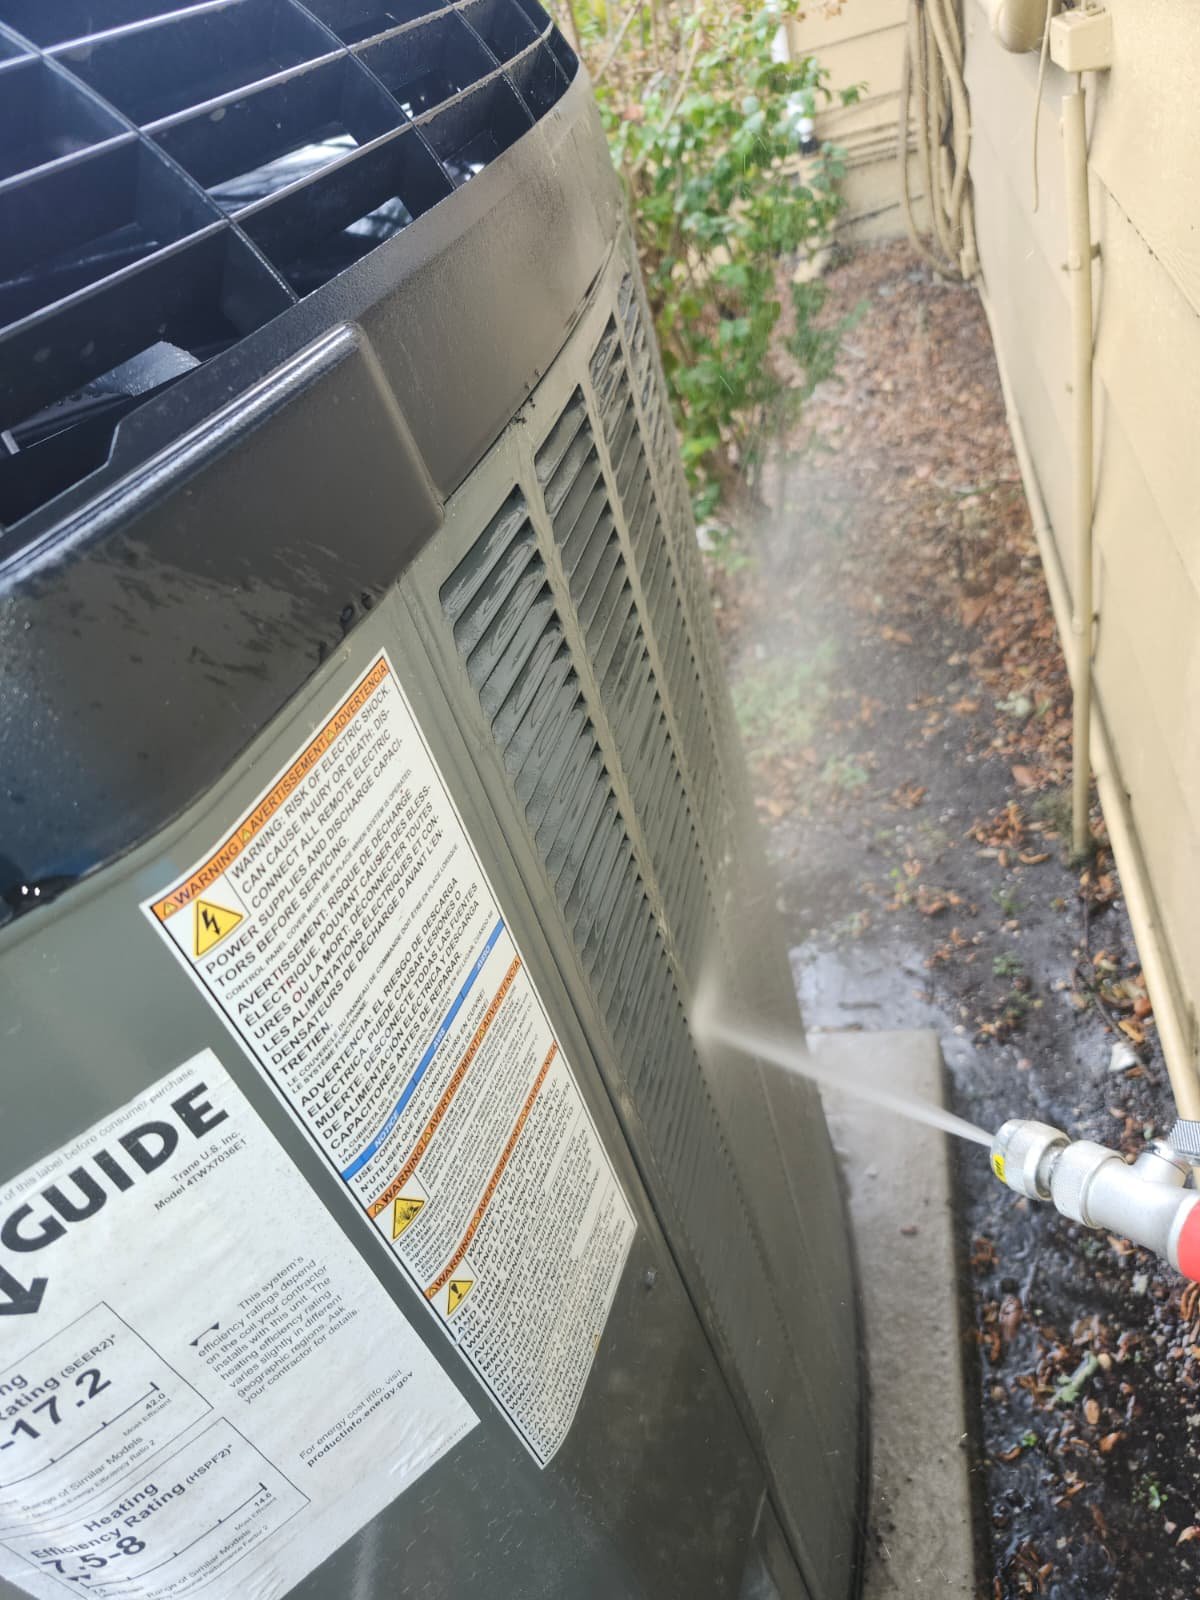
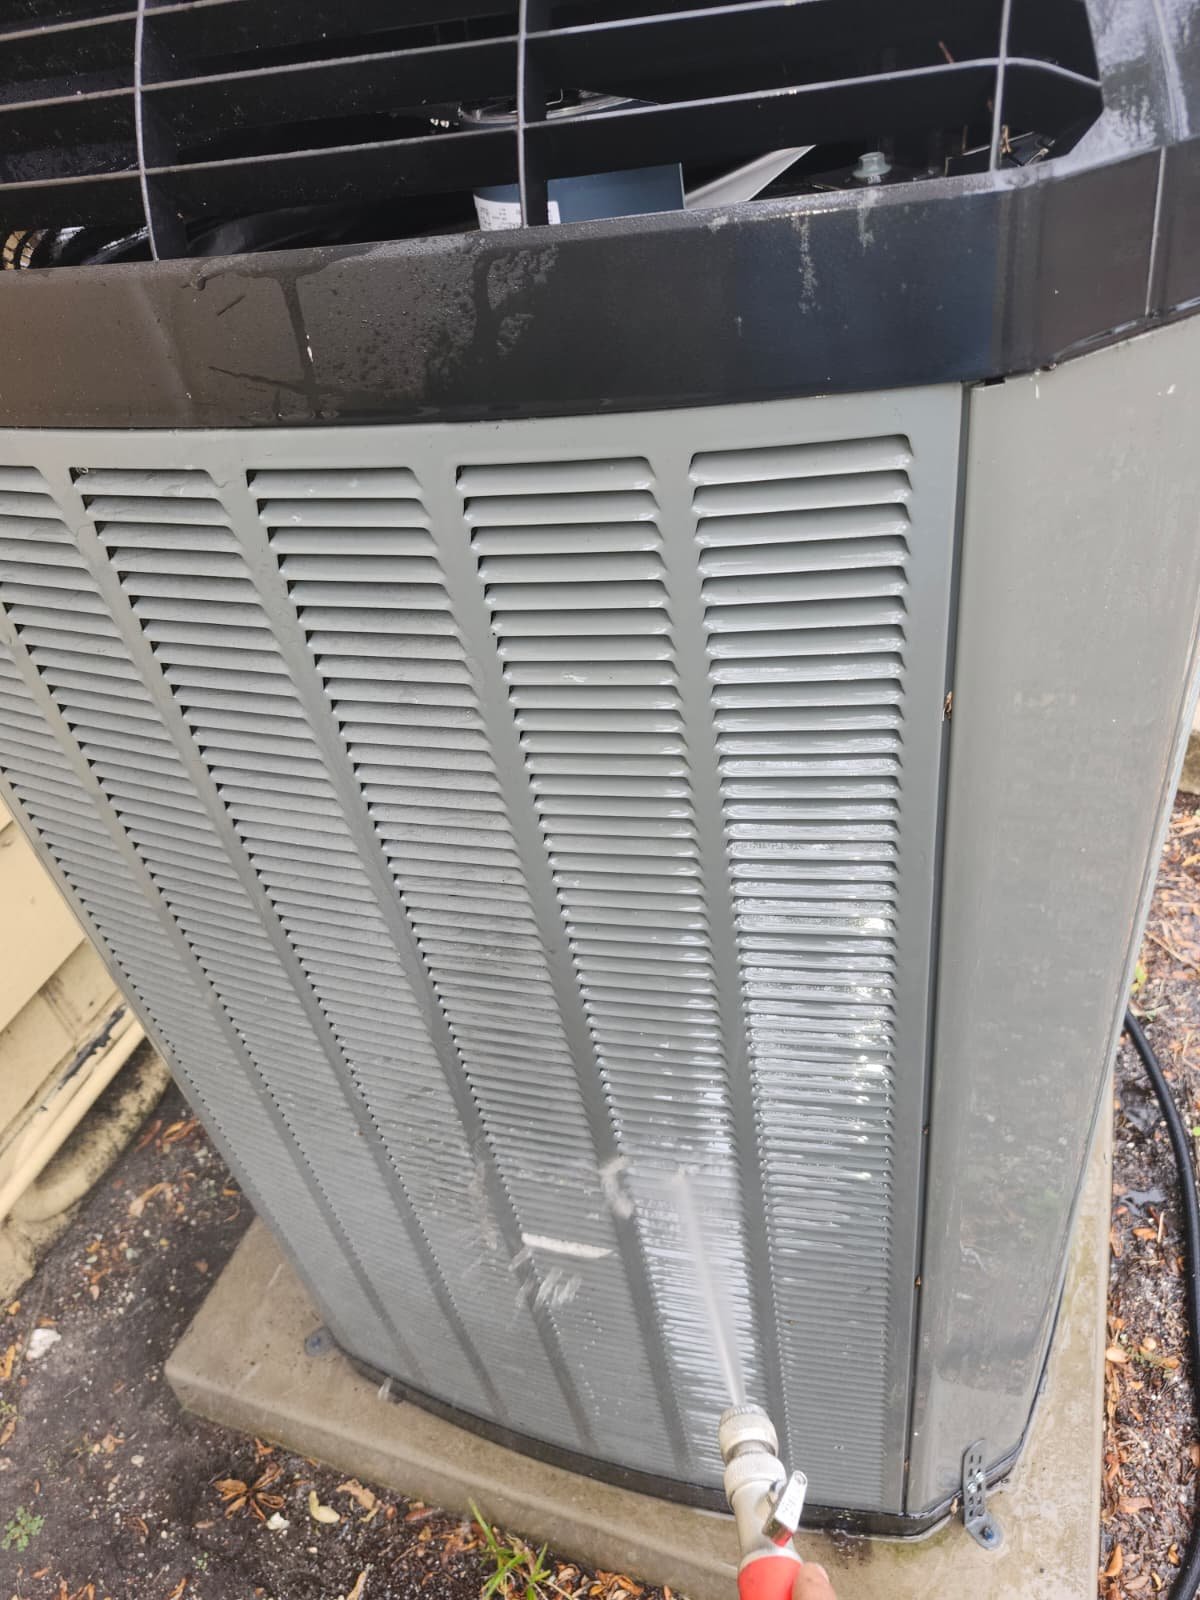
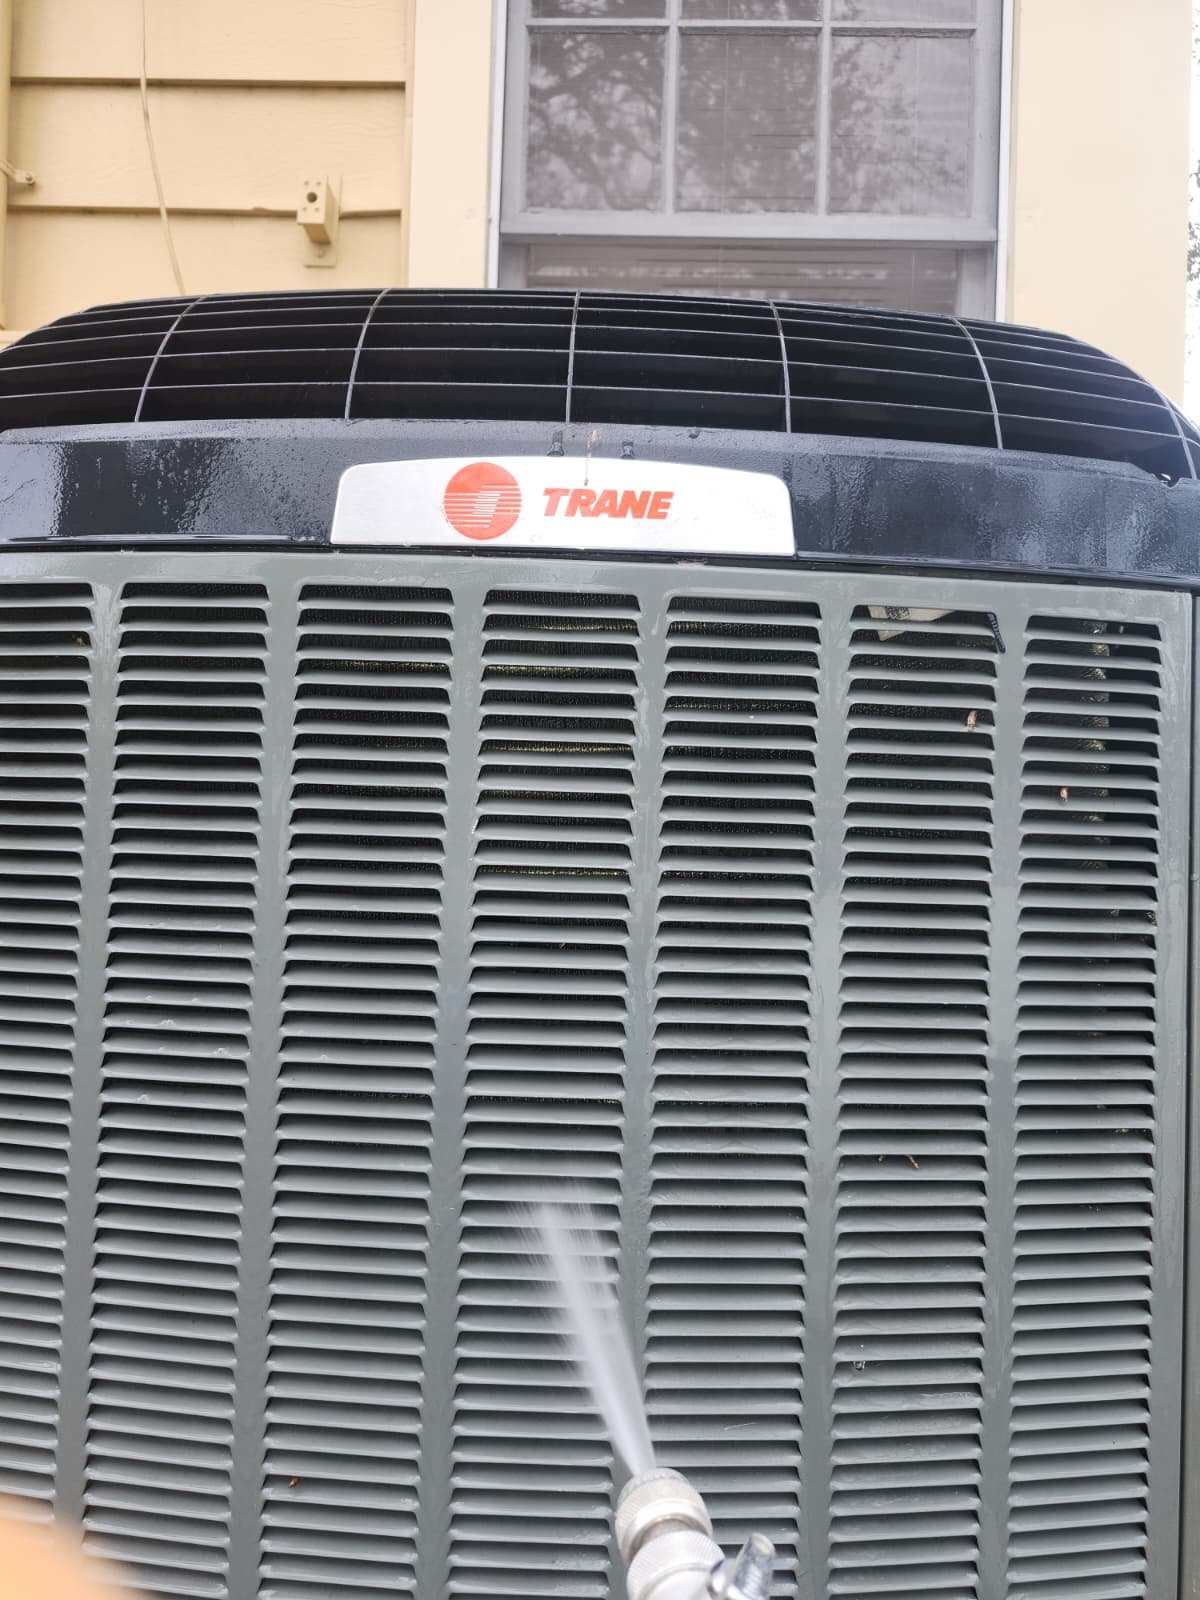
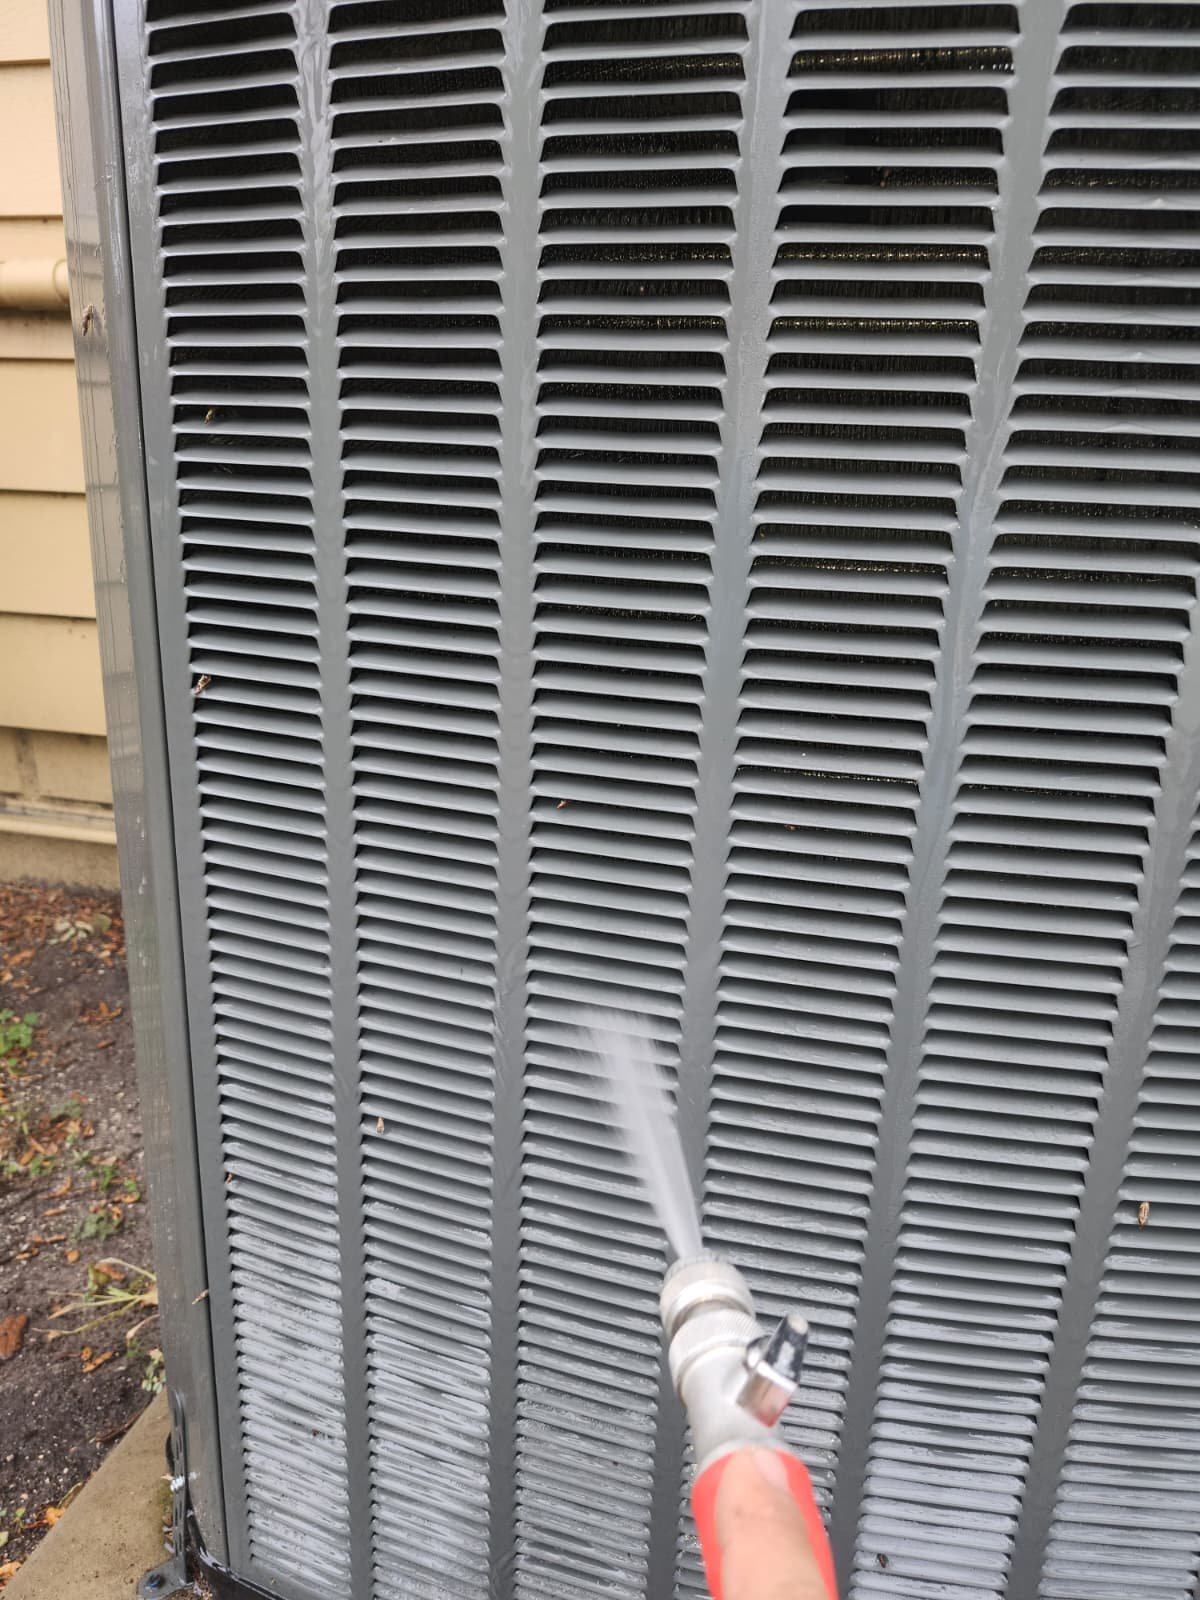
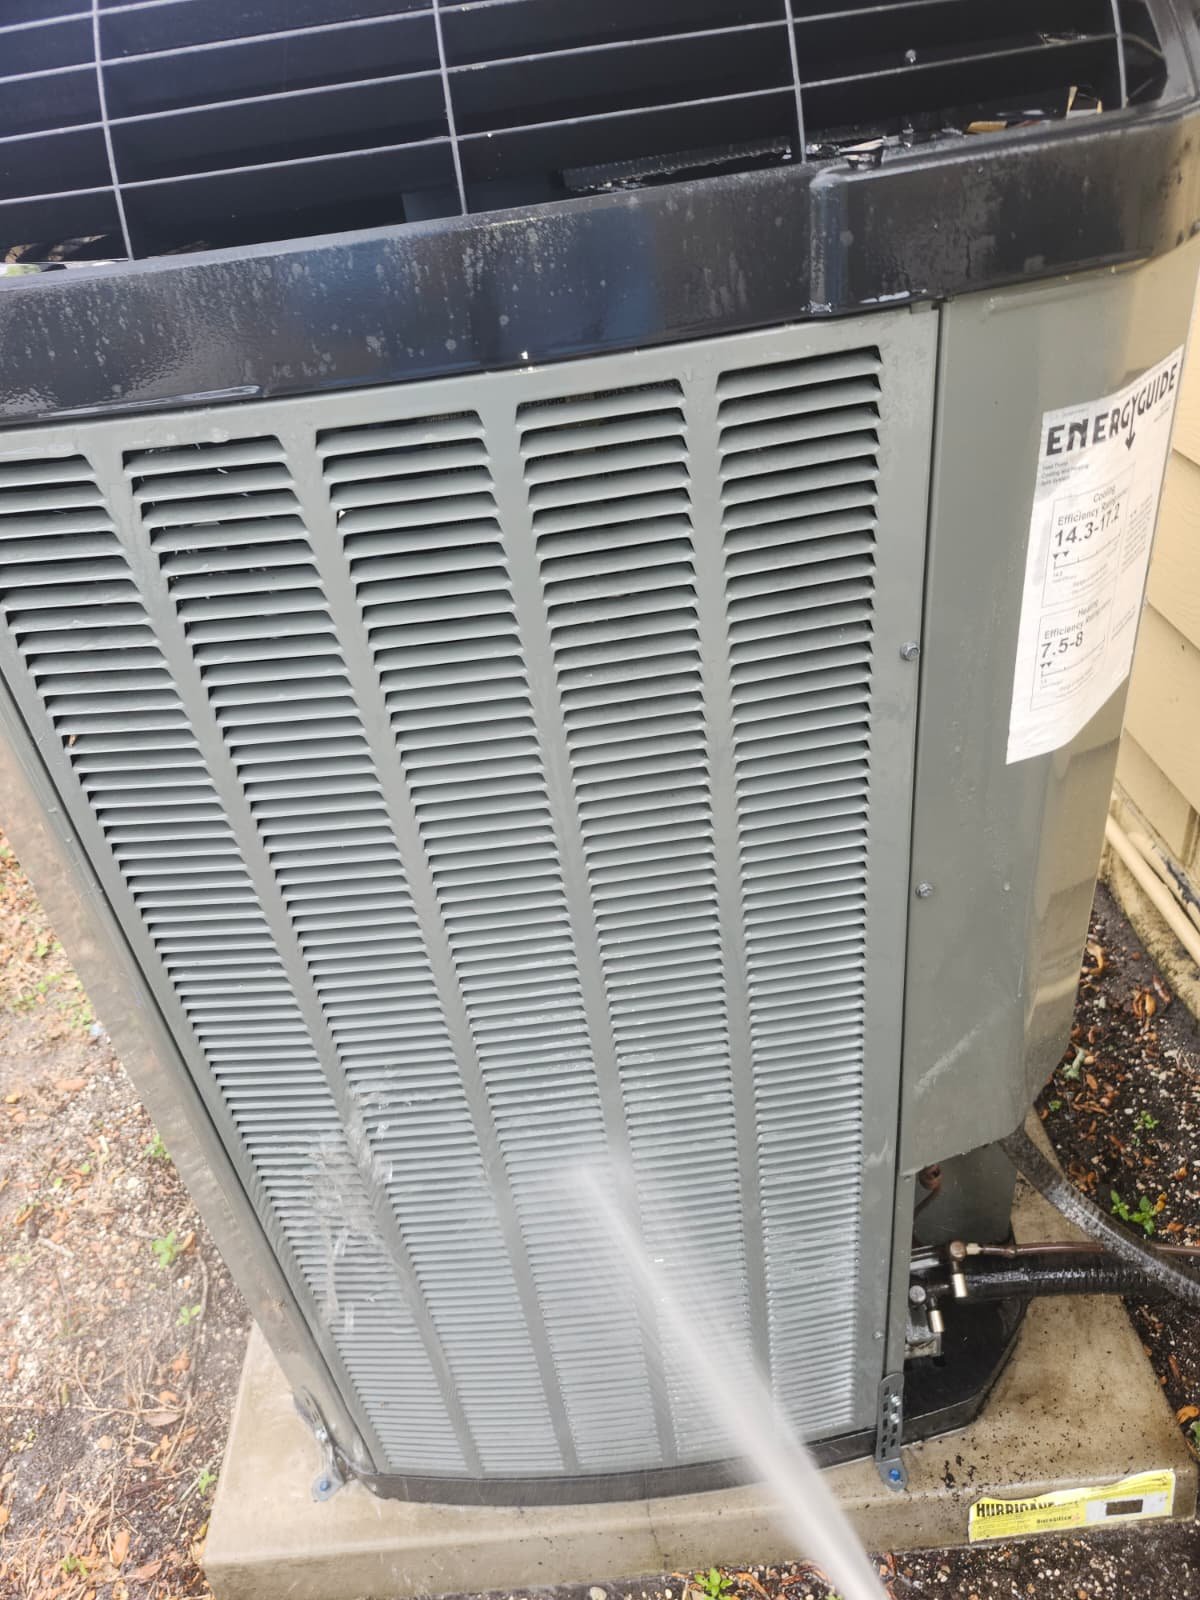
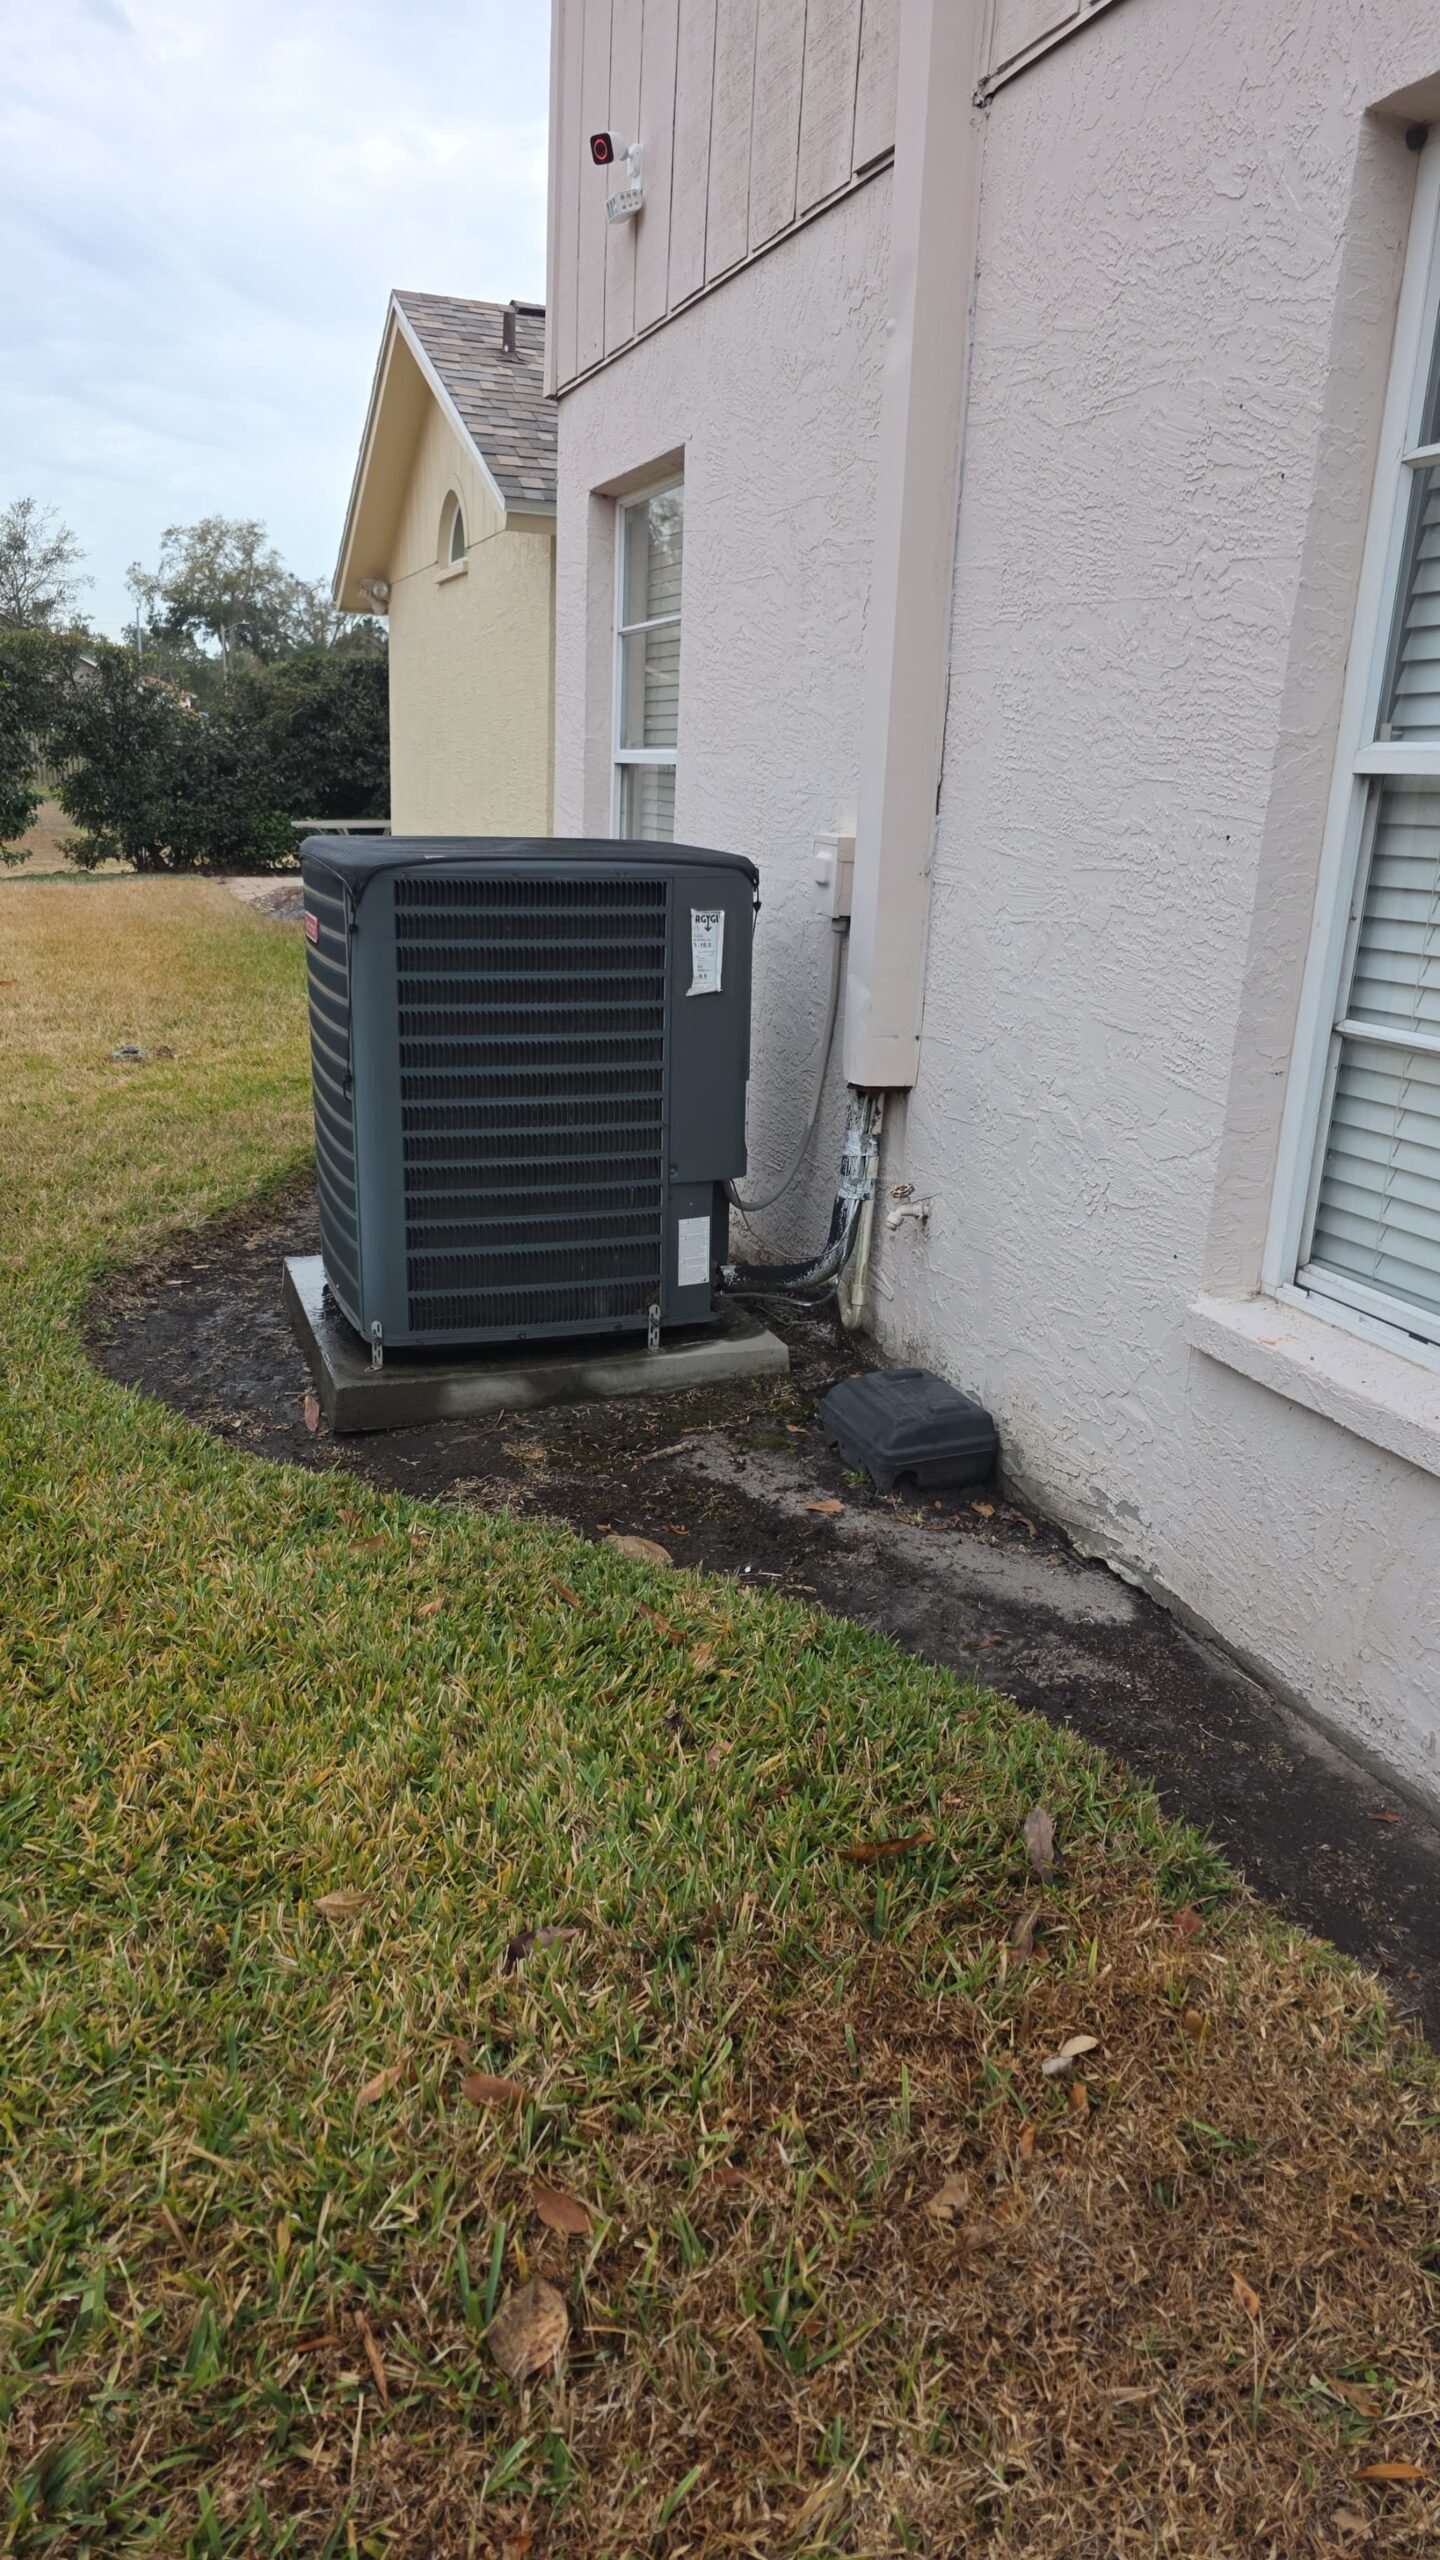
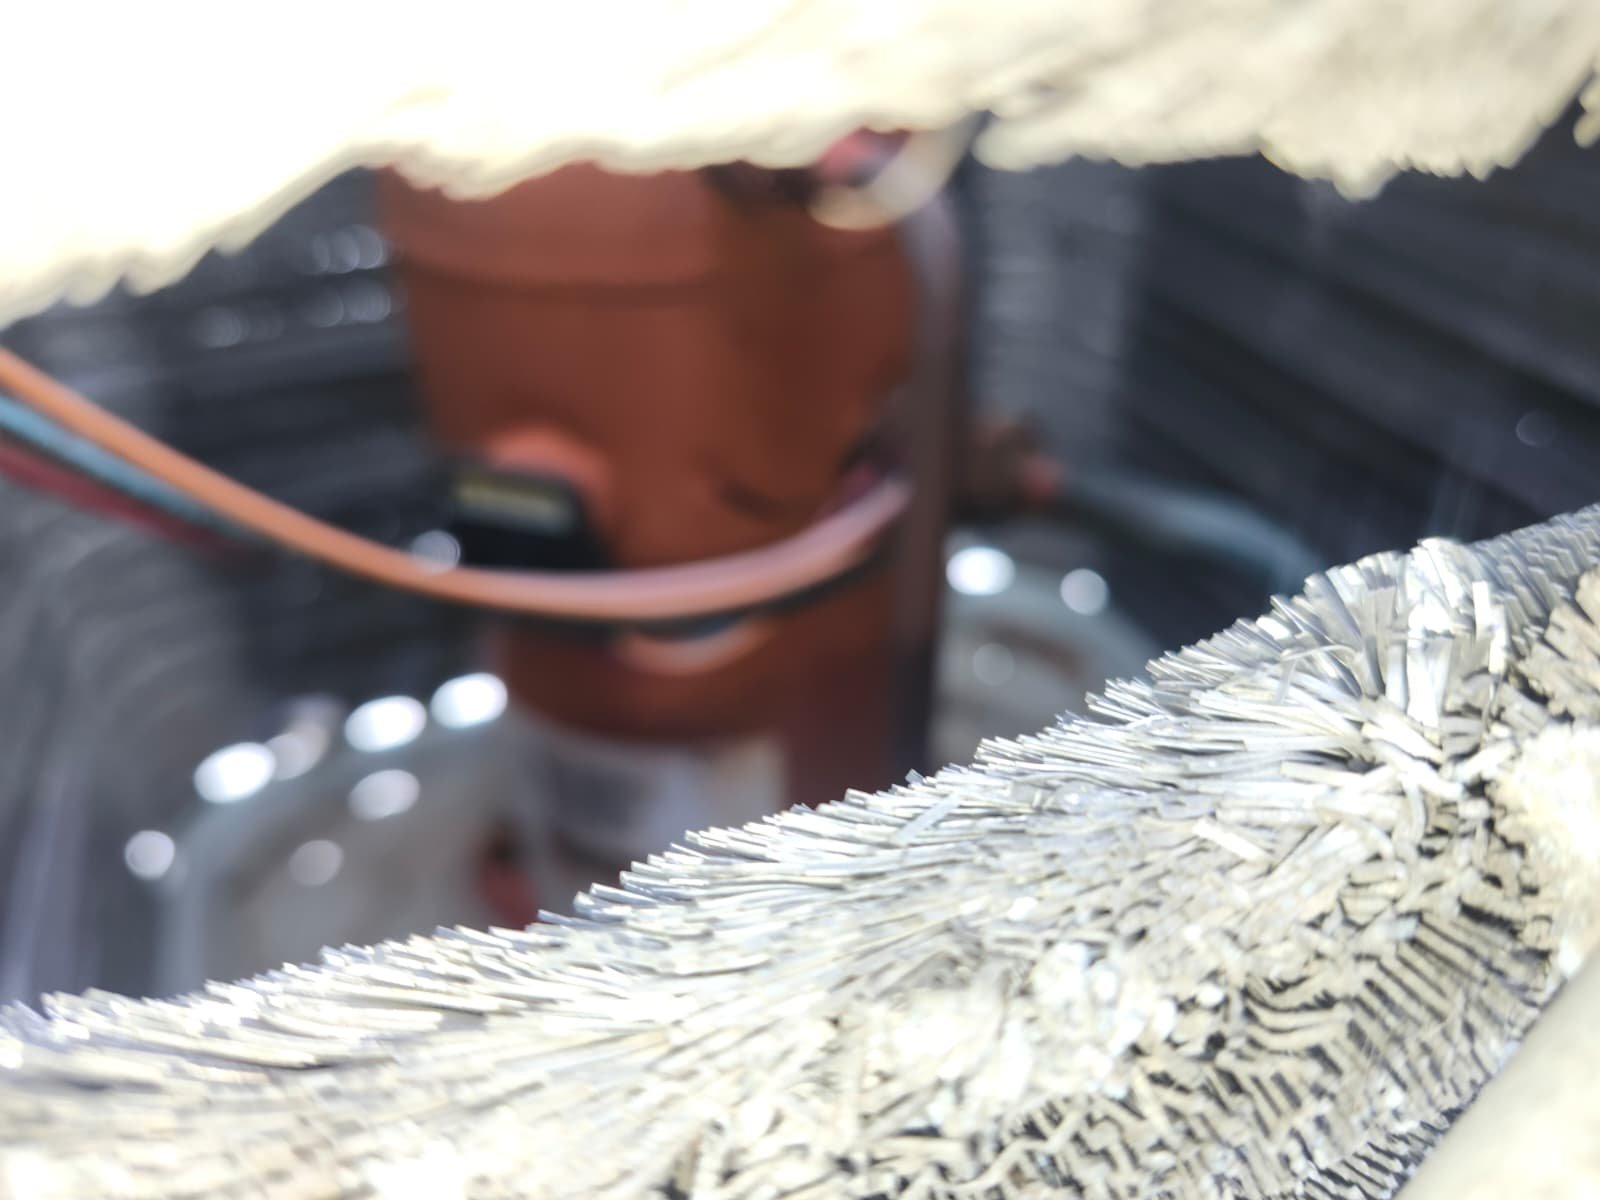
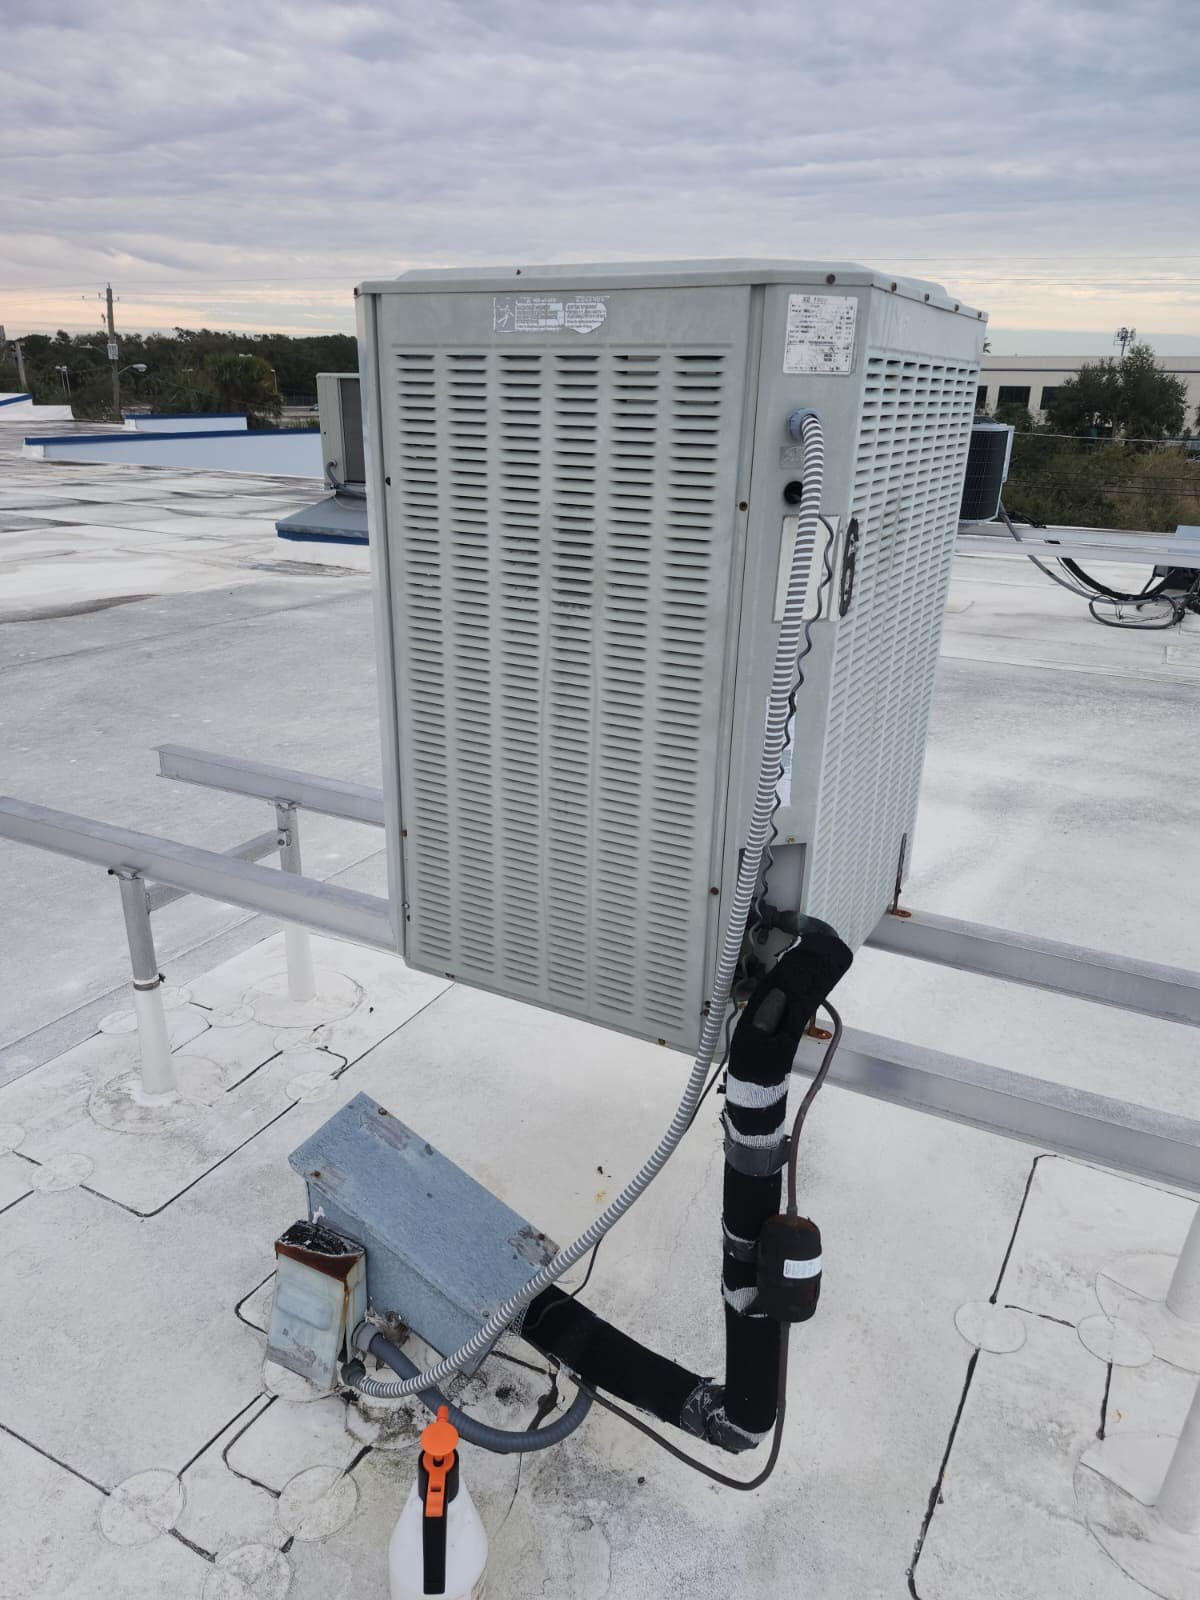
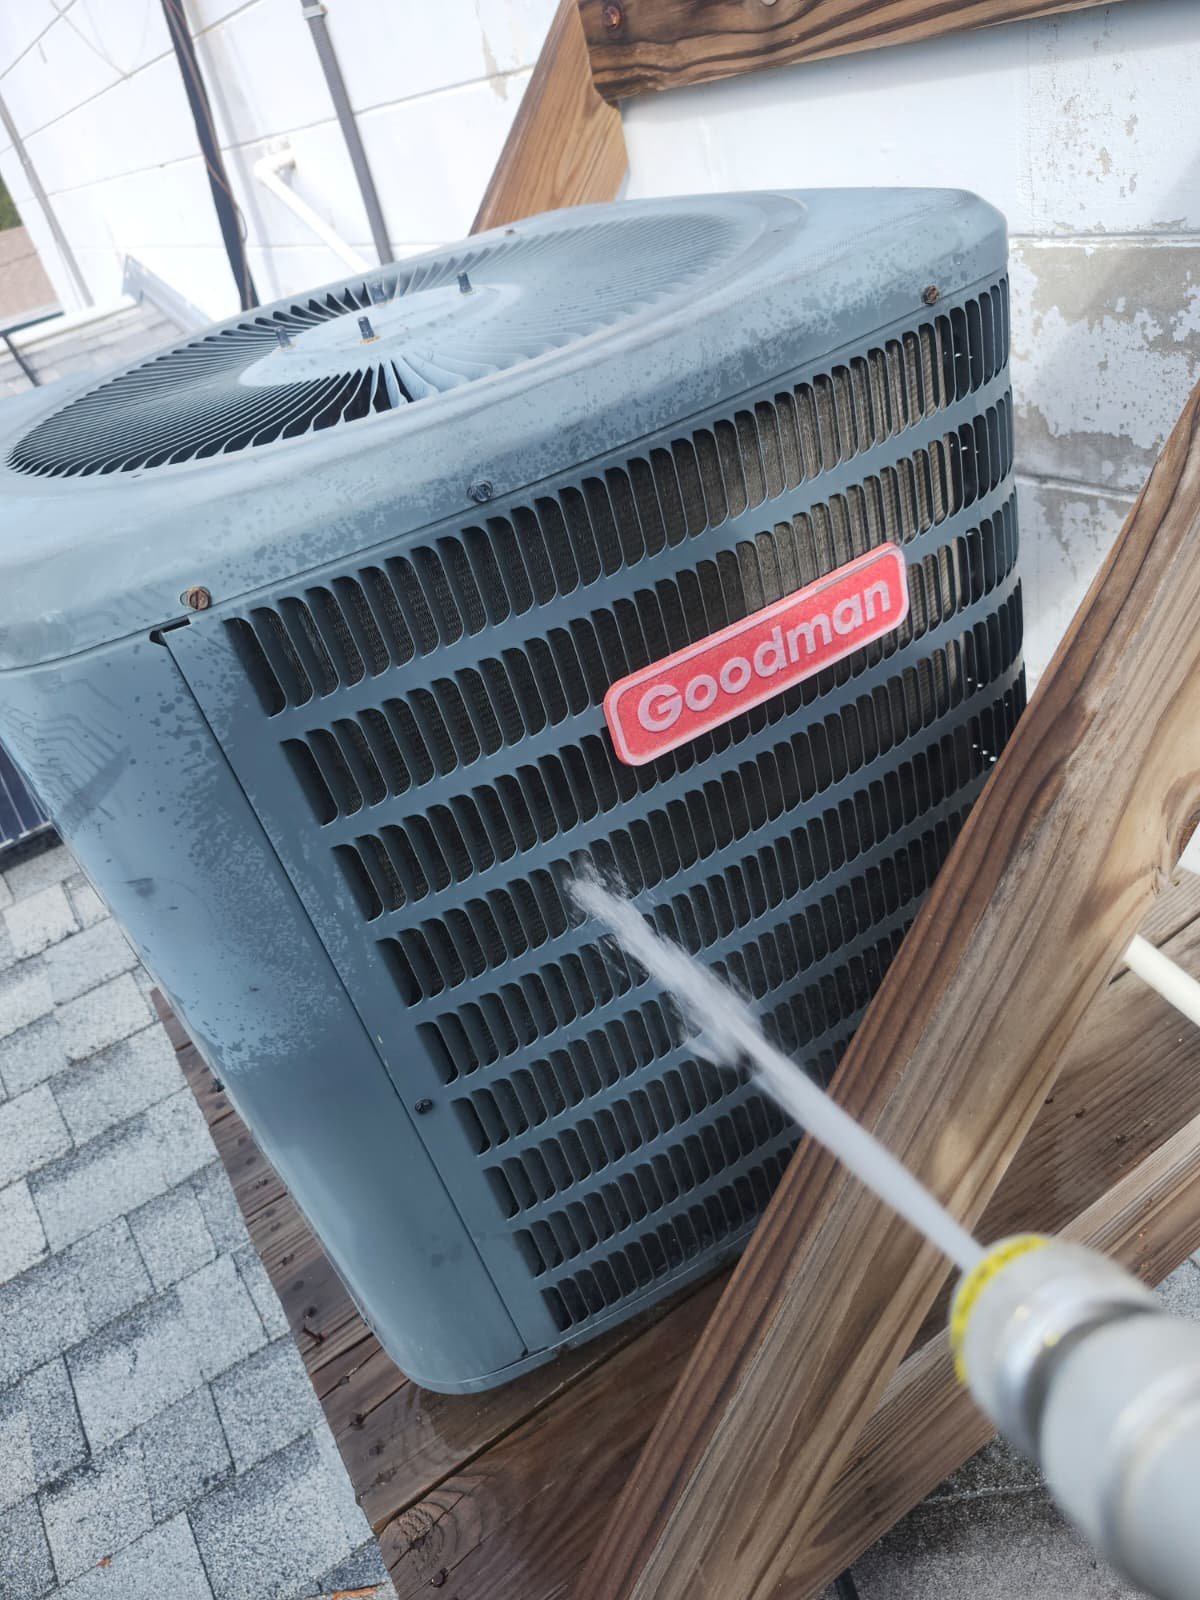
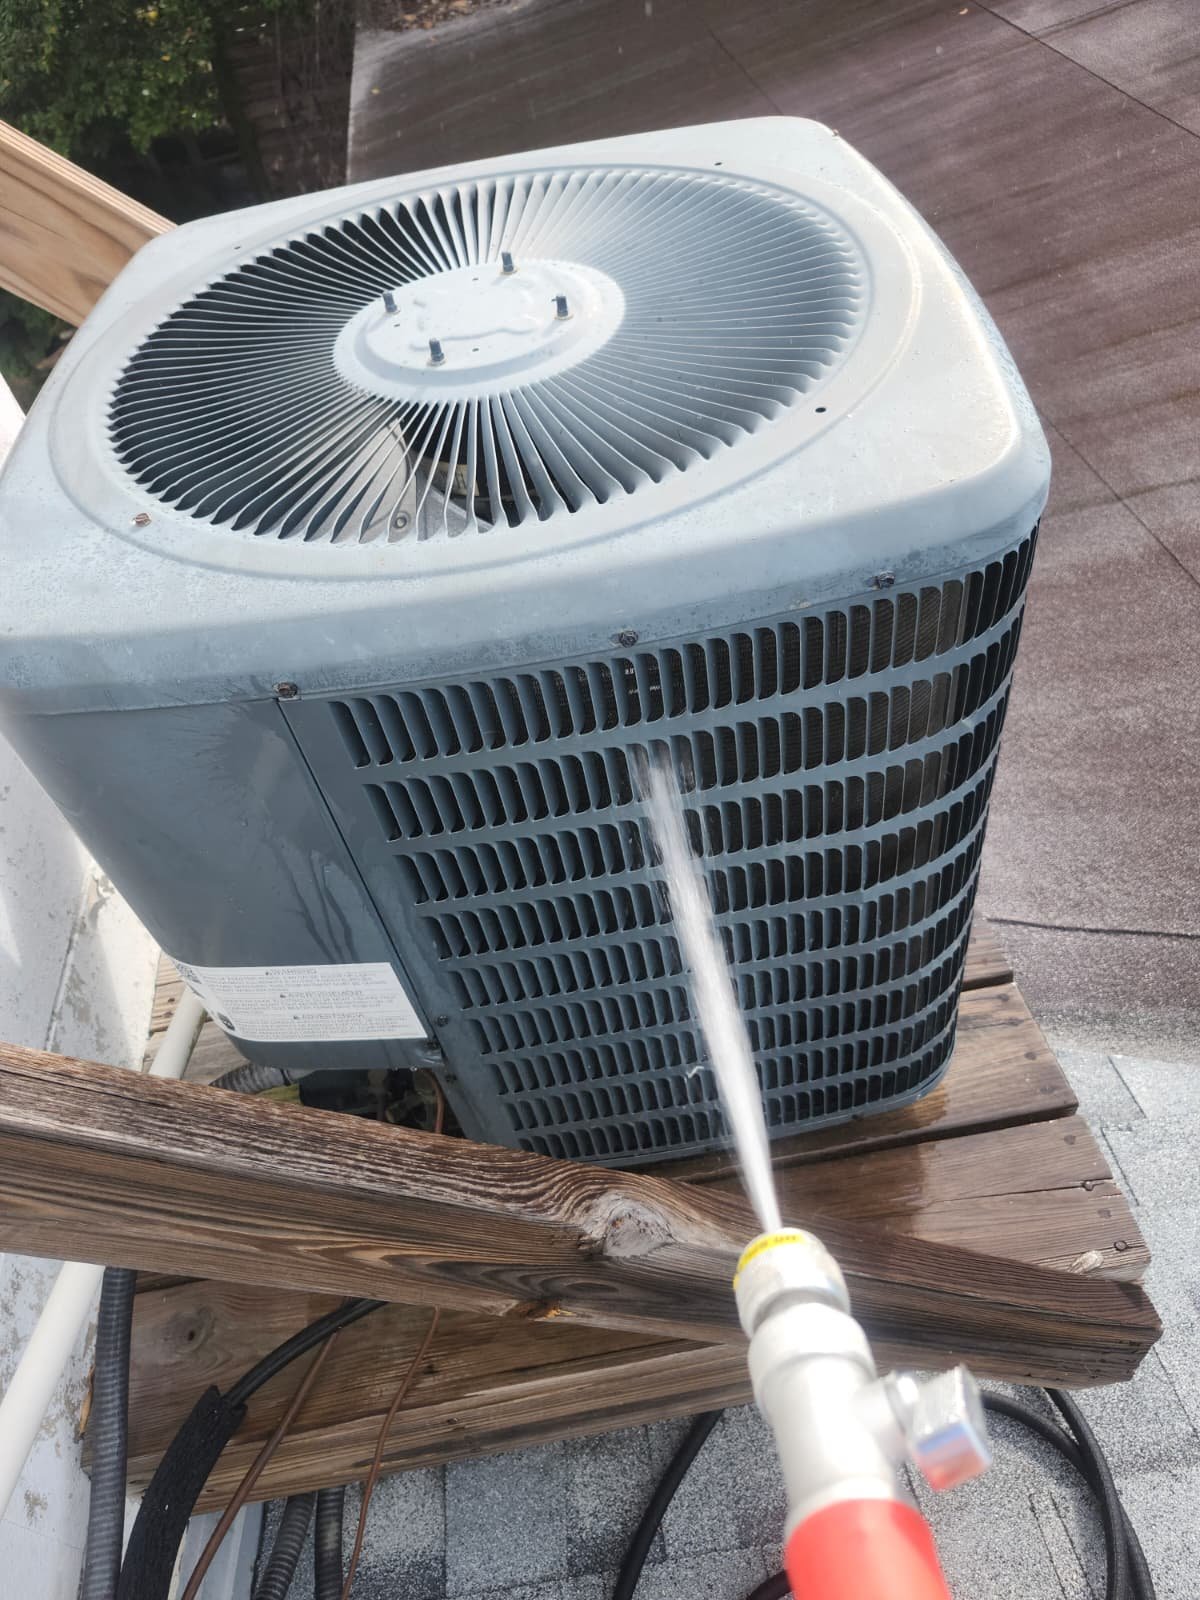
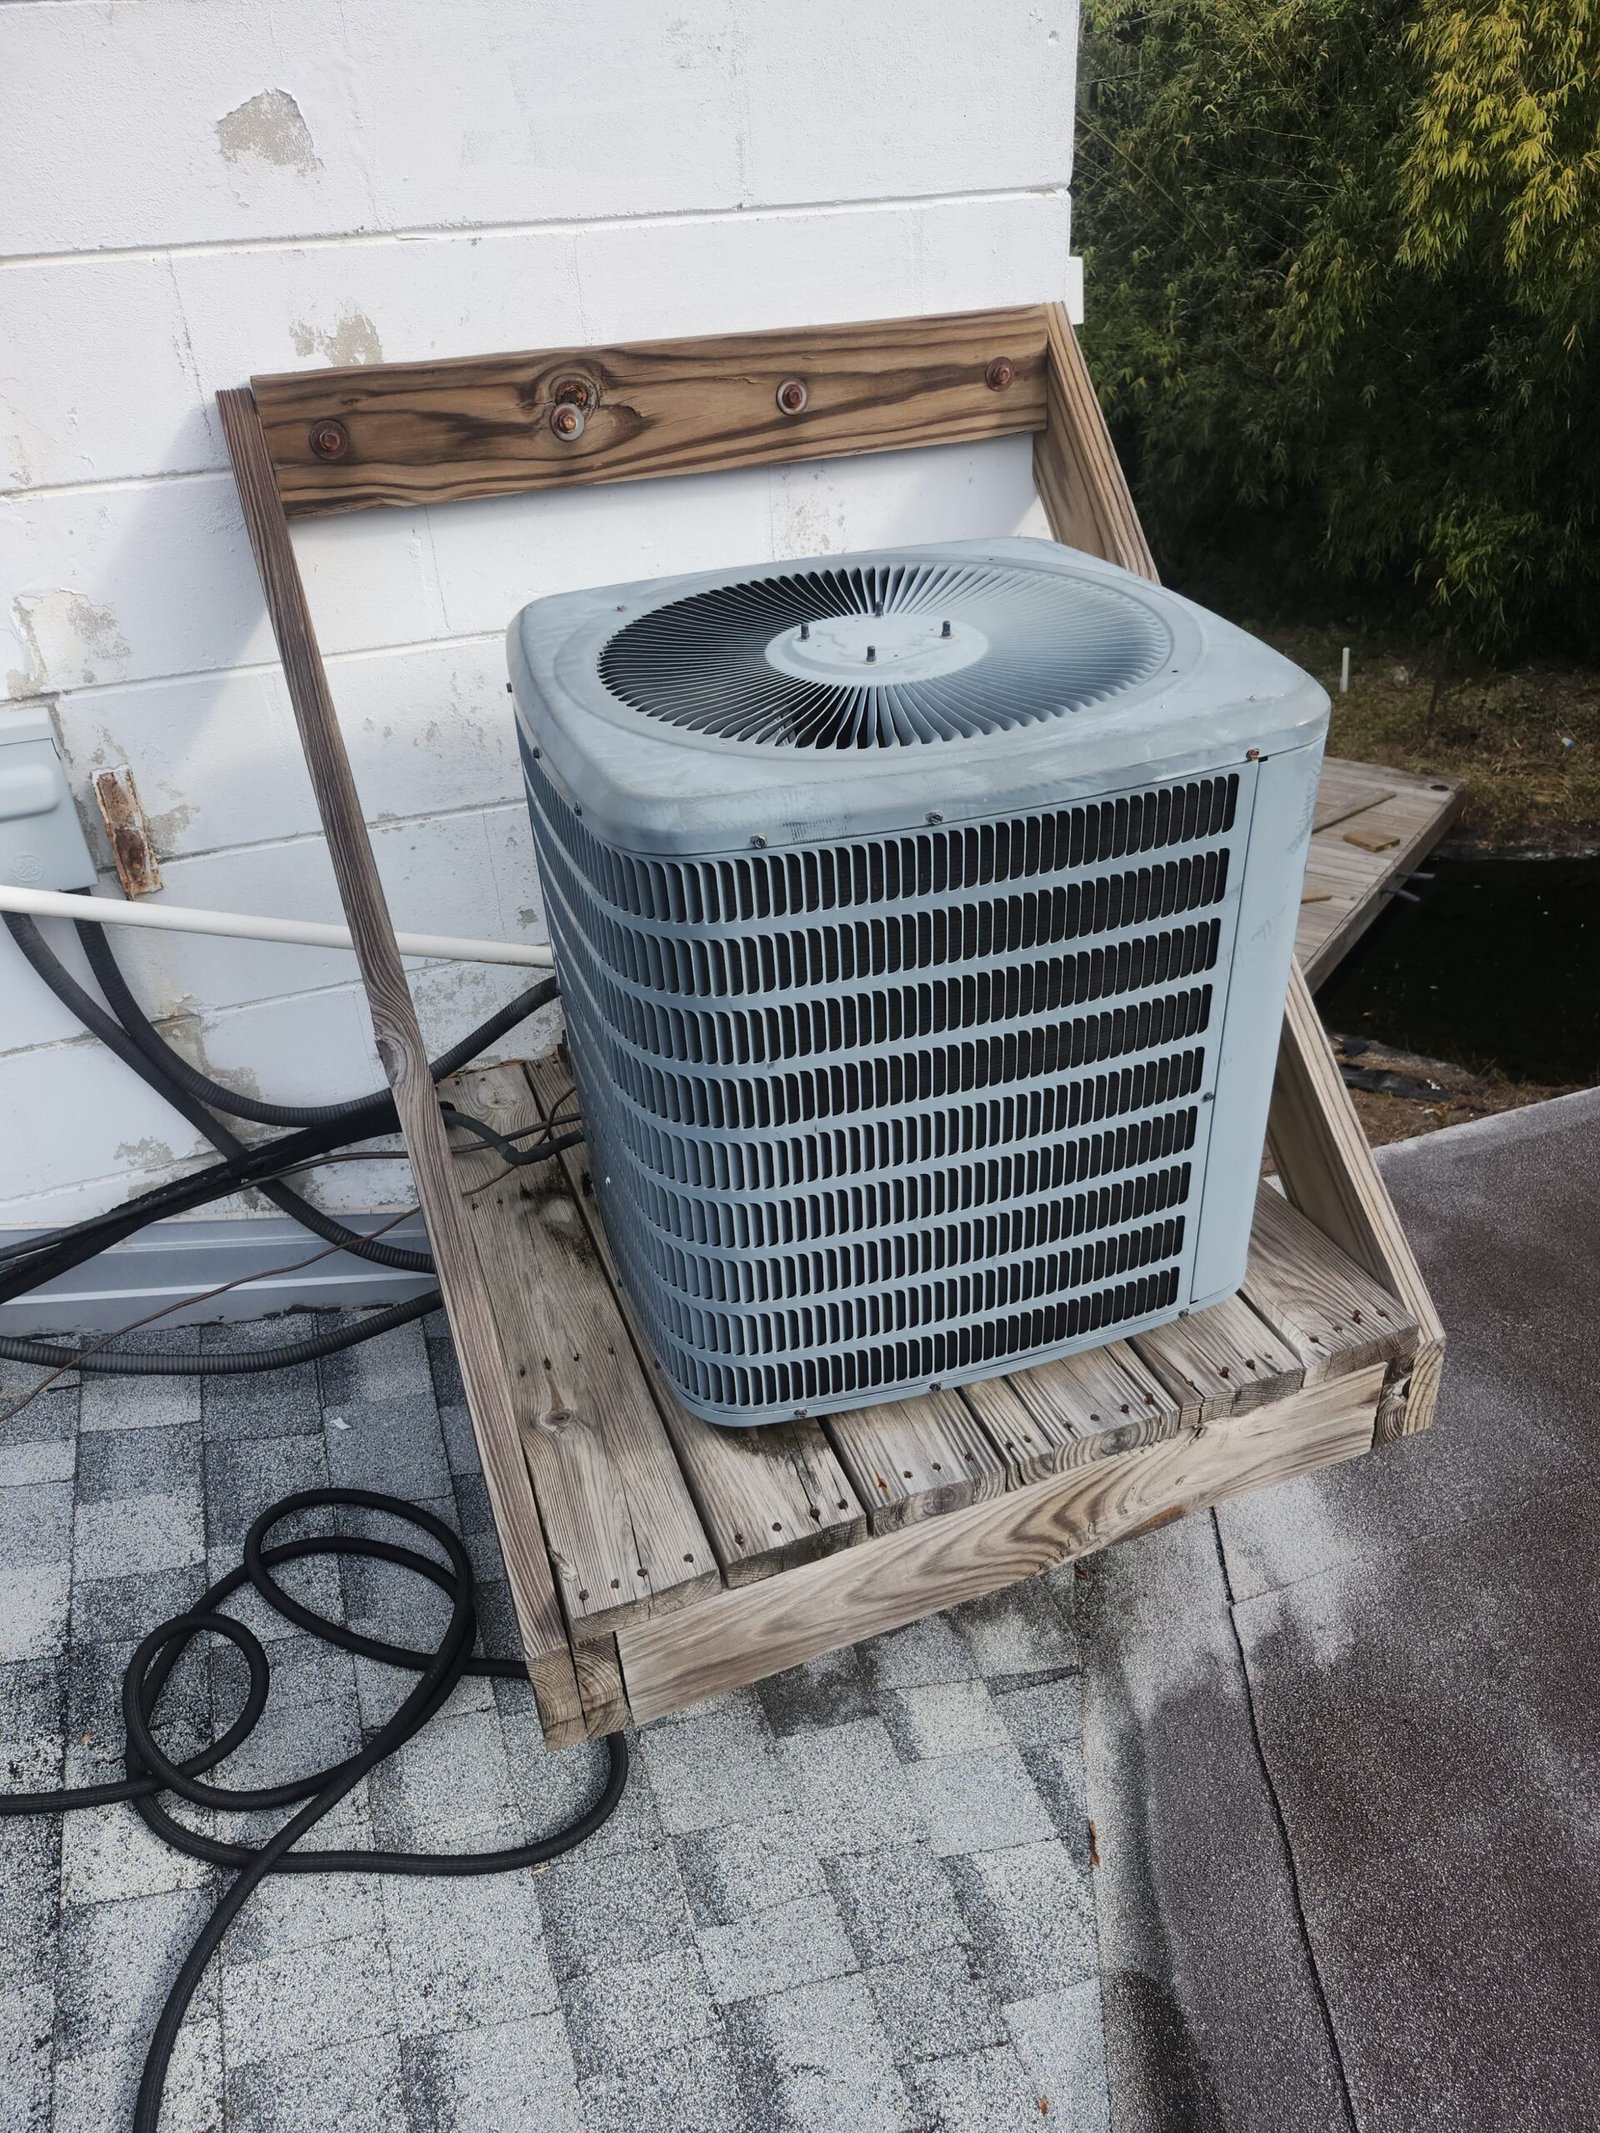
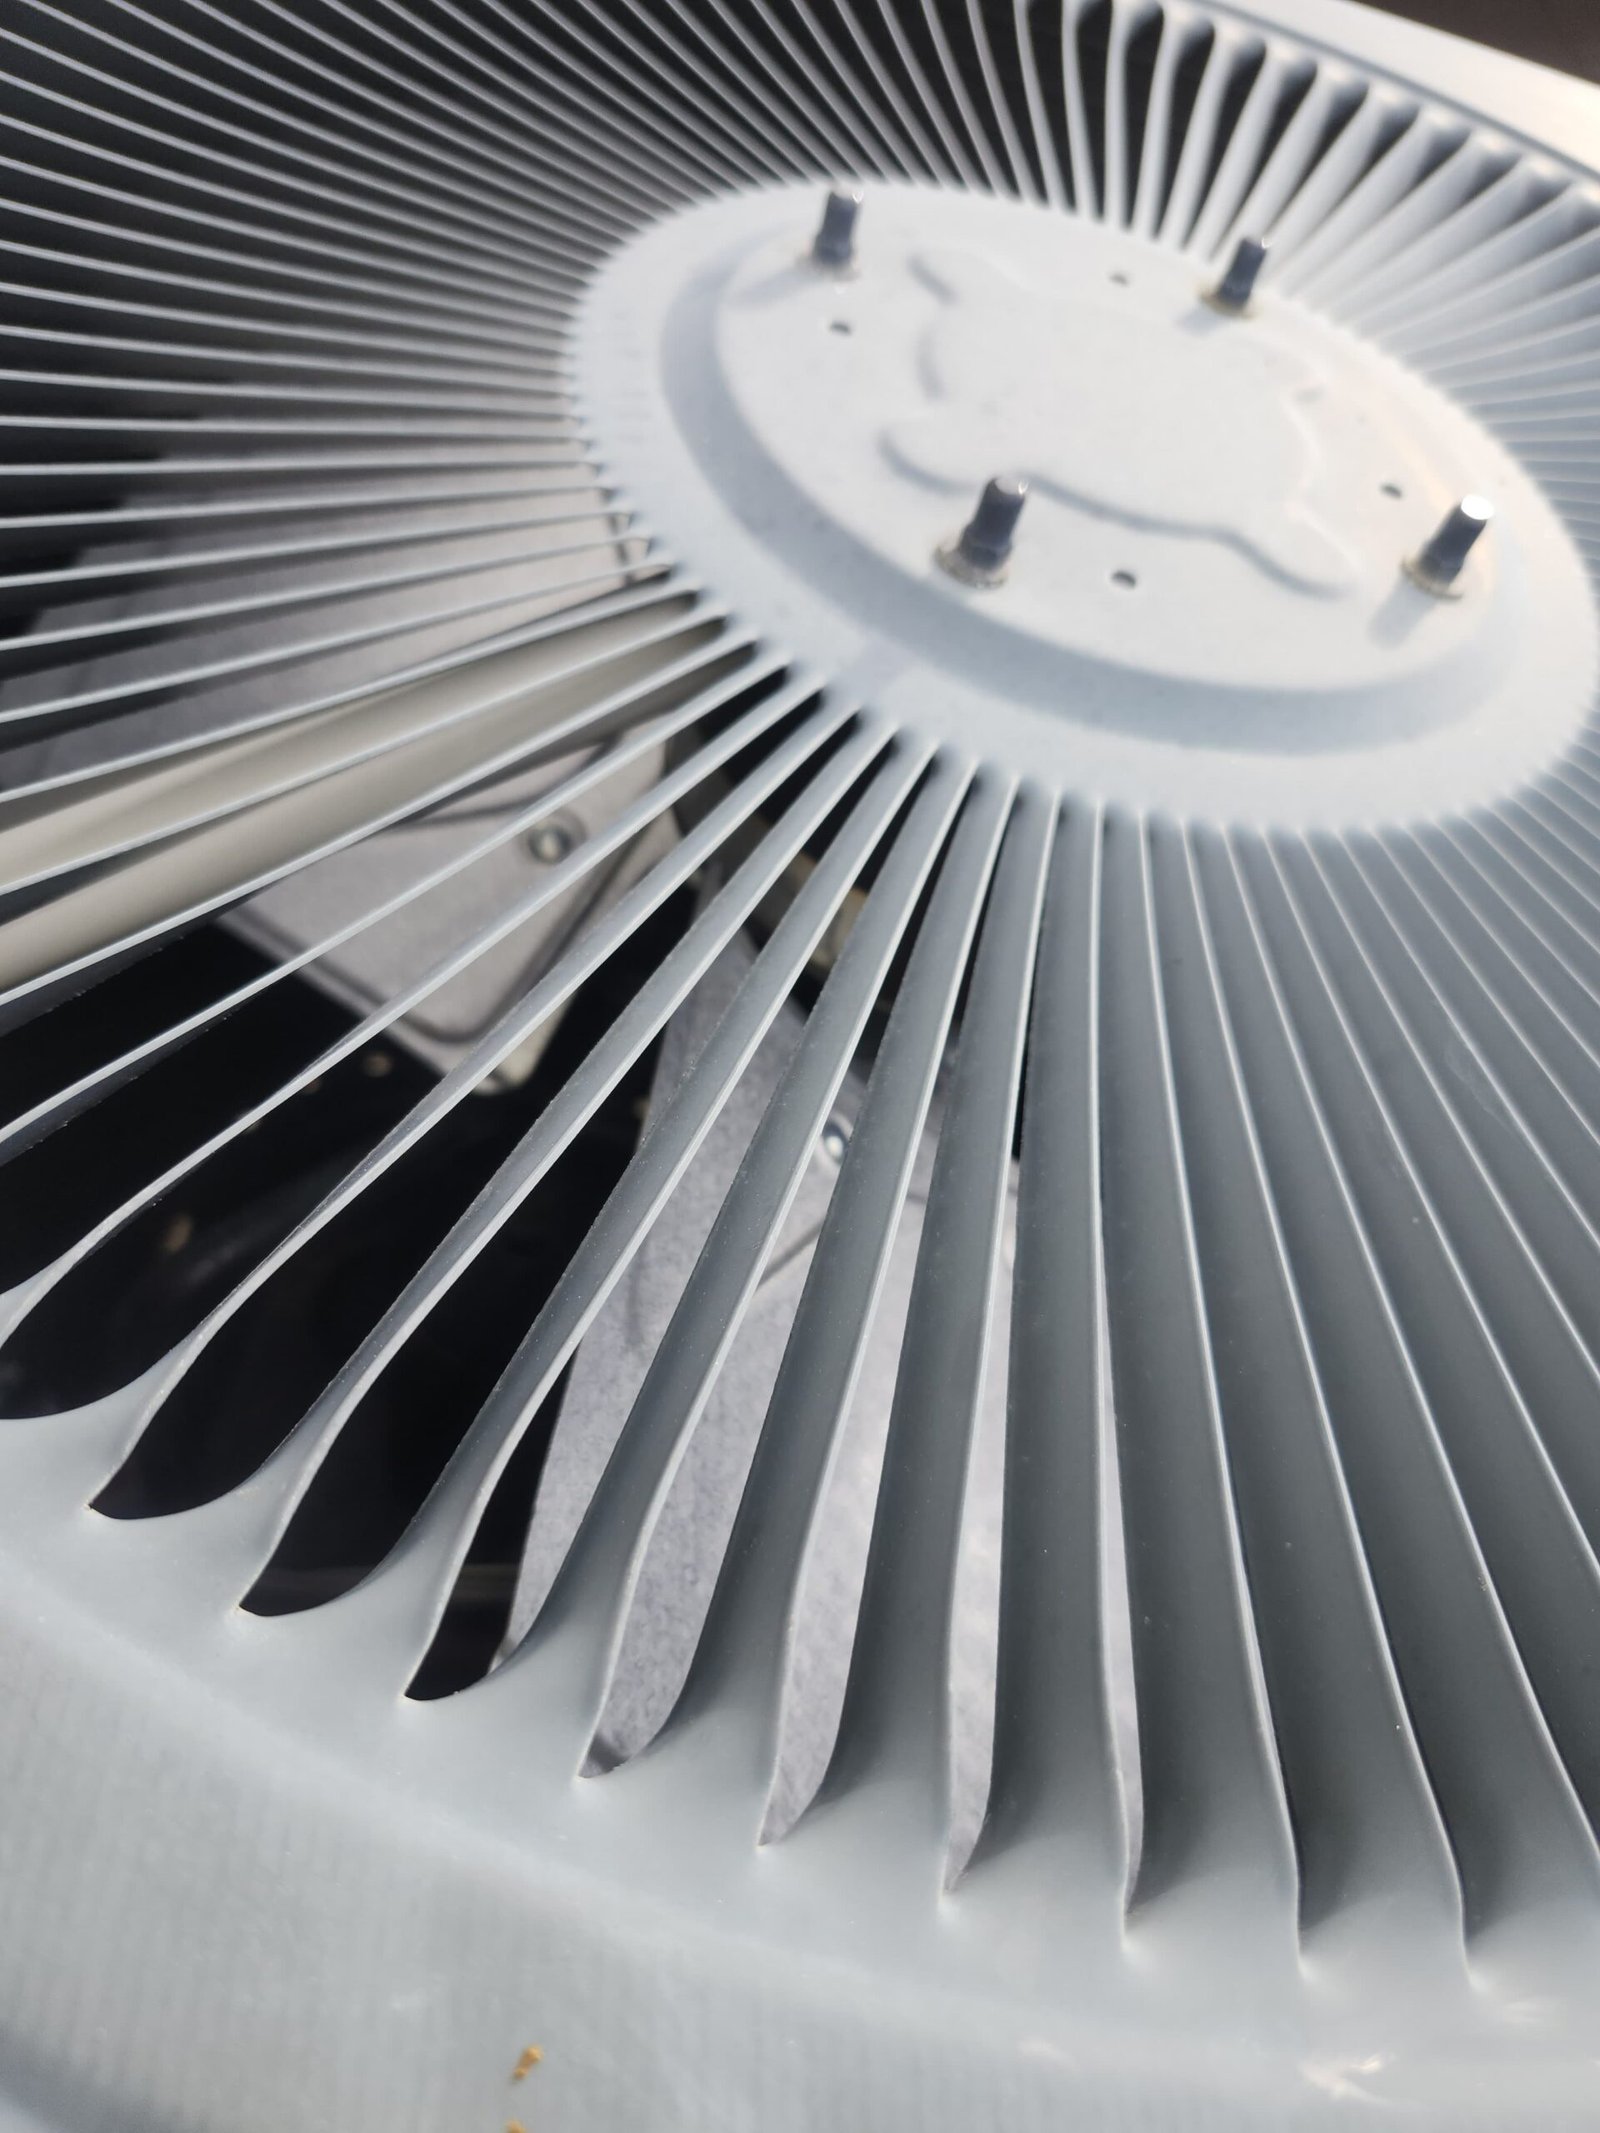
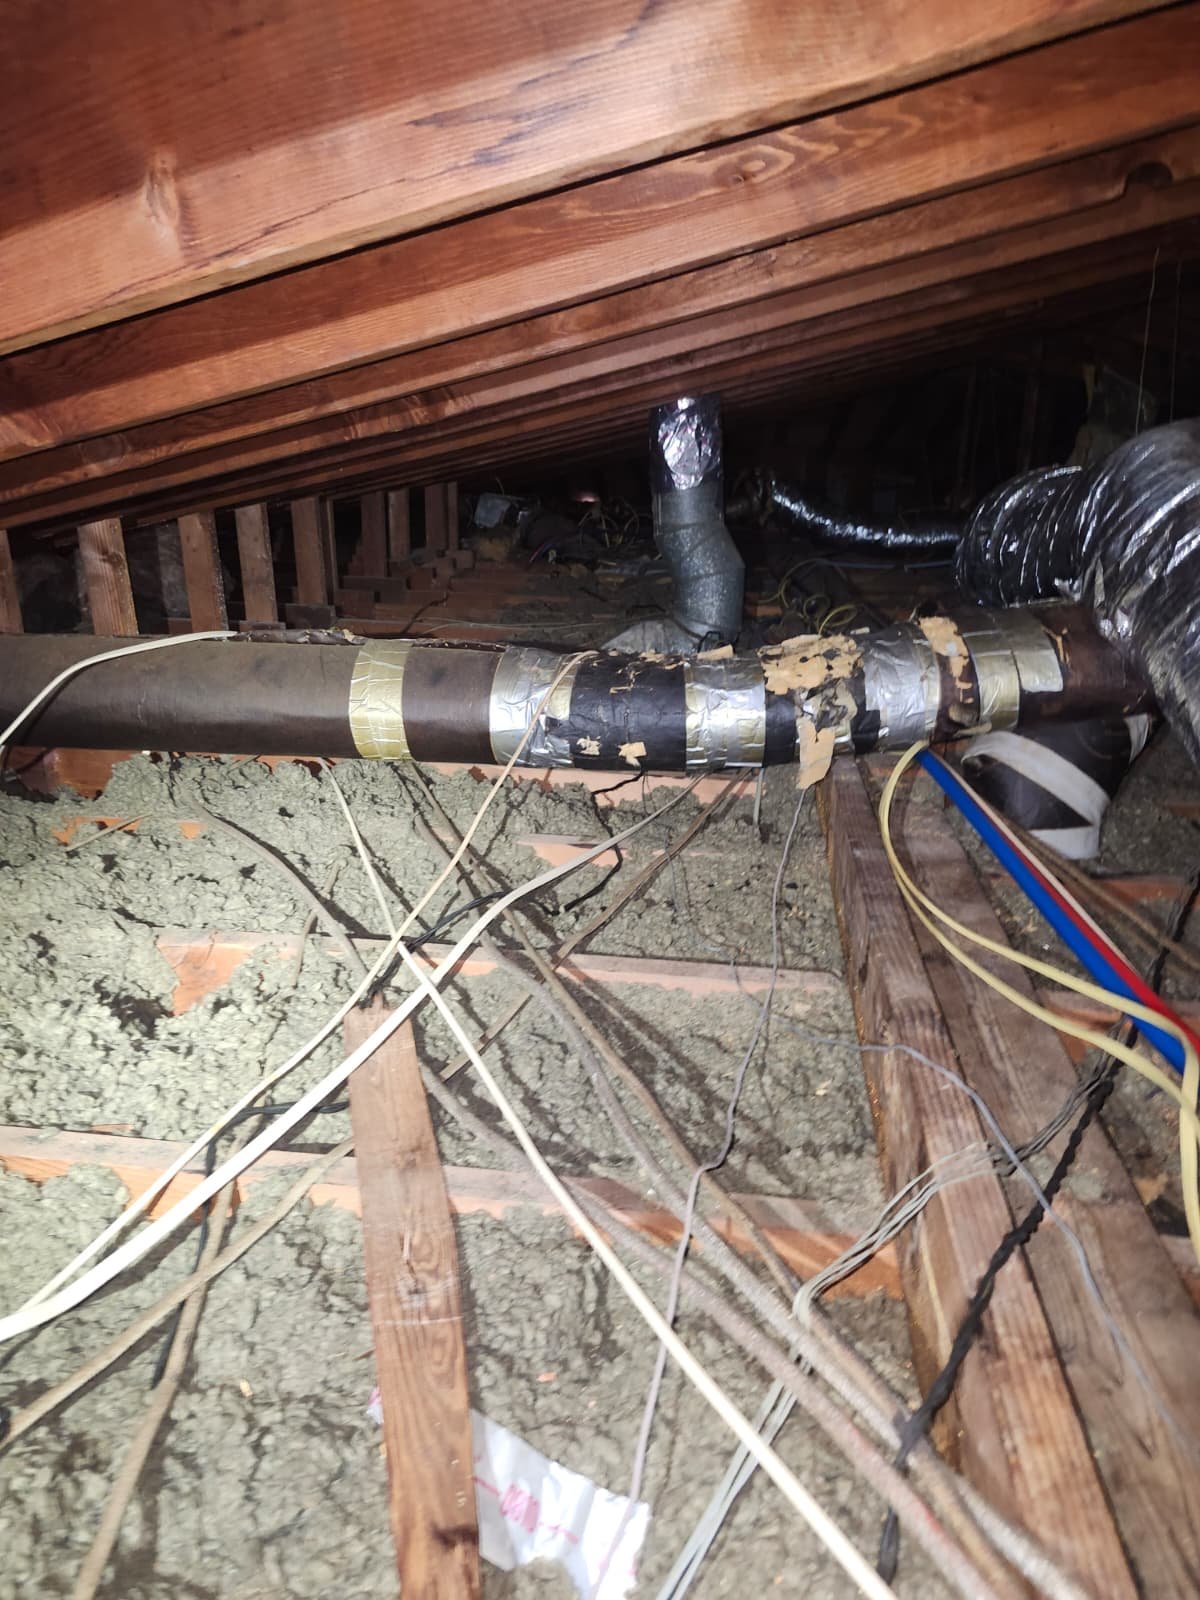
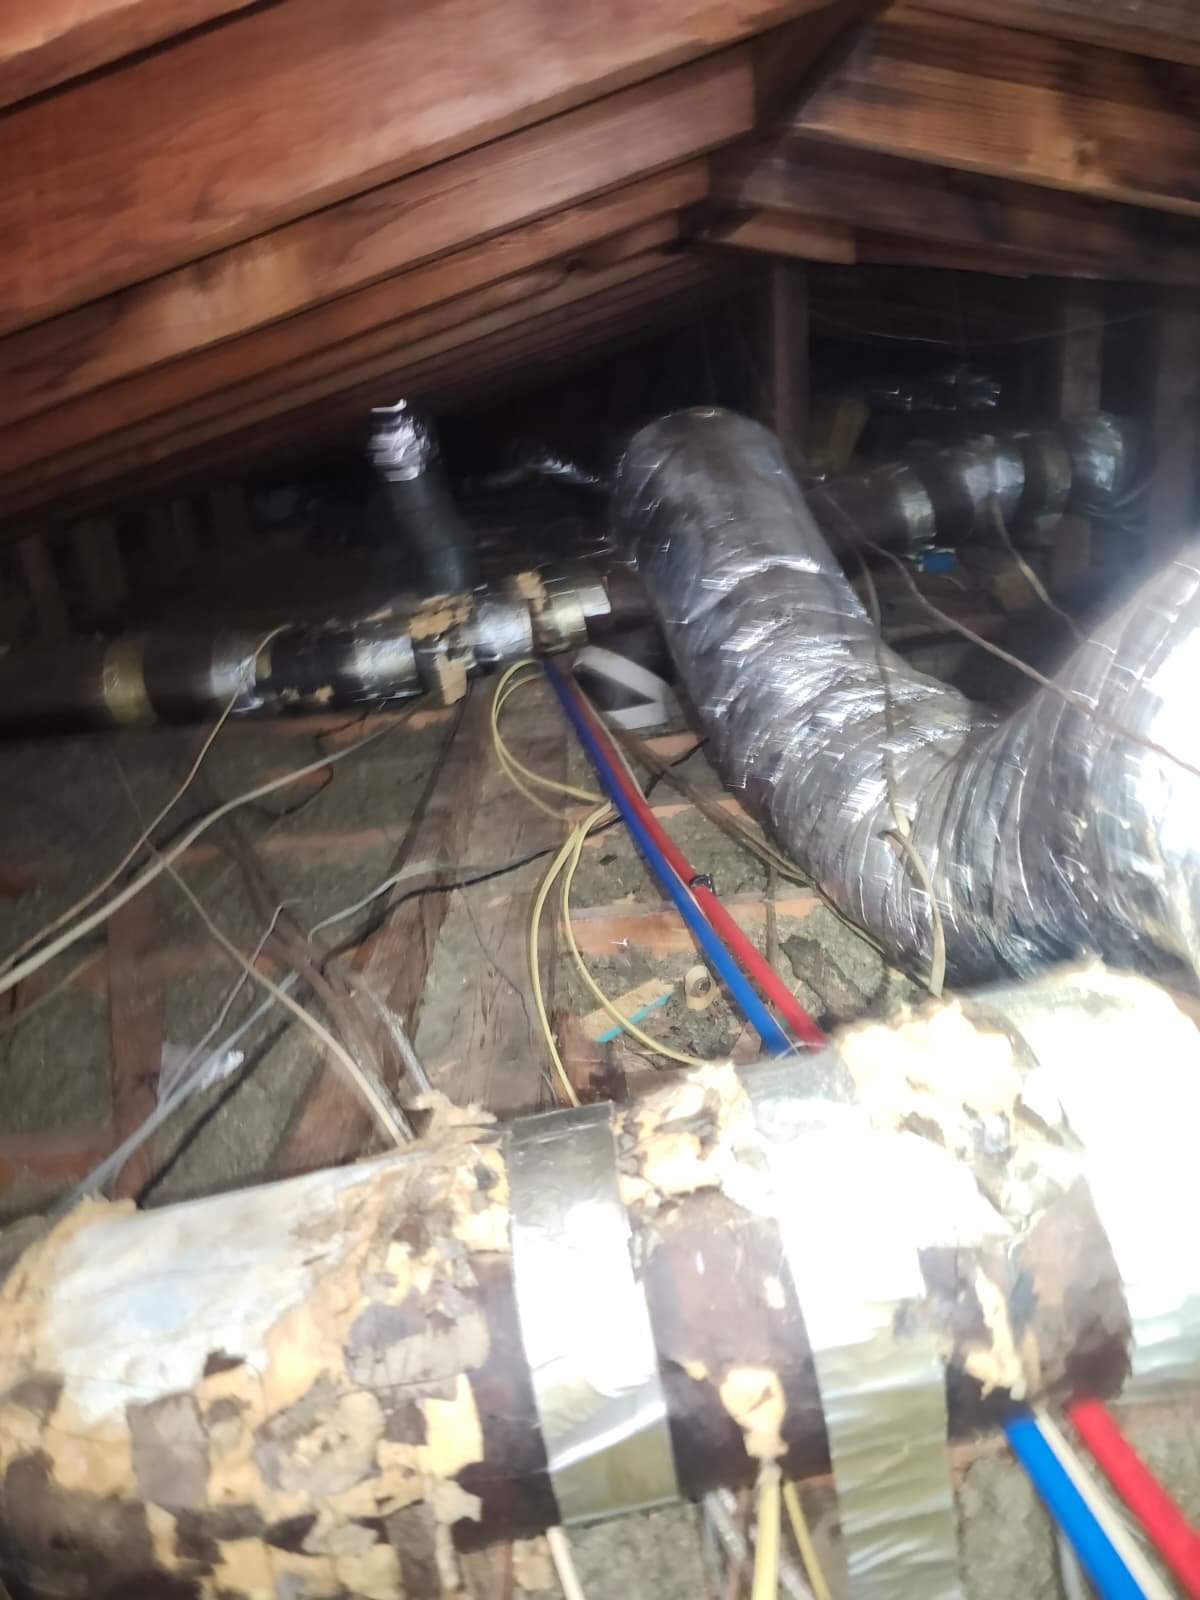
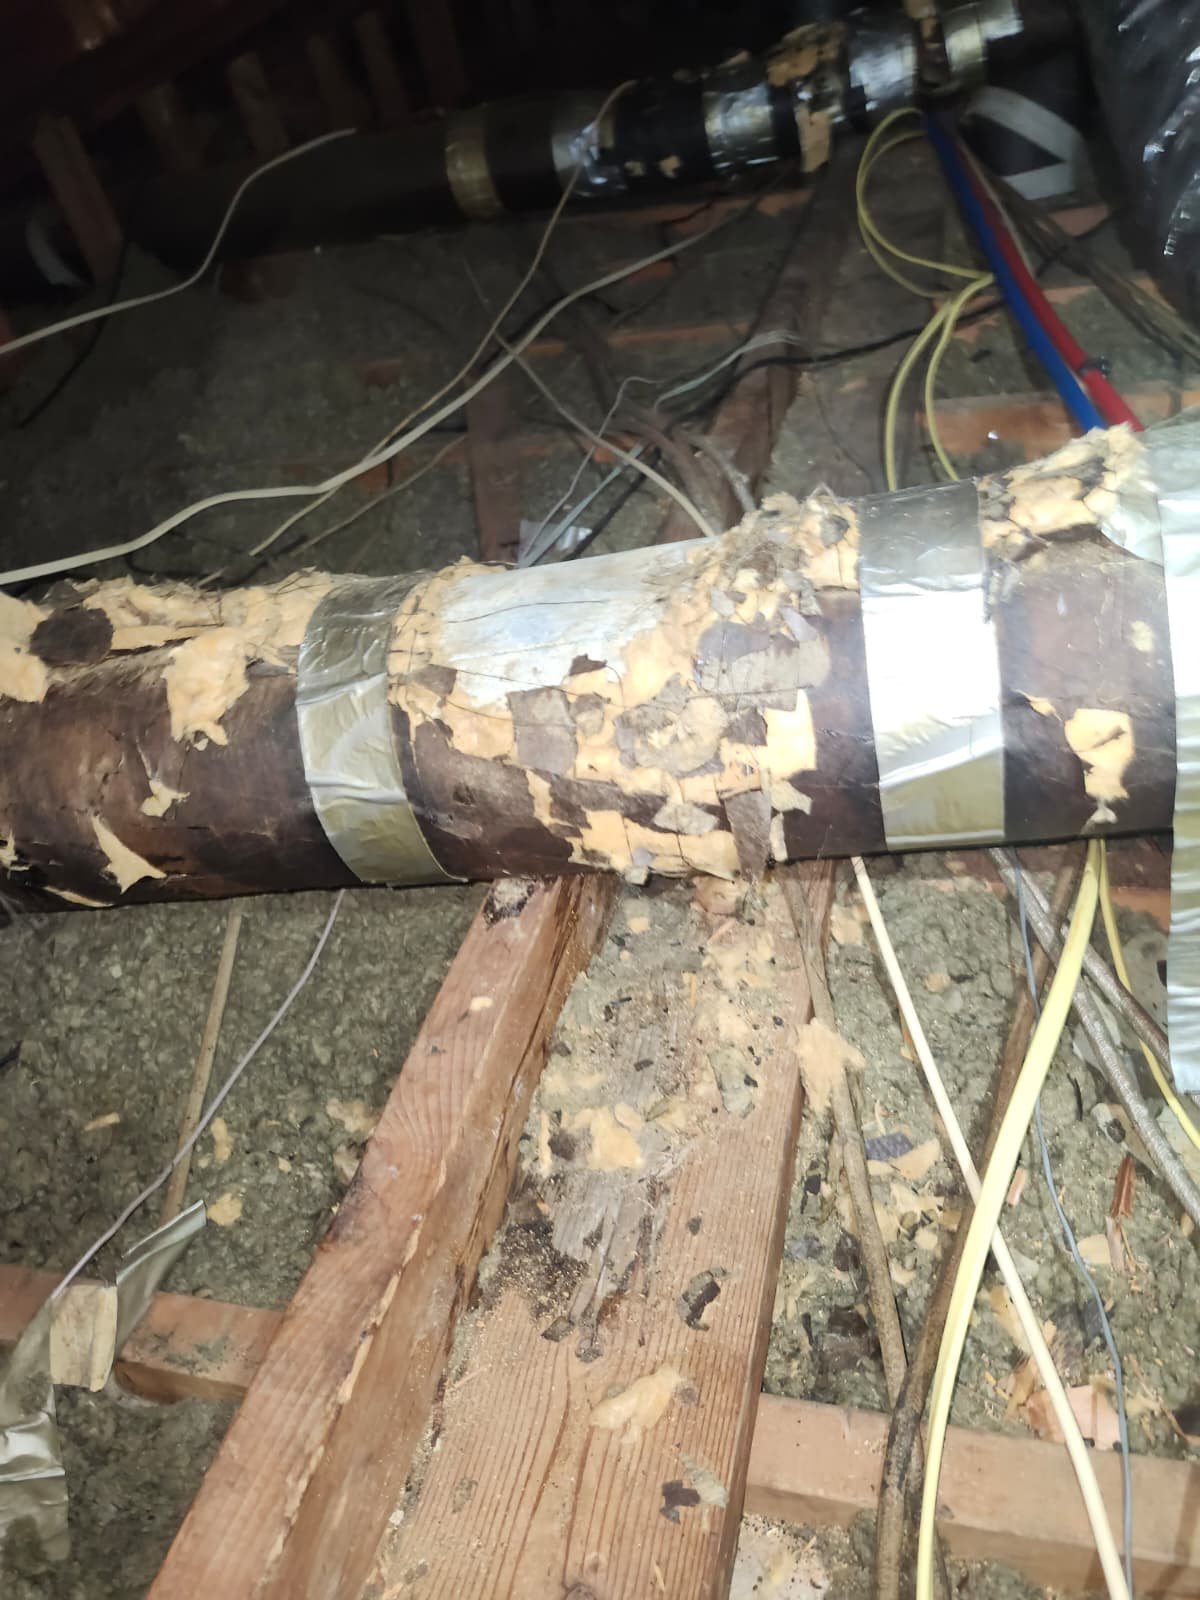
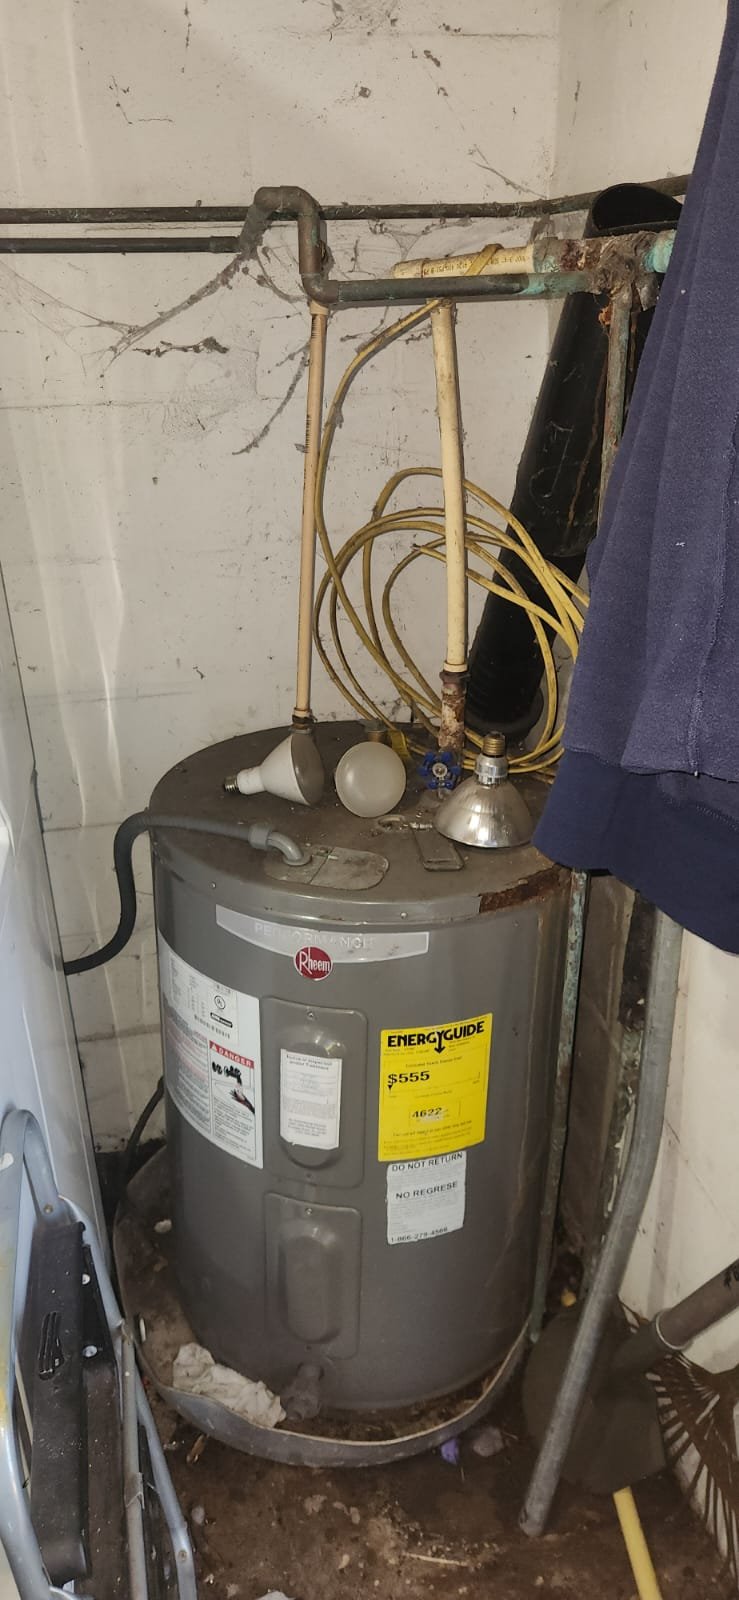
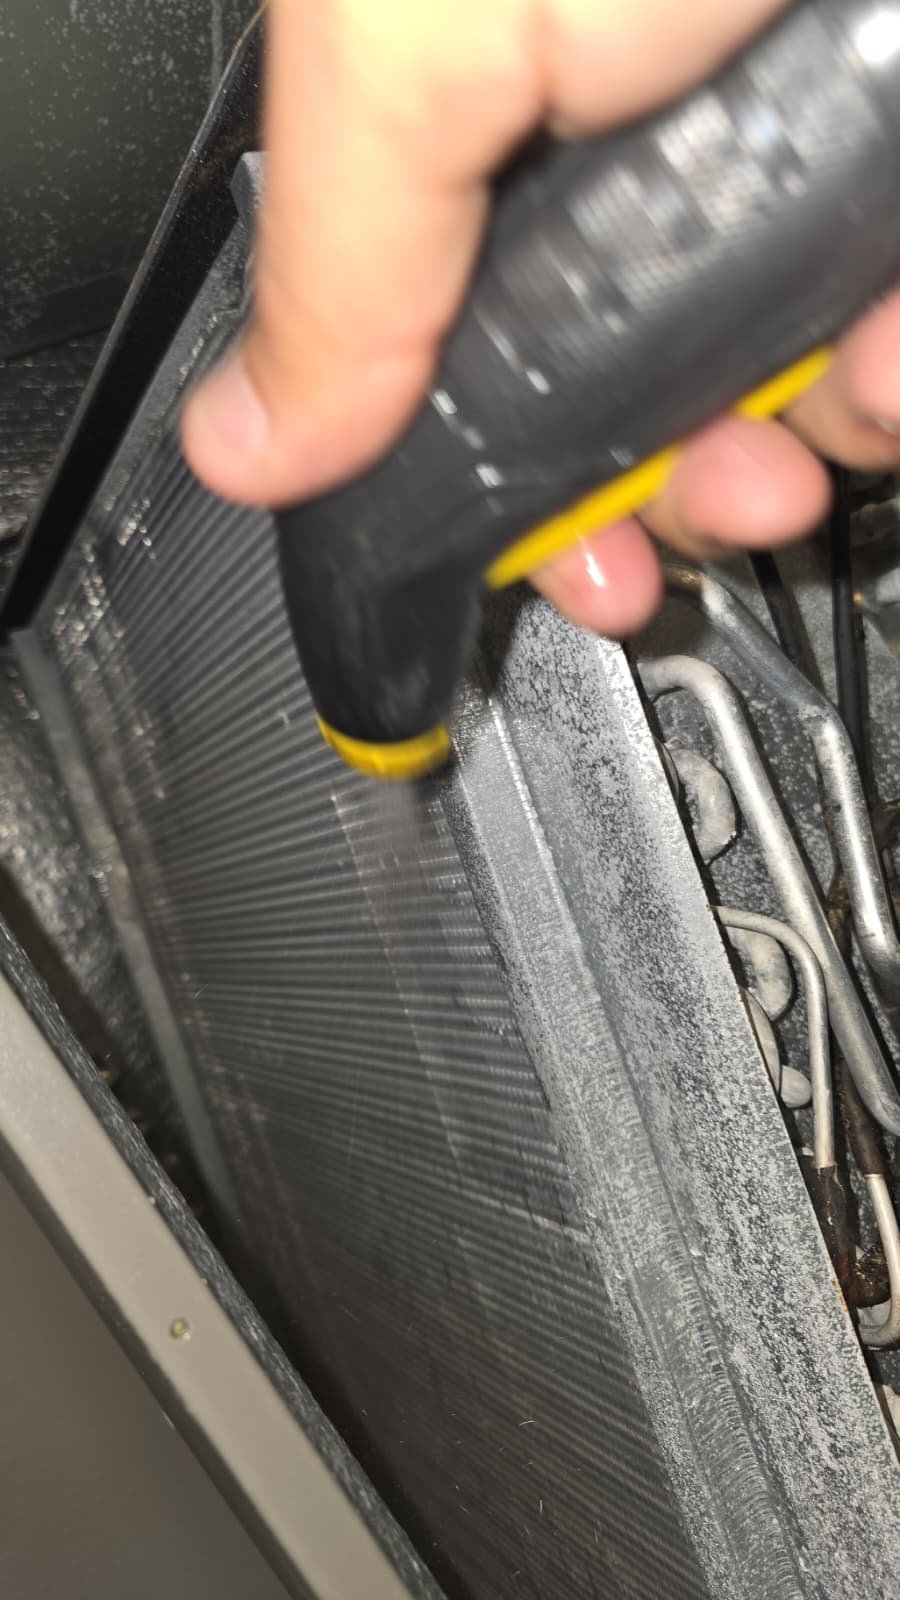
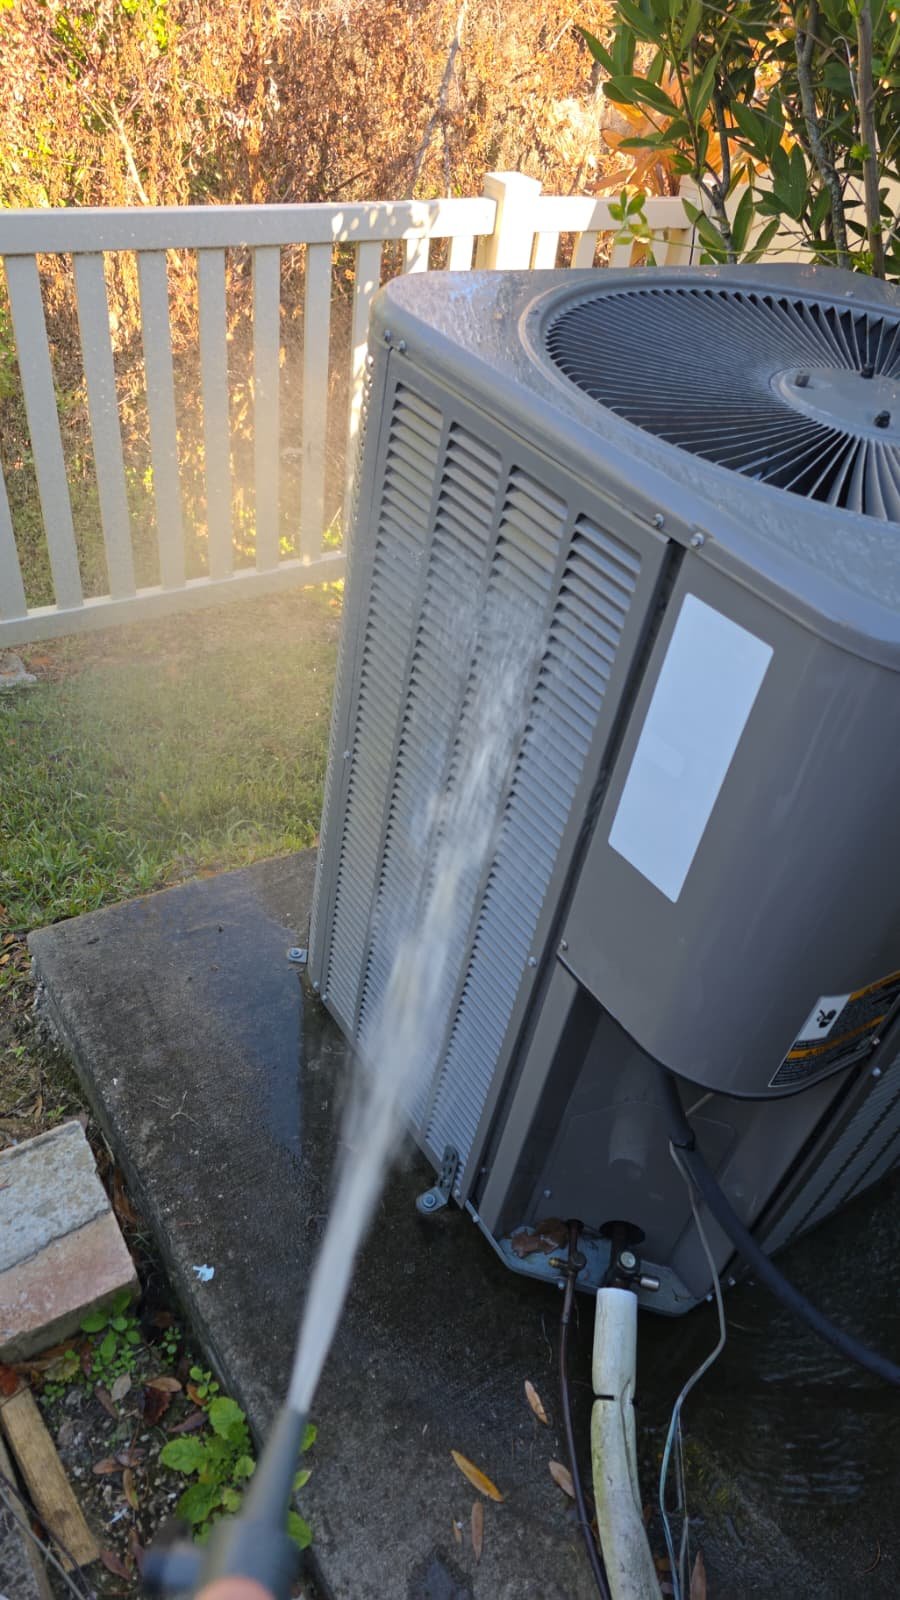
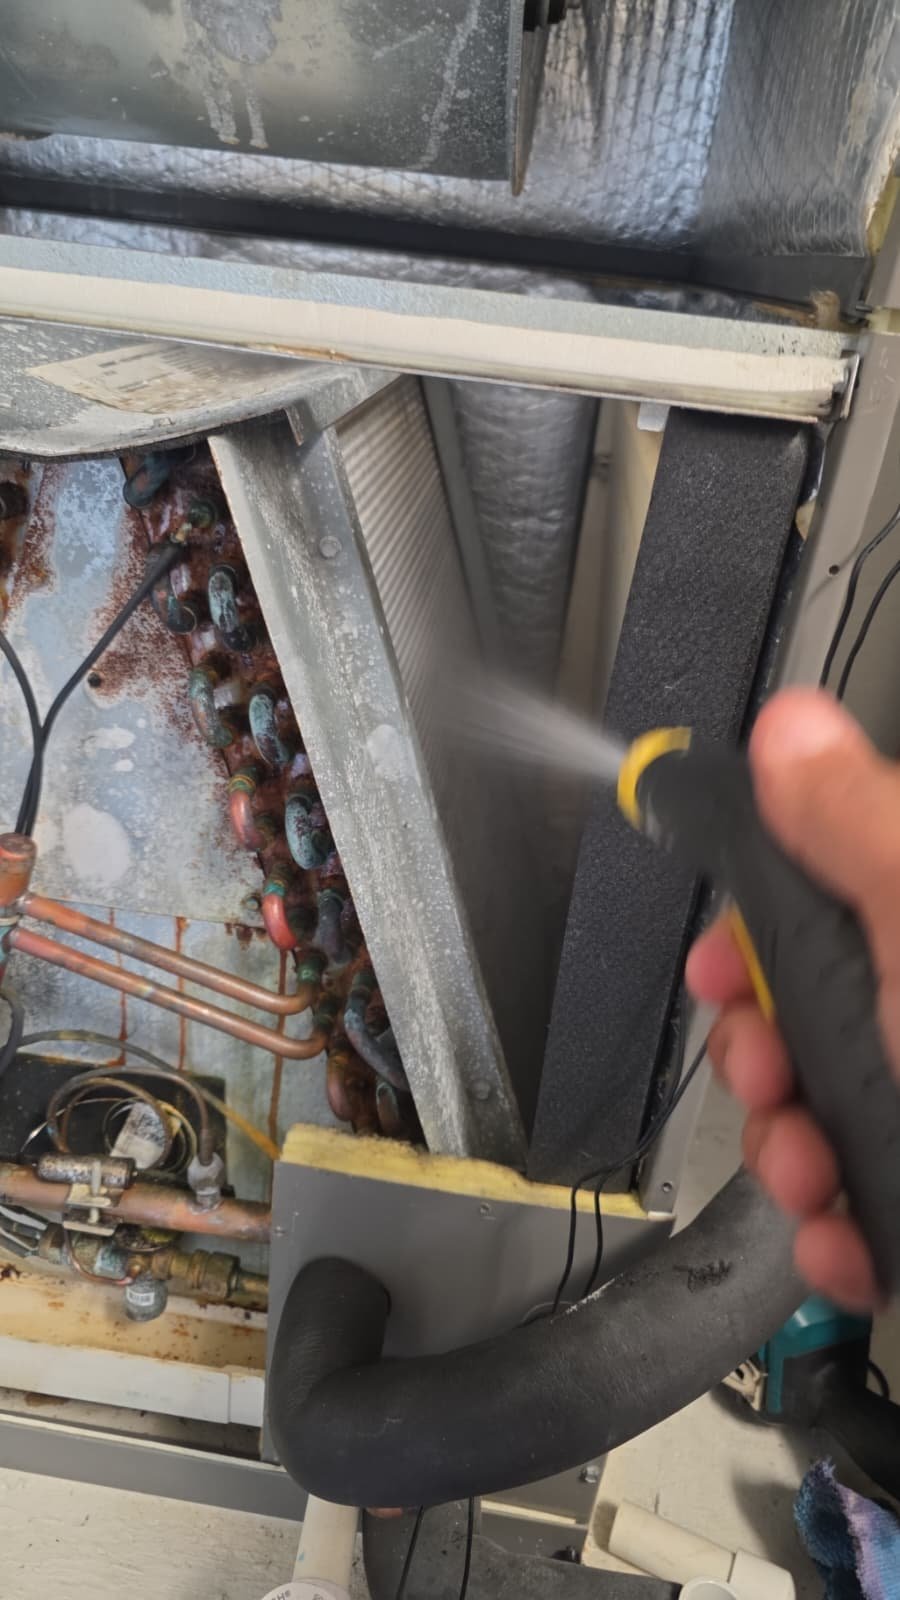
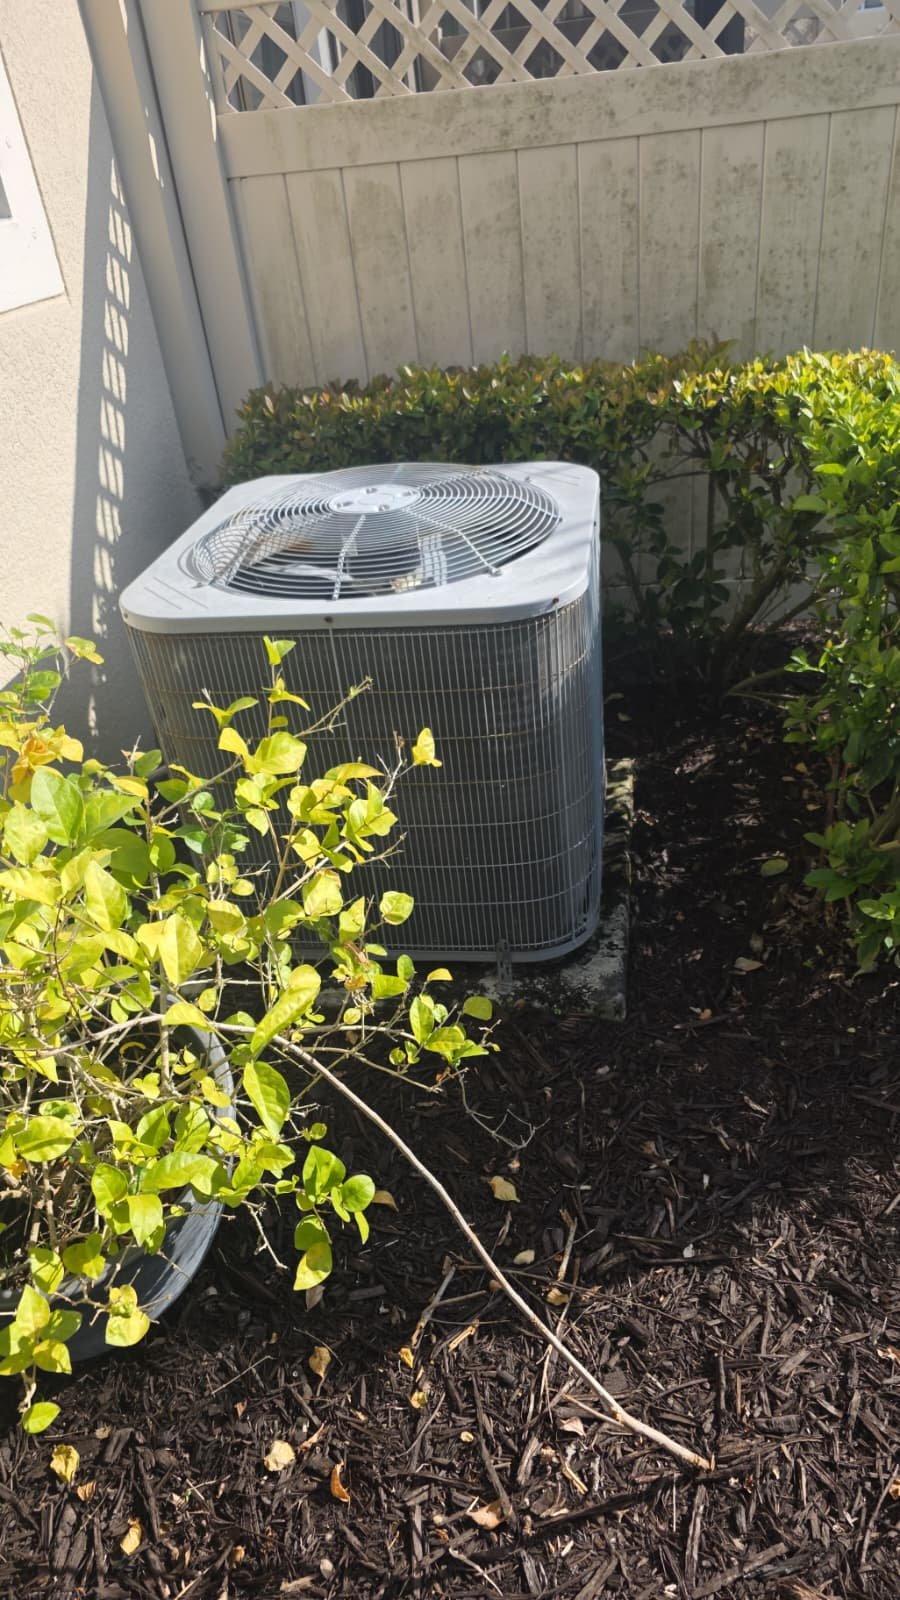
6. Outdoor Unit Condition
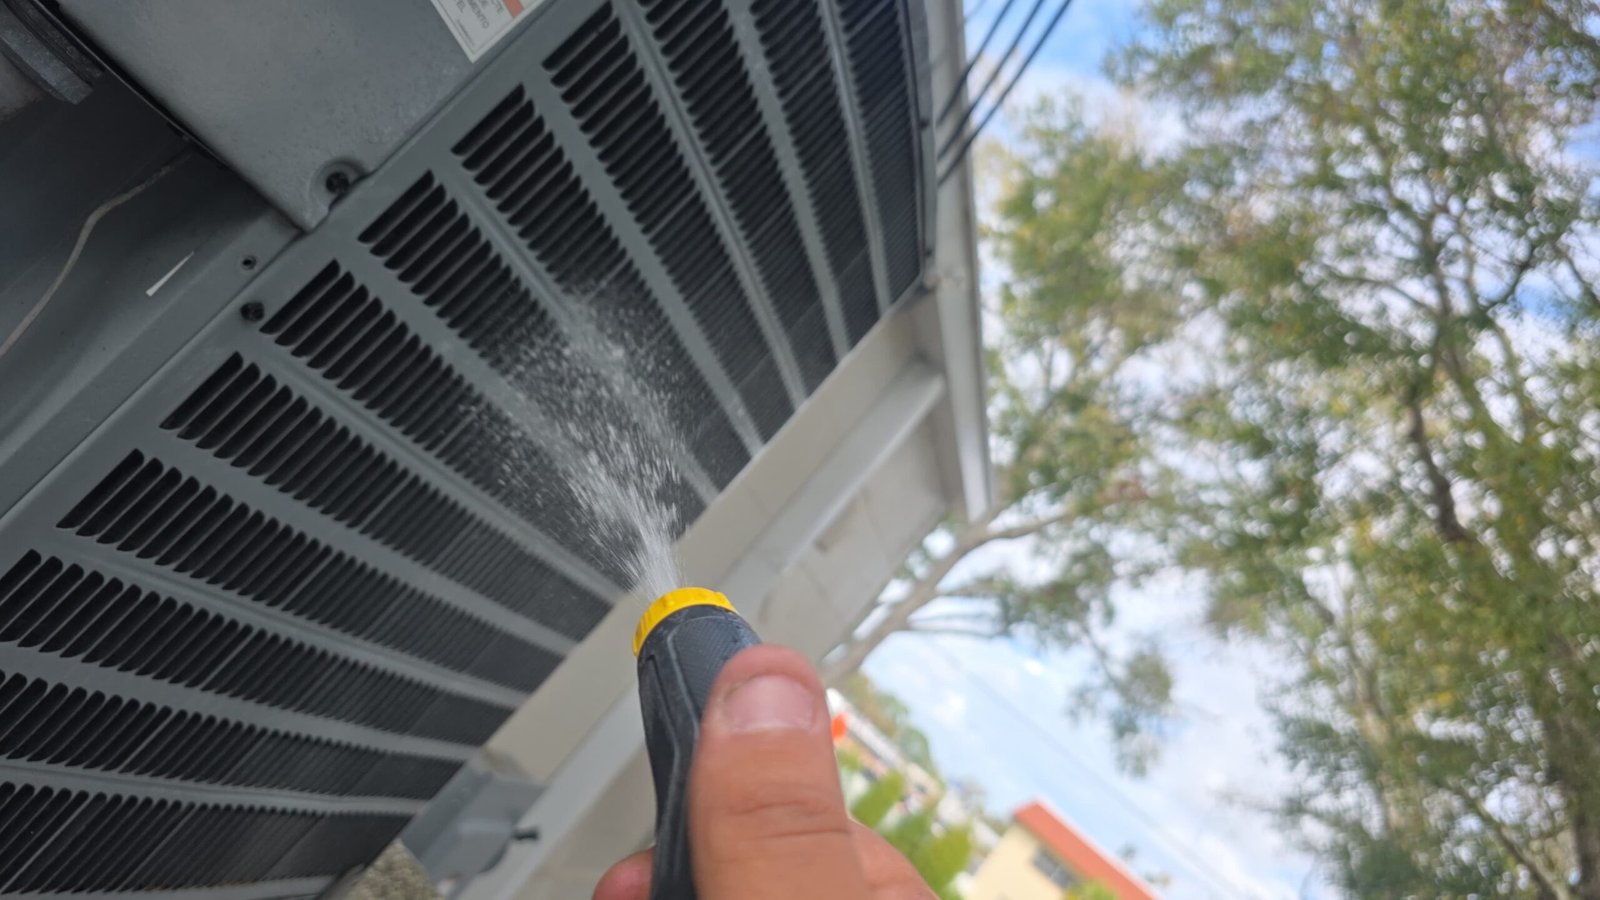
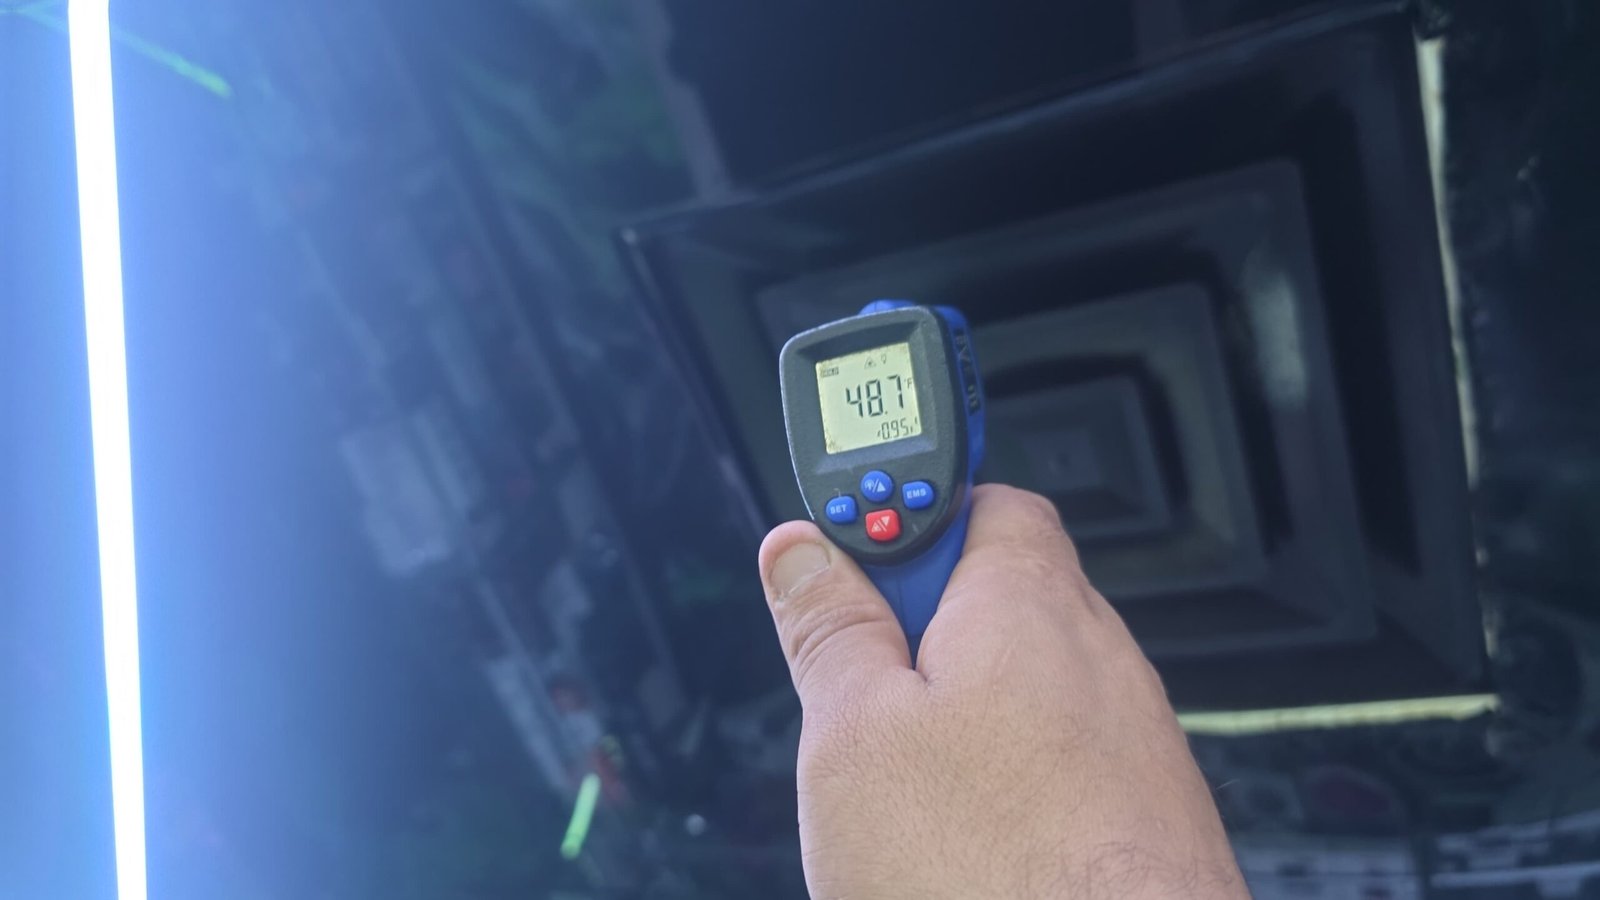
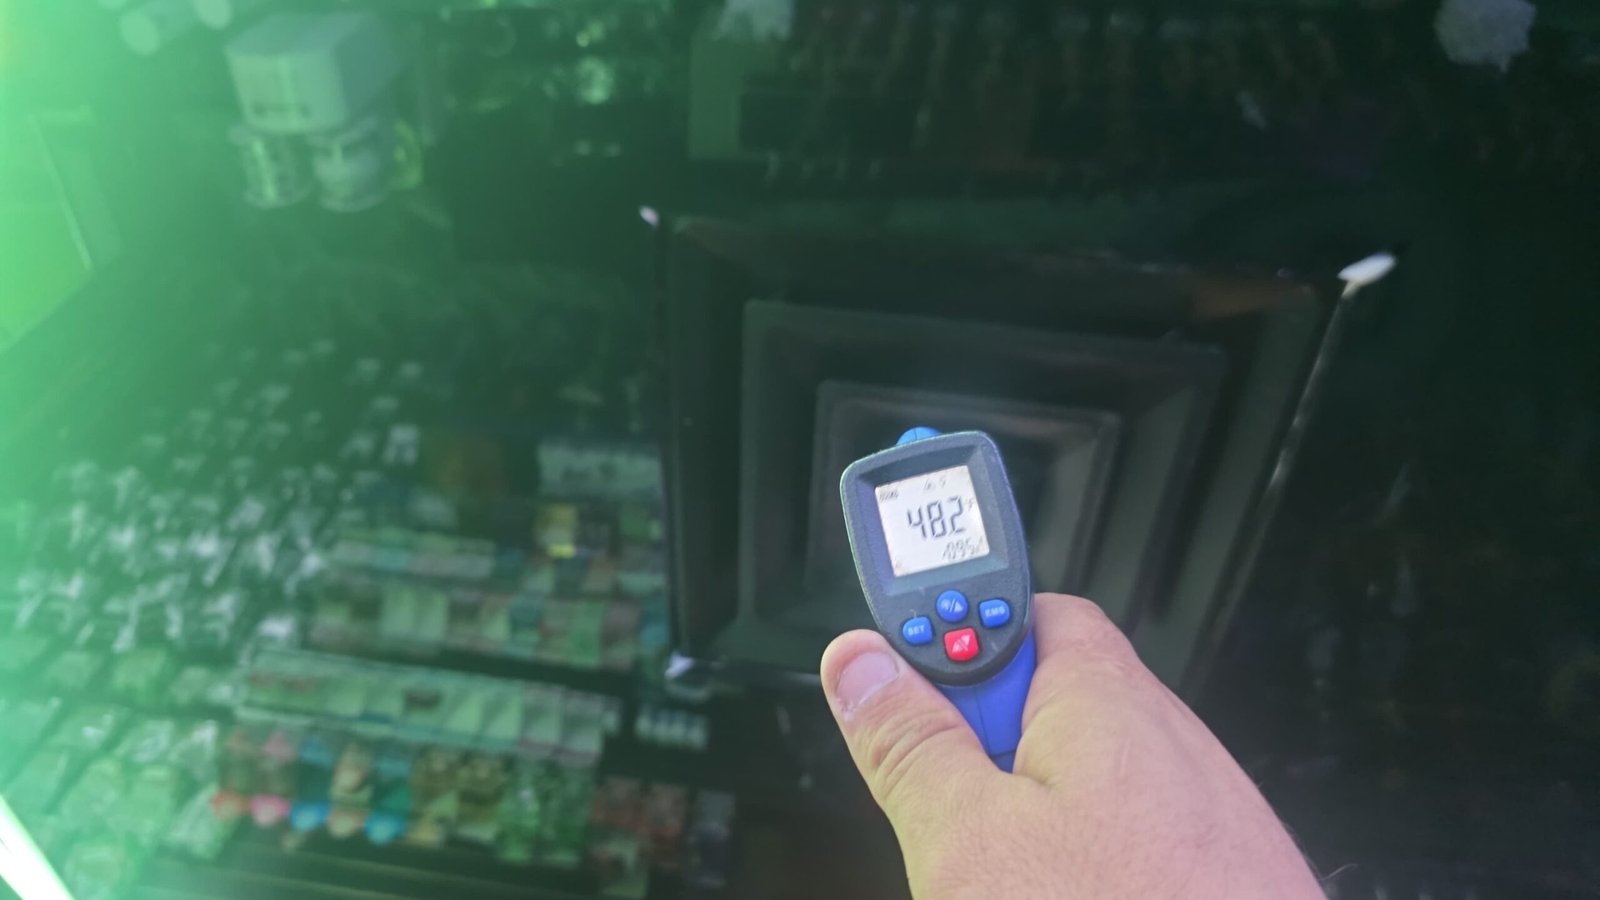
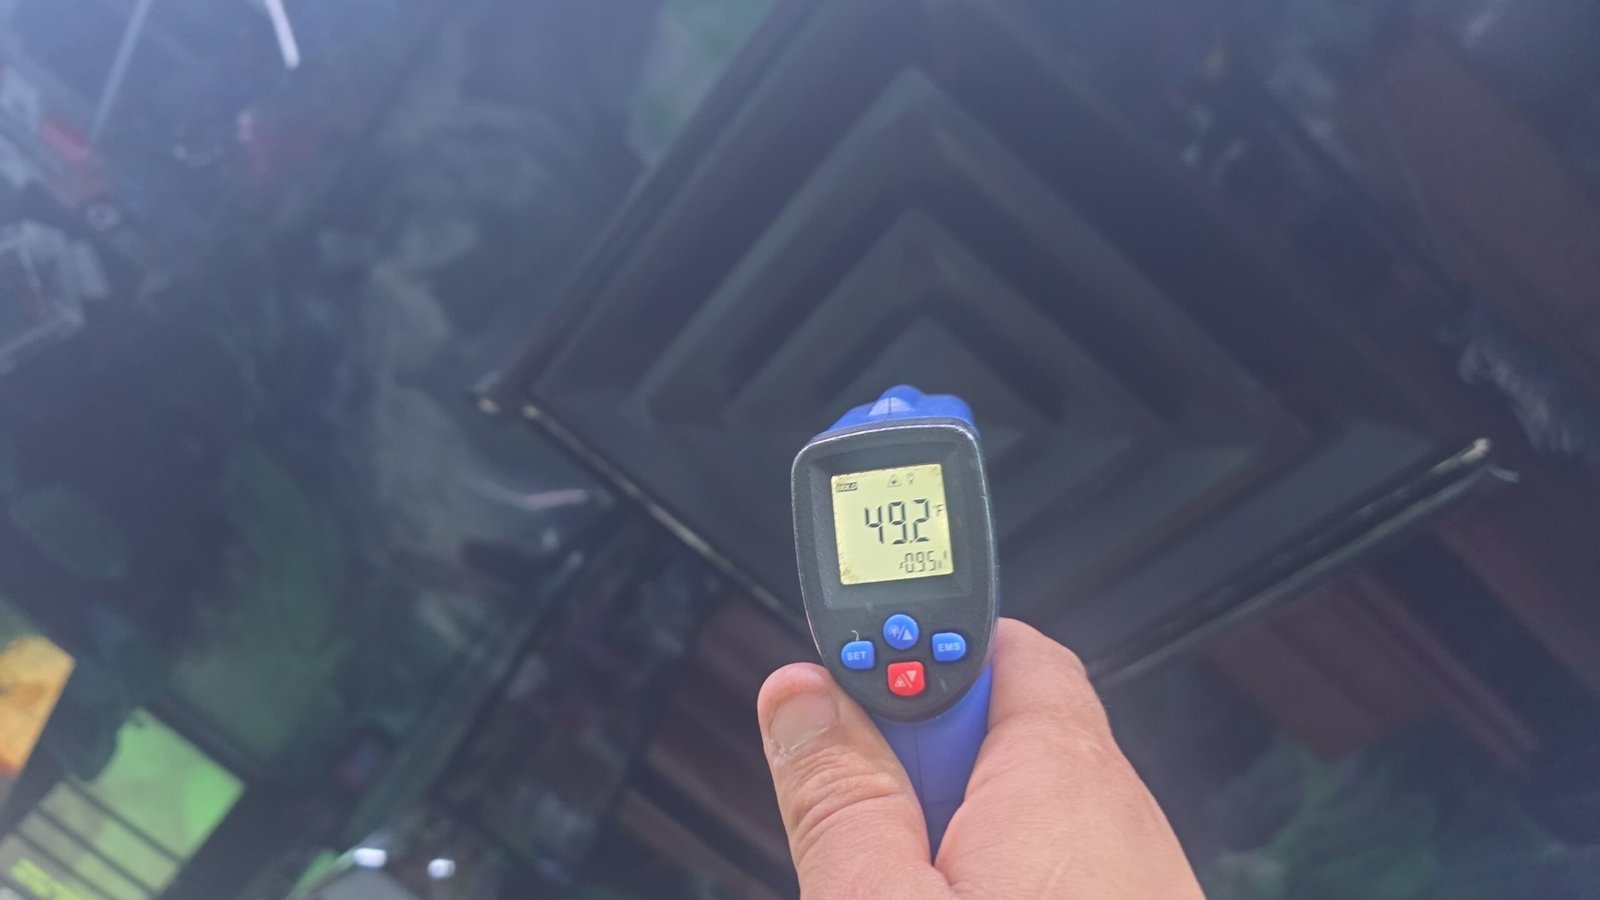
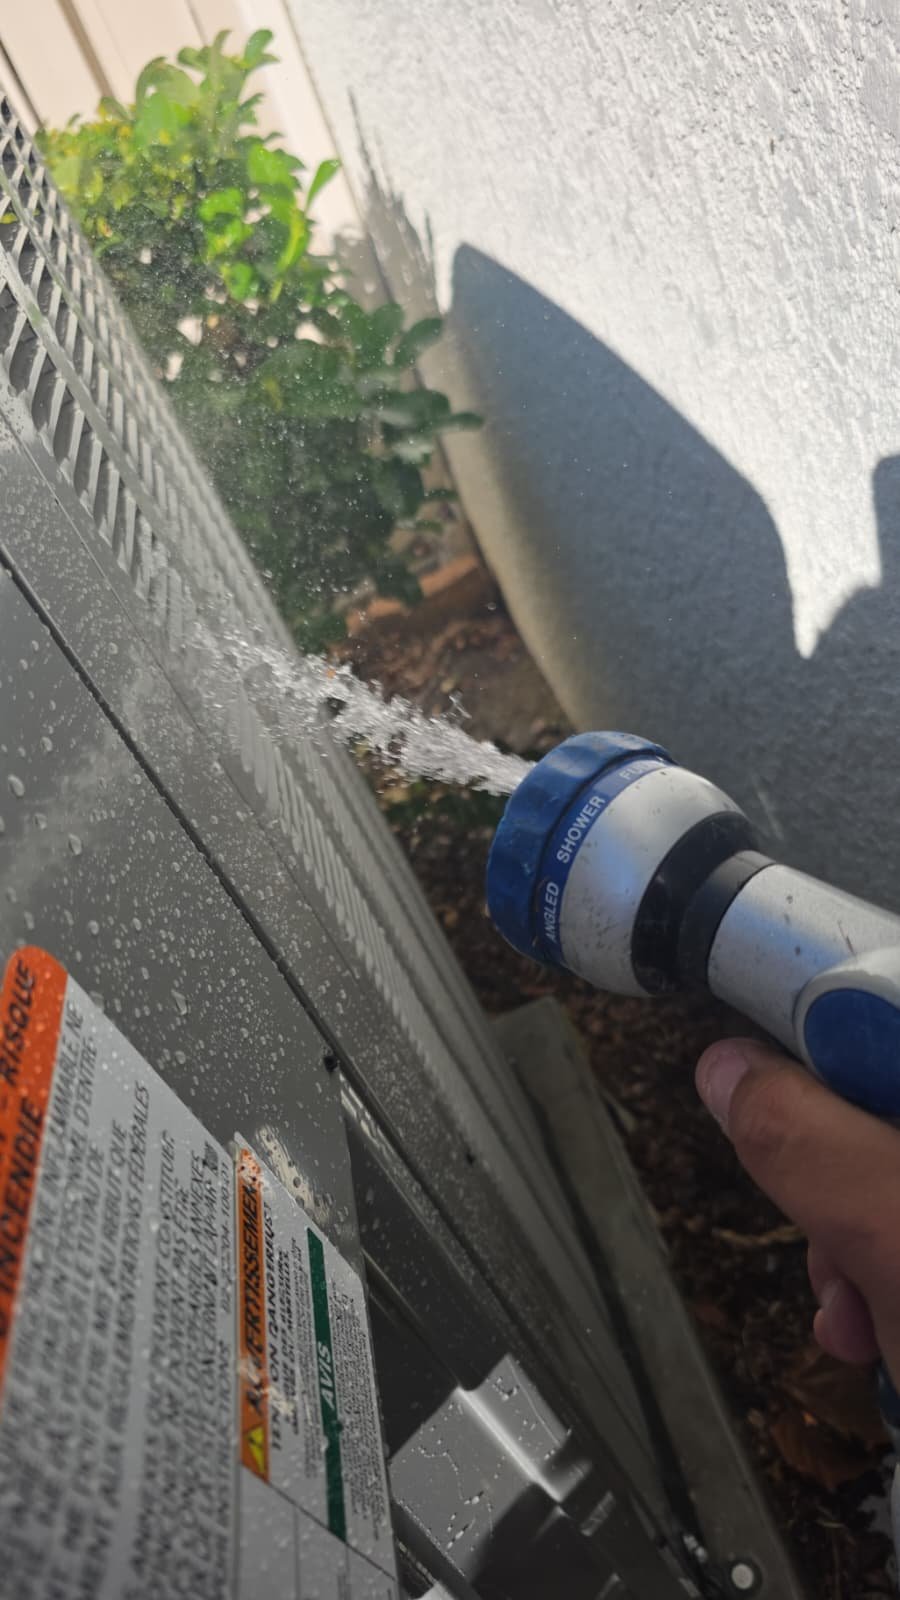
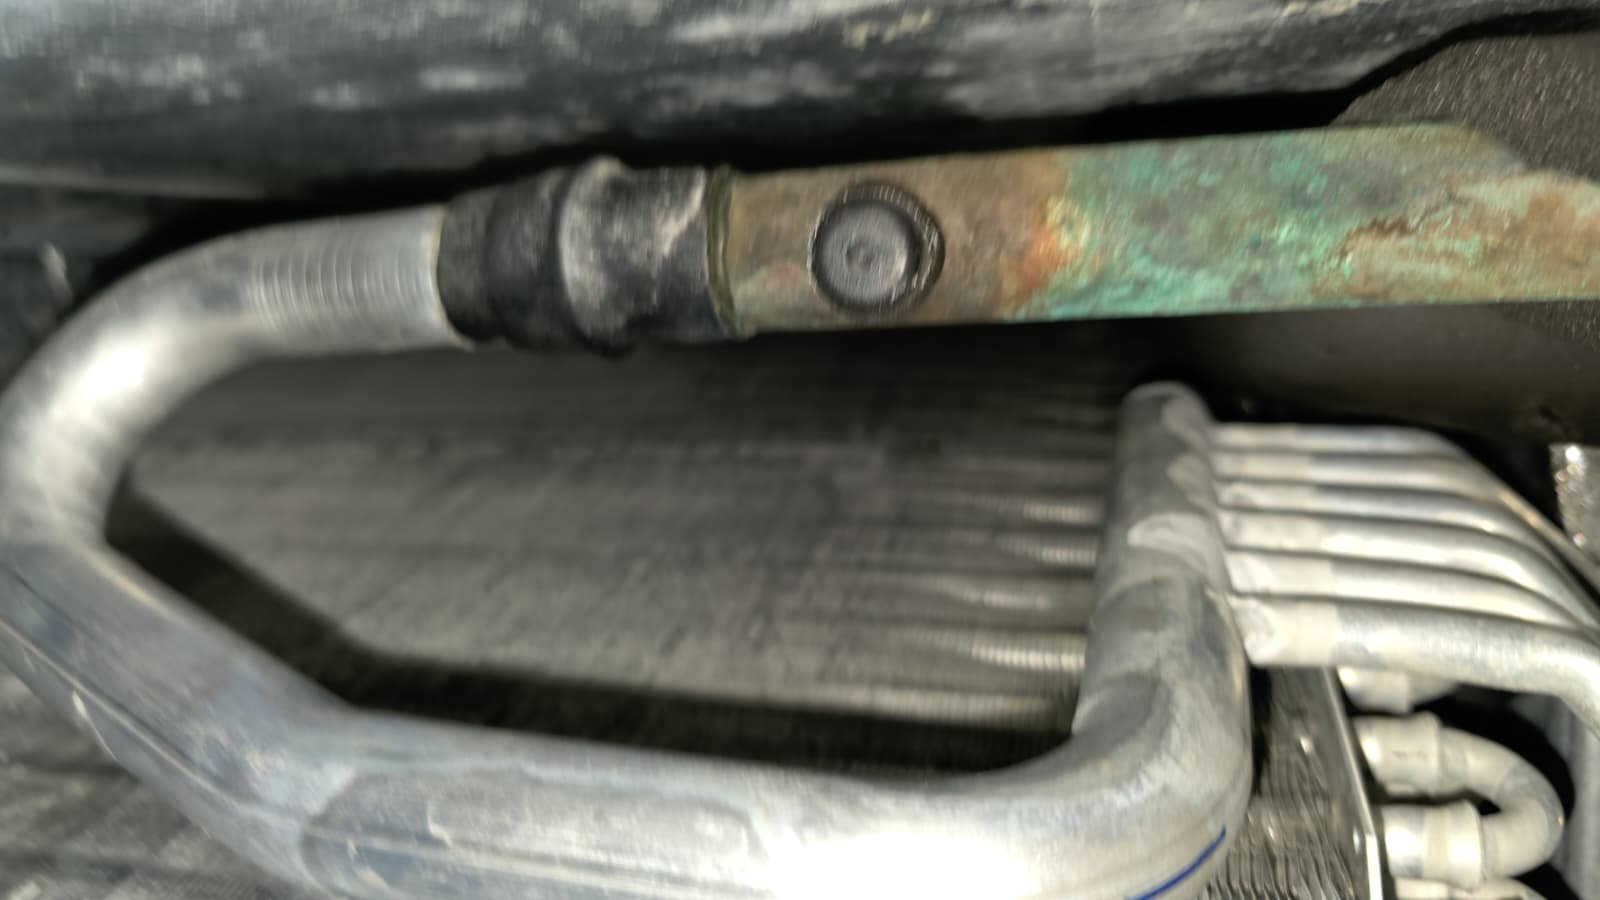
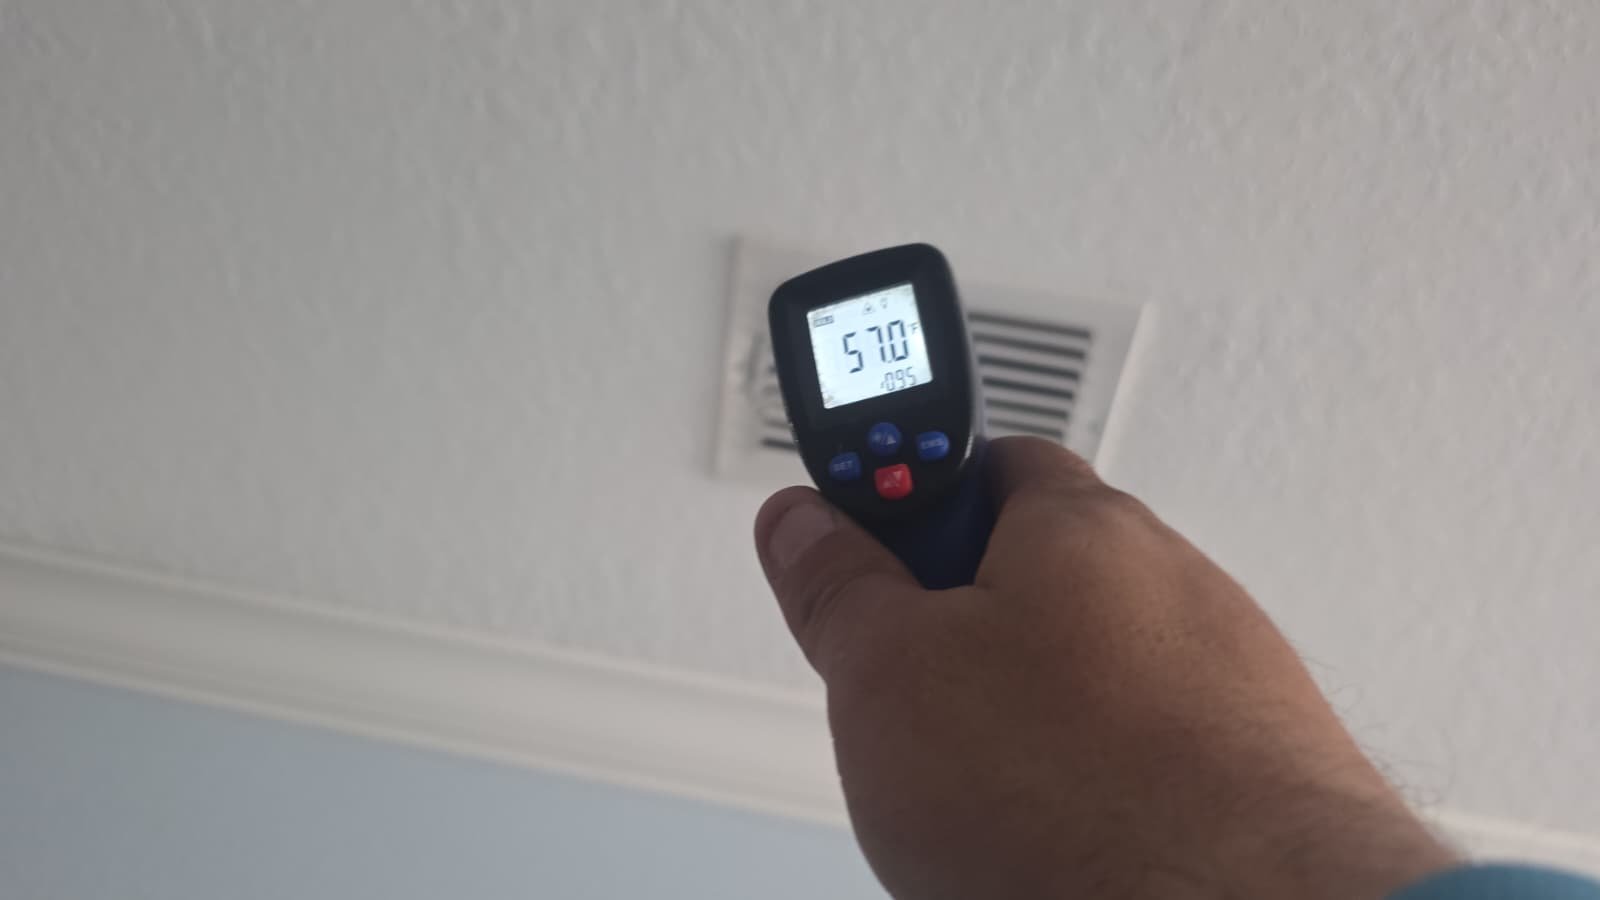
We then moved outdoors to the condenser. Tampa weather—especially rain, pollen, and landscaping debris—can quickly clog an outdoor unit. We checked the coil surfaces, fan guard, and surrounding area to make sure the system could “breathe” properly.
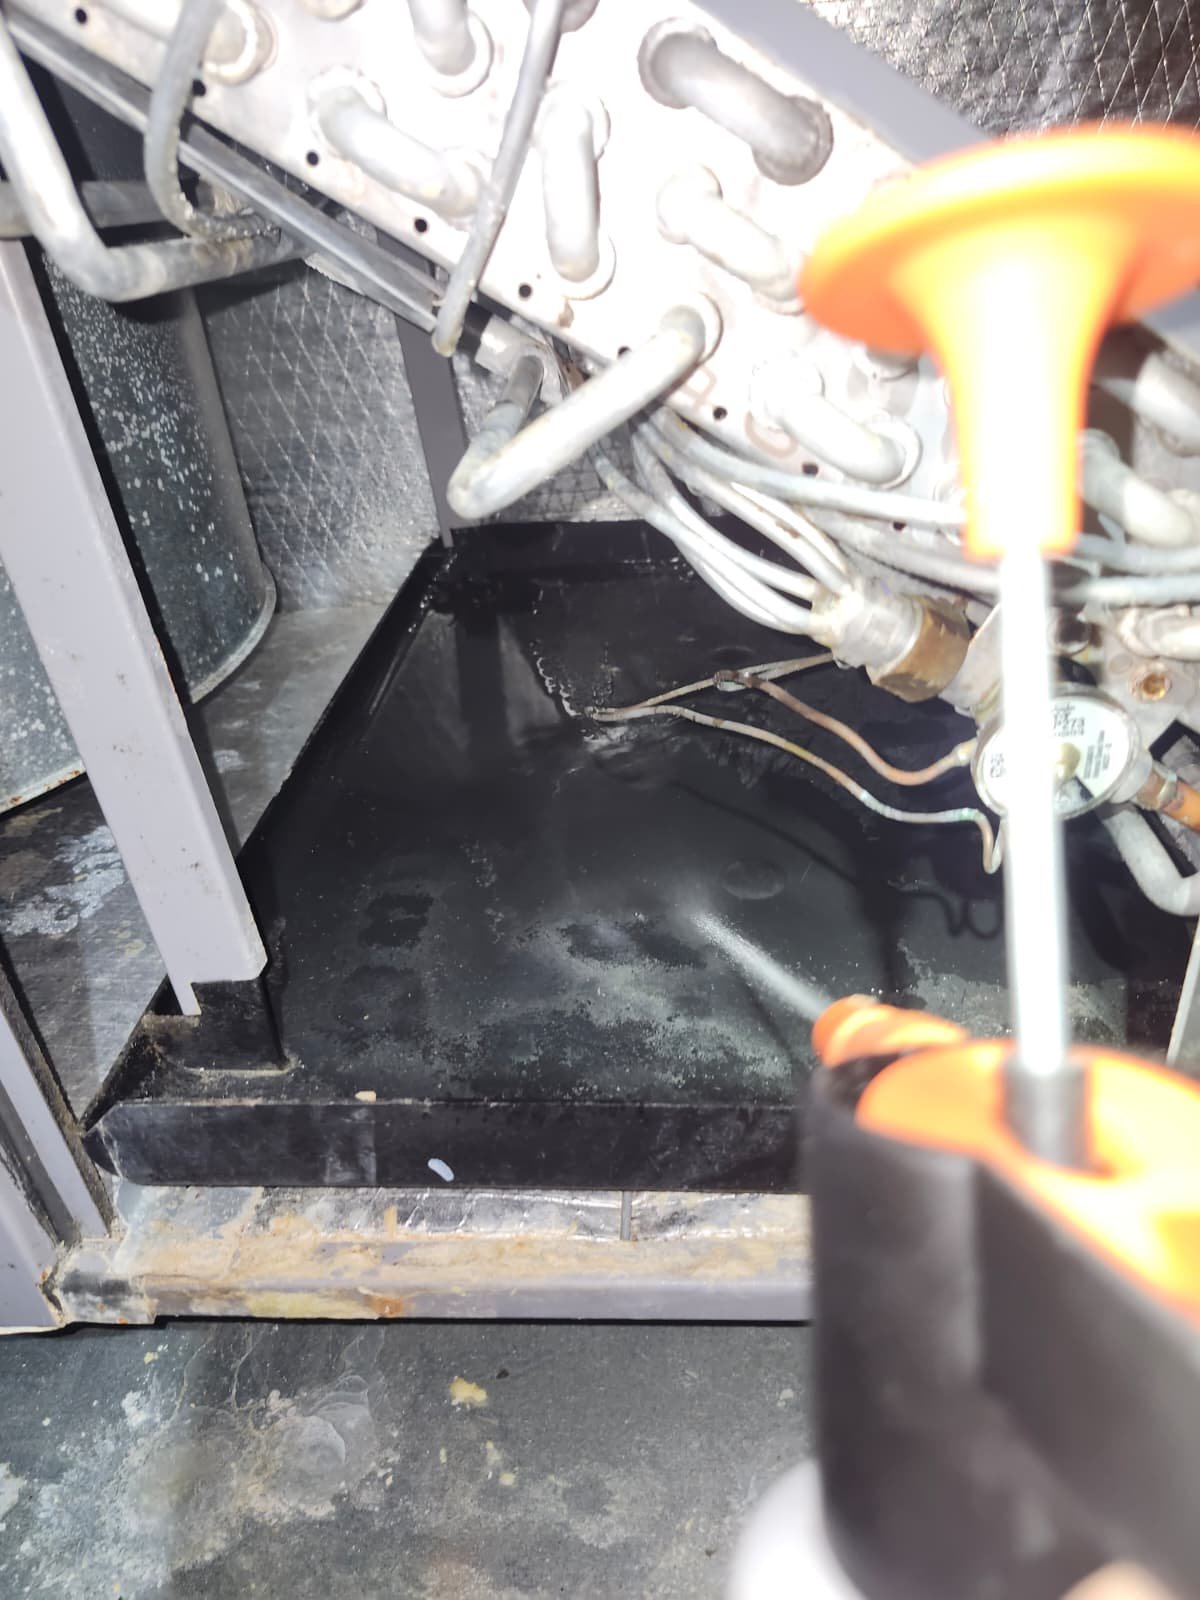
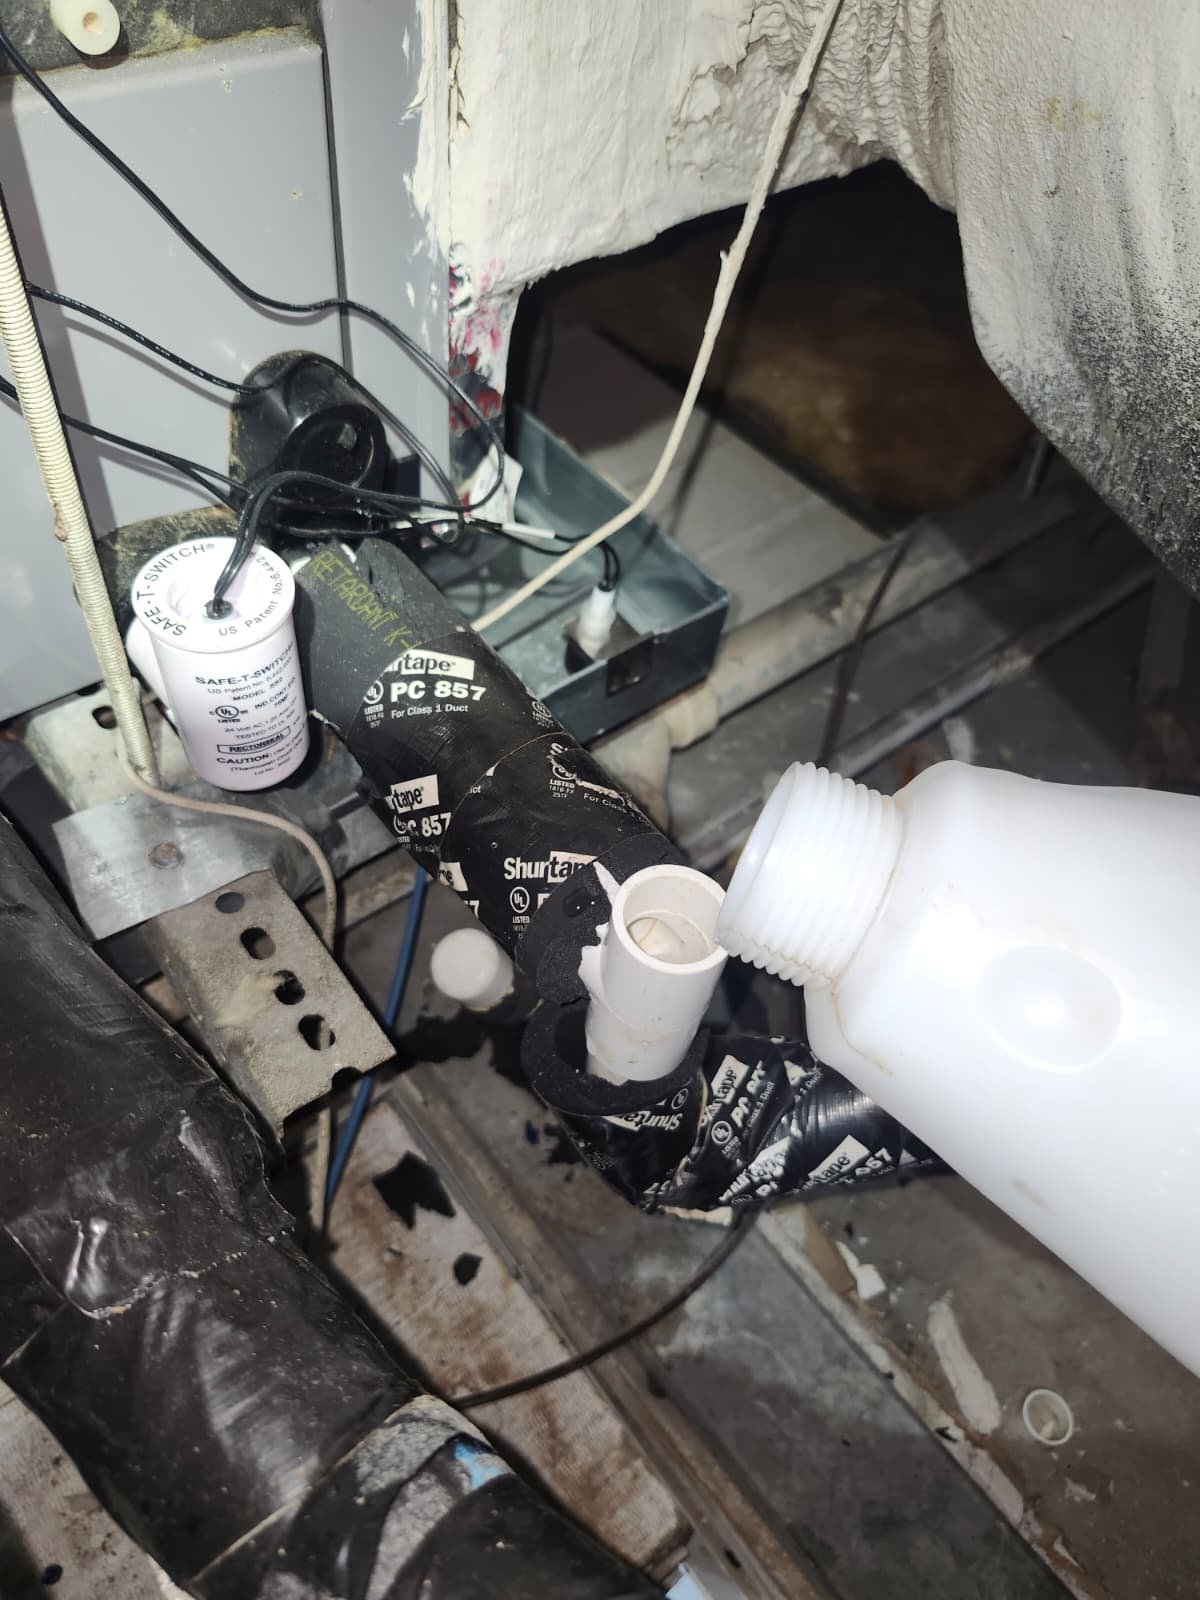
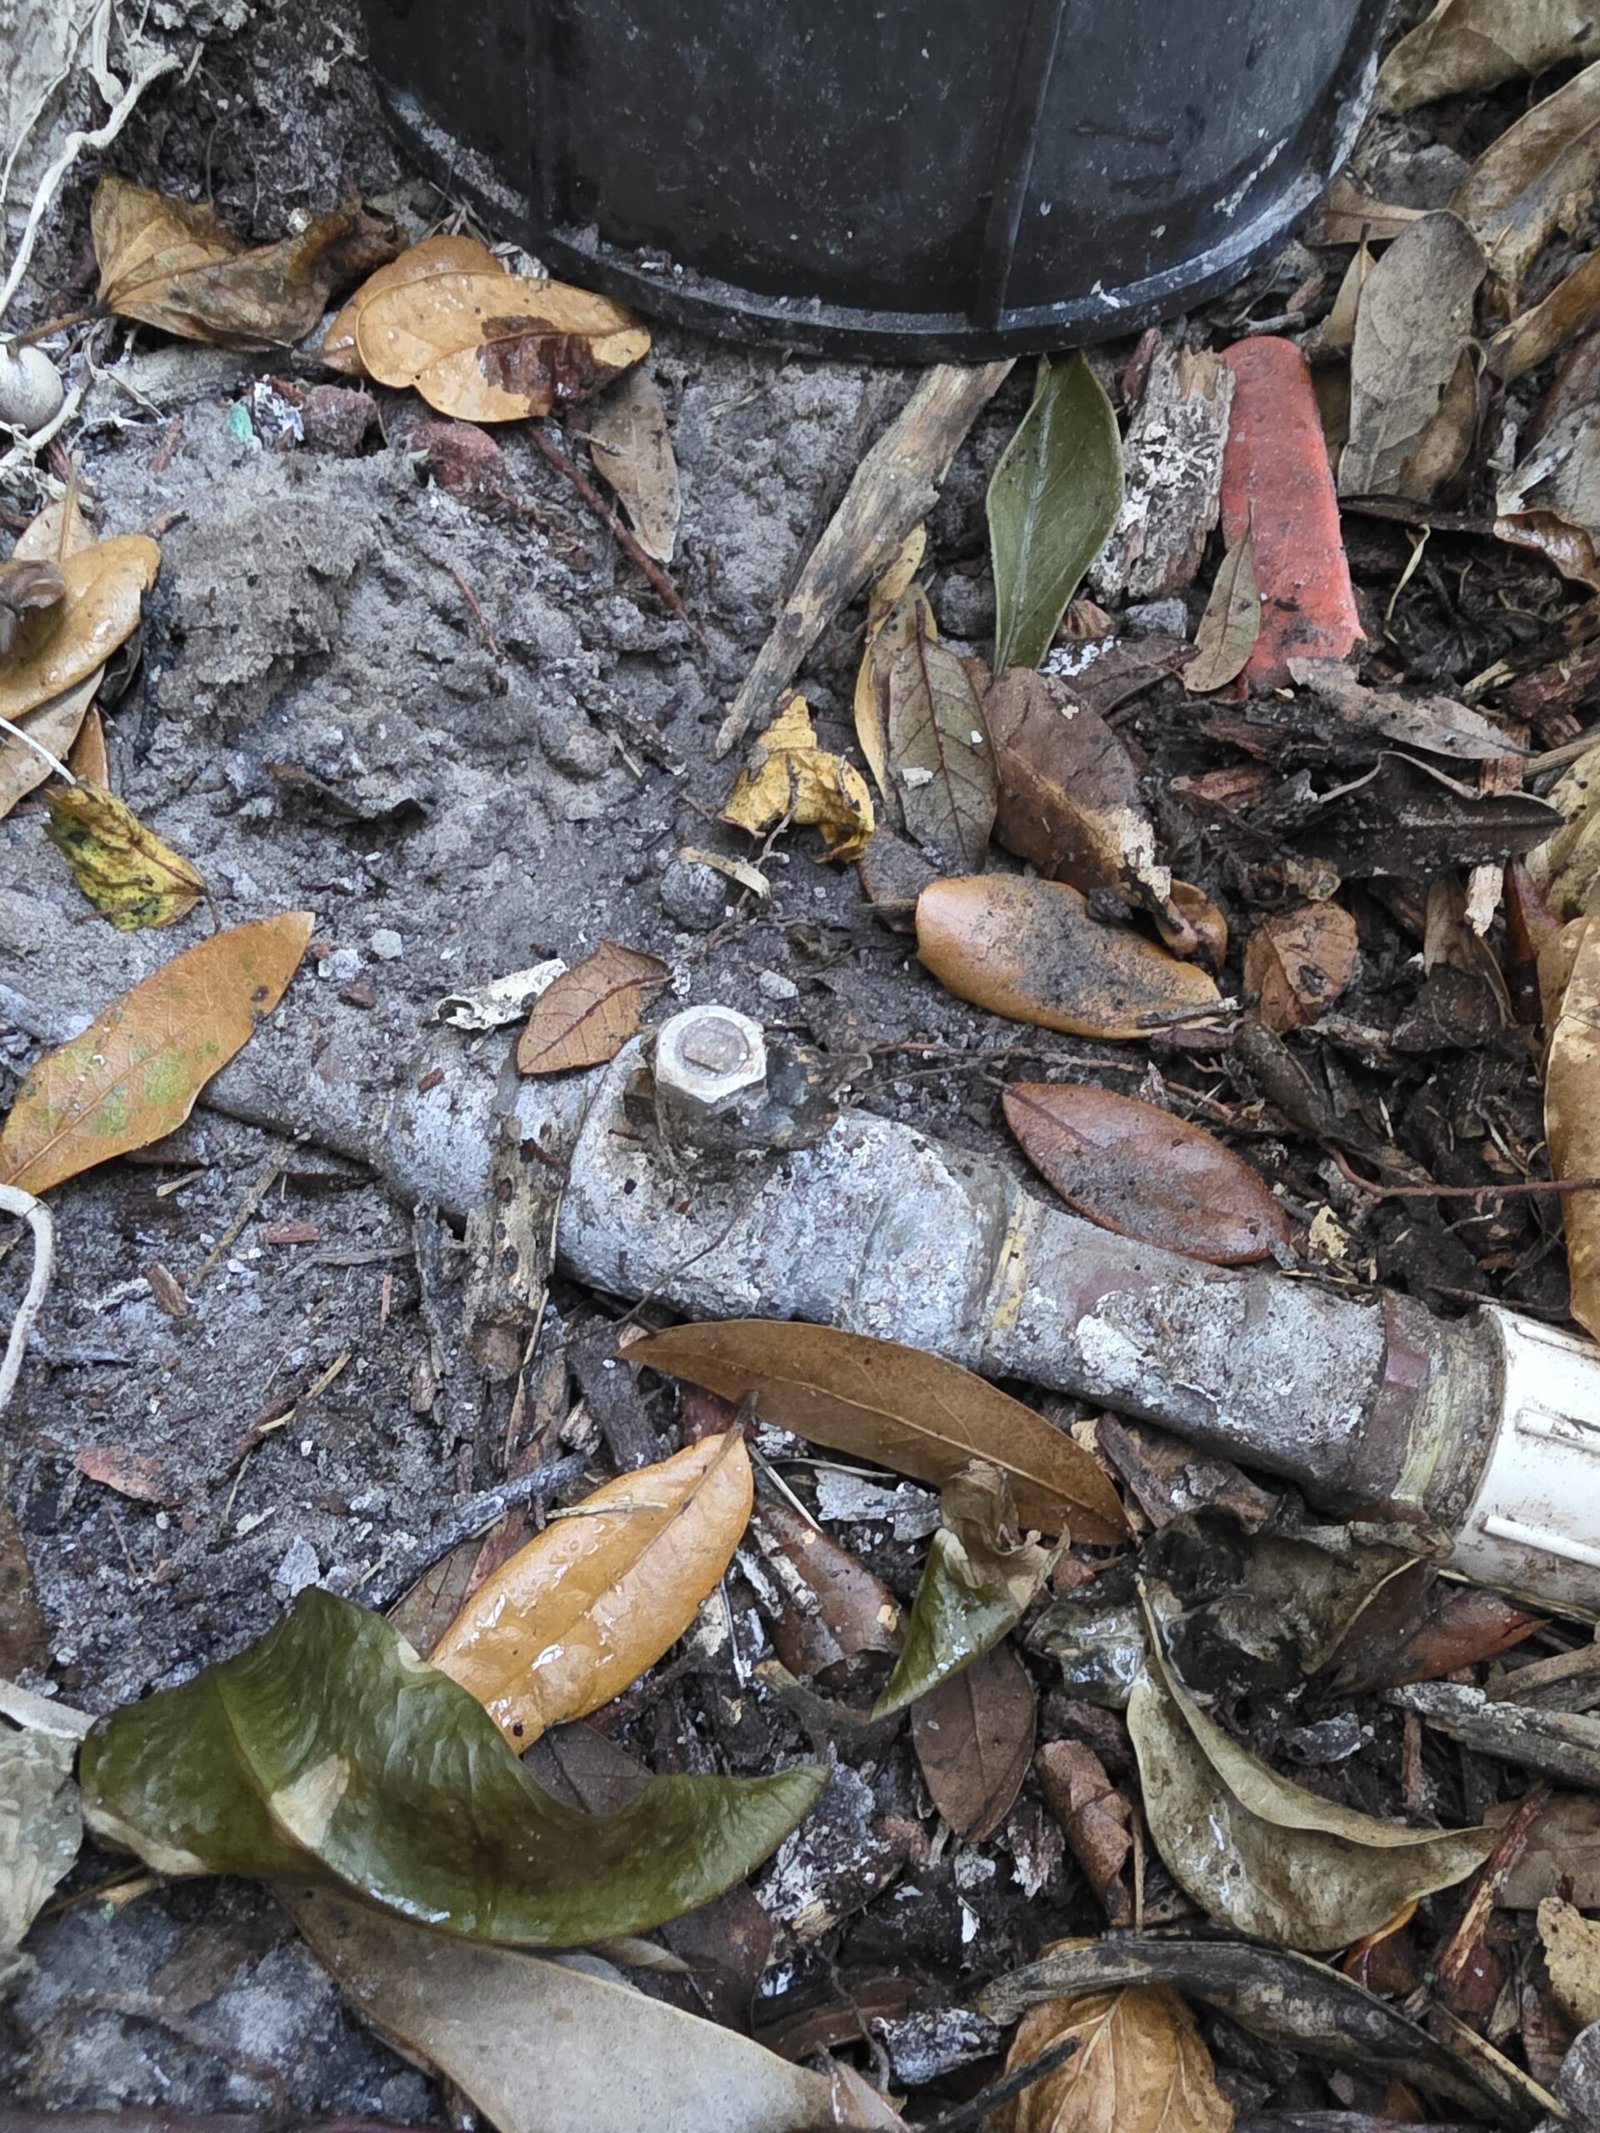
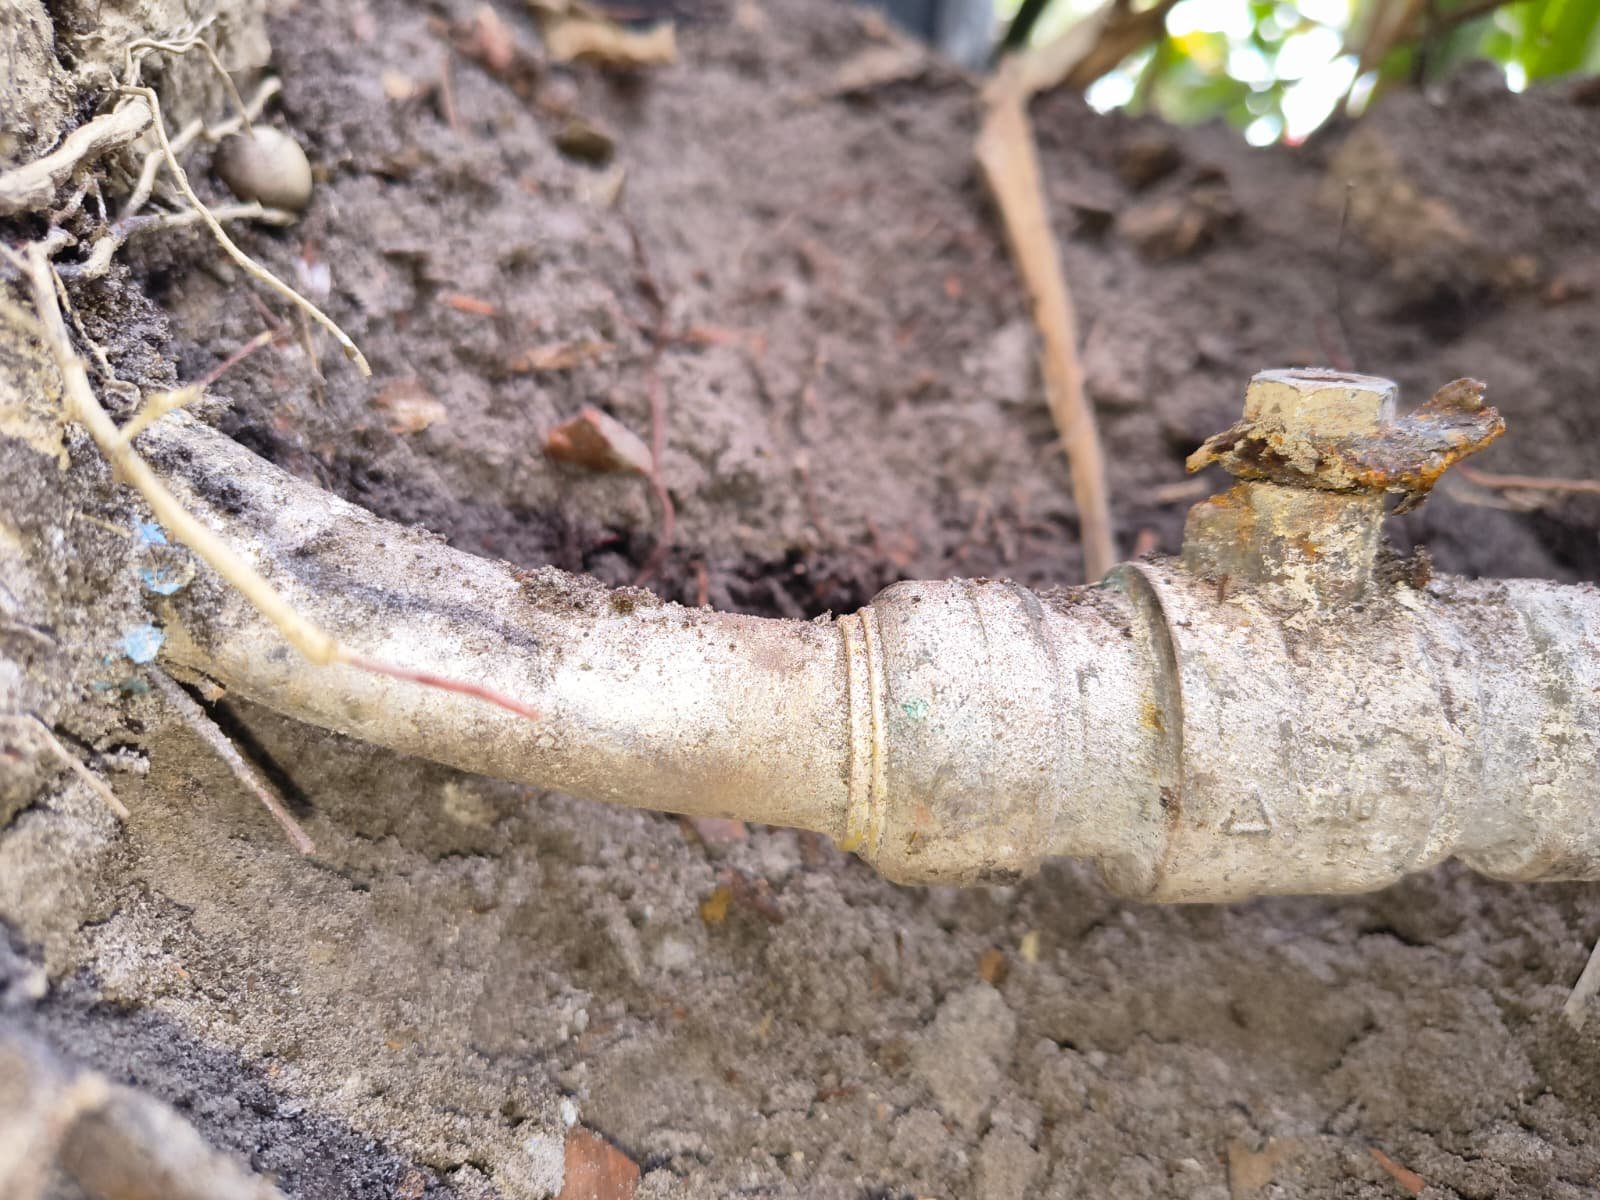
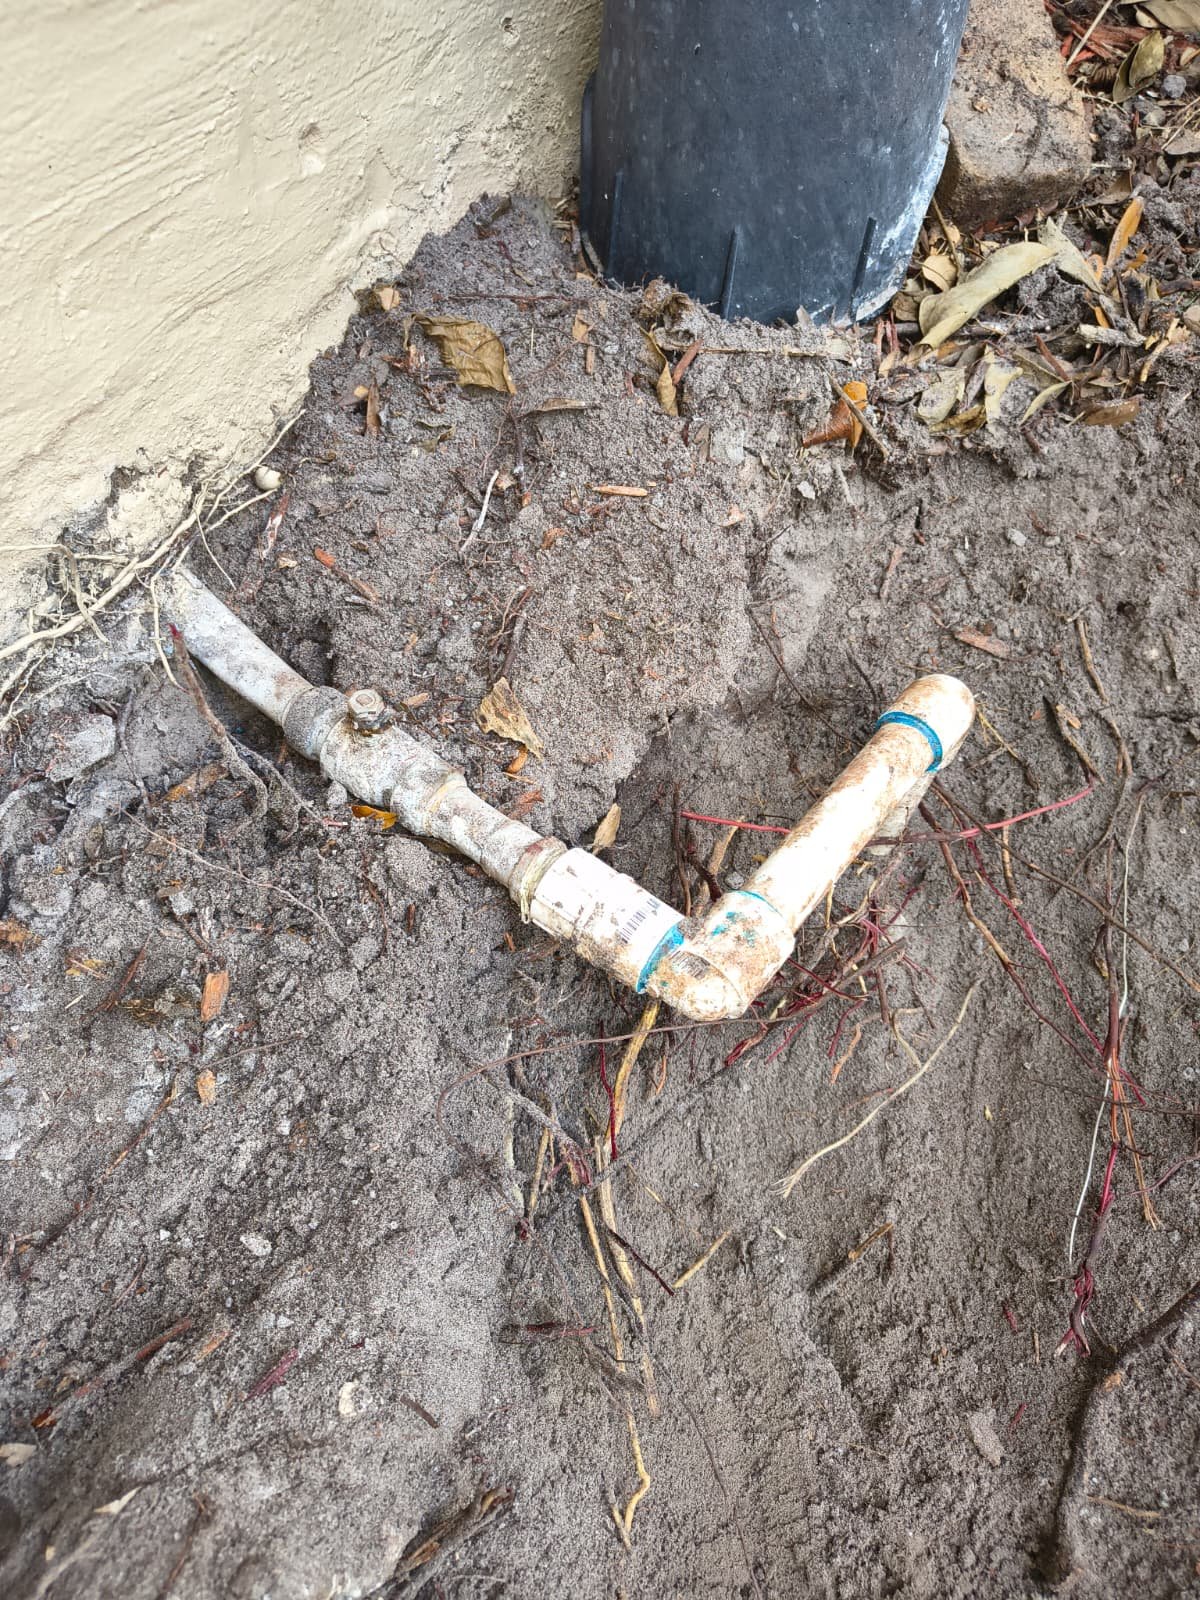
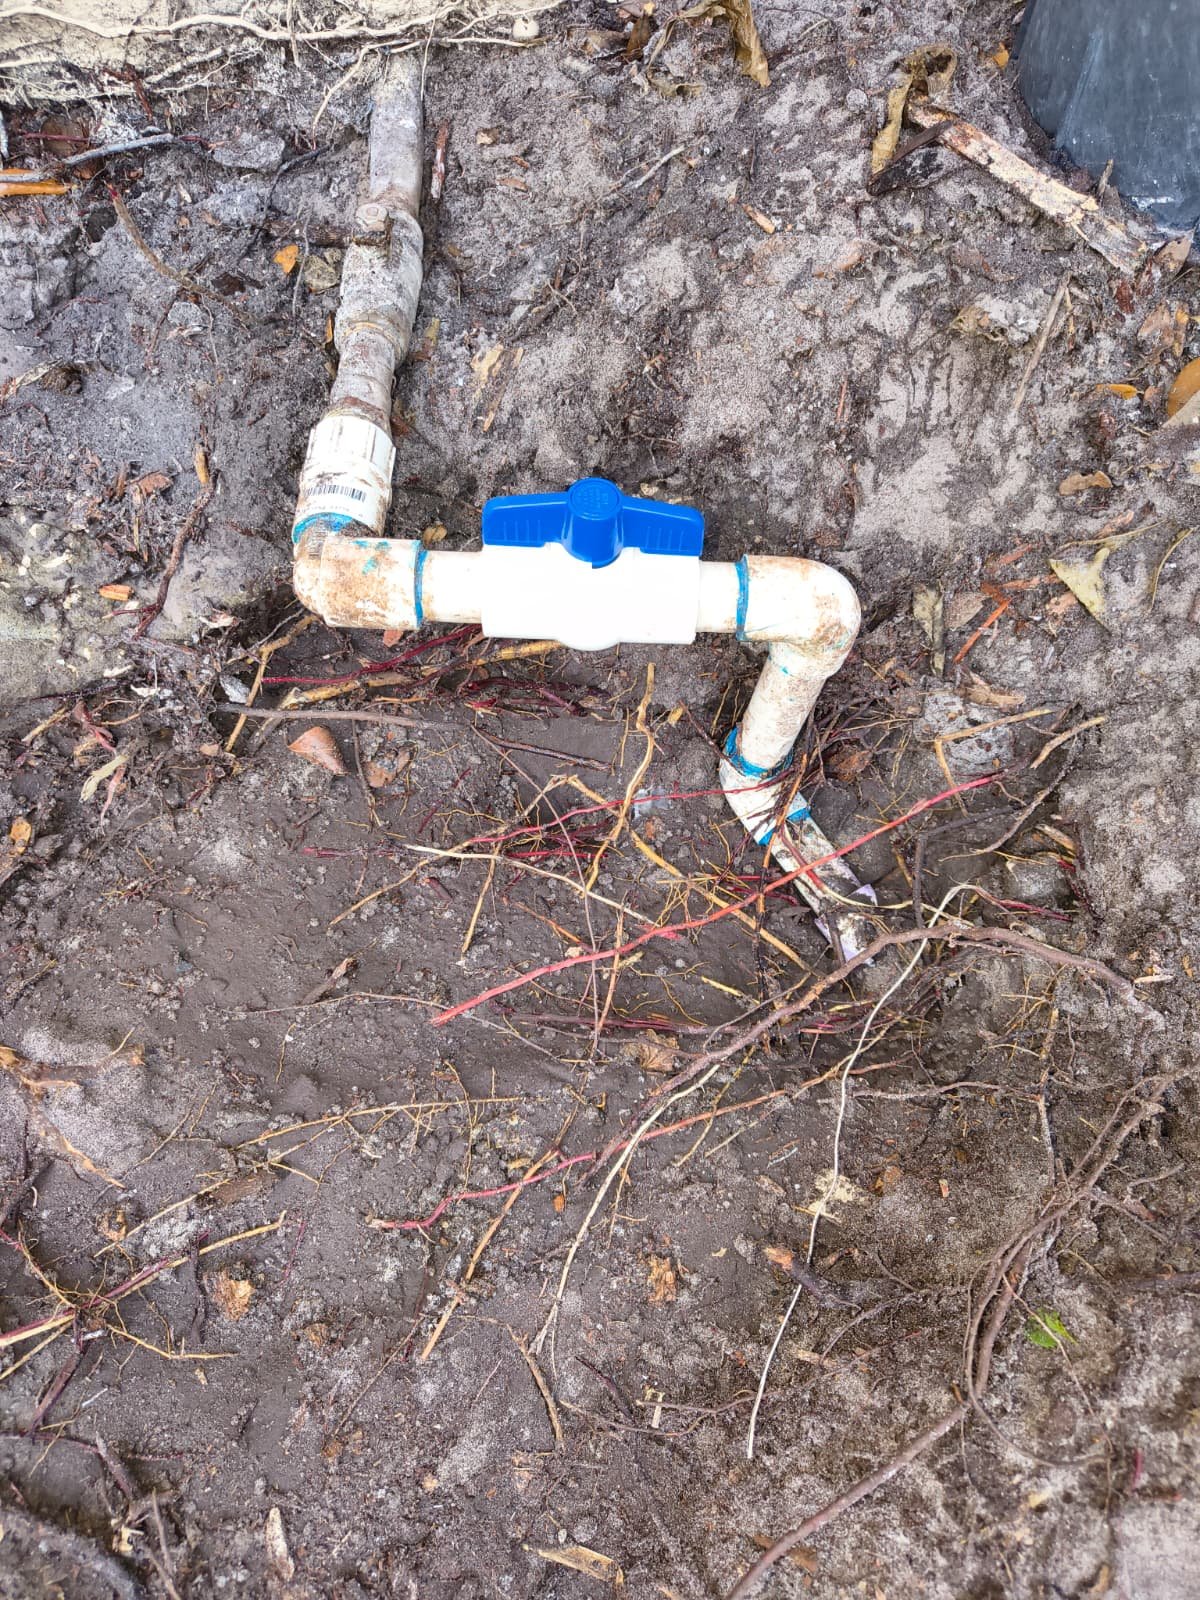
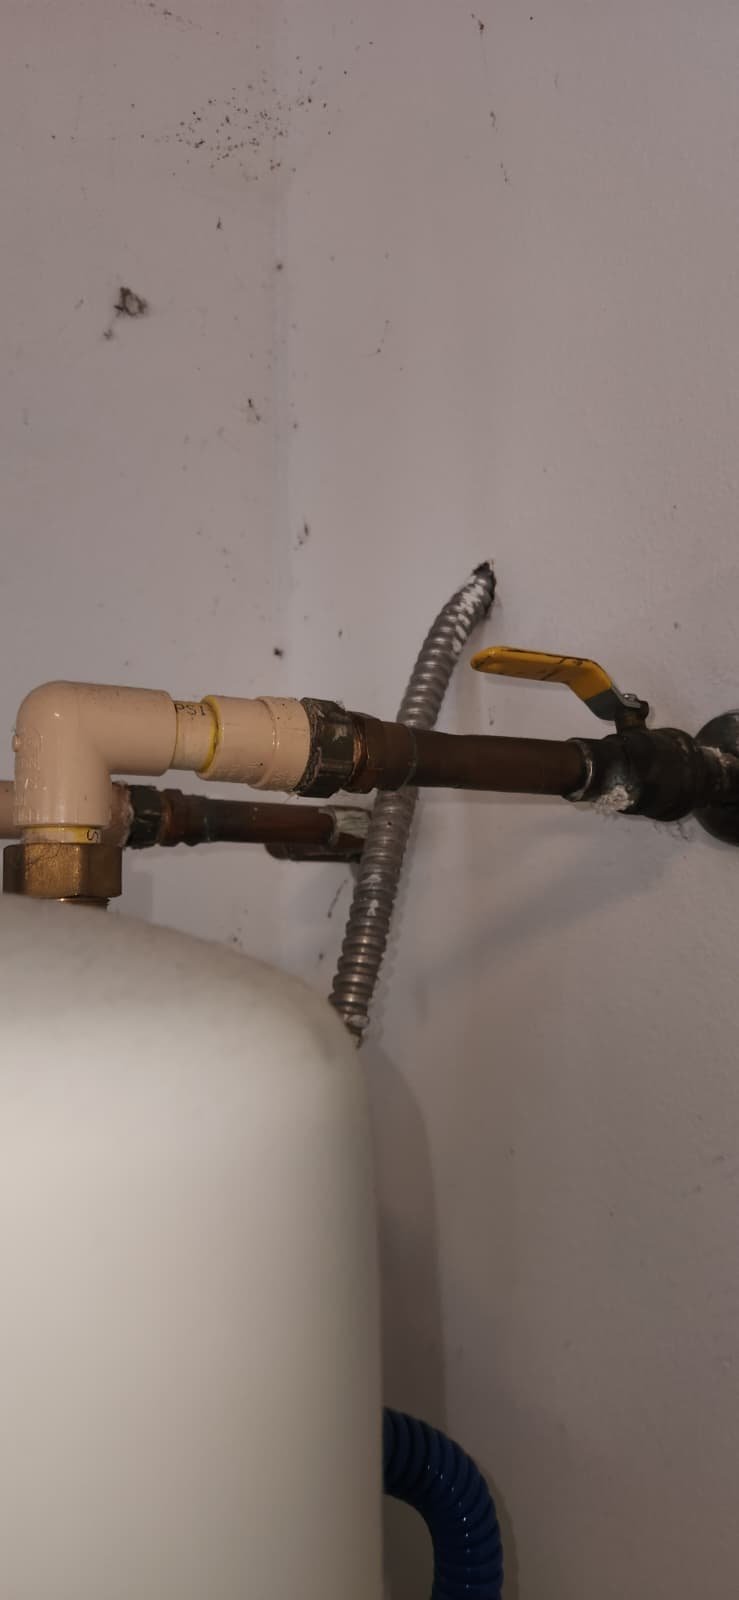
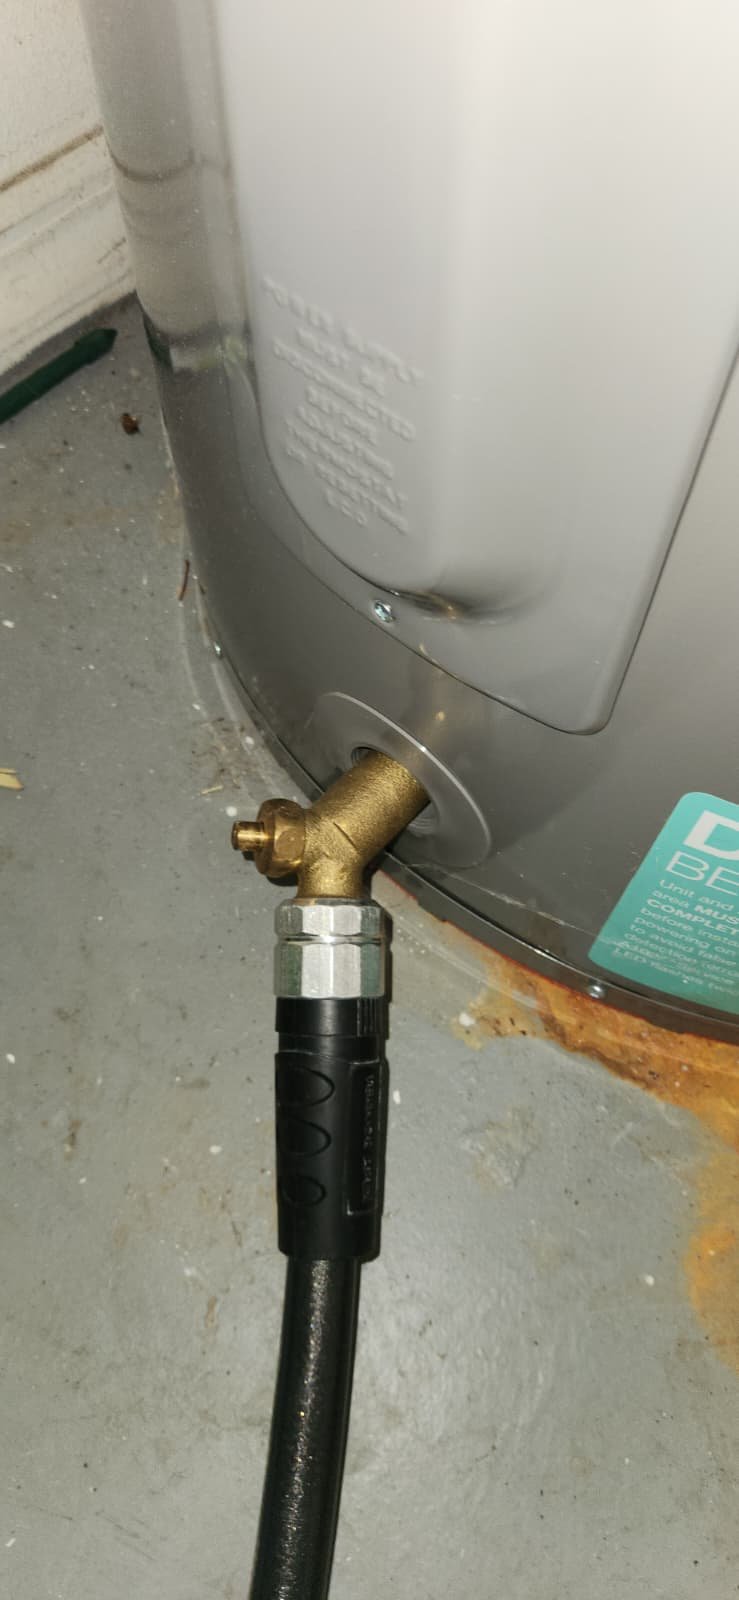
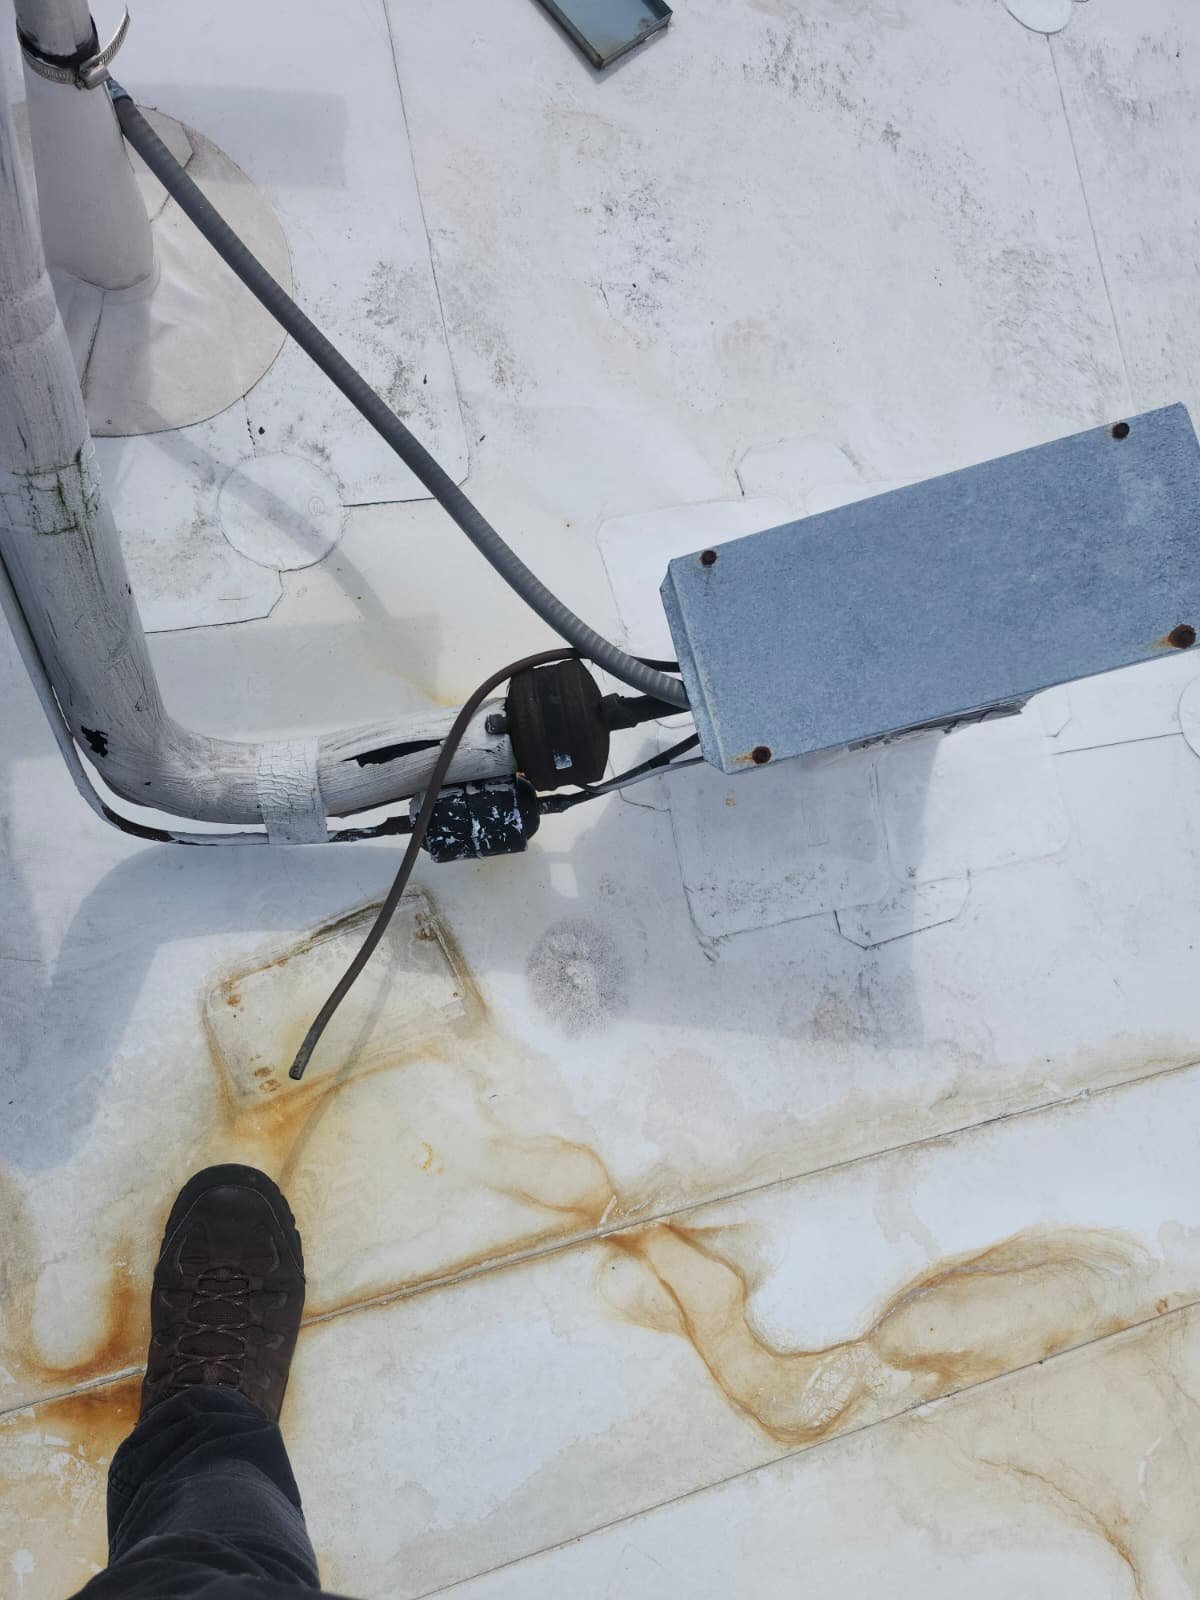
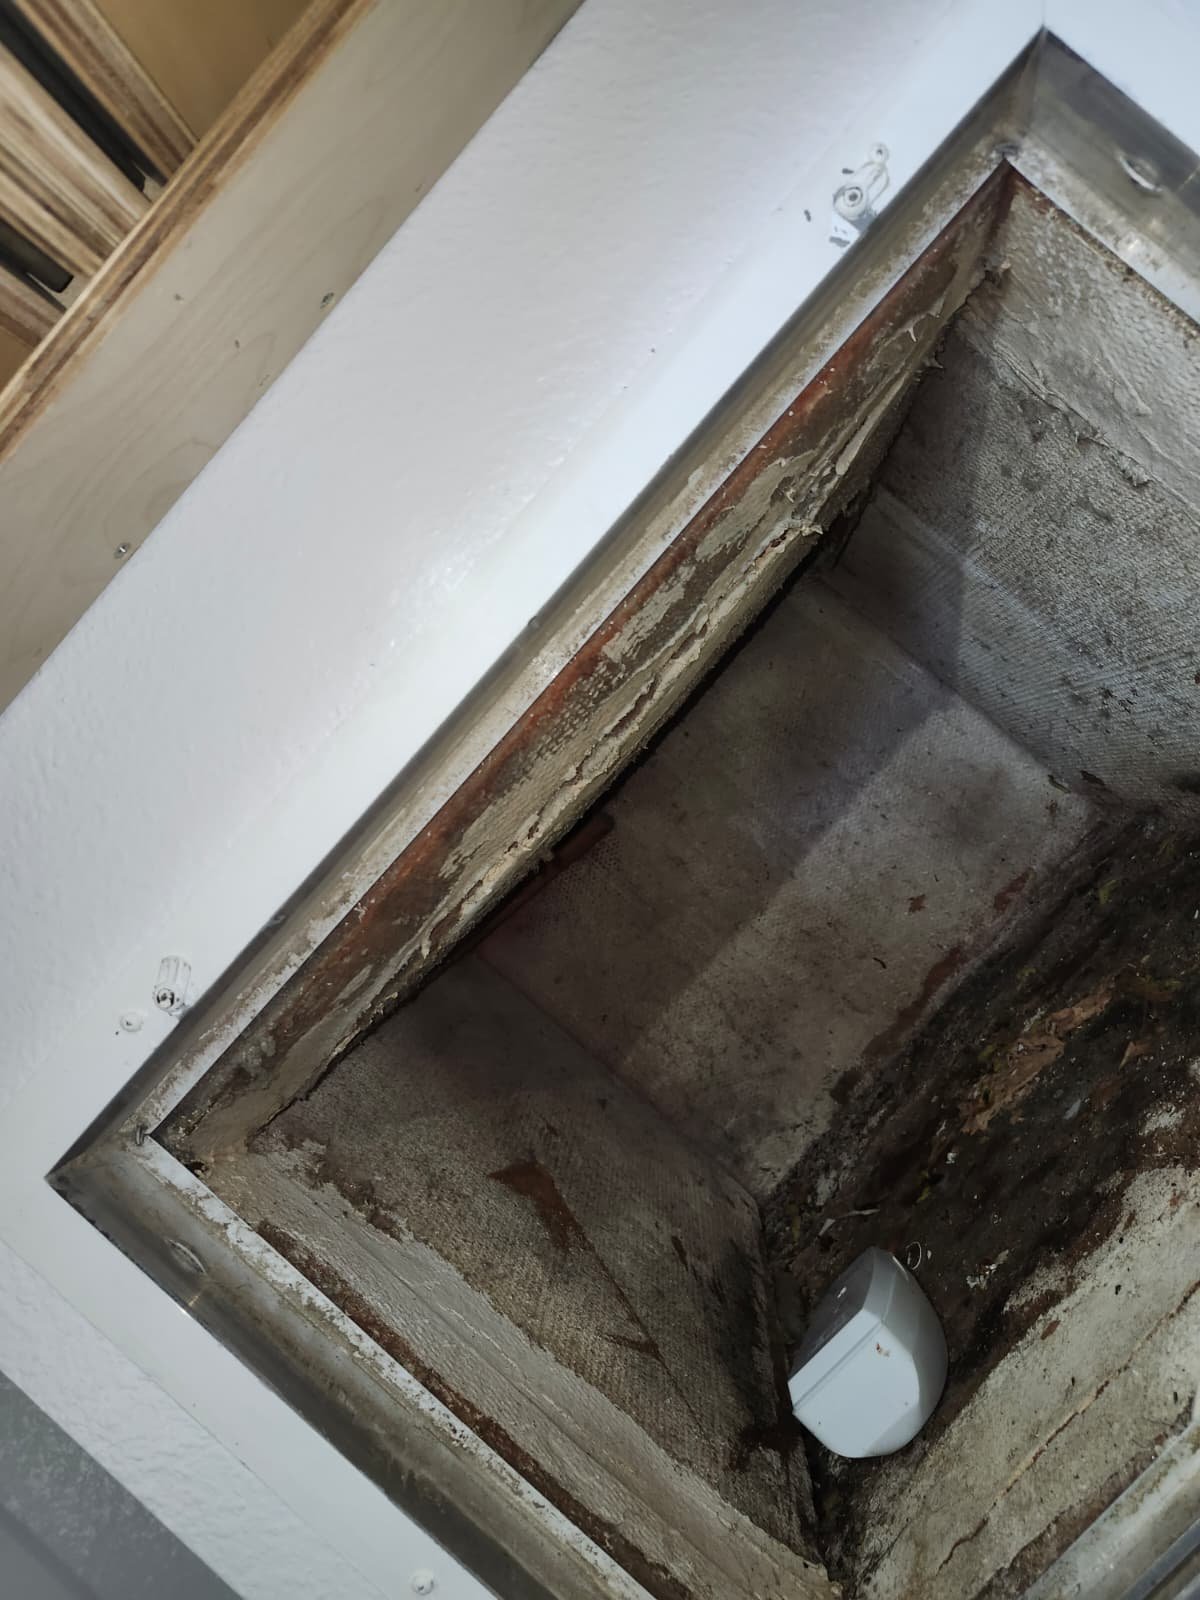
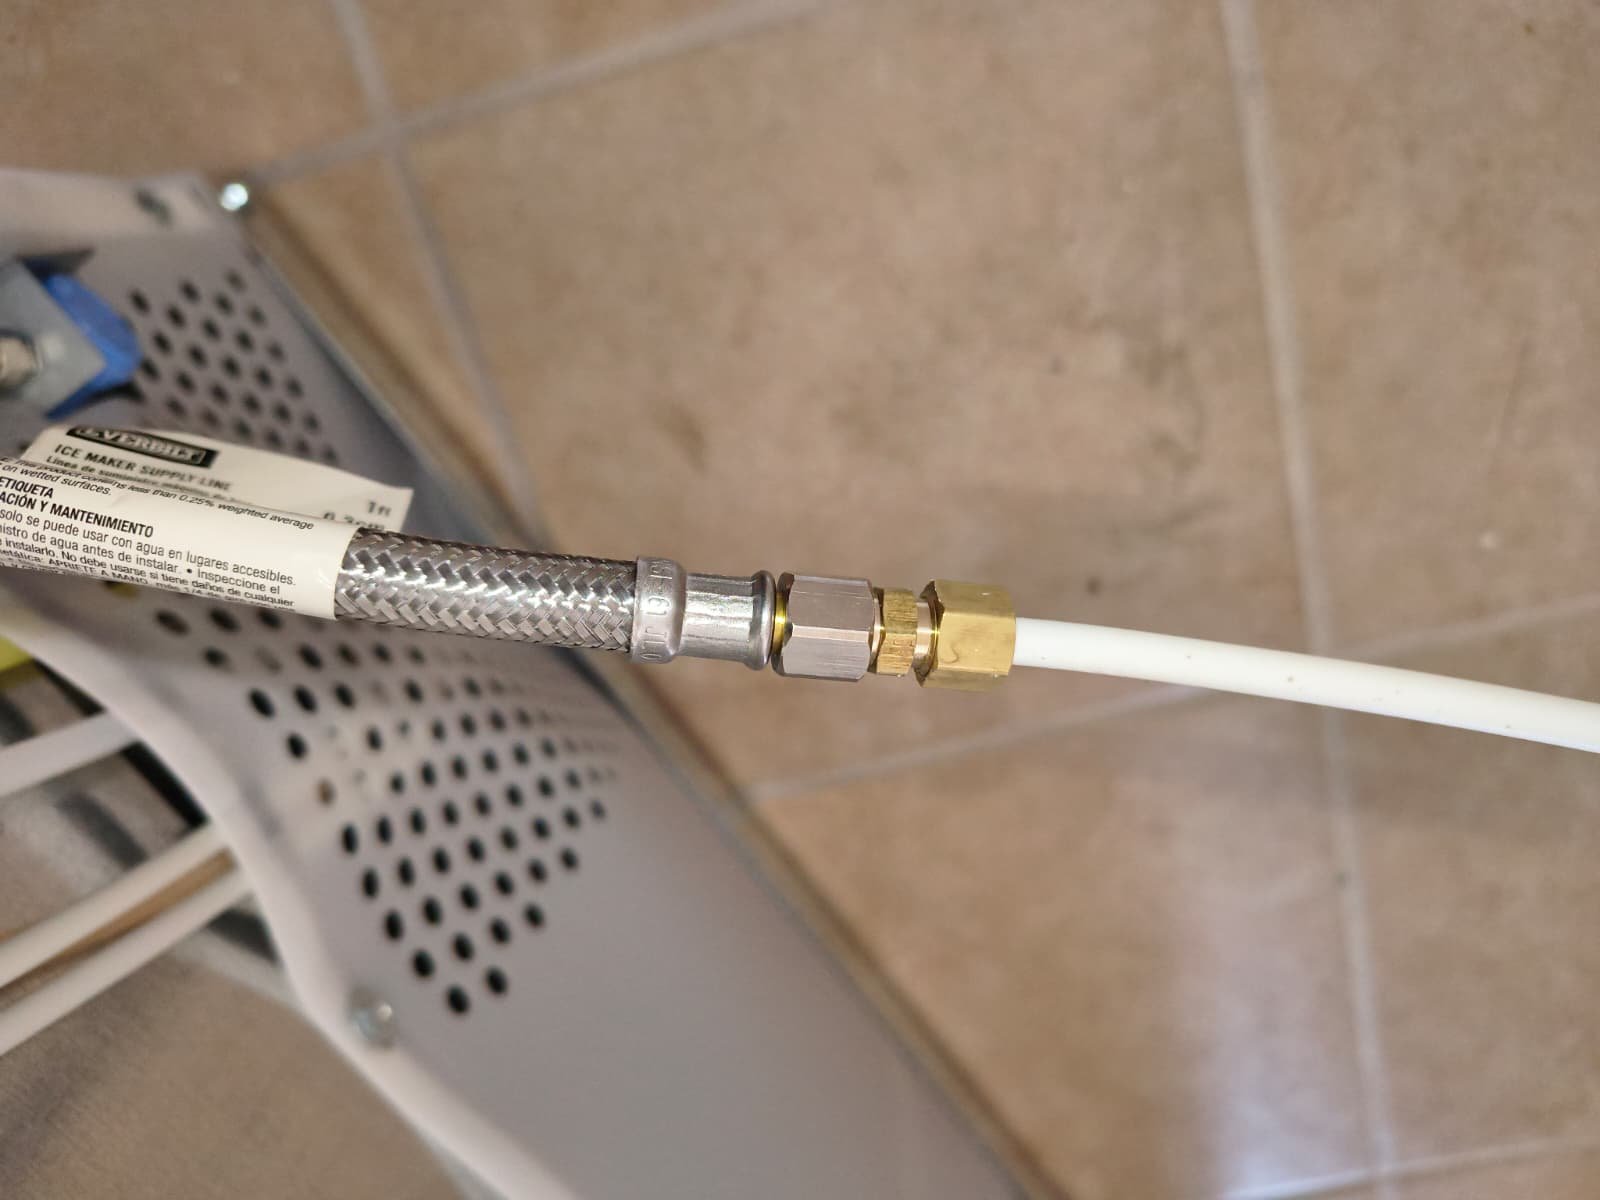
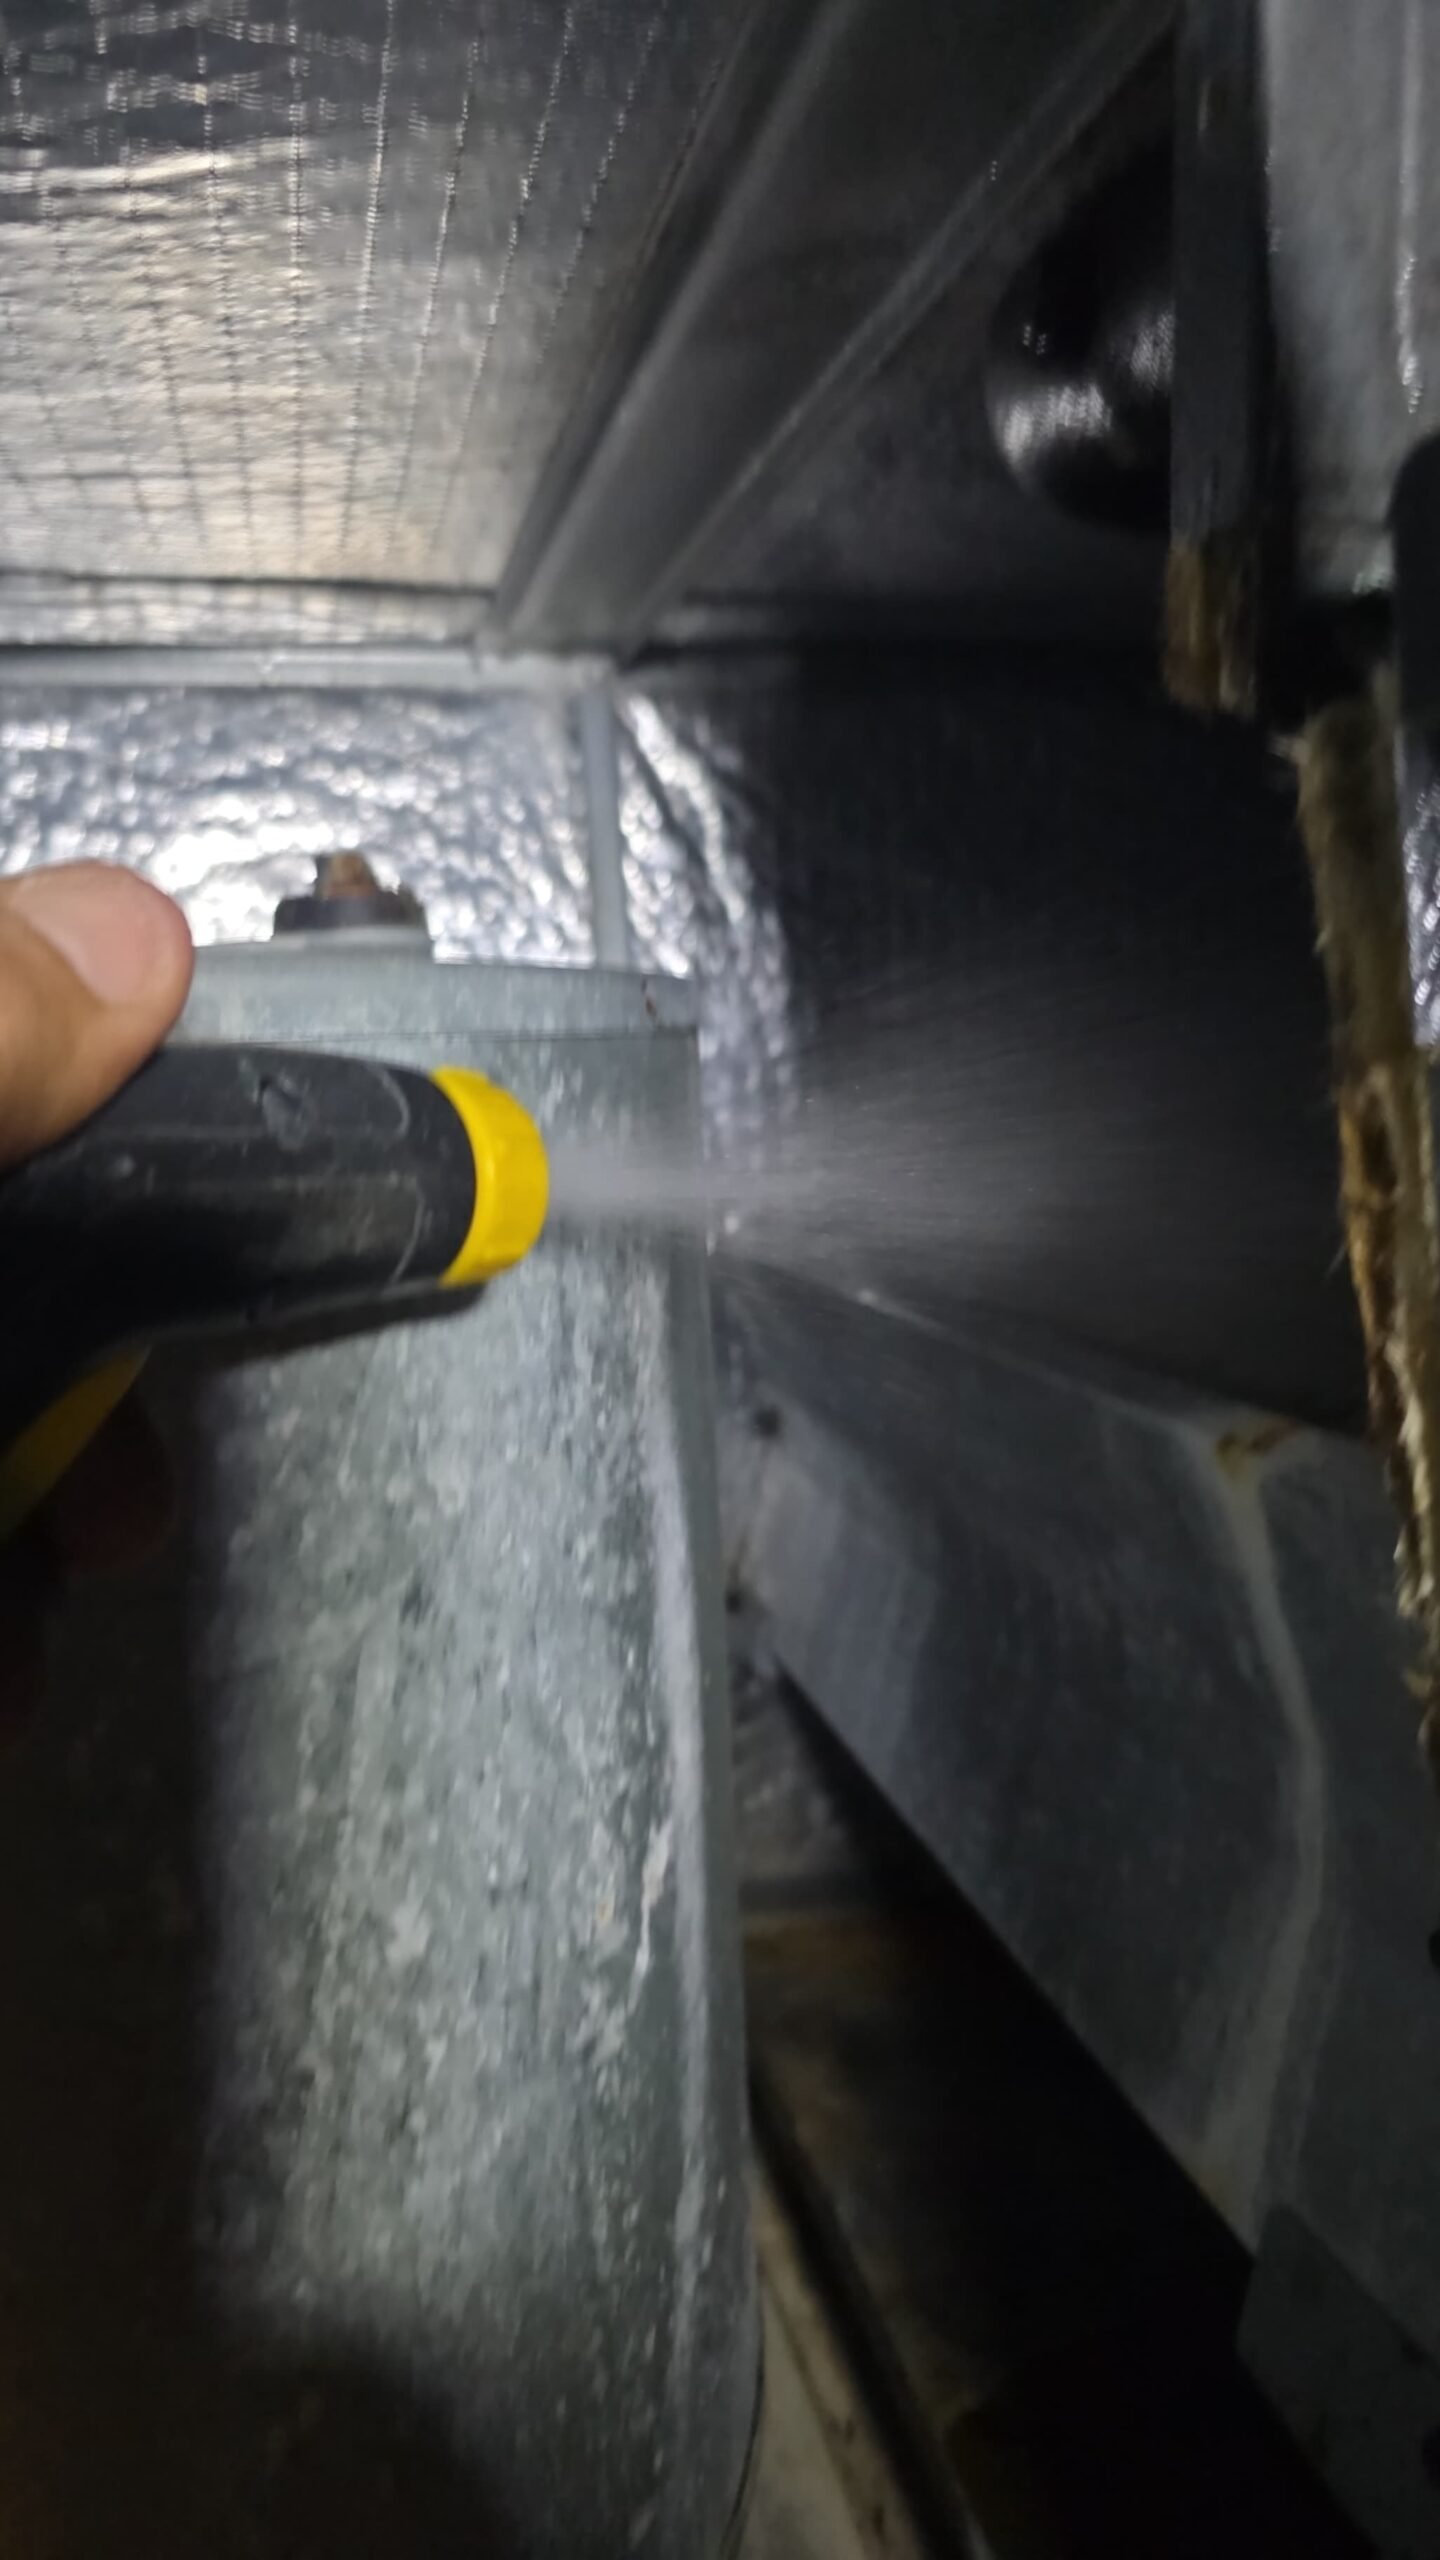
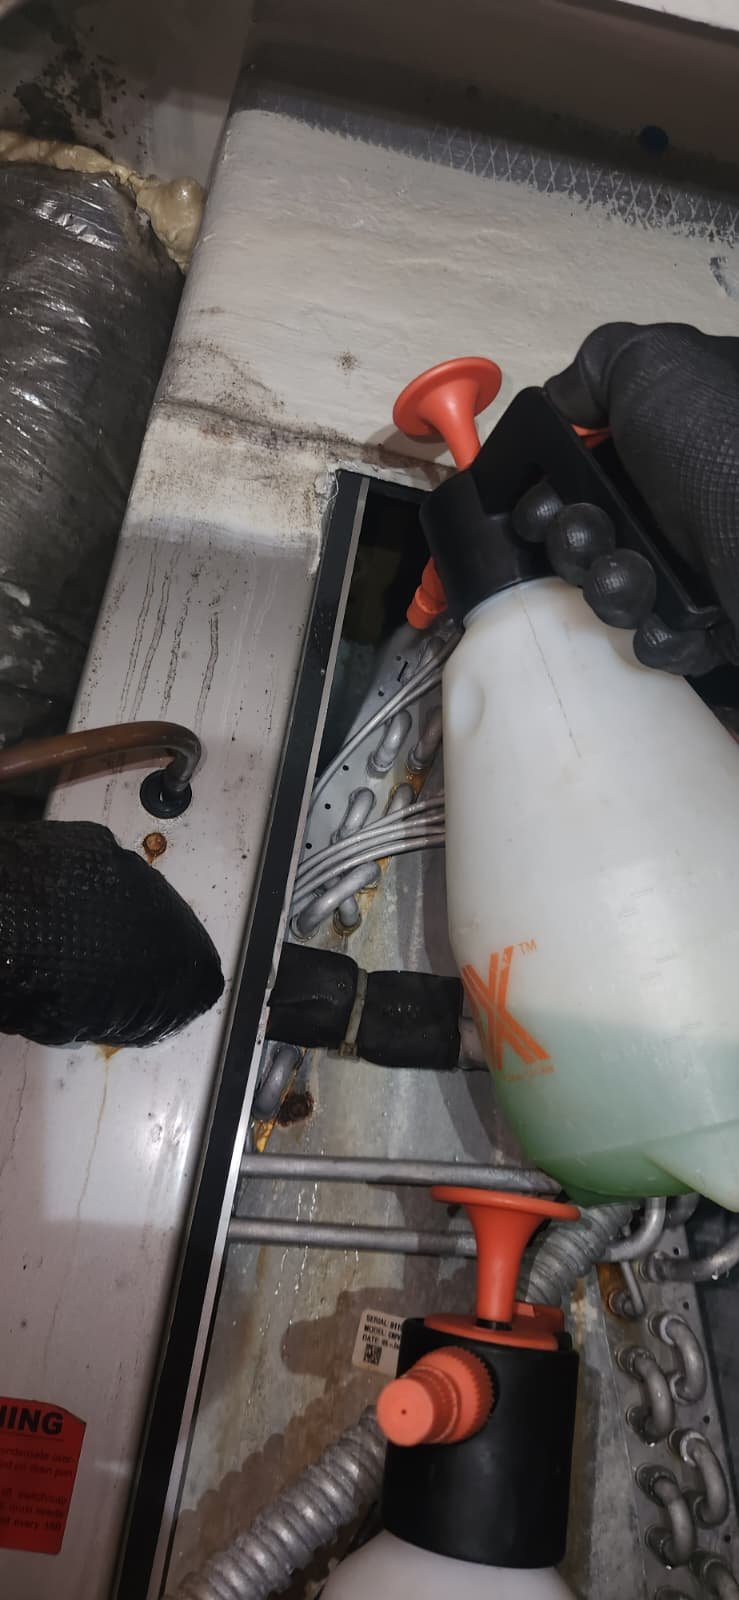
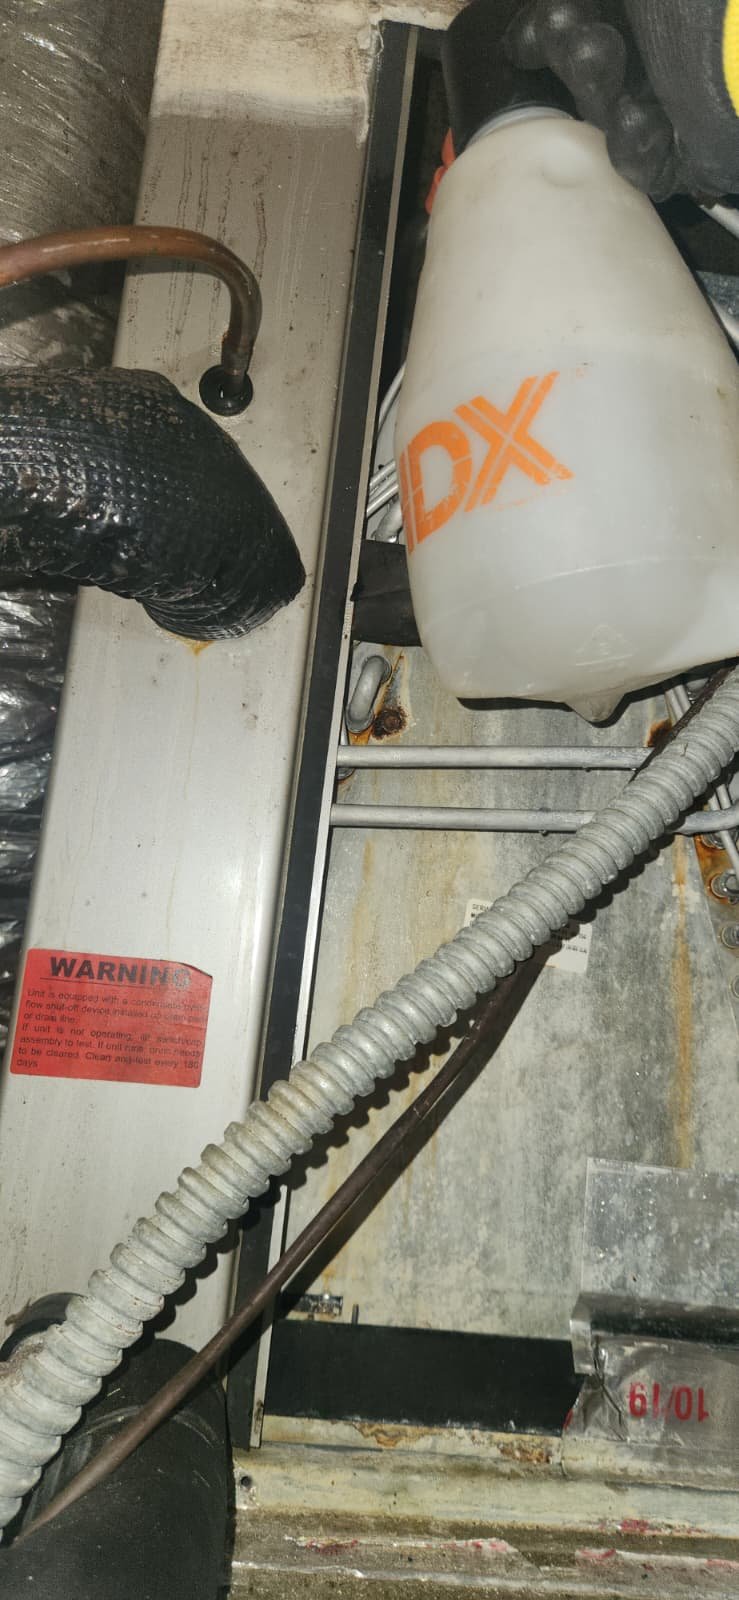
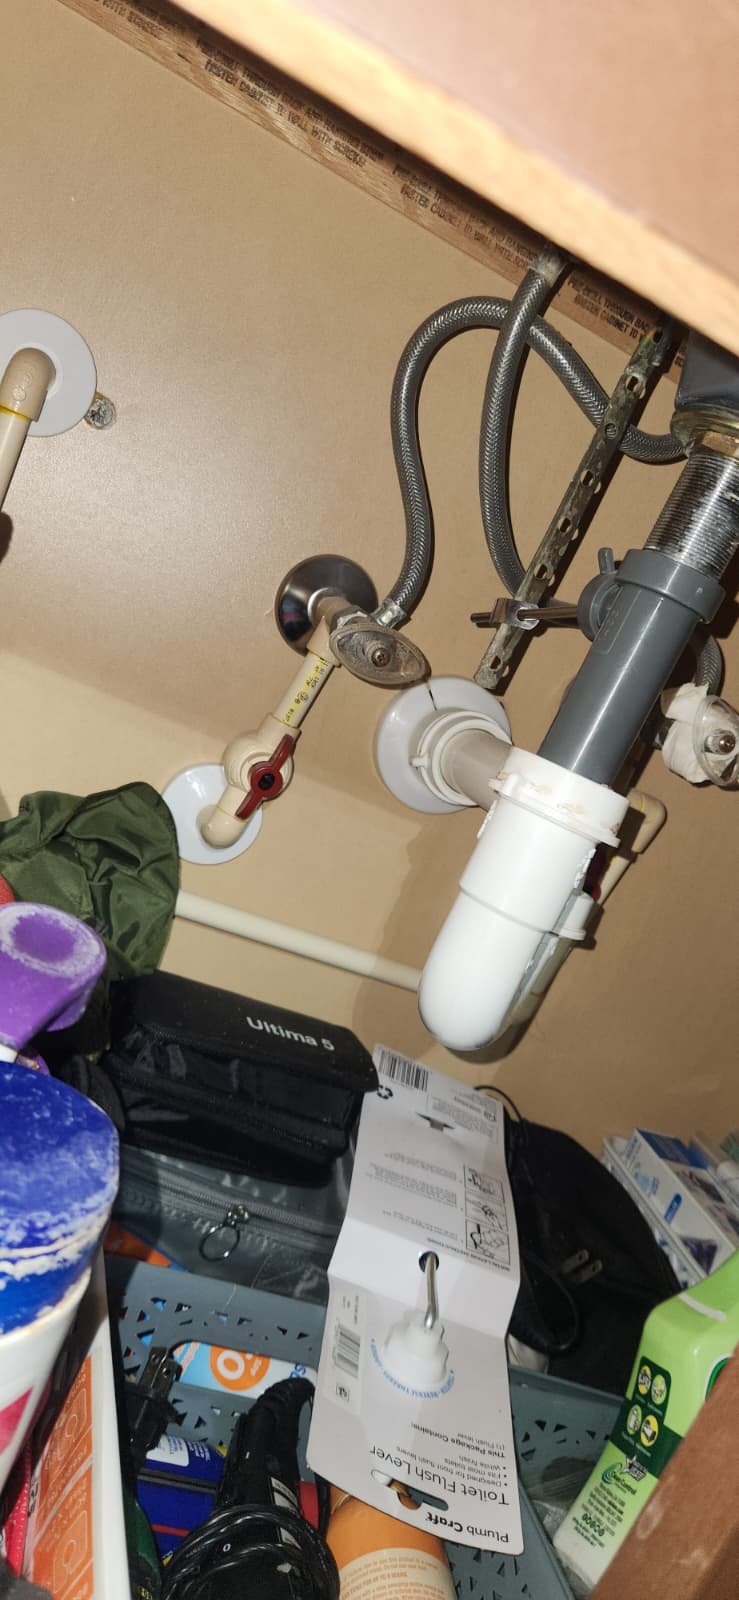
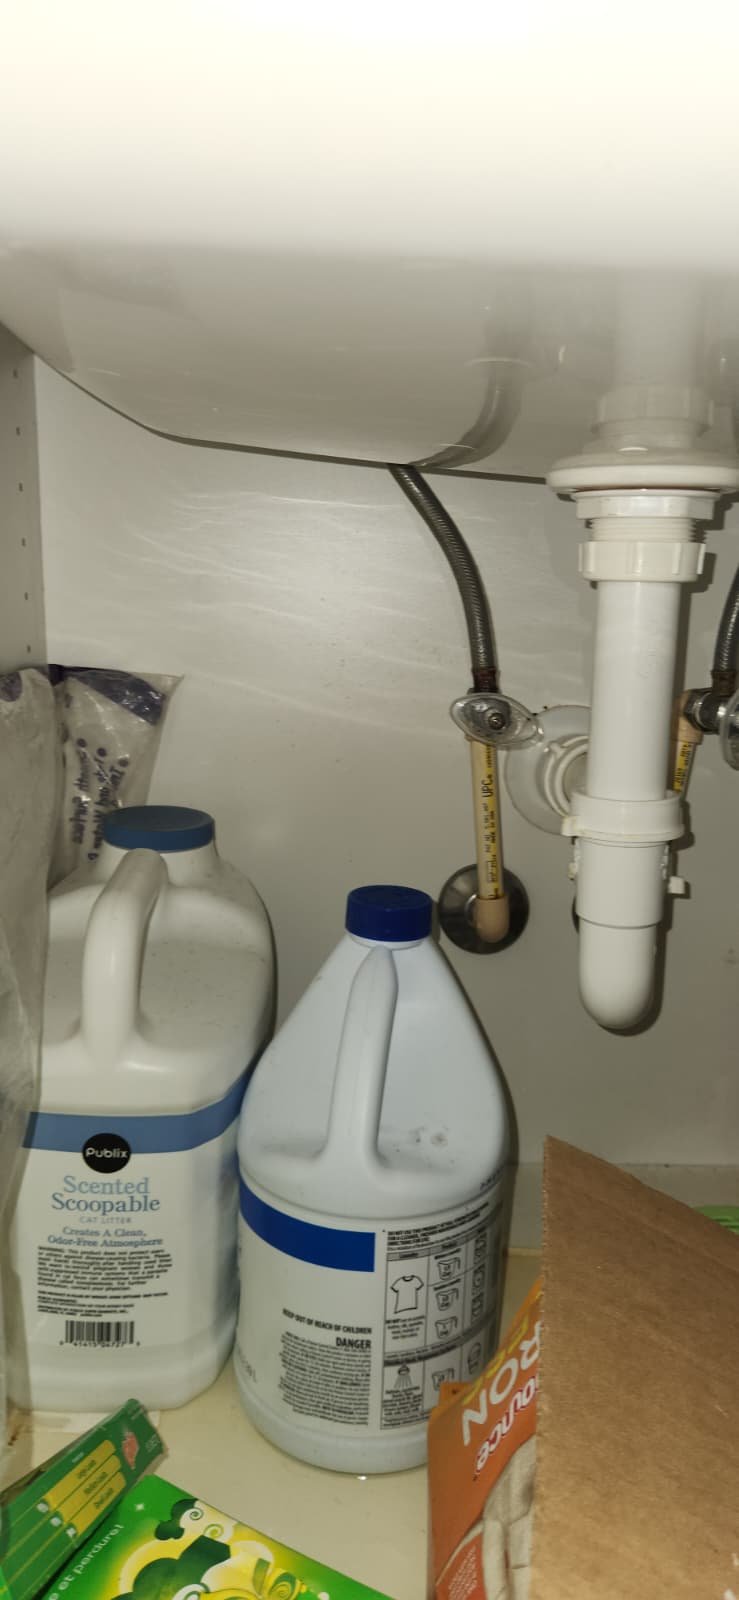
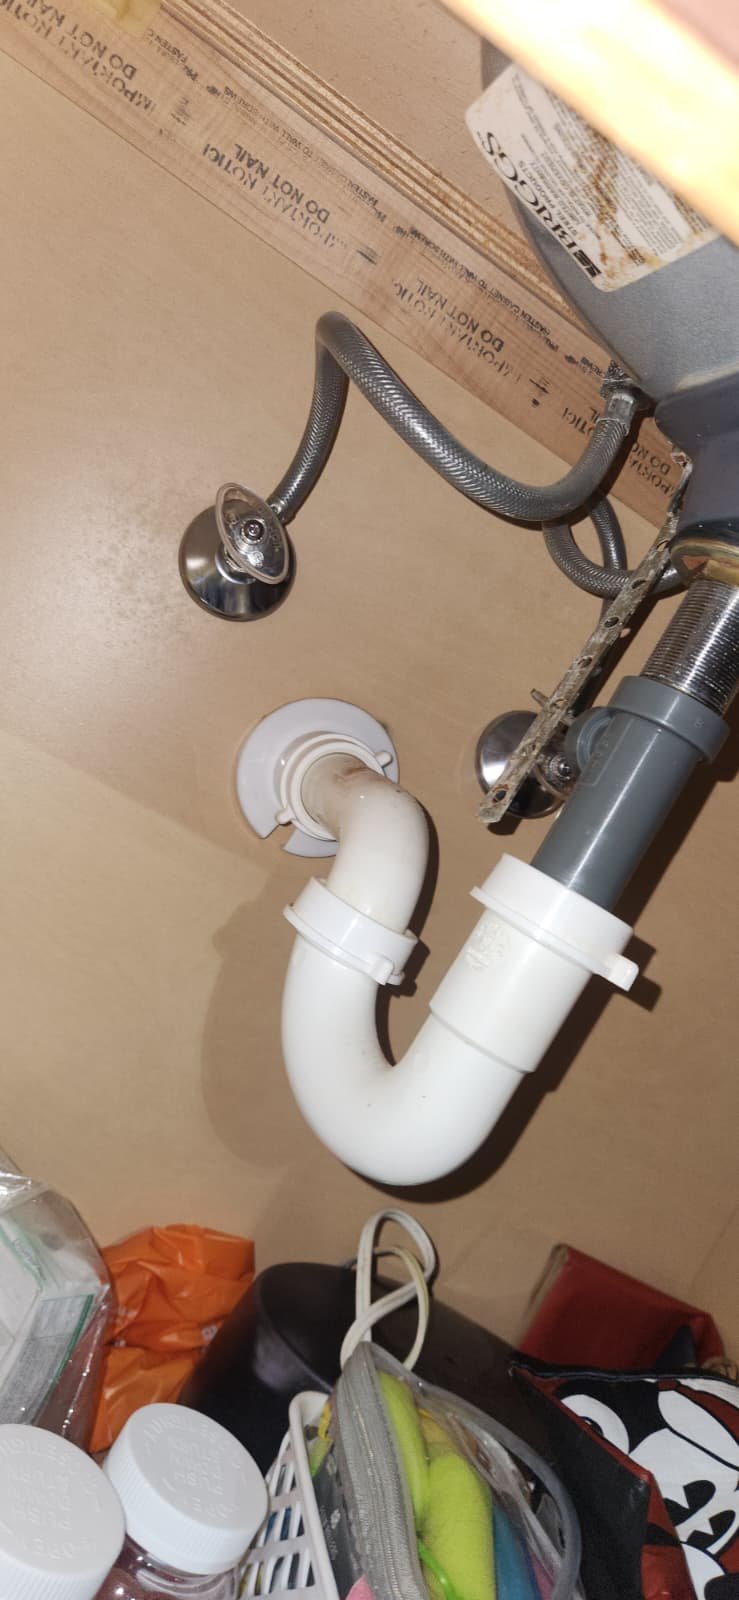
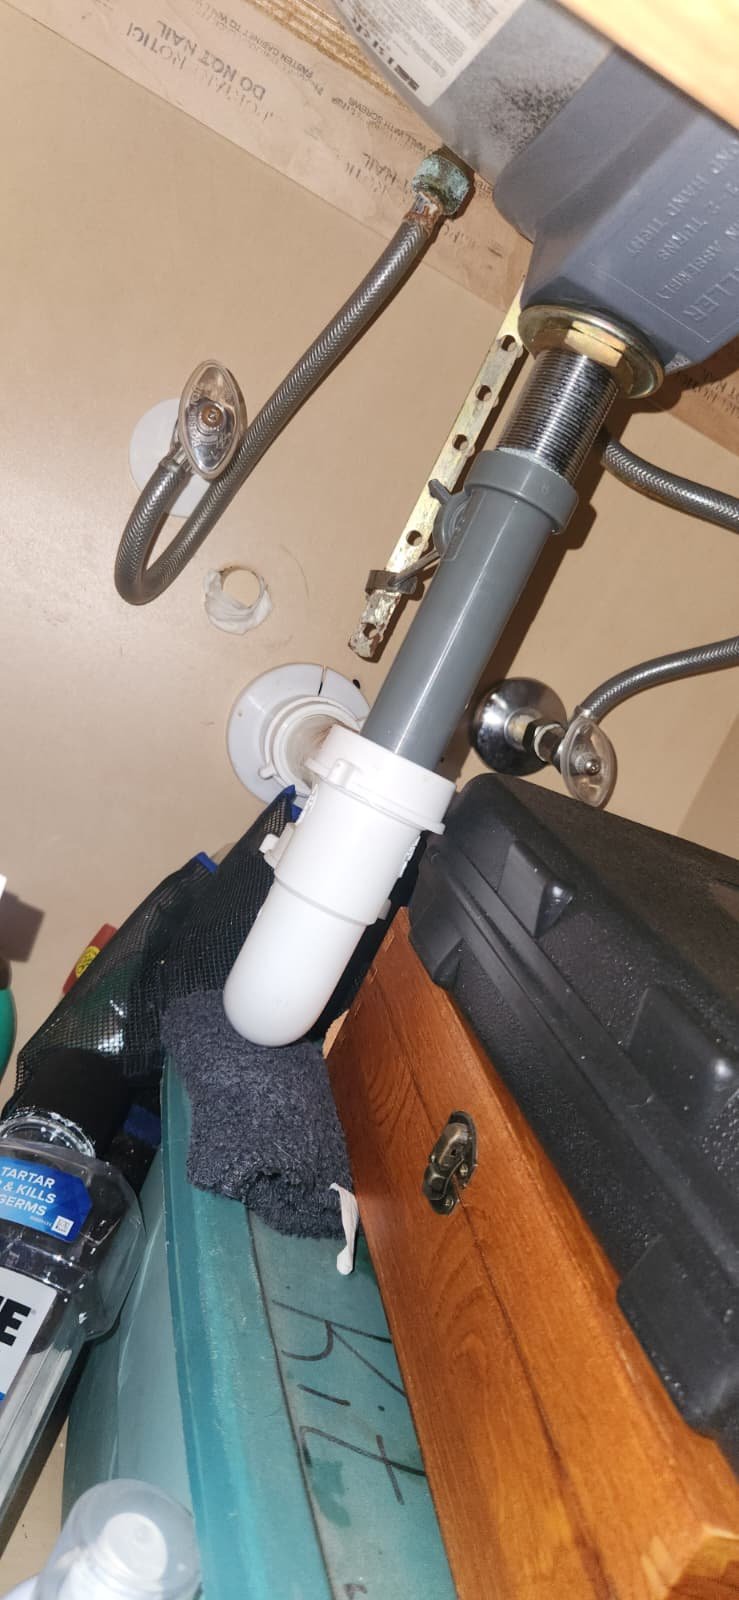
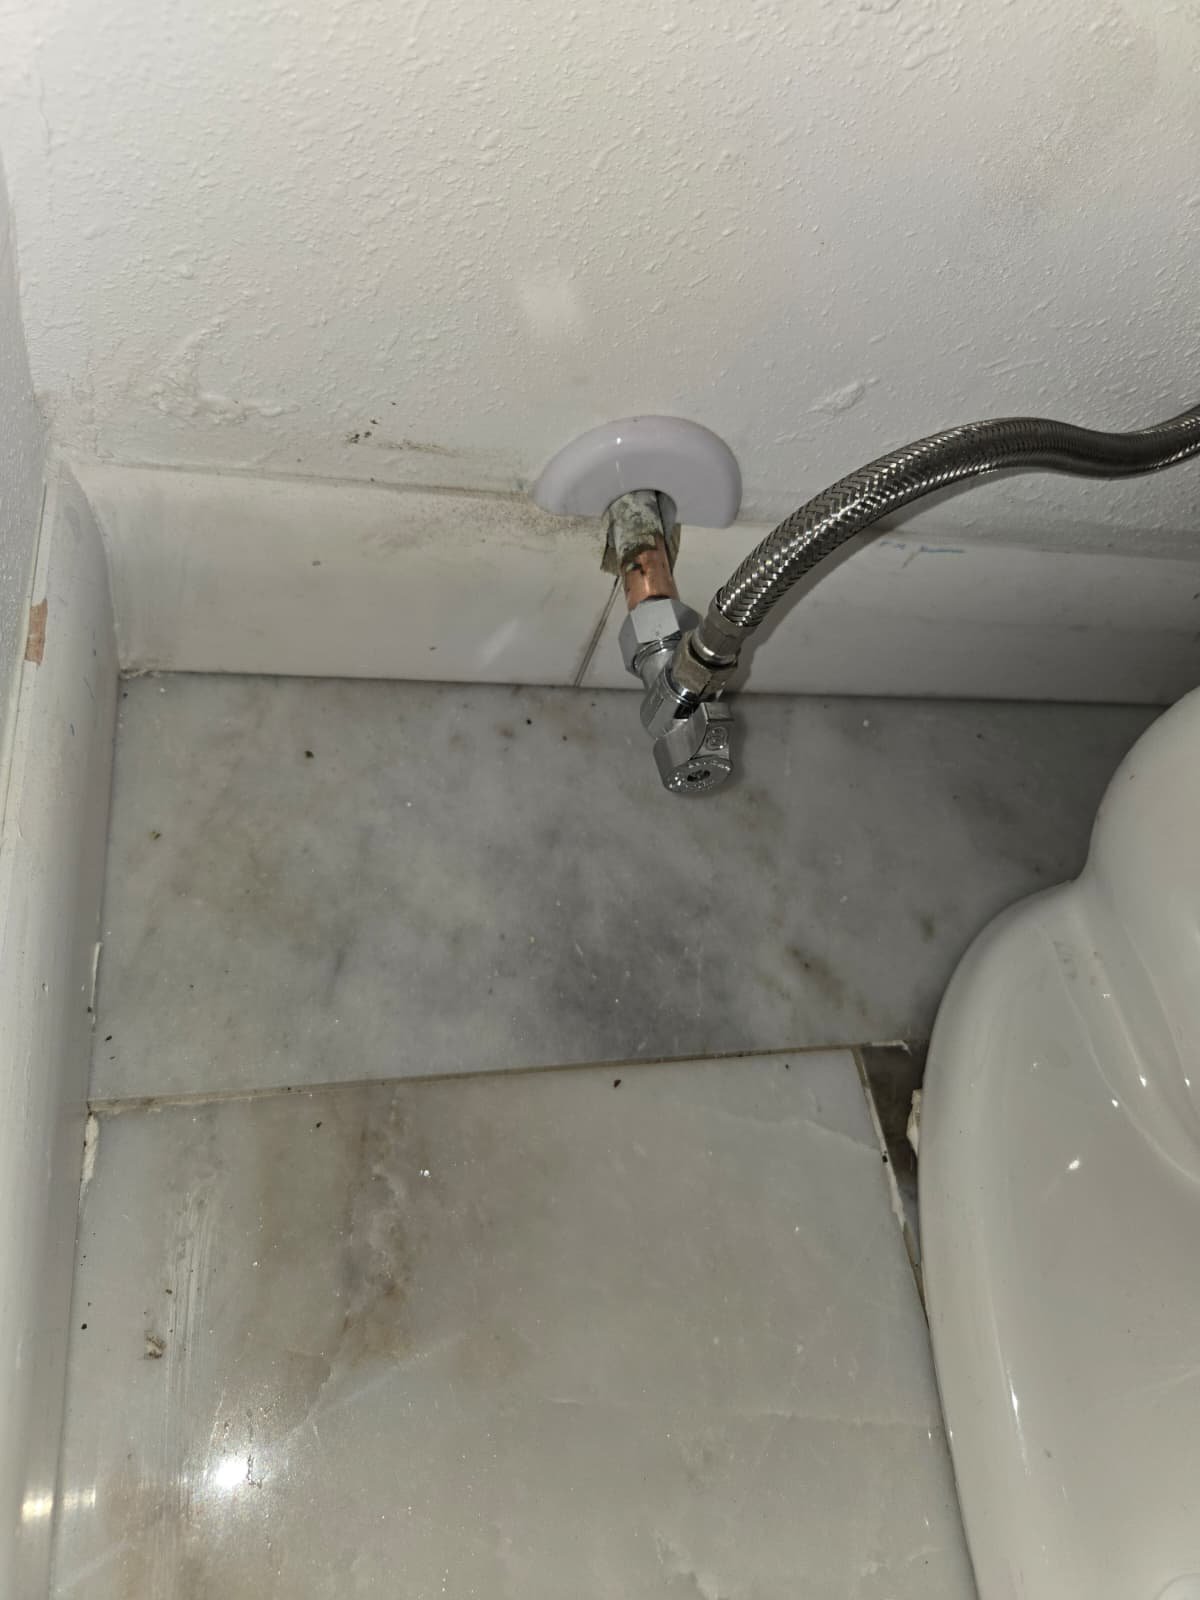
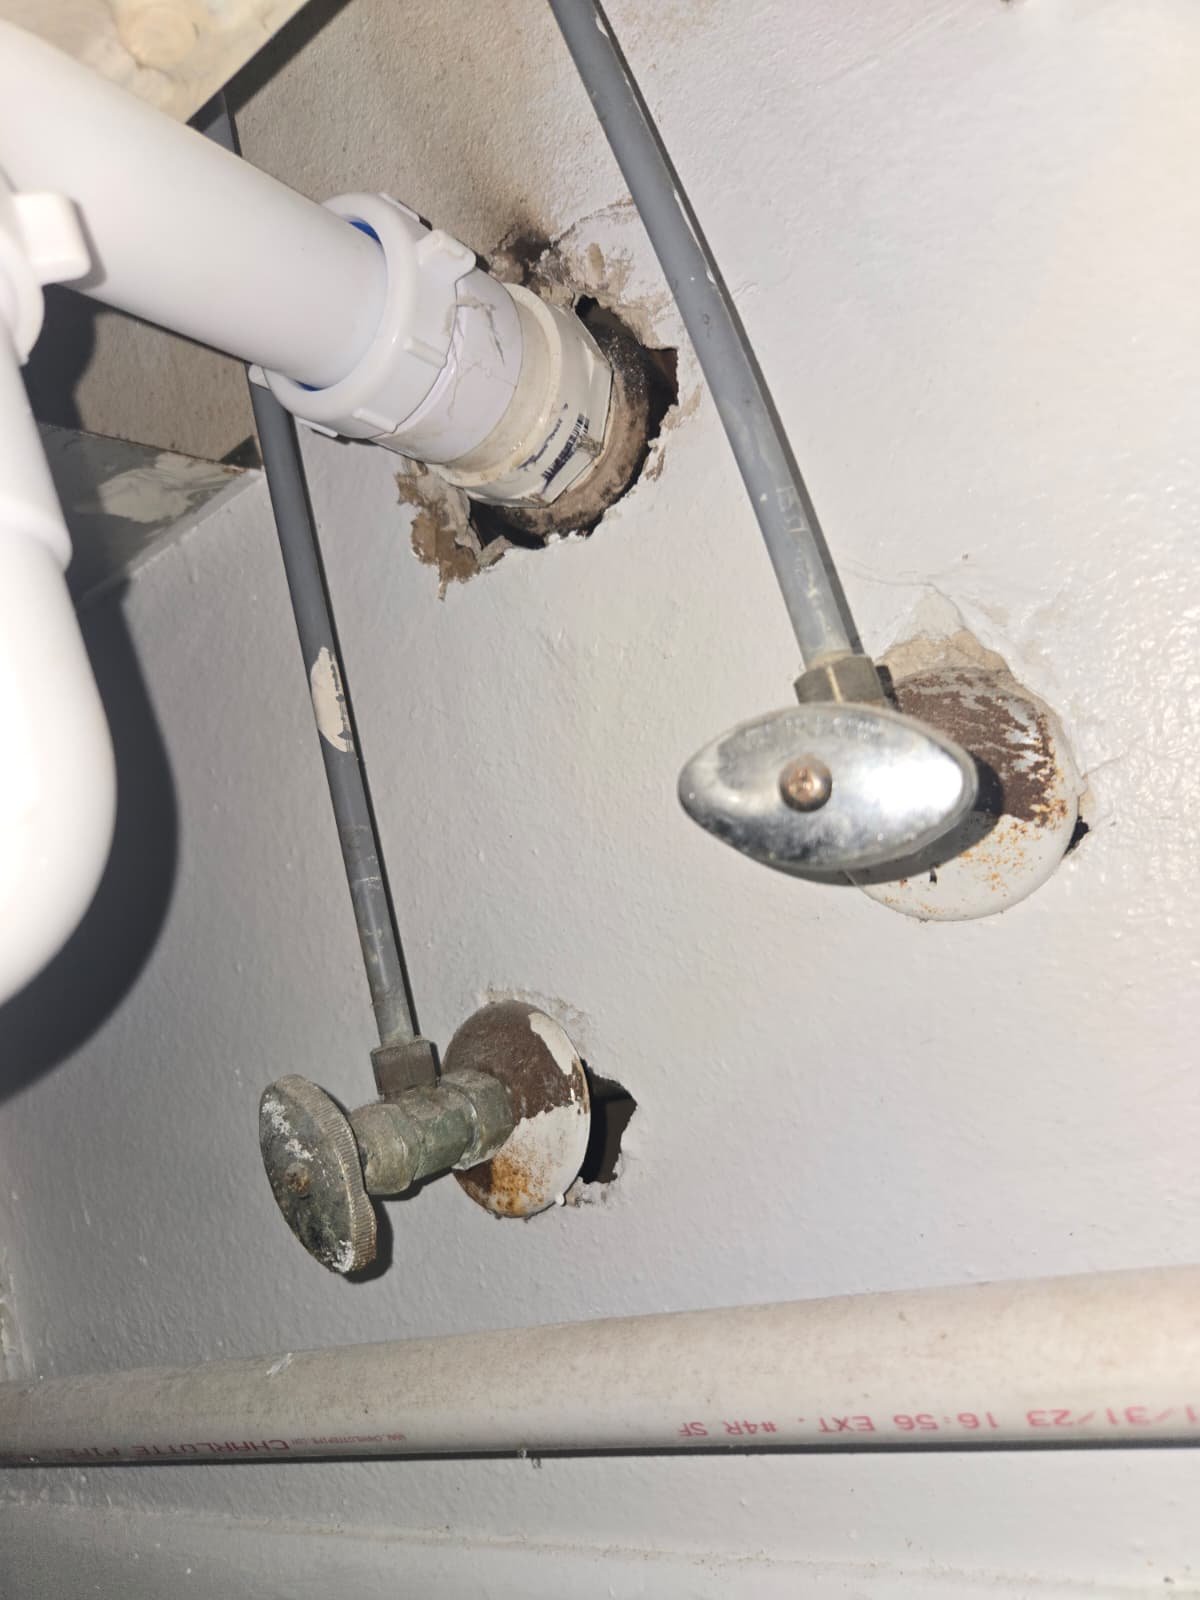
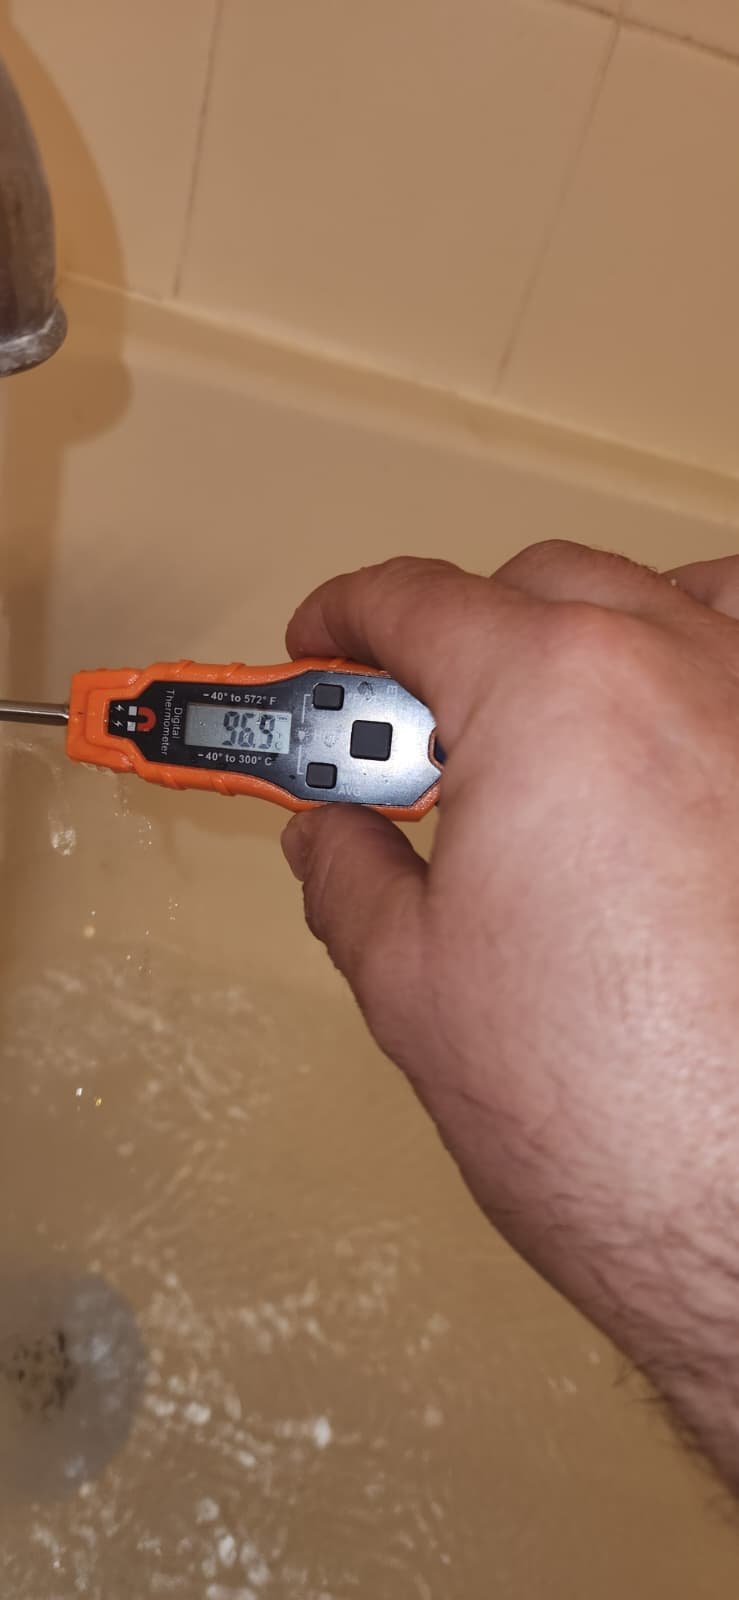
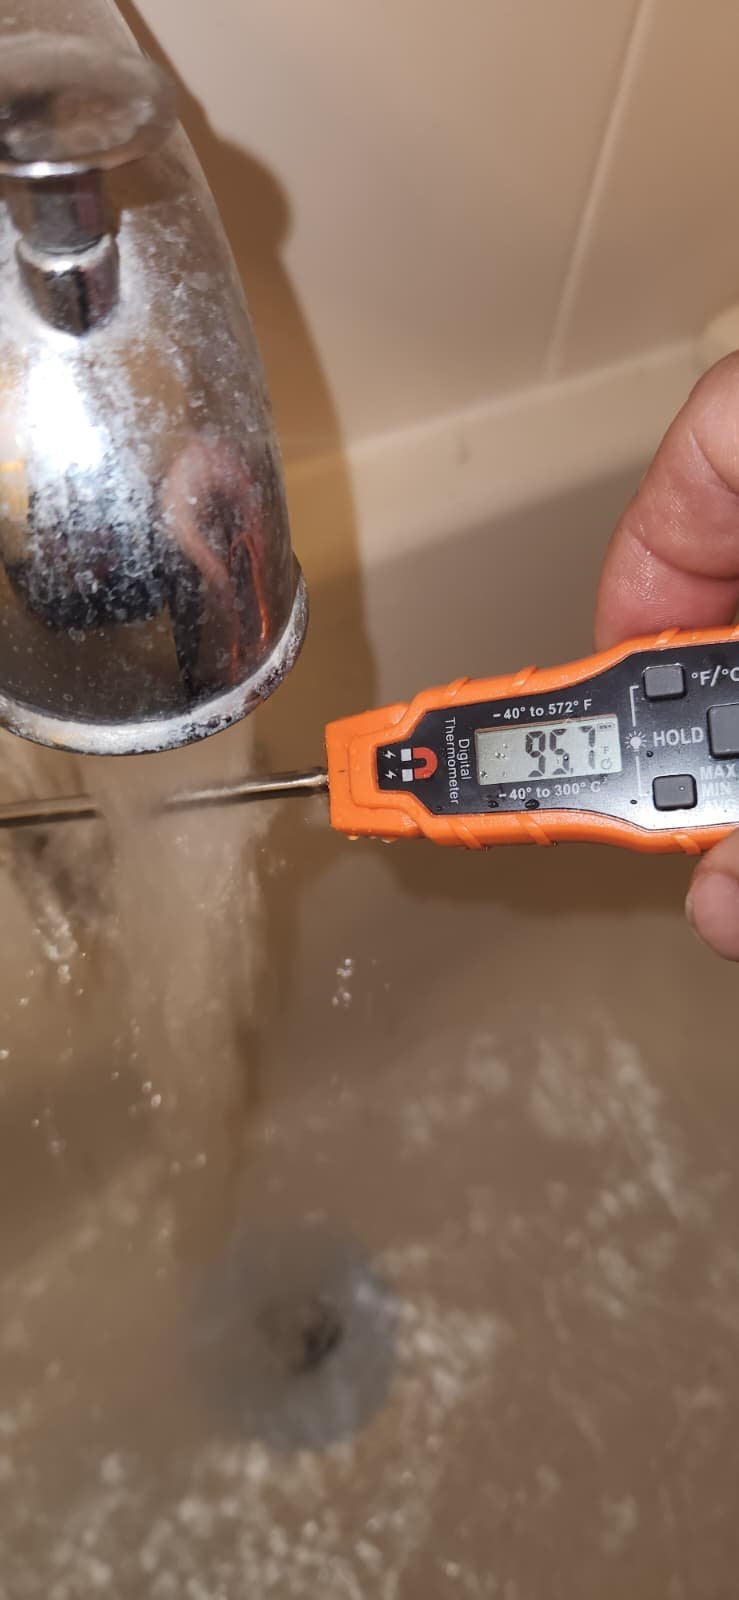
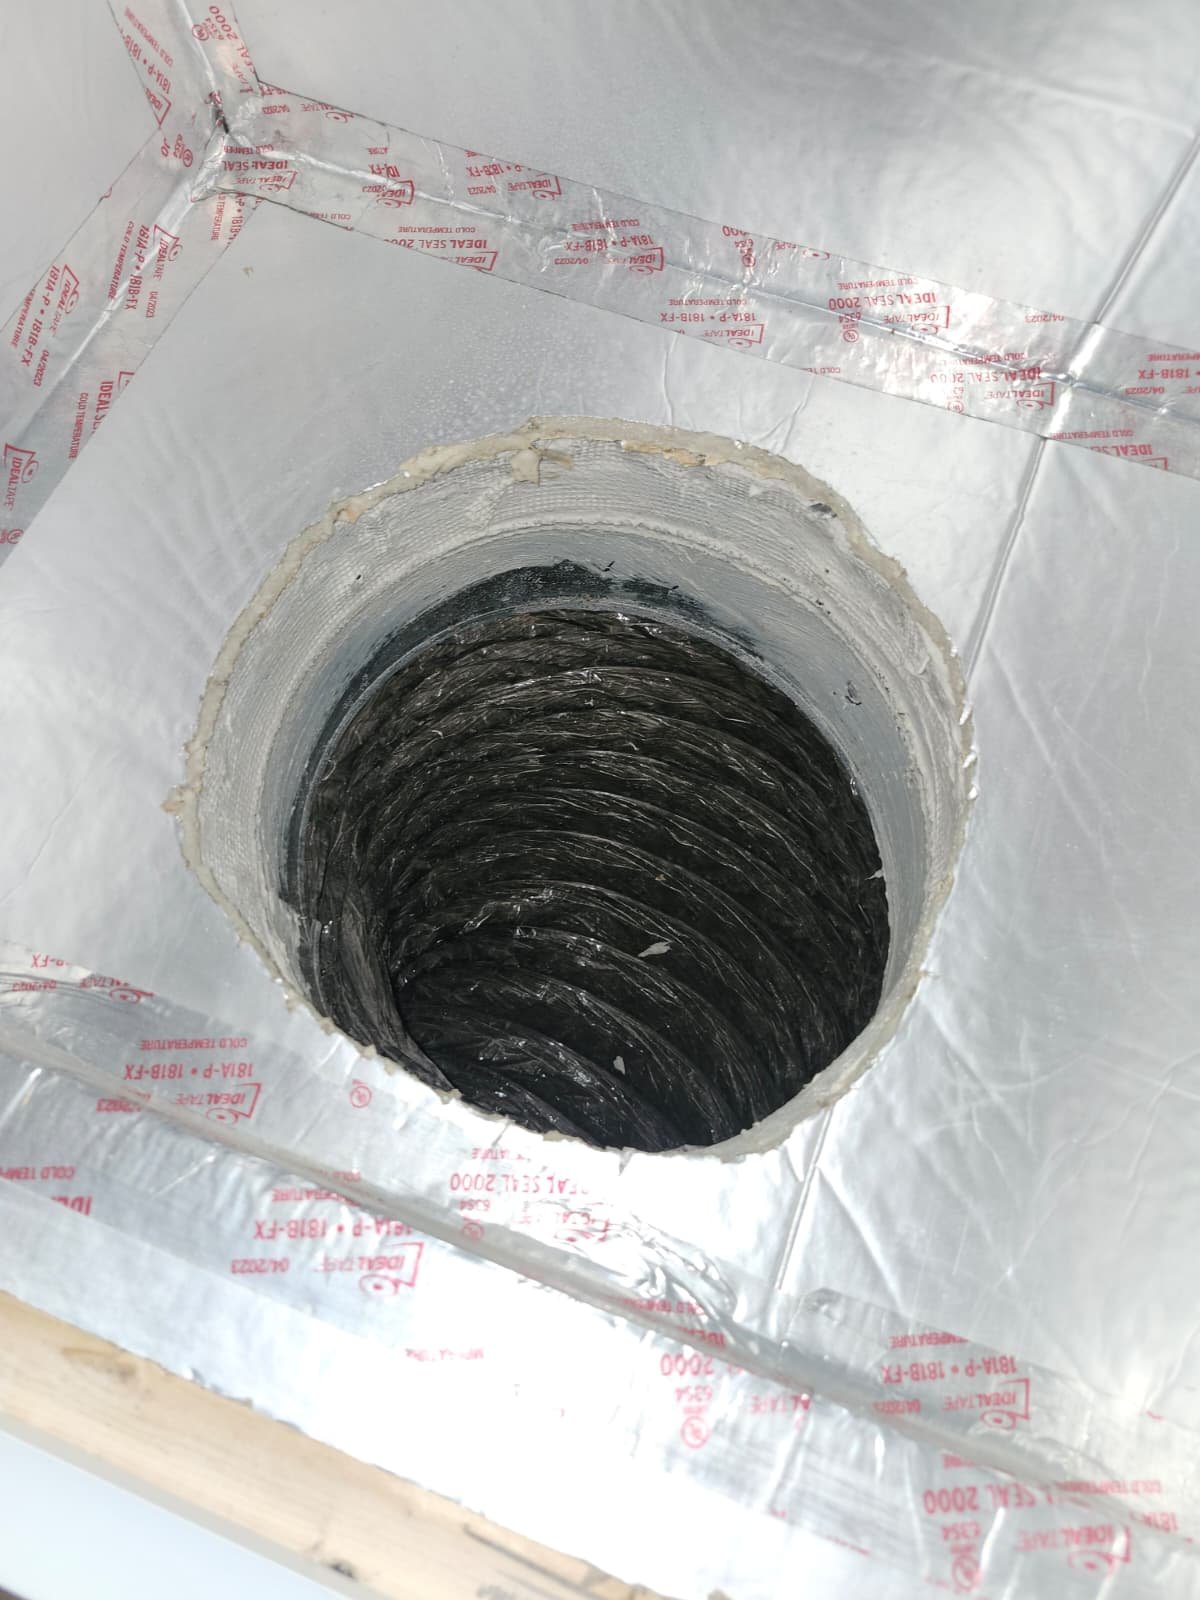
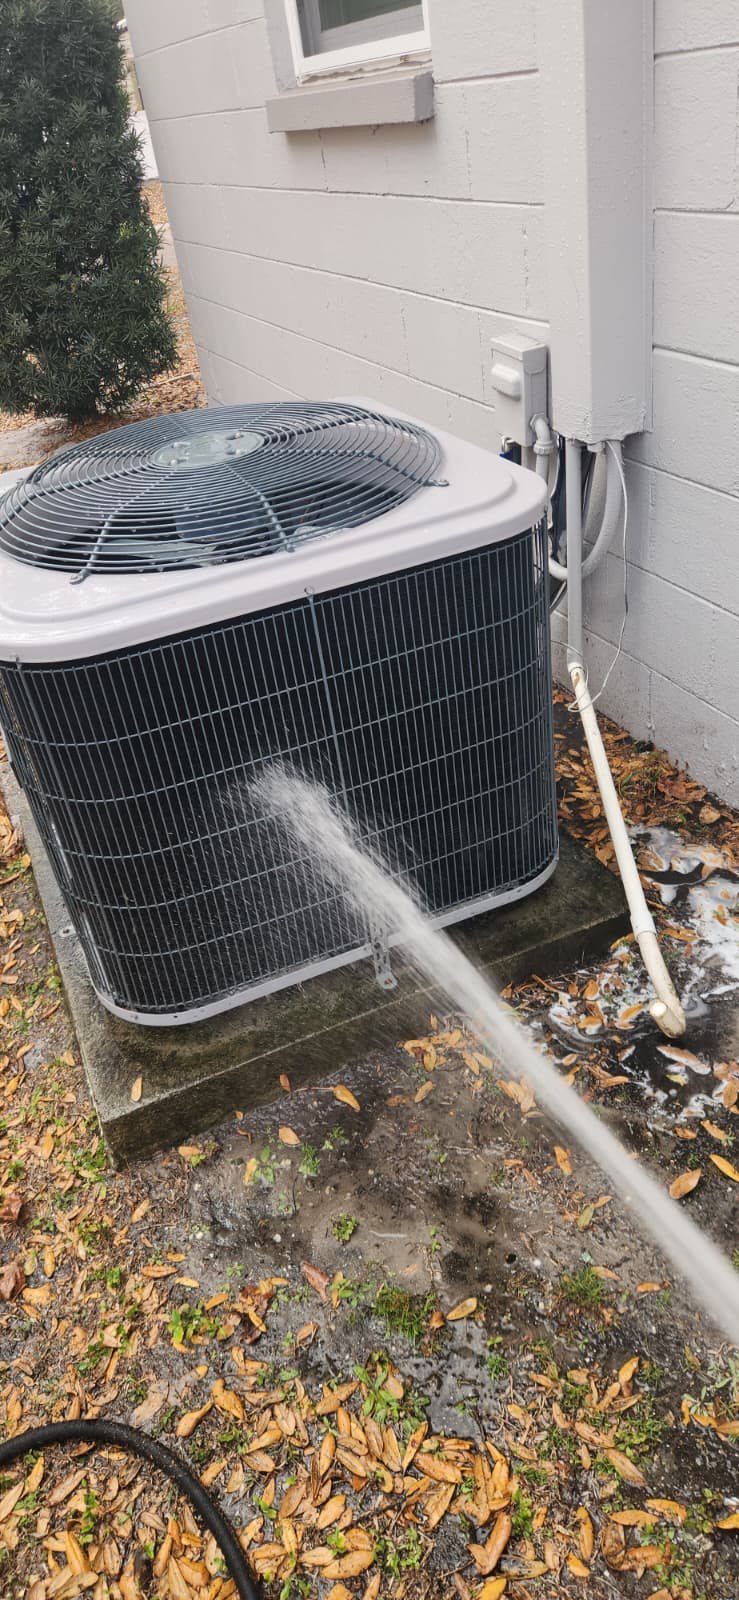
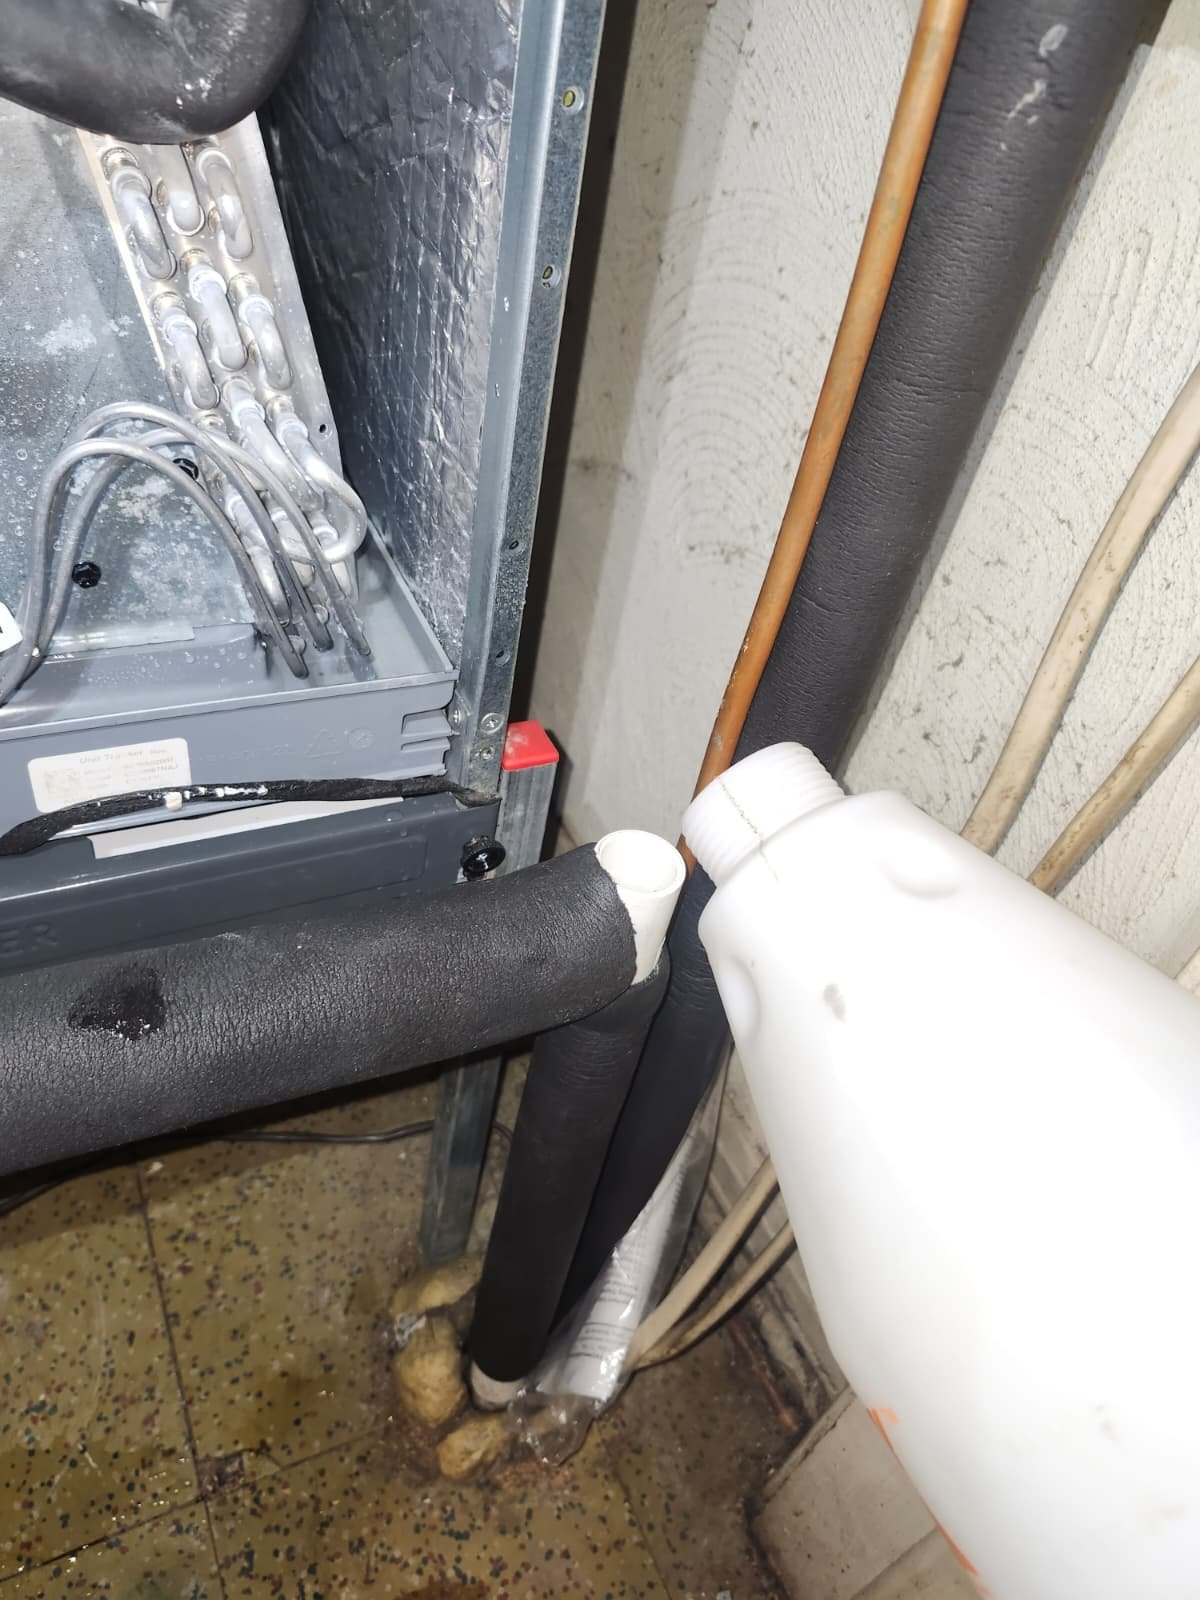
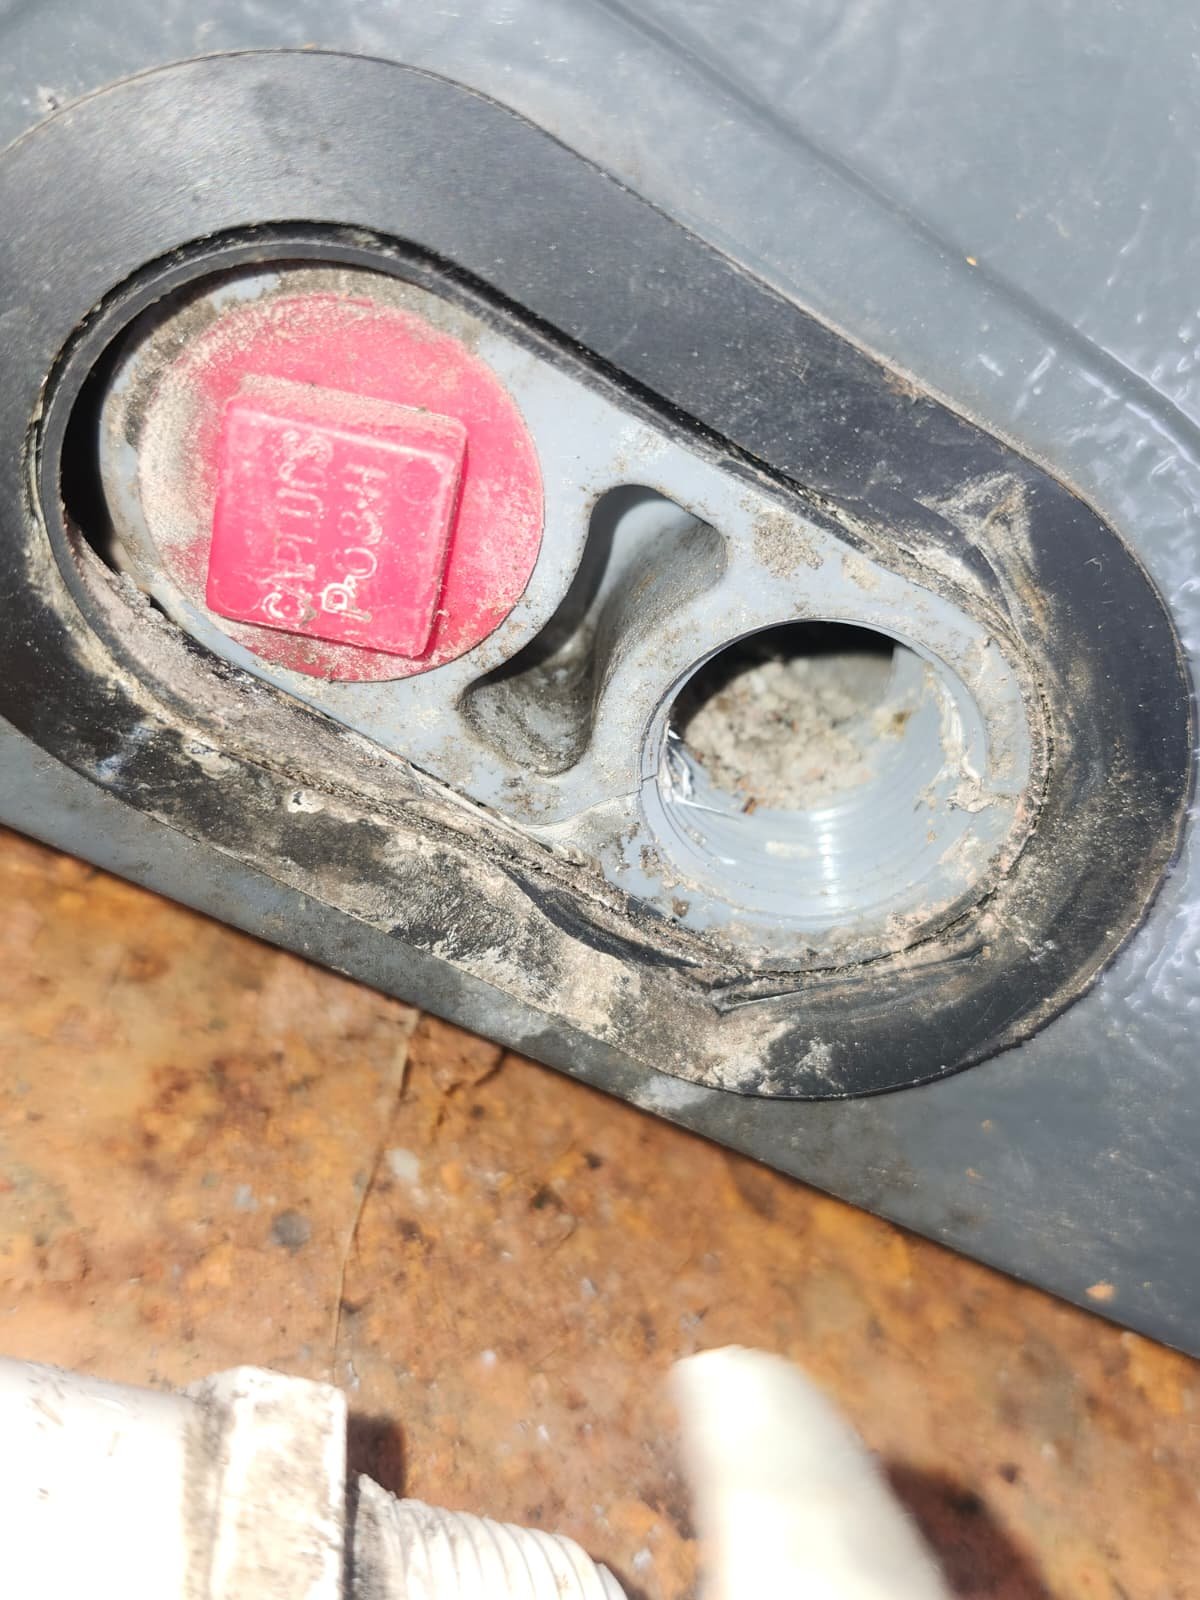
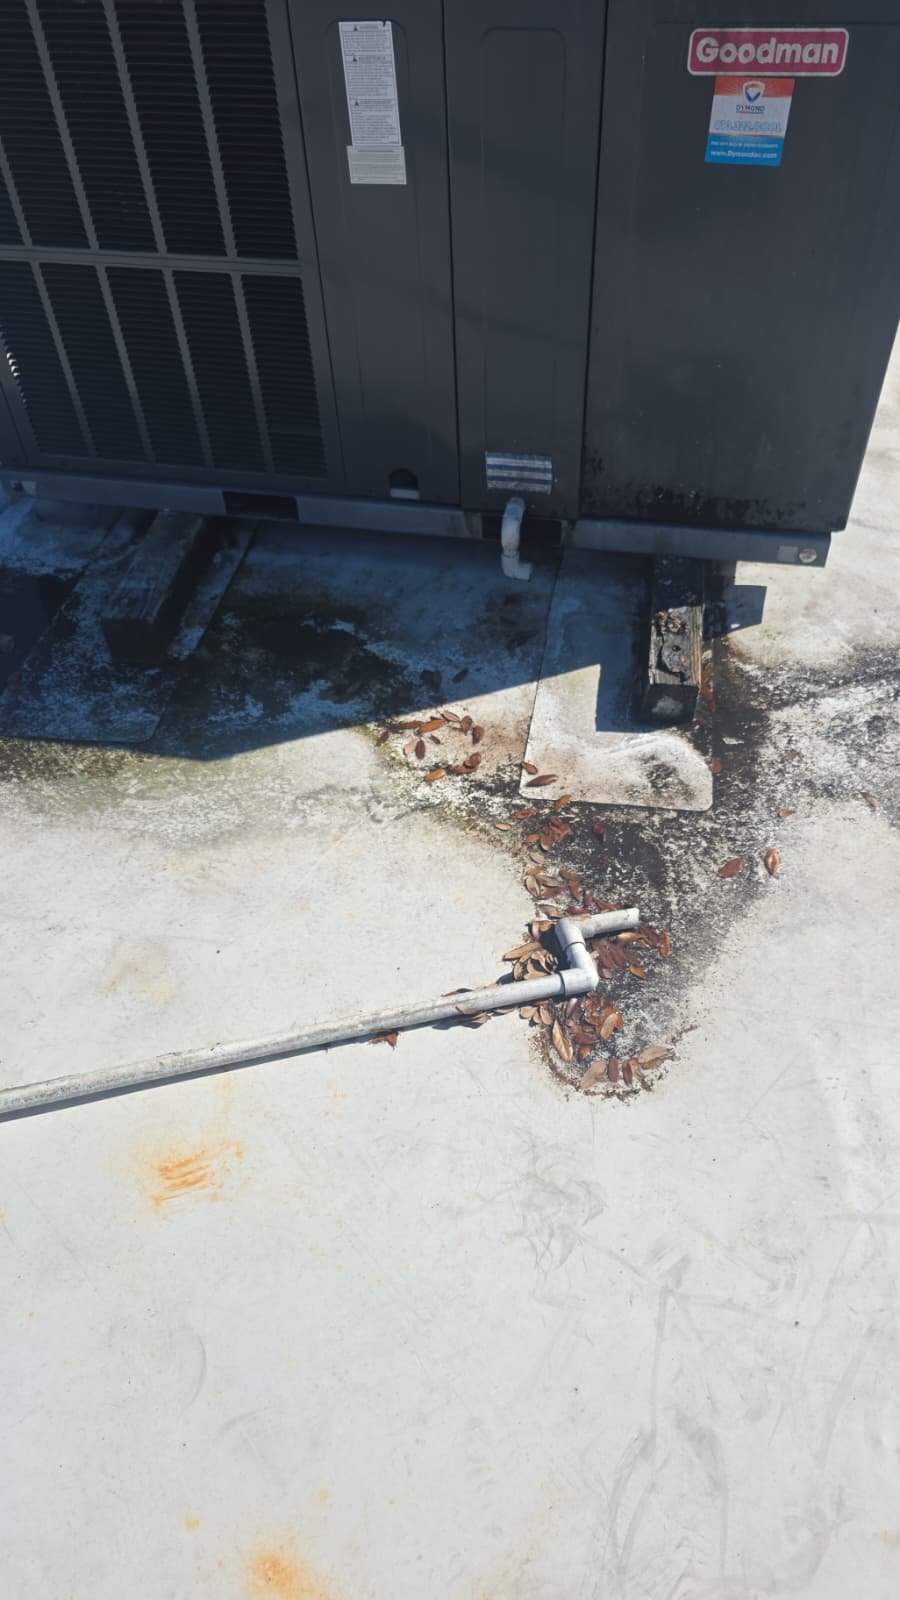
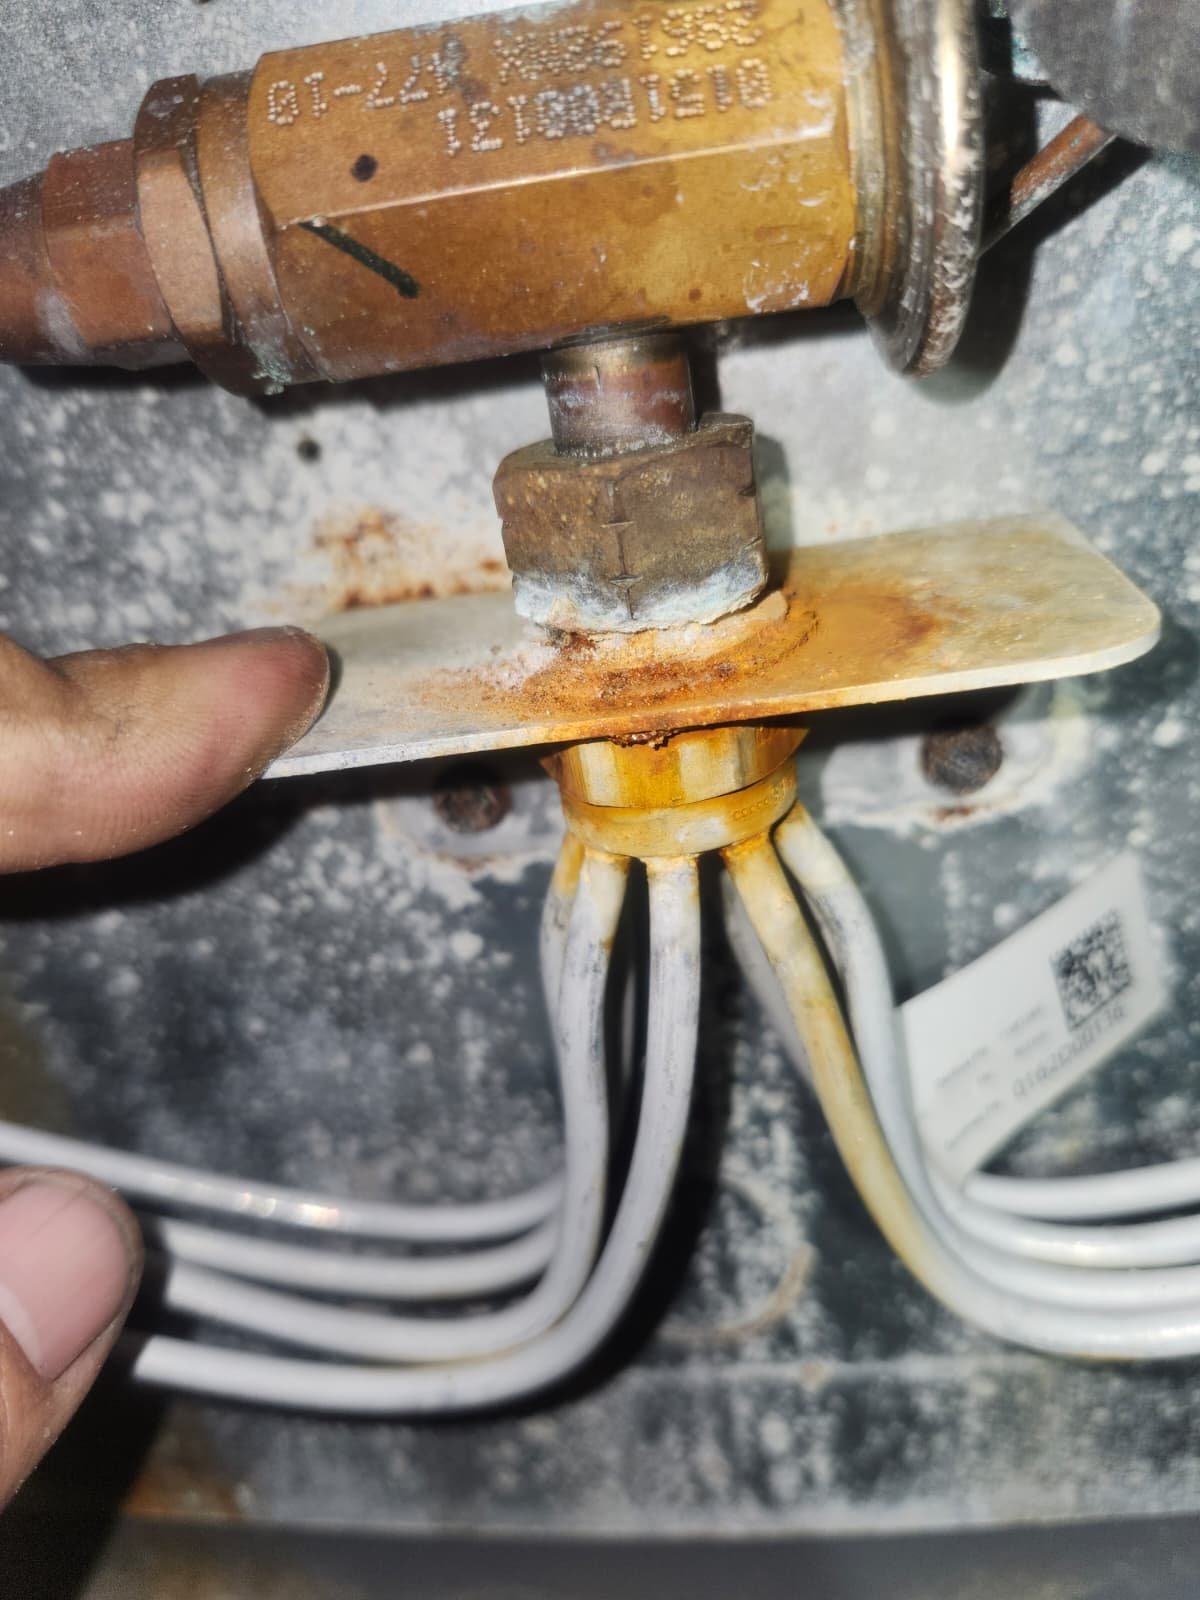
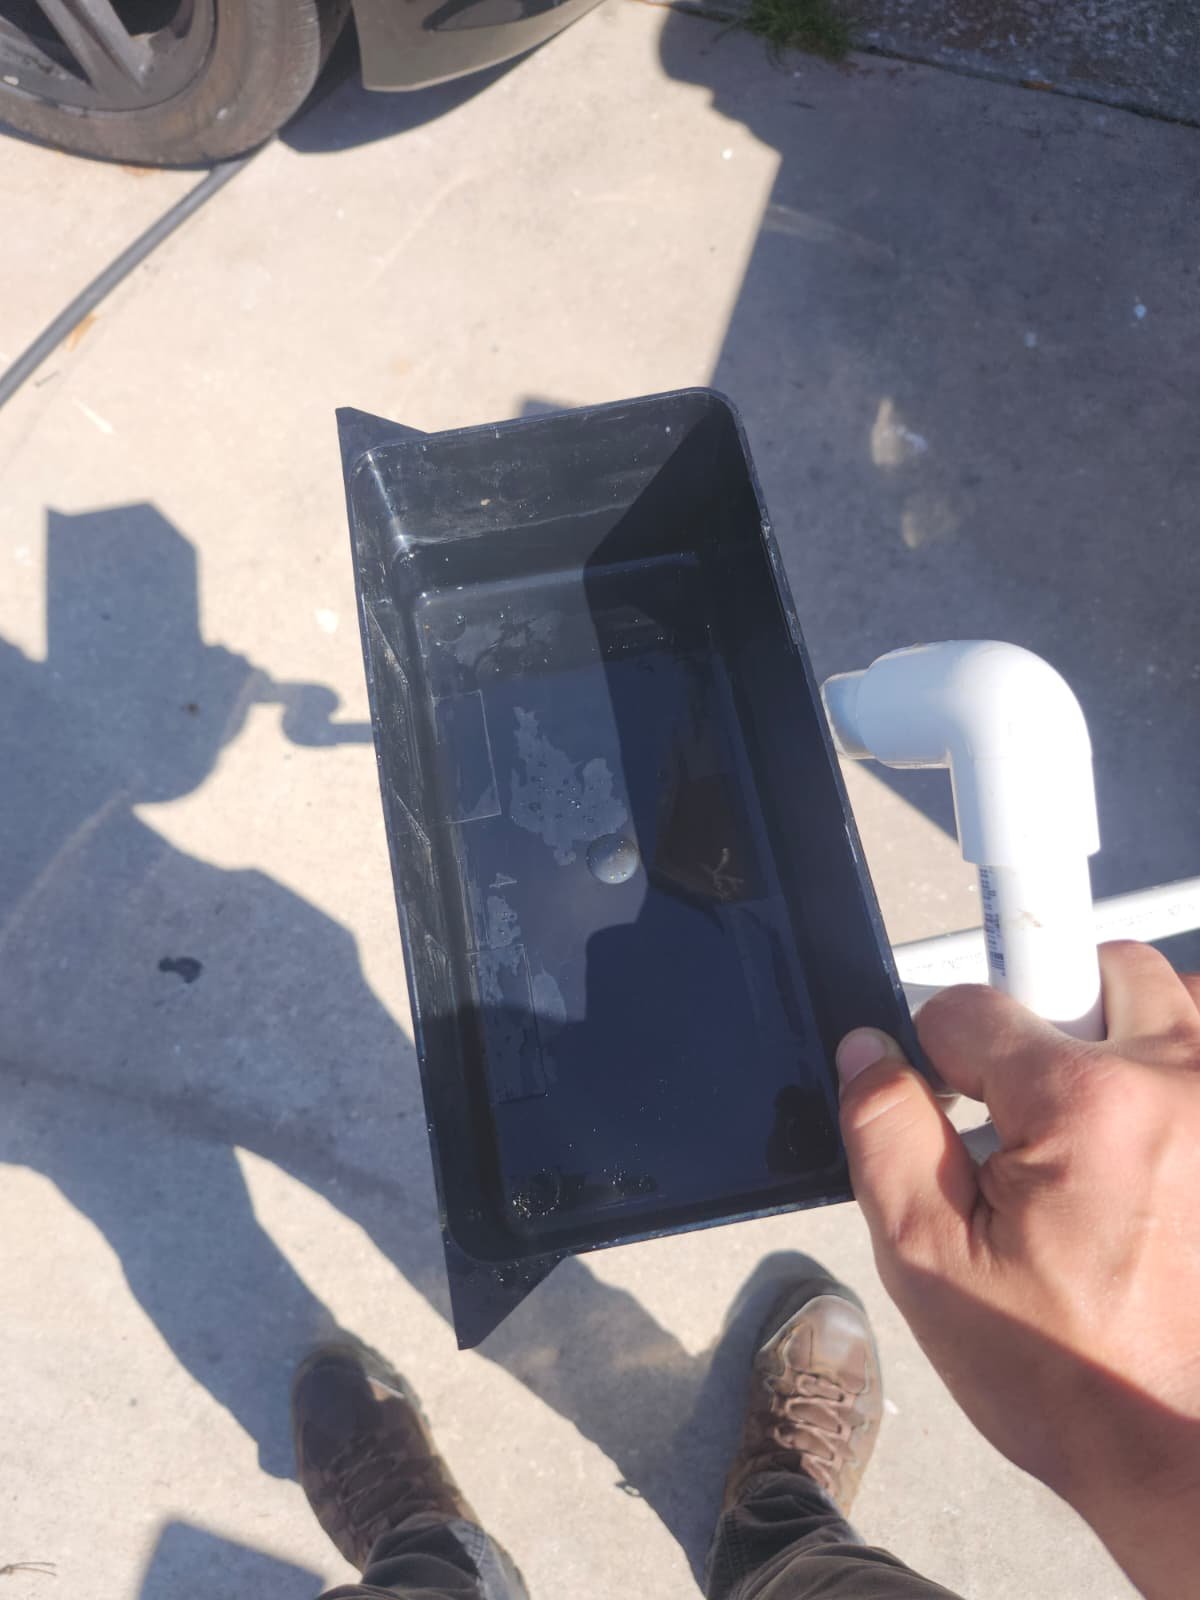
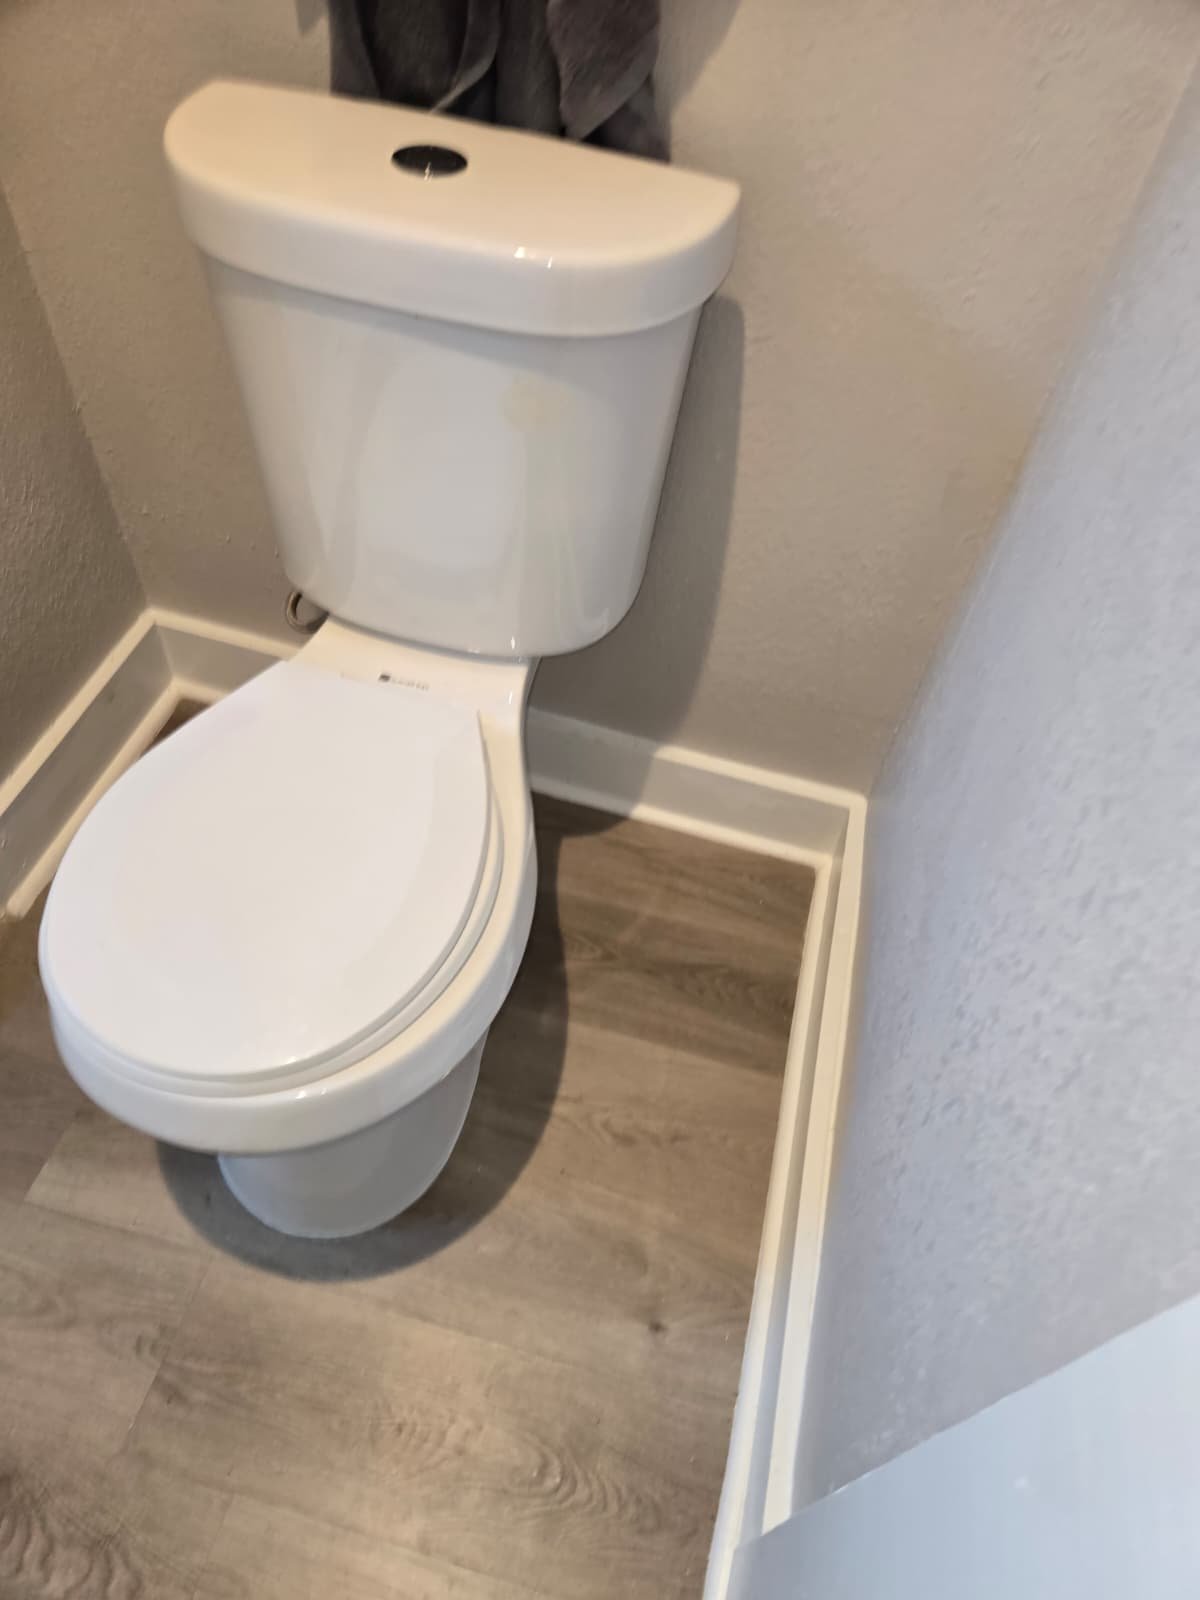
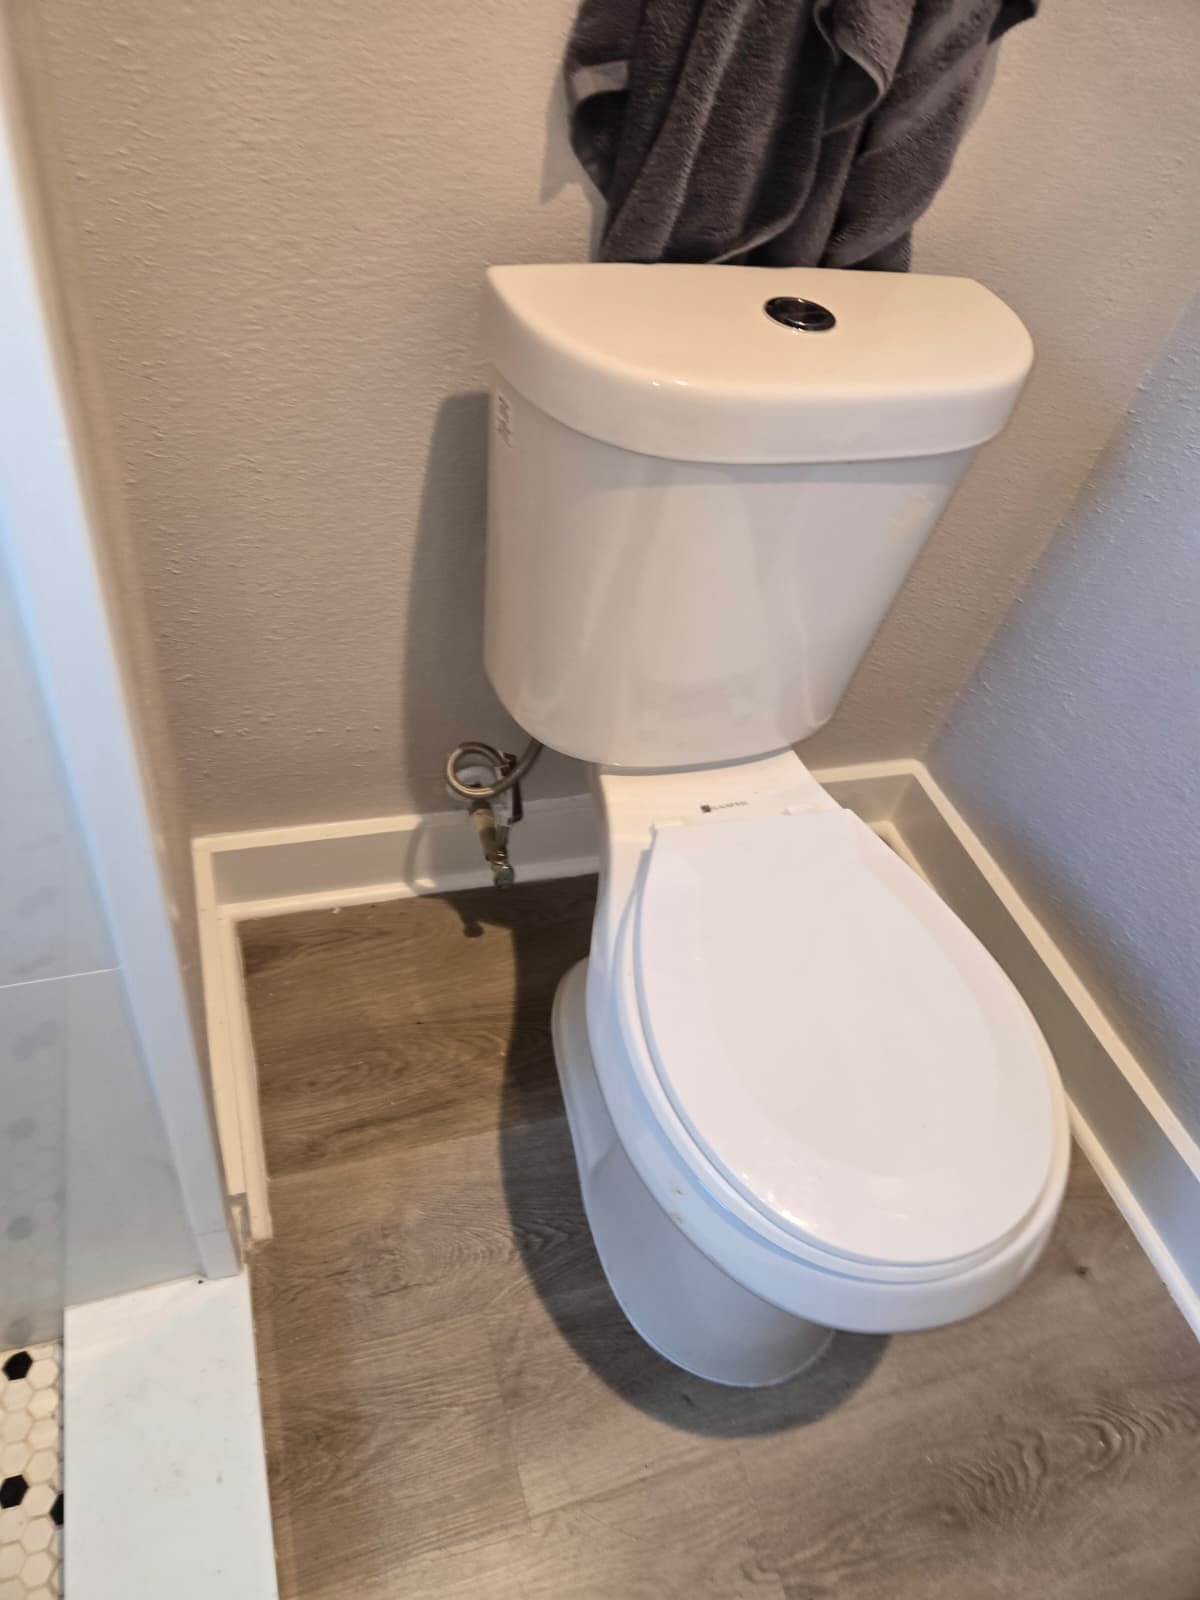
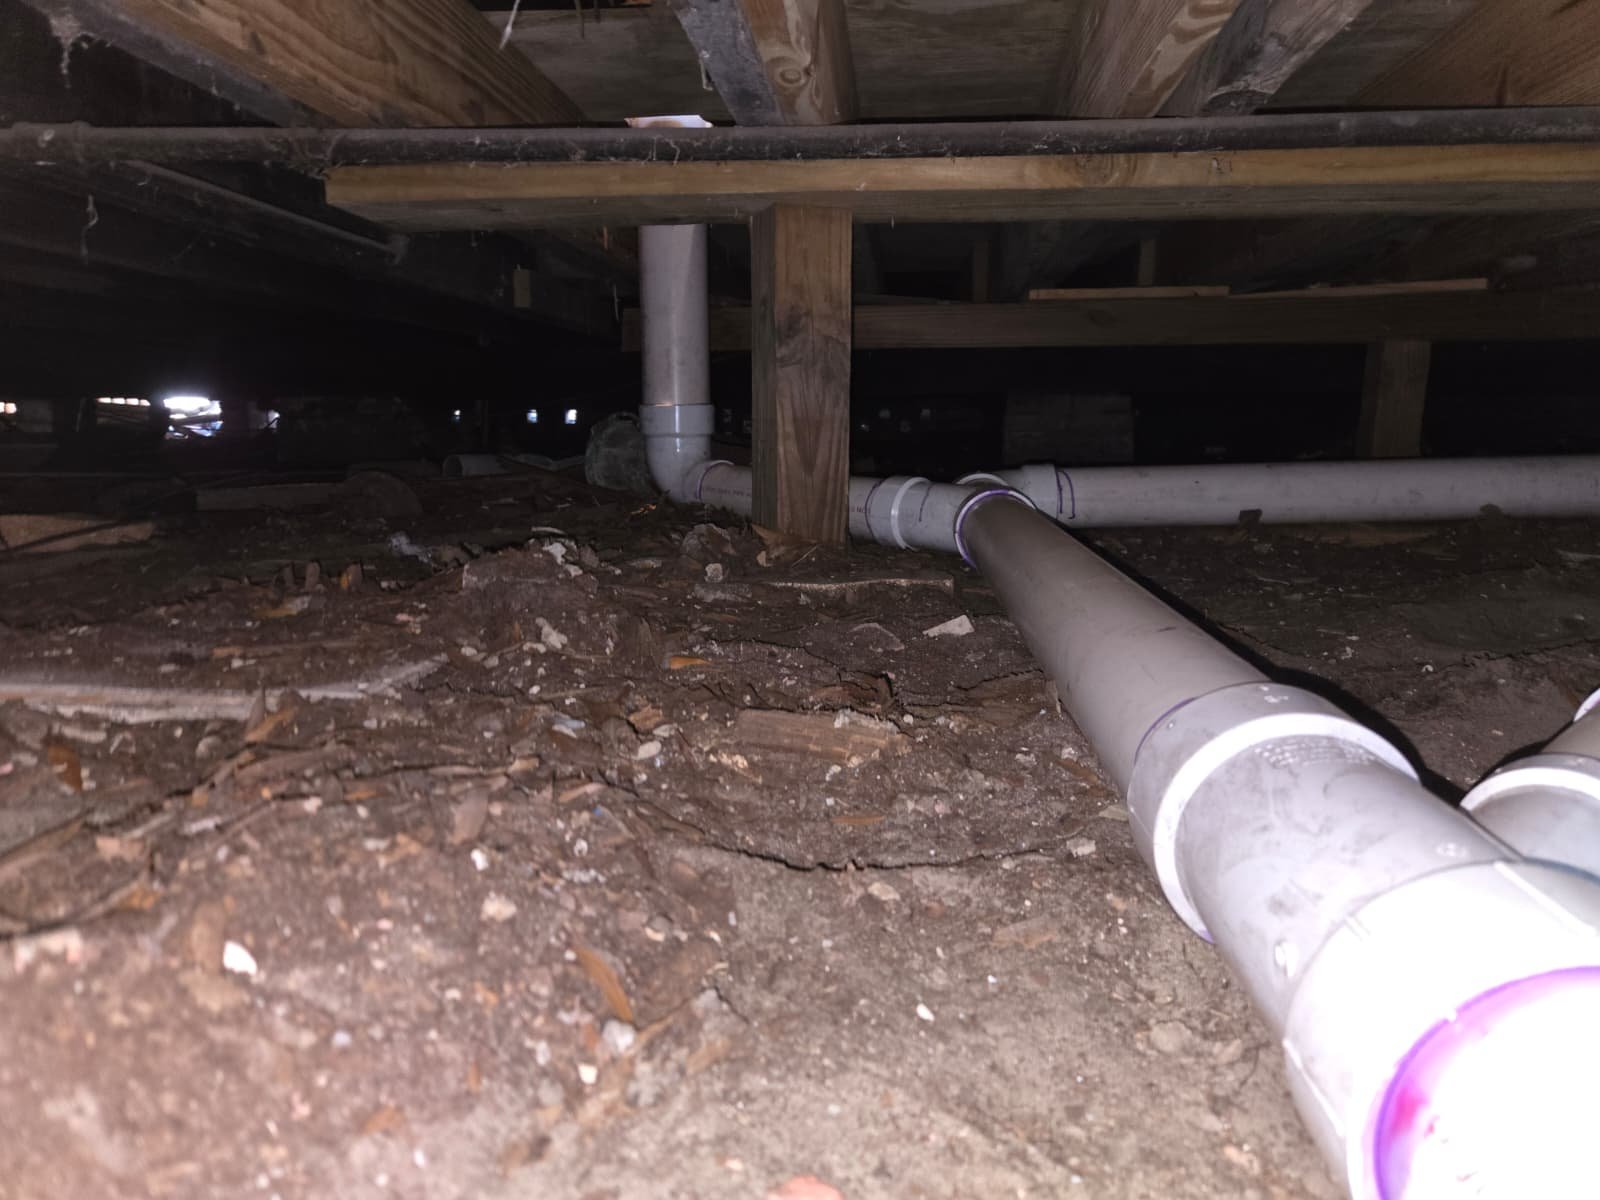
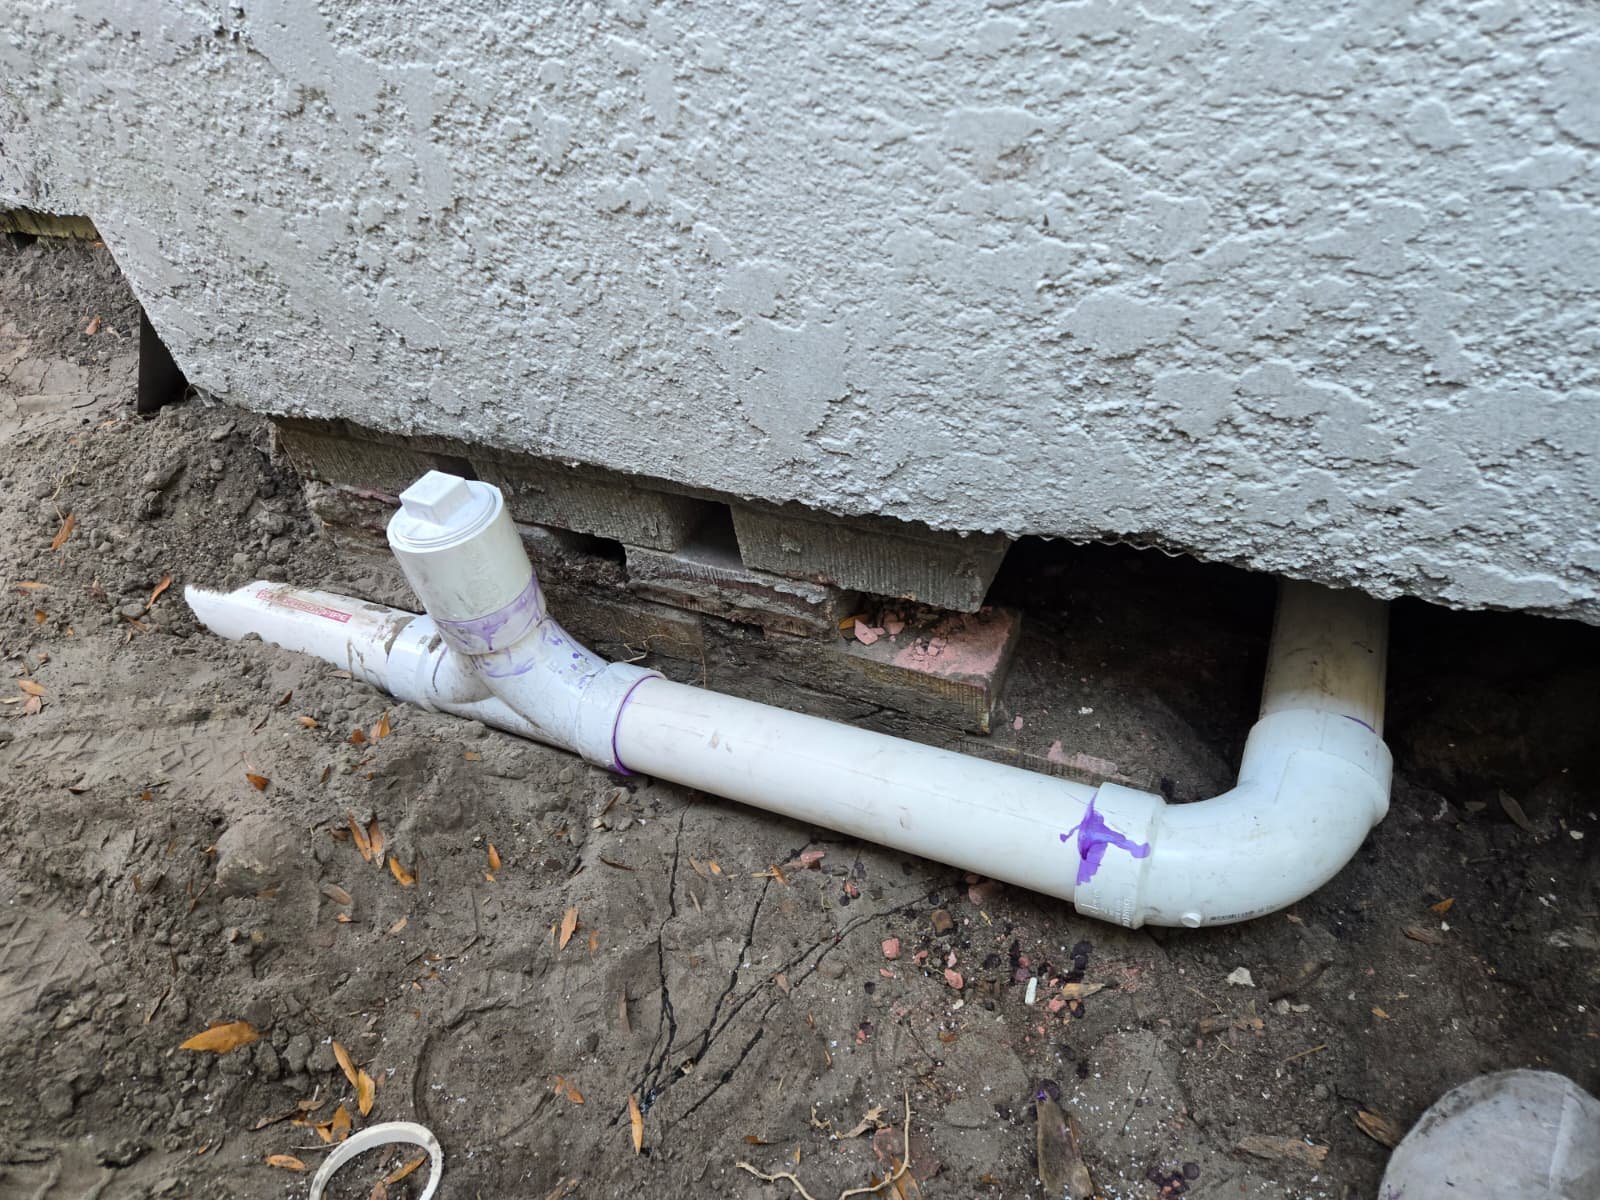
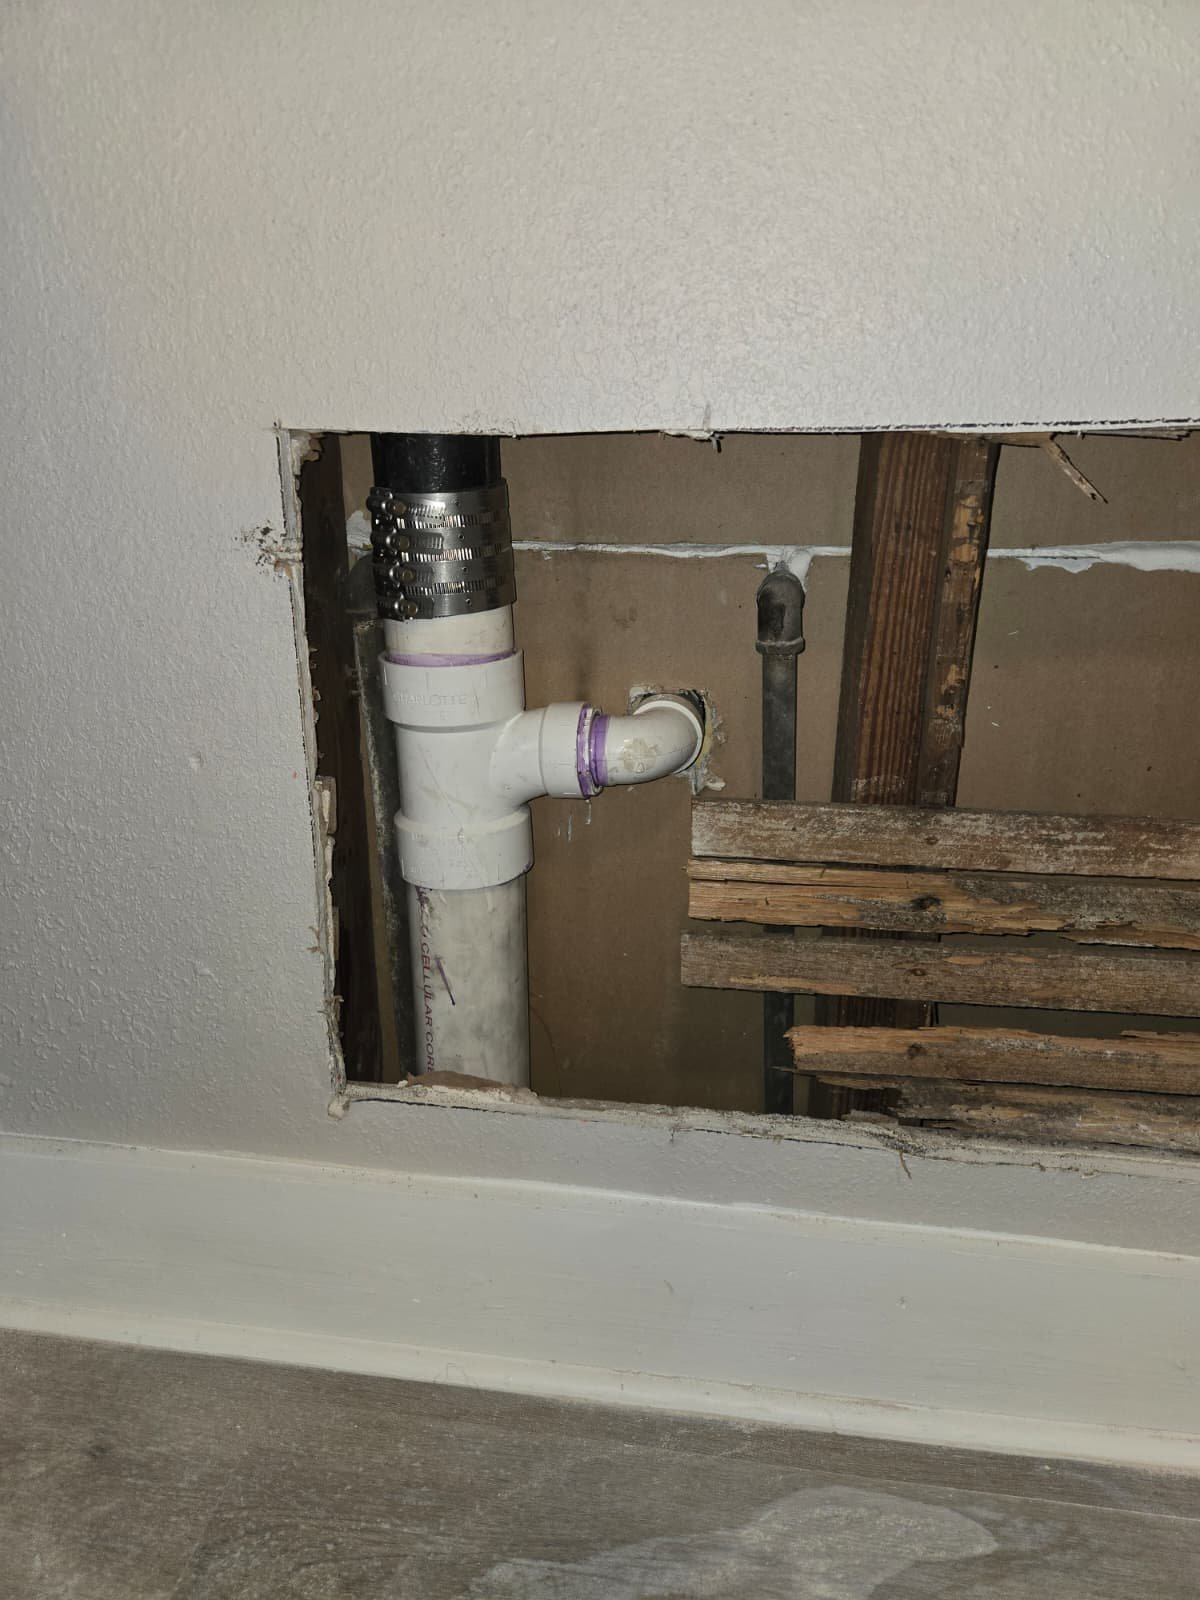
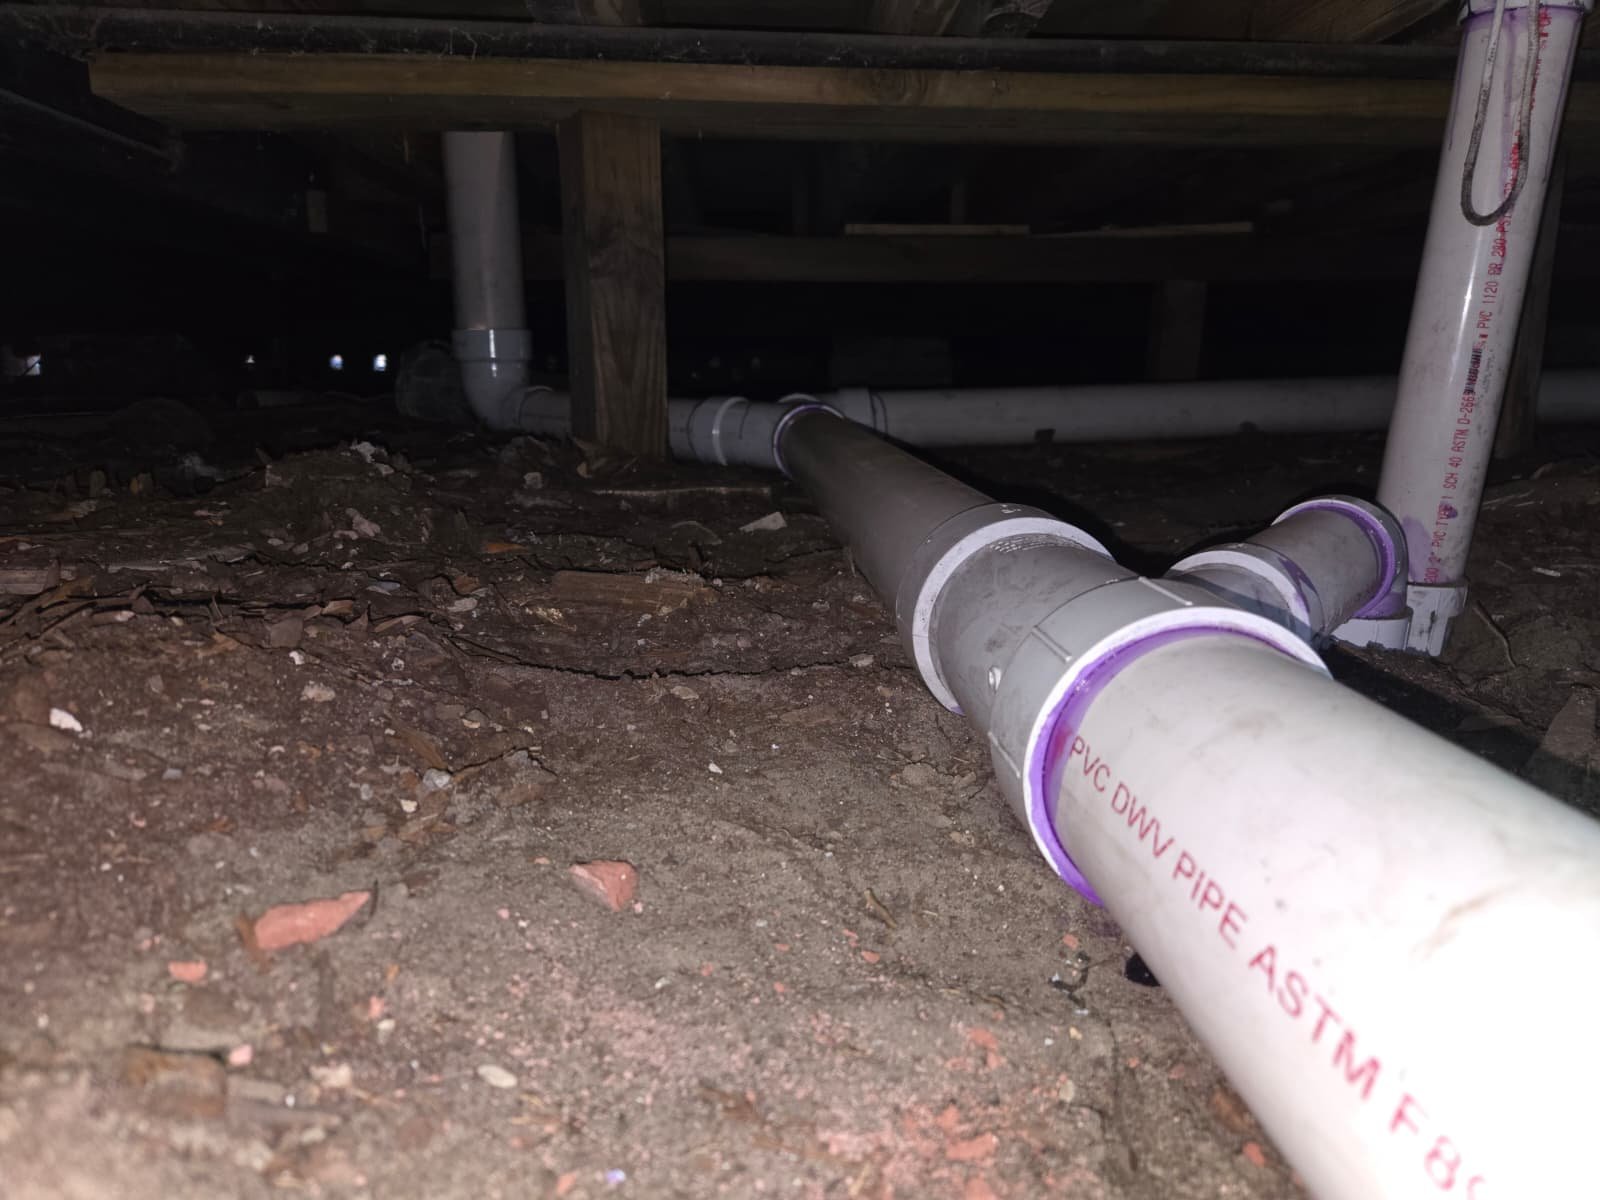
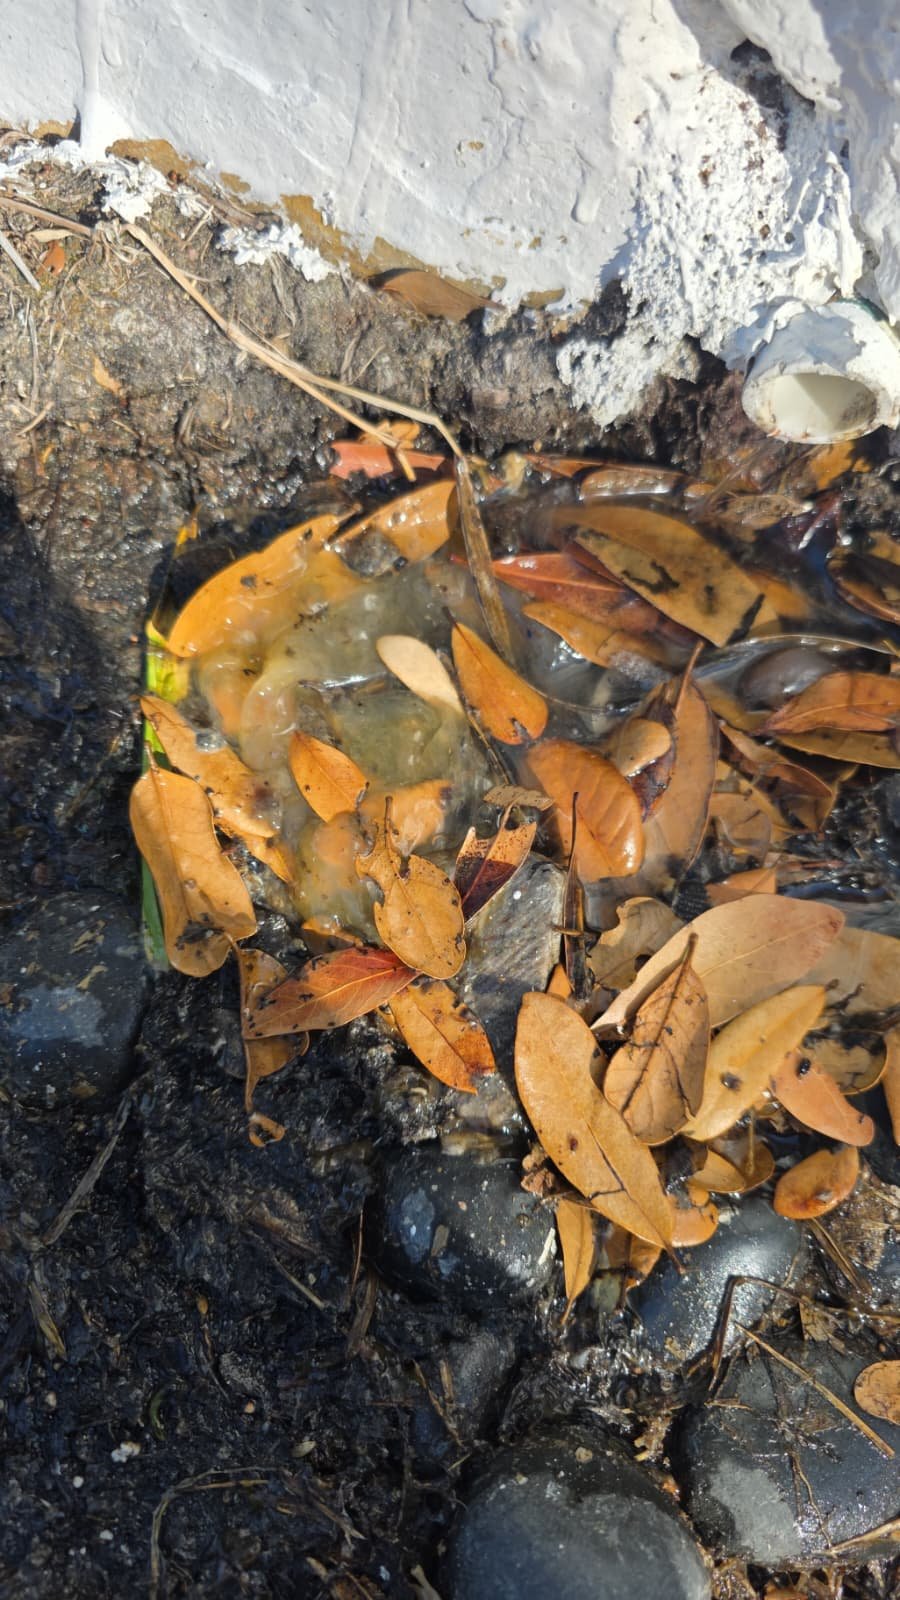
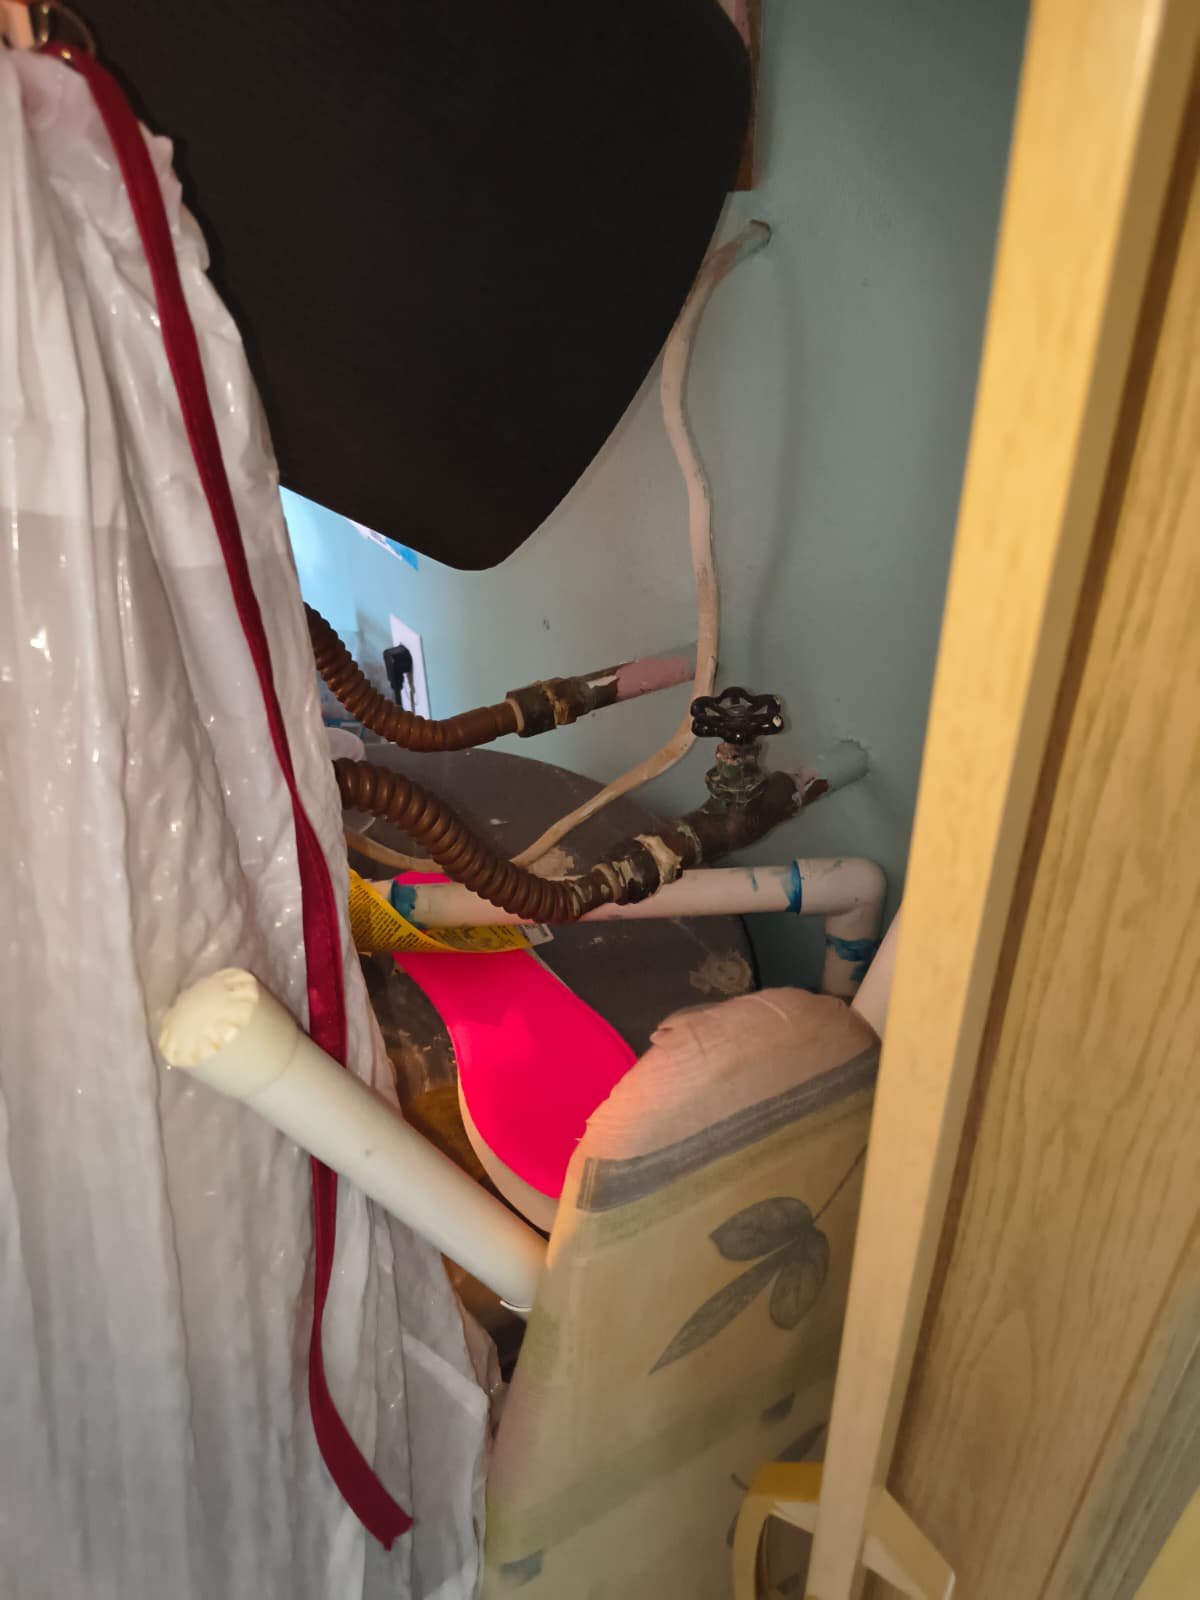
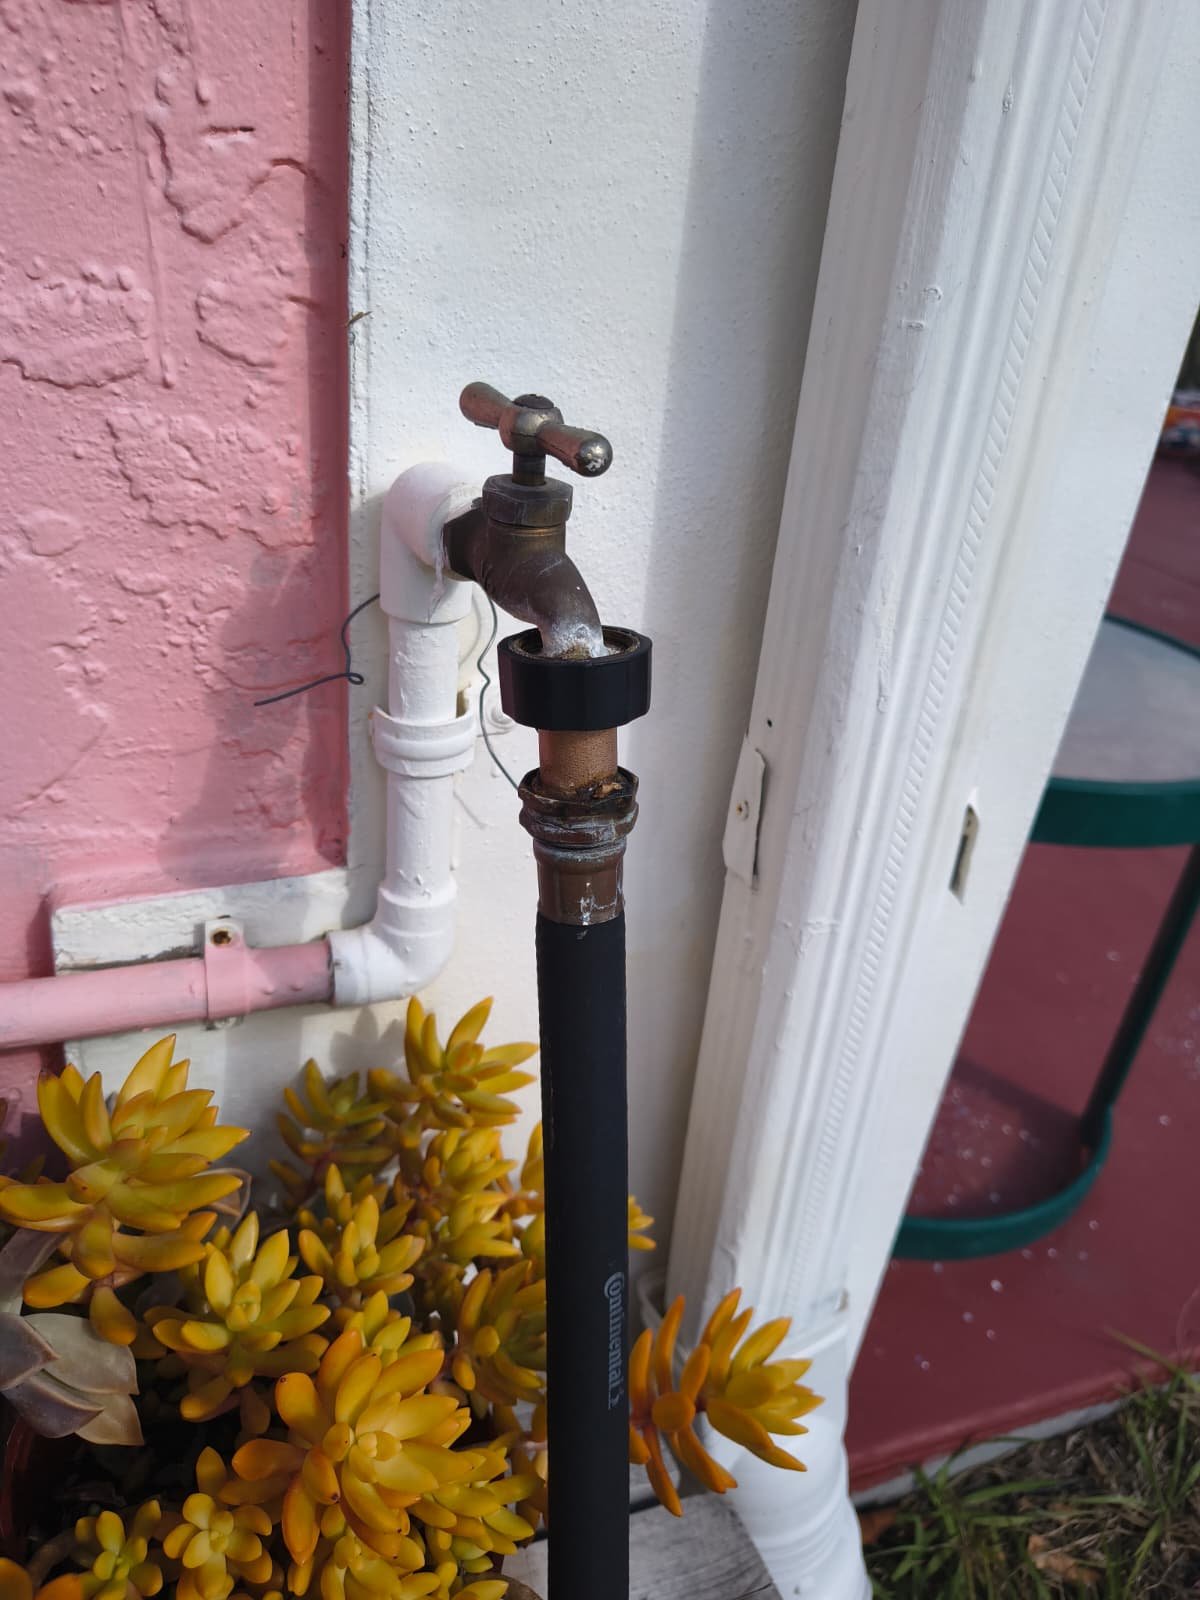
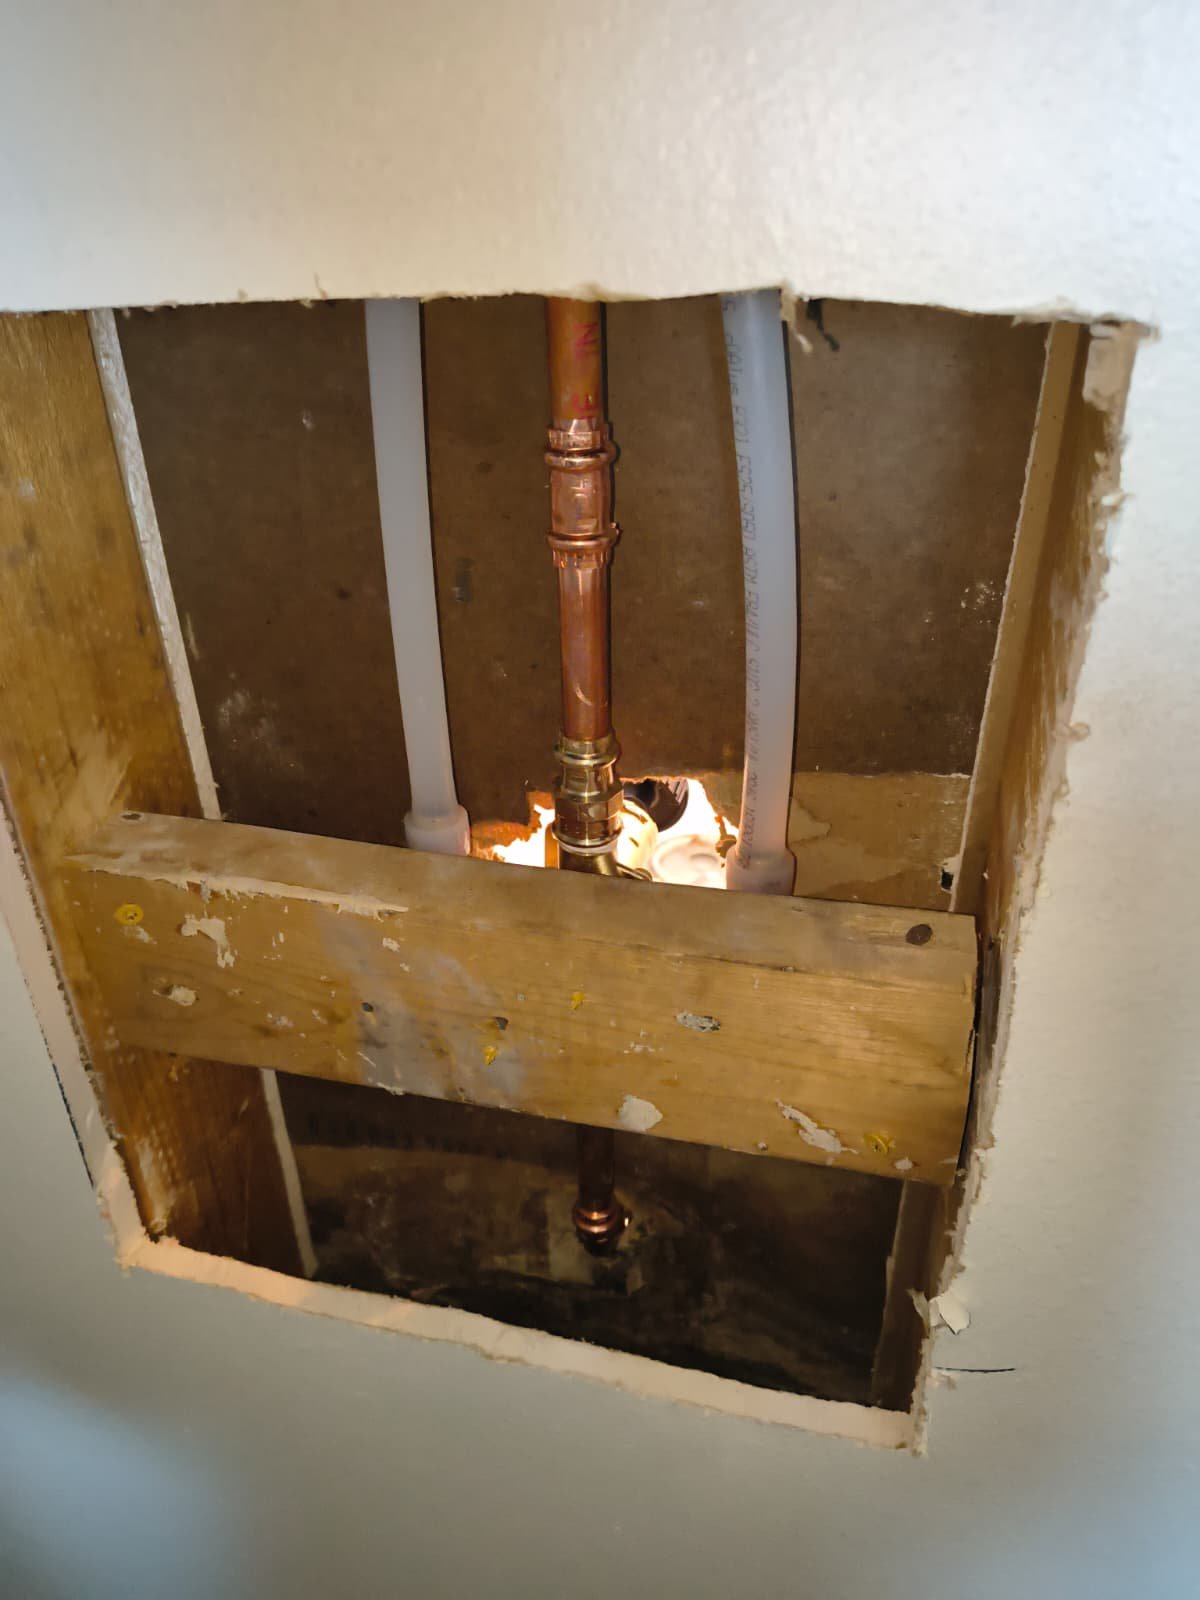
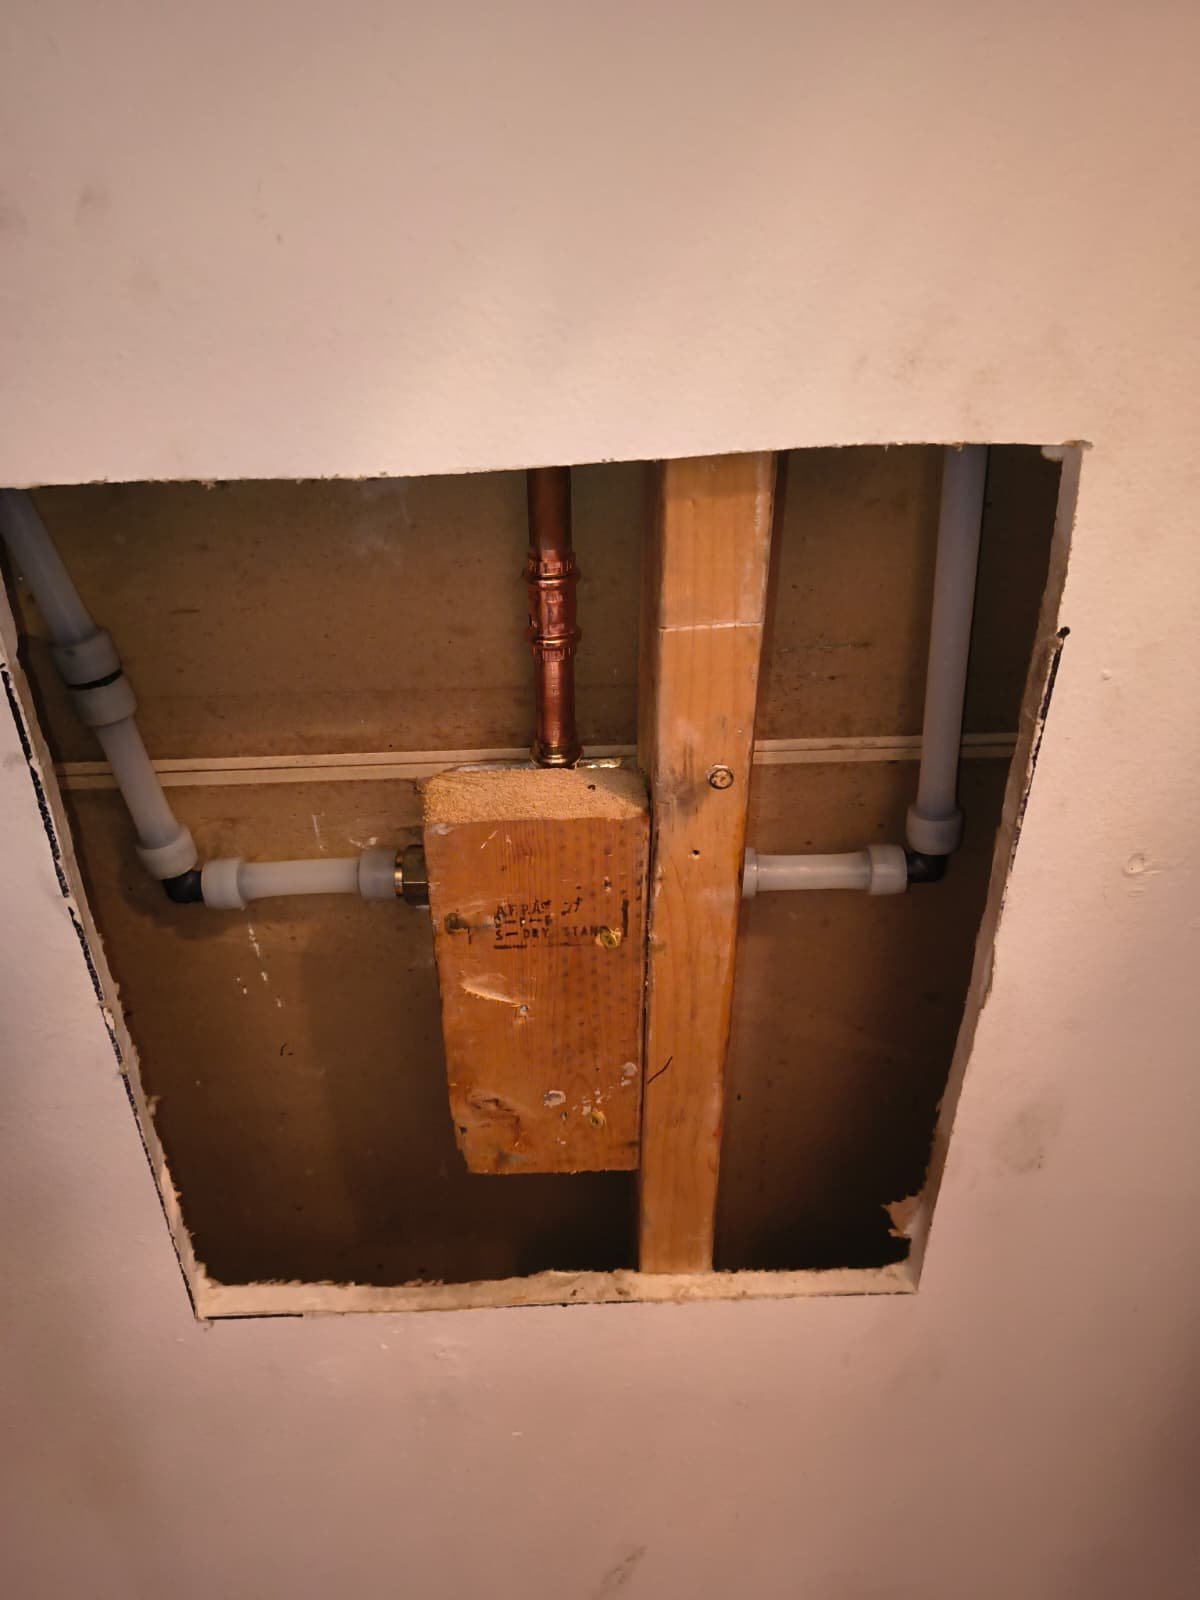
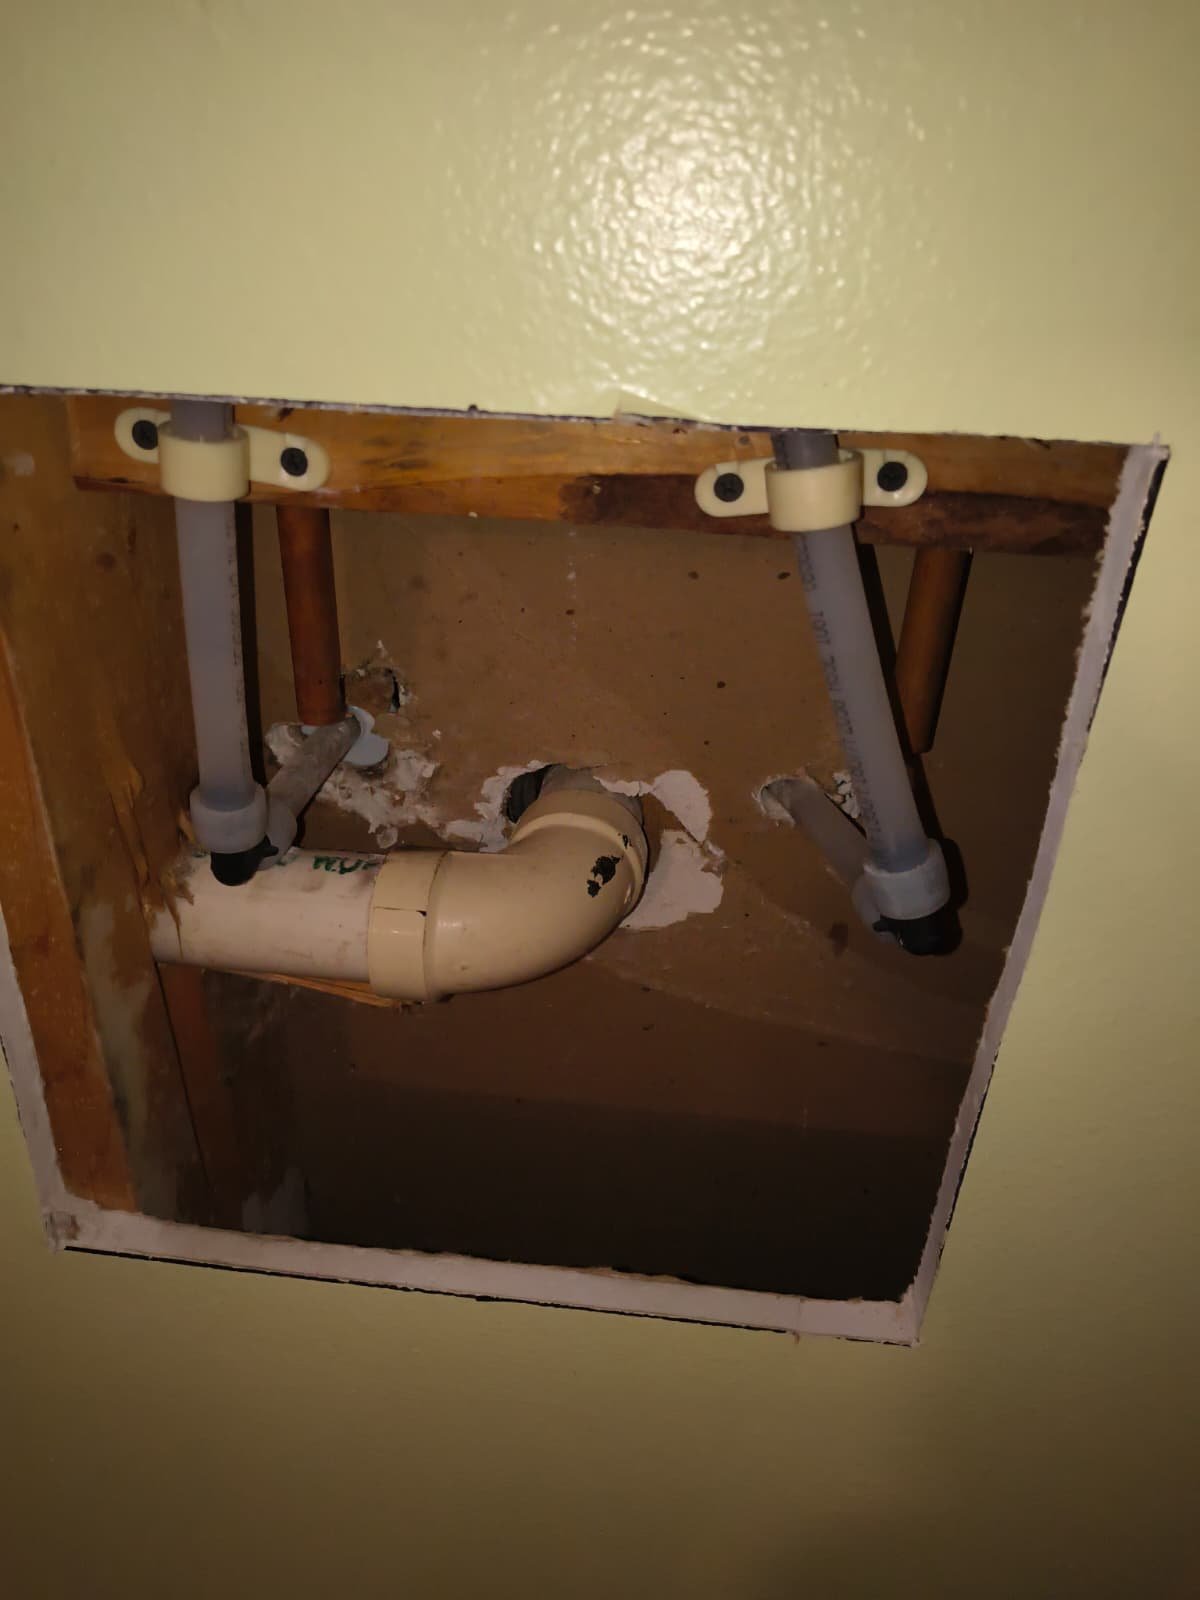
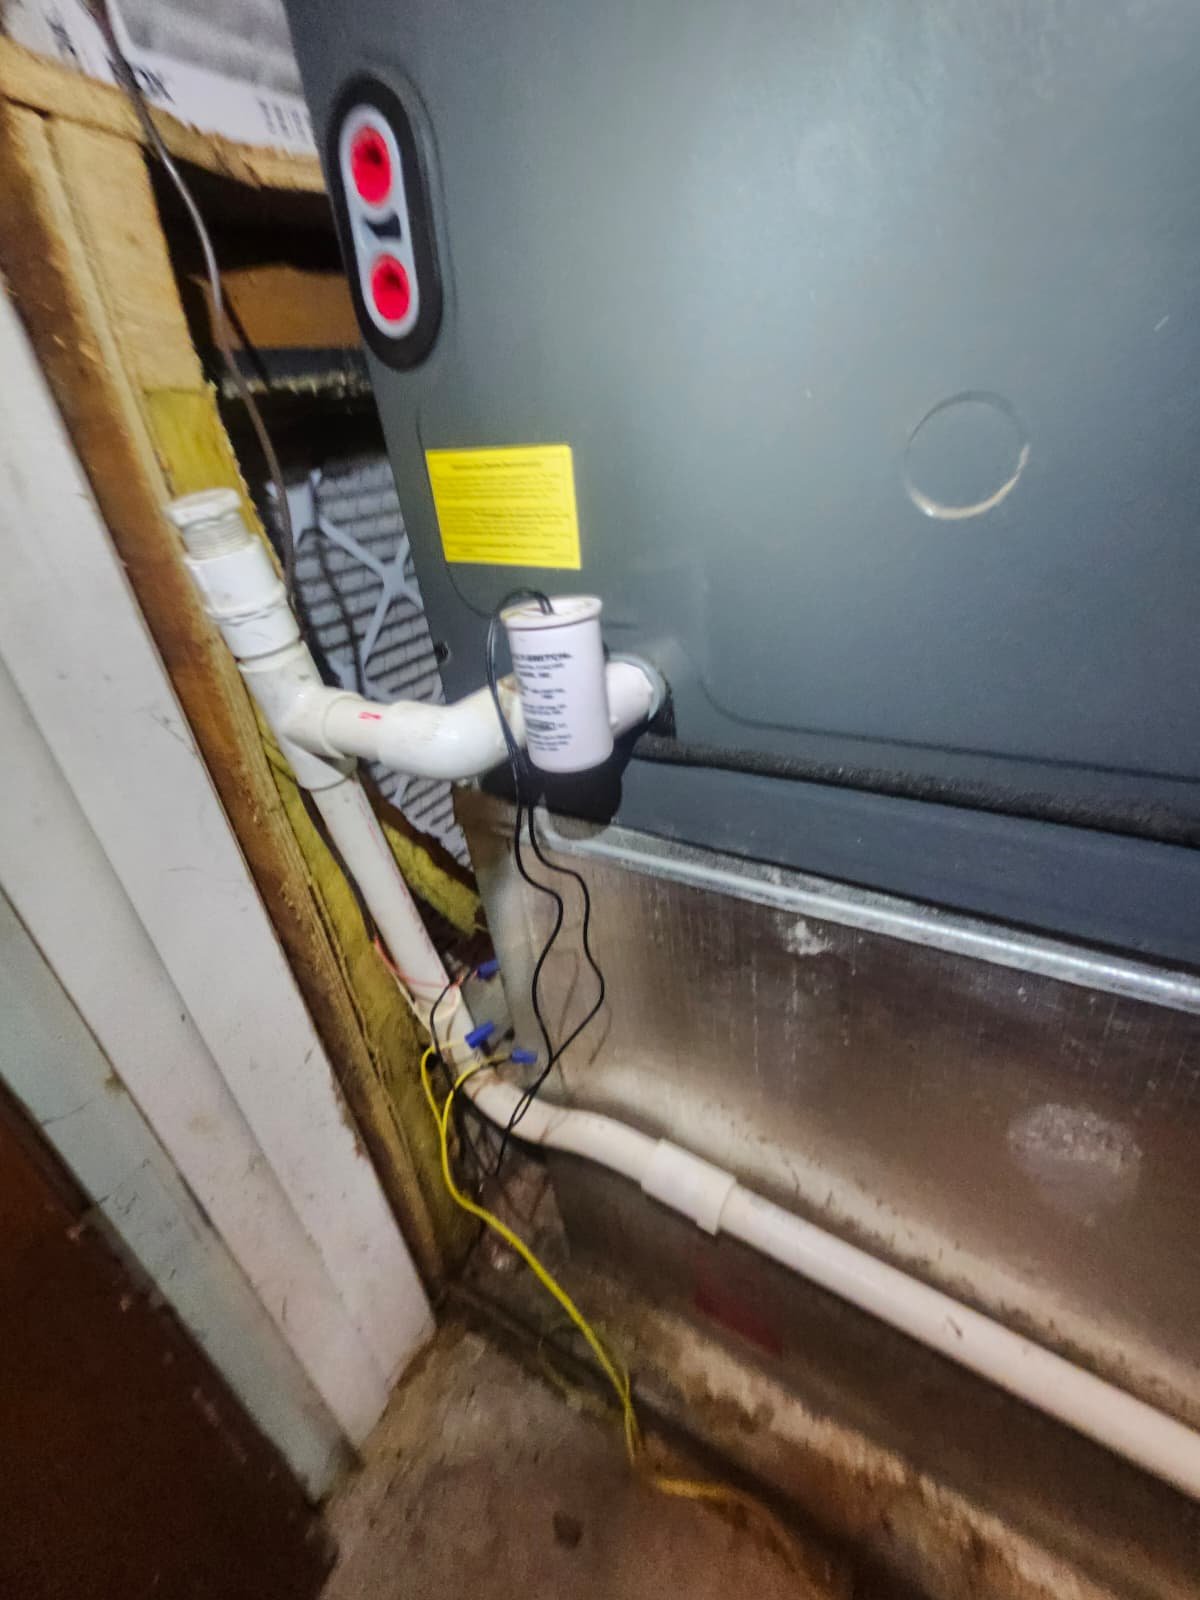
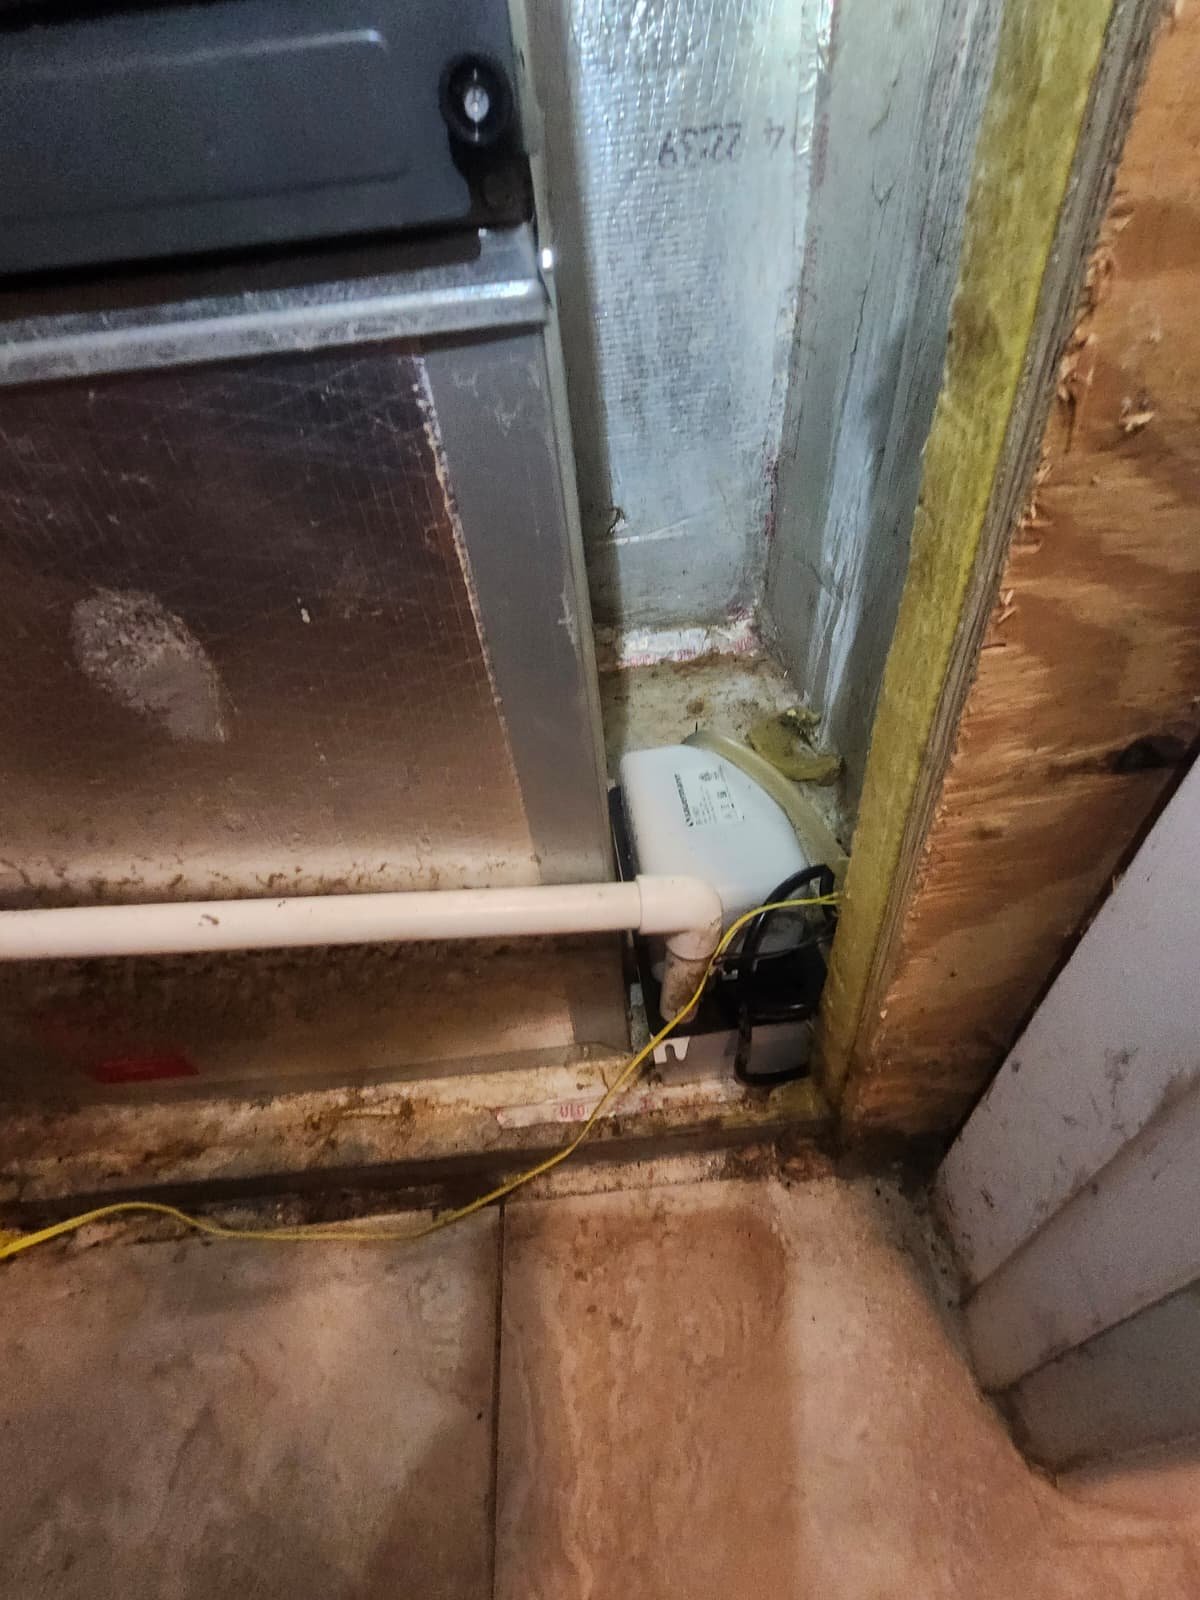
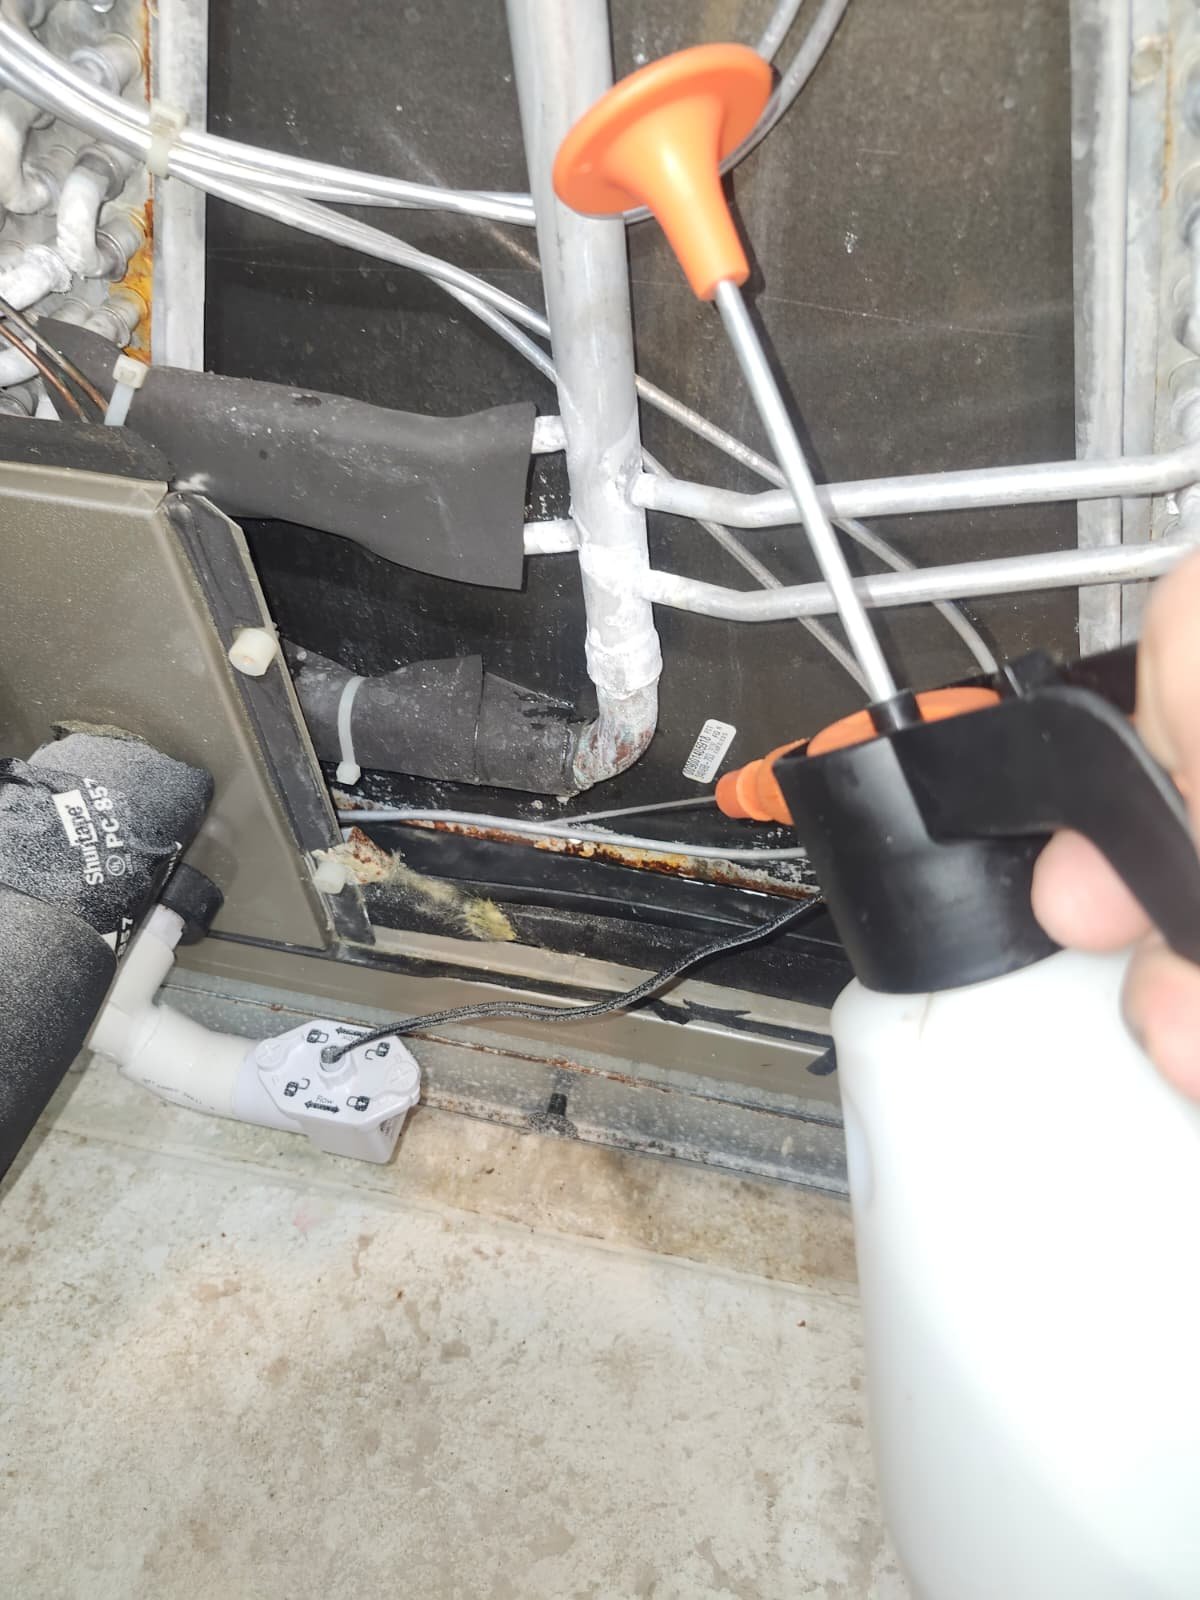
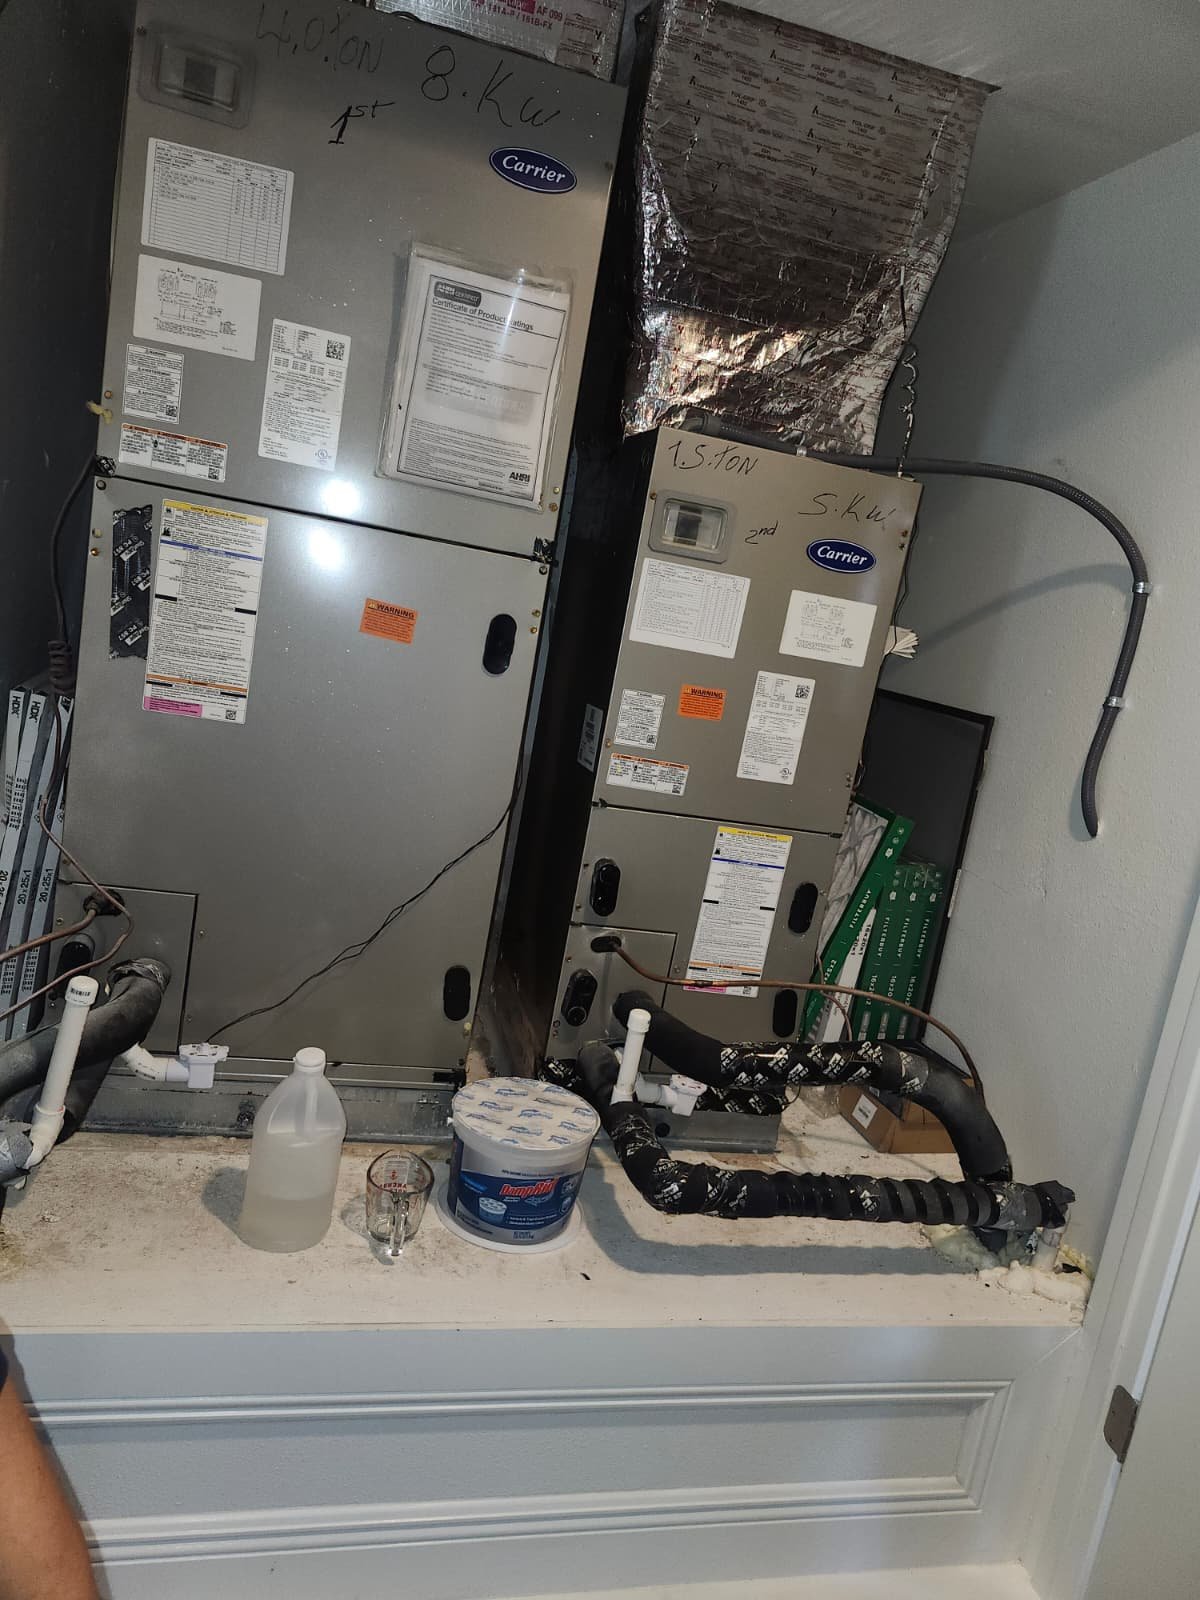
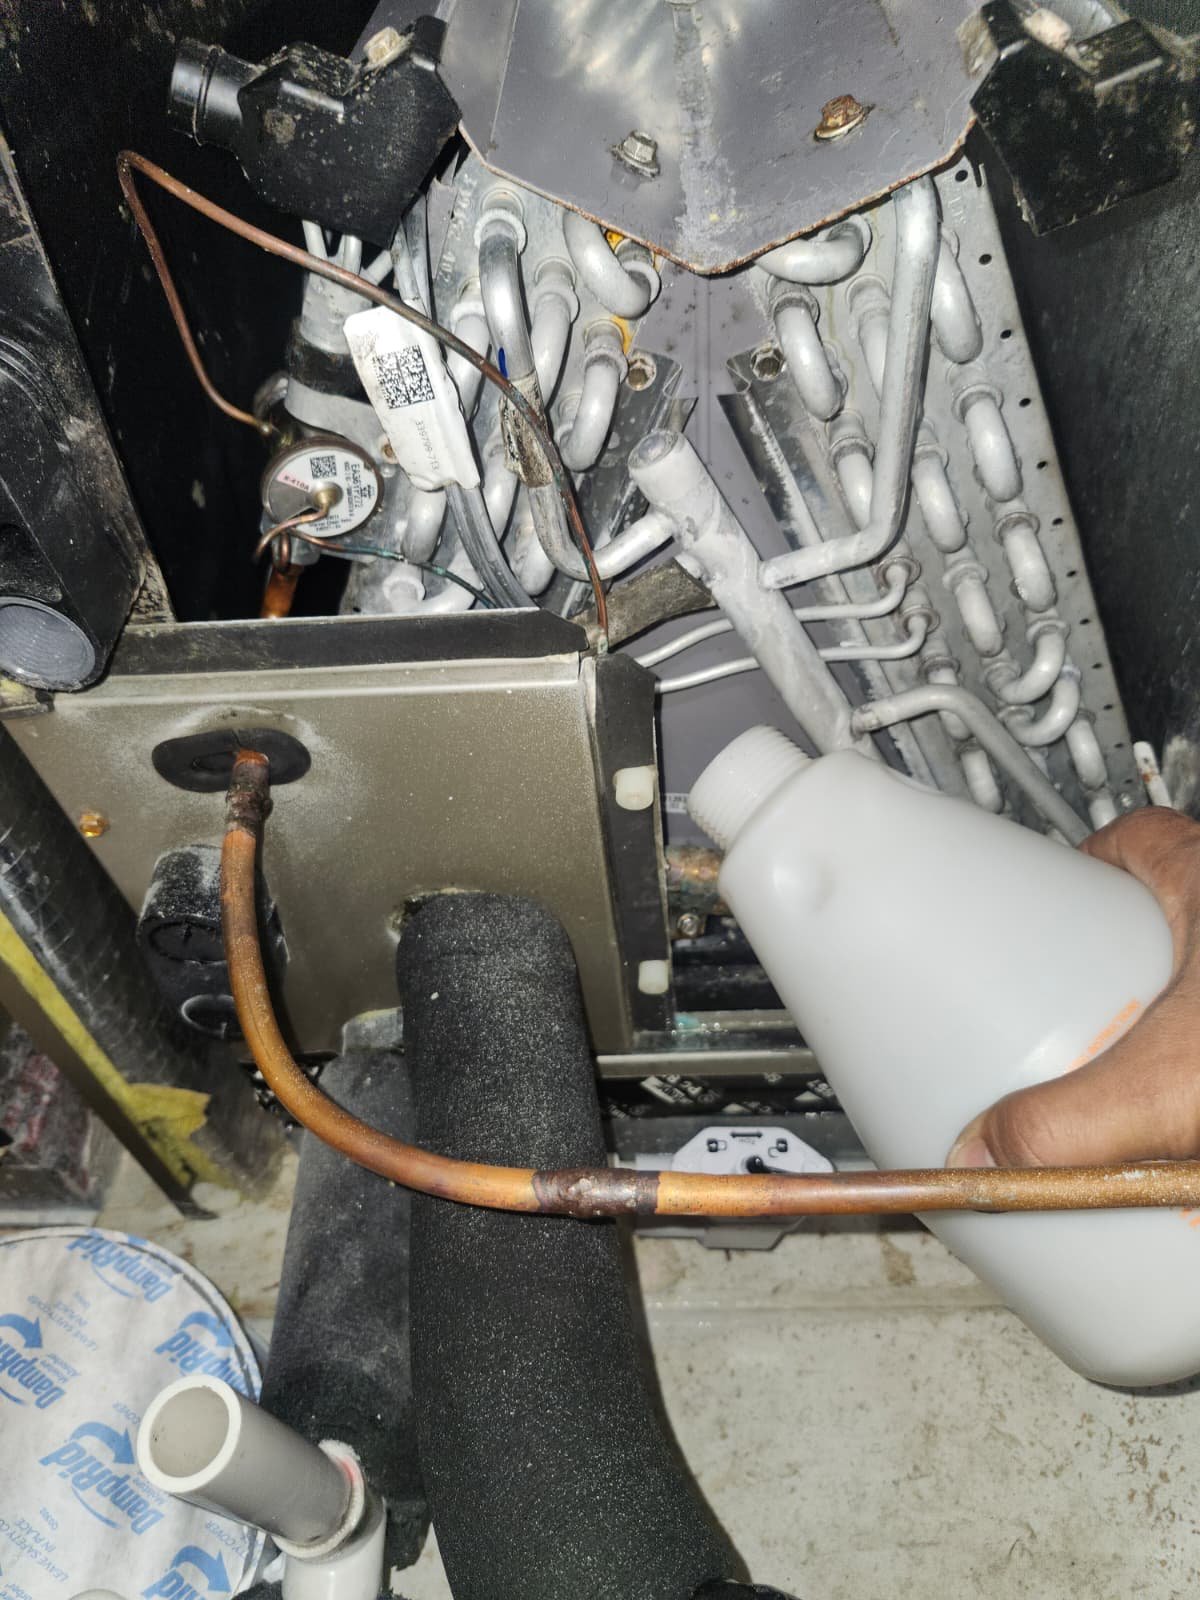
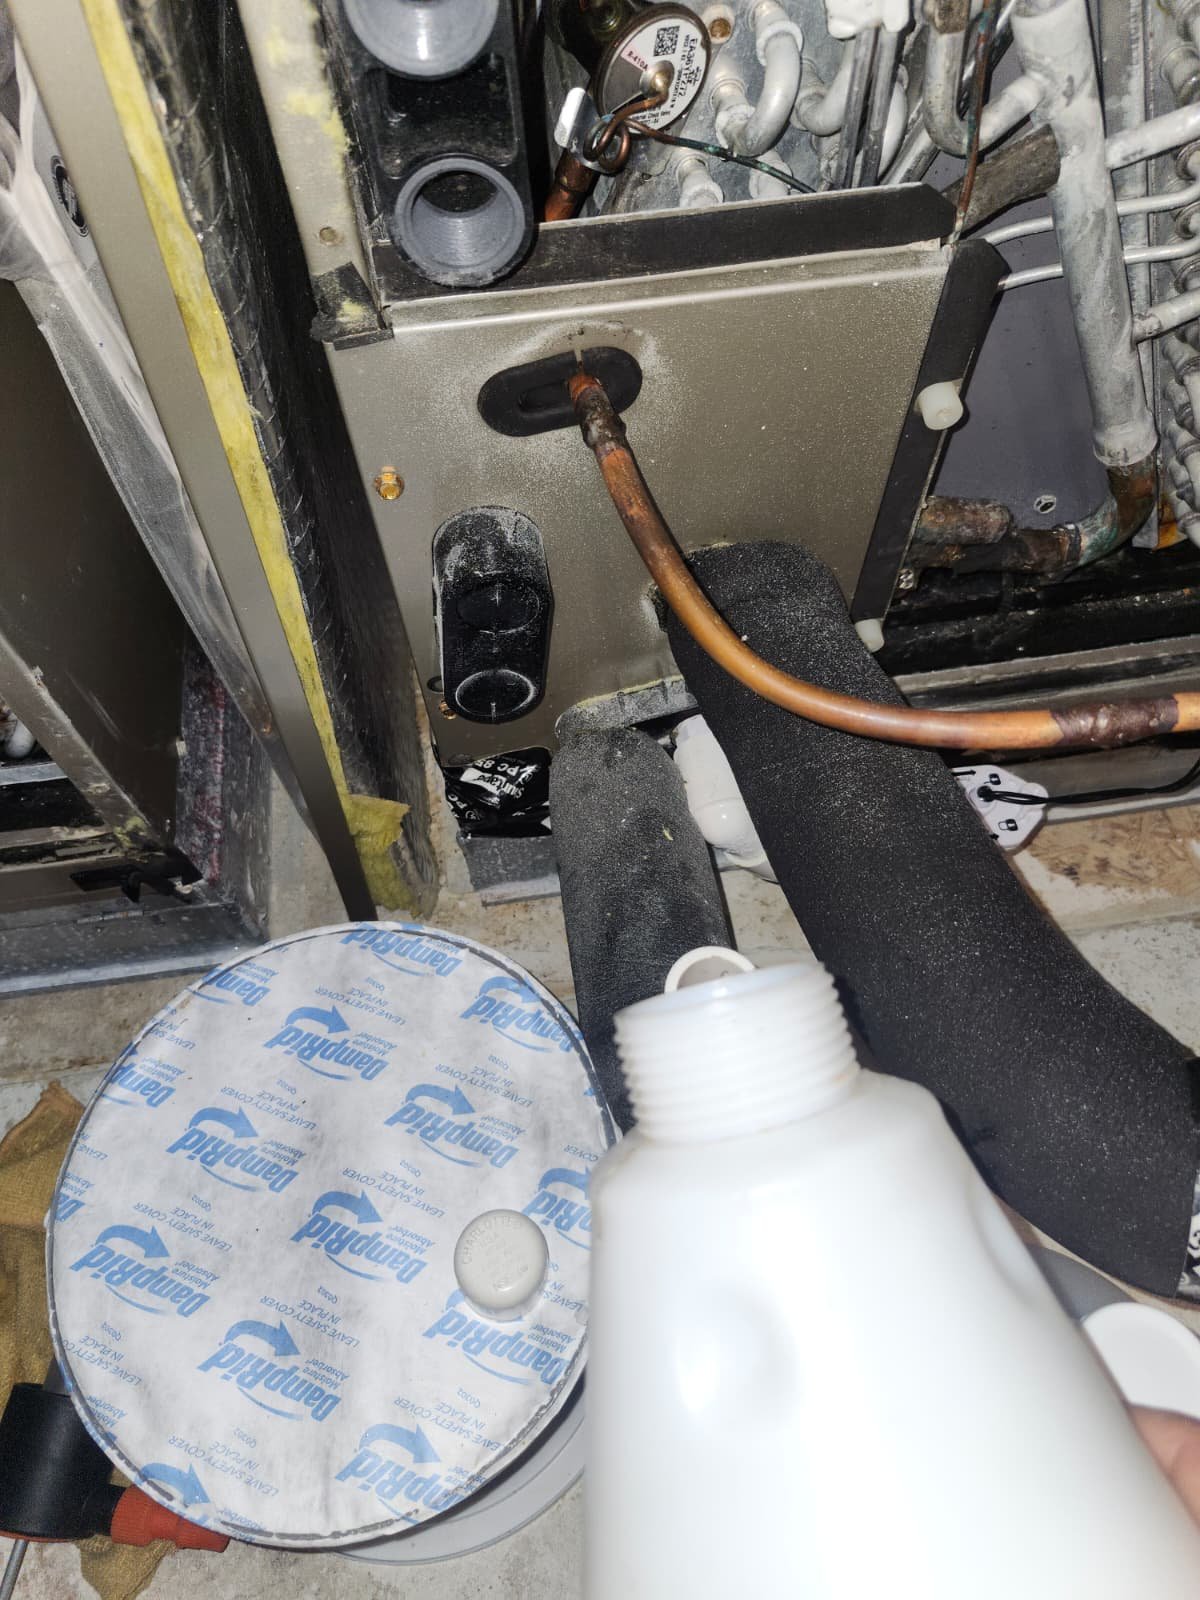
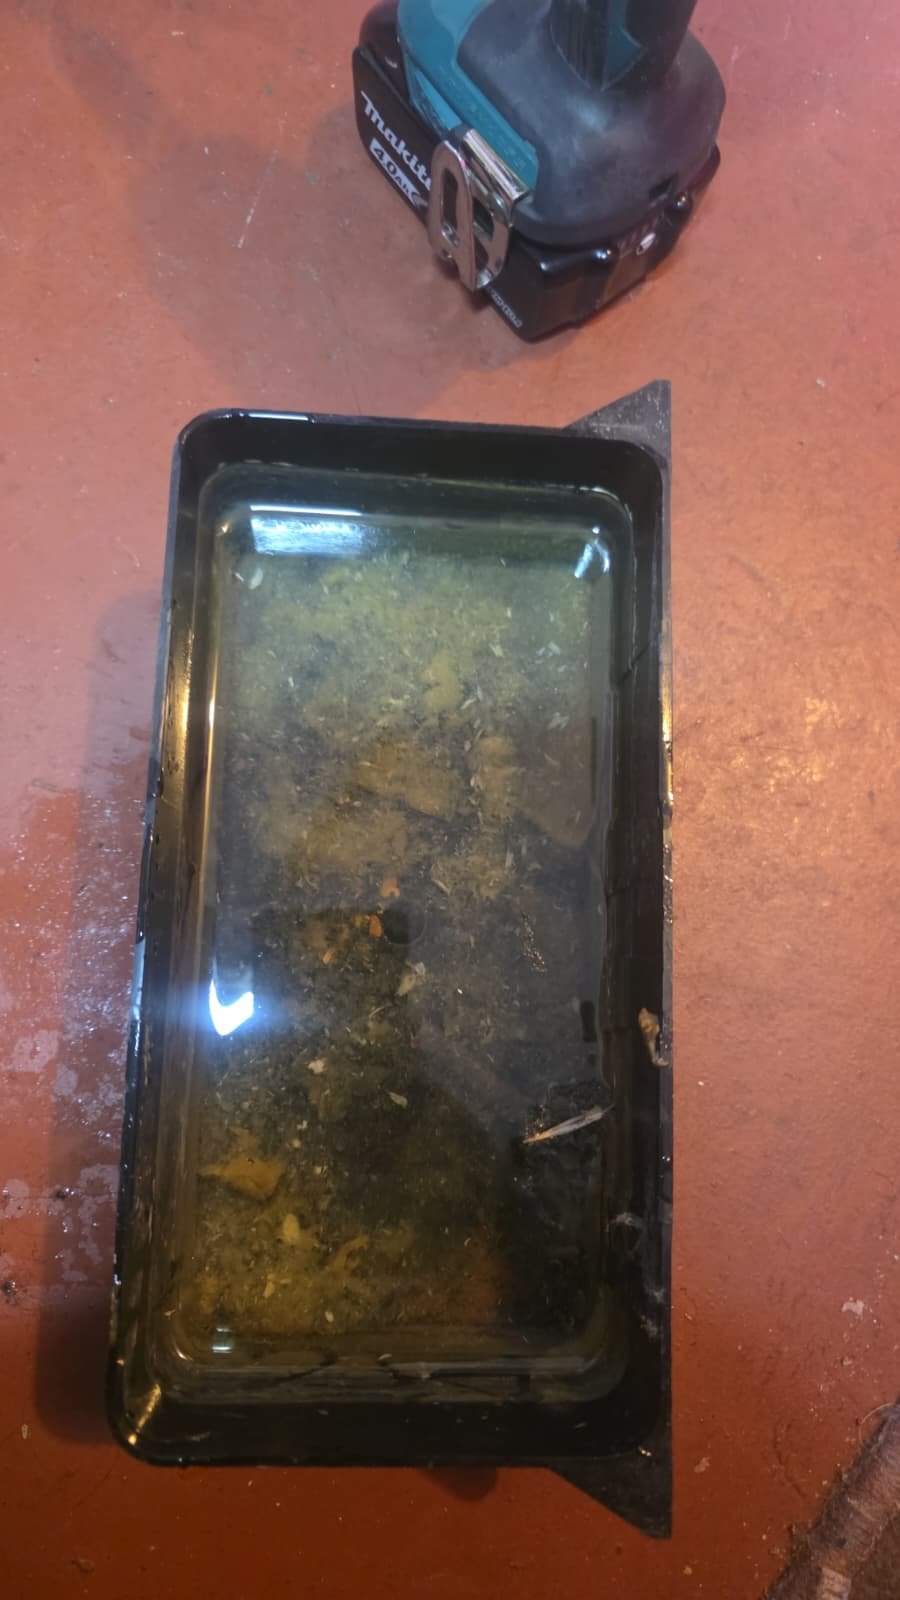
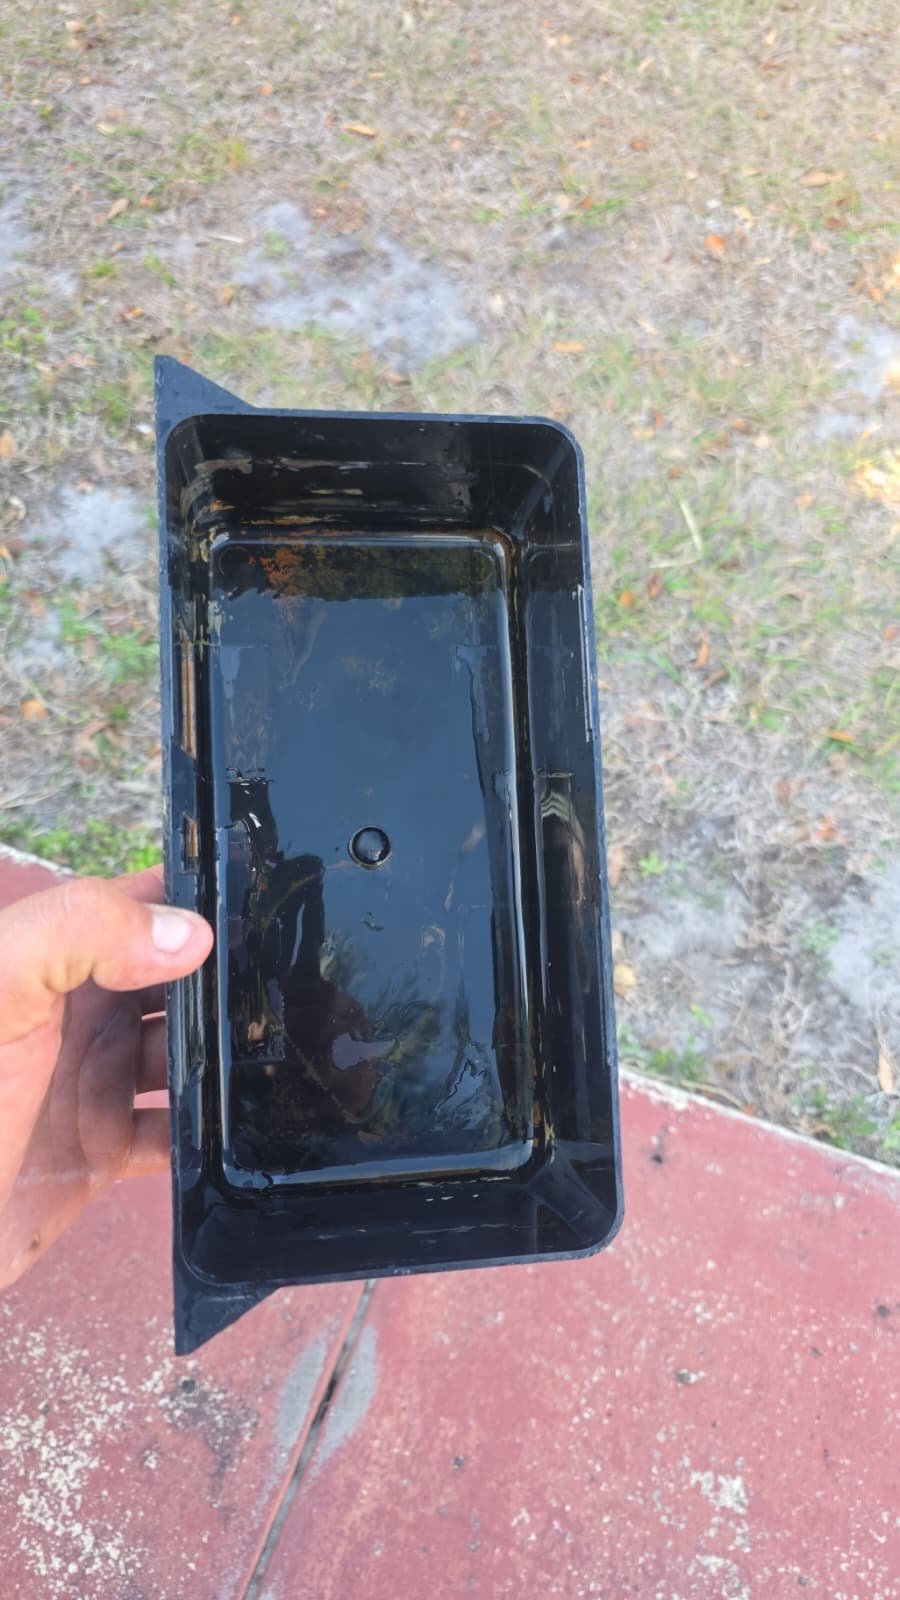
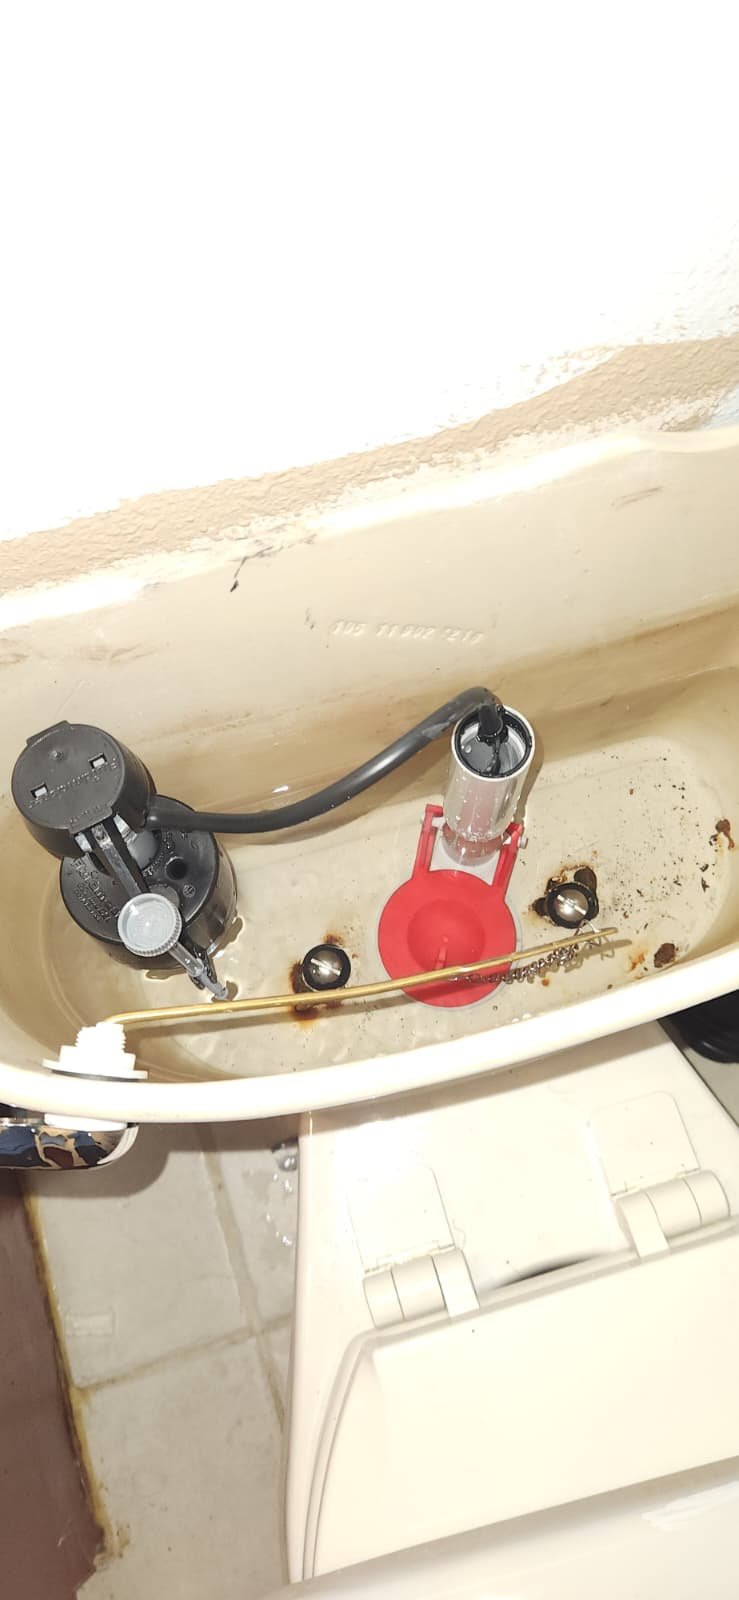
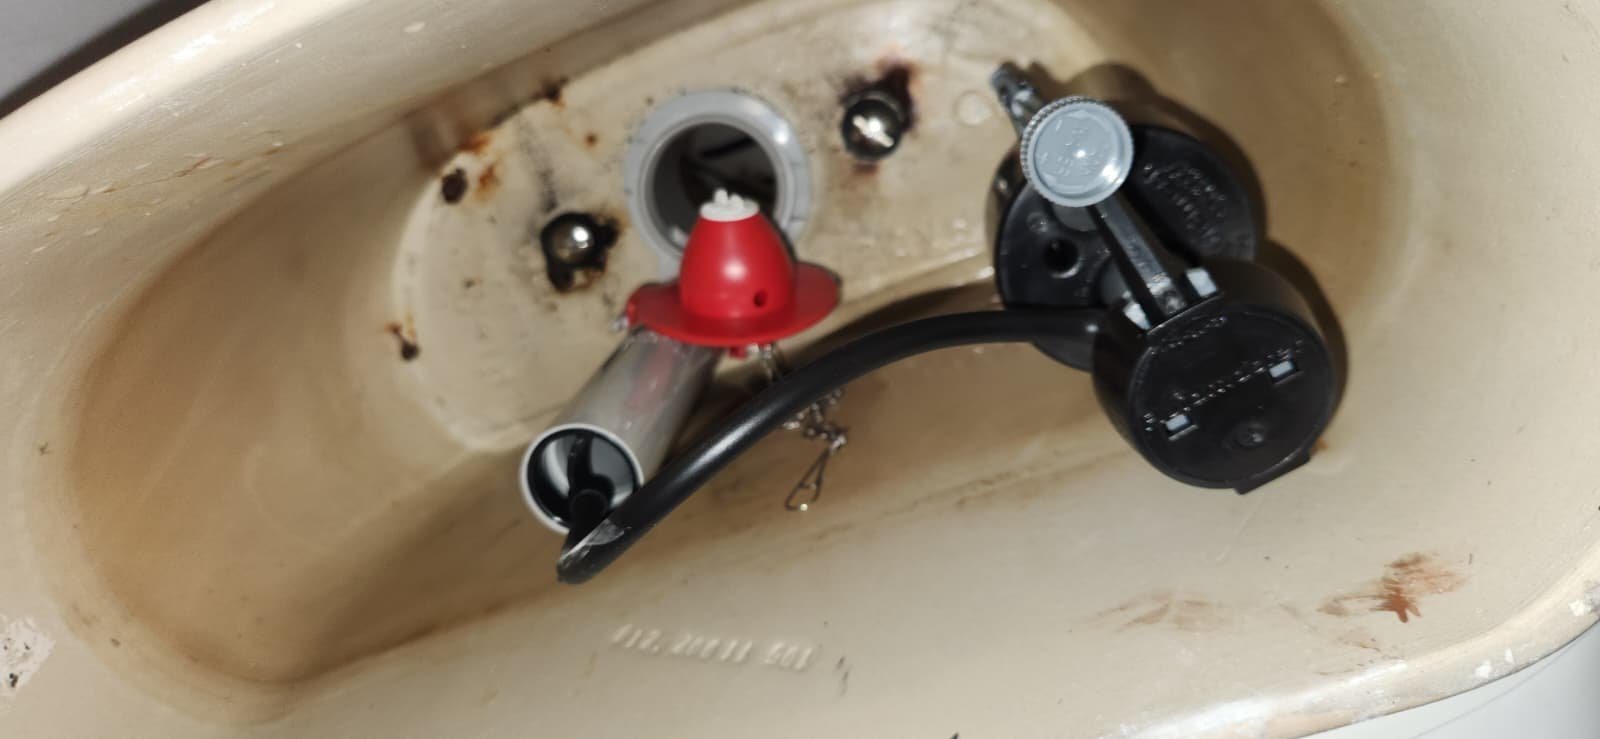
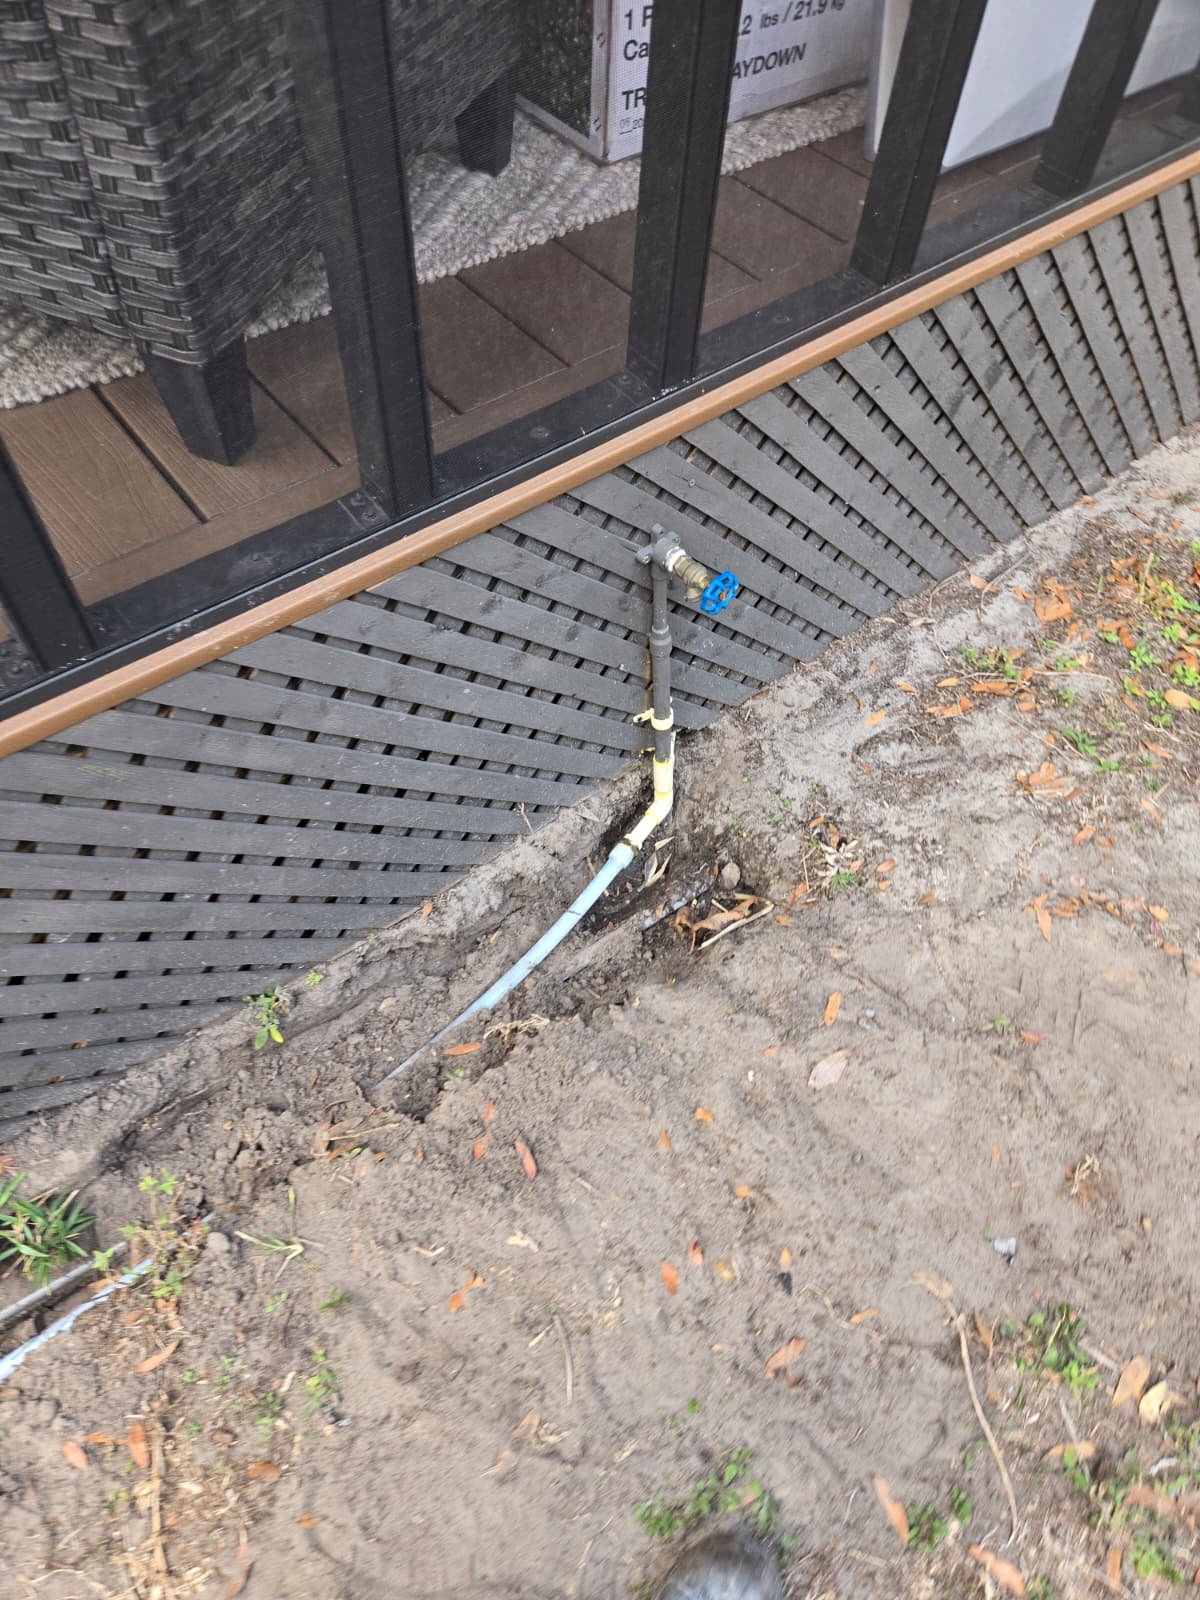
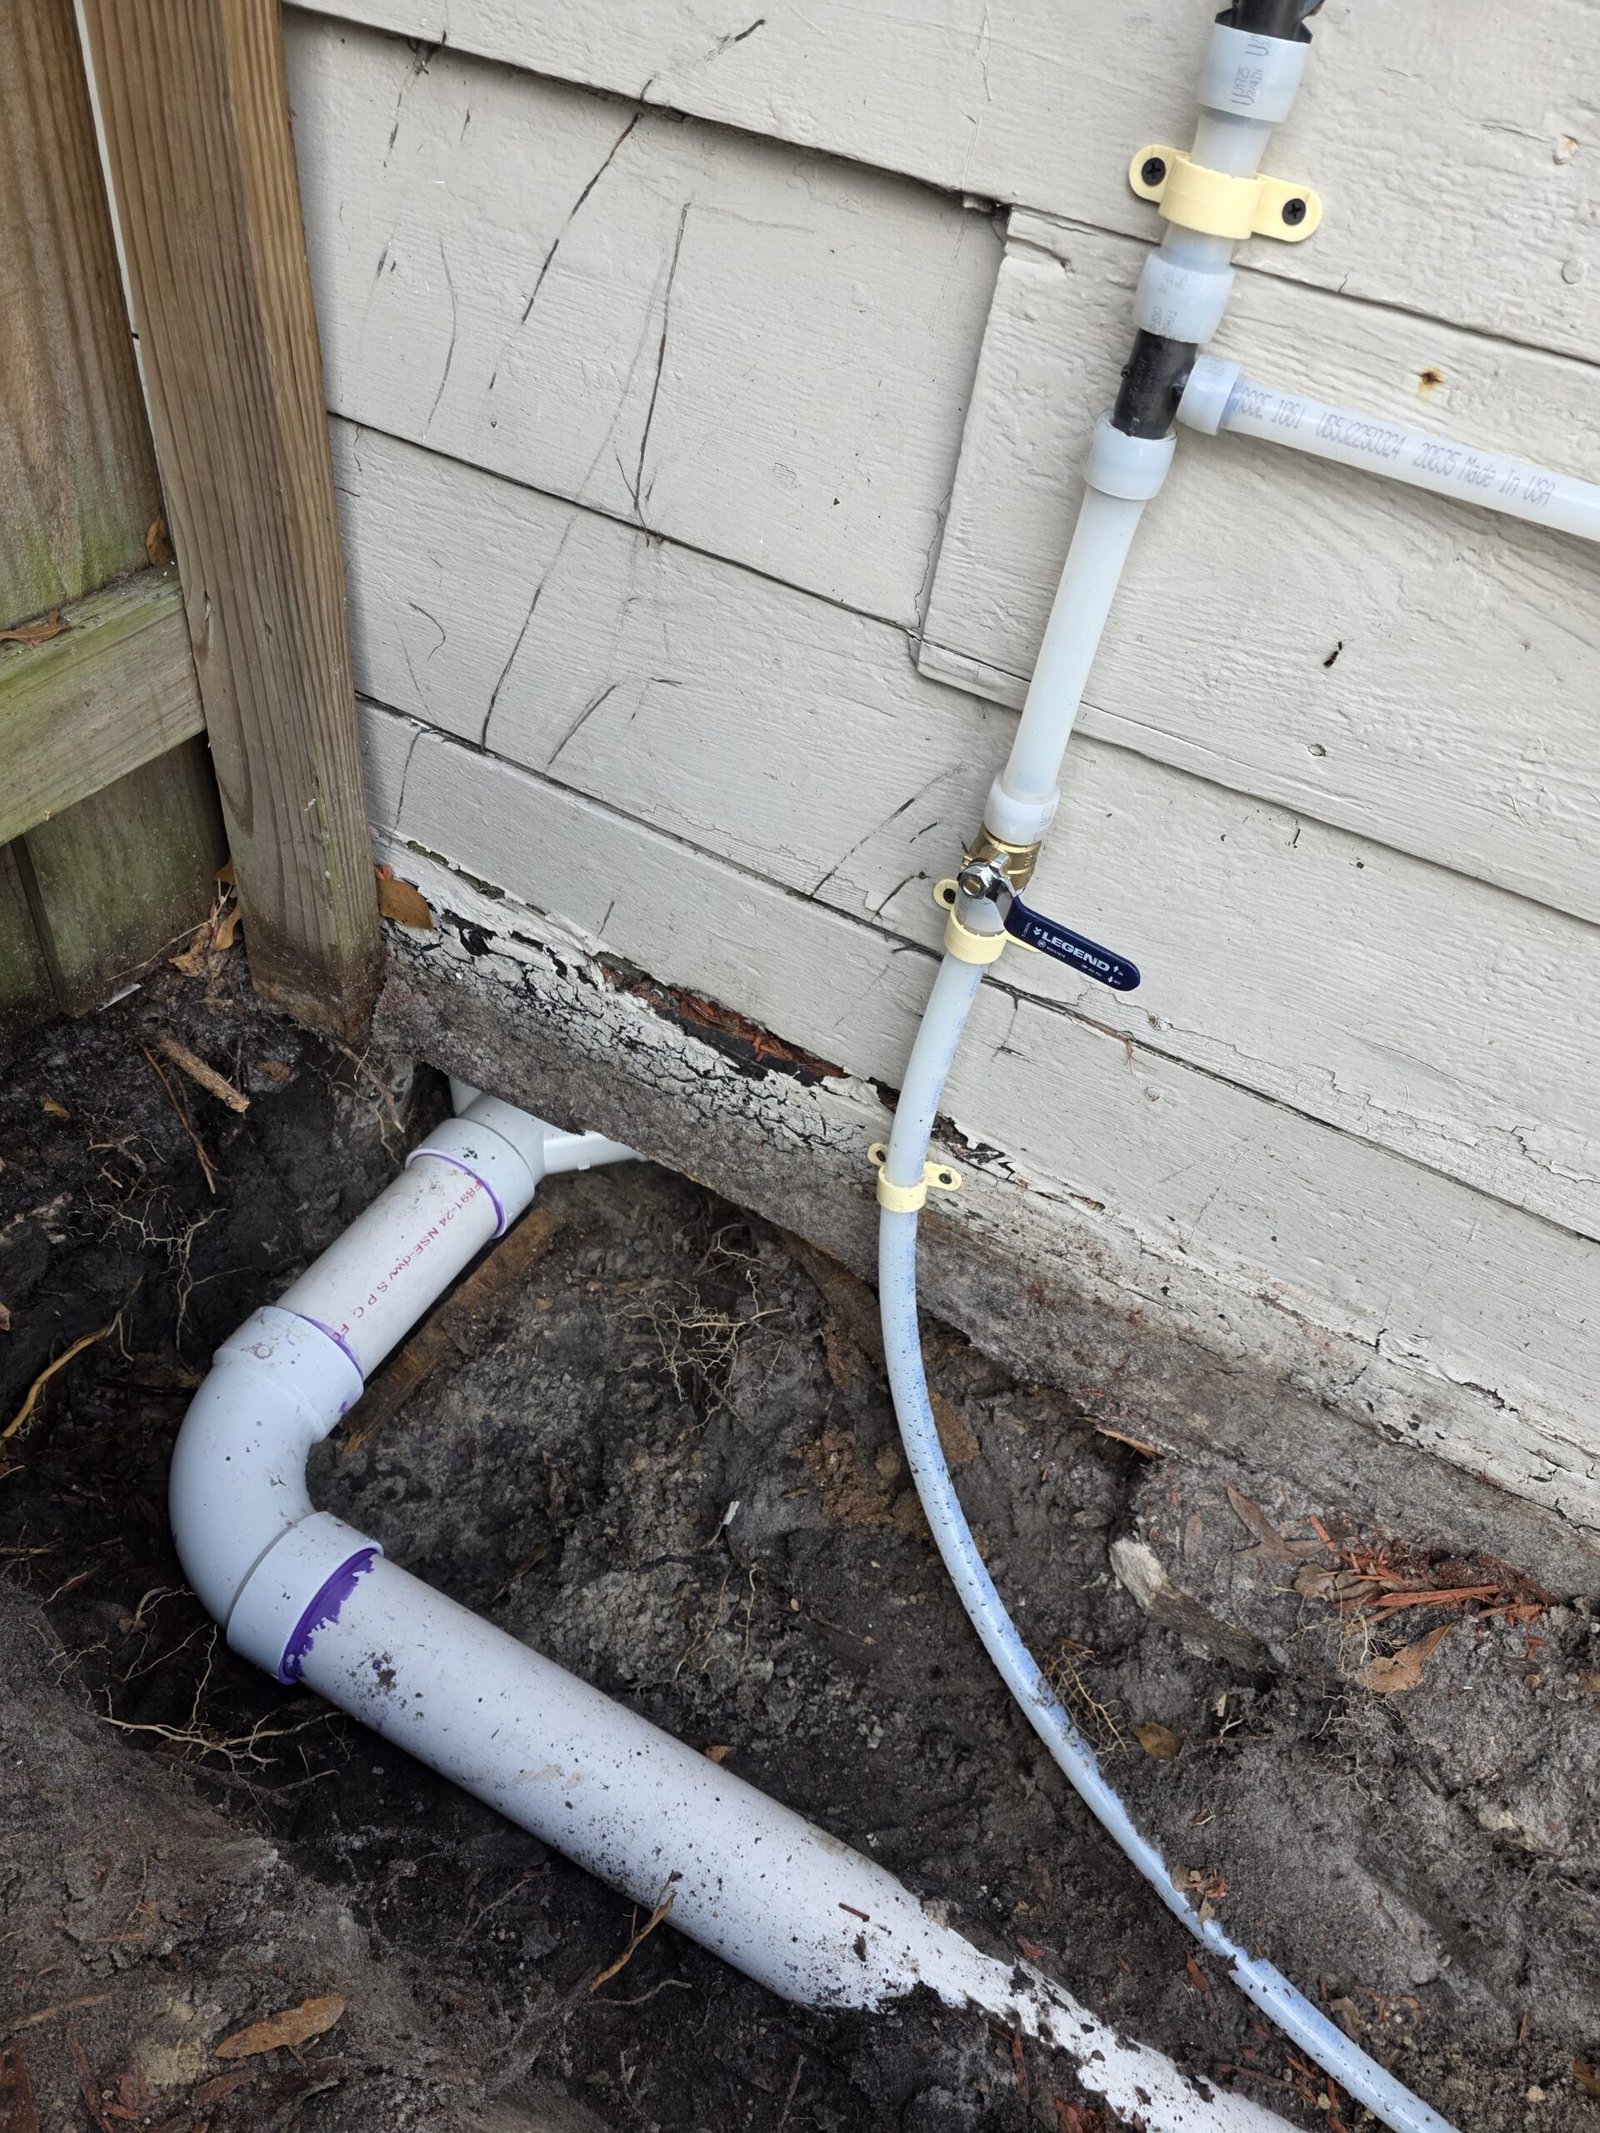
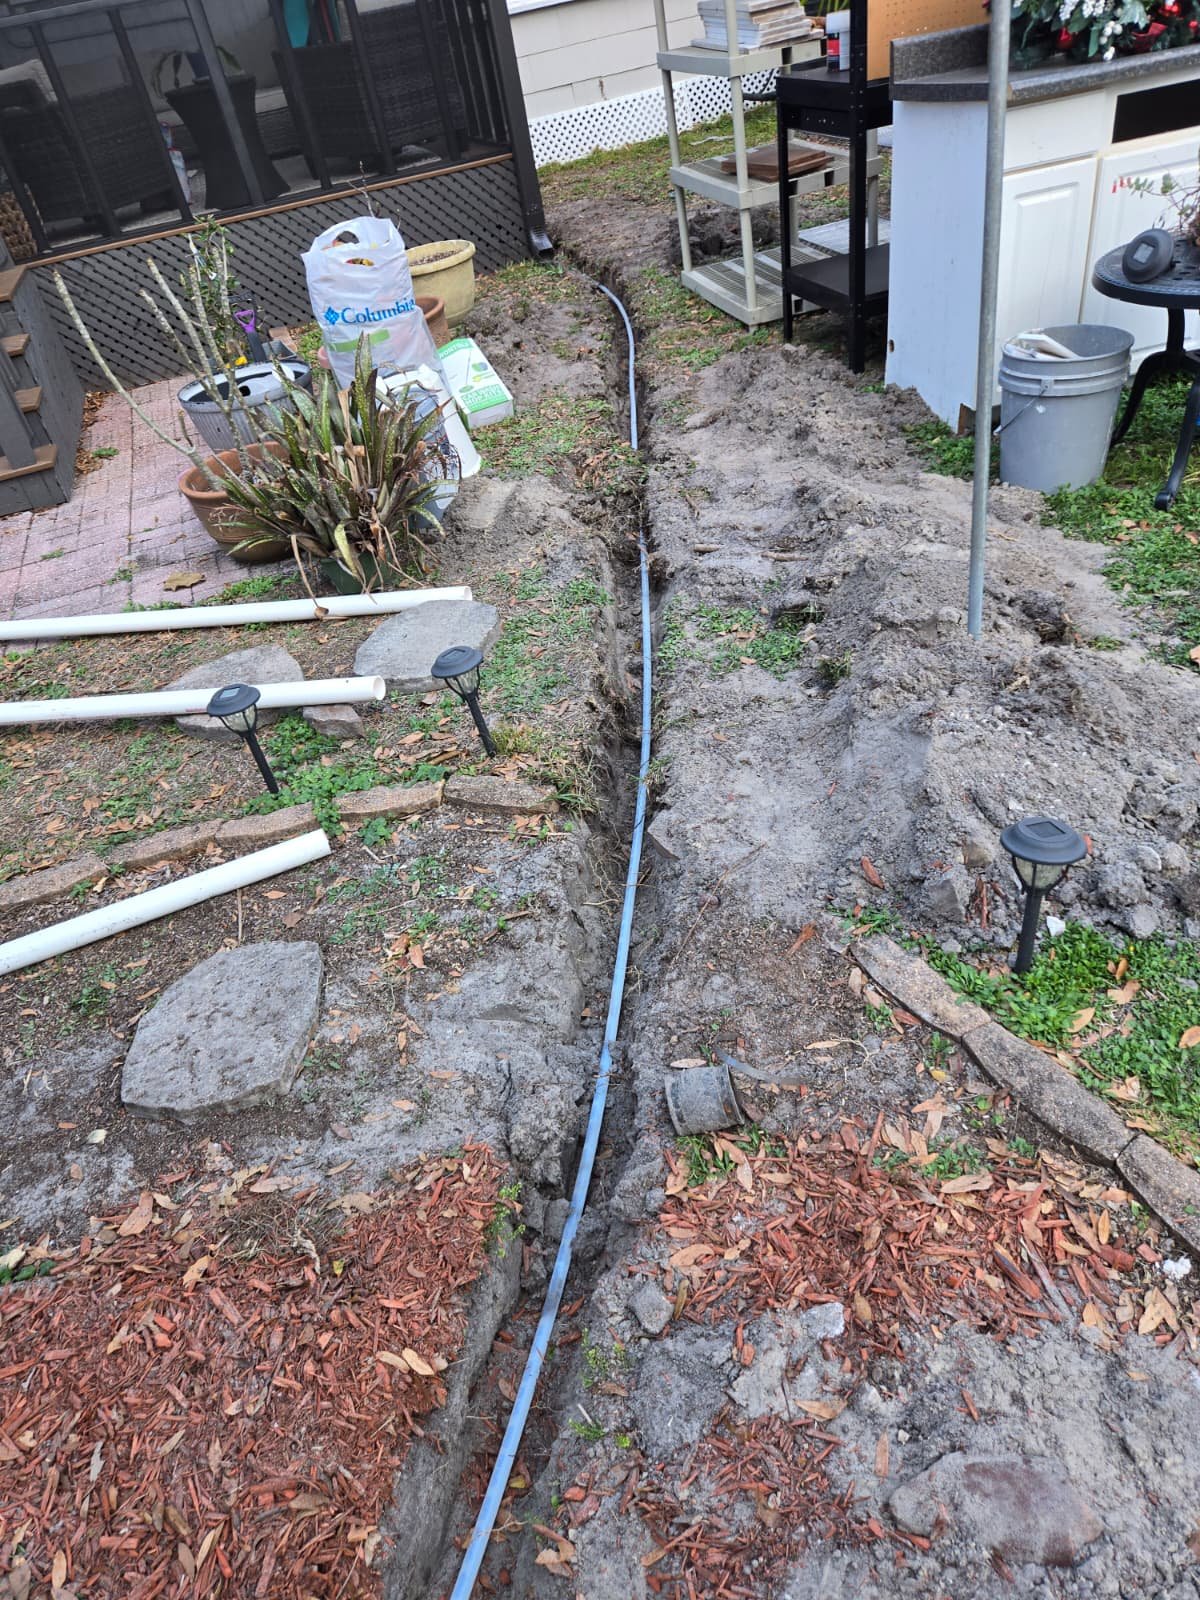
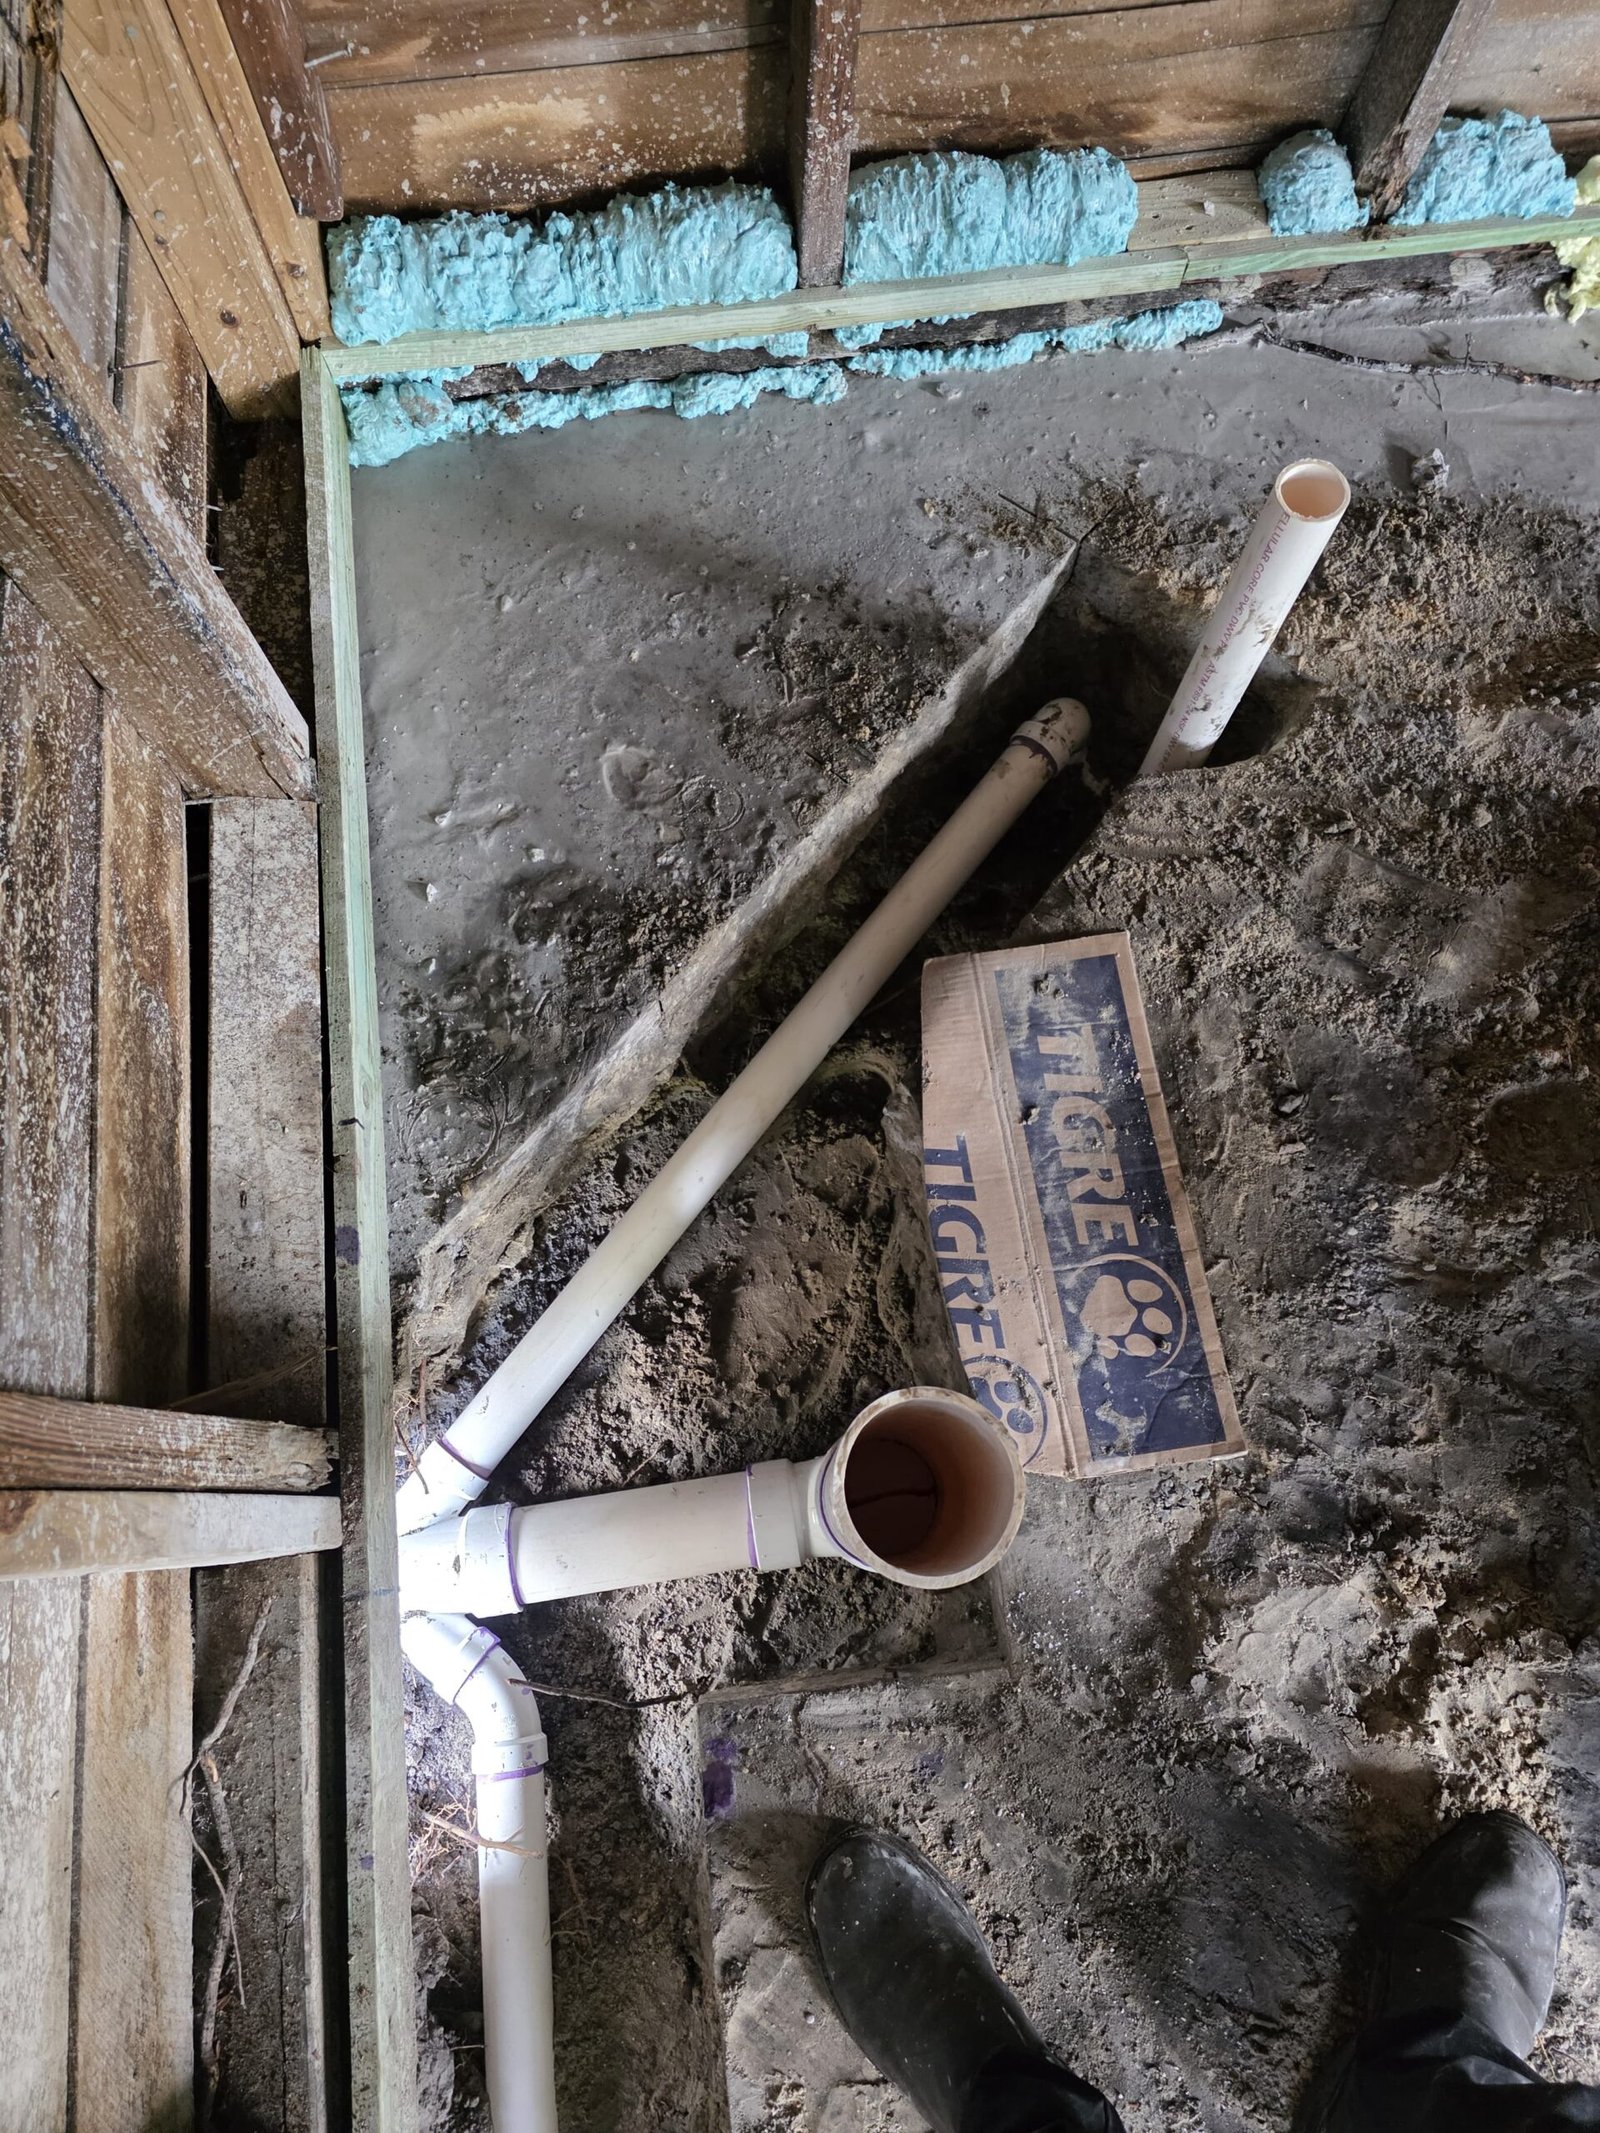
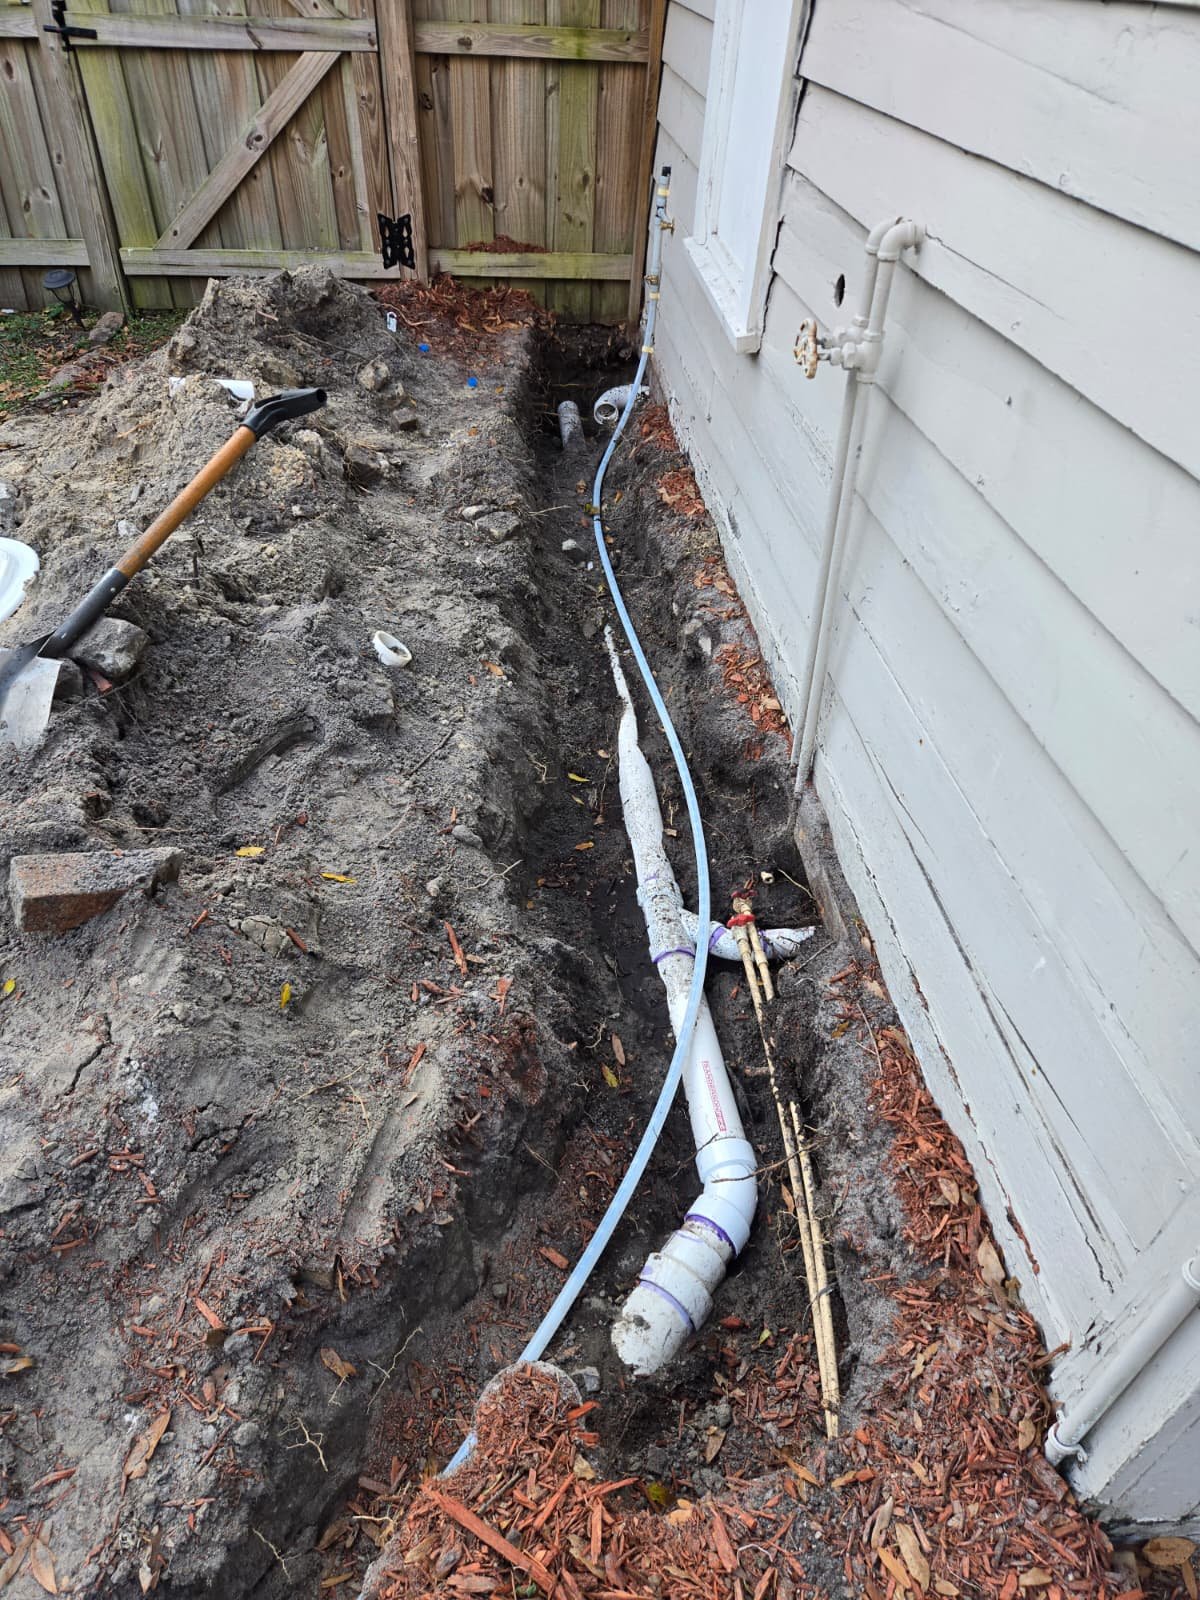
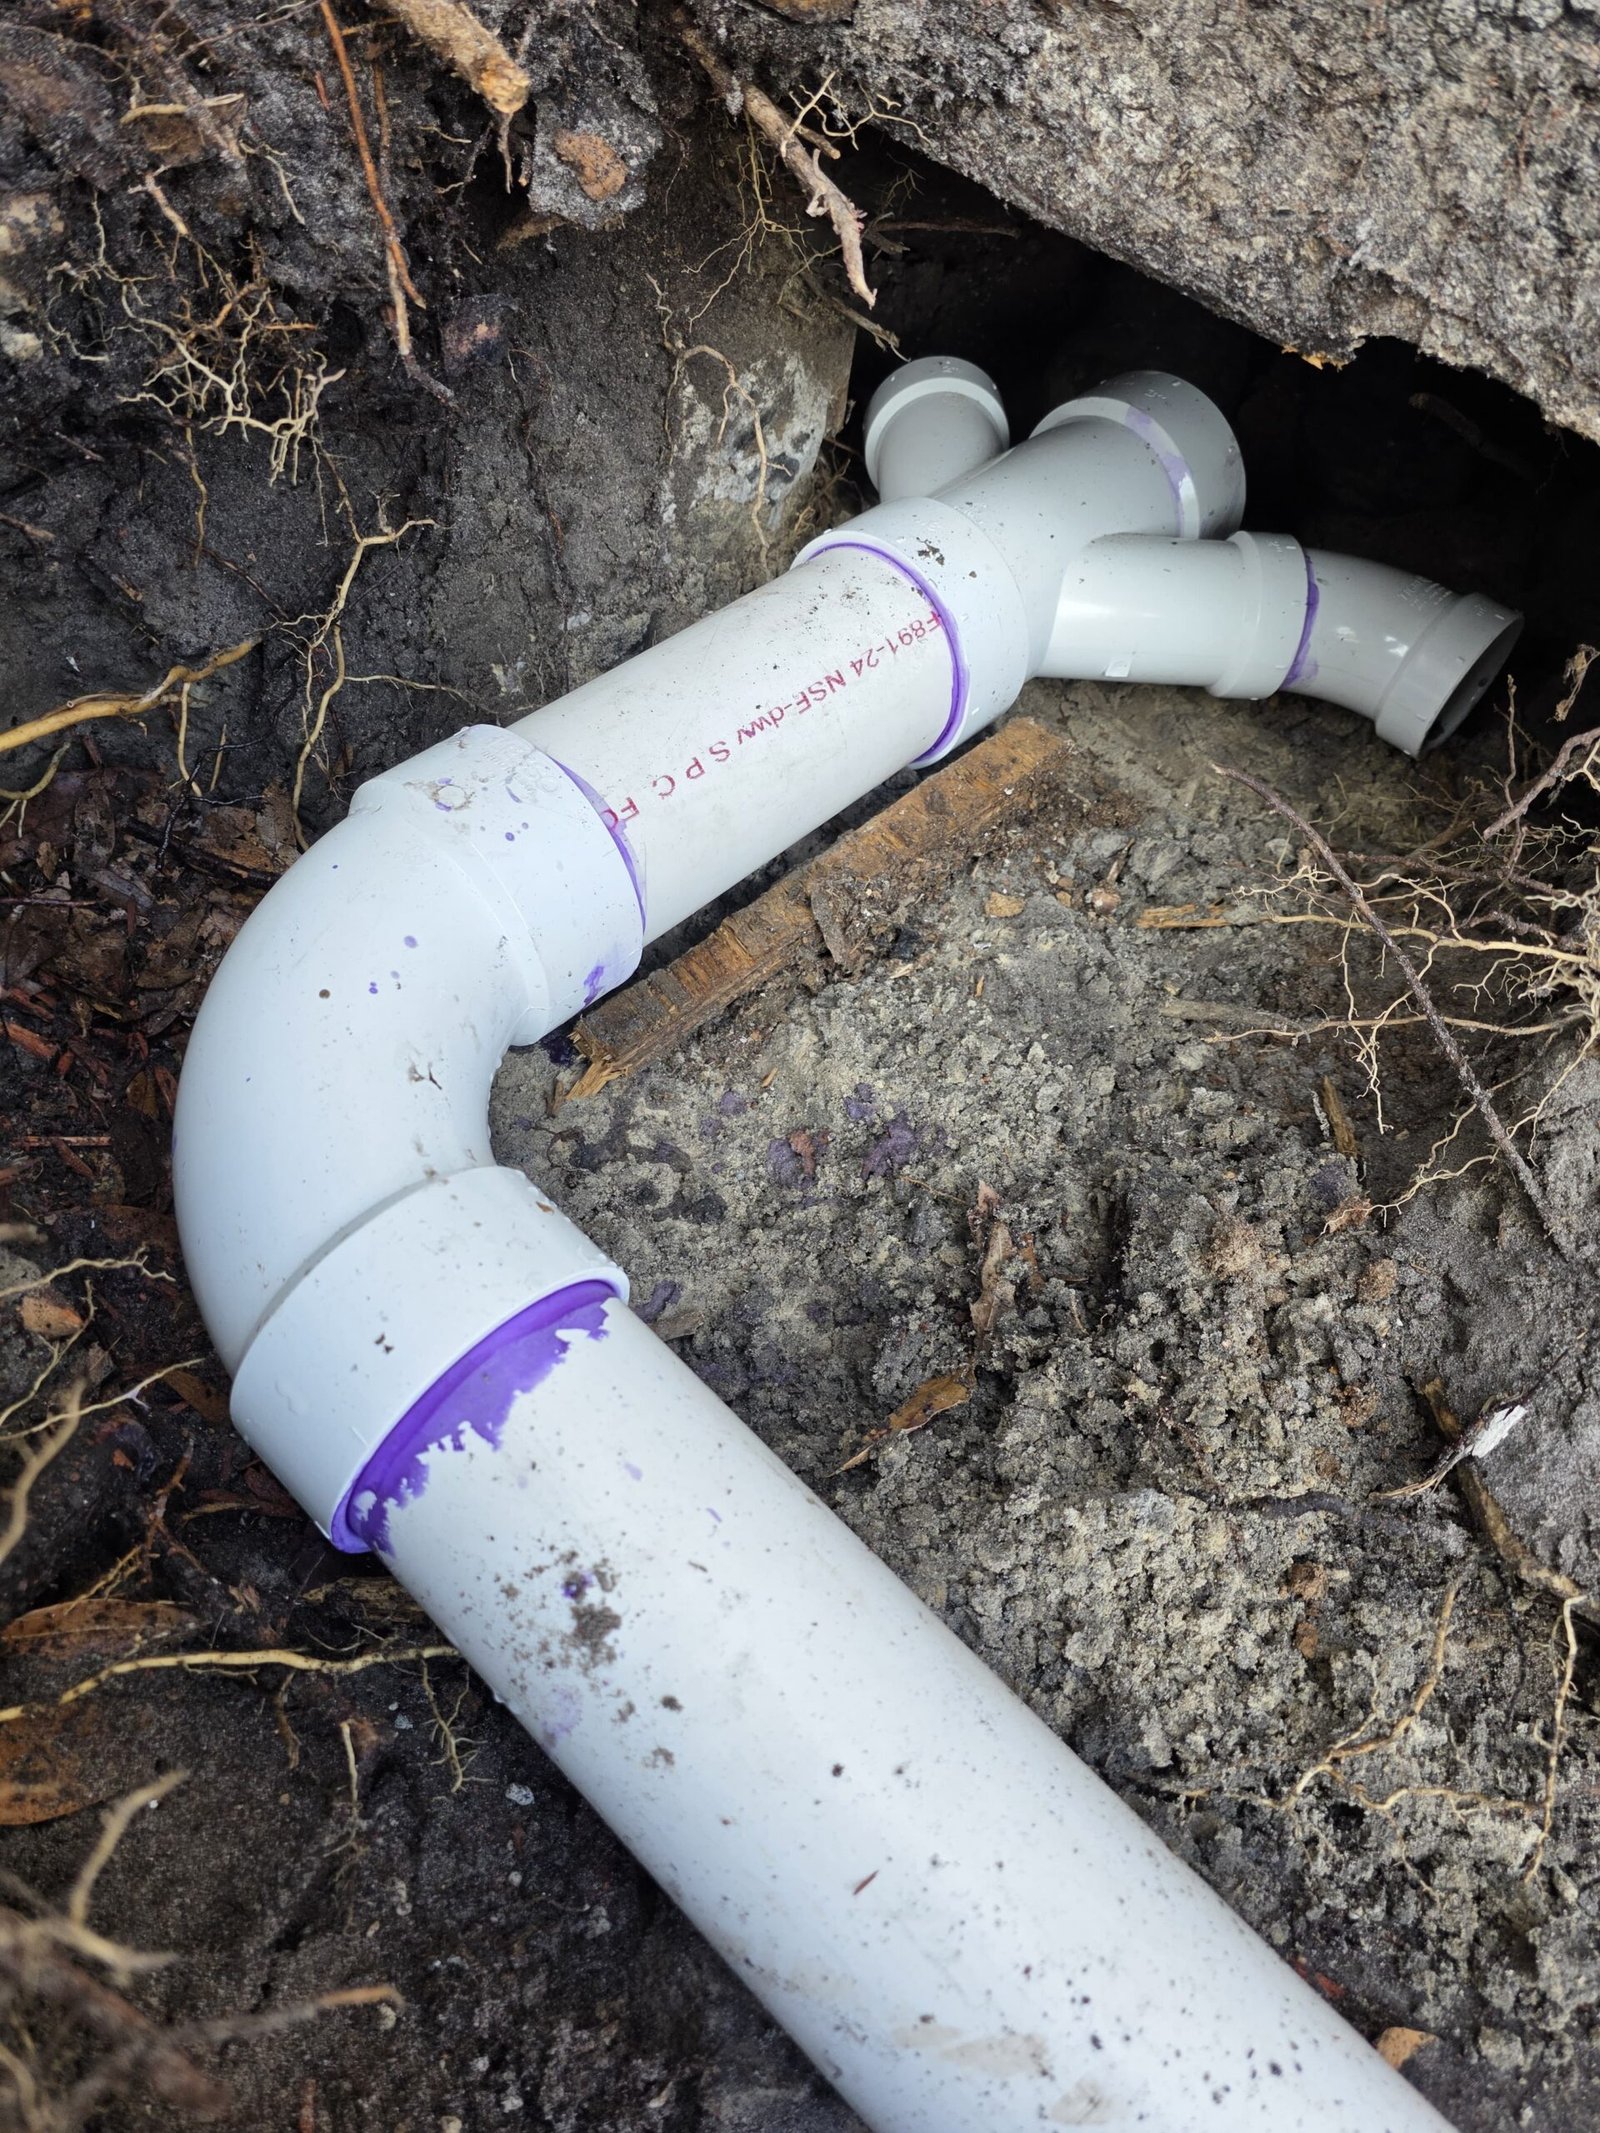
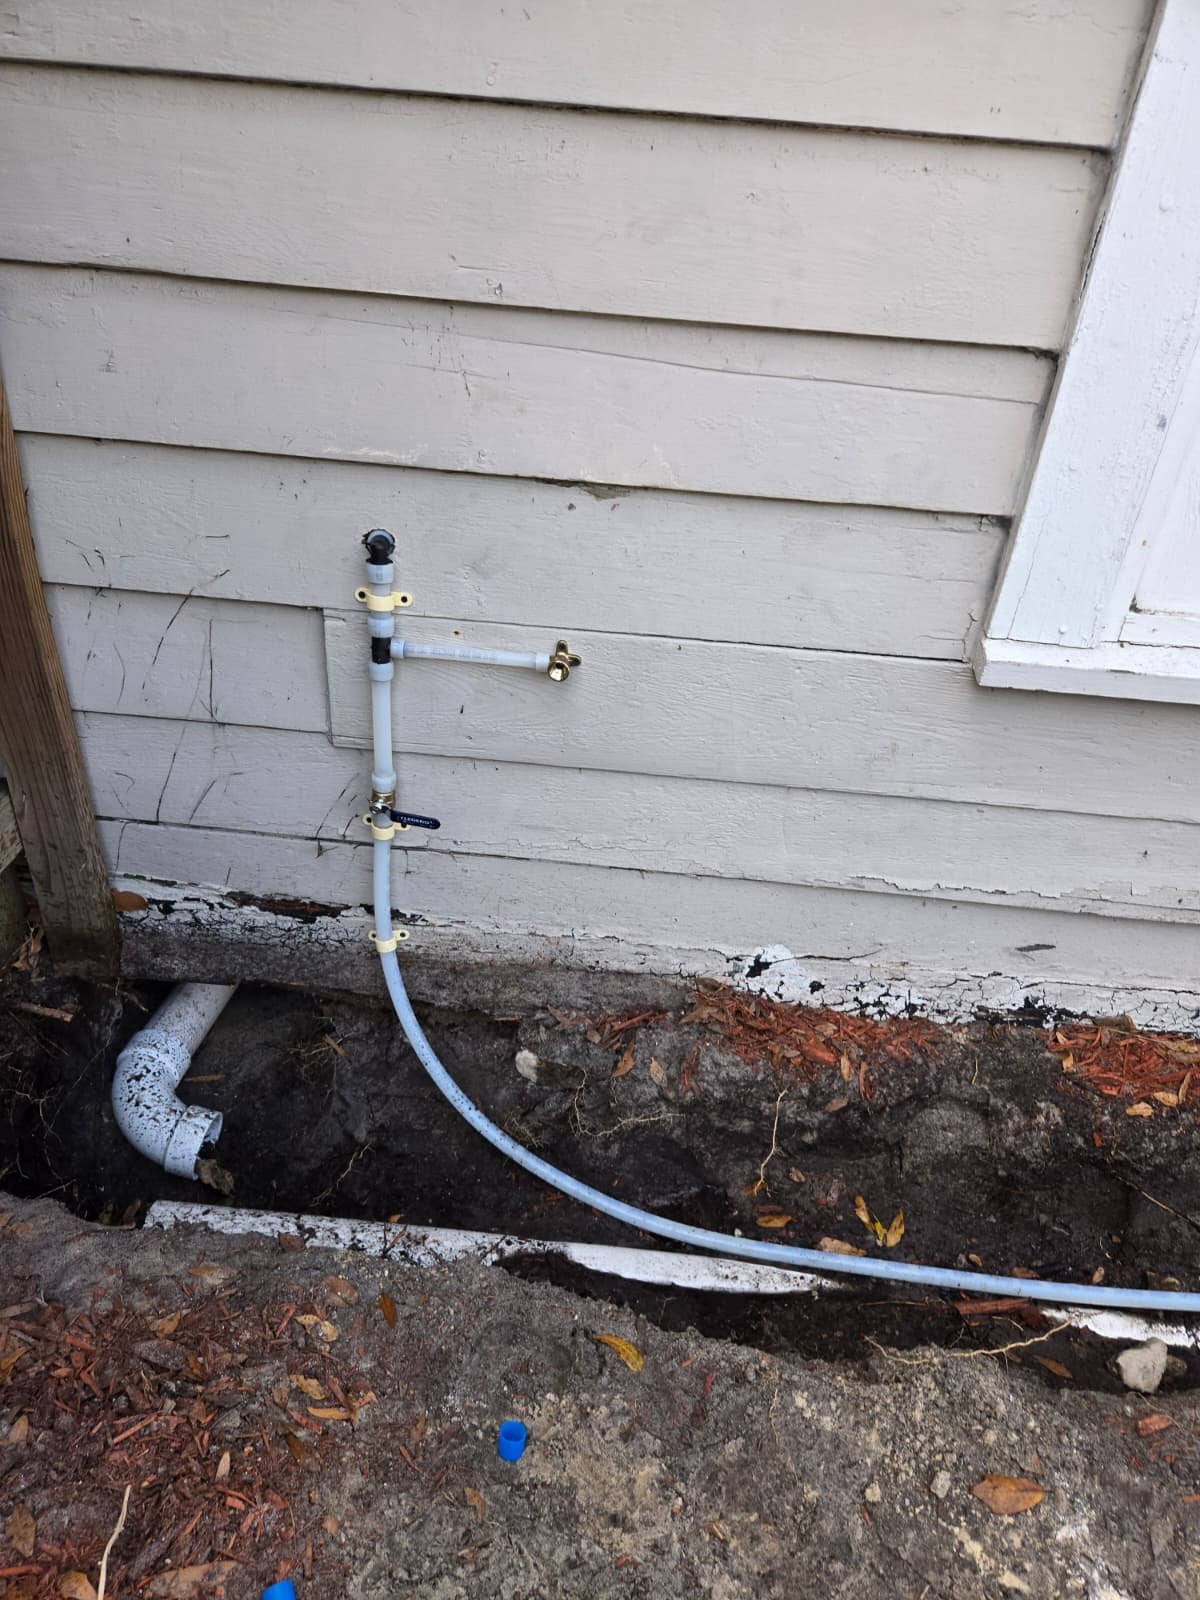
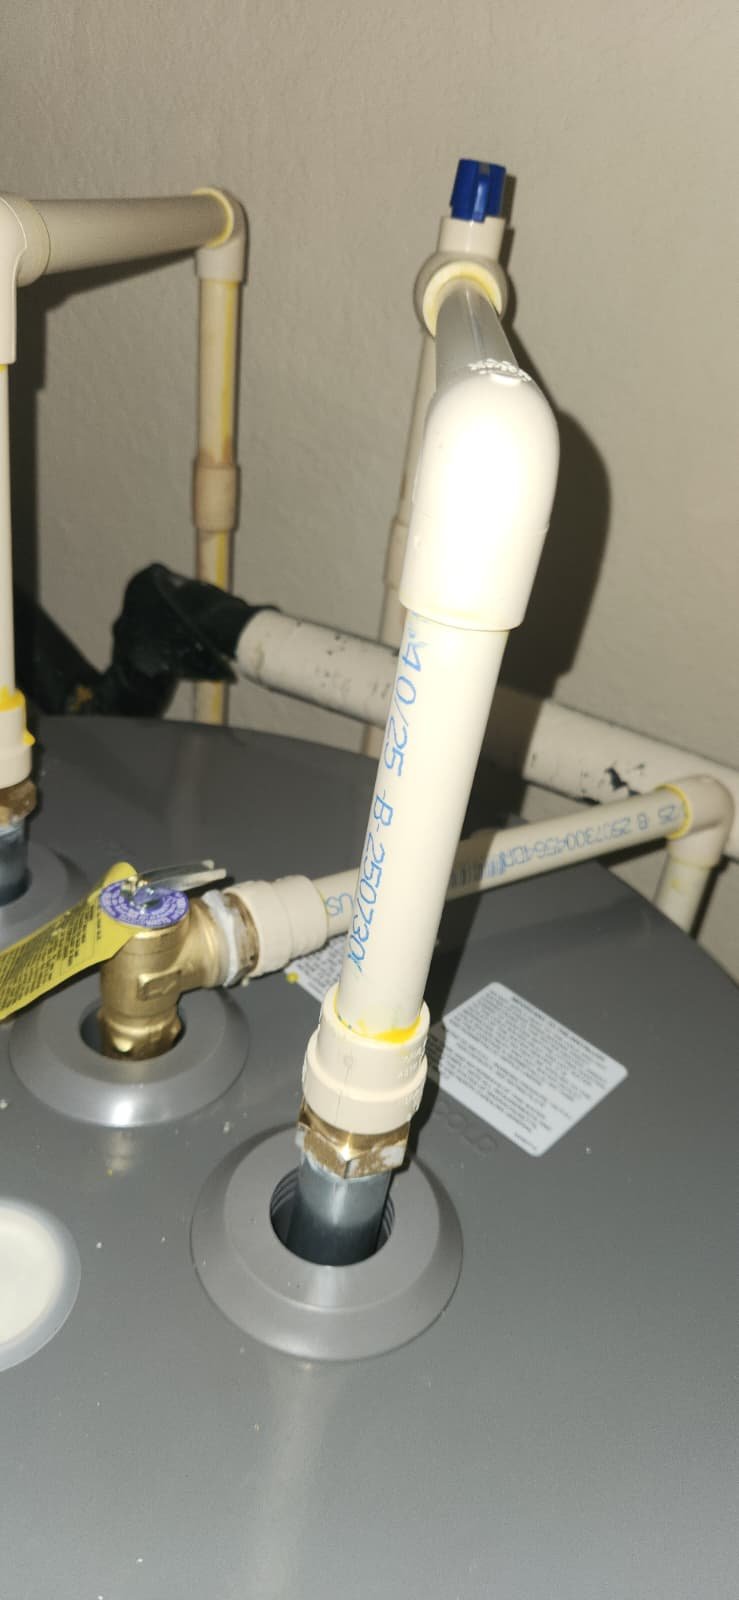
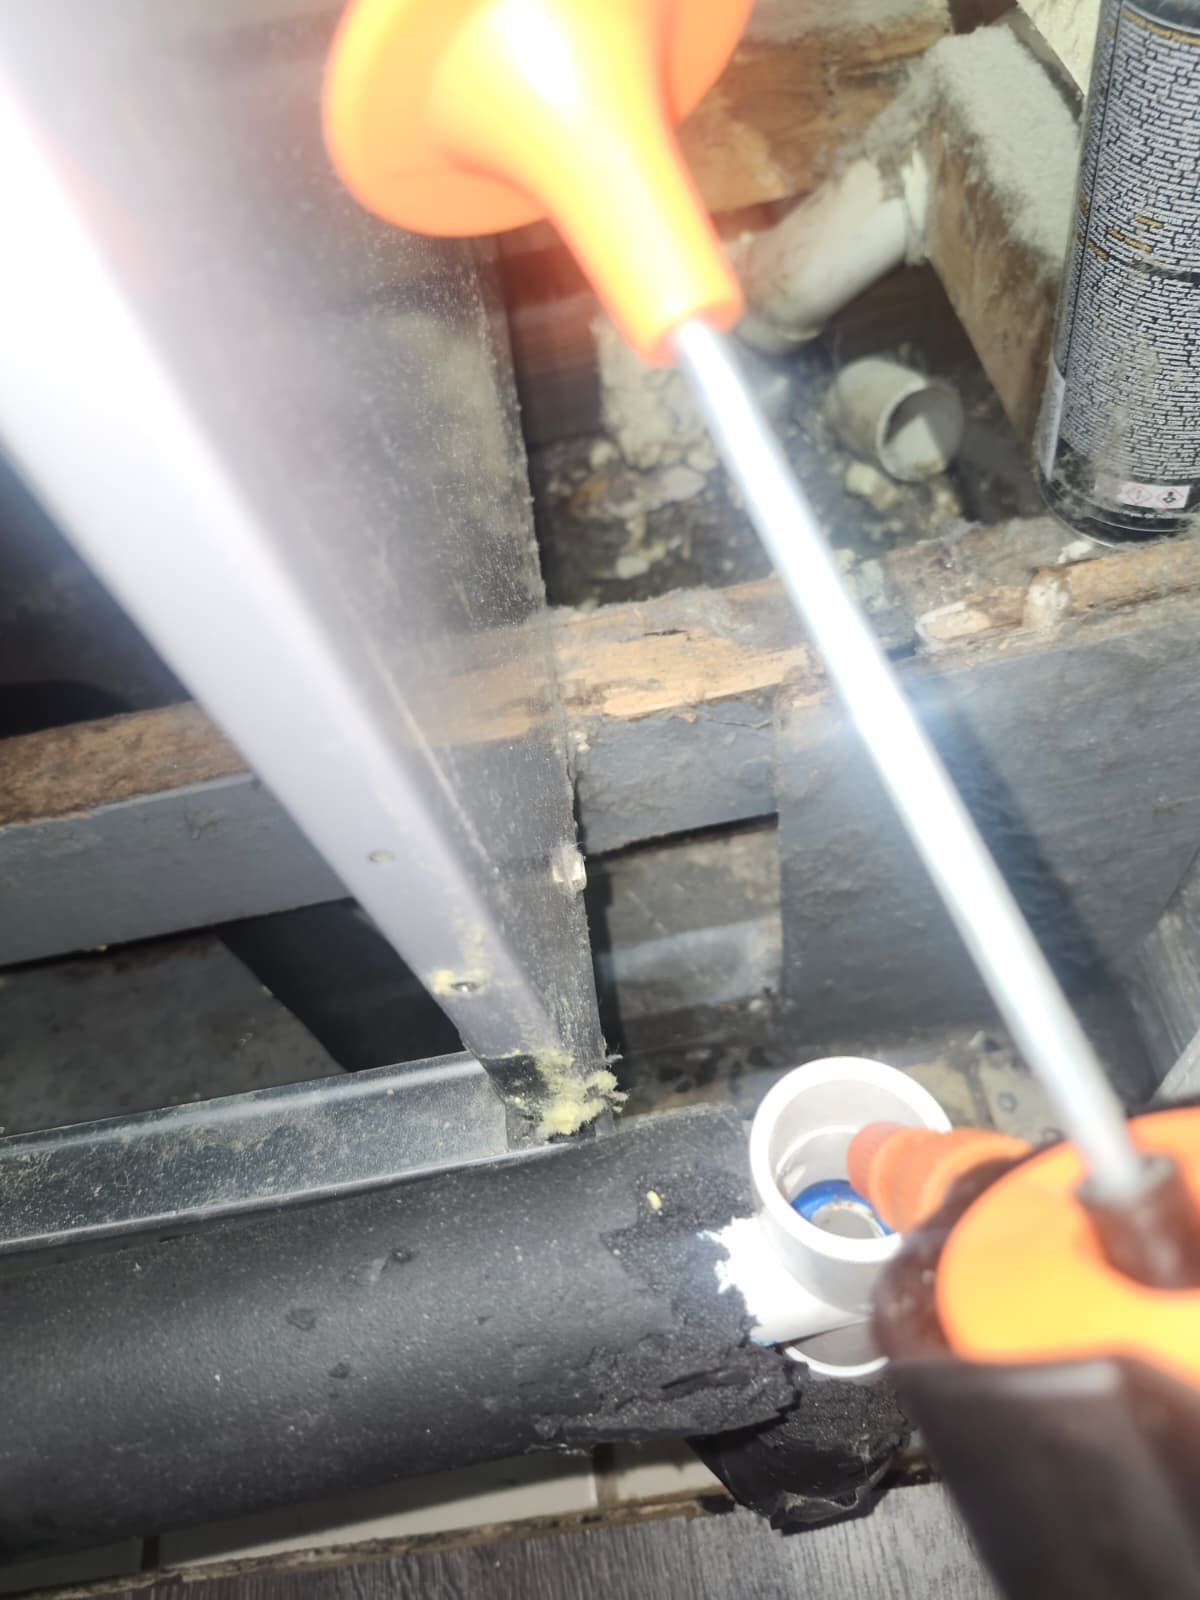
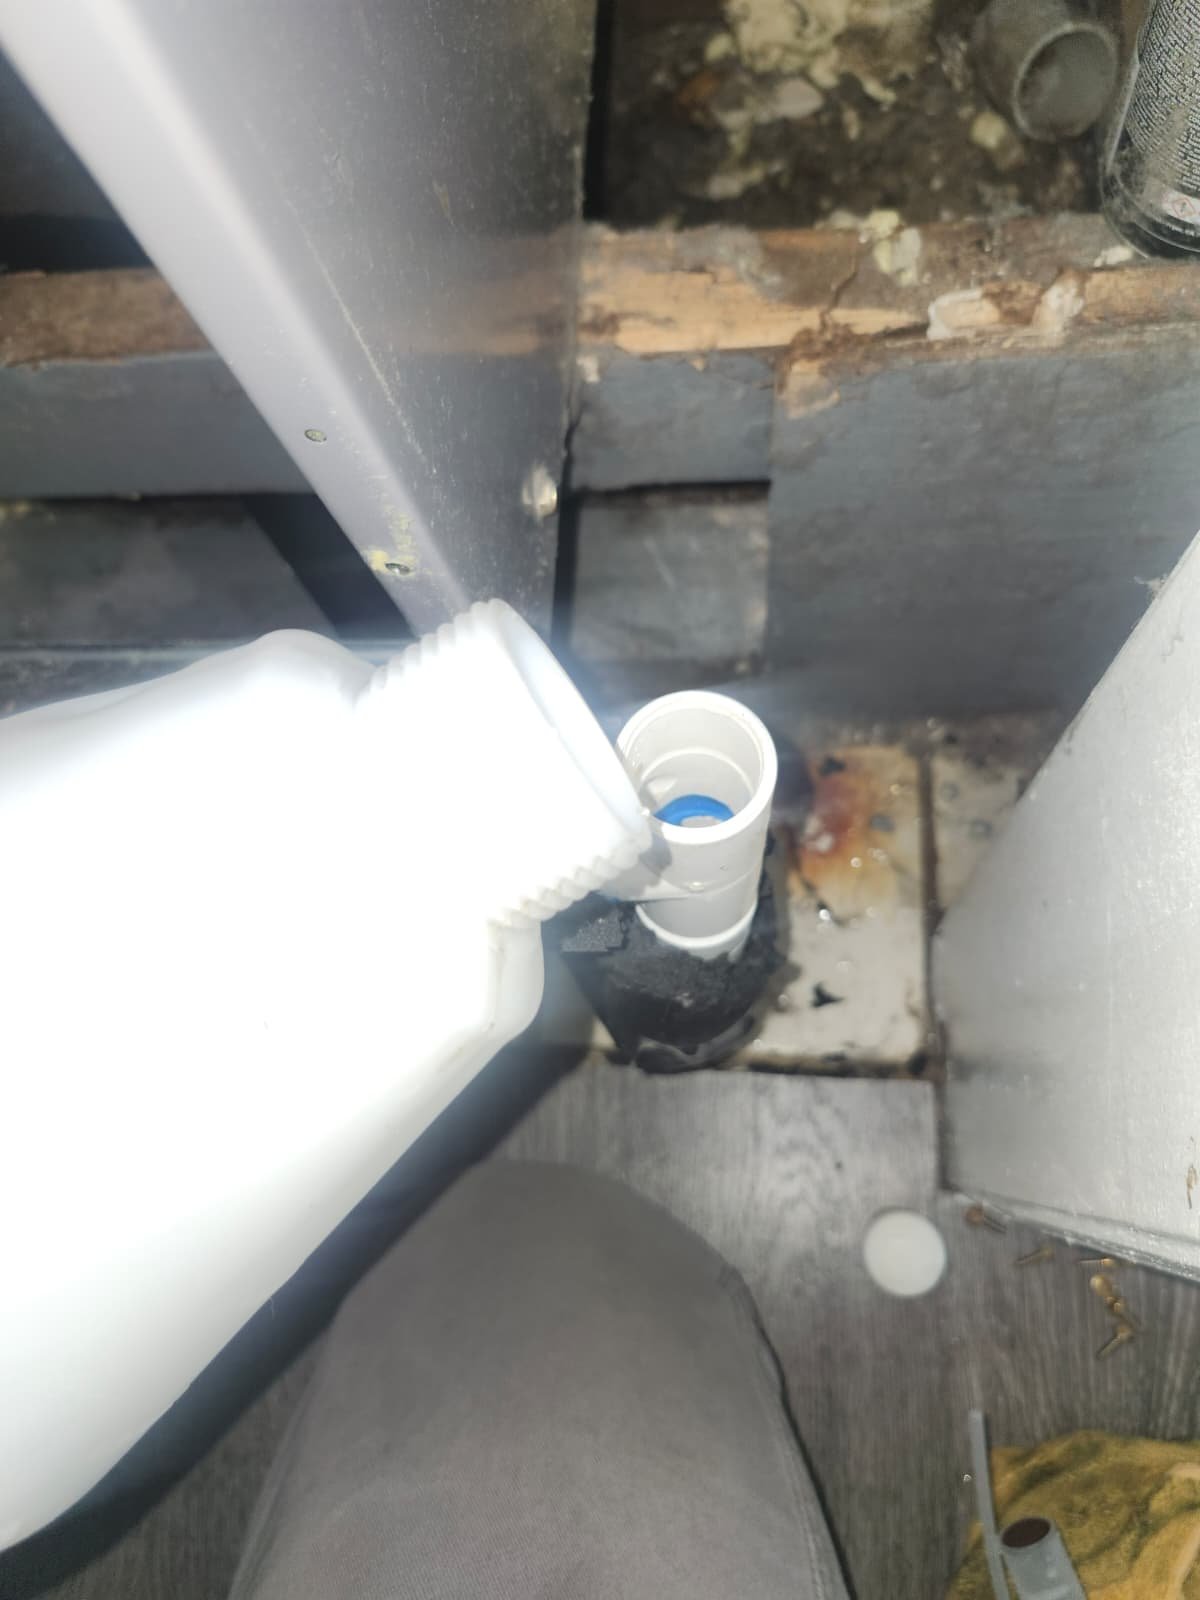
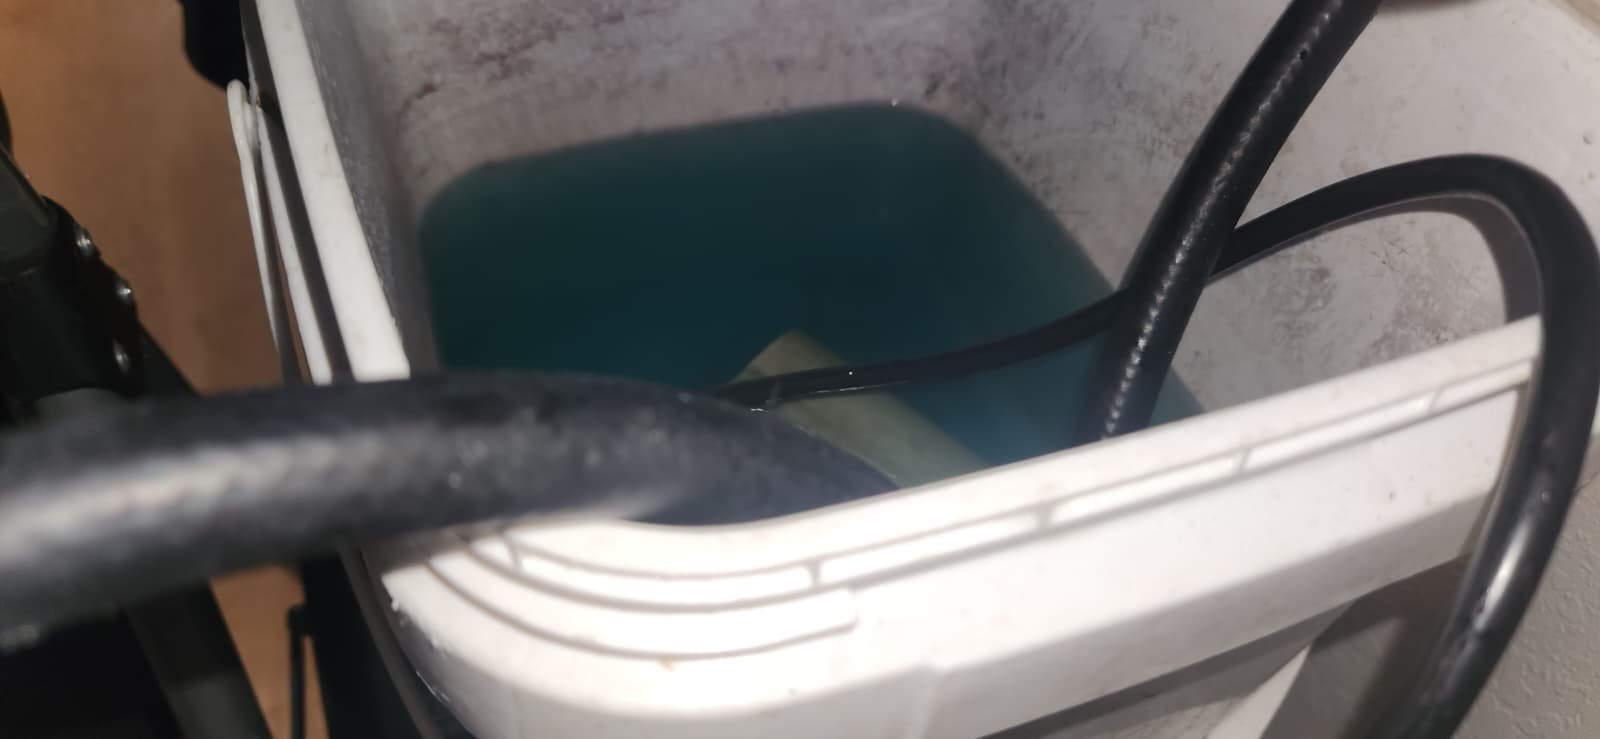
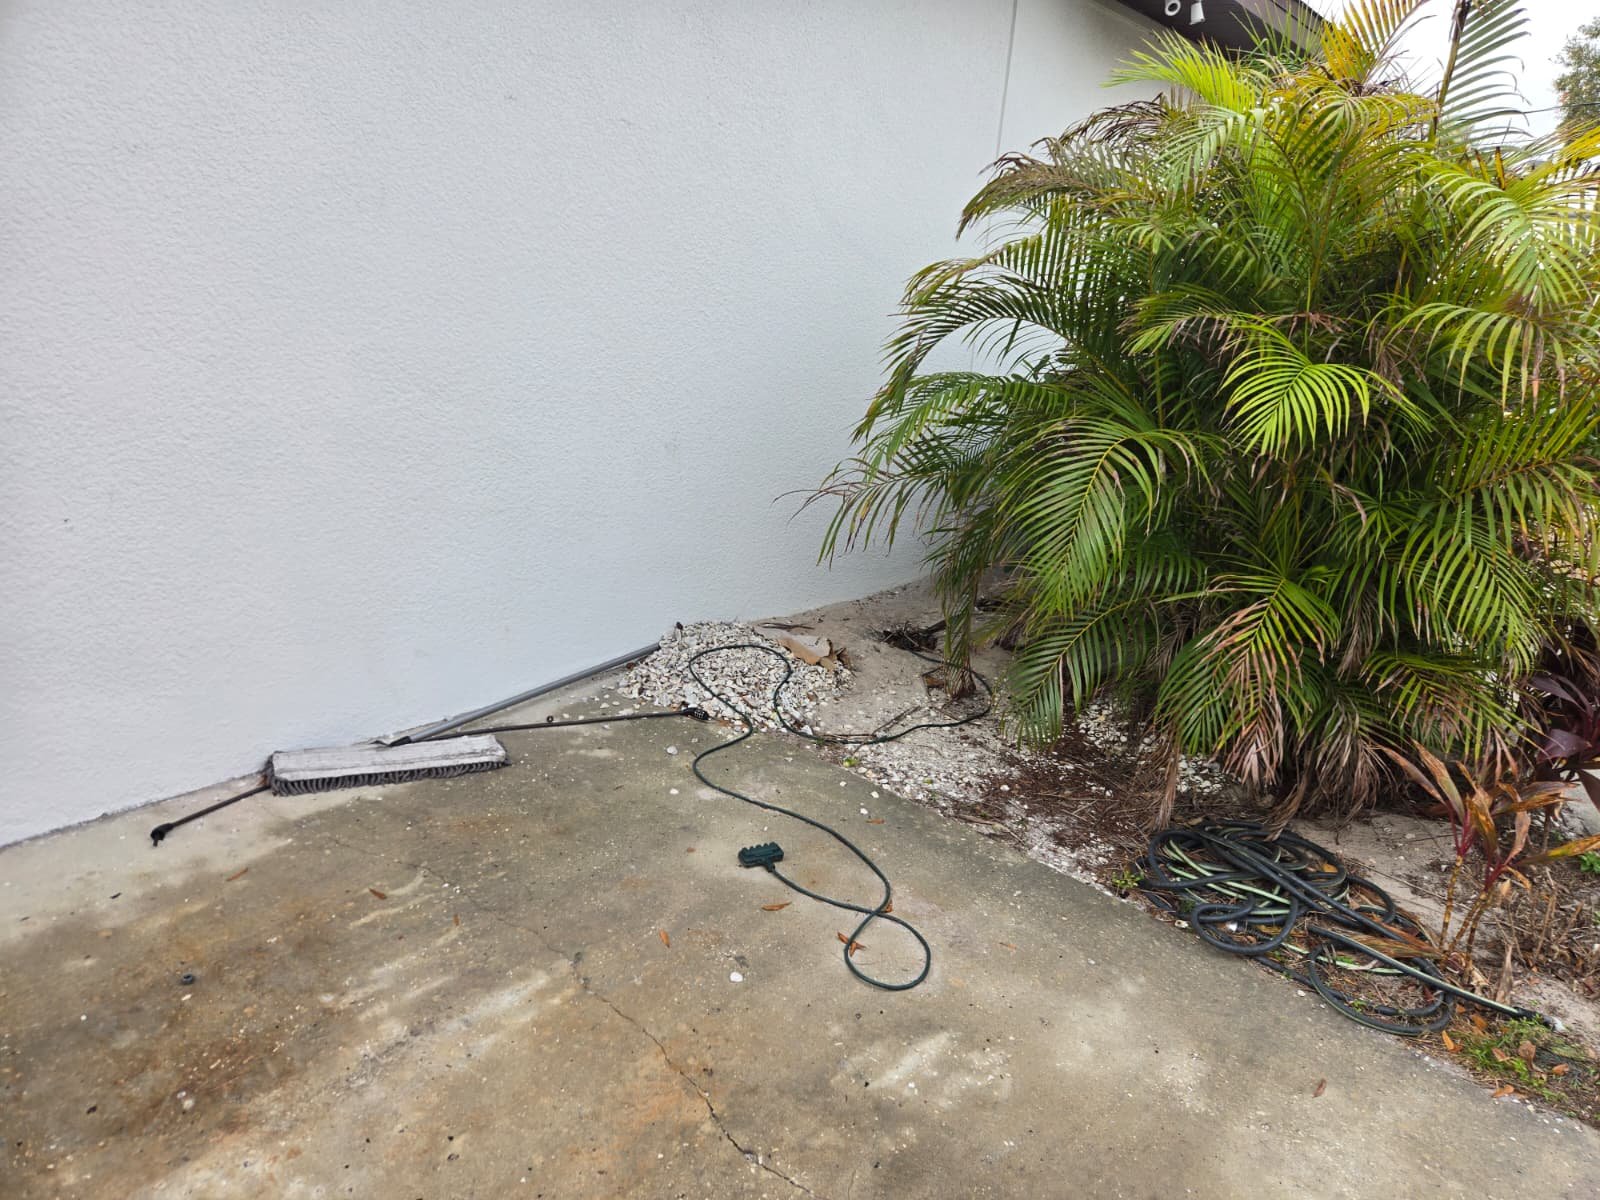
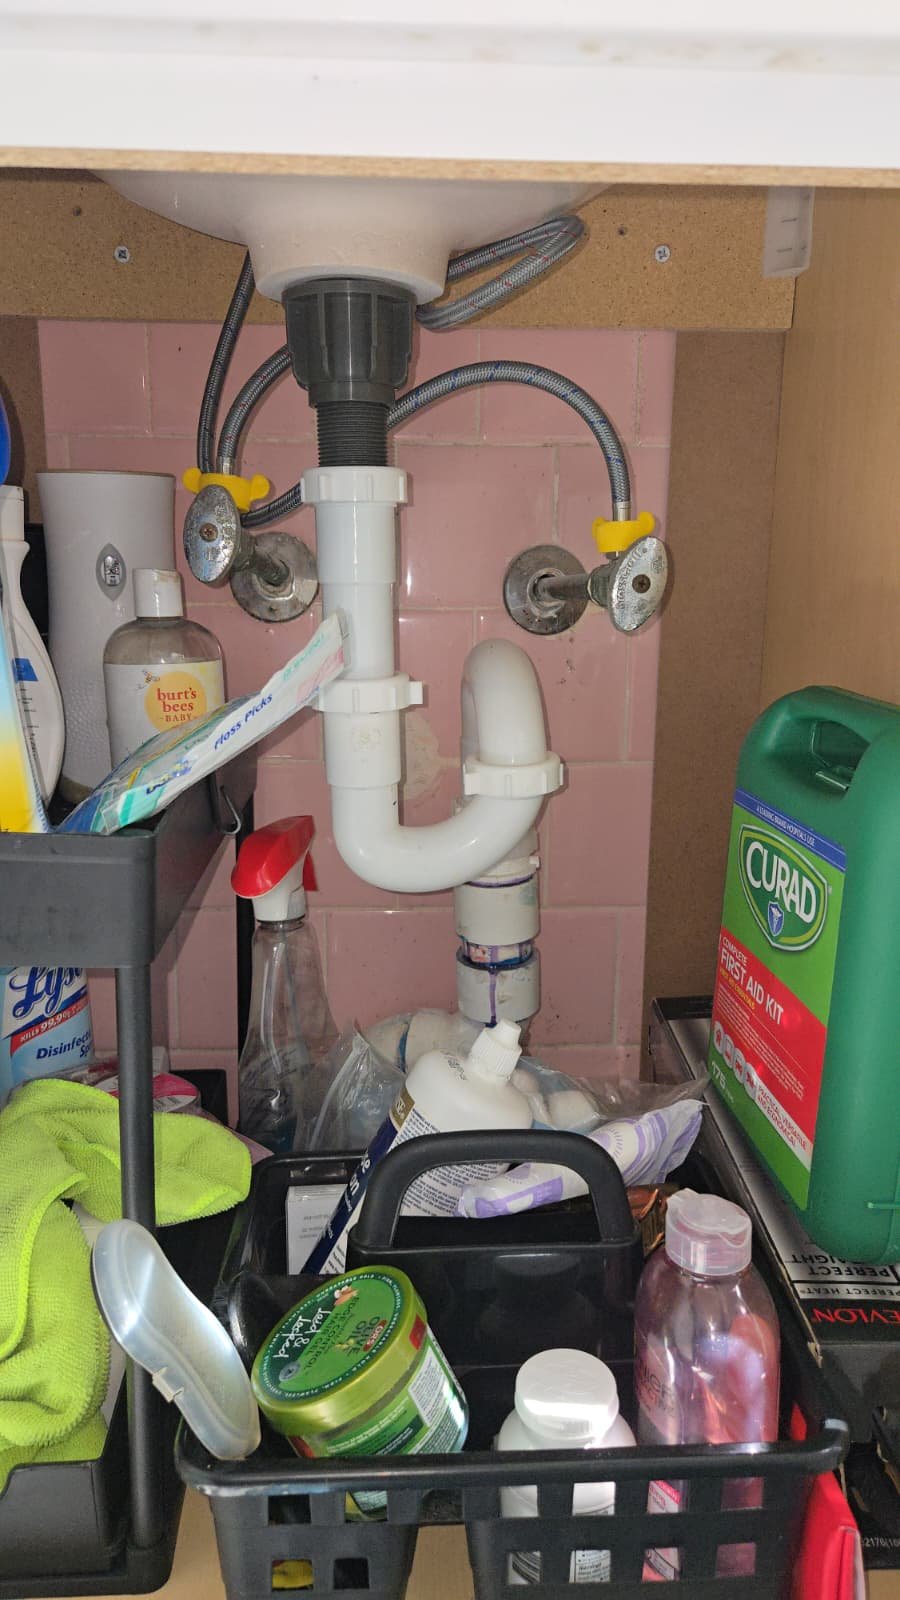
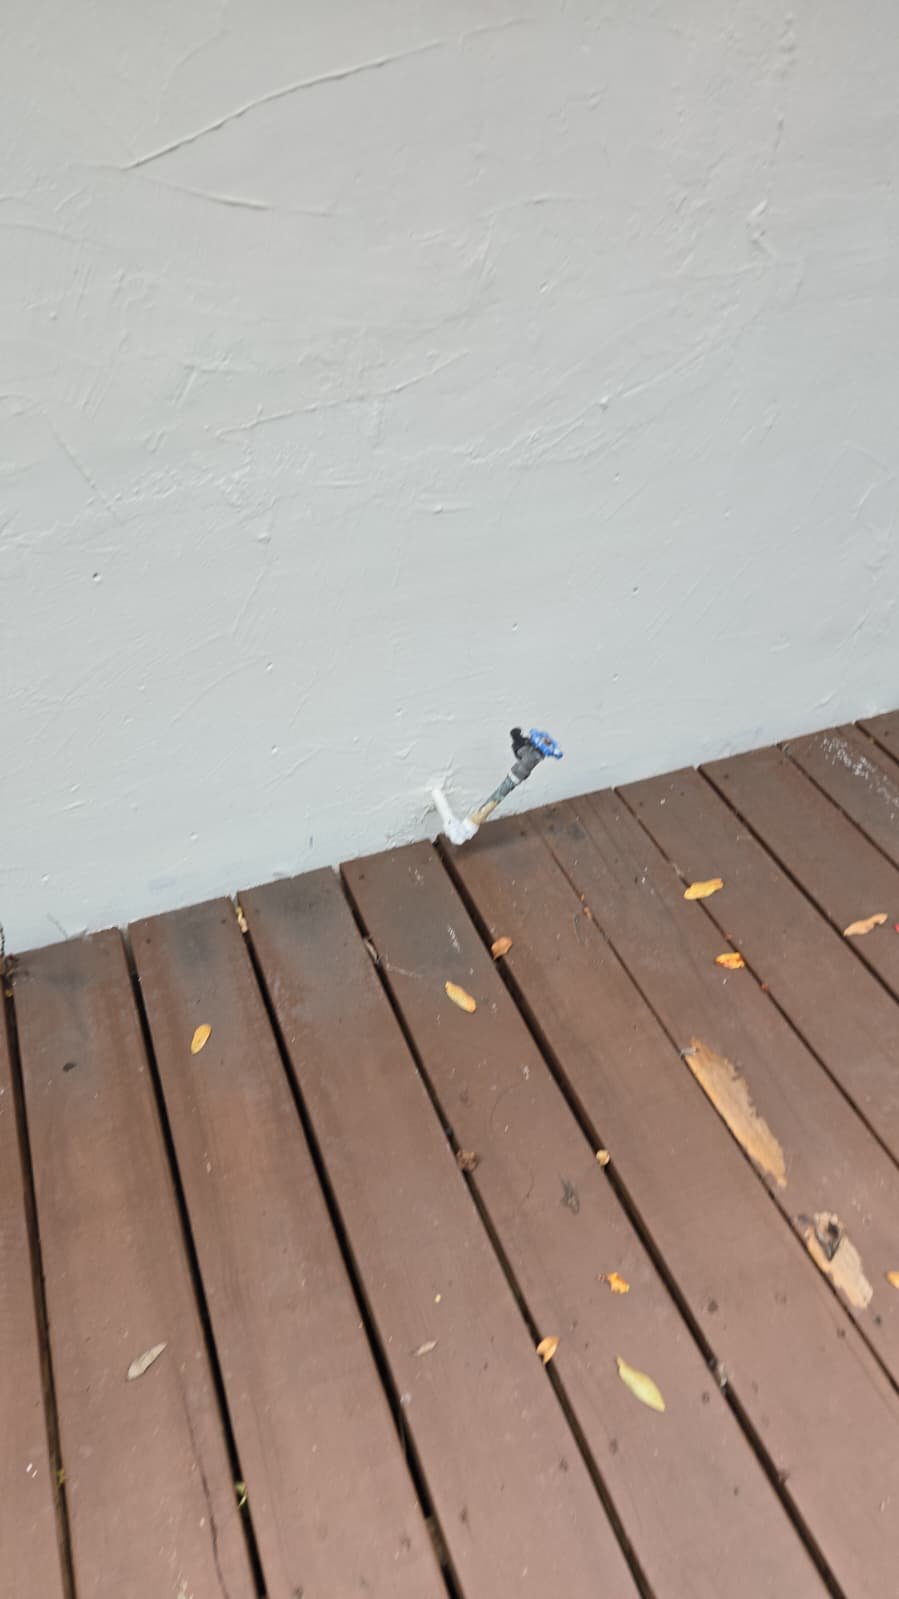
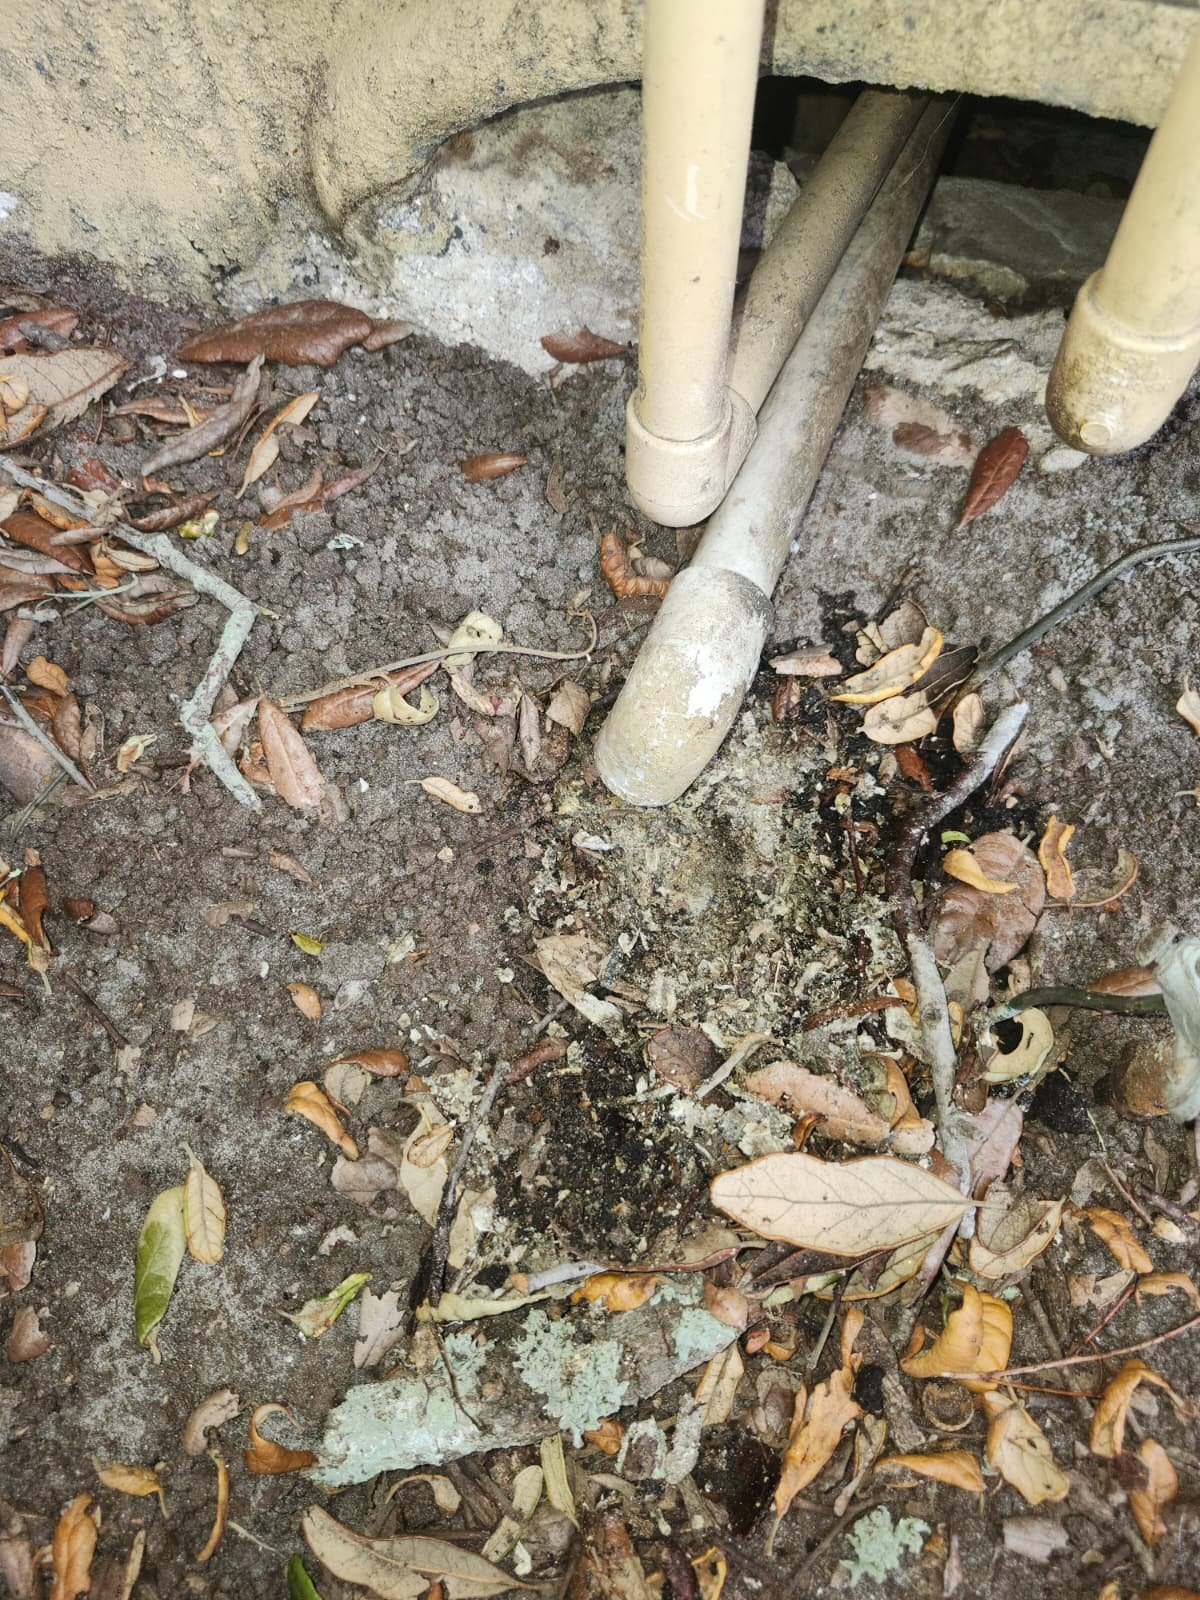
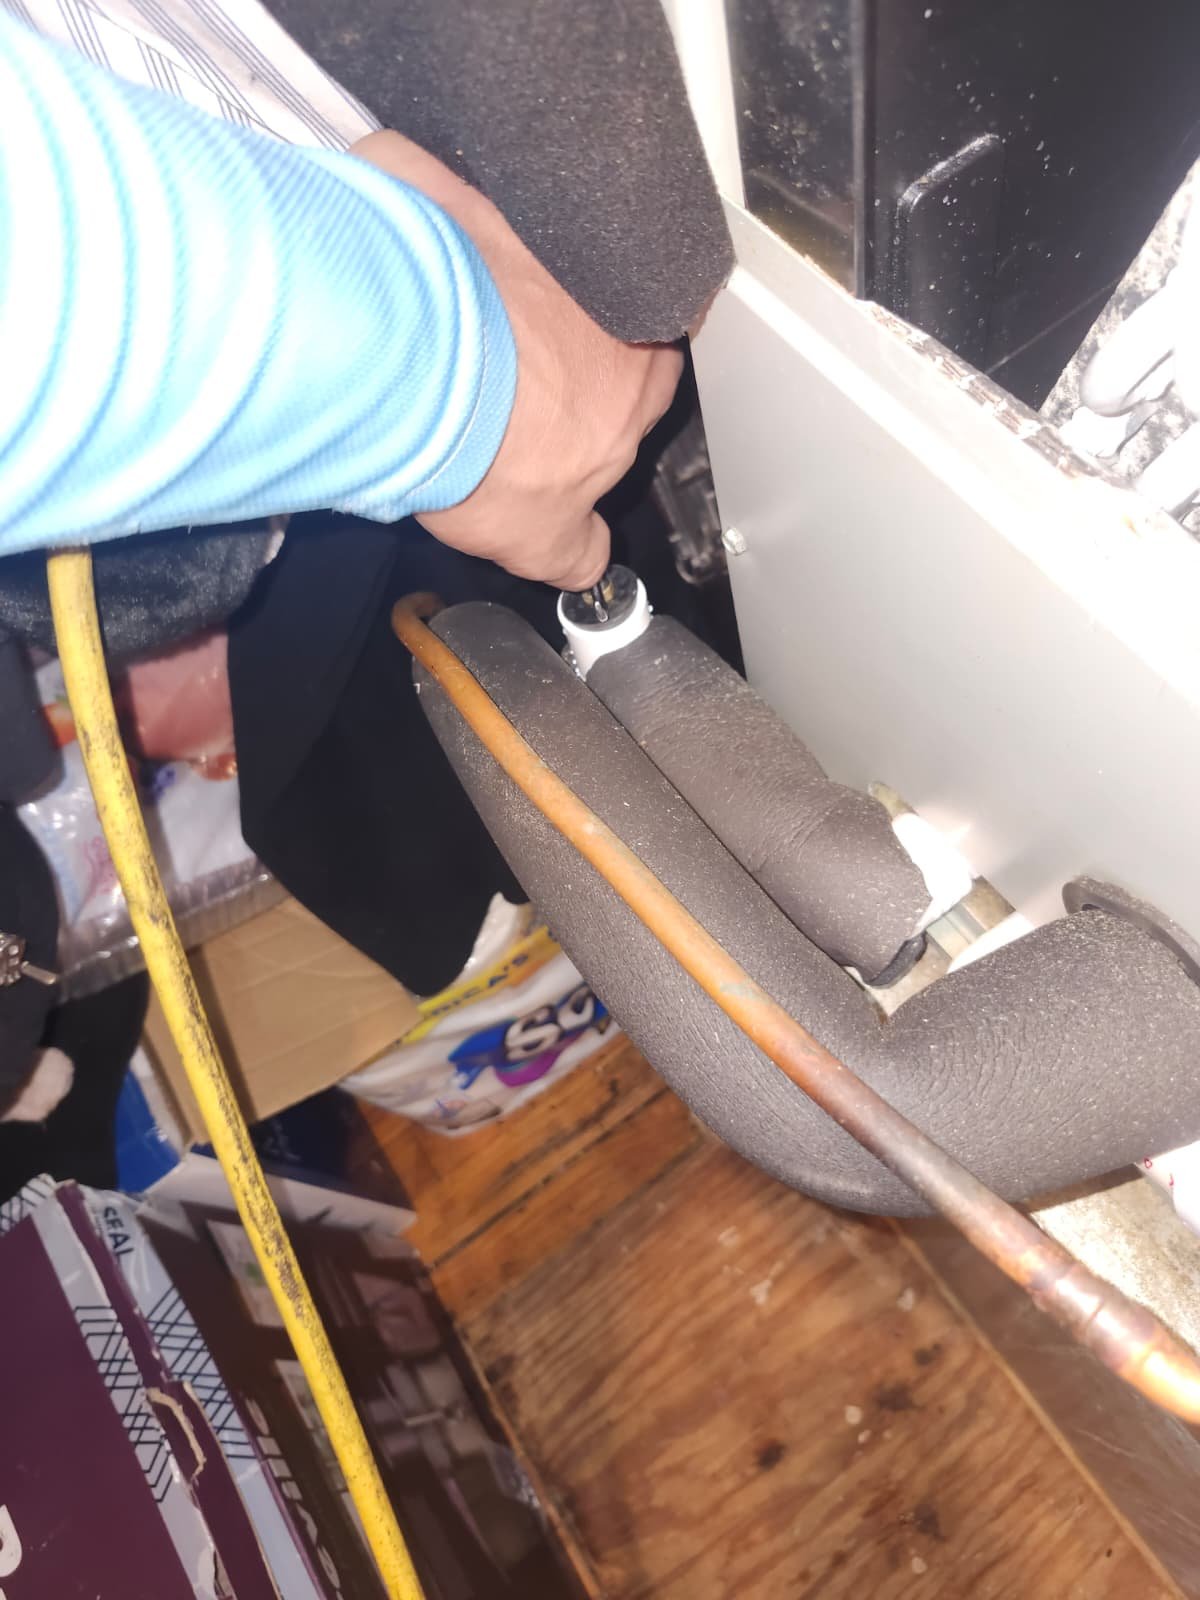
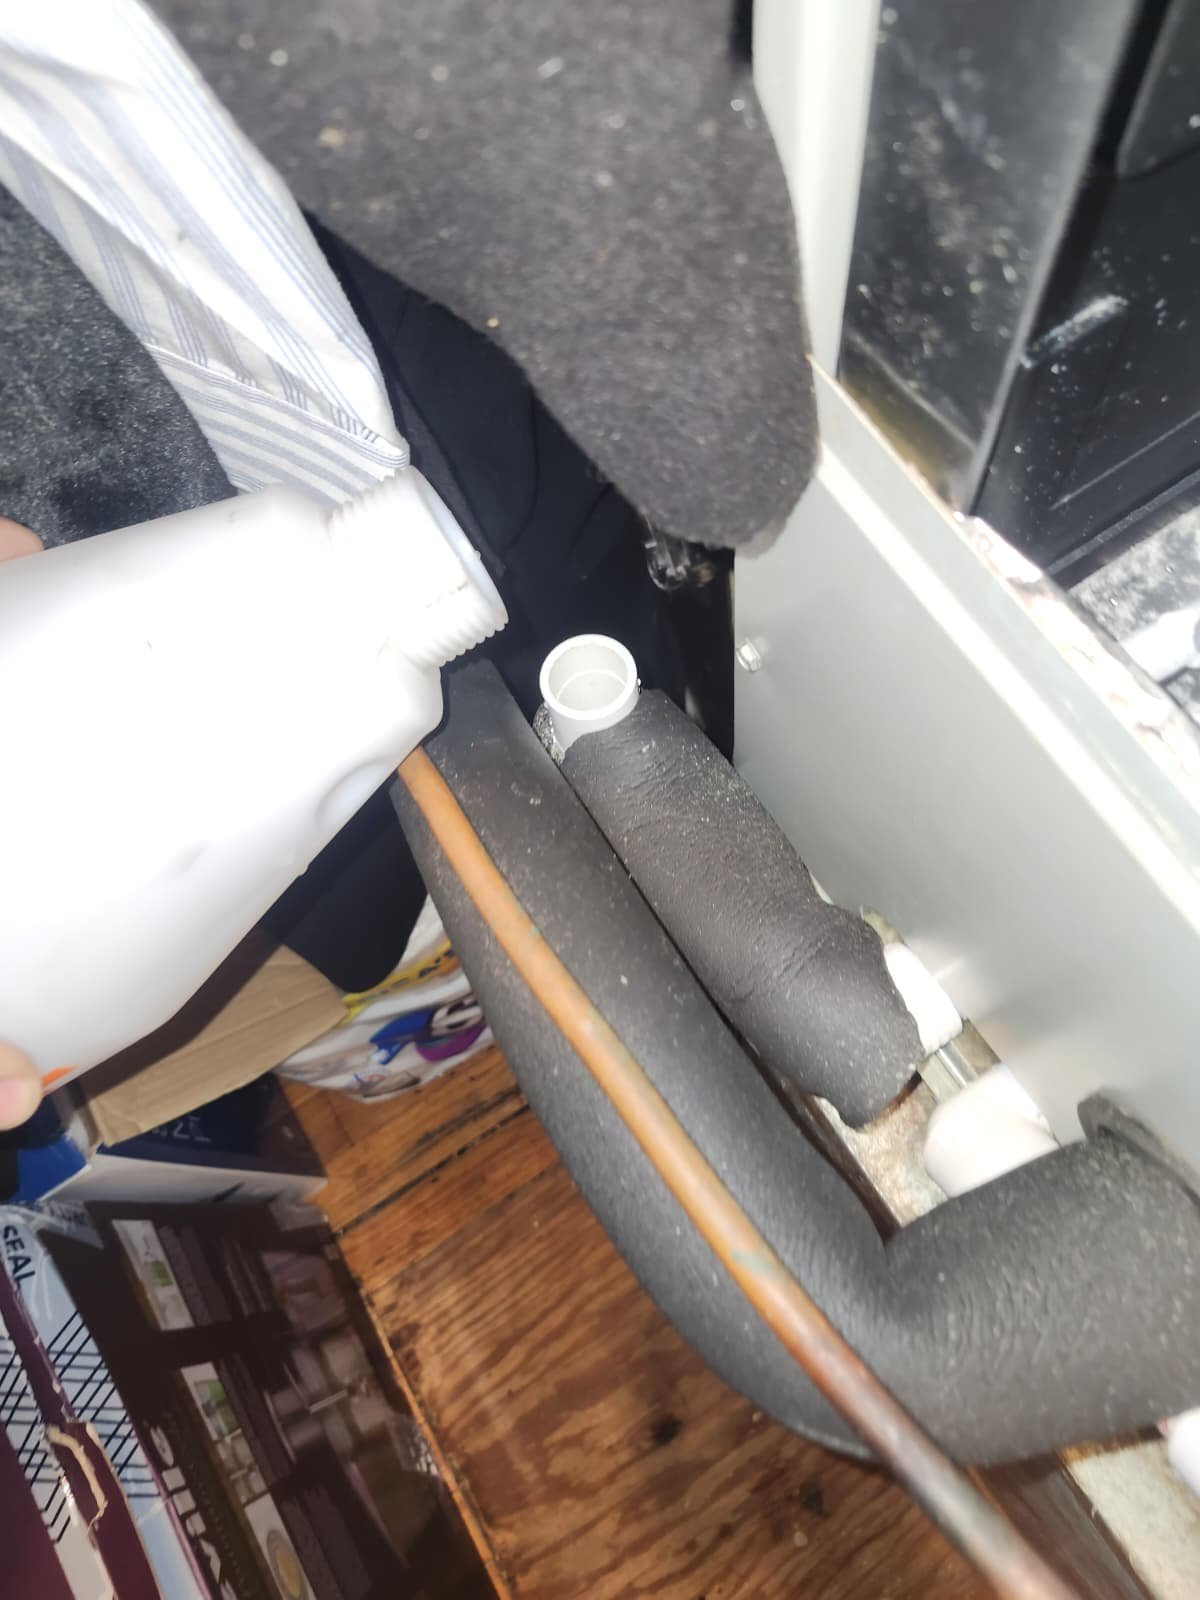
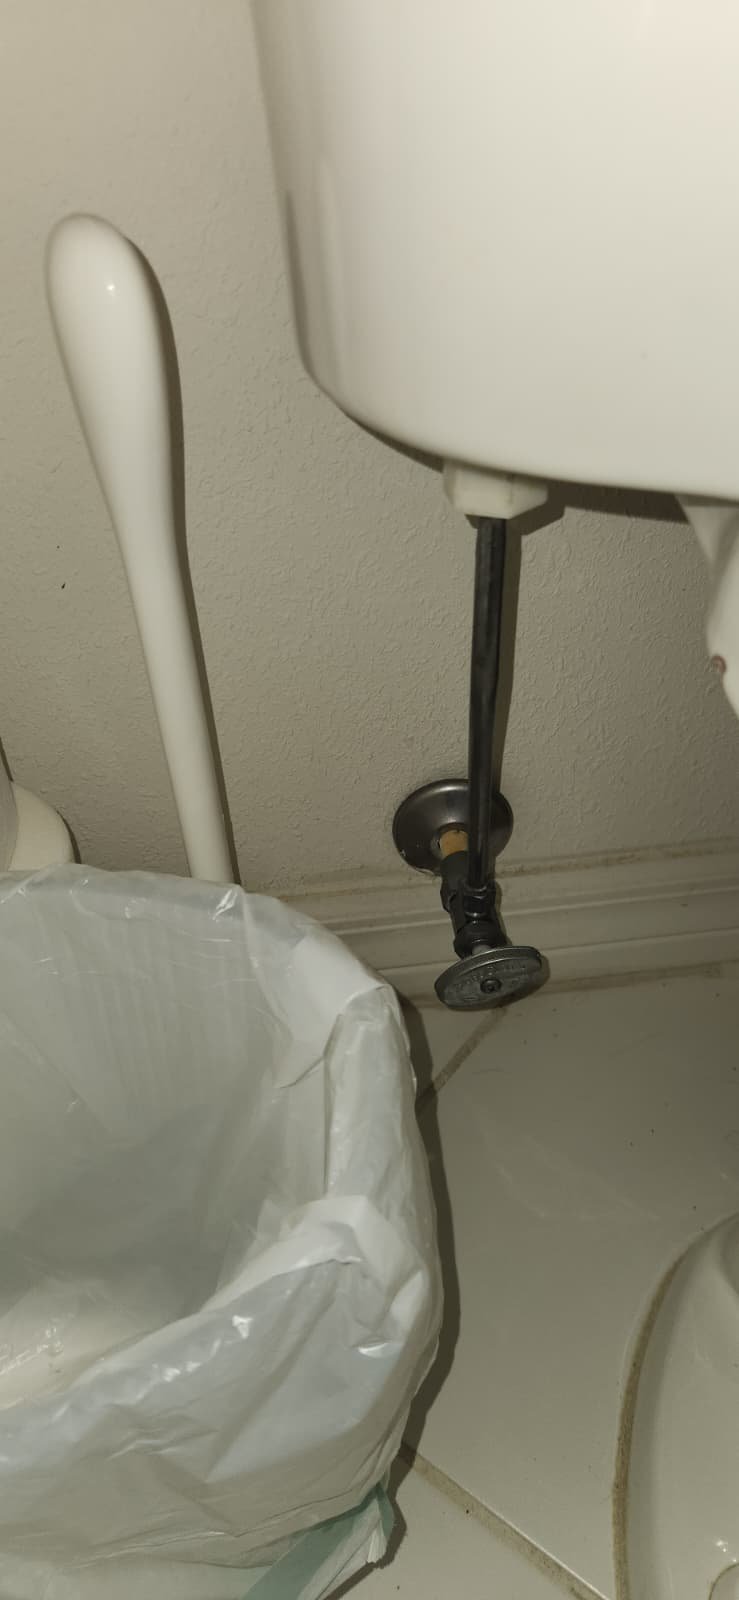
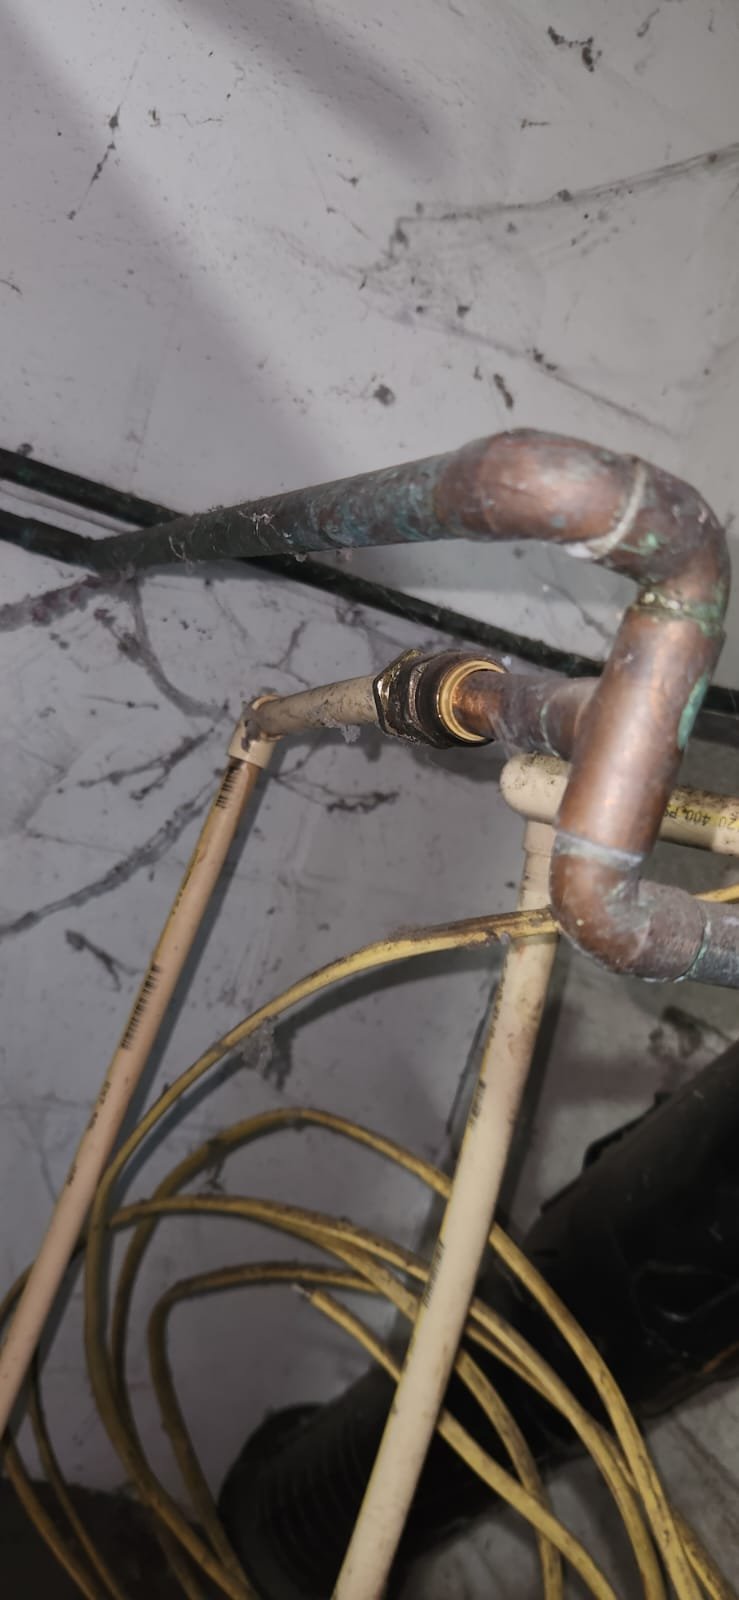
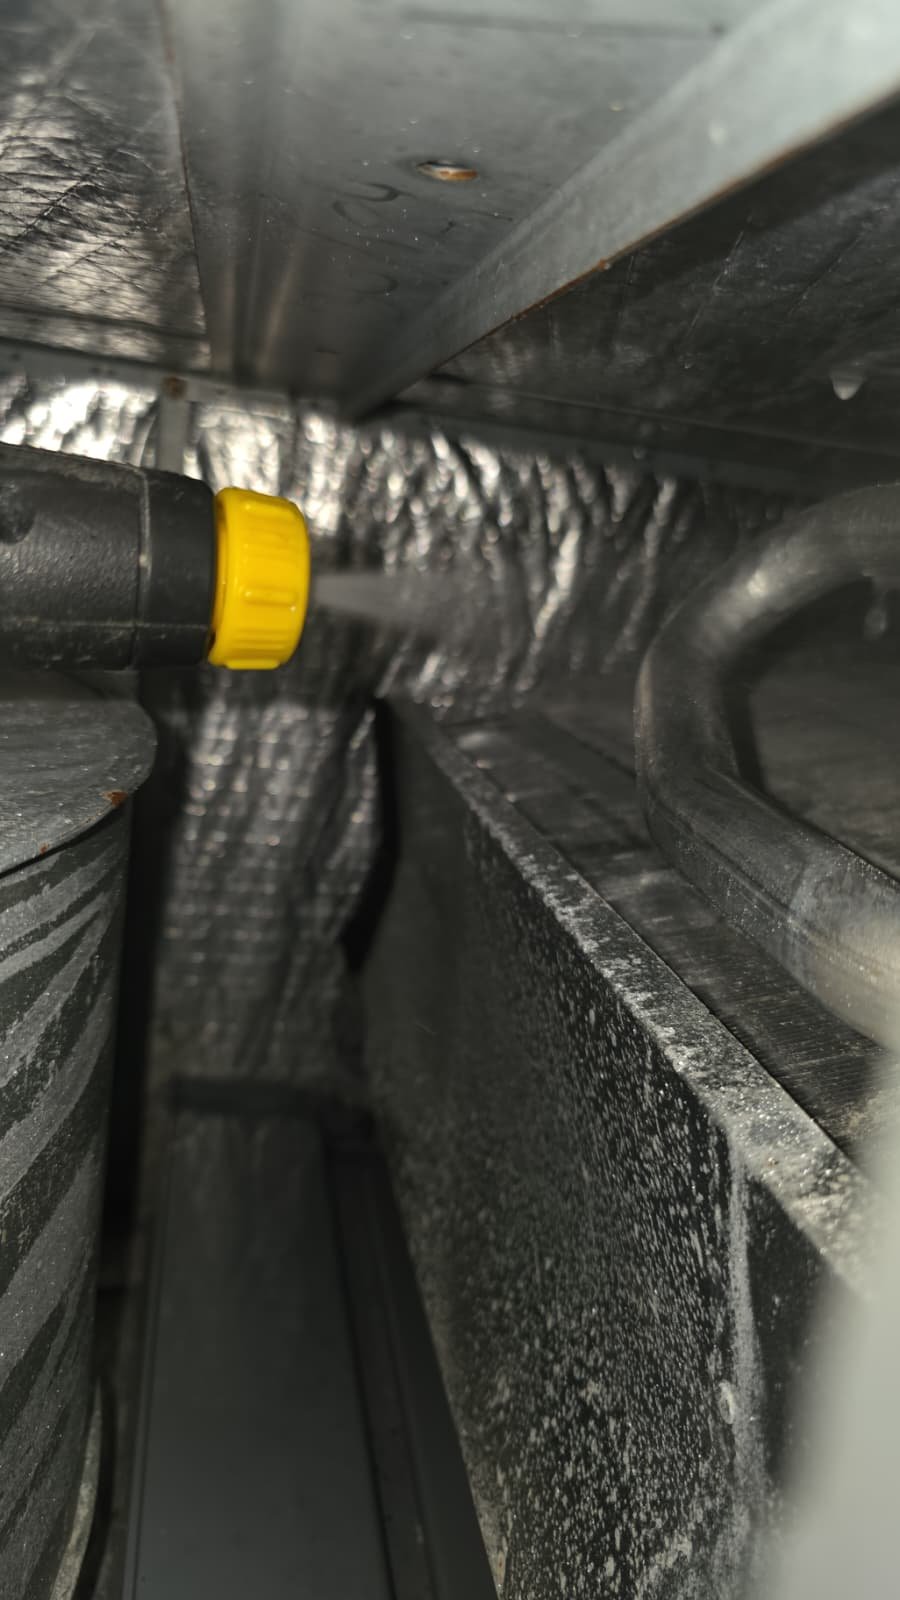
7. Condensate Drain Line
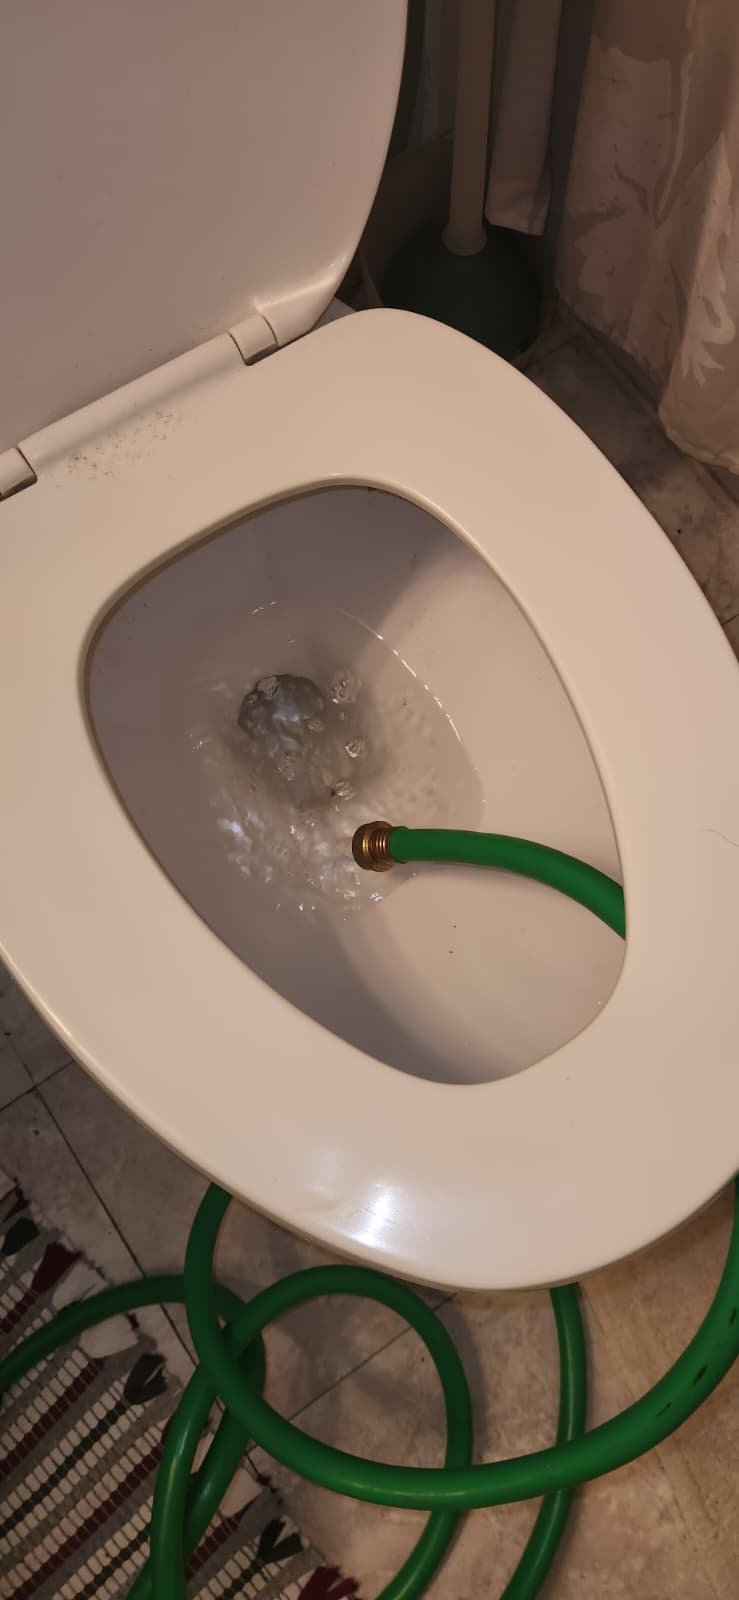
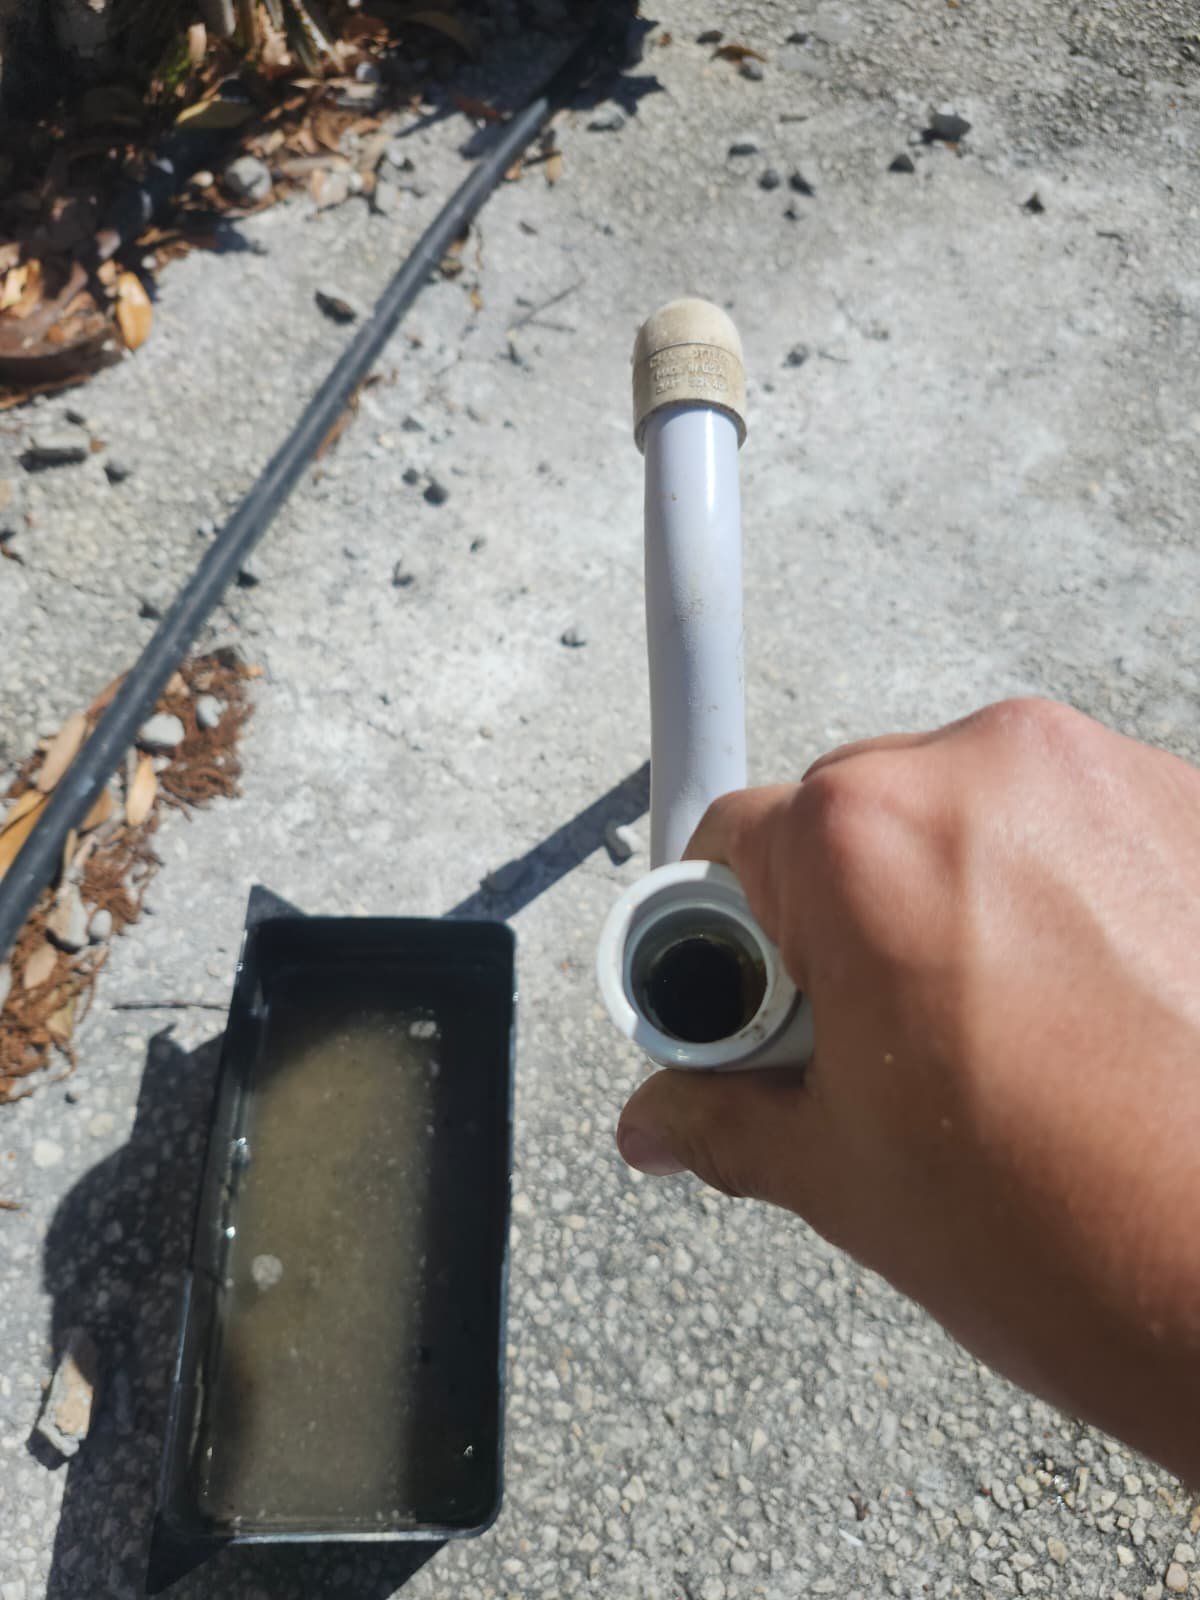
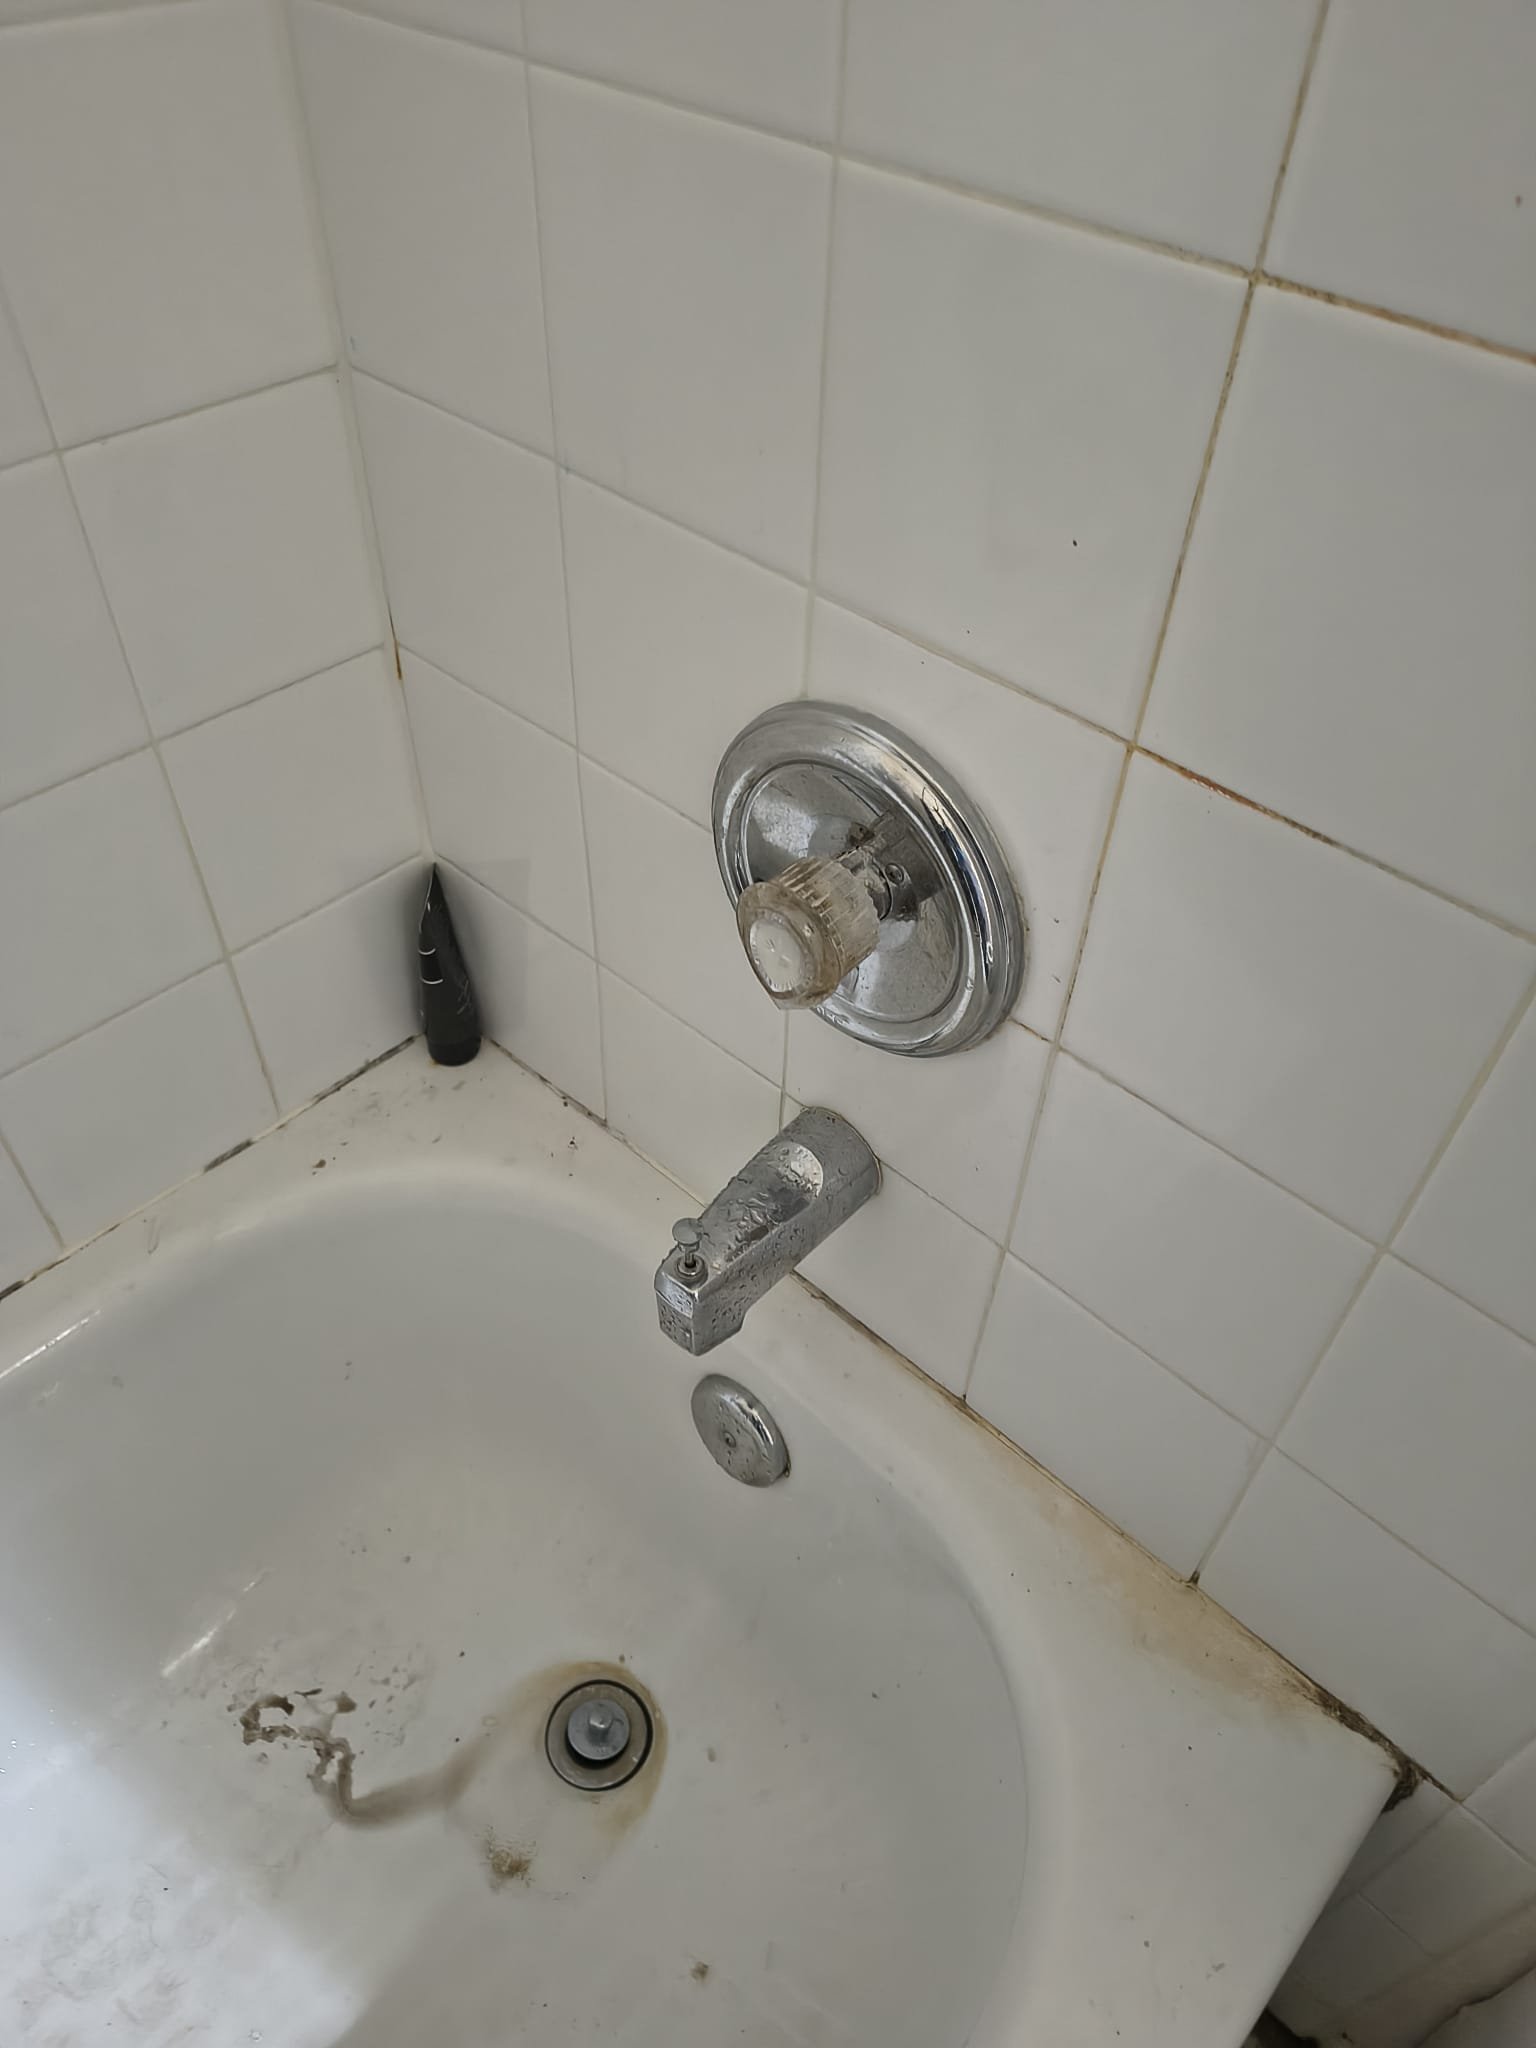
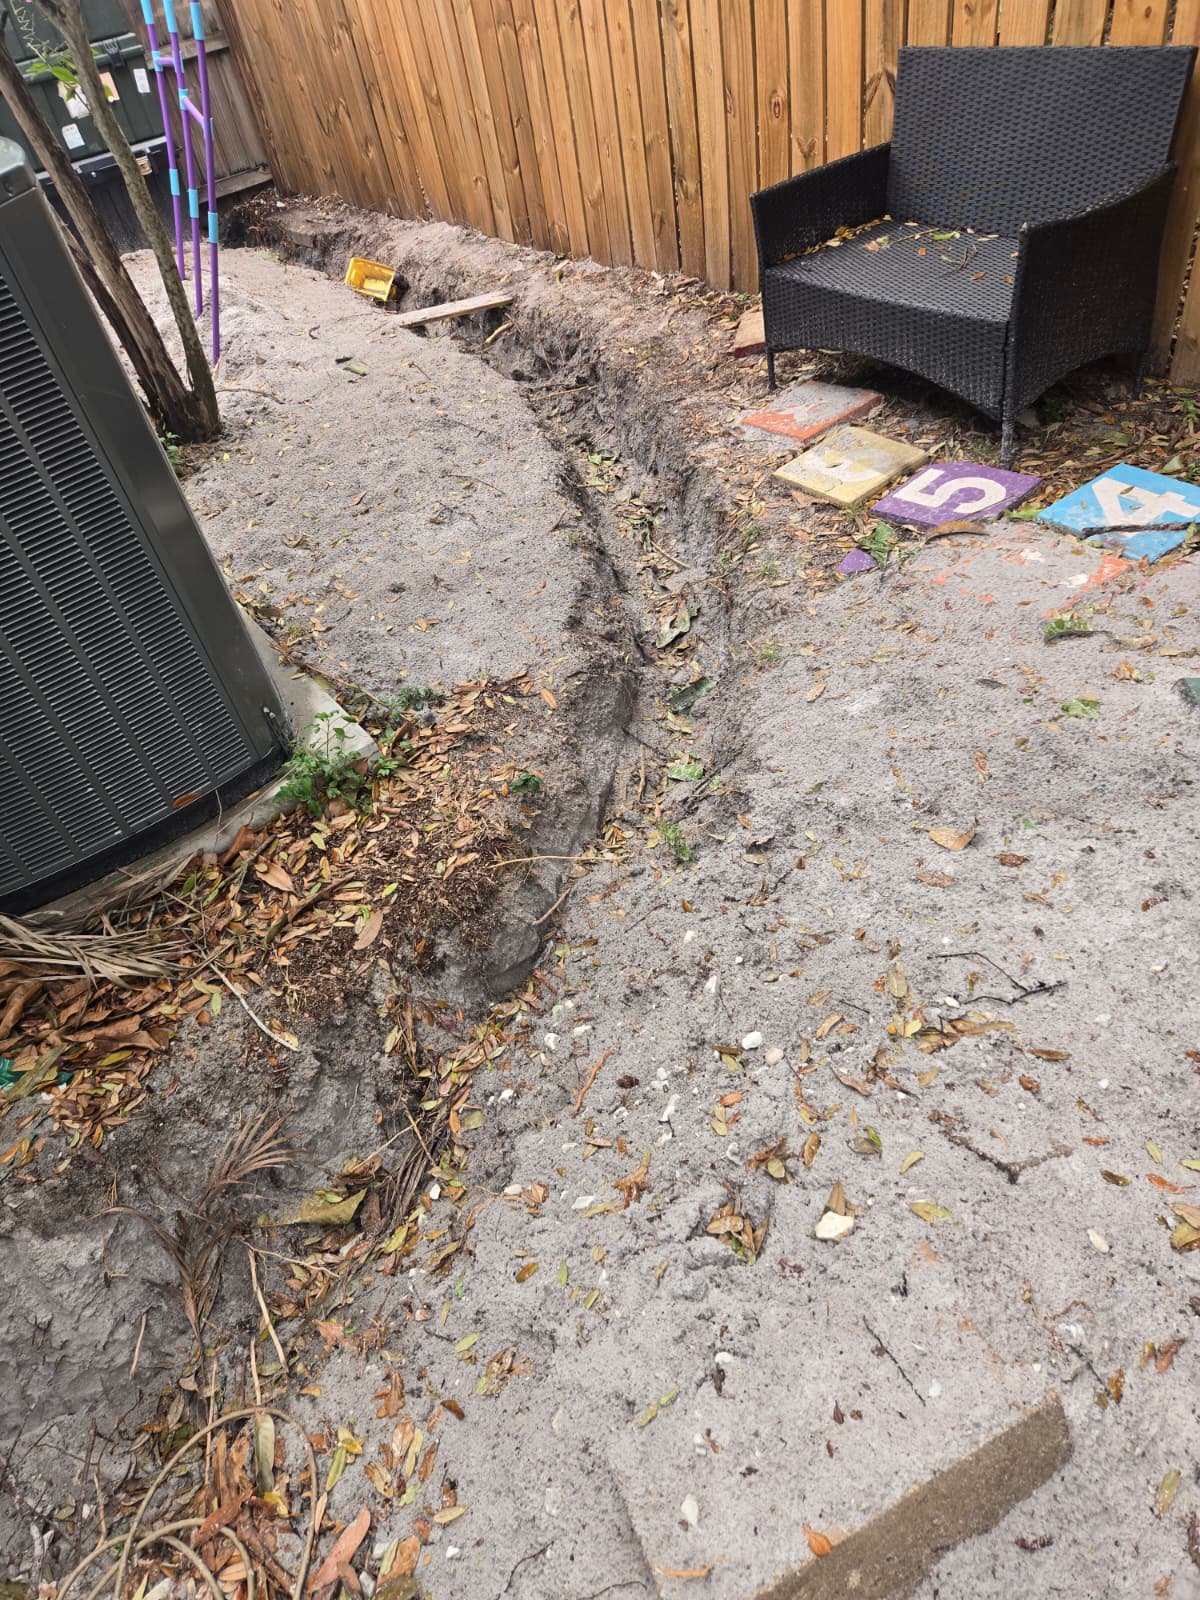
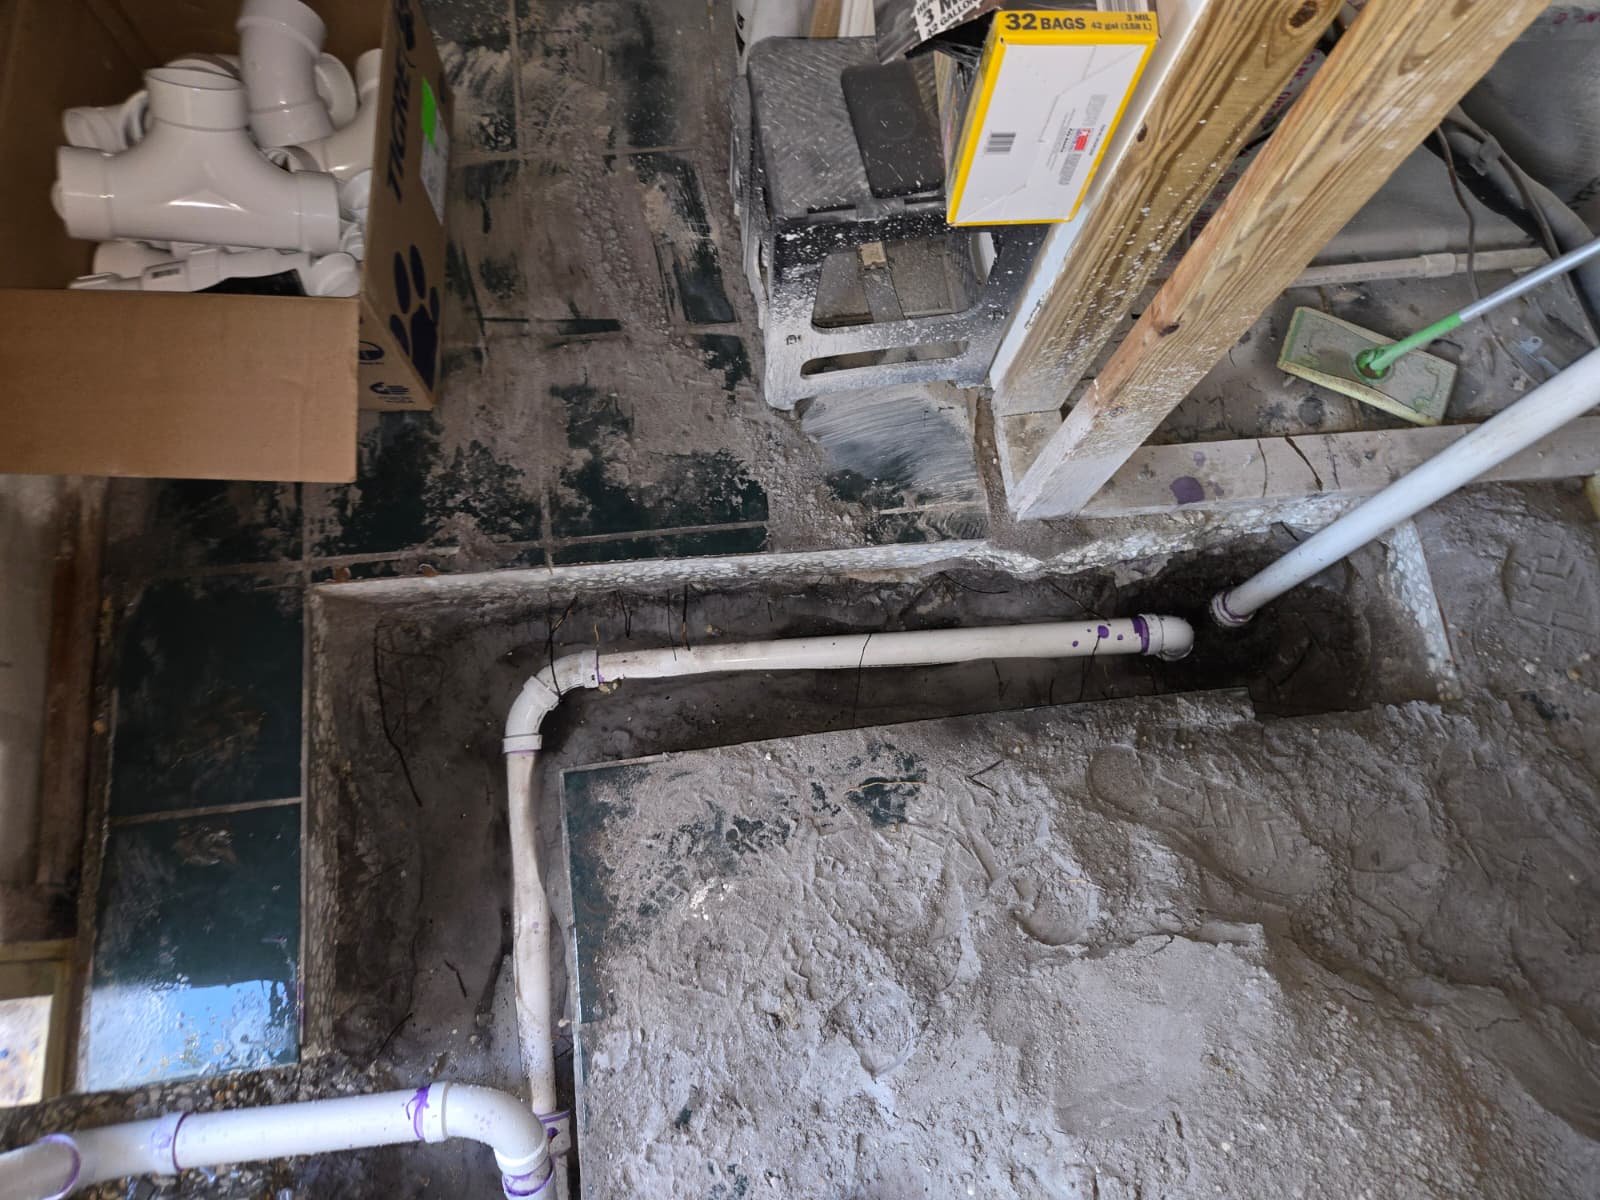
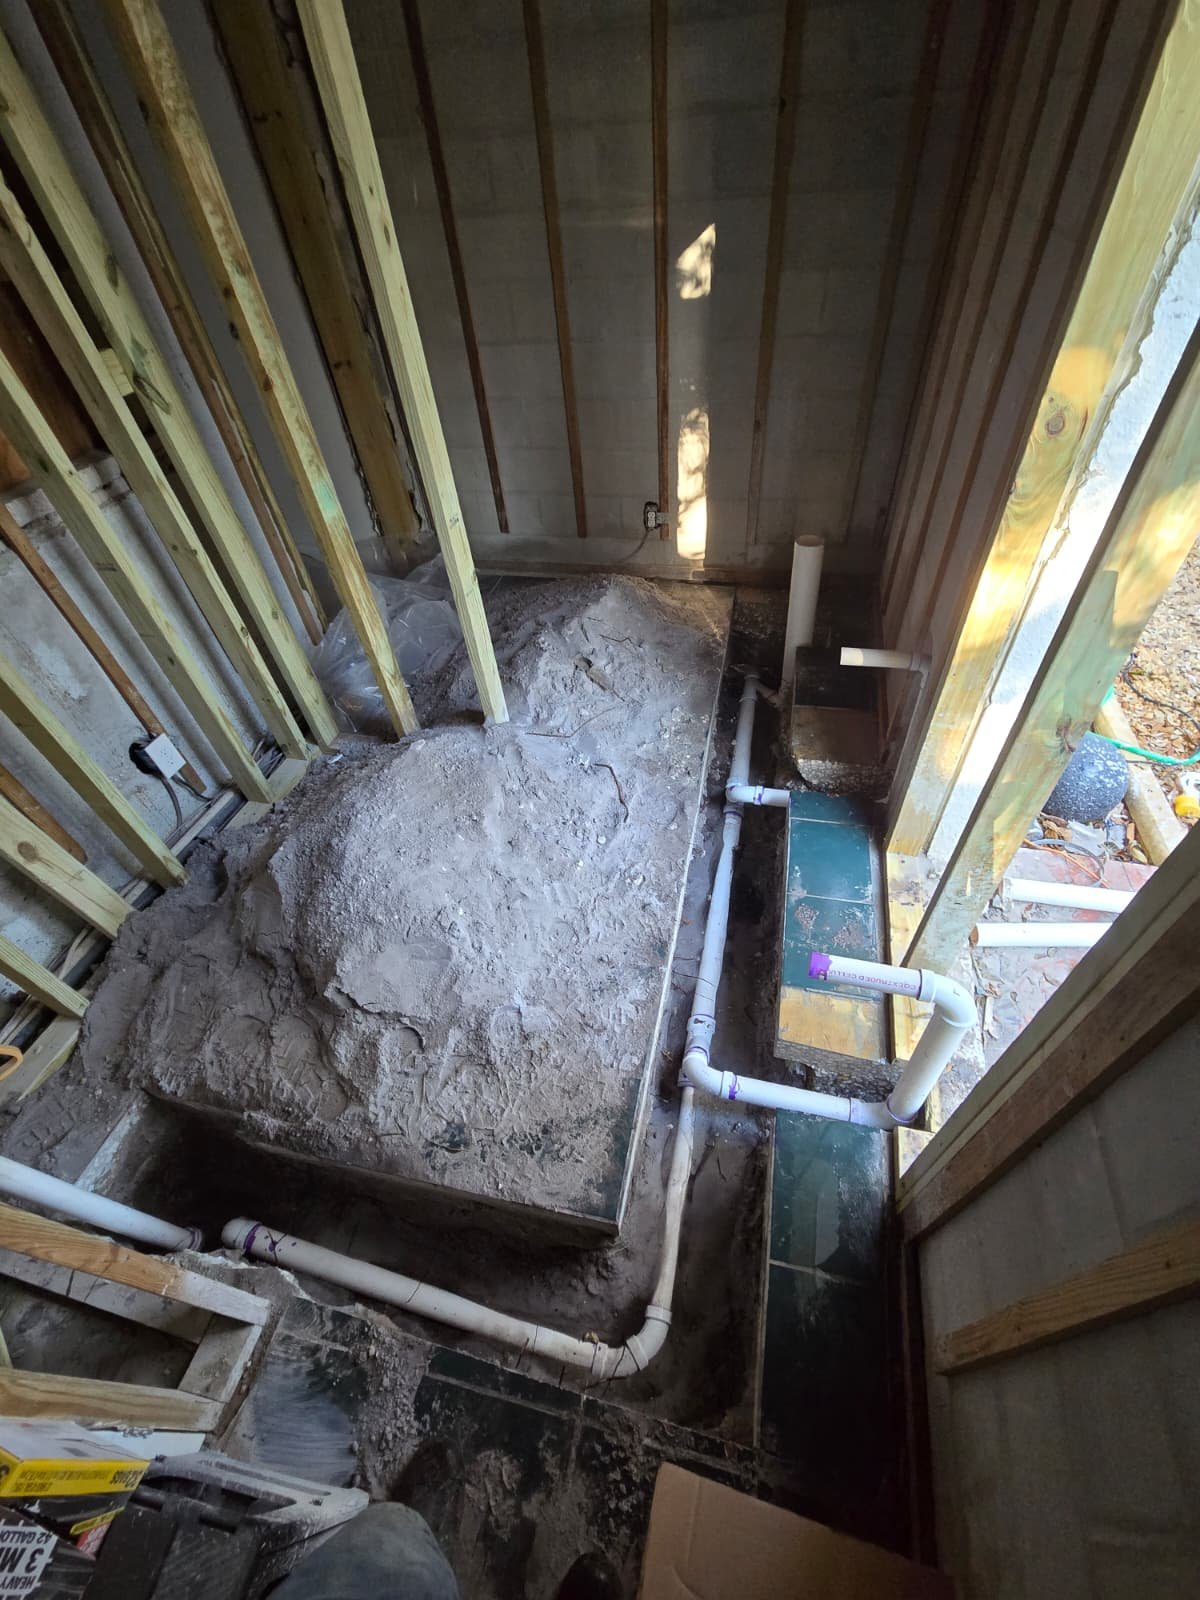
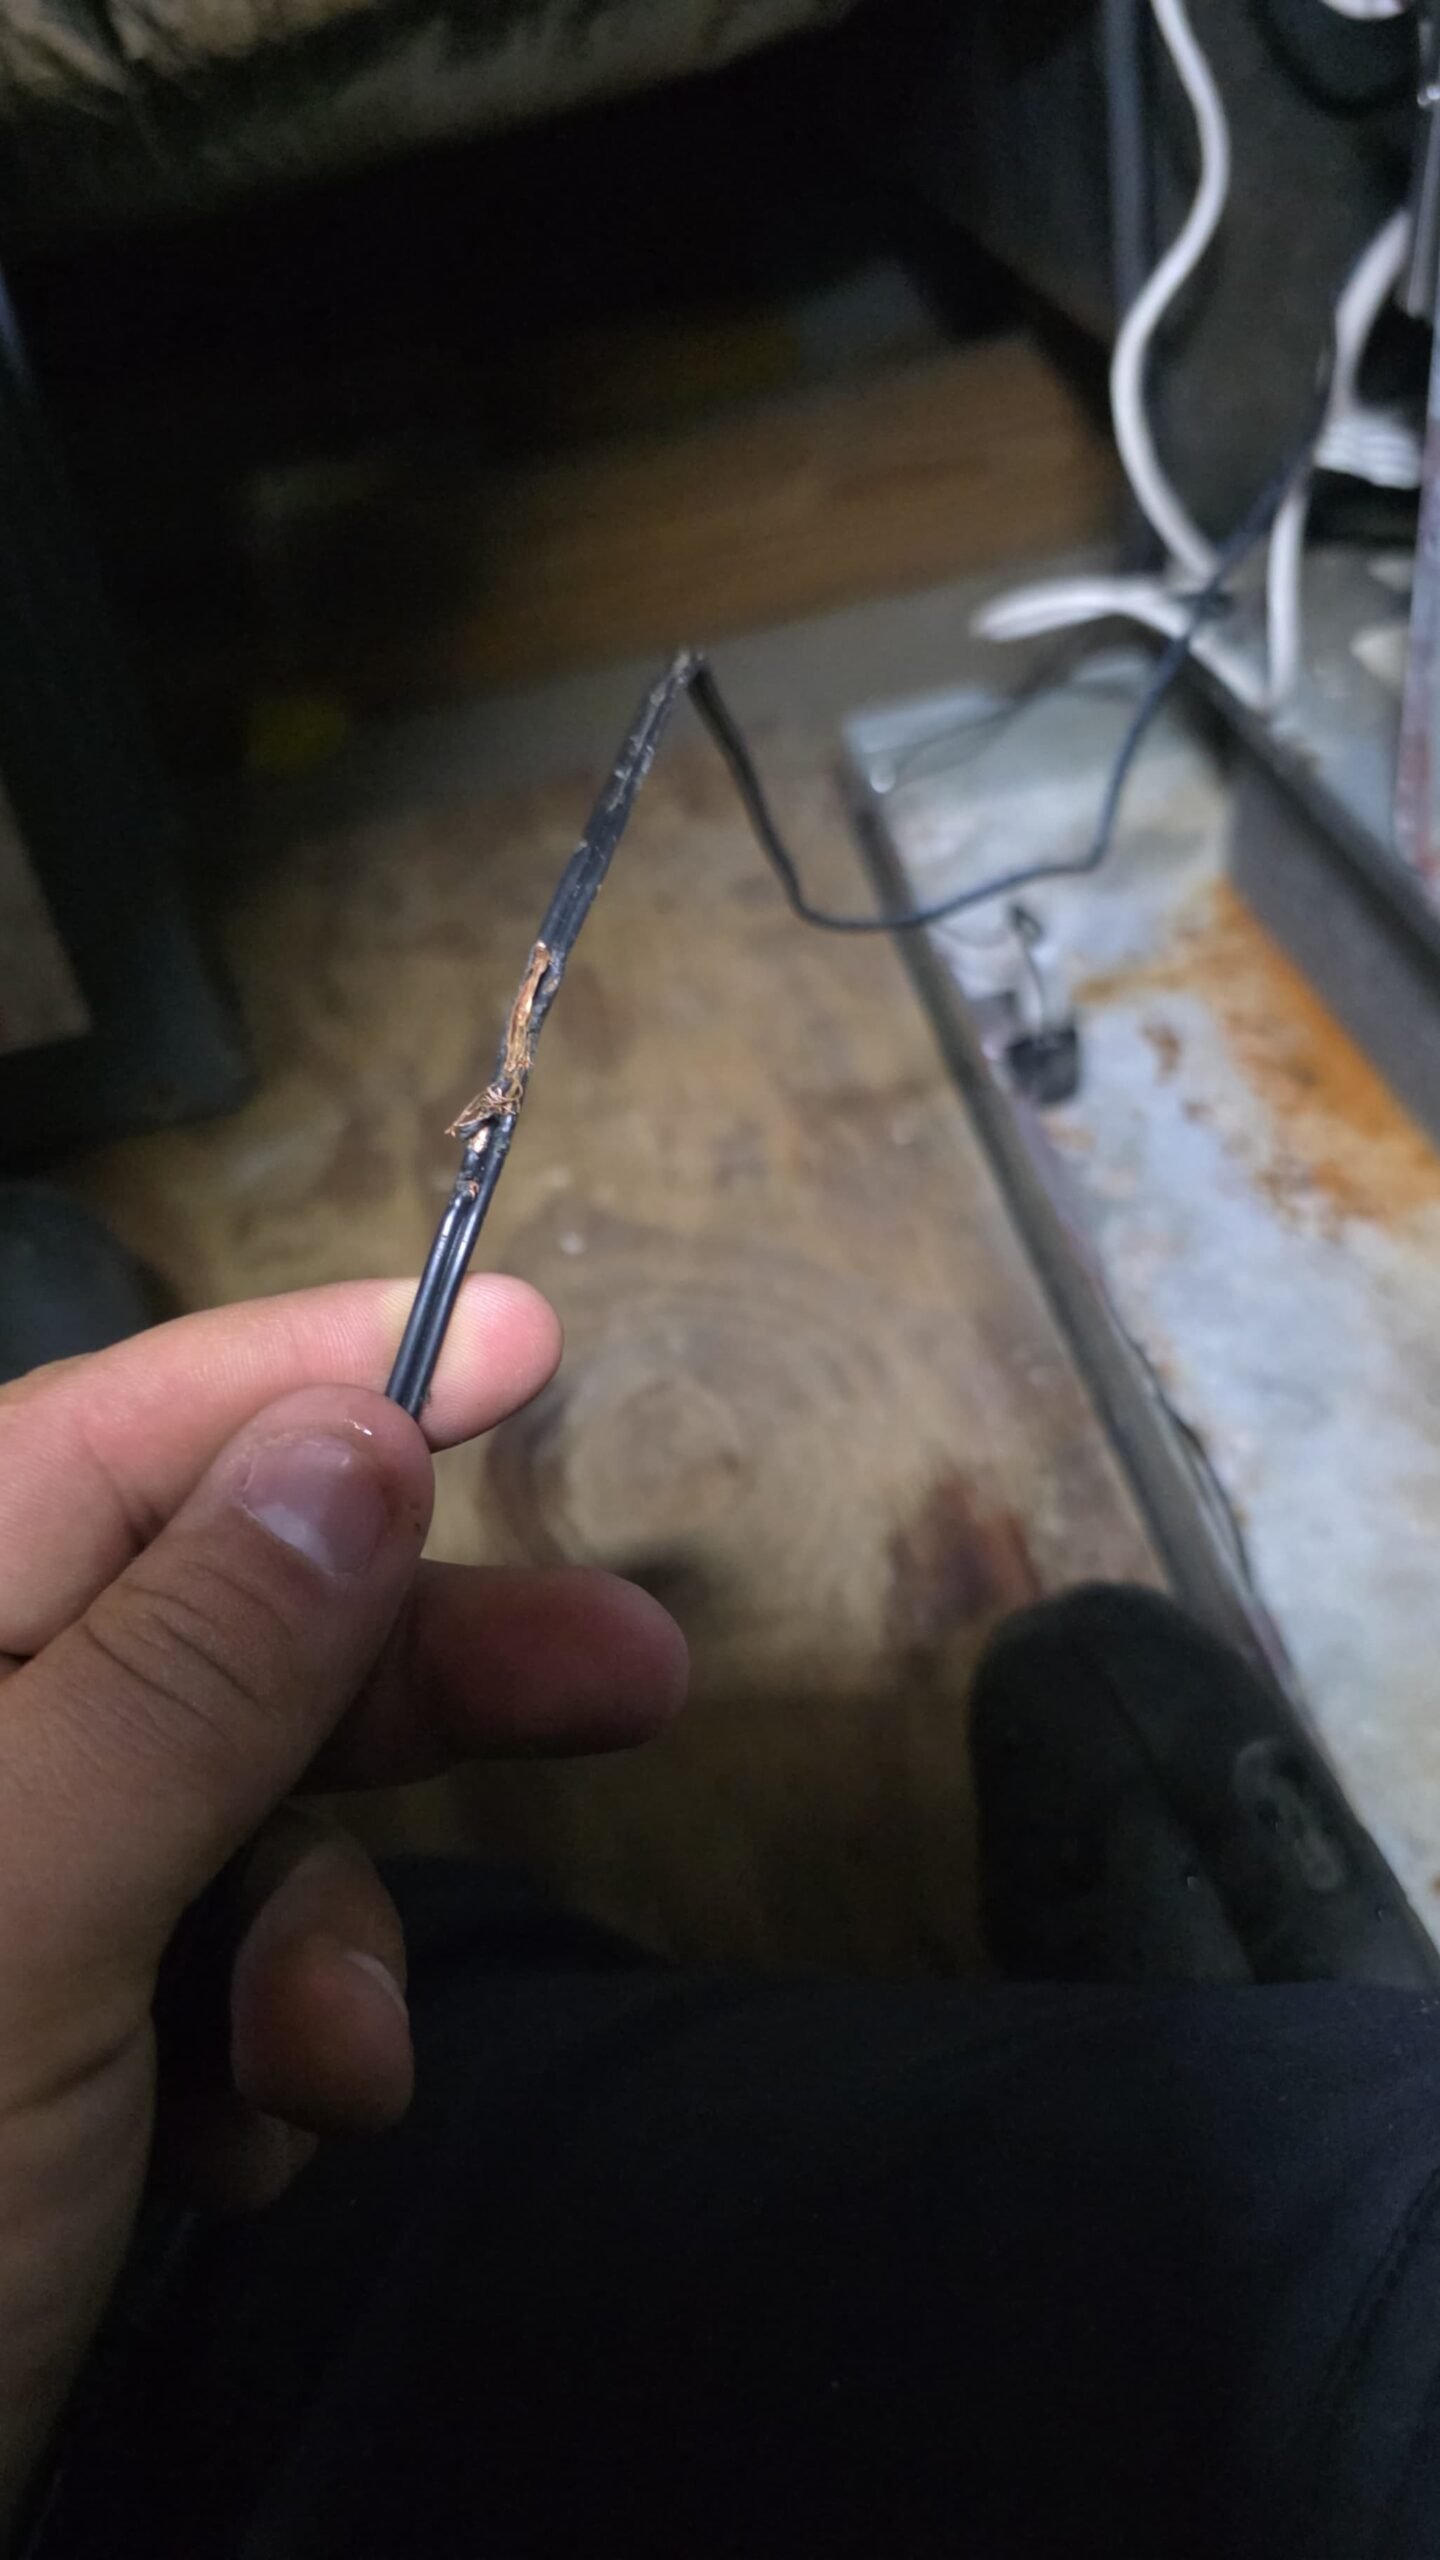
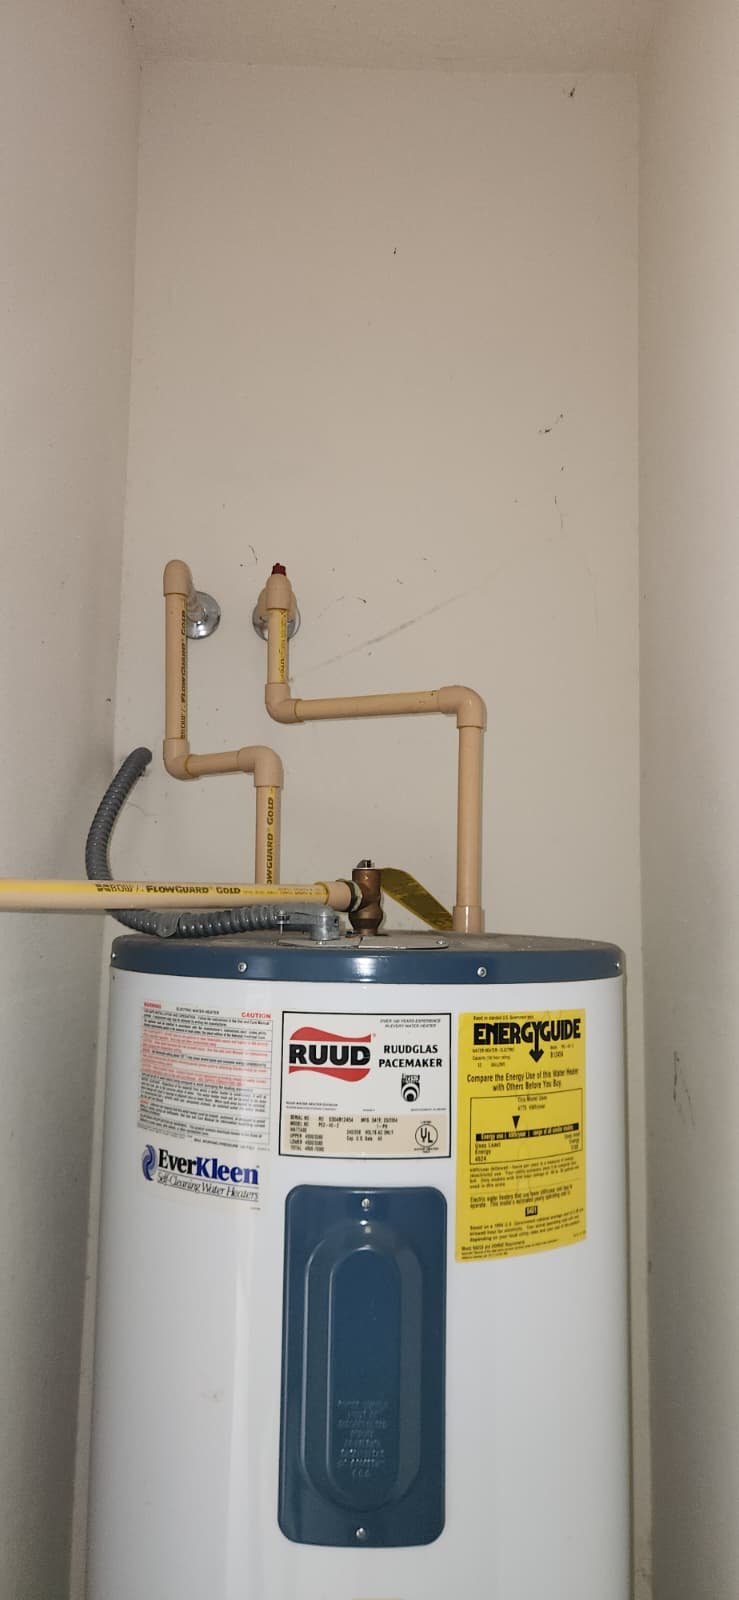
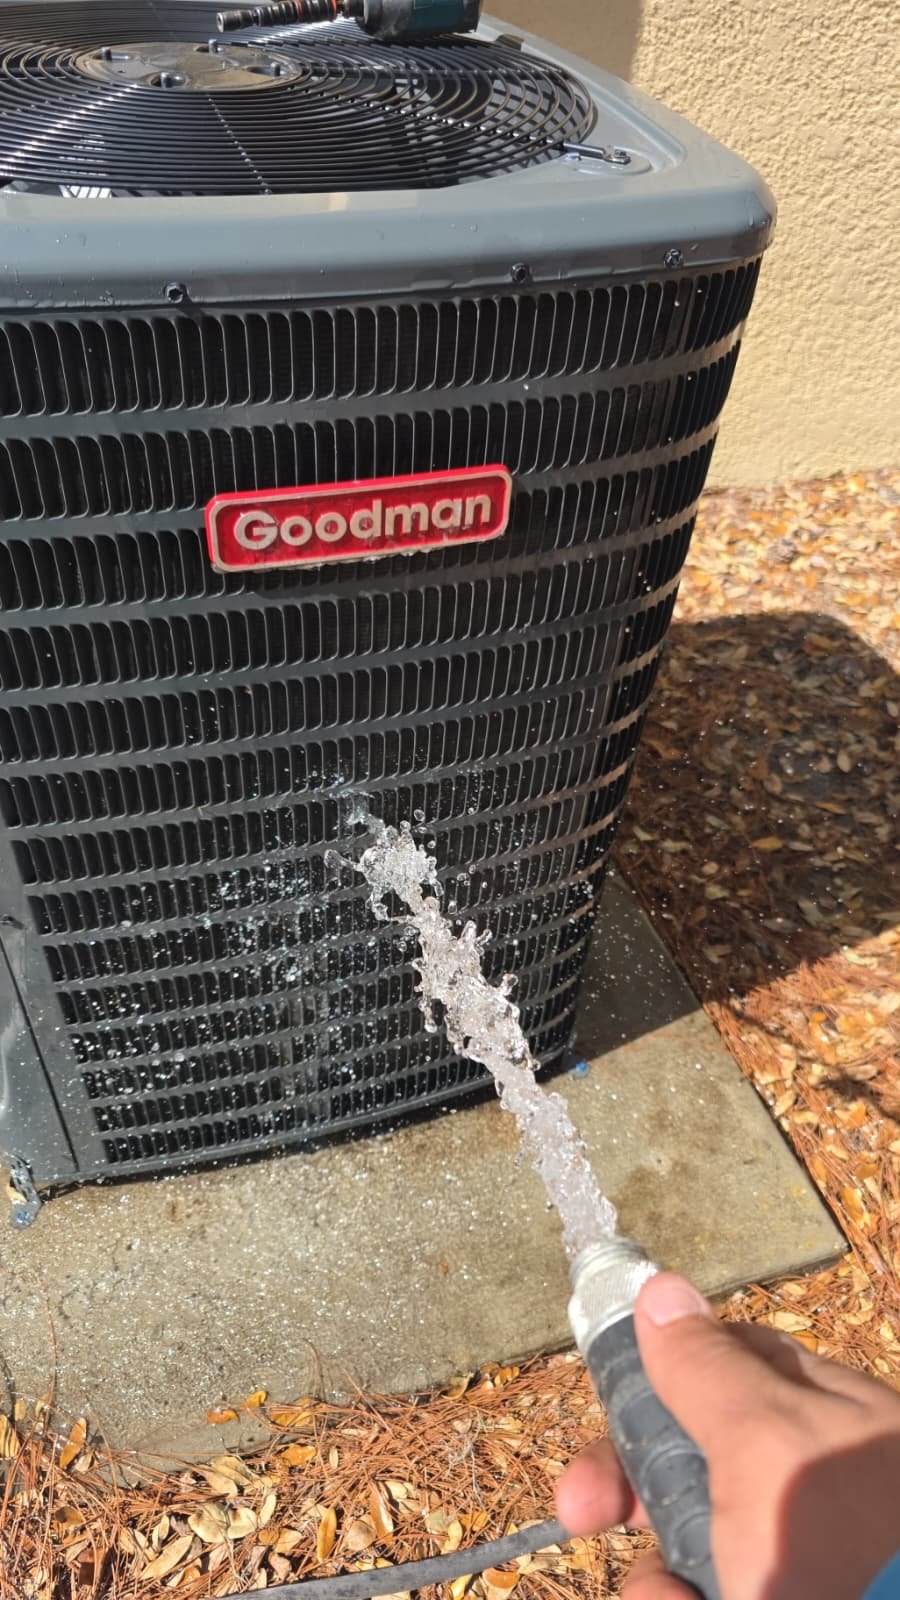
Finally, we evaluated the condensate drain. In our humid Tampa Bay climate, AC systems pull a lot of moisture from the air, which all has to leave through the drain line. Any partial blockage can lead to water backup, safety switch trips, or water damage. We inspected the drain and then proceeded with a full cleaning and clearing.
After going through these steps, we confirmed there were no immediate performance issues or warning signs. The system, despite its six-year age, is currently operating properly.
Repair or Service Process
Because this was a Premium Therapy Plan maintenance visit—not an emergency repair—the focus was on cleaning, verifying, and protecting the system. Here’s how we handled the service for this Tampa, FL 33626 home.
1. Full Operational Check
We allowed the system to run through a normal cooling cycle while monitoring how it started, ran, and shut off. This helps catch issues that might not show up on a static inspection. For example, we watch for short cycling, delayed starts, or unusual sounds that can indicate future problems.
2. Verifying Pressures and Electrical Readings
With the system running, we confirmed that refrigerant pressures were within normal range for this type of equipment. We also confirmed compressor and fan amperage were operating within manufacturer specifications. This gives confidence that the core components—the compressor and fan motors—are not under unusual stress.
We do not guess or speculate; we compare what we see to known good ranges and manufacturer expectations. On this visit, everything checked out.
3. Confirming UV Light Operation
We inspected the UV light to ensure it was energized and working. A functioning UV light can help reduce buildup on the evaporator coil and in certain parts of the air handler. For Tampa homeowners dealing with high humidity and closed-up homes during the hottest months, that extra layer of protection can be valuable.
4. Cleaning the Indoor Unit
We thoroughly cleaned the indoor section of the system. That includes:
- Clearing dust and debris from accessible areas of the air handler.
- Visually checking the coil surface for buildup.
- Ensuring no obstructions are restricting airflow.
Clean indoor components help maintain efficiency and consistent airflow to all rooms. It also supports better indoor air quality for the family in this Tampa home.
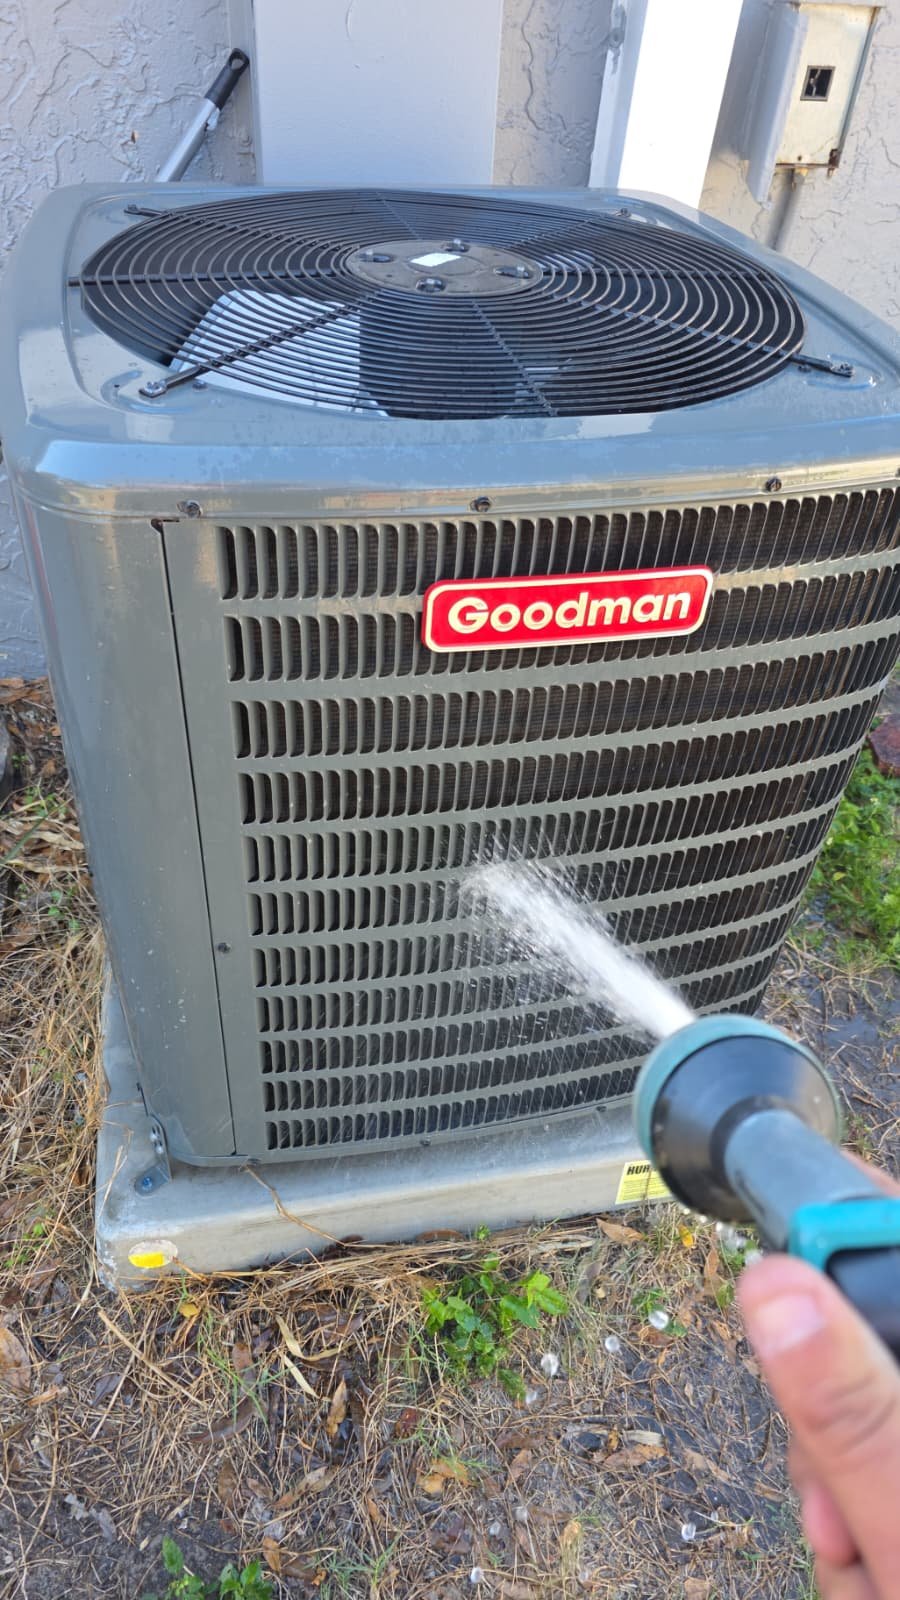
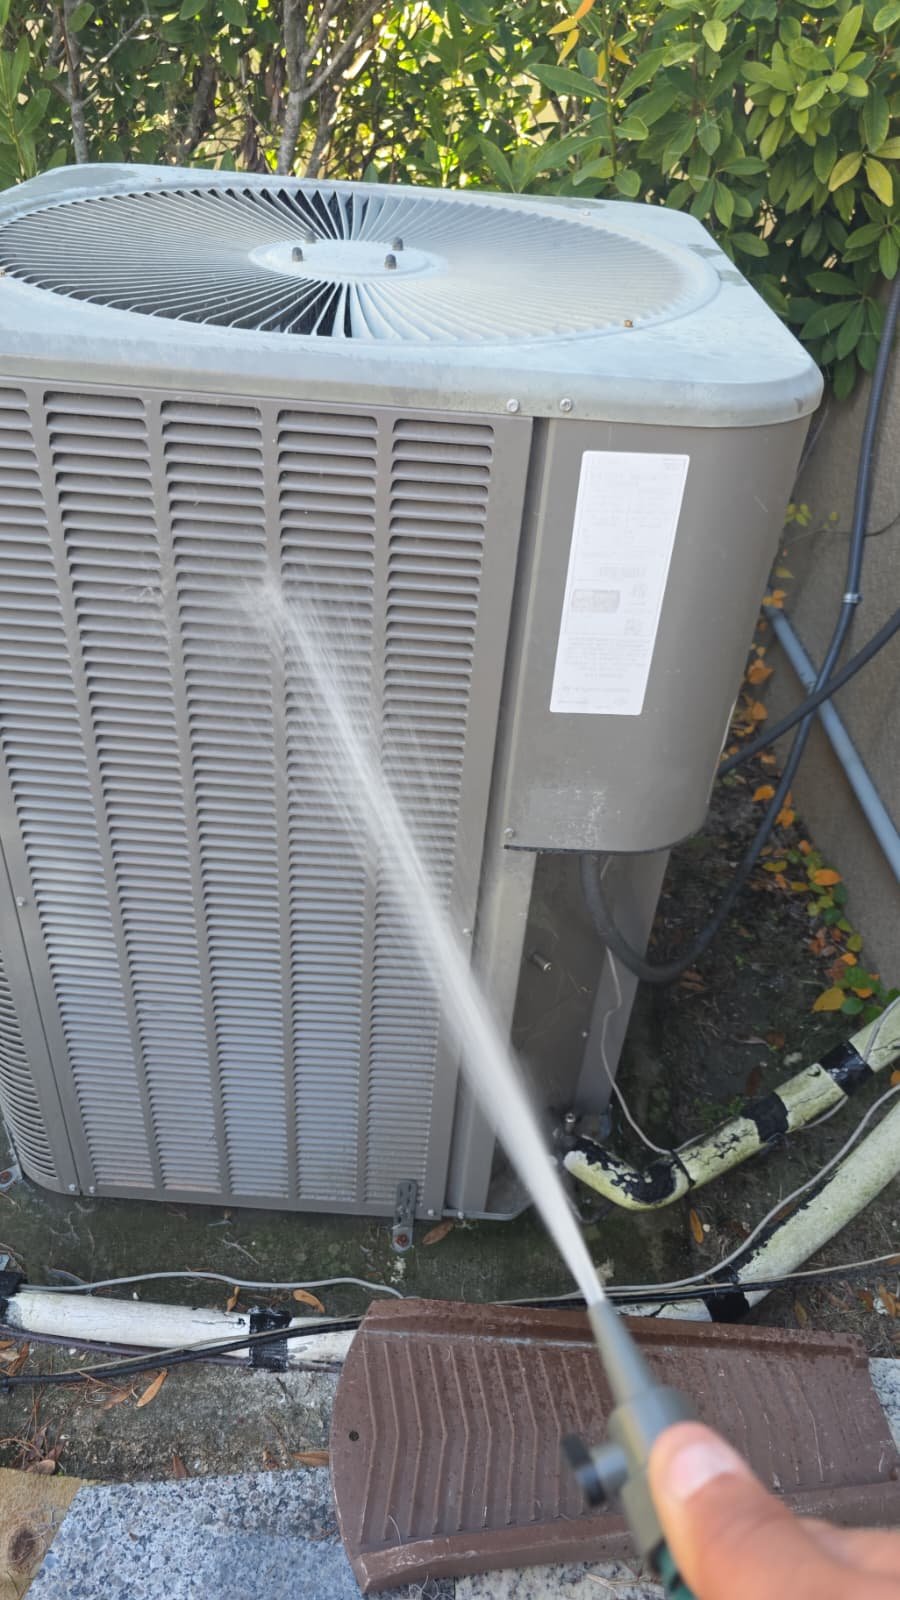
5. Cleaning the Outdoor Unit
The outdoor condenser was also thoroughly cleaned. We removed debris from the fins and surrounding area, which helps the system release heat efficiently. In our hot Florida climate, a dirty outdoor coil can quickly lead to higher operating temperatures, more strain on the compressor, and higher energy bills. By keeping this unit clean, we help the system do the same work with less effort.
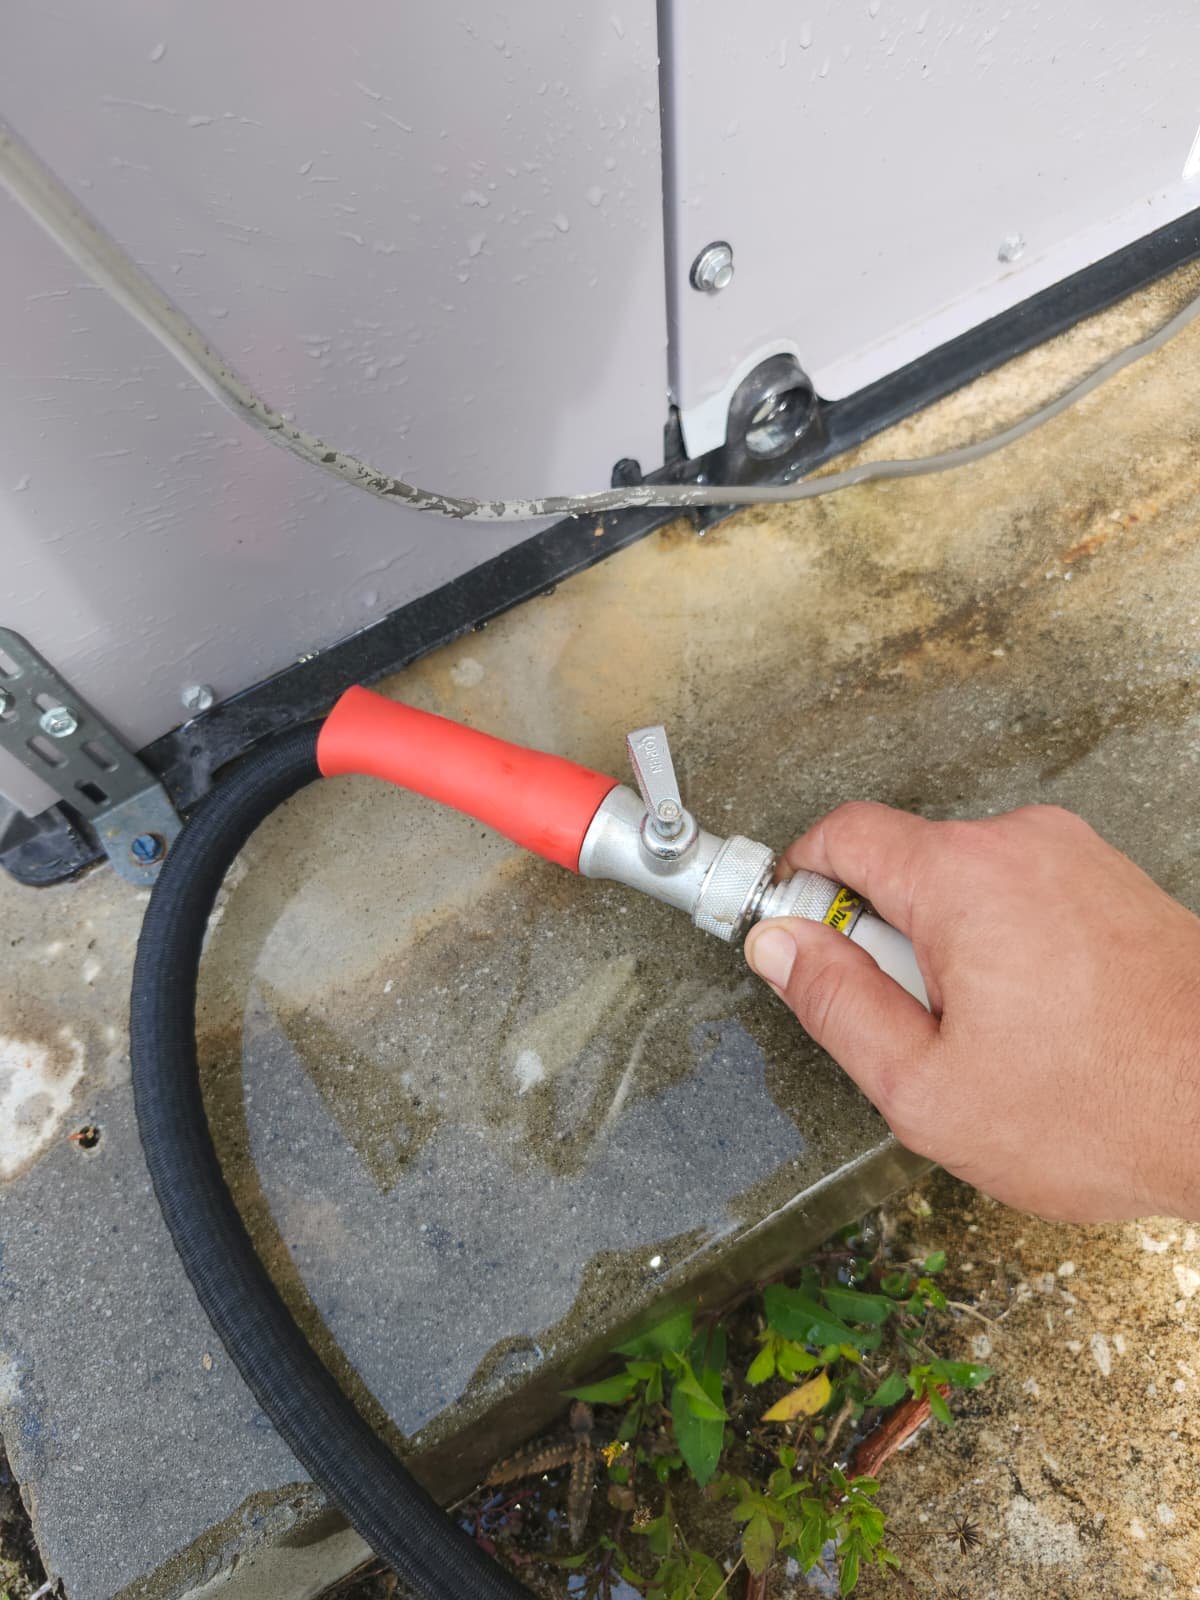
6. Condensate Drain Line Cleaning and Clearing
The condensate drain line was cleaned and cleared. Even a system that appears to be working well can have a partially restricted drain. Because Tampa’s humidity forces systems to remove a lot of moisture from the air, the drain line has a heavy workload.
Cleaning the line reduces the risk of water leaks, overflow pan issues, or safety switches shutting the system down. After cleaning, we confirmed that water was draining properly and there were no signs of backup.
7. Final System Verification
After cleaning and checks, we ran the system again to make sure everything operated as expected. We listened for any changes in sound, confirmed airflow at the vents, and verified proper cooling performance. At the conclusion of the visit, we were comfortable stating that the system is currently operating as expected for a six-year-old unit.
For homeowners in Tampa, FL 33626, this kind of routine care is exactly what helps avoid big surprises later in the system’s life.
Why This Fix (and Maintenance) Works
Even though no major repair was needed on this visit, the work we performed directly supports the health of the system. Here’s why these steps matter:
- Correct refrigerant pressures help ensure the system can move heat efficiently from inside the home to the outdoors.
- Proper amperage draw tells us that motors and the compressor are not under unusual strain, which helps prevent premature failure.
- Clean indoor and outdoor coils keep heat transfer efficient, so the system doesn’t have to run longer than necessary to reach the thermostat setting.
- A clear condensate drain prevents water from backing up into the air handler or surrounding areas, protecting ceilings, walls, and floors.
- A functioning UV light can help limit buildup inside the air handler, supporting both cleanliness and comfort.
All of these pieces together mean the system can operate smoothly, reliably, and as efficiently as reasonably possible for its age. Regular maintenance is one of the best ways for Tampa homeowners to extend the life of their HVAC equipment and avoid emergency calls in the middle of a heat wave.
If you’re not already on a plan, our Therapy Maintenance Plans are designed specifically for homeowners in the Tampa Bay area who want consistent, professional care for their systems.
Pro Tips for Homeowners in Tampa
Based on what we see every day in Tampa, FL 33626 and across Tampa Bay, here are a few practical tips to keep your AC running smoothly between professional visits:
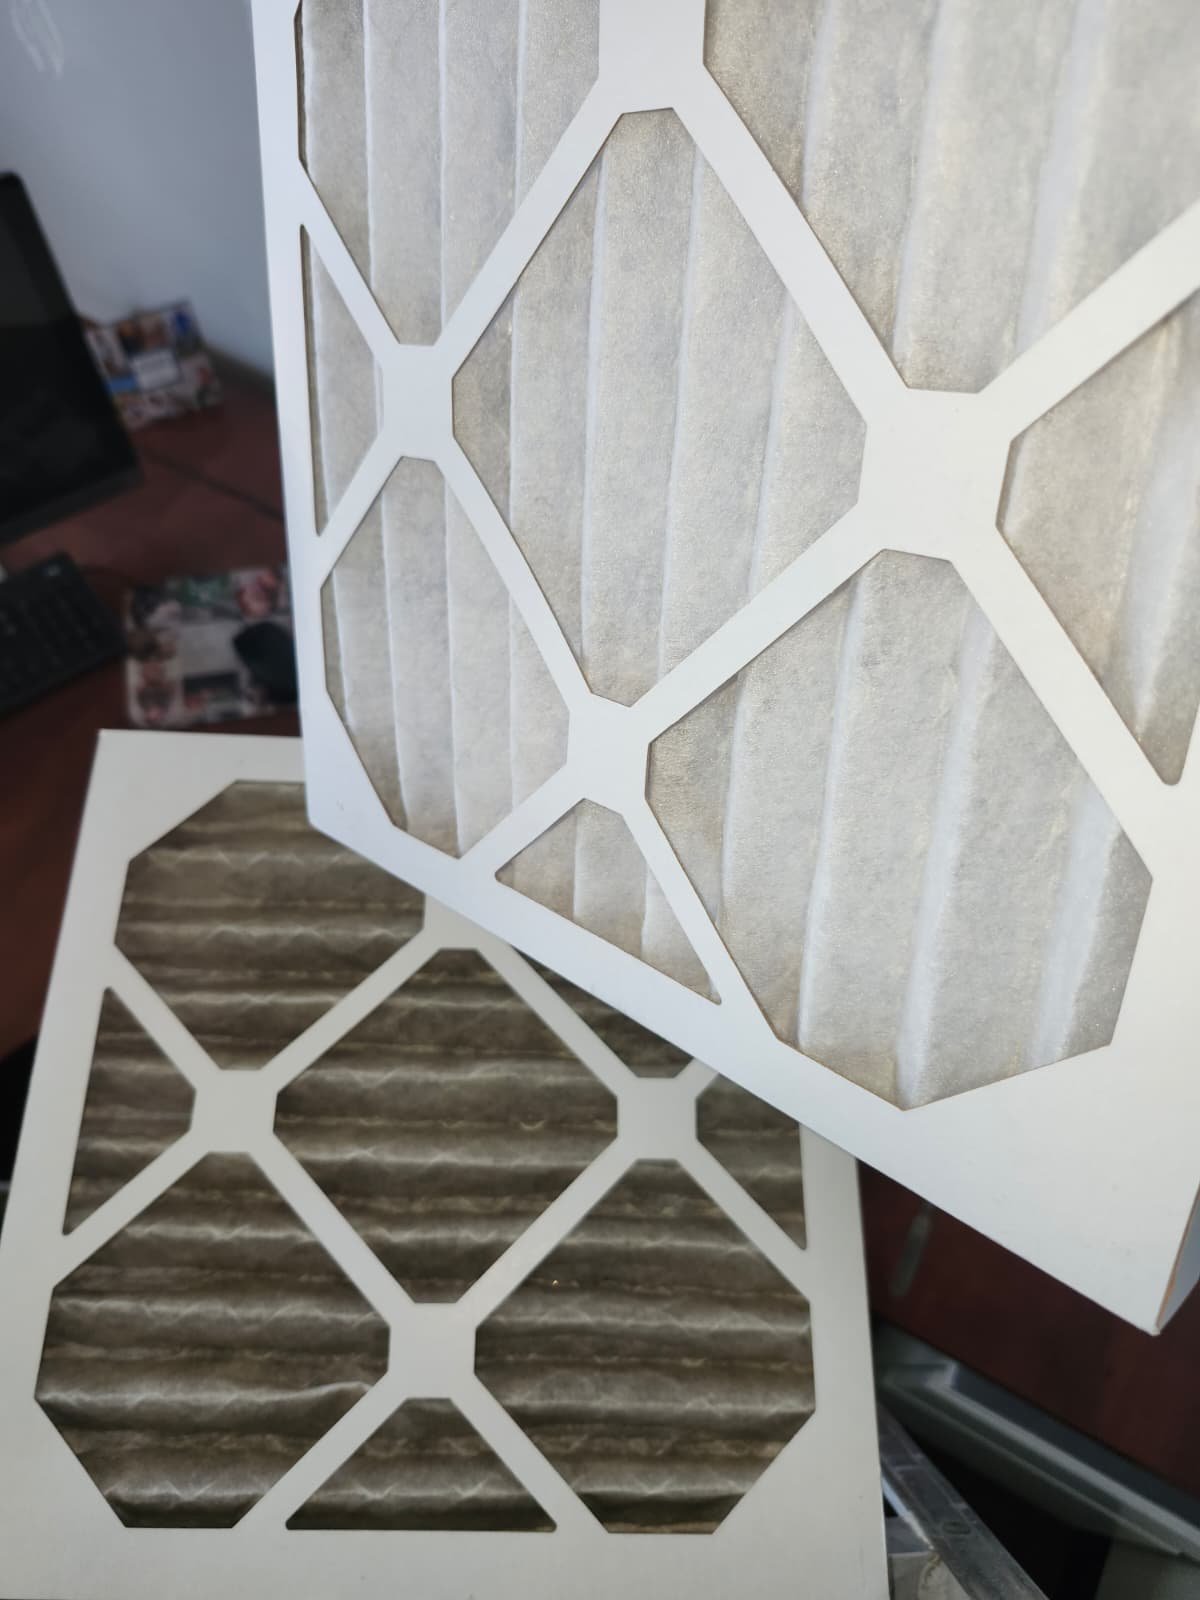
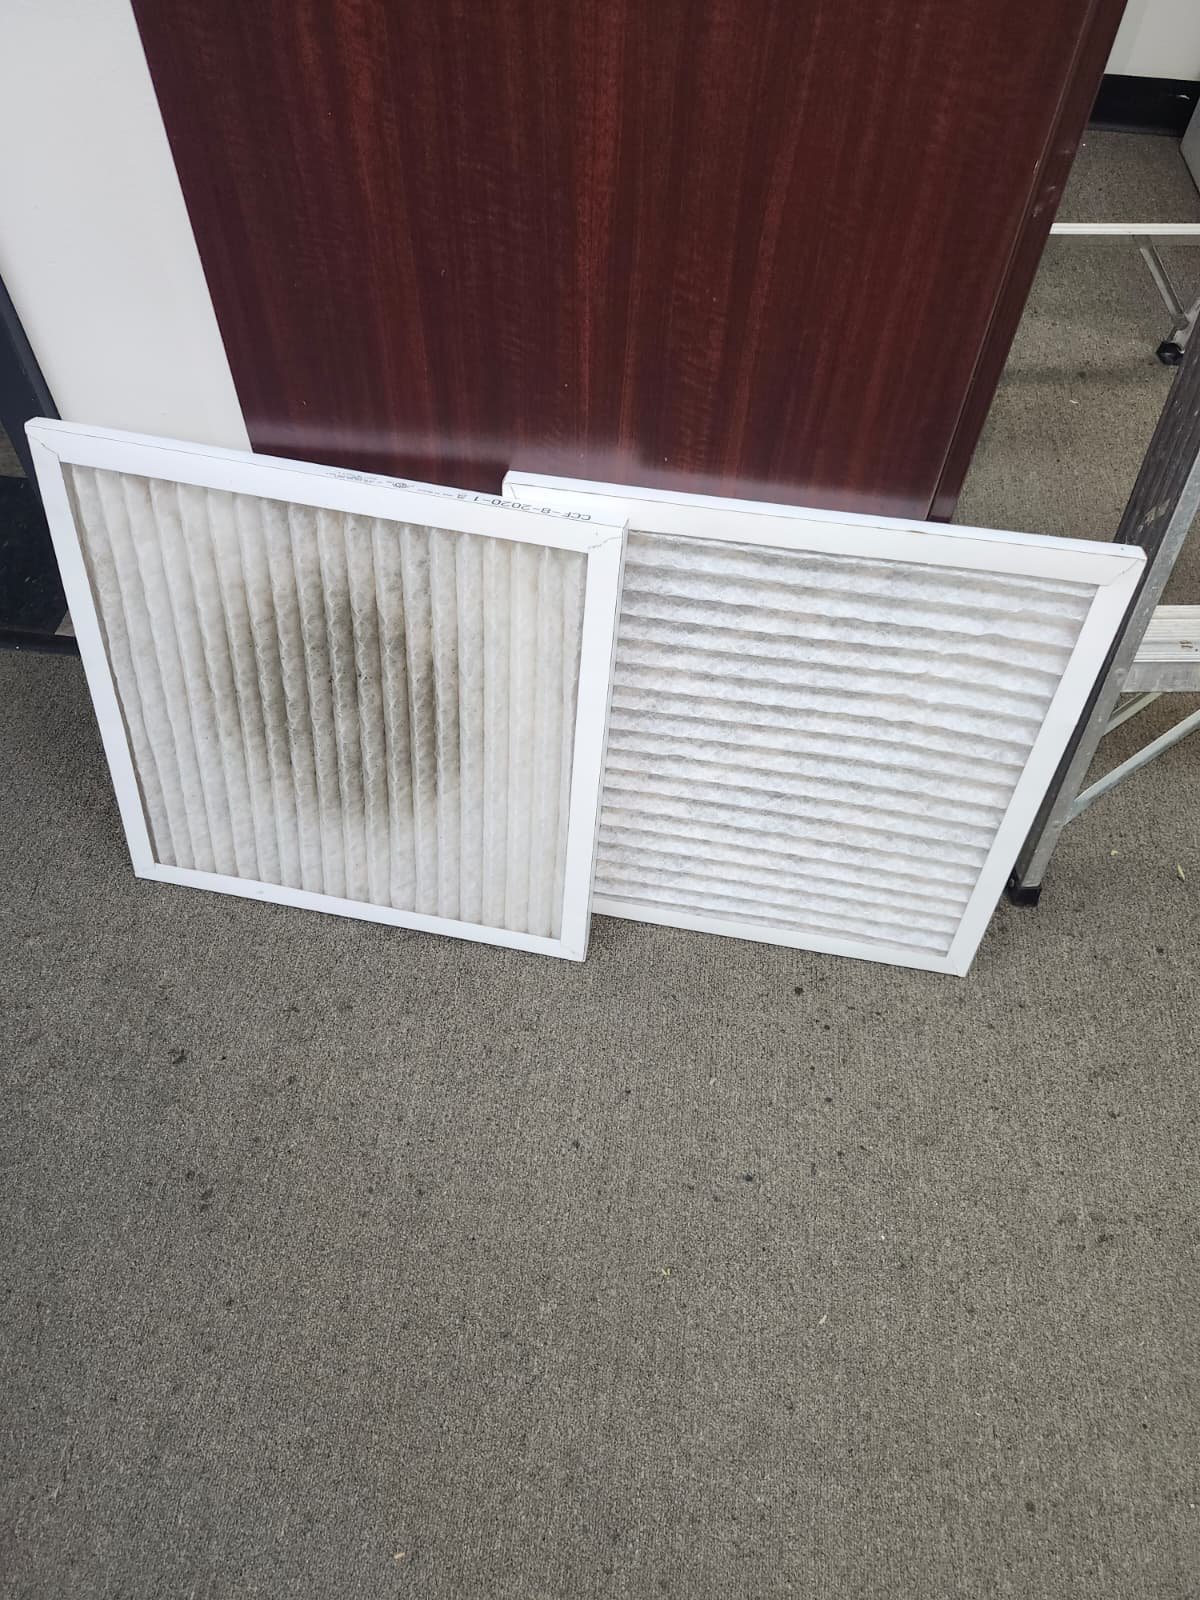
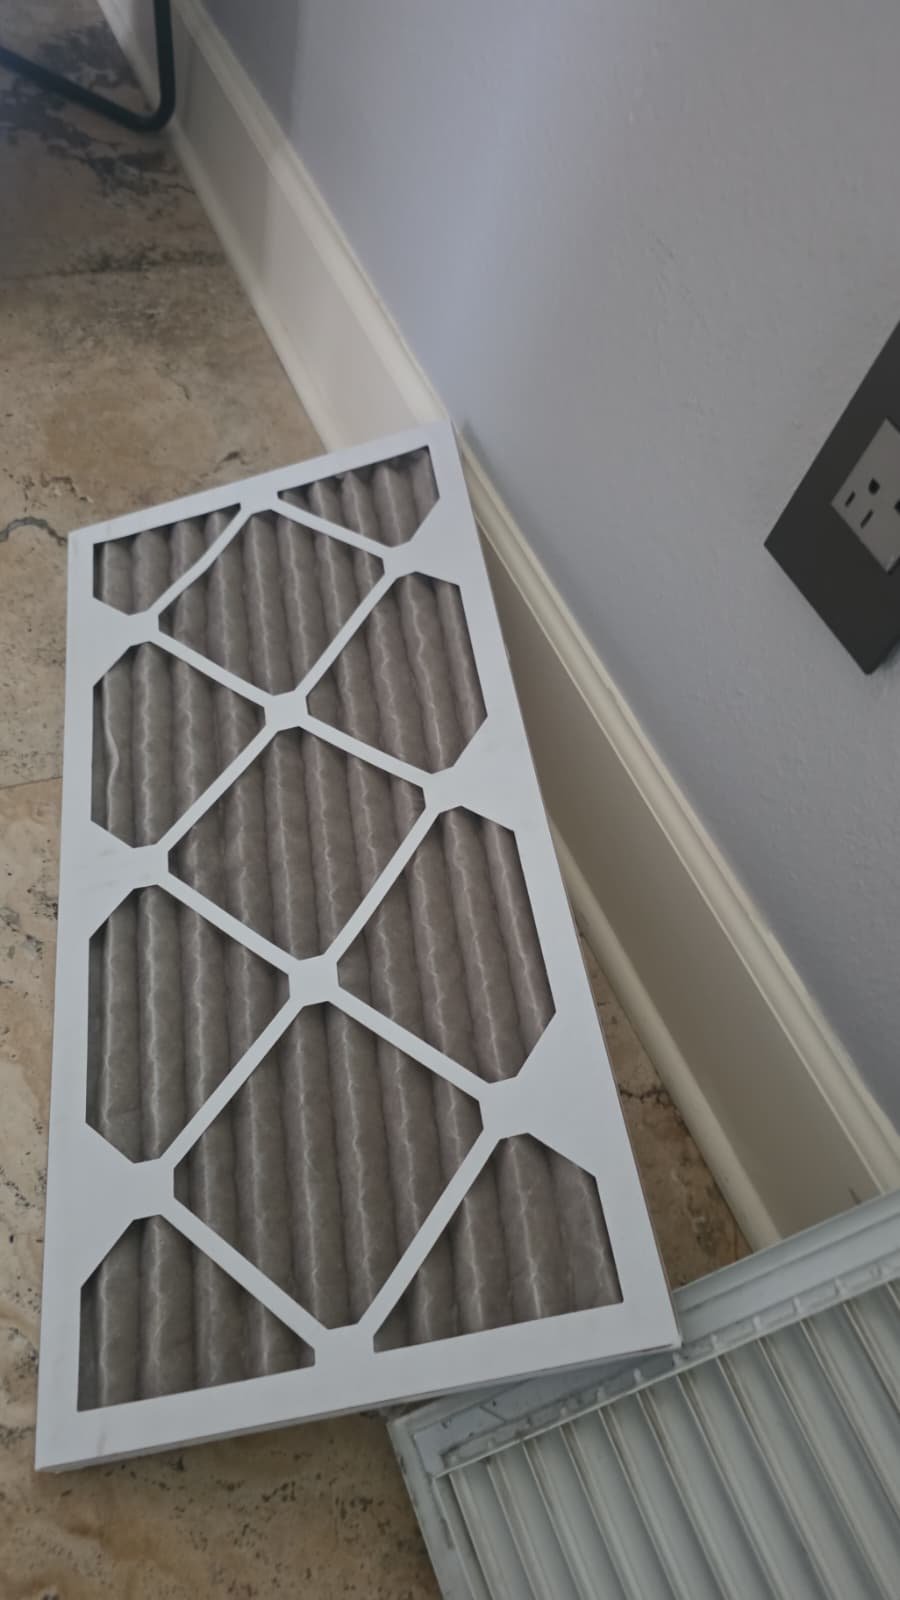
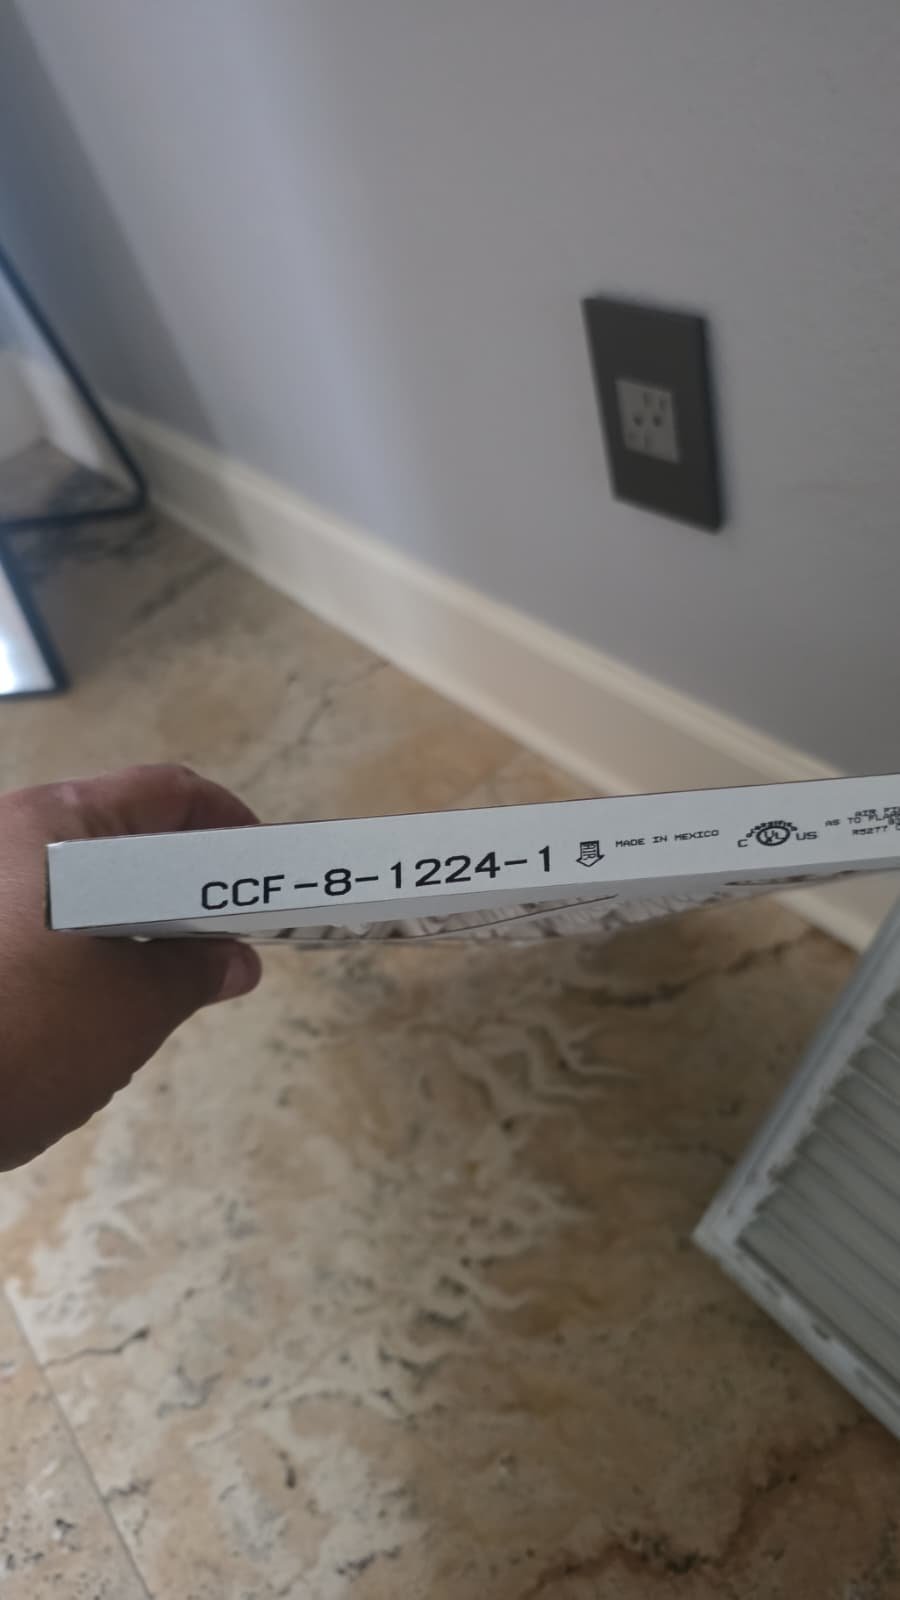
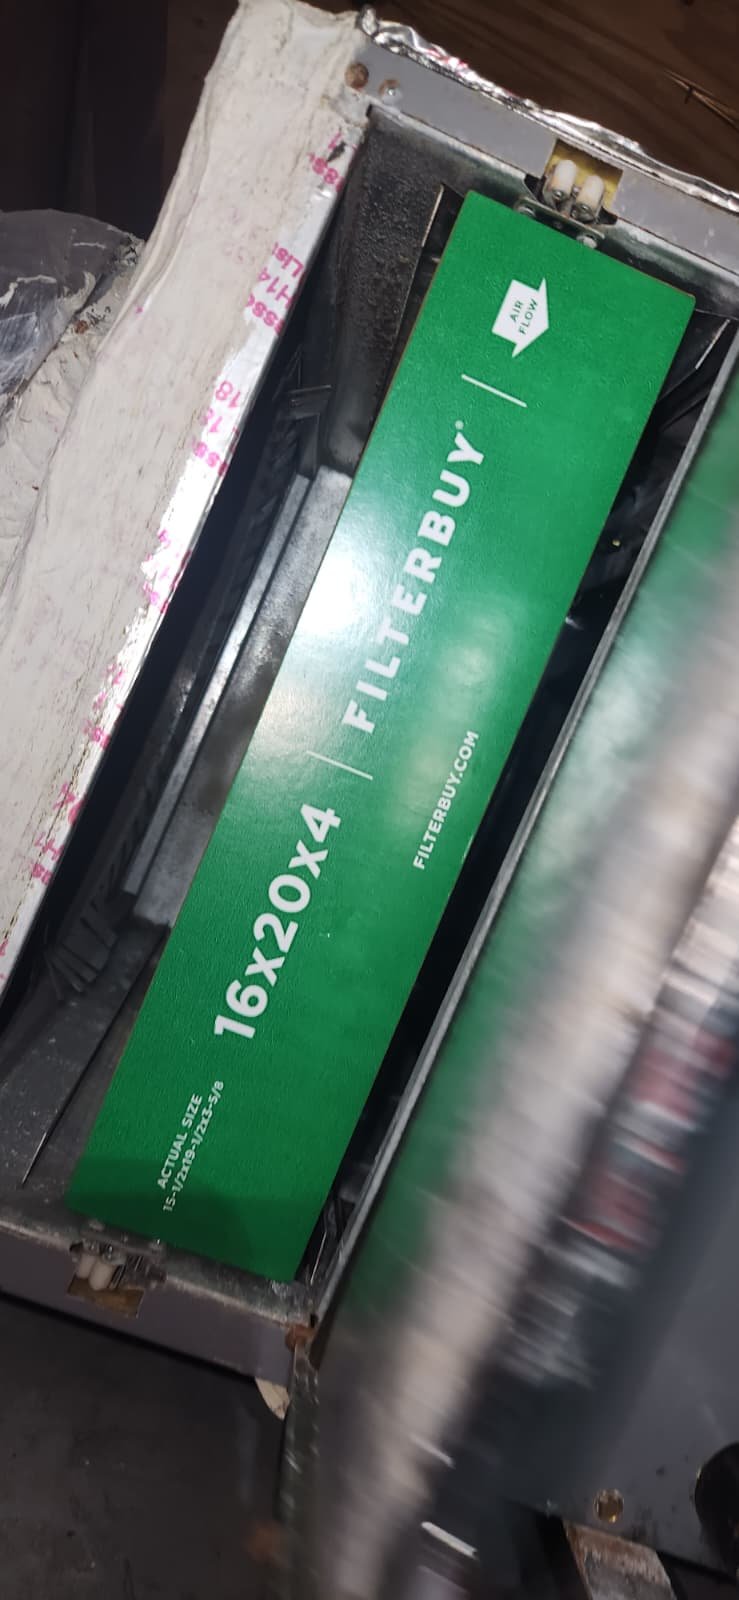
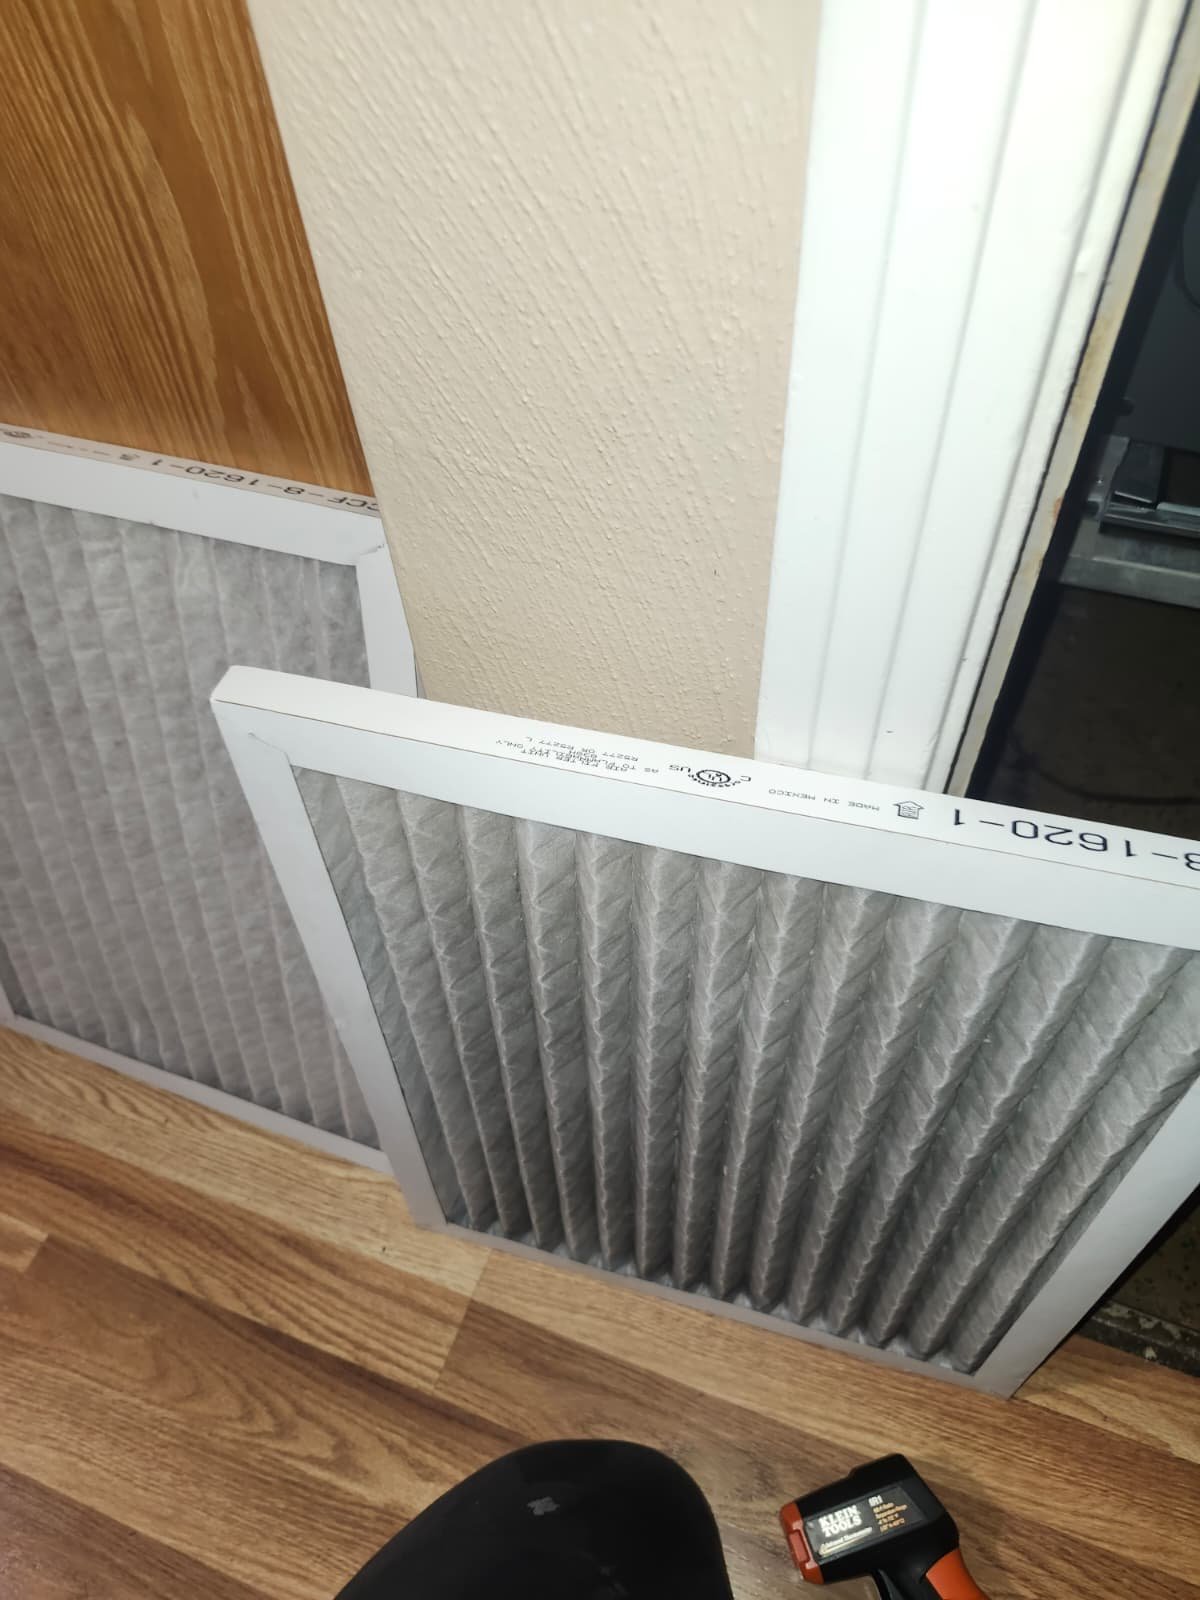
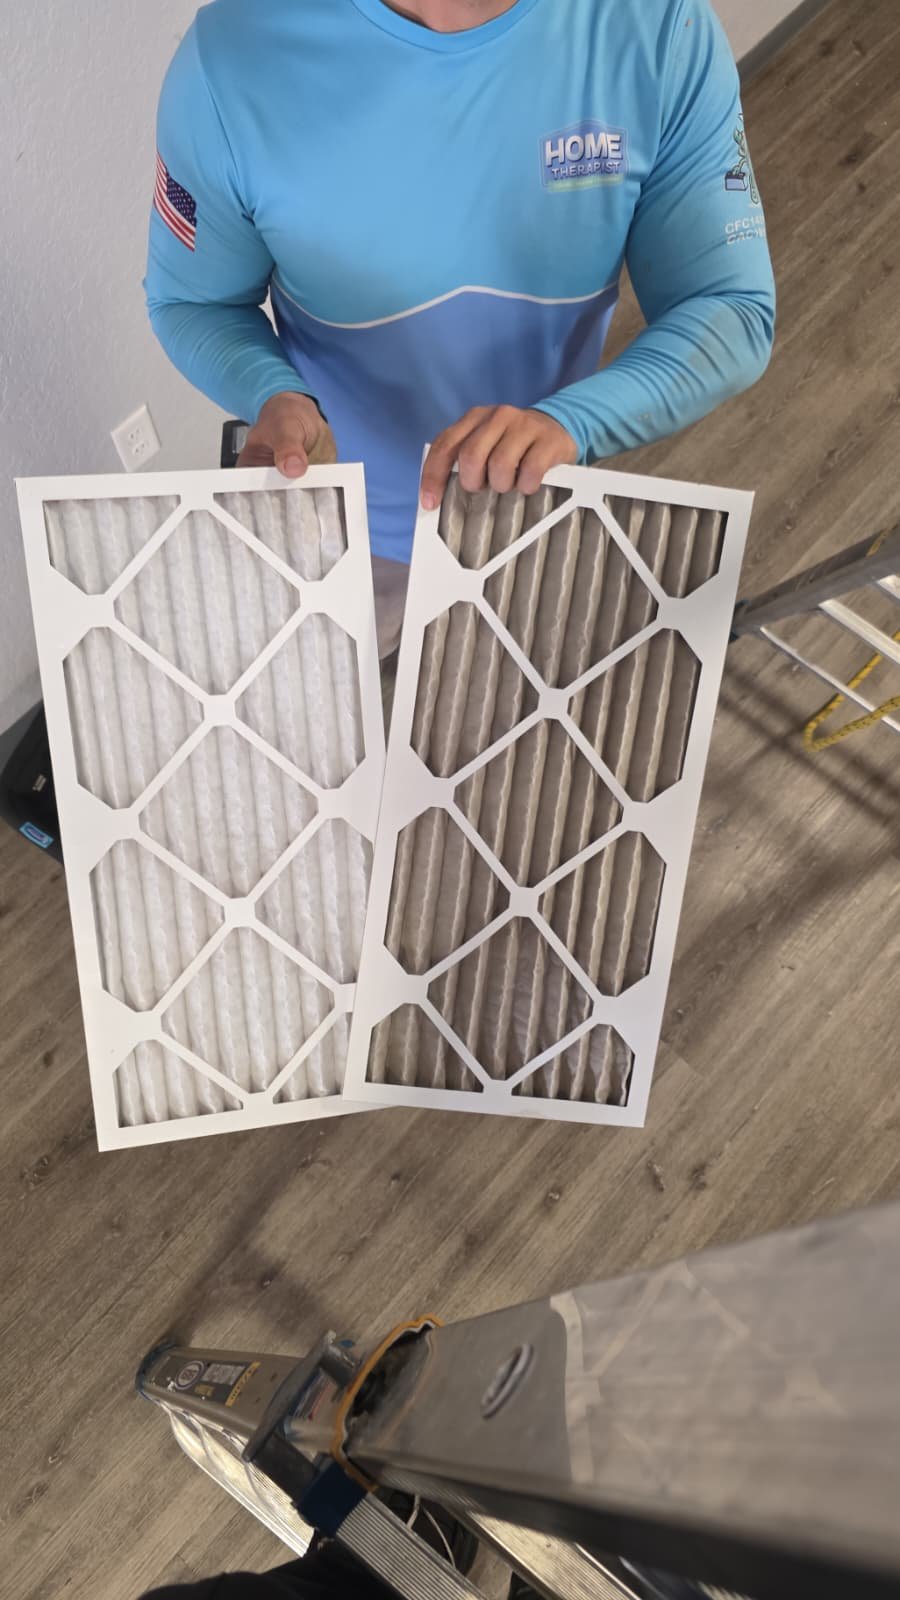
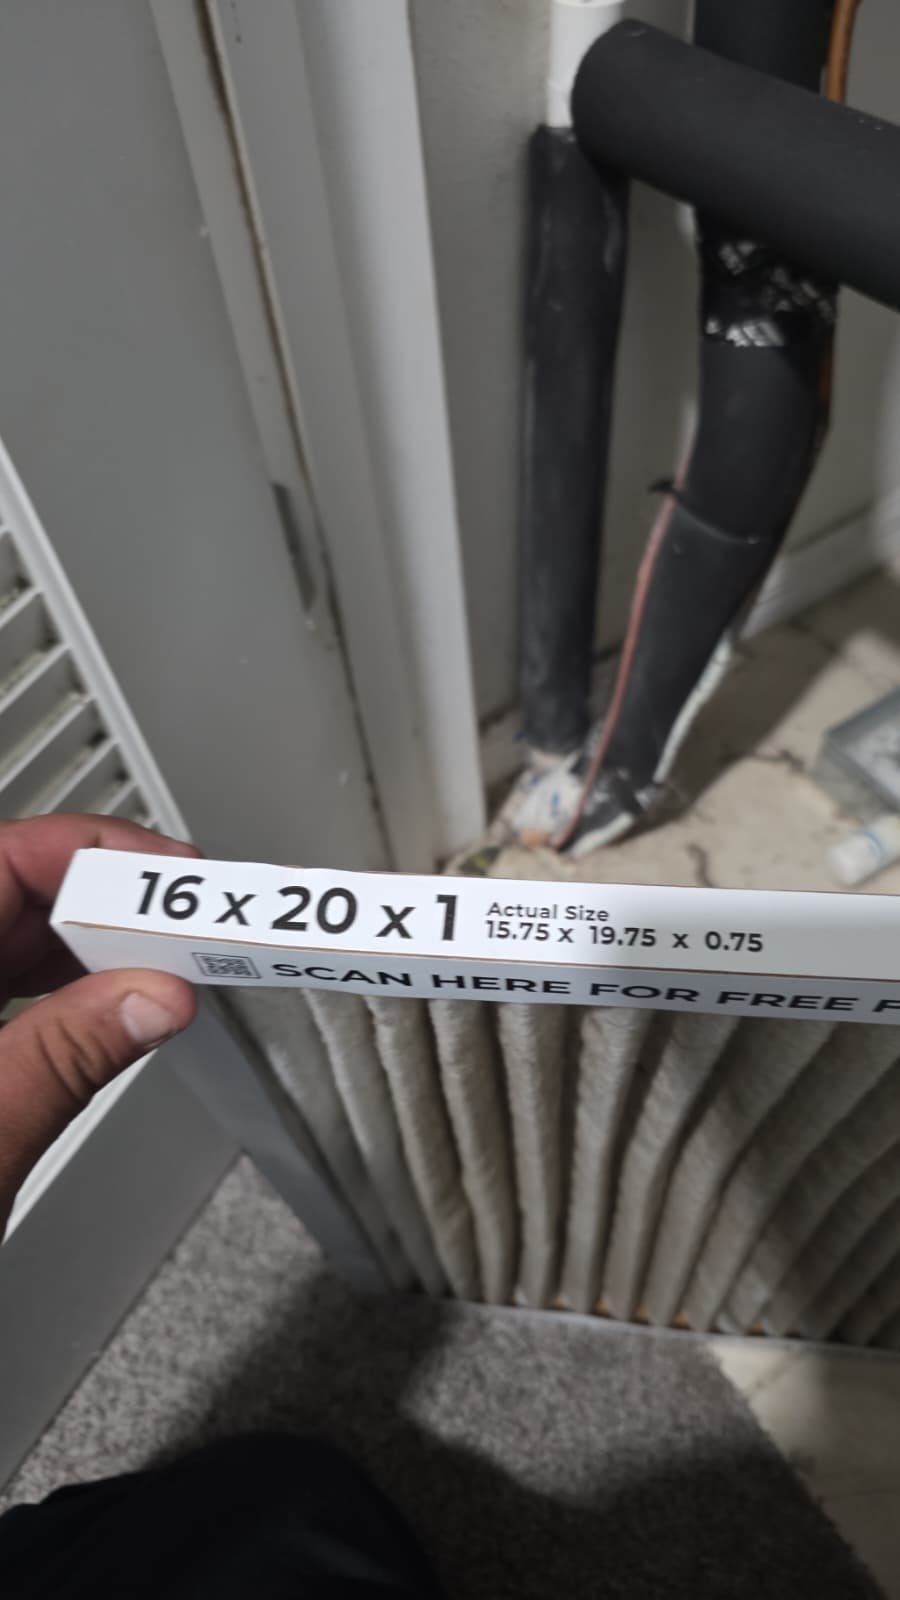
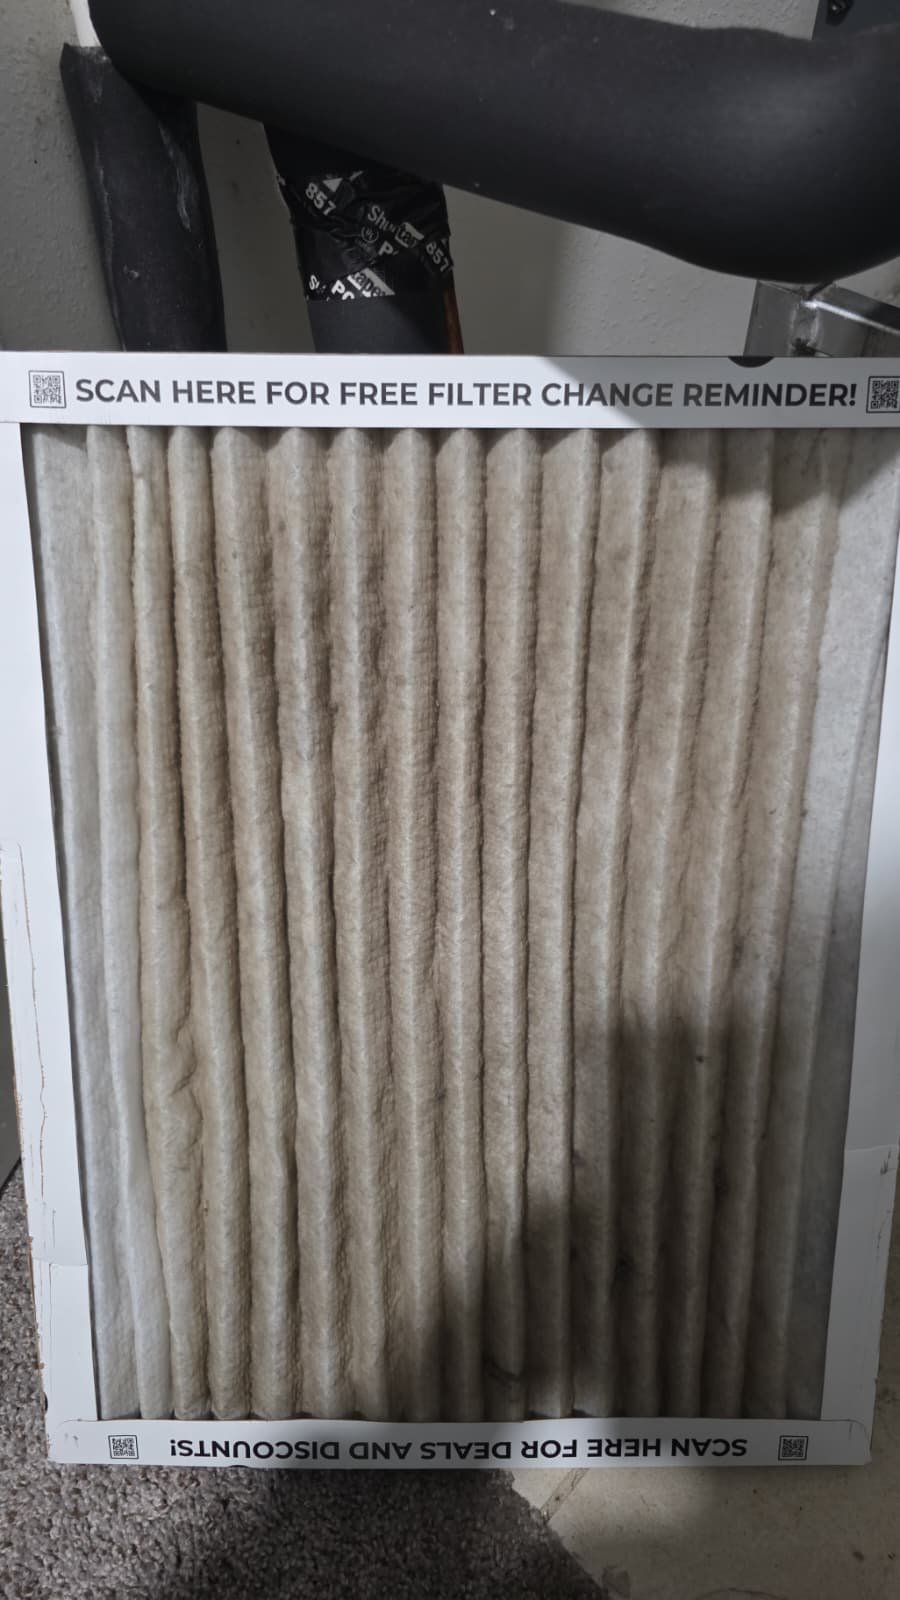
- Change or clean your air filter regularly. In Florida’s climate, many homes benefit from checking the filter monthly and replacing it as needed. A clogged filter is one of the fastest ways to strain your system.
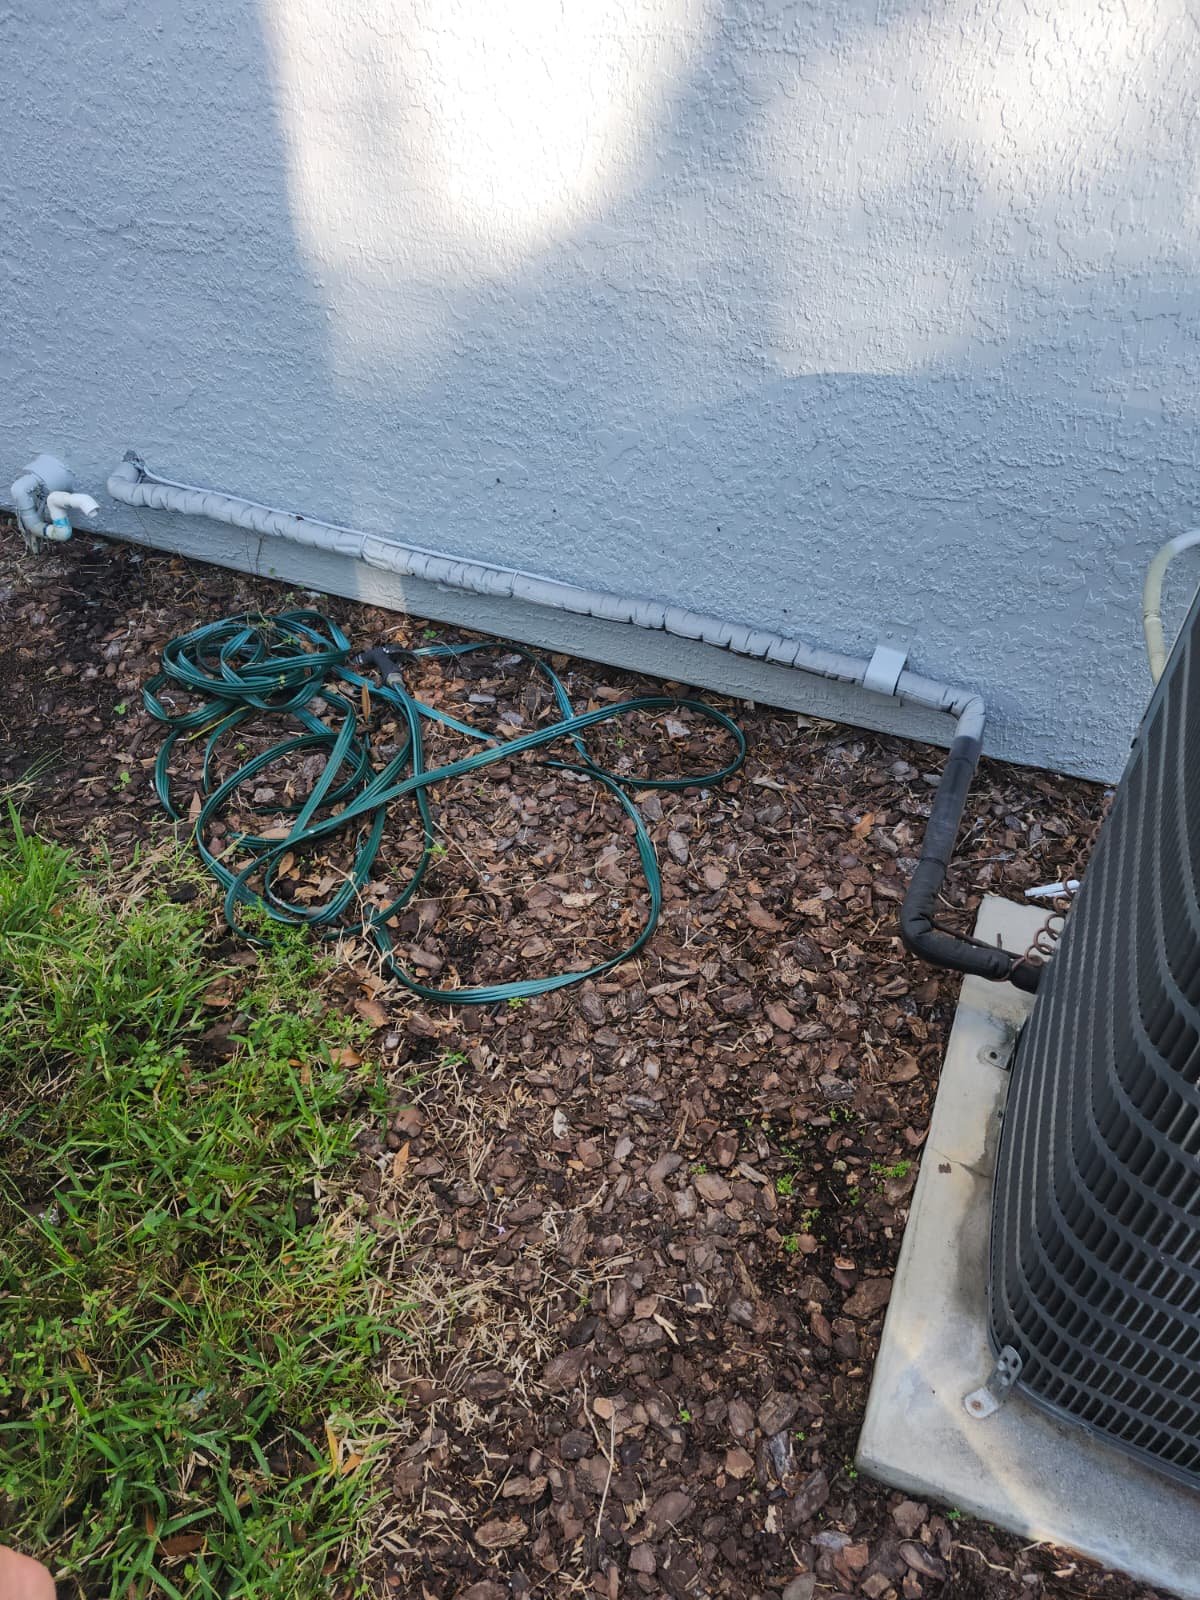
- Keep the outdoor unit clear. Trim back plants, remove leaves, and avoid stacking items around the condenser. Your system needs space to release heat effectively.
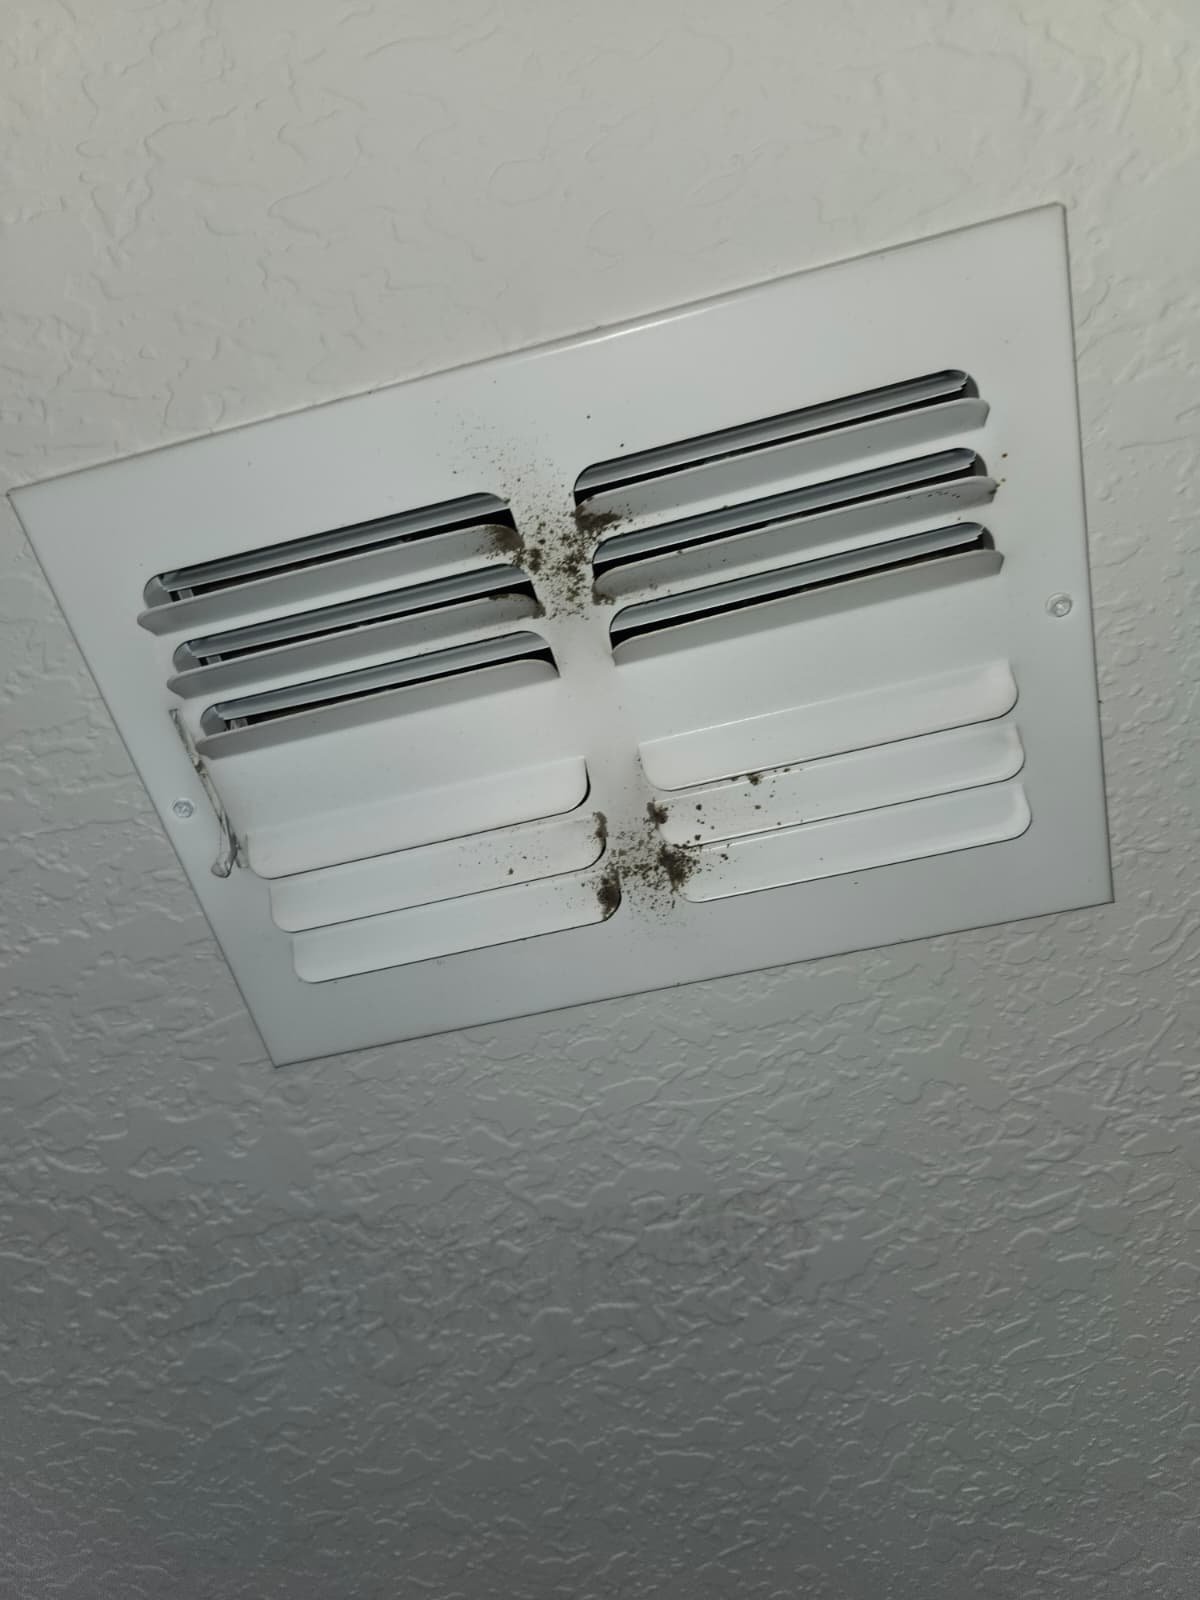
- Watch for drainage issues. If you notice water around the indoor unit, a full drain pan, or a safety switch tripping, call for service. Drain issues are very common in our humid climate.
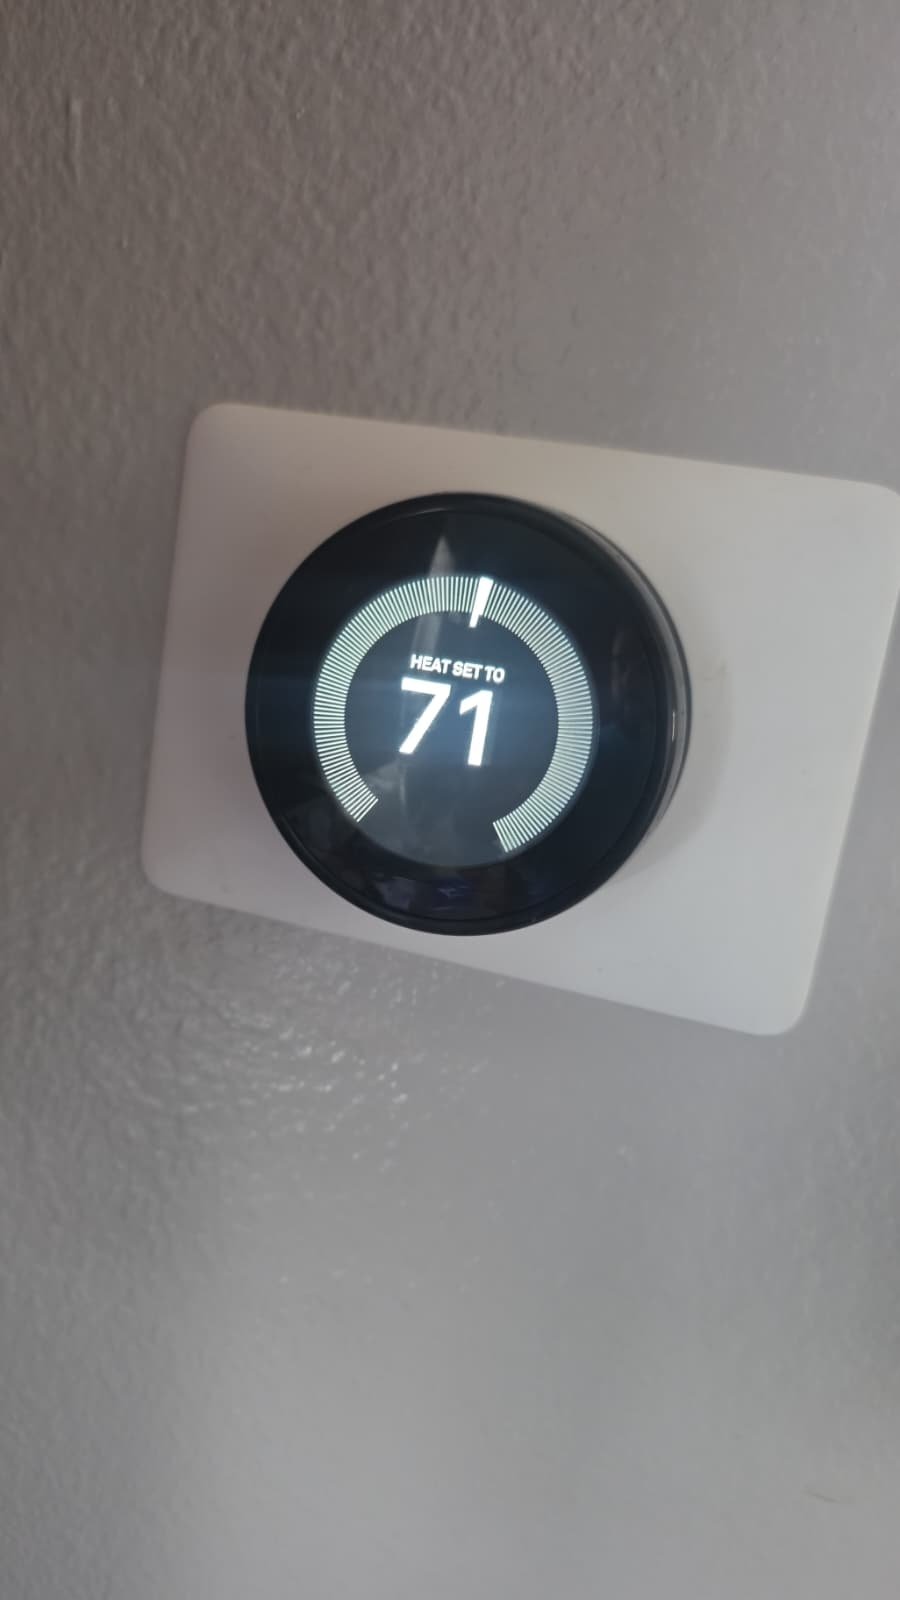
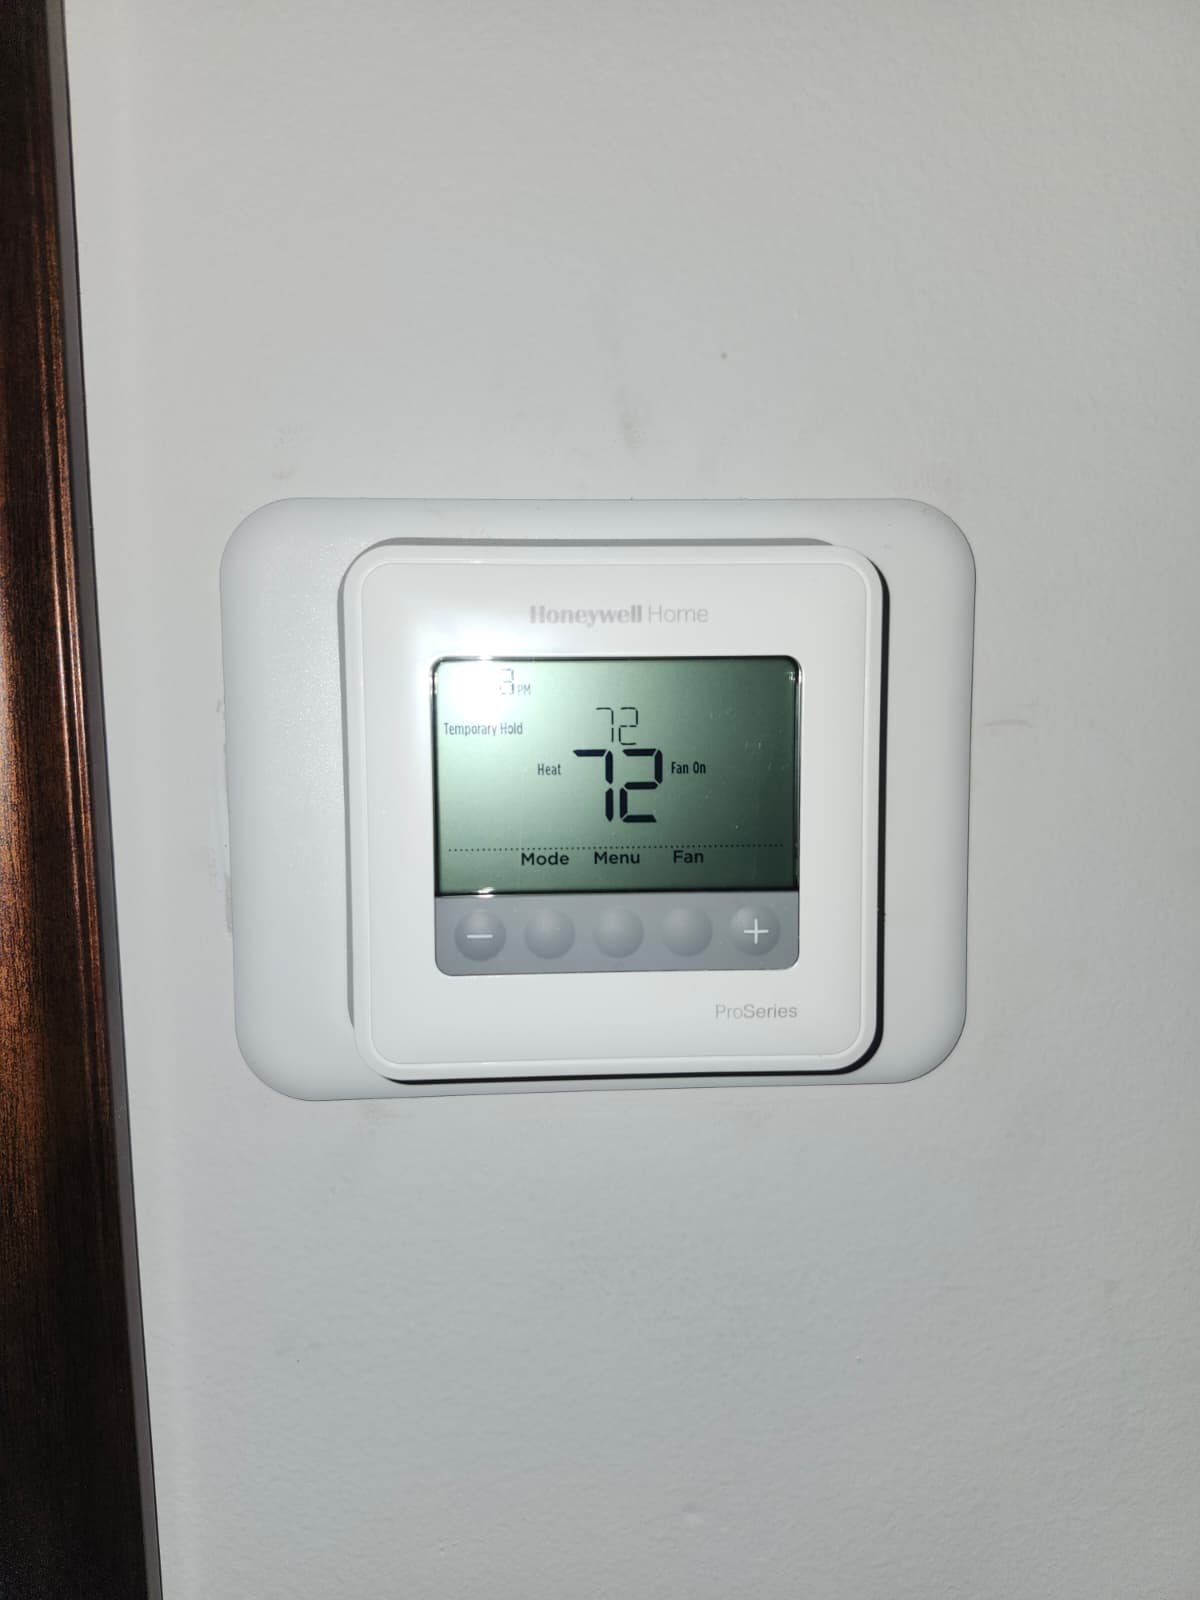
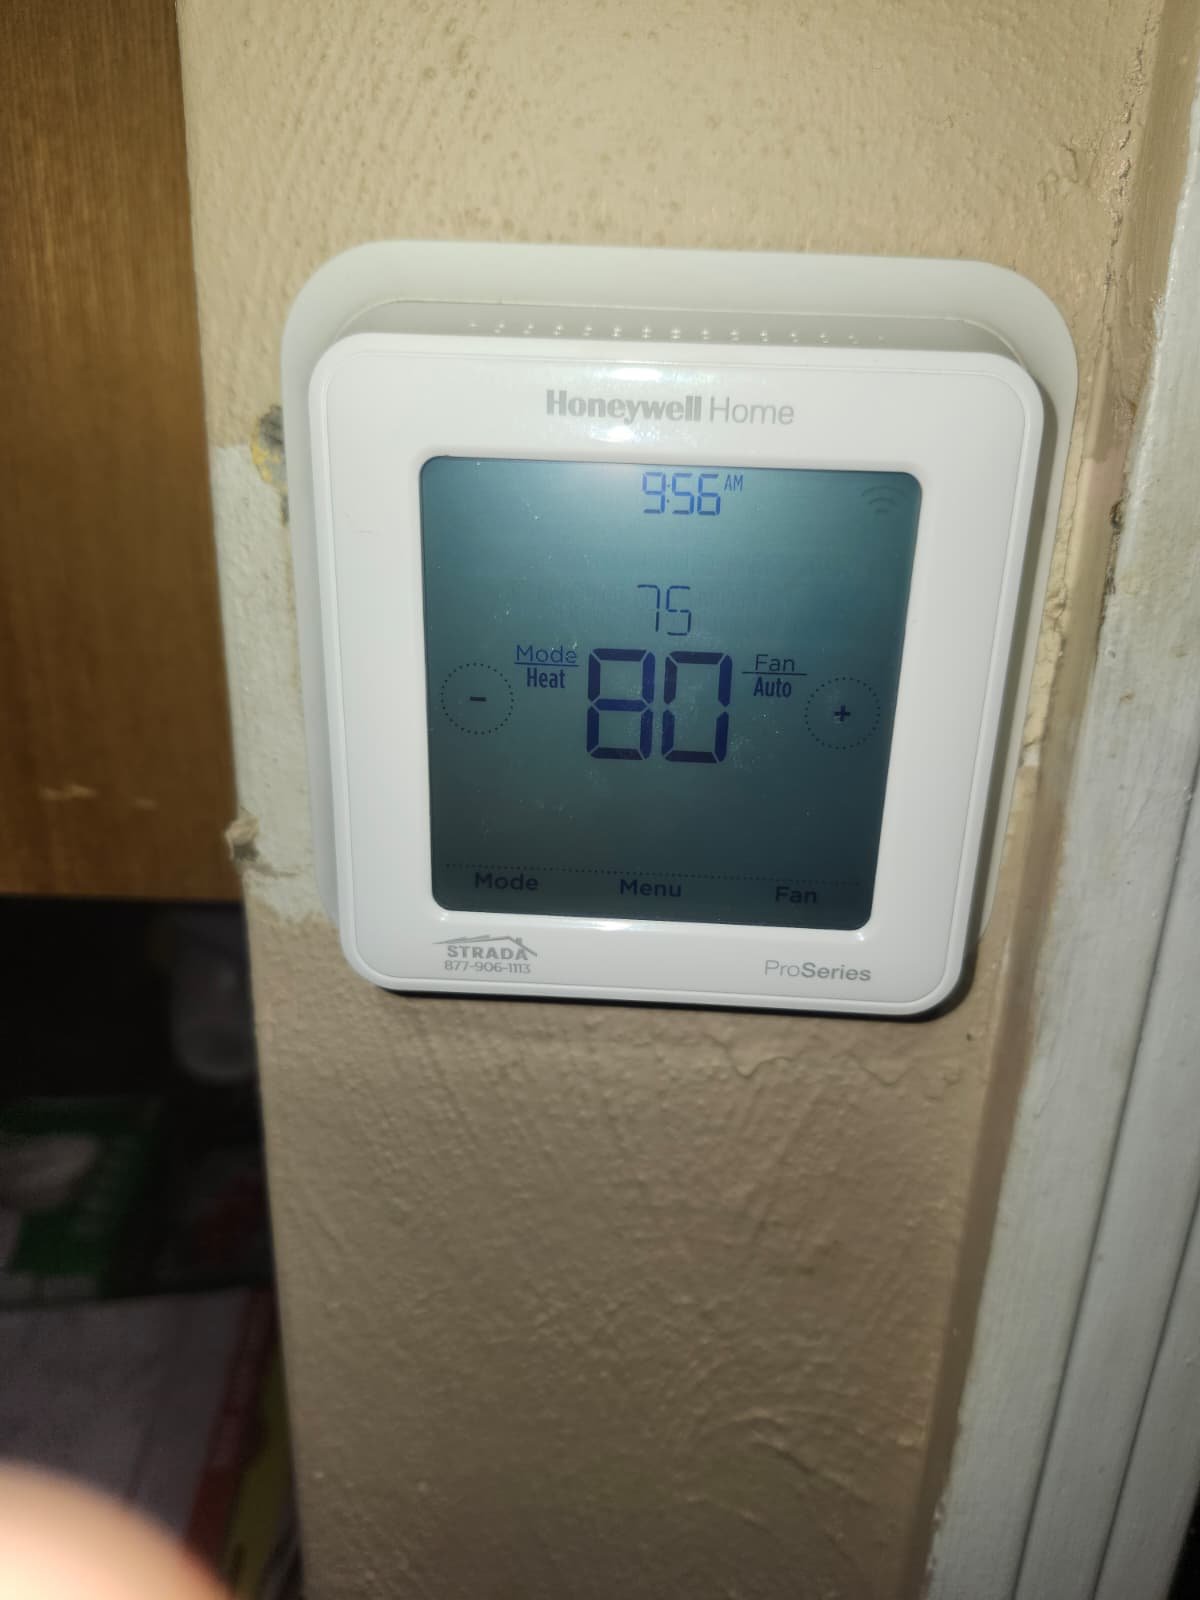
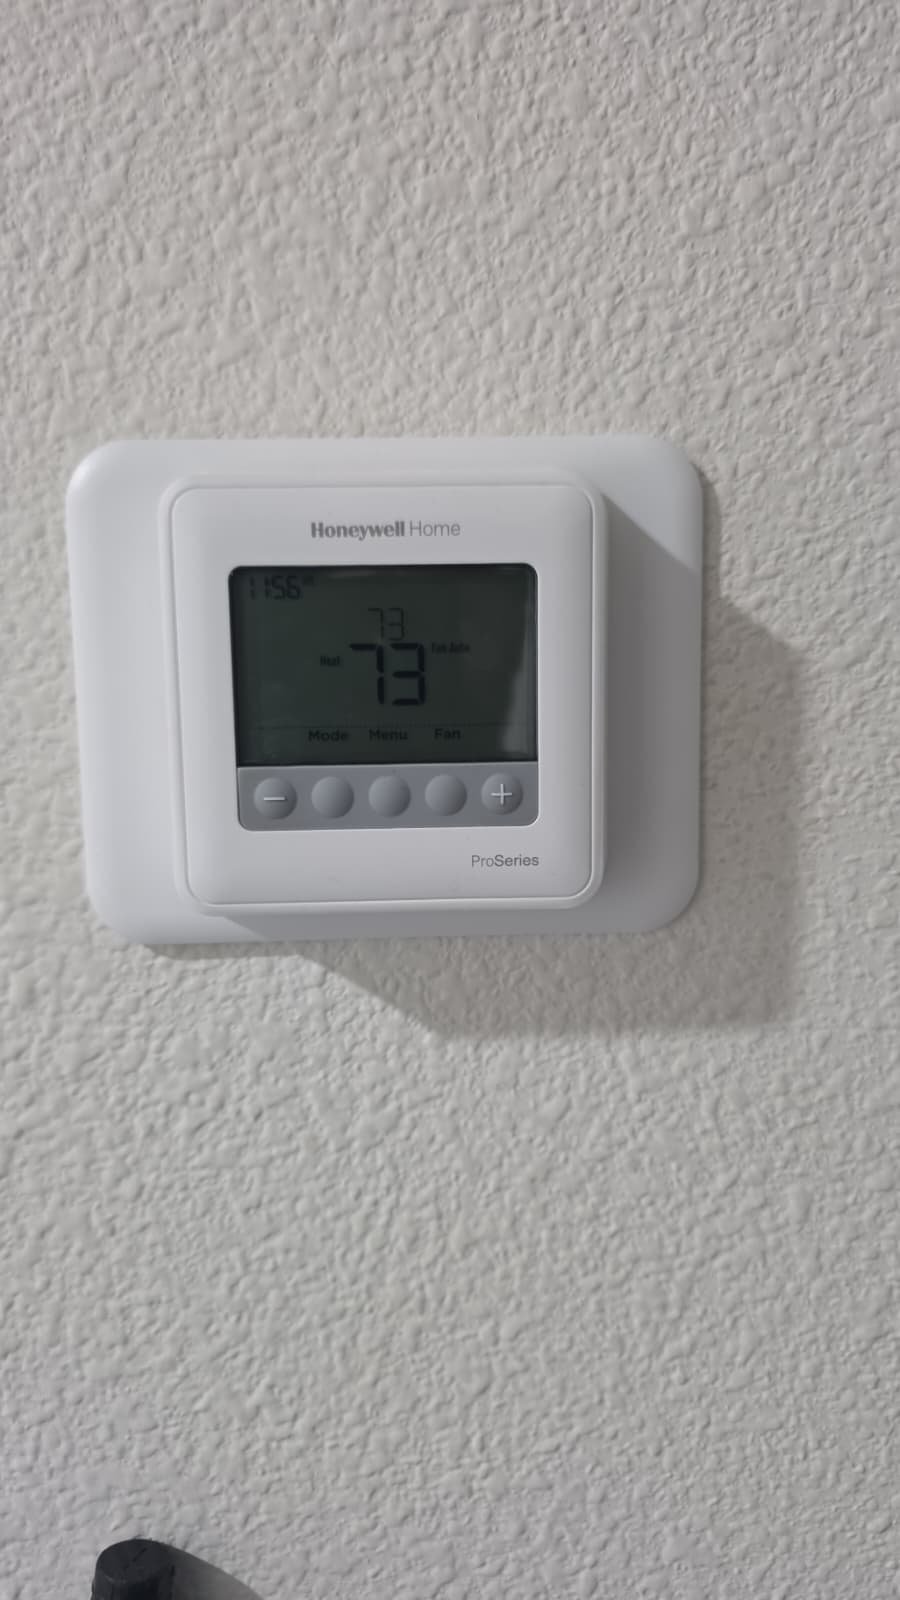
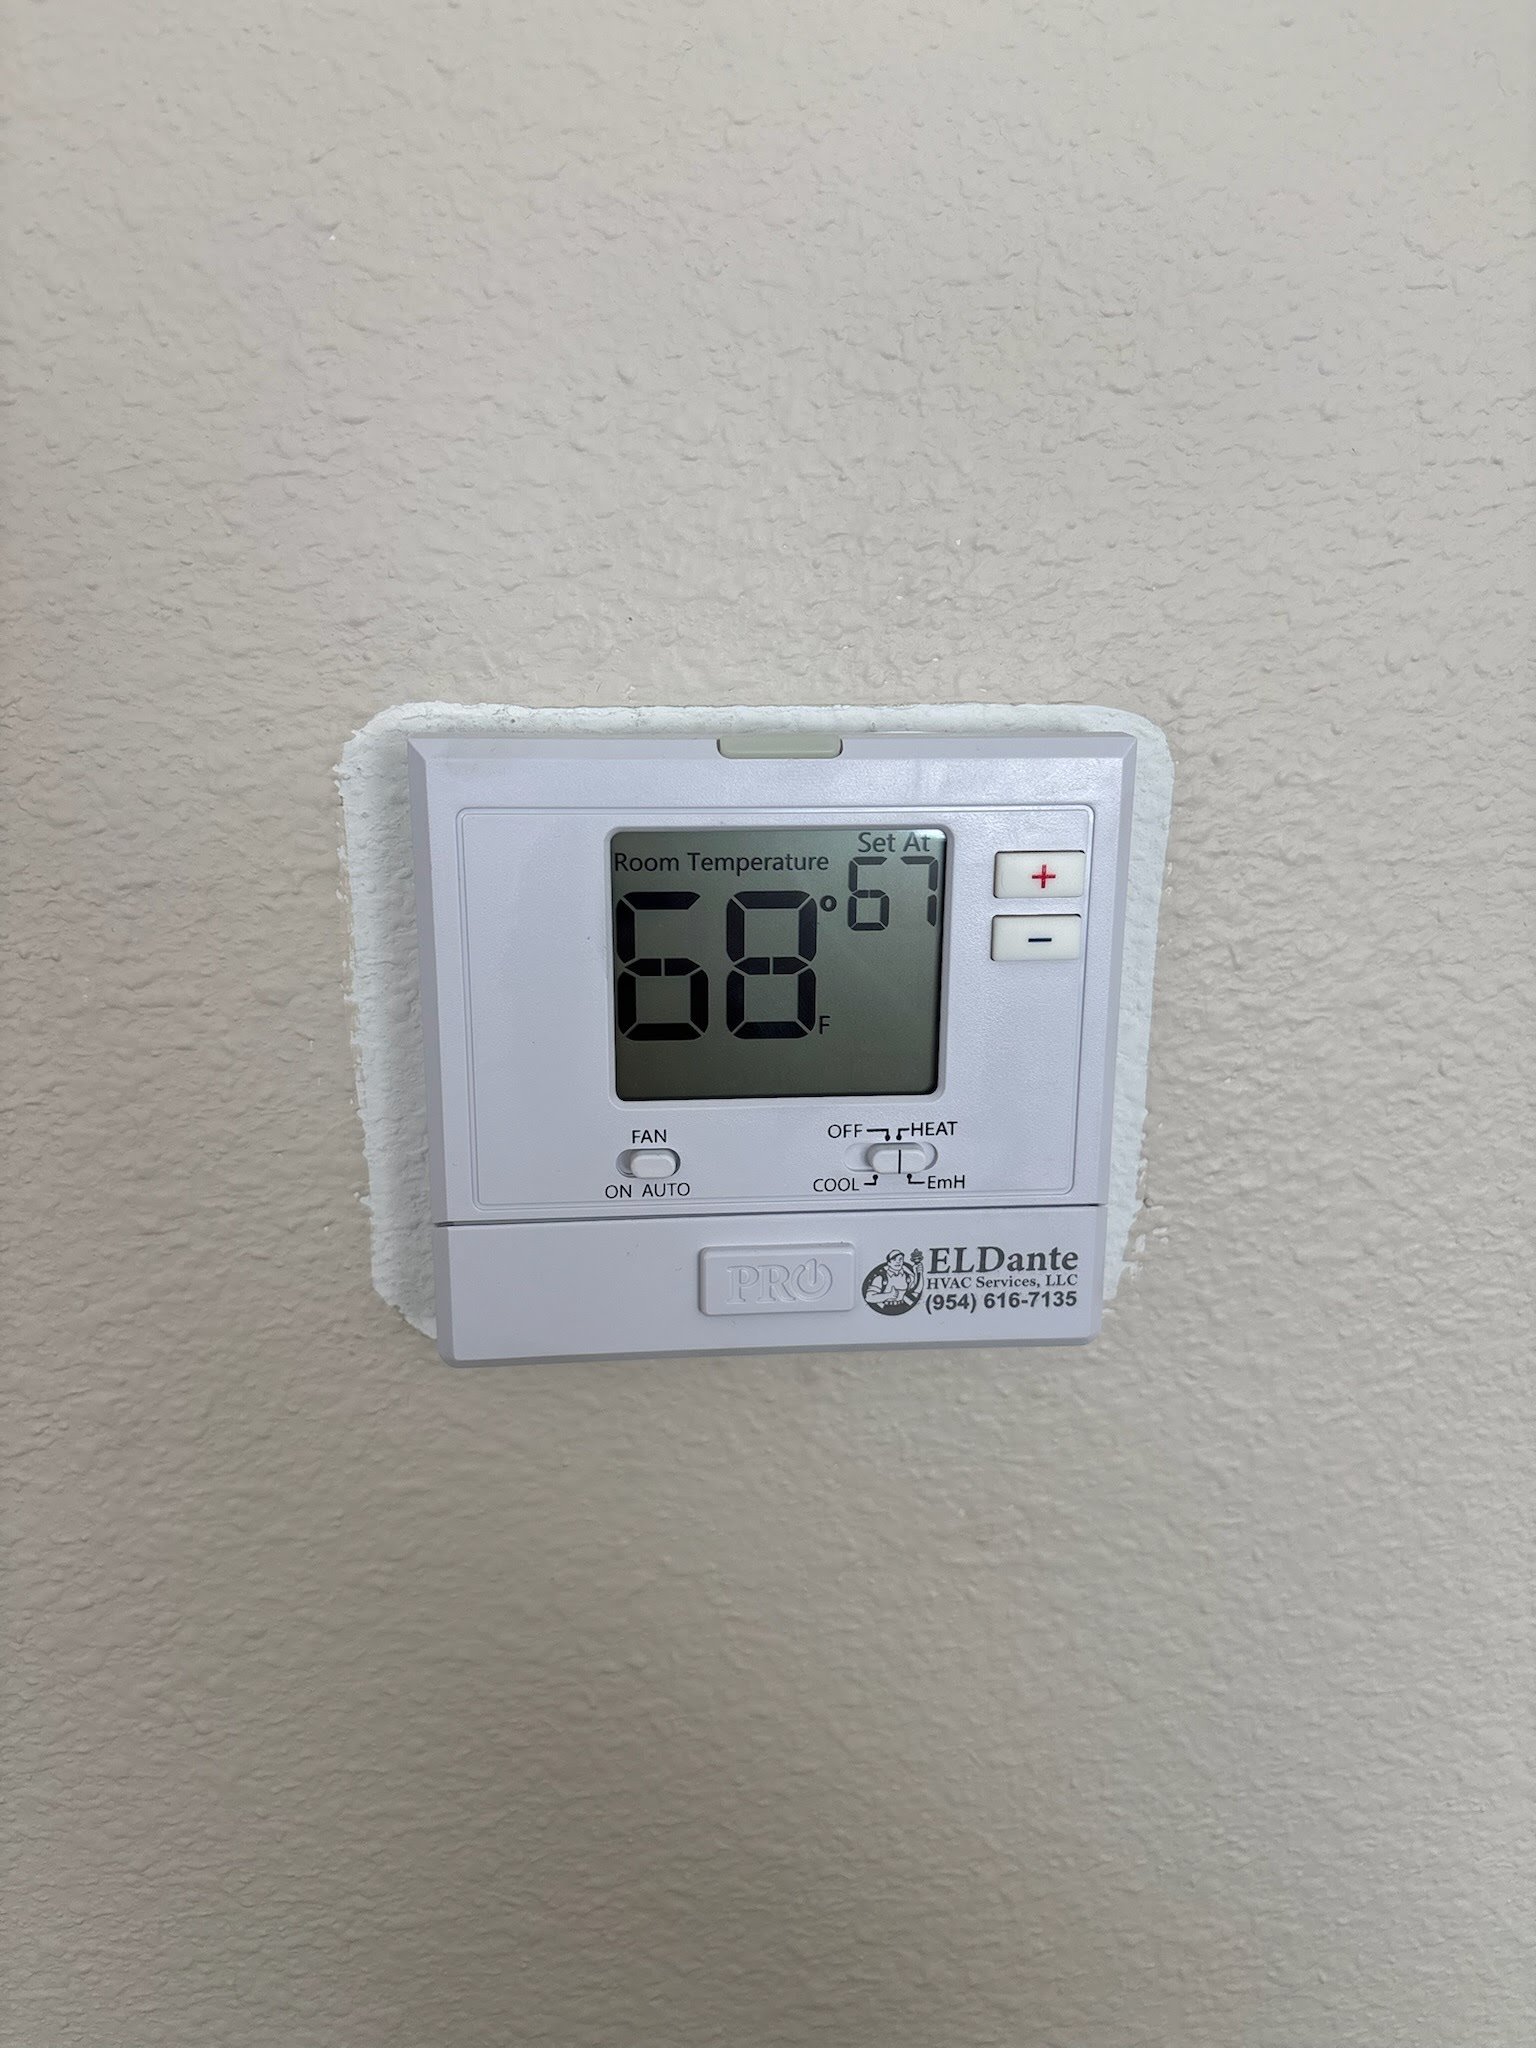
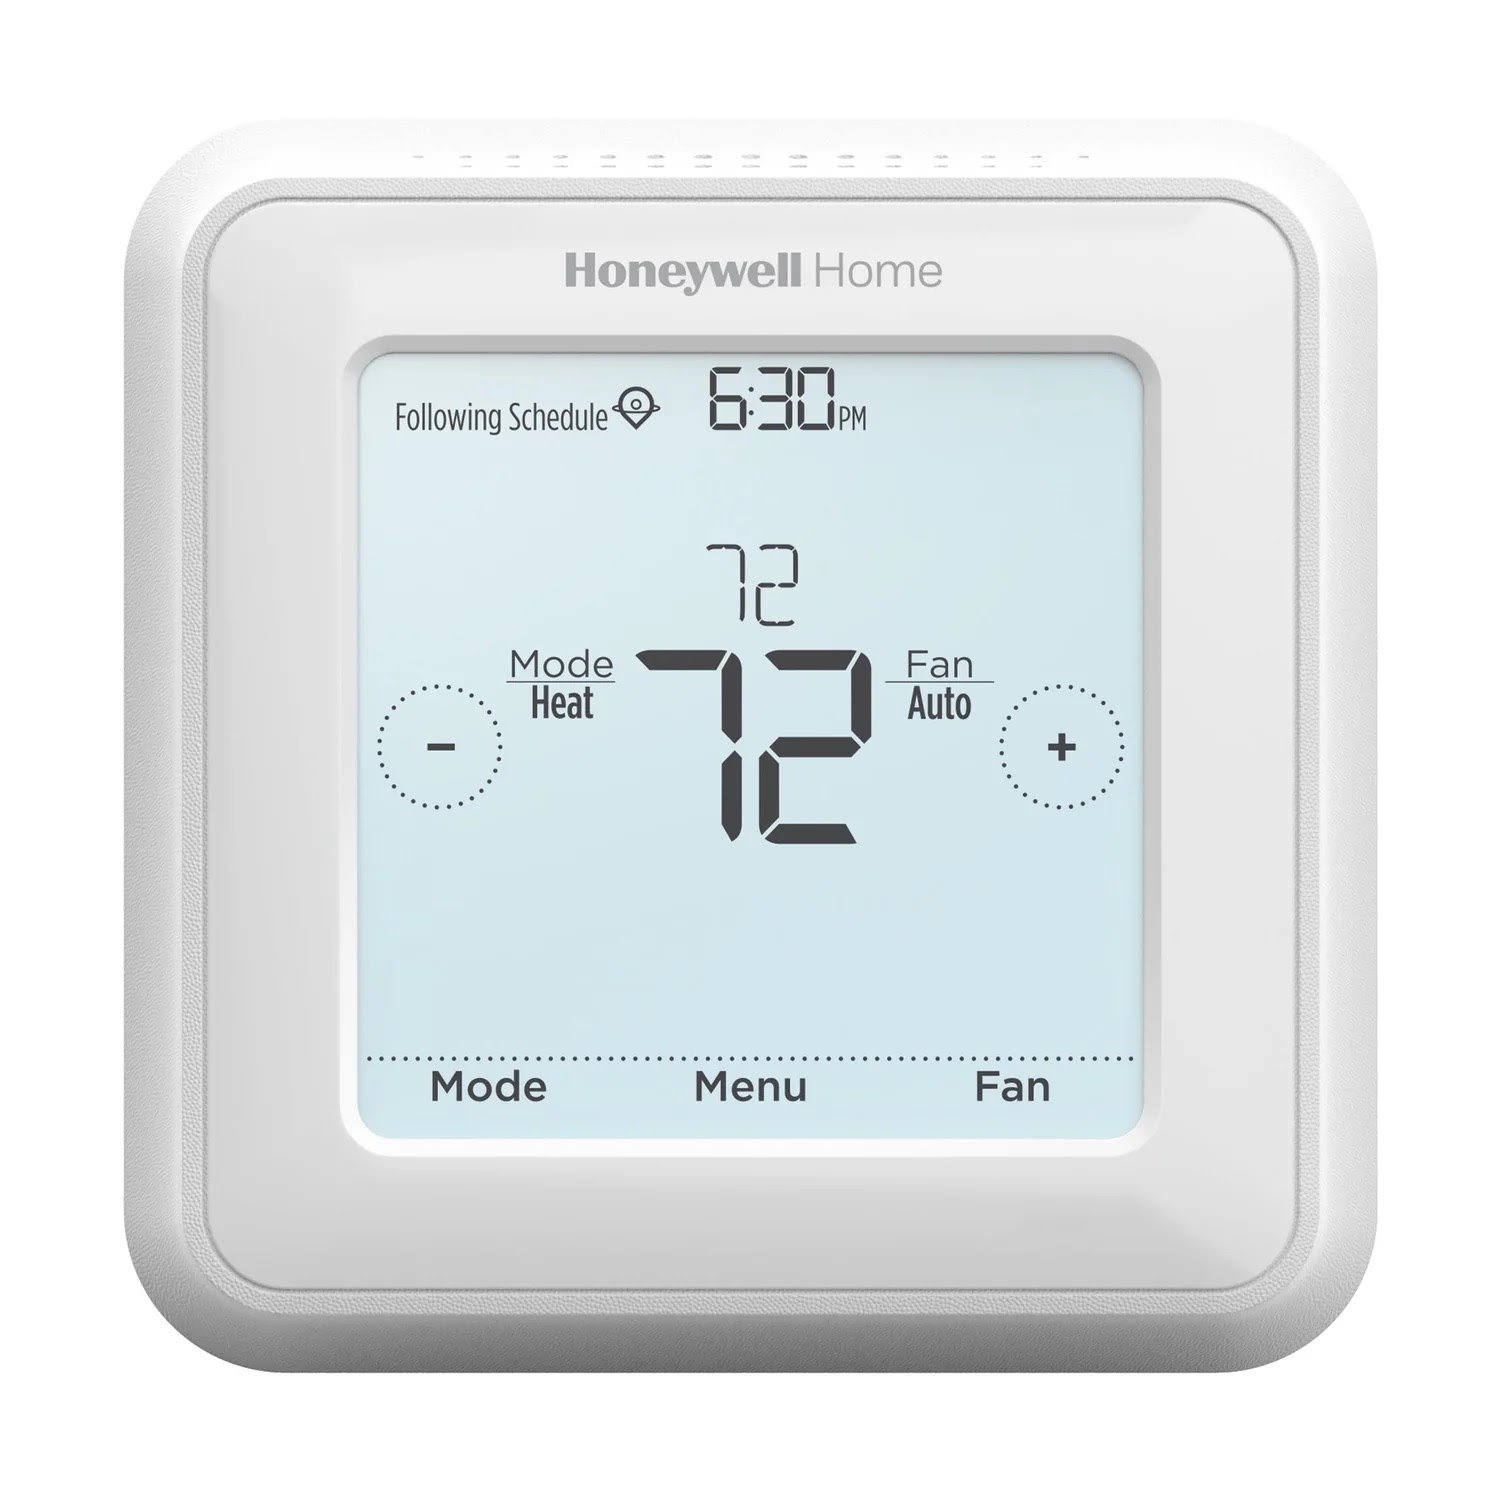
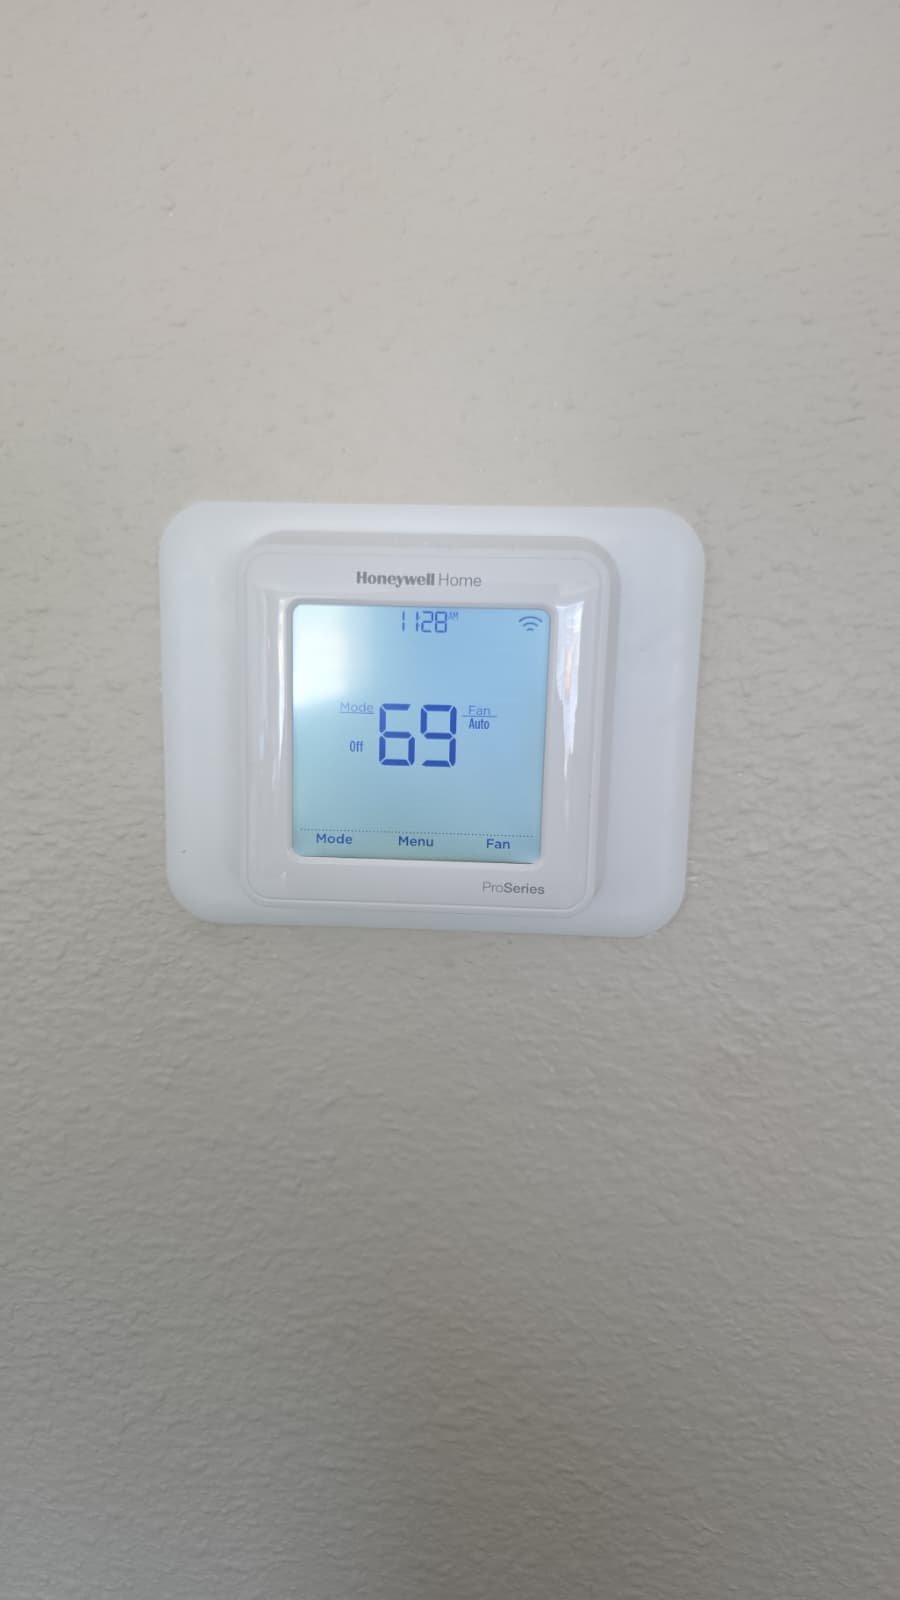
- Use reasonable thermostat settings. Setting the thermostat extremely low won’t cool the home faster—it just makes the system run longer. Aim for a comfortable, steady setting to avoid unnecessary wear.
- Don’t skip annual maintenance. Even if your system is cooling, yearly or twice-yearly maintenance can catch small problems before they become costly repairs. Plans like our AC maintenance services in Tampa are designed for exactly that.
- Pay attention to changes. If you notice new noises, hot spots in the home, or higher bills without changing usage, schedule a checkup. These early signs often show up before a breakdown.
FAQ: Premium Therapy Plan AC Maintenance in Tampa, FL 33626
How old was the system on this visit?
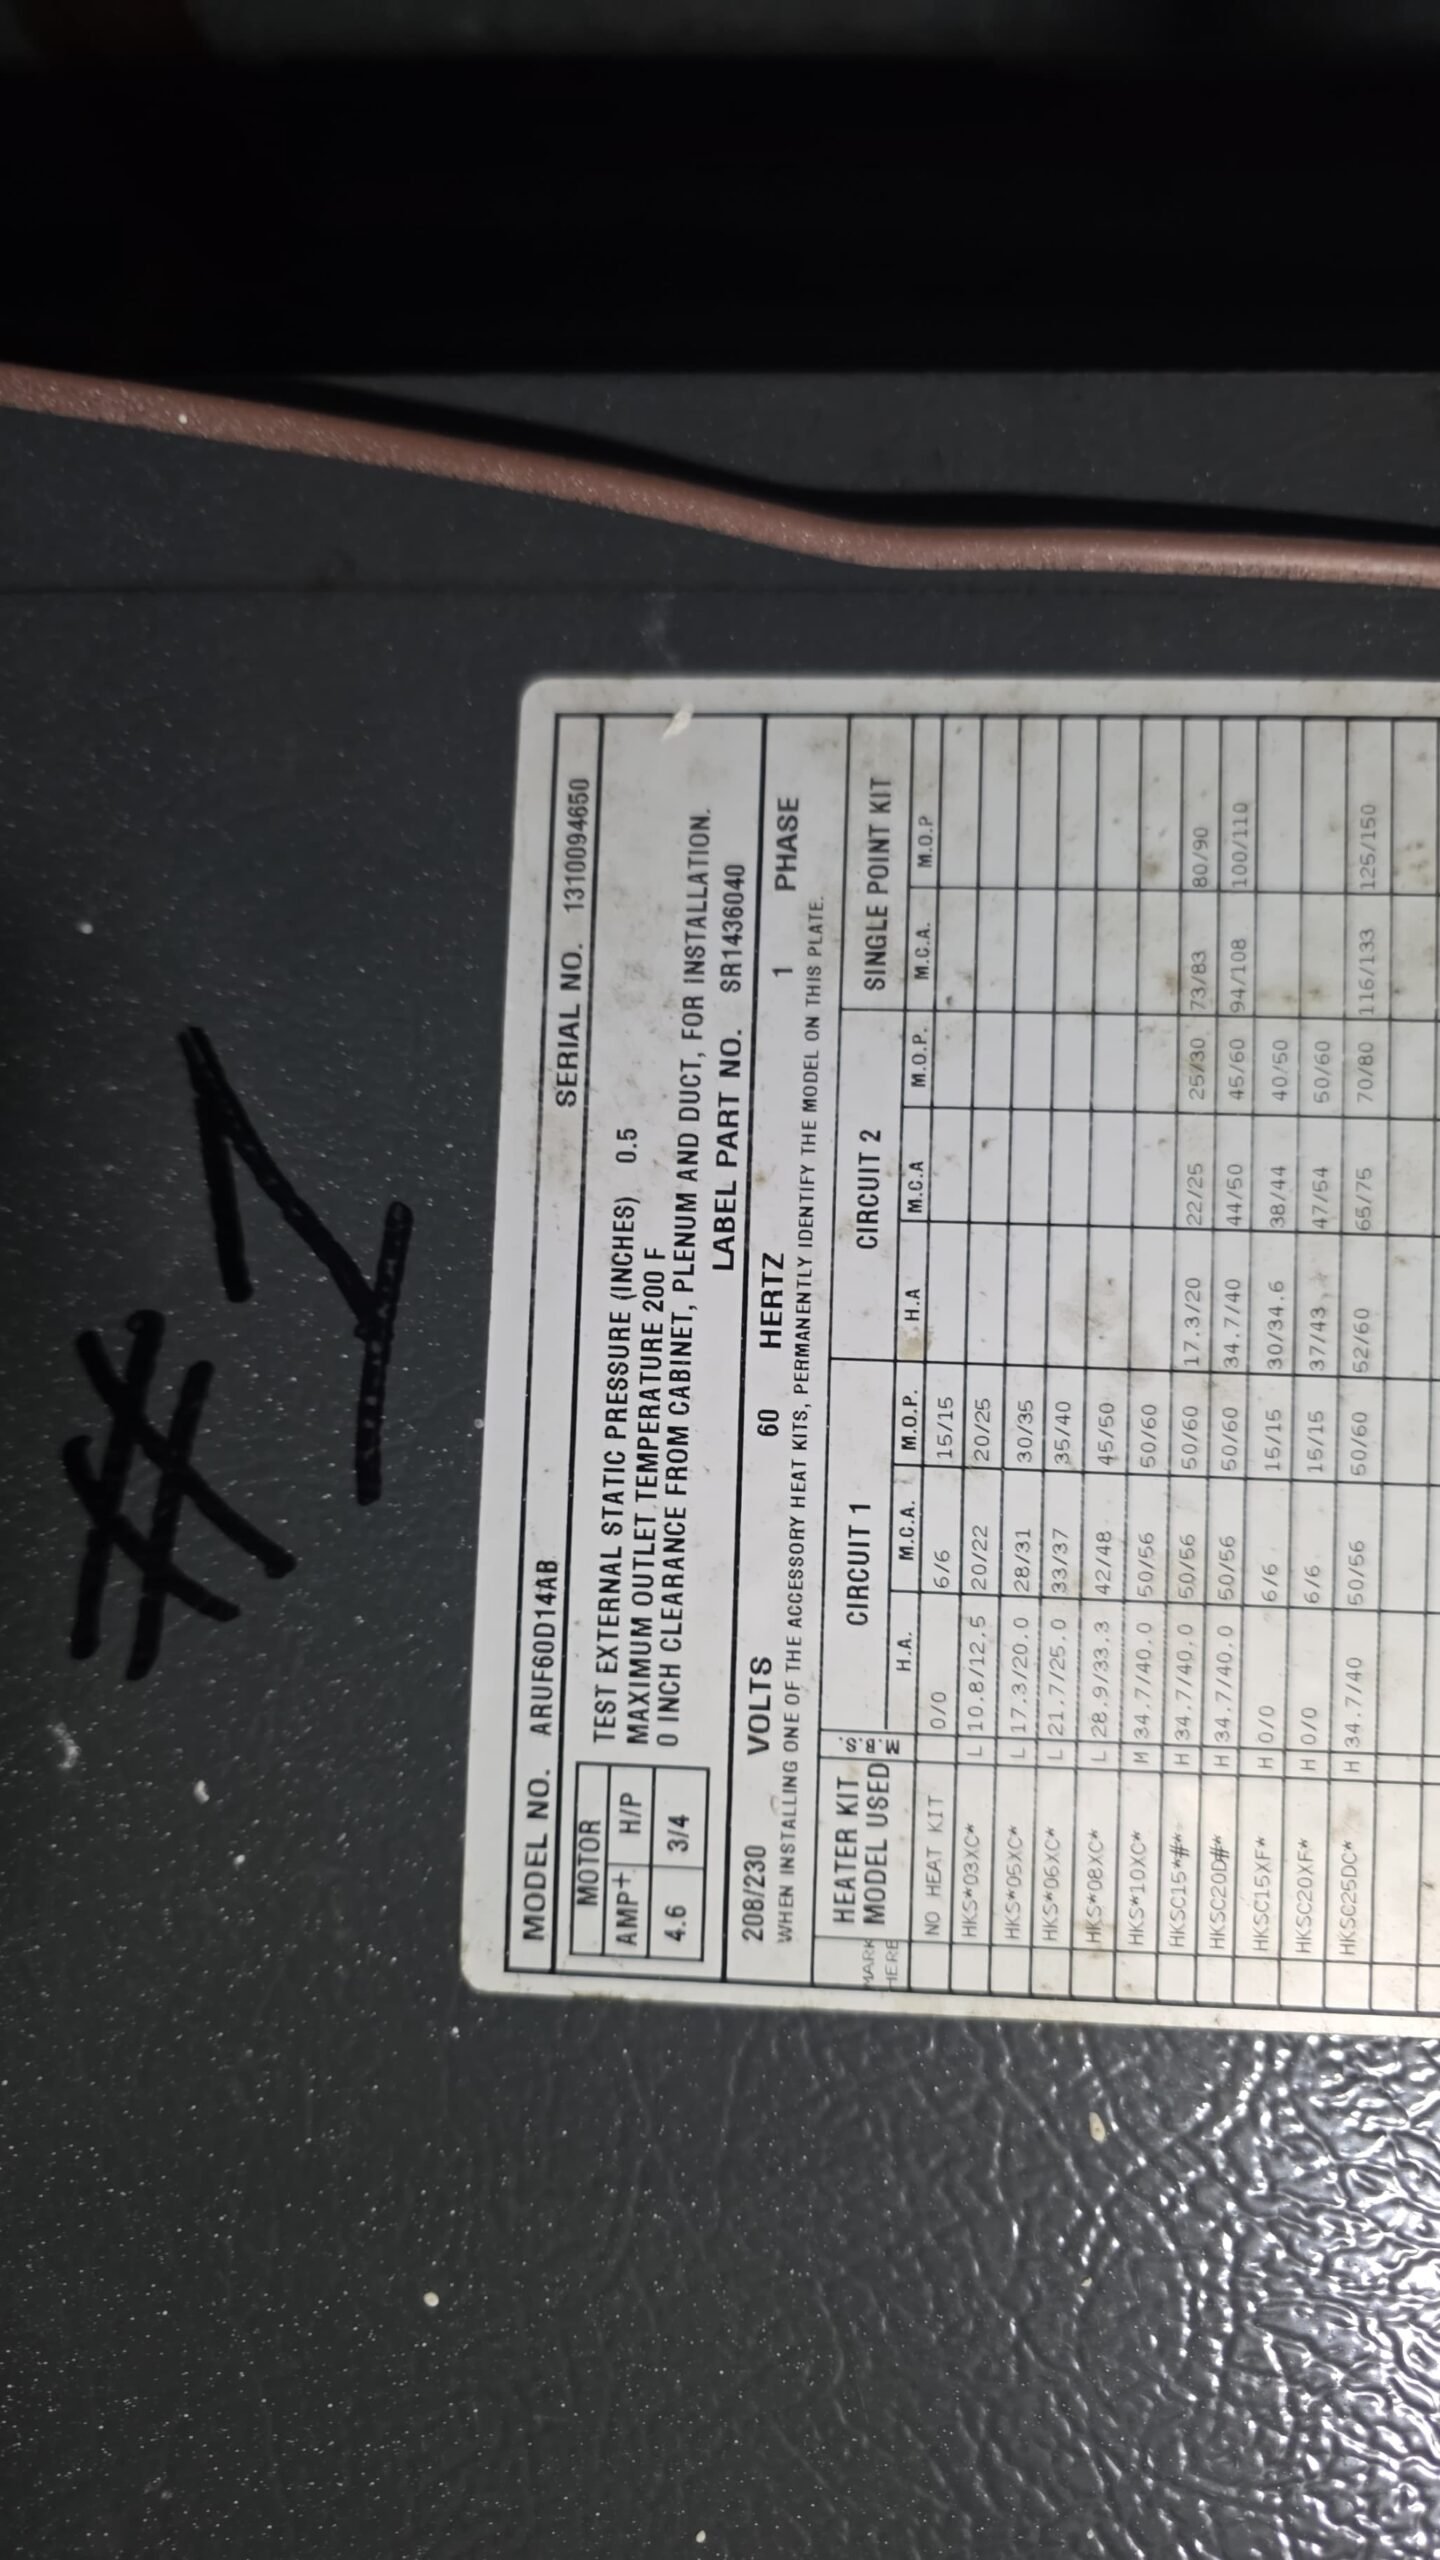
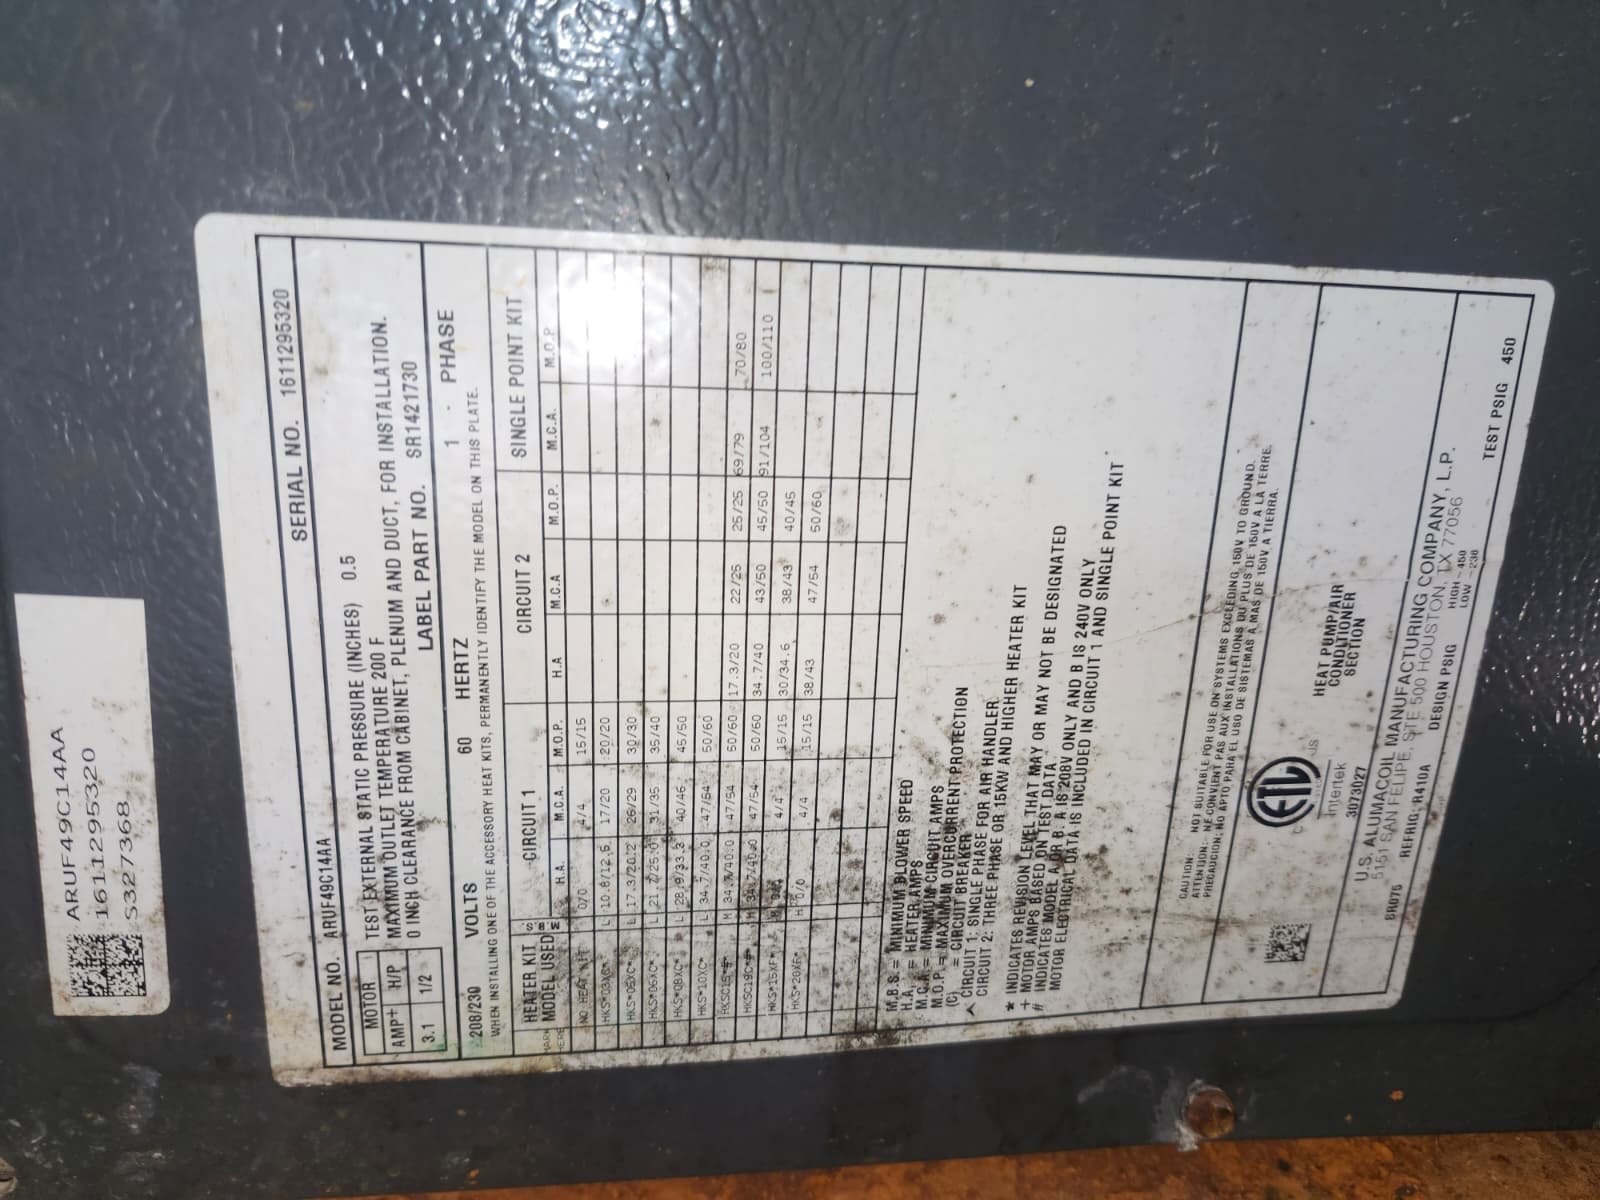
The air conditioning system we serviced in Tampa, FL 33626 was approximately six years old. At this age, regular maintenance is especially important to maintain reliability and efficiency.
Was there anything wrong with the AC?
No major issues were found during this visit. Pressures and amperage readings were within normal ranges, the UV light was operating, and both the indoor and outdoor units were functioning properly after cleaning and drain maintenance.
Why clean the condensate drain if there’s no leak?
In our humid Tampa climate, condensate drains handle a lot of moisture. Cleaning and clearing the line during maintenance helps prevent future clogs, overflows, and unnecessary shutdowns. It’s a preventative step, not just a reaction to a problem.
What is included in a Premium Therapy Plan visit like this?
A typical Premium Therapy Plan visit includes a full operational check, verification of pressures and electrical readings, inspection of components like UV lights, and cleaning of key parts such as the indoor and outdoor units and the condensate drain line. The exact tasks can vary slightly based on system type and condition.
How does this differ from a standard AC tune-up?
Many homeowners in Tampa choose a plan rather than a one-time visit because it provides ongoing care, scheduled appointments, and consistent record-keeping of their system’s condition. Our AC tune-up services in Tampa can be a one-time visit, while the Premium Therapy Plan builds in regular visits like this one.
What if you had found a problem during the inspection?
If we had found a concern—such as abnormal pressures, high amperage draw, or drainage issues—we would have explained the findings clearly, discussed options, and provided straightforward pricing before proceeding. Our focus is always on transparent communication and doing only the work that’s needed.
Why Choose Home Therapist
For homeowners in Tampa, FL 33626 and throughout Tampa Bay, choosing the right HVAC partner matters. At Home Therapist Cooling, Heating, and Plumbing, our technicians are fully licensed professionals who treat your home with the same care and respect we’d expect in our own homes.
Here’s what we focus on every visit:
- Licensed, professional technicians: We send trained, qualified techs—never guesswork, never shortcuts.
- Transparent communication: We explain what we find, what we recommend, and why, in clear, plain language.
- Clean, respectful work: We protect your home, clean up after ourselves, and work as quietly and neatly as the job allows.
- Long-term reliability: Our goal is not just to get your system running today, but to help it run well for years, especially through our demanding Tampa summers.
- Commitment to Tampa Bay homeowners: We live and work in this community, and we stand behind the work we do.
If you’d like to see more about how we serve Tampa Bay, follow us on social media or check out what others say about us:
- Connect with us on Facebook for updates, tips, and photos from real jobs.
- See behind-the-scenes and project highlights on Instagram.
- Watch short, helpful clips on TikTok.
For independent reassurance, you can also review our standing with trusted organizations:
- Read our profile and rating on the Better Business Bureau (BBB).
- See our presence with the Tampa Bay Chamber of Commerce.
Whether you need ongoing maintenance like this Premium Therapy Plan visit or help with a repair, we offer a full range of services, including AC repair in Tampa and comprehensive HVAC and plumbing services across Hillsborough County.
Schedule Your AC Maintenance in Tampa, FL 33626
If you’re in Tampa, FL 33626 and want the same level of care this homeowner received, we’re here to help. Routine maintenance is one of the most effective ways to protect your comfort, reduce the risk of breakdowns, and extend the life of your system.
Whether you’re interested in a one-time visit or enrolling in our Premium Therapy Plan, our team will walk you through your options and schedule a time that works for you. We’ll arrive on time, explain what we’re doing, and leave your home as clean as we found it.
Reach out today to schedule AC maintenance or learn more about our therapy plans for homeowners in Tampa, FL 33626 and the greater Tampa Bay area. We’ll help keep your home comfortable, safe, and ready for whatever the Florida weather brings.