

AC Not Cooling in Tampa: Diagnosis Before You Call
When your AC is not cooling in Tampa, the diagnosis comes down to the symptom: no cool air points to refrigerant, electrical, or a tripped float switch; short cycling points to an oversized or dirty system; ice means airflow or low charge; and high humidity points to sizing. The symptom tells you whether to DIY-check or call.

This guide is about diagnosing the symptom of an AC not cooling in Tampa so you know what is happening before a technician arrives. We will map each symptom to its likely cause, show you the two or three things you can safely check yourself first, and flag exactly when to stop and call. Diagnosis on our service calls is always free, so reading the signs here costs you nothing and helps the visit go faster.
AC not cooling in Tampa: diagnosis by symptom
Different symptoms point to different parts of the system. Use this table to match what you are experiencing to the most common Tampa causes before you pick up the phone.
| Symptom | Most likely causes | DIY check or call a pro? |
|---|---|---|
| No cool air at all, system runs | Low refrigerant (leak), bad capacitor, frozen coil, tripped float switch | Check thermostat and breaker, then call |
| System will not turn on | Tripped breaker, blown fuse, failed contactor, dead thermostat batteries | Reset breaker and thermostat once, then call |
| Short cycling (turns on/off fast) | Oversized unit, dirty coil, low charge, faulty thermostat placement | Replace filter, then call |
| Ice on the lines or indoor coil | Dirty filter, low refrigerant, blower problem, blocked airflow | Turn off, thaw, replace filter, then call |
| High humidity, house feels clammy | Oversized system, short runtime, duct leaks, low charge | Call for sizing and charge check |
| Weak airflow from vents | Clogged filter, dirty blower wheel, duct leaks, closed dampers | Replace filter, open returns, then call |
| Warm air outside, no fan spin | Failed capacitor or contactor, motor failure | Call a pro (electrical) |
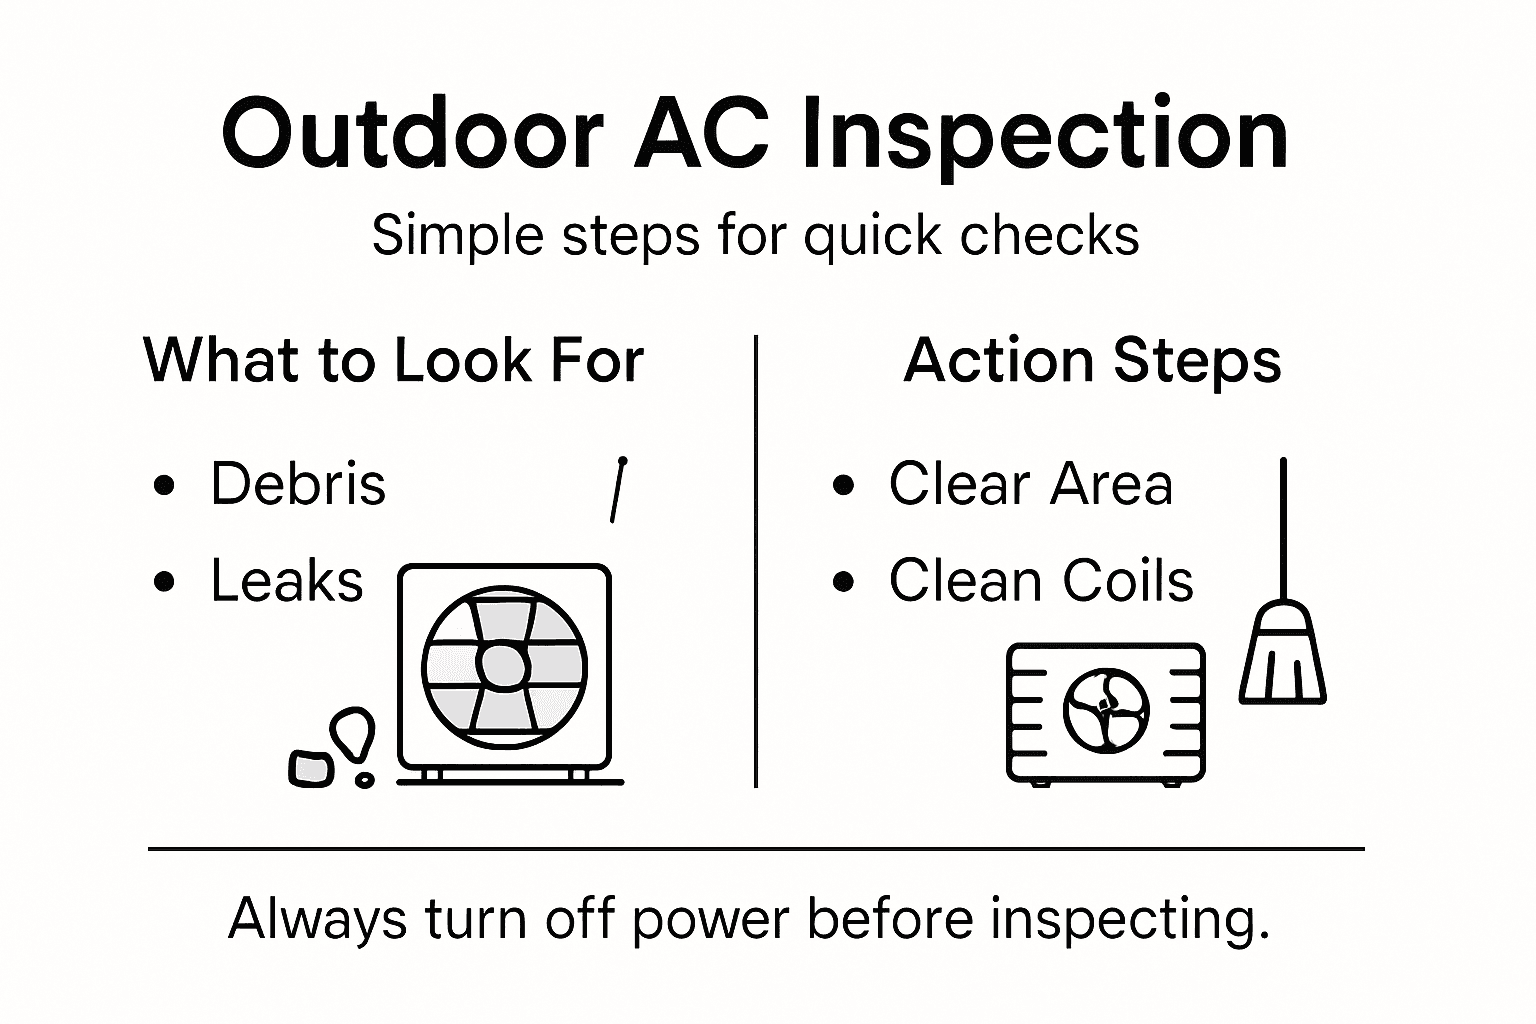
What can I safely check myself first?
Before any service call, run through these safe checks. They cost nothing, sometimes solve the problem outright, and at minimum give the technician a head start:
- Thermostat: Confirm it is set to COOL, the temperature is below room temperature, and the batteries are fresh. A surprising number of “no cooling” calls are a thermostat in the wrong mode after someone bumped it.
- Air filter: Pull it and look at it against the light. A gray, clogged filter restricts airflow enough to freeze the coil and kill cooling. Replace it and give a frozen system a few hours to thaw with the fan on.
- Breaker and disconnect: Check the electrical panel for a tripped AC breaker and the outdoor disconnect box. Reset a tripped breaker once. If it trips again immediately, stop and call, because that signals an electrical fault.
- Condensate drain and float switch: Florida humidity clogs the drain line with algae, and the safety float switch then shuts the system off to prevent overflow. A clogged line is a common no-cool culprit.
- Outdoor unit: Make sure the fan is spinning and the coil is not buried in leaves or grass clippings. Keep two feet of clearance.
If none of these resolve it, the next step is a professional diagnosis. For the specific and very common case where the system runs constantly but the house never cools, our dedicated guide on an AC blowing warm or hot air drills into that scenario.
When should I call a Tampa AC tech instead of troubleshooting?
Stop the DIY checks and call a licensed technician the moment you hit any of these. They involve refrigerant, electrical, or sealed components that are unsafe or illegal to handle without certification, per EPA Section 608 rules on refrigerant:
- The breaker trips again right after you reset it.
- You see ice on the copper lines or coil that returns after thawing and a filter change.
- There is a hissing or bubbling sound, which can indicate a refrigerant leak.
- The outdoor fan will not spin or hums without turning, a classic failed-capacitor sign.
- Water is pooling around the indoor air handler.
- A burning or electrical smell from any part of the system.
For homes in our heat, a non-cooling AC in July is an emergency, and we treat it like one. Our emergency AC repair in Tampa gets a tech out fast, and again, the diagnosis is free.
How does Tampa’s climate change the diagnosis?
Local conditions shift the odds on what is wrong. Per the U.S. Department of Energy, dirty coils and low airflow are leading causes of poor cooling, and both are accelerated here. Heavy year-round runtime wears compressors and capacitors faster. Extreme humidity feeds the algae that clogs drain lines and the mold that fouls coils. Salt air near the coast in Apollo Beach or south Tampa corrodes outdoor coils and electrical contacts. And our summer afternoon storms trip breakers and stress electrical components.
That is why a symptom that might be rare elsewhere, like a float switch shutting down a perfectly good compressor, is a routine Tampa cause of “my AC stopped cooling.” If your system also struggles to pull moisture out of the air, see our page on high humidity despite the AC running, which is often a sizing or charge issue rather than a simple breakdown.
Key Takeaways
- Diagnosing an AC not cooling in Tampa starts with the symptom: no air, short cycling, ice, high humidity, and weak airflow each point to different causes.
- Safe DIY checks first: thermostat mode, air filter, breaker, condensate drain or float switch, and outdoor fan.
- Call a pro immediately for a repeatedly tripping breaker, ice that returns, hissing sounds, a non-spinning outdoor fan, water at the air handler, or any burning smell.
- Tampa’s runtime, humidity, salt air, and storms make electrical, drain-line, and coil problems especially common here.
- A non-cooling AC in our summer heat is an emergency, and we respond fast.
- FREE estimates and FREE diagnosis on every service call. $279 is minimum labor on approved repair work only, never a diagnostic fee.
Frequently Asked Questions About an AC Not Cooling in Tampa
Why is my AC running but the house is not getting cold?
The most common causes are a dirty evaporator coil, low refrigerant from a leak, leaky ducts, or the thermostat set to the wrong mode. Because this specific scenario has several distinct causes, we cover it in depth in our guide on an AC running but not cooling. Start by checking the thermostat and replacing the filter, then call for a free diagnosis.
Should I turn off my AC if it freezes up?
Yes. Turn the cooling off but leave the fan on to thaw the ice, and replace the air filter. Running a frozen system can damage the compressor. If ice returns after thawing and a fresh filter, that points to low refrigerant or a blower problem and needs a tech. See our AC freezing up page.
Is it an emergency if my AC stops cooling in summer?
In Tampa’s summer heat, yes. Indoor temperatures climb fast and can be a health risk for kids, seniors, and pets. We offer fast emergency response, and diagnosis is free, so do not wait it out in the heat.
How much does an AC diagnosis cost?
Nothing. Diagnosis and estimates are always free on our service calls. You only pay for repair work you approve, and our minimum labor charge of $279 applies to approved repairs, never to diagnosing the problem.
Can a clogged drain line really stop my AC from cooling?
Yes. When Florida humidity clogs the condensate drain line, the safety float switch shuts the system off to prevent water overflow, so the AC stops cooling even though nothing is mechanically broken. Flushing the line monthly with vinegar helps prevent it.
Not sure what your symptom means? Call Home Therapist at (813) 343-2212 for a free diagnosis anywhere in our Tampa Bay service area. Licensed and insured: CAC1819196 (HVAC), CFC1431159 (Plumbing).
More Related Articles
- AC Capacitor Replacement Tampa FL 33618 Plus Maintenance Plan on W Pond Woods Dr
- Capacitor Out of Range on a 2021 System: AC Maintenance and Capacitor Replacement in Tampa, FL 33618
- Best Heating for Tampa Homes: Heat Pumps Win
- What Is a HVAC Capacitor and Why It Matters
- Air Conditioner Installation Repair Tampa FL Bay FL Services Review from Bonnie Wakefield


