Daikin Heat Pump and Ductwork Replacement in Valrico, FL 33596
When the air conditioning and ductwork in a Florida home start to struggle, comfort goes downhill fast. For a homeowner in Valrico, FL 33596, that meant rooms that weren’t cooling evenly and an older system that was no longer the best fit for the home. Our Home Therapist team was called in to install a new Daikin 5-ton heat pump system and replace key duct runs with new R6 flex duct, all designed to restore comfort, improve efficiency, and set this home up for many reliable years in the Tampa Bay heat.
In this walkthrough, we’ll explain how we approached the project, what equipment we installed, how we handled the ductwork, and what this means for long-term comfort and reliability for homeowners in Valrico and the surrounding Tampa Bay area.
Case Recap
- Location: Single-family home in Valrico, FL 33596
- Service: New 5-ton Daikin Value Split heat pump system, horizontal configuration
- Upgrades: R6 flexible duct replacement with new boots, grills, distribution boxes, and design
- Comfort Goals: Better airflow, more even temperatures, and improved efficiency
- Protection: Manufacturer parts and unit replacement warranties plus Home Therapist labor warranty
- Outcome: Quieter, more efficient operation with cleaner airflow and properly designed duct distribution
Customer Problem
By the time we met this homeowner in Valrico, the existing air conditioning system had reached the point where replacement made more sense than more repairs. In our Tampa Bay climate, equipment runs hard most of the year, and older systems can struggle to keep up, especially if the ductwork is aging or not designed for today’s airflow needs.
The homeowner’s main concerns were:
- Certain rooms not cooling as well as others
- Rising energy bills compared to past seasons
- An older system that was no longer as reliable as they wanted
- Ductwork that had seen better days and needed to be brought up to current standards
They wanted a solution that would not only replace the equipment, but also address the airflow side of the system so they weren’t just putting a new unit on top of old, underperforming ductwork. As with many homeowners in Valrico, FL 33596, they were also thinking about long-term value, warranty coverage, and making sure the installation was done cleanly and professionally.
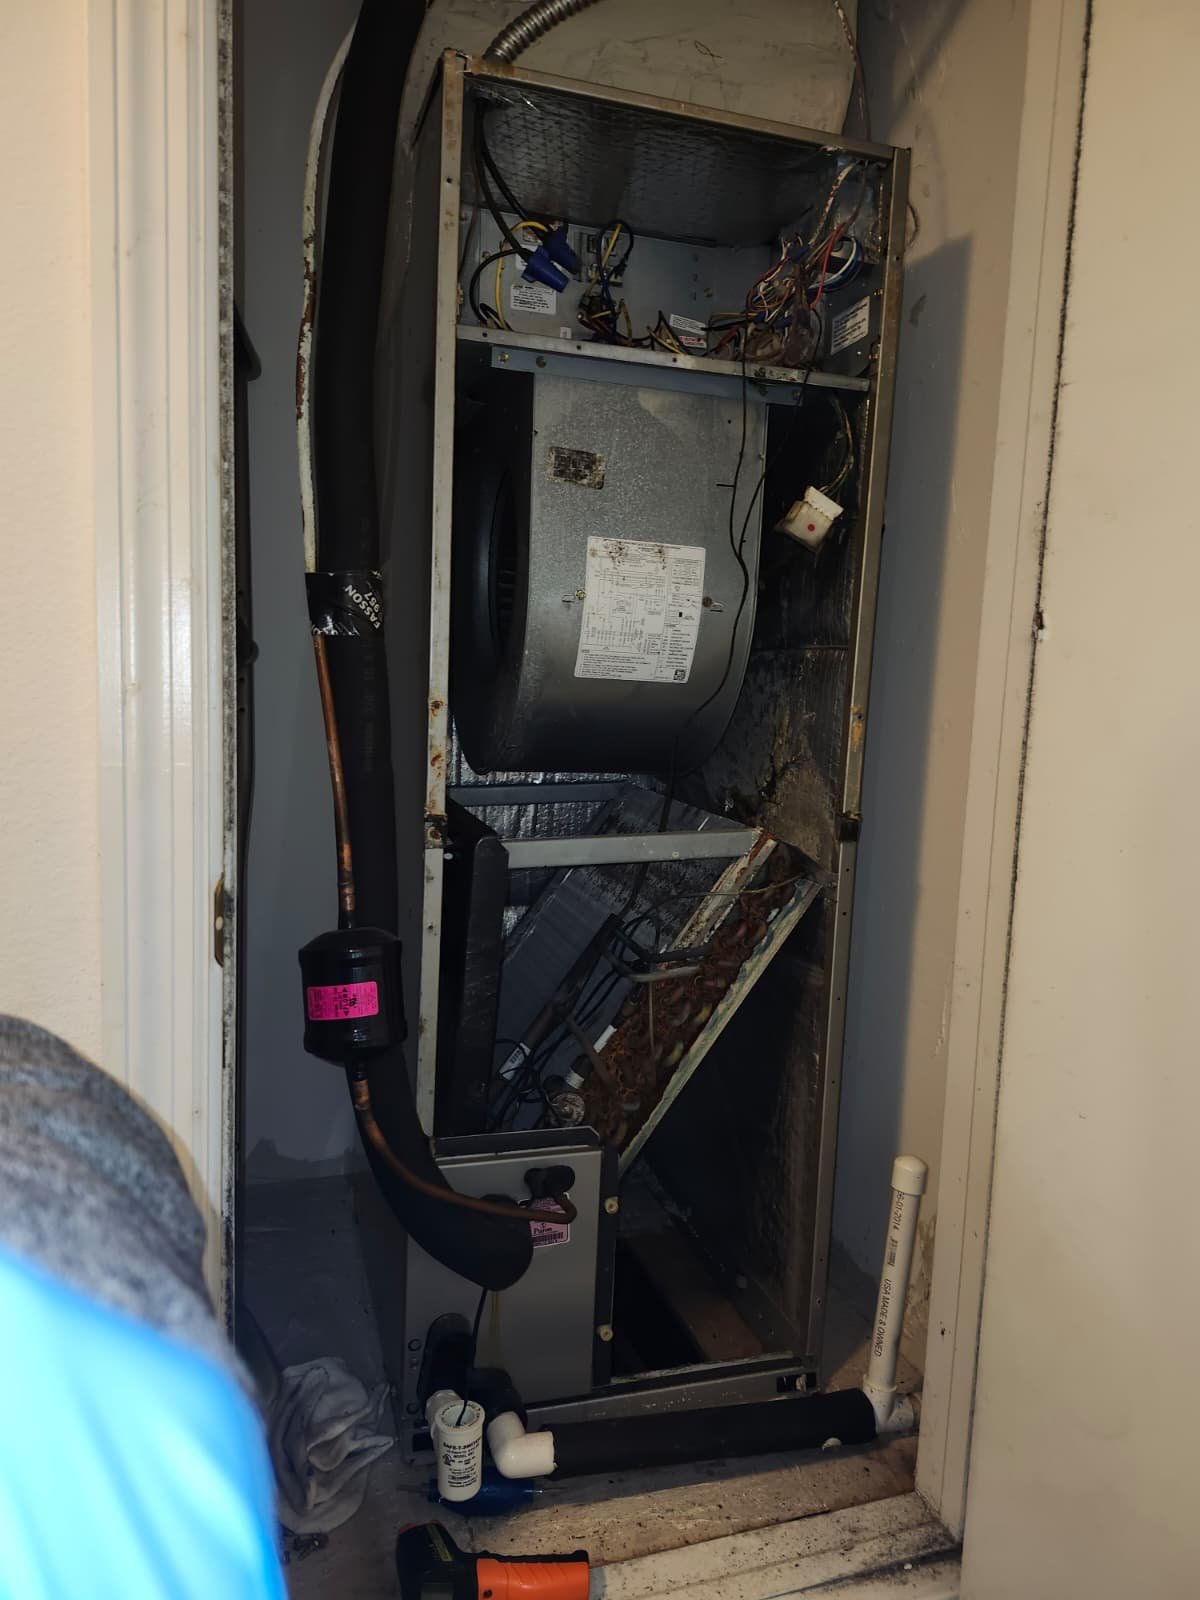
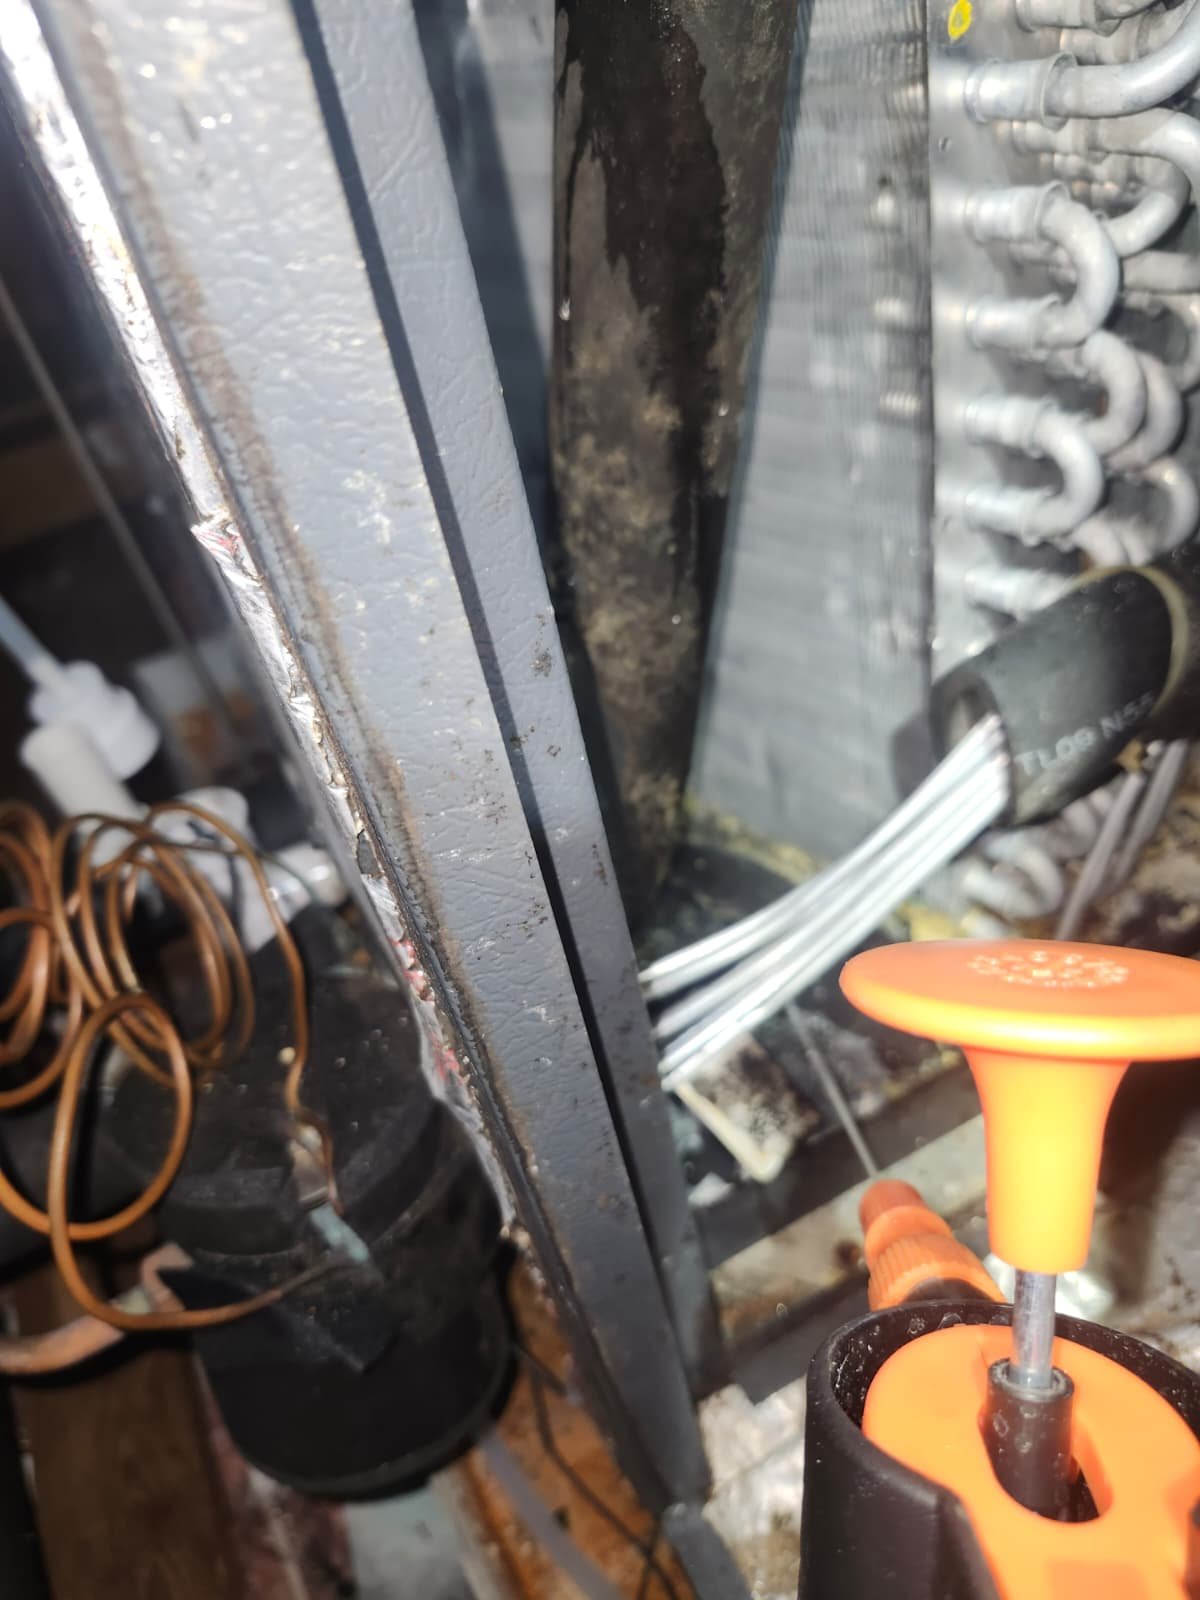
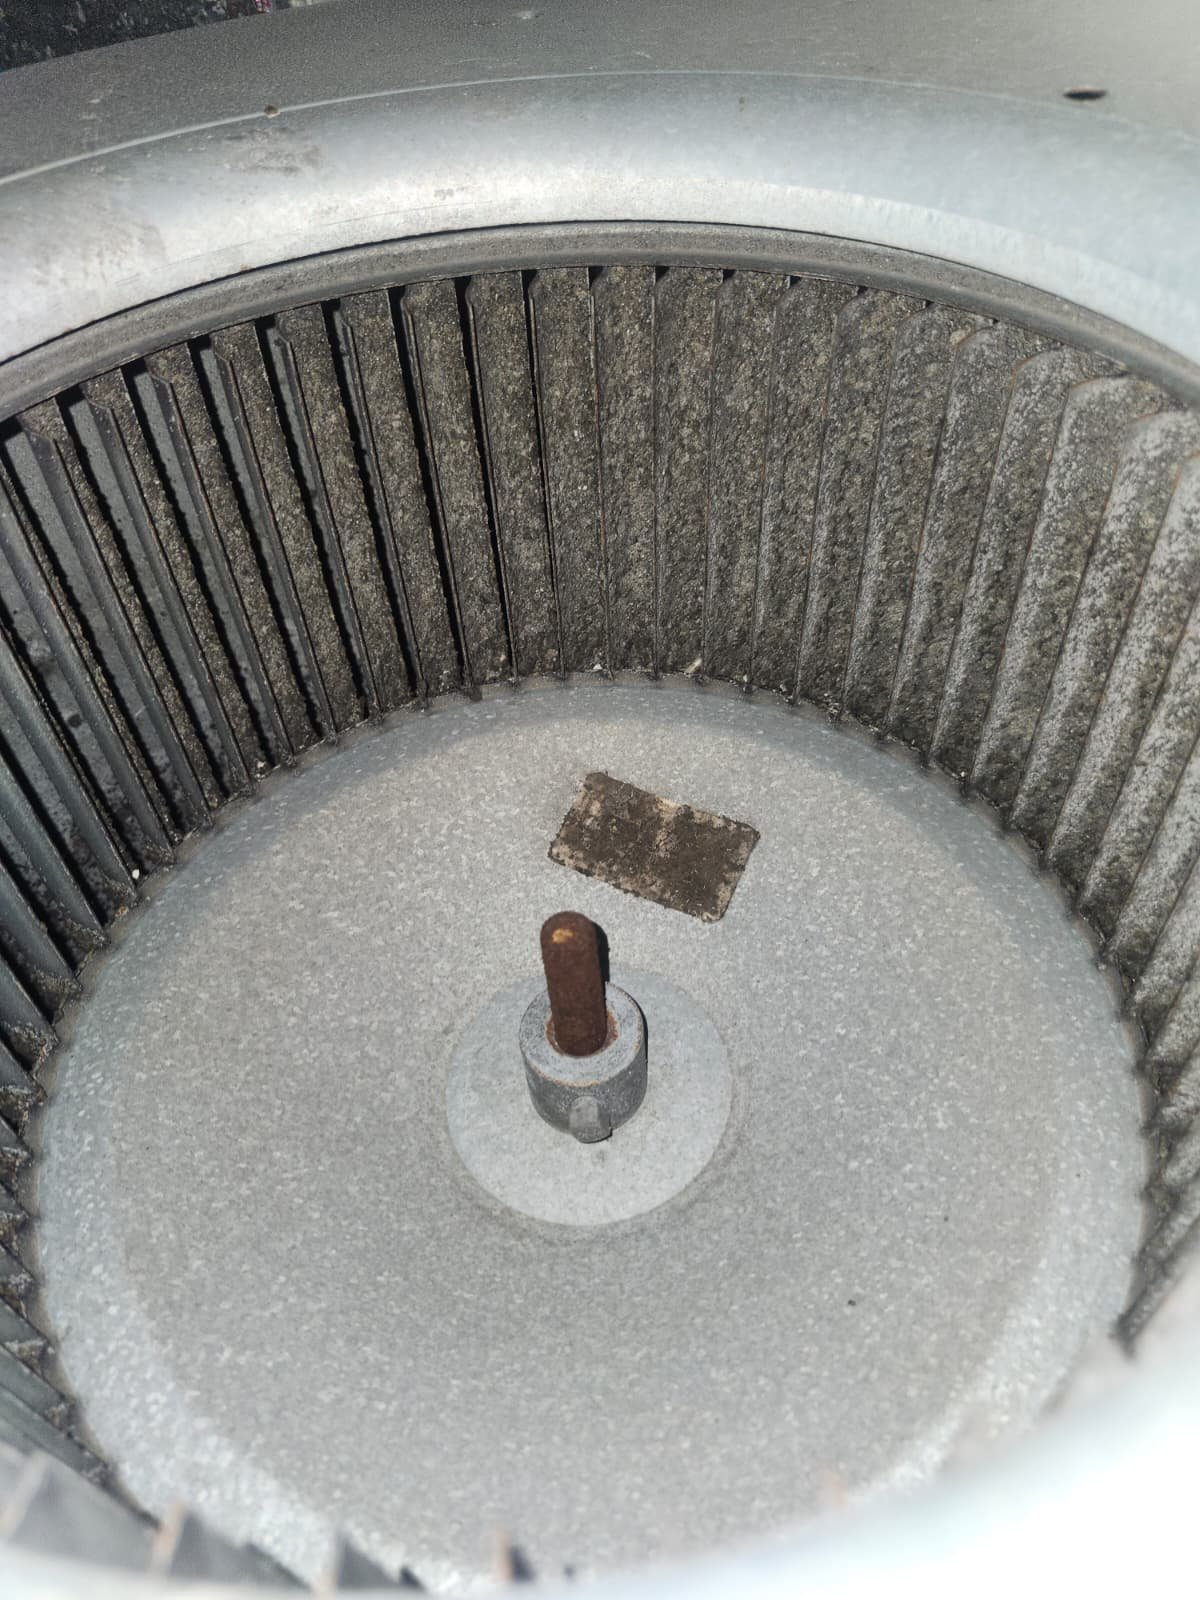
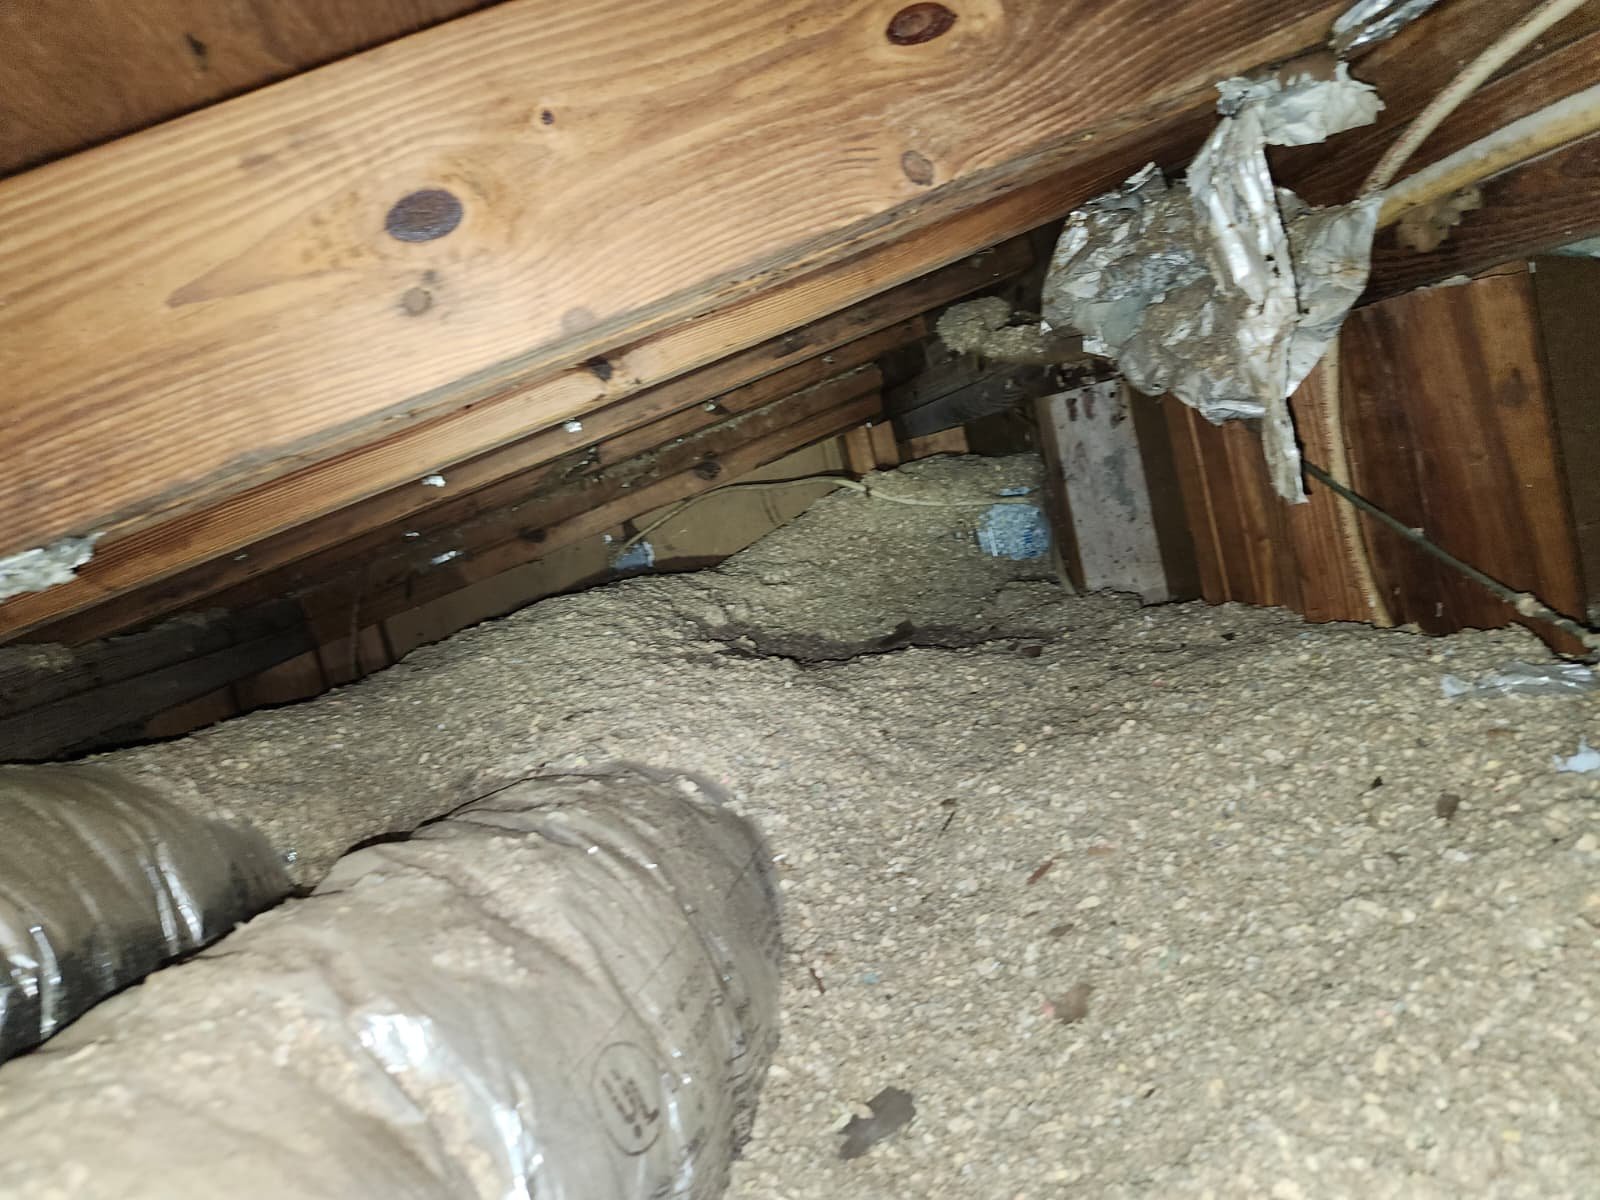
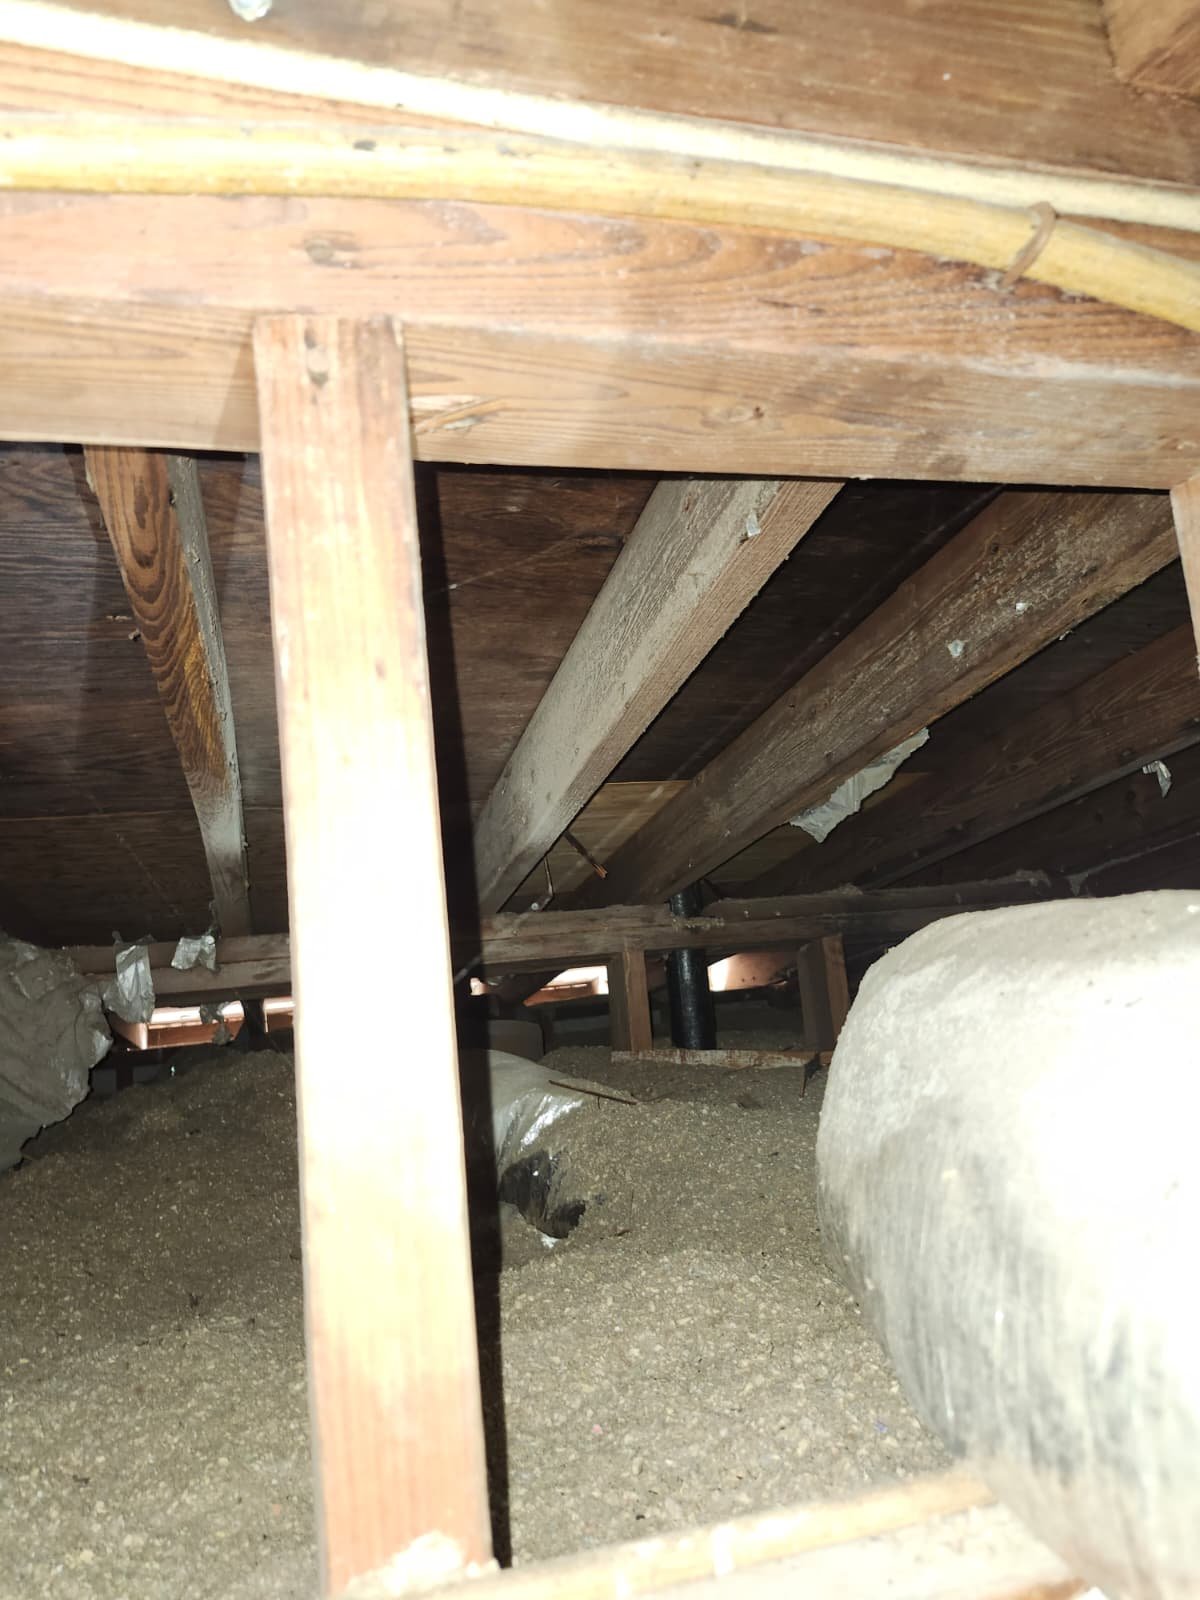
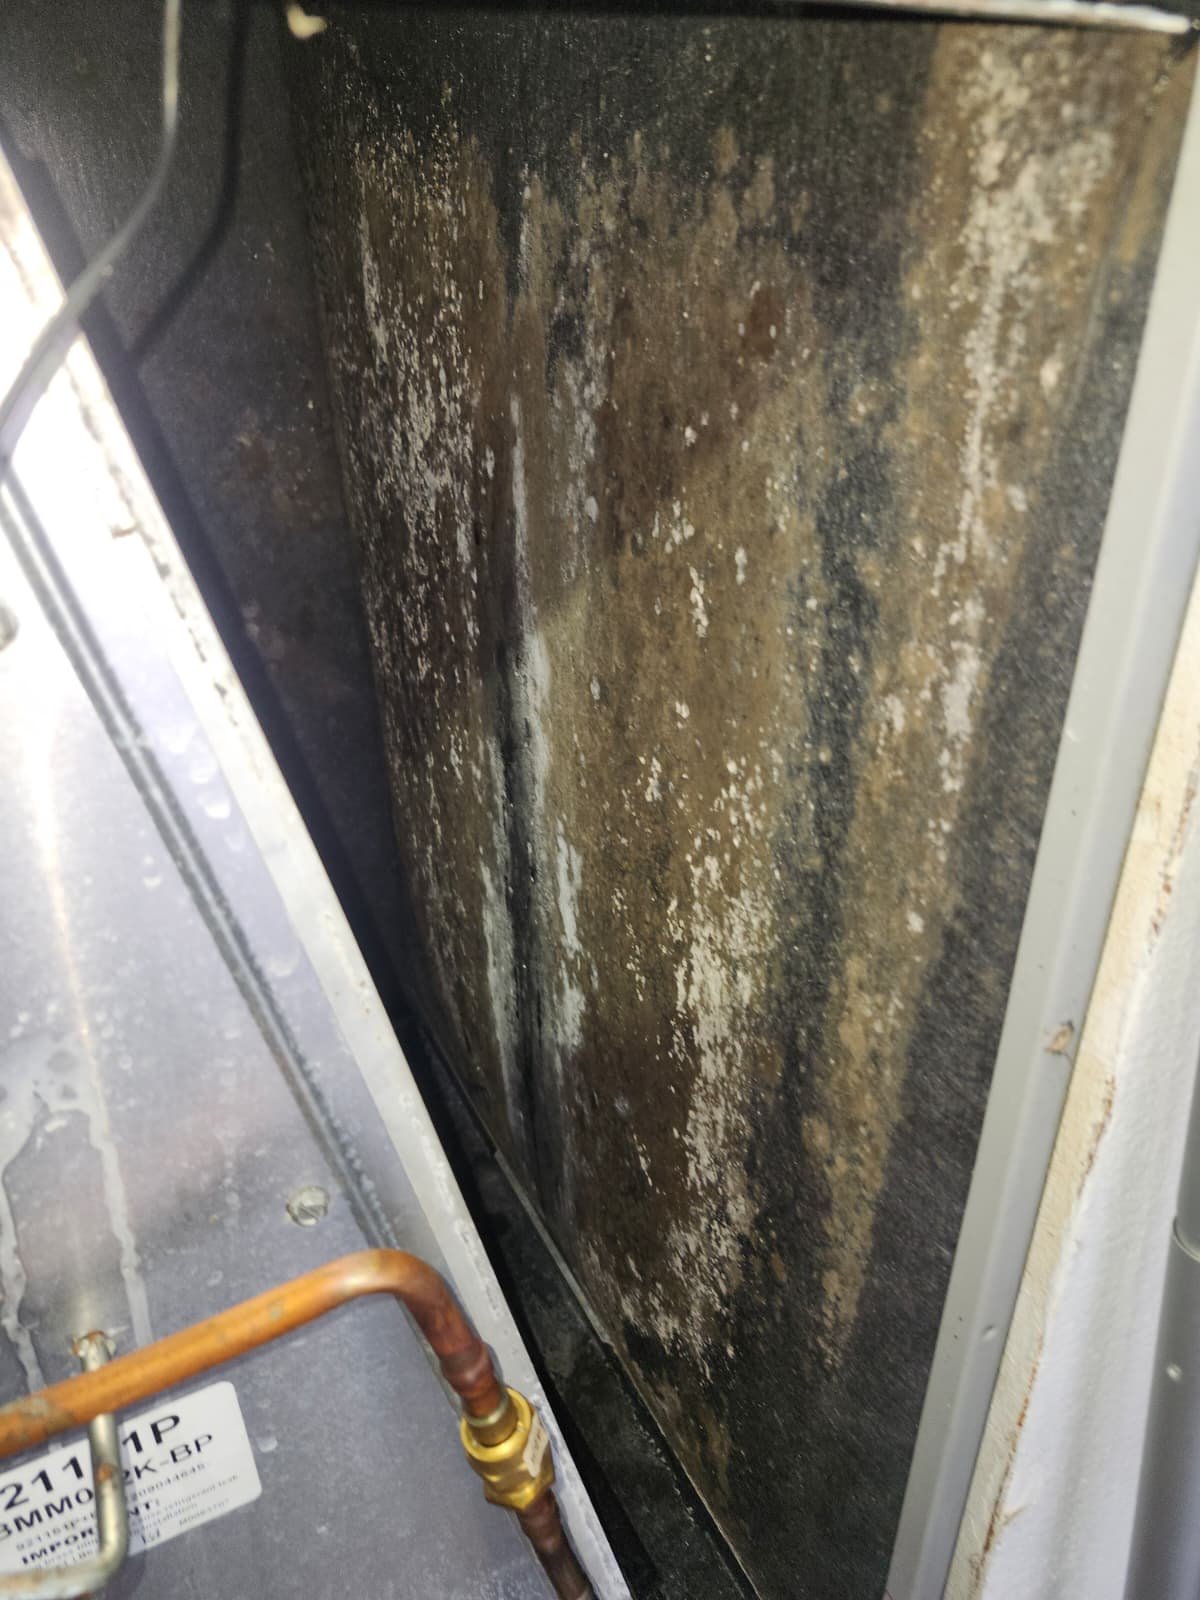
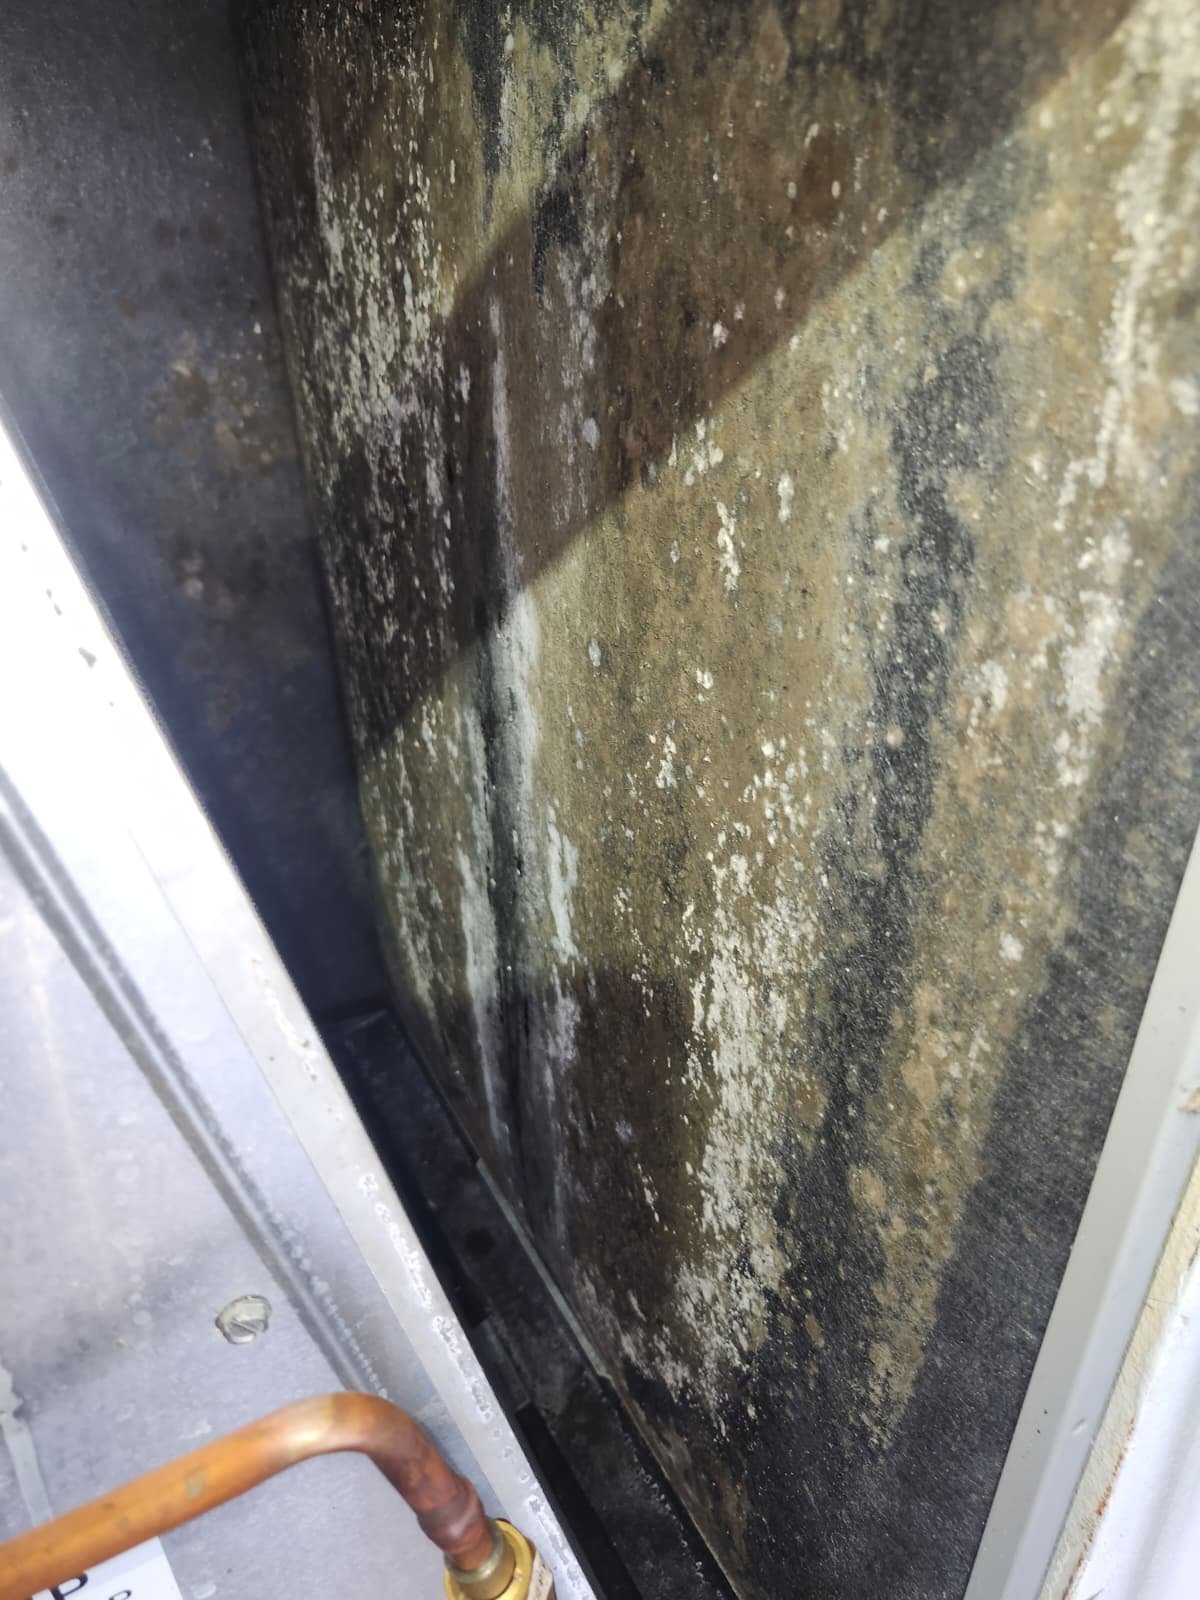
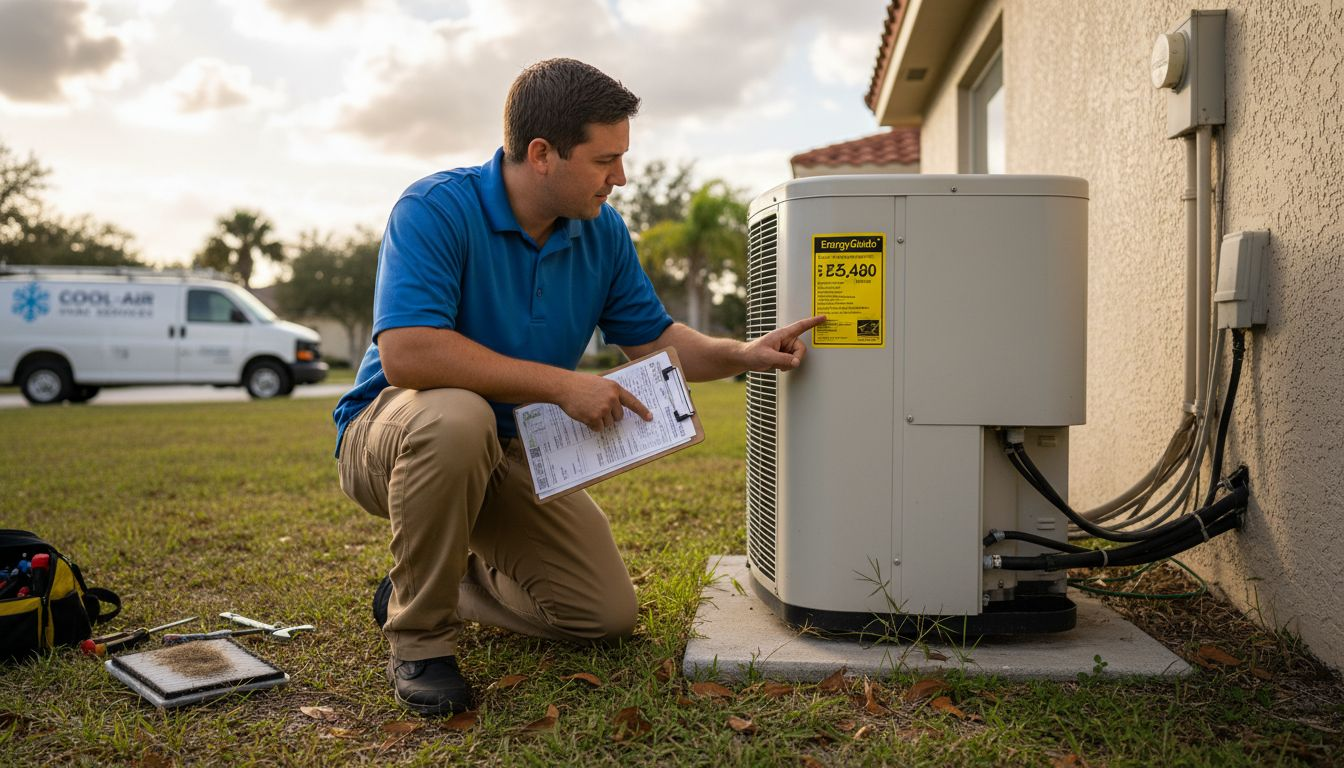
Inspection and Diagnosis
Before we install any new system, we slow down and look at the full picture. For this project, that meant paying attention to both the equipment and the ductwork.
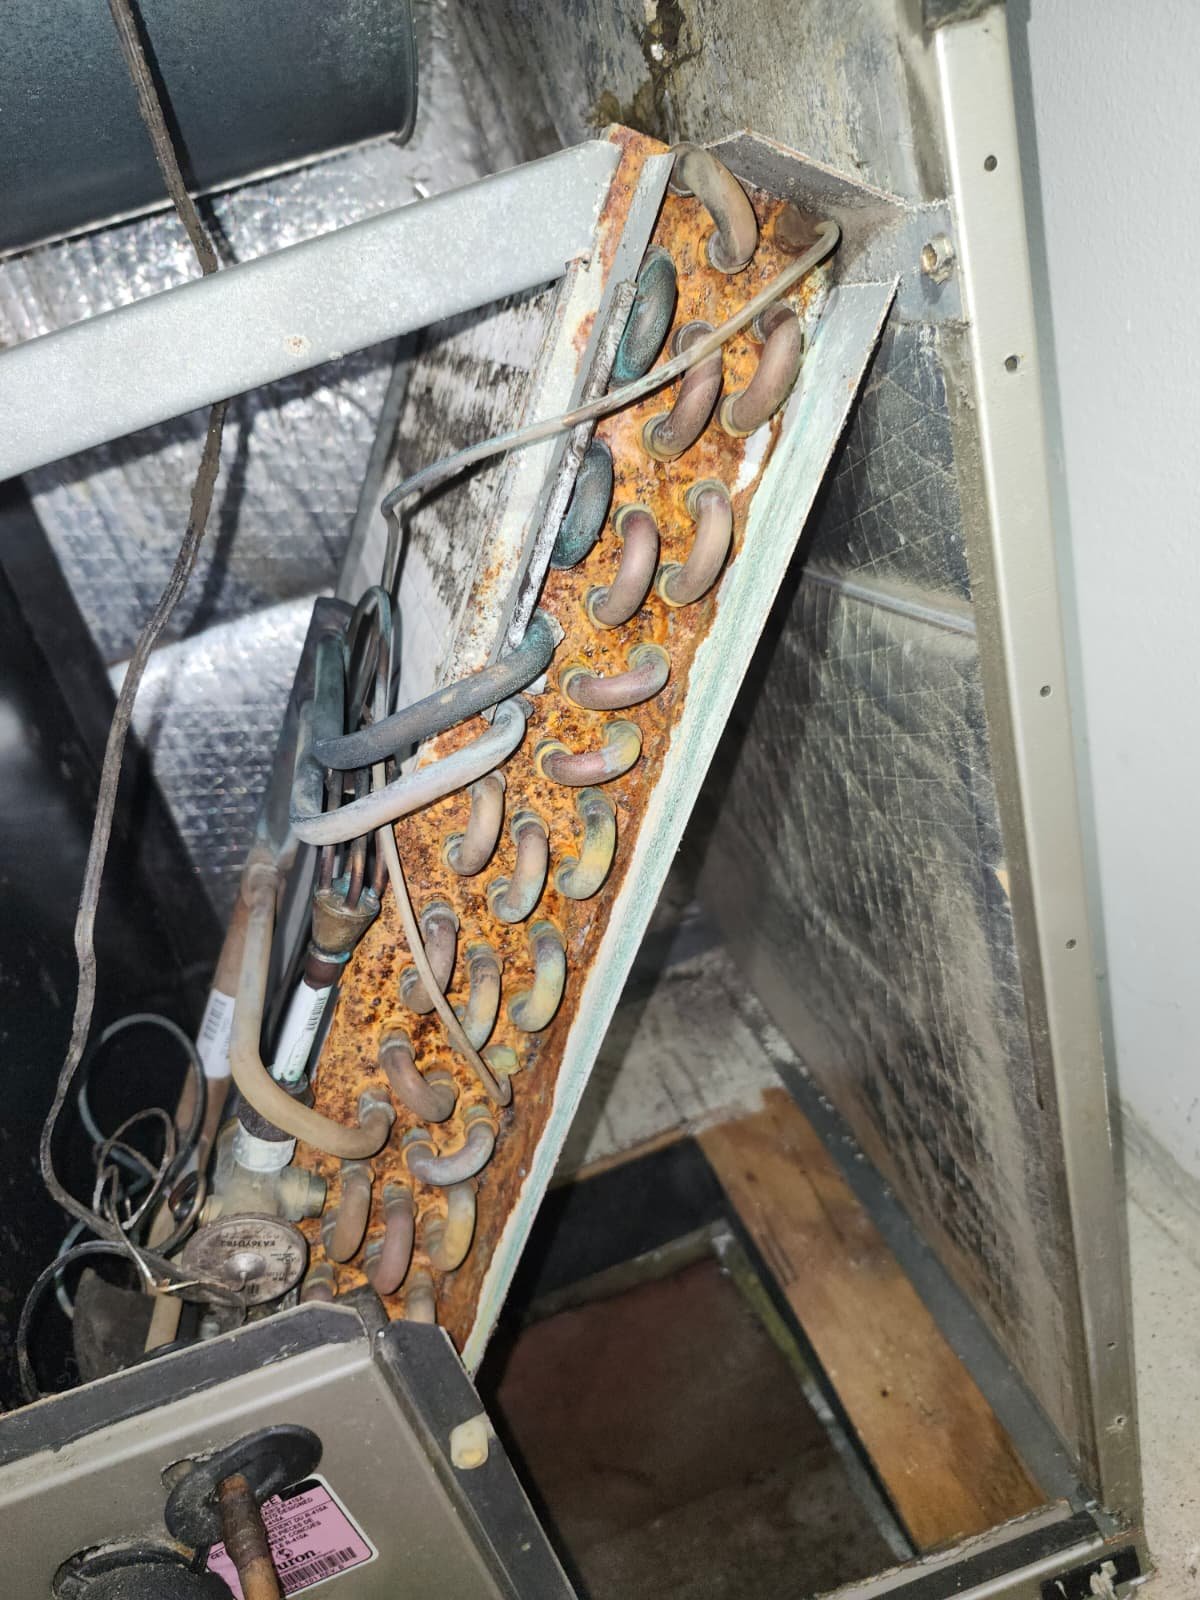
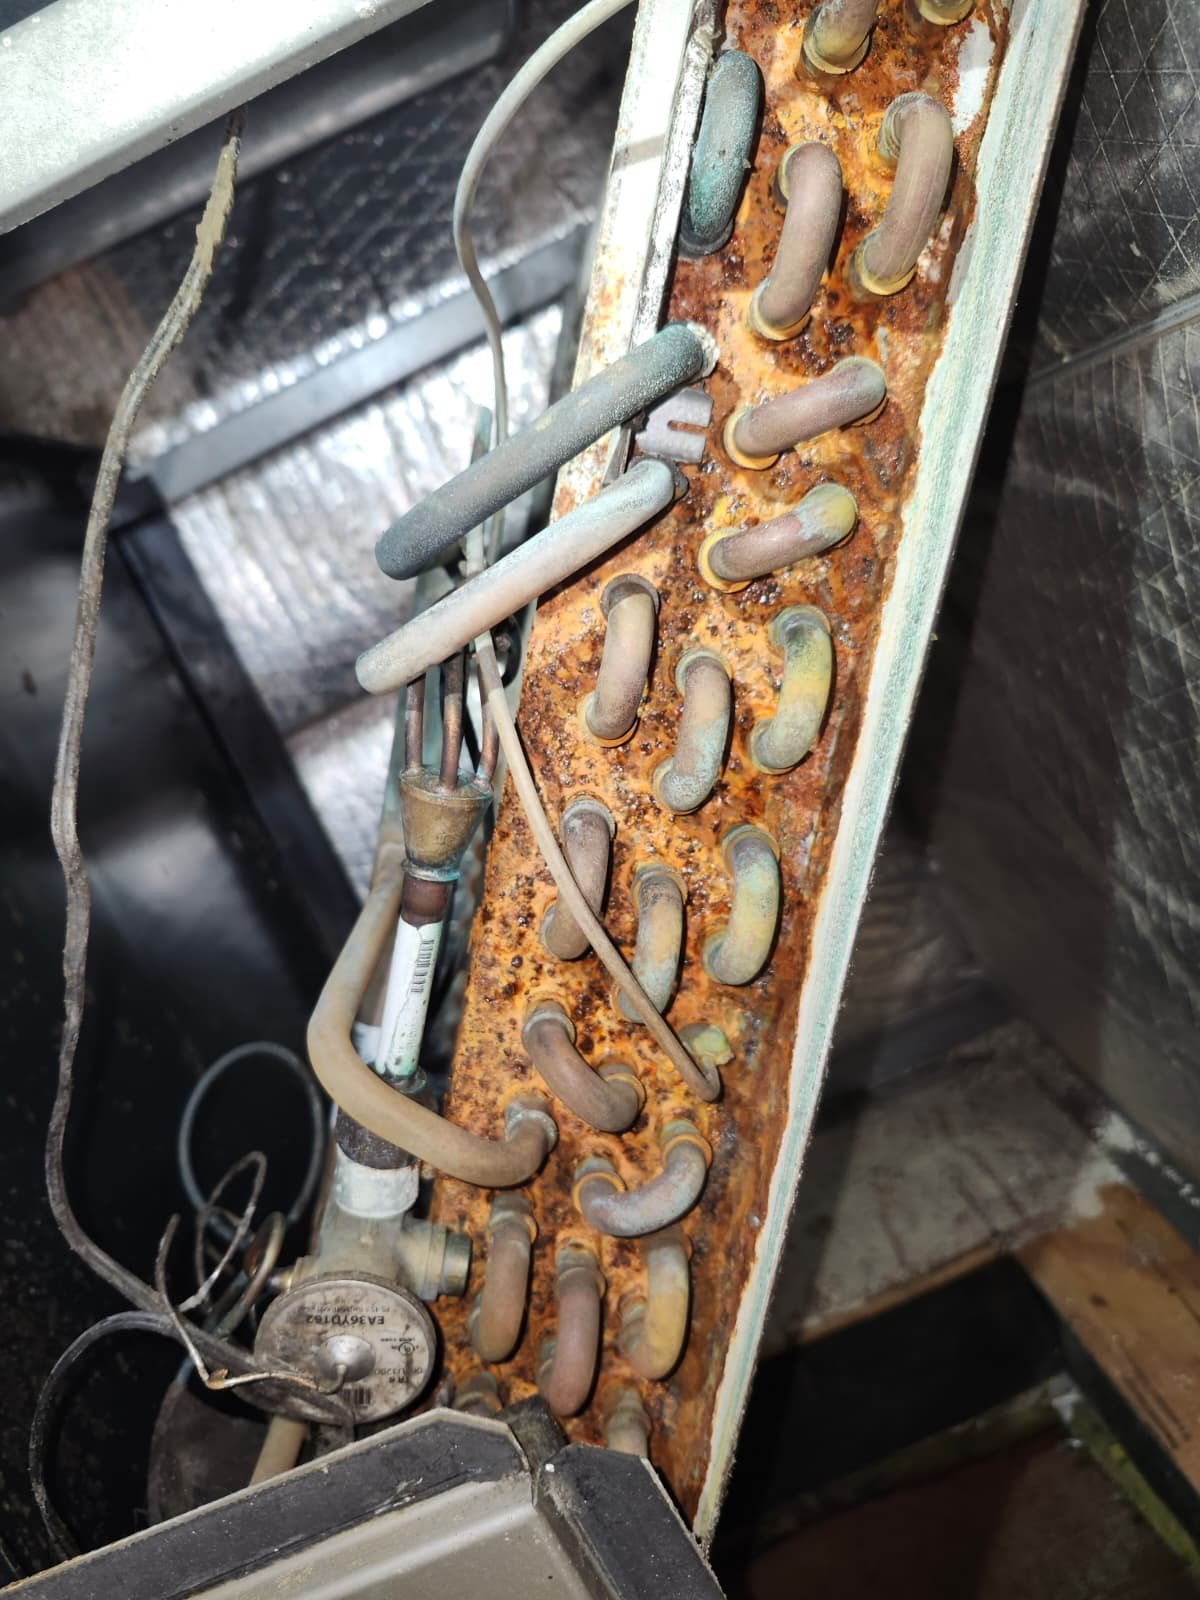
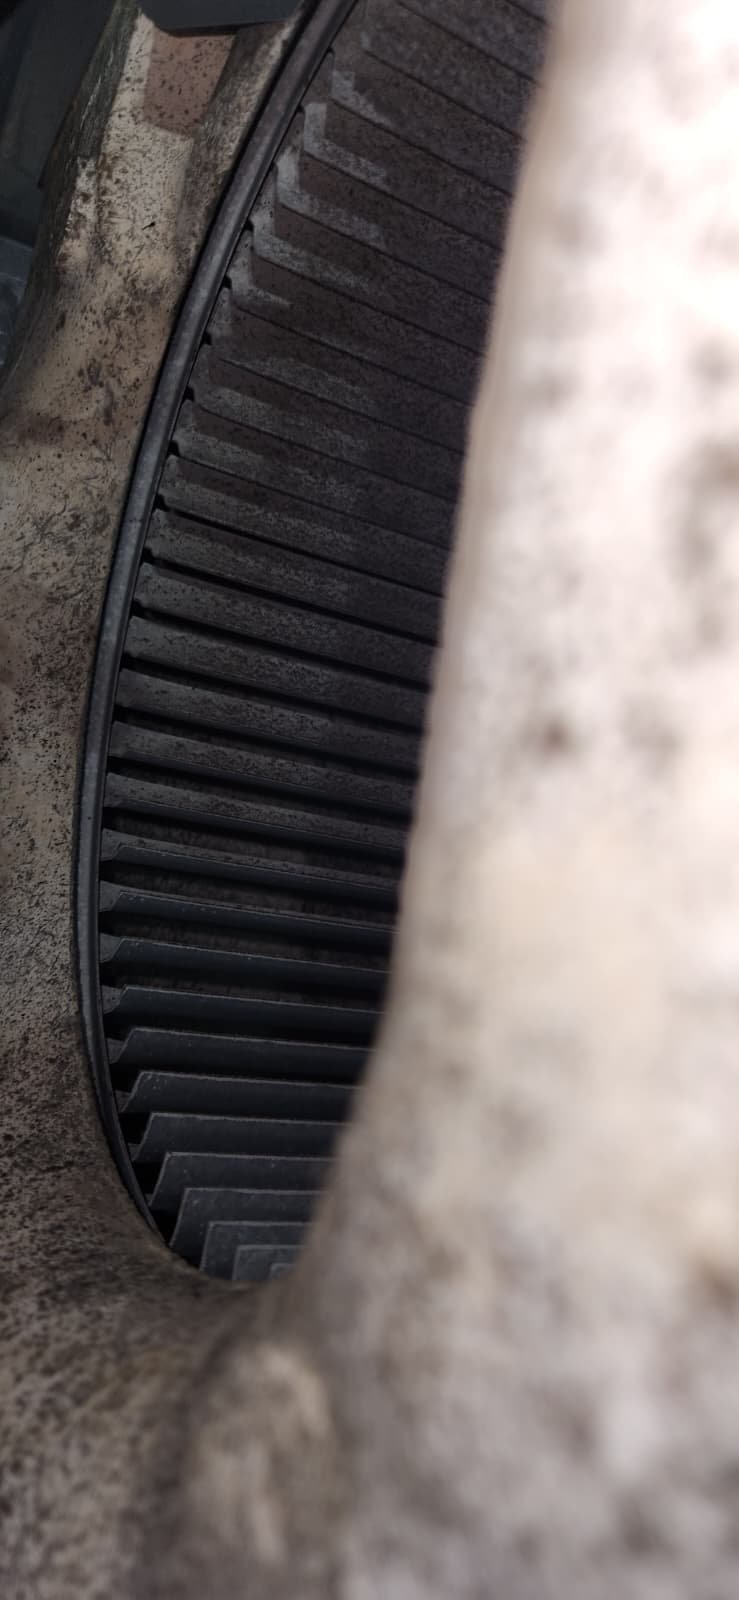
Our inspection focused on:
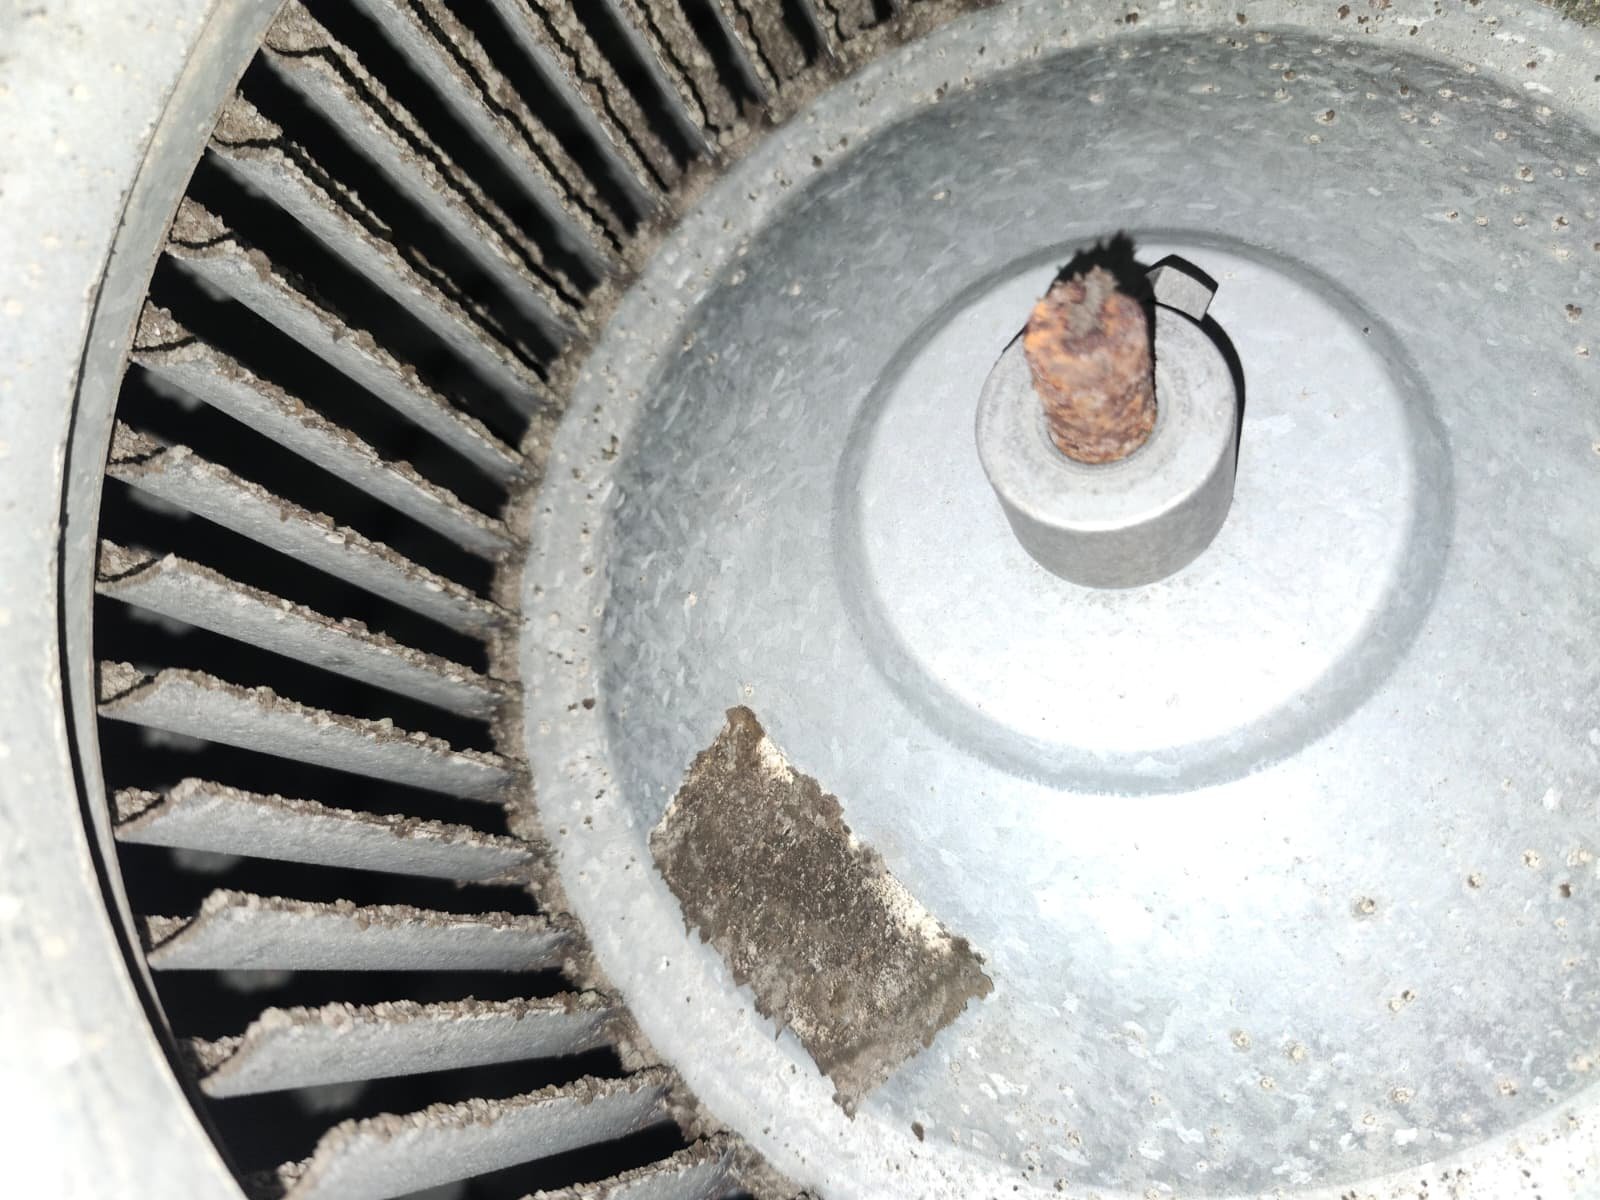
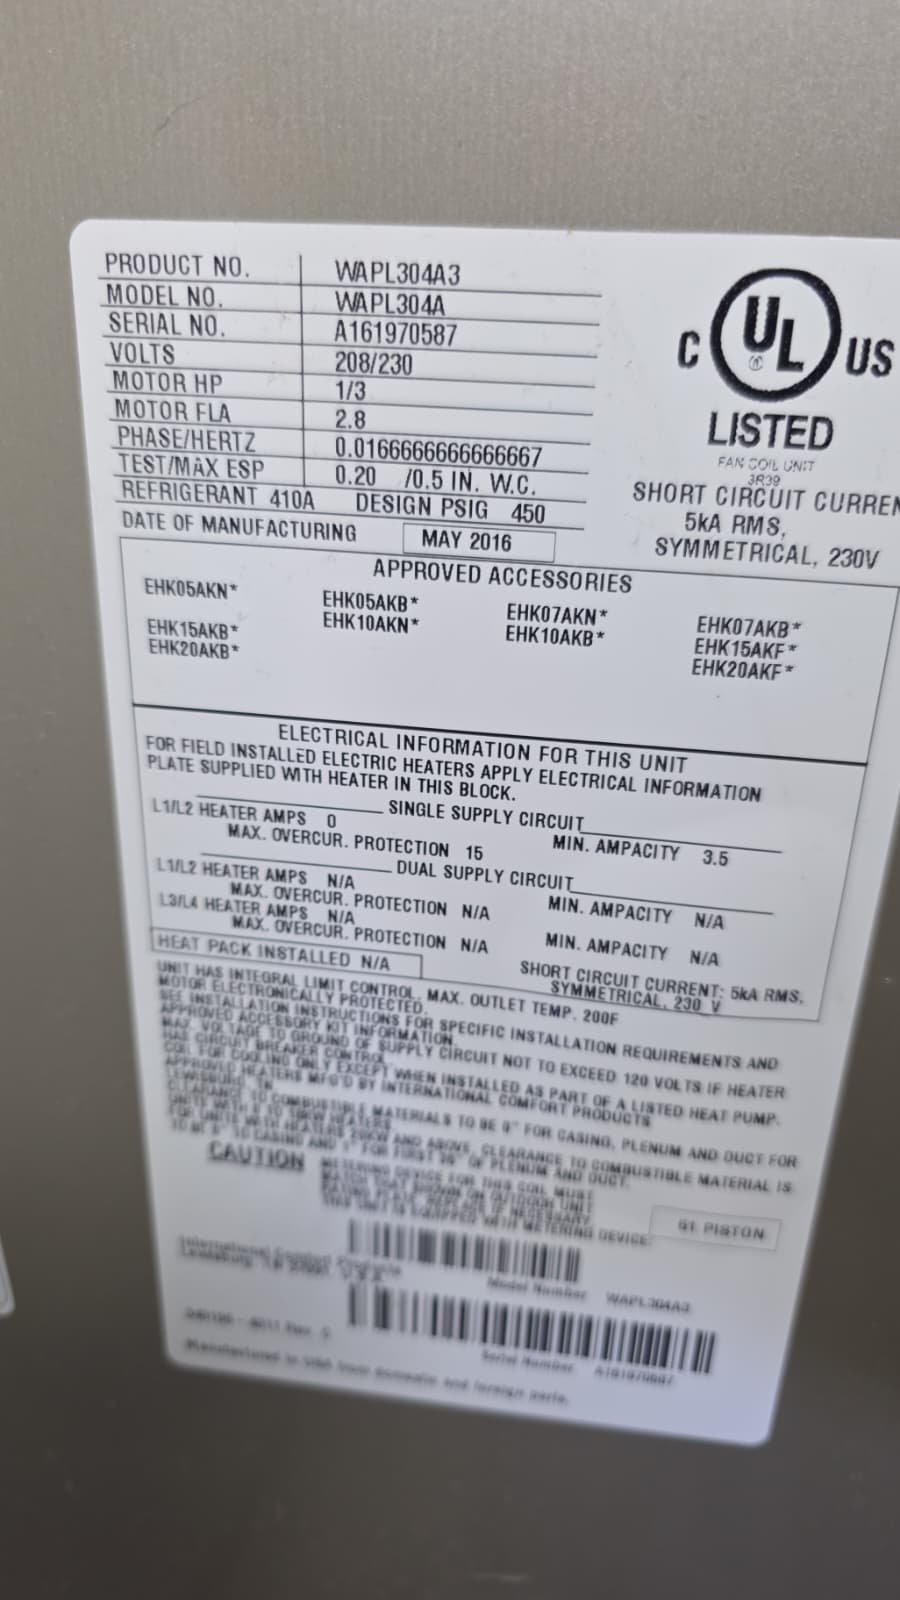
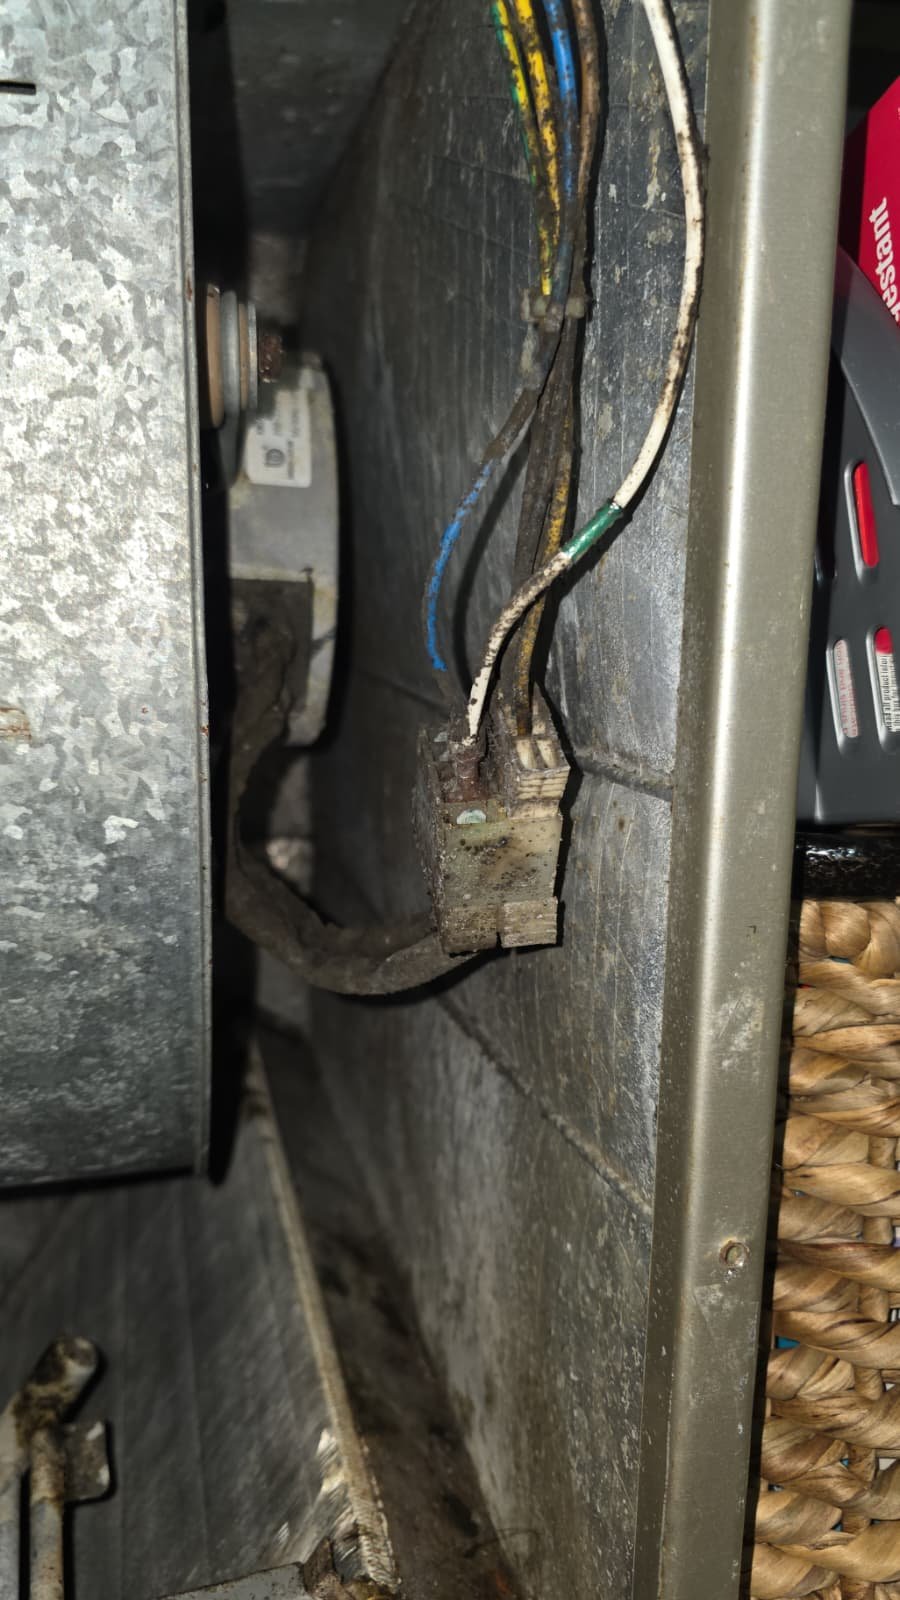
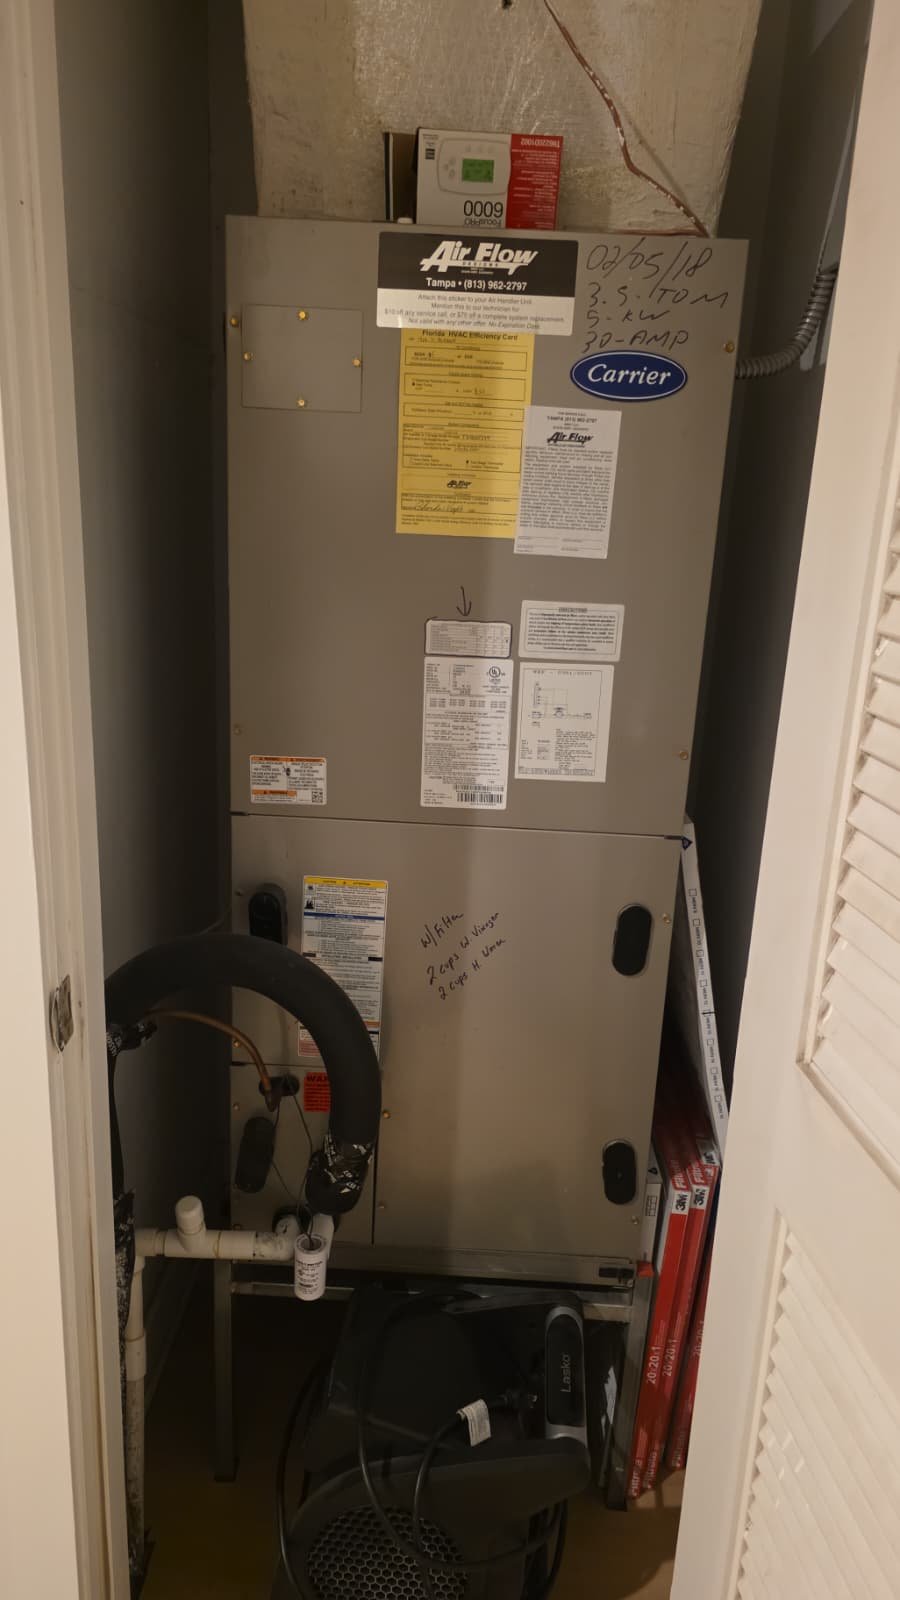
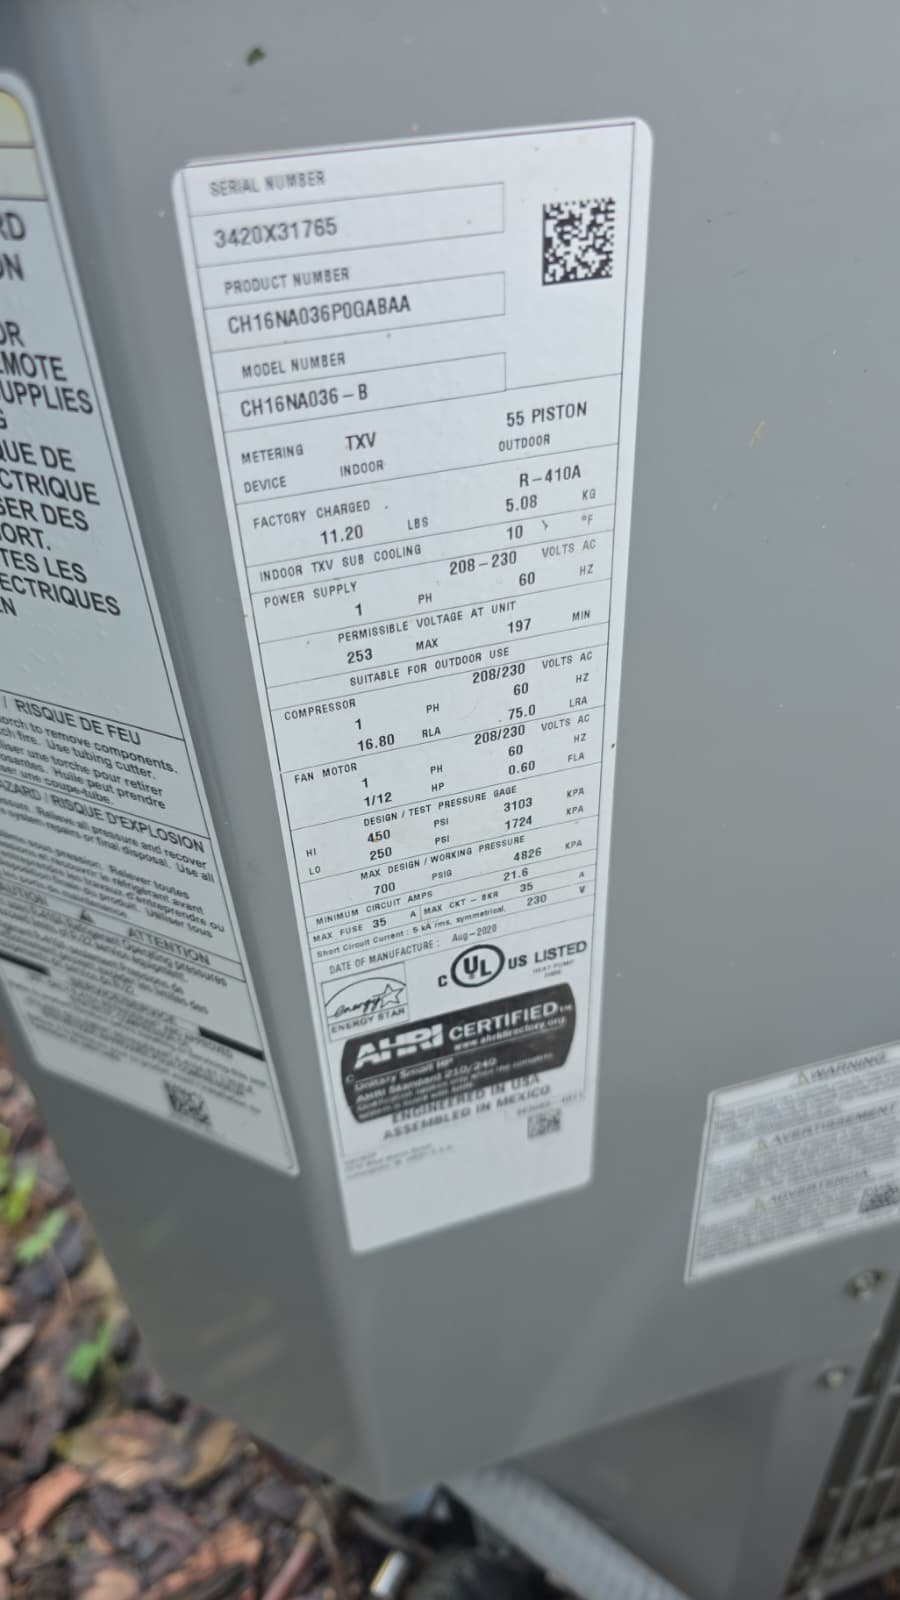
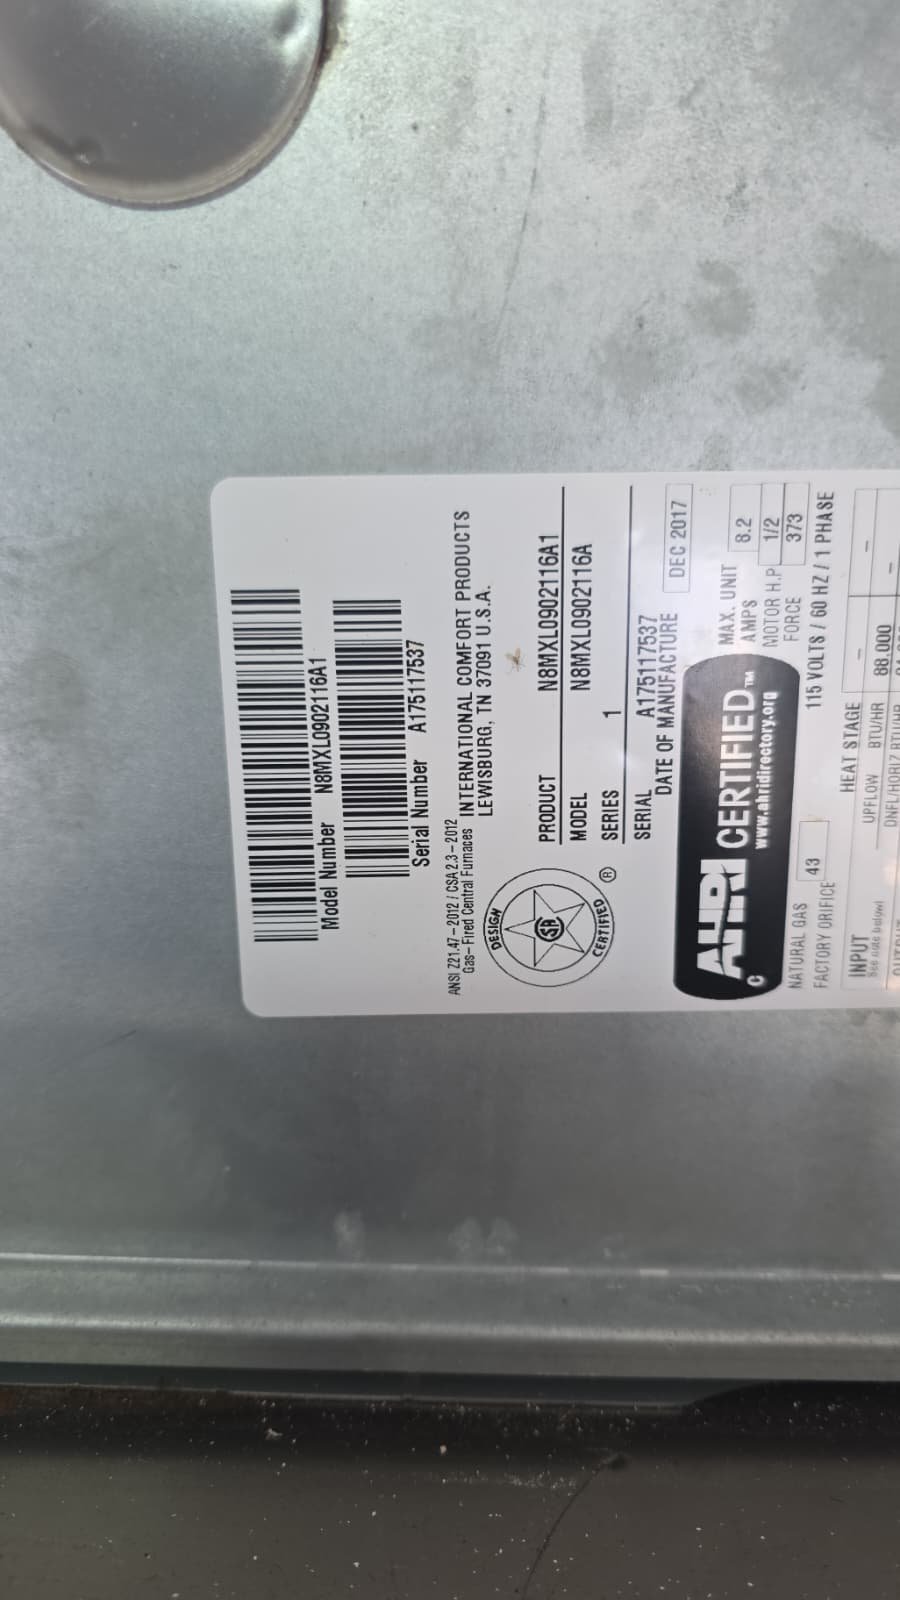
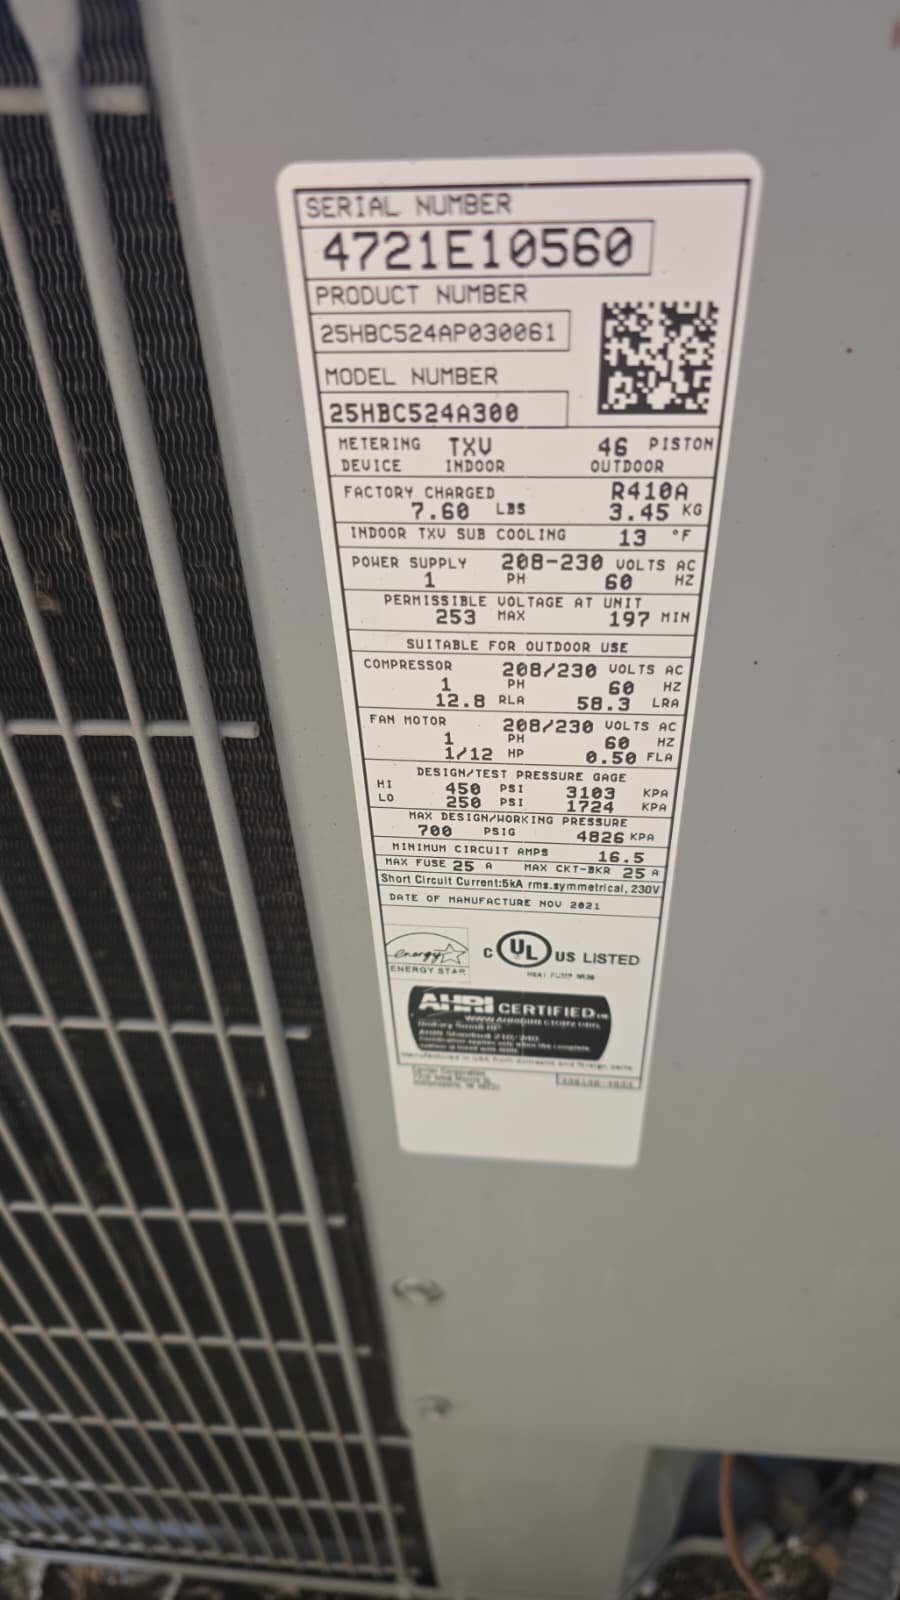
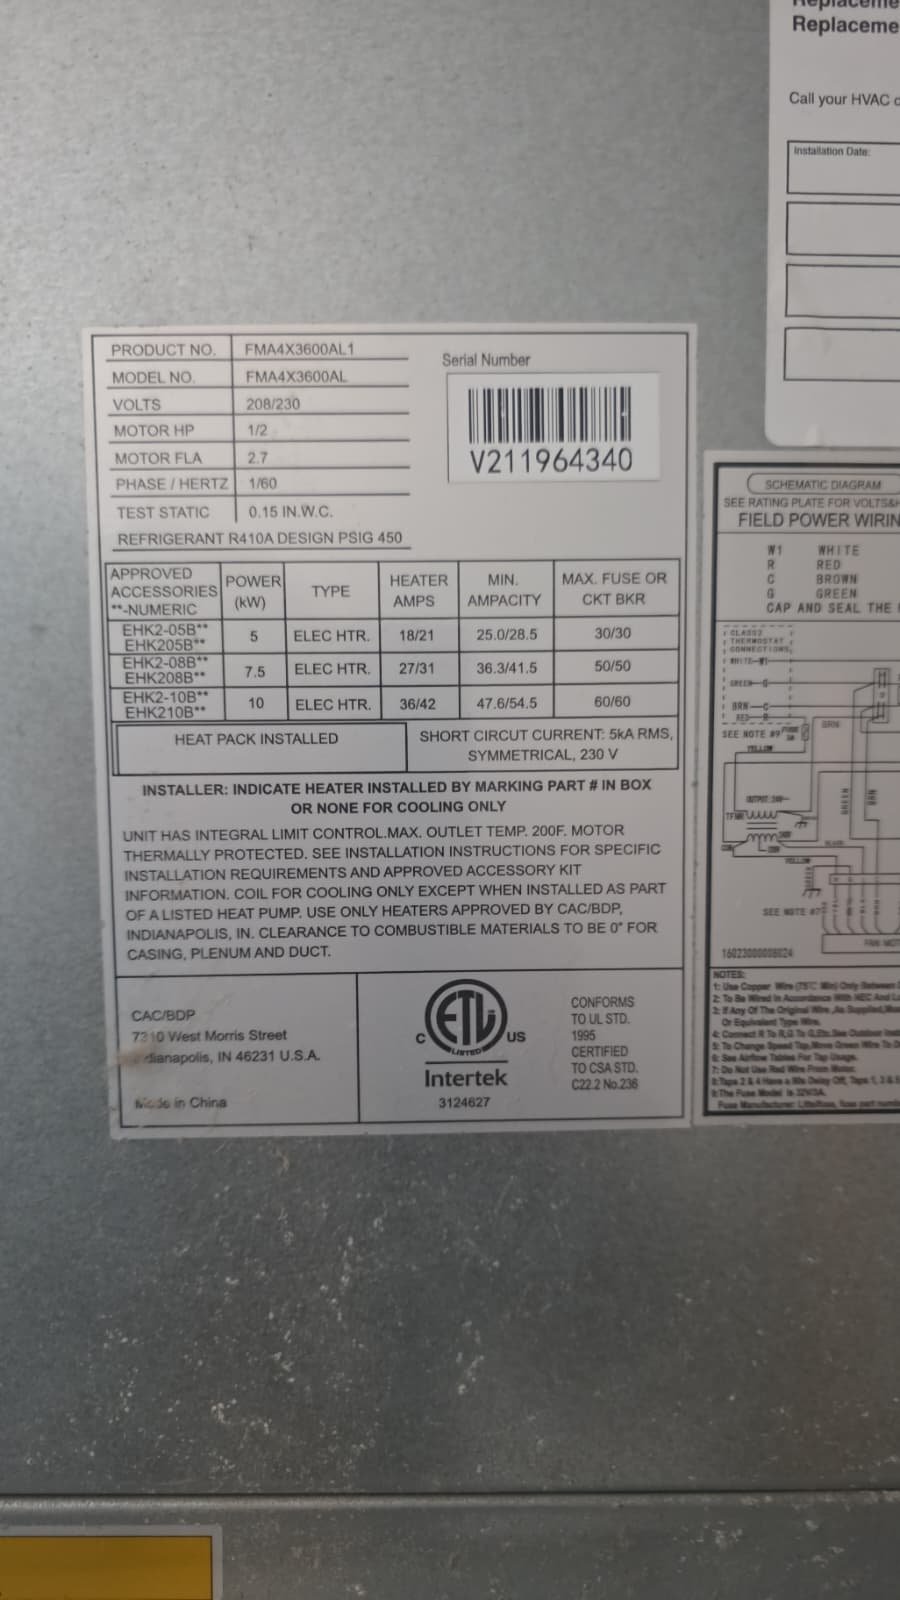
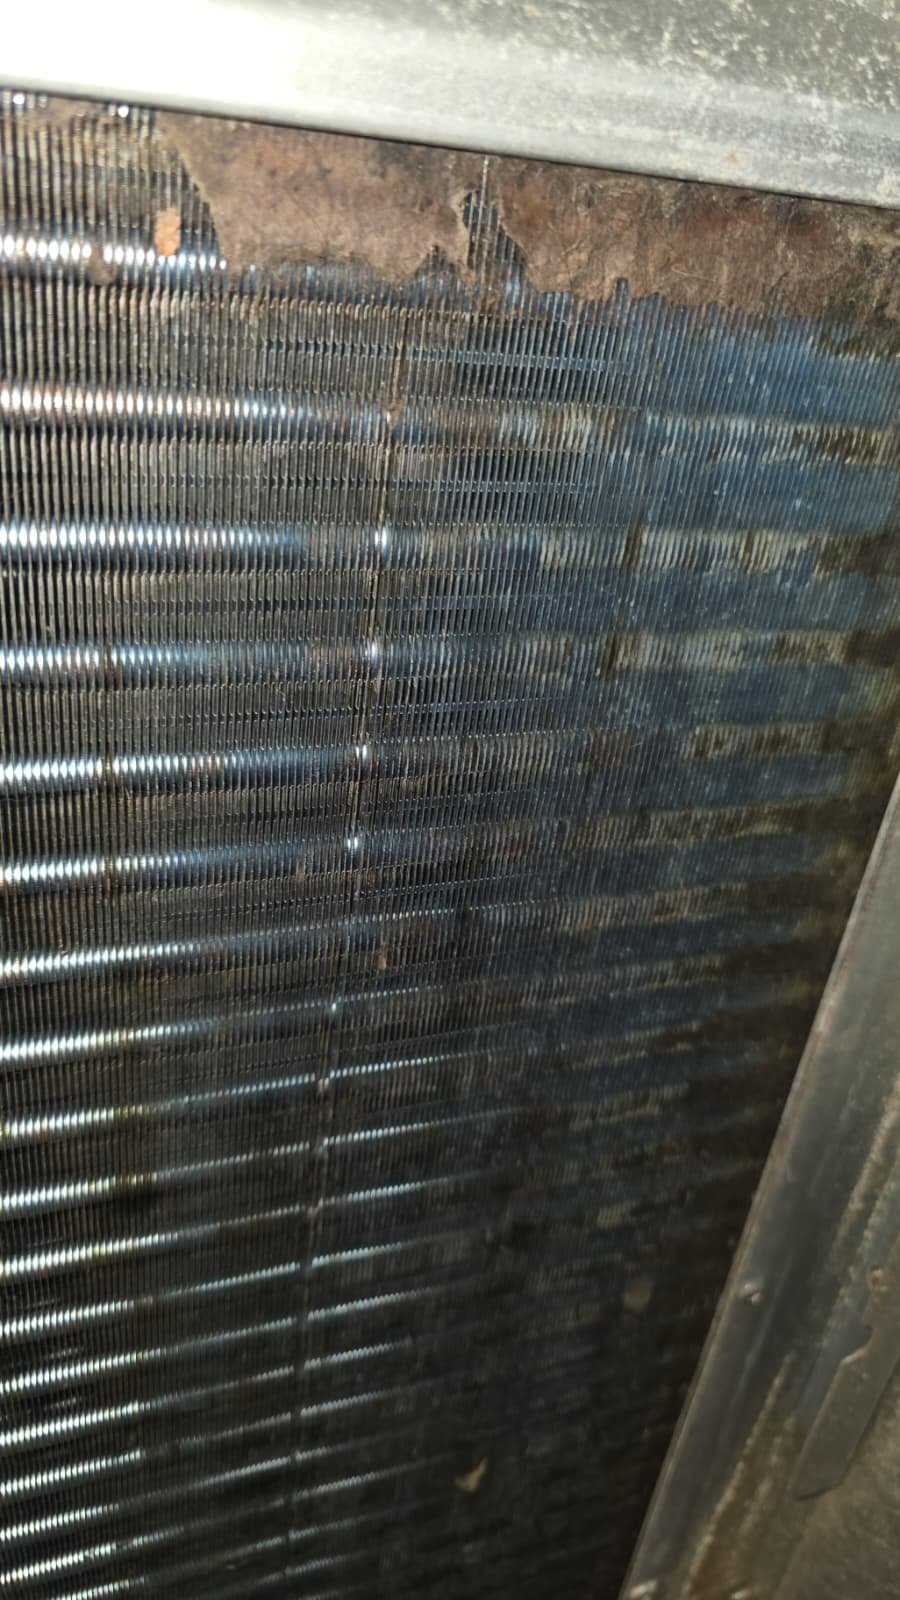
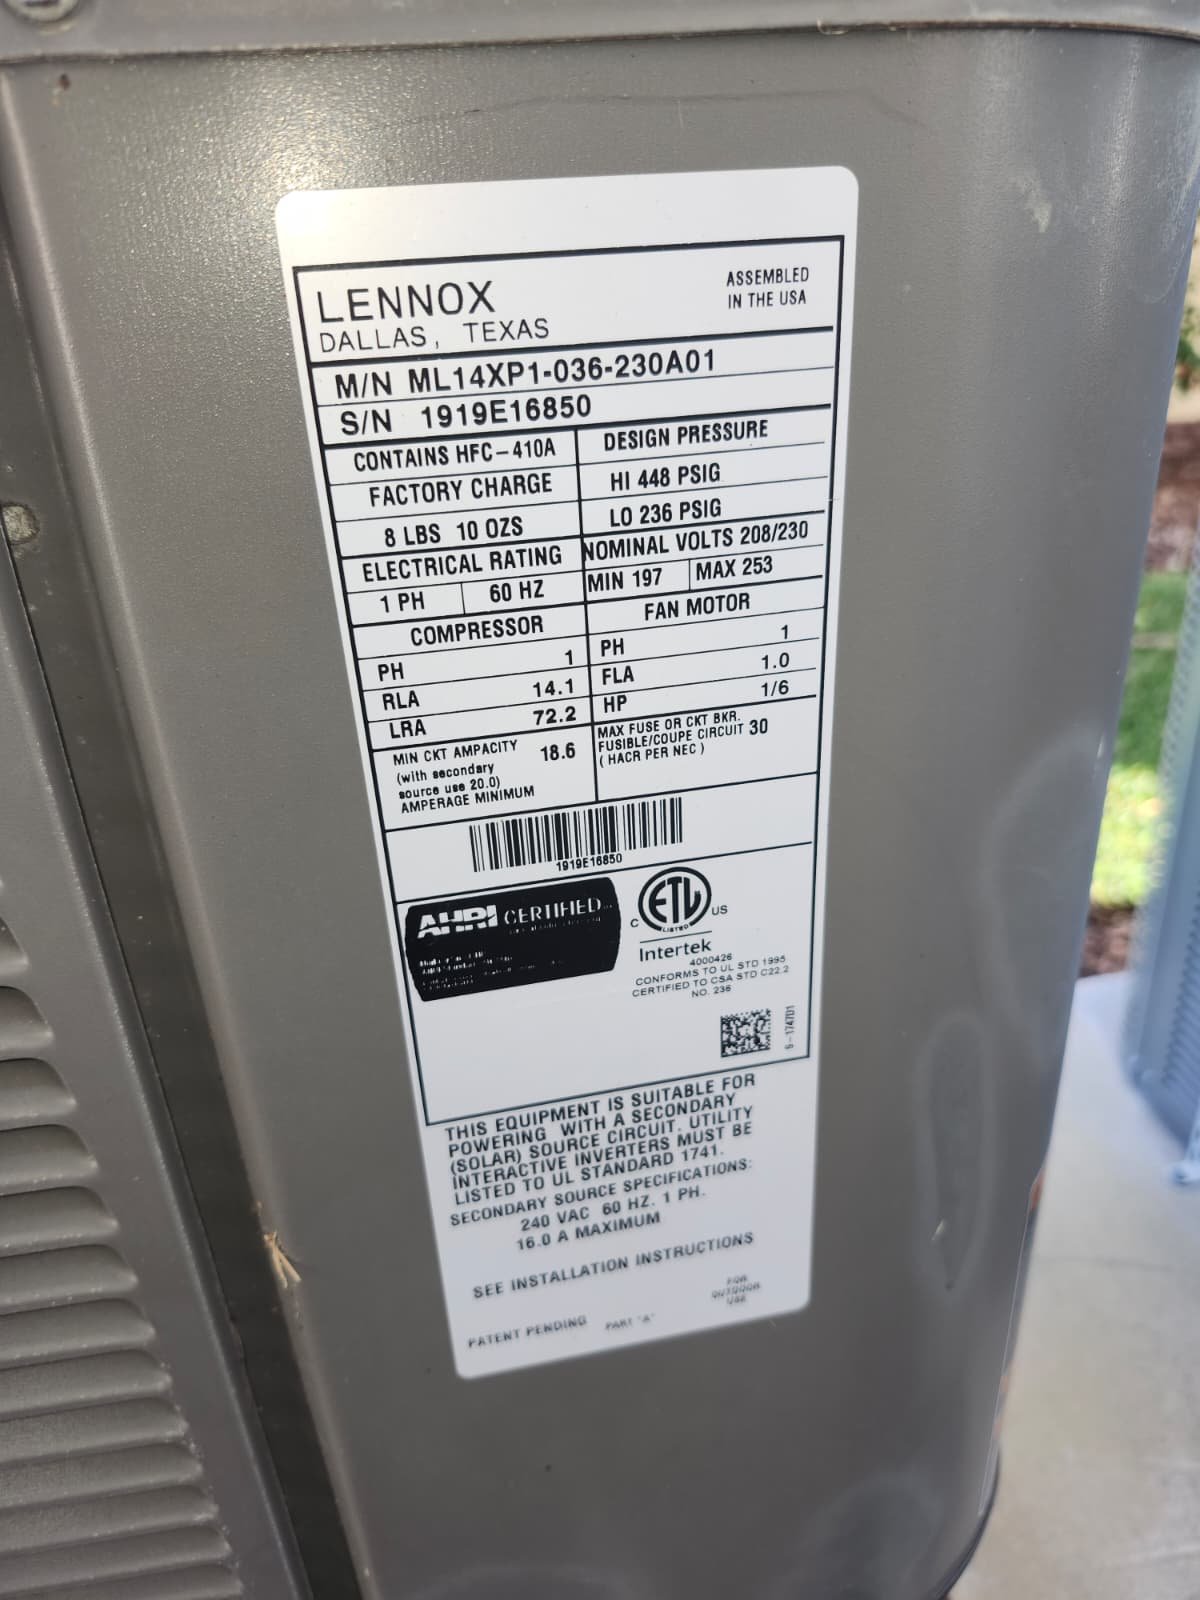
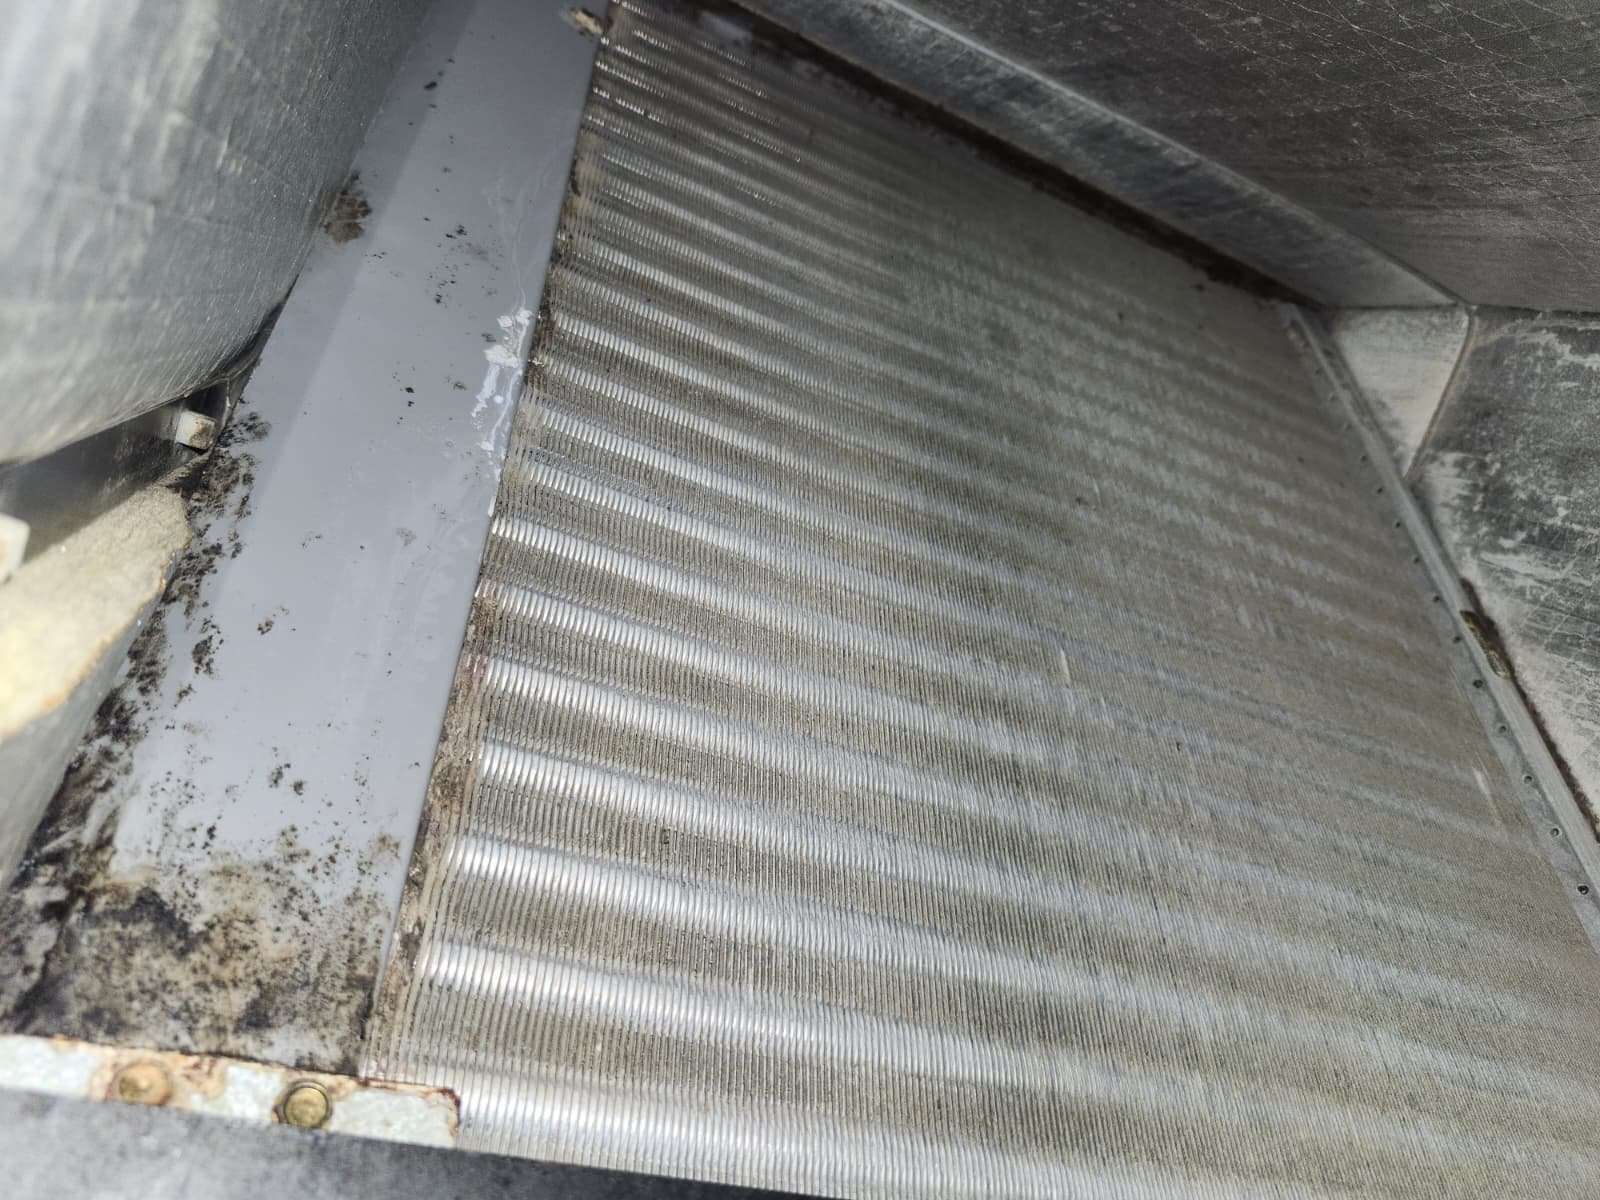
- Existing system capacity and condition – Confirming the current tonnage, layout, and how well it was matching the home’s needs.
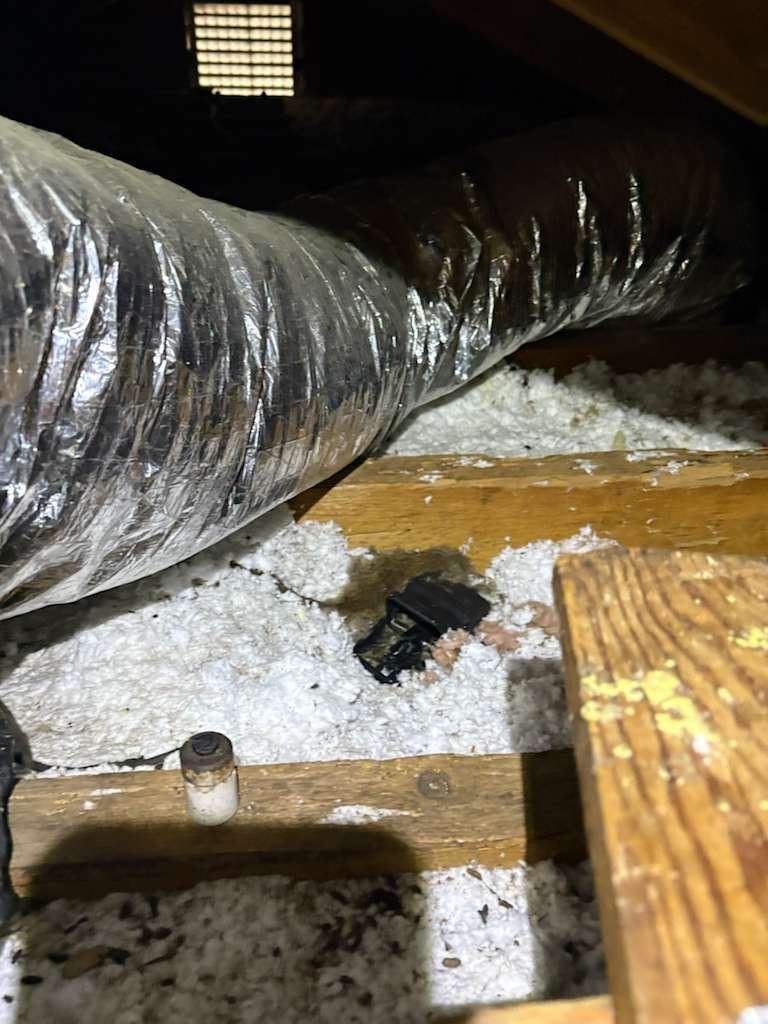
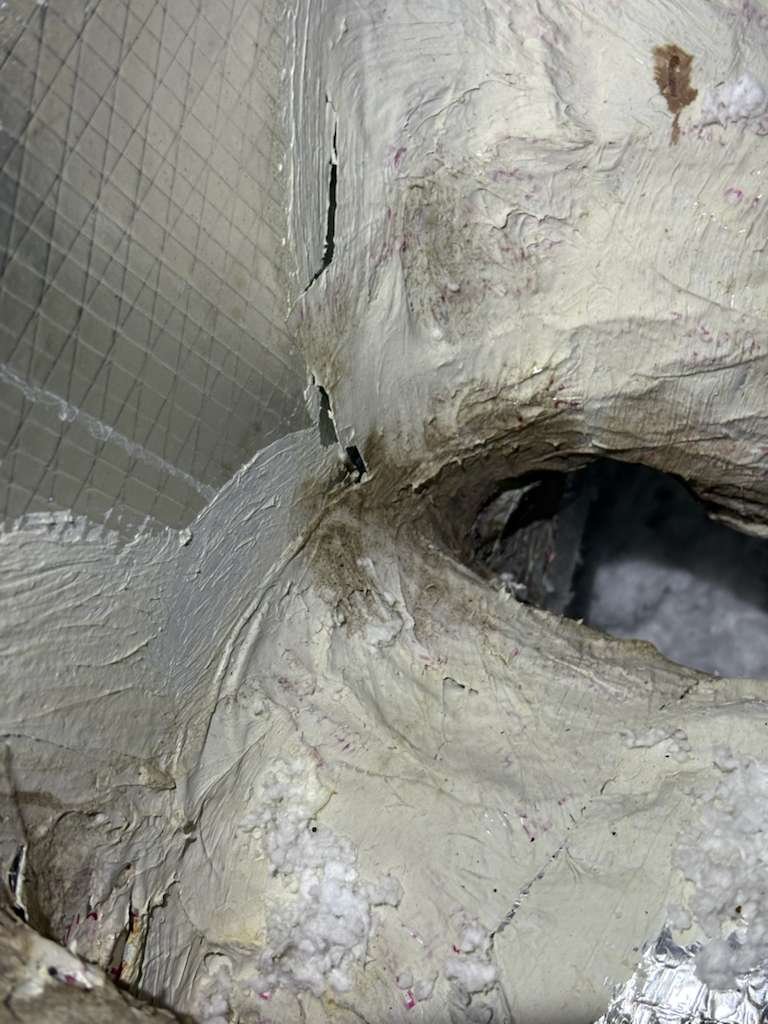
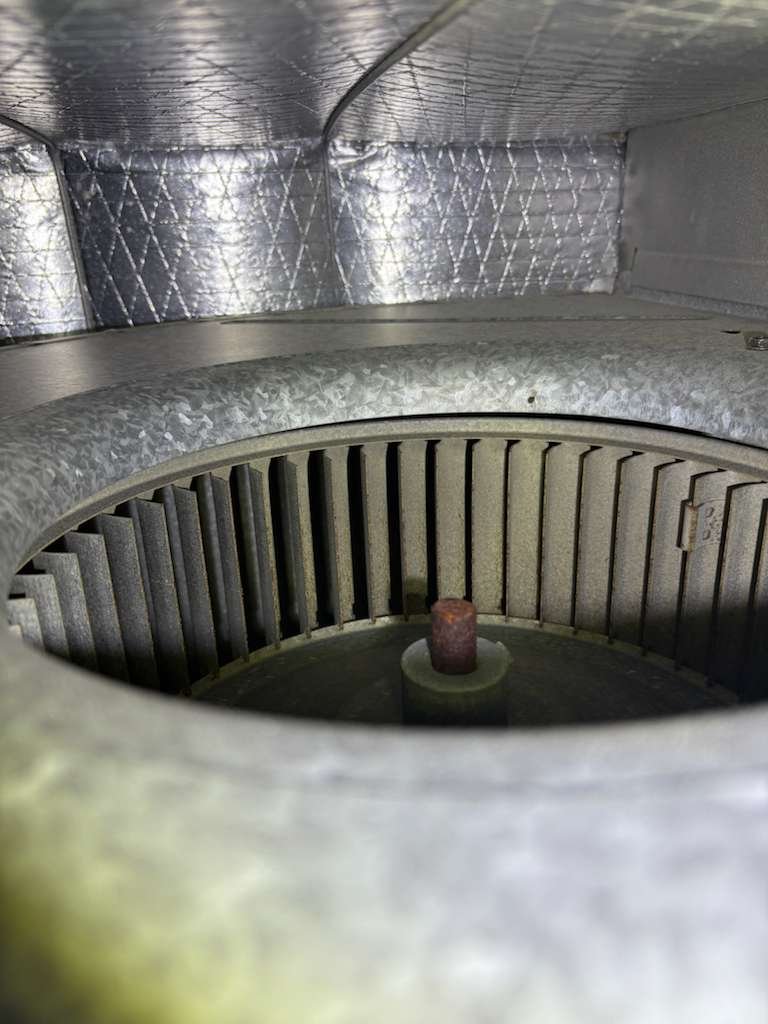
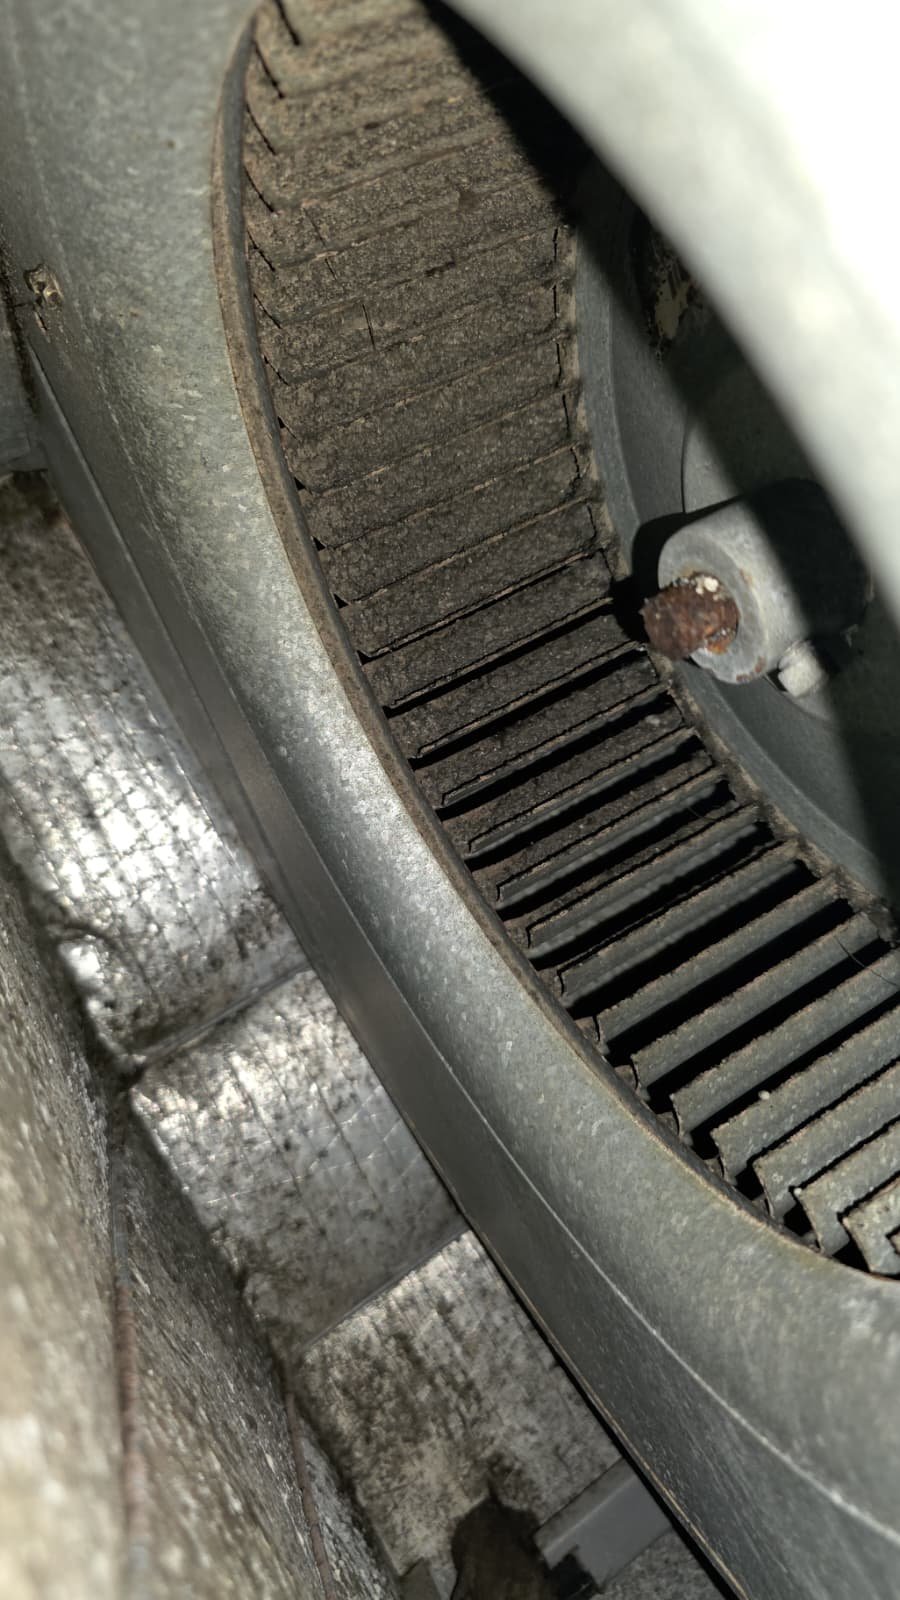
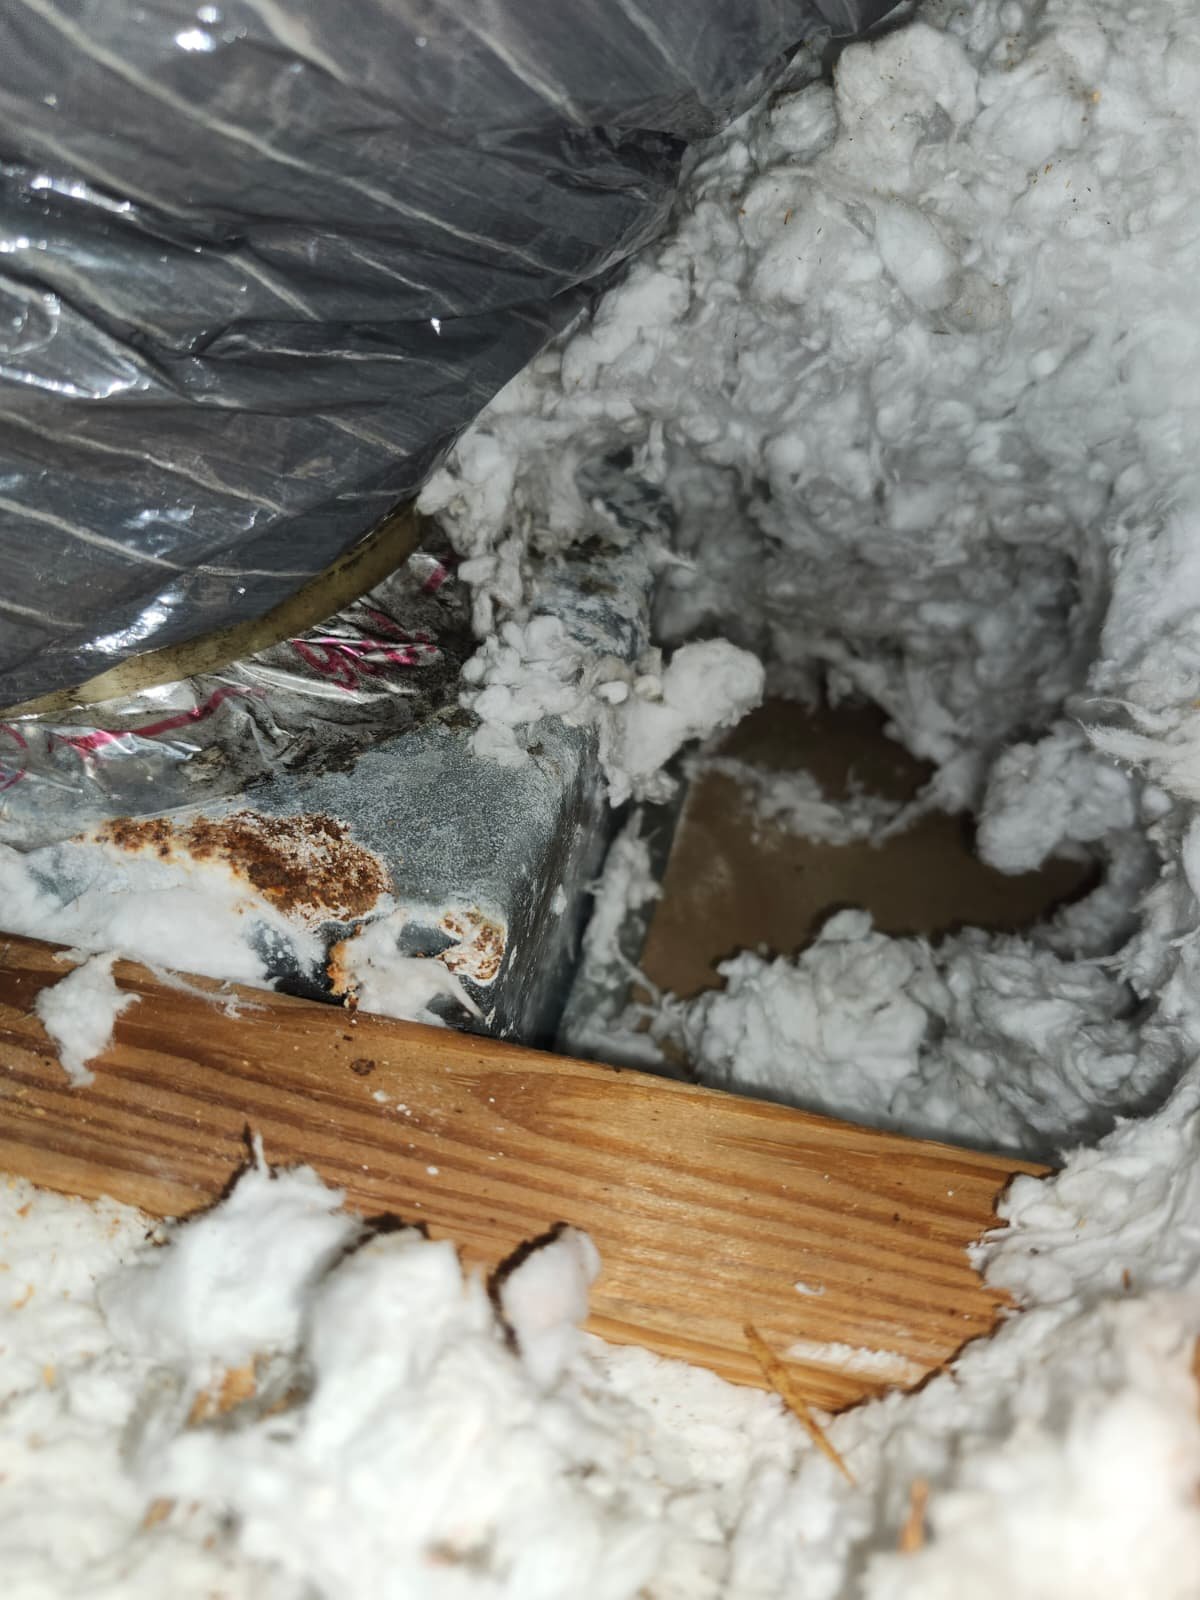
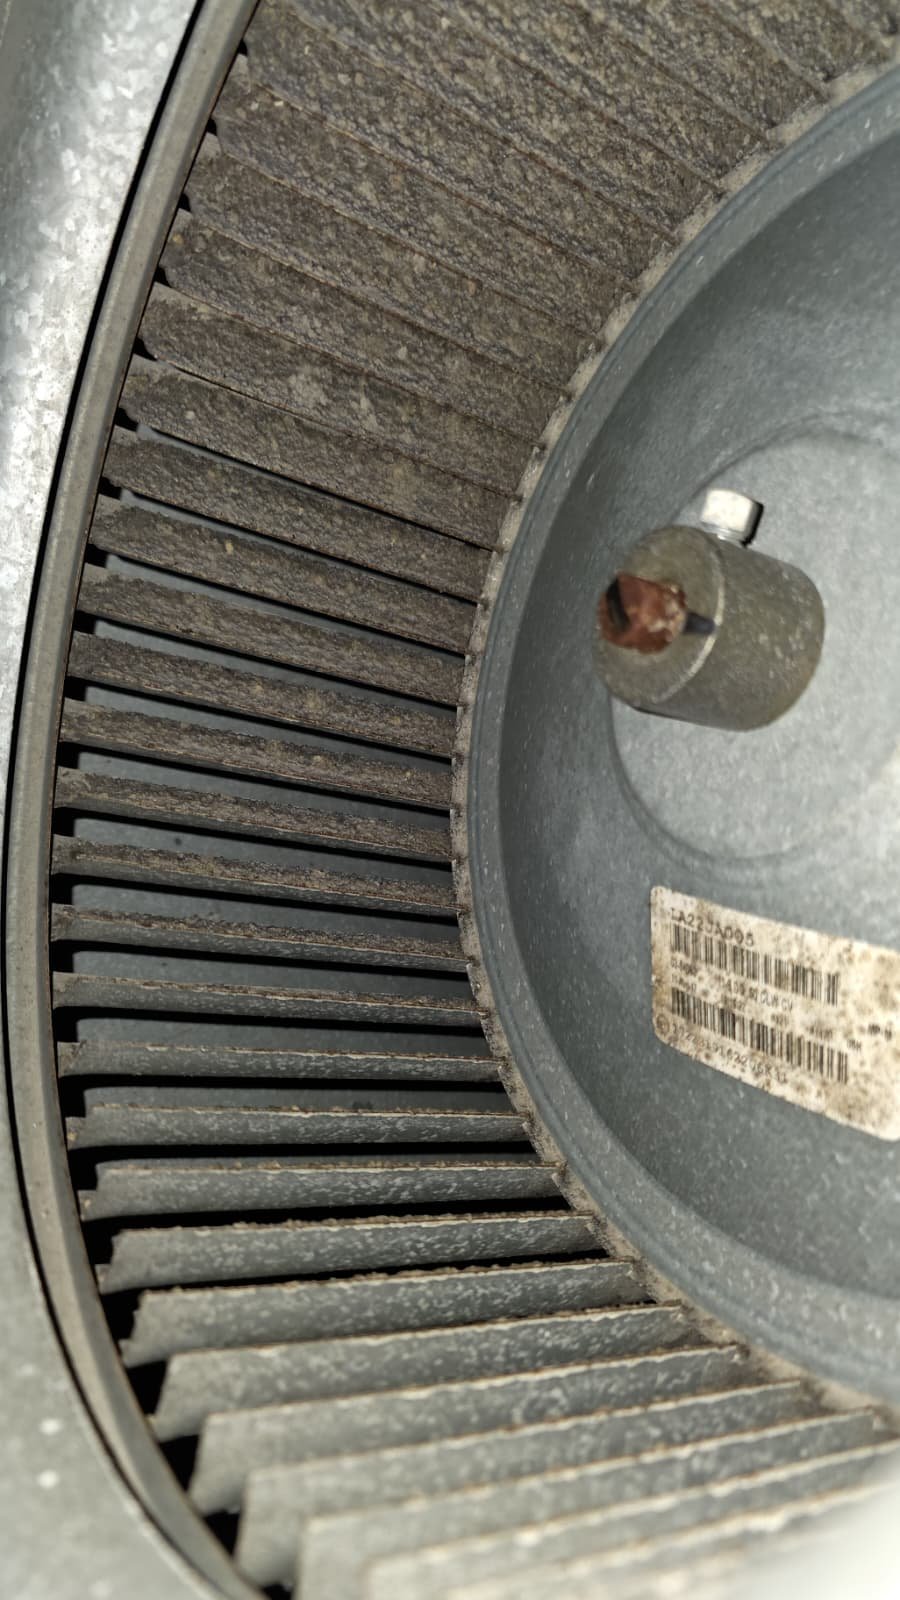
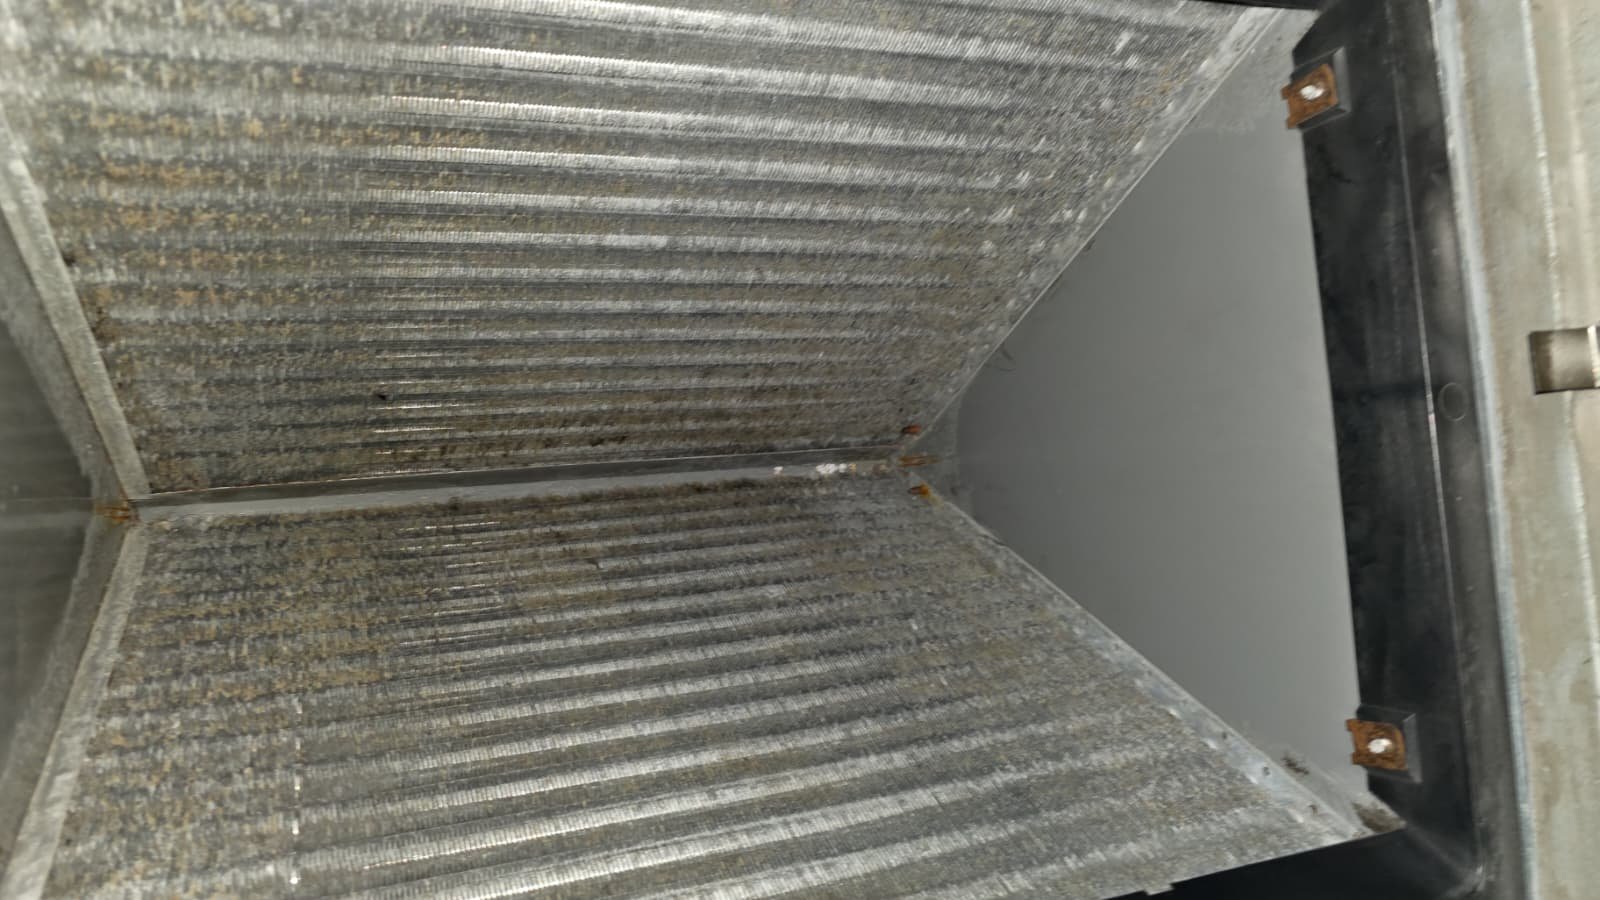
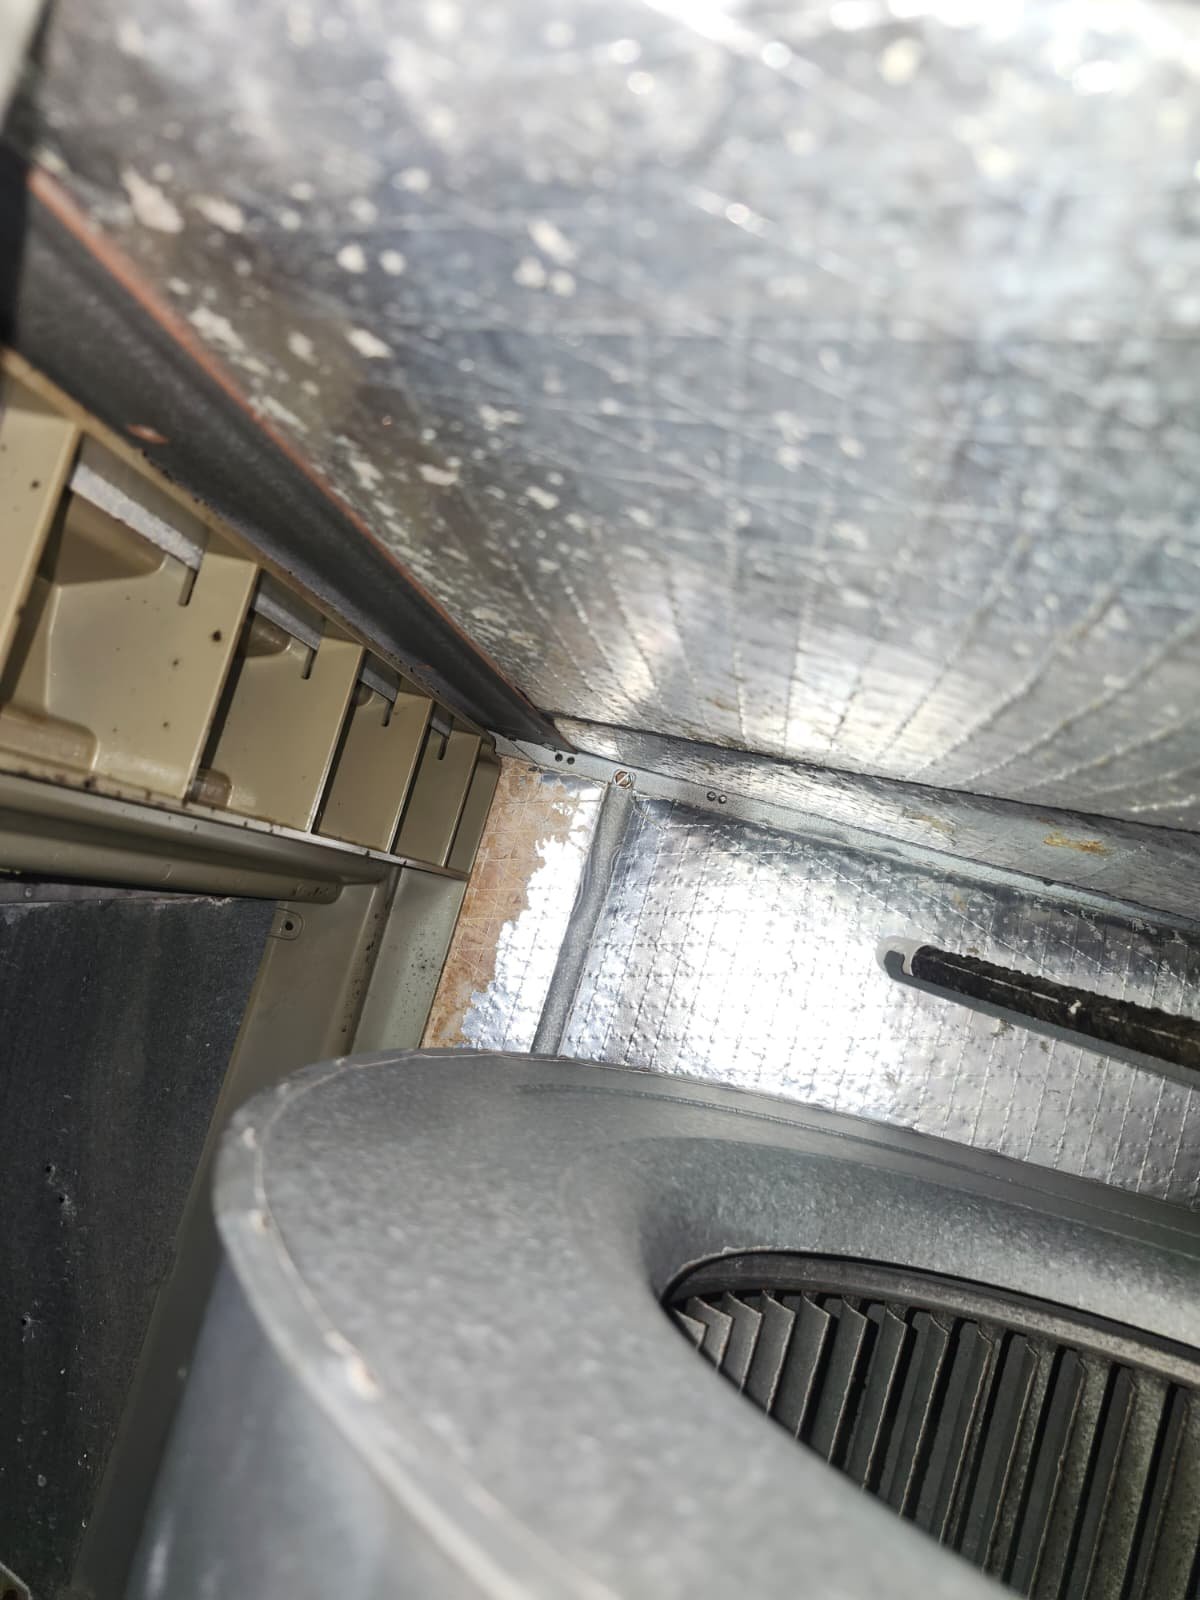
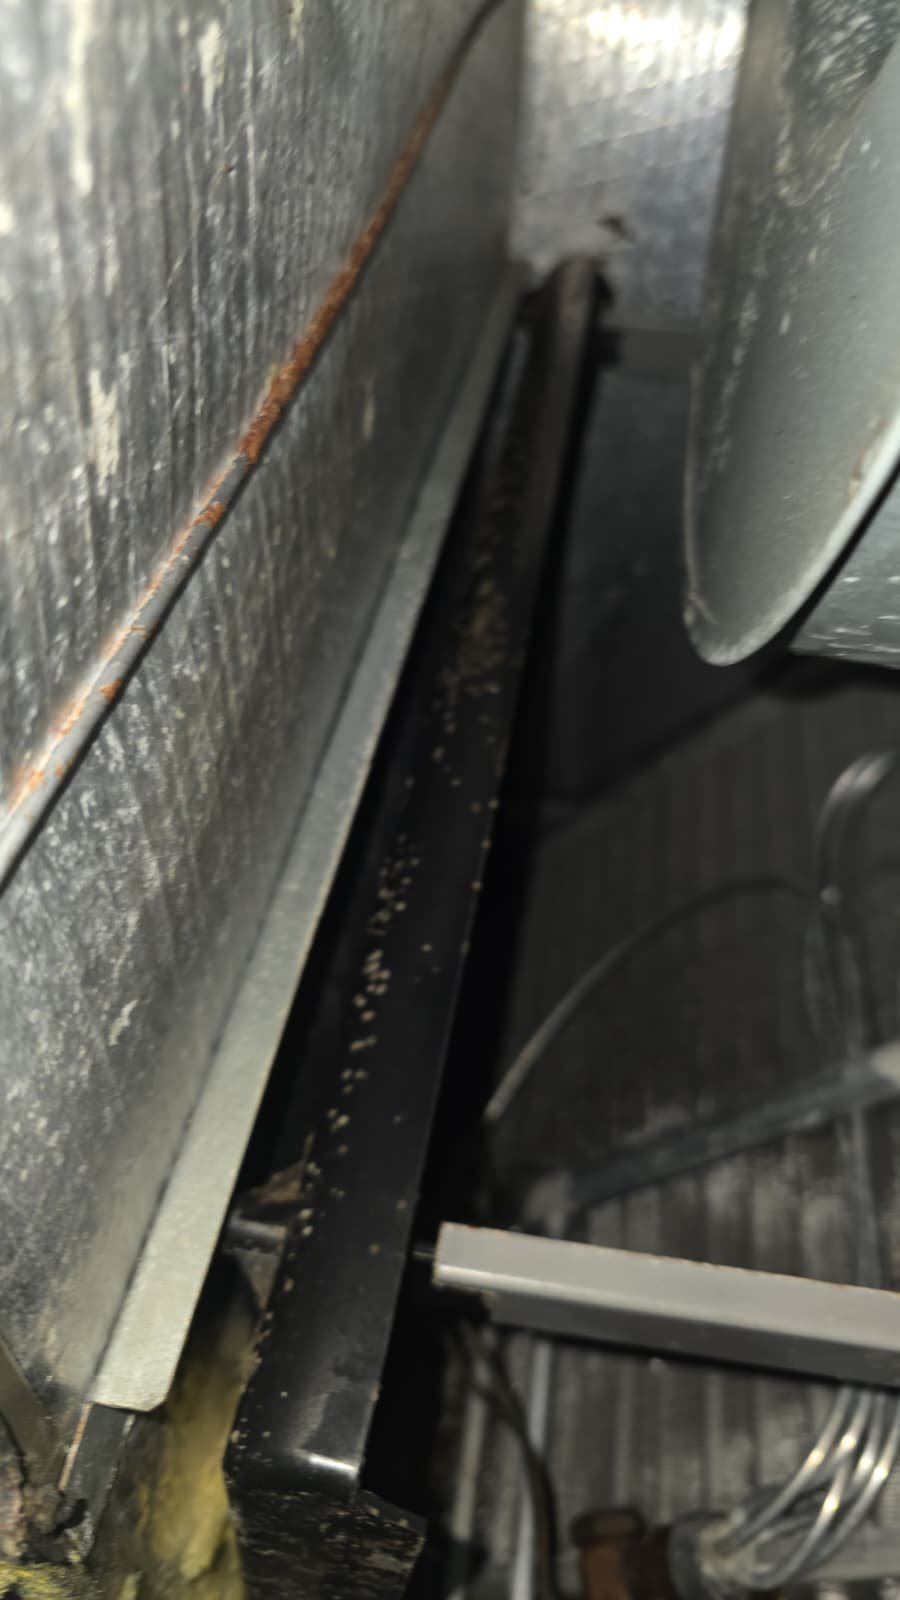
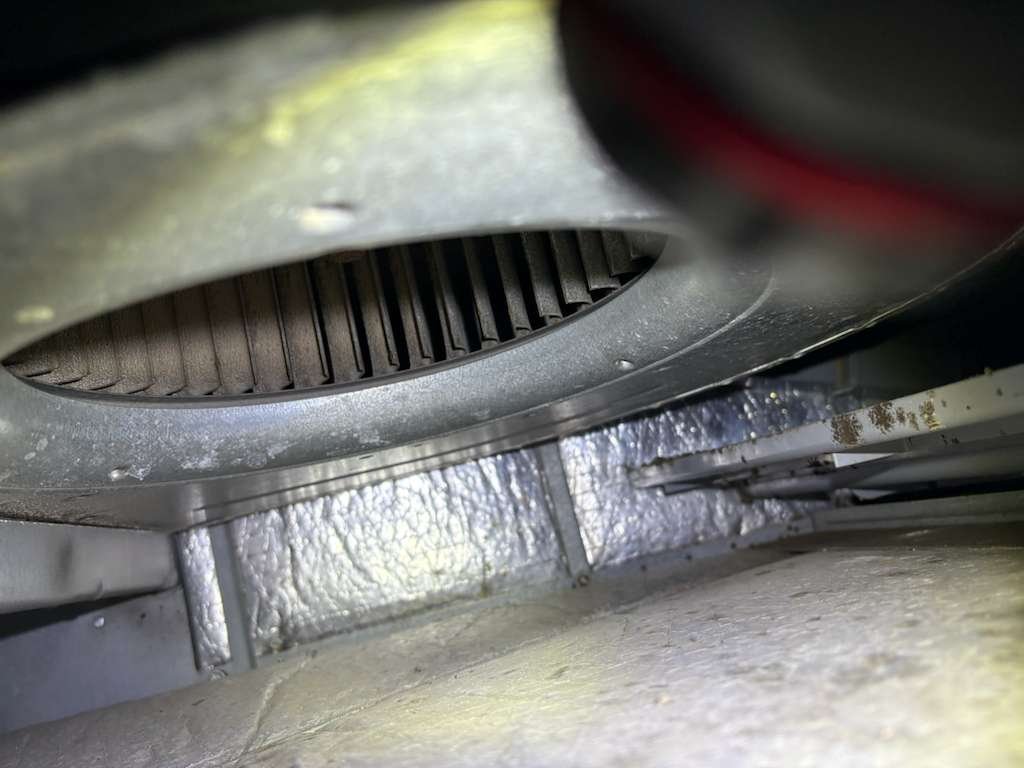
- Duct layout and sizing – Evaluating supply and return runs, drop sizes, and distribution boxes to see where airflow might be restricted or unbalanced.
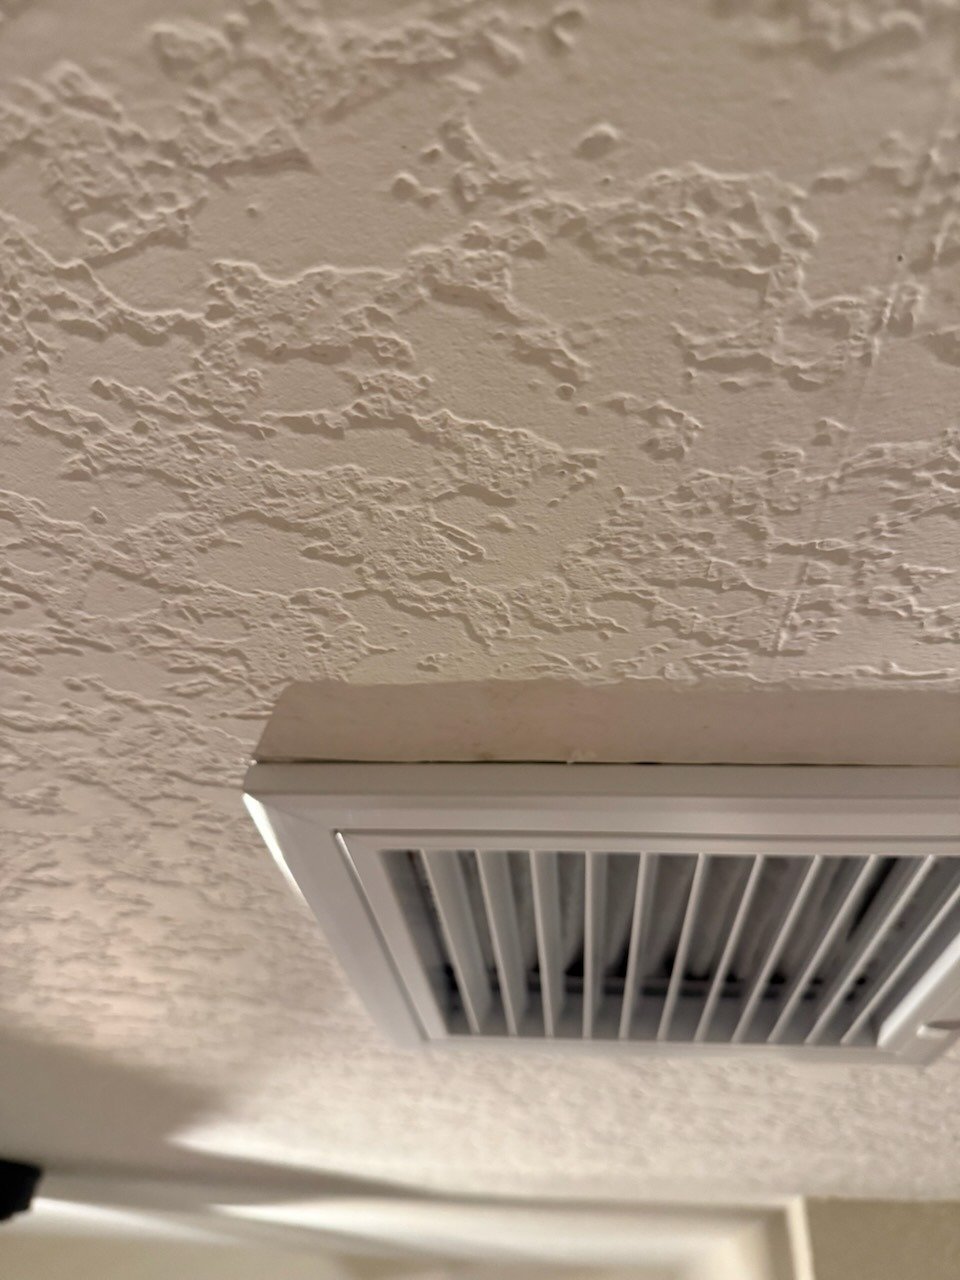
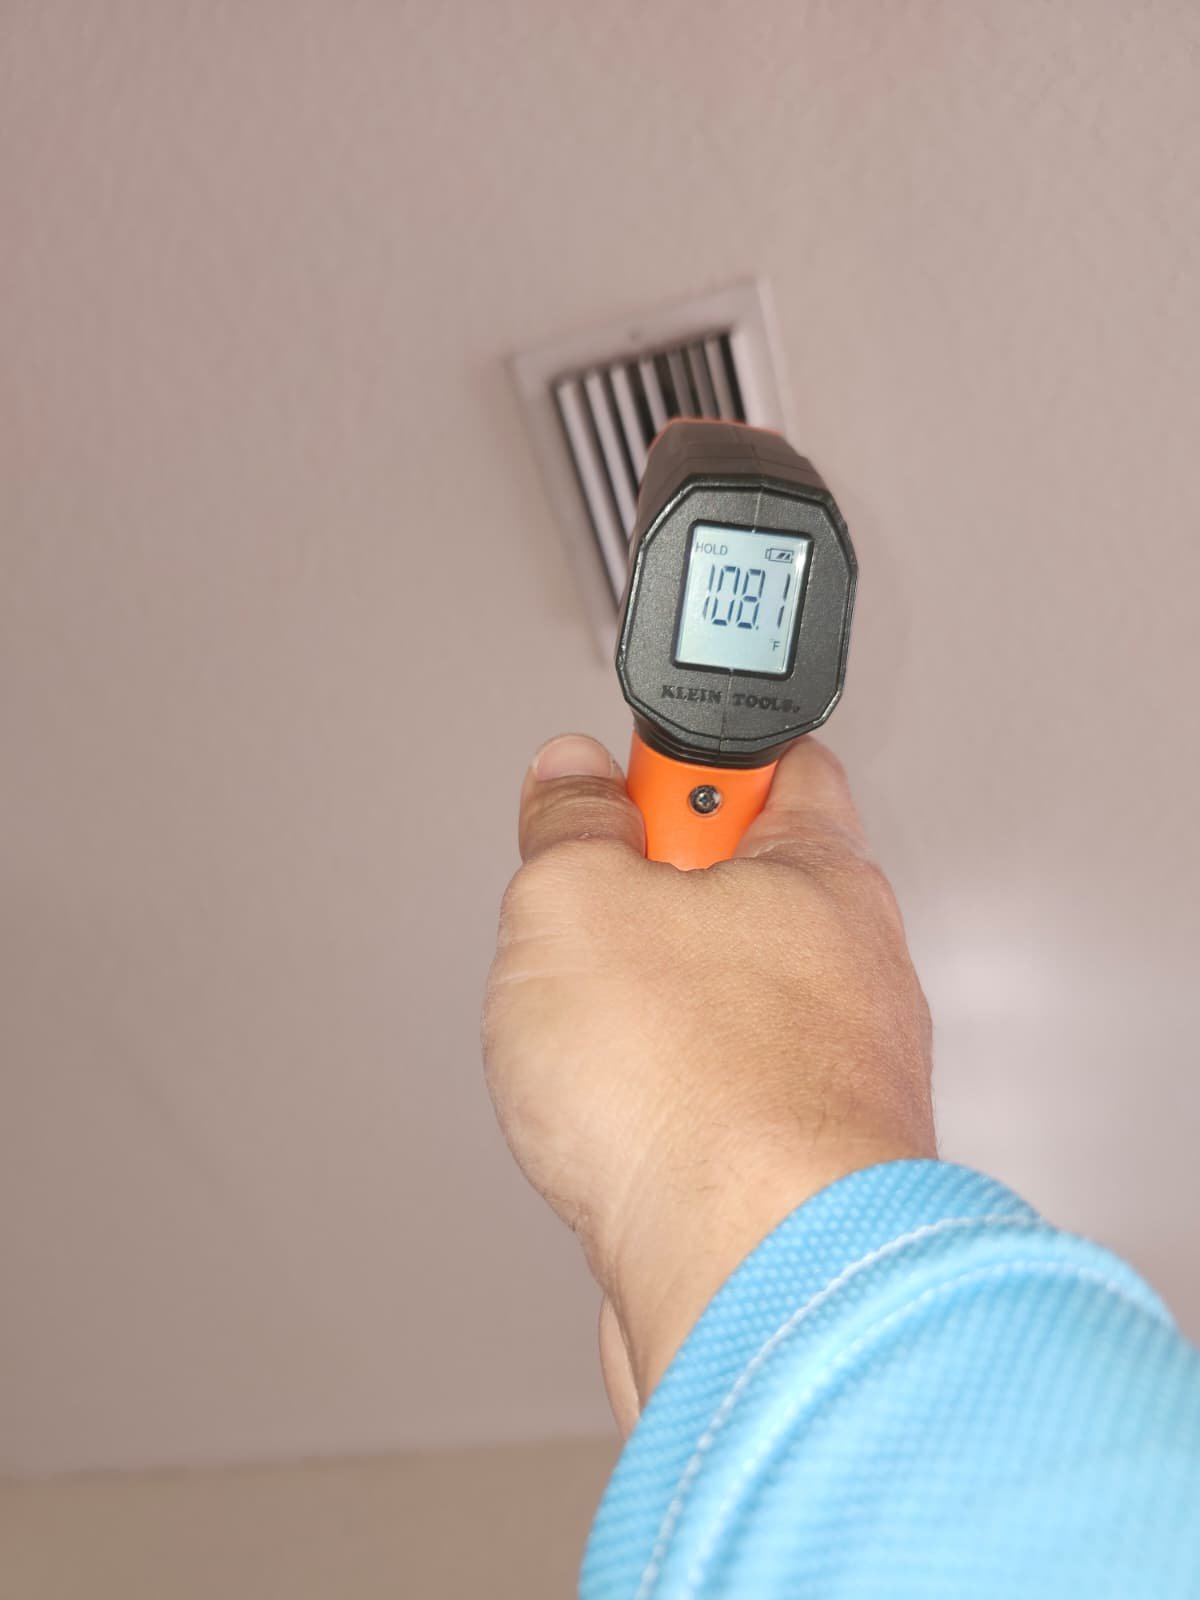
- Airflow and comfort complaints – Matching what the homeowner was feeling in different rooms with what we were seeing in the attic and at the vents.
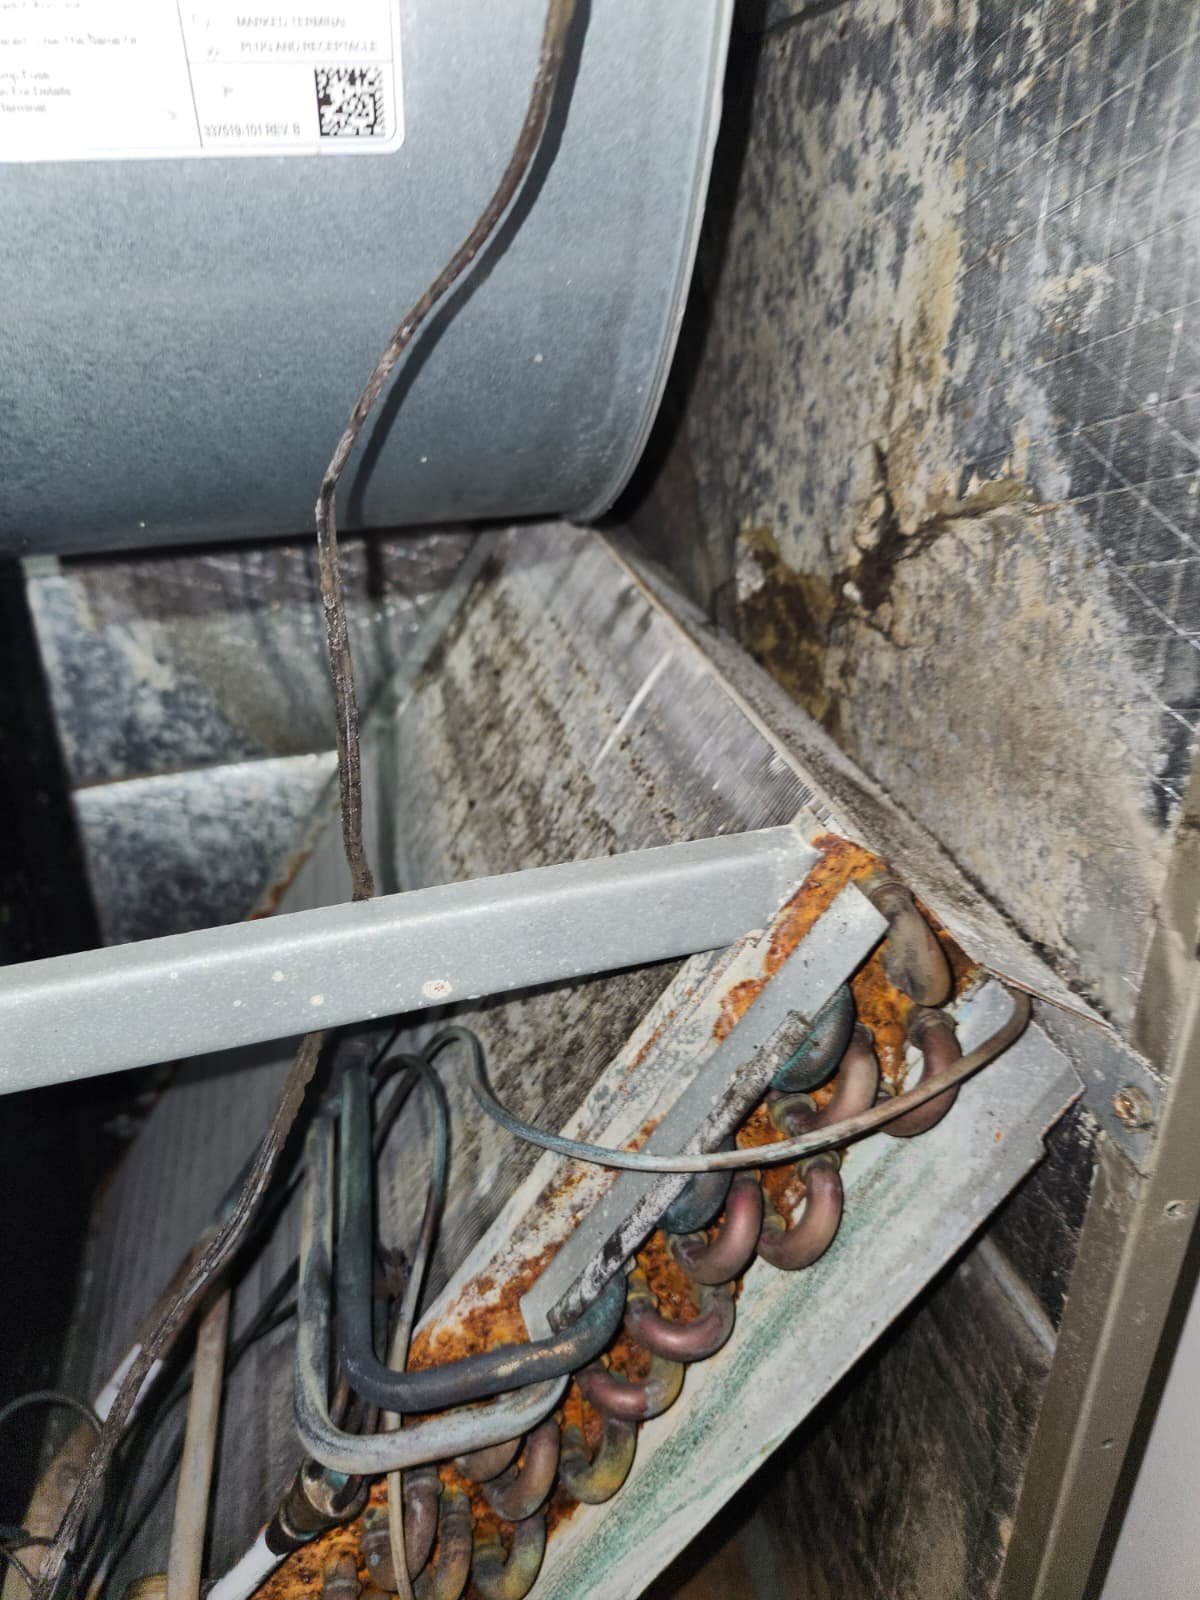
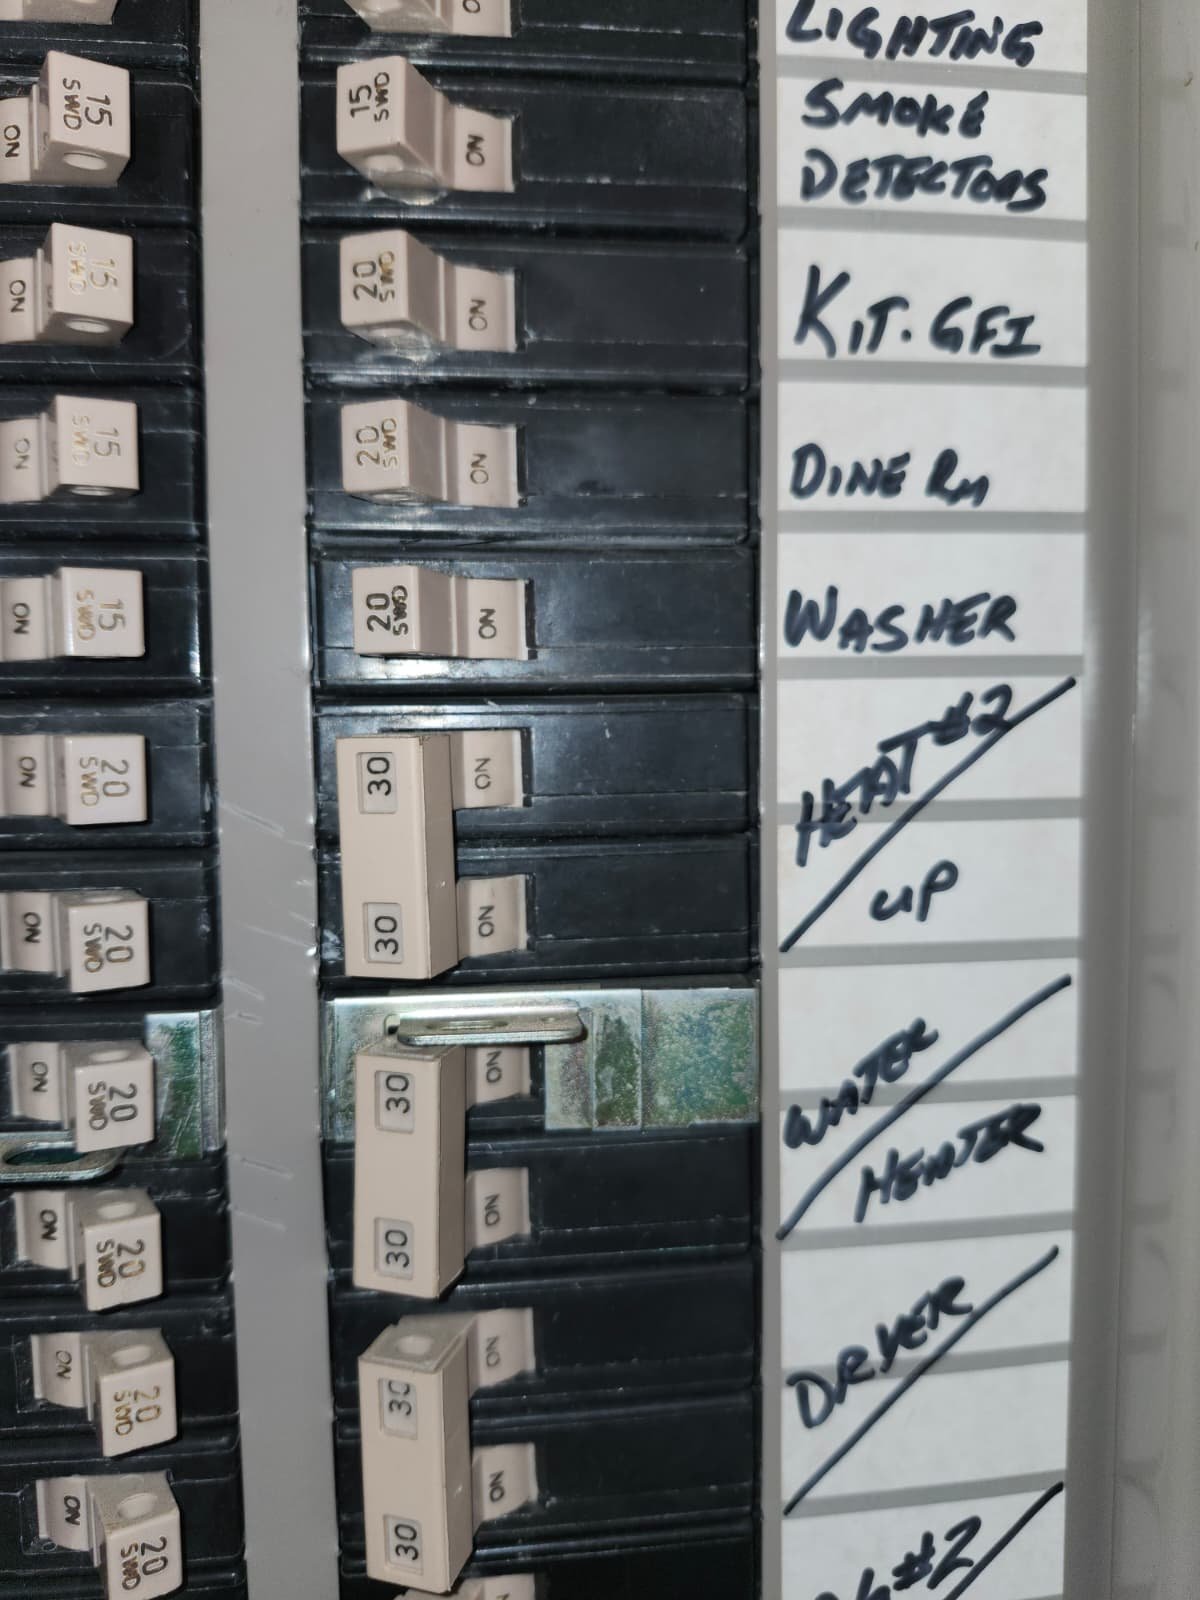
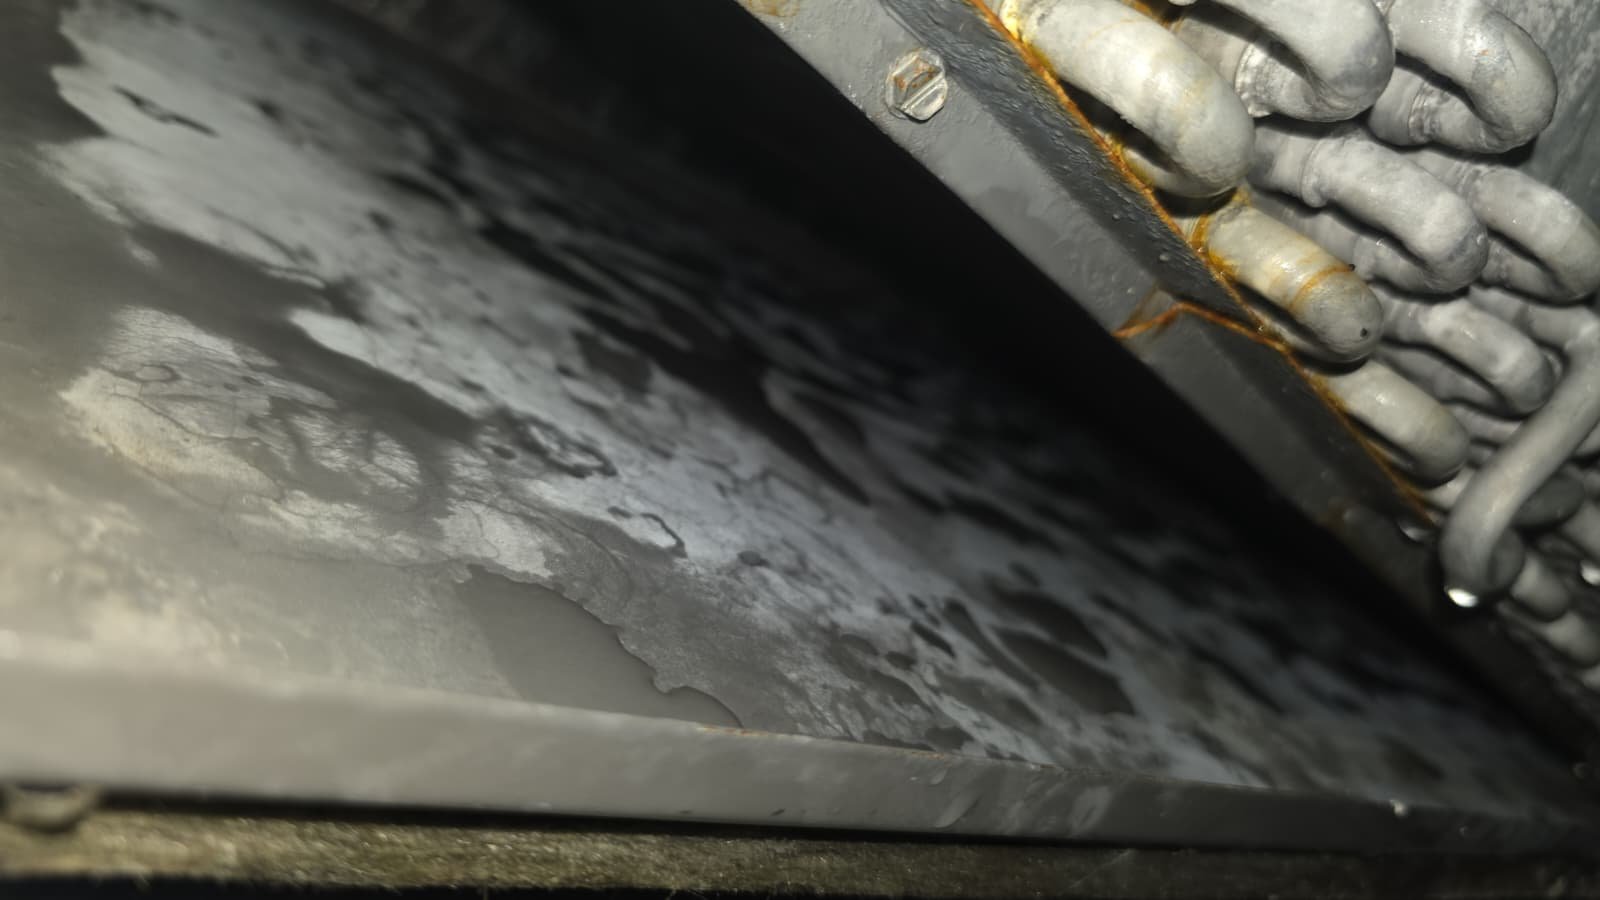
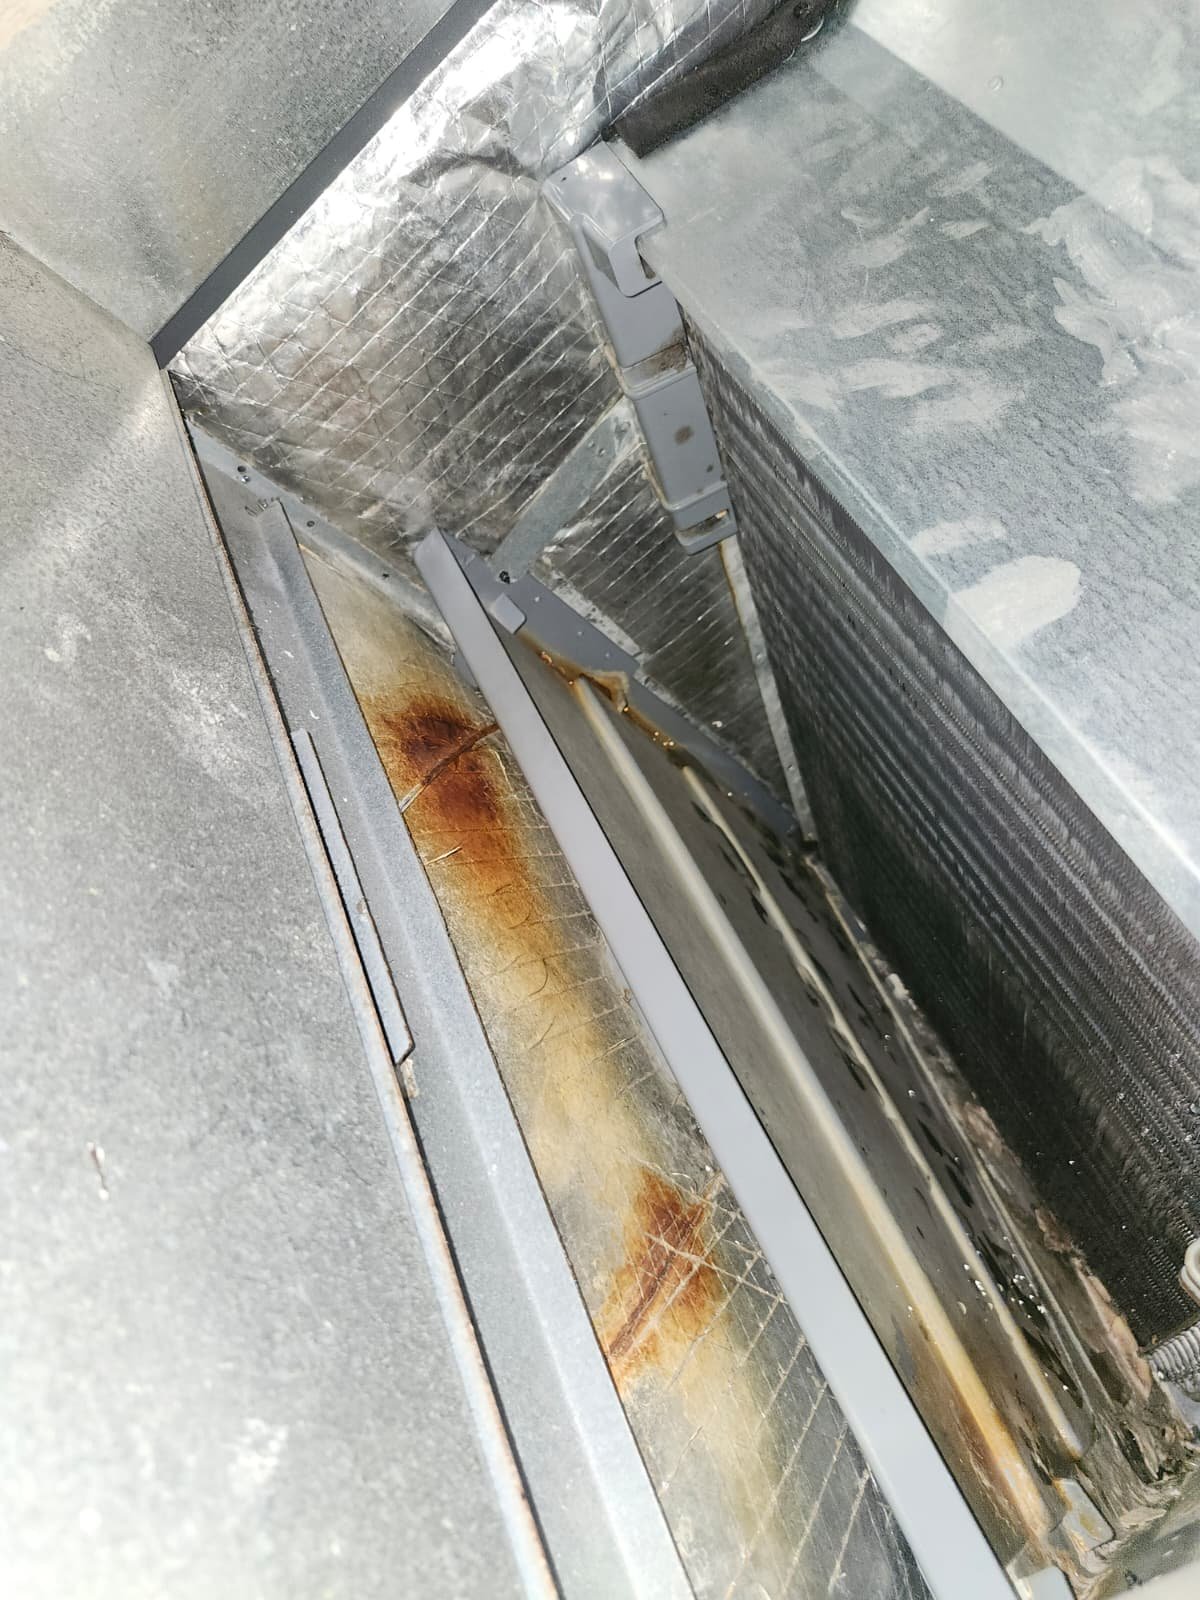
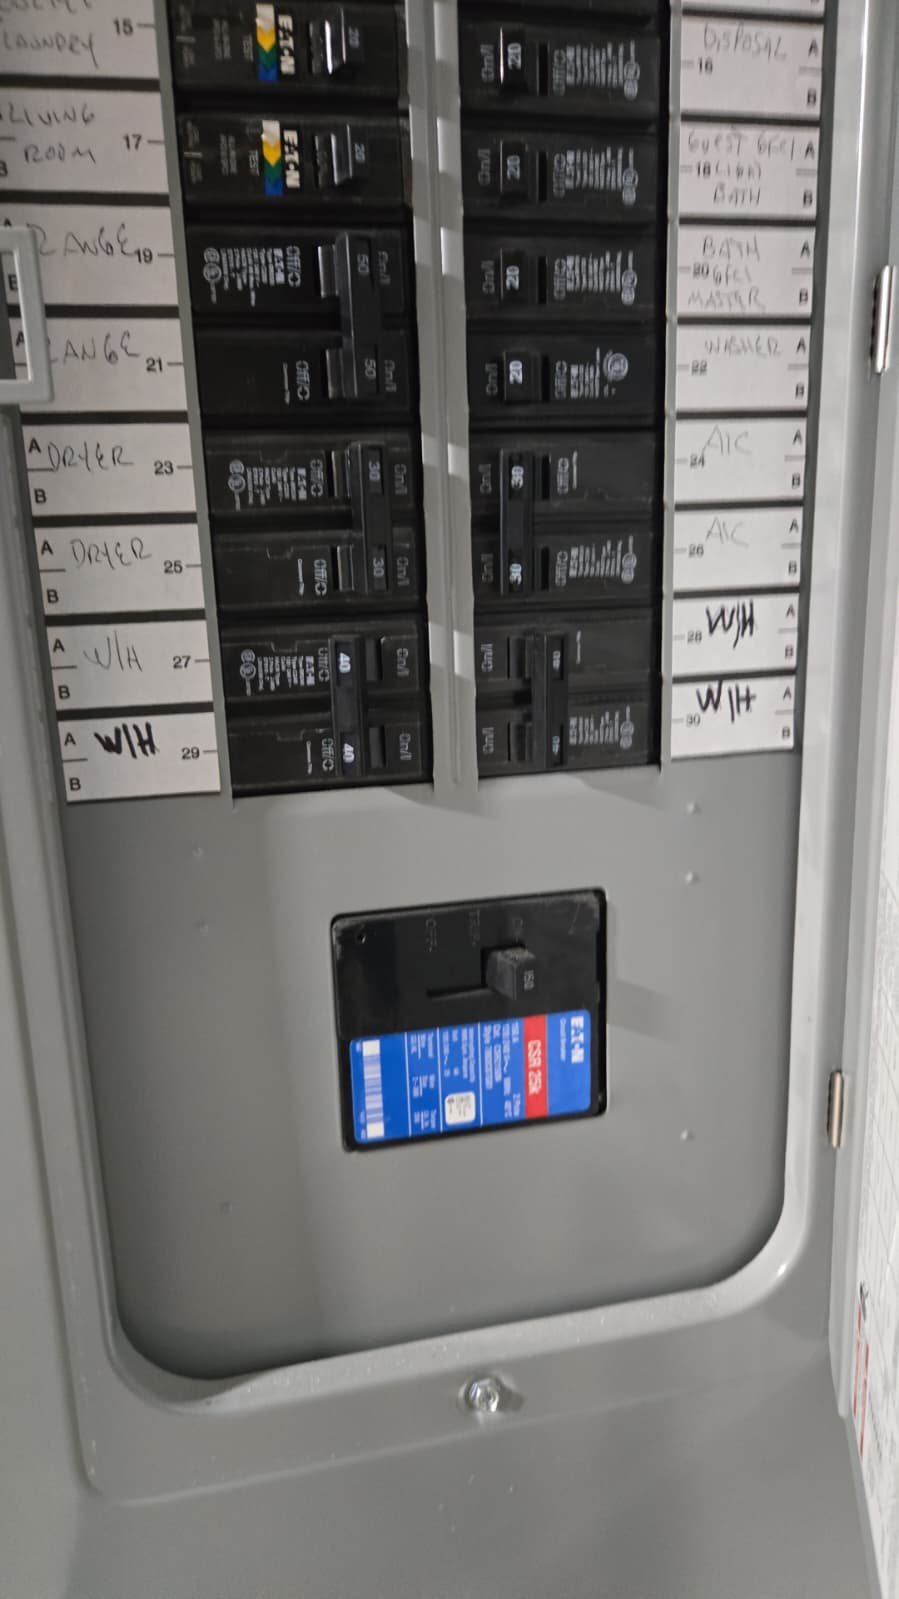
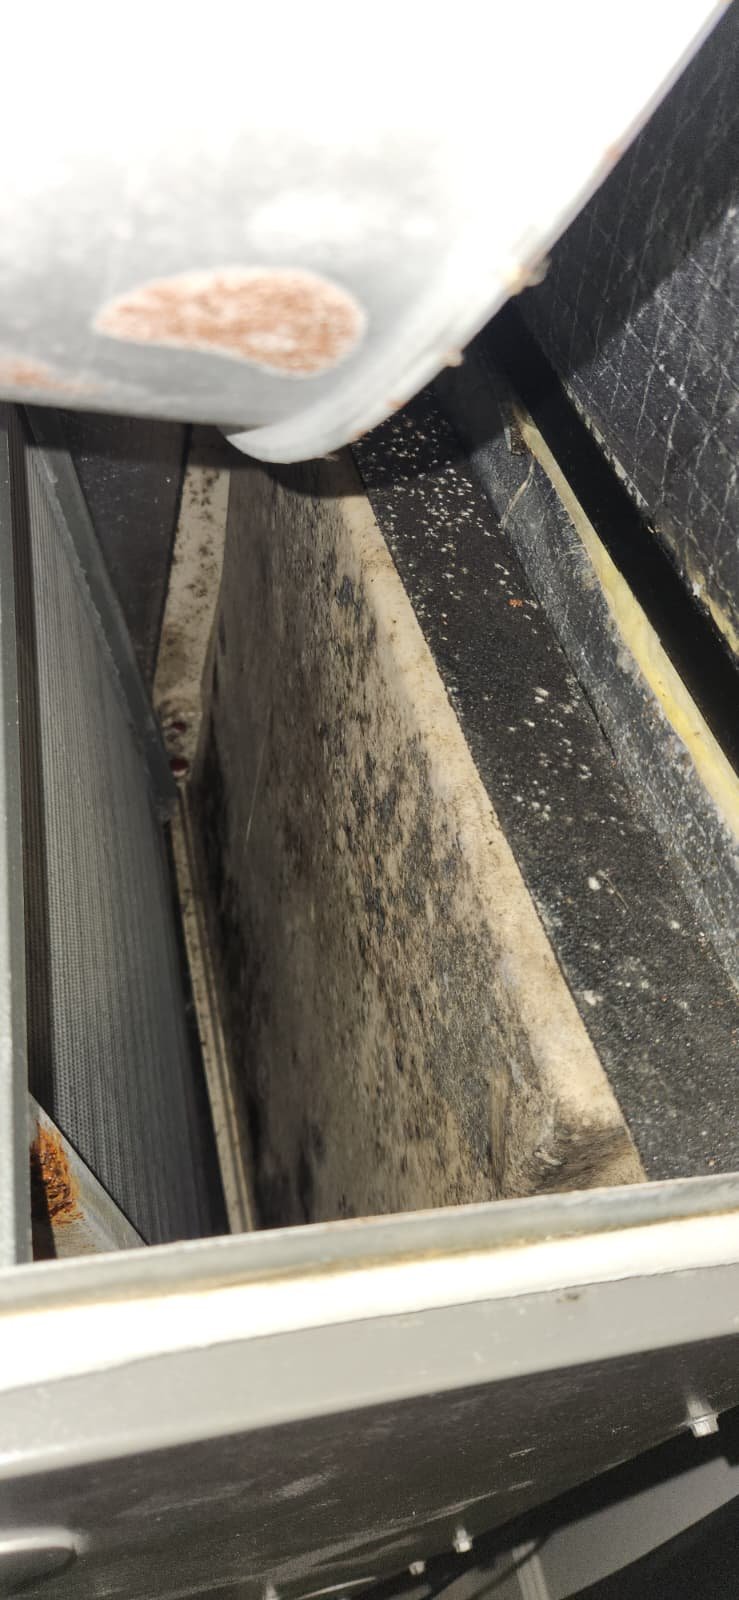
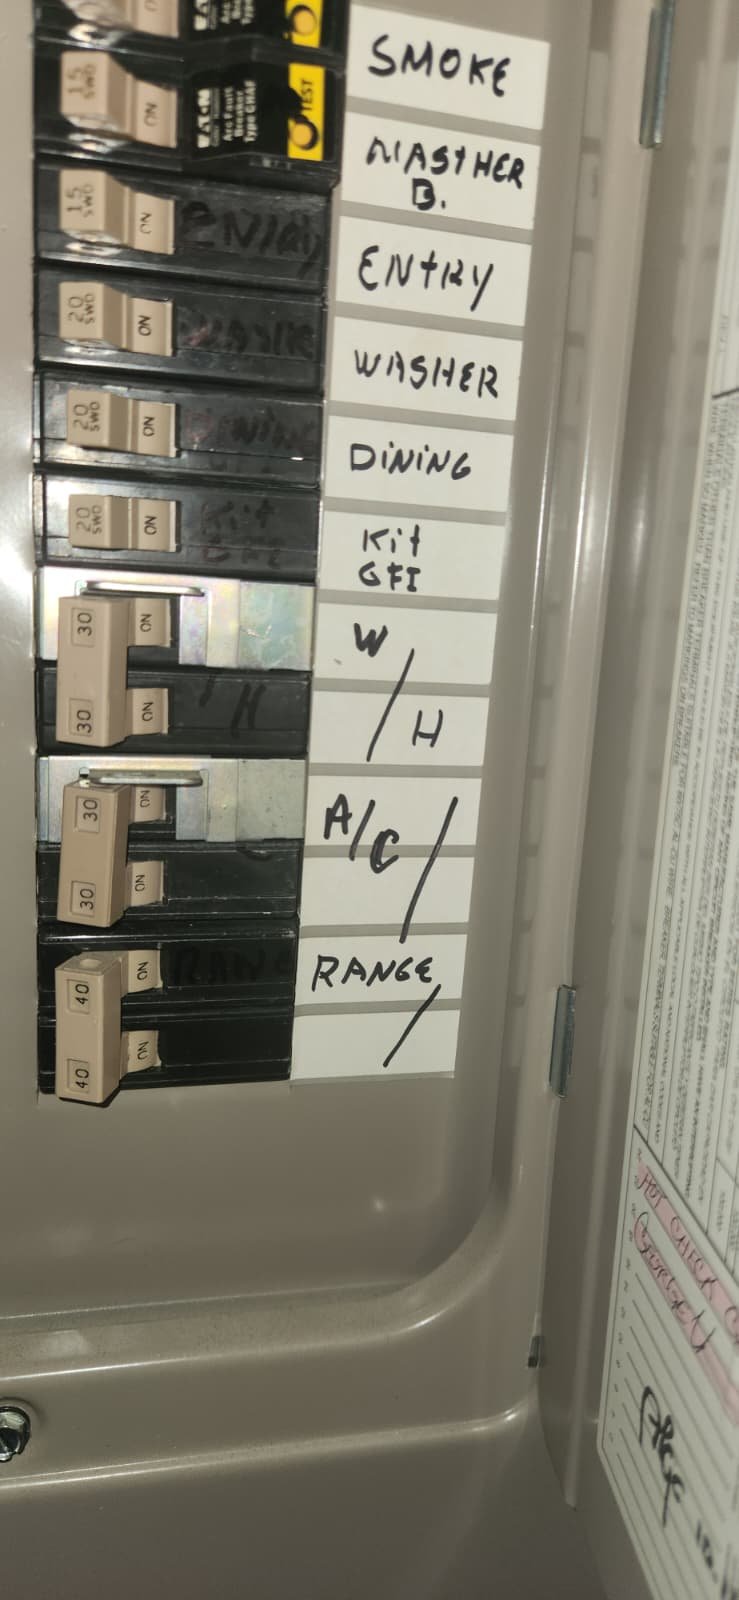
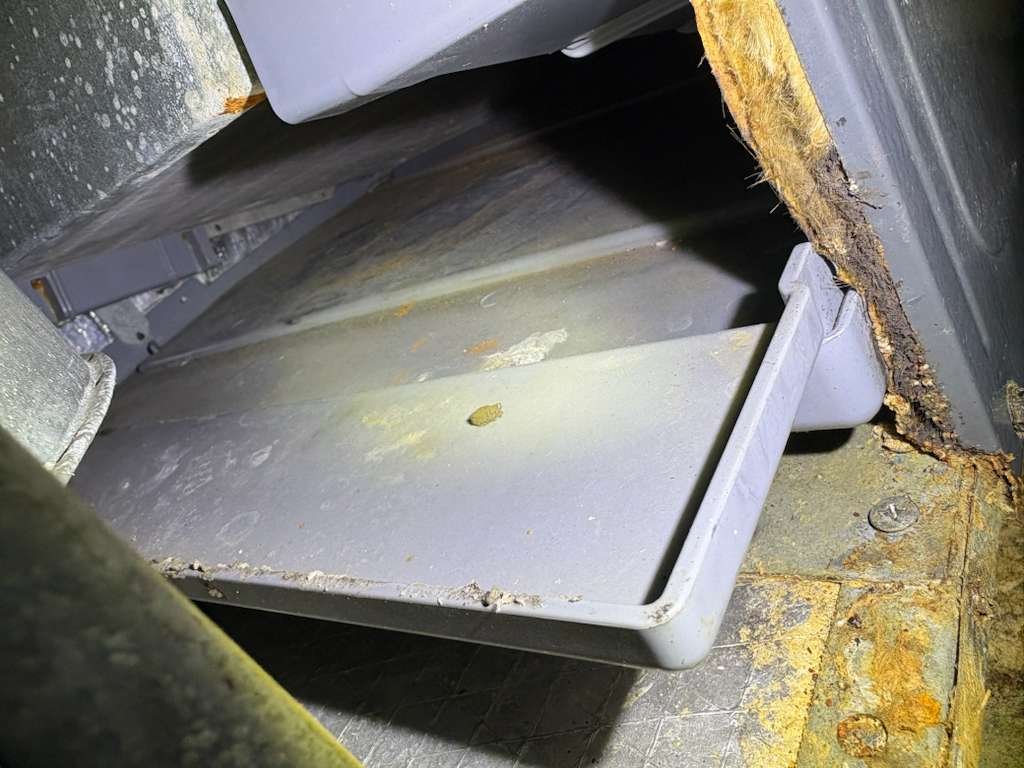
- Drainage and safety – Checking the existing drain pan and float protection, especially important in Florida where condensation is constant.
We confirmed that a 5-ton system was appropriate for the home when paired with properly designed ductwork. The older ducts and components were due for replacement: insulation quality, connections, and overall layout all had room for improvement. That’s why the plan included both a Daikin Value Split 5-ton heat pump and a complete R6 flex duct upgrade where needed.
If you’re curious how we think through full-system projects like this, our AC repairs, installs, and maintenance services overview gives a high-level look at how we design solutions for Tampa Bay homeowners.
Repair and Installation Process
With the plan approved, our team coordinated material pickup from our local distributor and scheduled the work so we could minimize disruption to the homeowner in Valrico, FL 33596. Here’s how we approached the installation step by step.
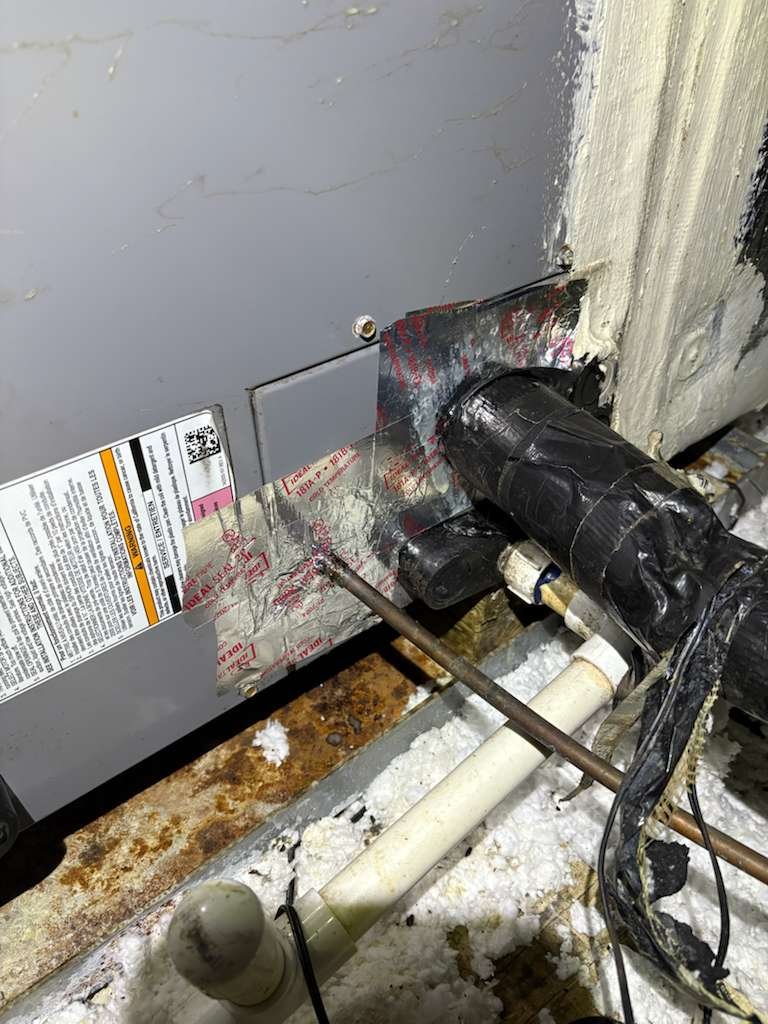
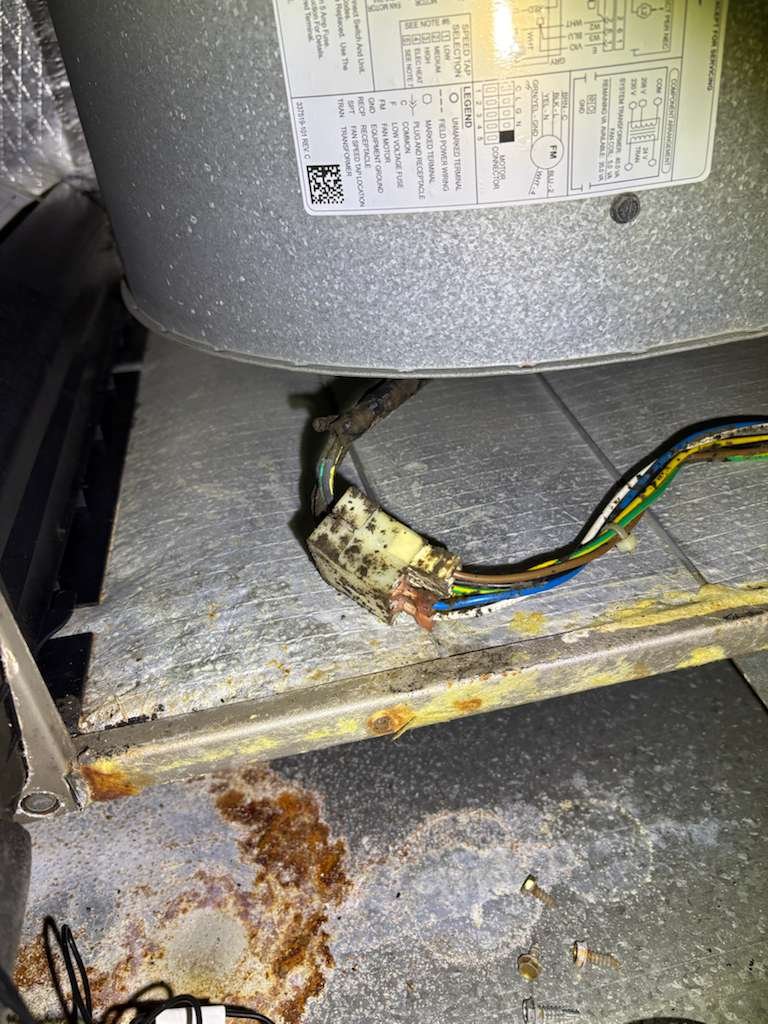
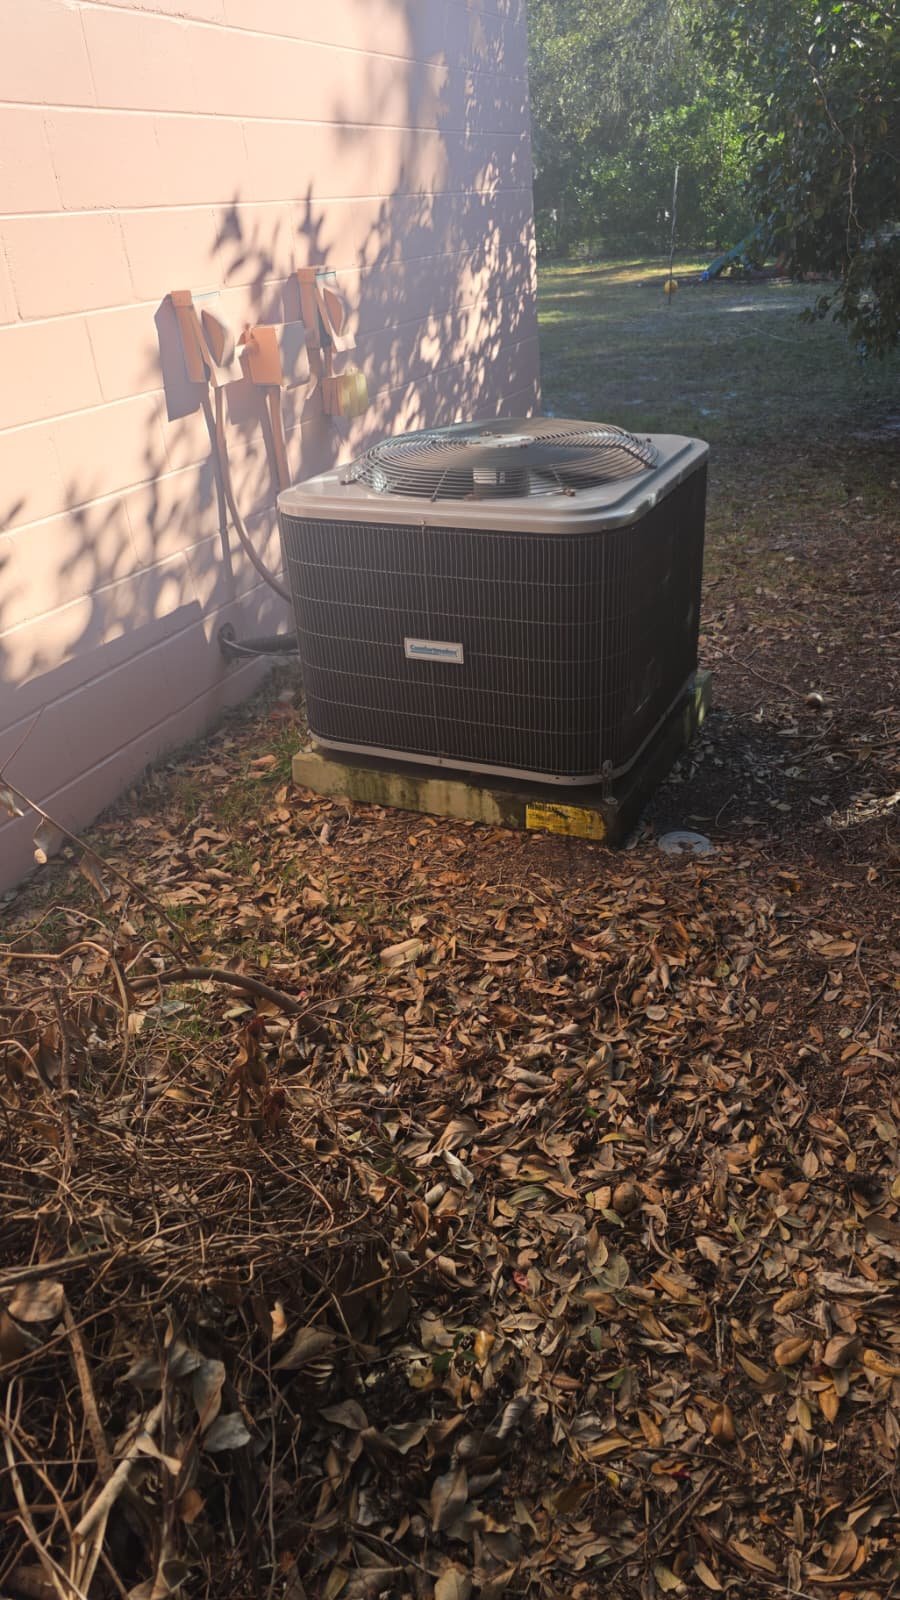
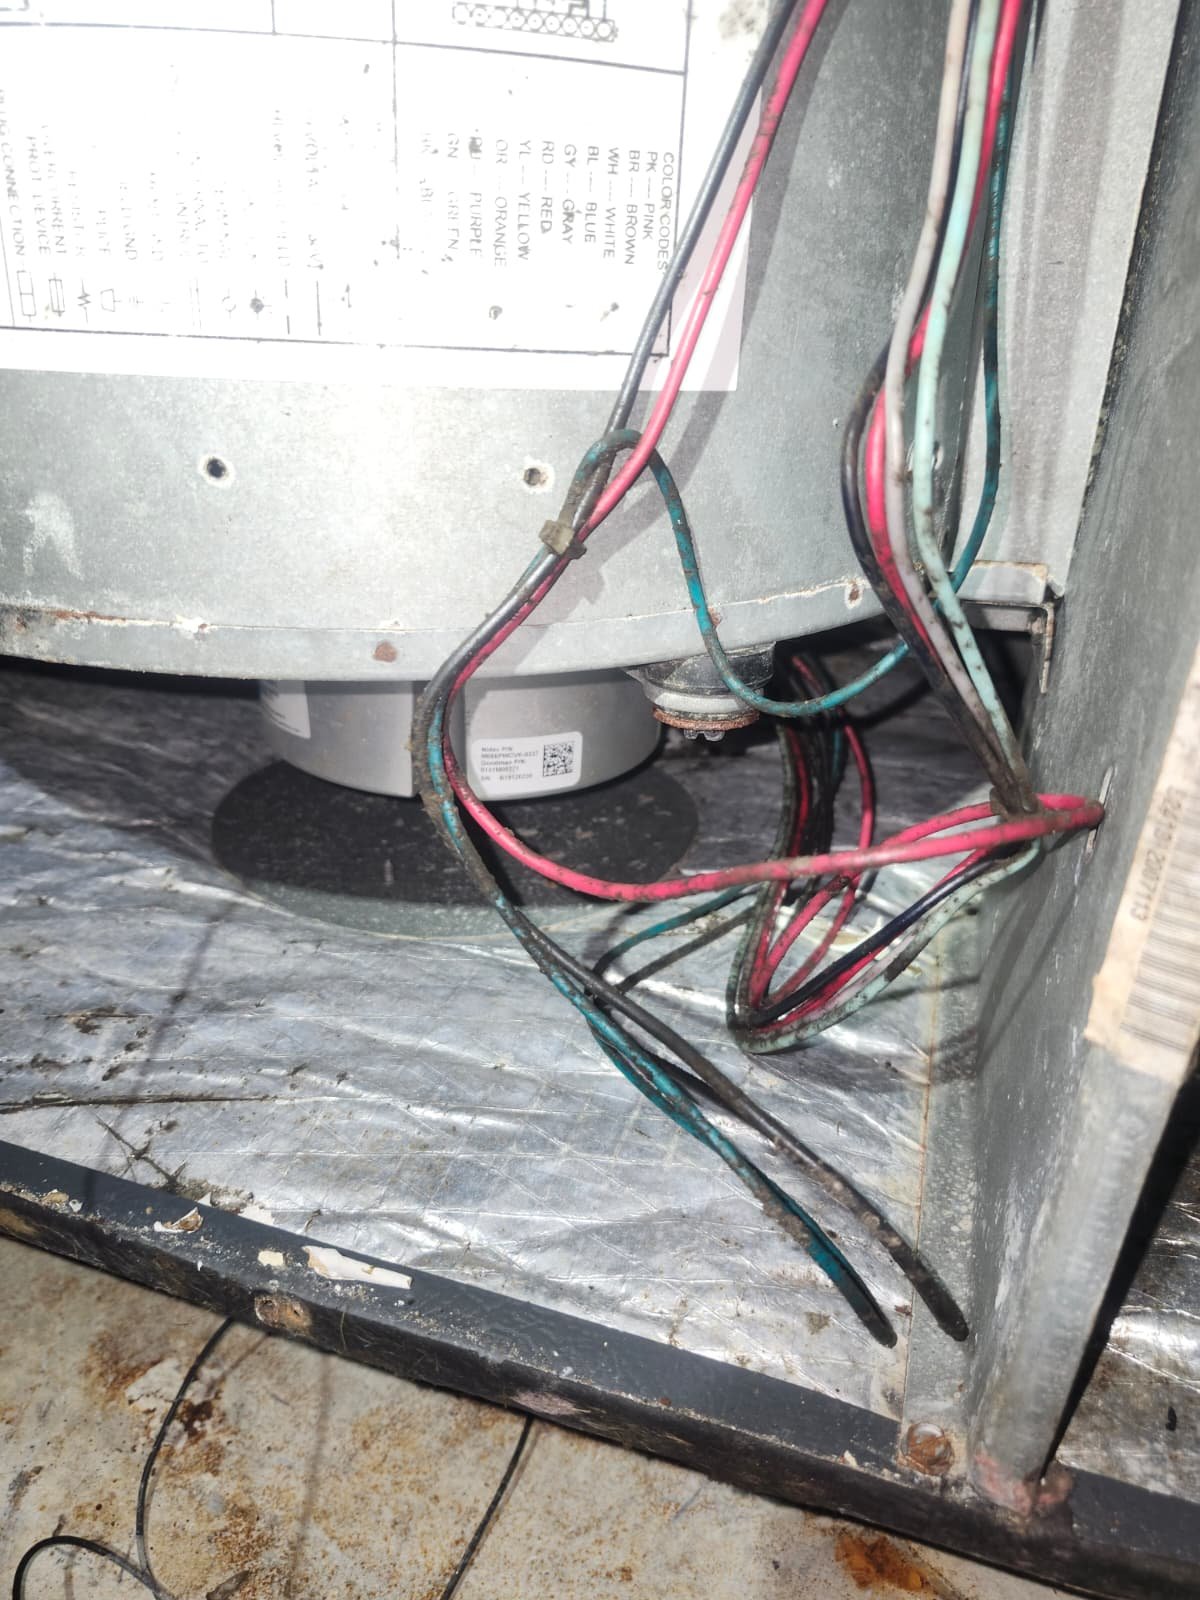
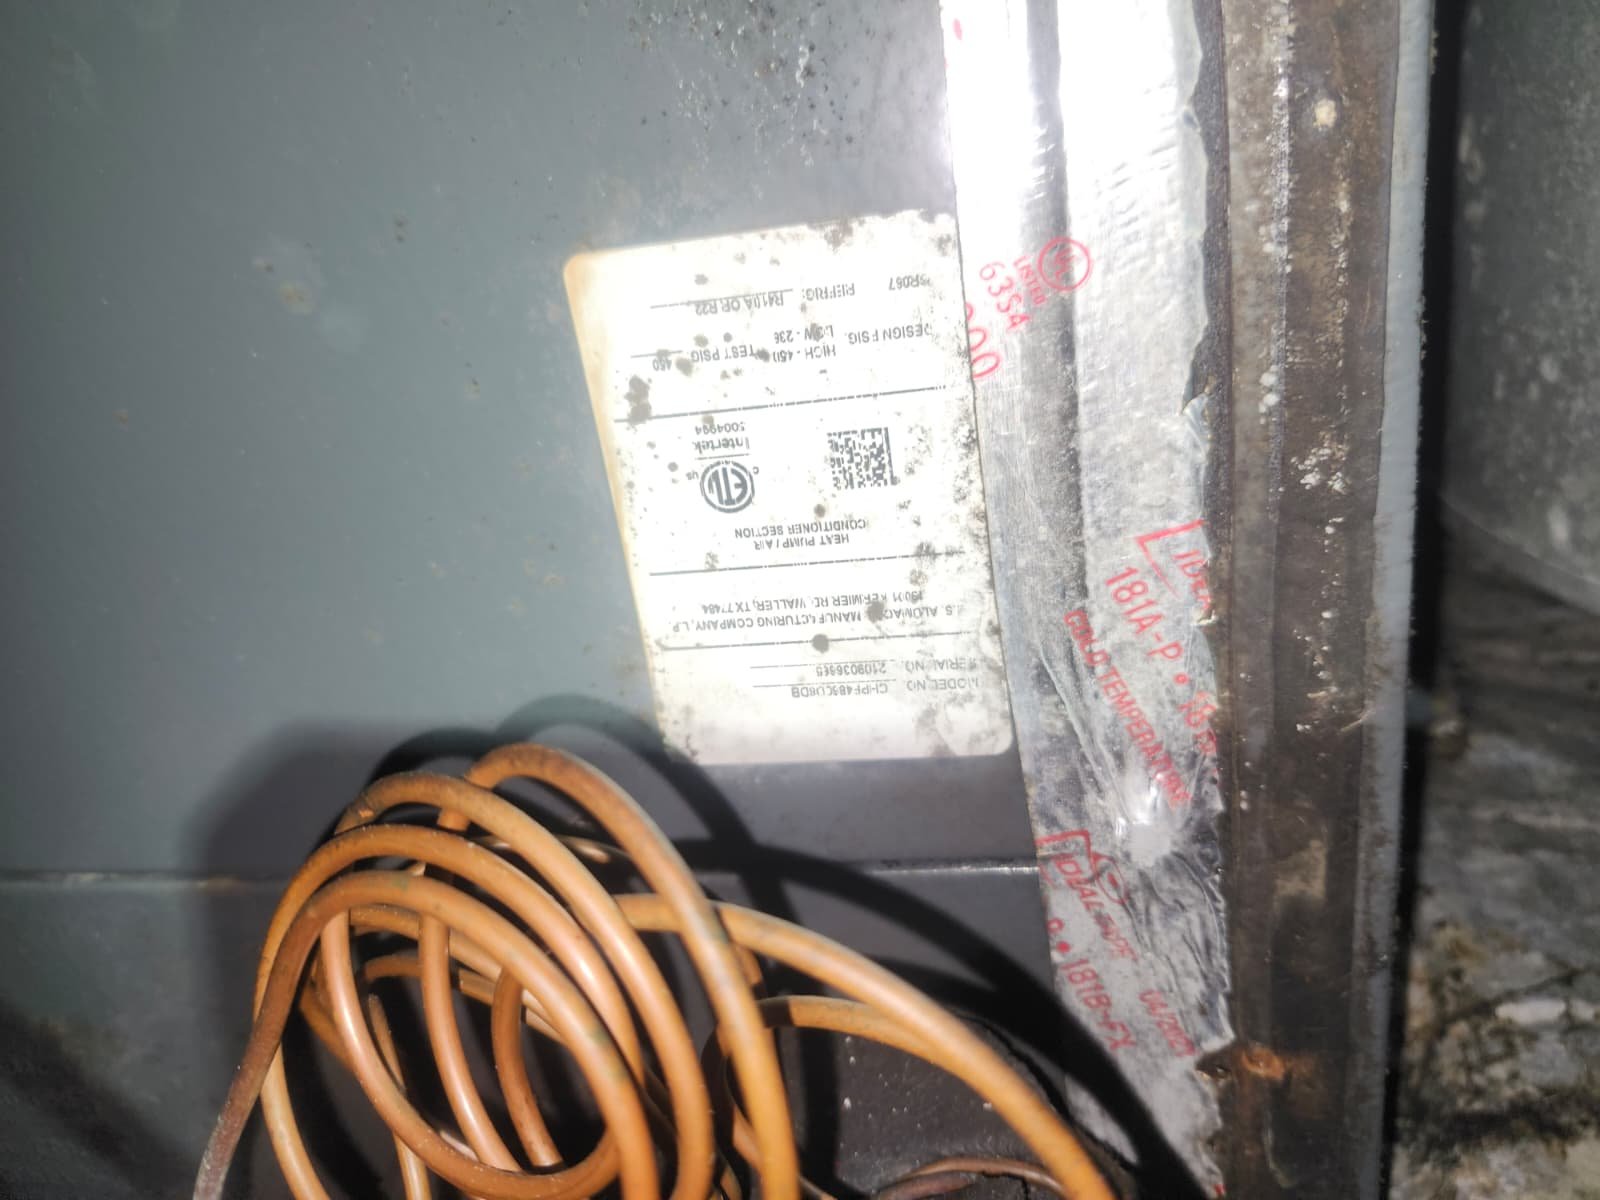
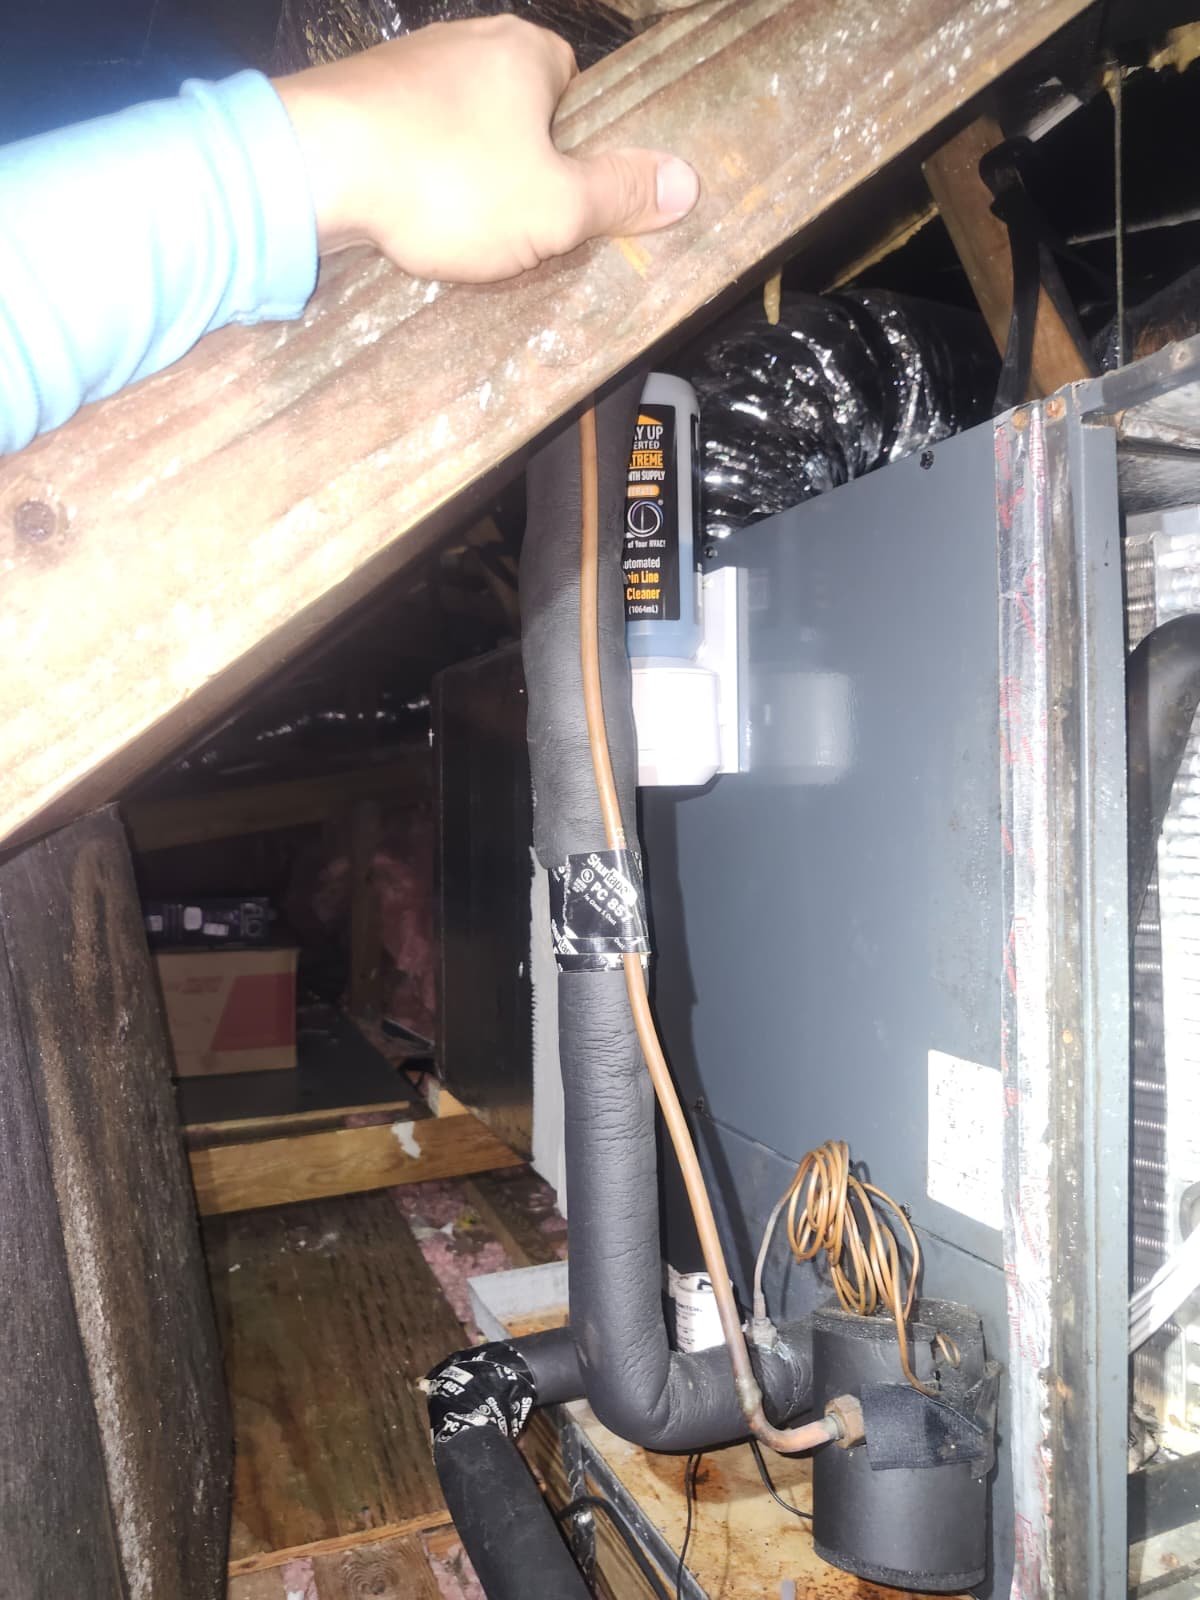
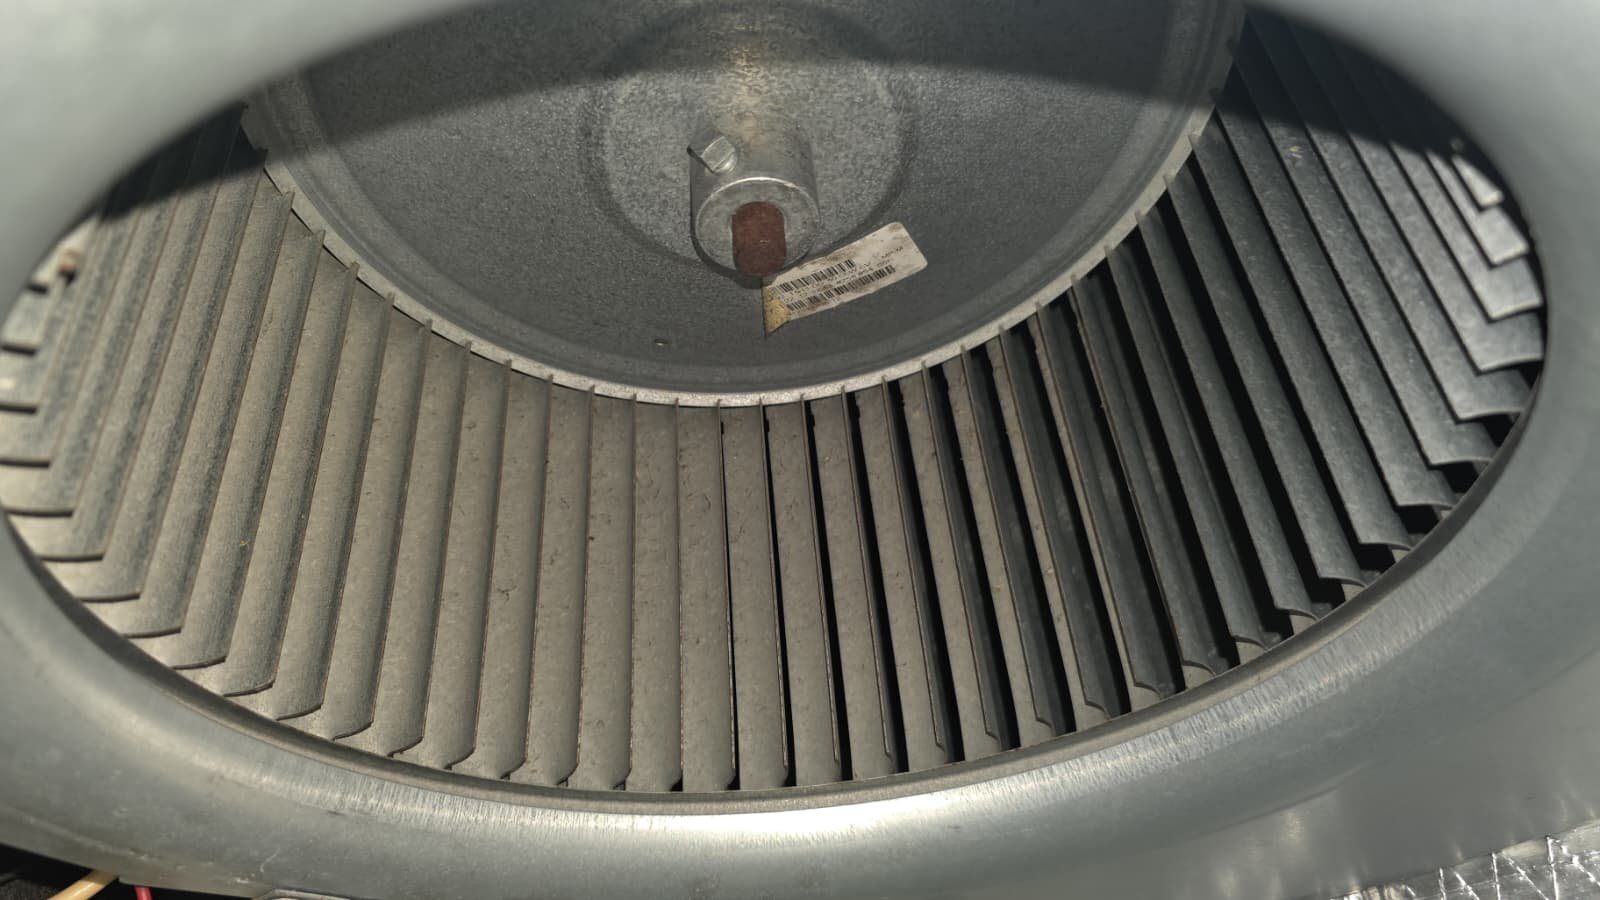
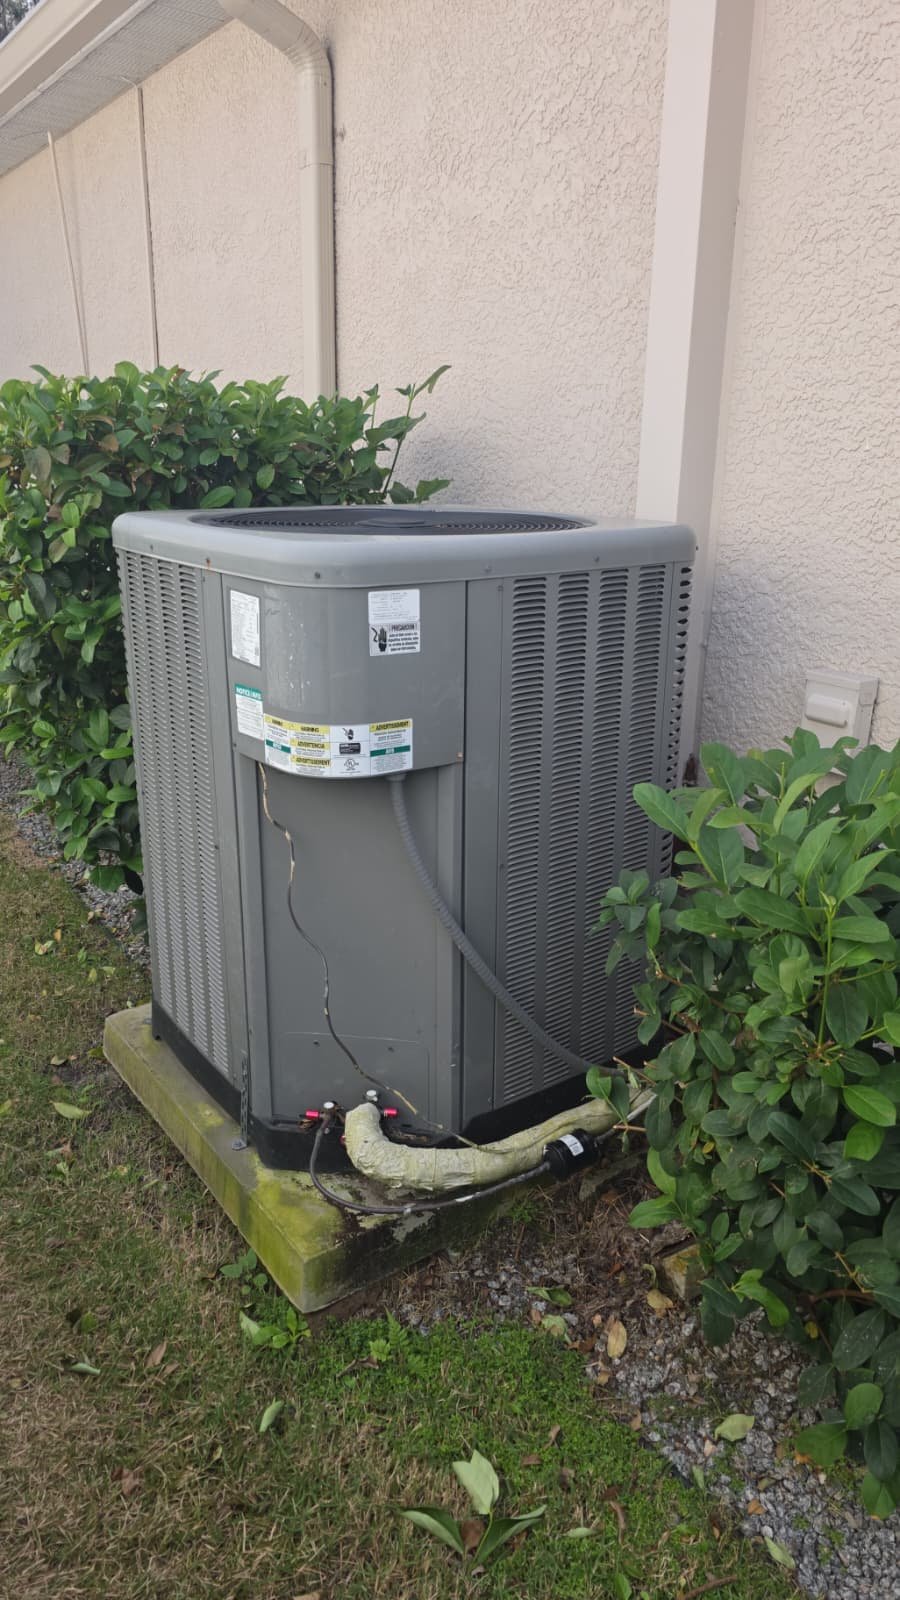
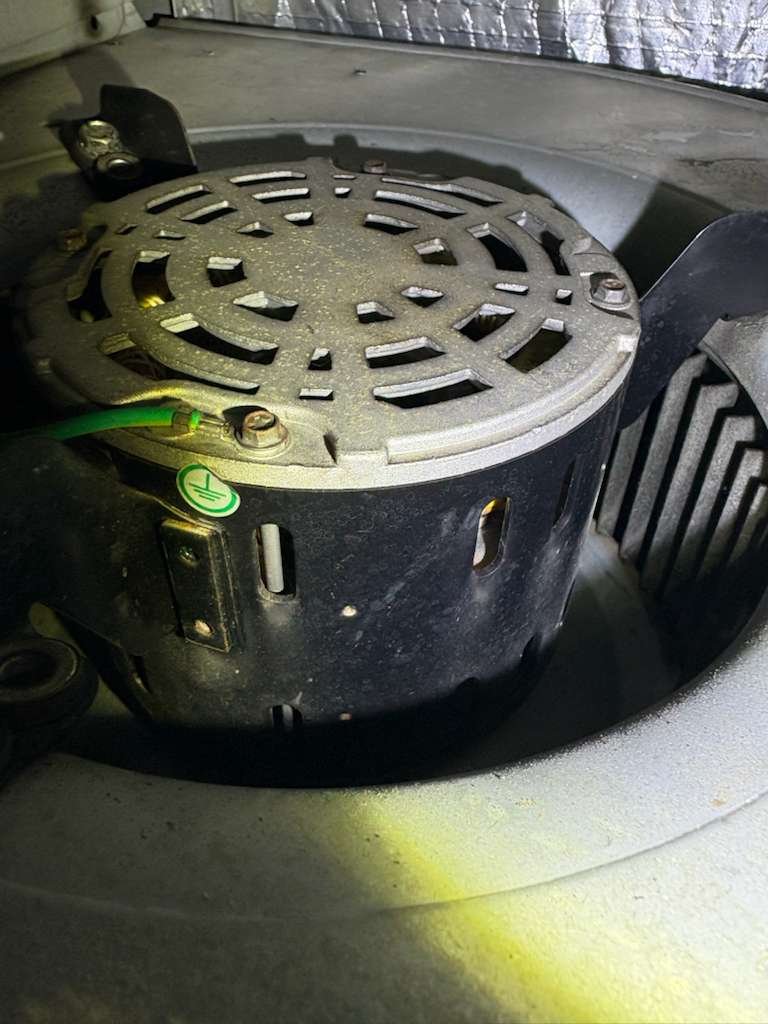
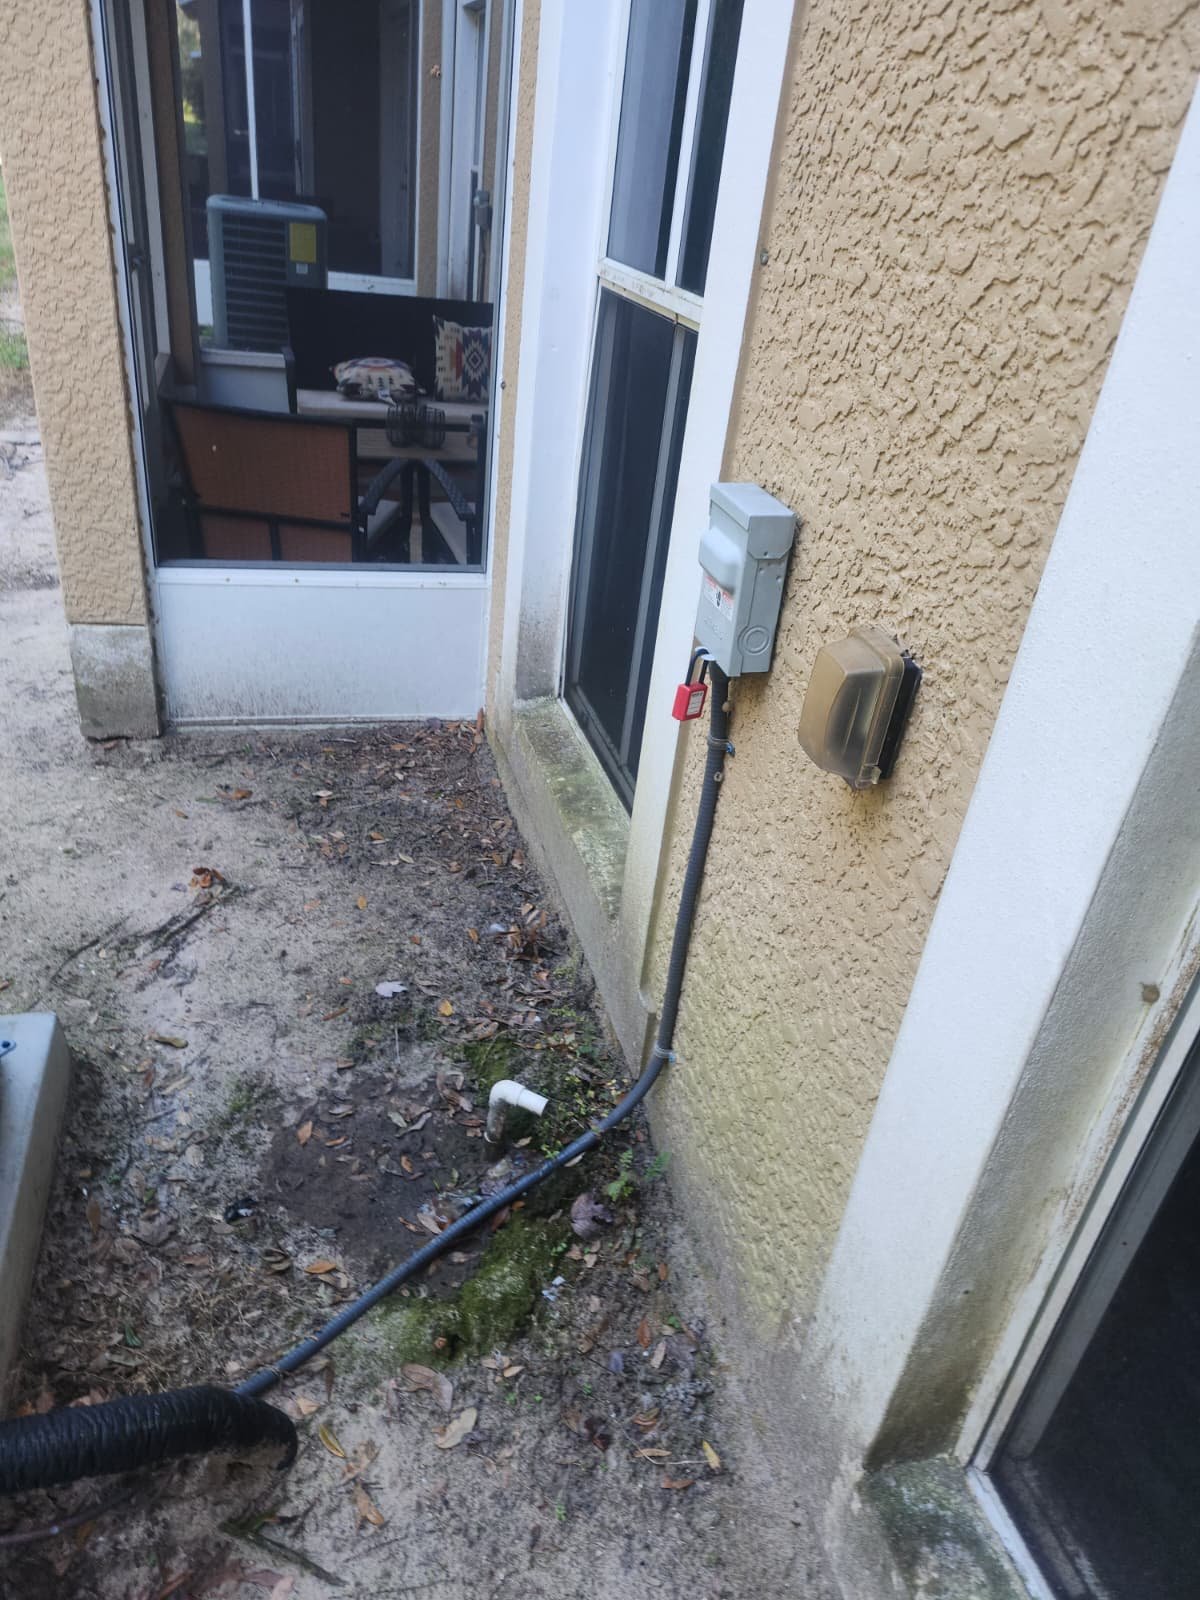
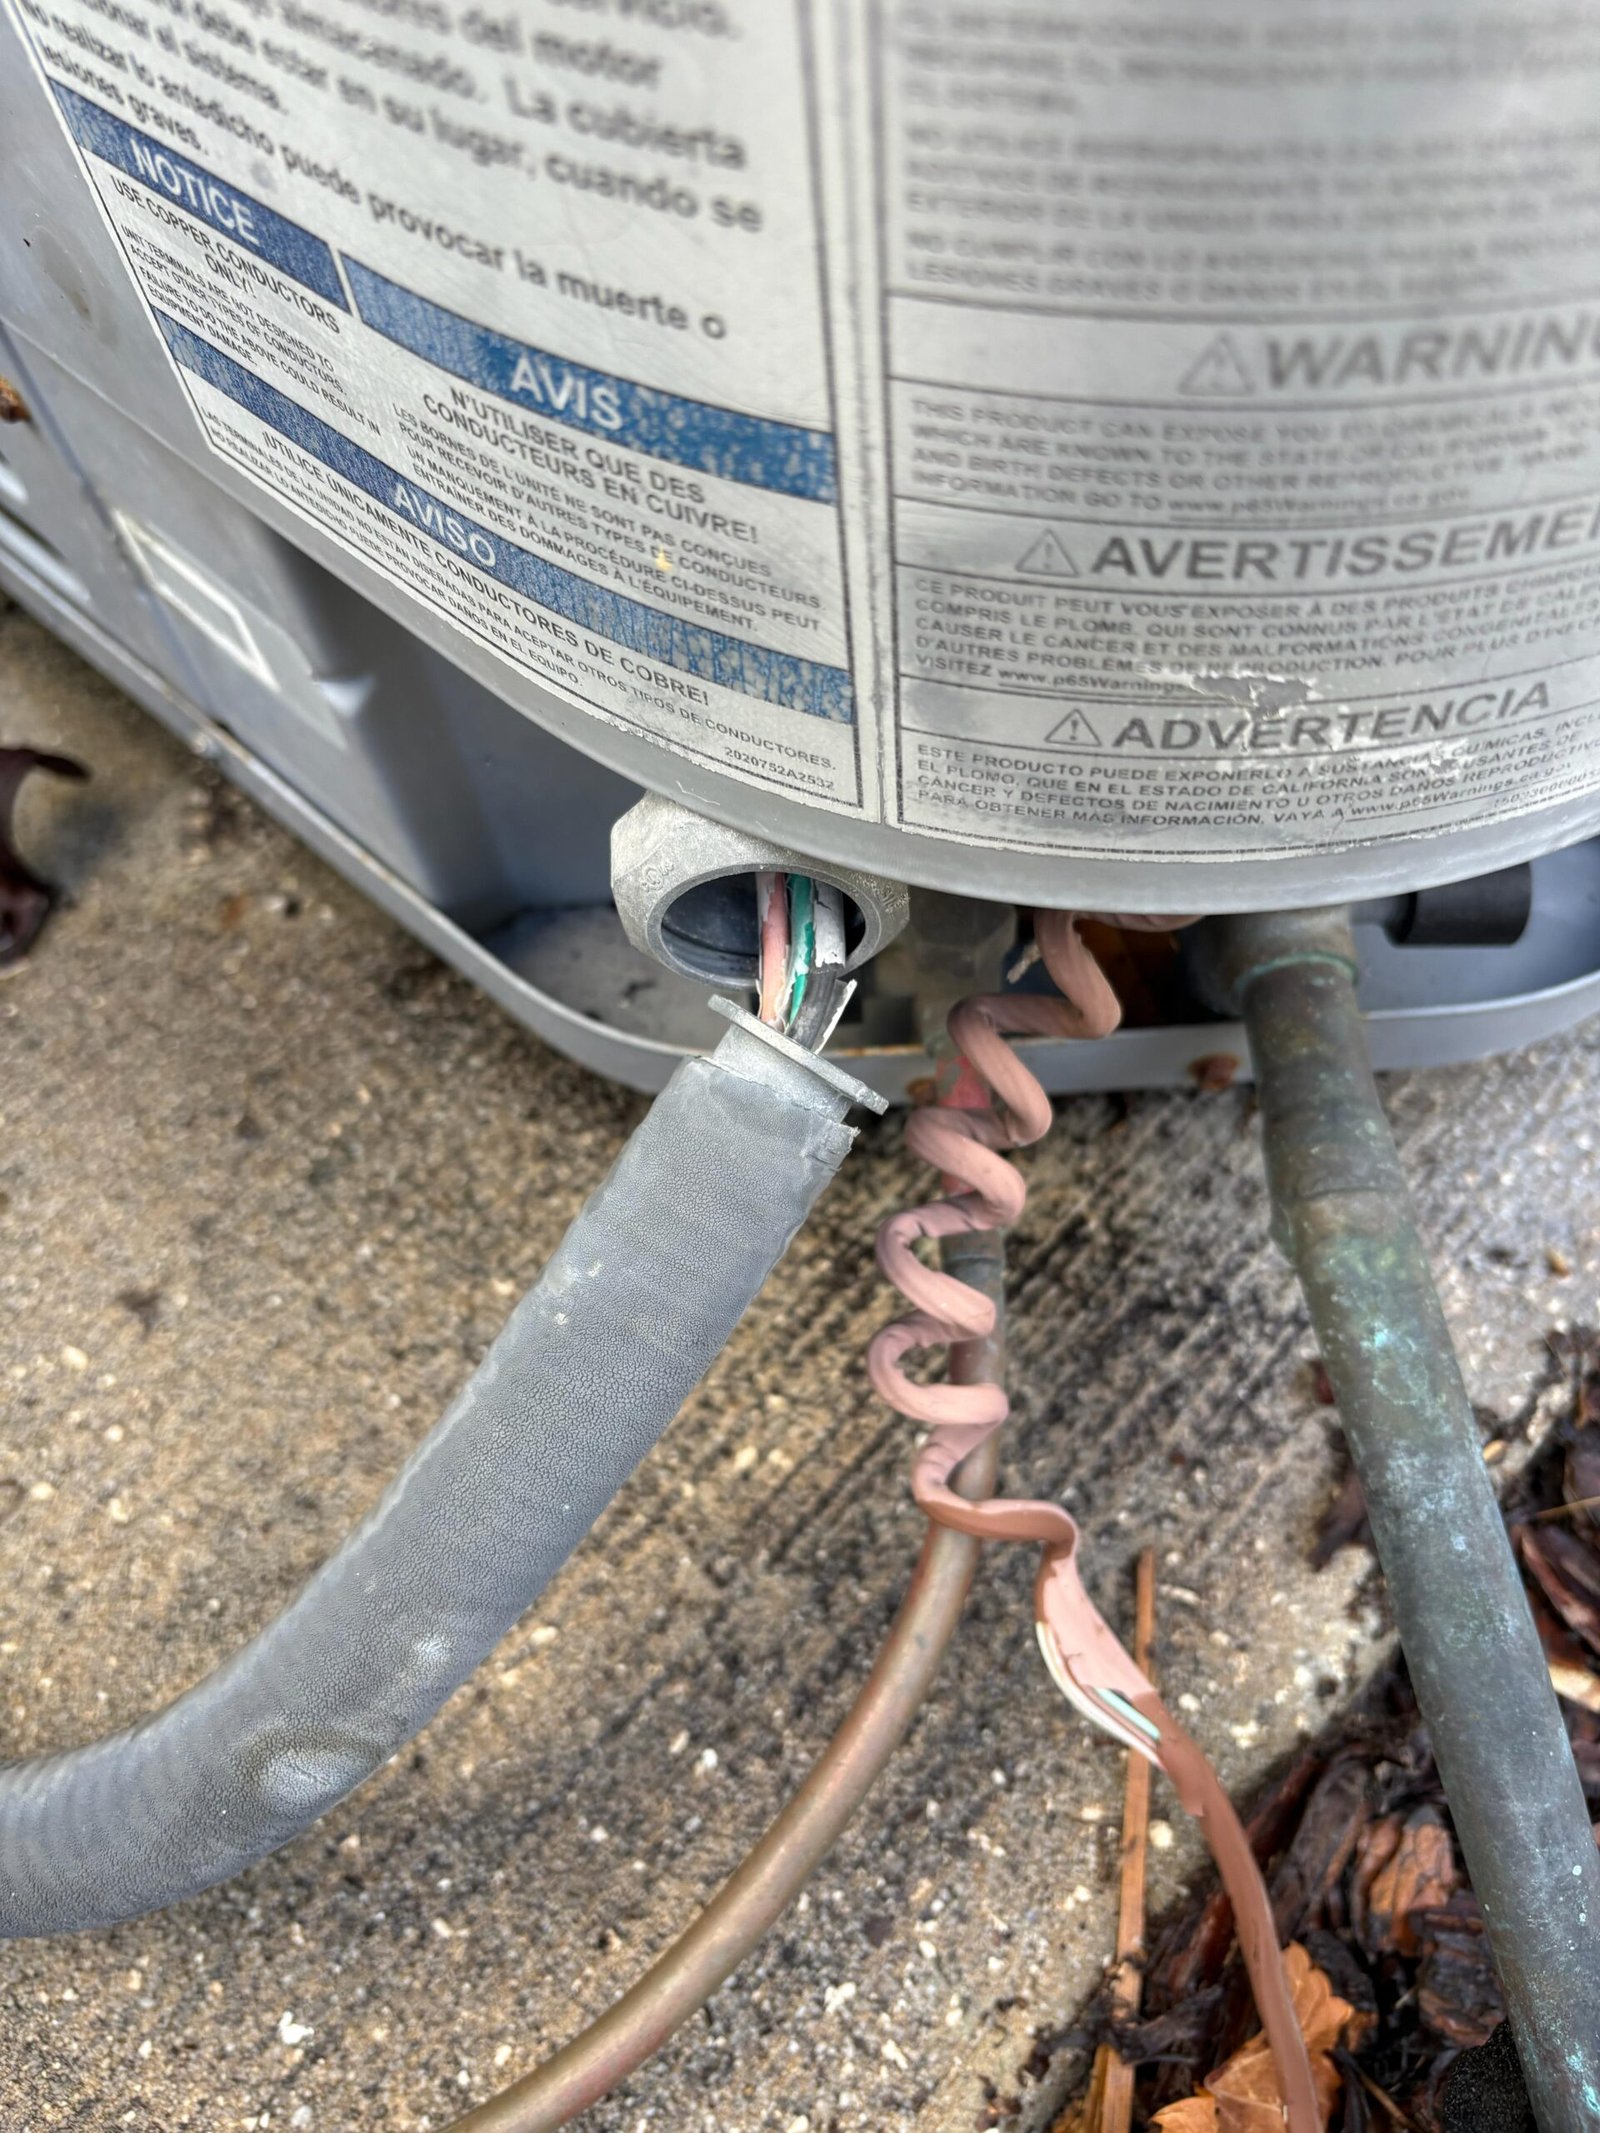
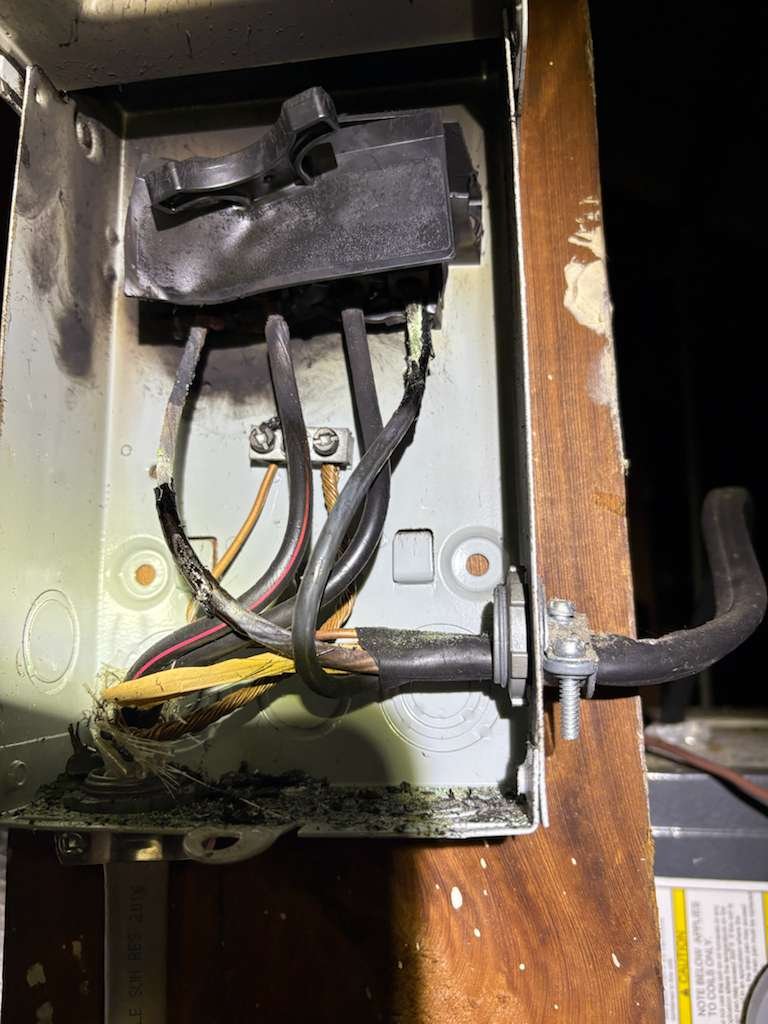
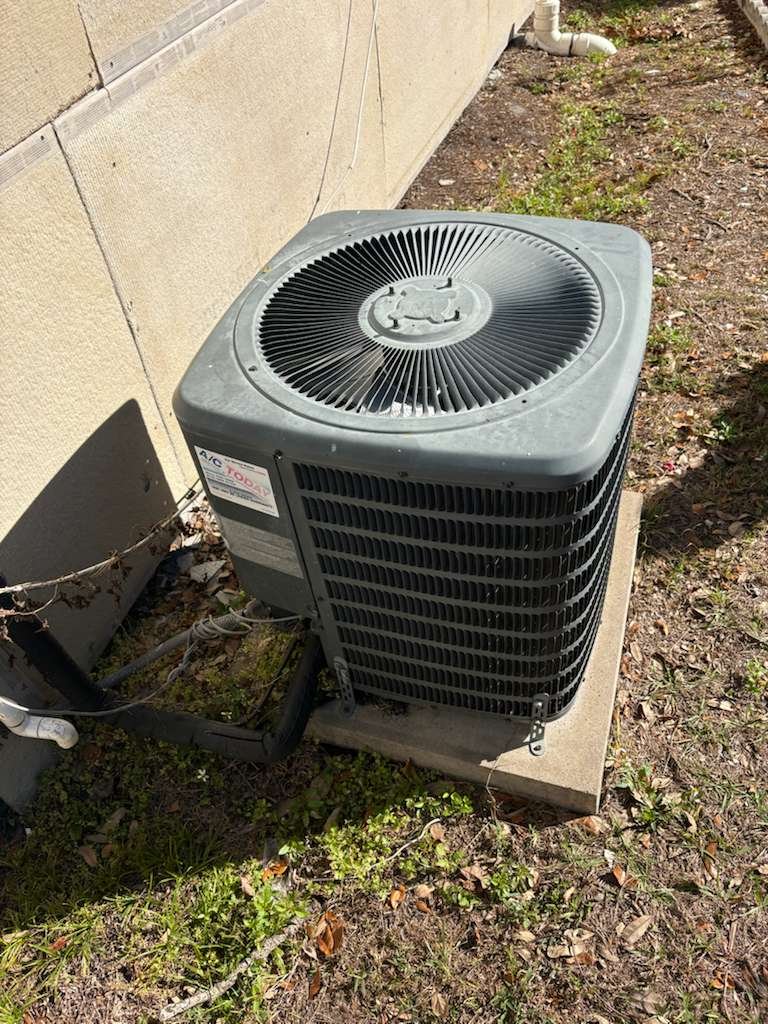
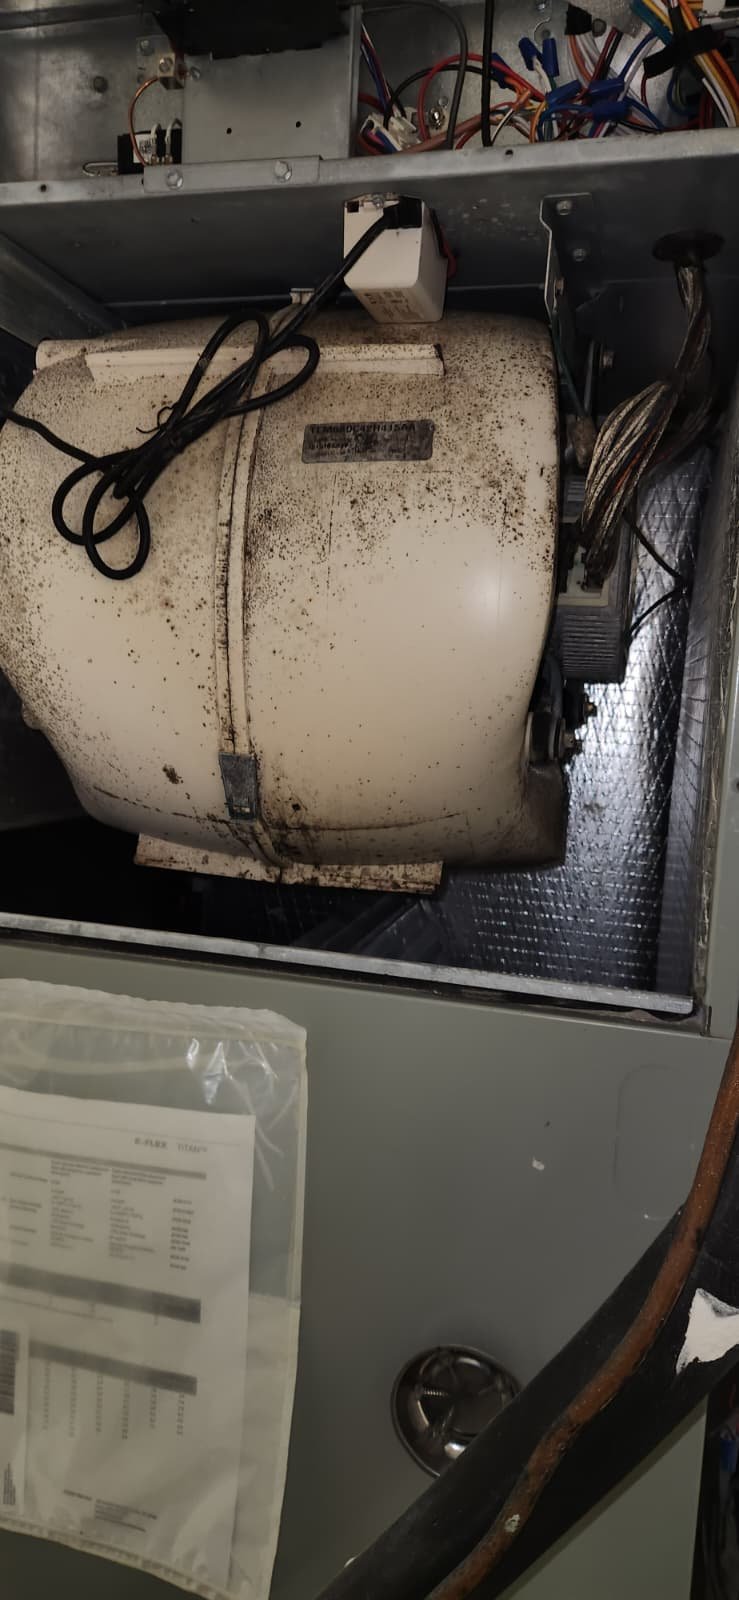
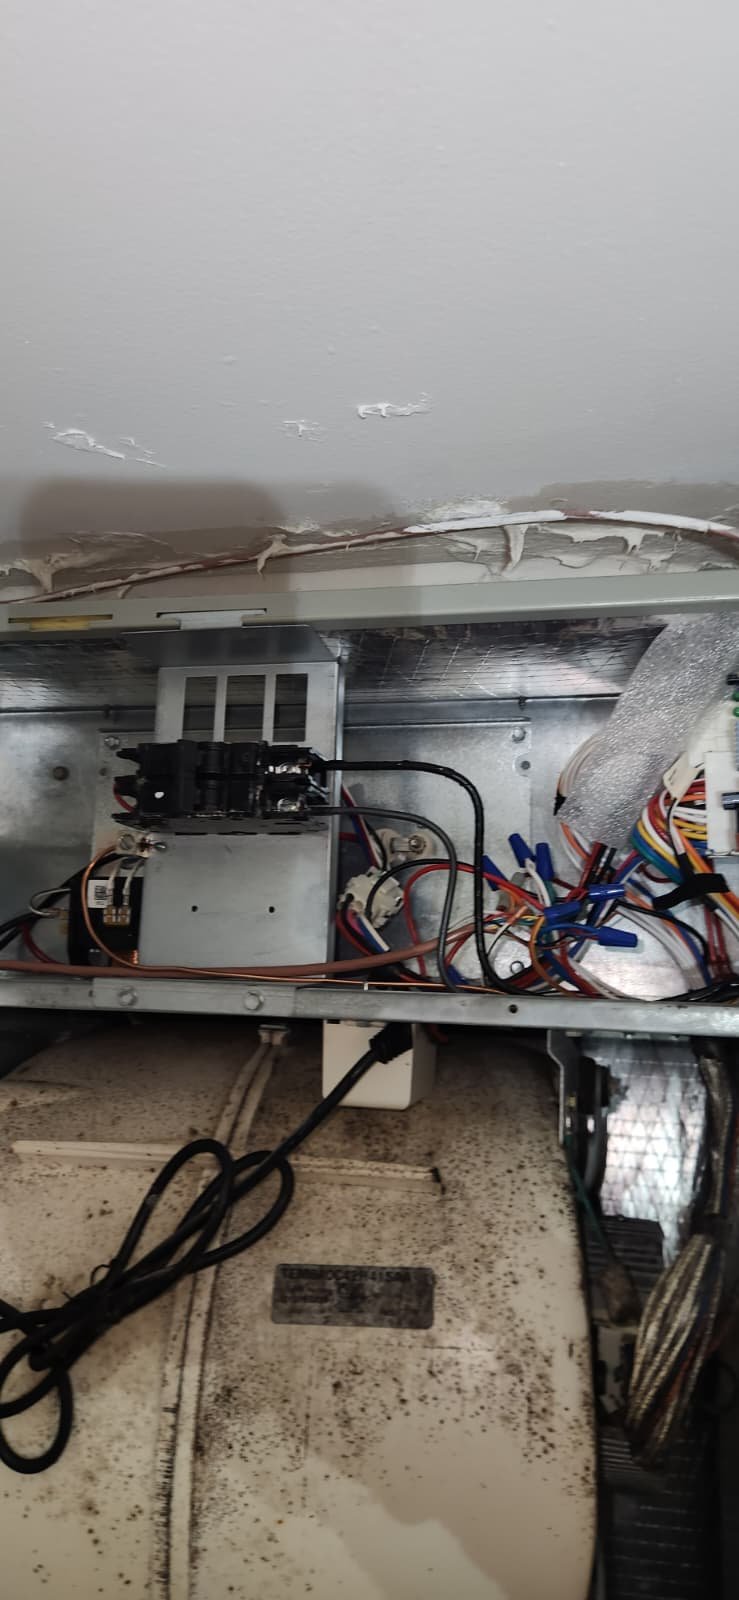
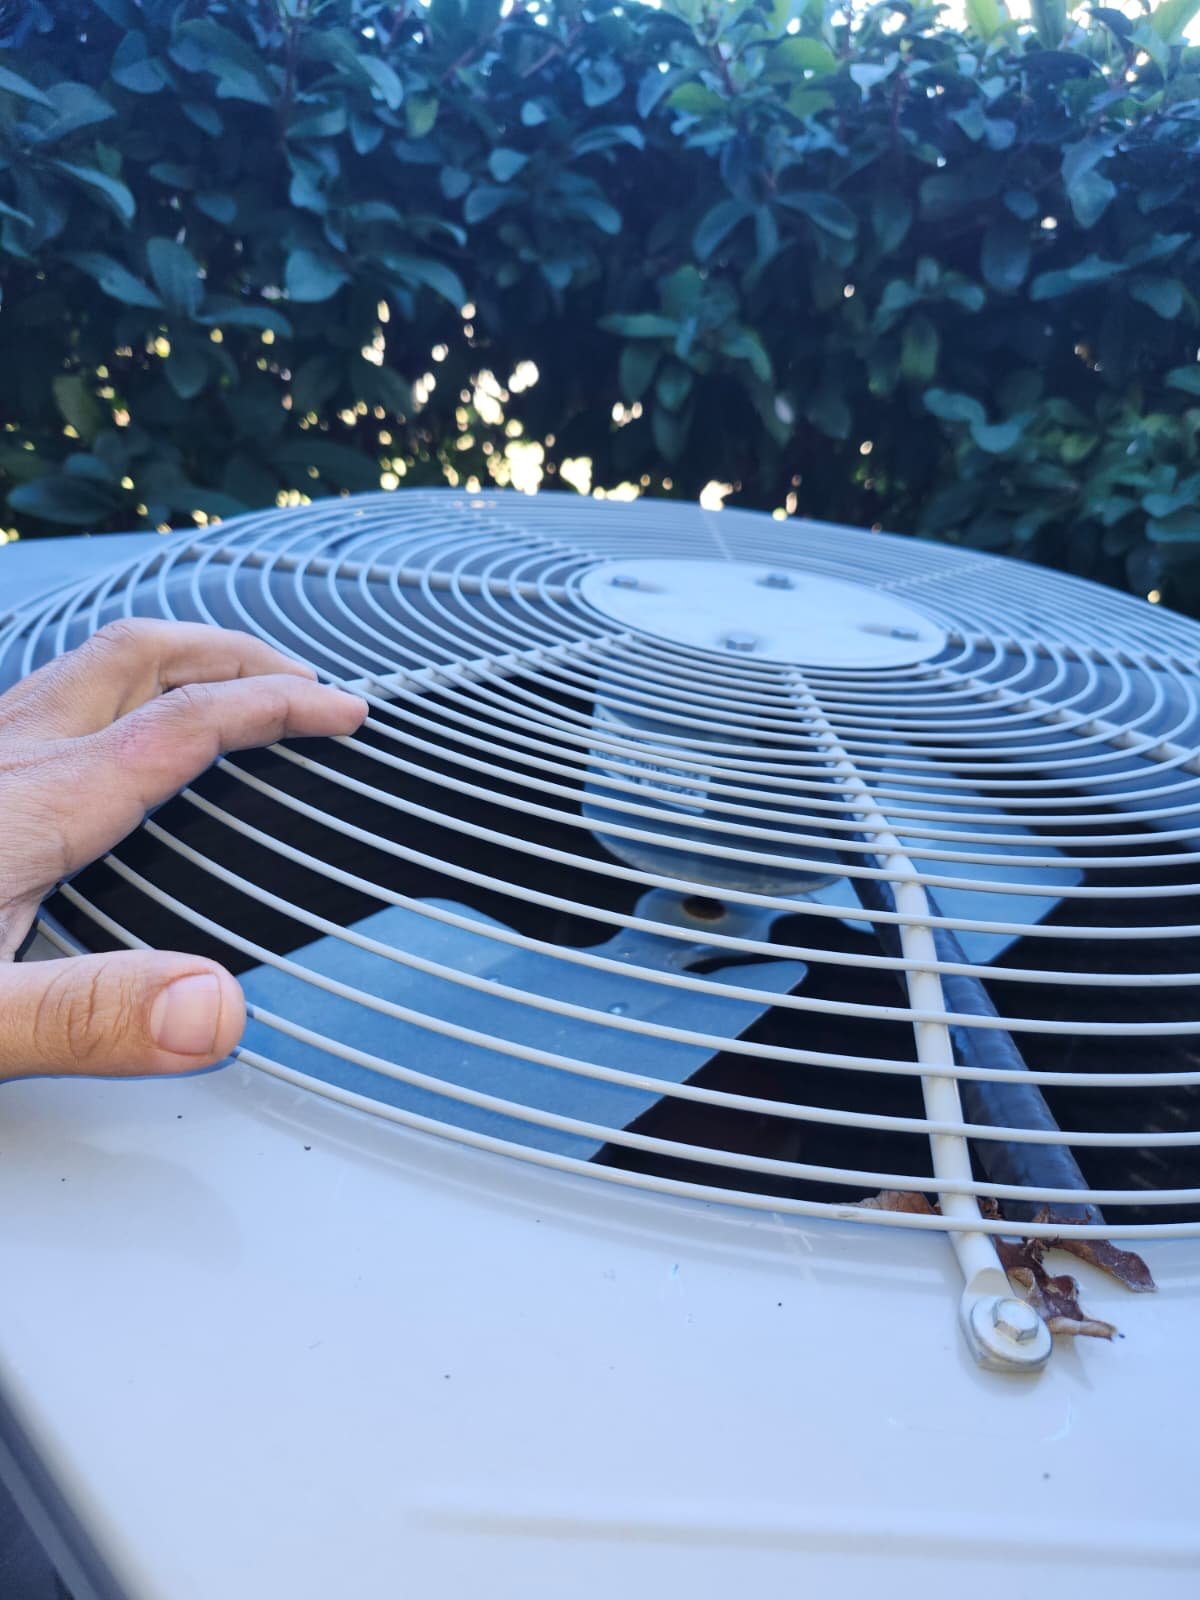
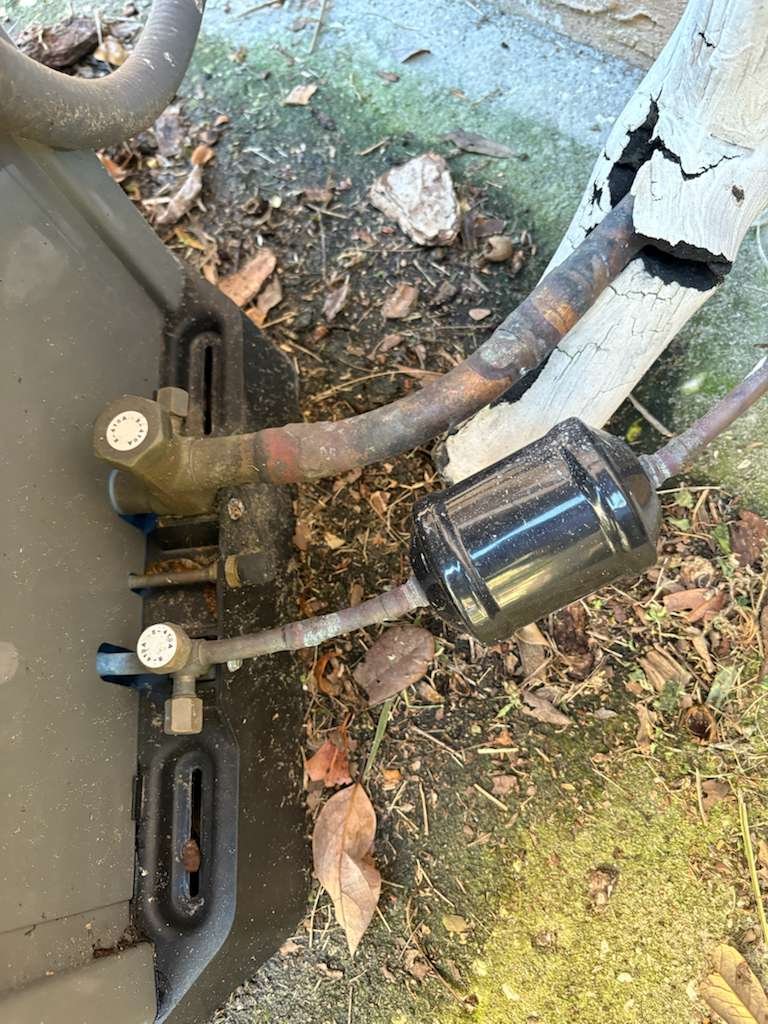
1. Removing and Preparing the Old System
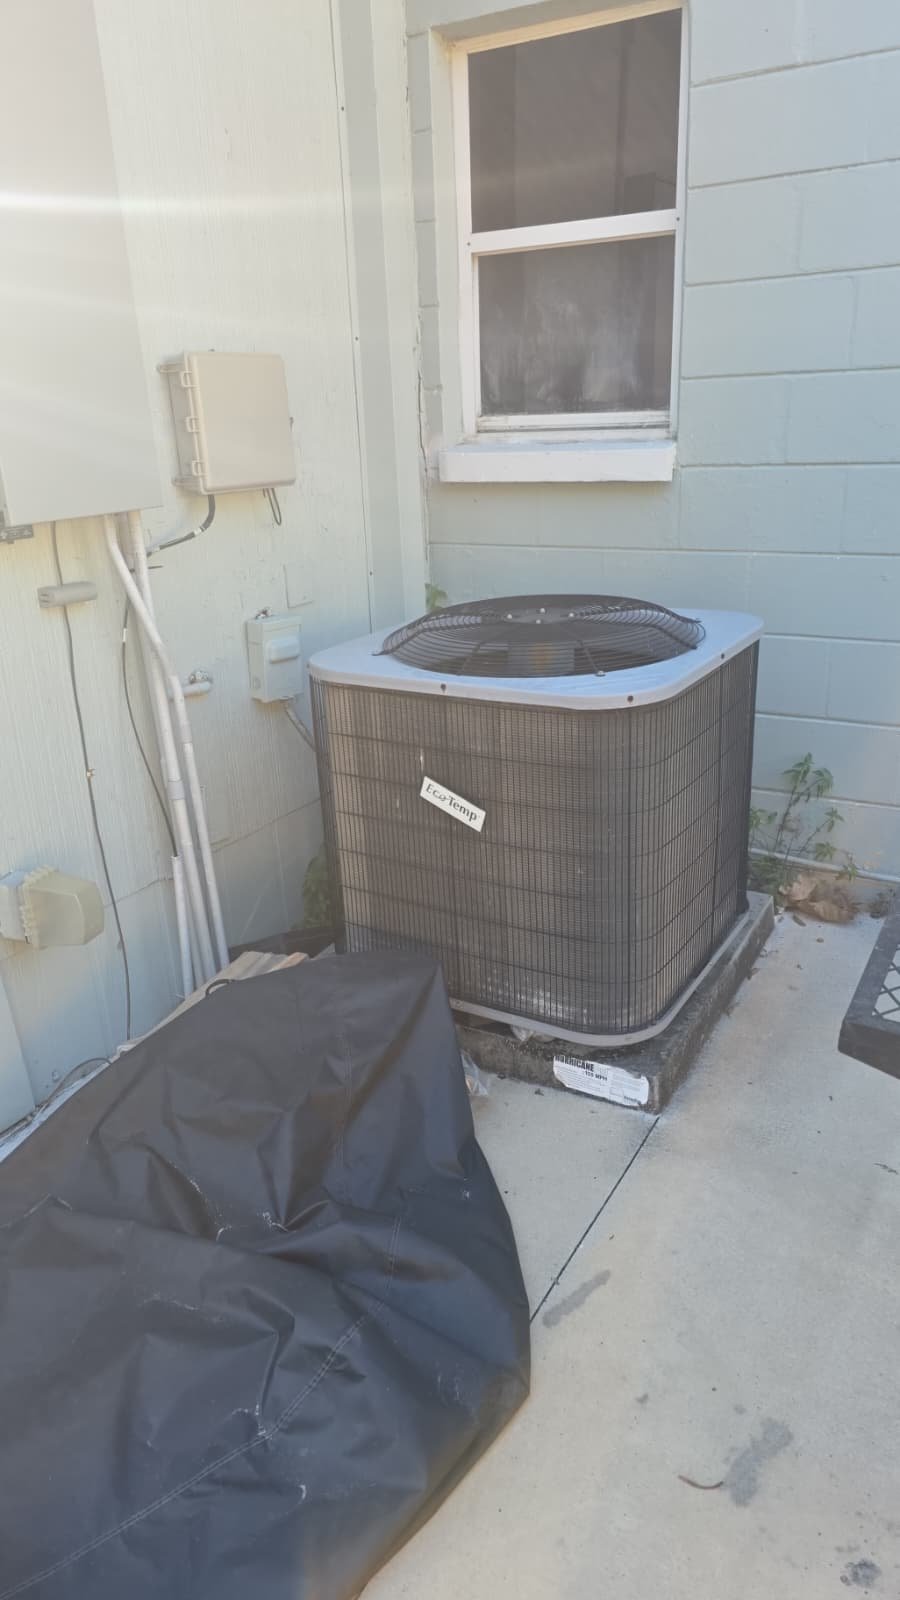
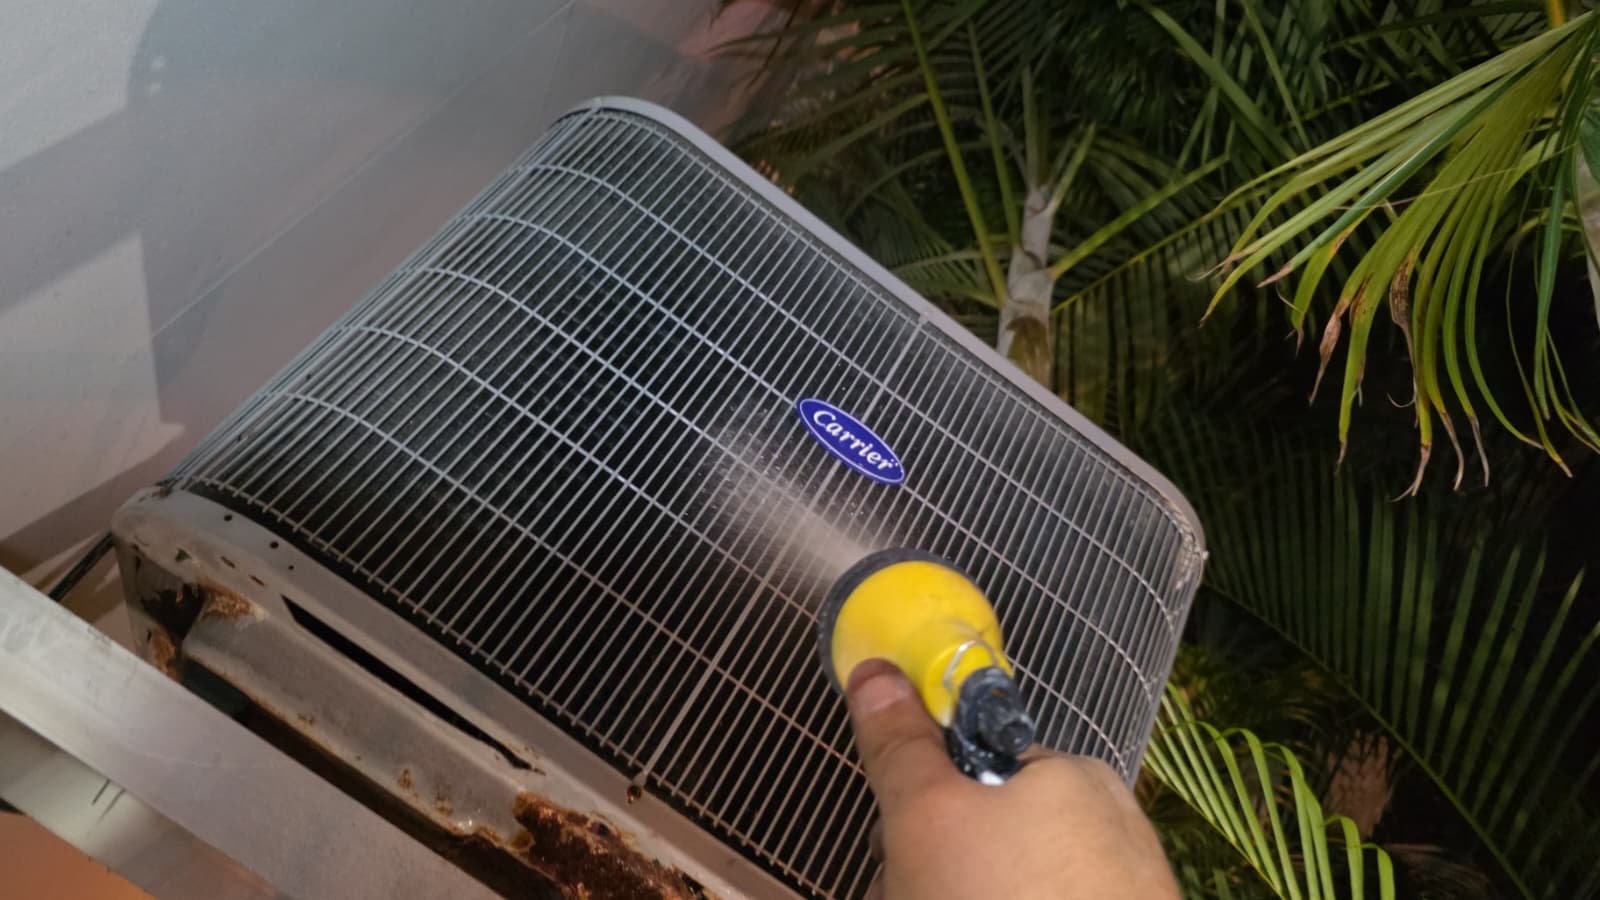
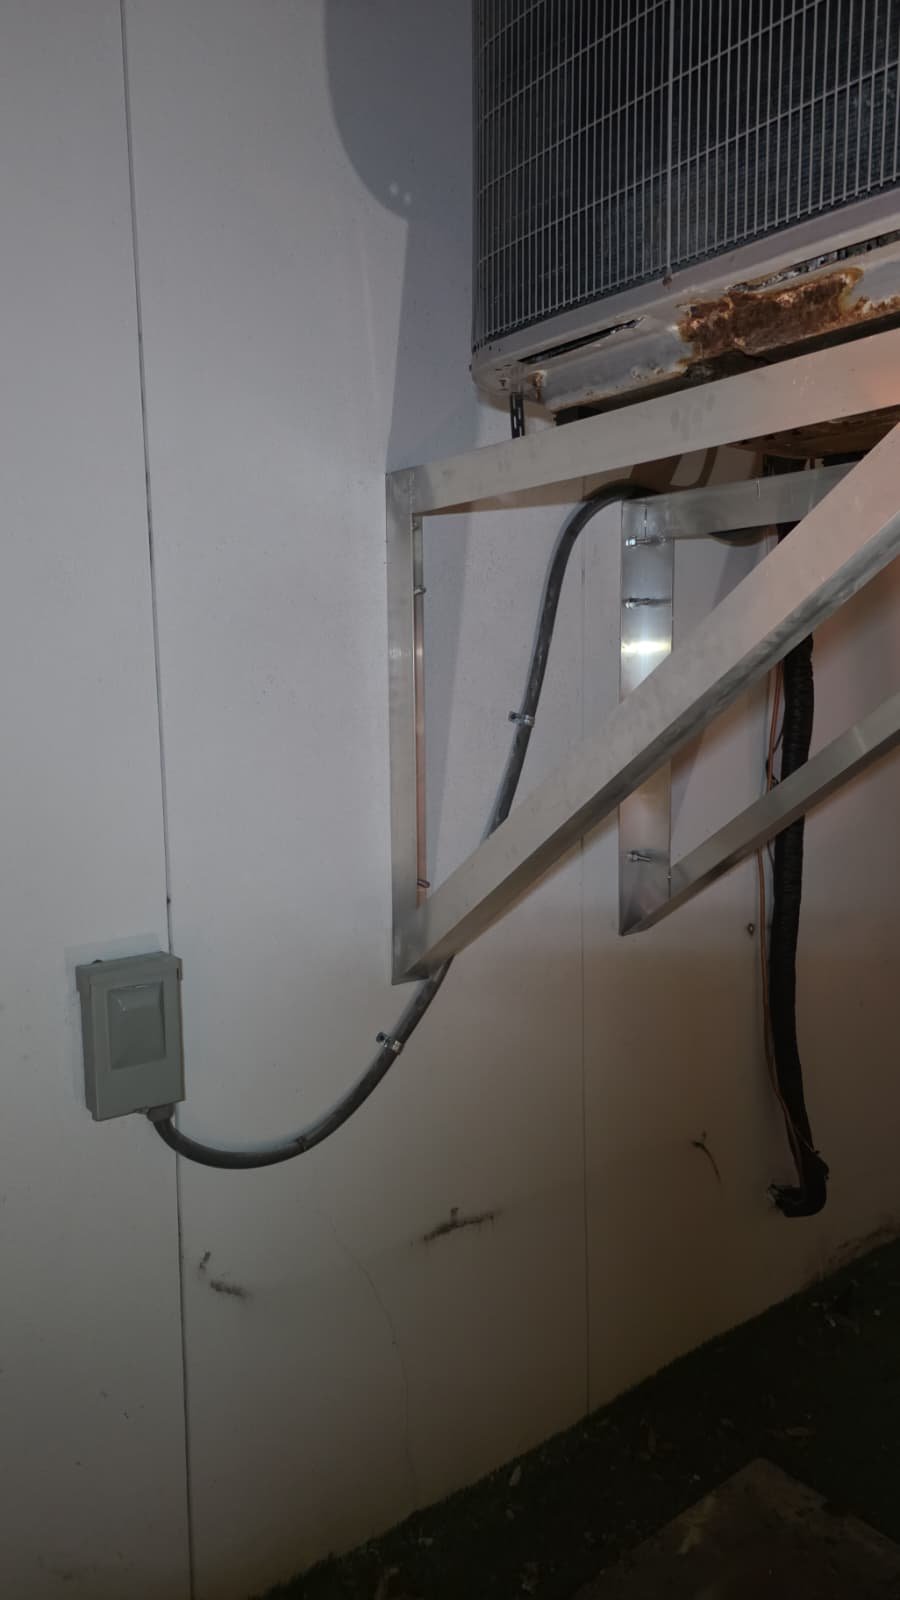
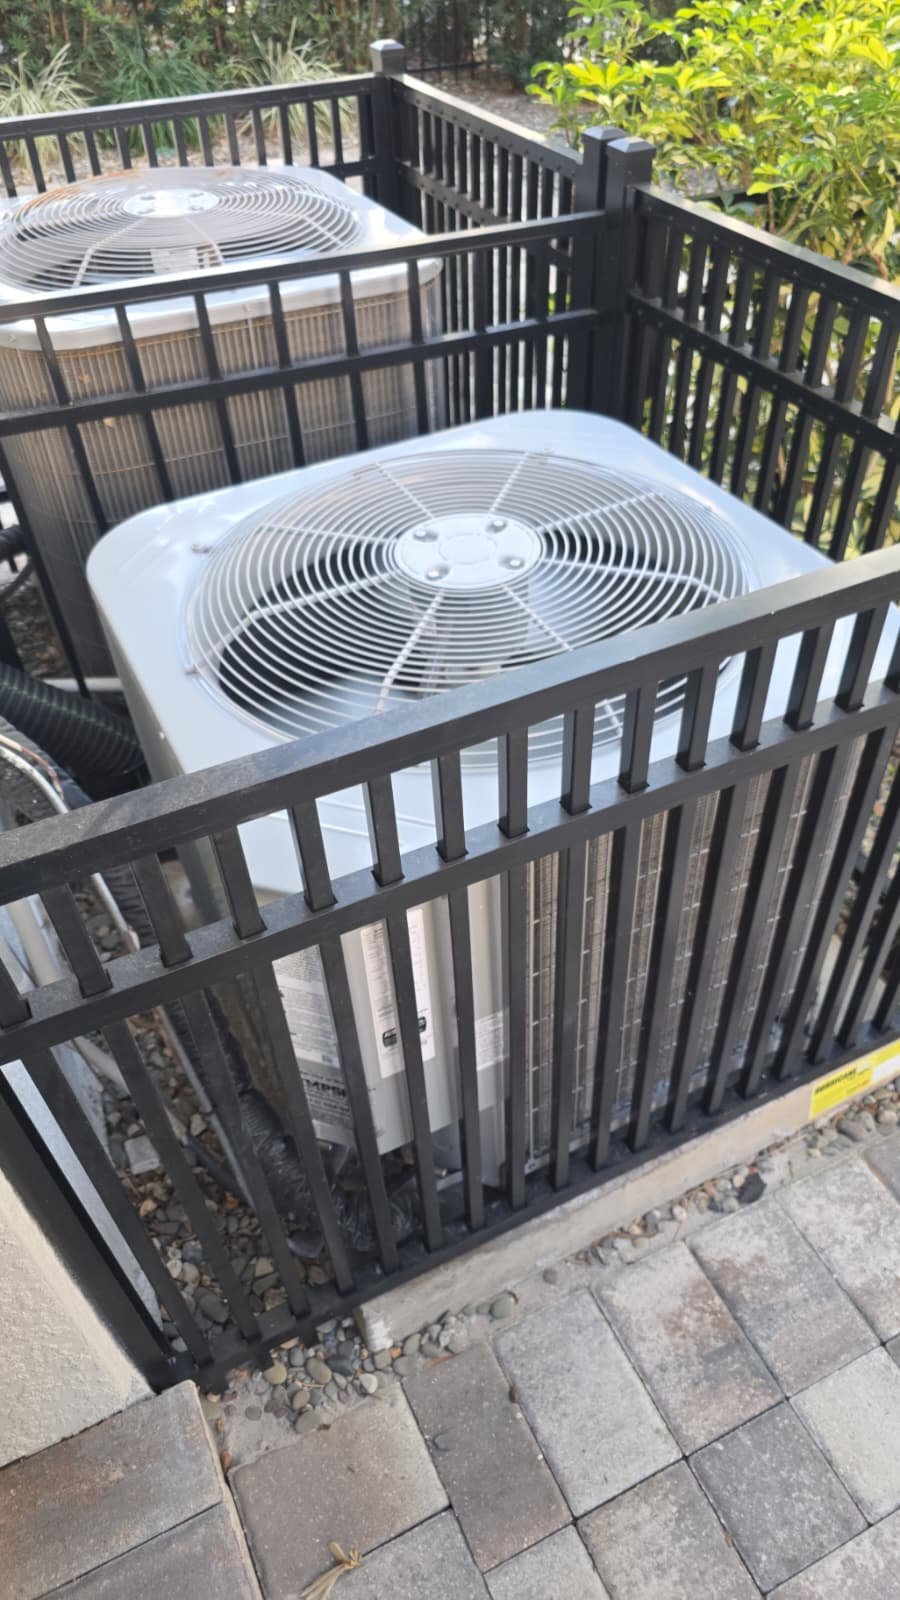
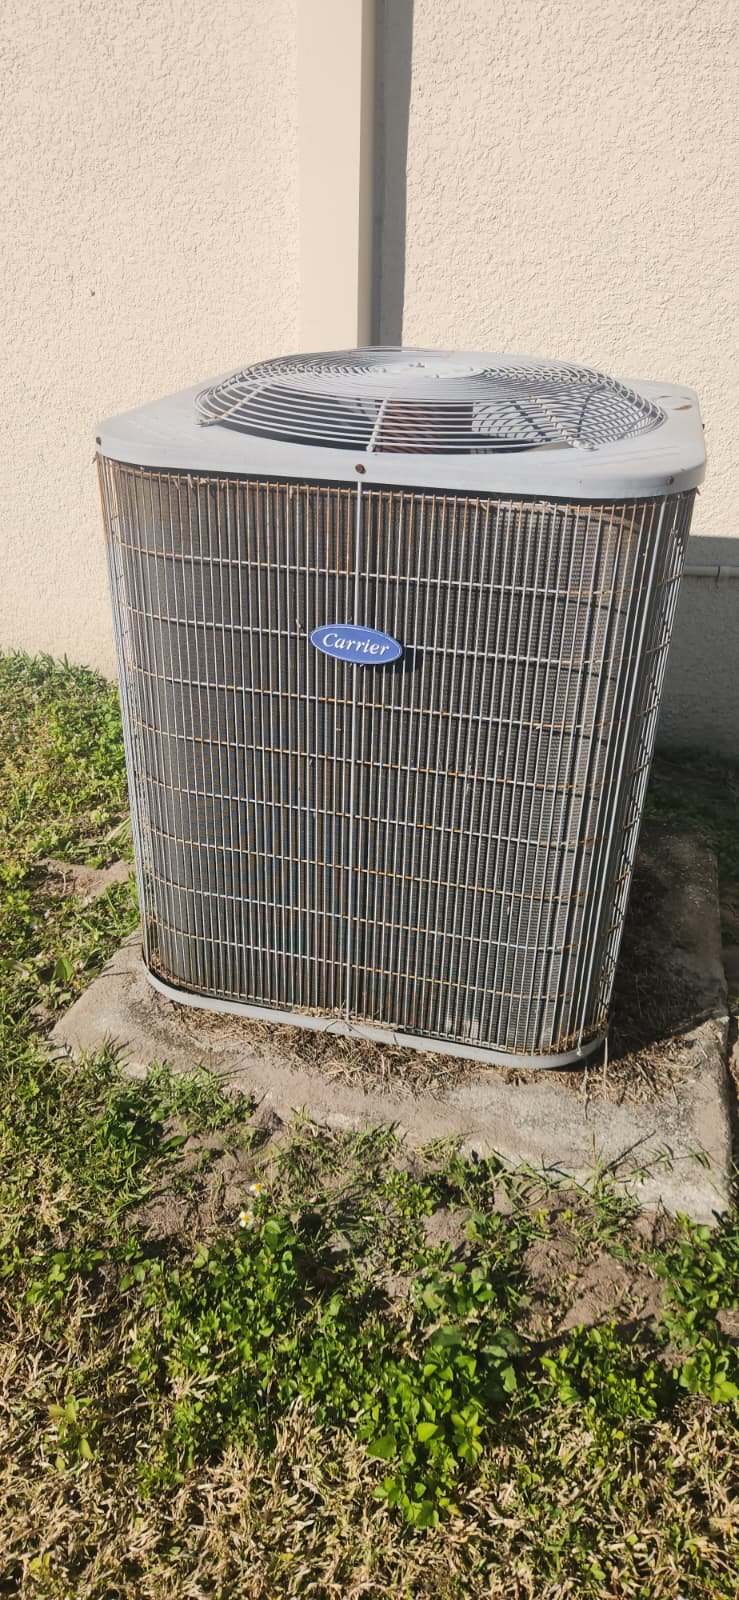
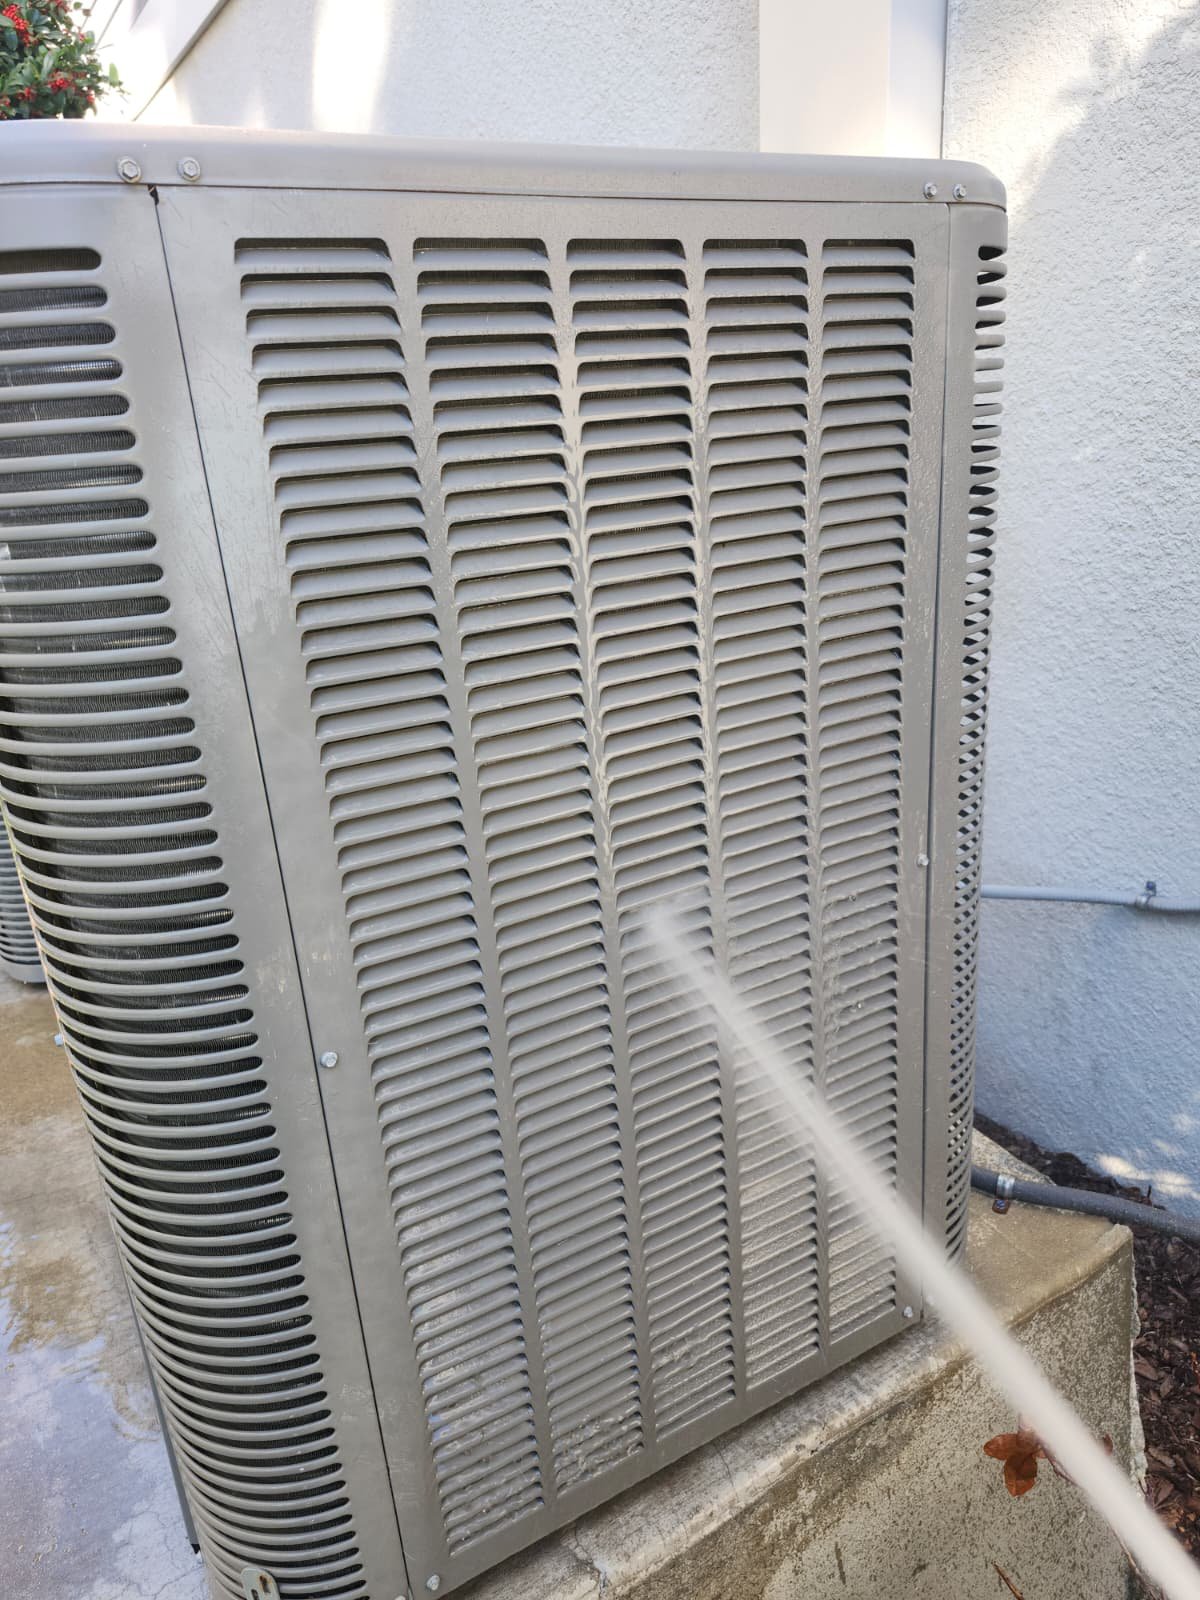
We carefully disconnected and removed the existing outdoor unit and air handler, following proper recovery and handling procedures for refrigerant and components. The homeowner requested to keep the old machine on-site for a family member, so we made sure it was safely set aside in the agreed area rather than hauling it away.
During this stage we also:
- Protected work areas as best as possible from dust and insulation, especially around vents.
- Confirmed where we might need access openings to route new ducts, and discussed that with the homeowner before proceeding.
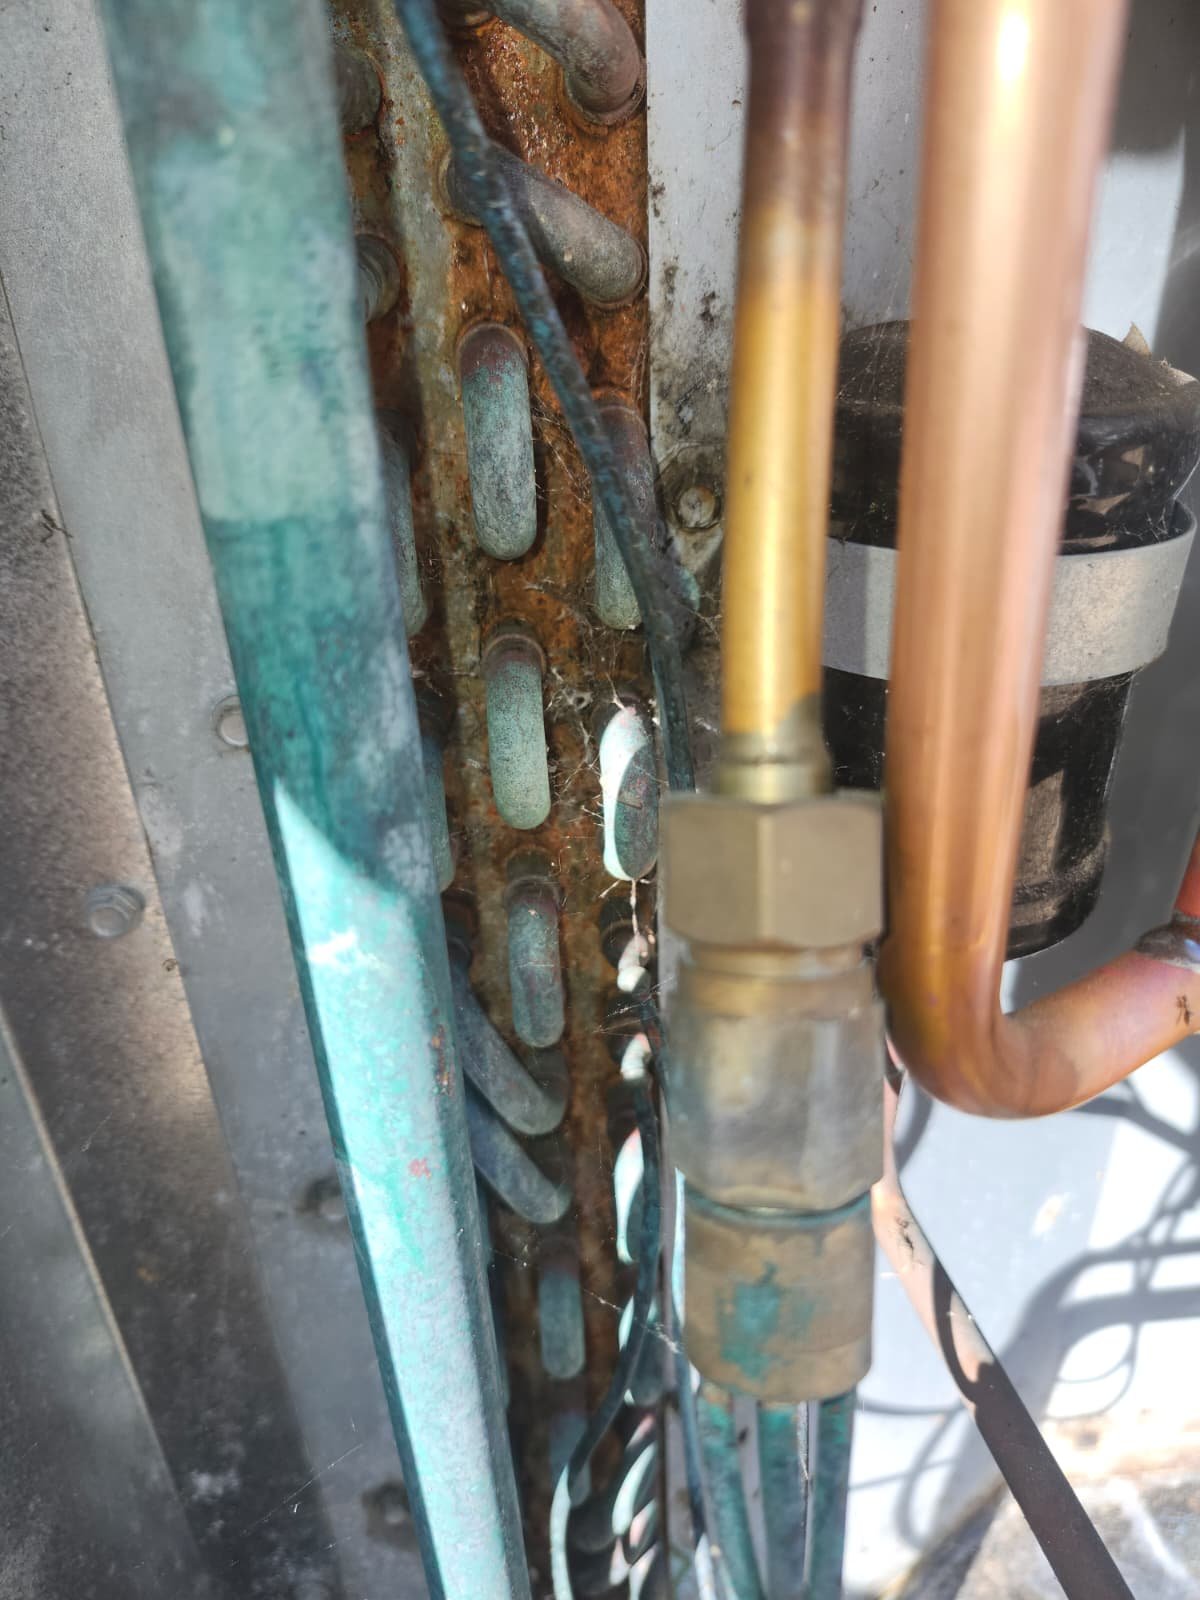
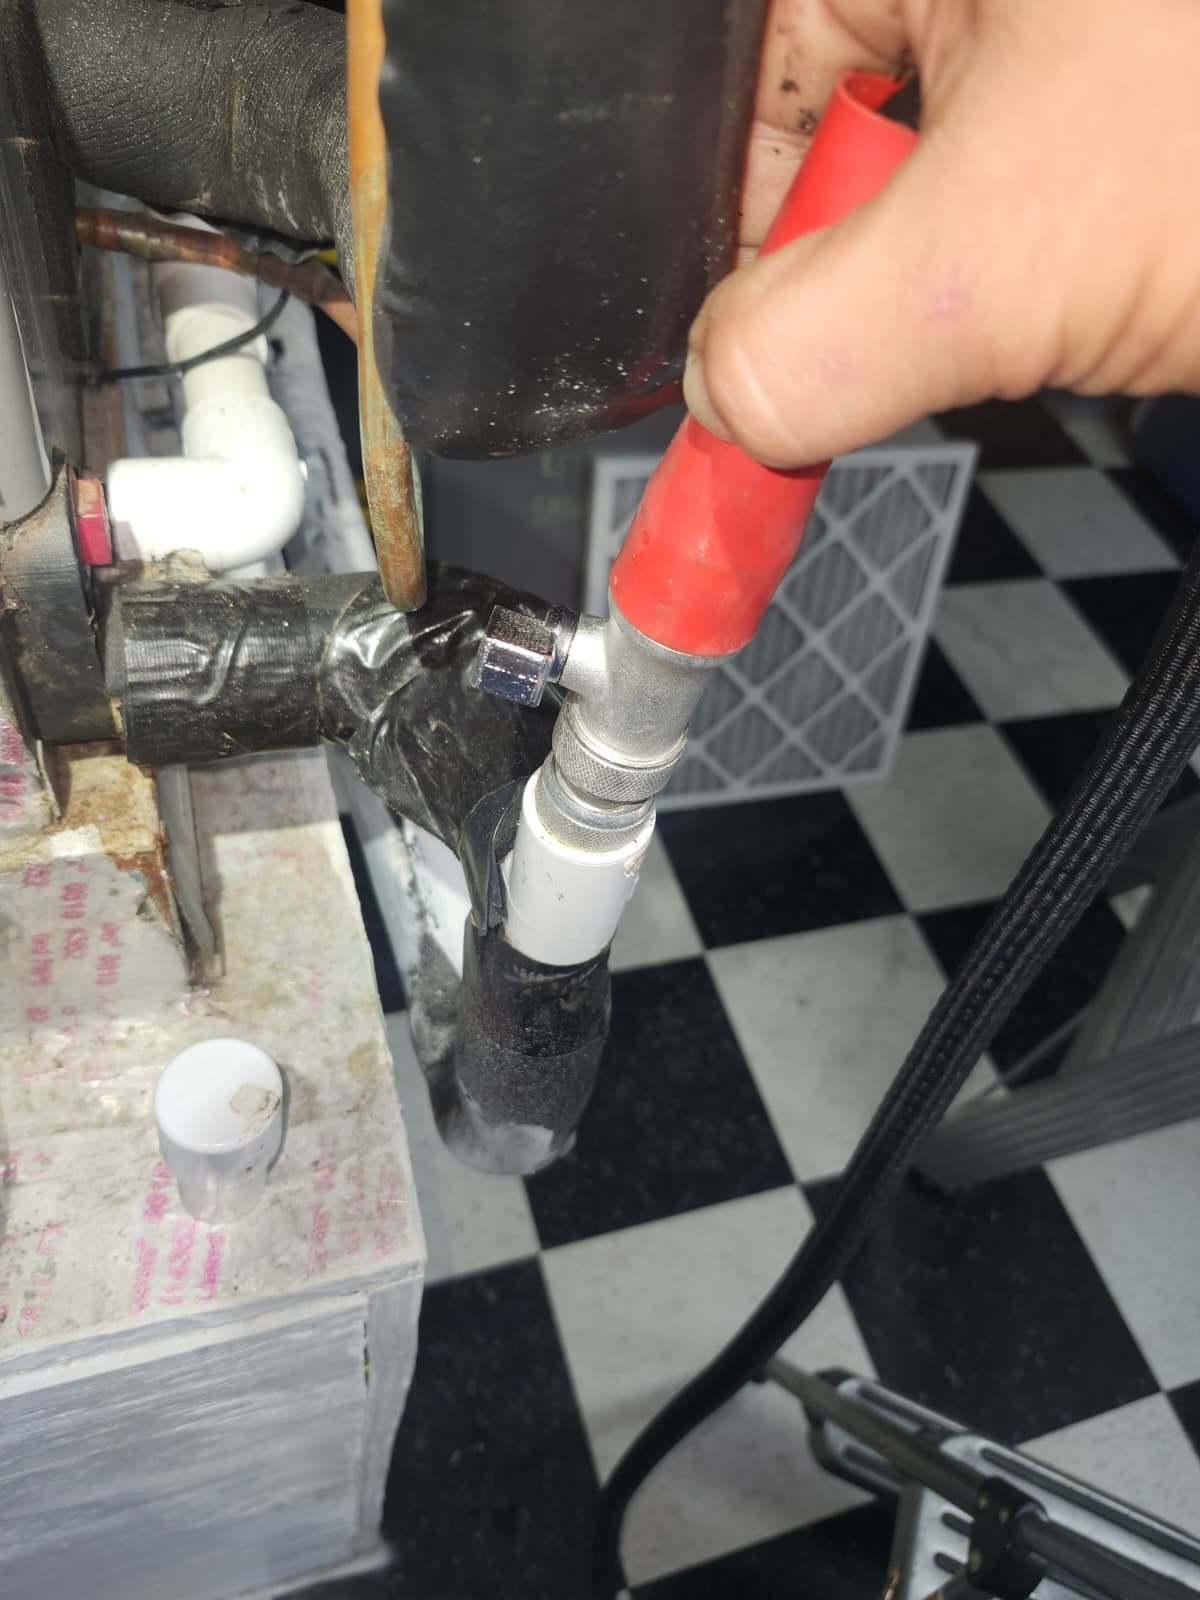
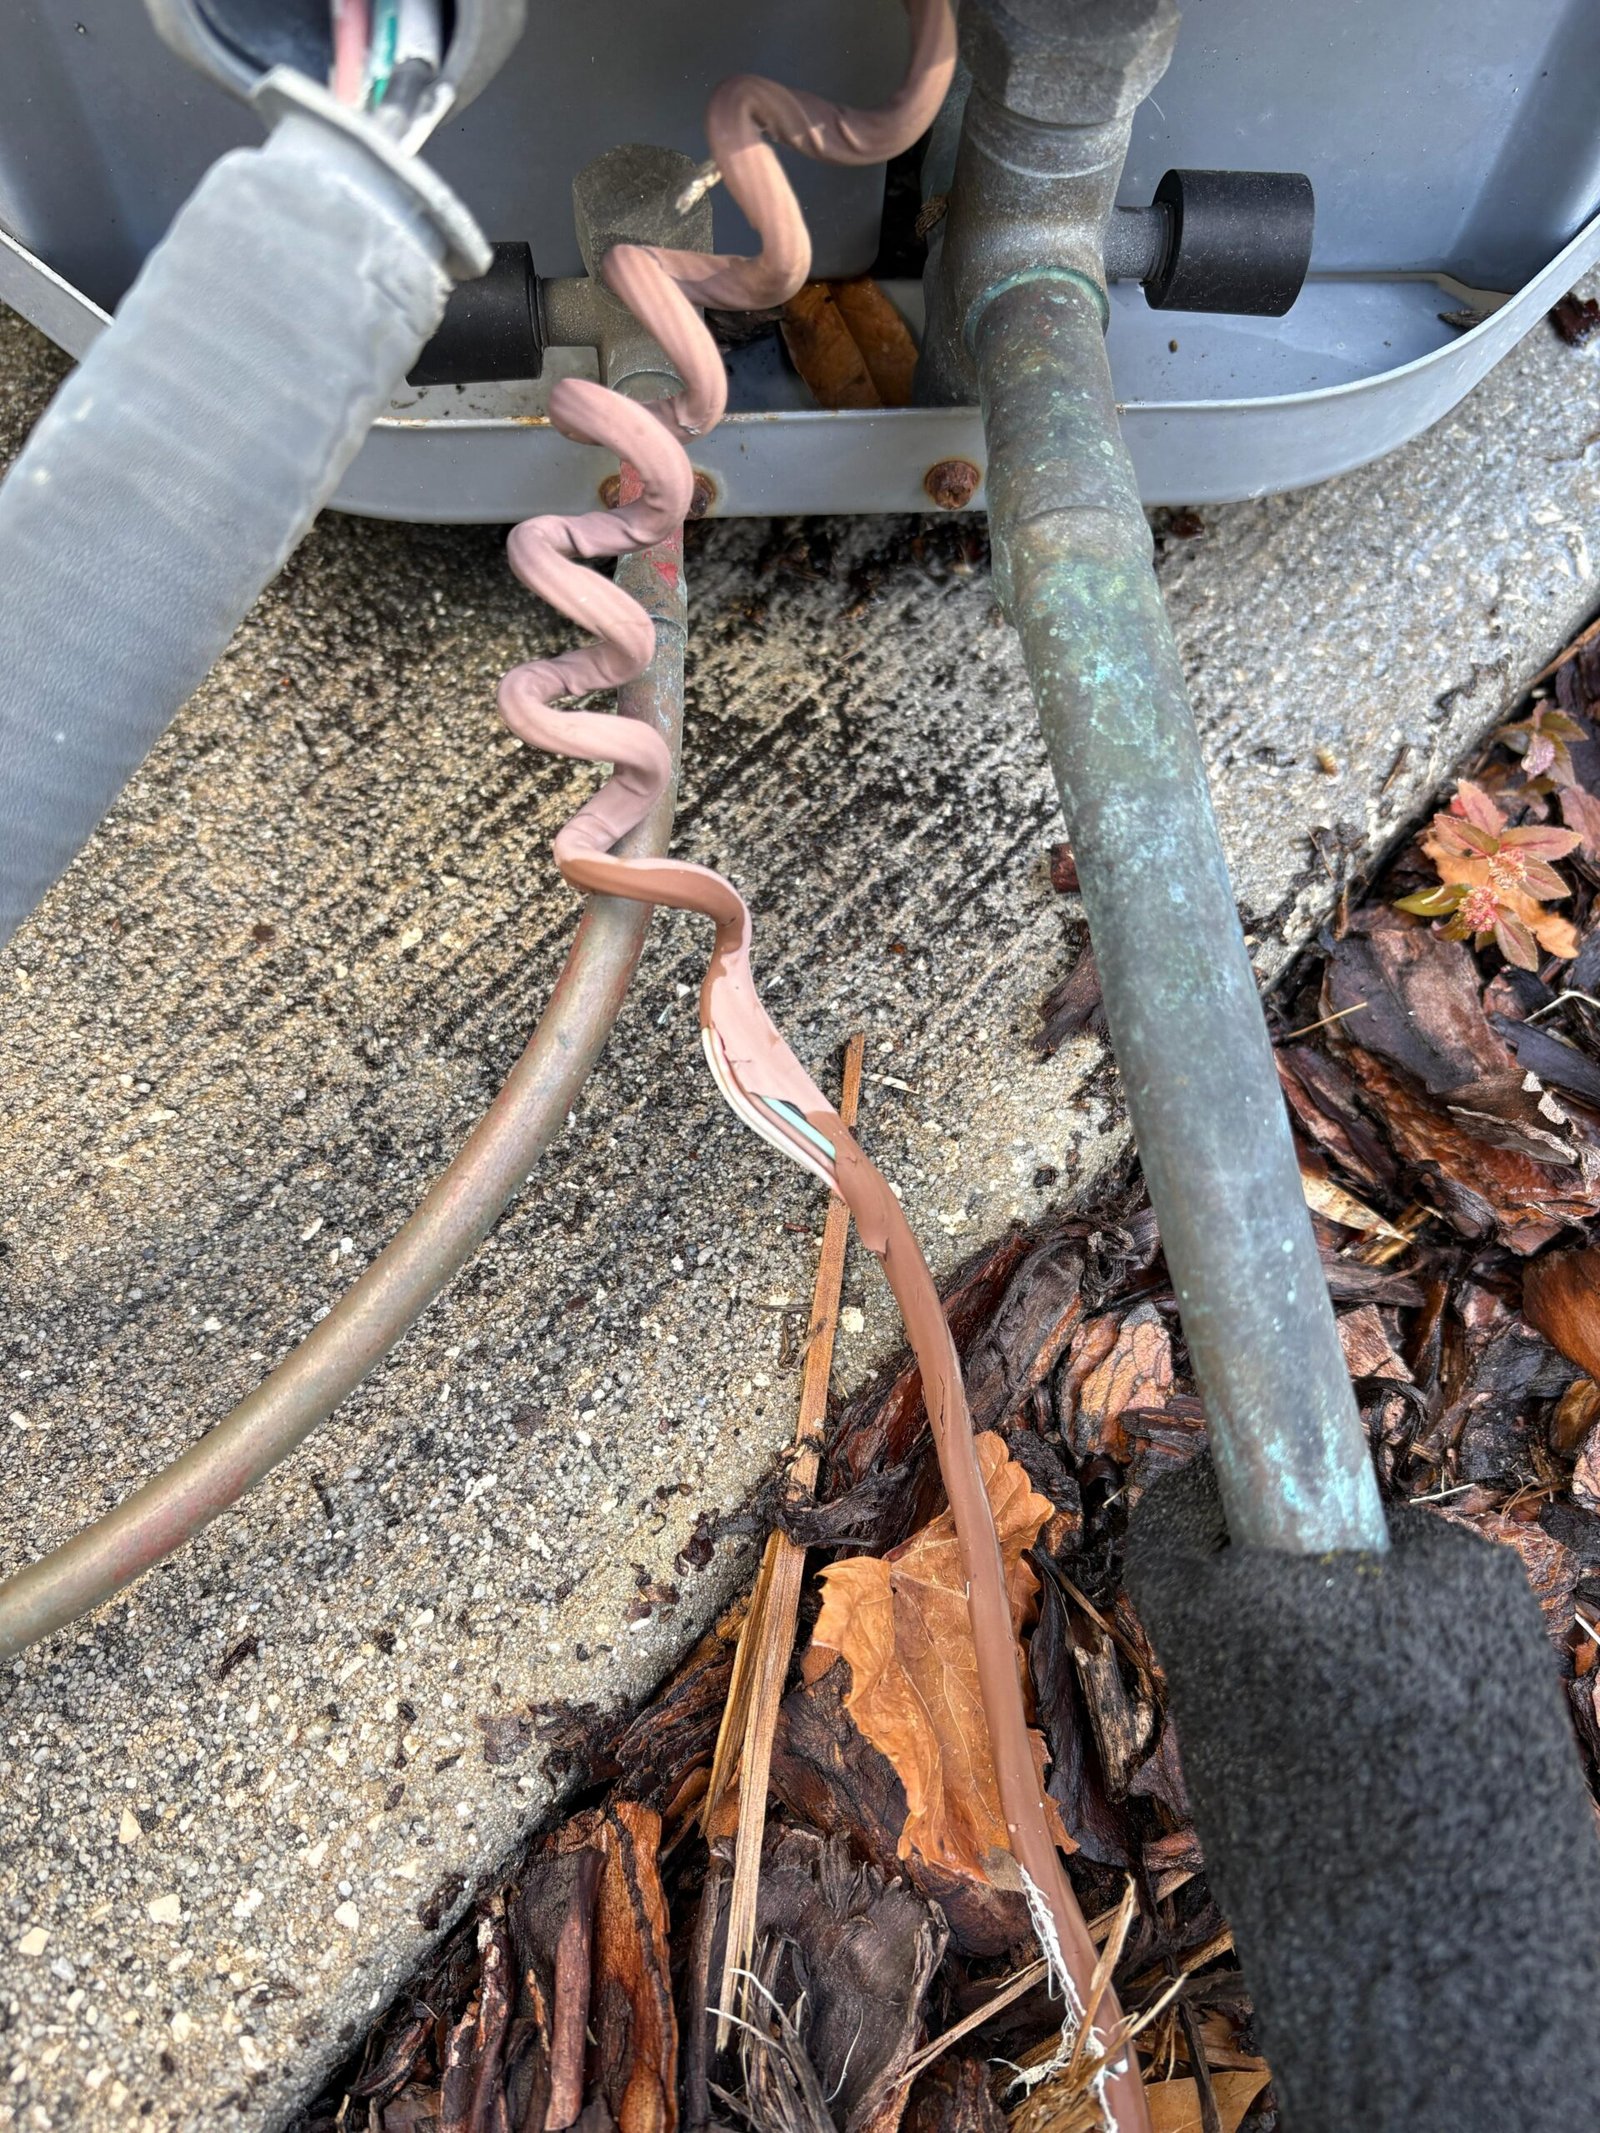
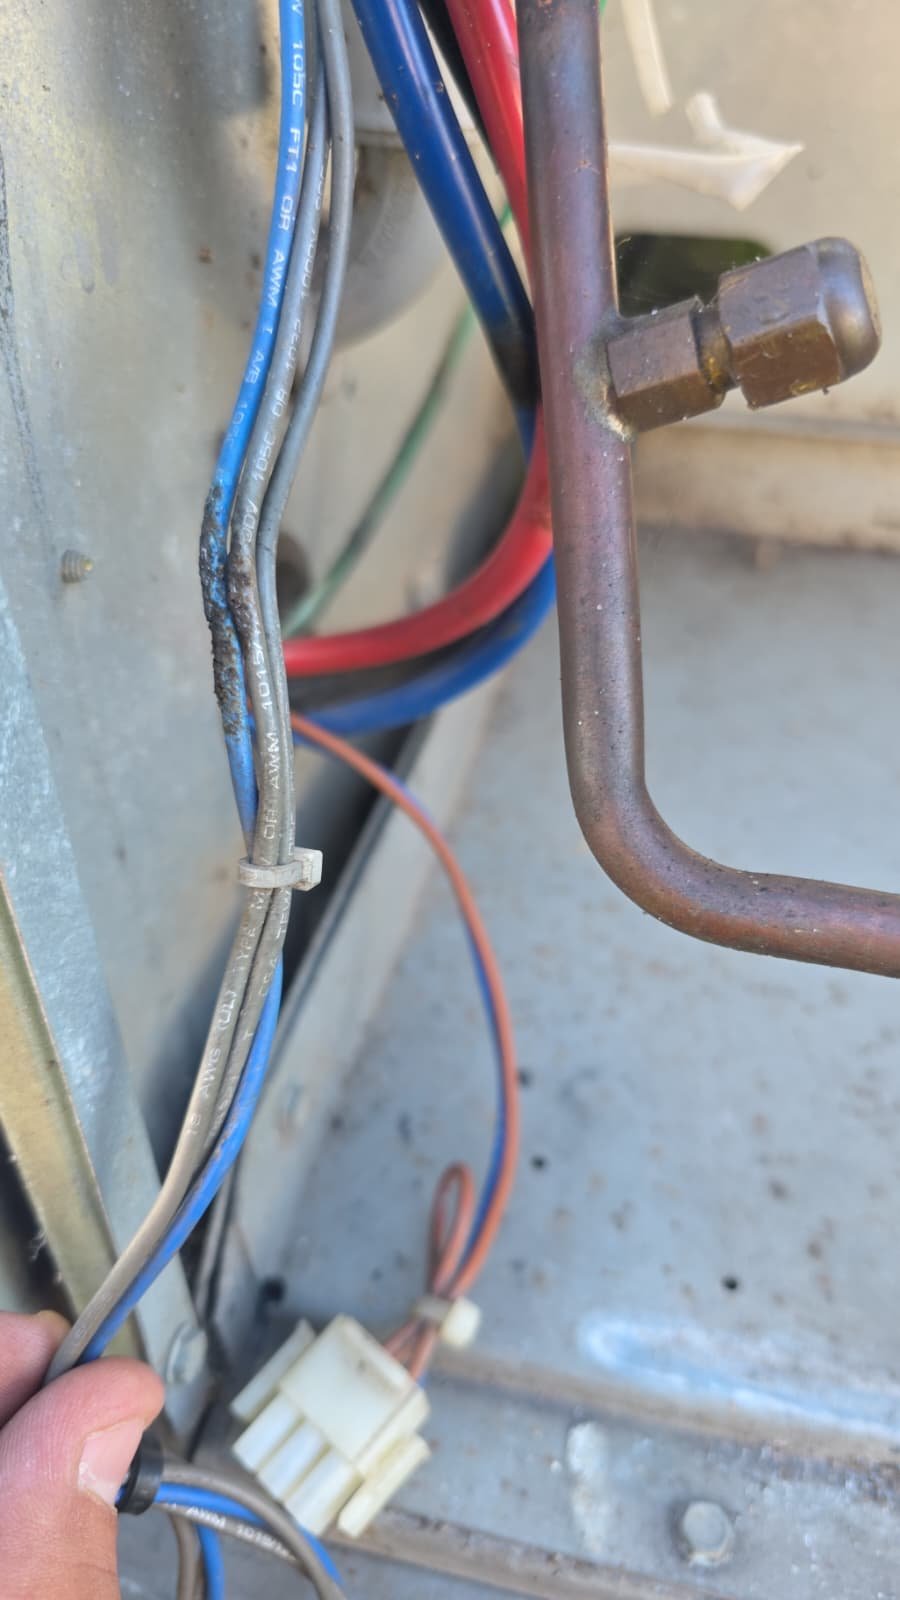
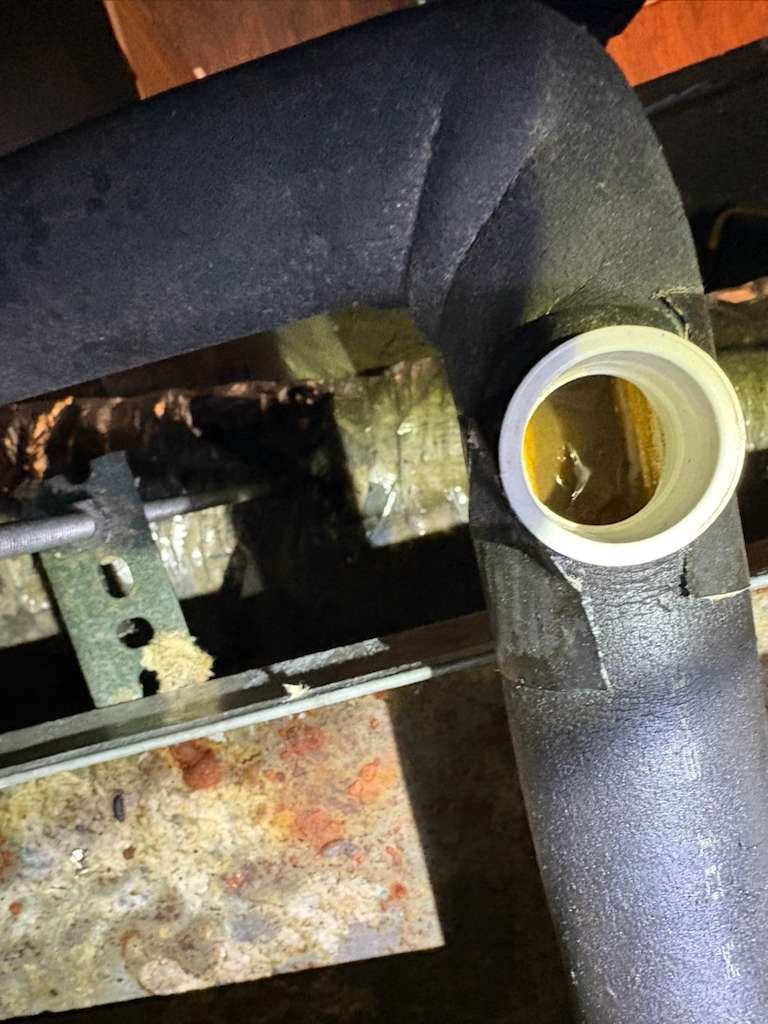
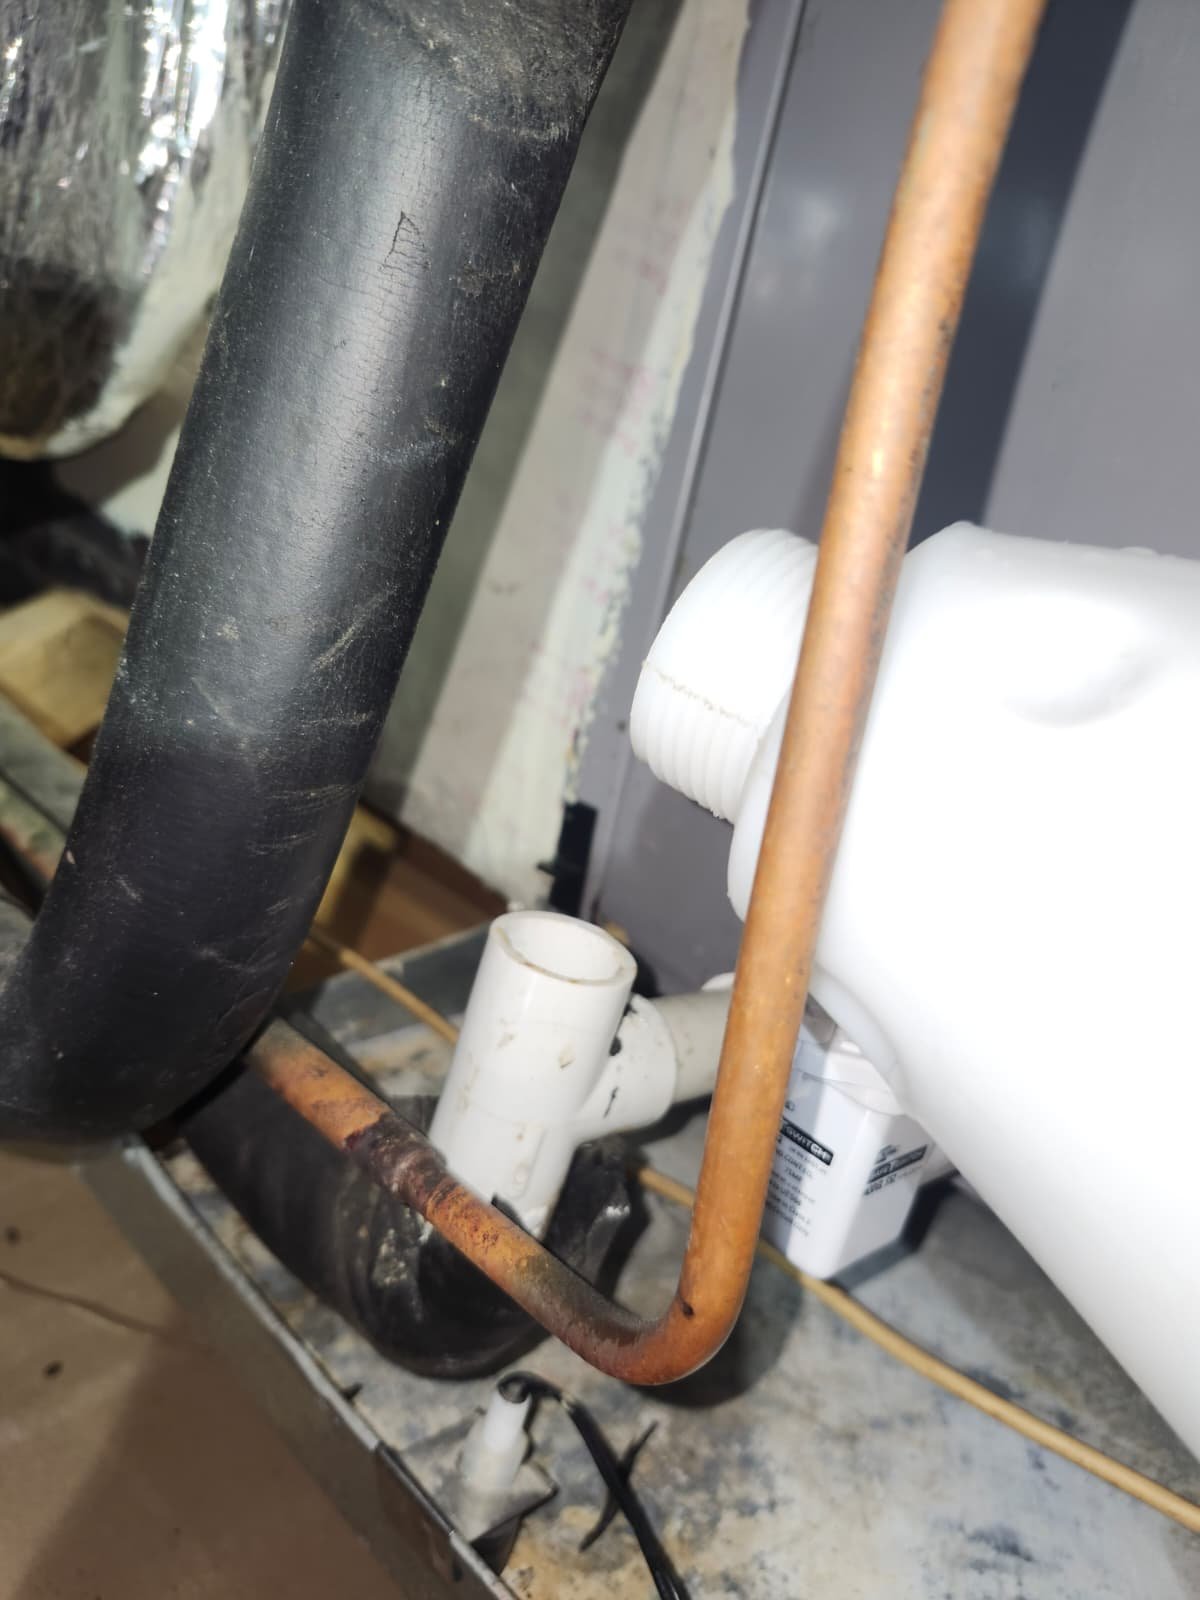
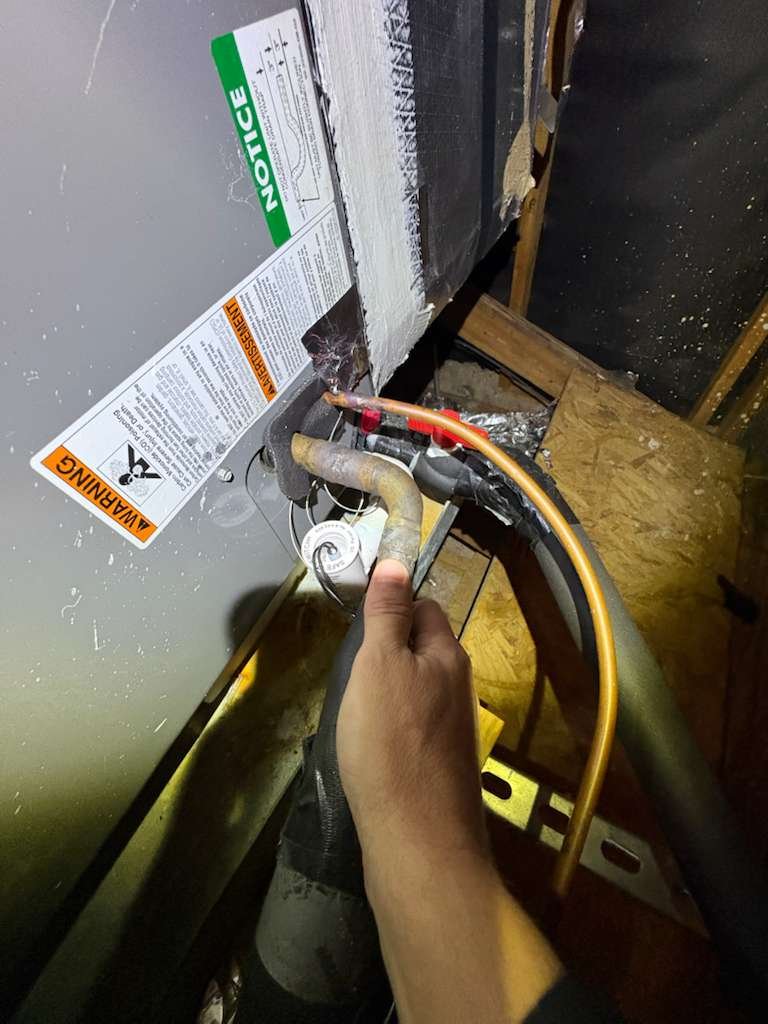
- Prepared the existing copper lines and drains for cleaning and flushing.
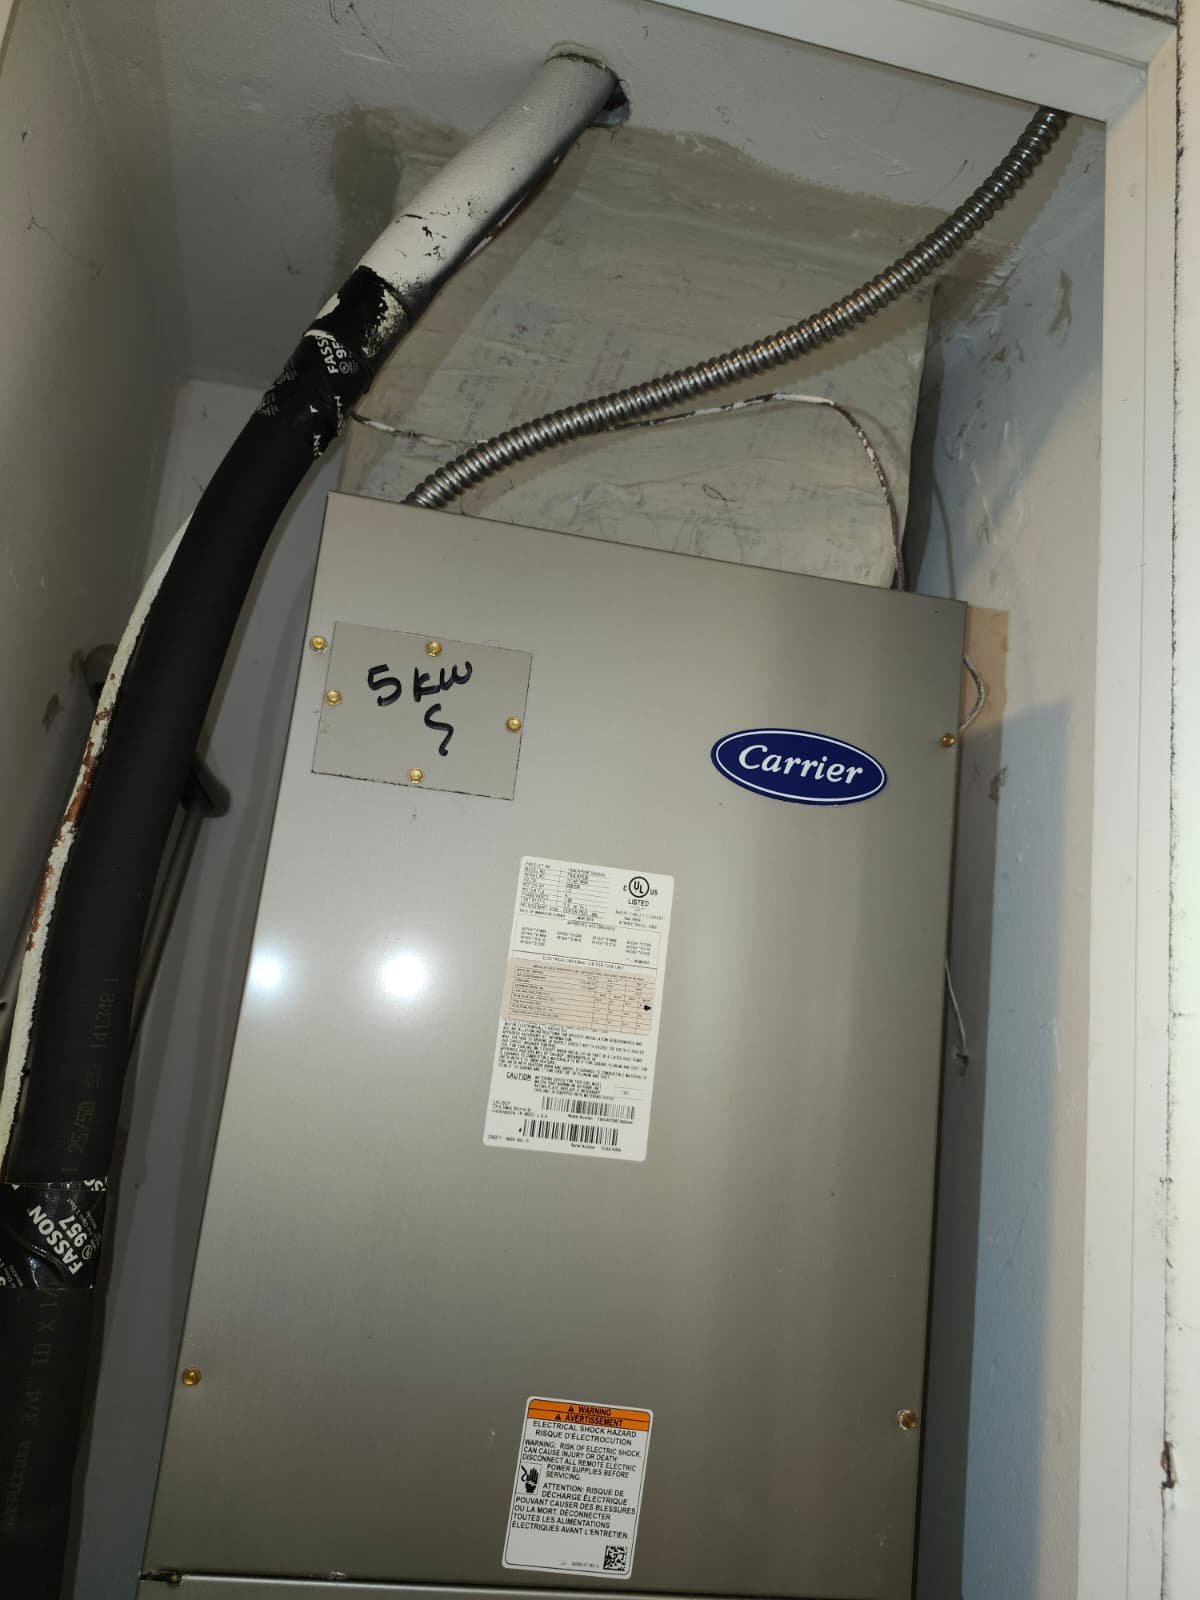
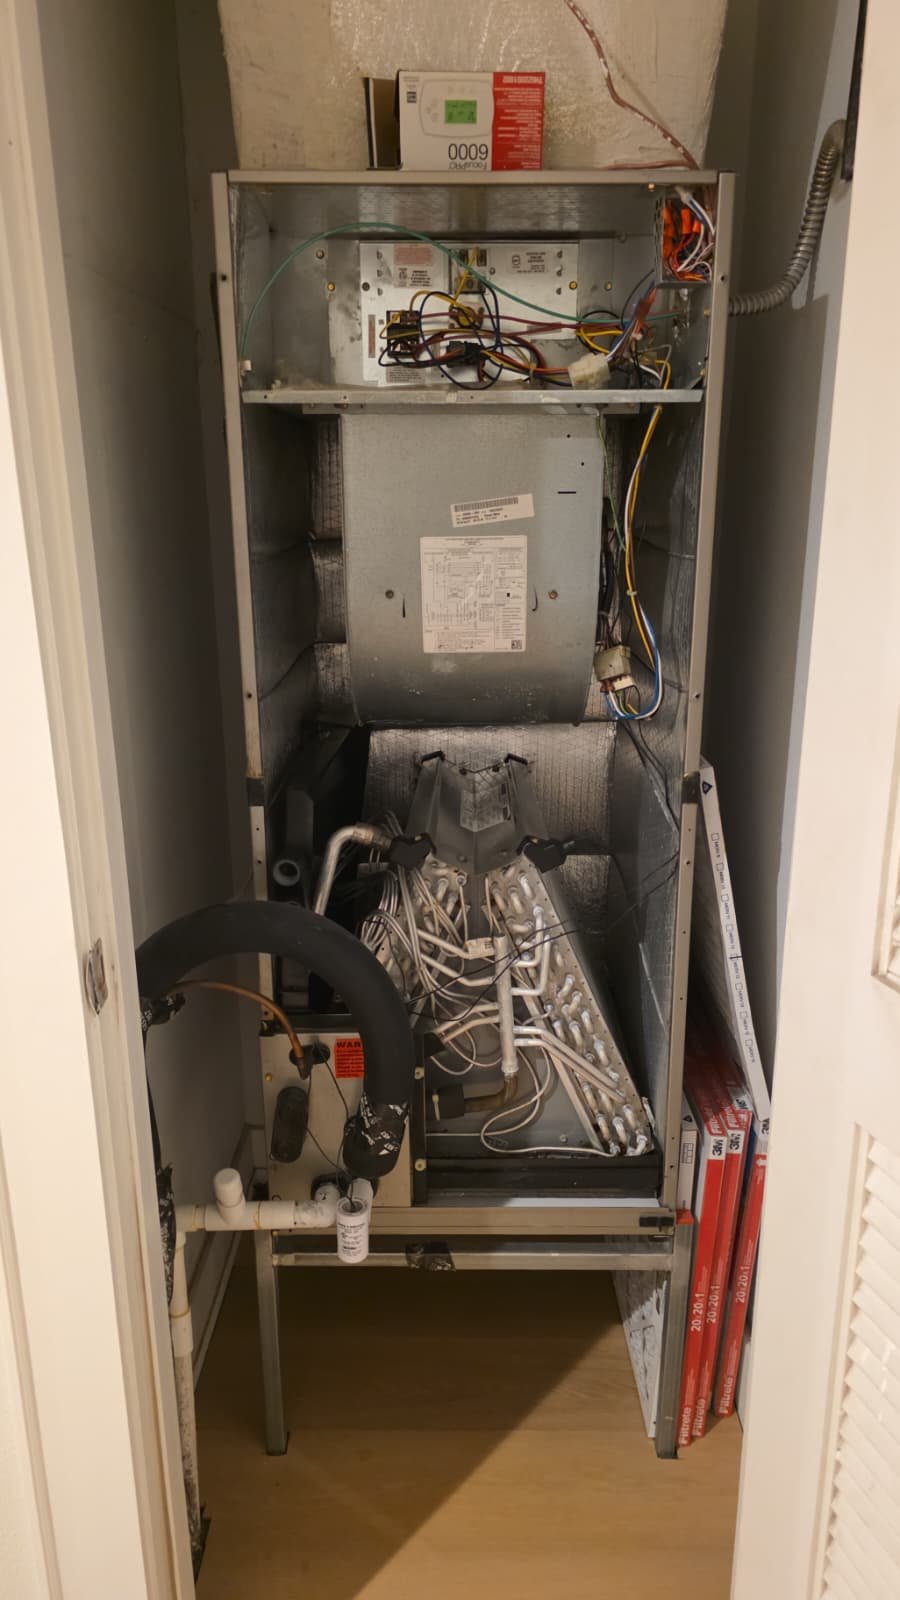
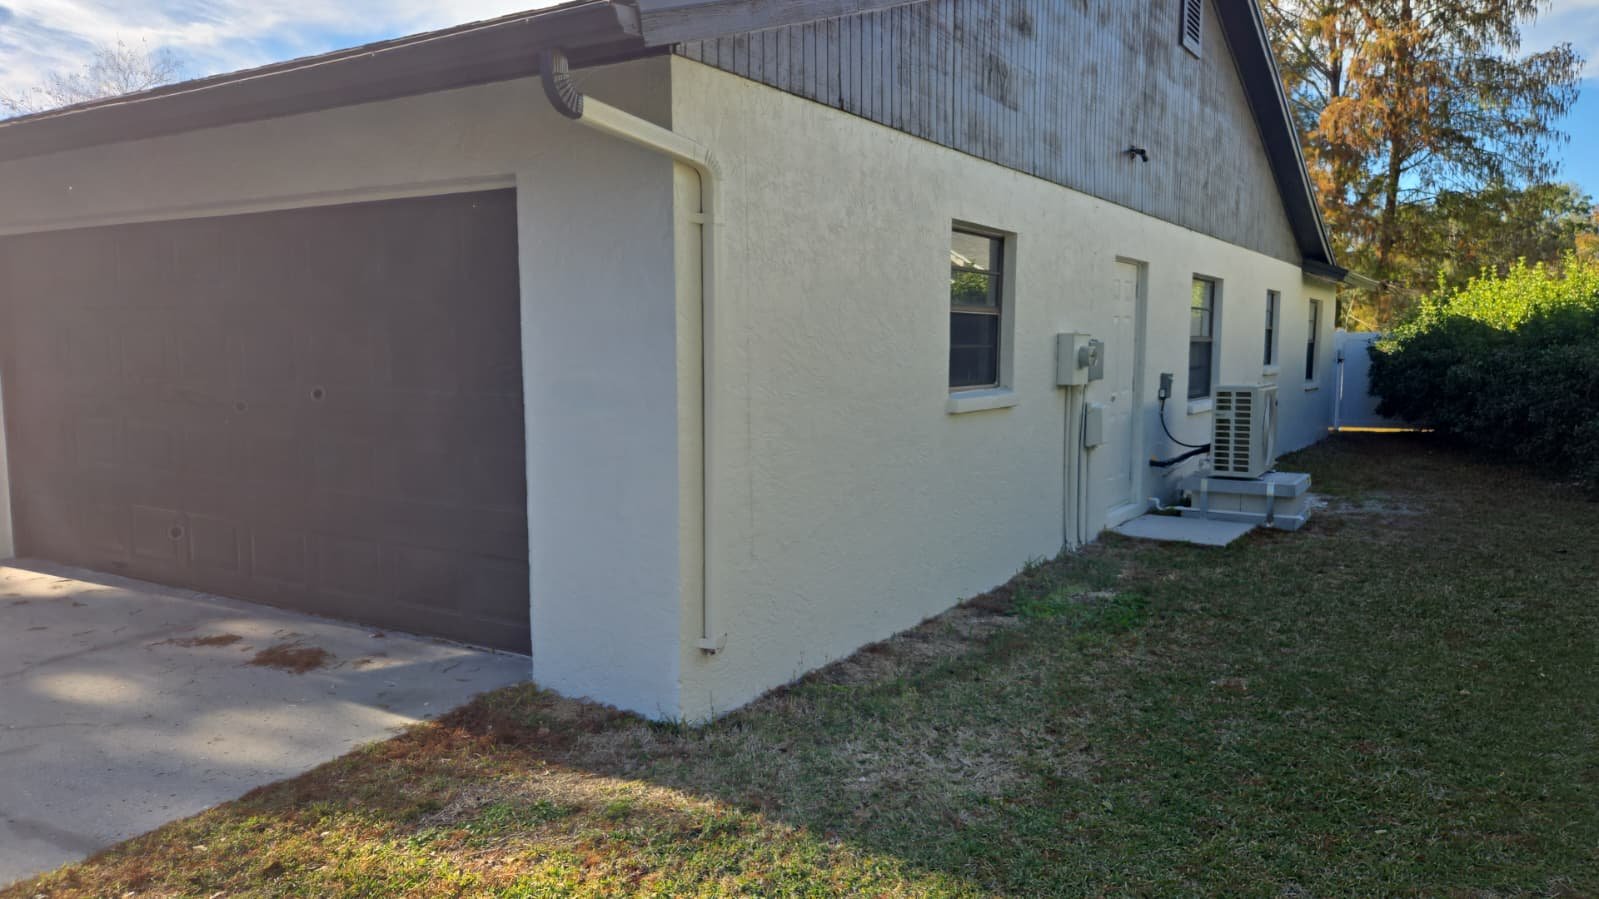
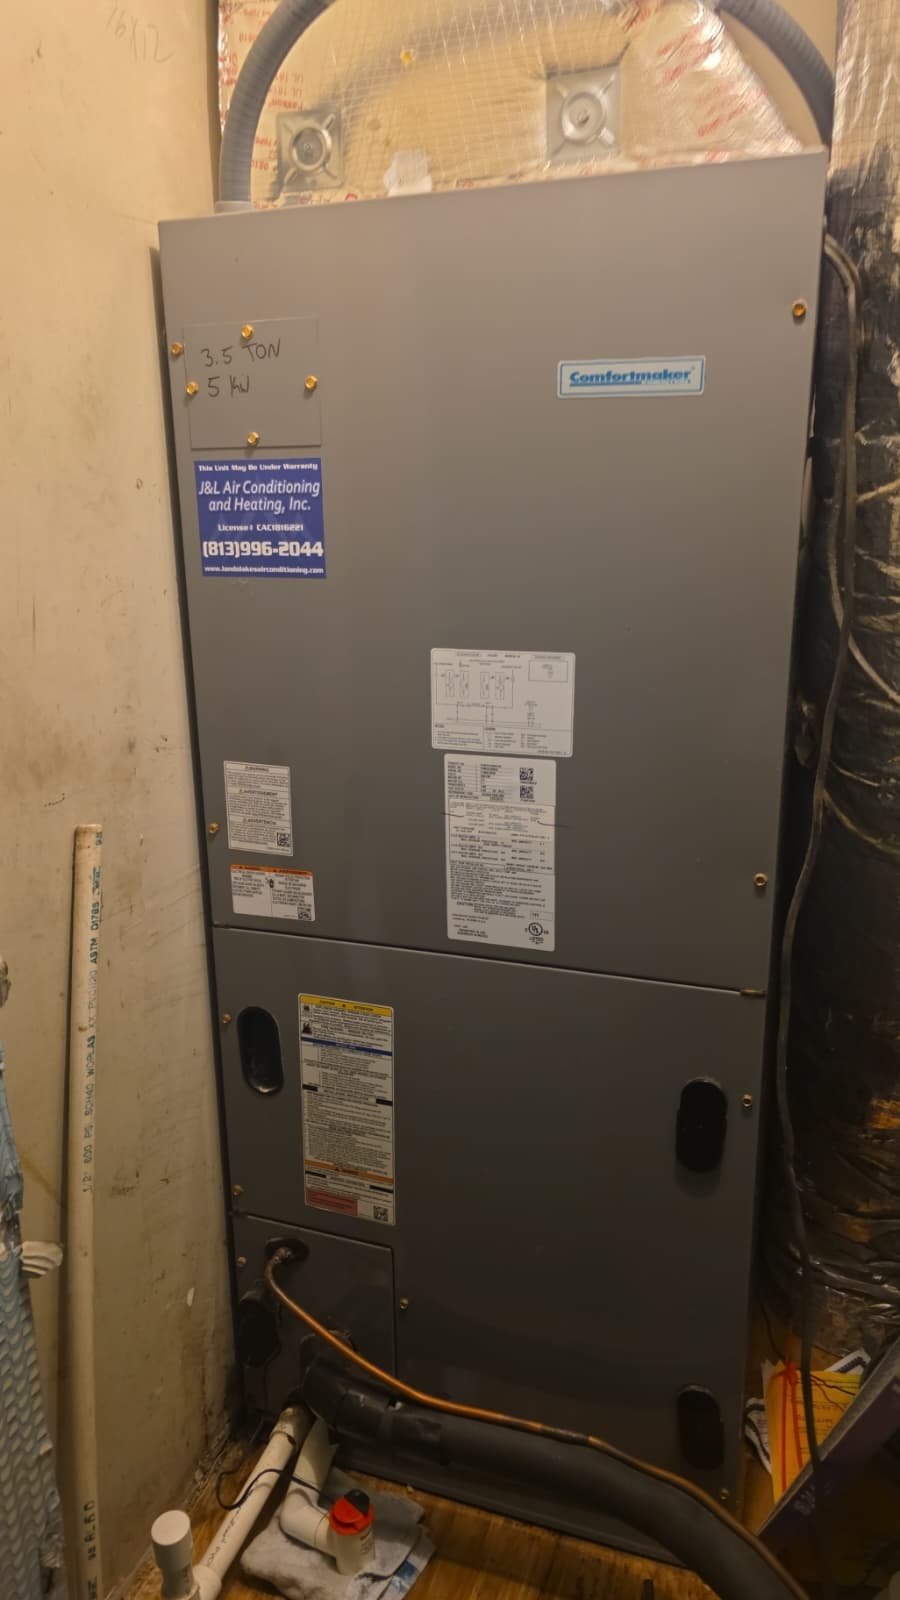
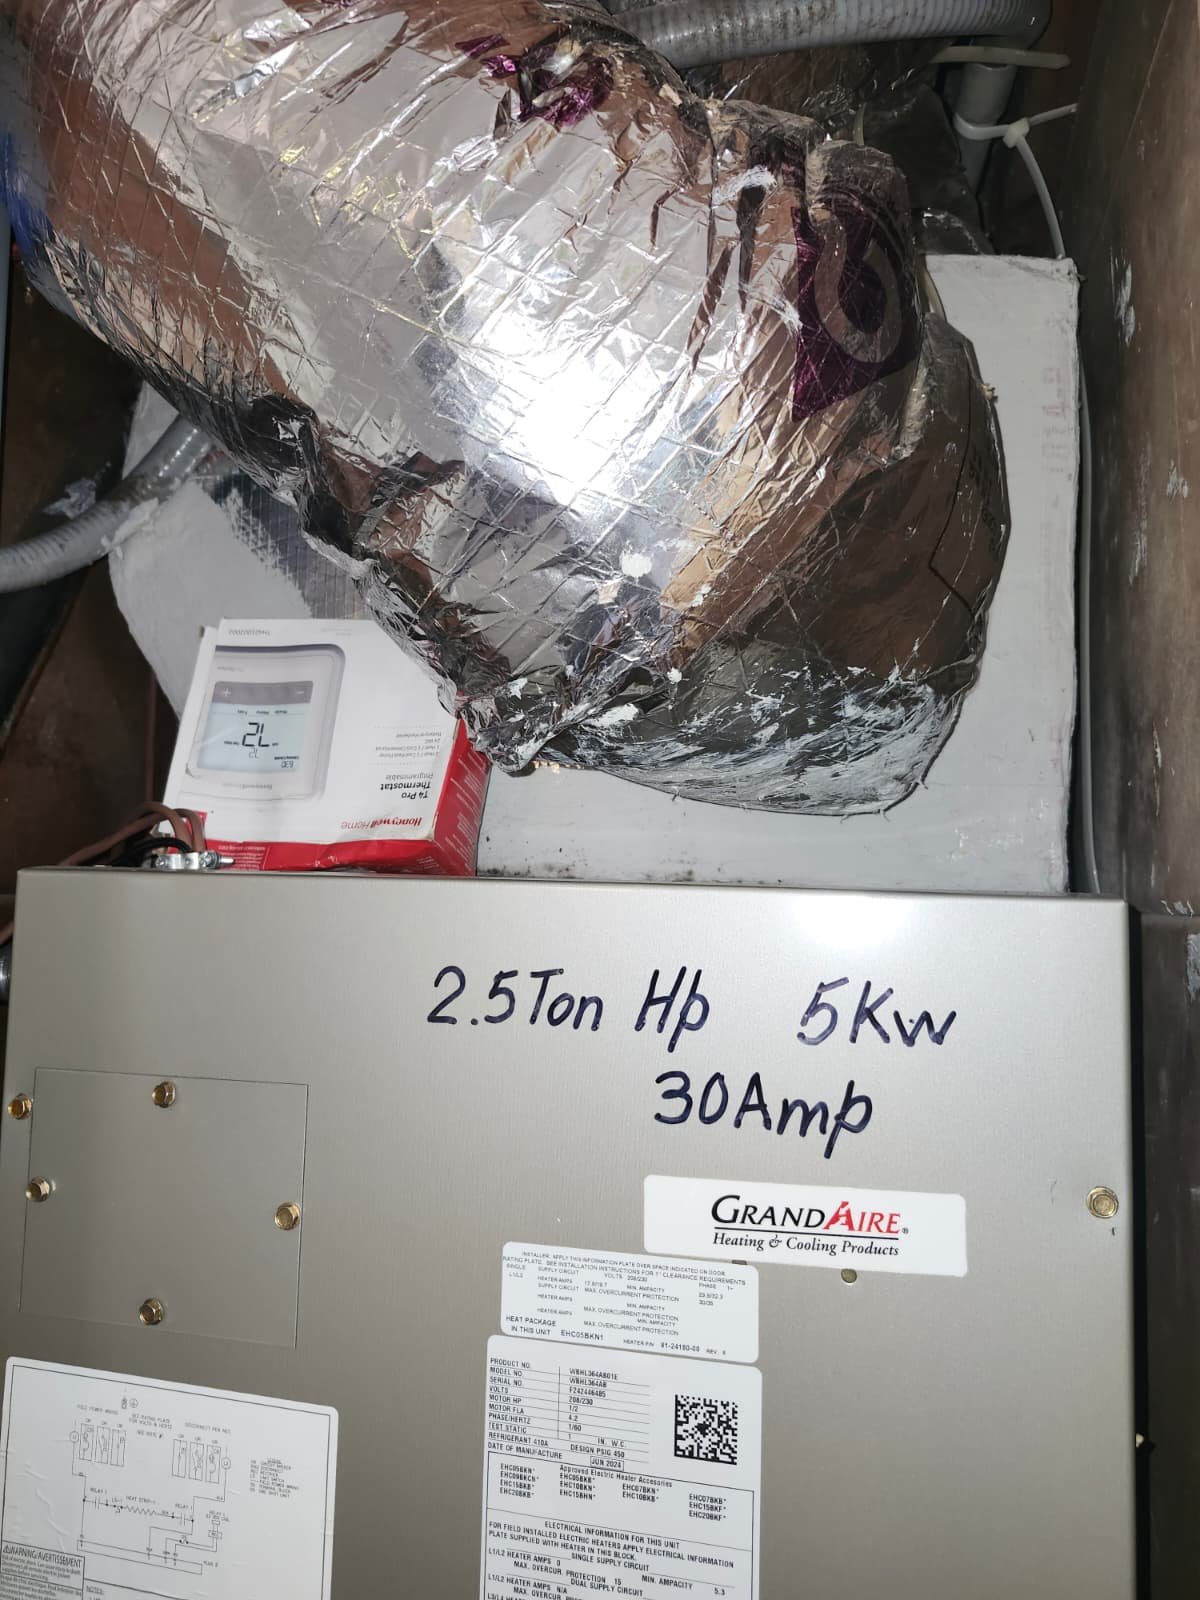
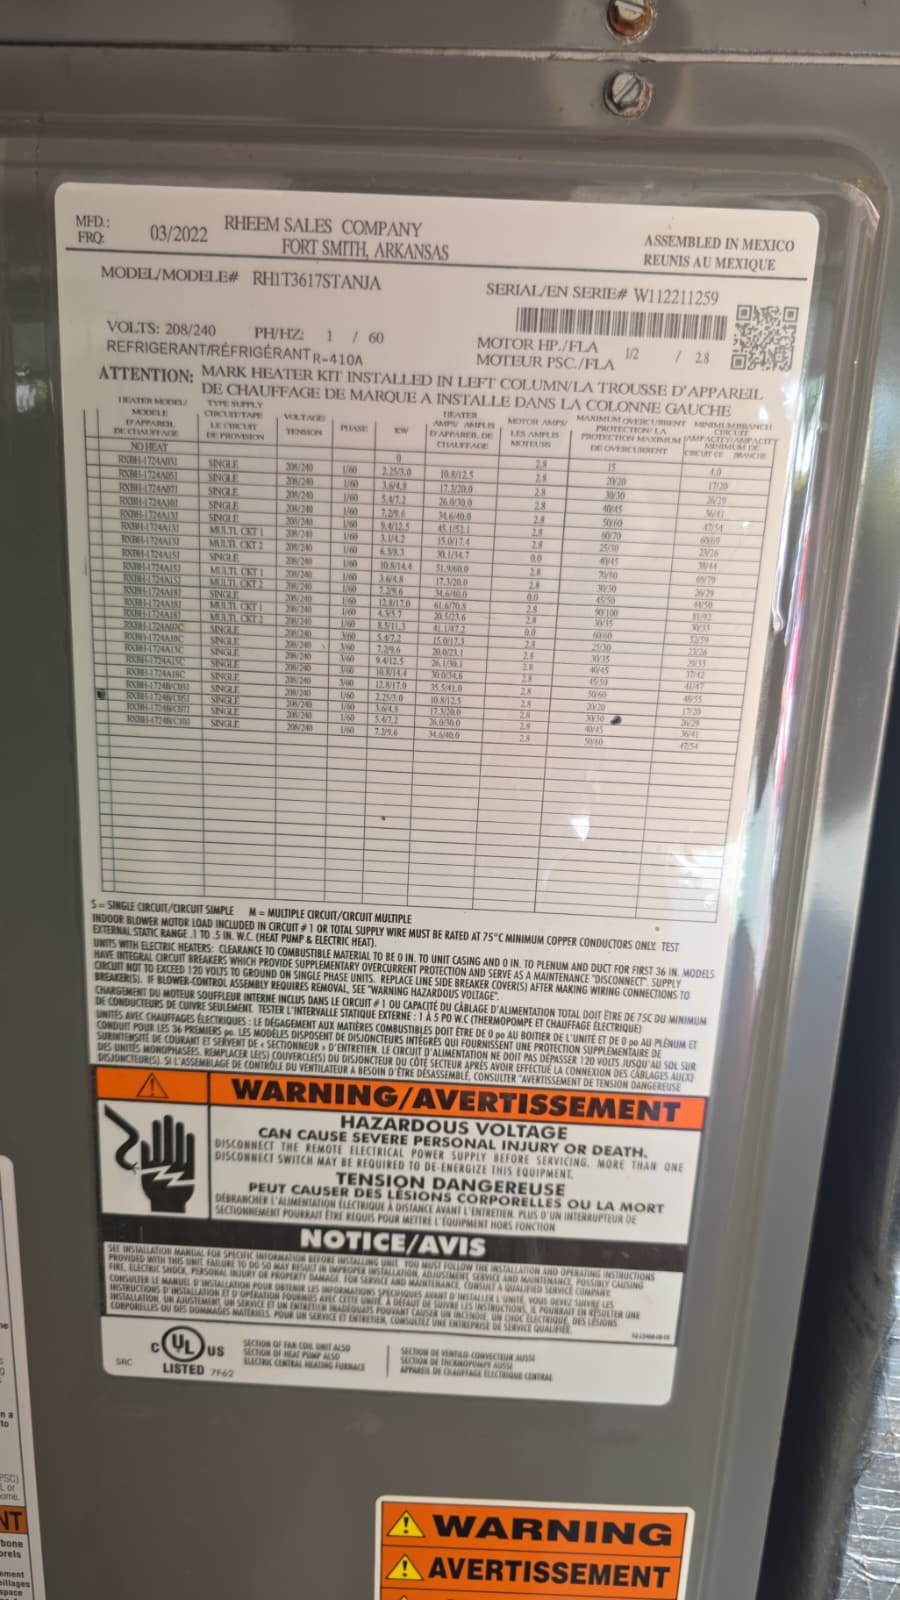
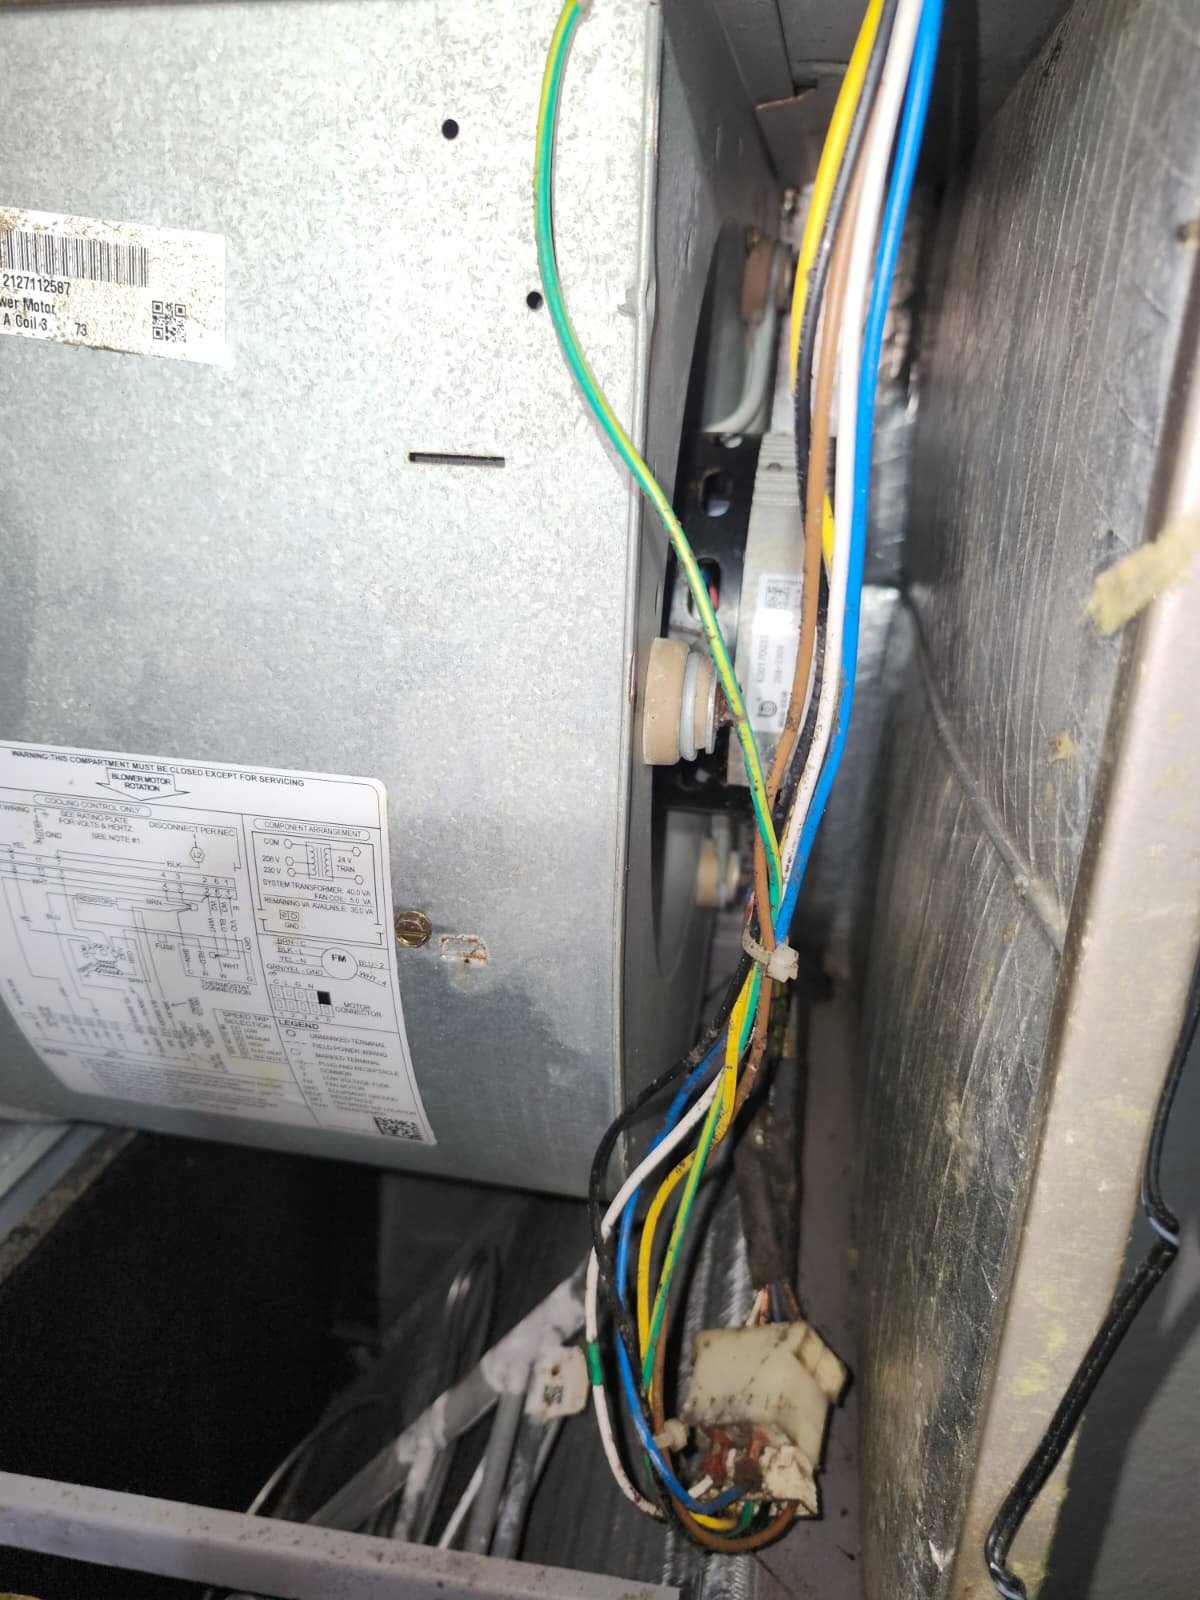
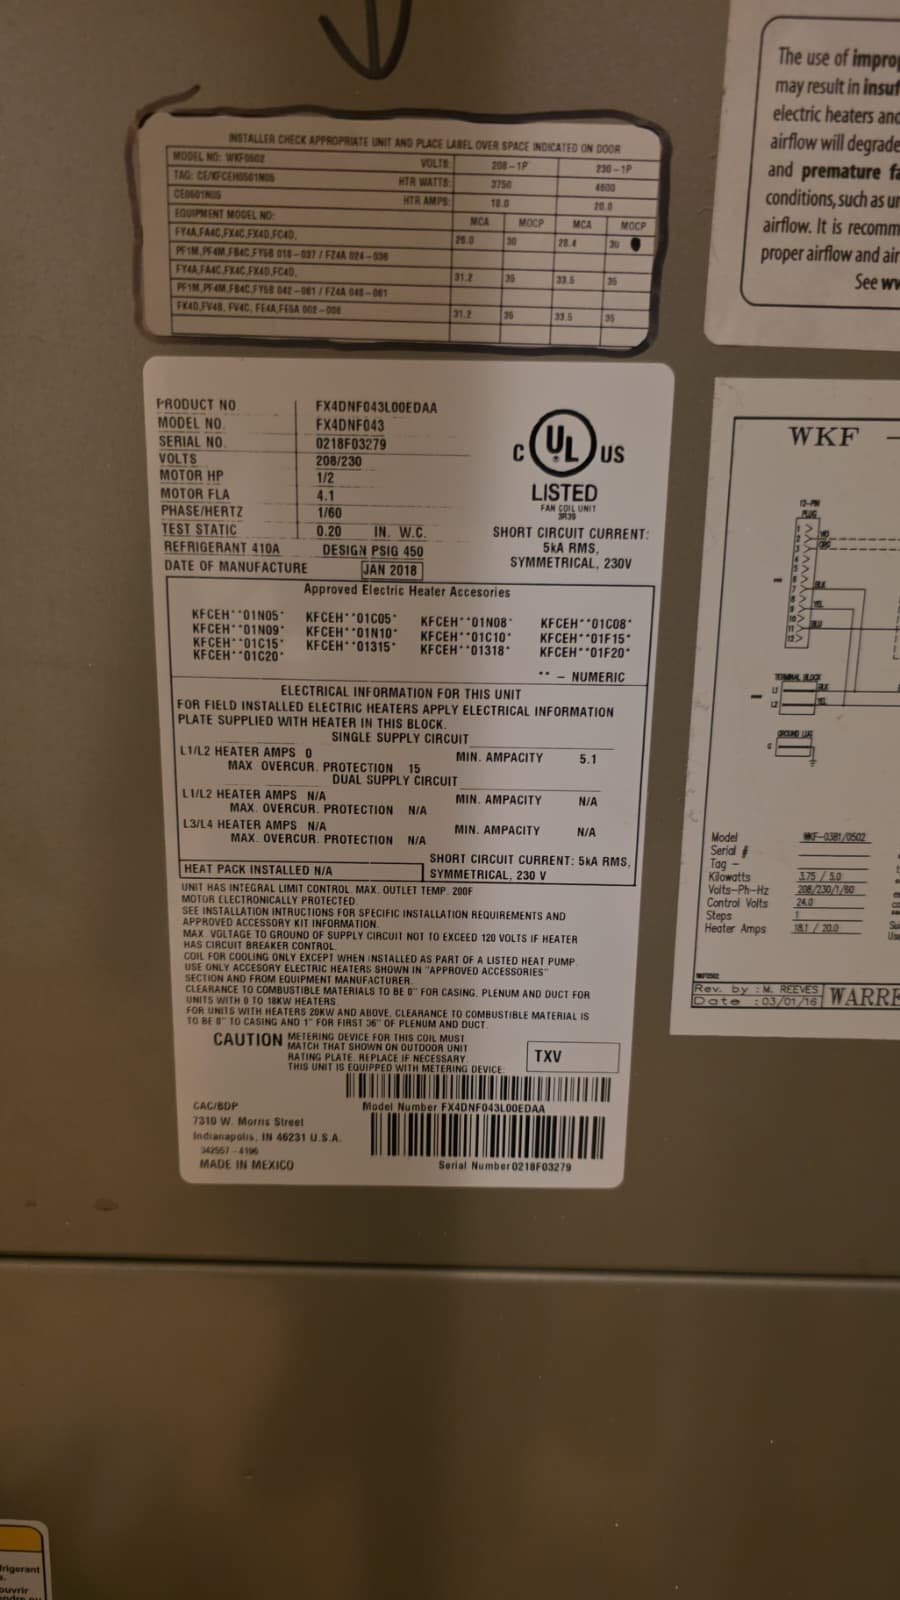
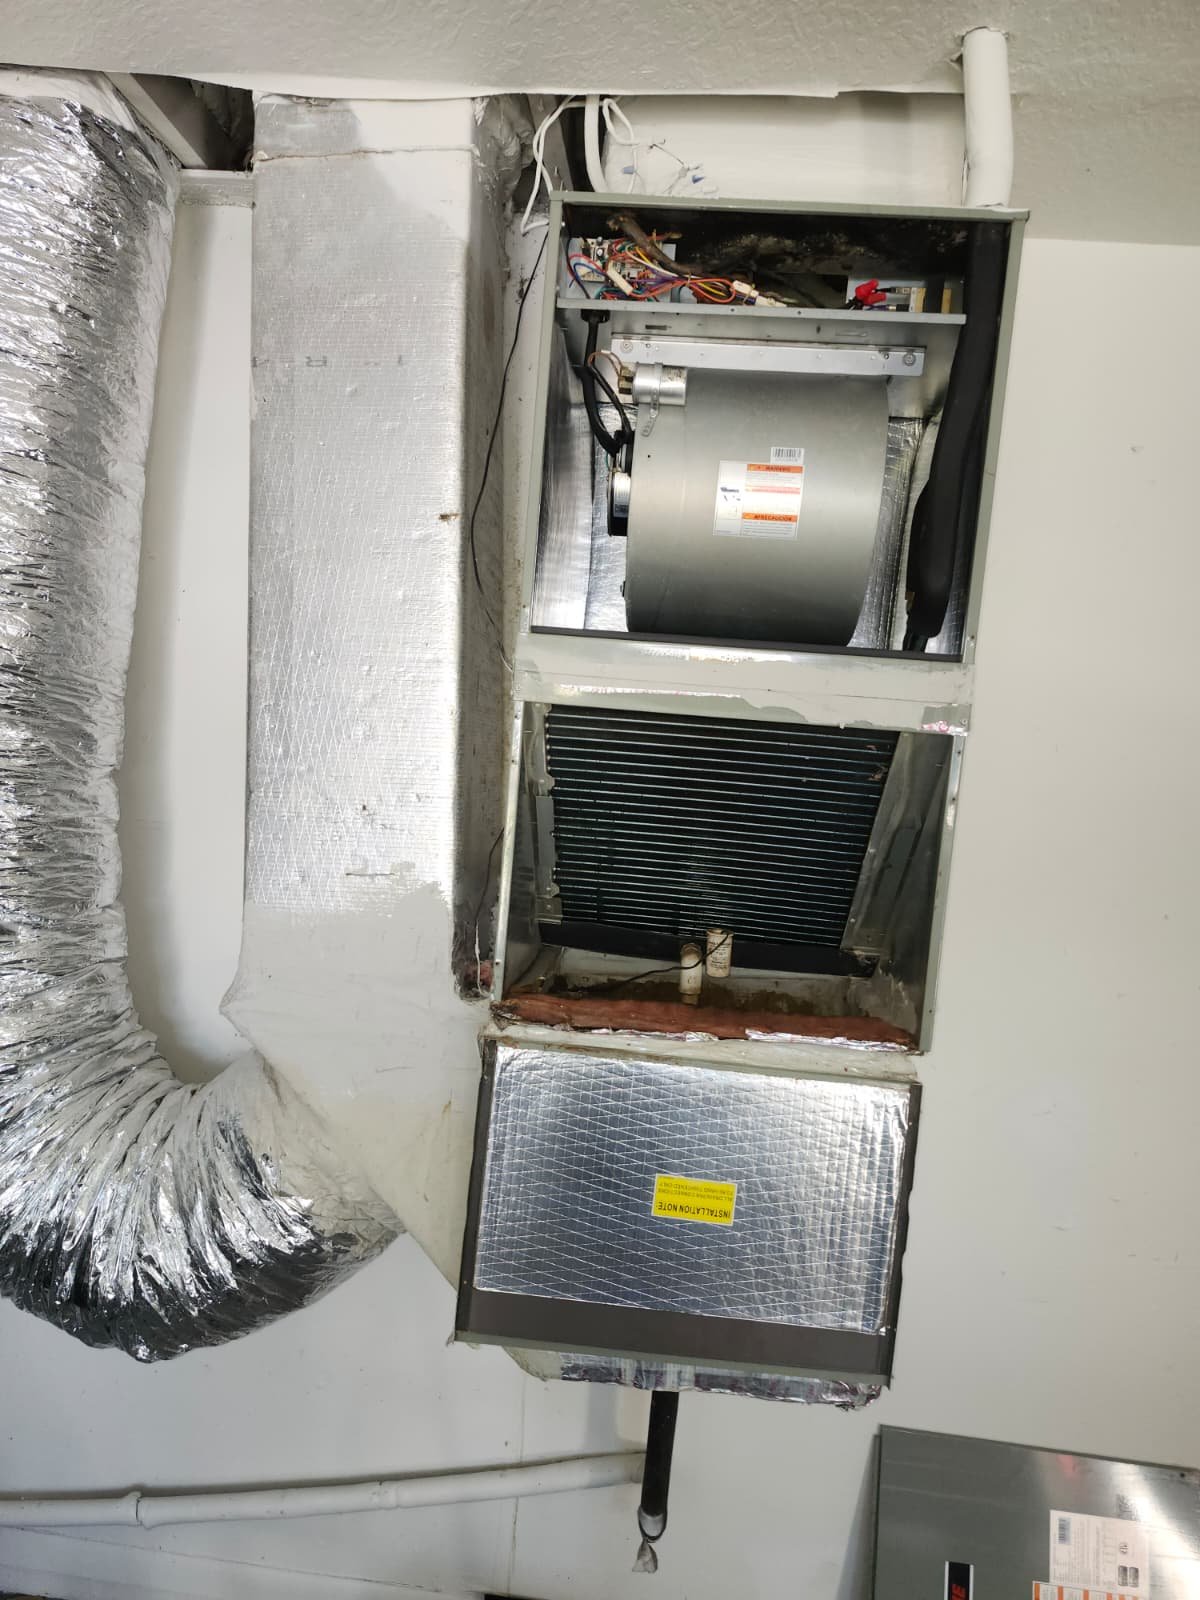
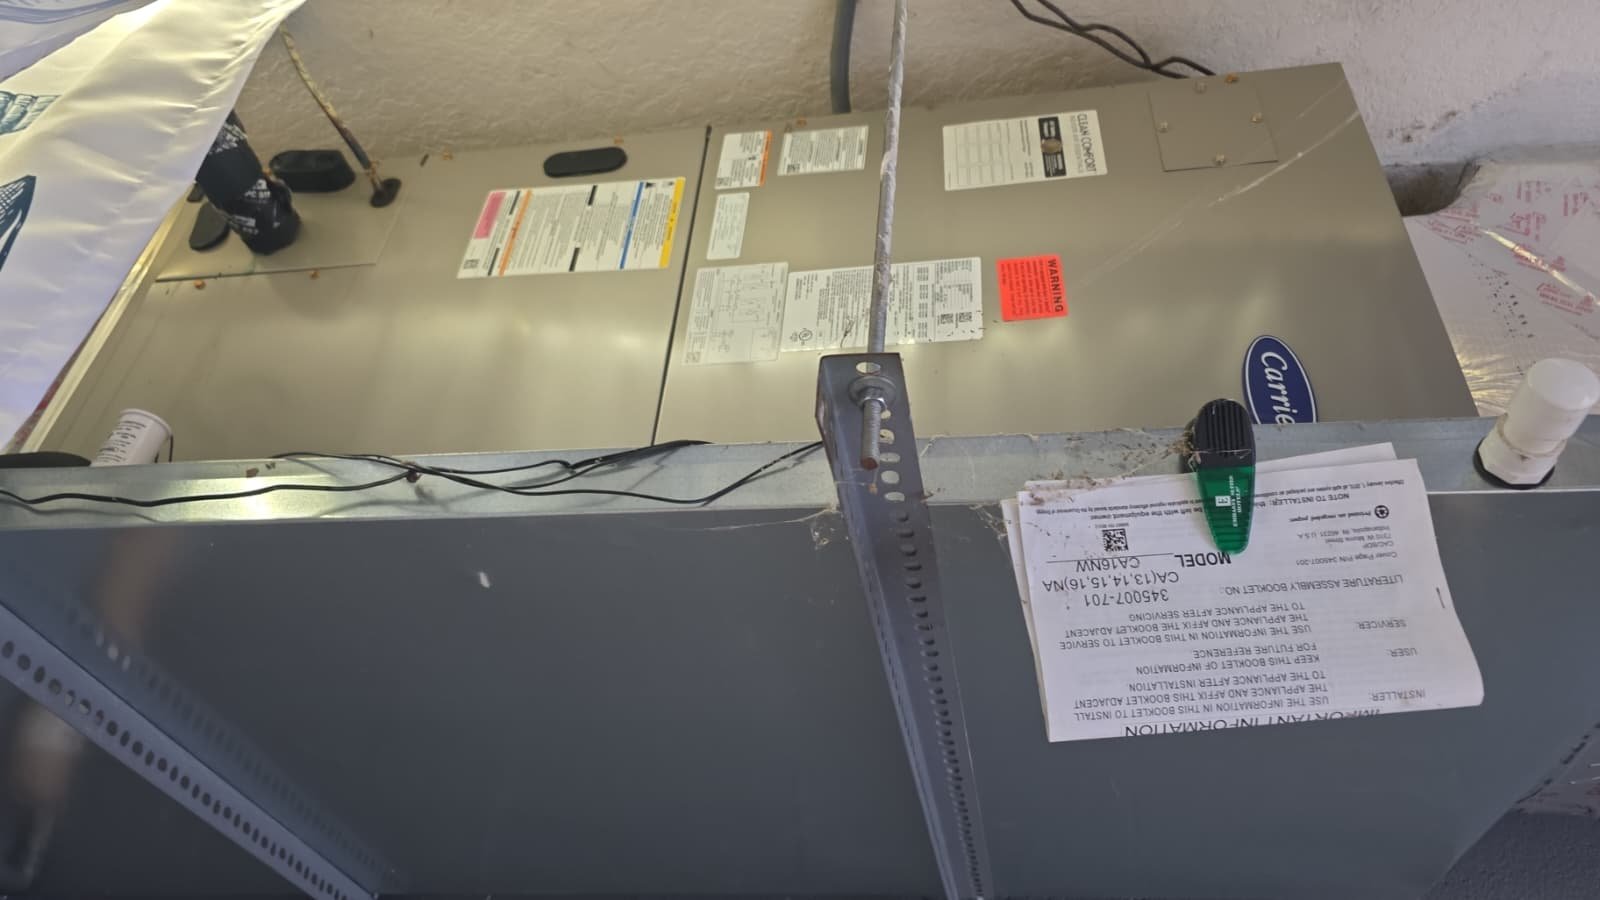
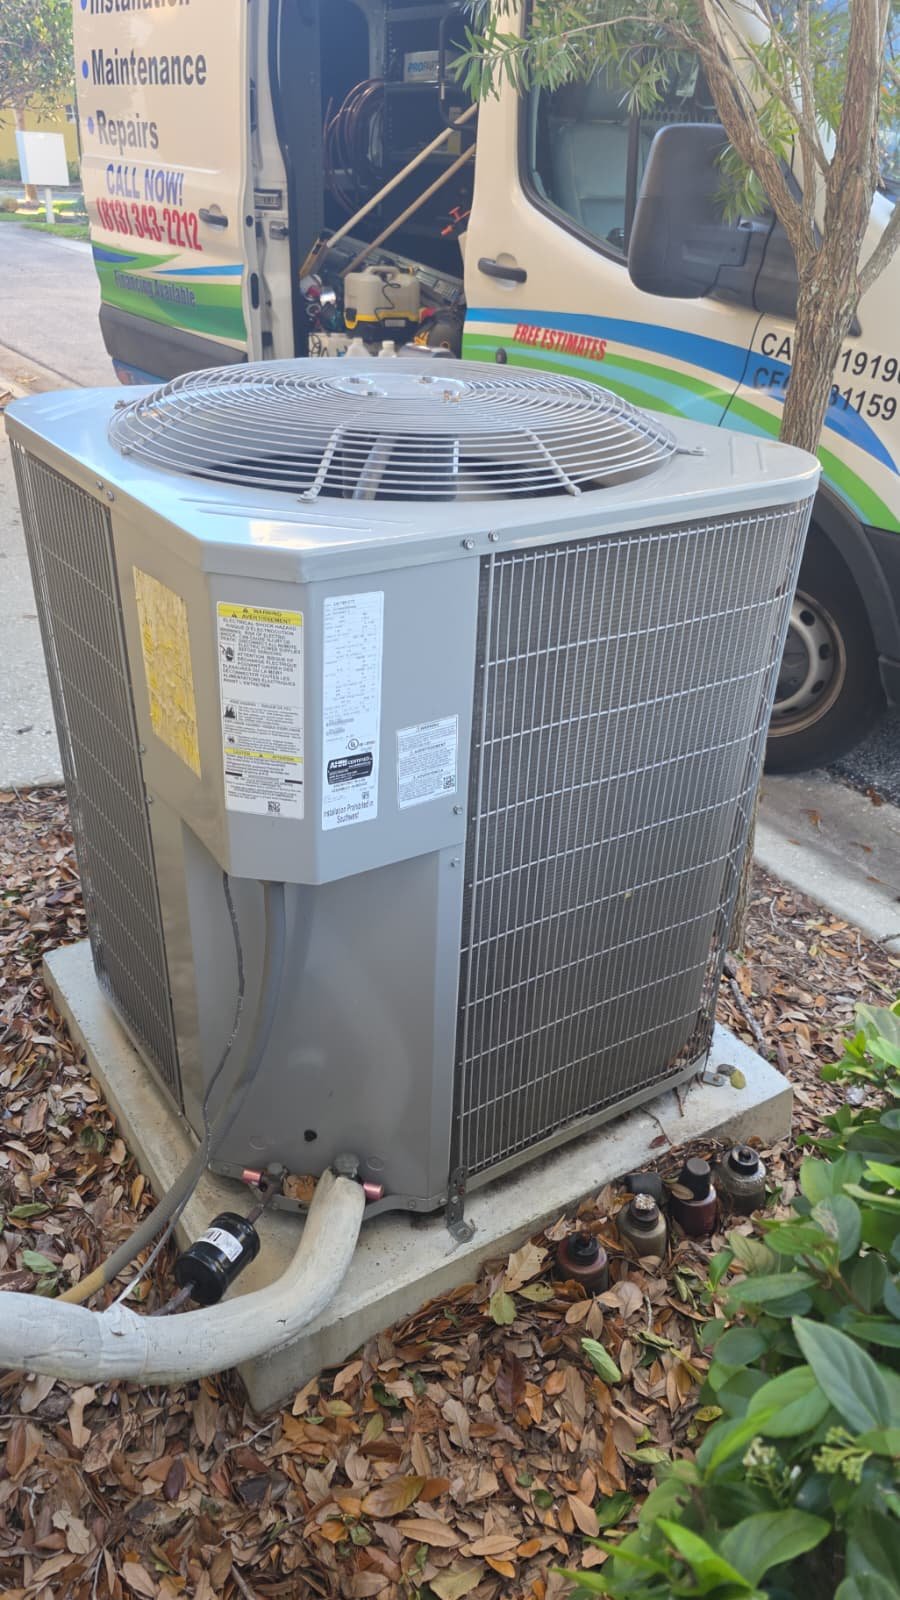
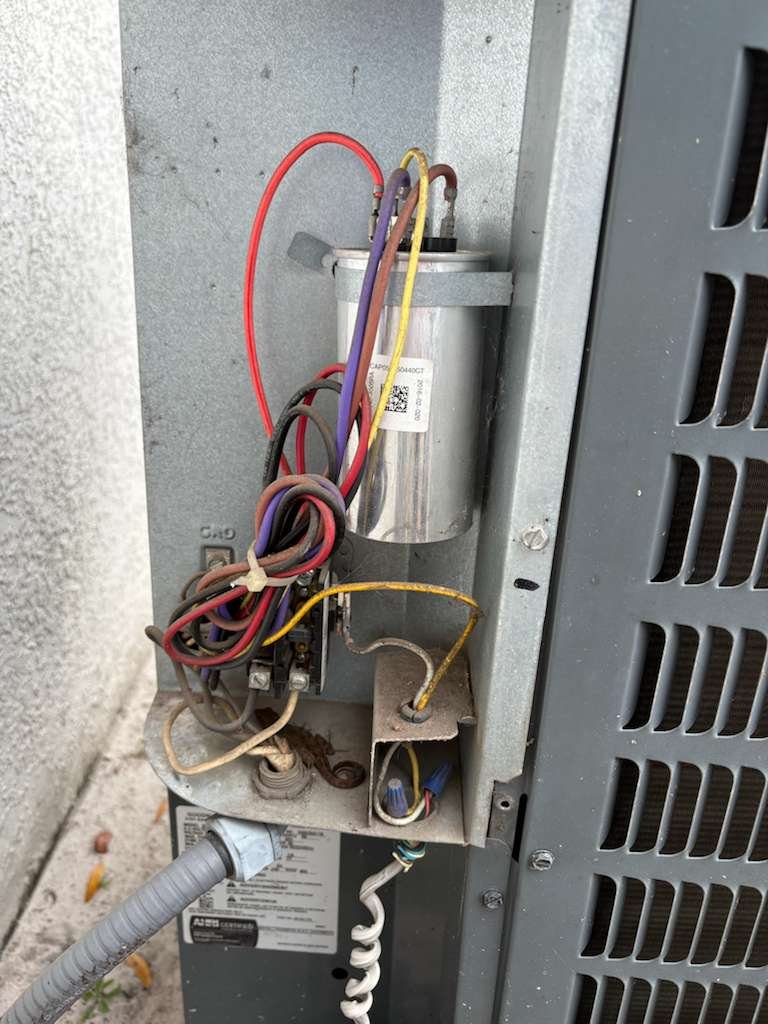
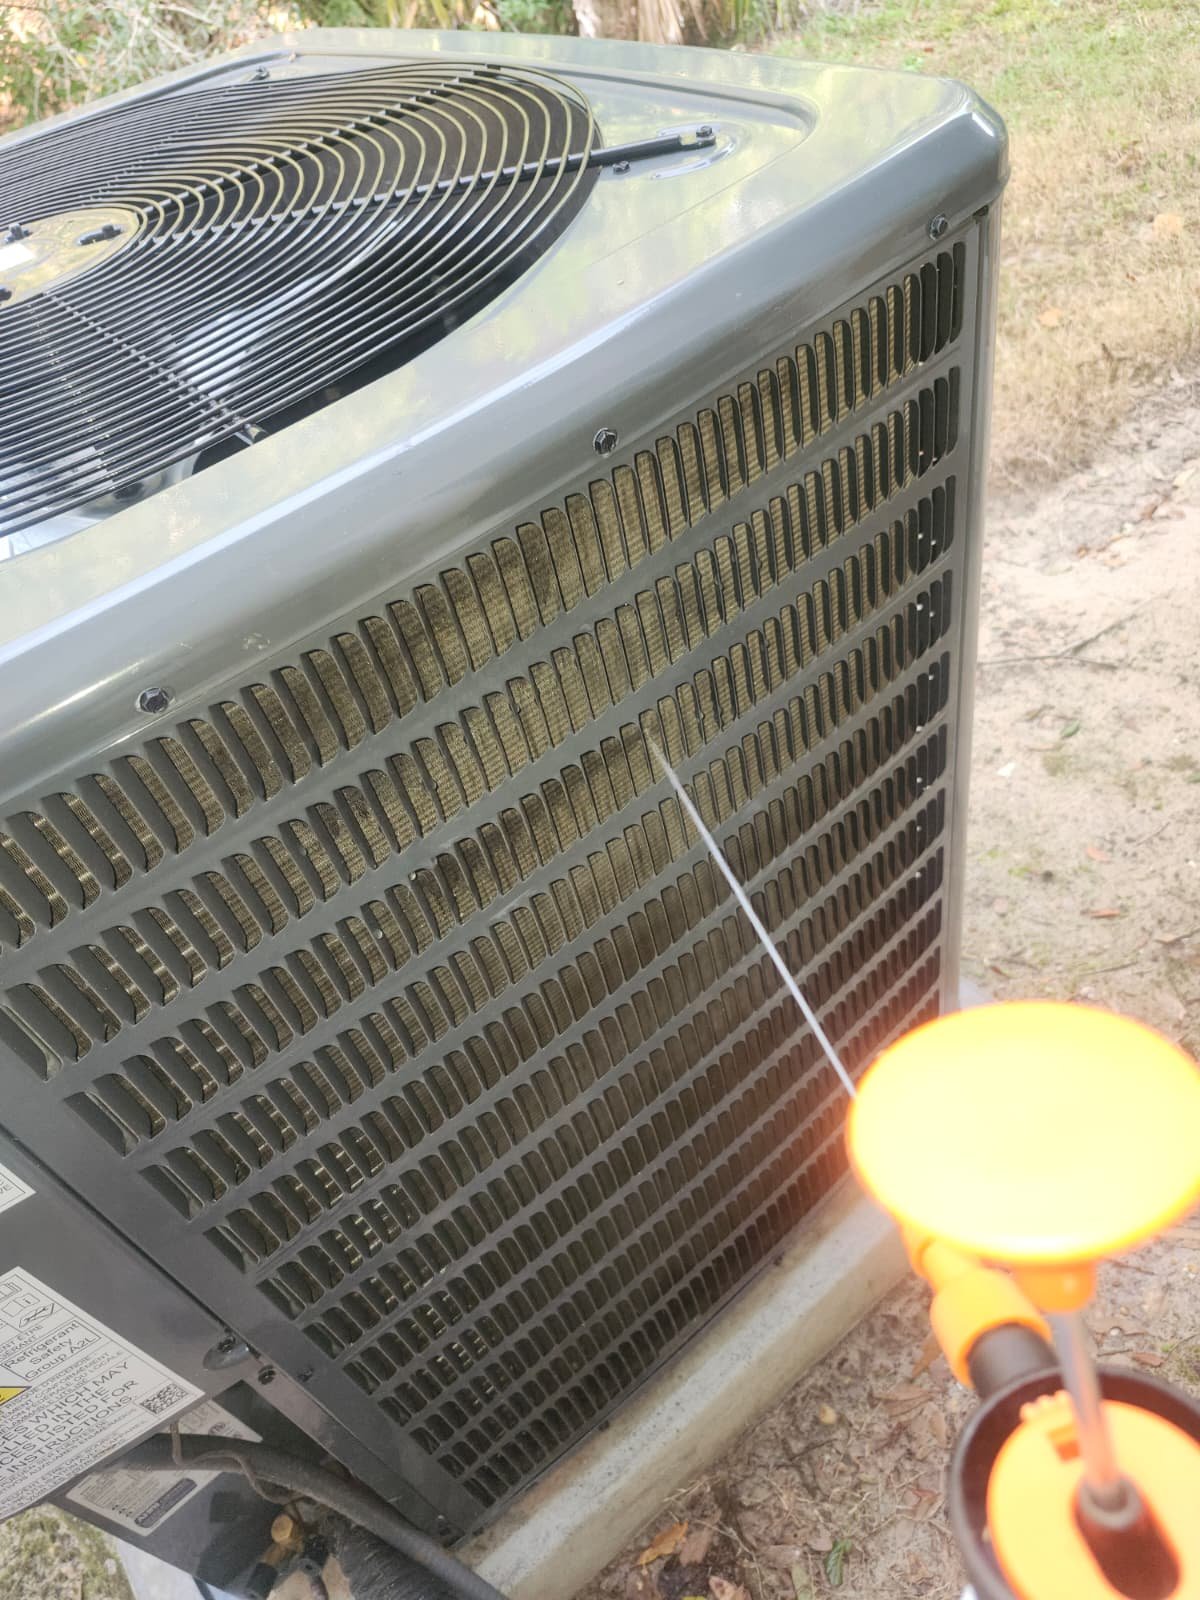
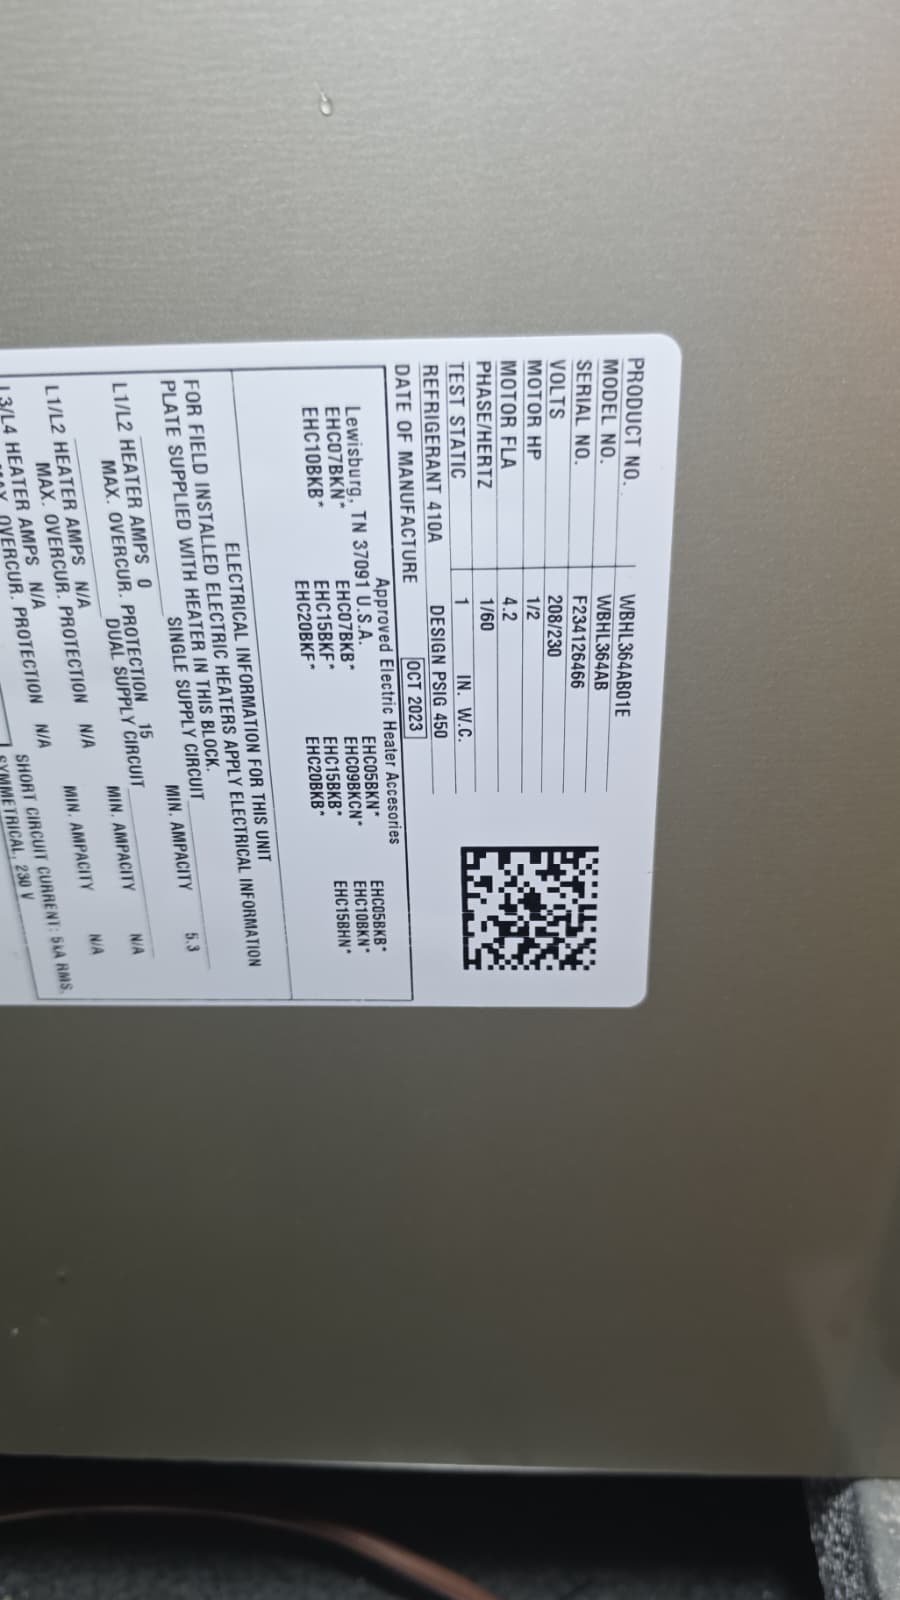
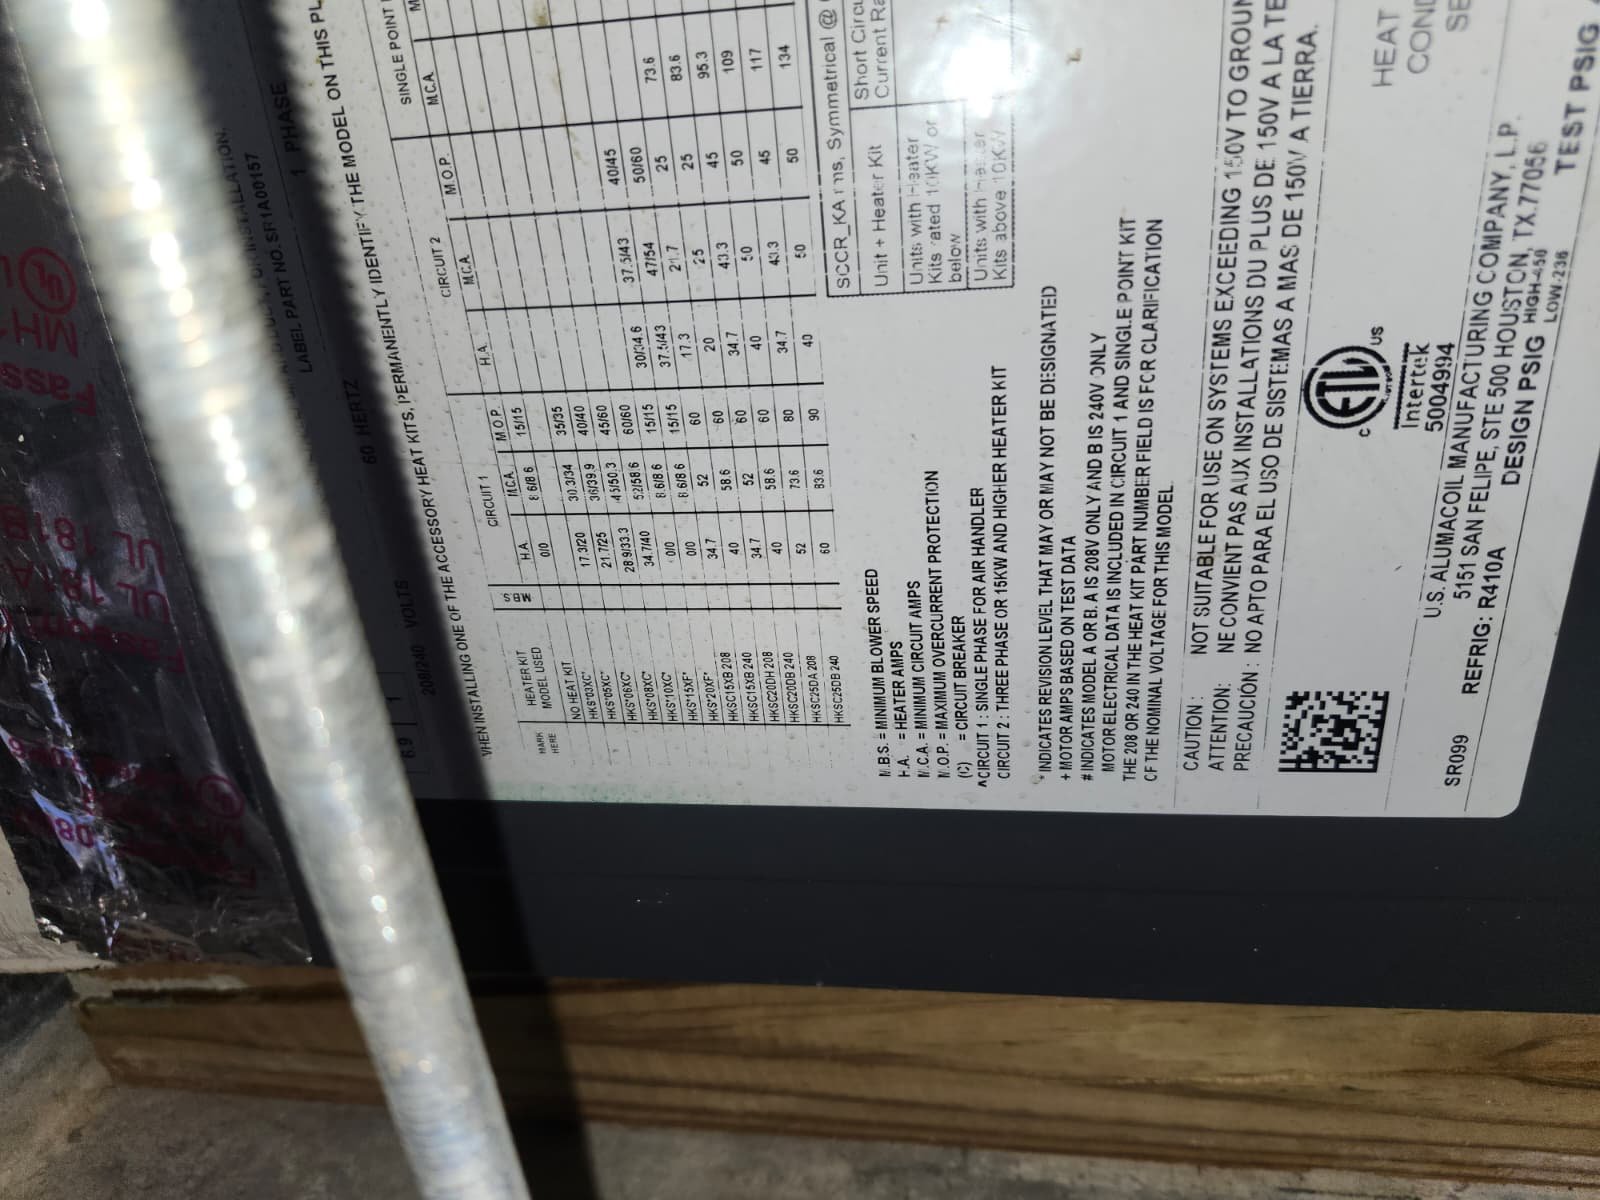
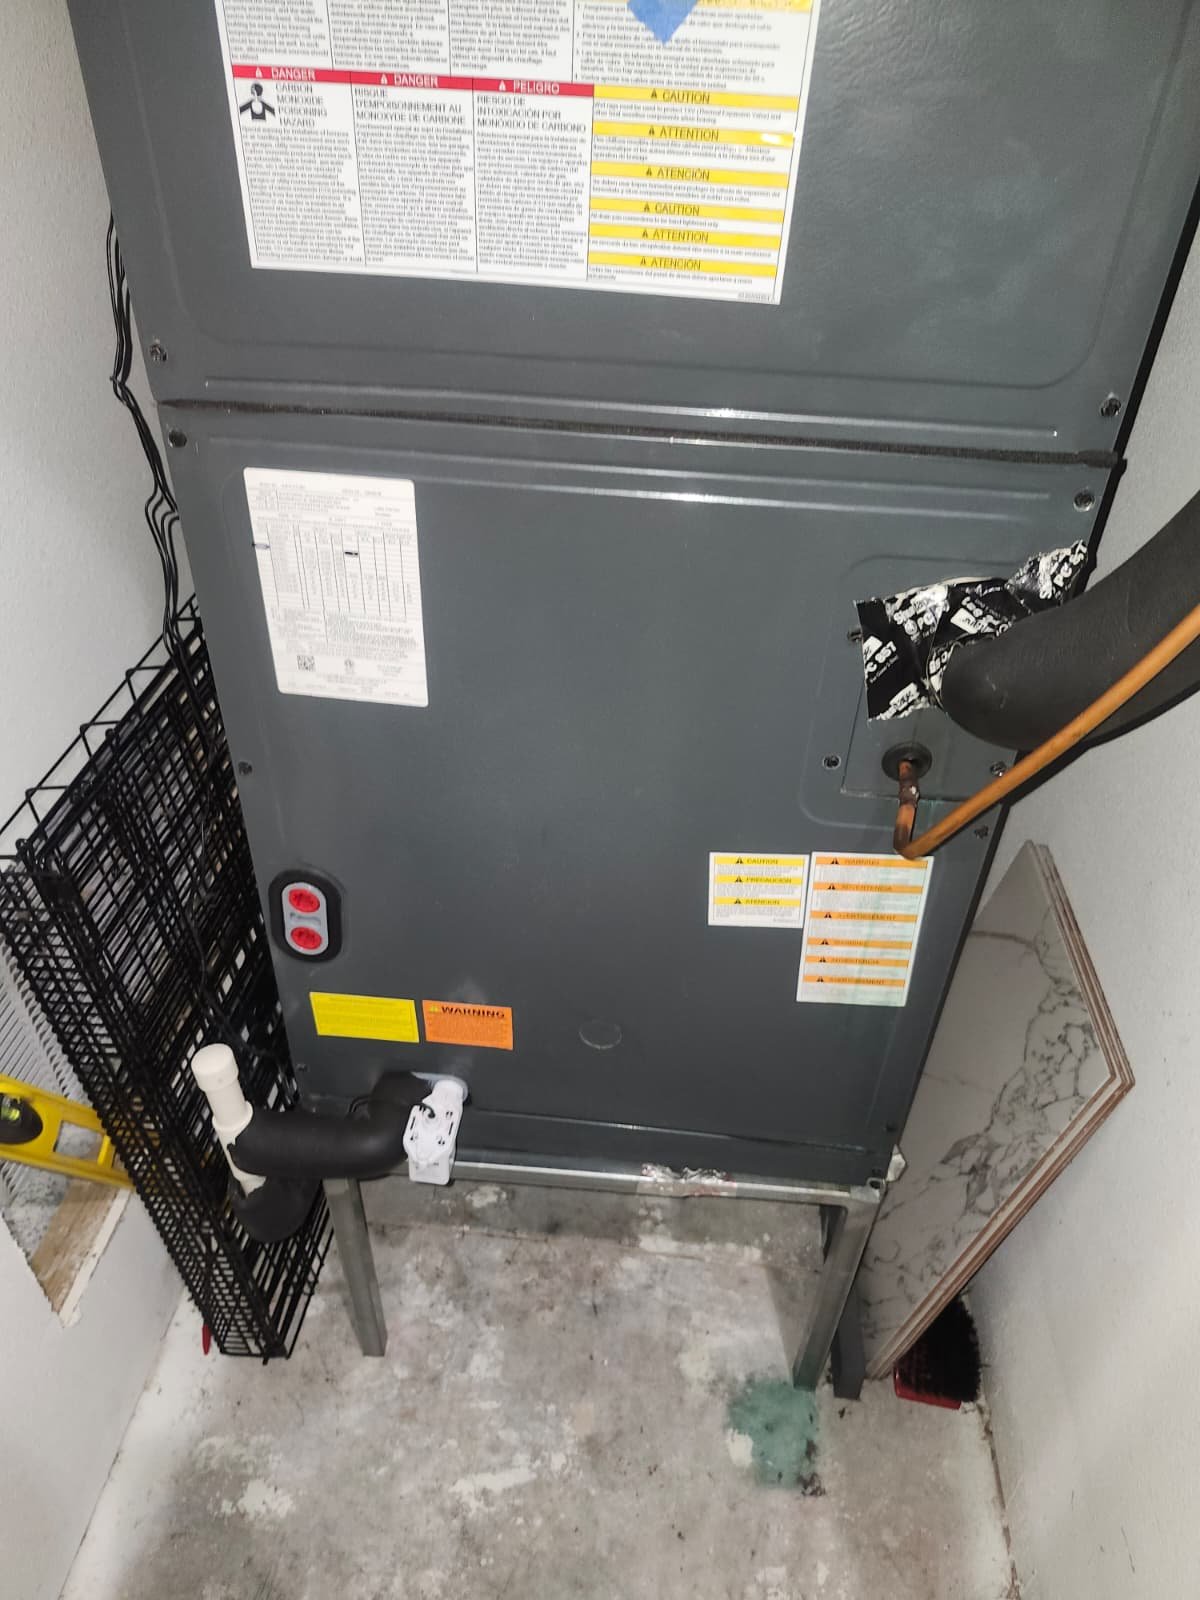
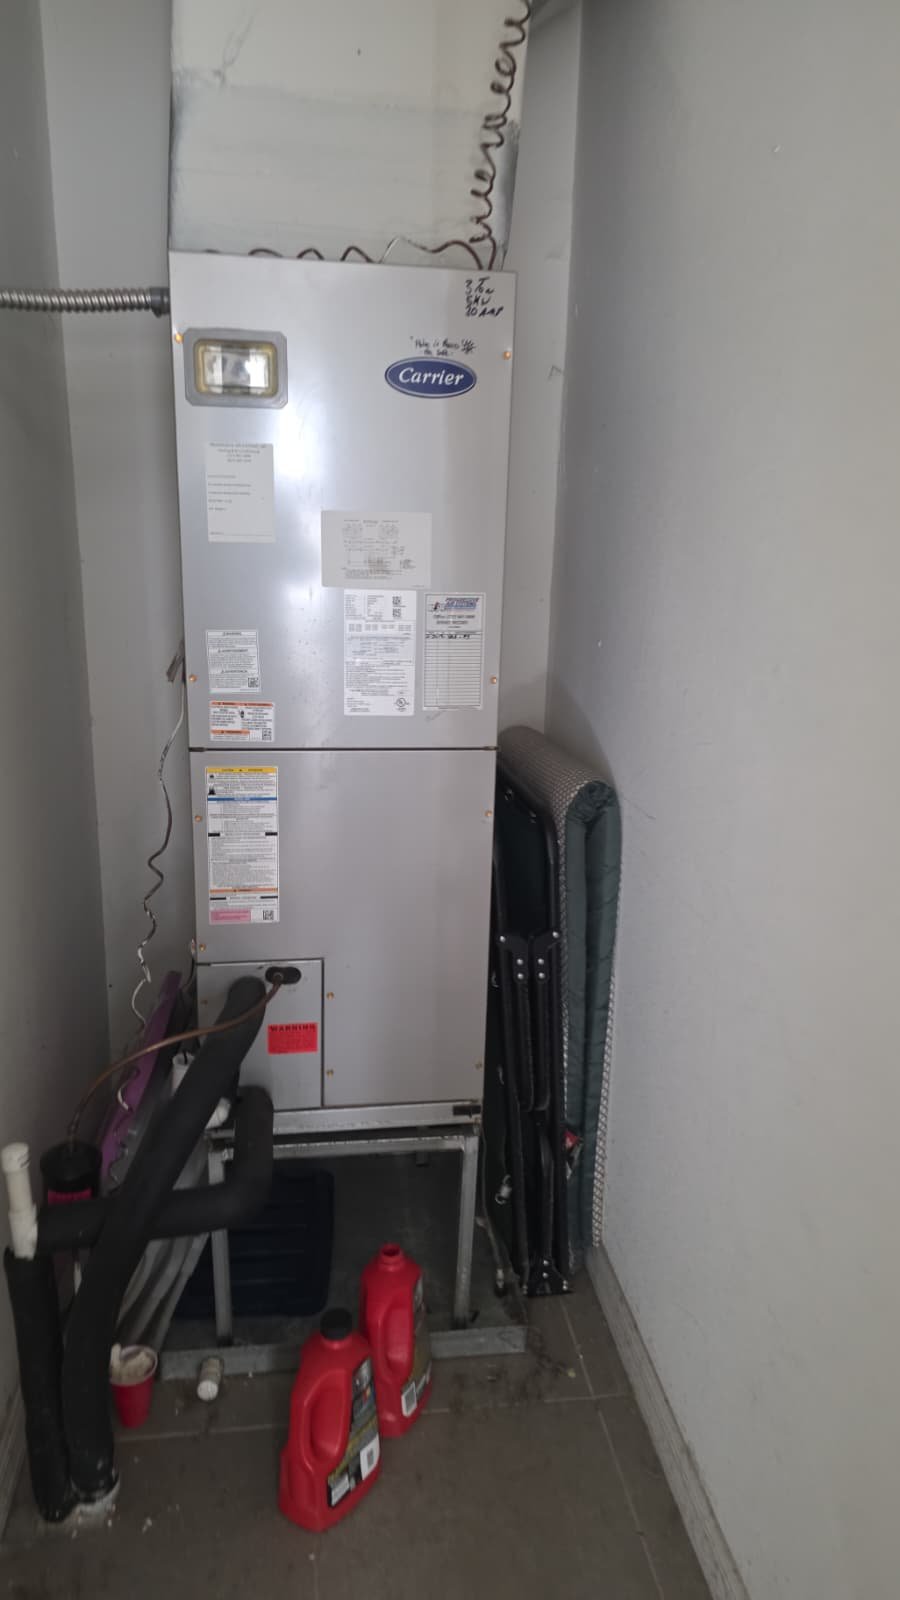
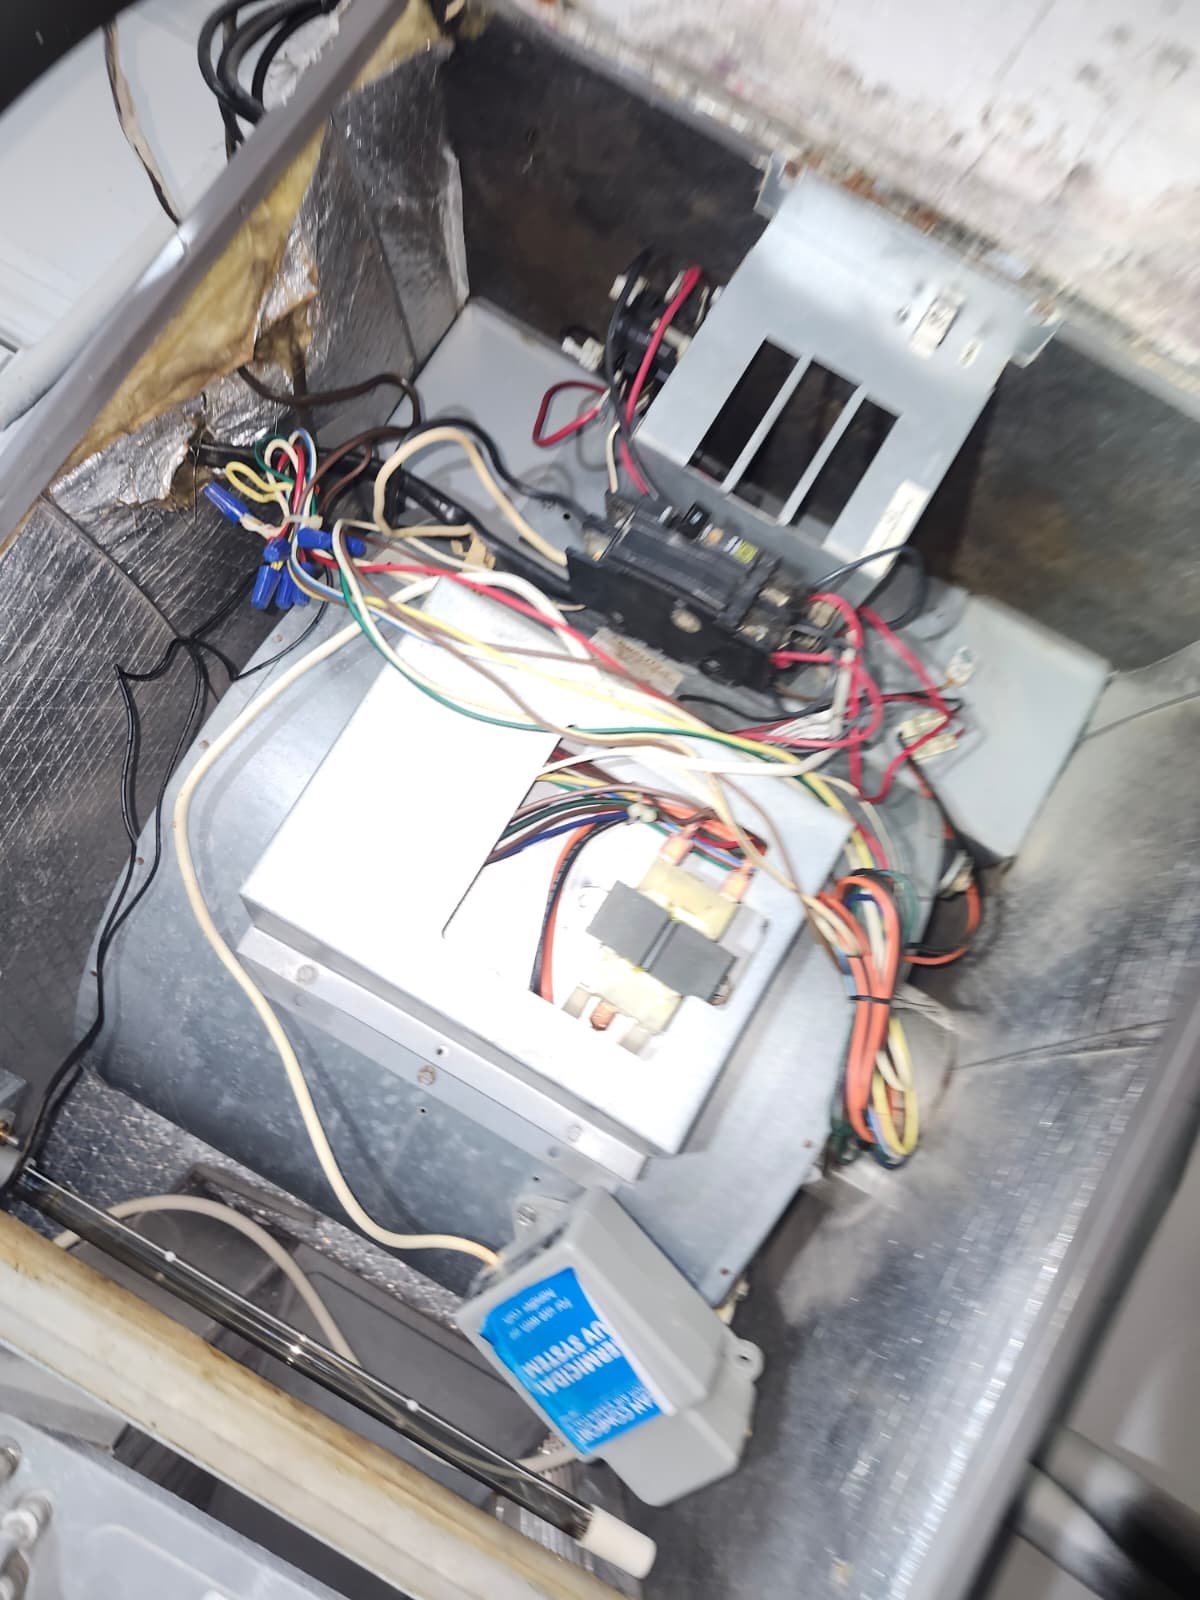
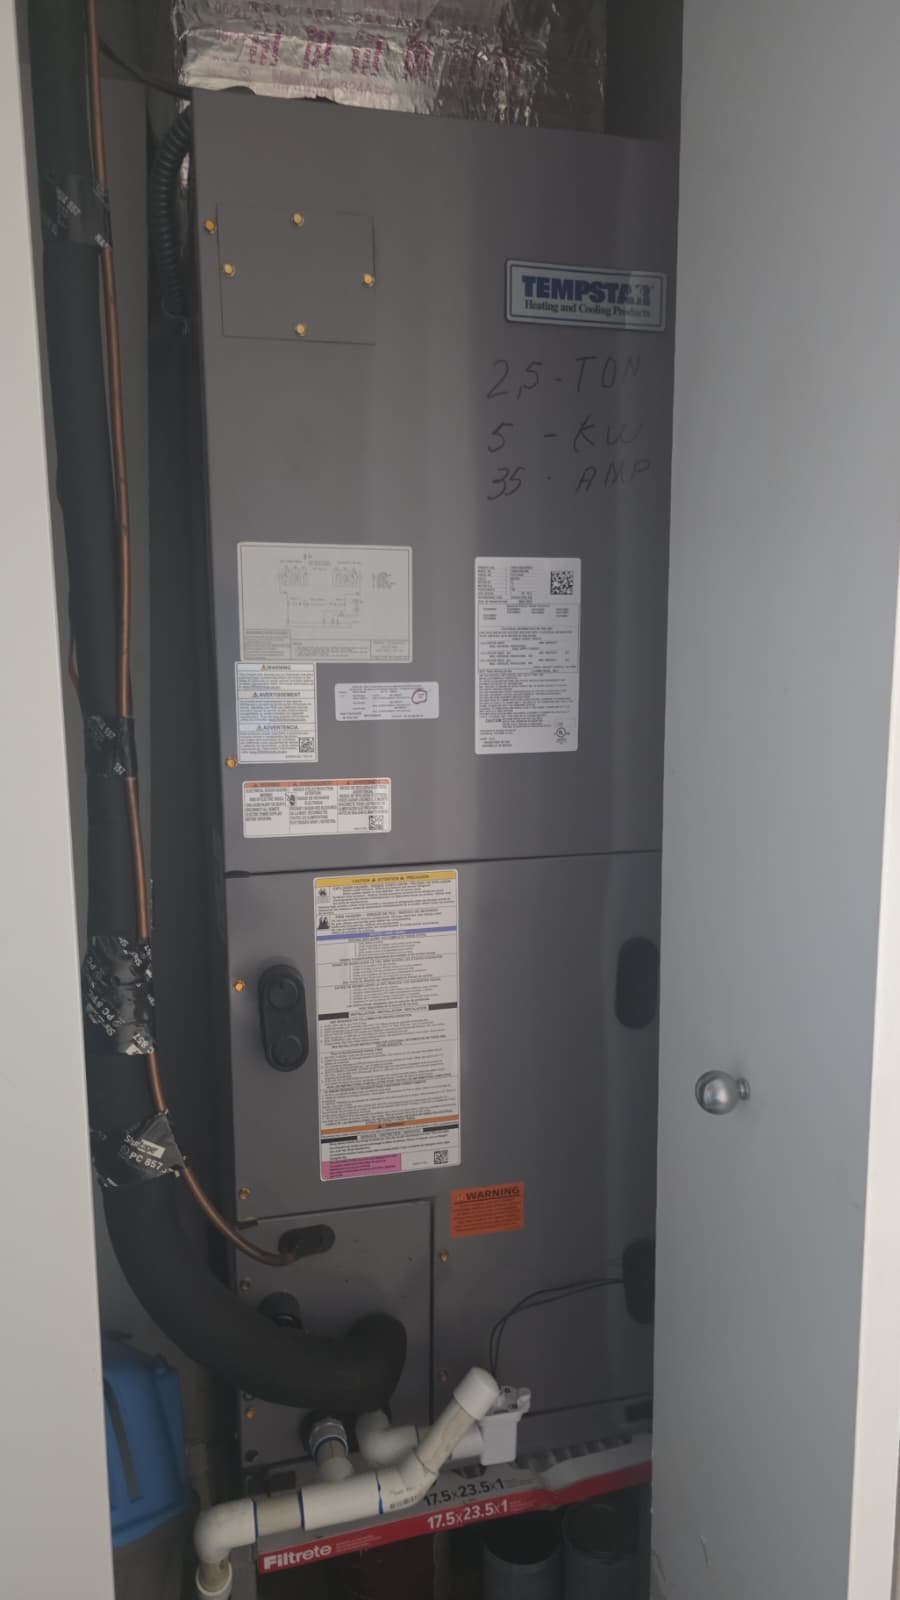
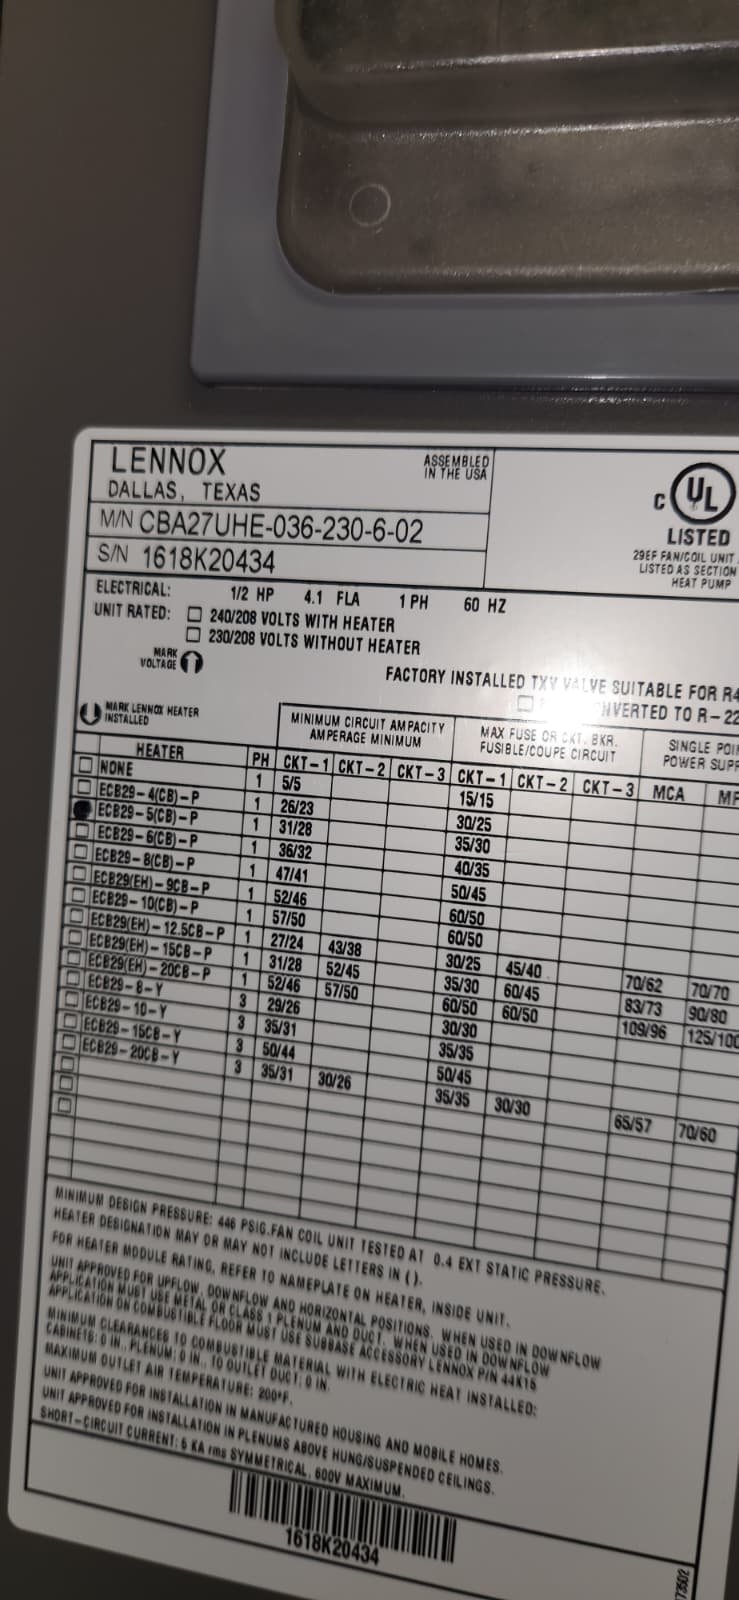
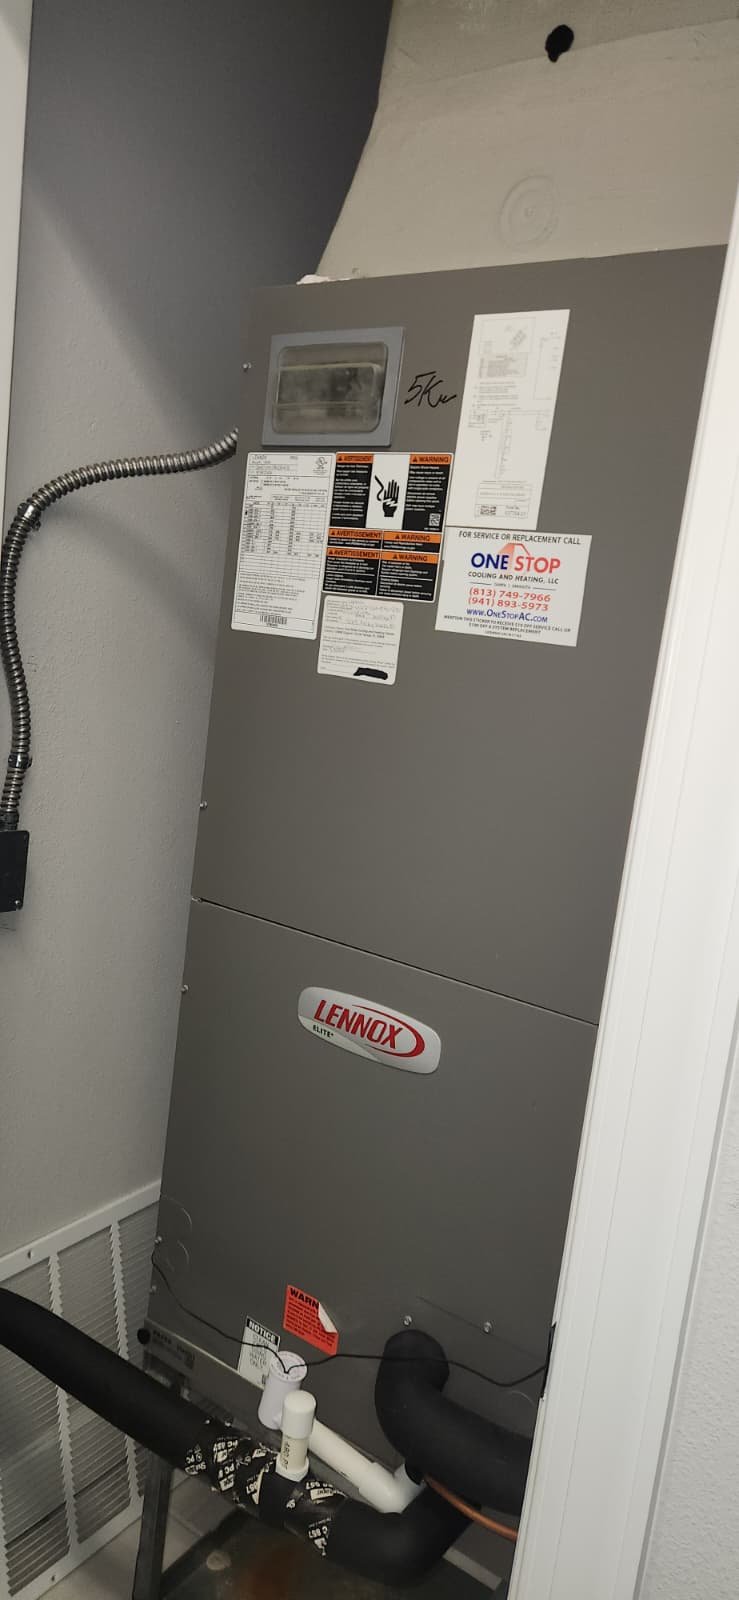
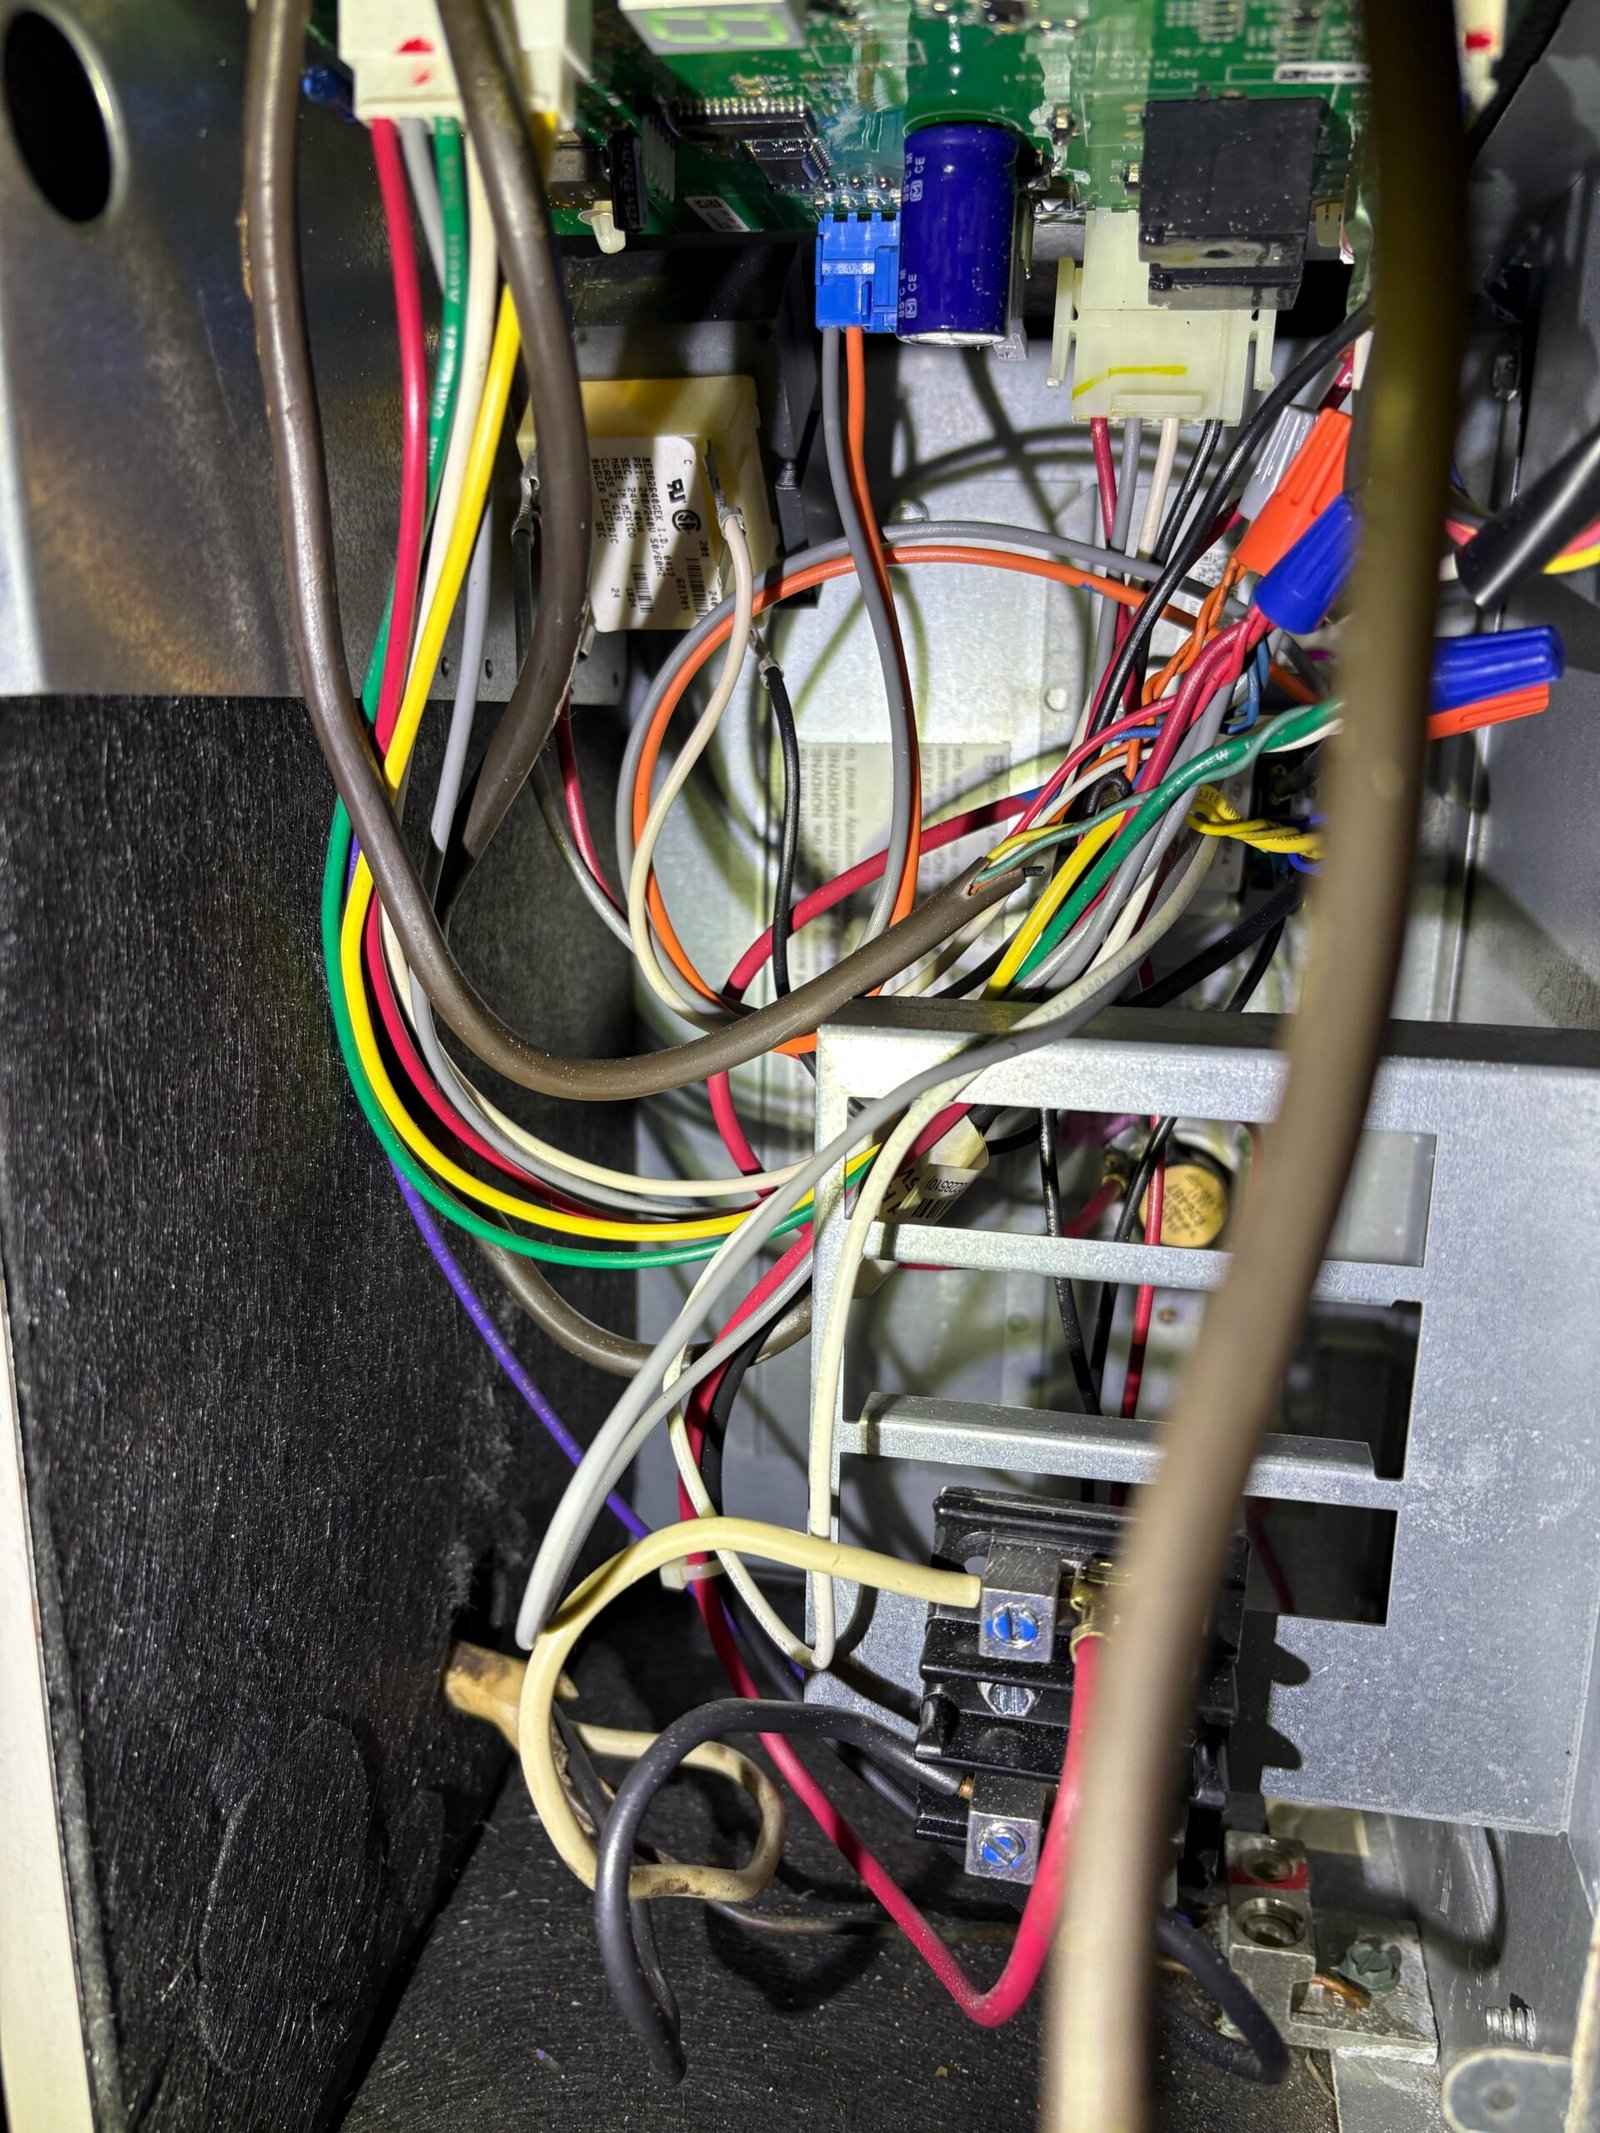
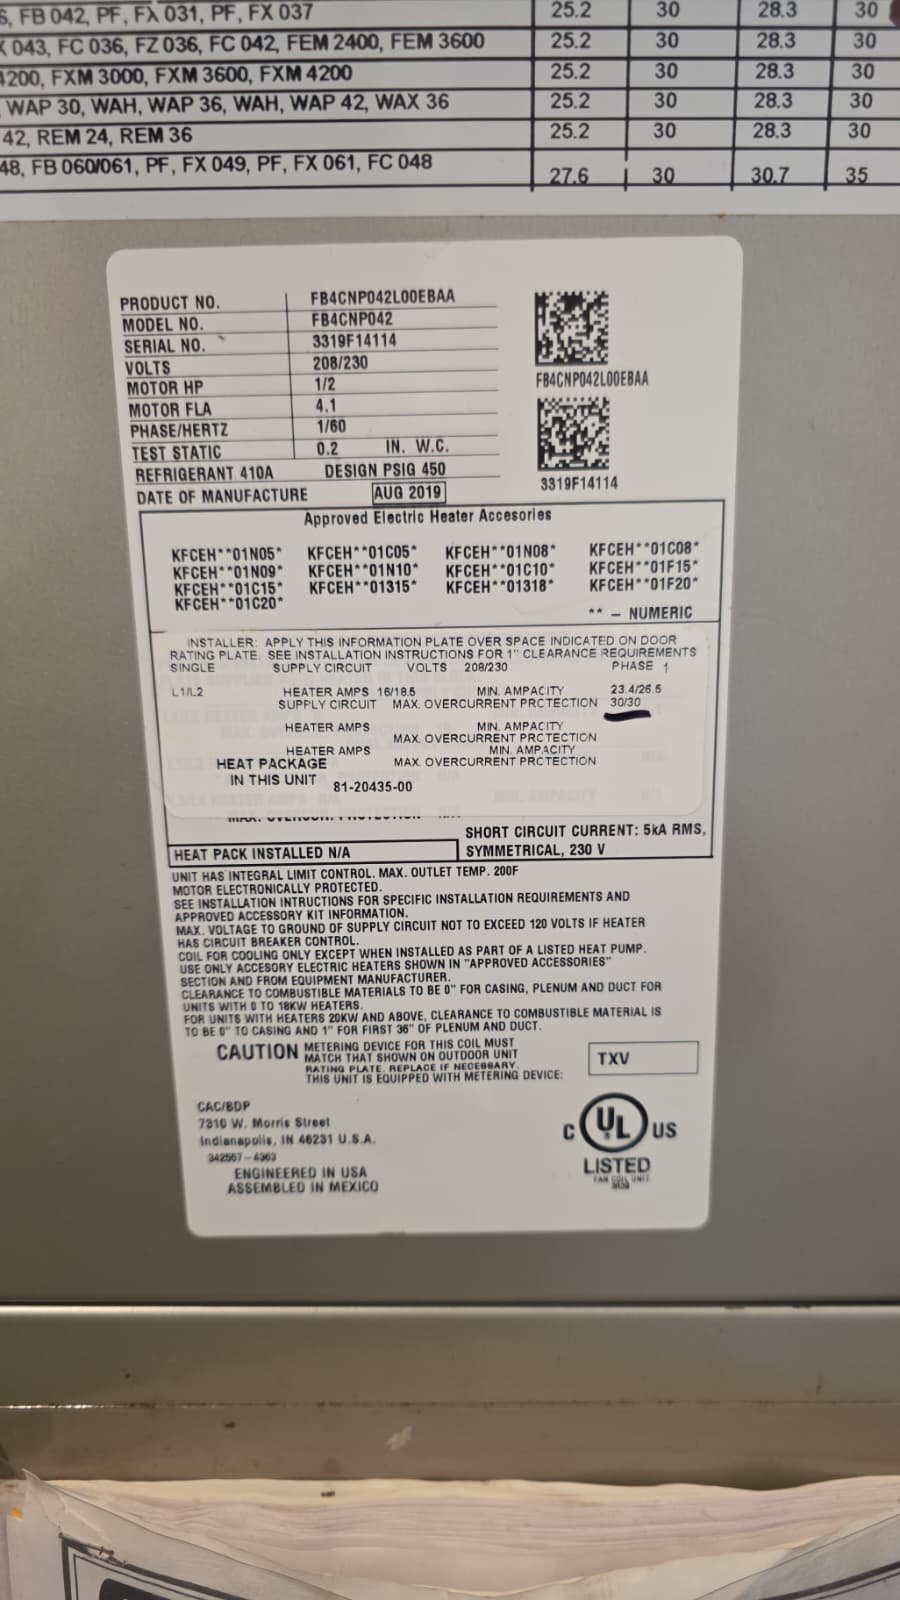
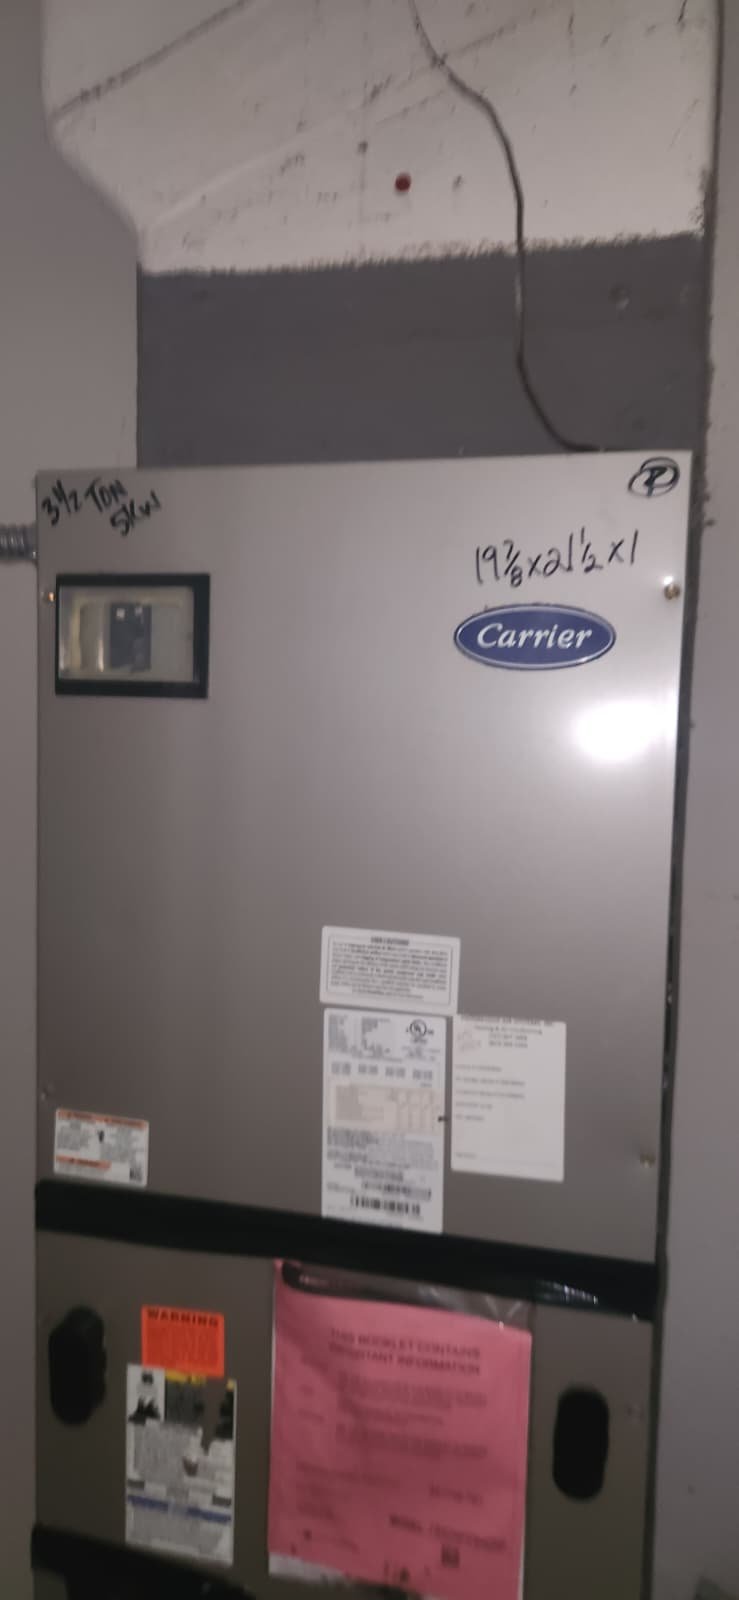
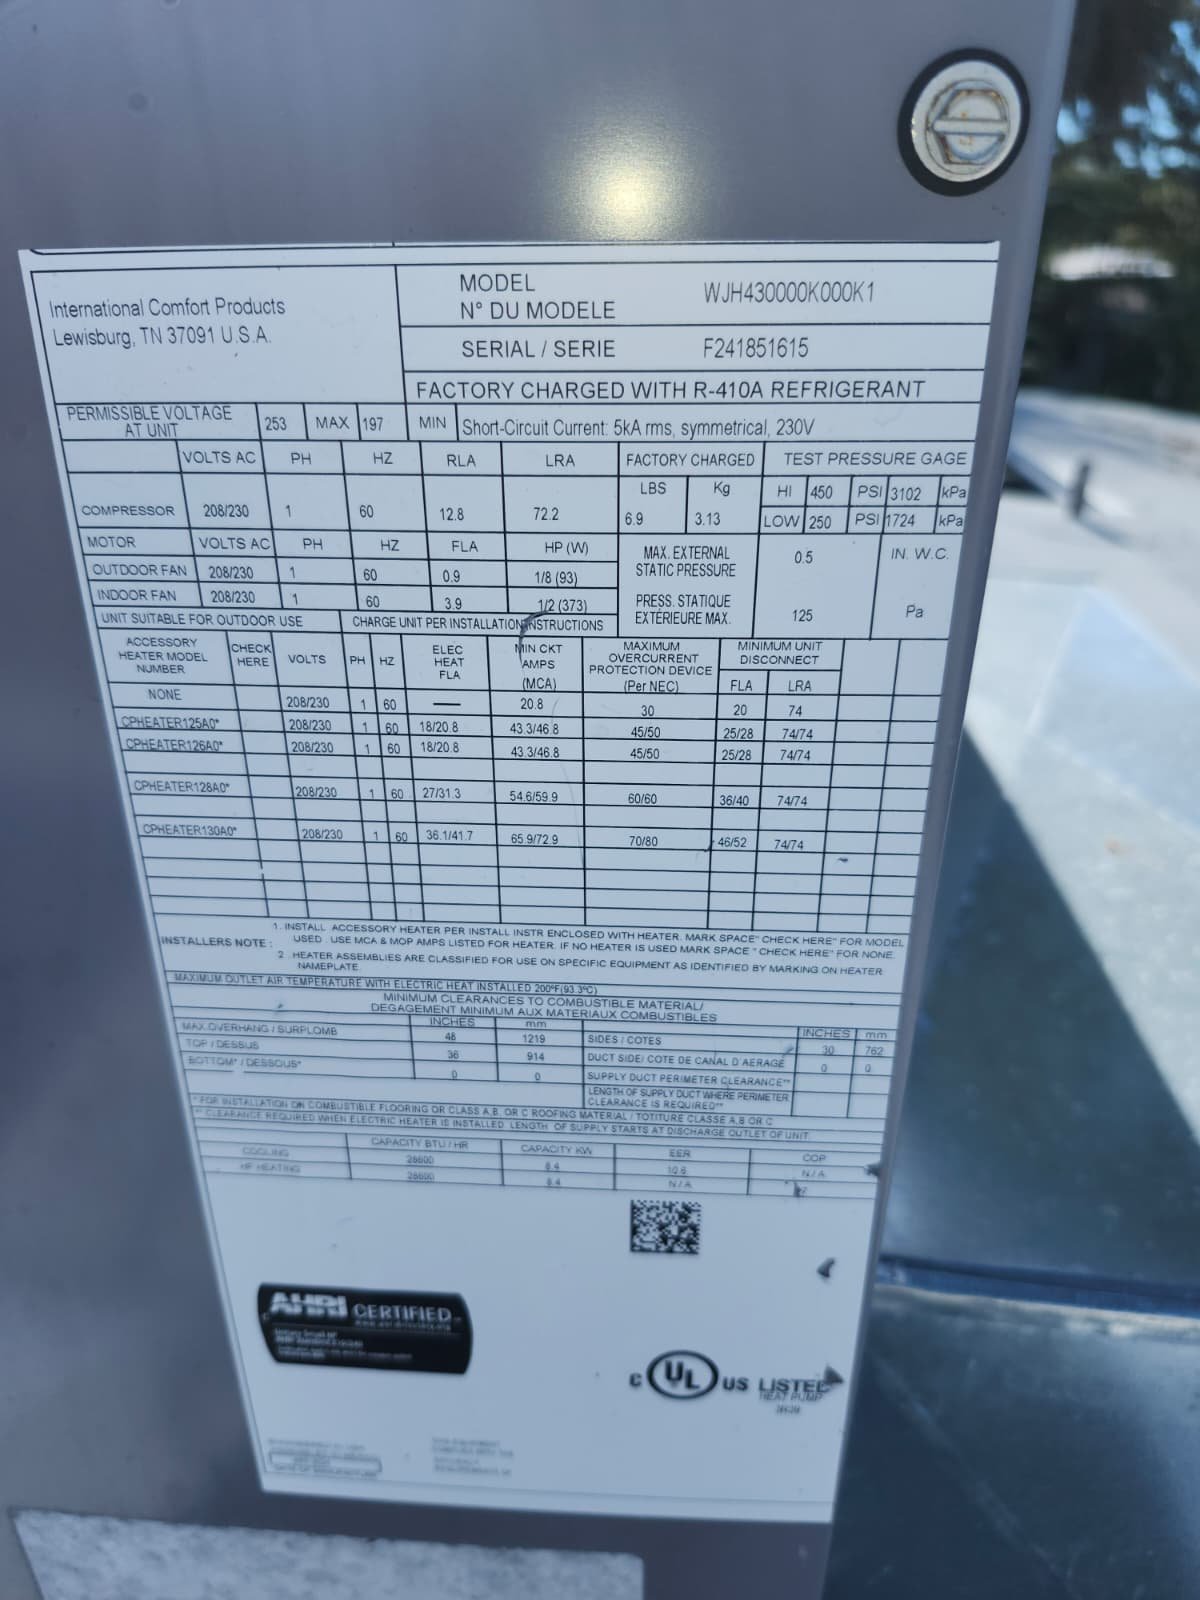
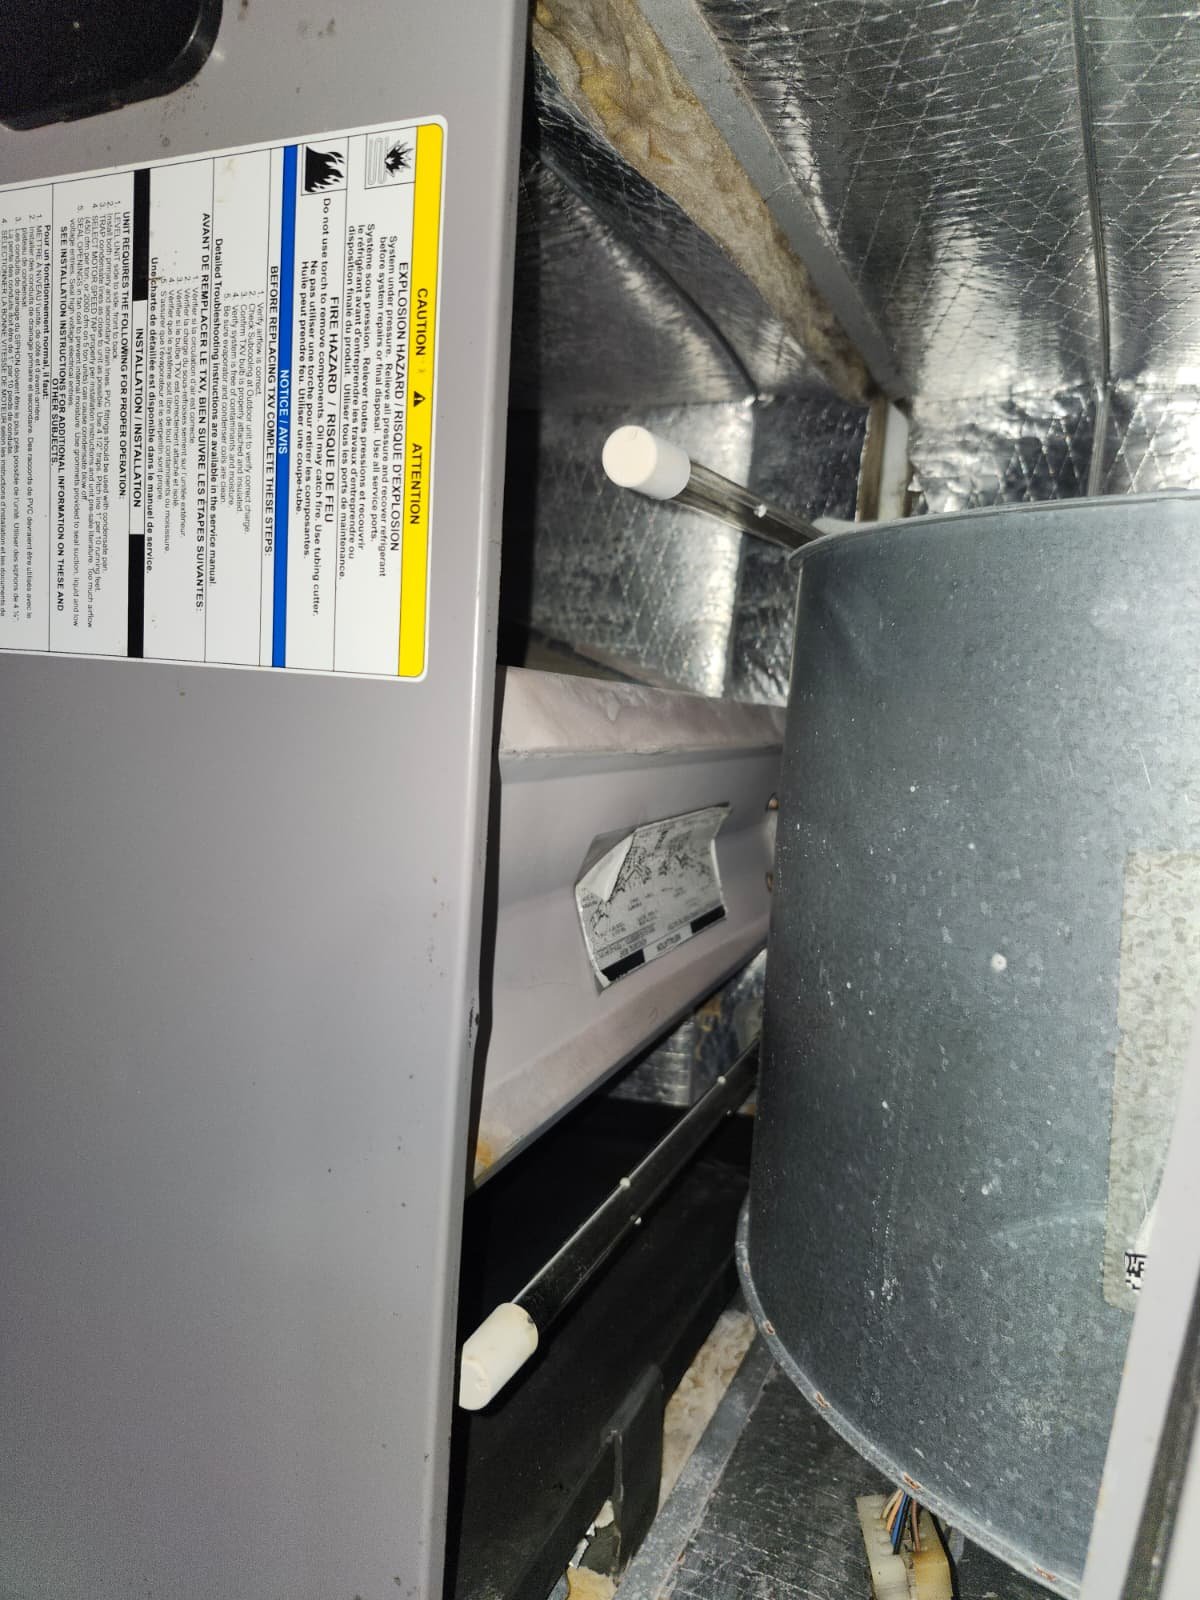
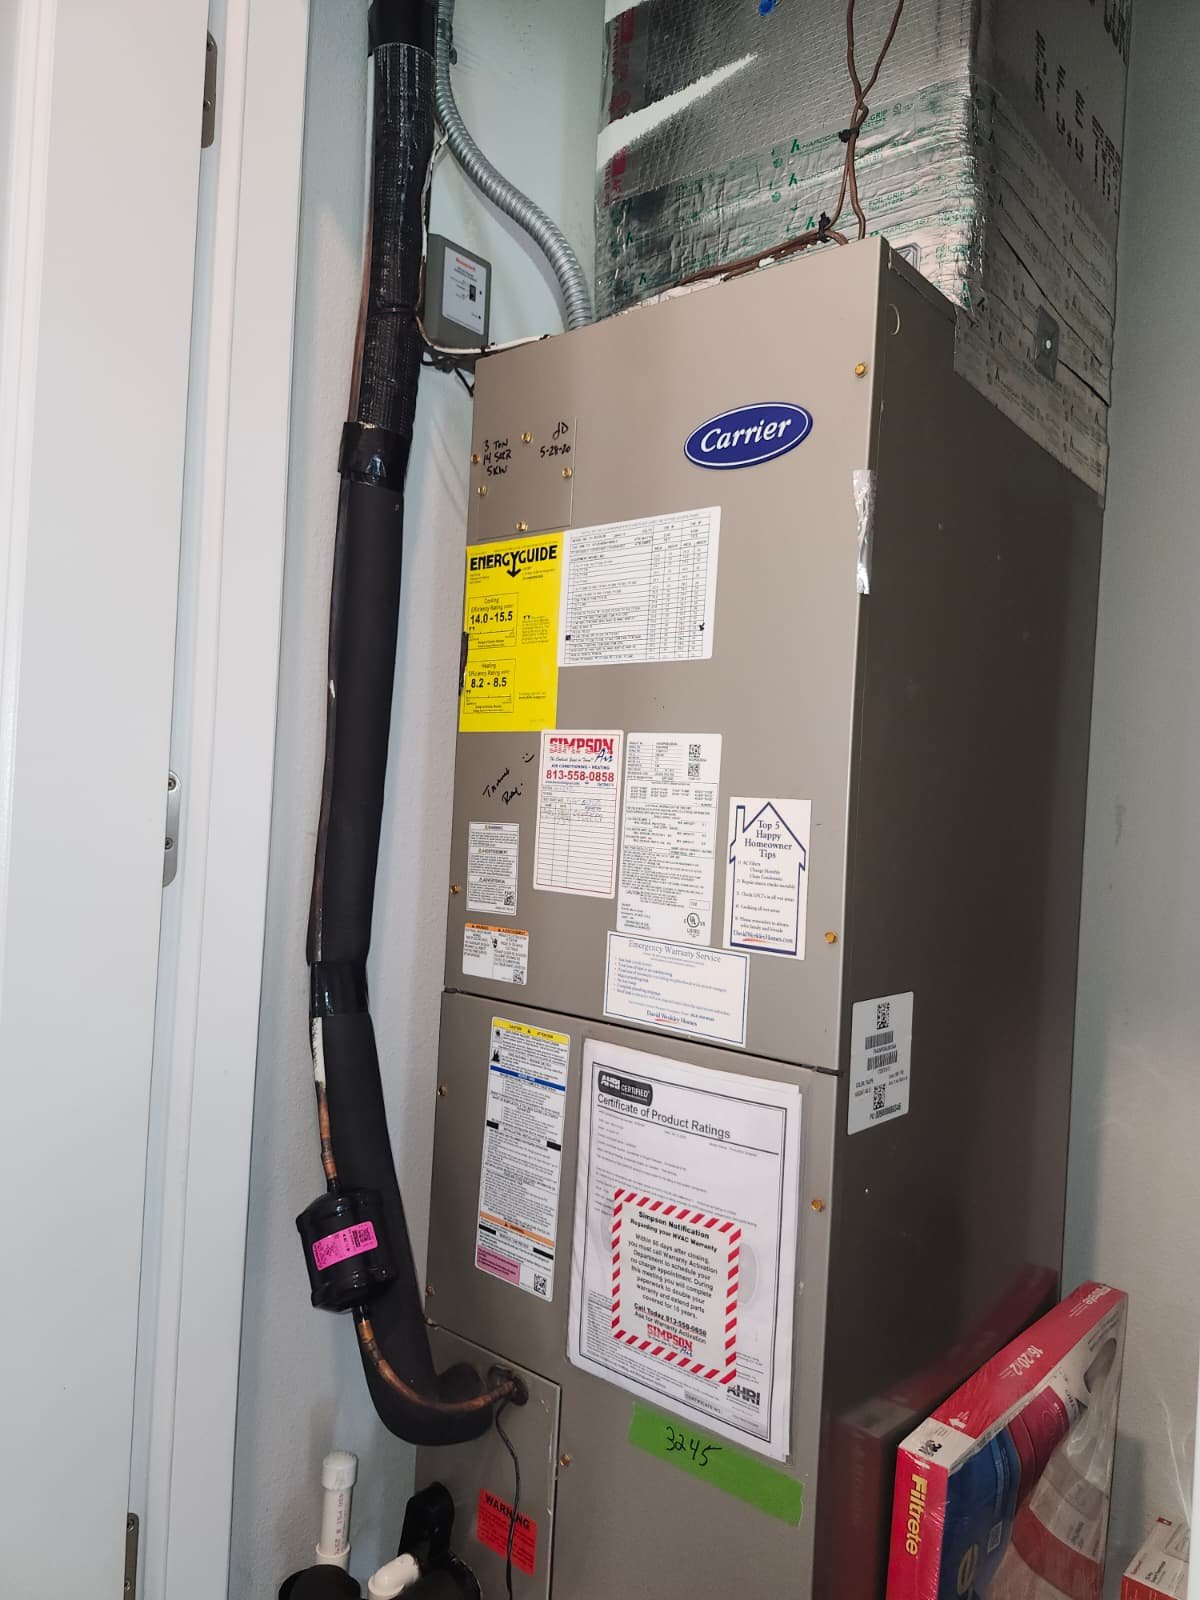
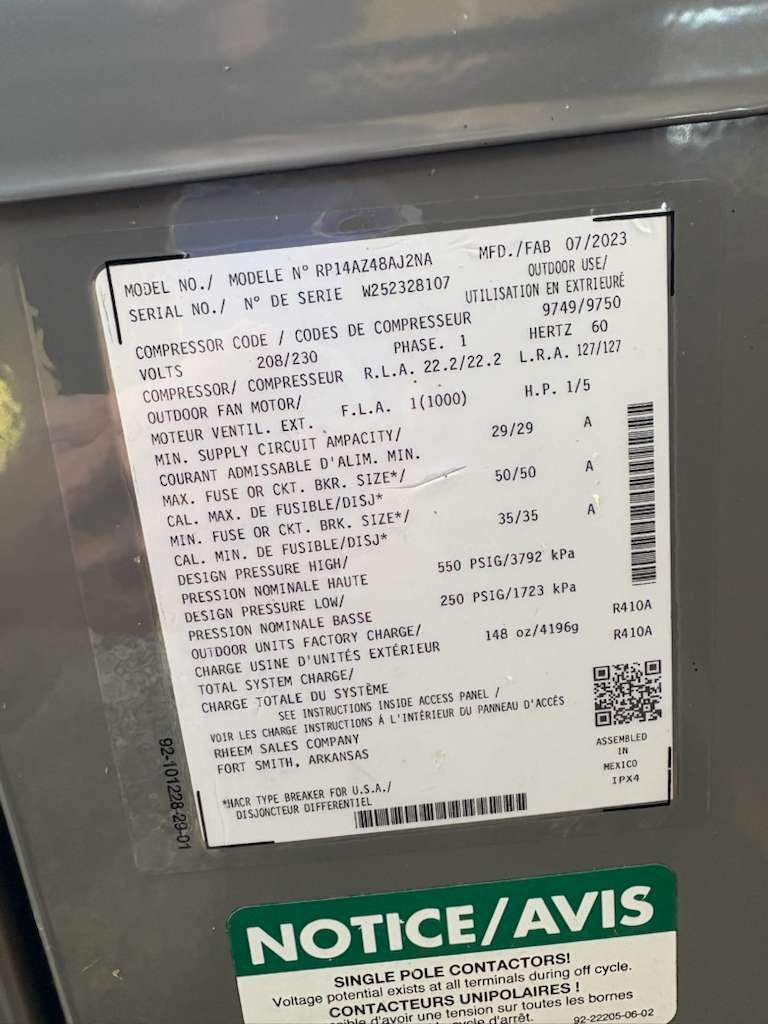
2. Installing the New Daikin 5-Ton Heat Pump System
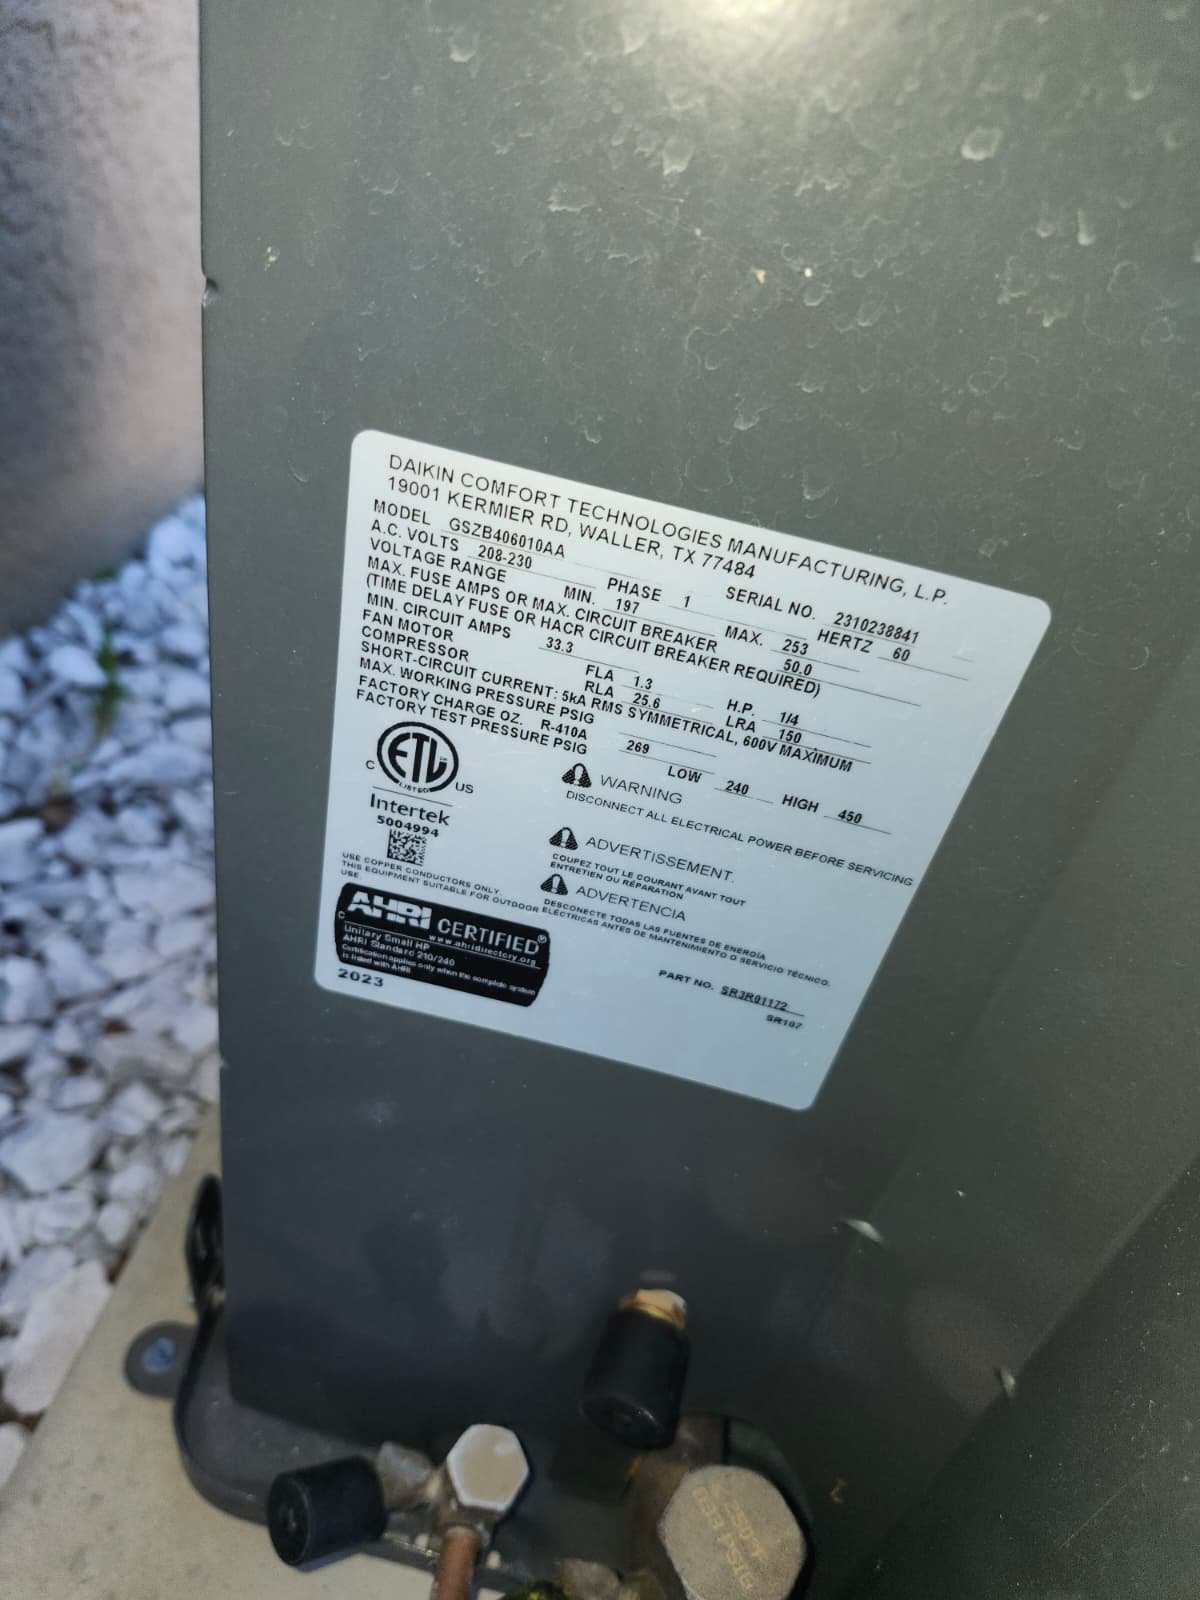
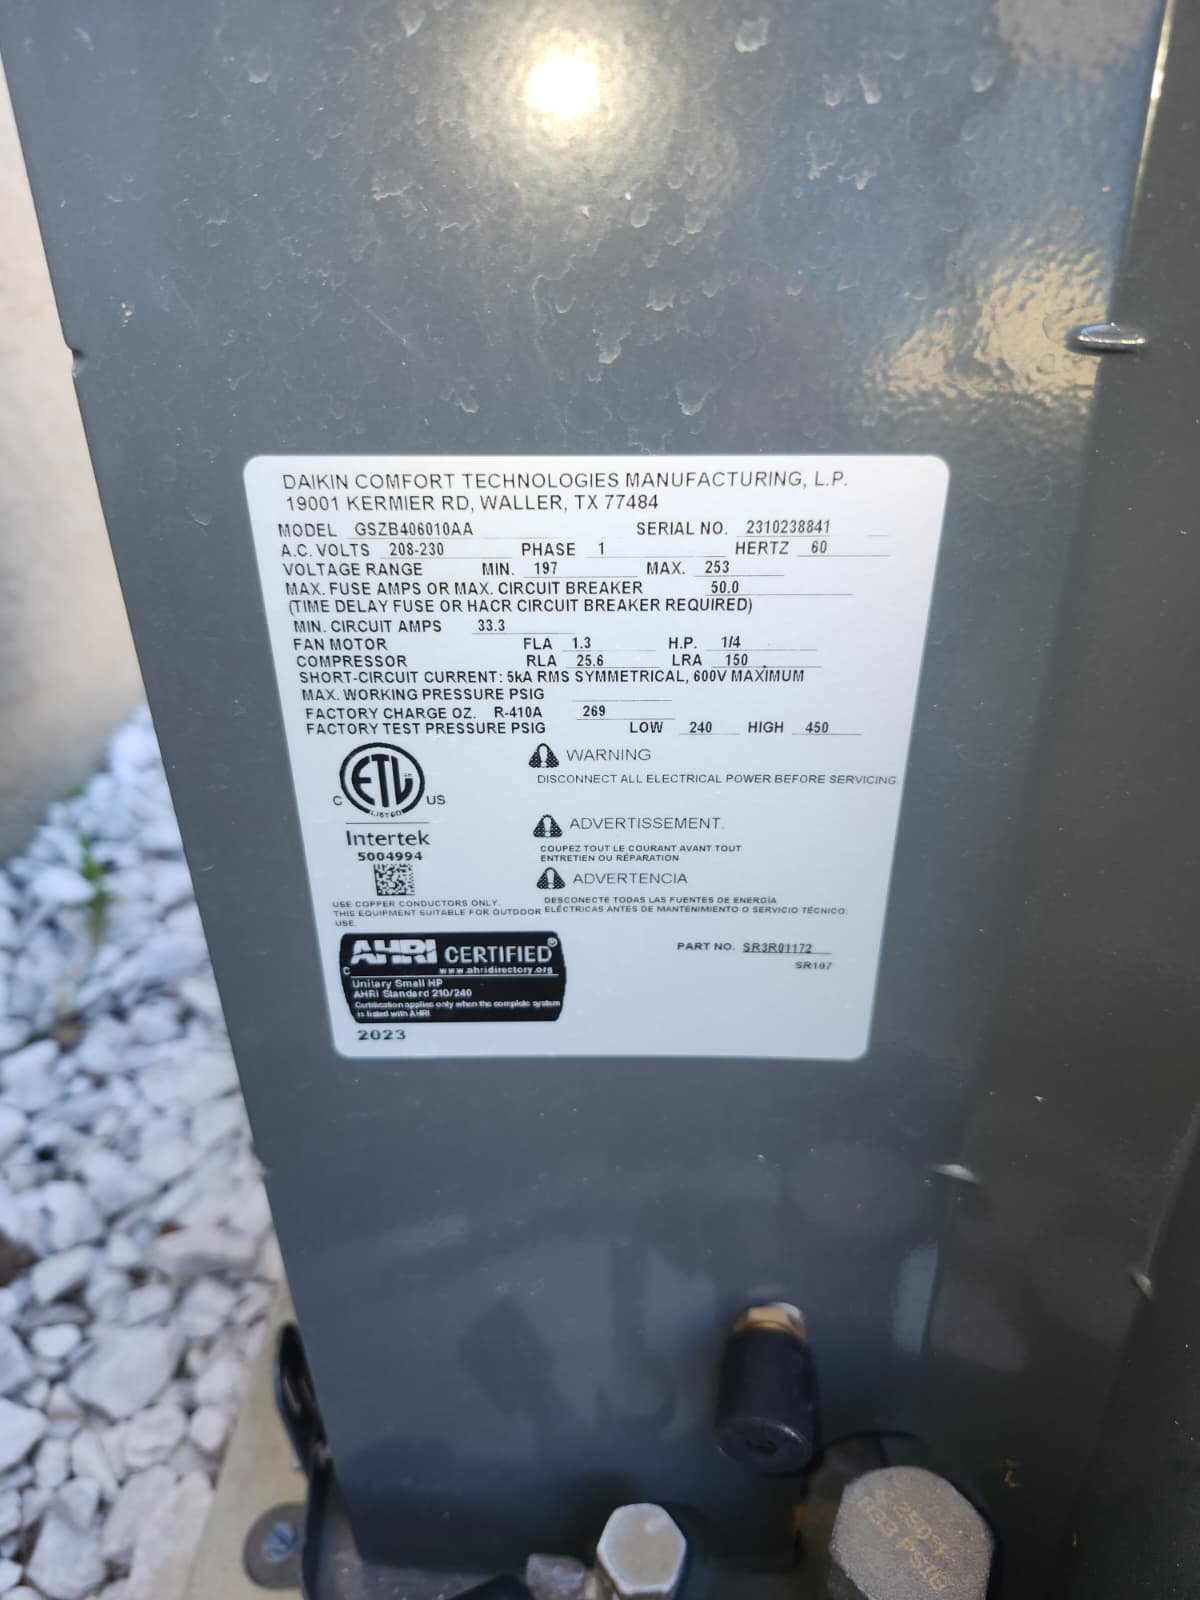
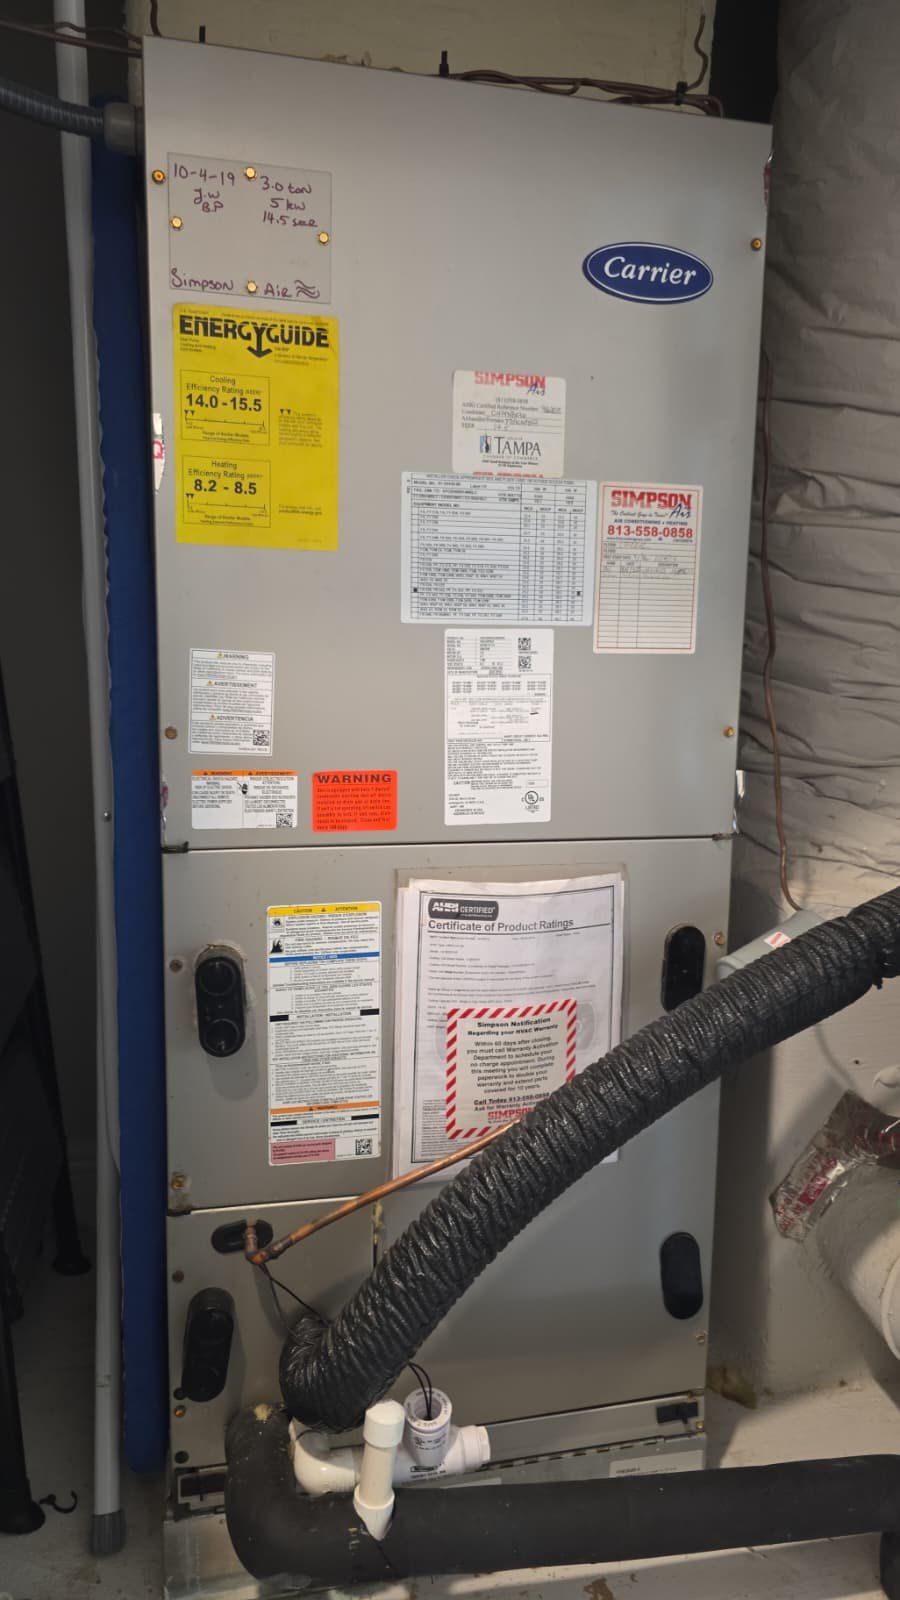
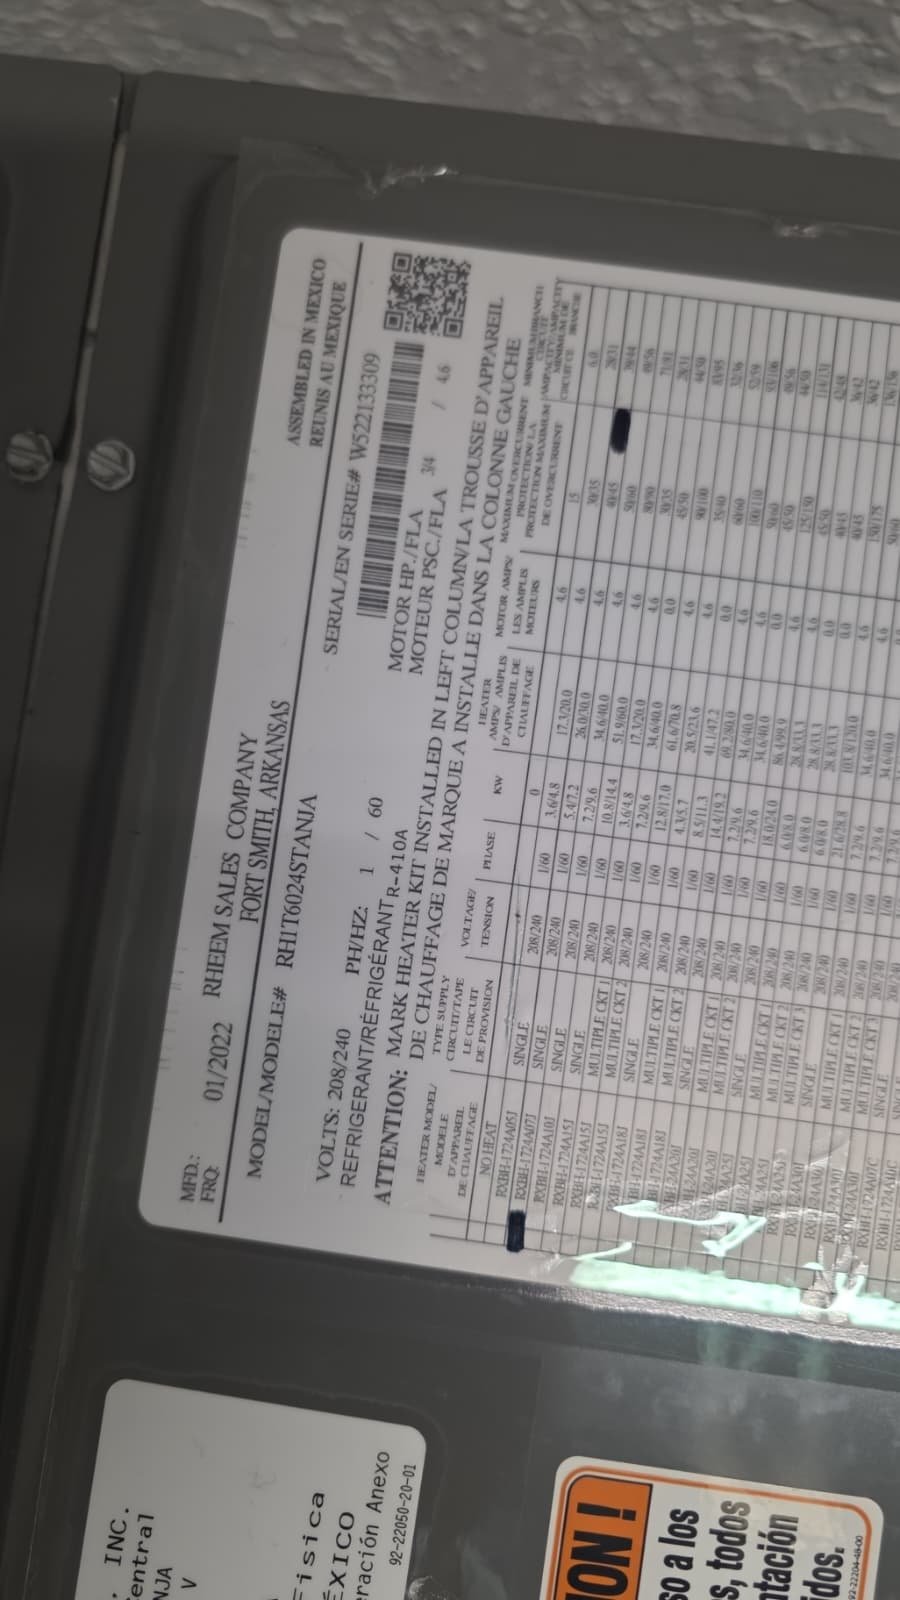
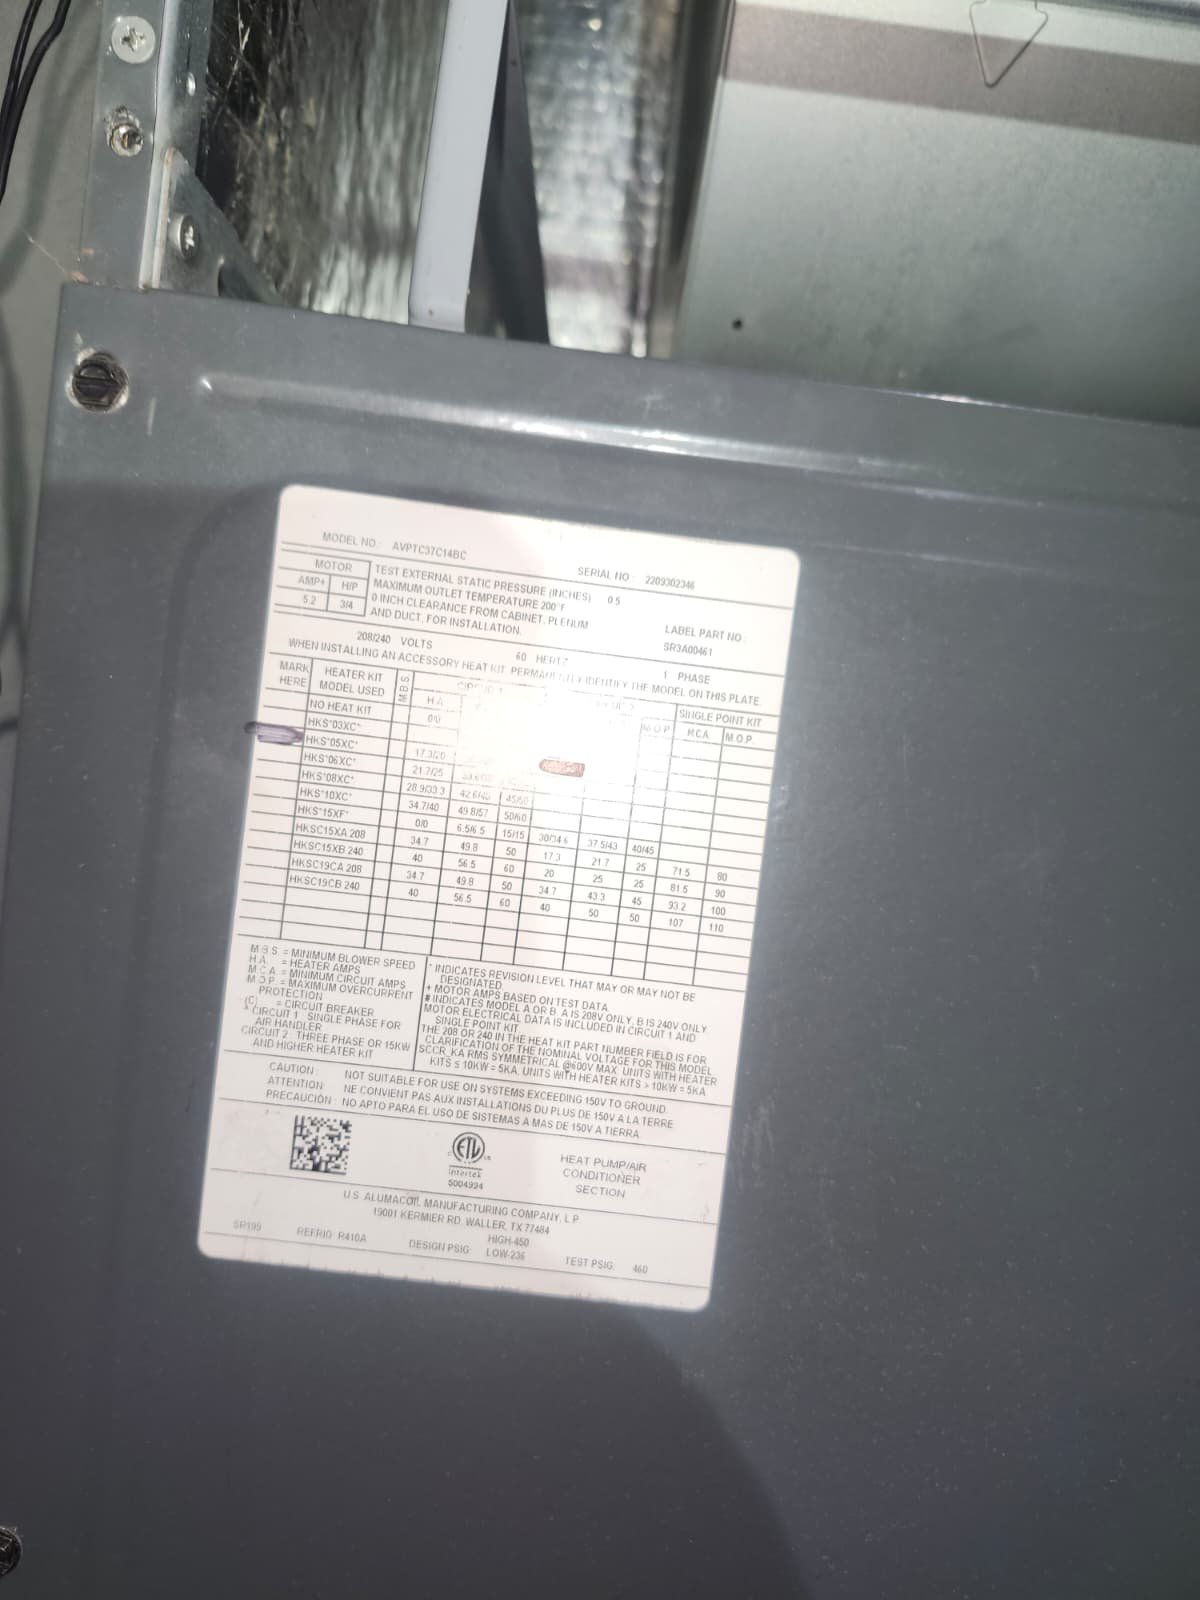
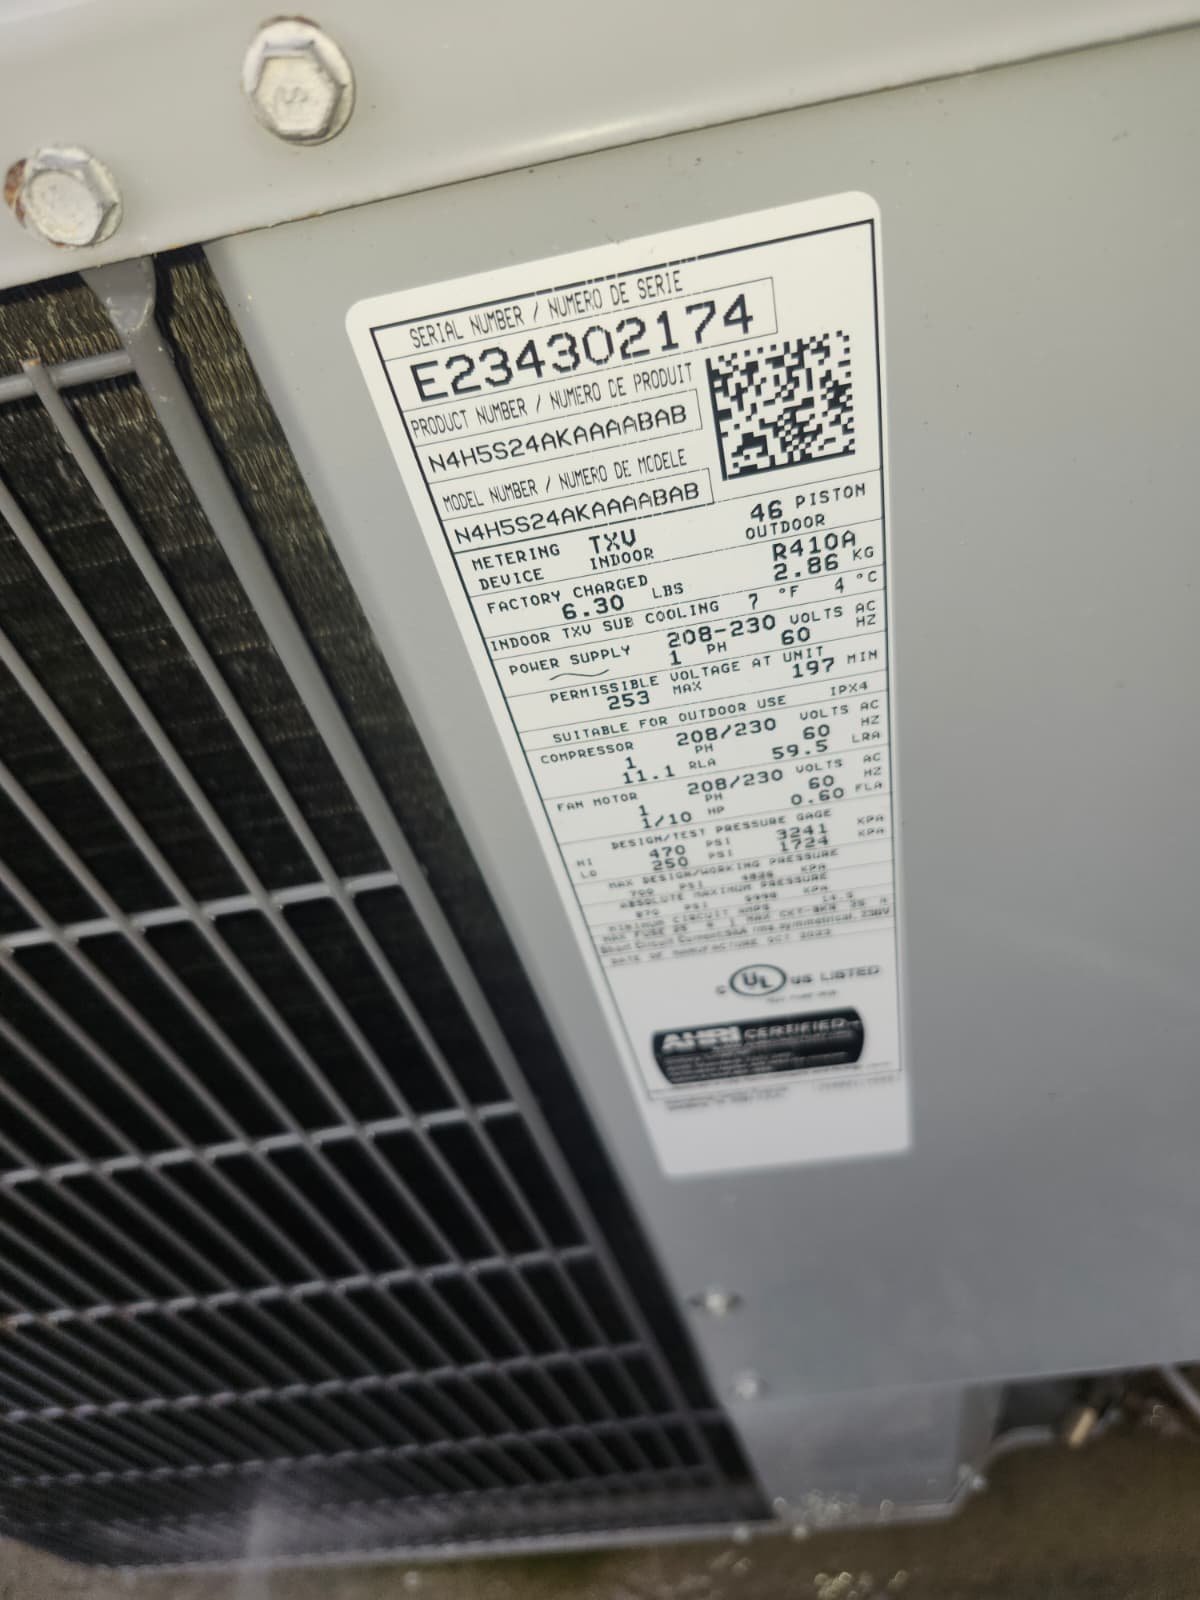
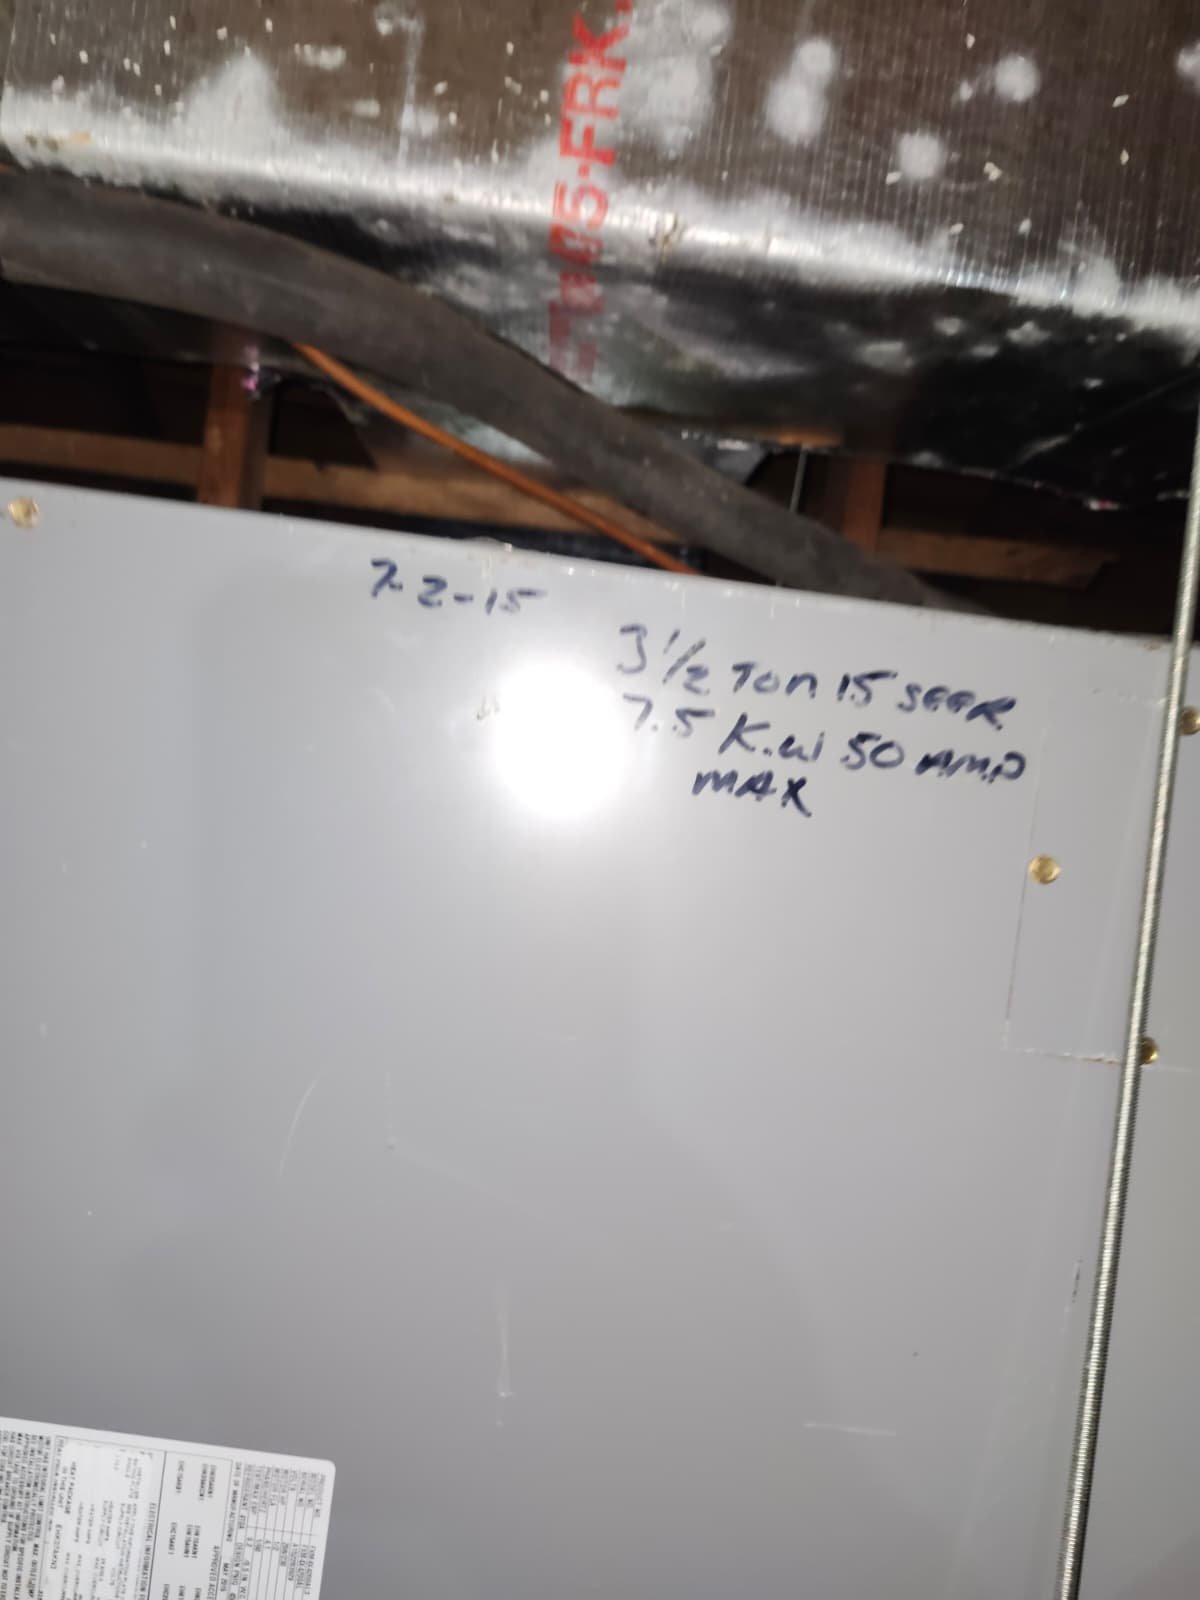
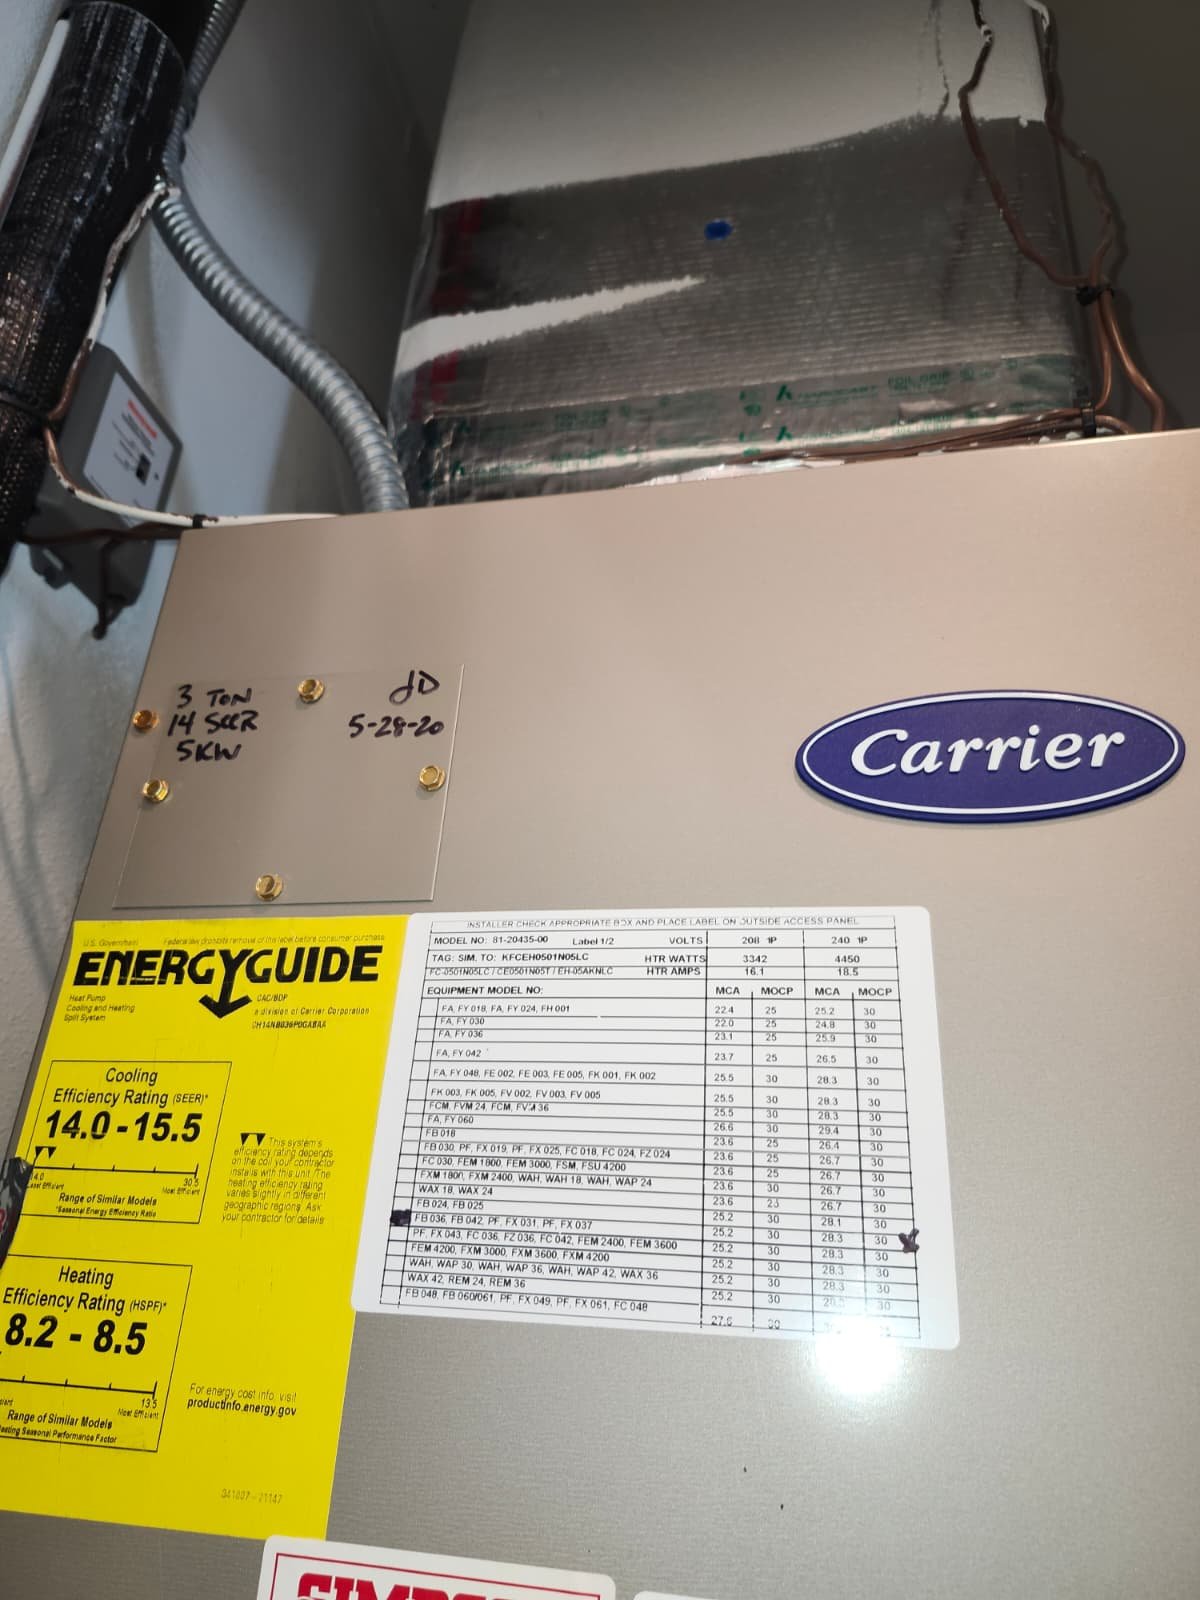
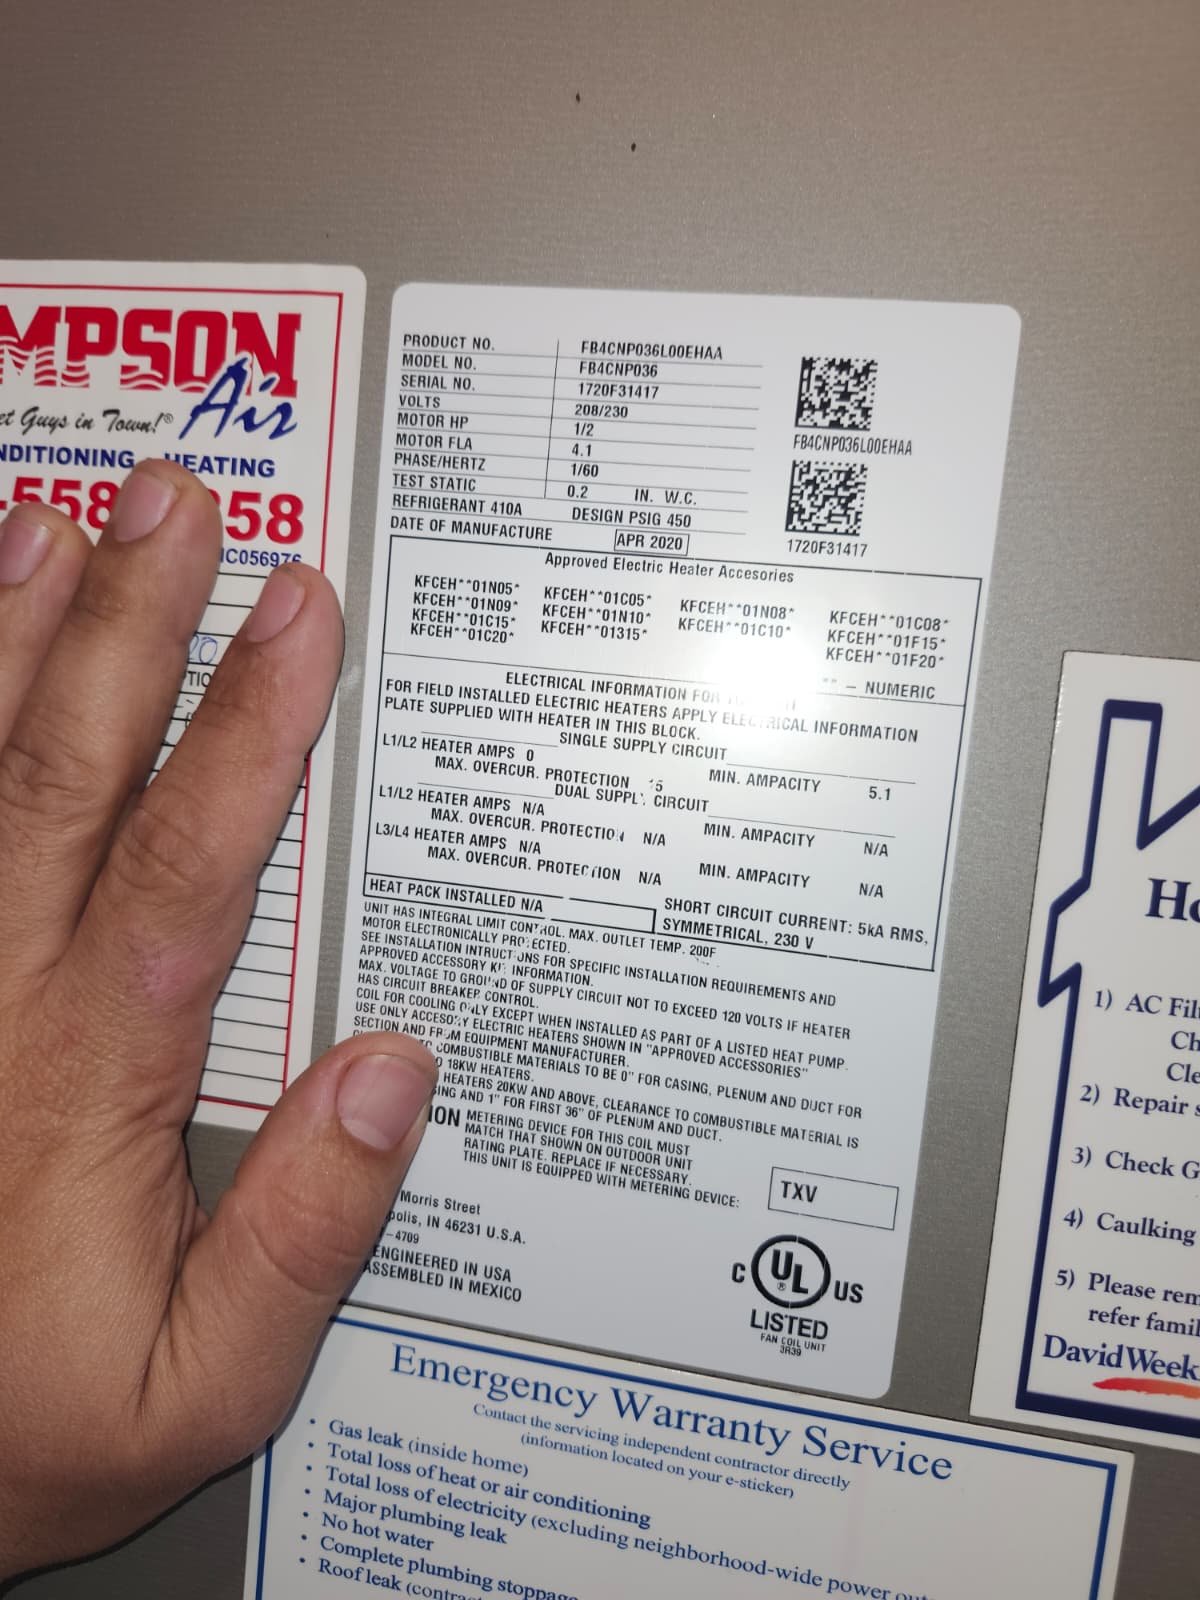
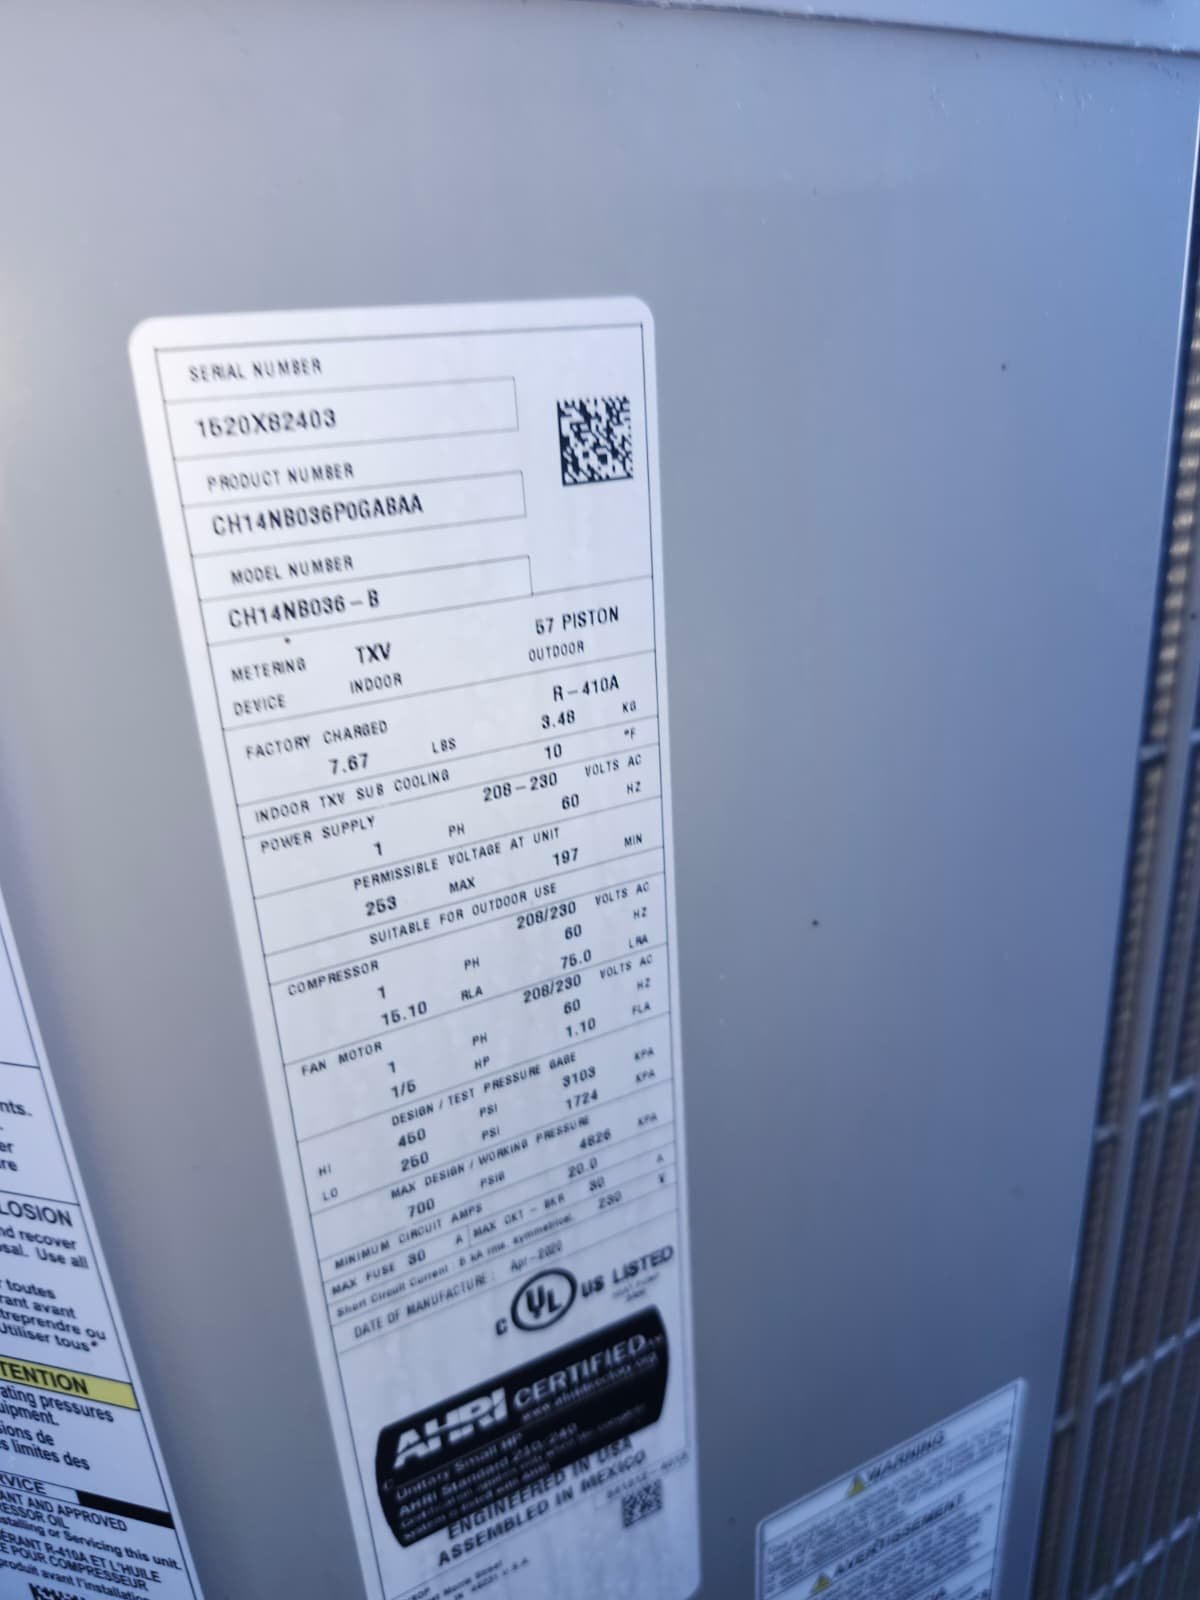
The heart of this project was the Daikin Value Split 5-ton horizontal heat pump system. This unit was chosen for its balance of comfort, efficiency, and strong manufacturer backing.
Key system details included:
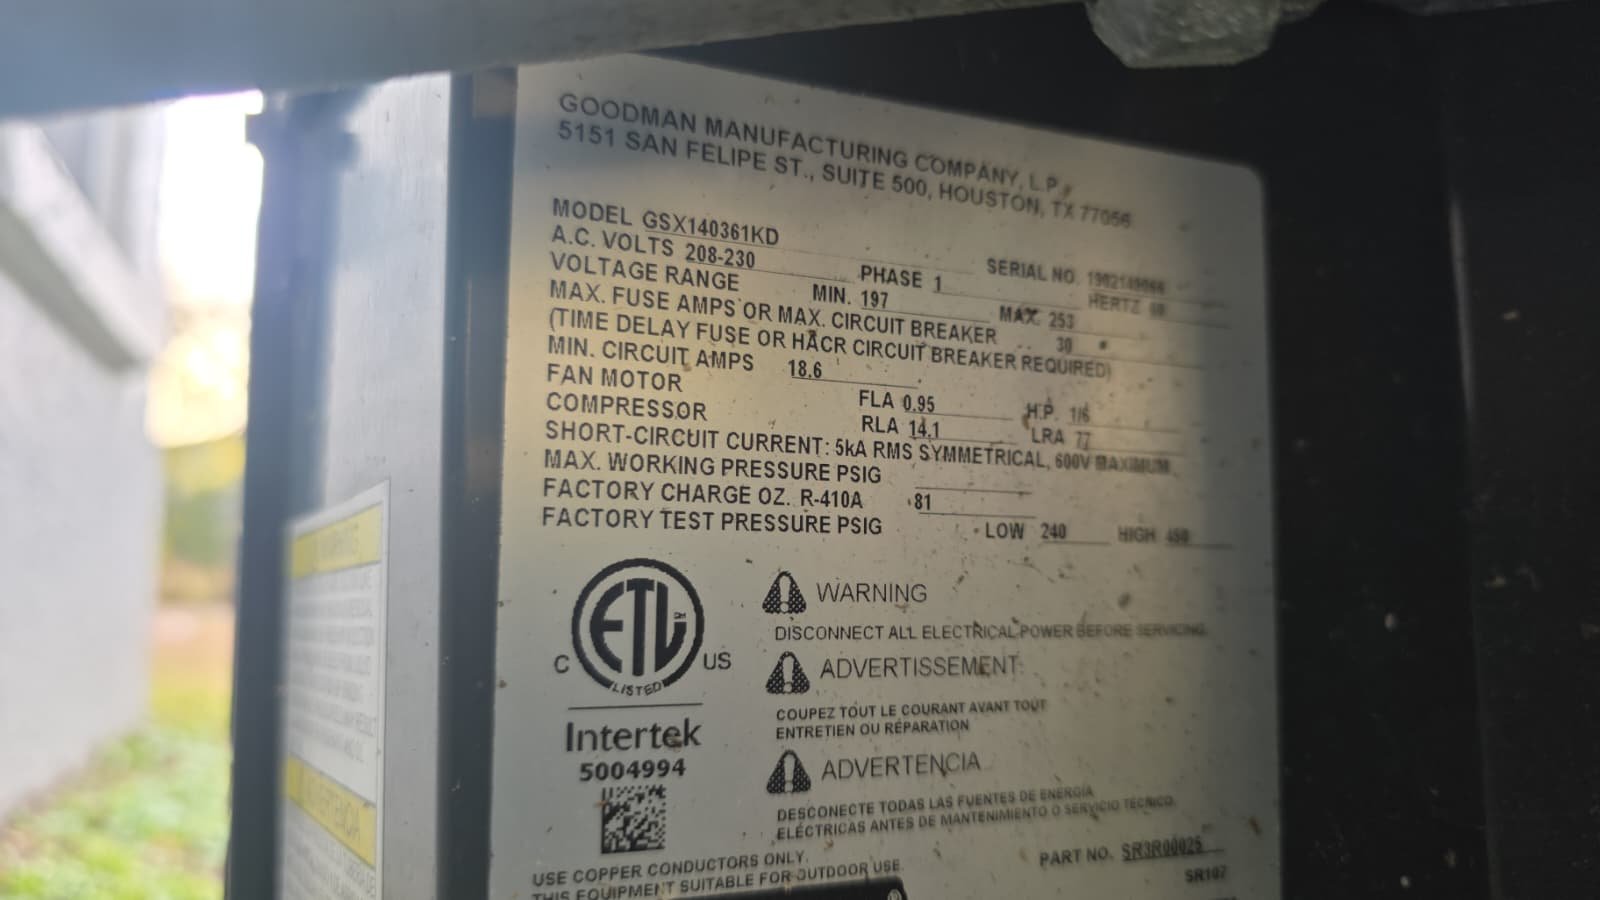
- Brand: Daikin – a global leader known for reliability and innovation.
- Capacity: 5-ton heat pump for cooling and heating.
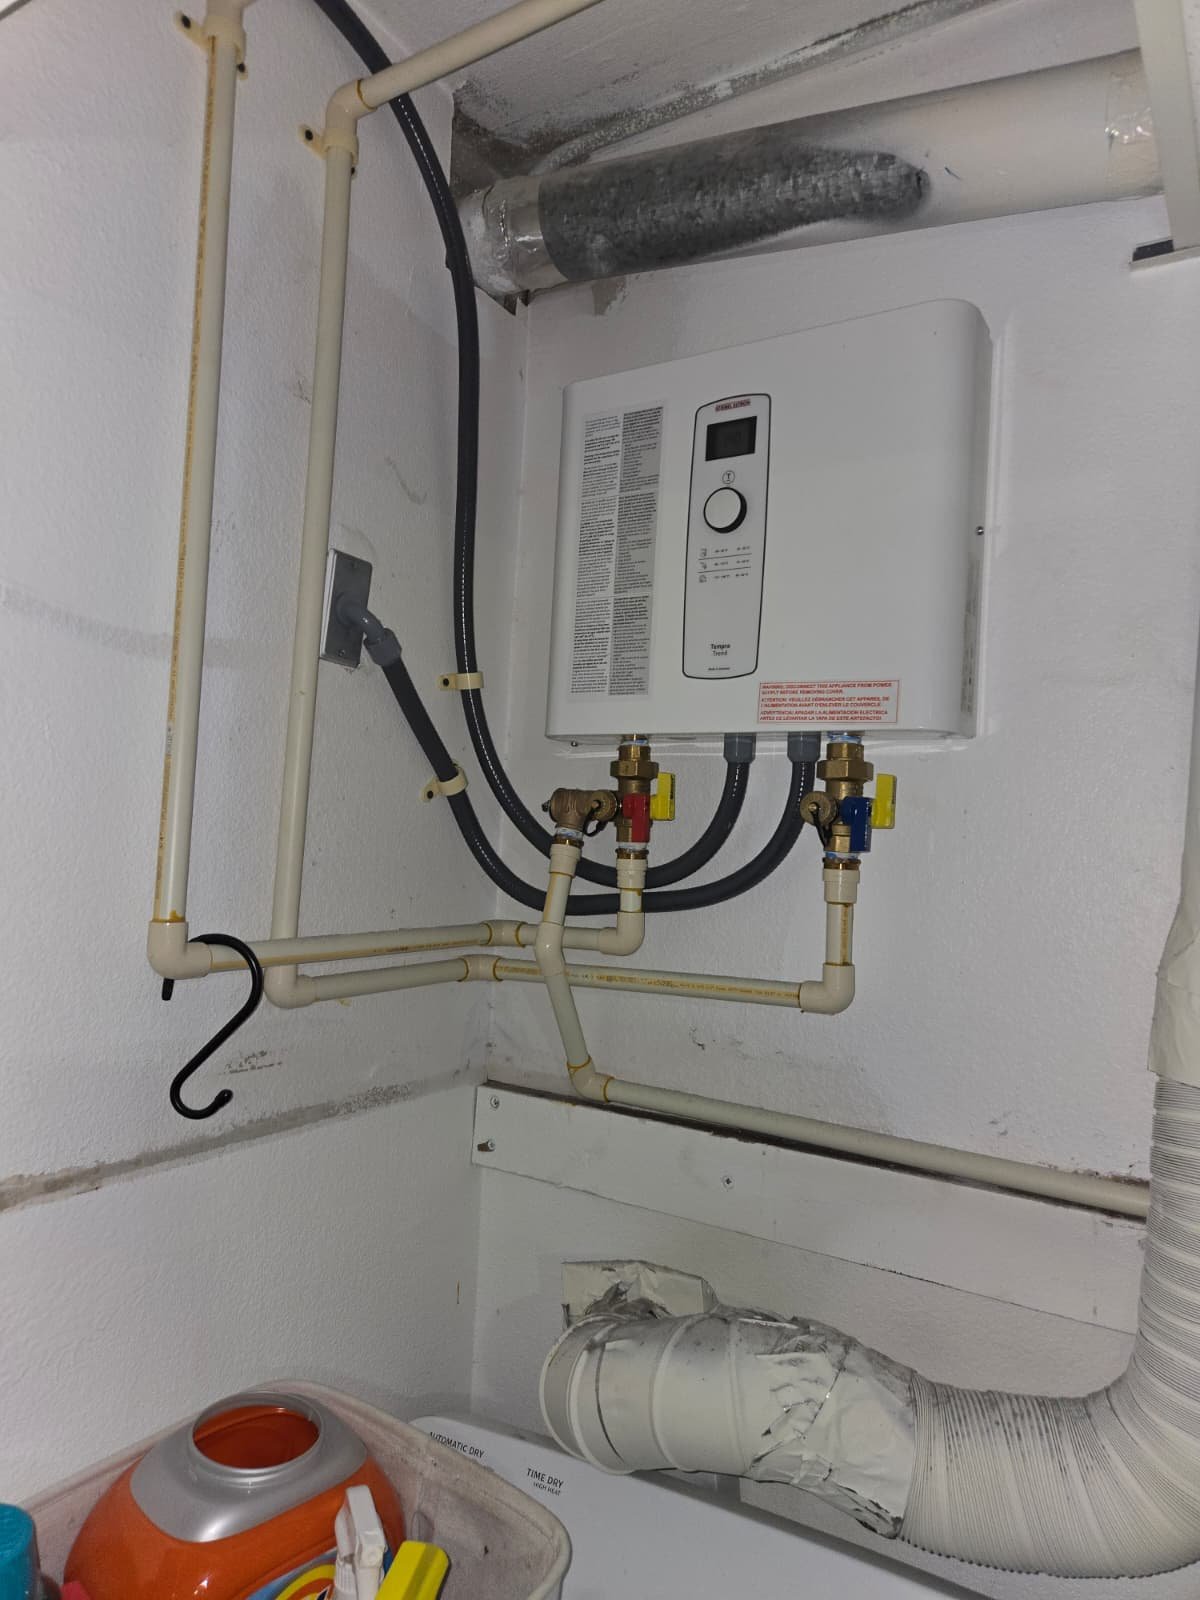
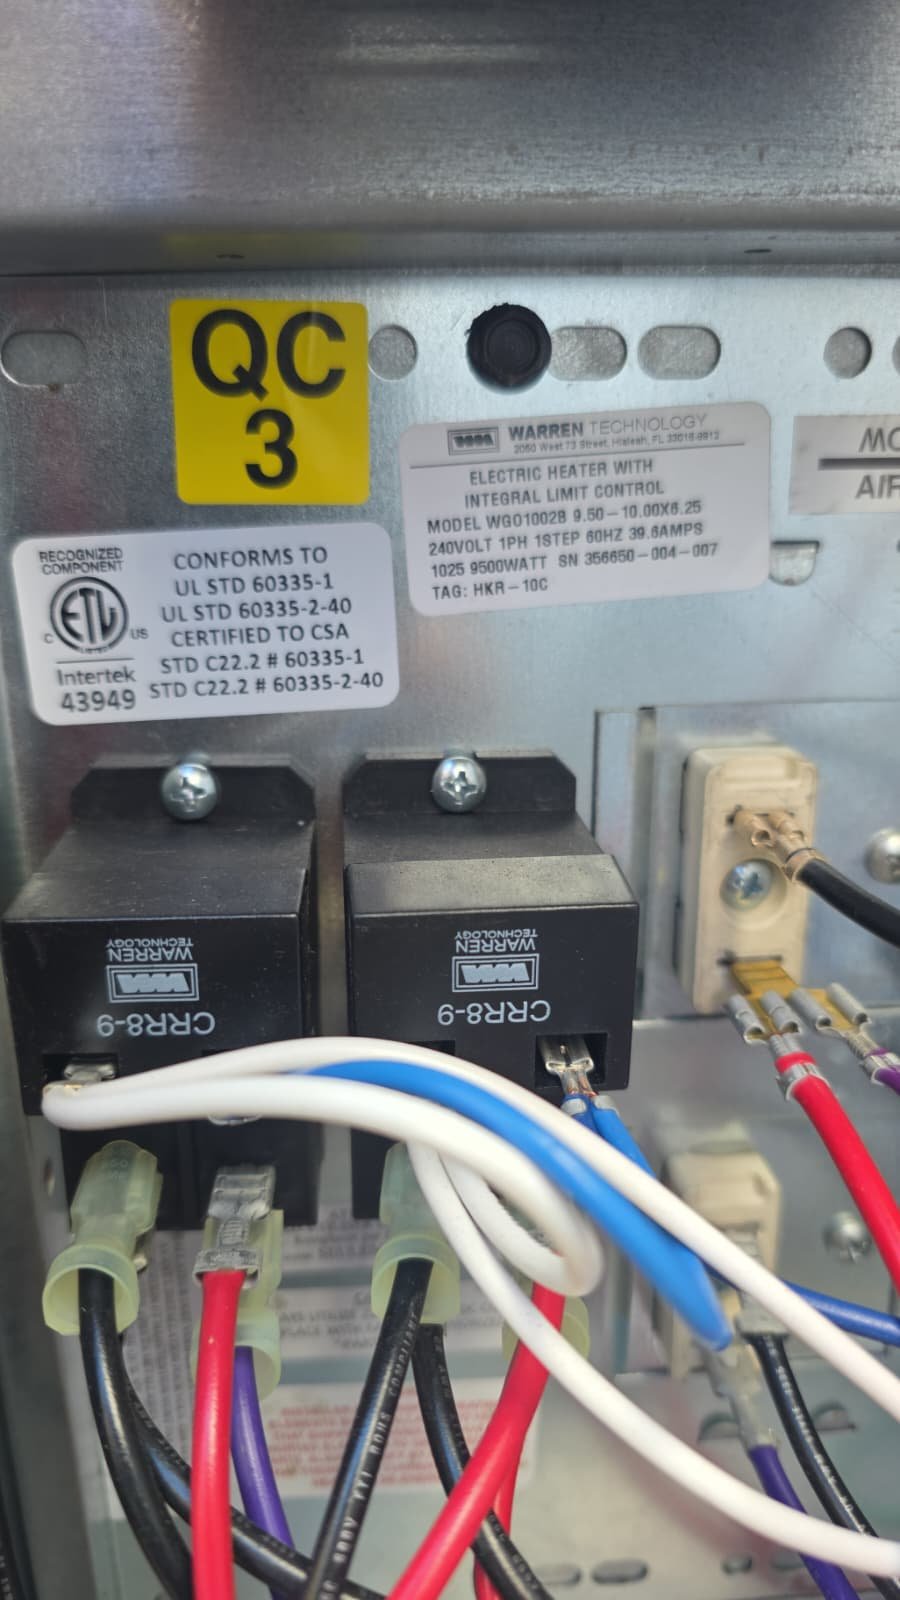
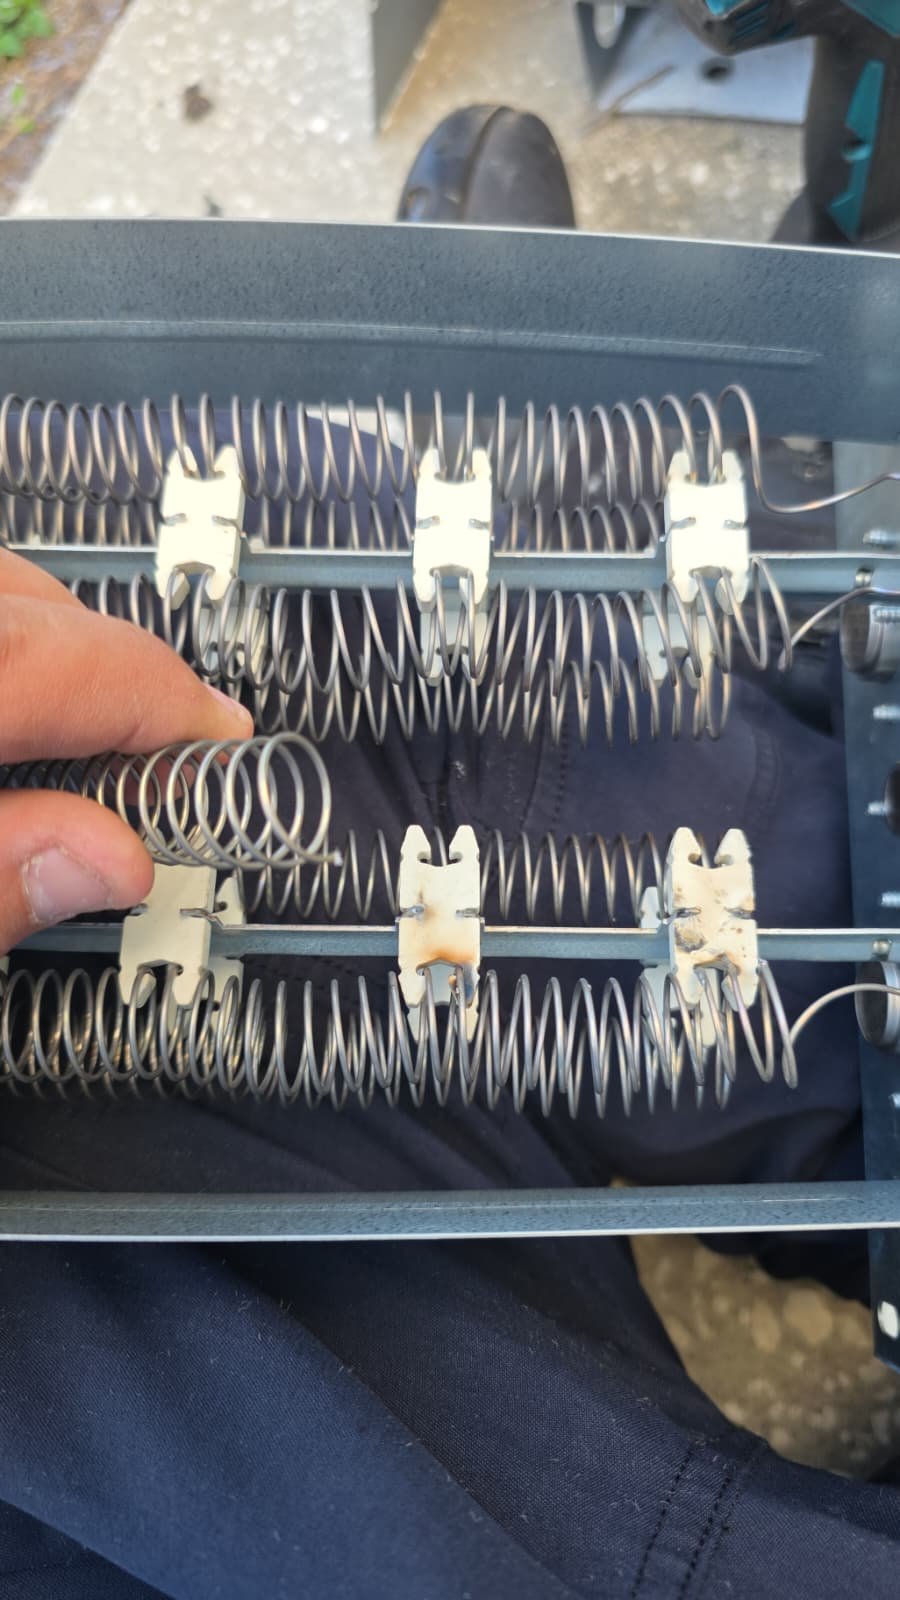
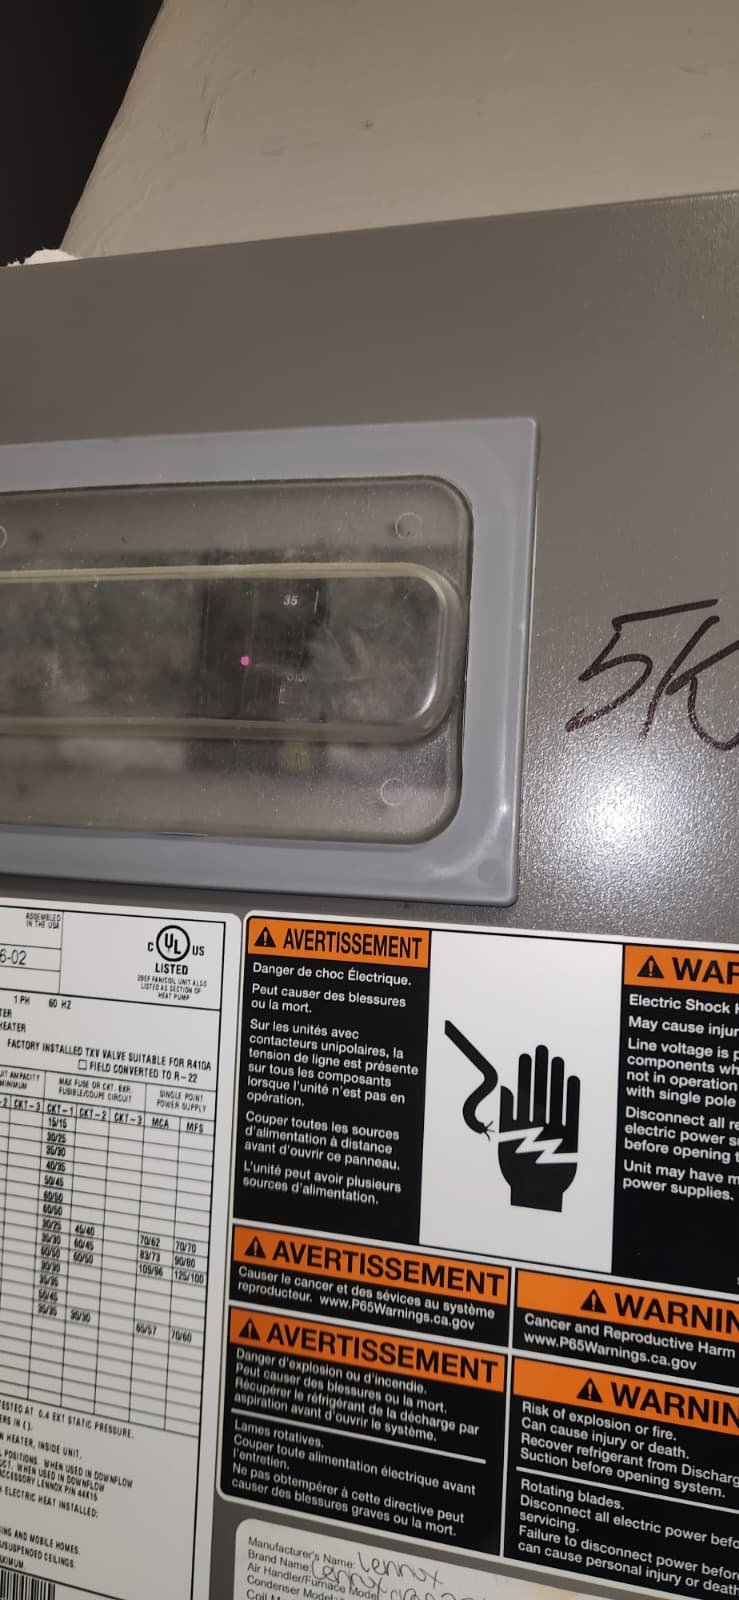
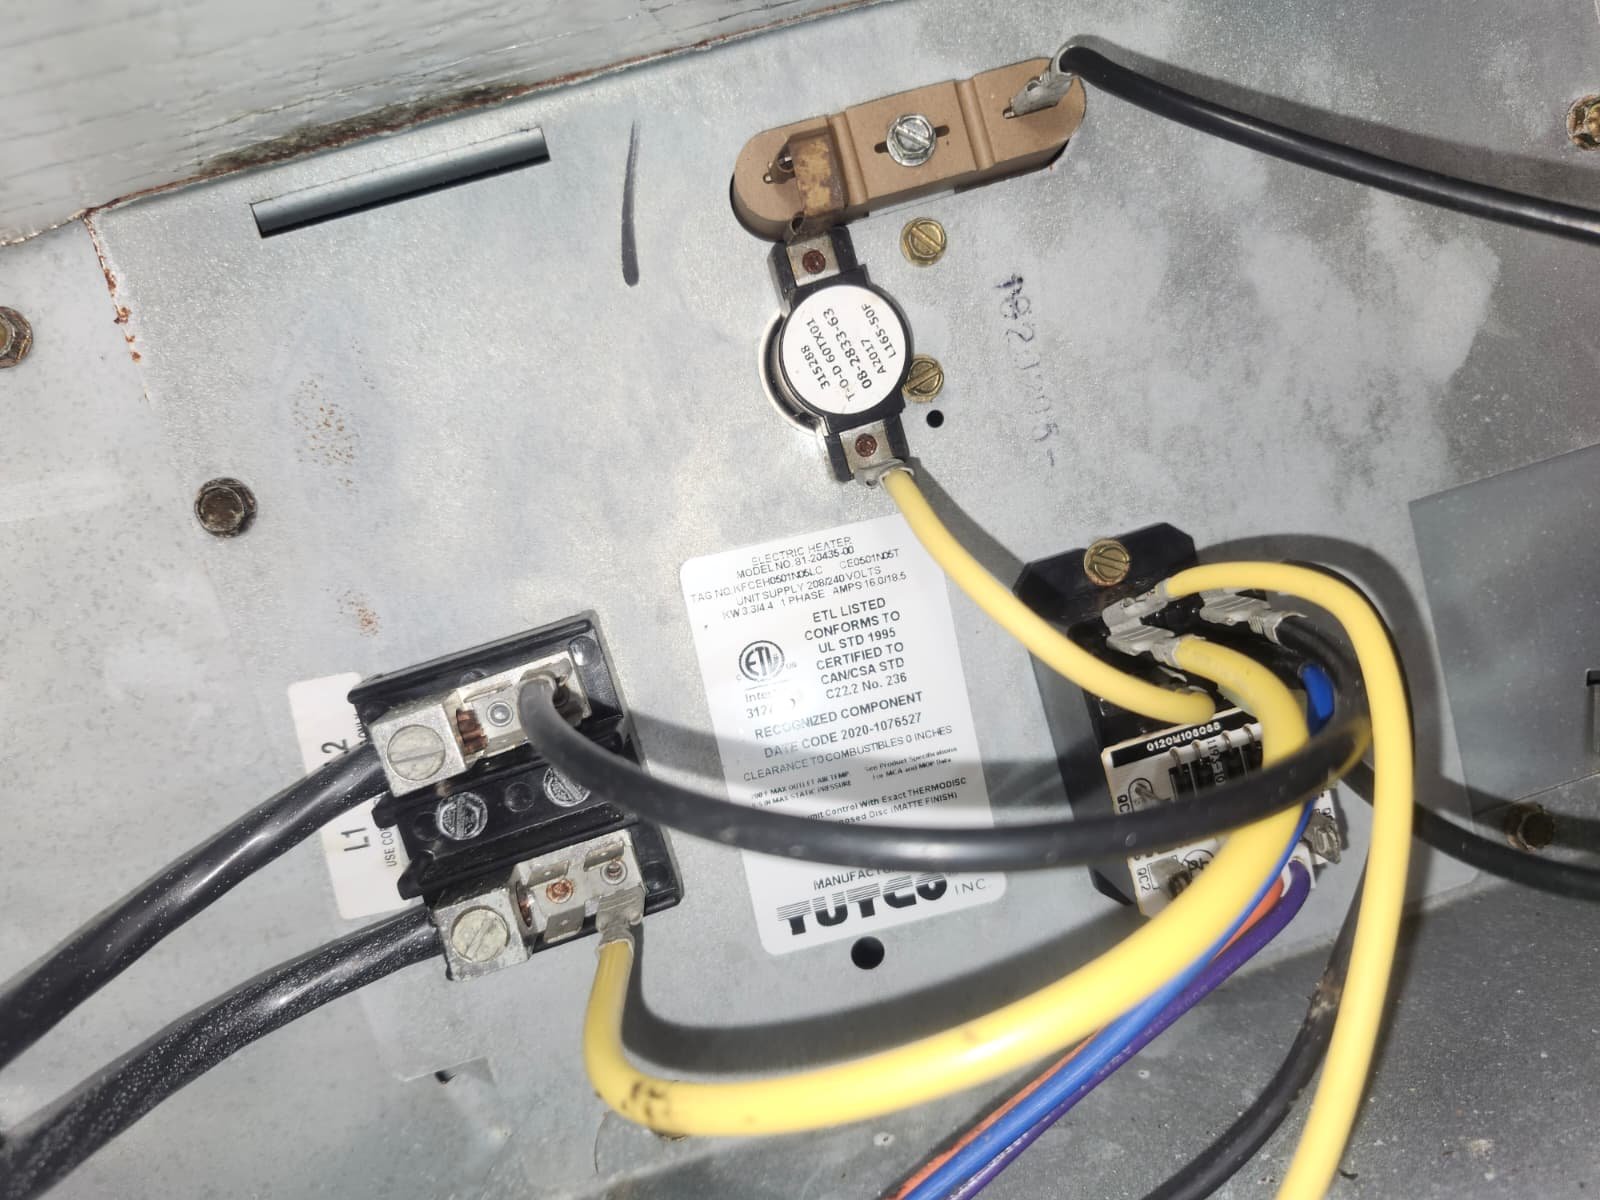
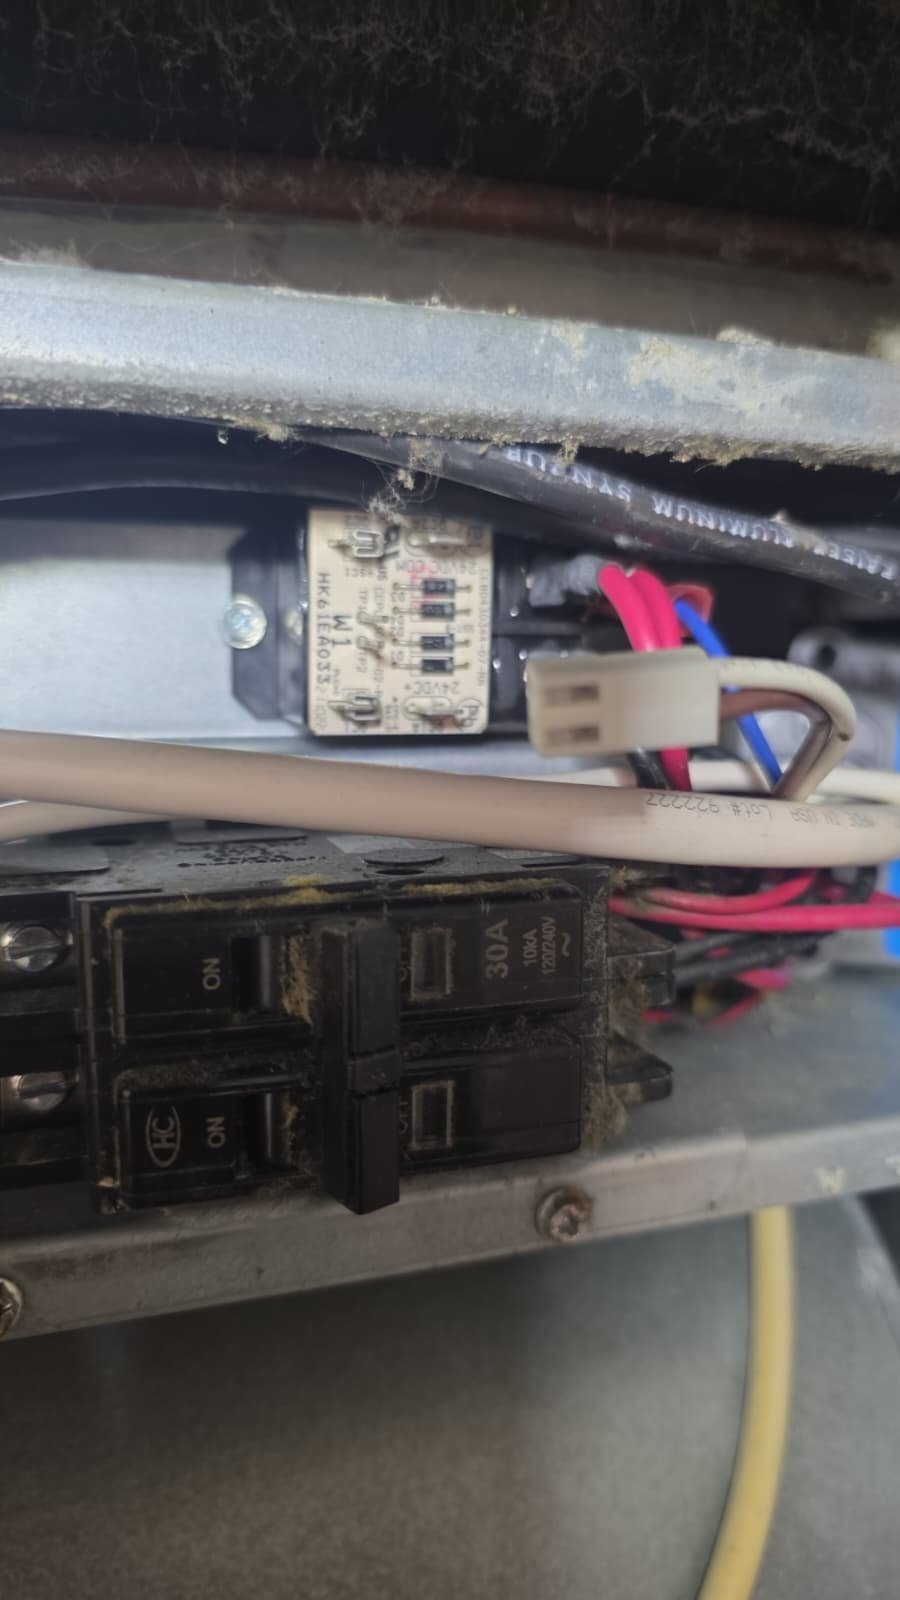
- Supplemental heat: Approximately 5 kW of electric heat to support on cooler days.
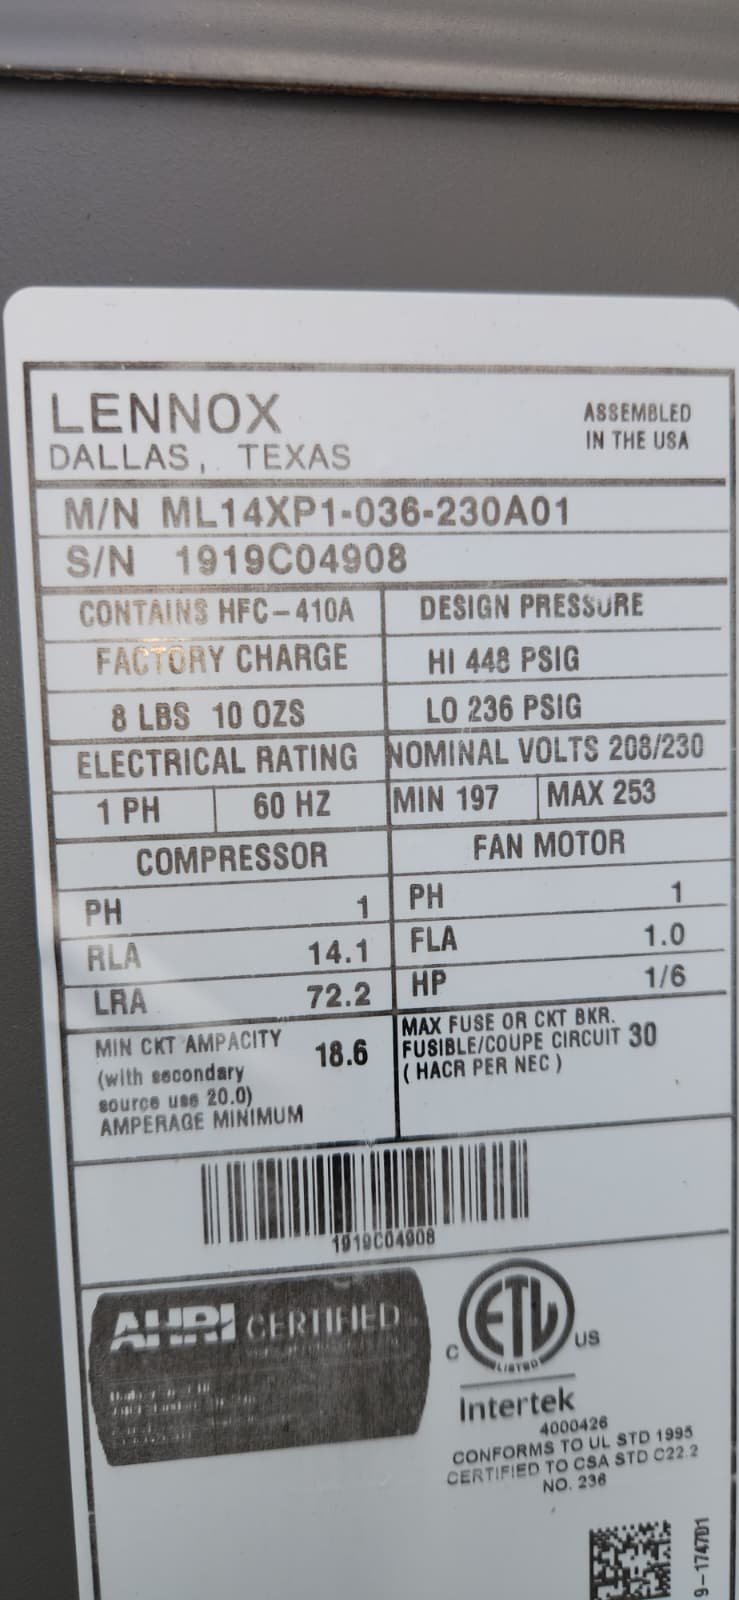
- Refrigerant: R32, an efficient and more environmentally friendly refrigerant option.
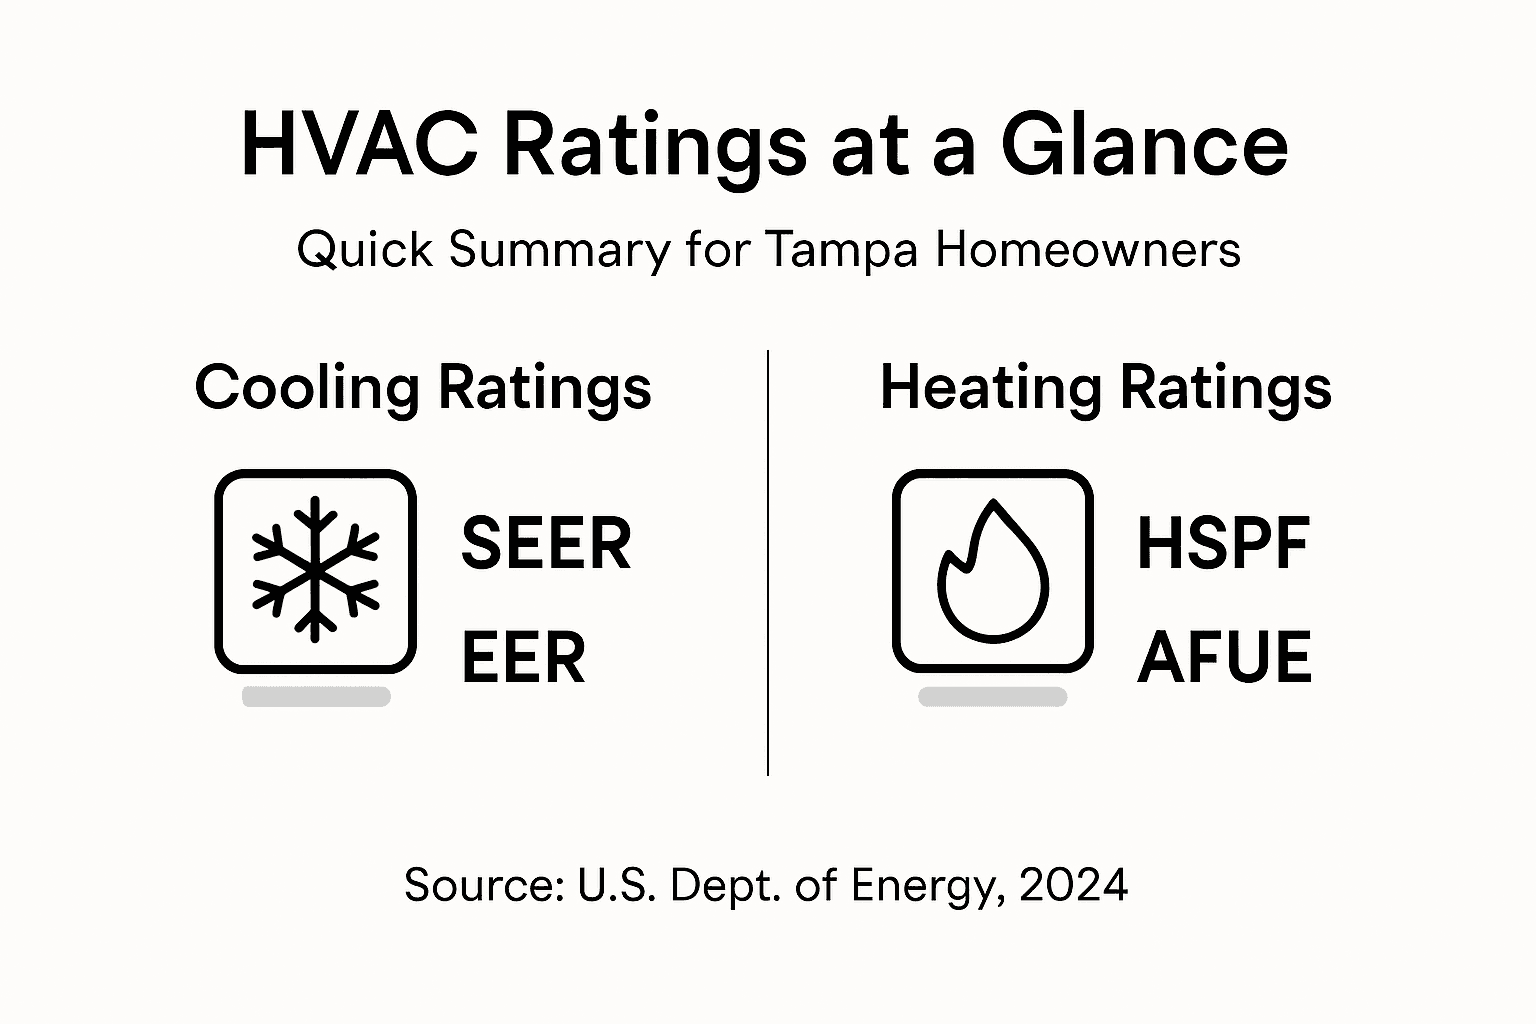
- Efficiency: 14.5 SEER2, meeting current energy efficiency standards.
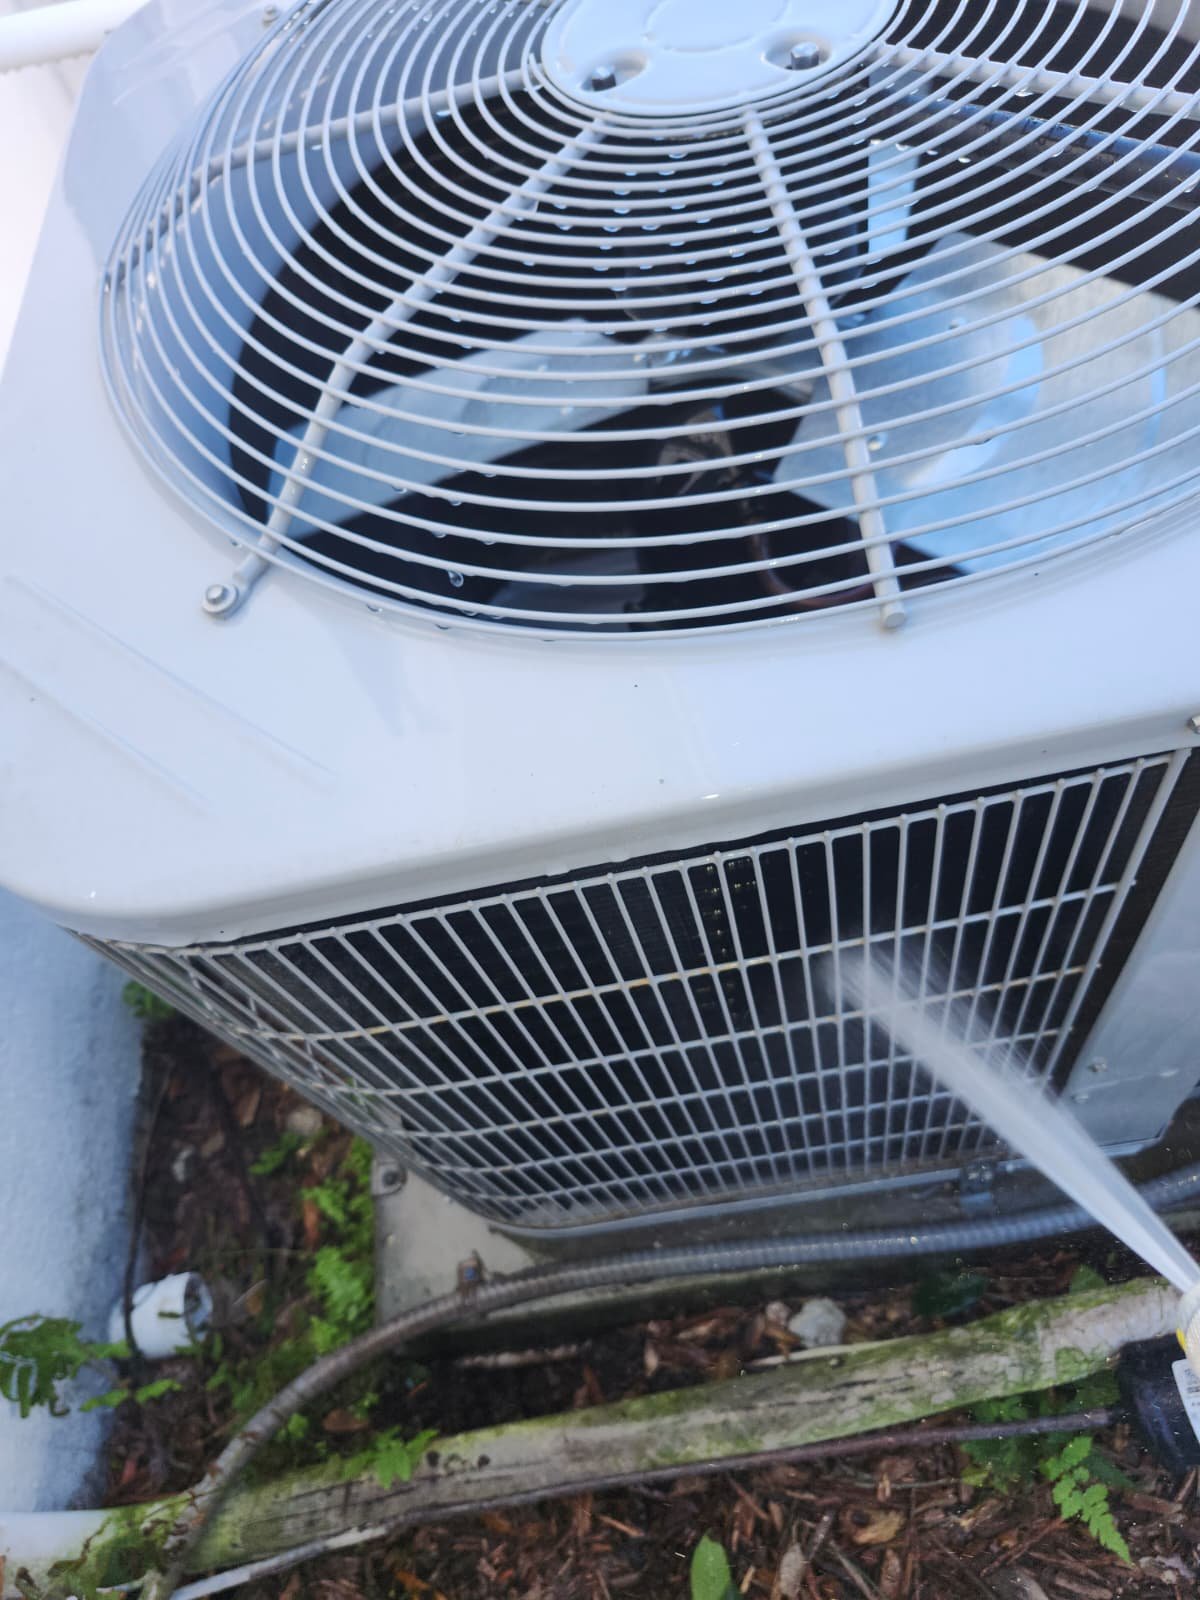
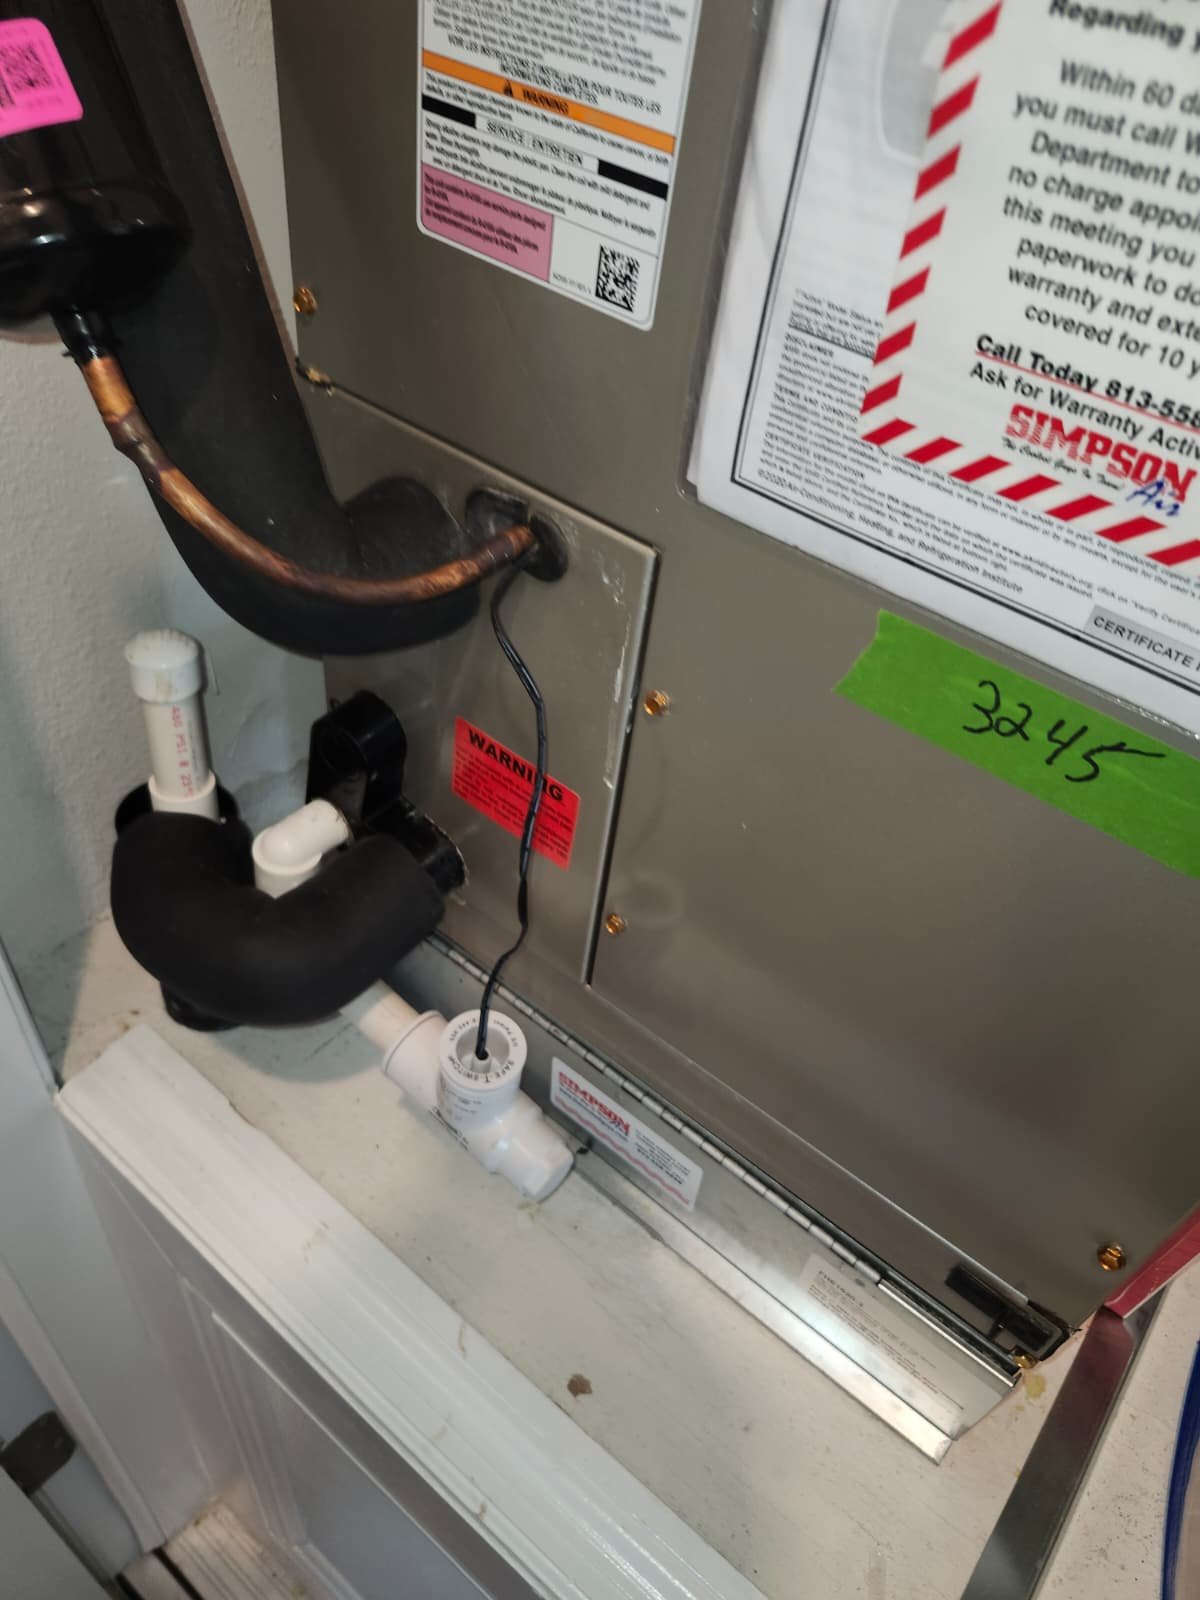
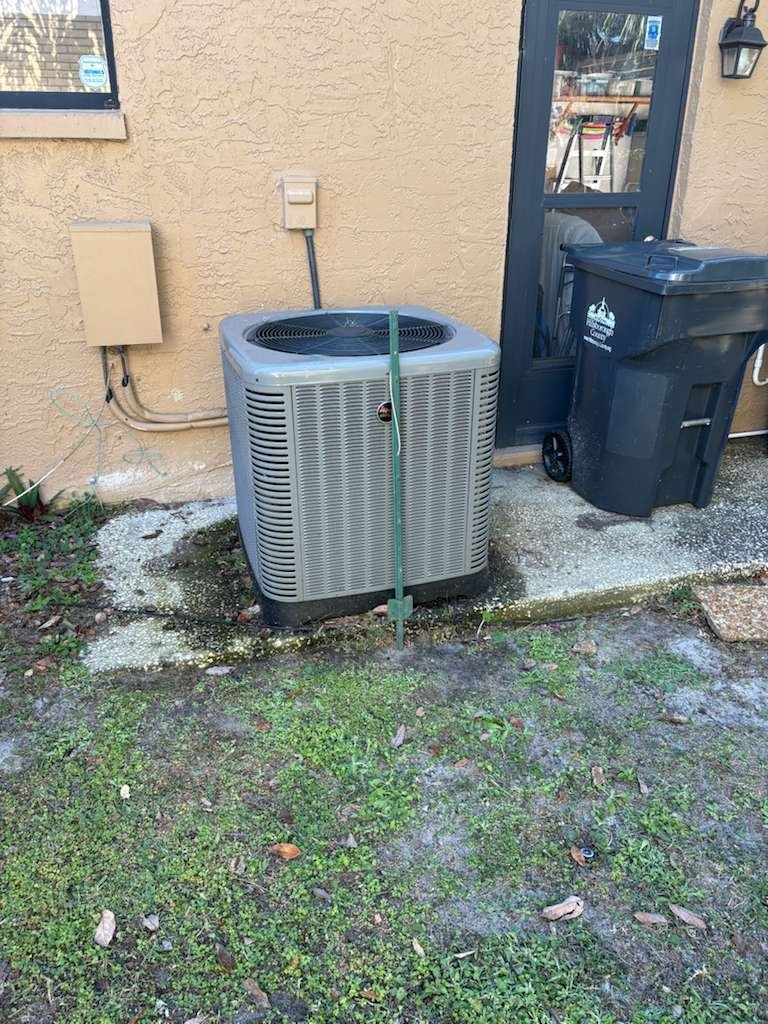
To protect the system in Florida’s climate, we also included:
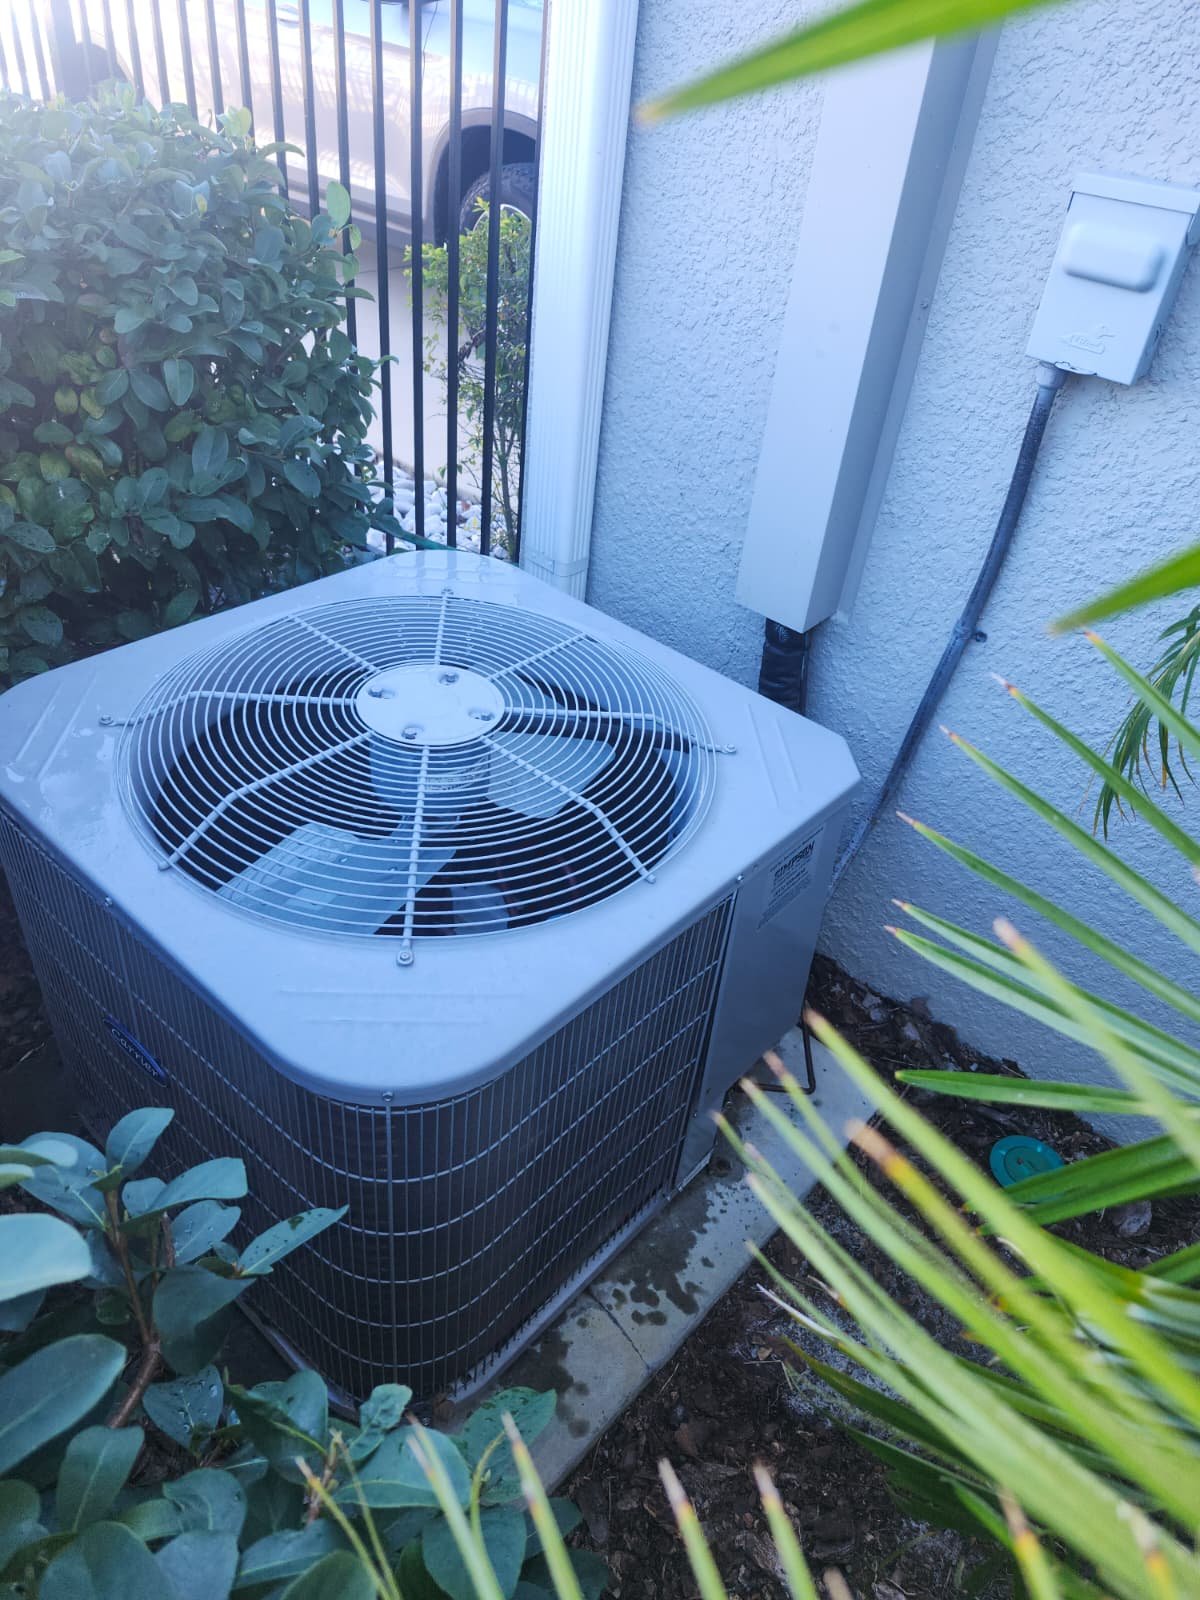
- Hurricane-ready concrete pad and tie-down kit rated for up to 150 mph winds for the outdoor unit.
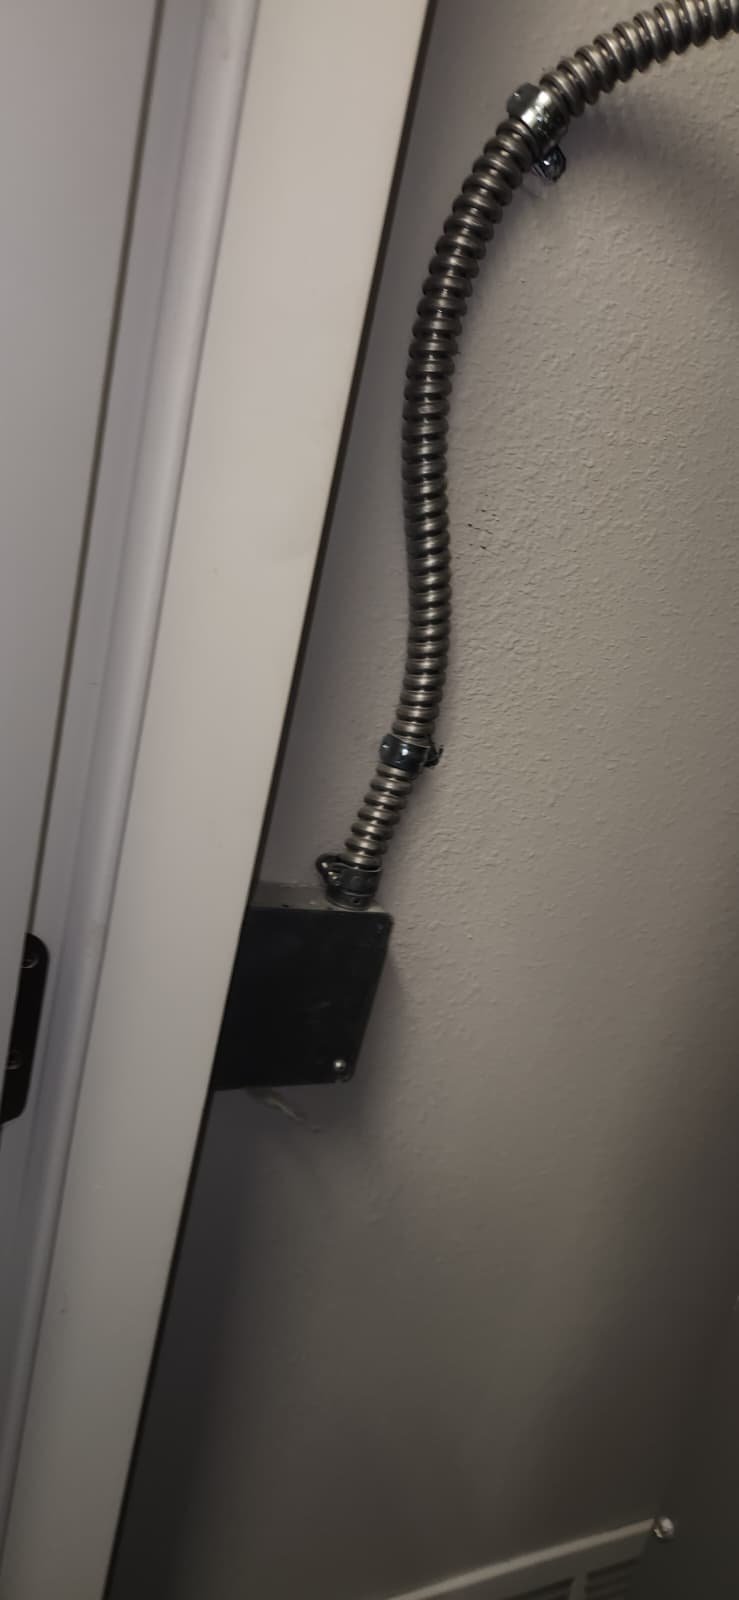
- UV-protected copper insulation to resist sun and heat damage.
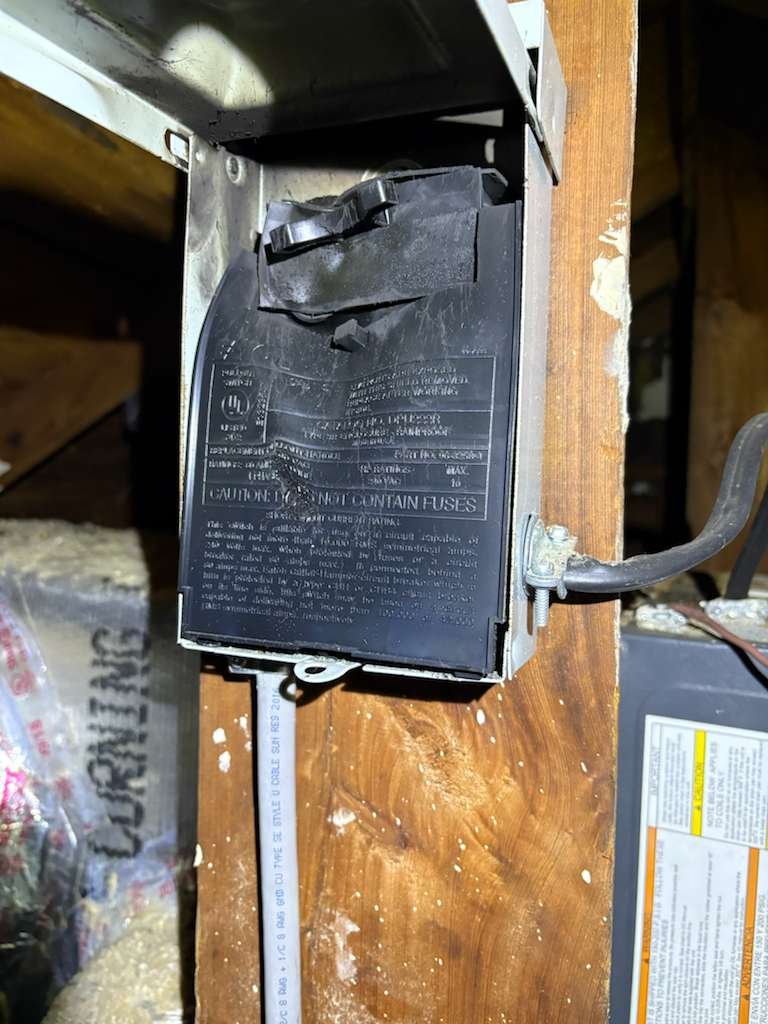
- Locking condenser valve caps to help safeguard refrigerant and reduce tampering risks.
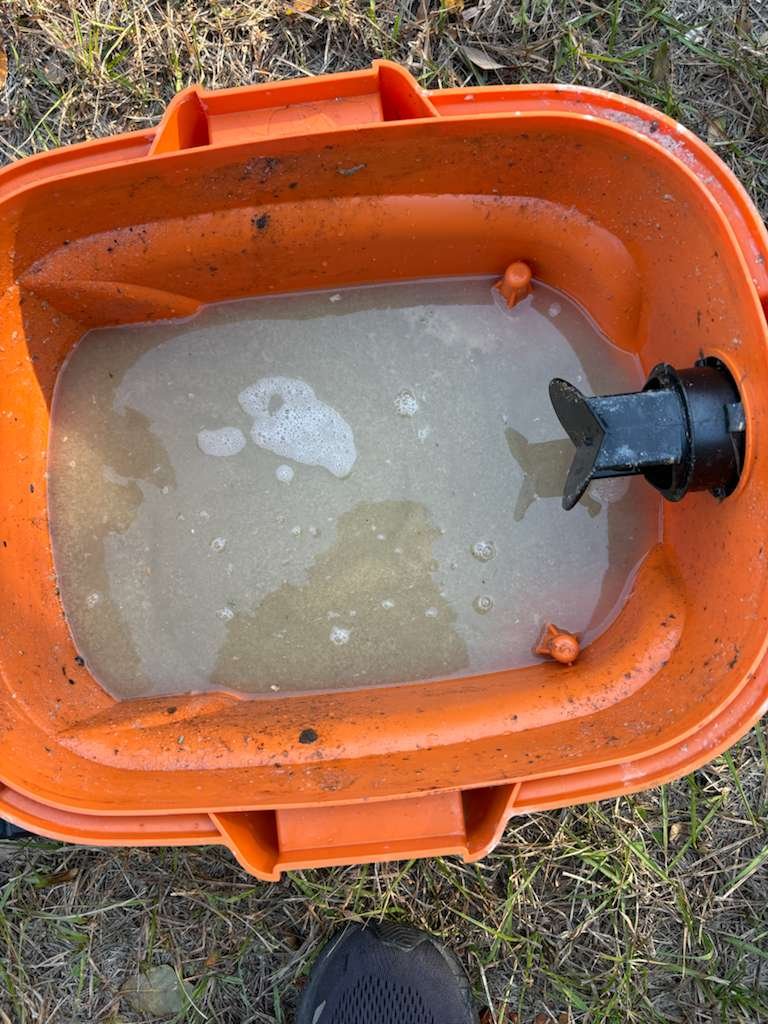
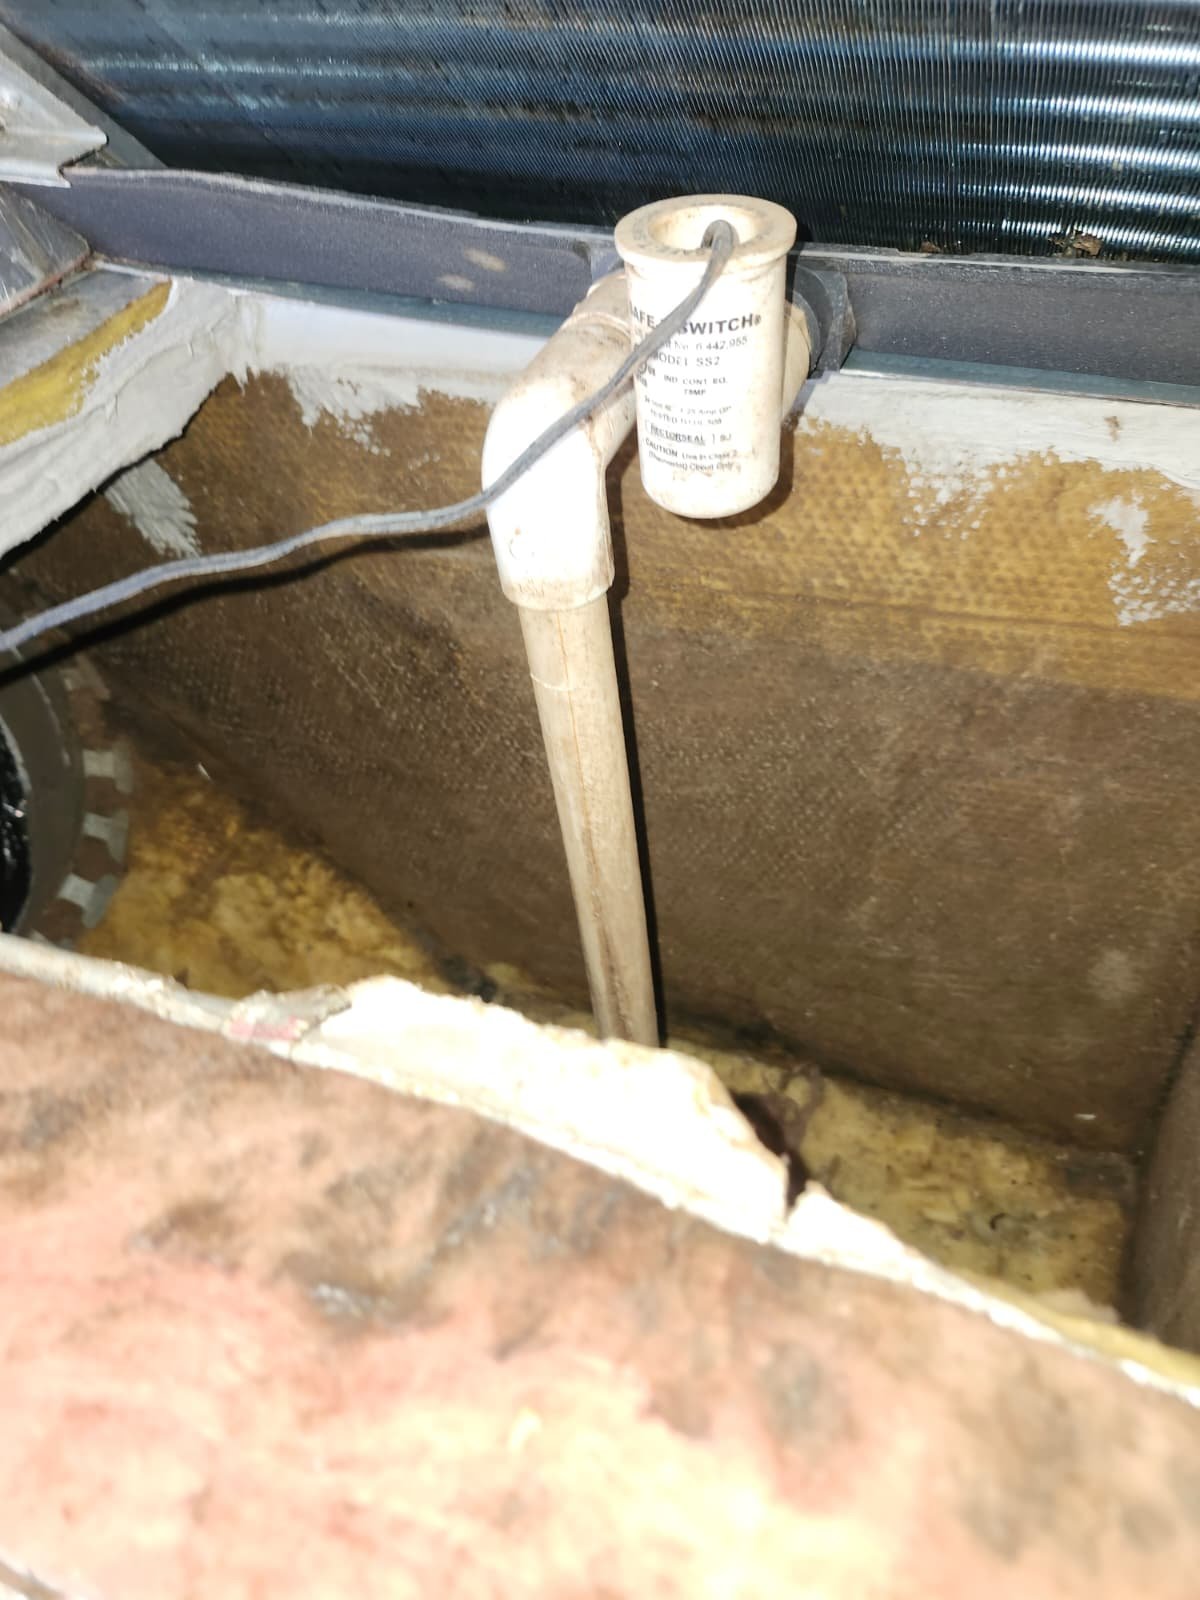
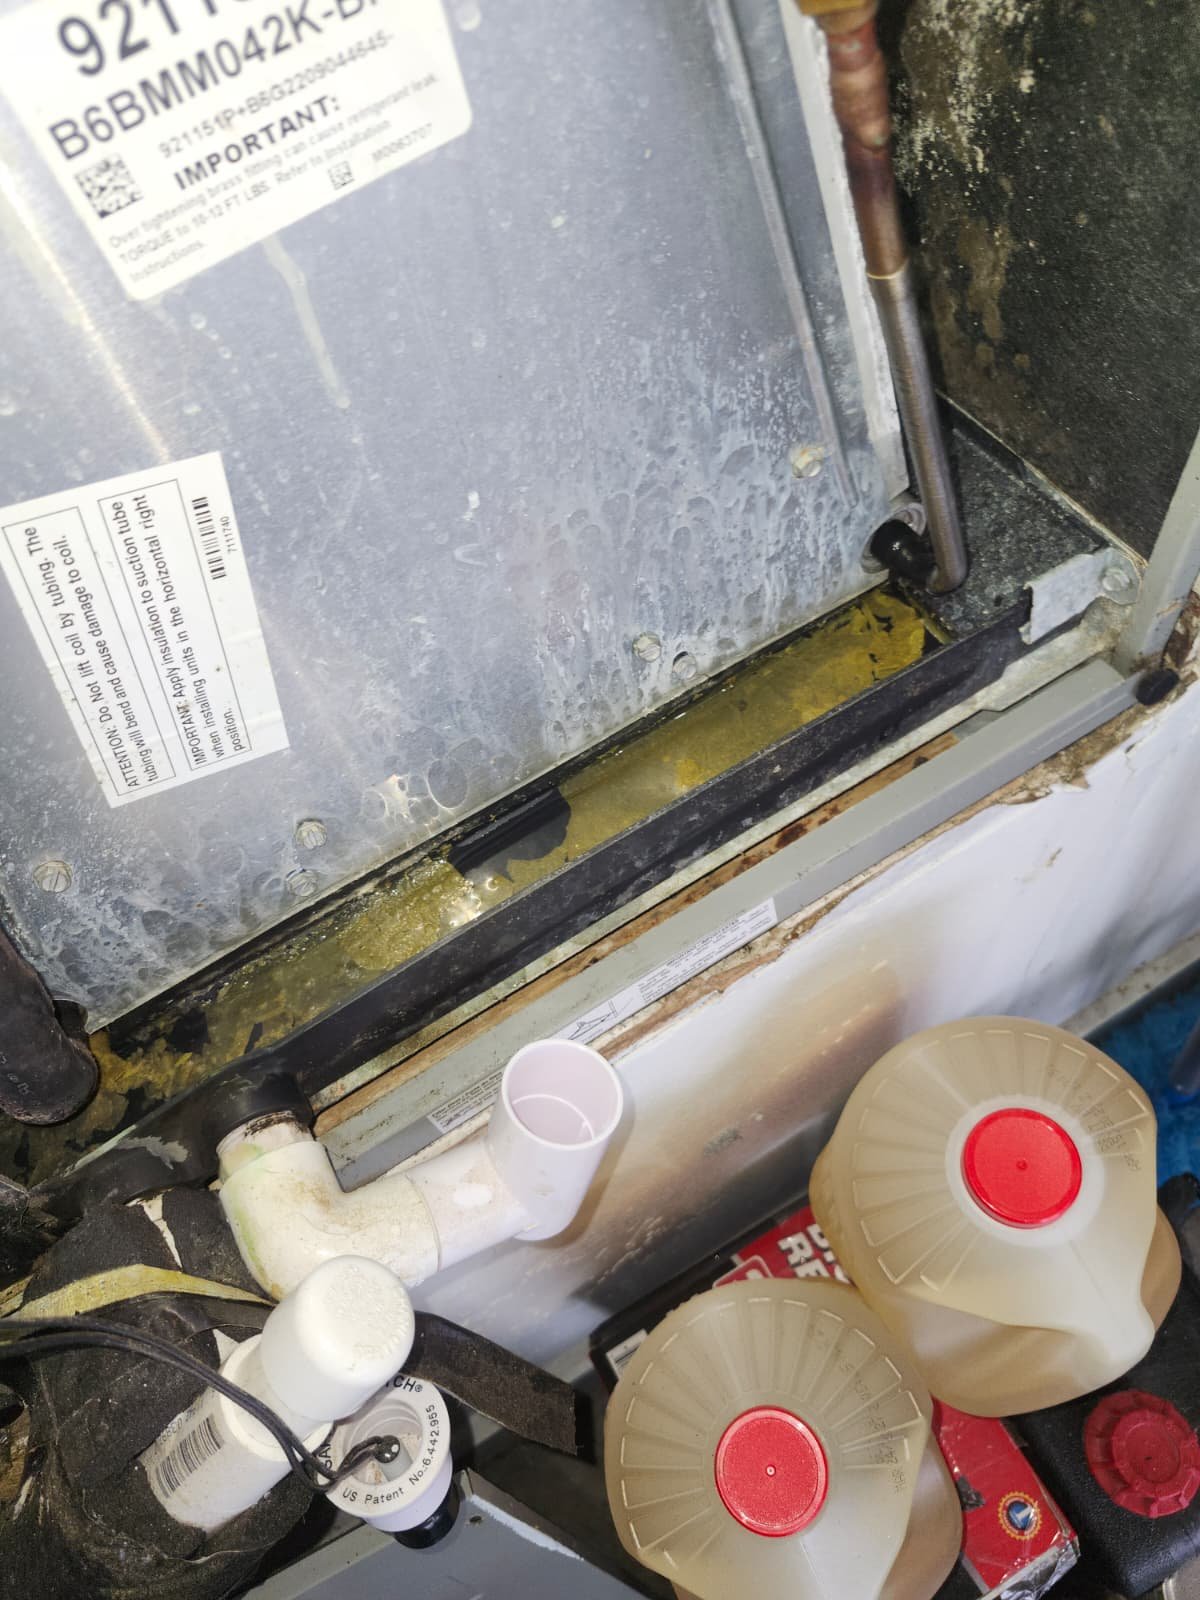
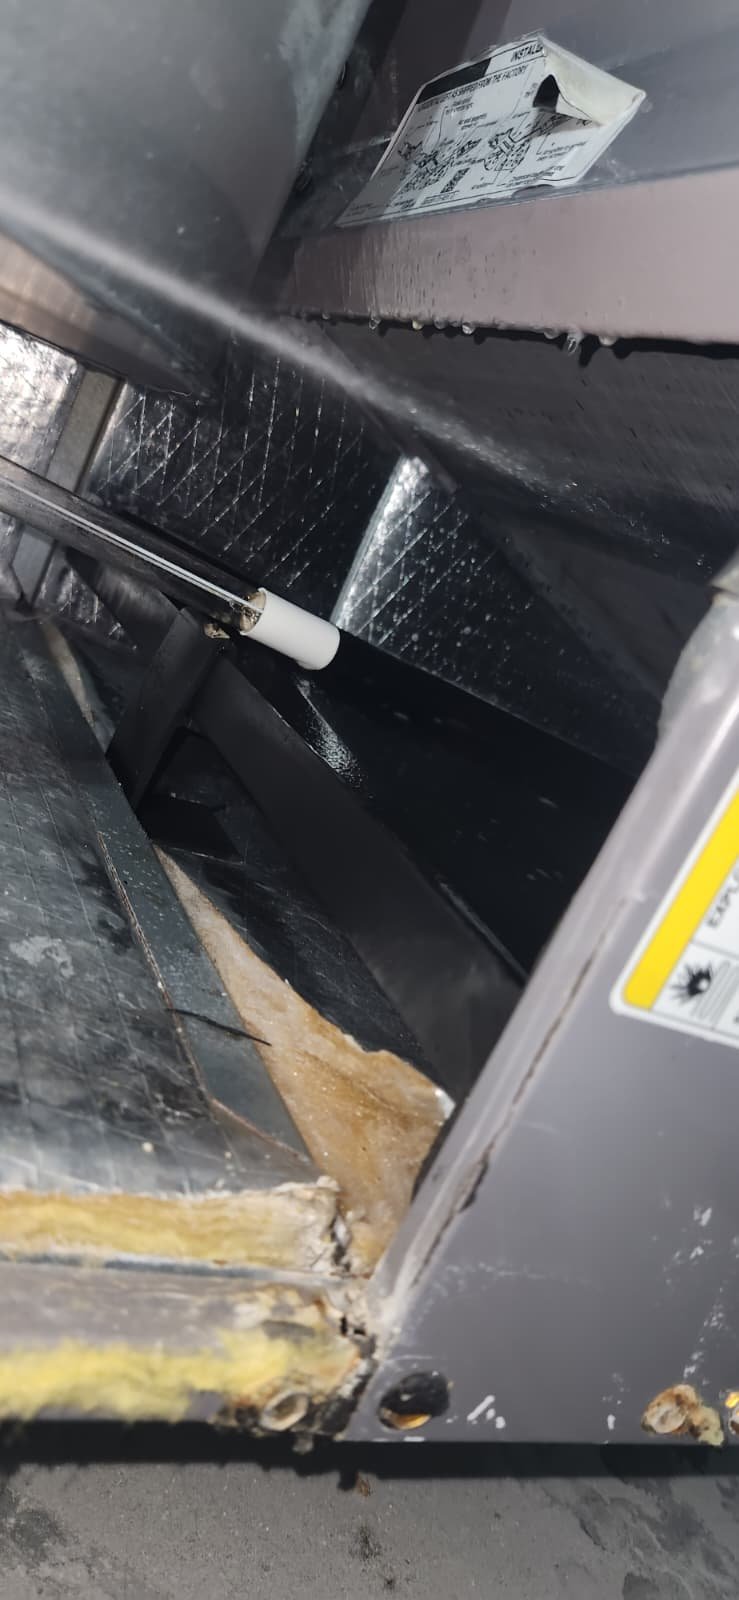
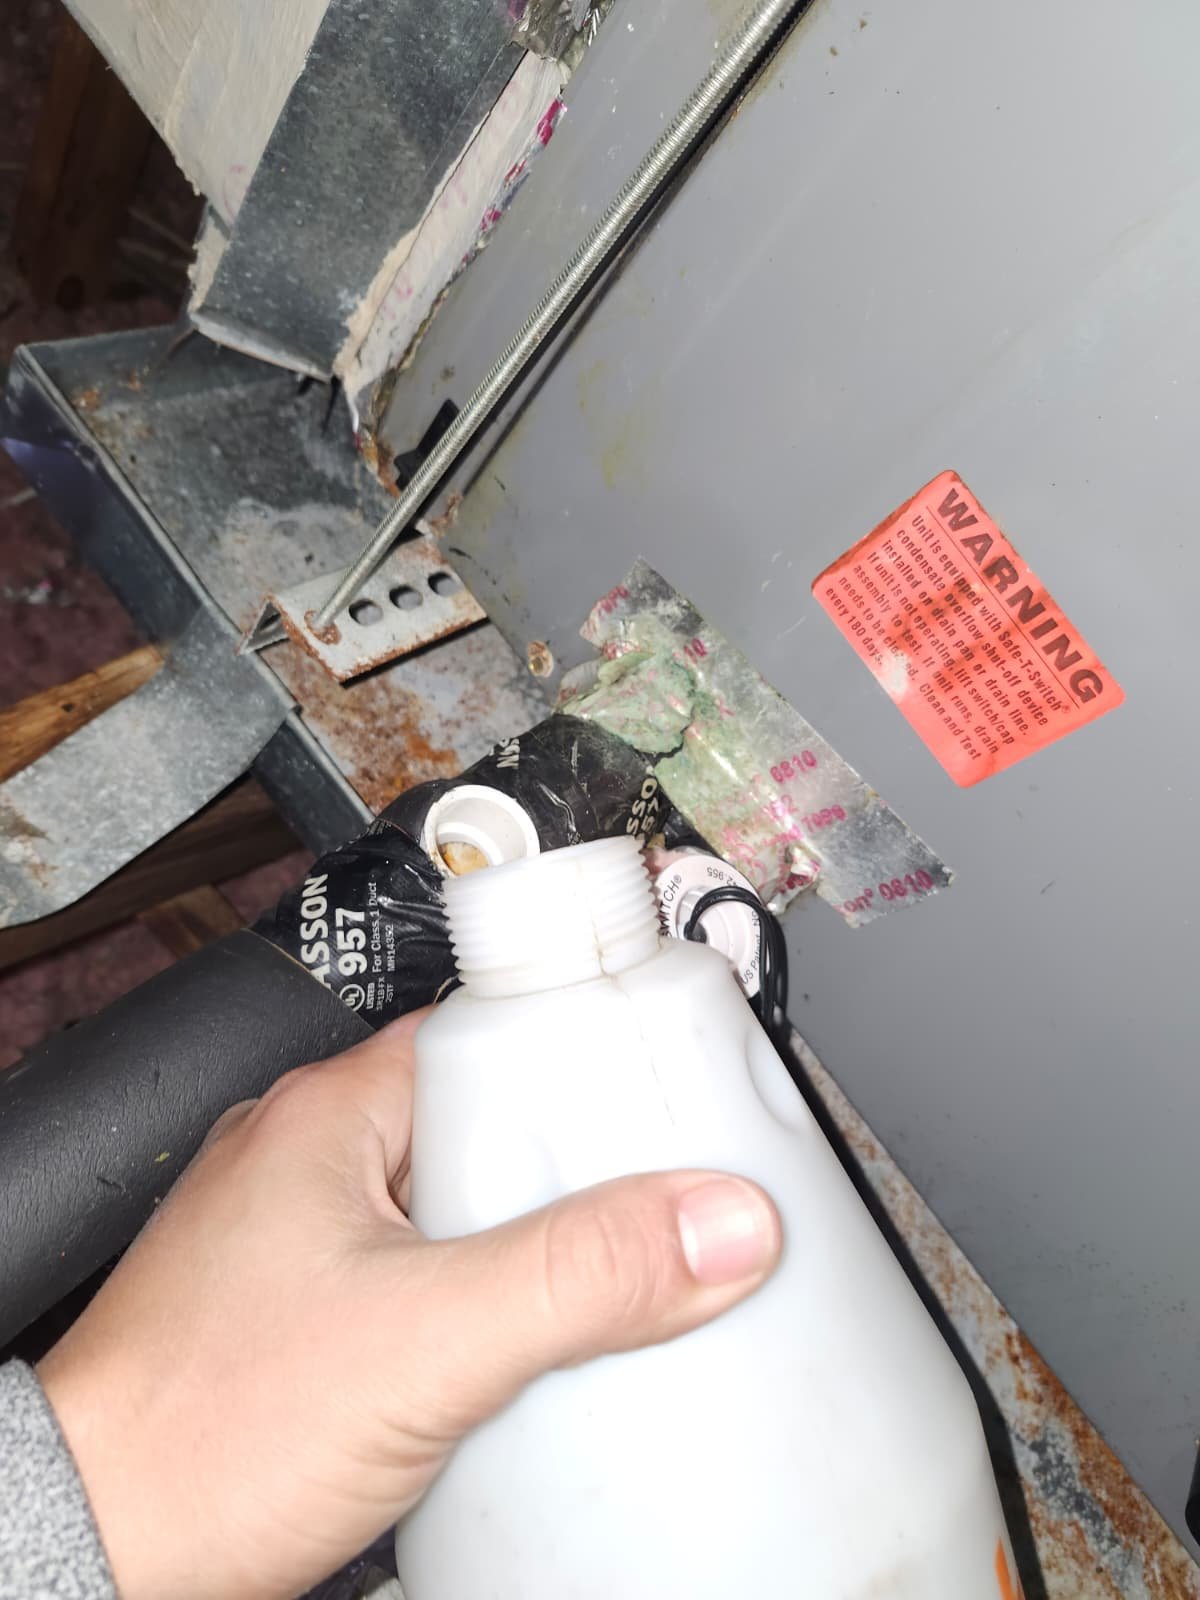
- Secondary drain pan with float switch to help protect the home from condensate overflow.
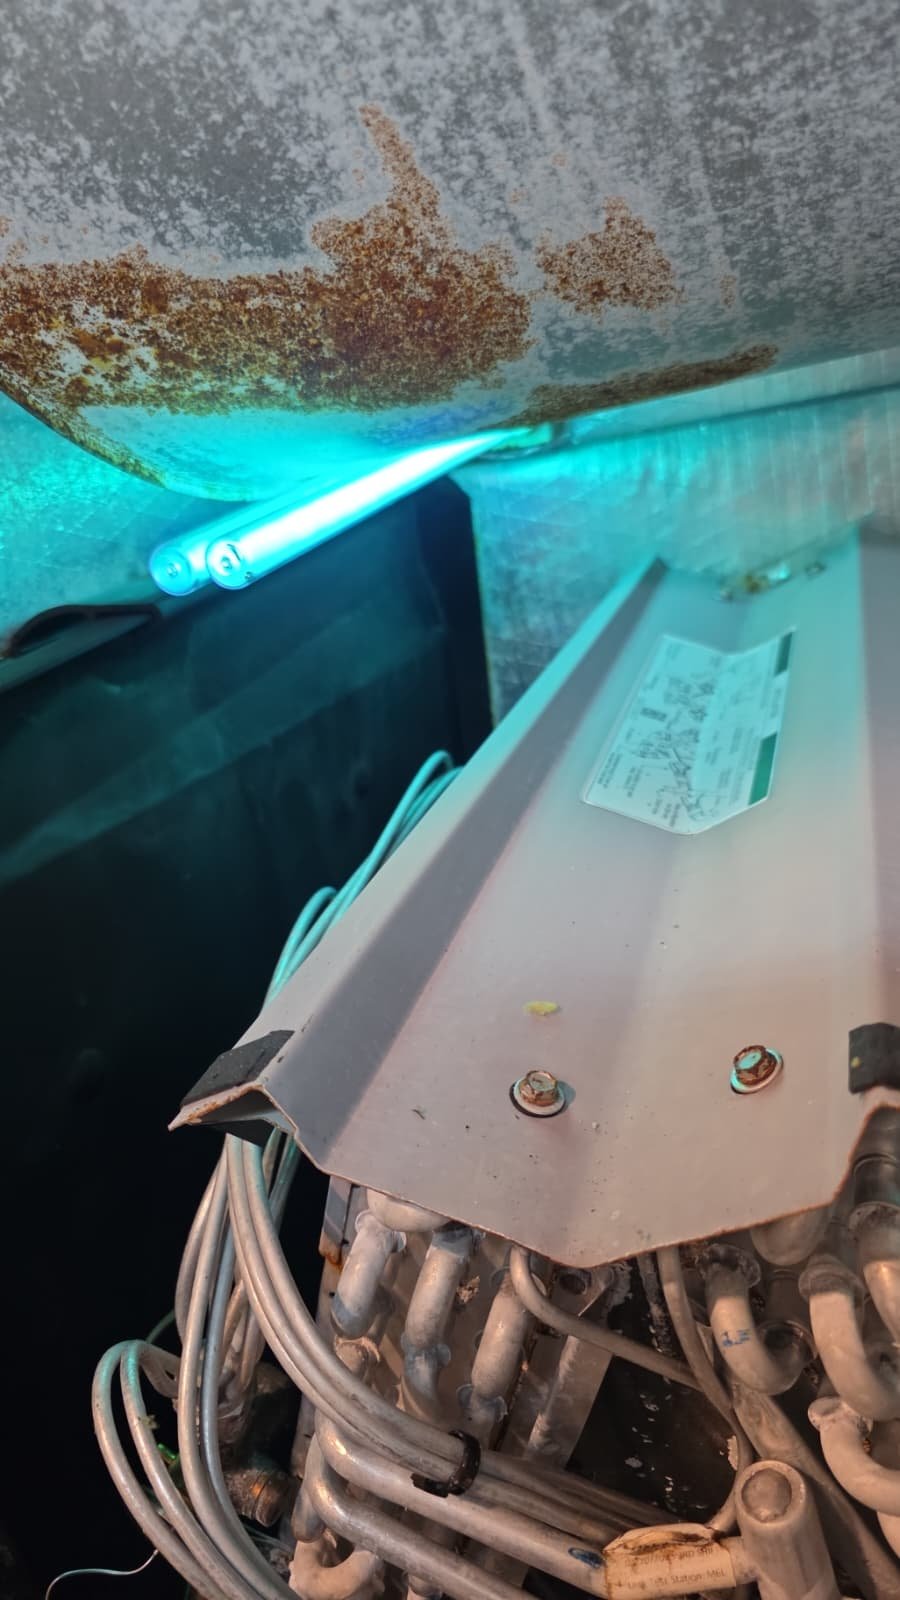
- Air handler heat shields on returns and supplies for added safety and protection.
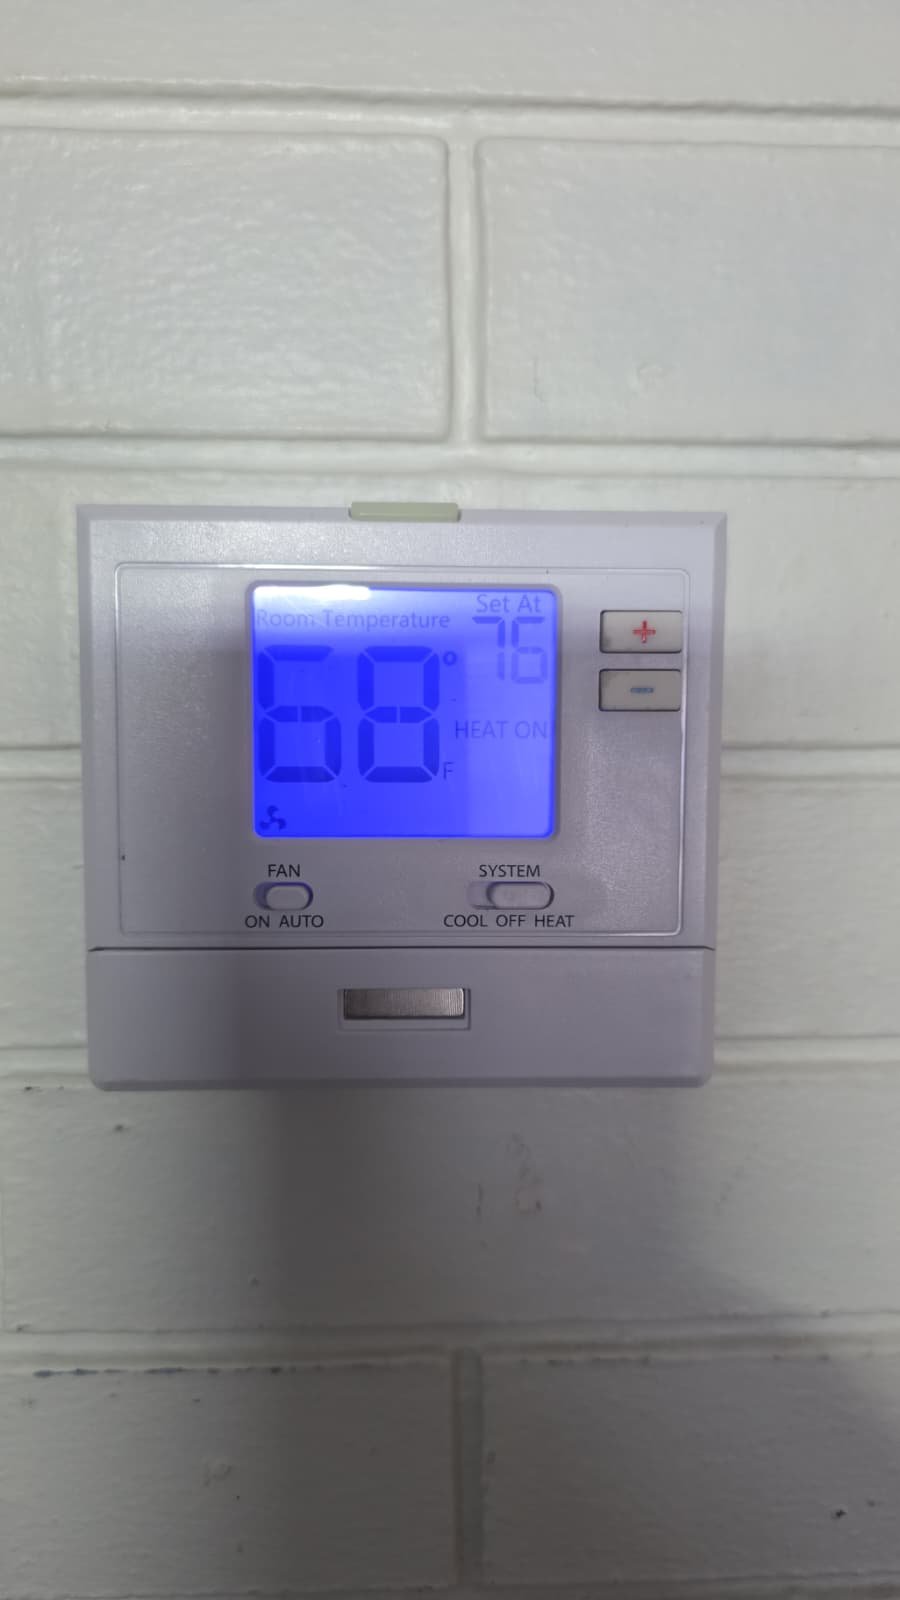
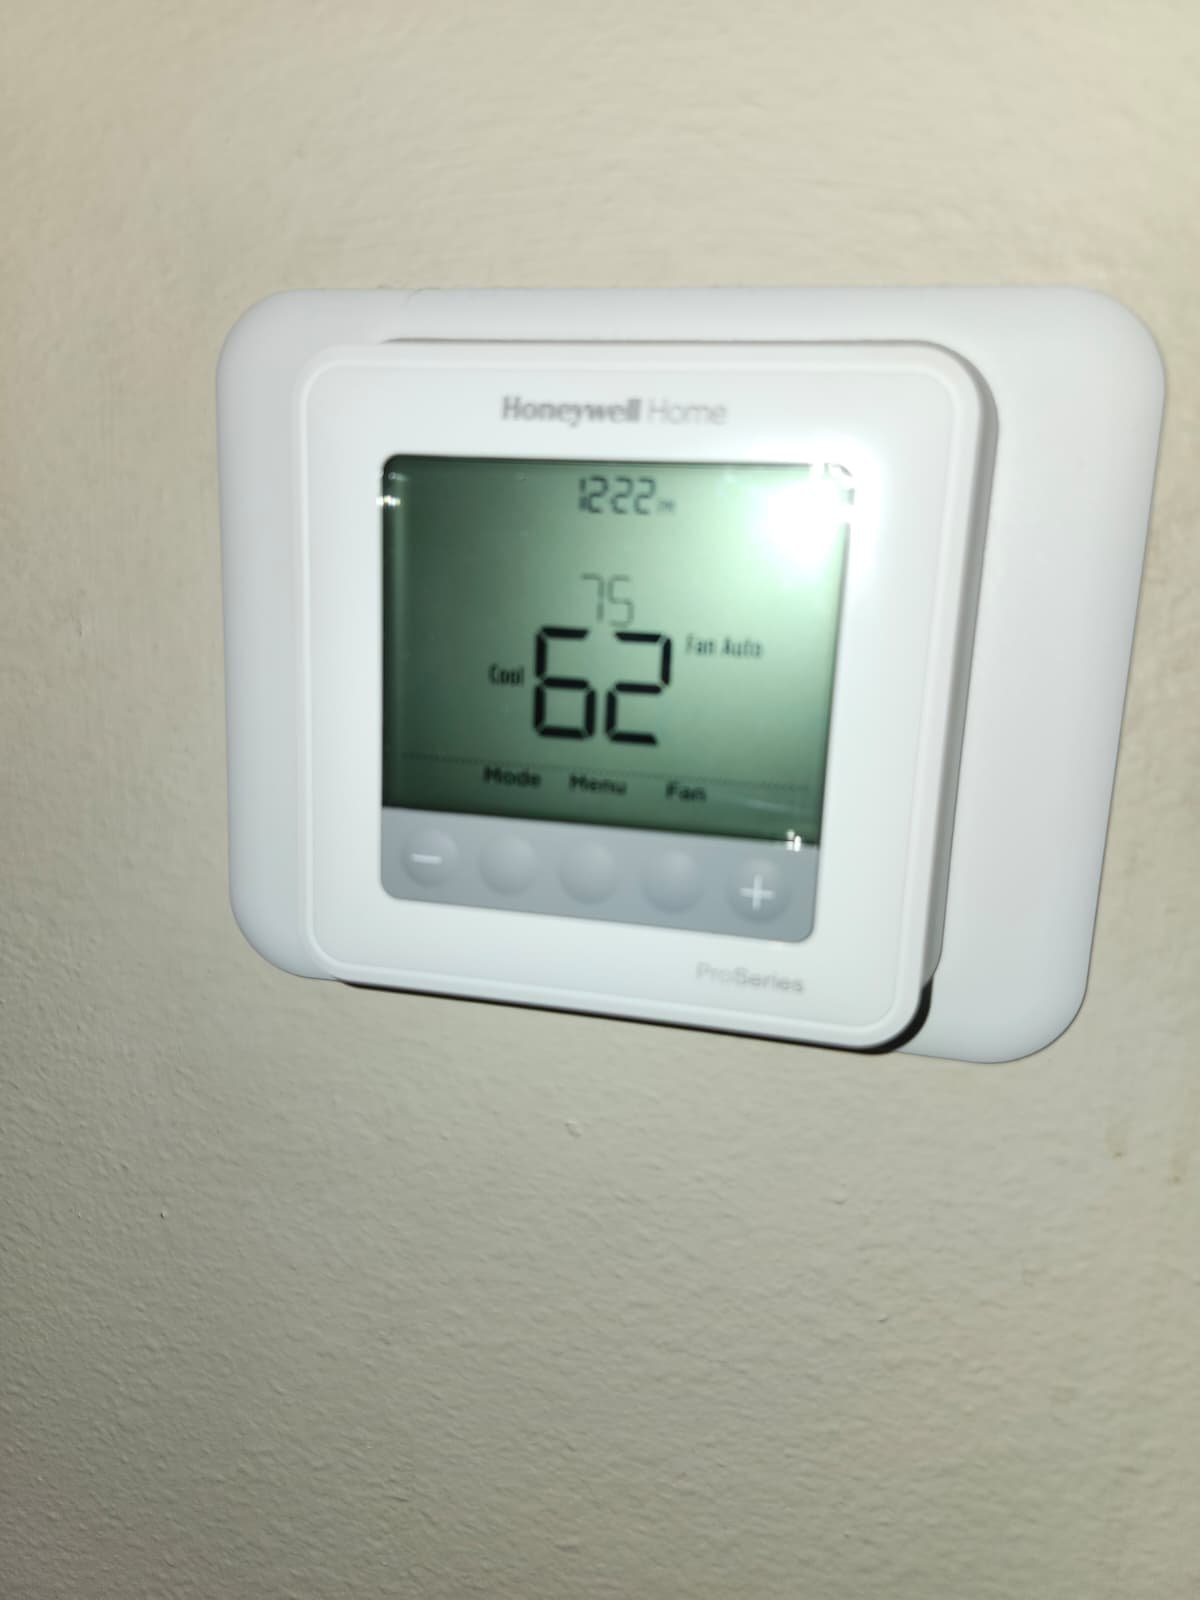
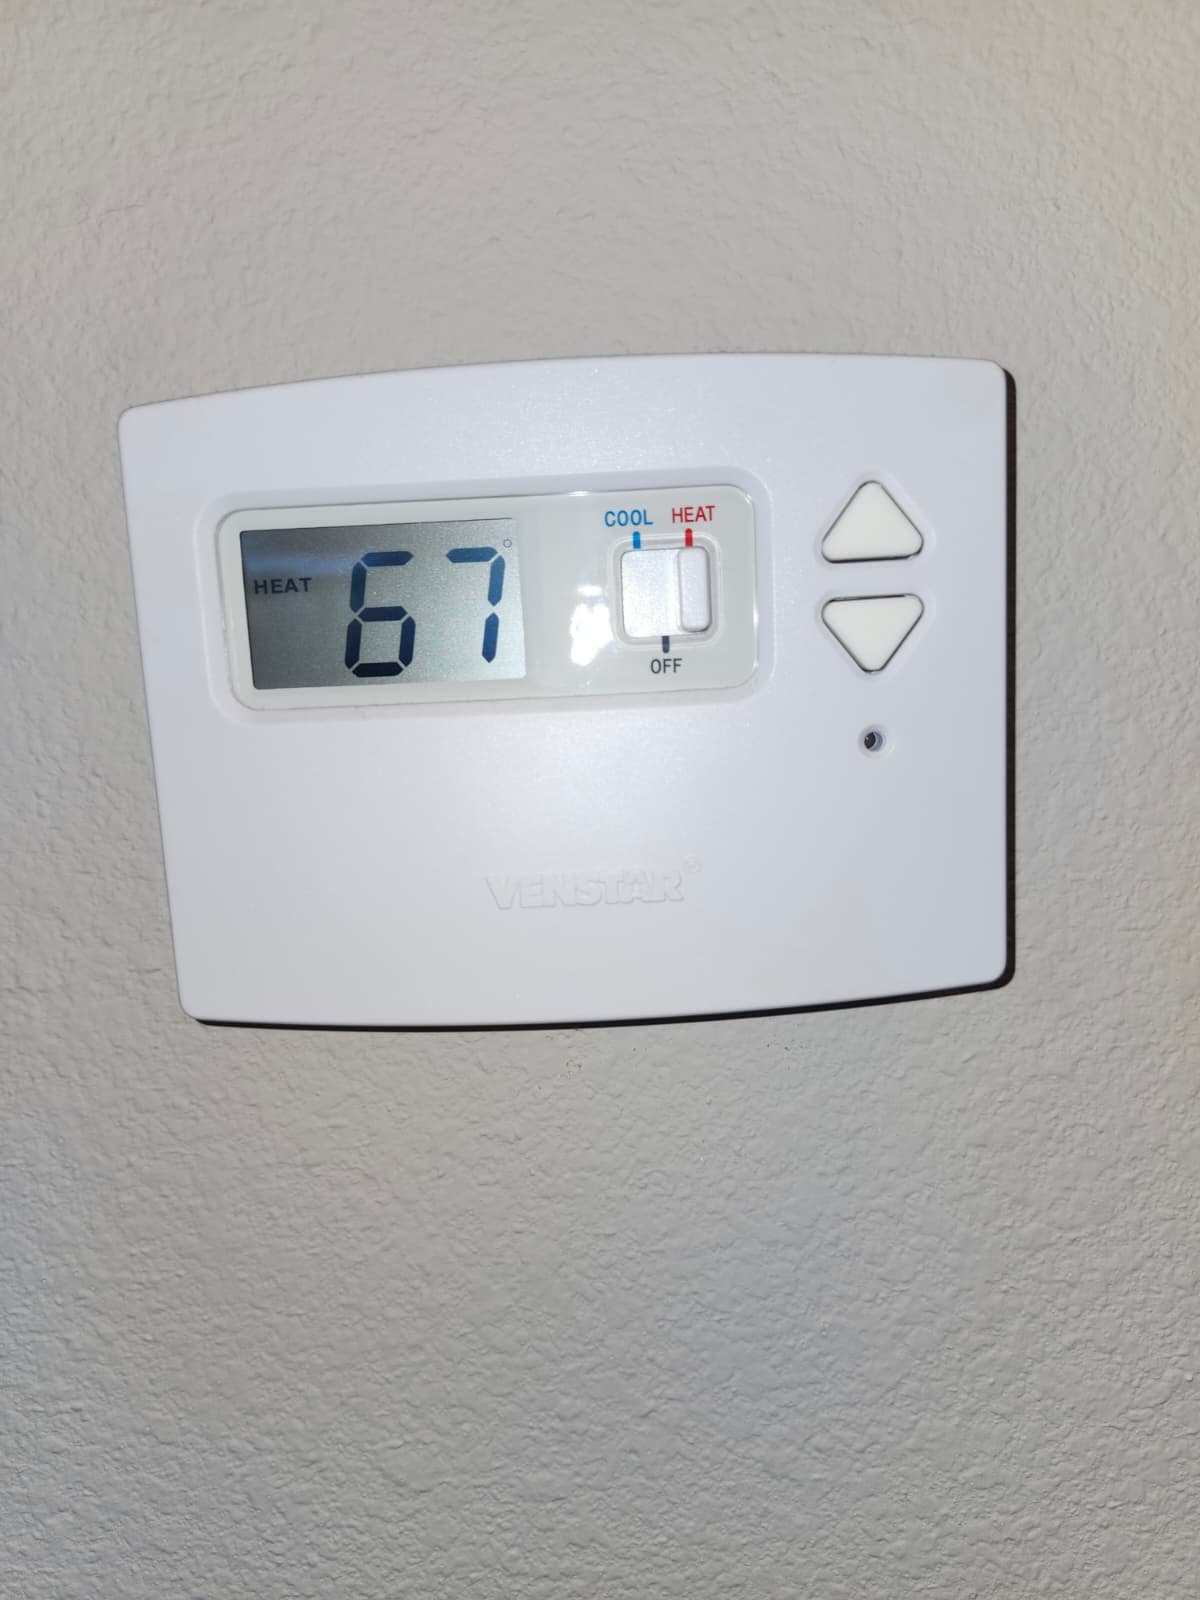
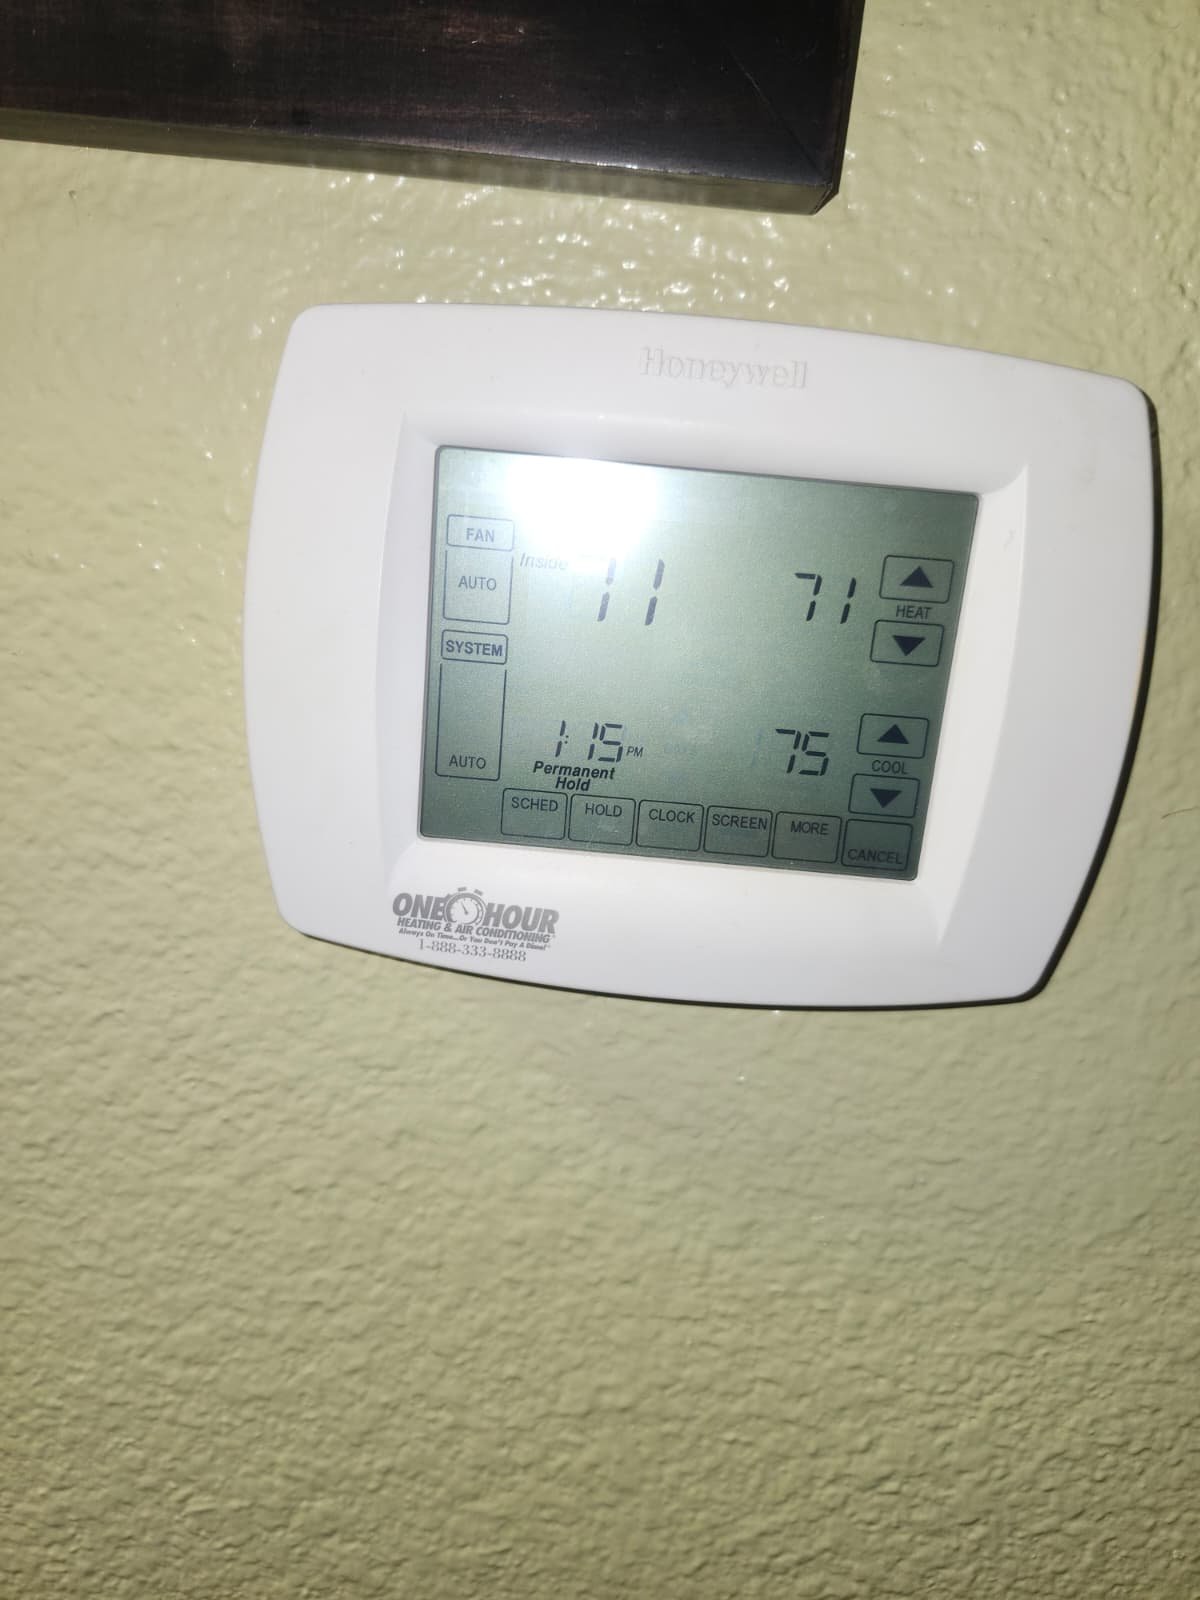
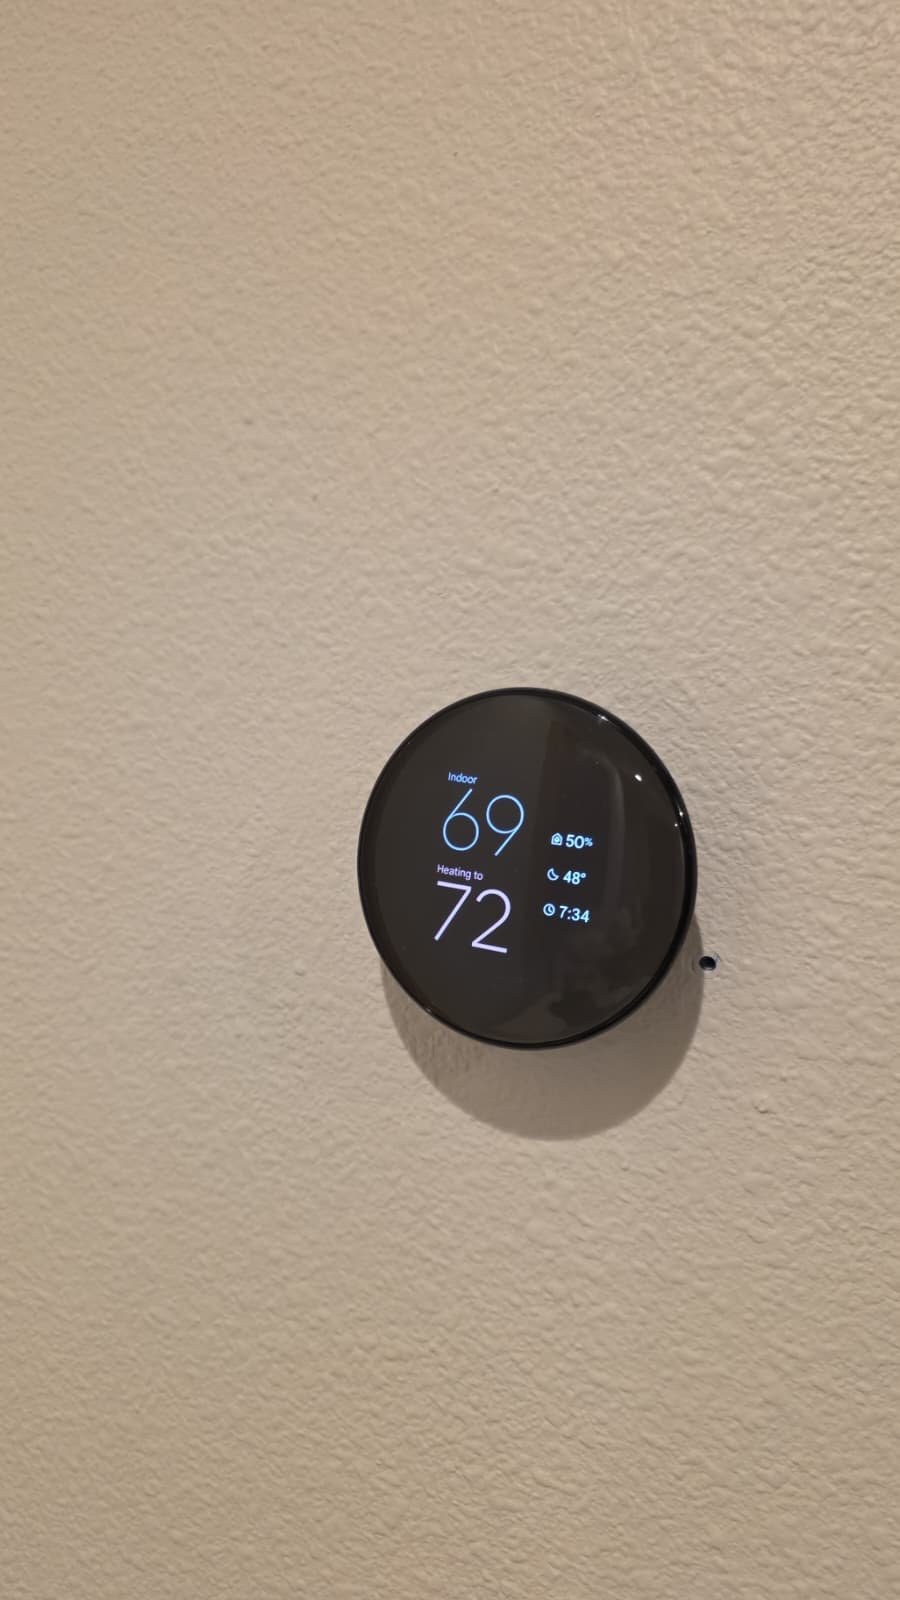
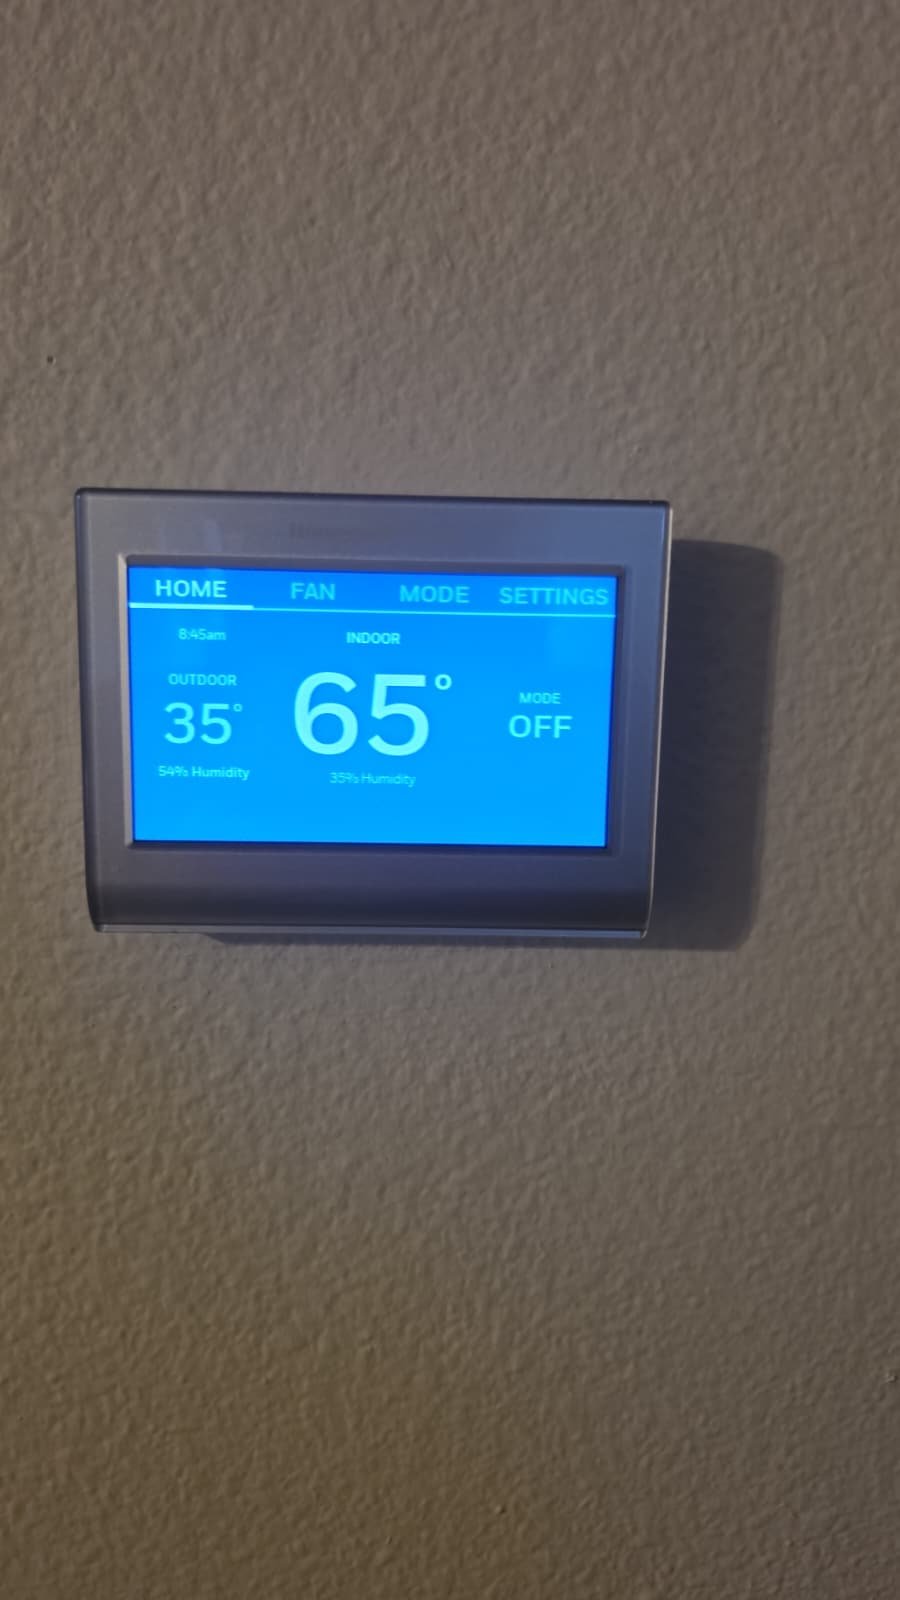
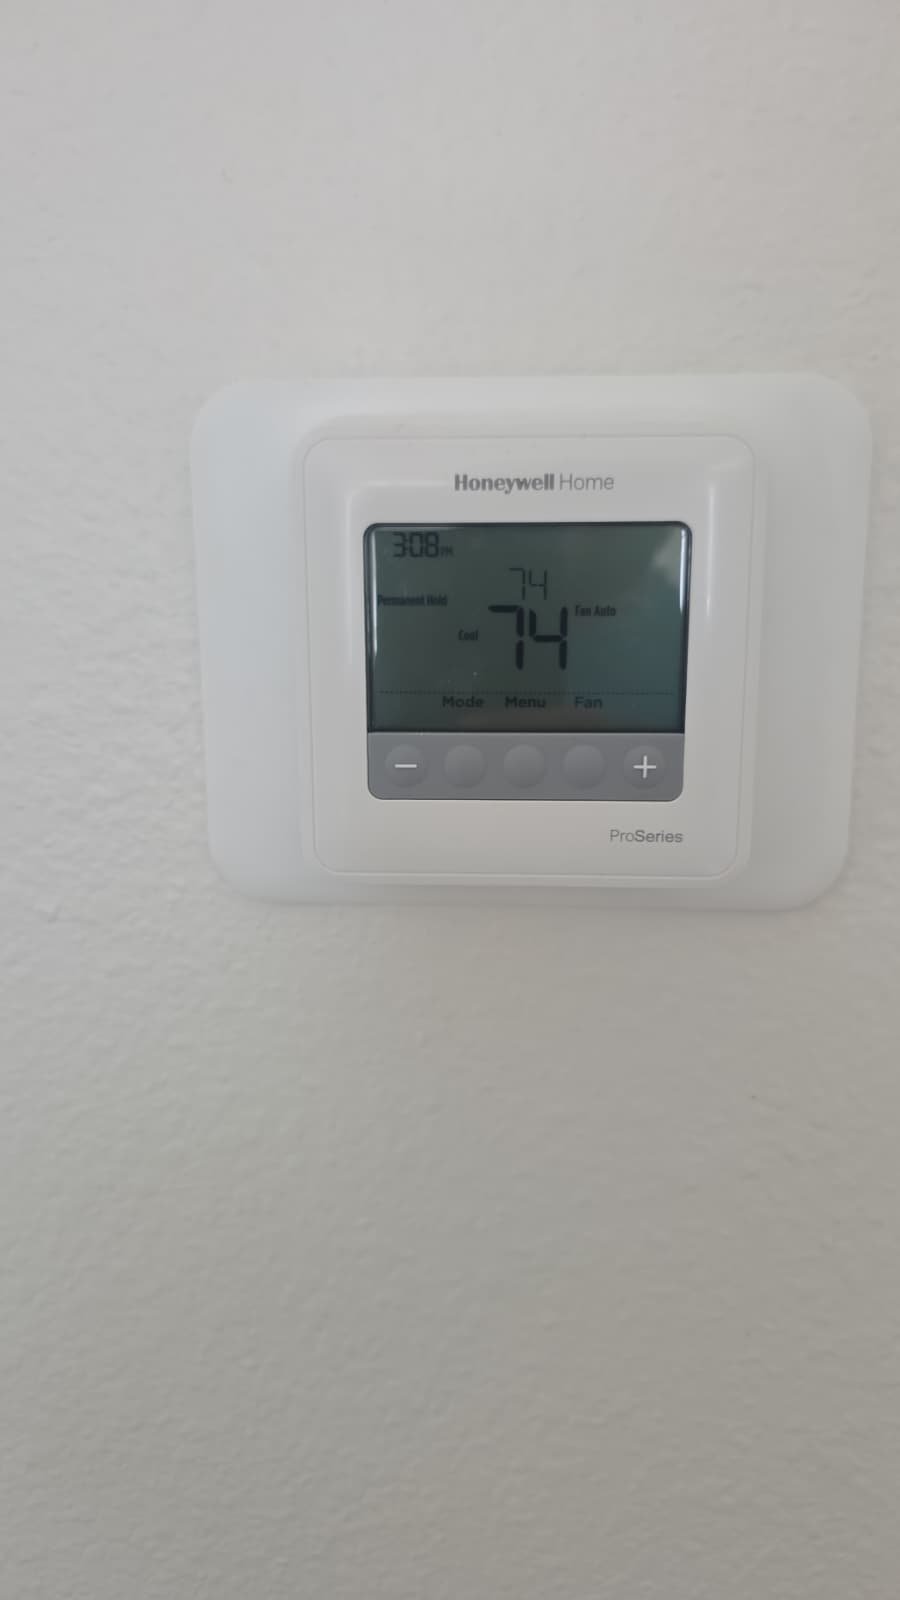
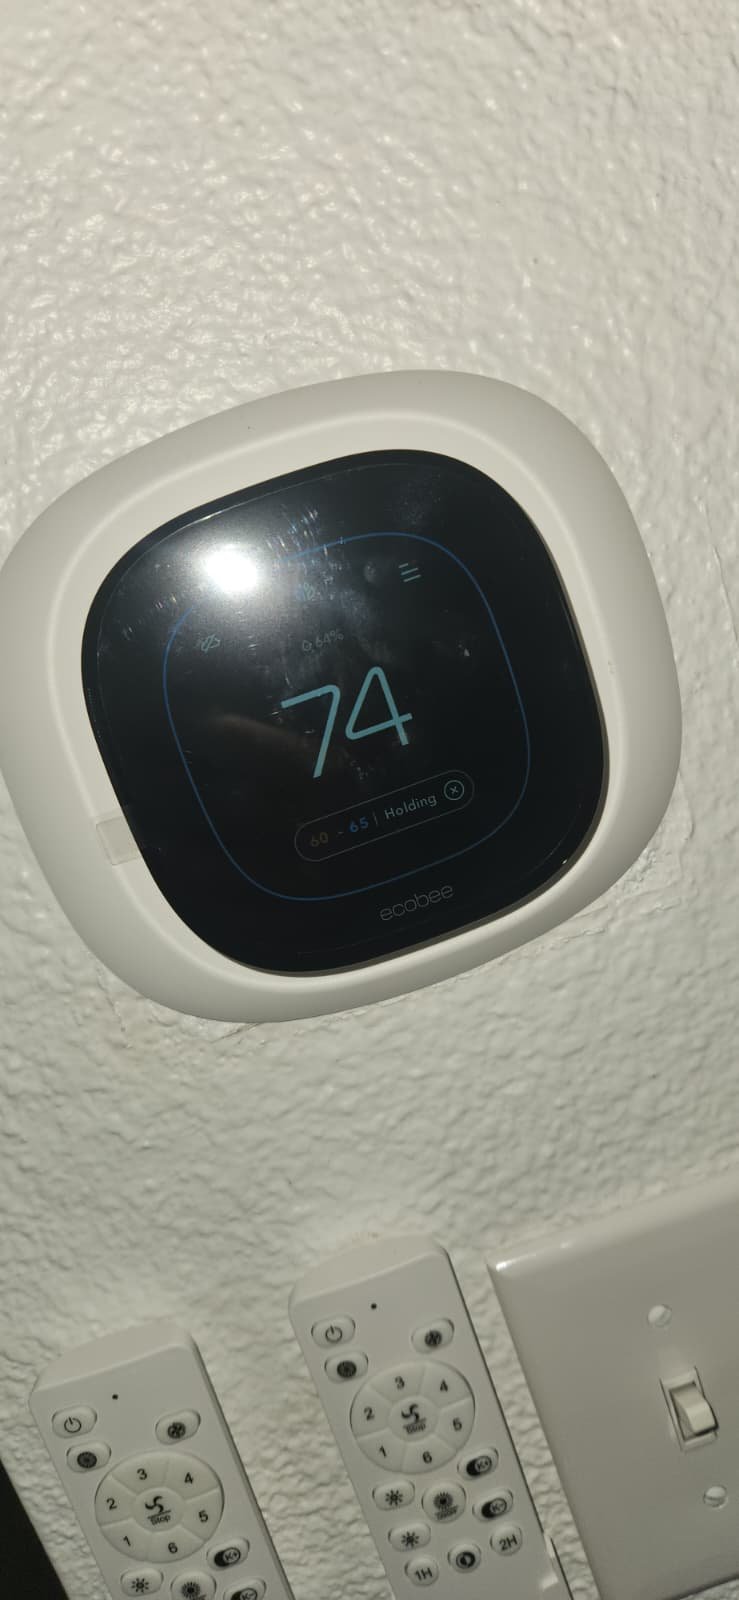
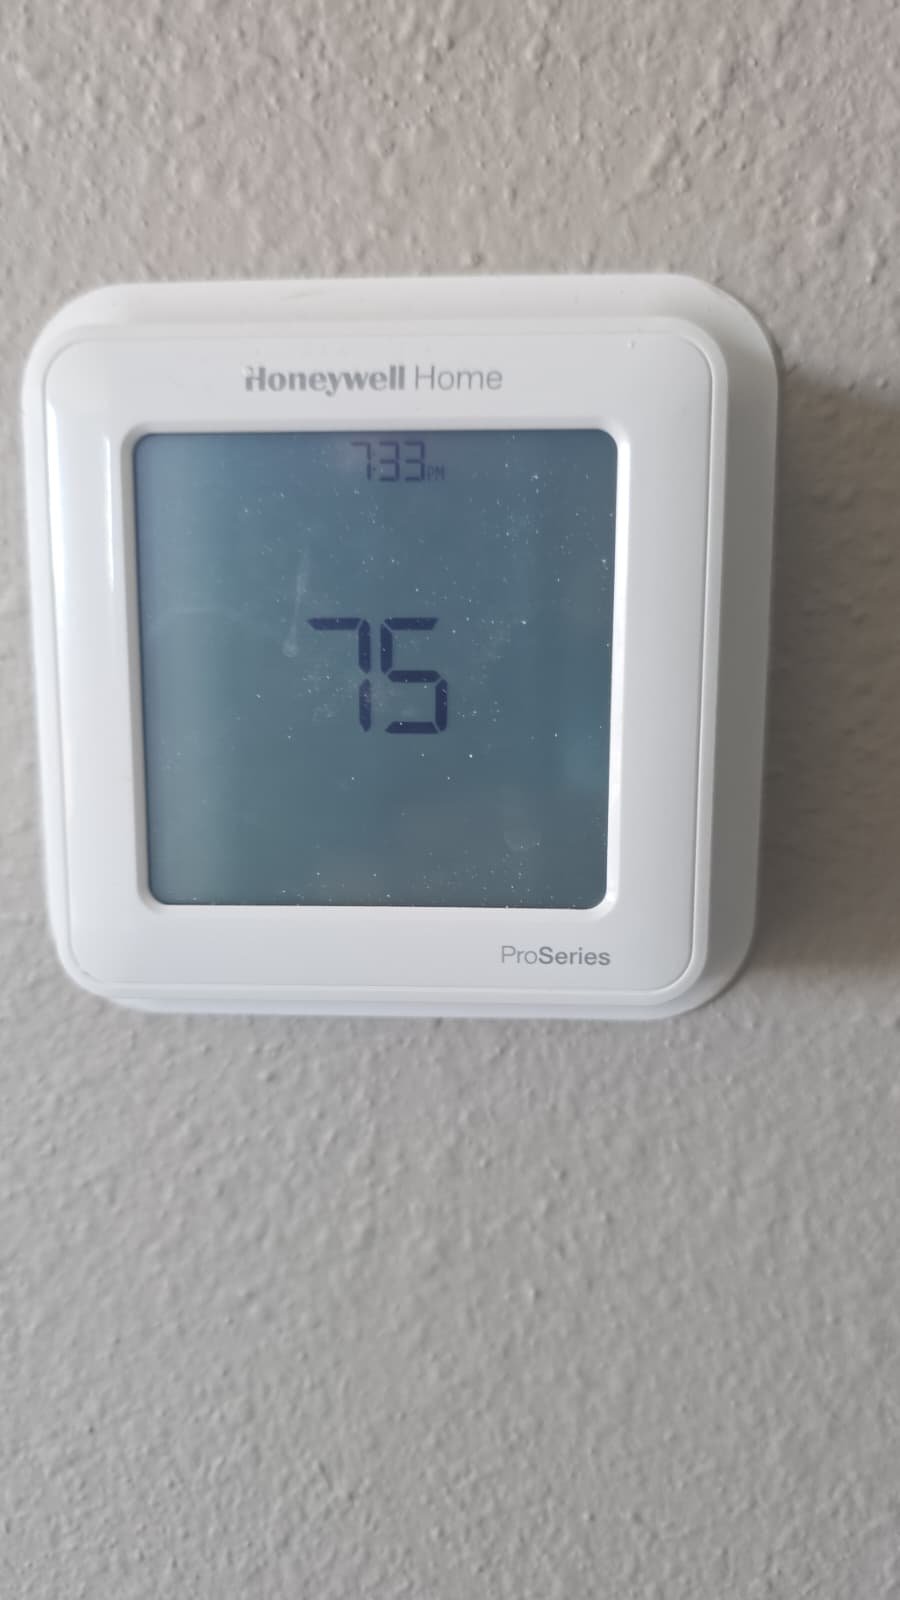
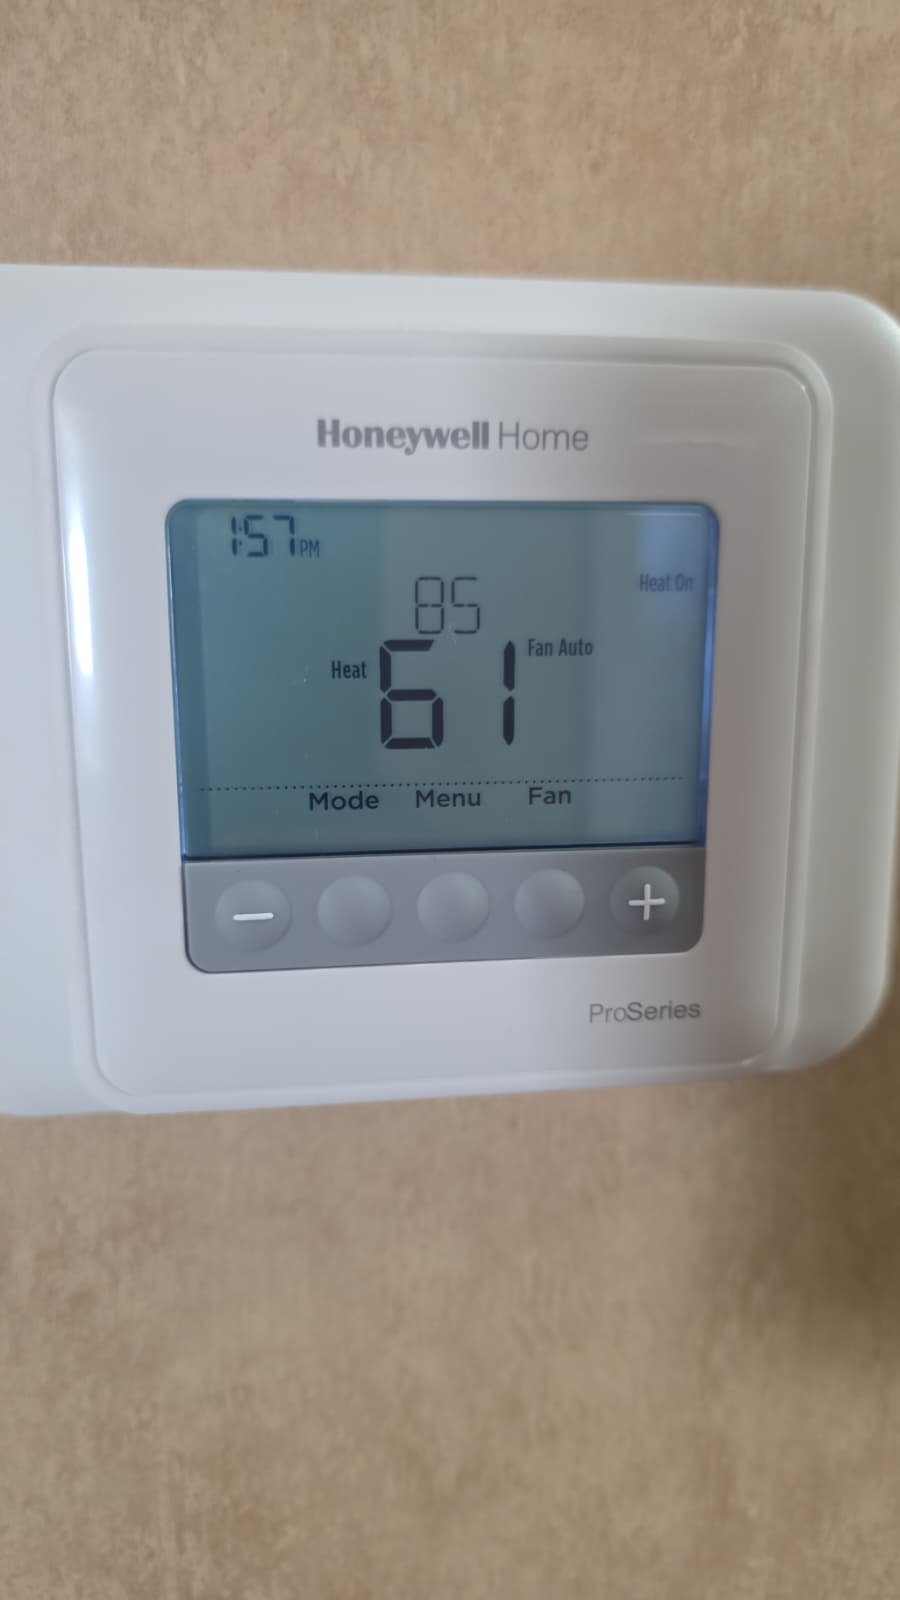
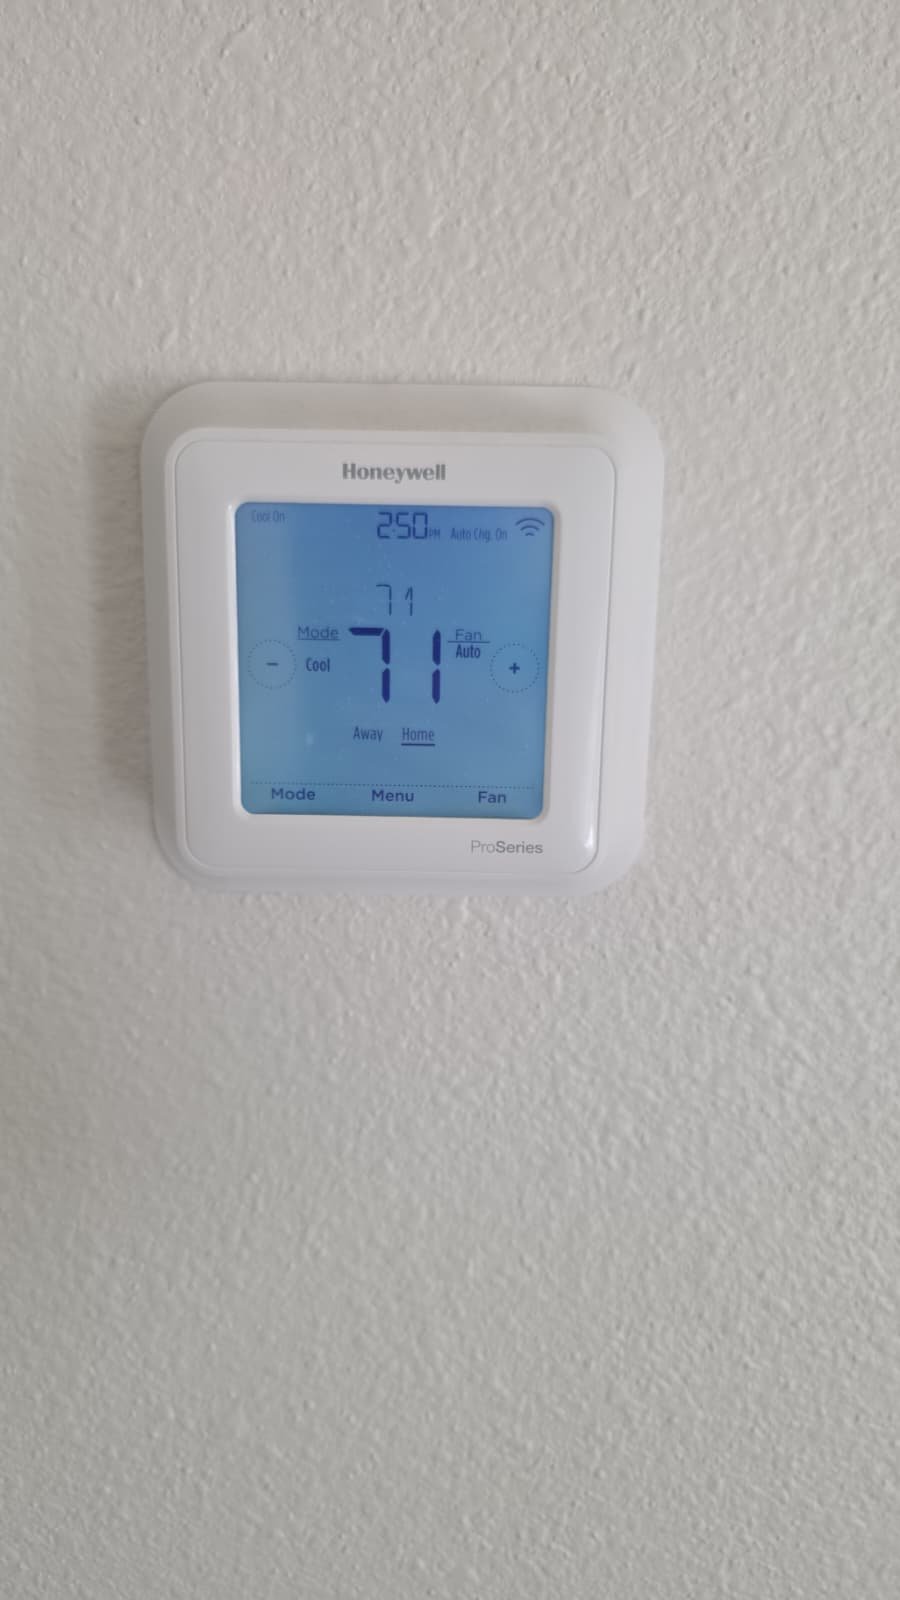
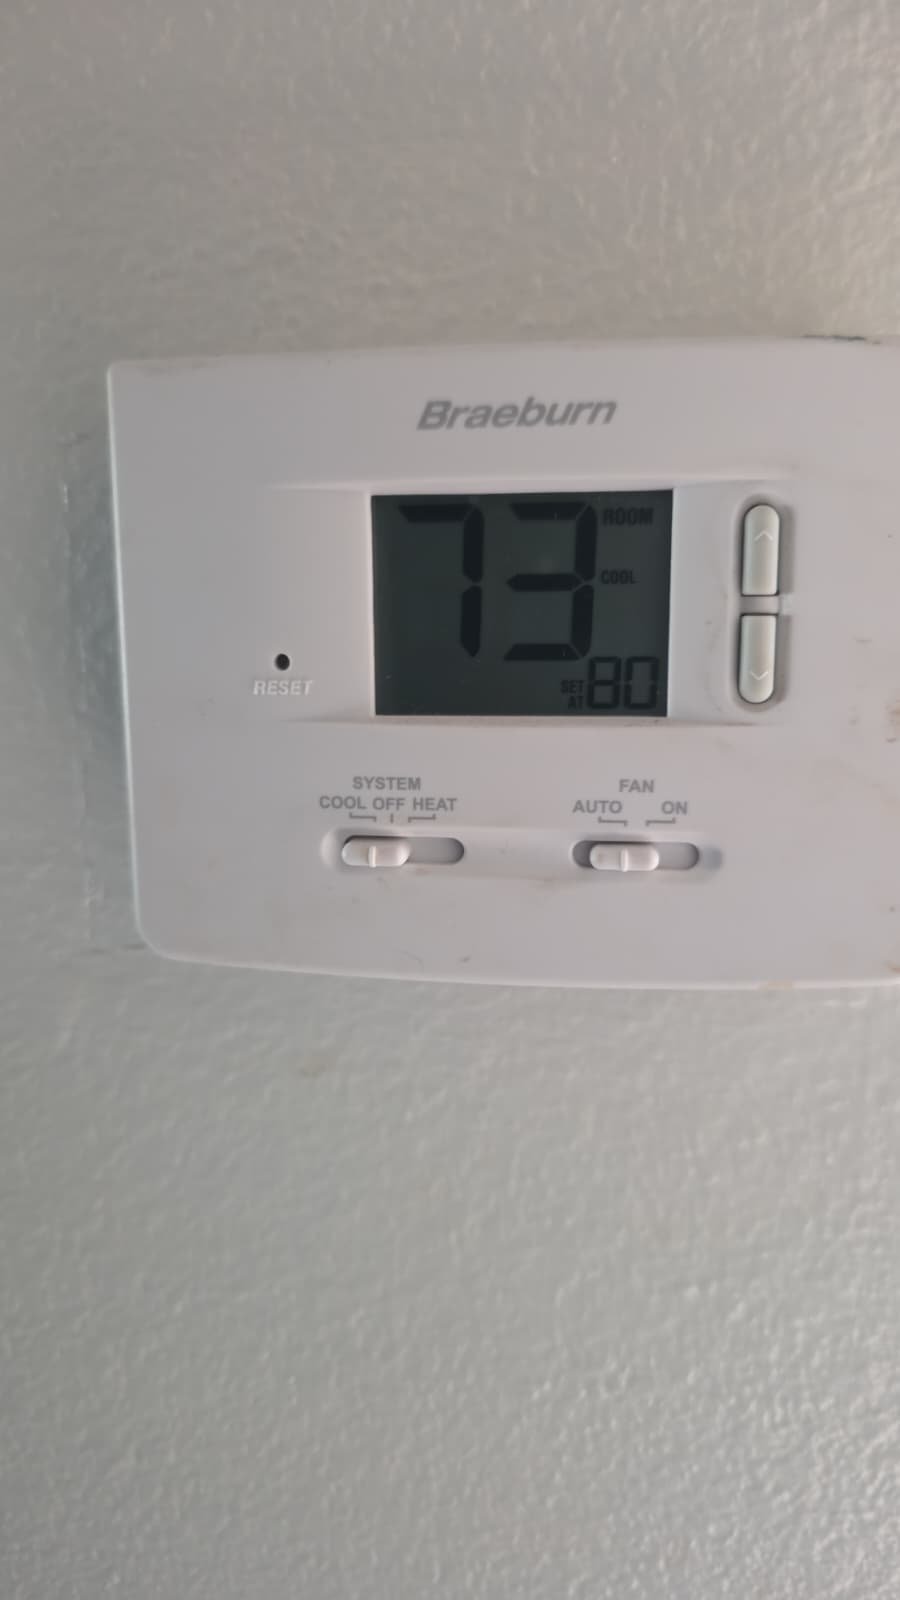
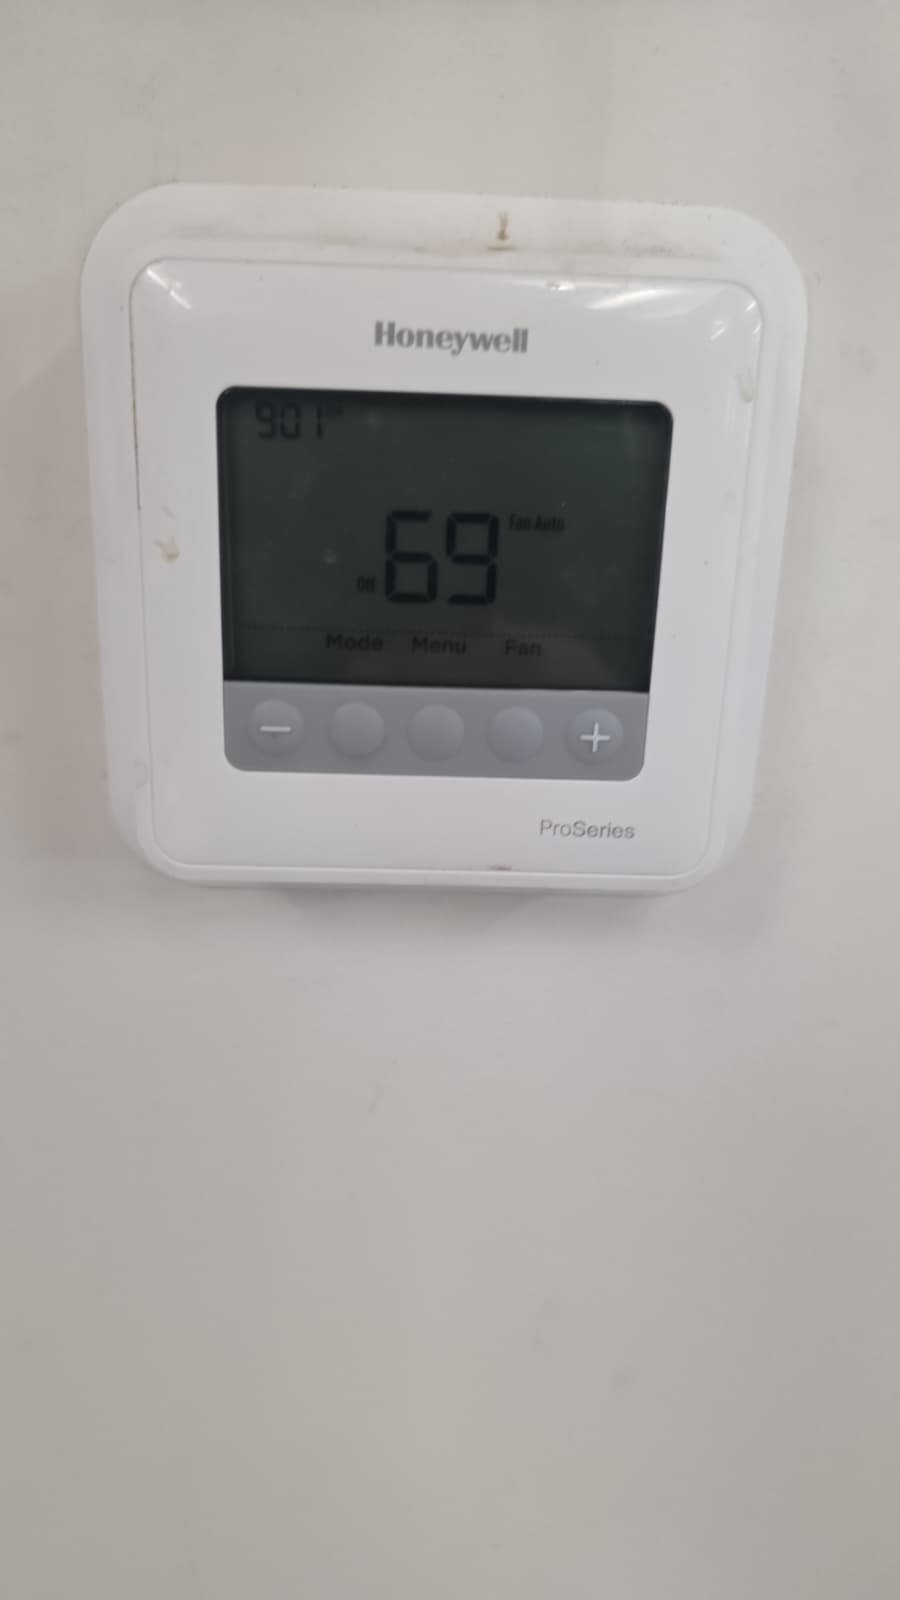
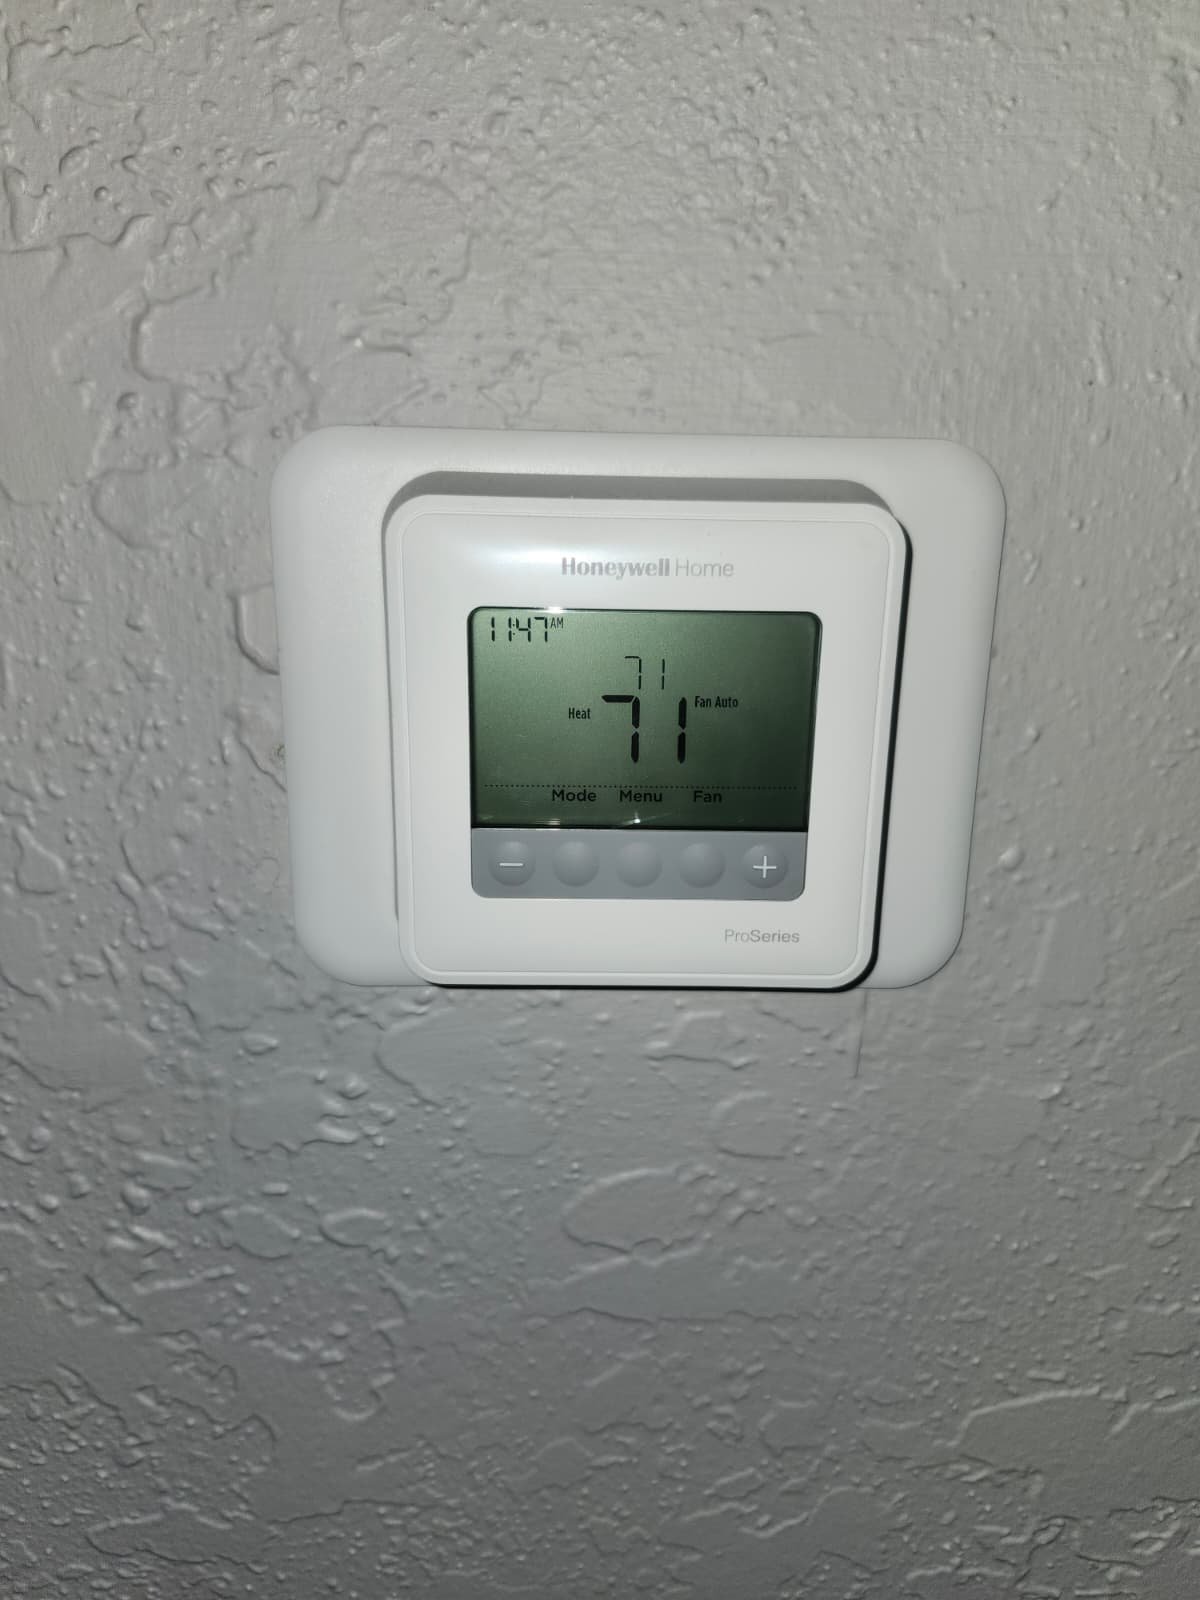
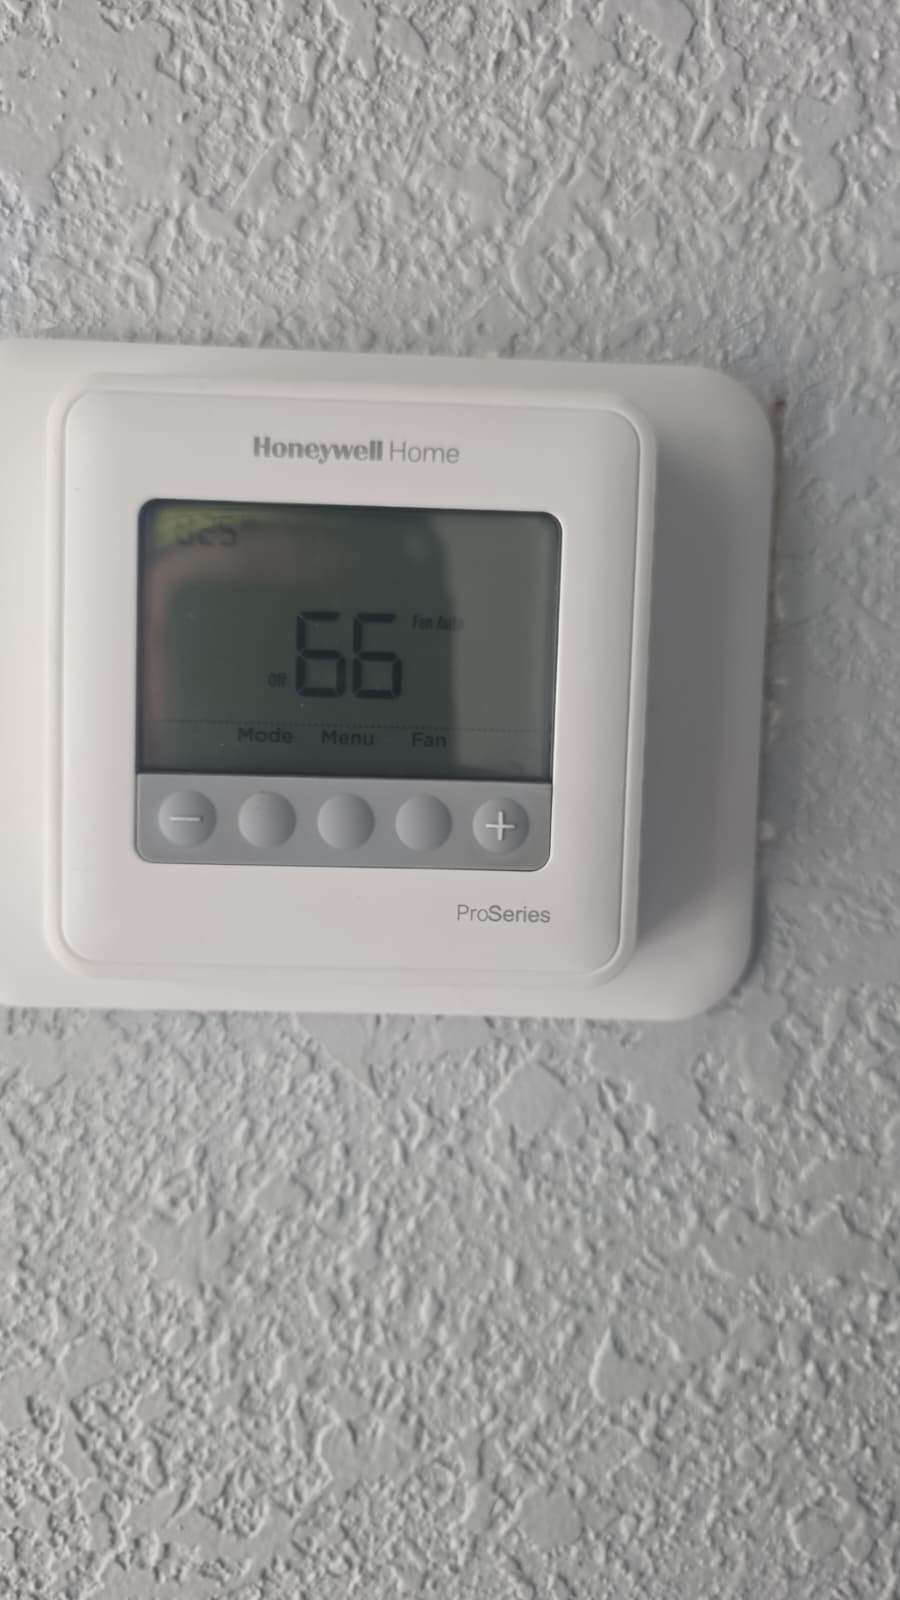
- Programmable thermostat to give the homeowner better scheduling and comfort control.
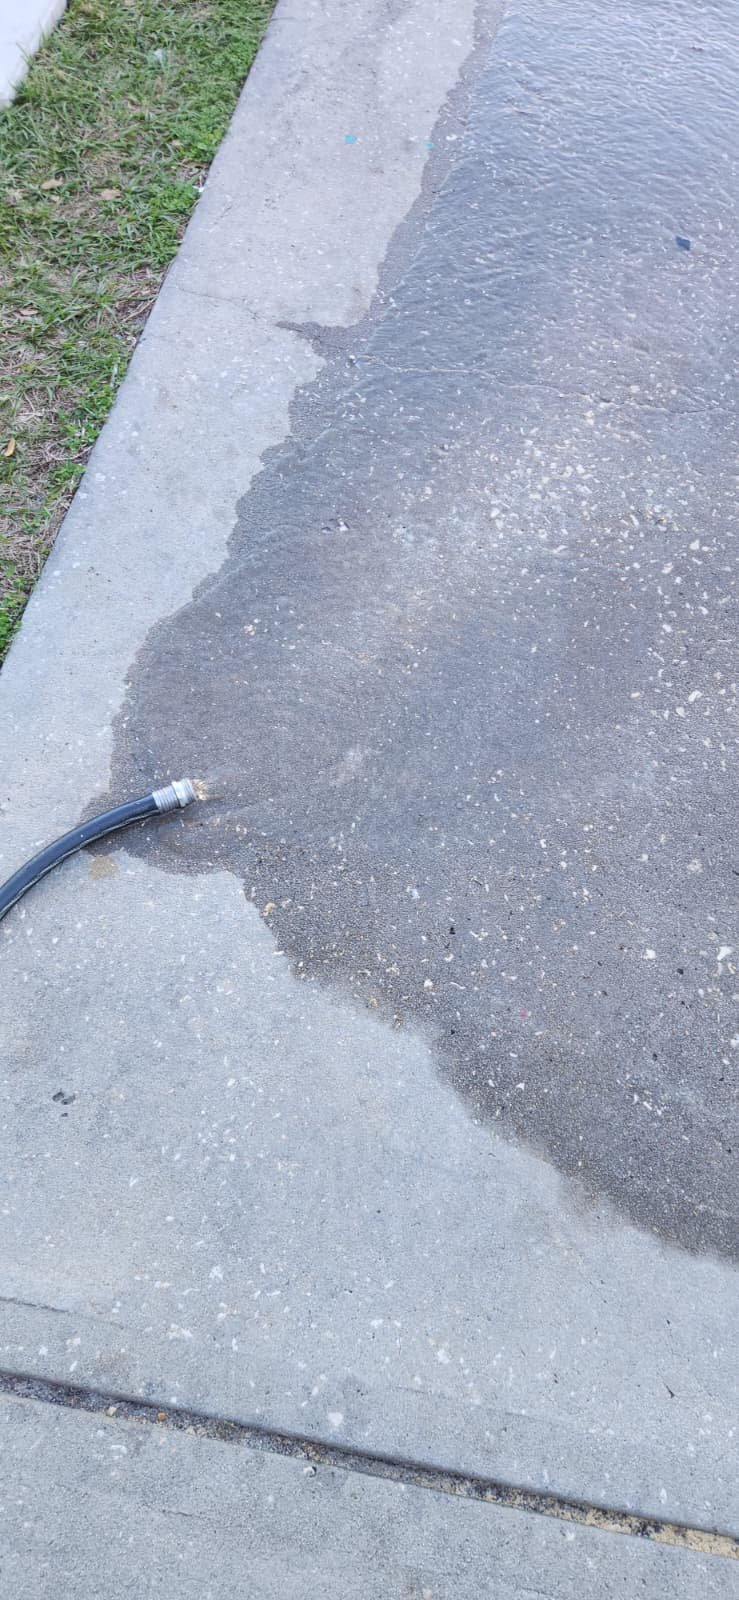
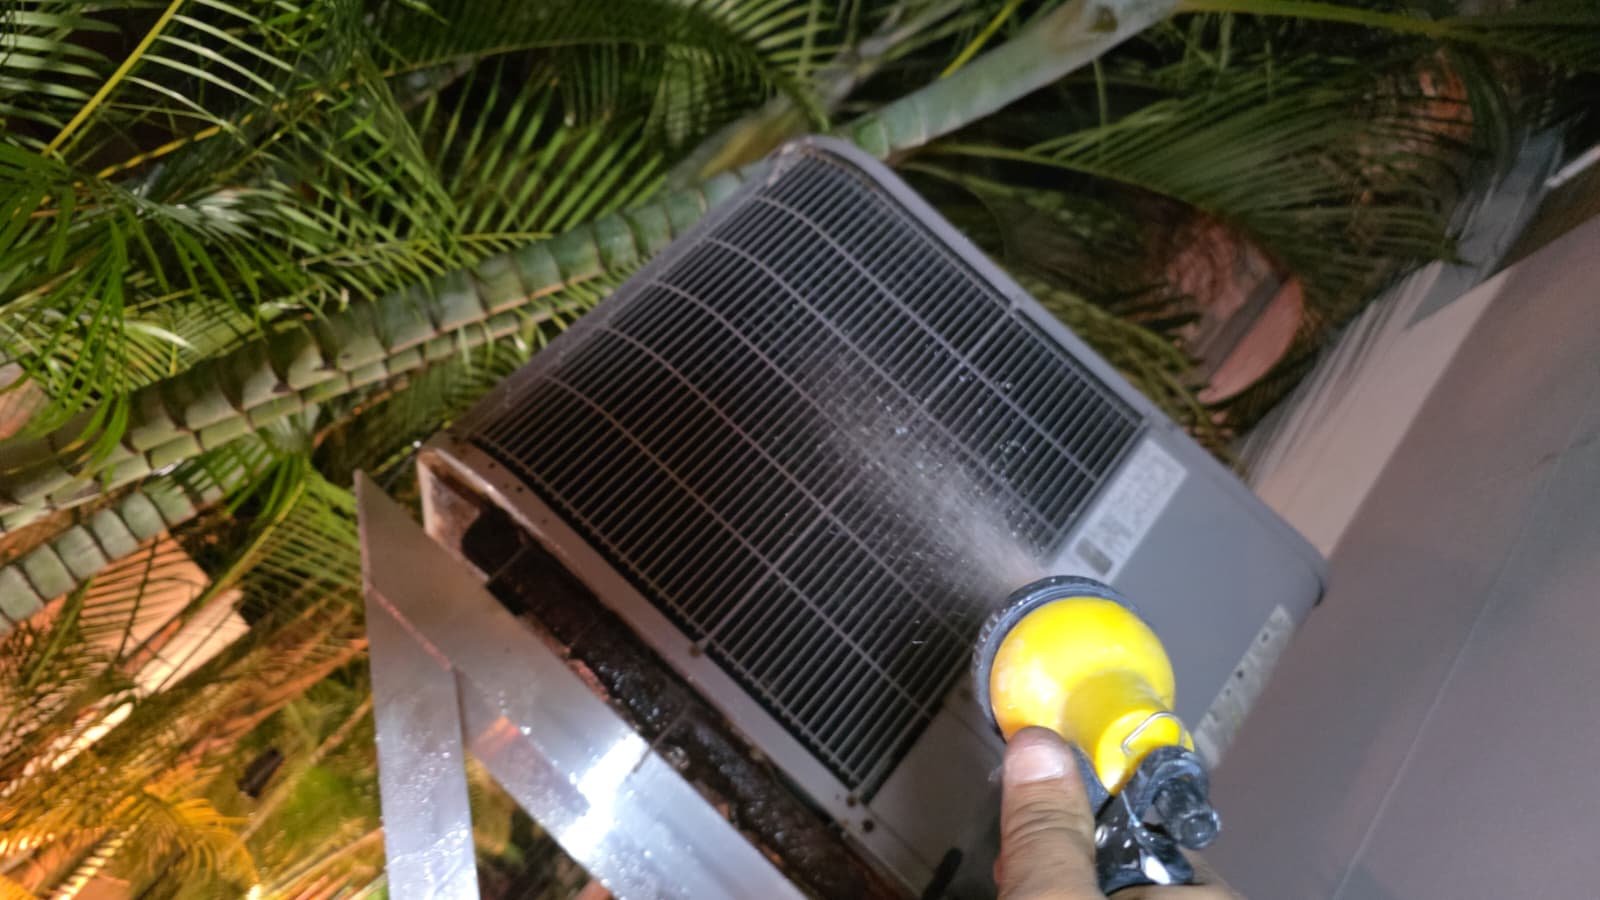
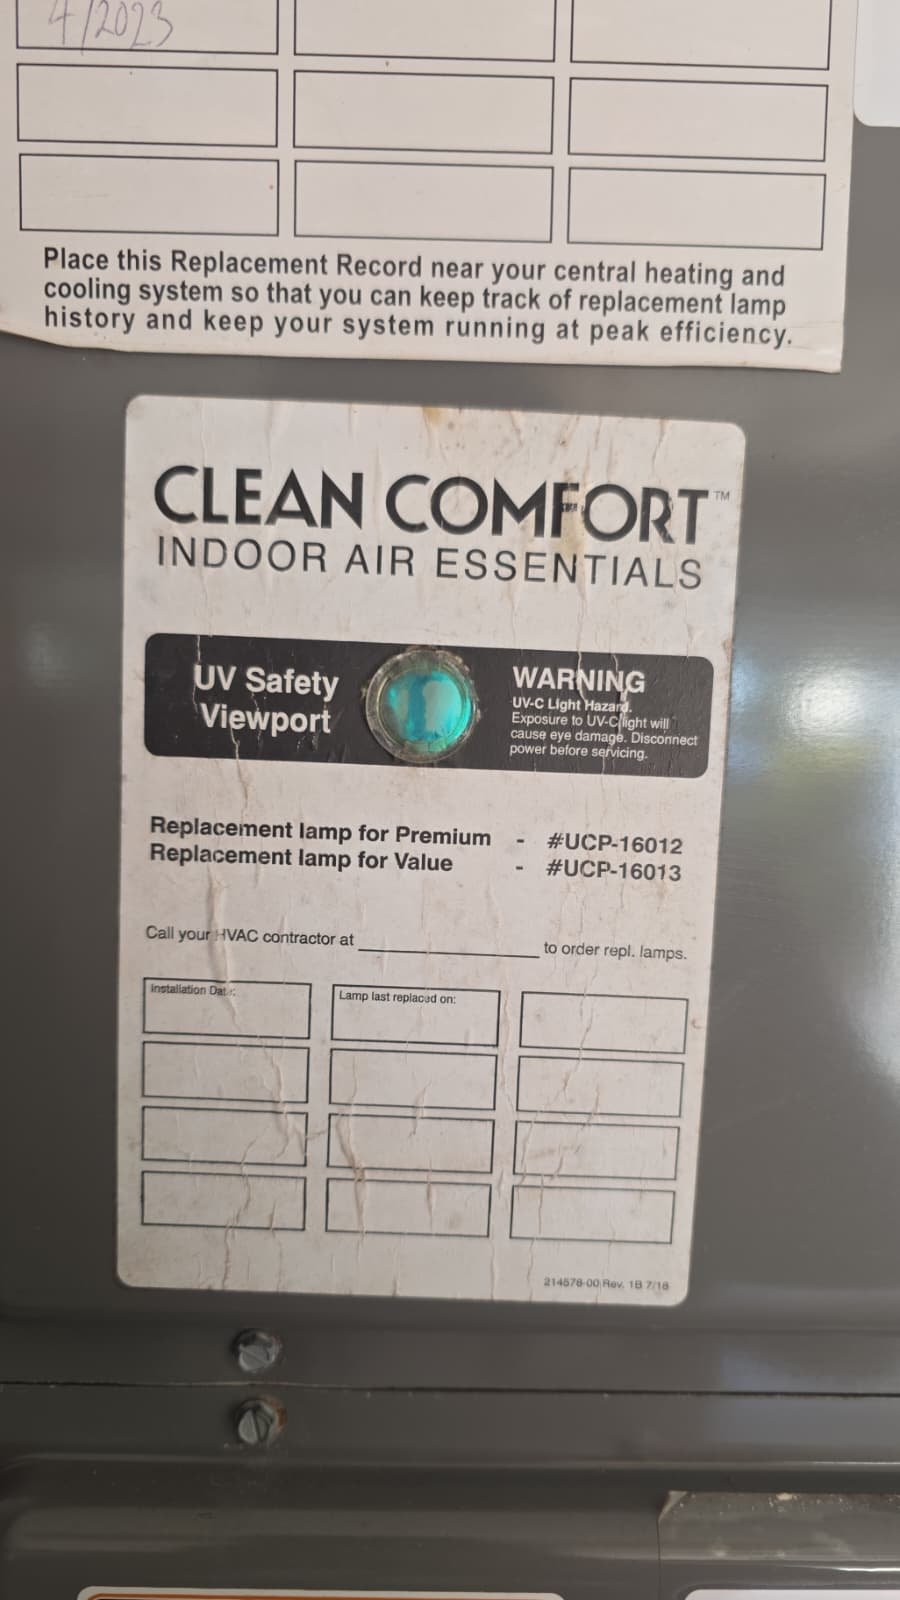
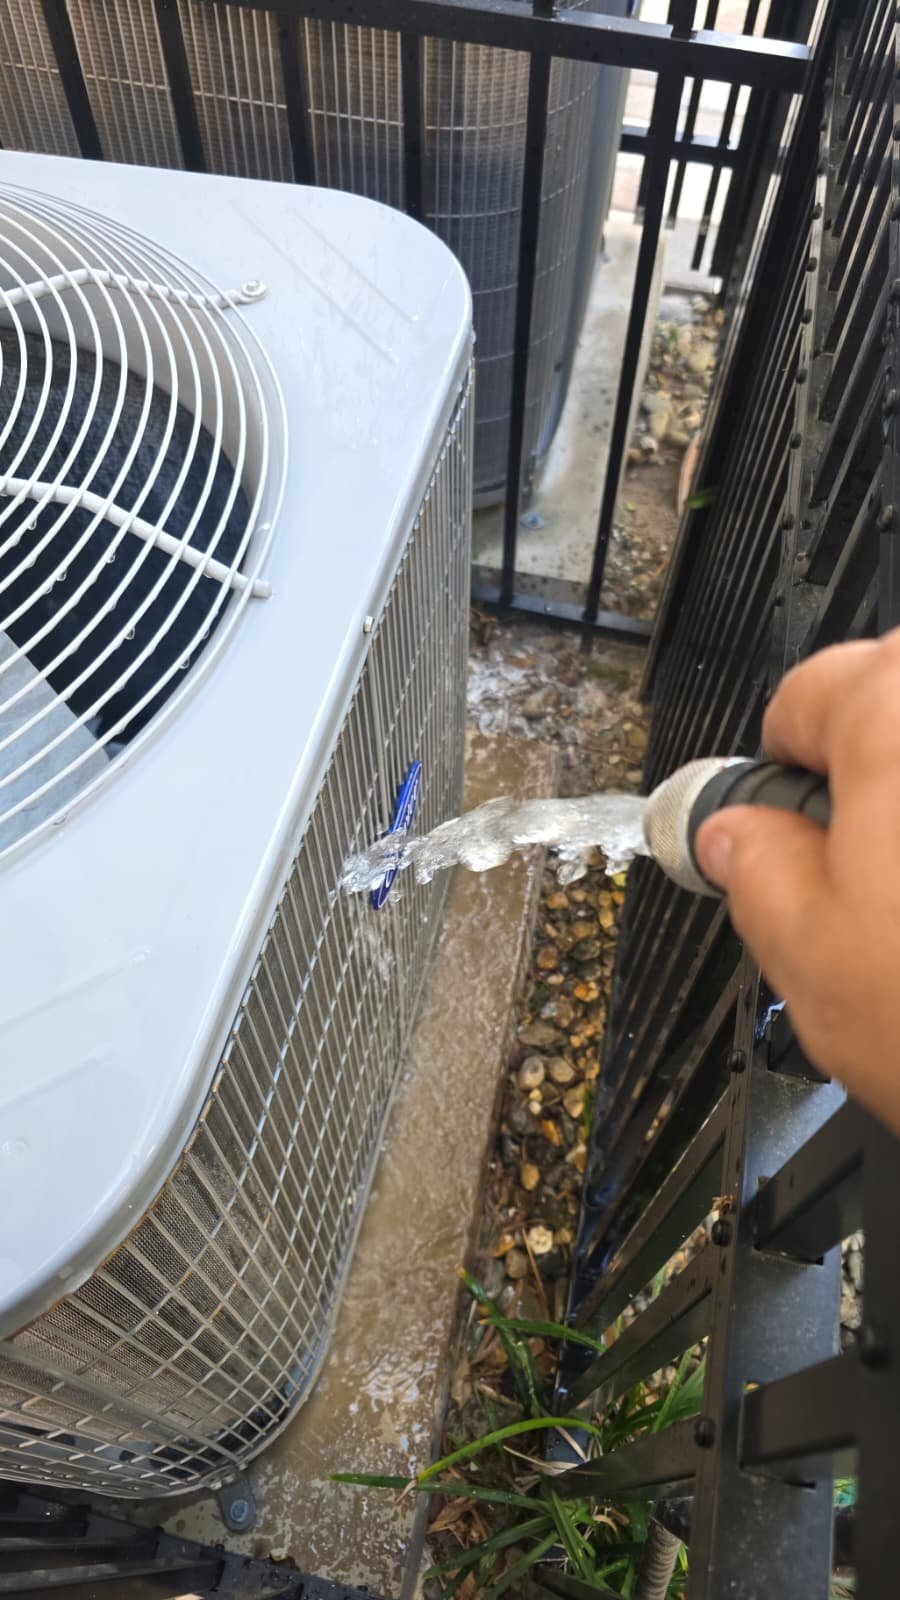
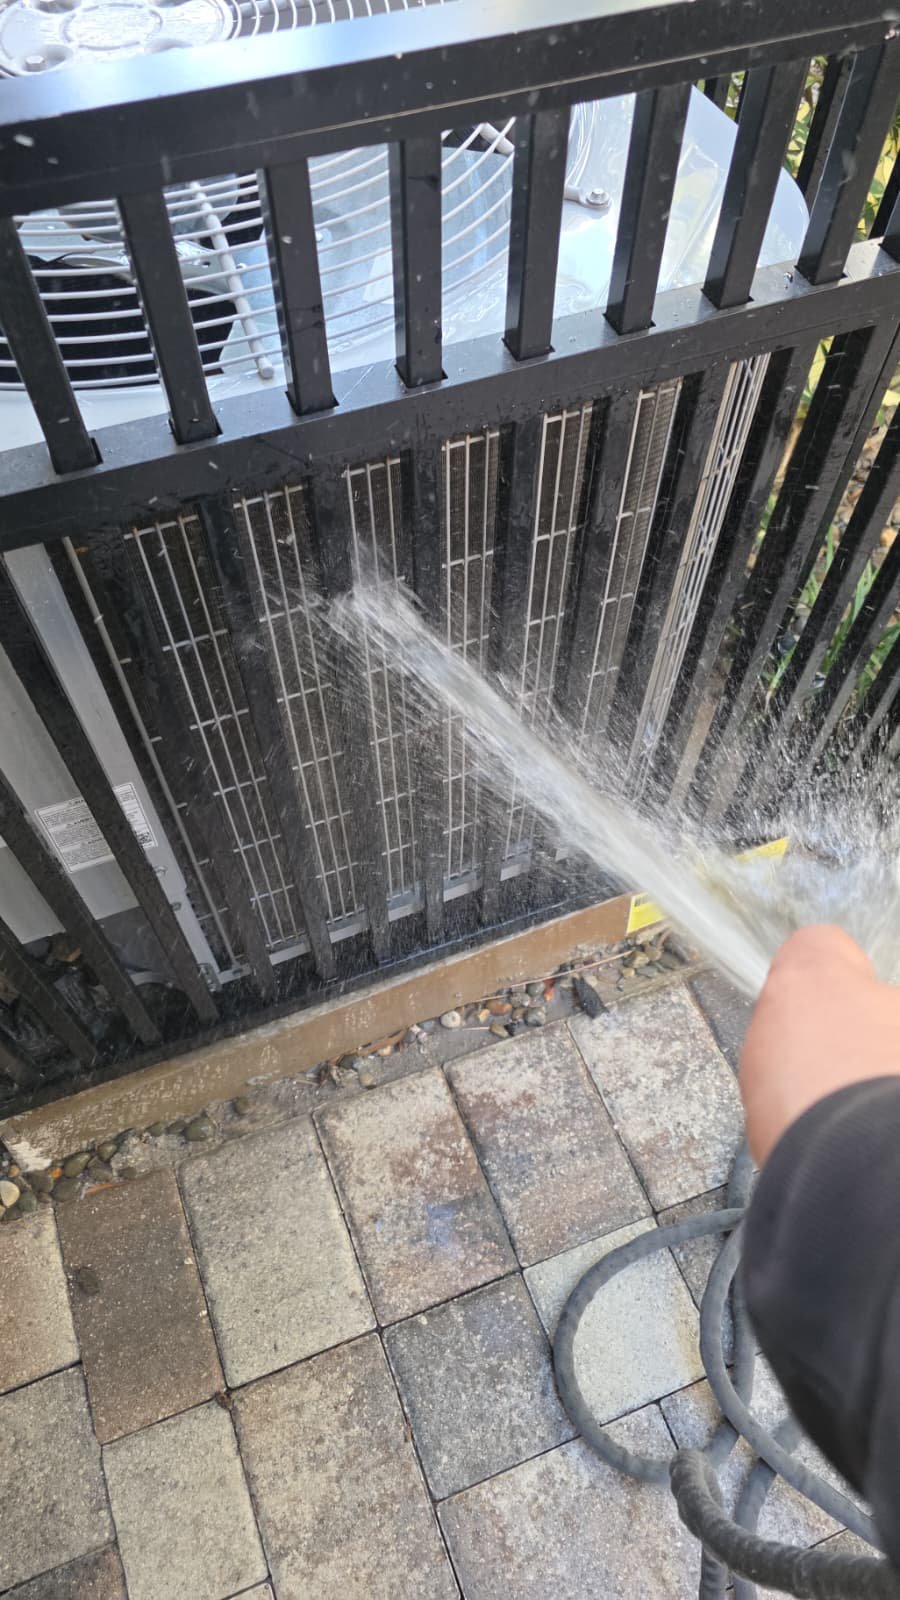
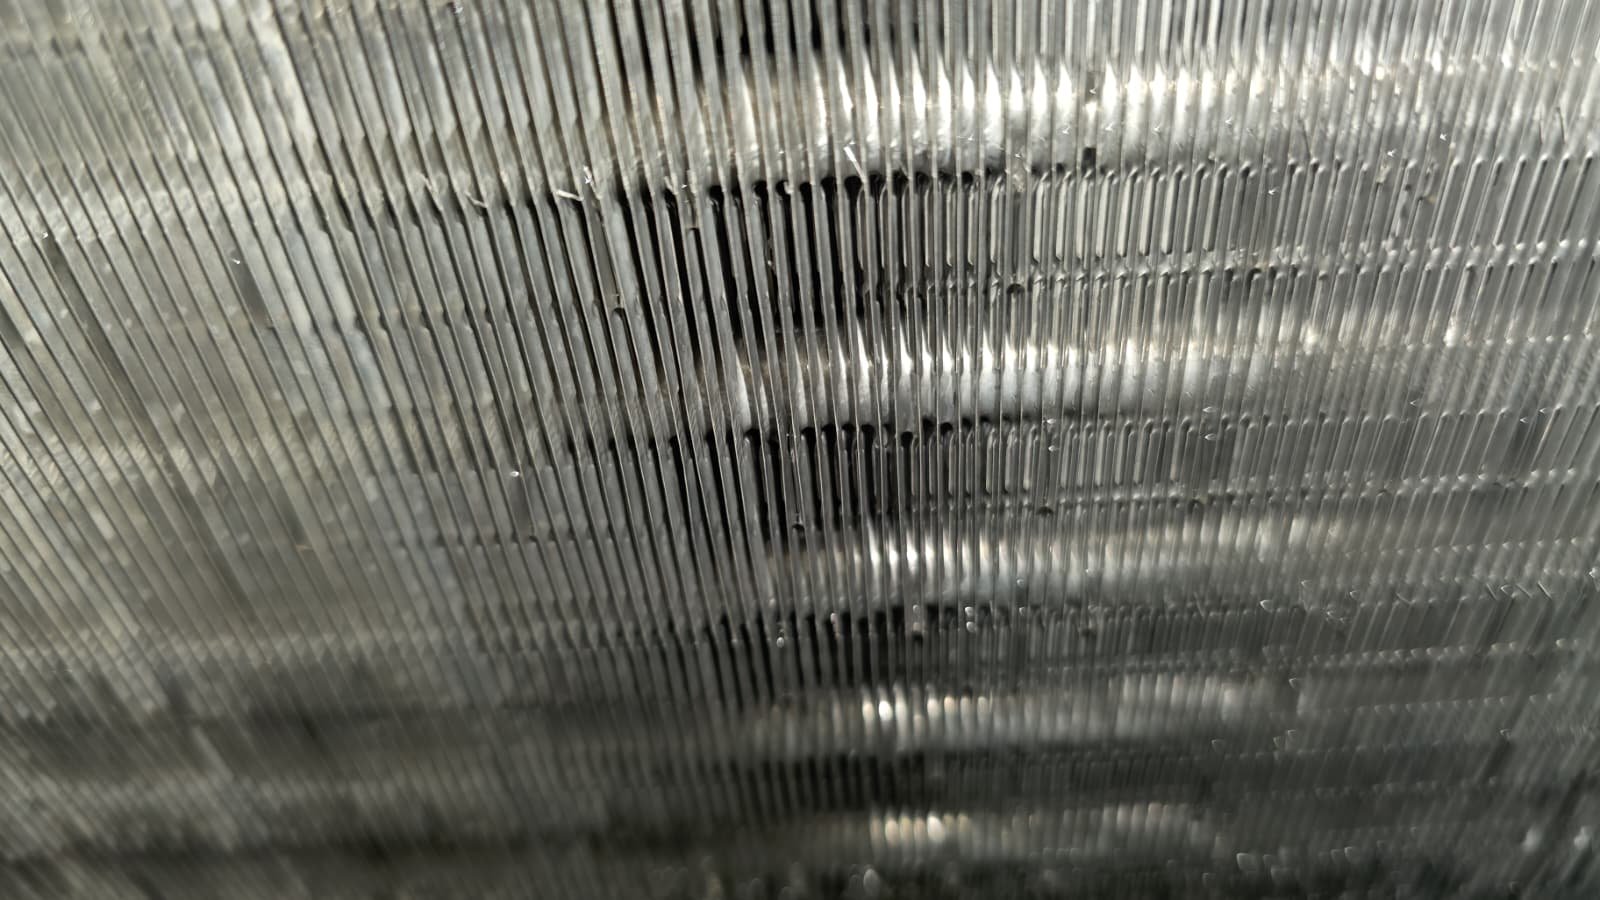
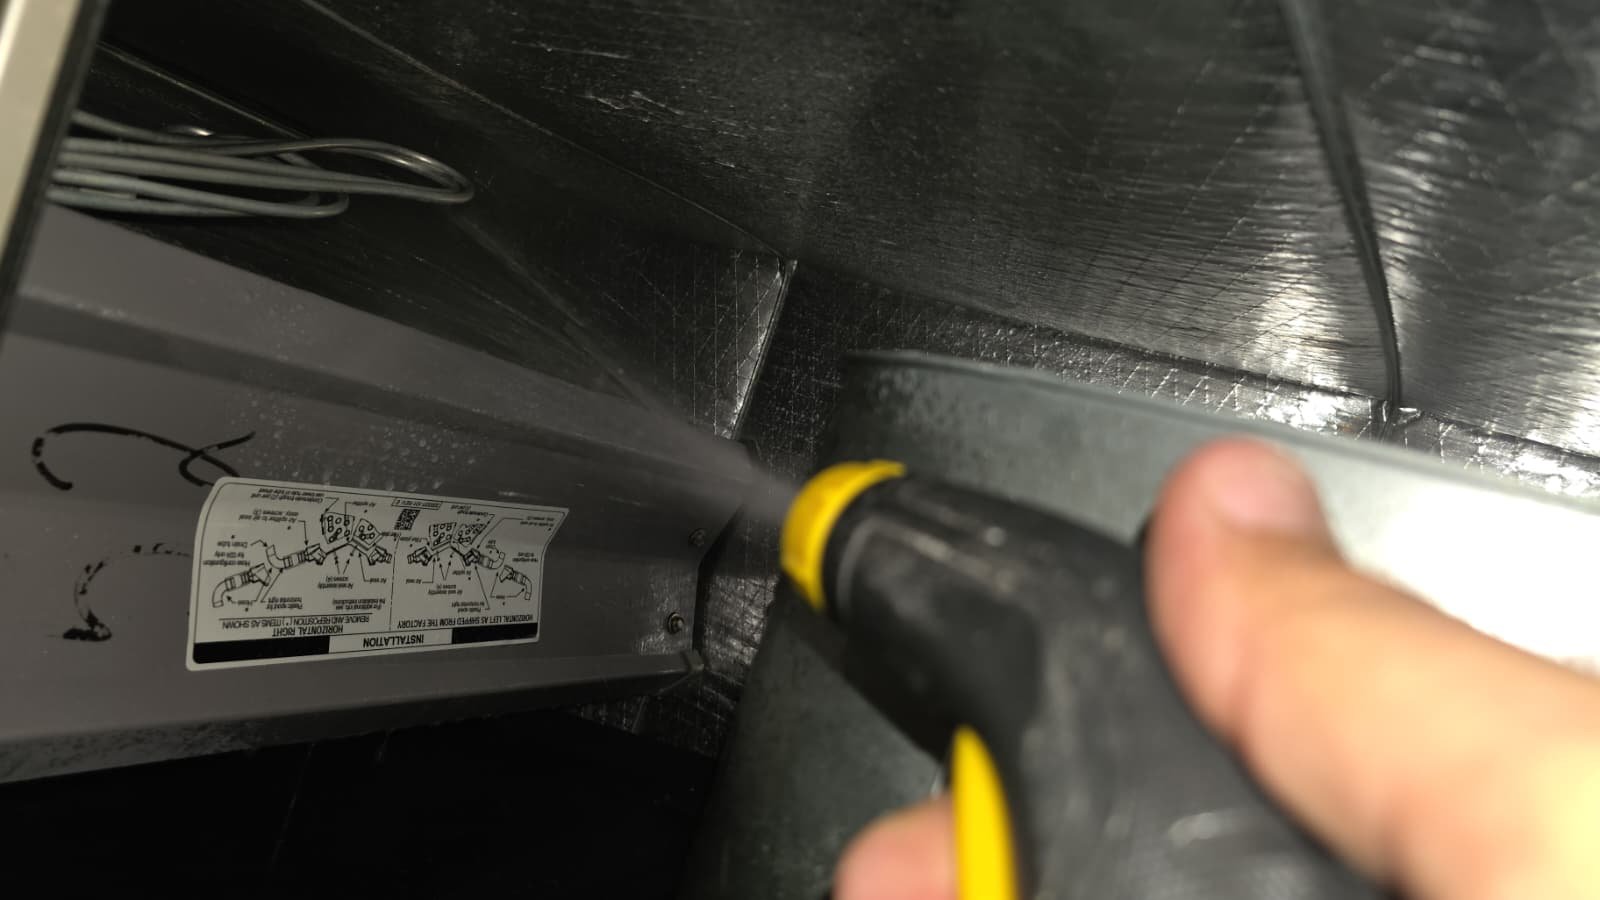
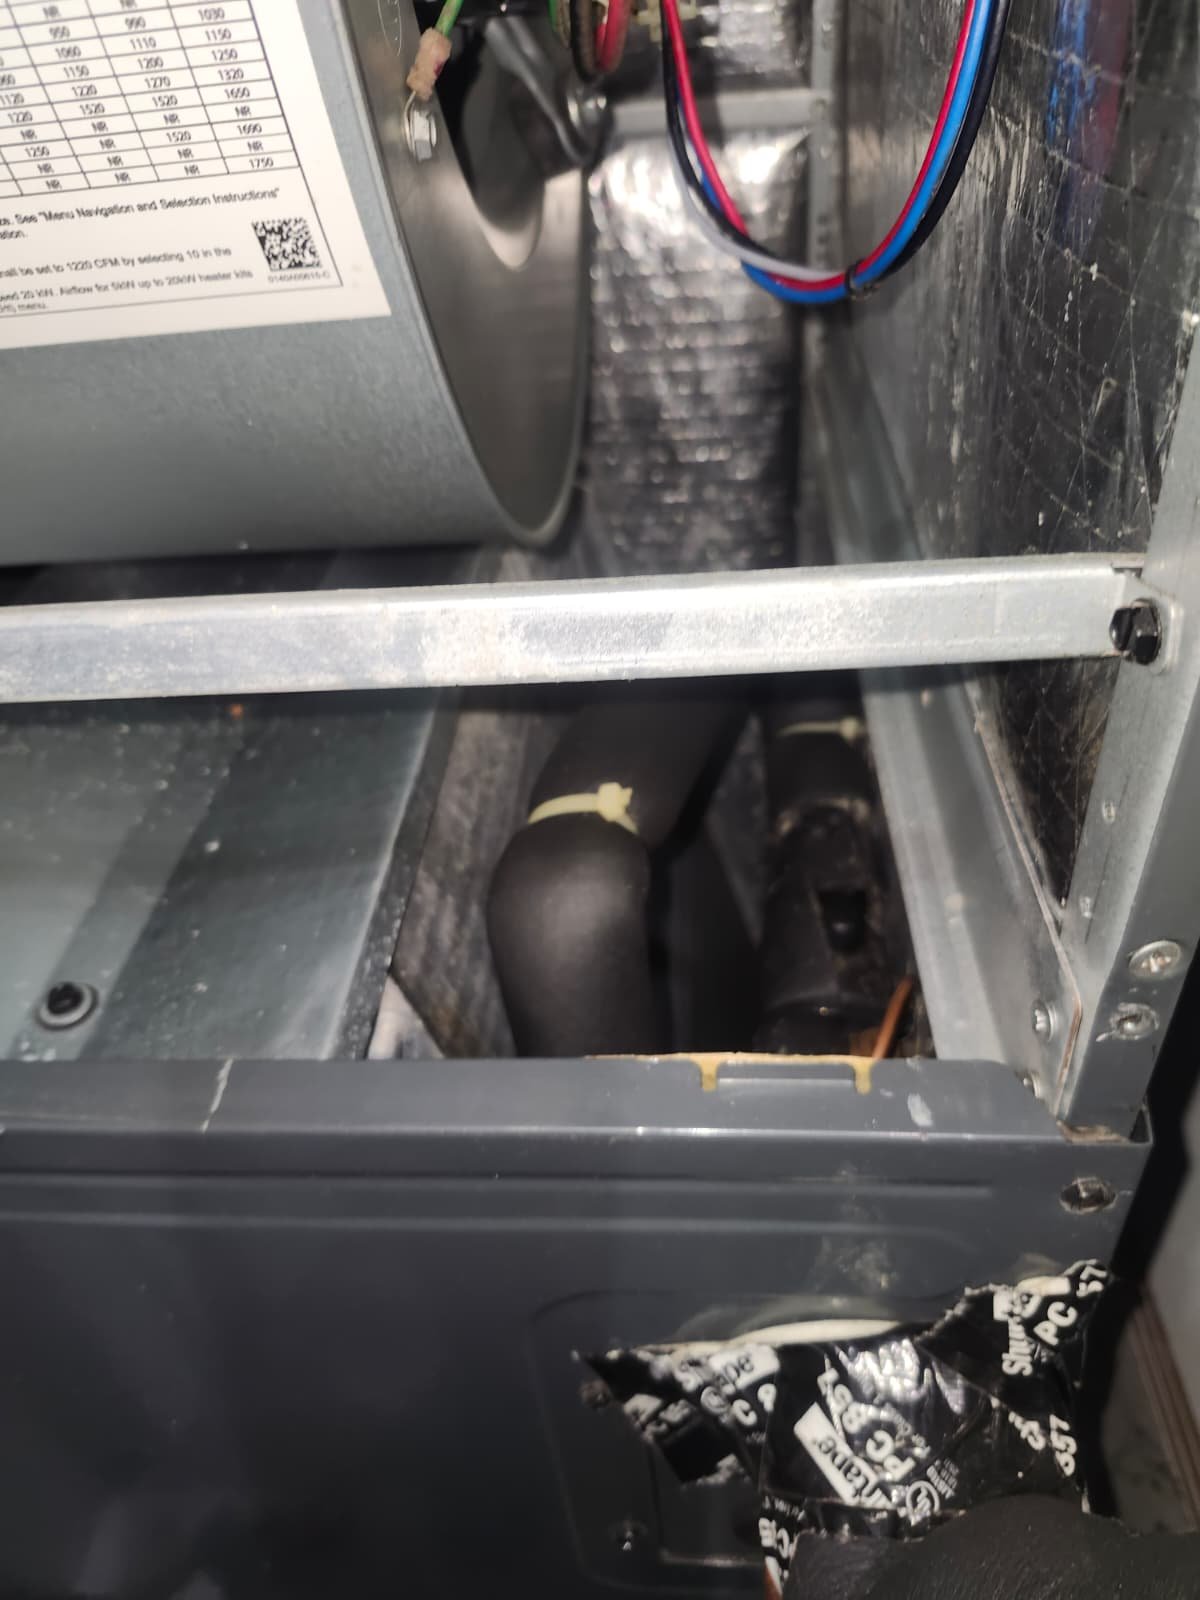
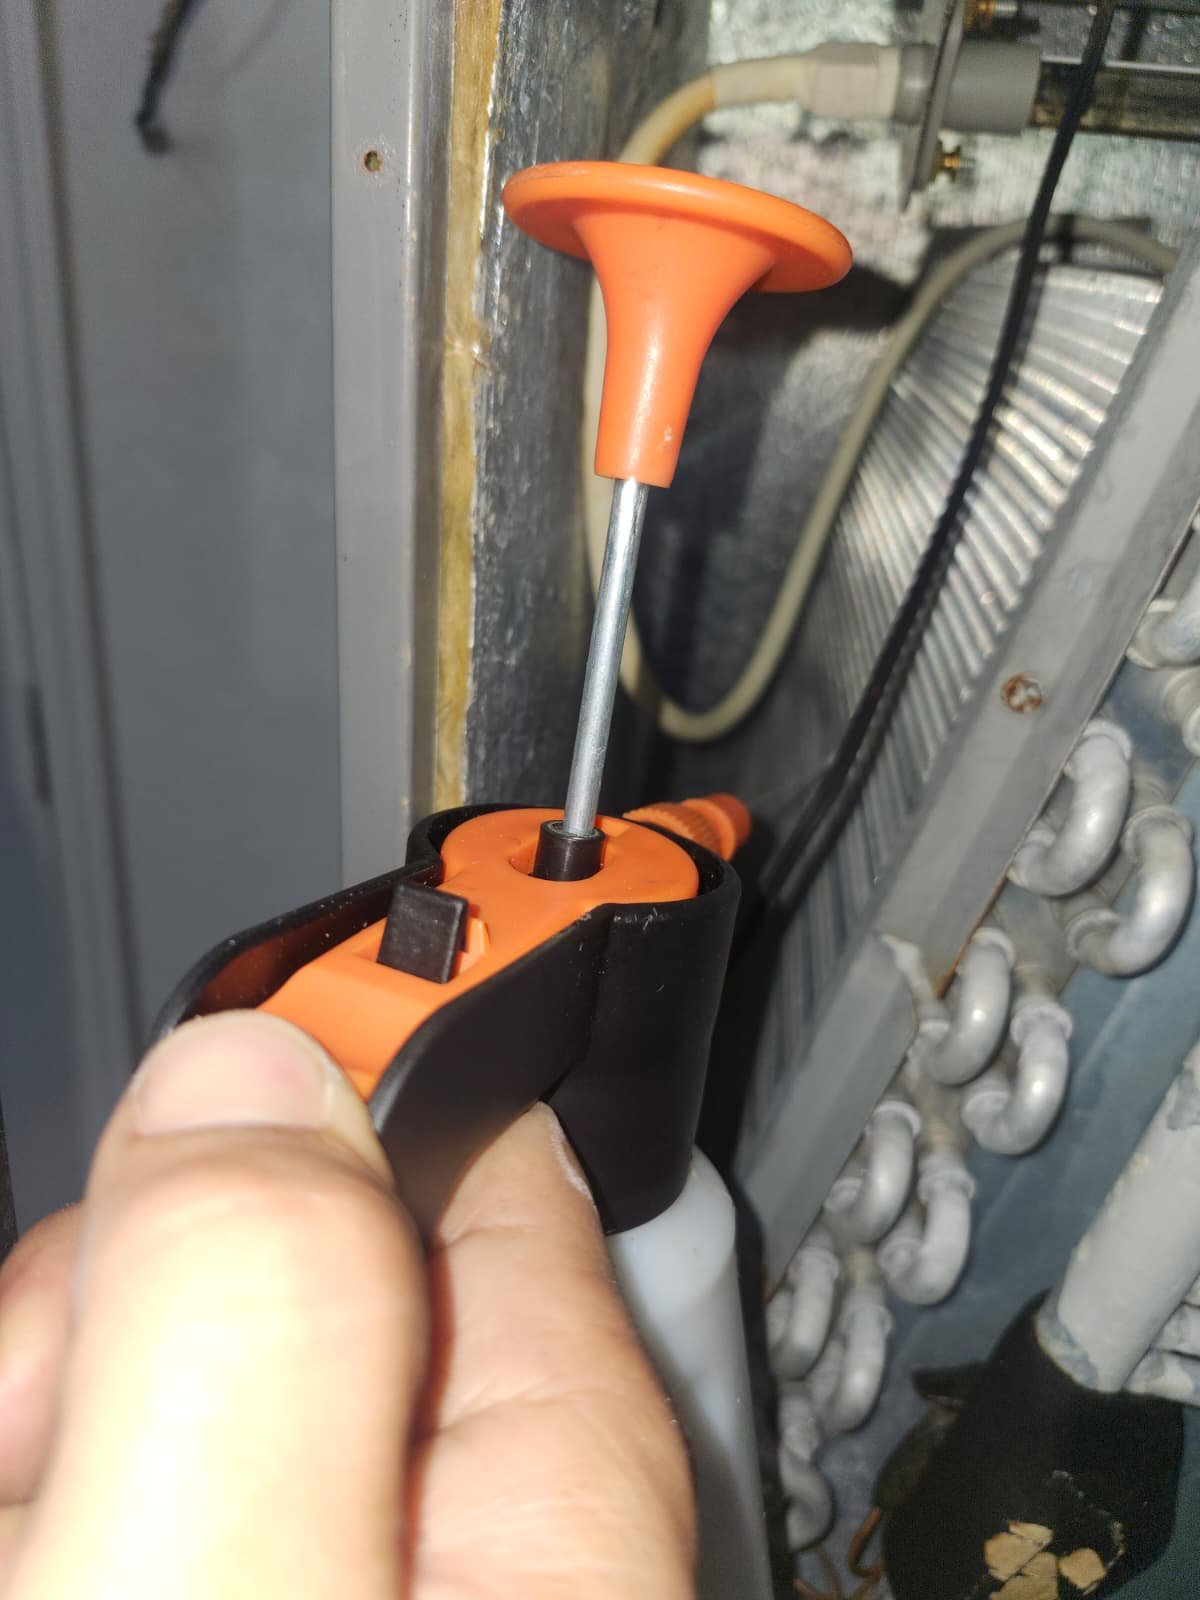
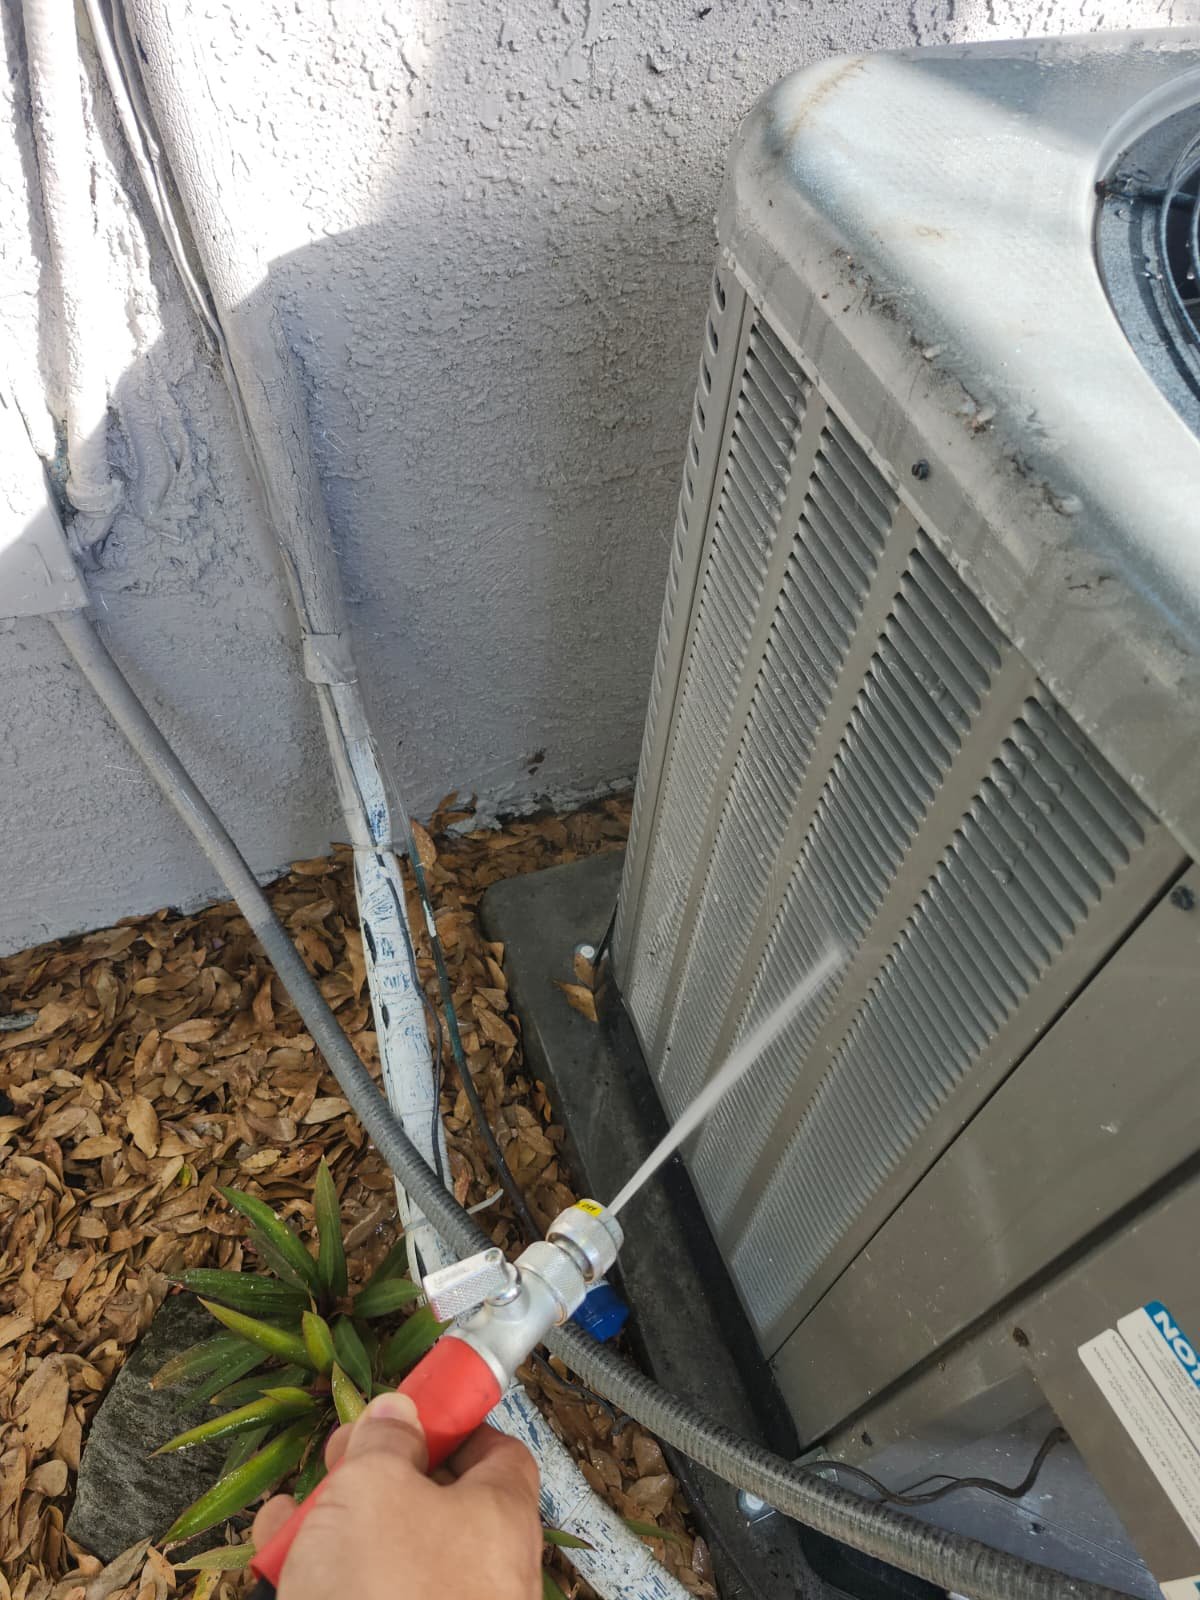
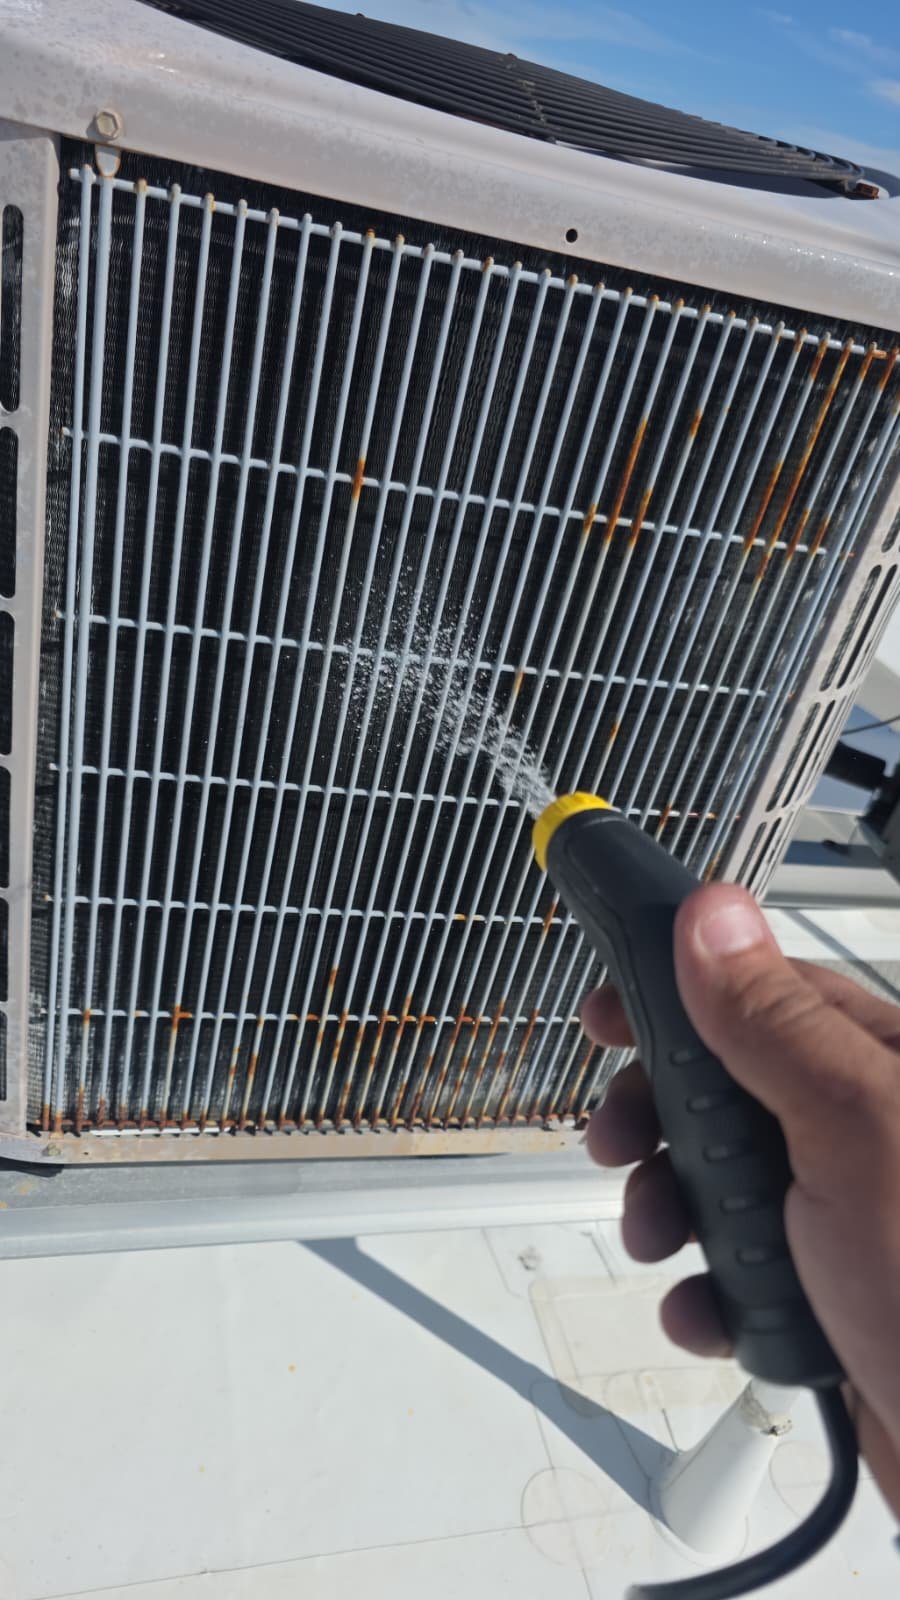
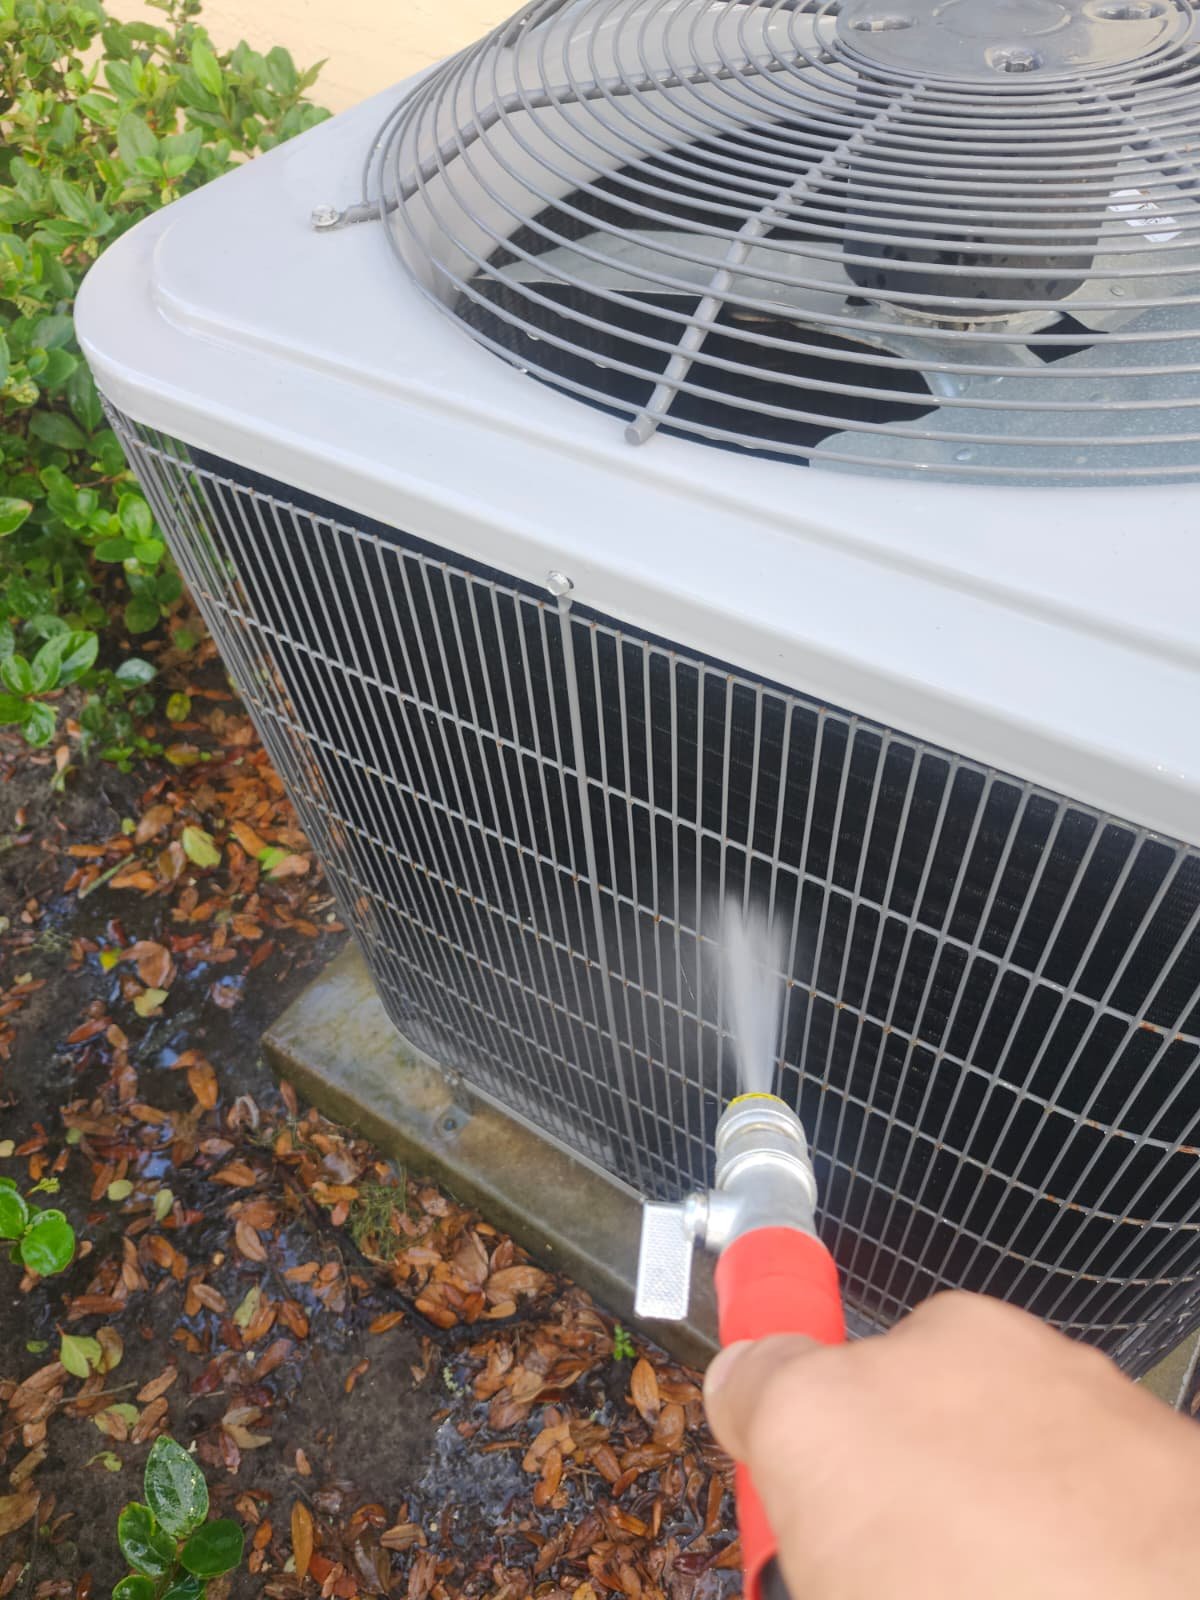
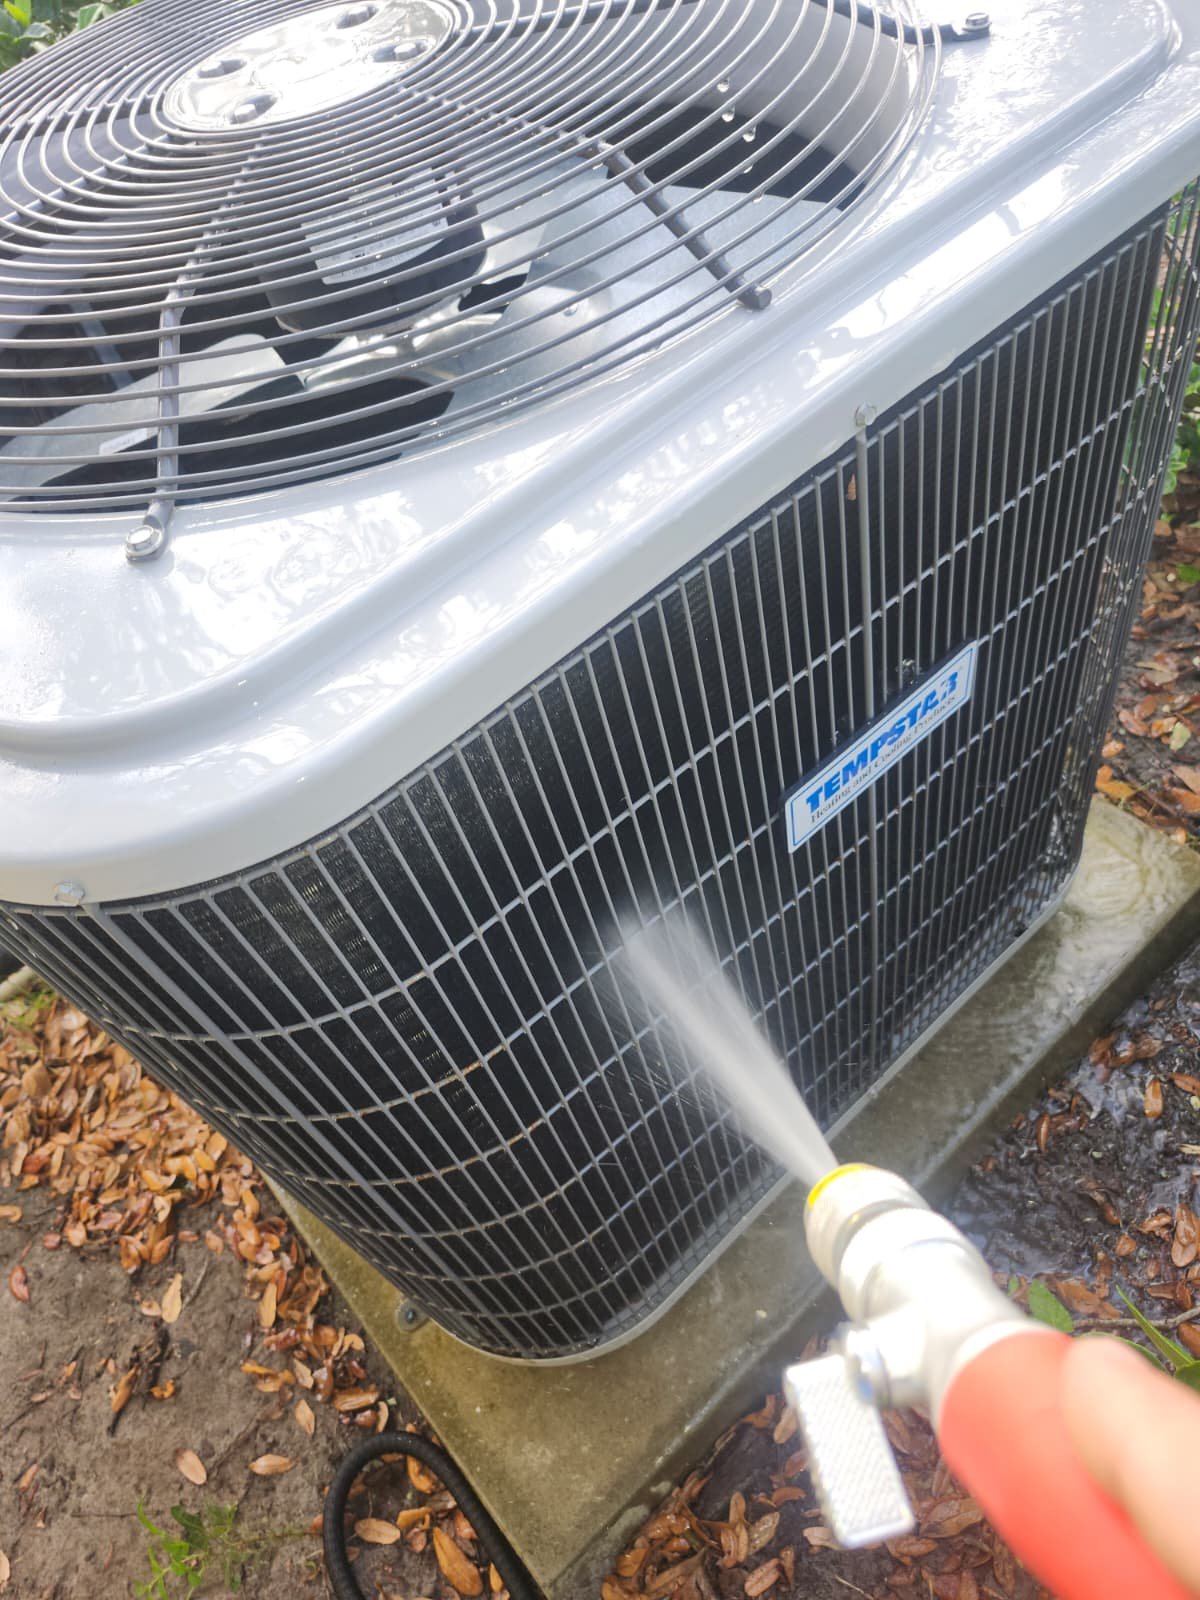
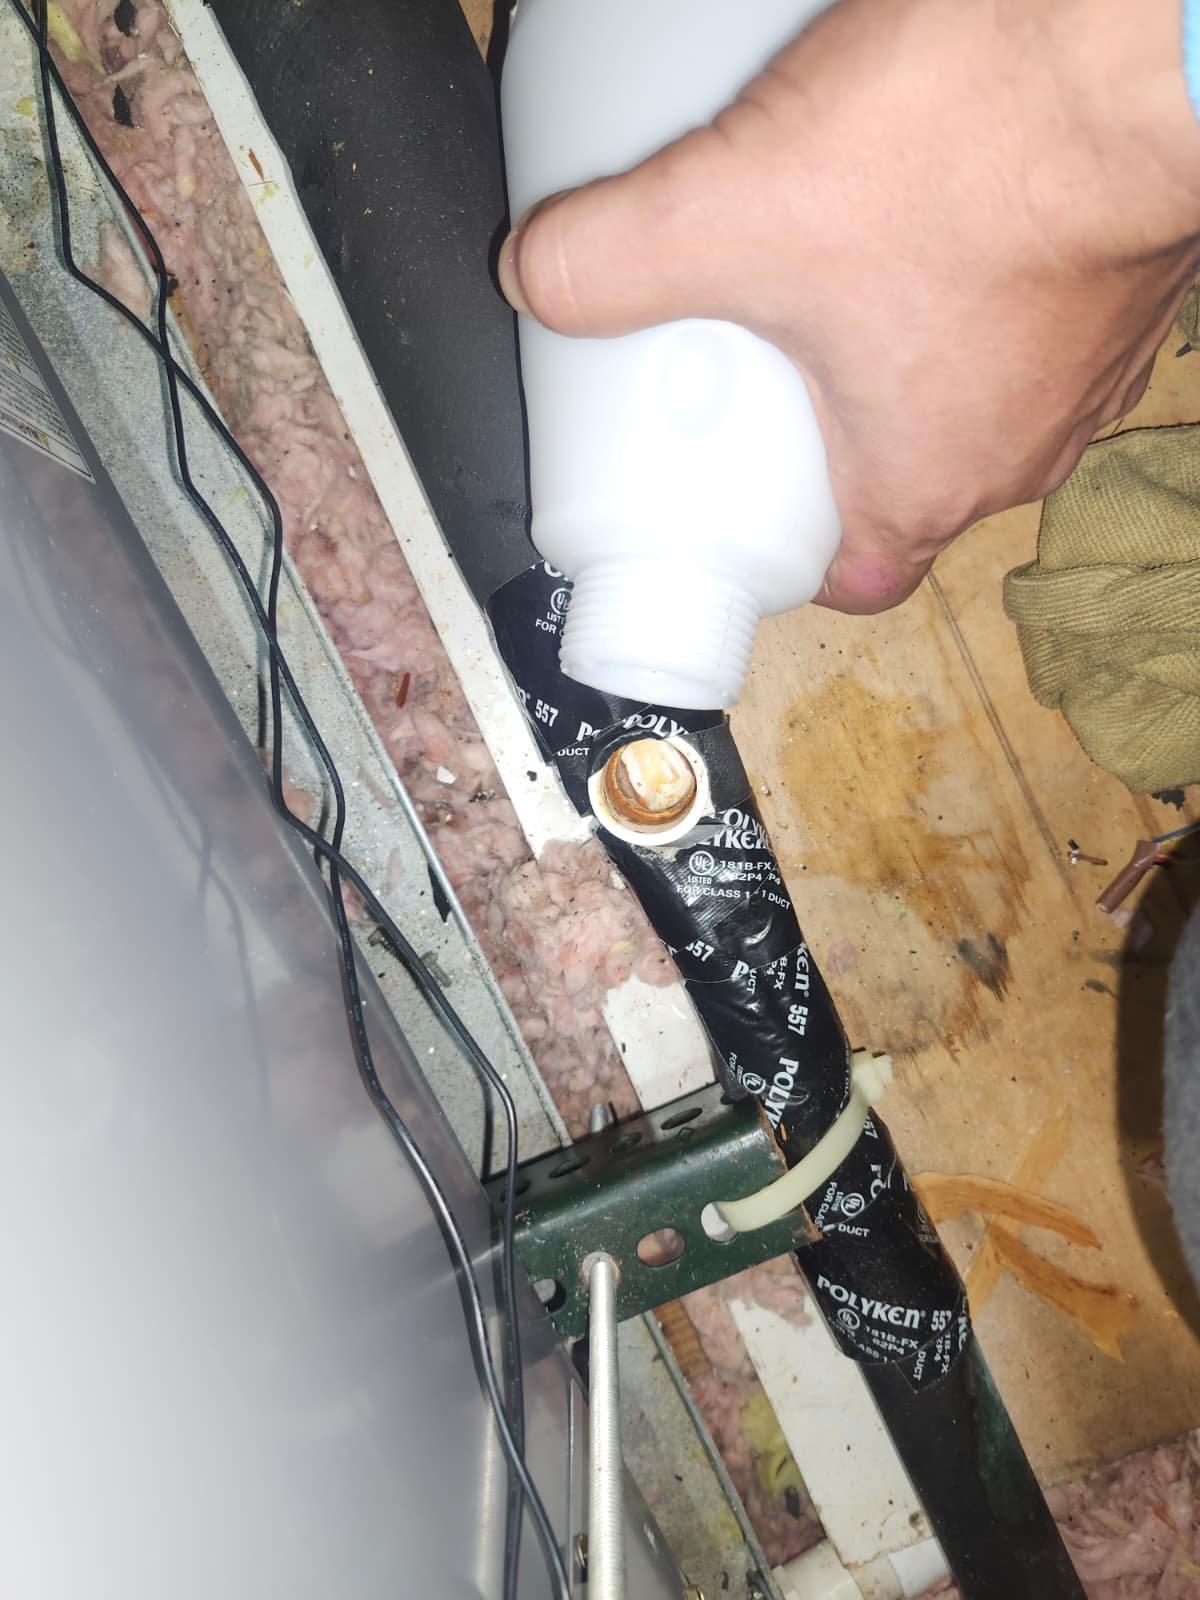
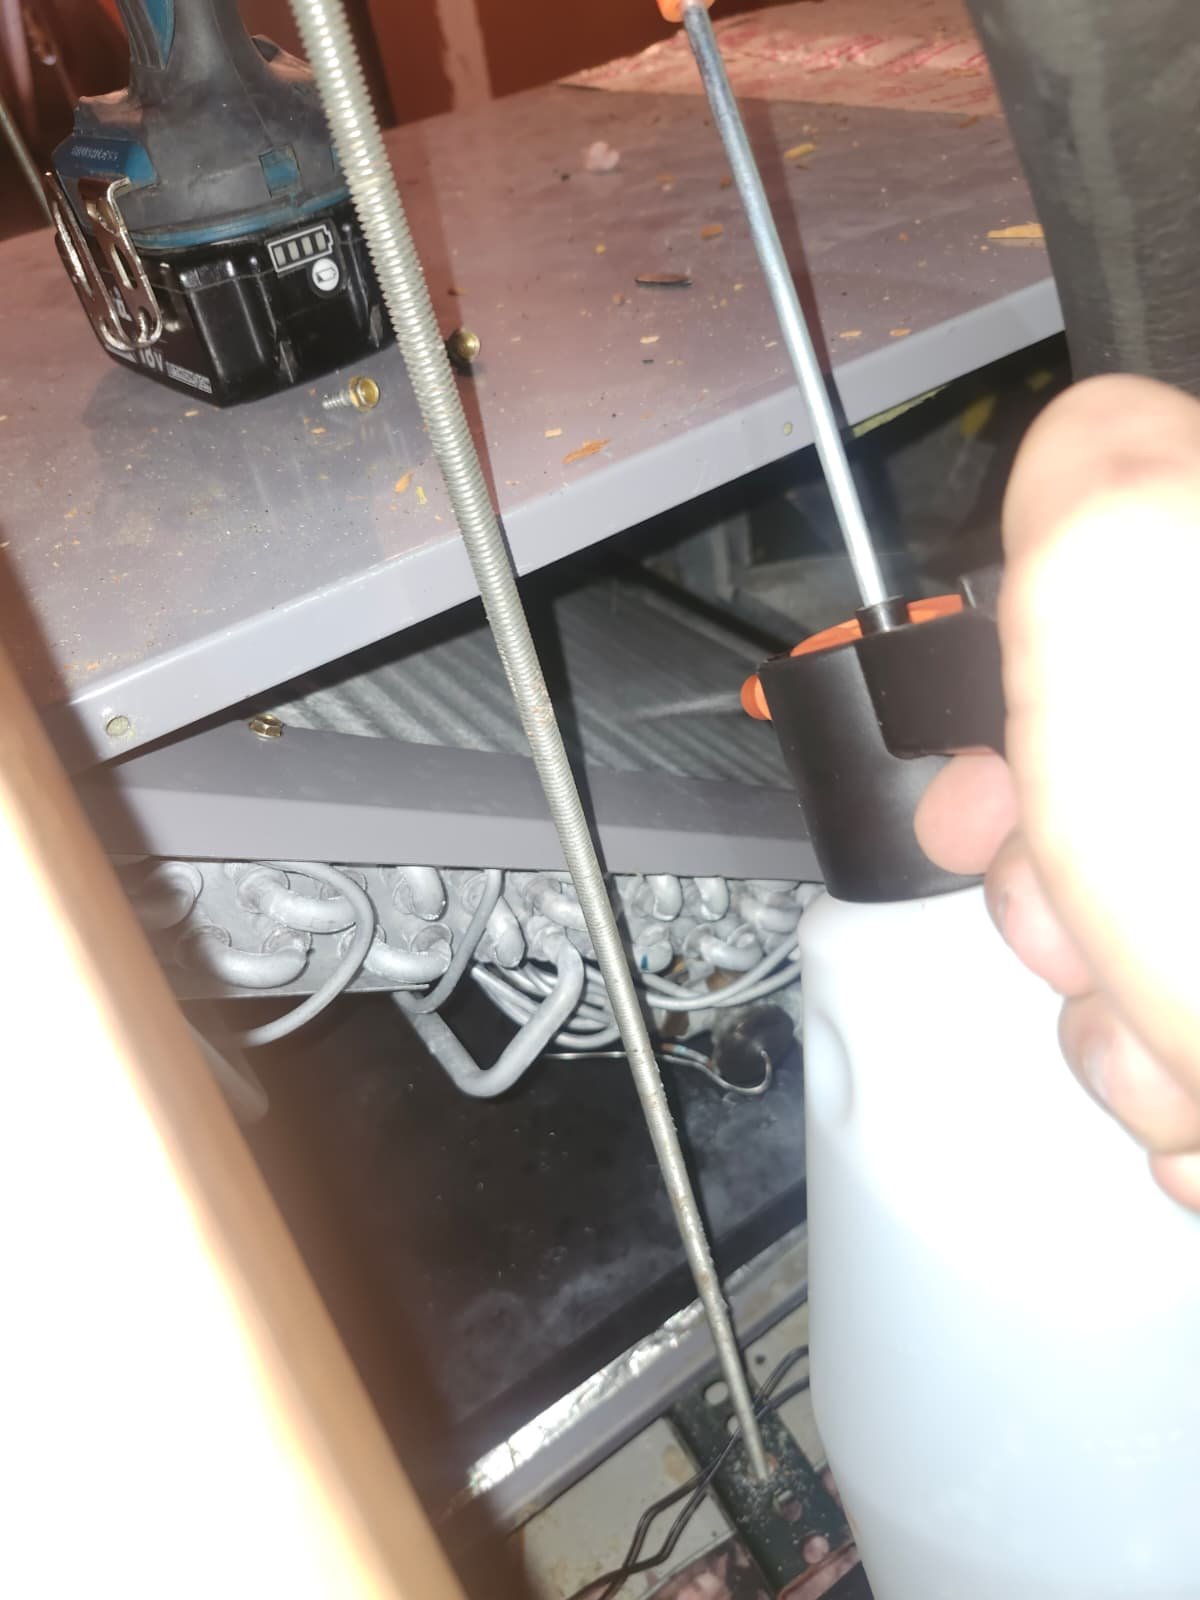
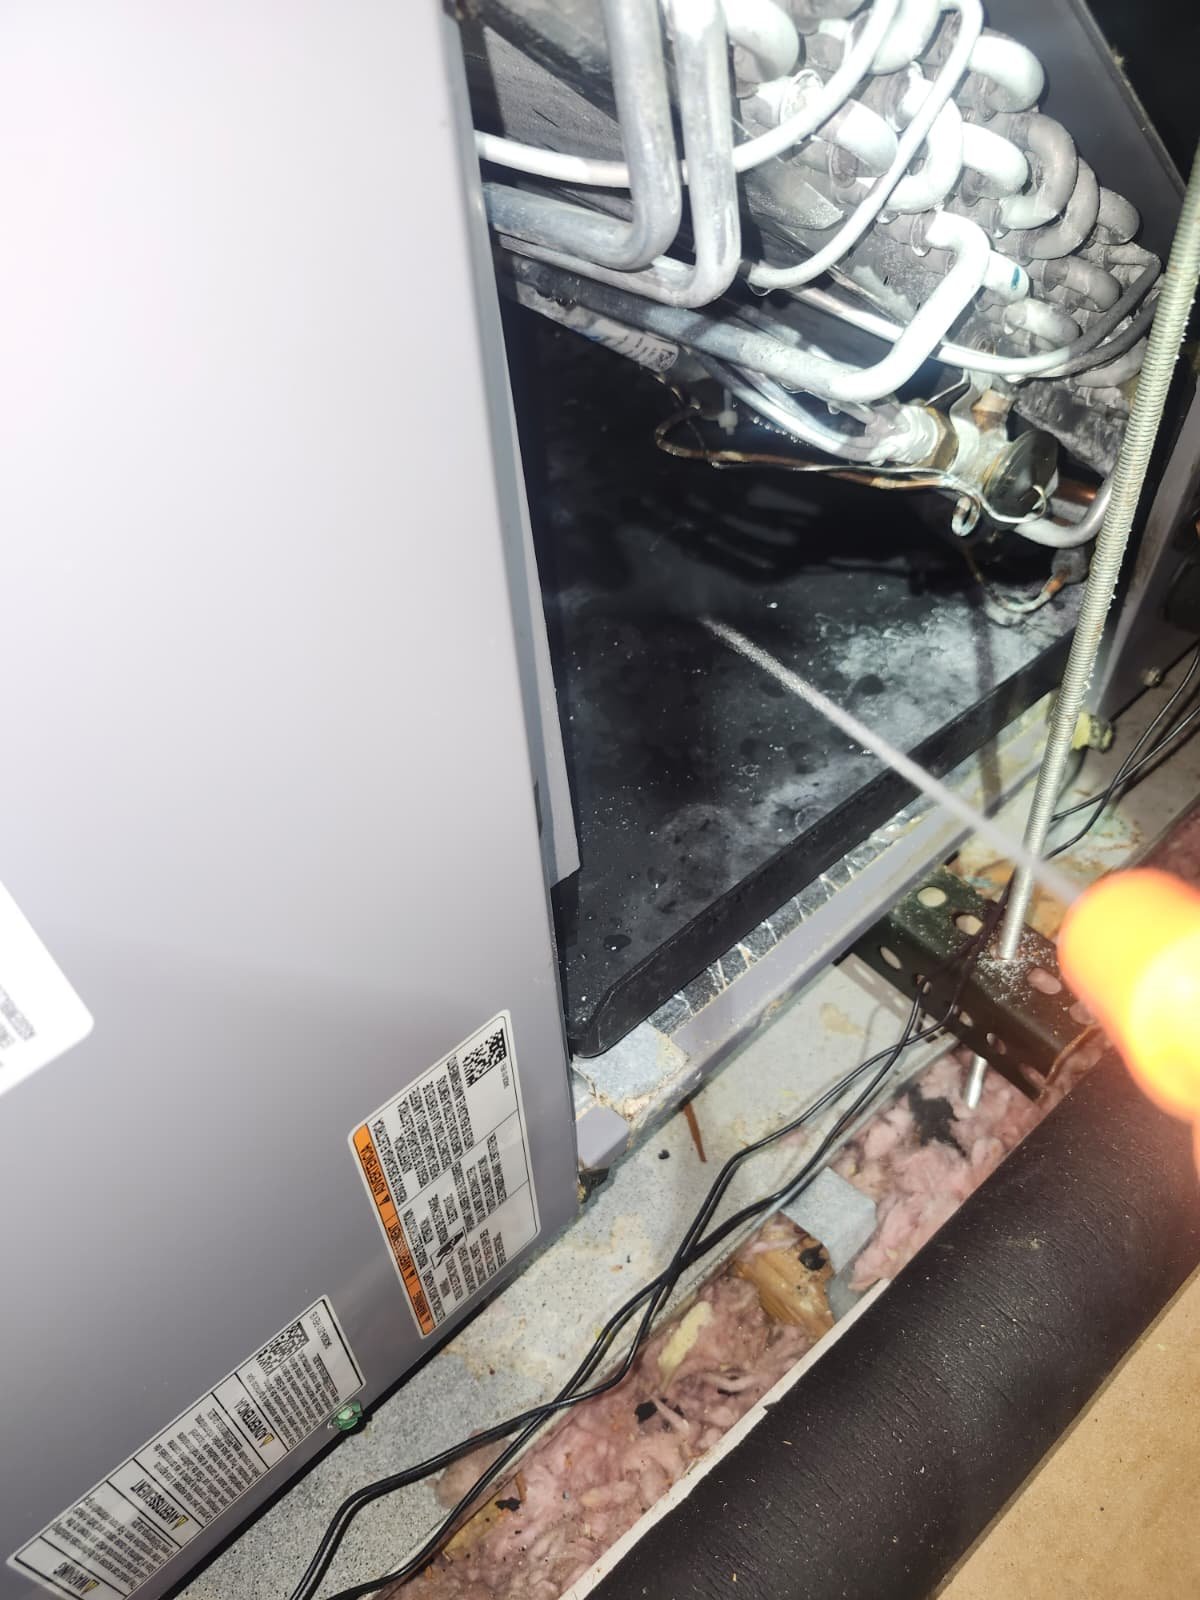
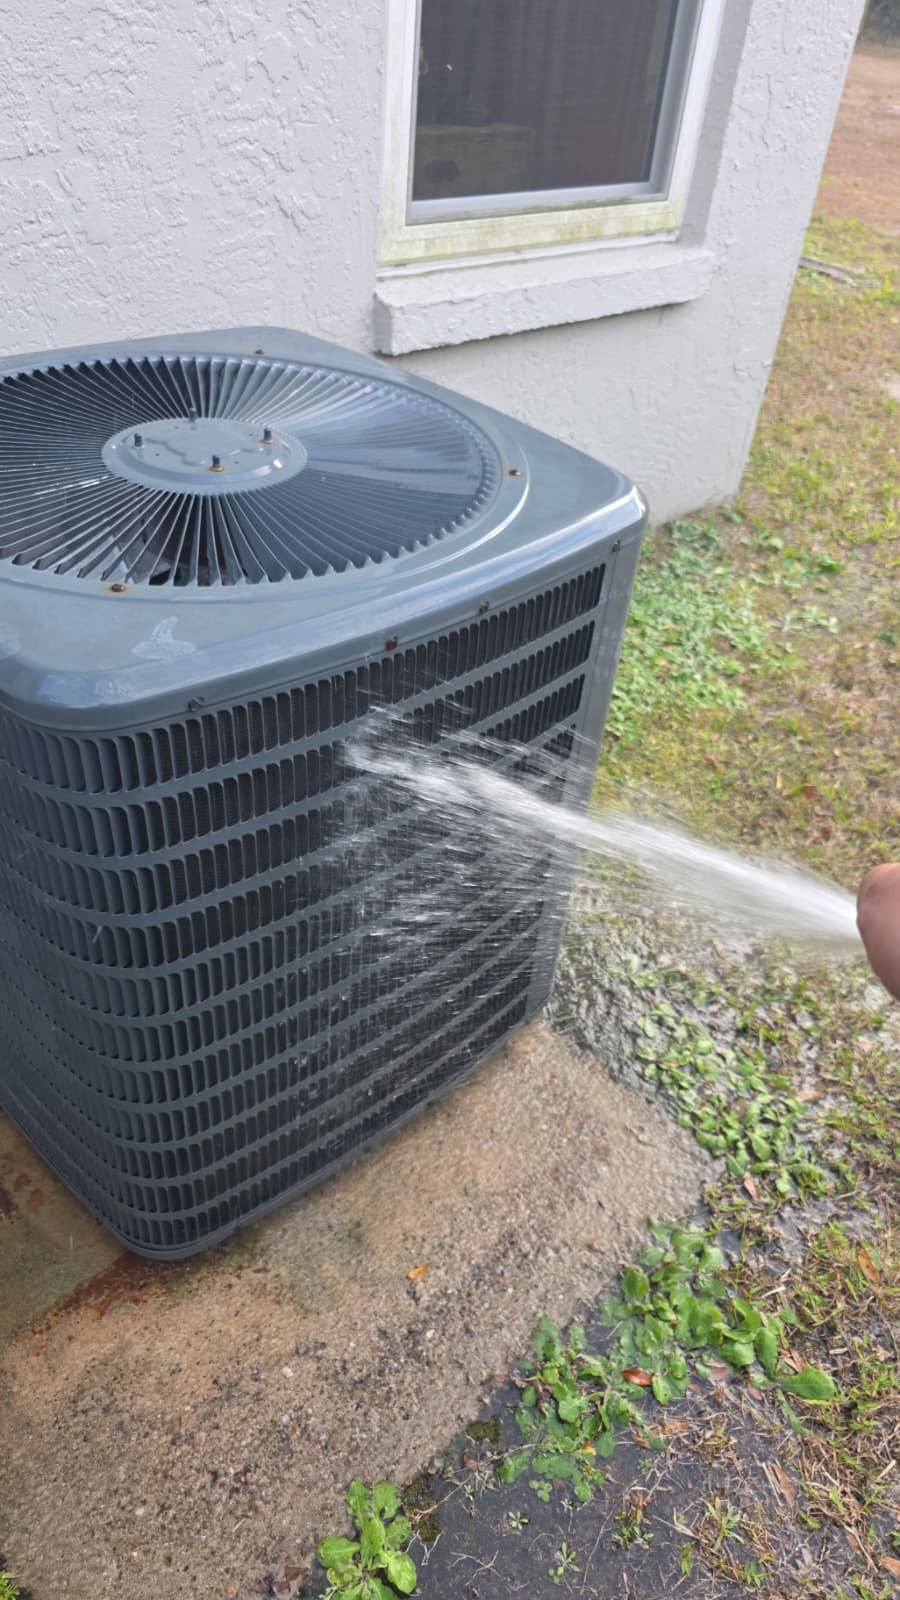
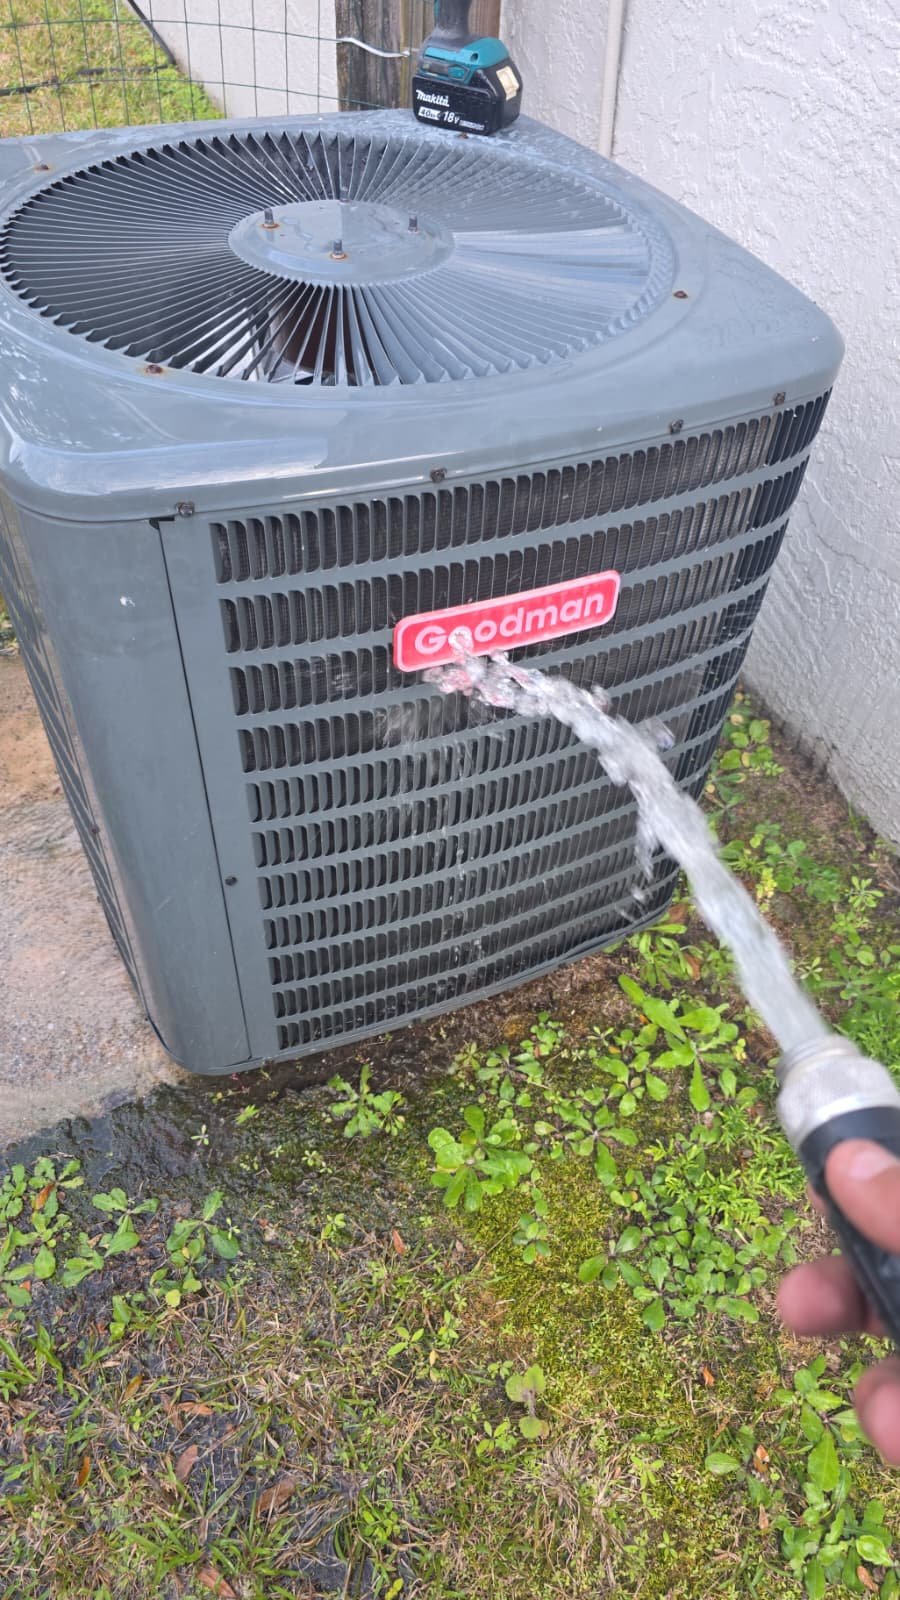
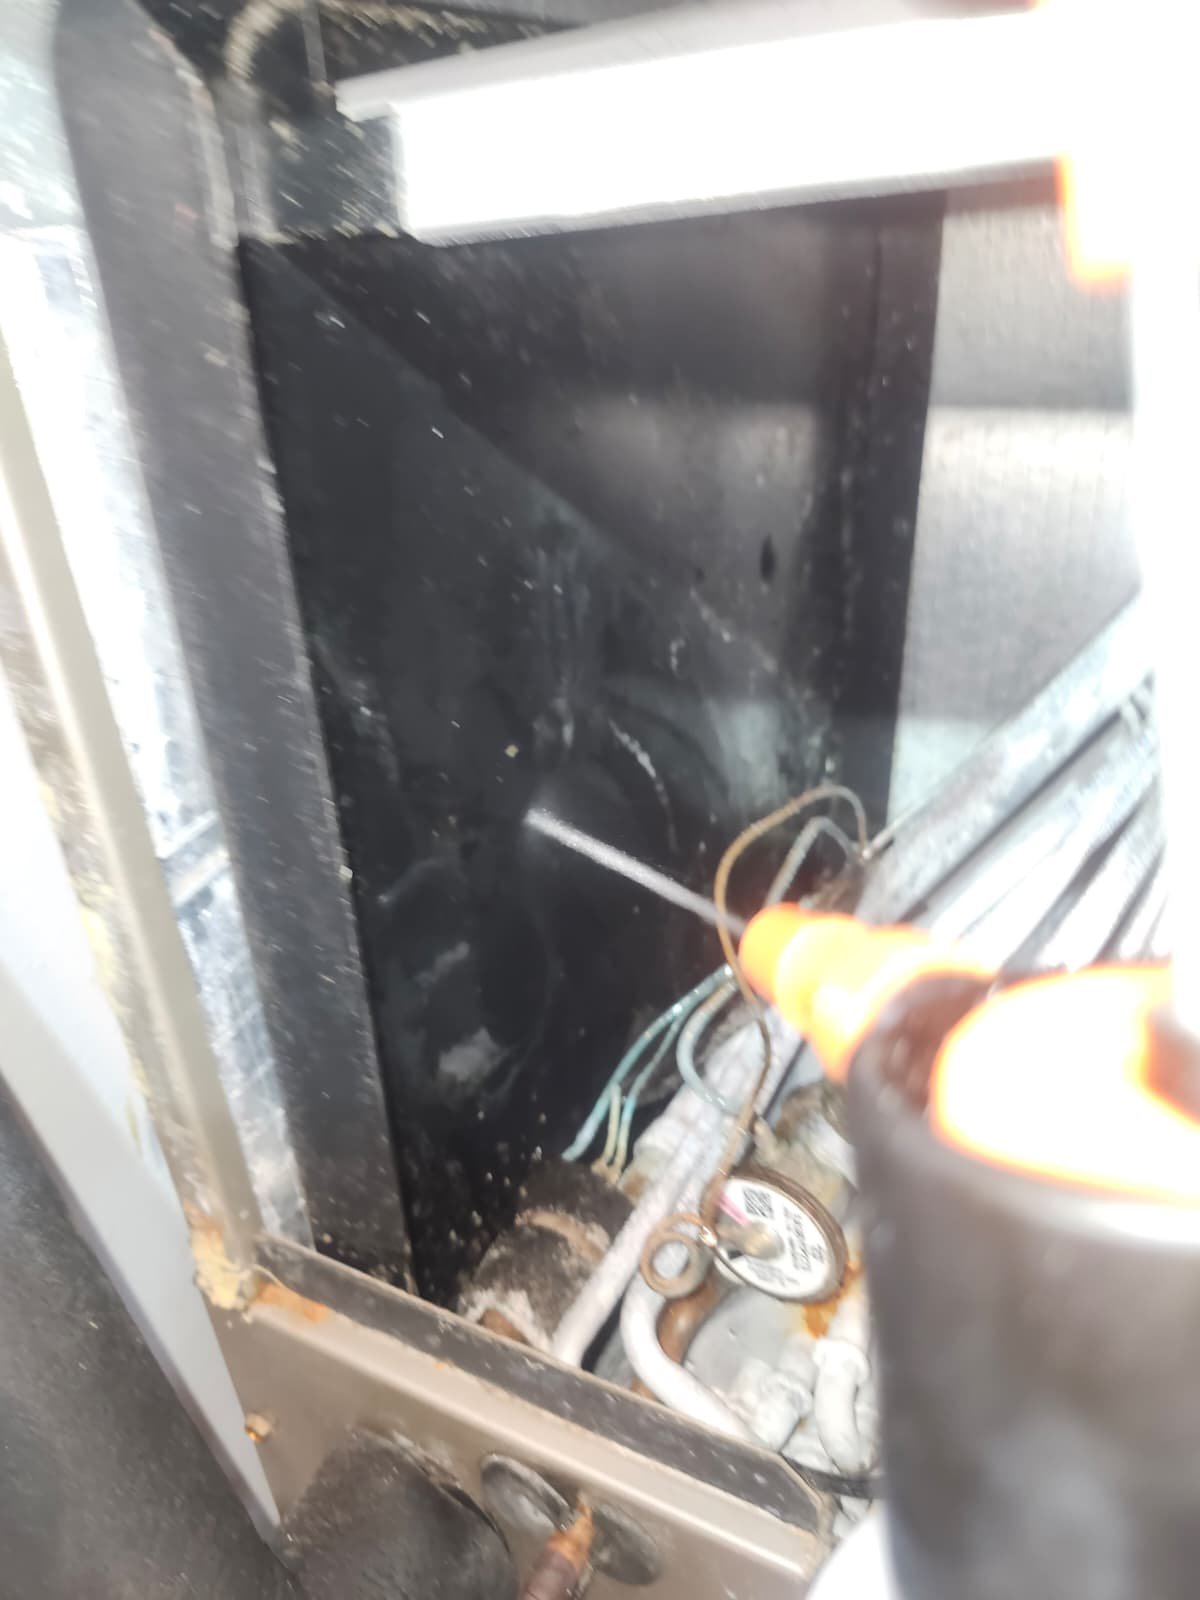
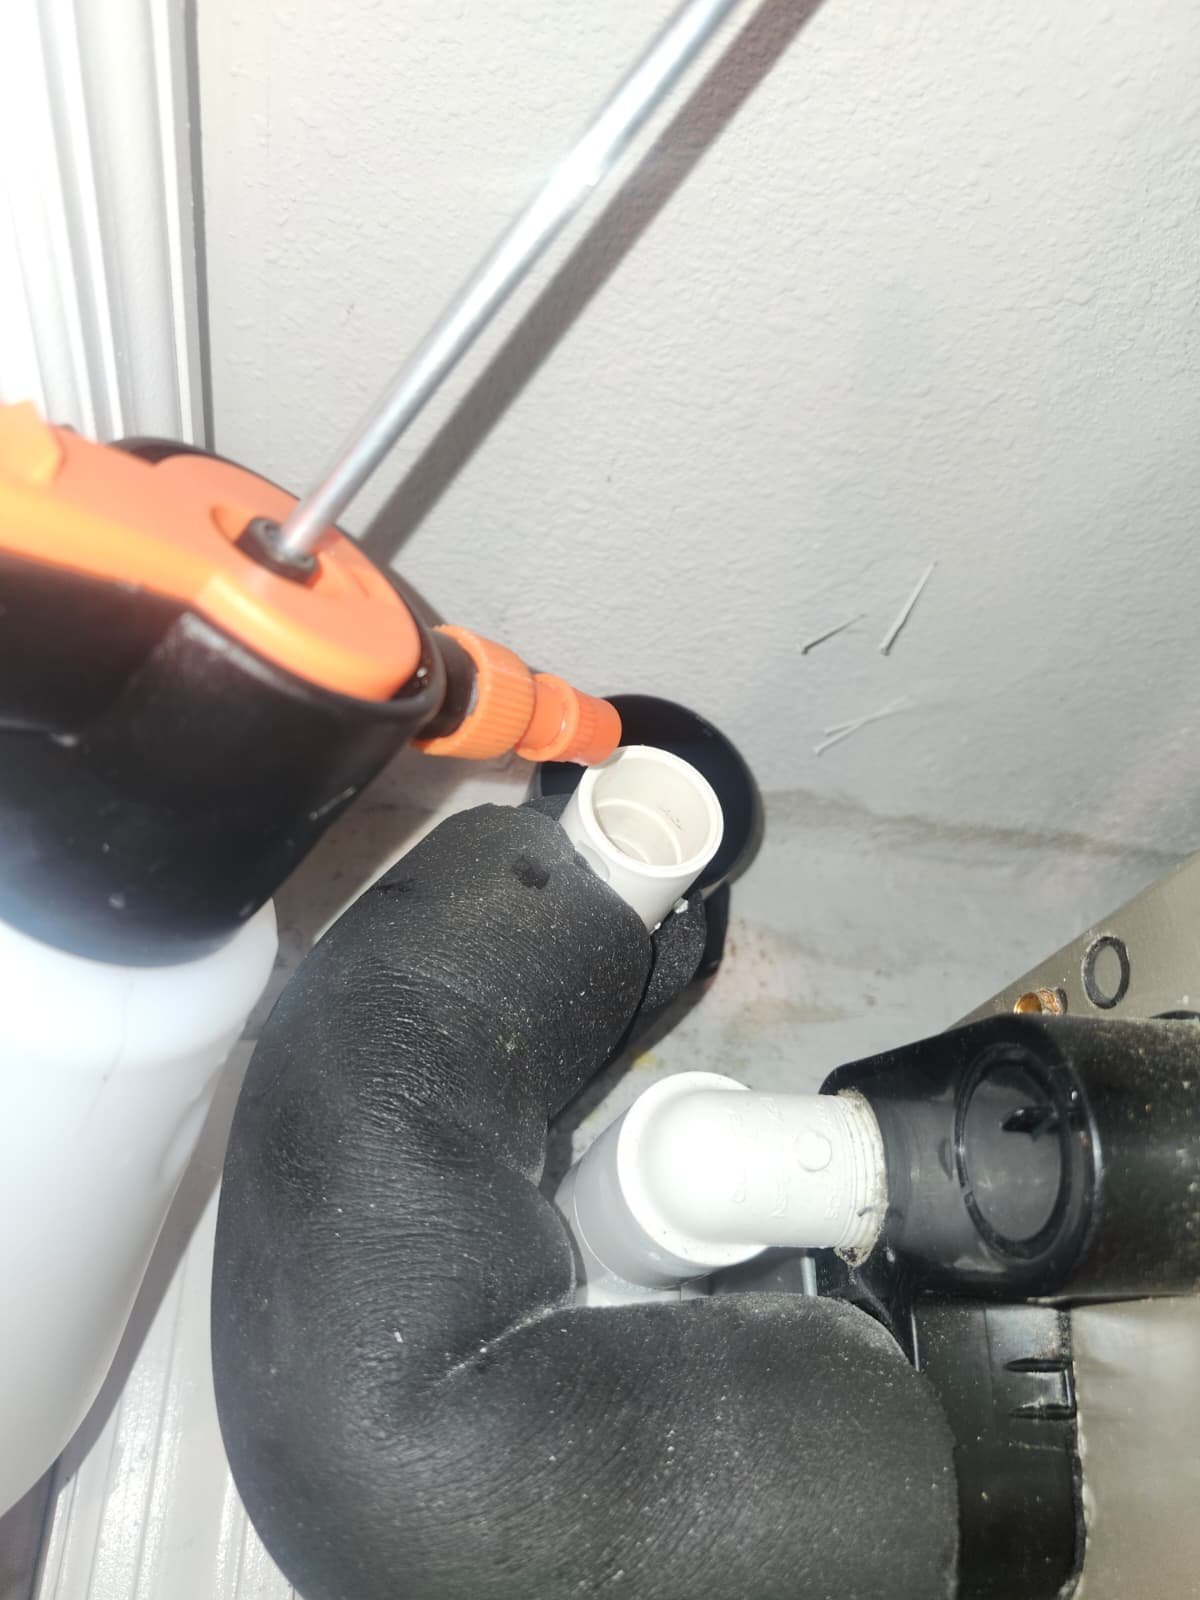
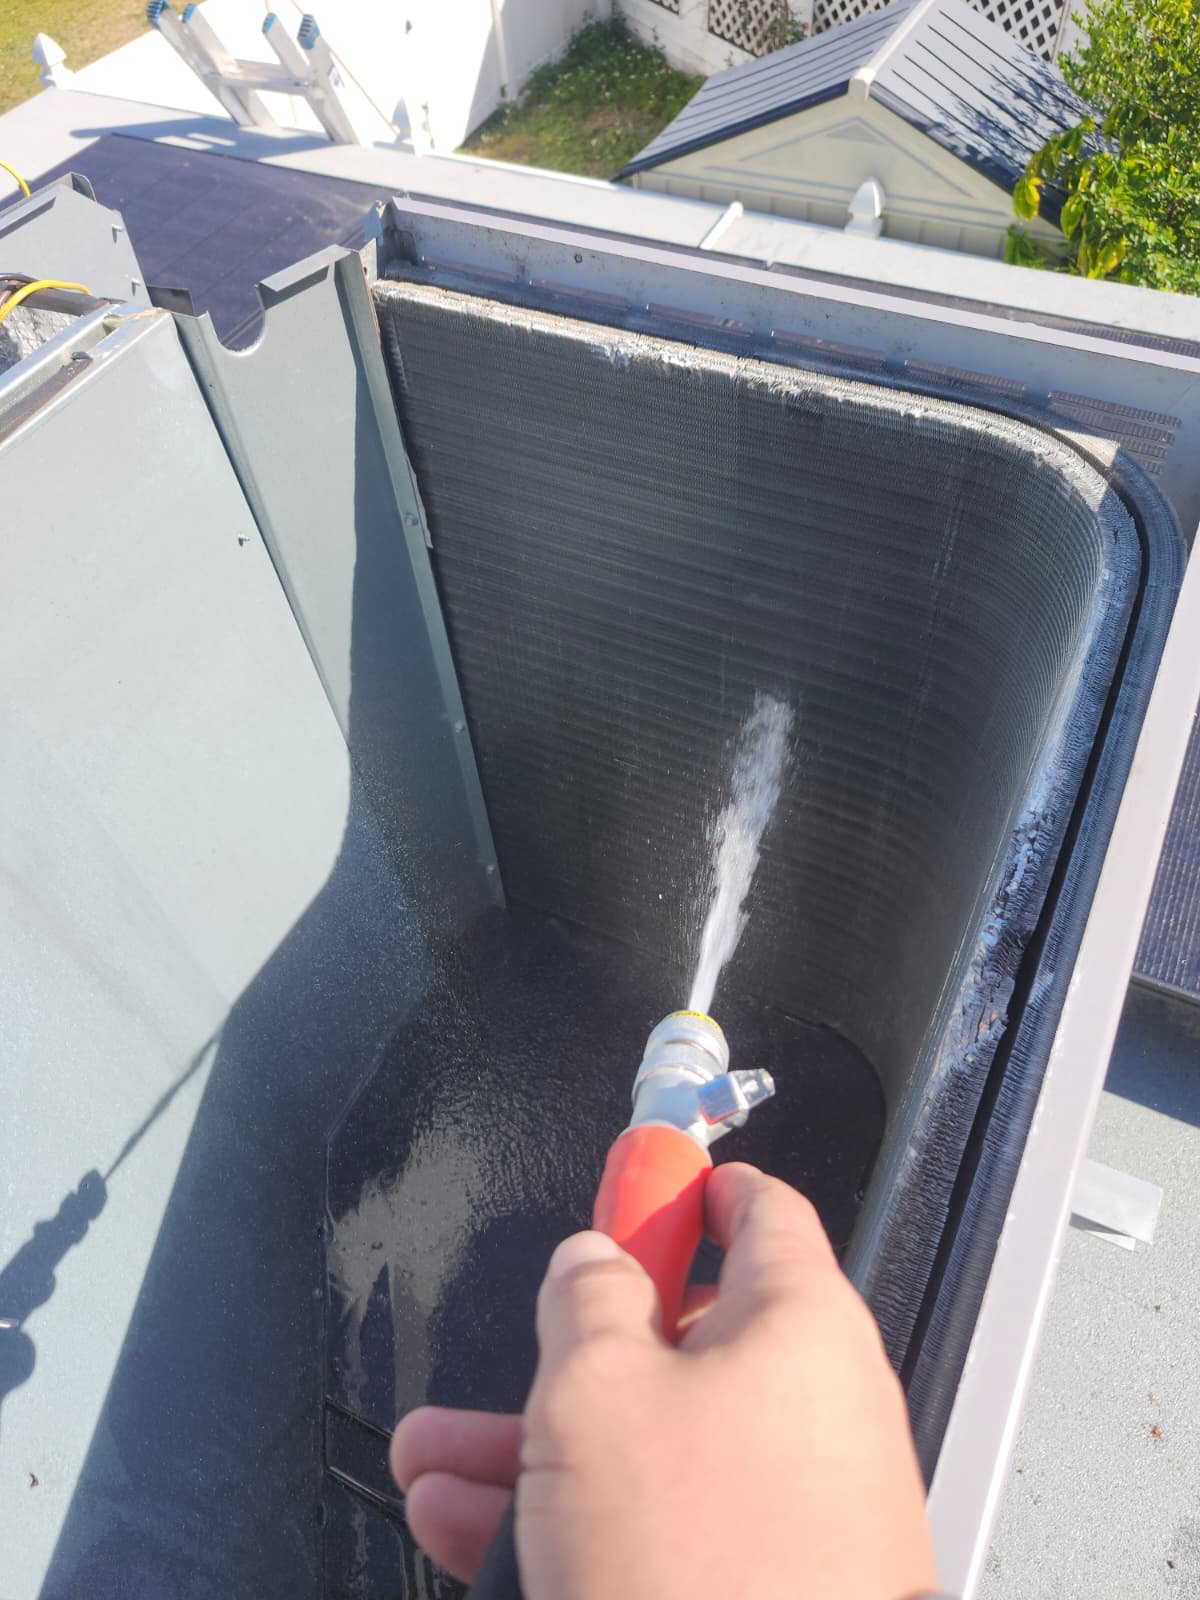
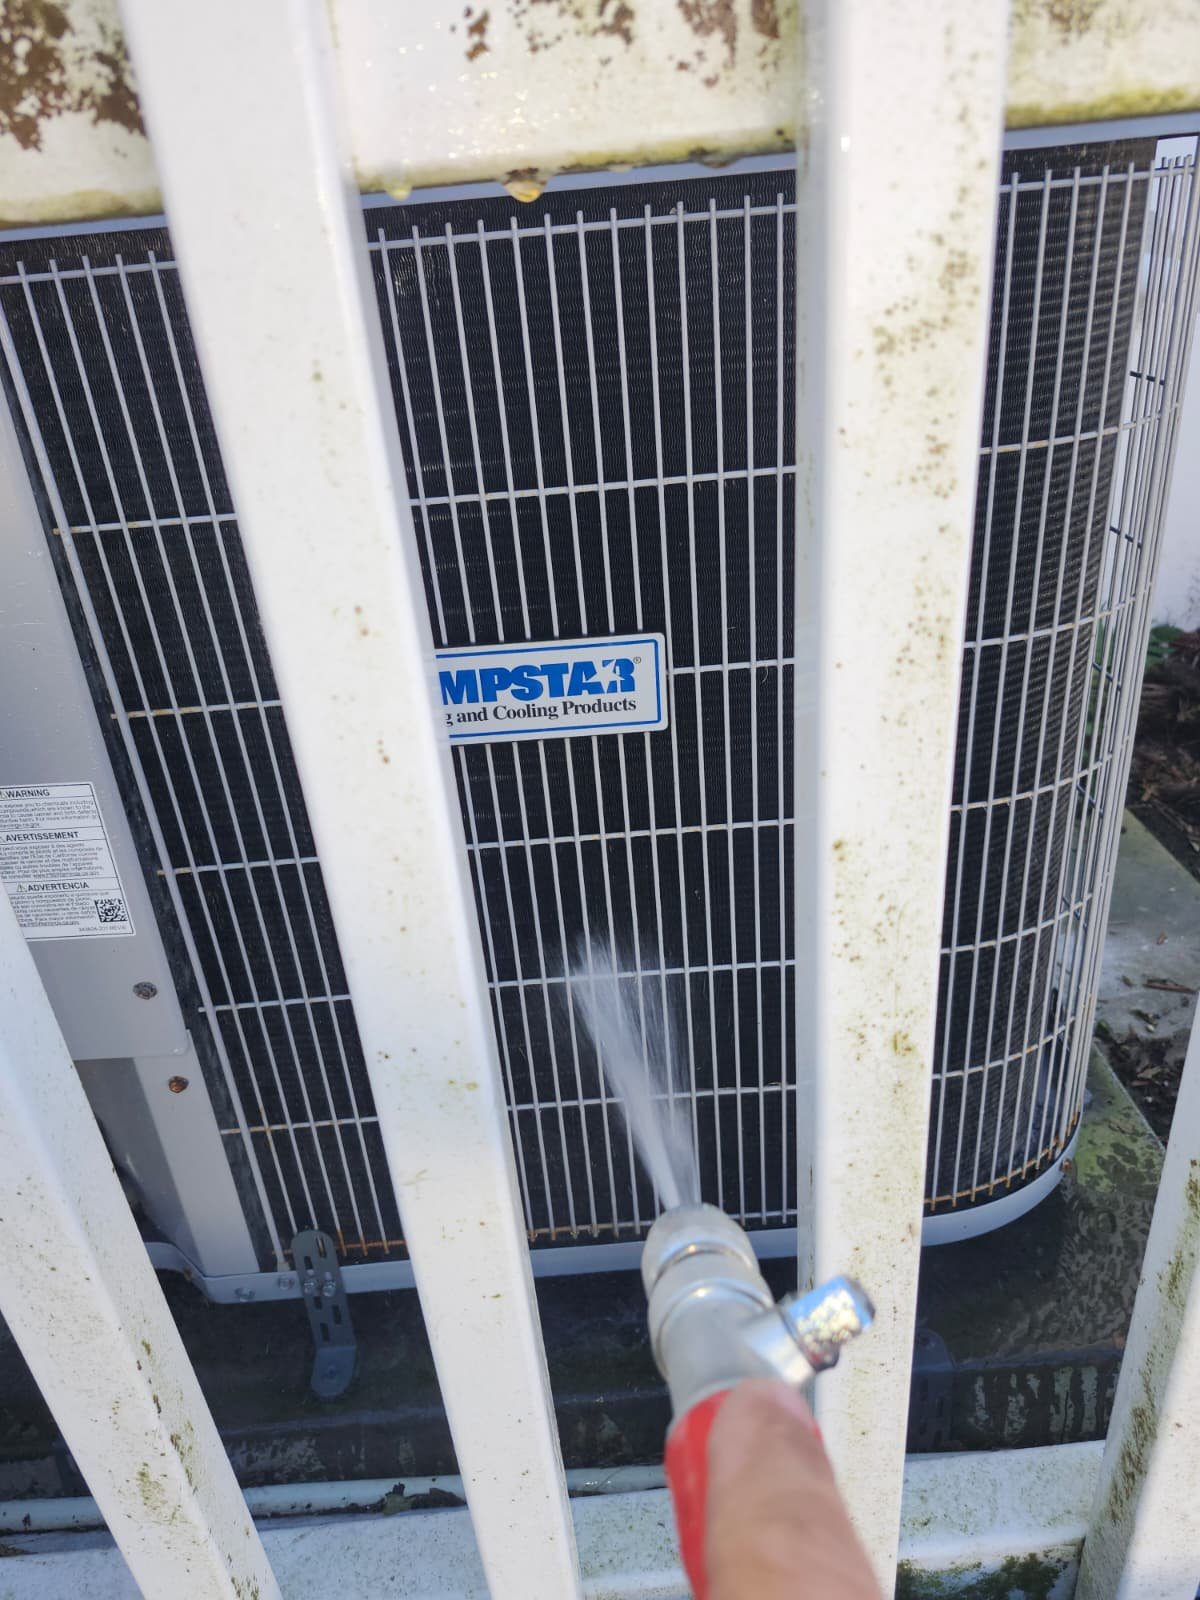
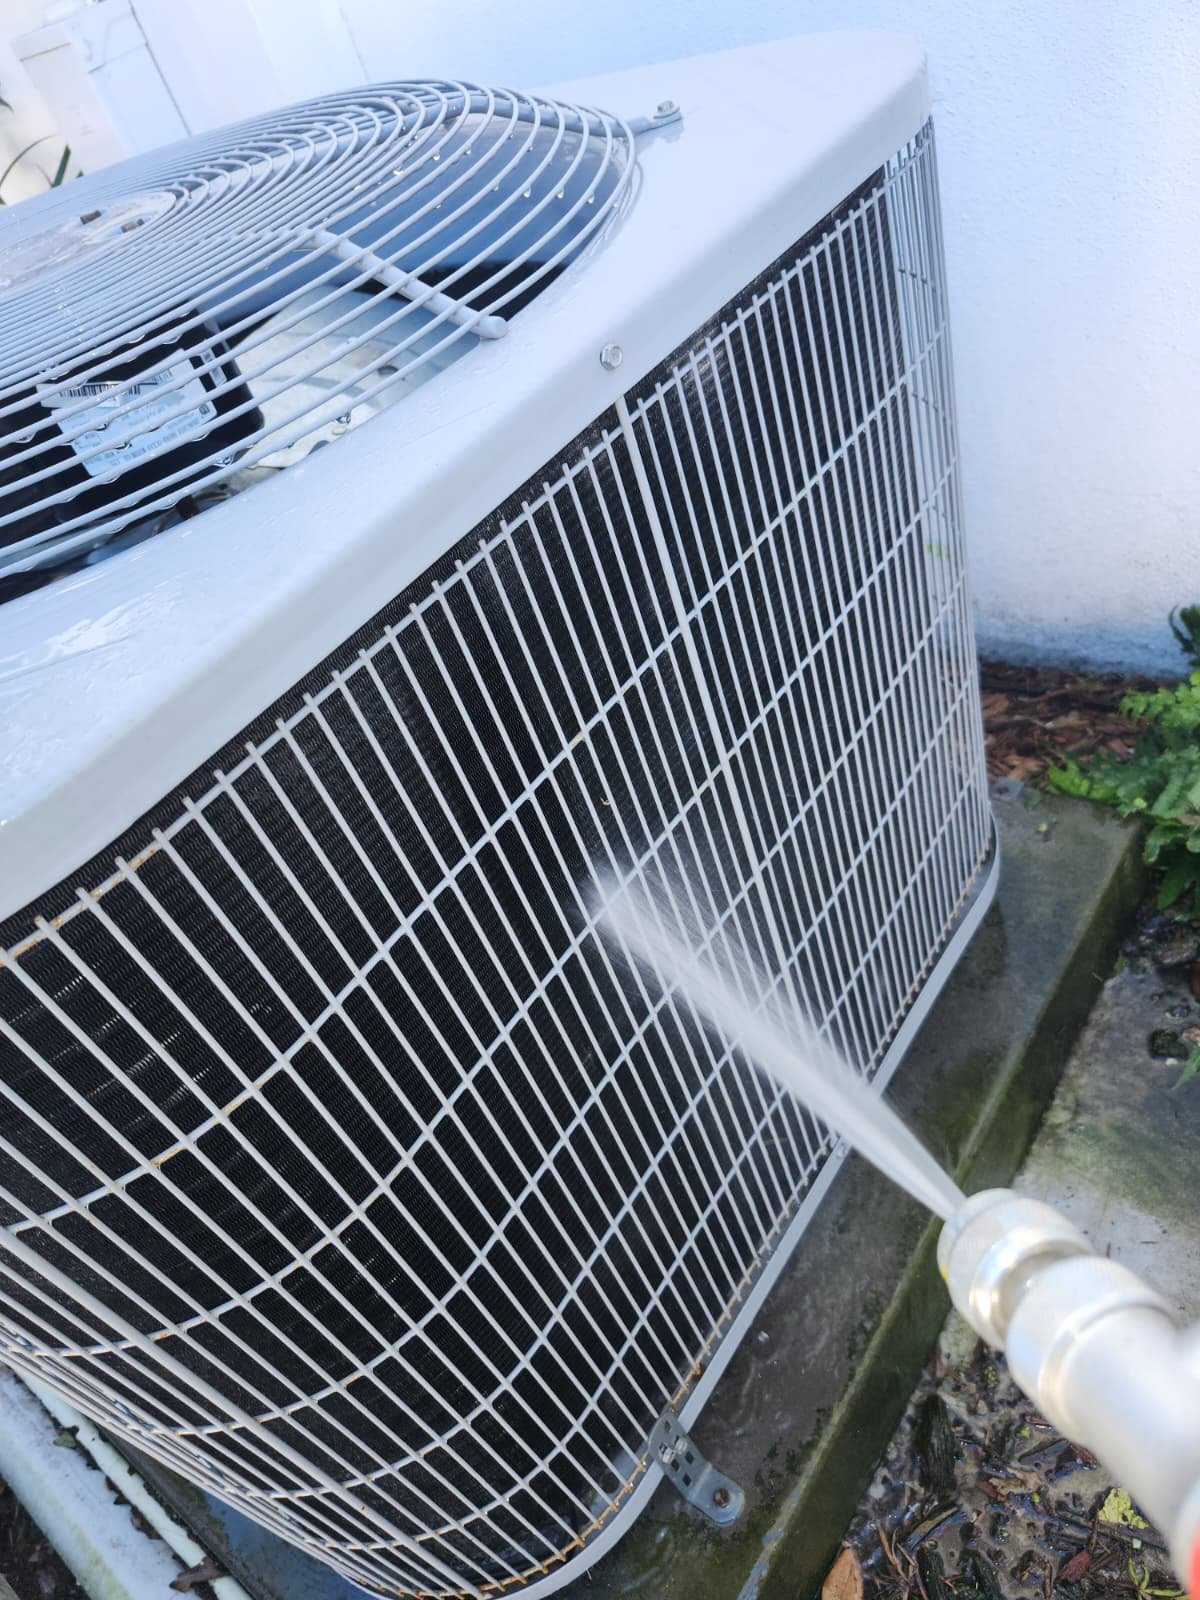
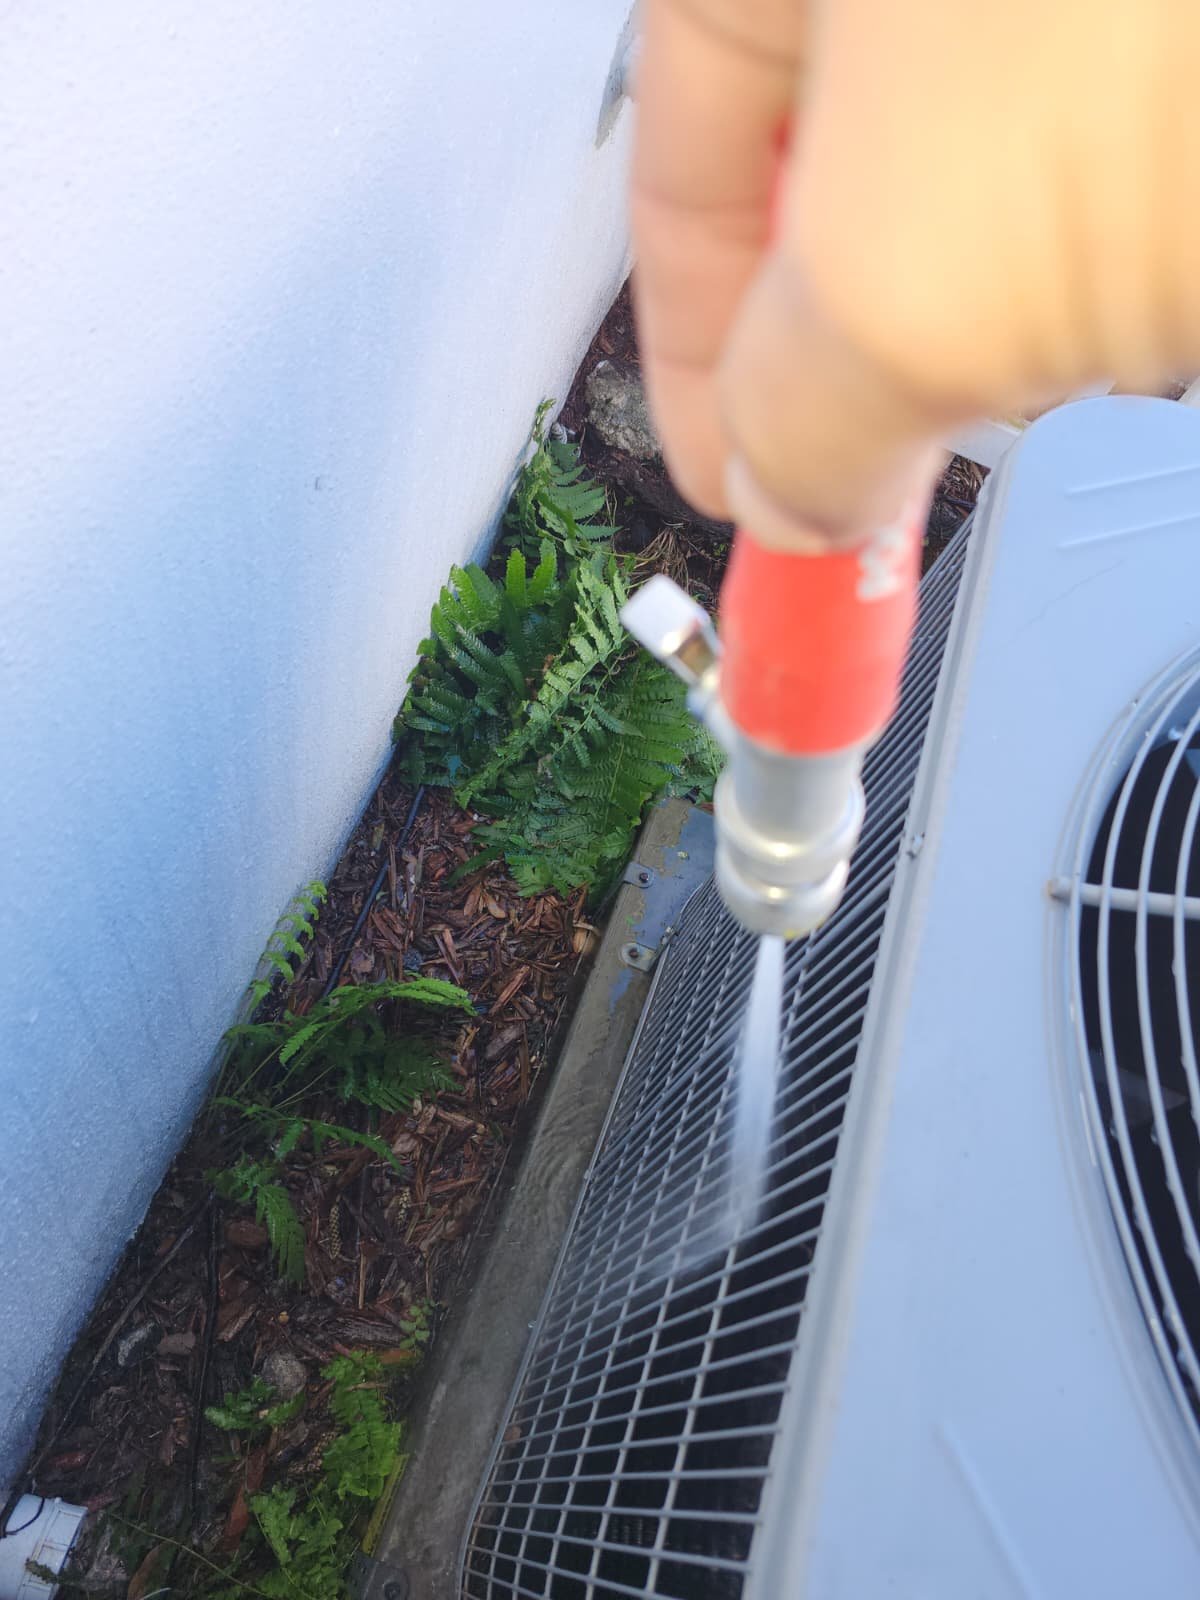
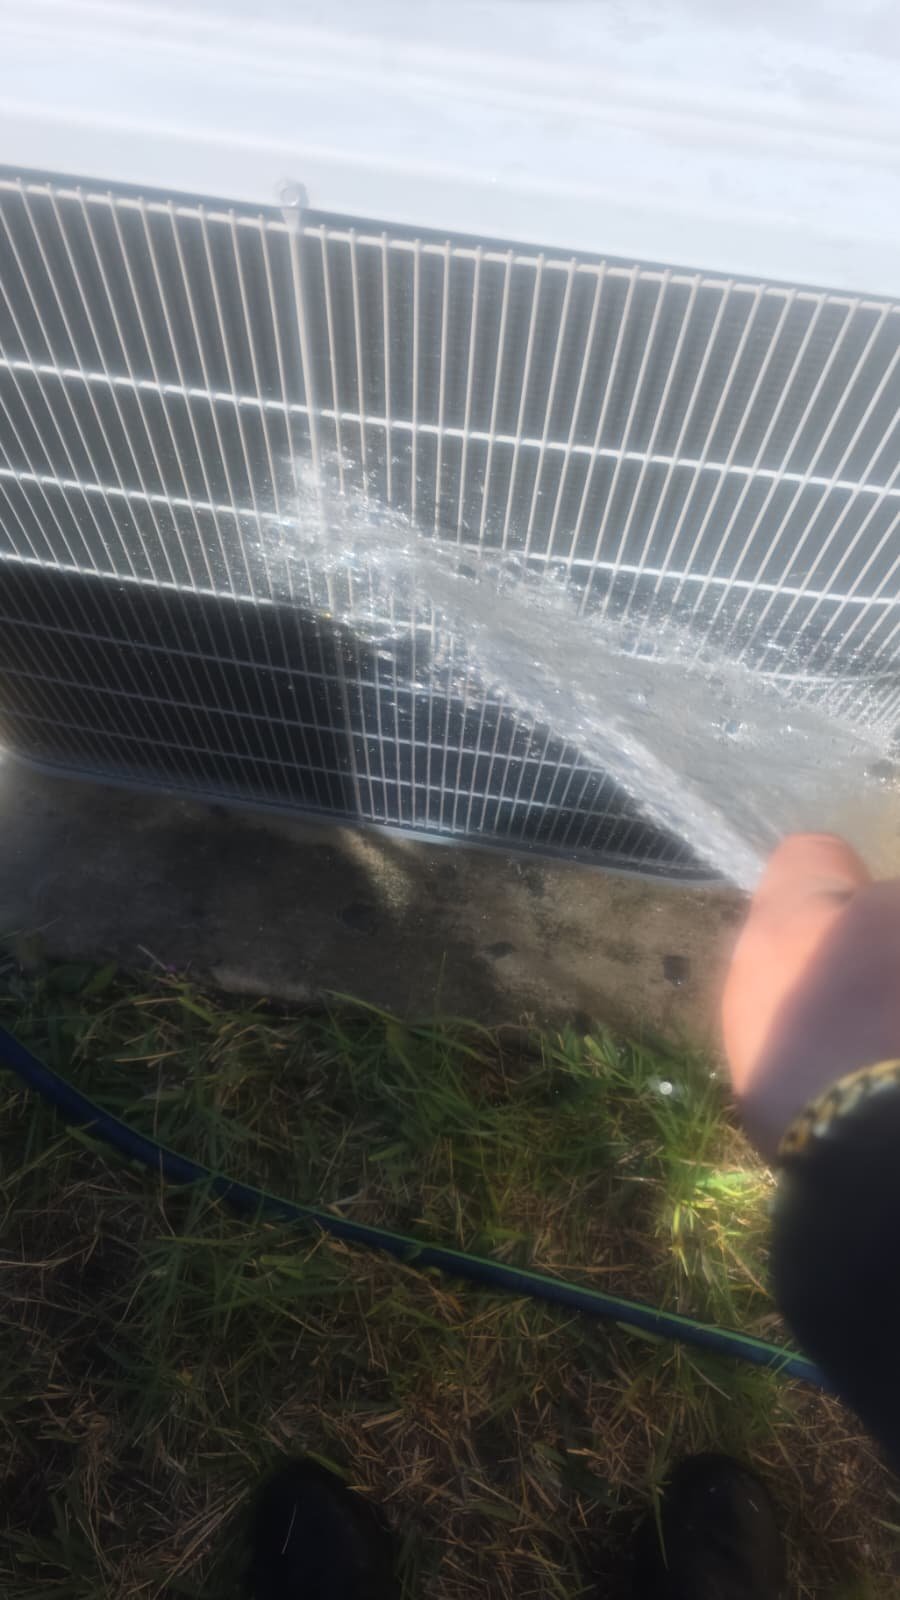
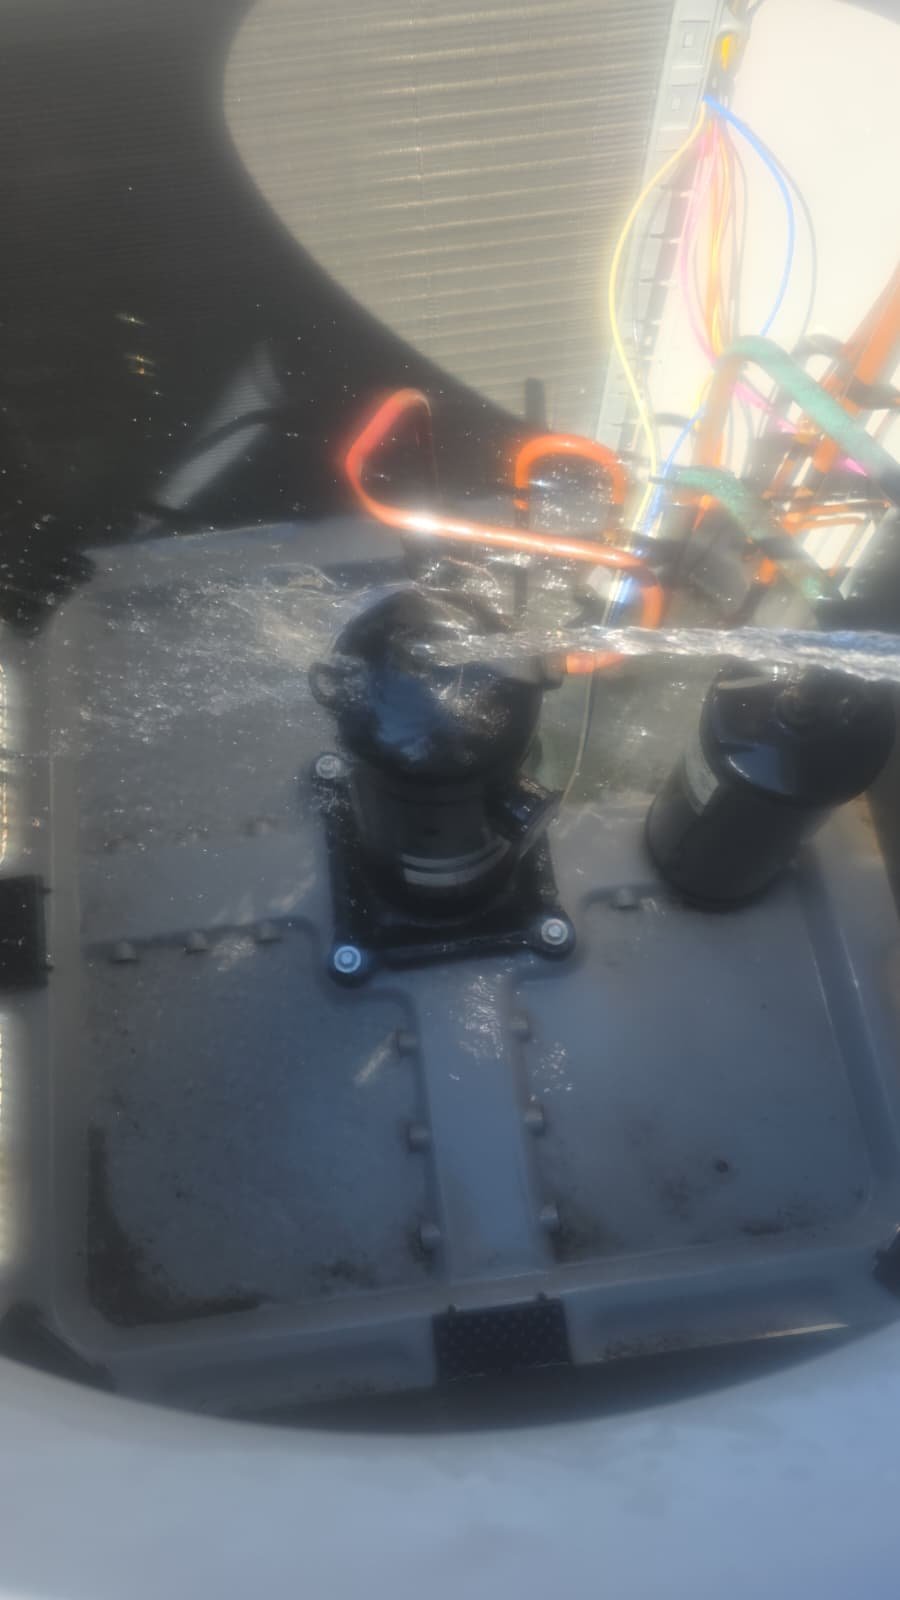
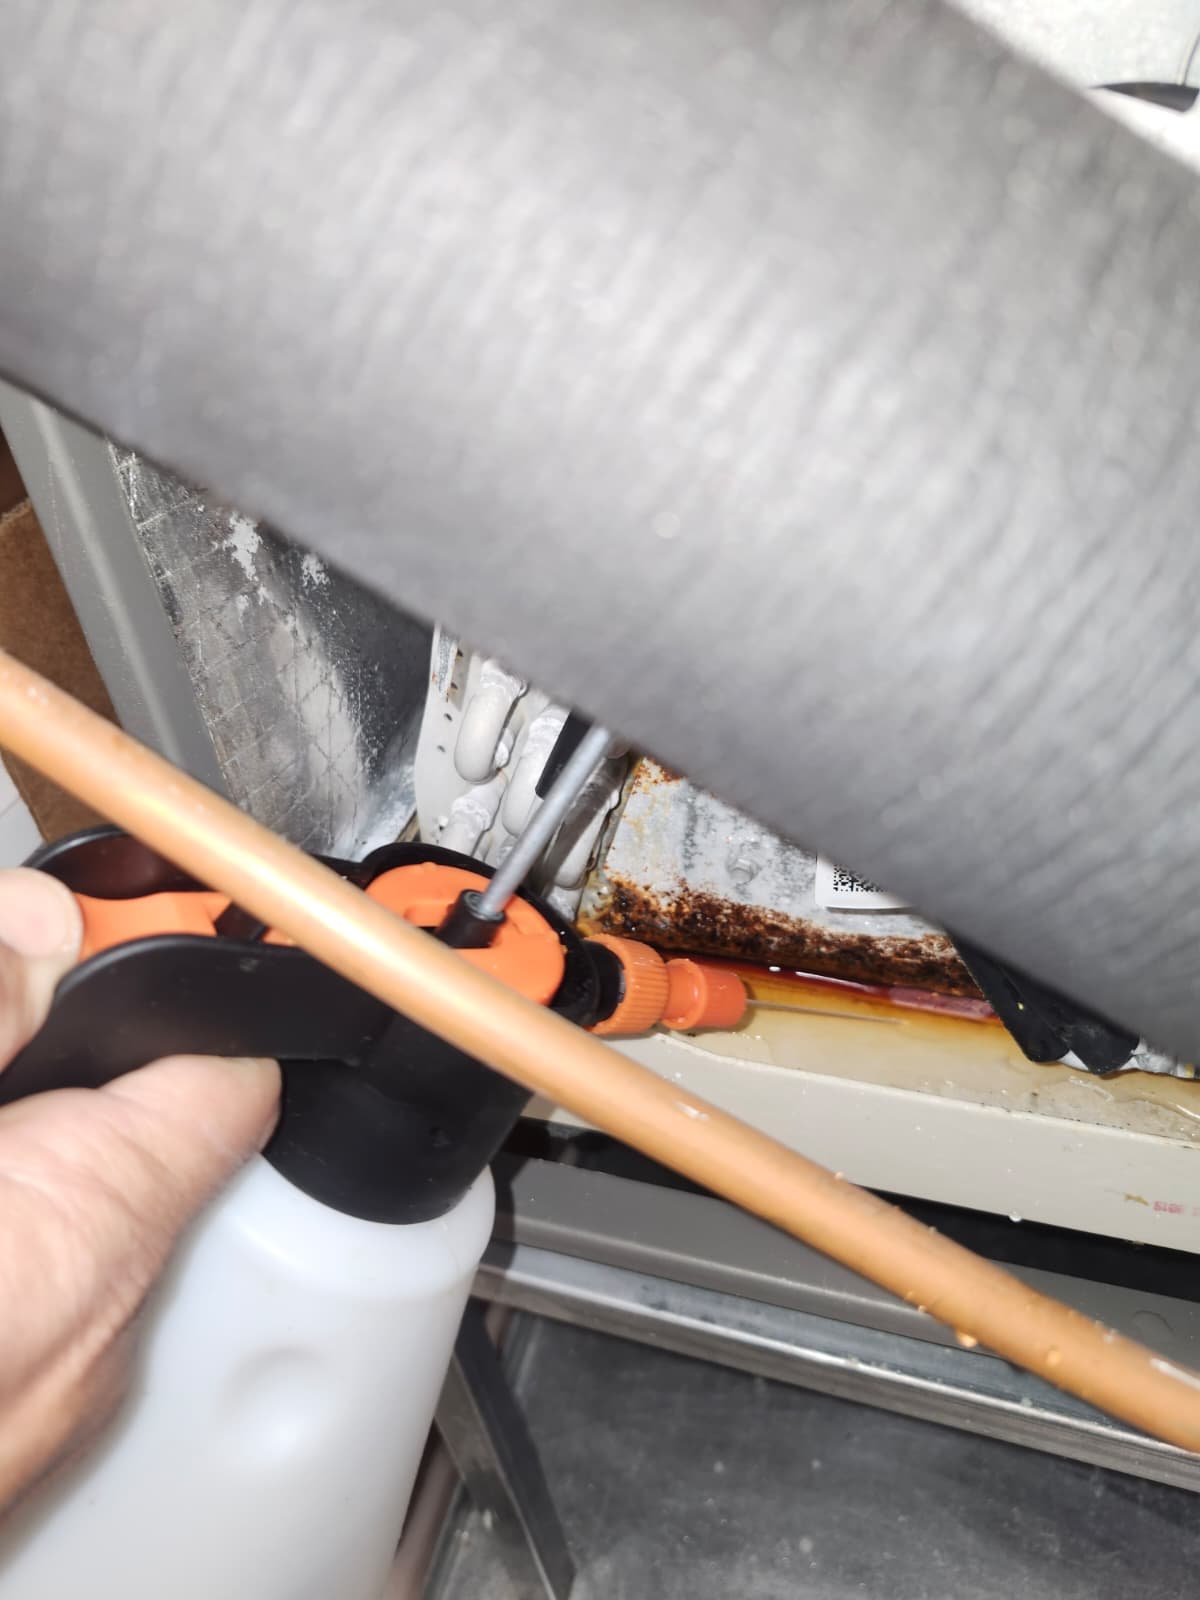
We also performed a complete system flush and sanitation of the copper lines and condensate drain, giving the new system a clean start and helping maintain cleaner indoor air and efficient drainage from day one.
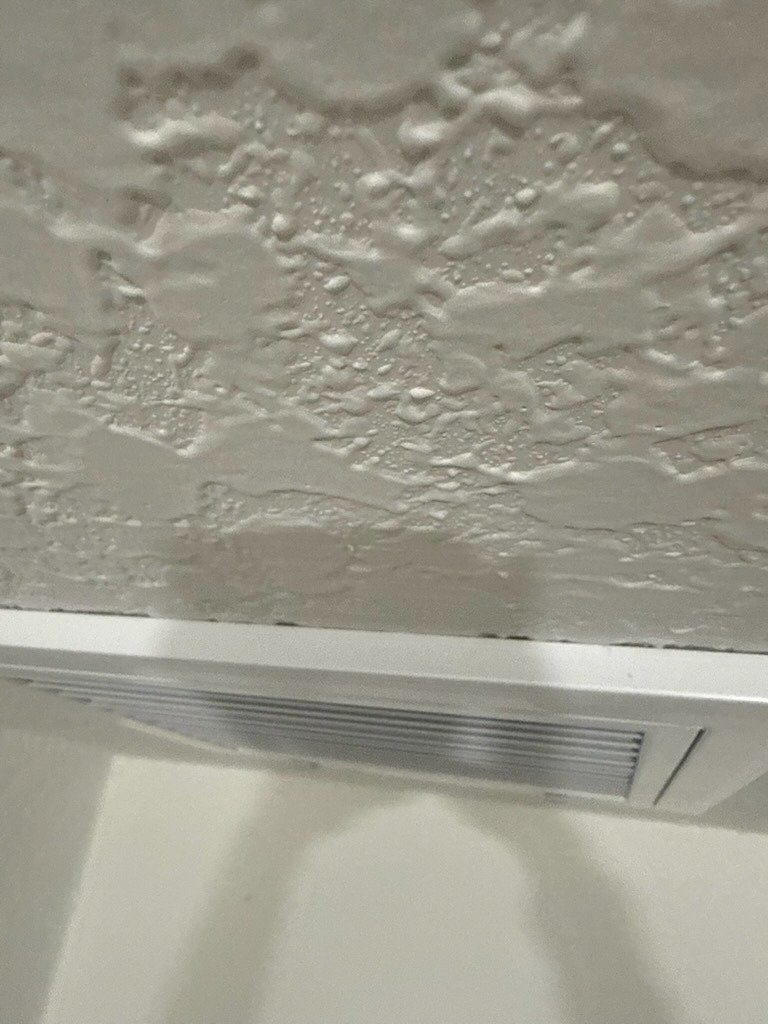
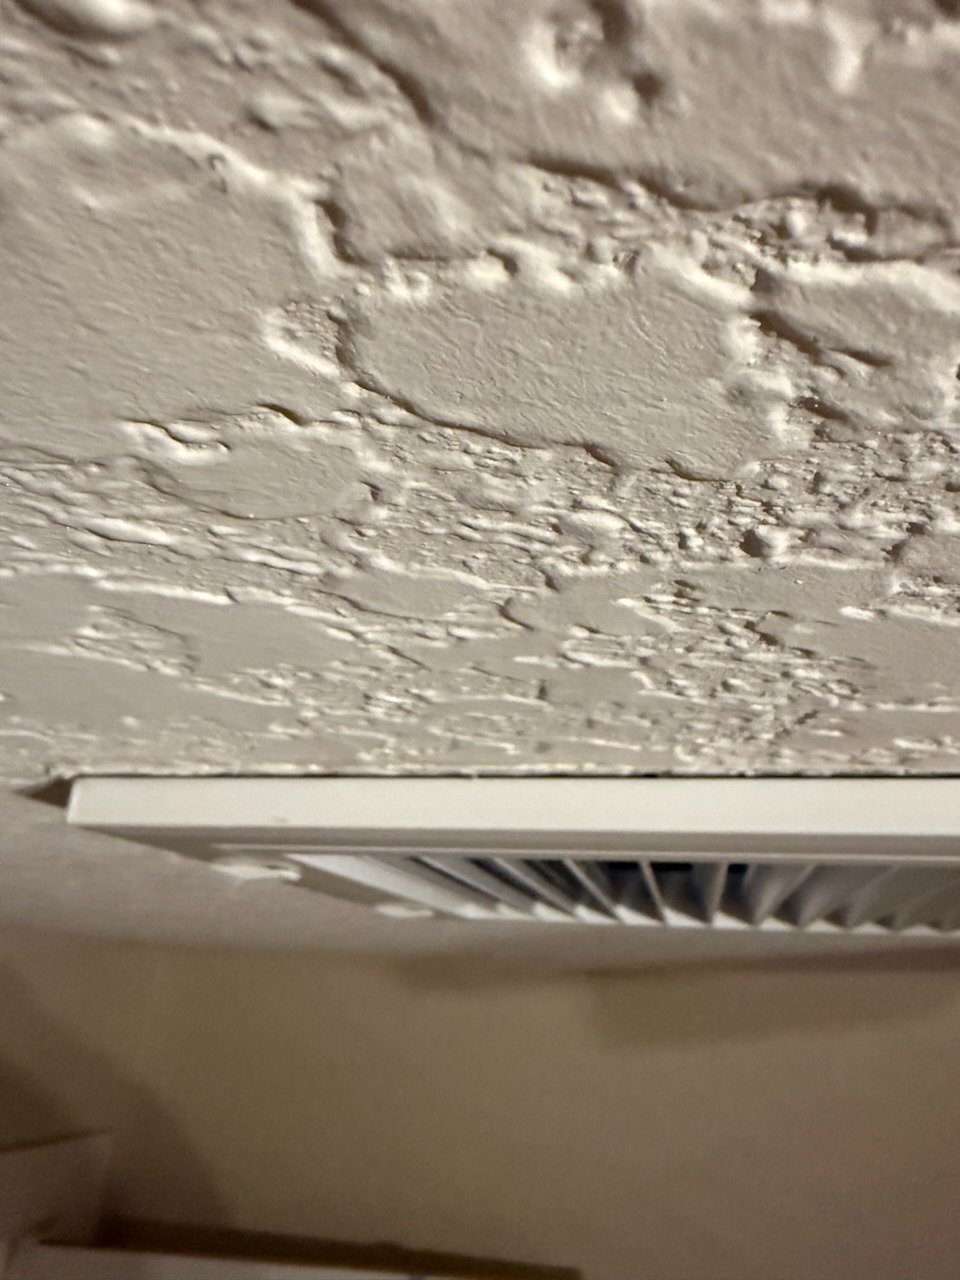
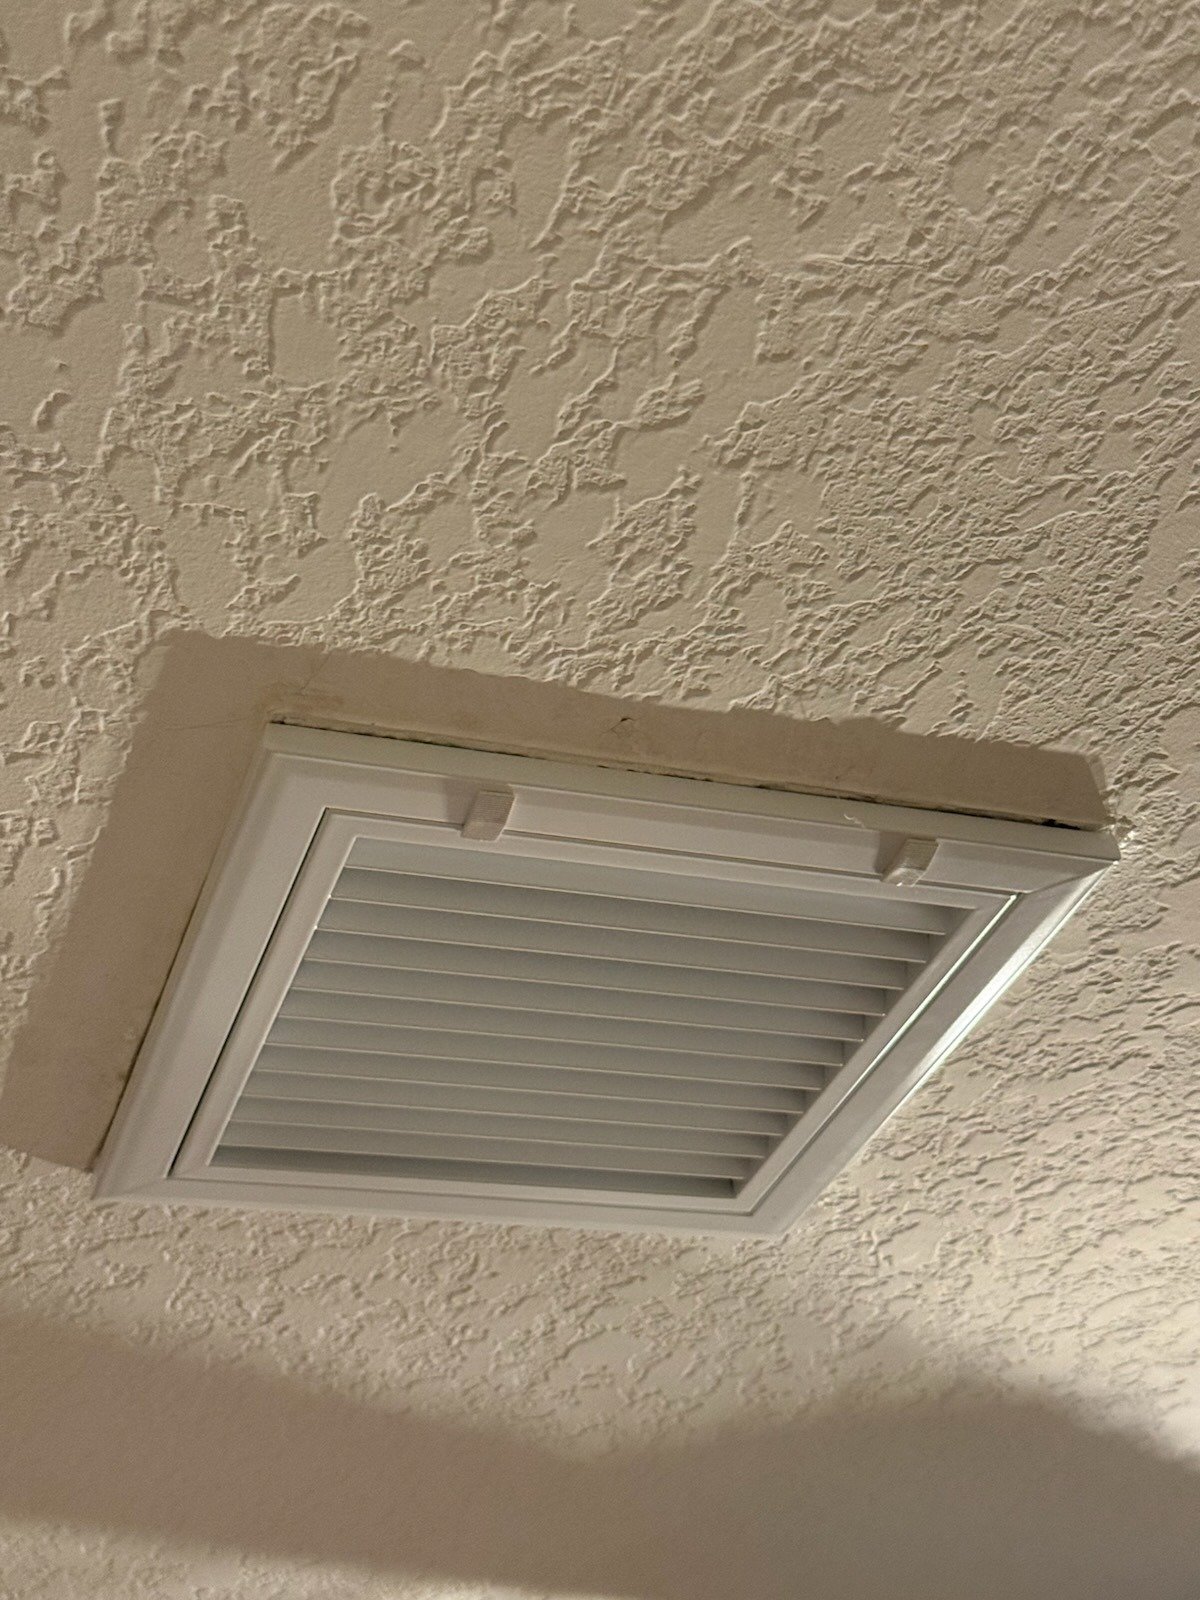
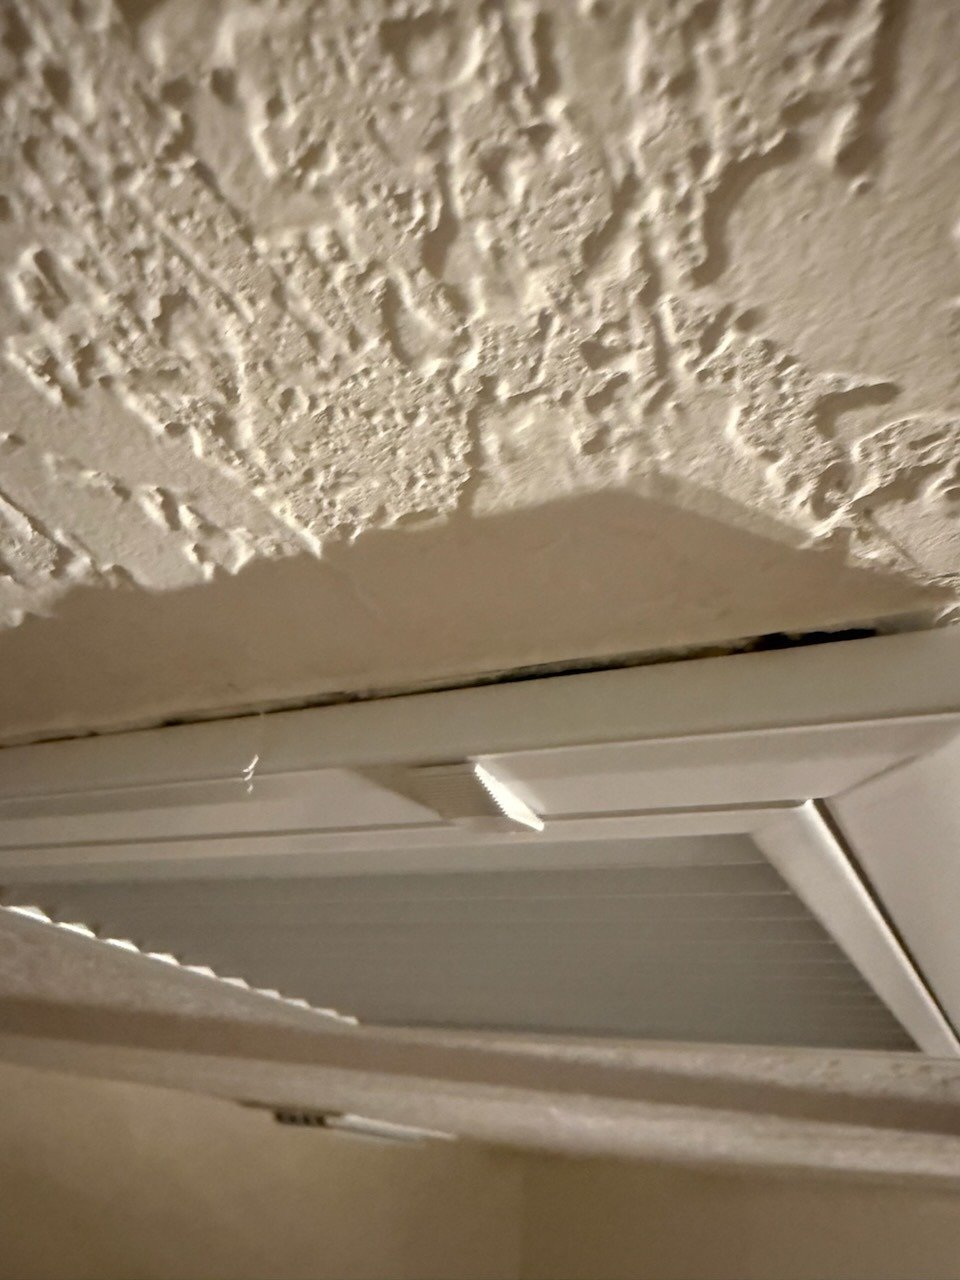
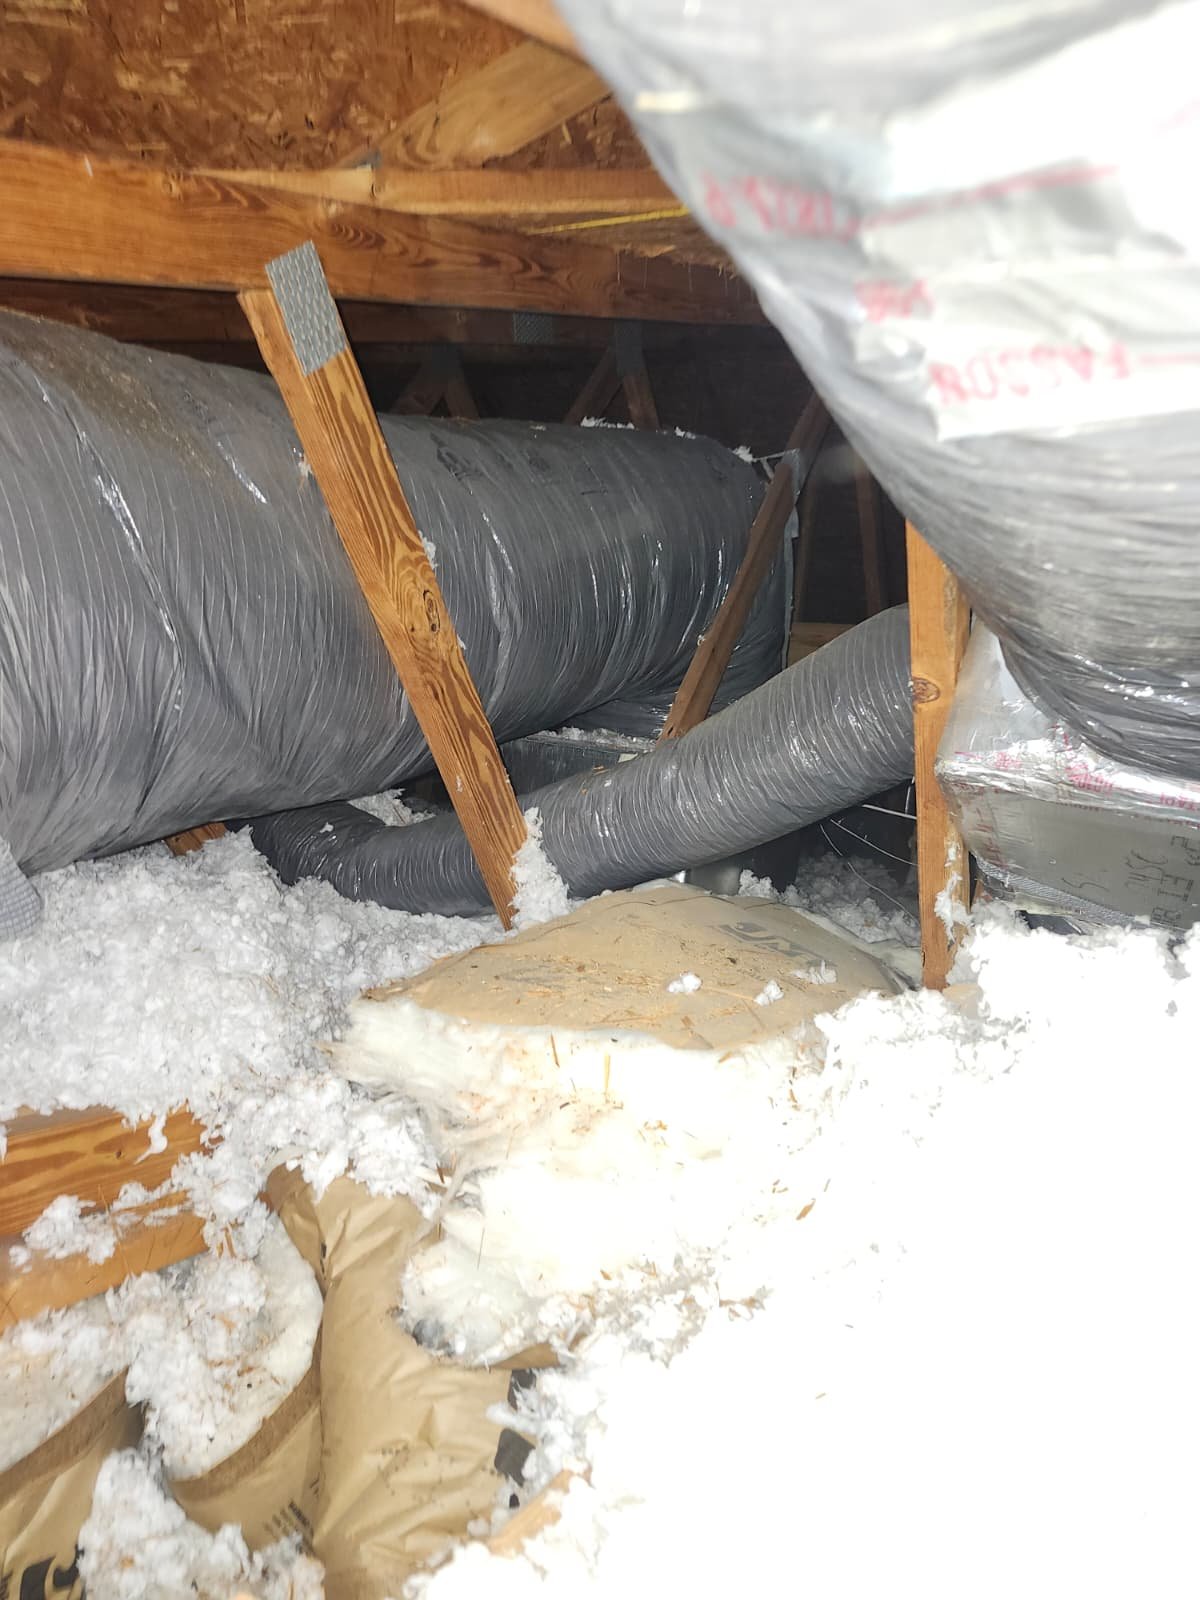
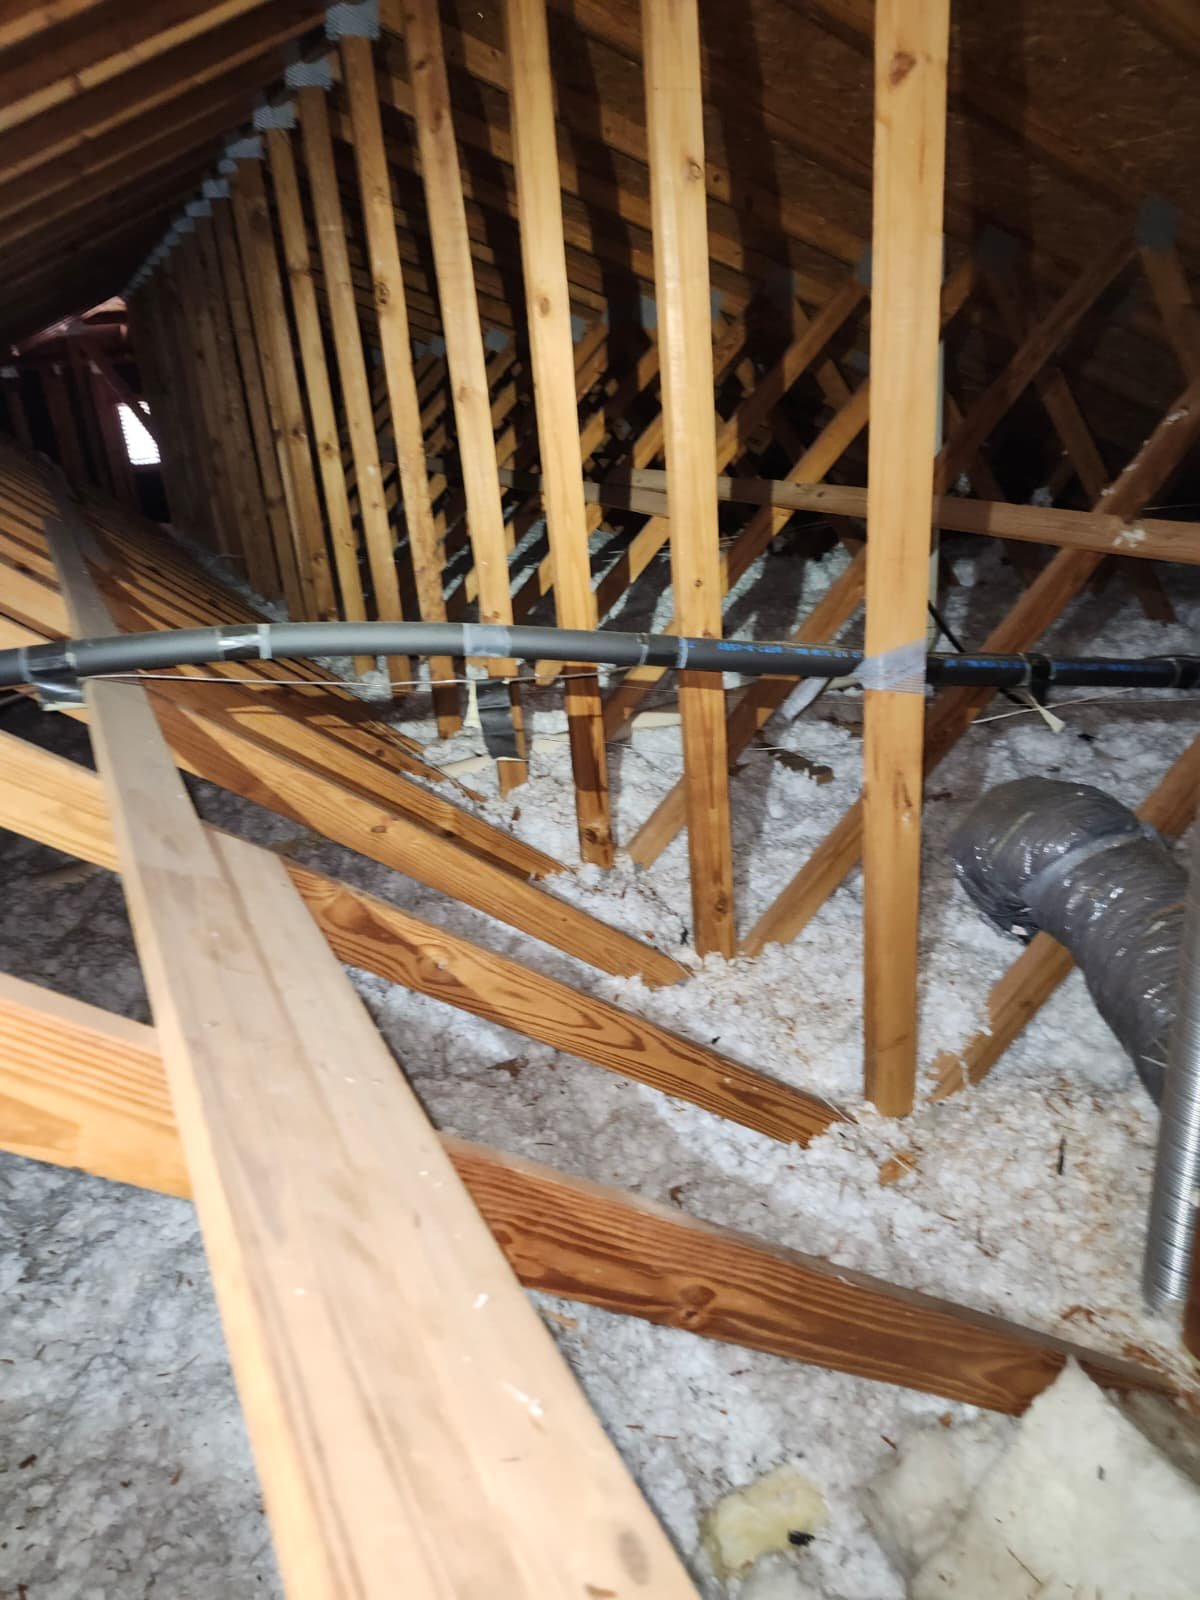
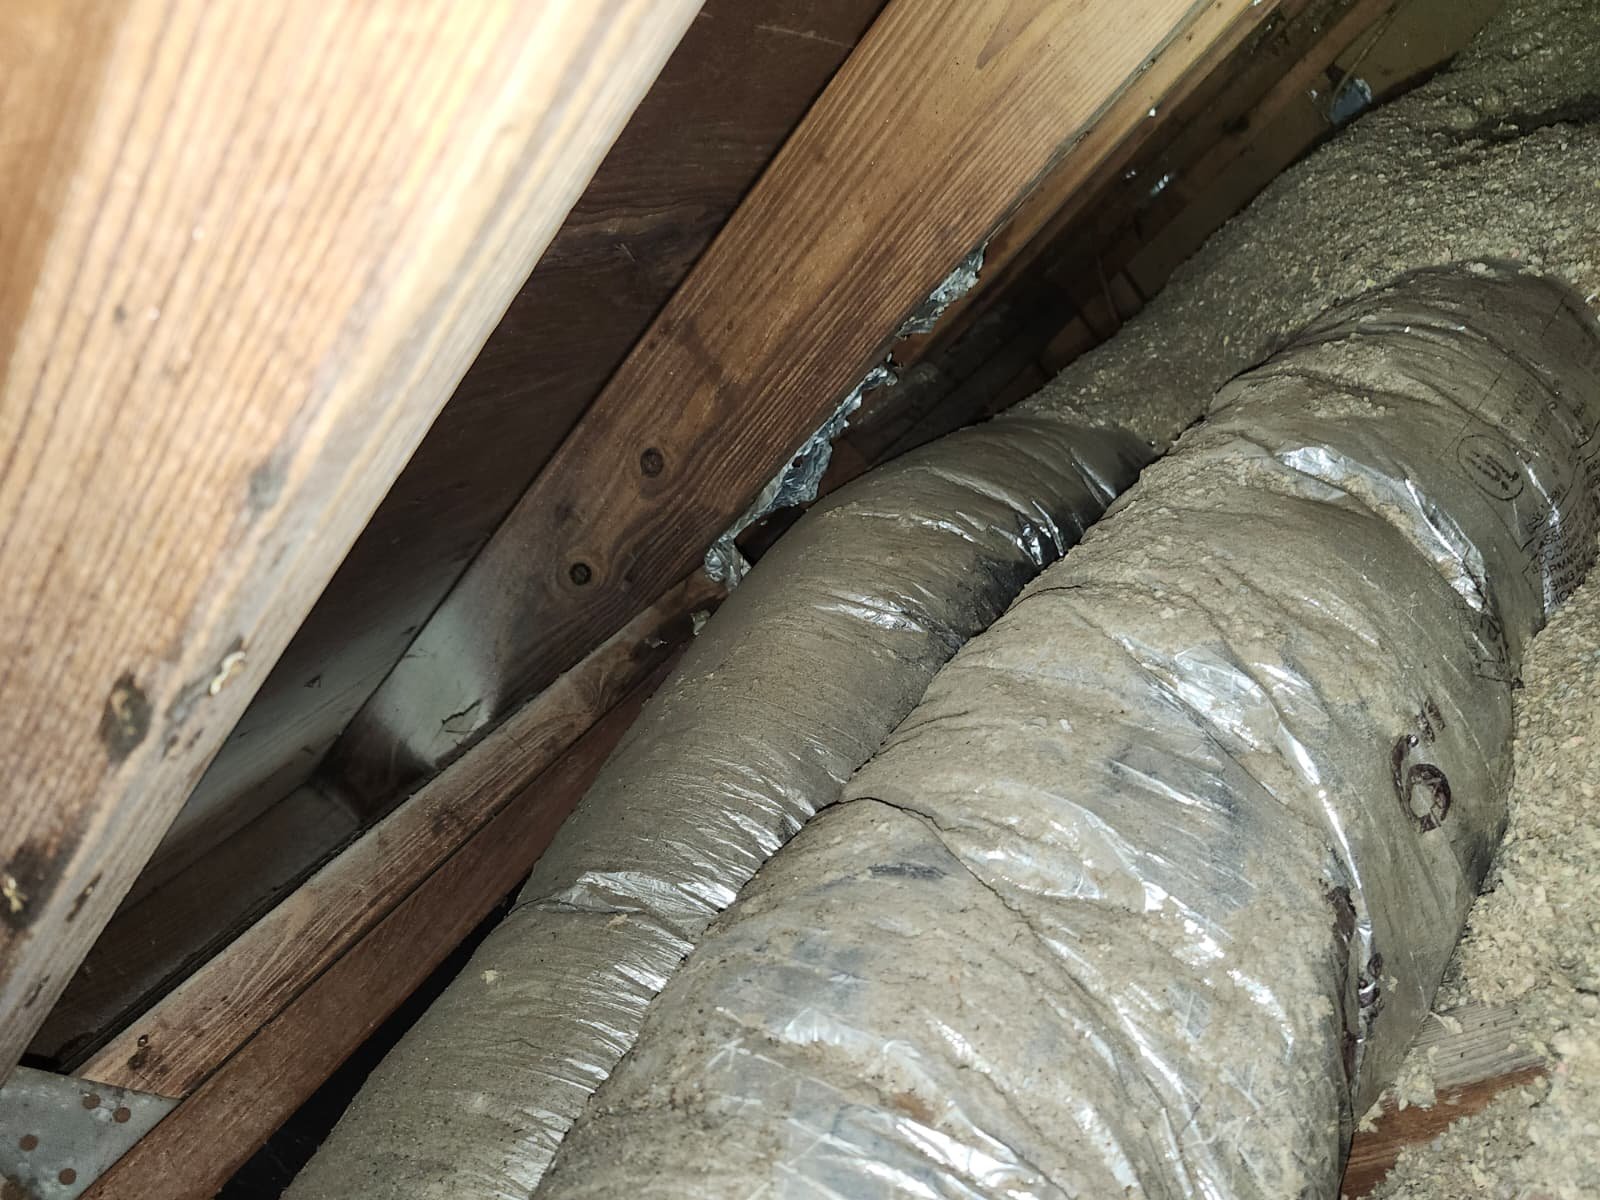
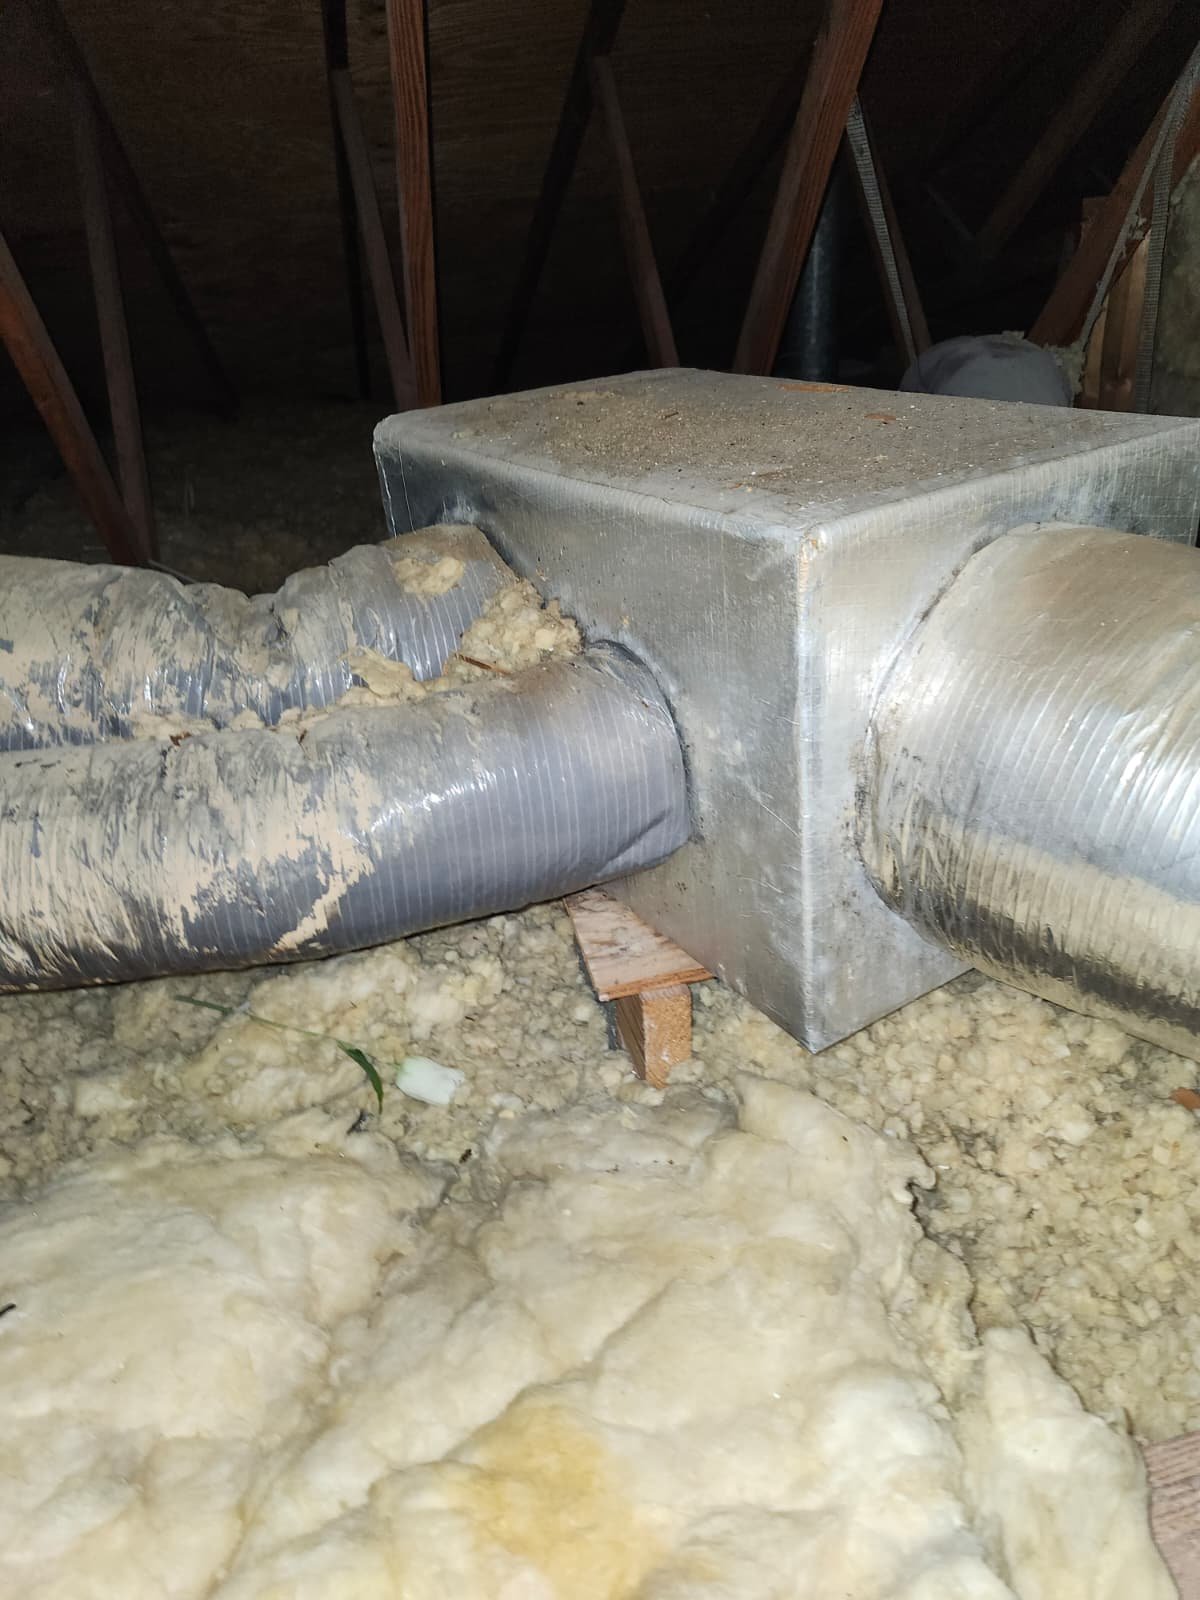
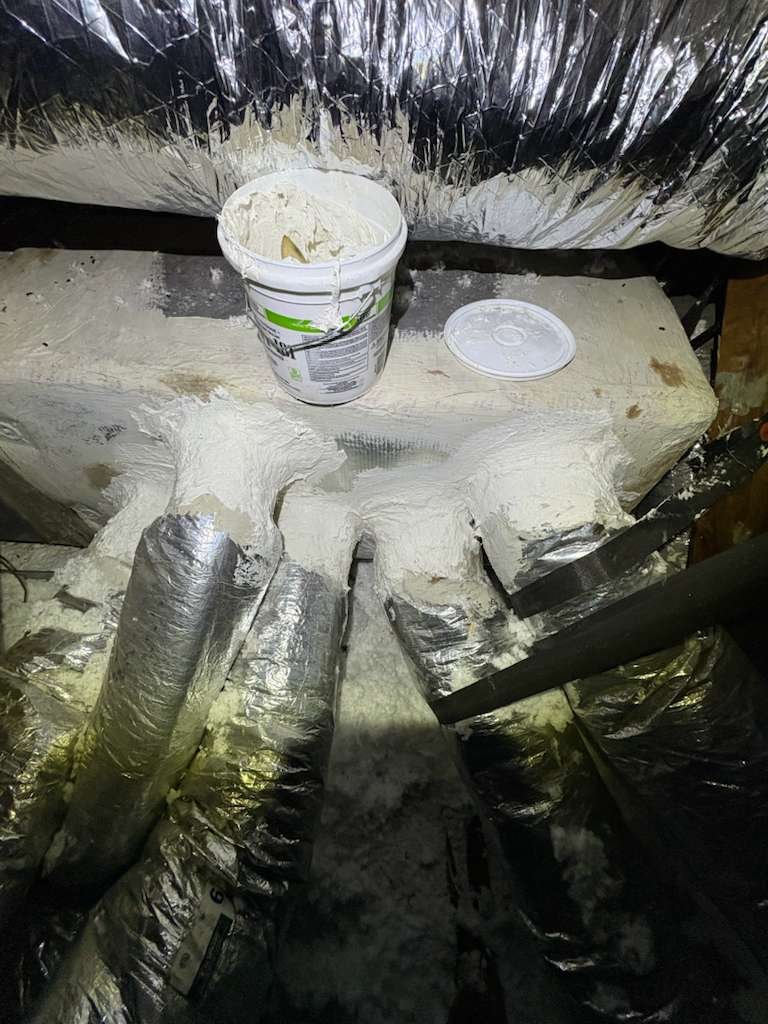
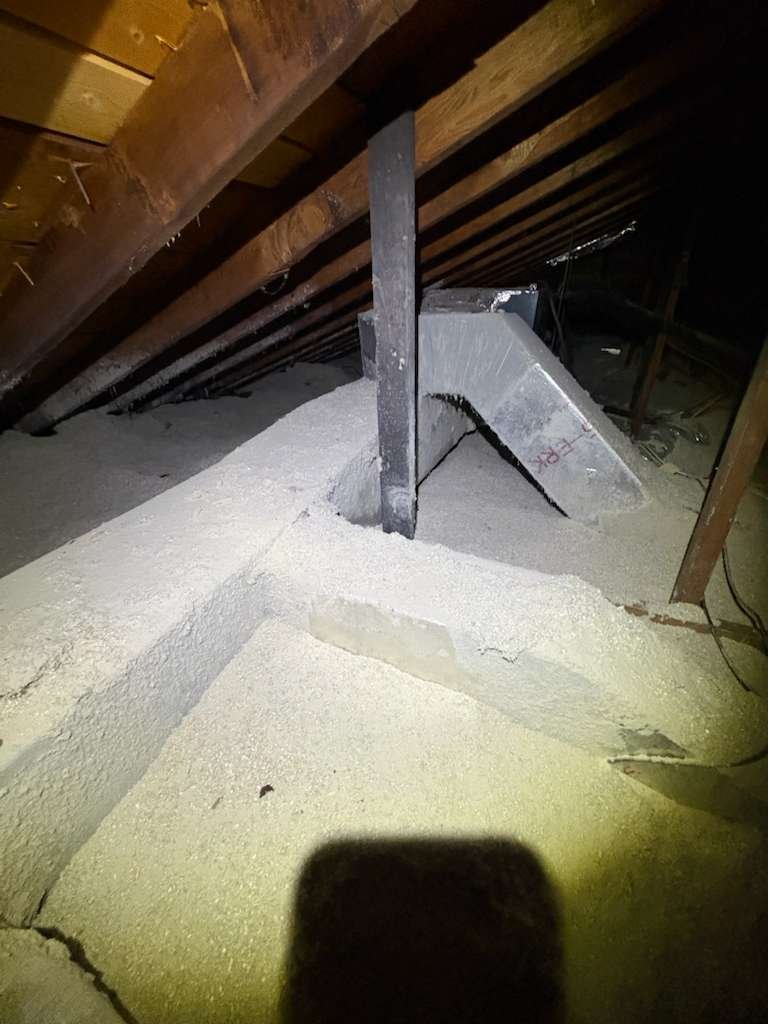
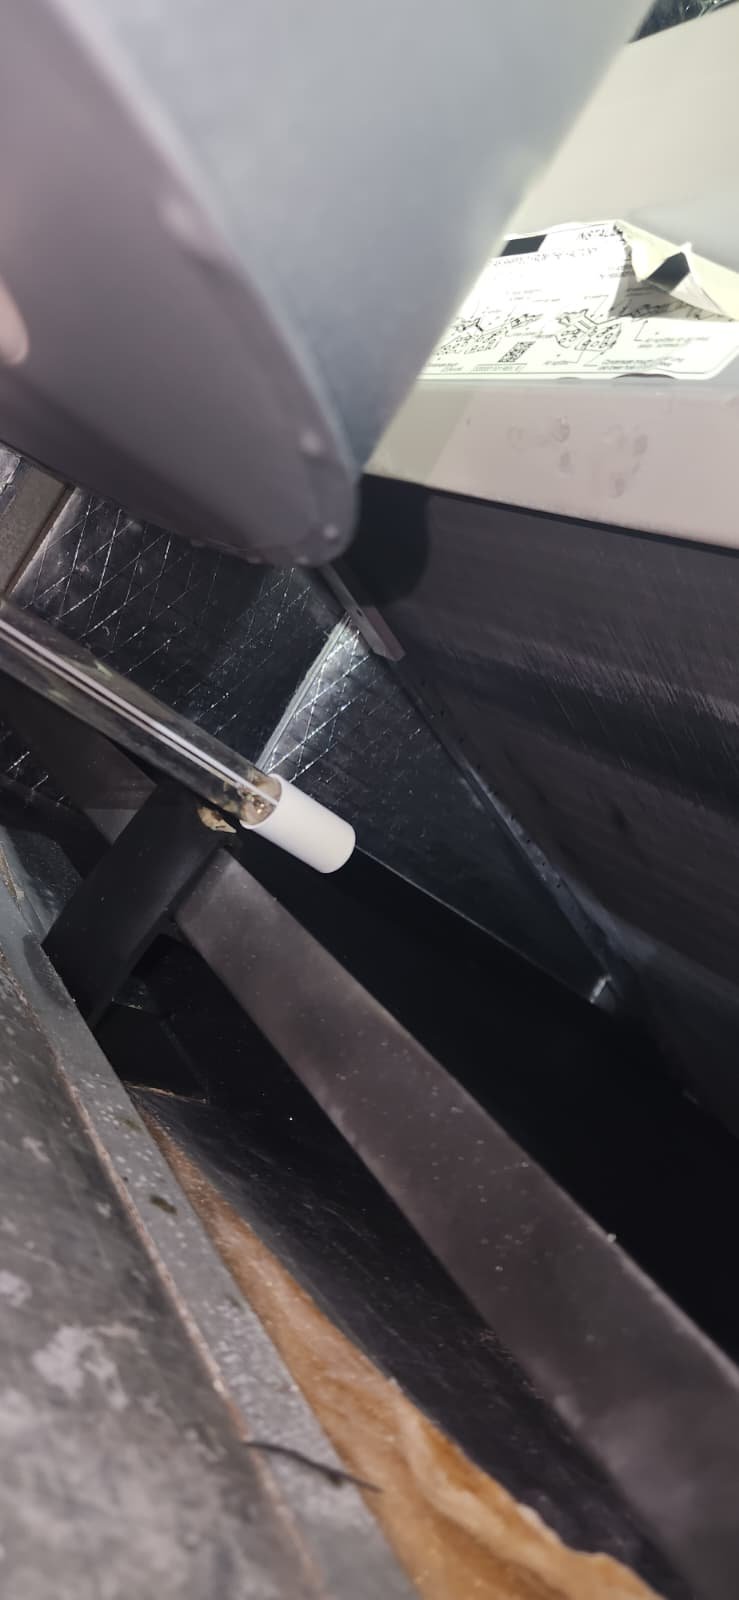
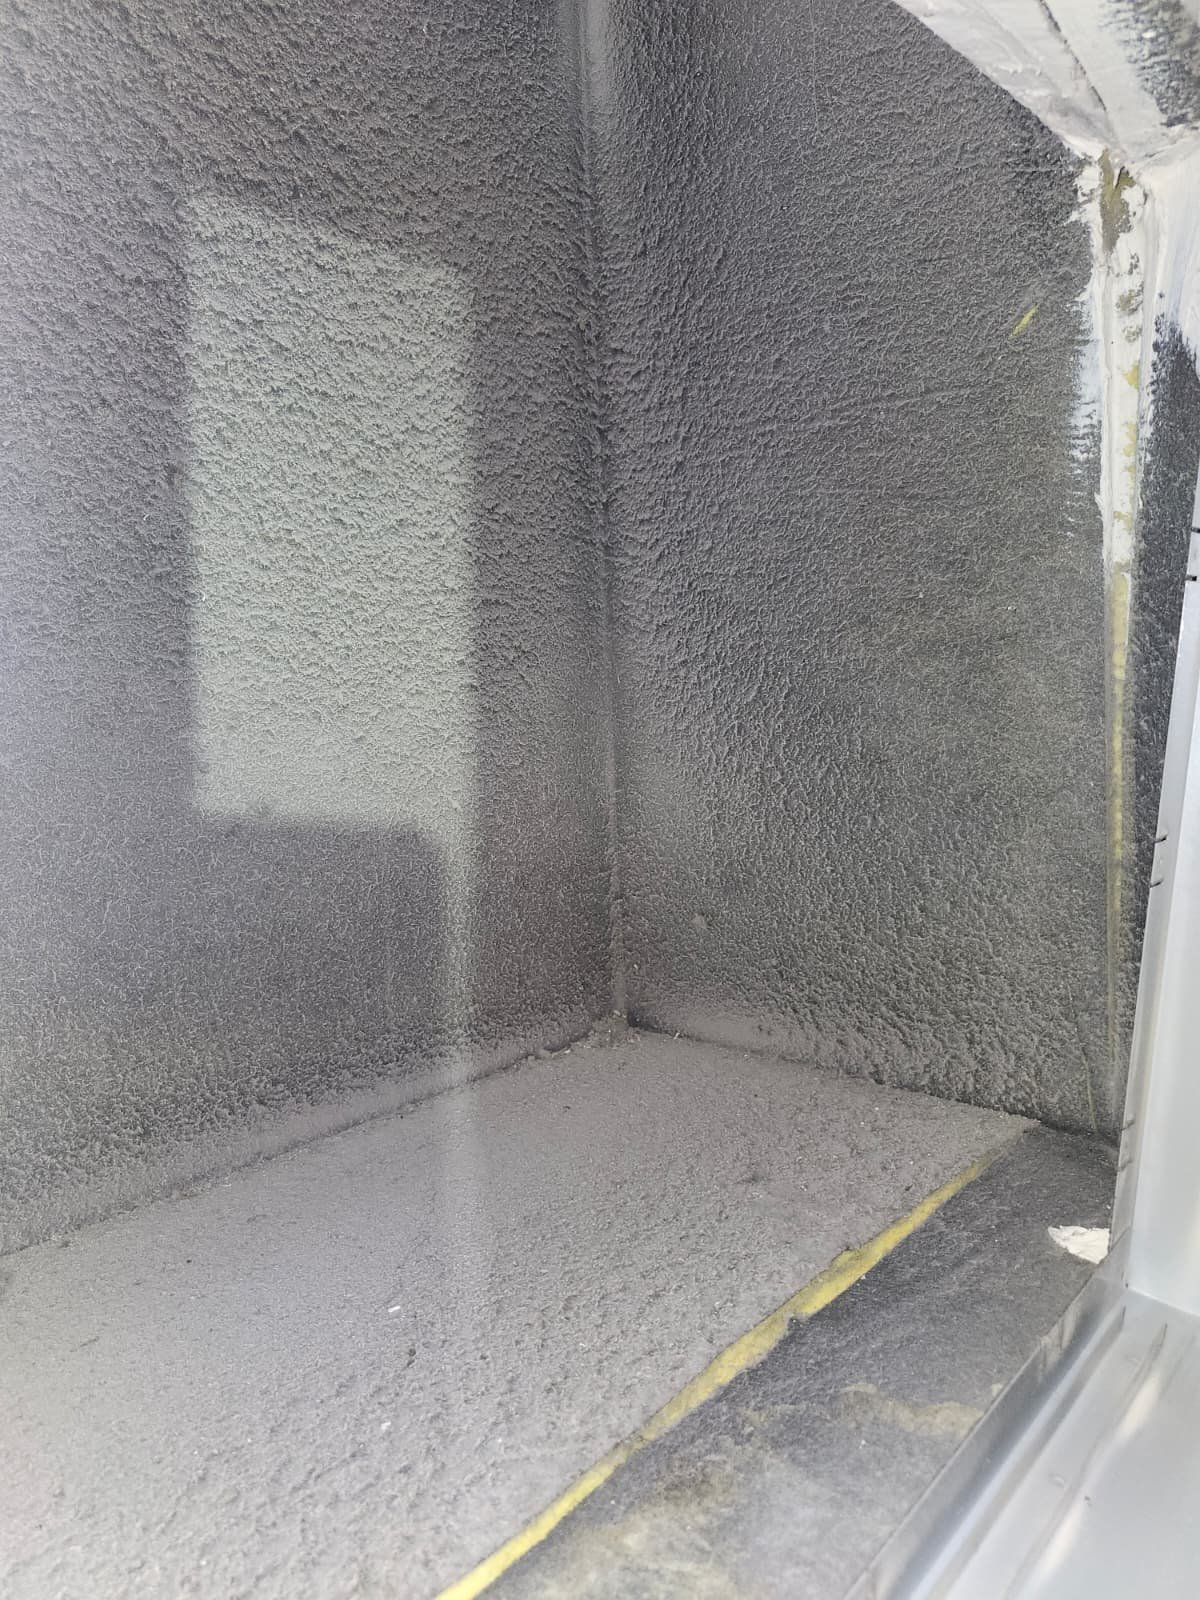
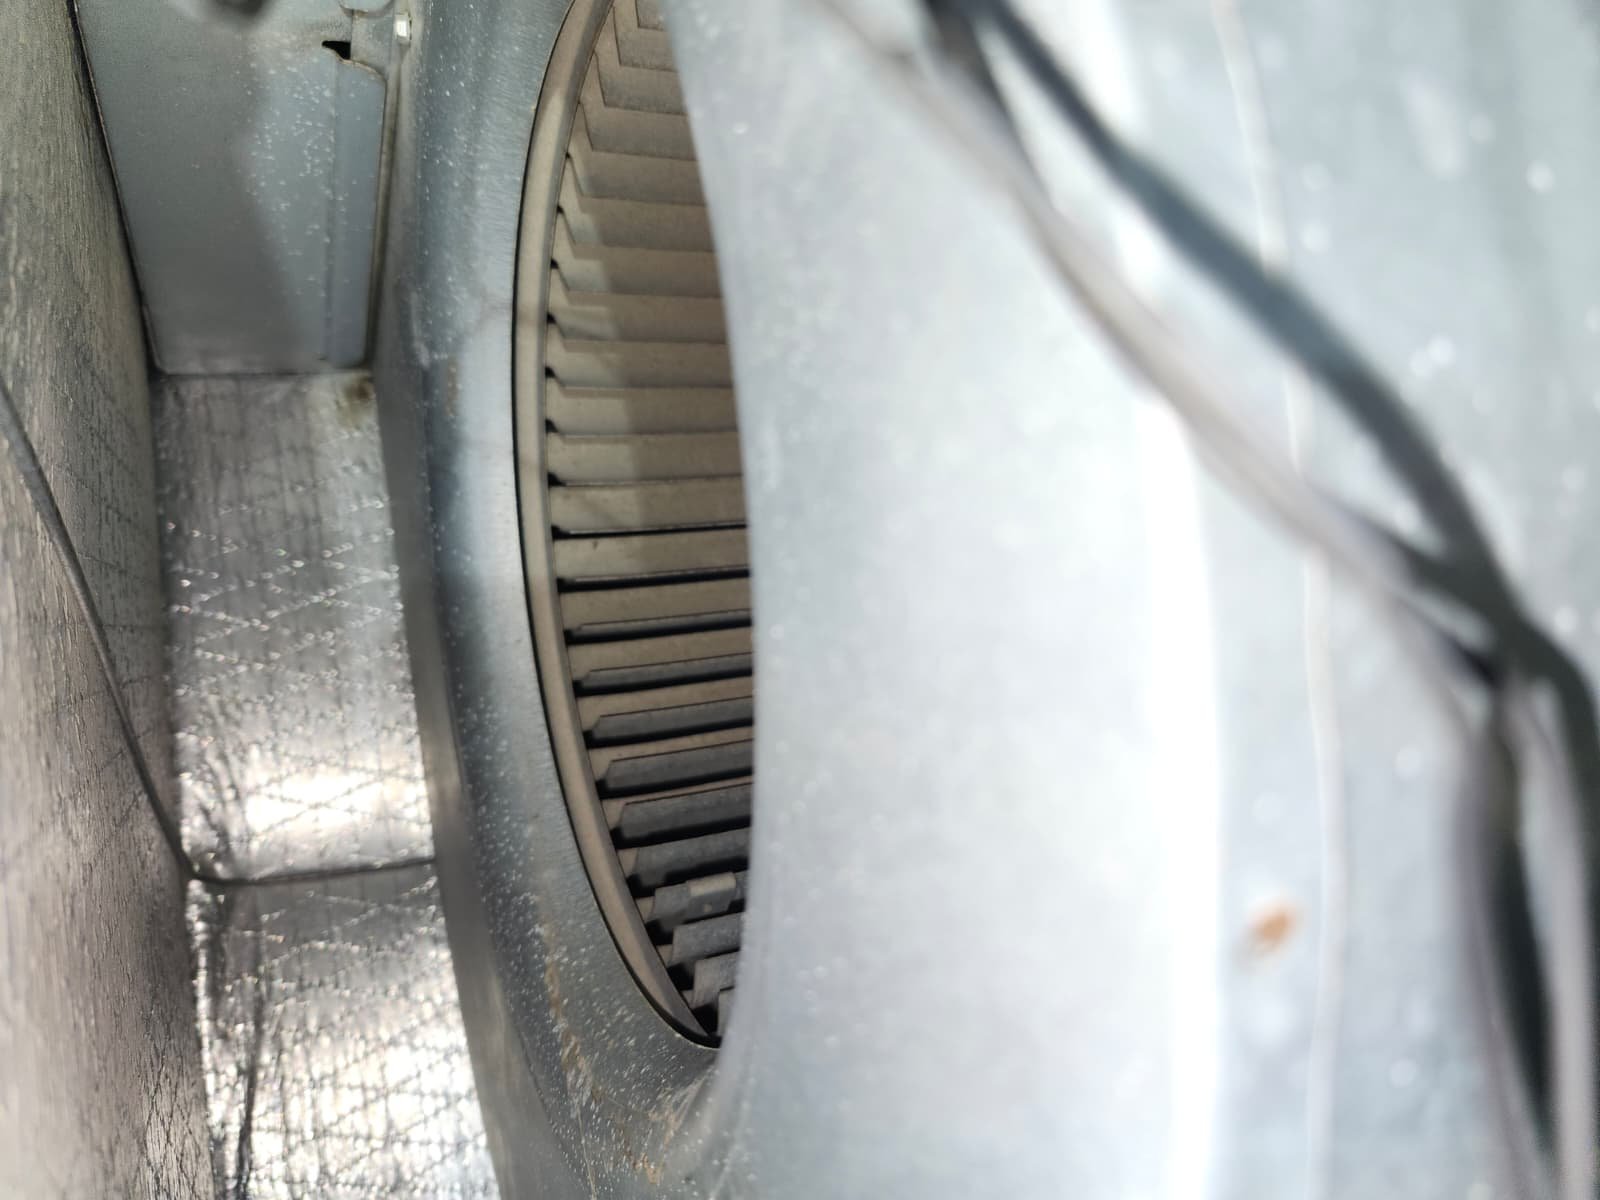
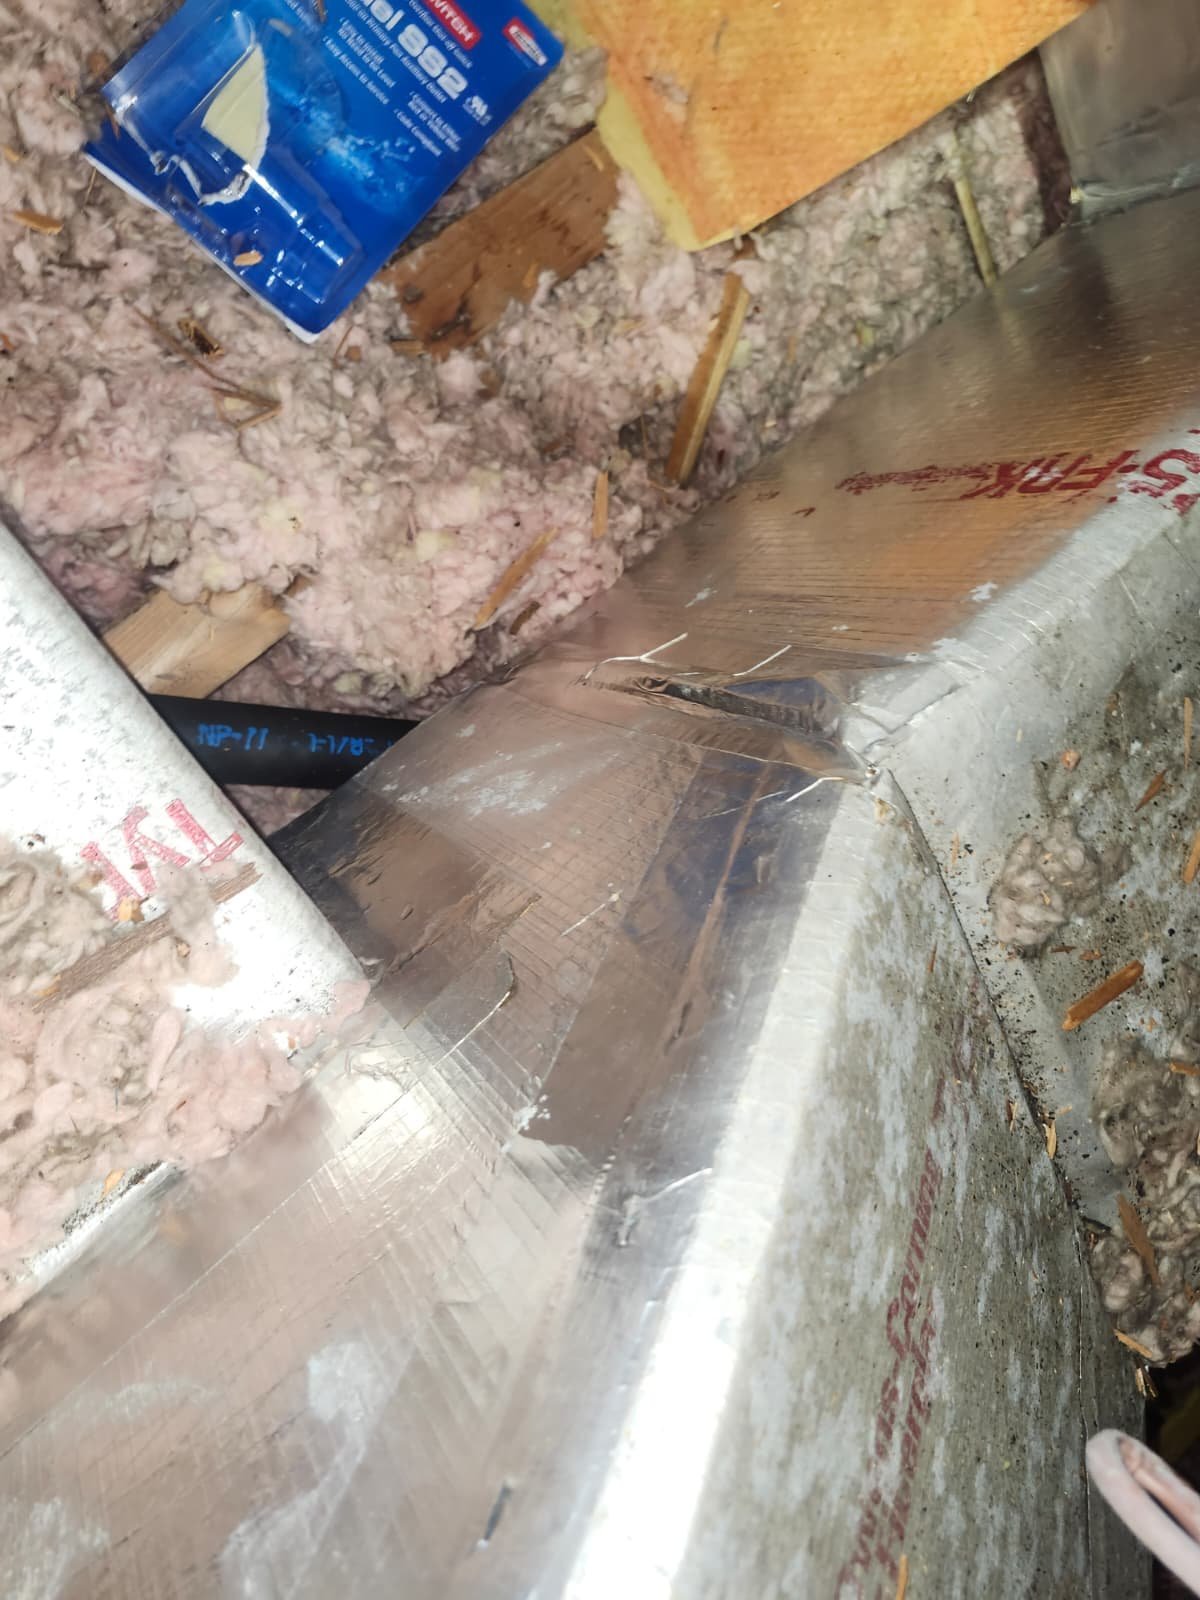
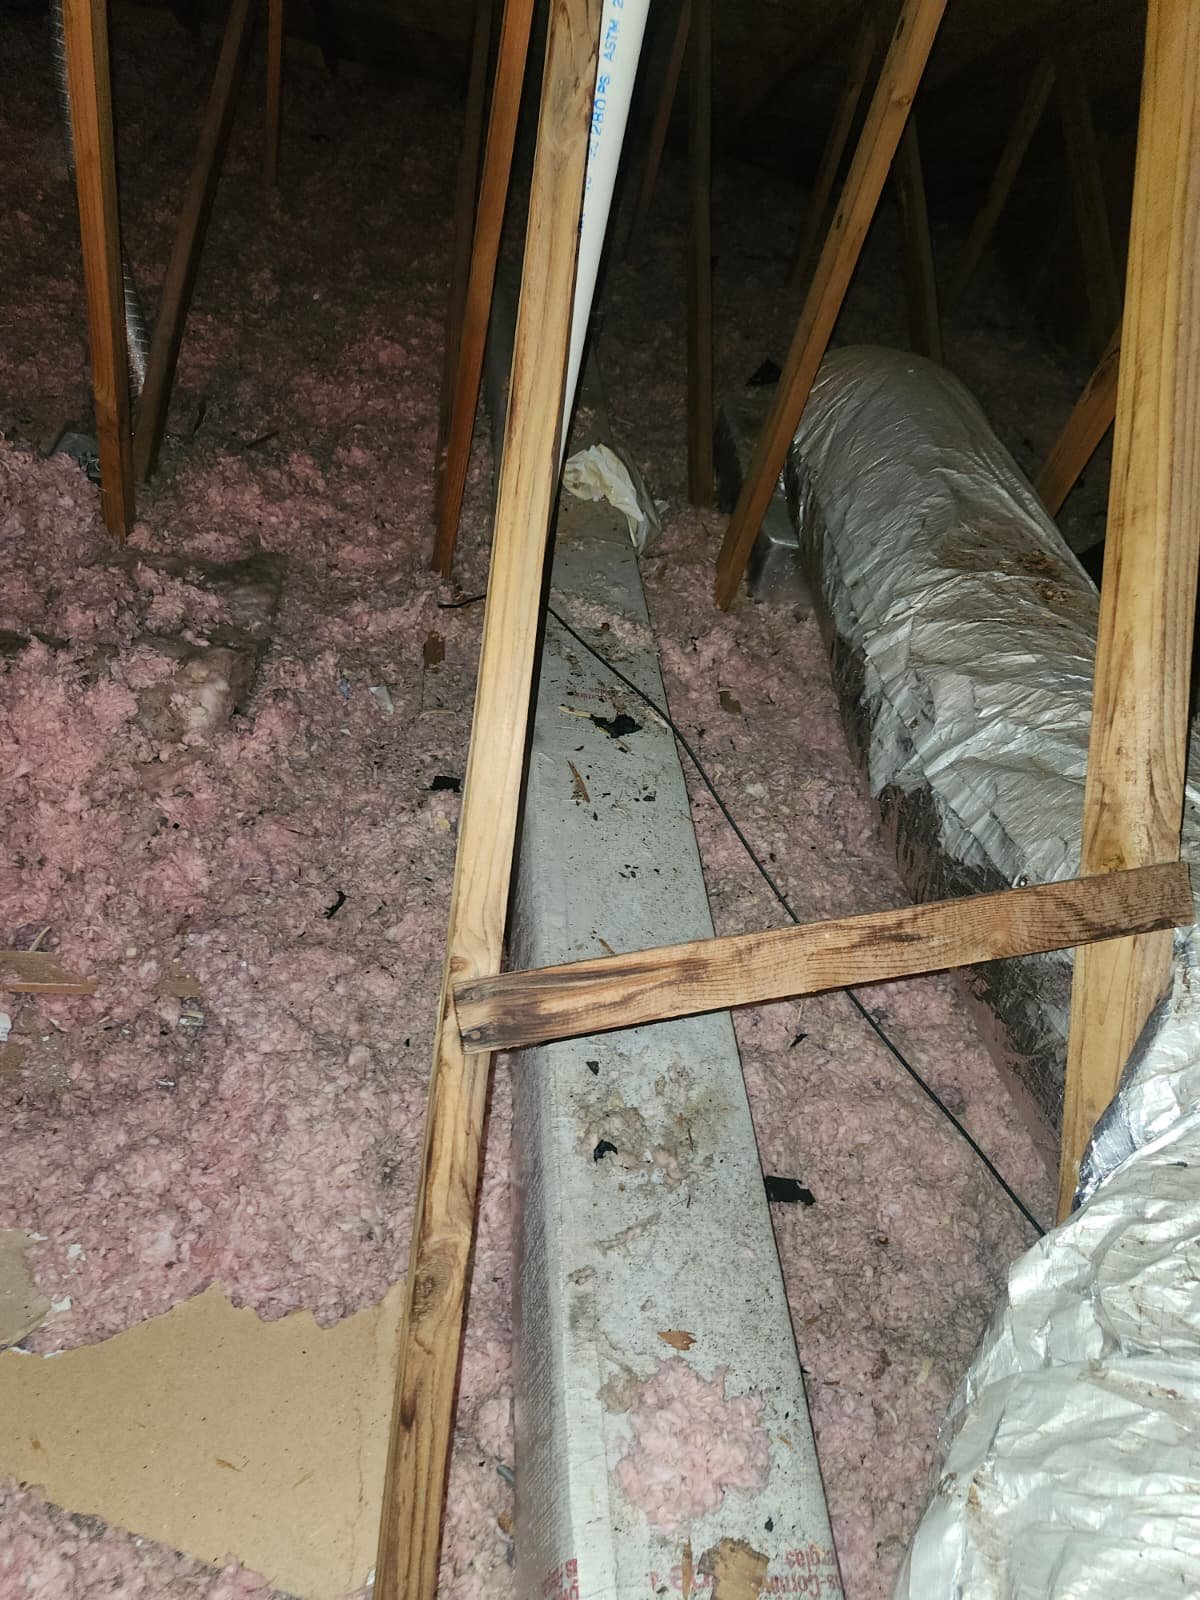
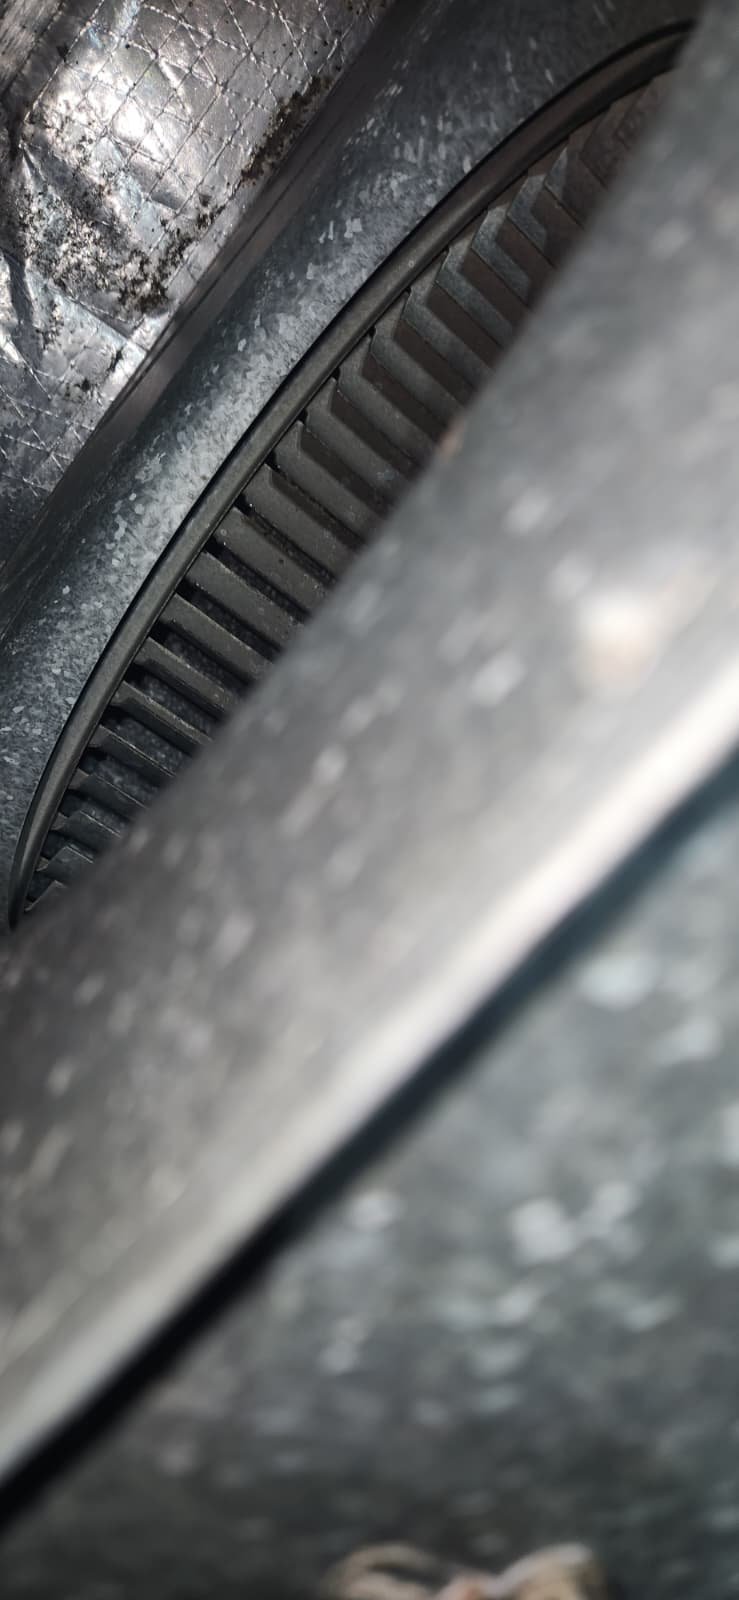
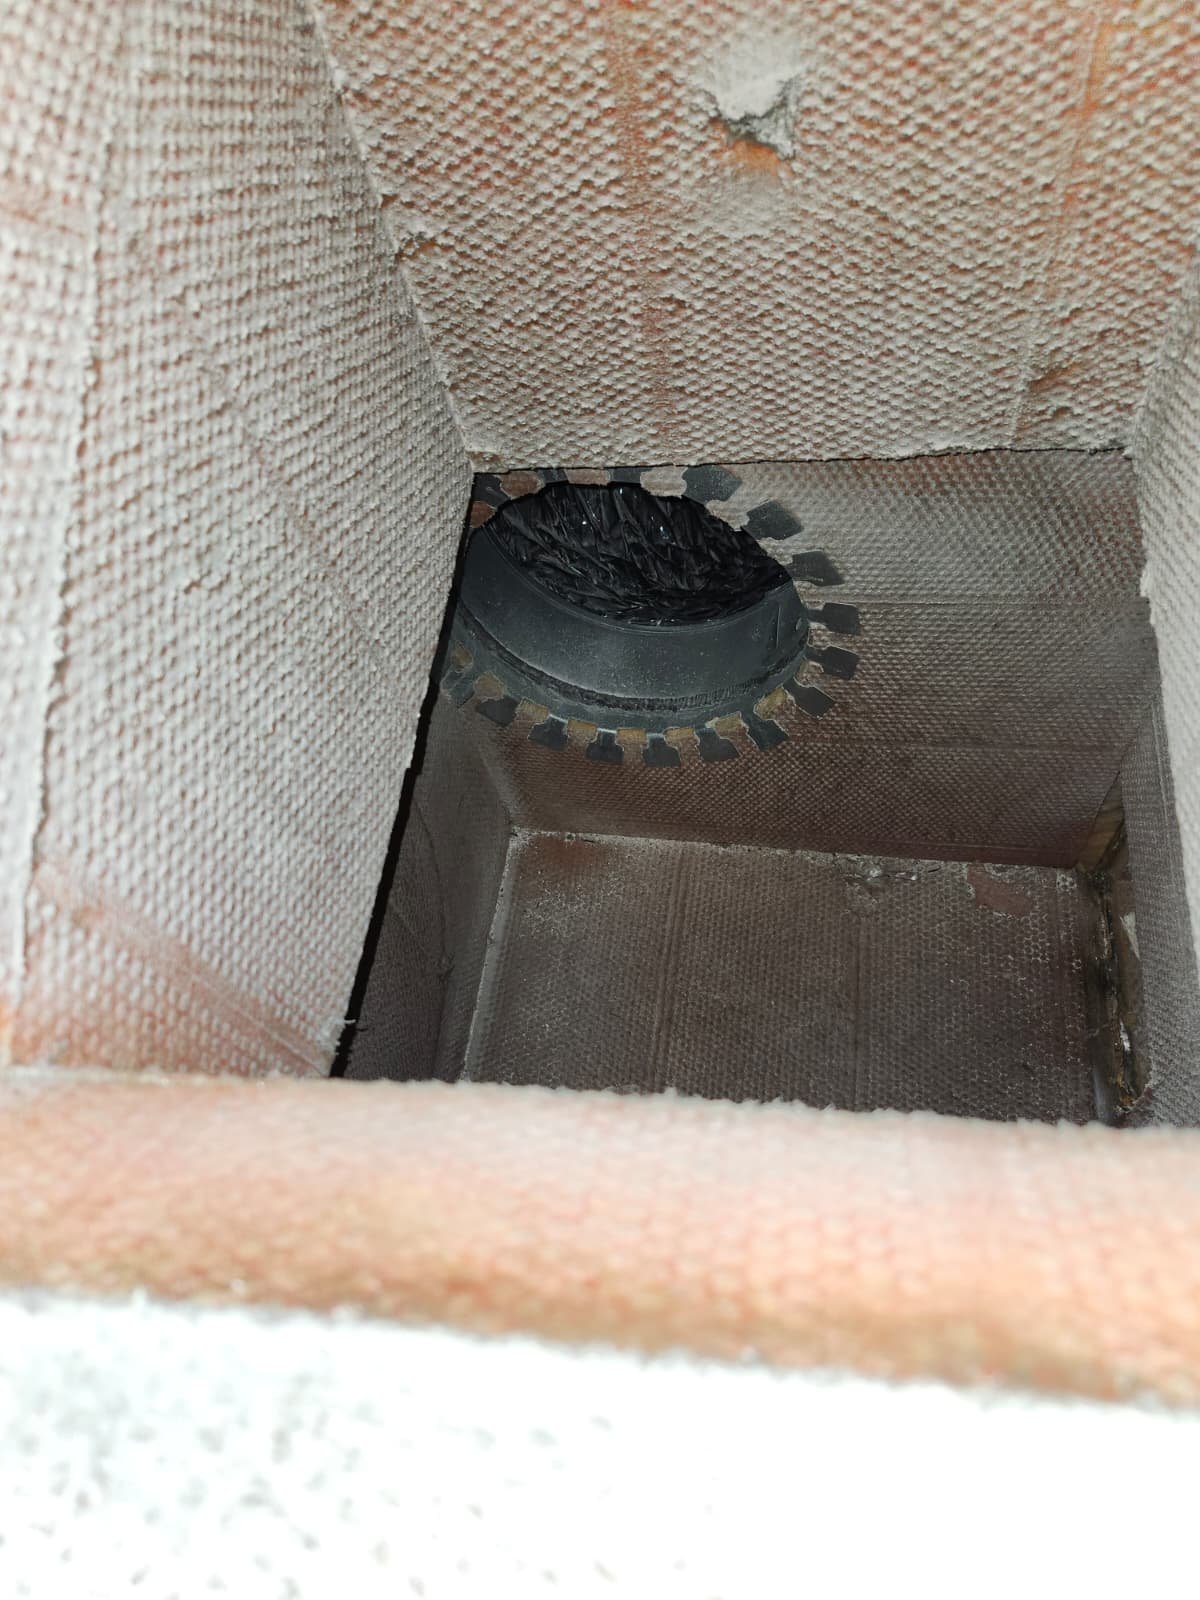
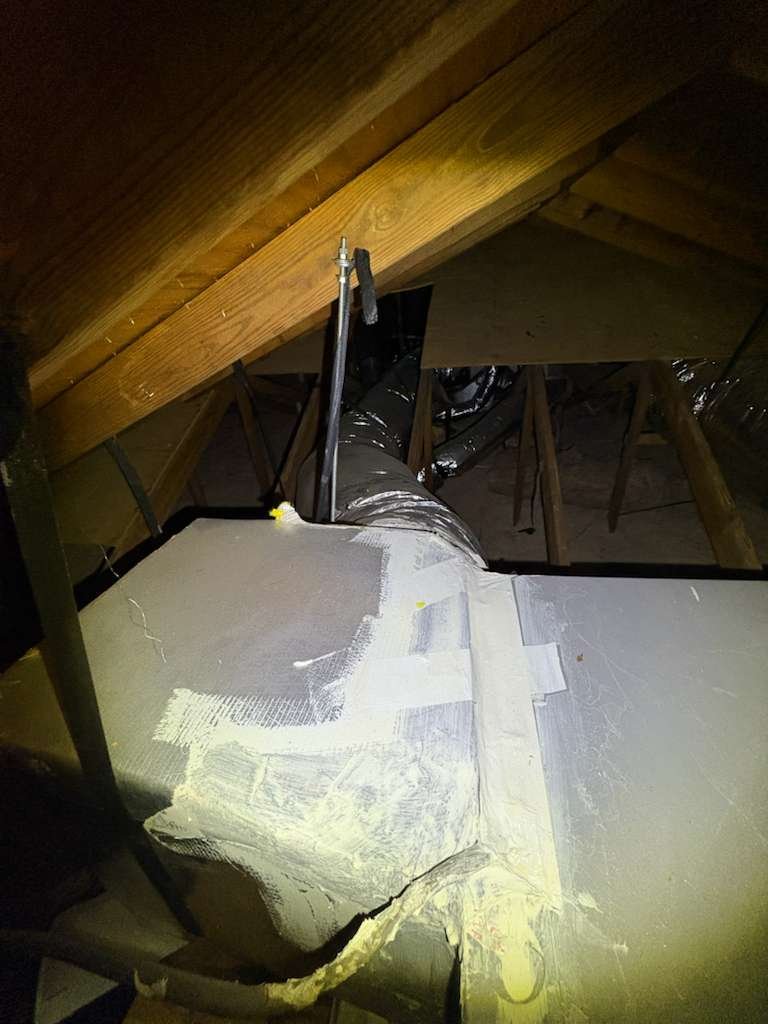
3. R6 Ductwork Replacement and Air Distribution
In Florida homes, ductwork is just as important as the equipment. For this Valrico, FL 33596 project, we replaced key duct sections with new R6 flexible ducts and updated the distribution components for better airflow and efficiency.
The duct scope included:
- New boots at the ceiling or wall openings.
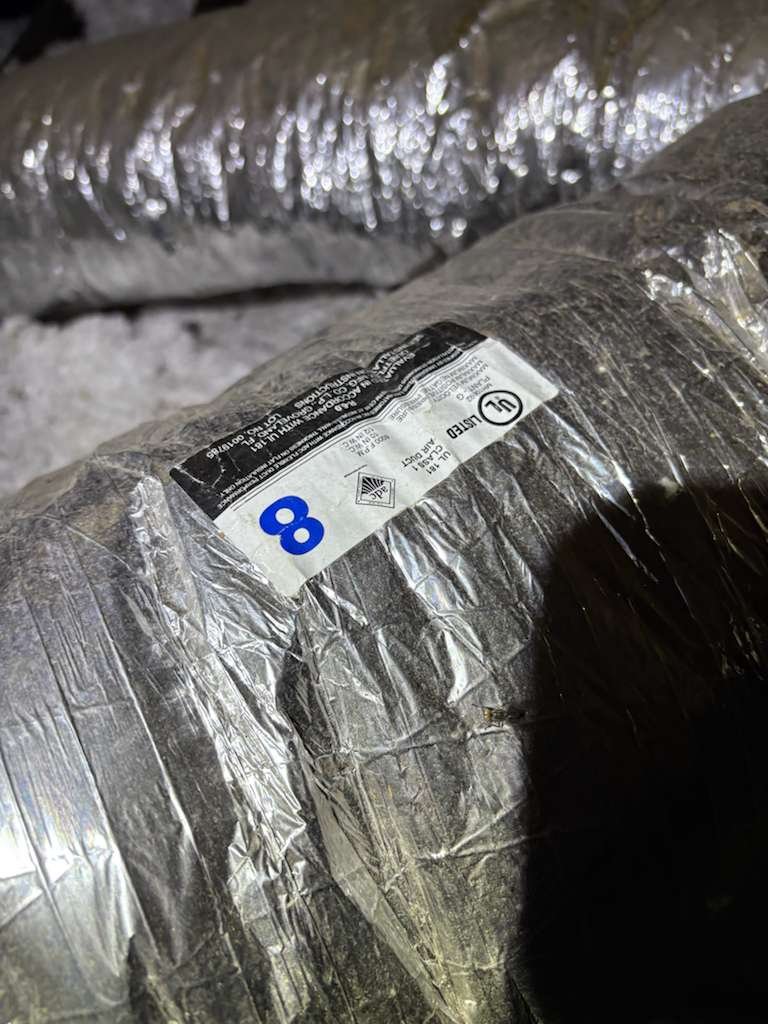
- New R6 flexible ducts to match the updated duct design.
- New grills for a cleaner appearance and better airflow.
- New plenums, if needed based on the design and existing conditions.
- New distribution boxes to properly split and balance airflow.
- Removal and disposal of old duct materials.
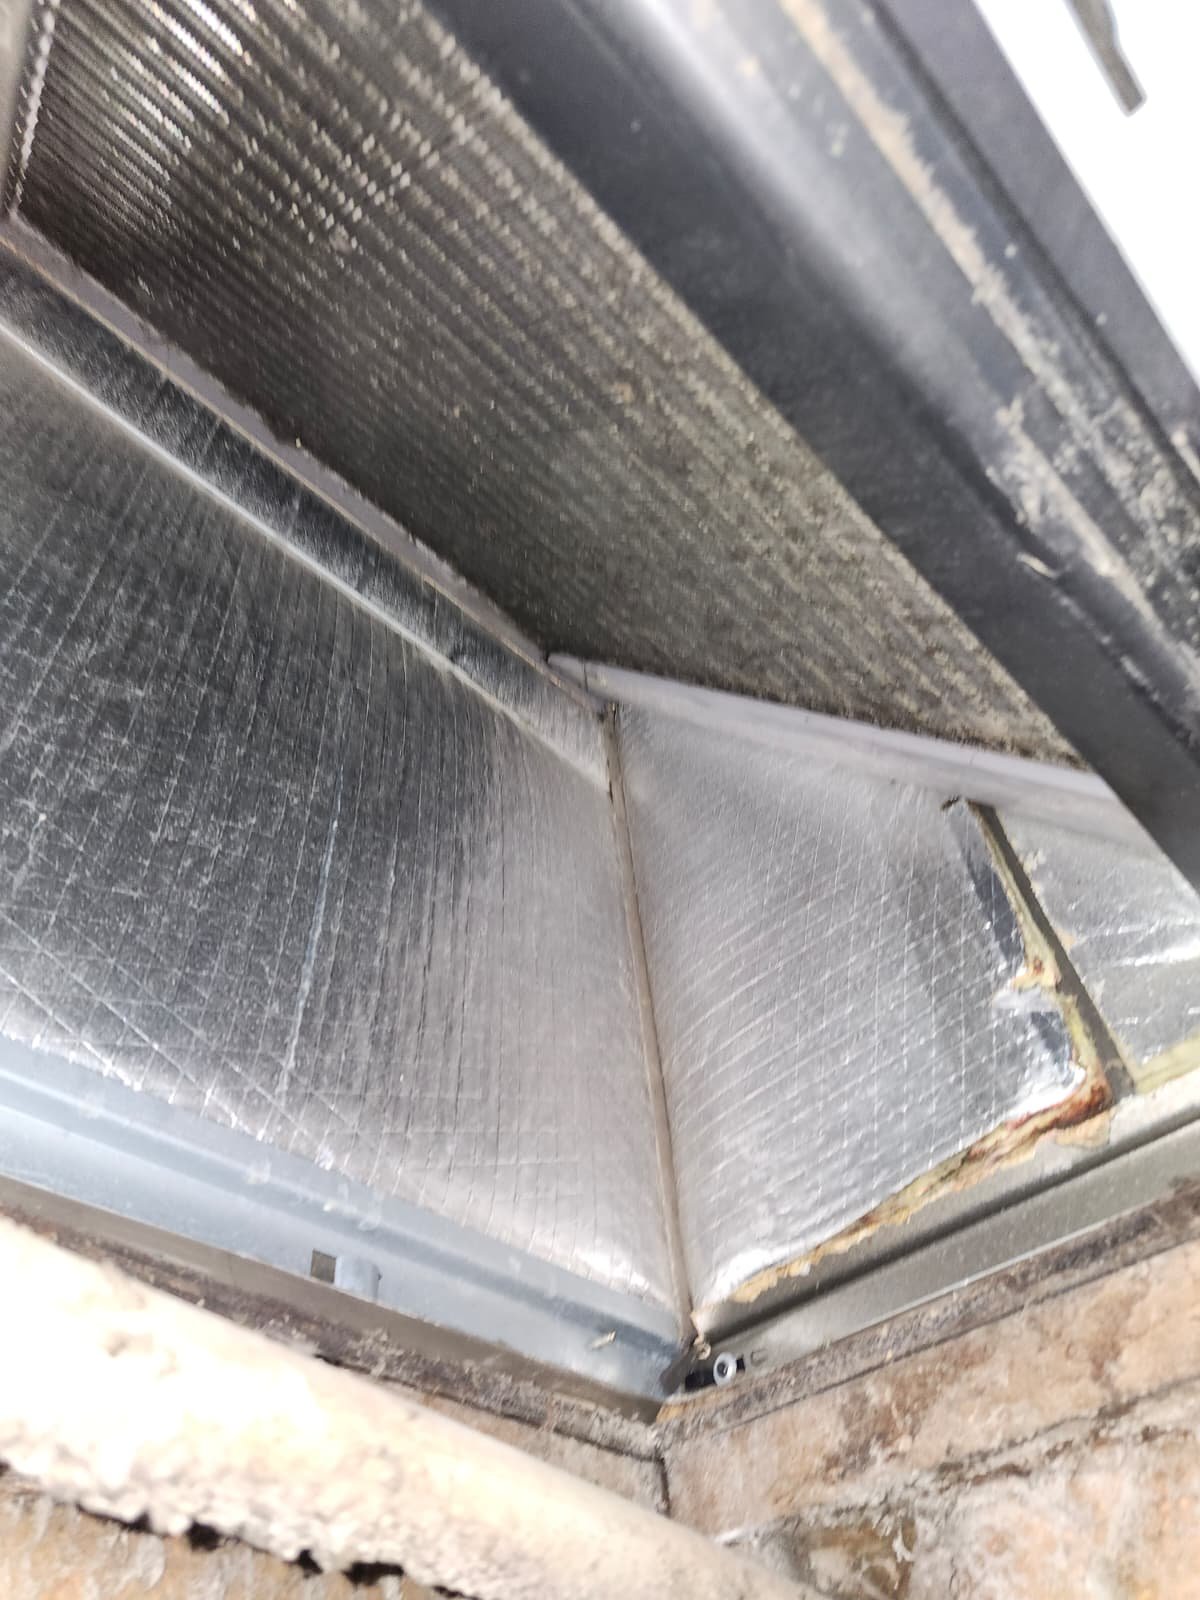
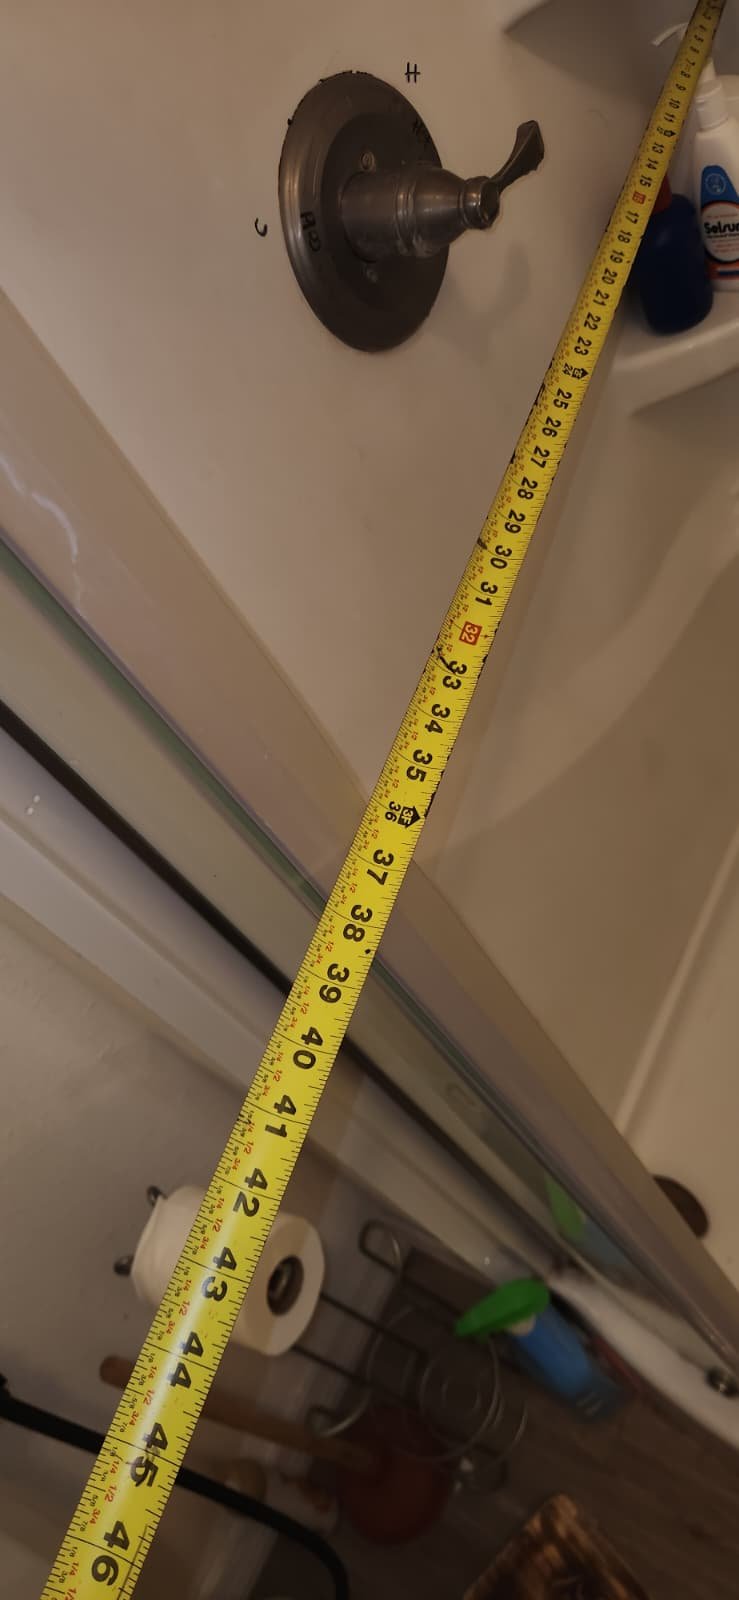
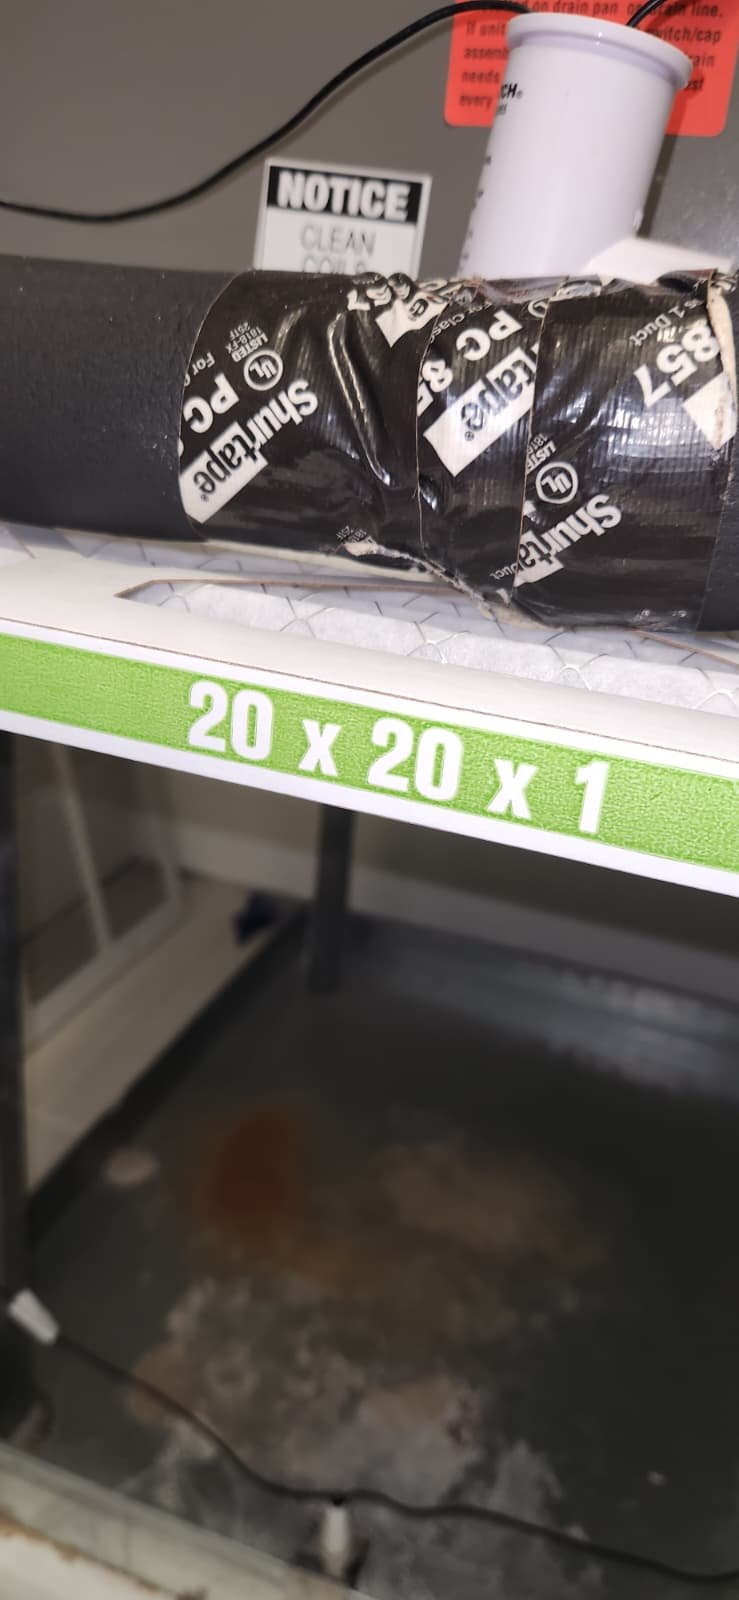
We designed the duct system to include appropriately sized supply and return drops, including:
- One 18″ supply drop.
- One 20″ return drop.
For duct insulation and construction, we used products such as Johns Manville Formaldehyde-free fiberglass insulation and GREENGUARD-certified insulated components. The Quietflex Rip Stop Silver Jacket provides a durable metalized vapor barrier with a special rip-stop reinforcement to resist tearing in attic conditions.
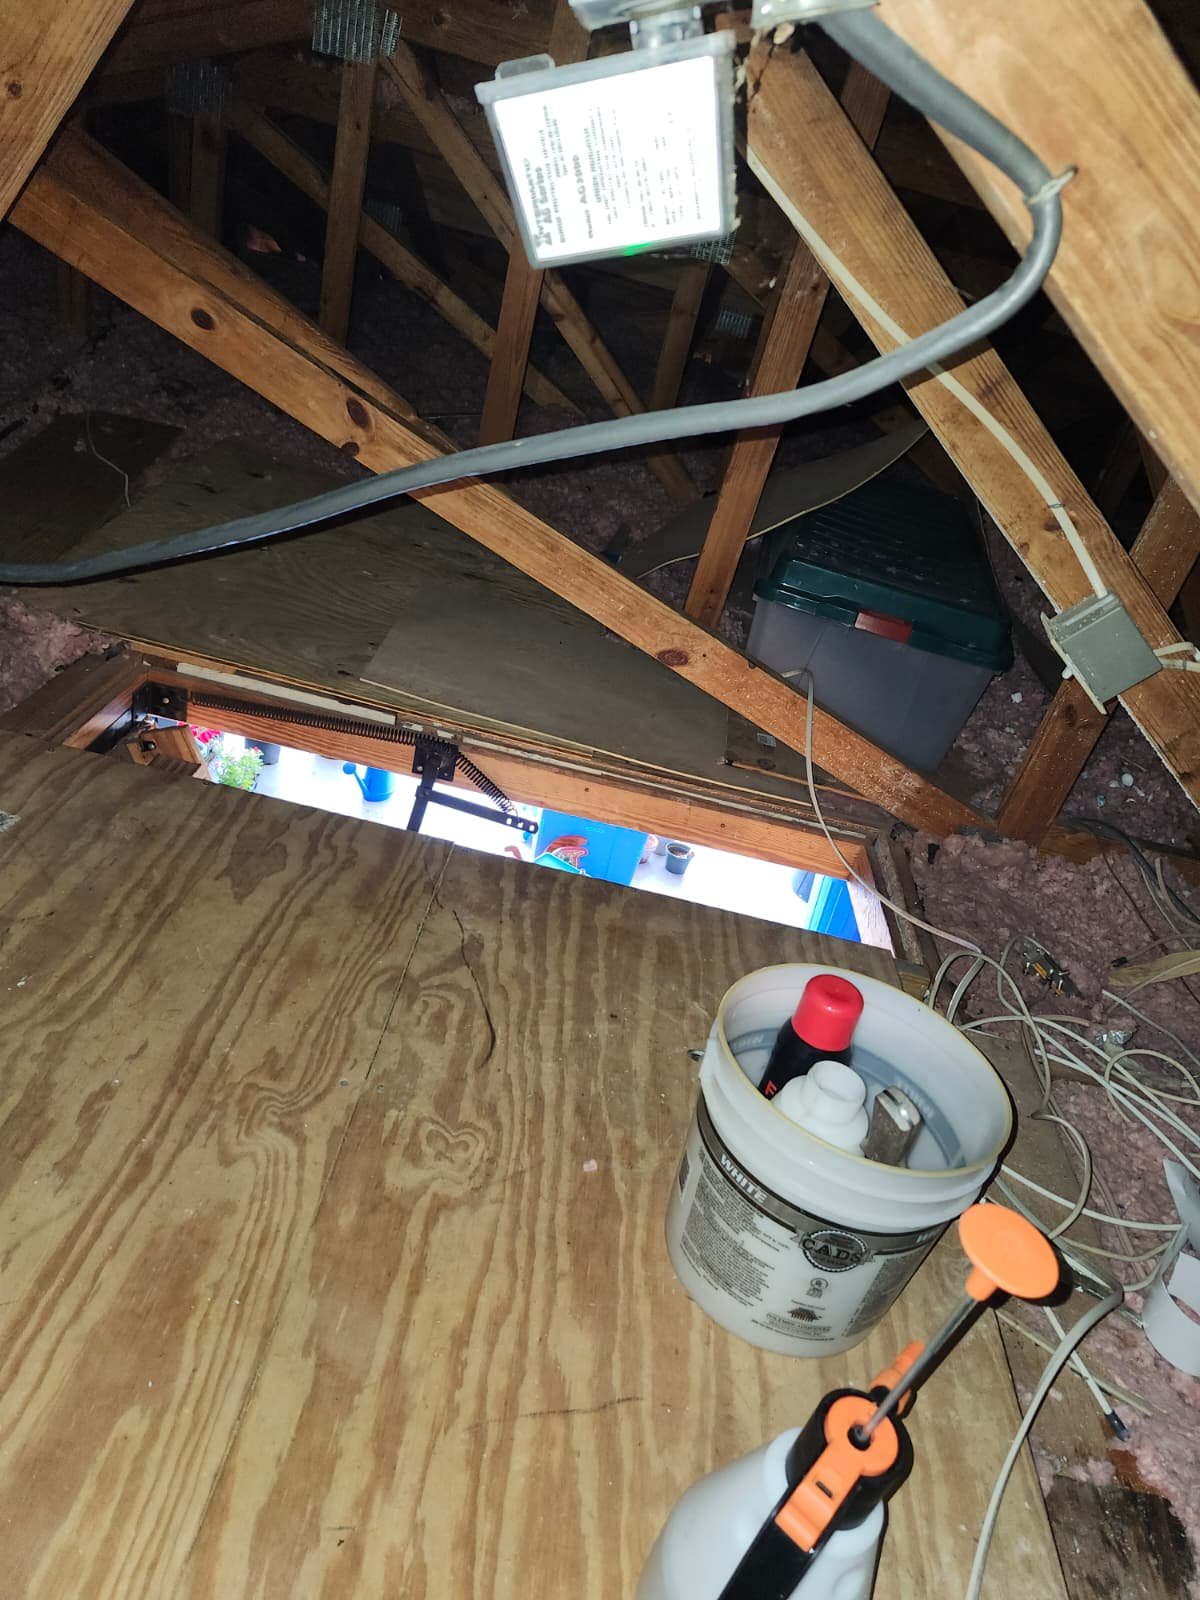
Attic work in Florida can be challenging, especially in tighter spaces. The pricing and planning for this job acknowledged attic height and access, as shorter attic clearances require more effort and can affect how quickly and safely ductwork can be installed.
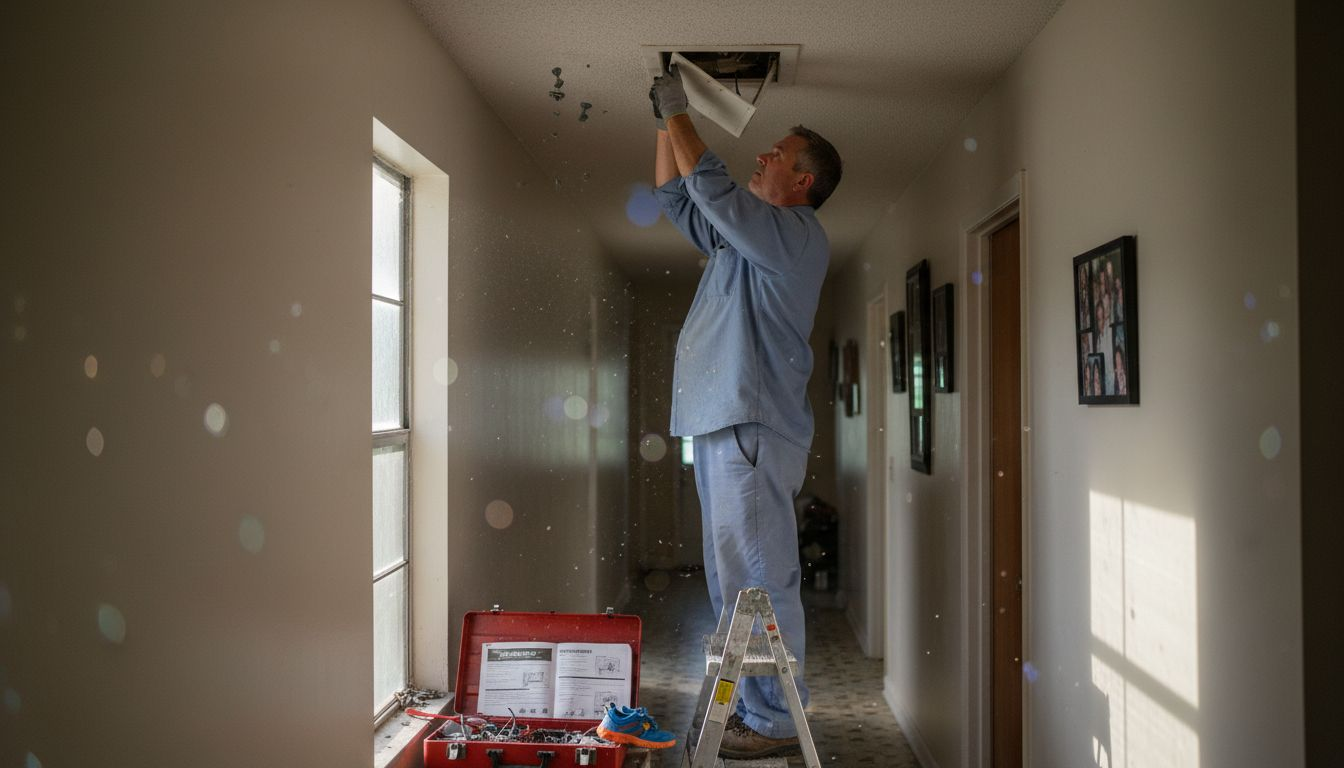
4. Clean-Up, Protection, and Home Care
We always do our best to protect the home during ductwork and equipment changeouts. For projects like this in Valrico, we:
- Ask homeowners to move or cover furniture below vents and to cover electronics, baby items, clothing, and food before we arrive.
- Work directly under vents when swapping boots and grills and do our best to shield key areas from dust or insulation.
- Clean up at the end of each workday, removing debris and old duct materials as agreed.
In some cases, we may need to open small access holes in sheetrock to run ducts correctly. When that’s necessary, we always inform the homeowner and get approval first. Our team can open access, but sheetrock repair and painting are typically handled separately.
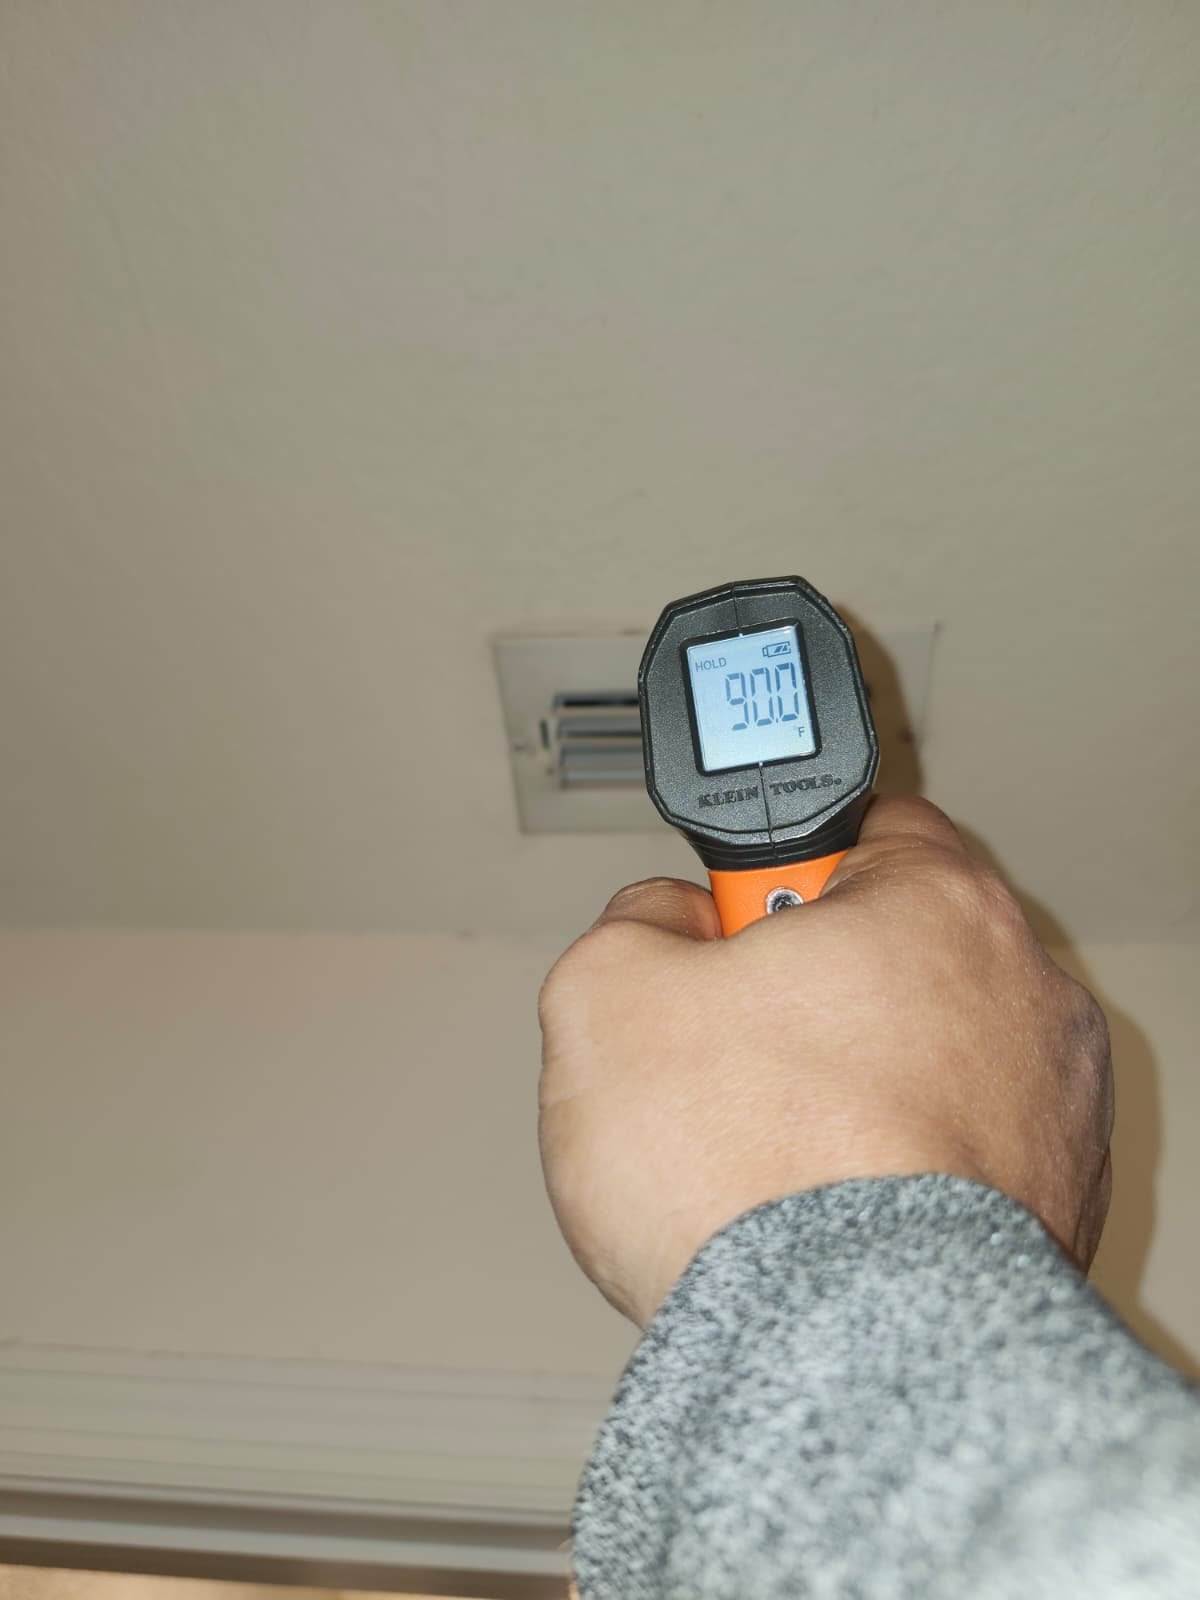
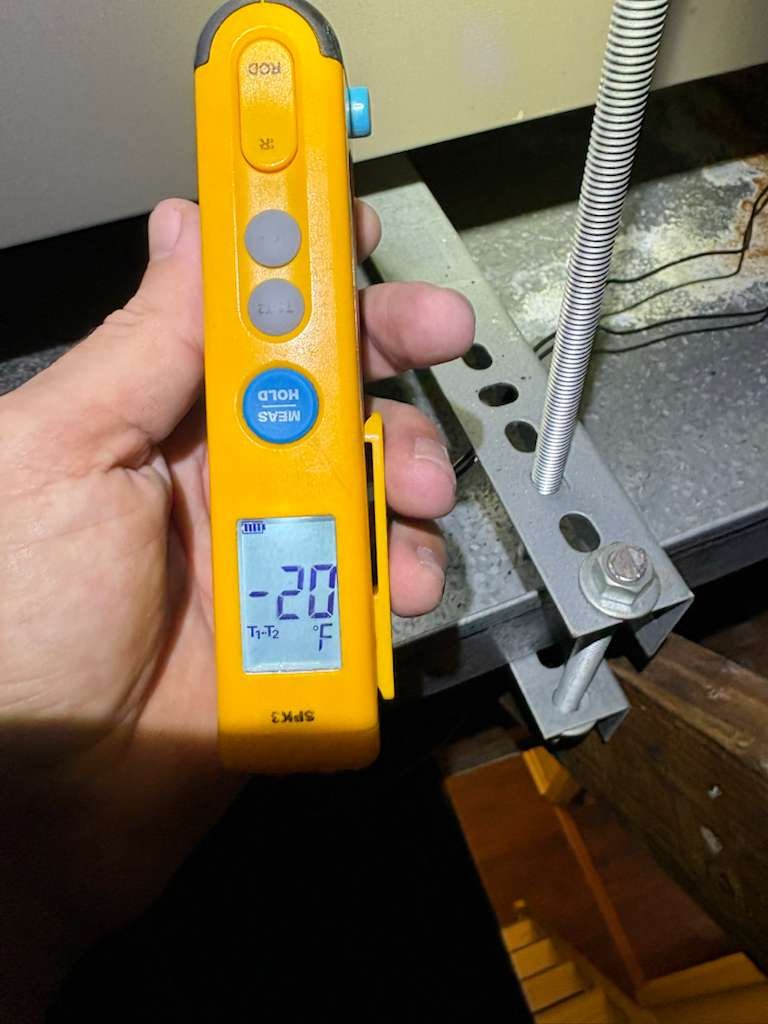
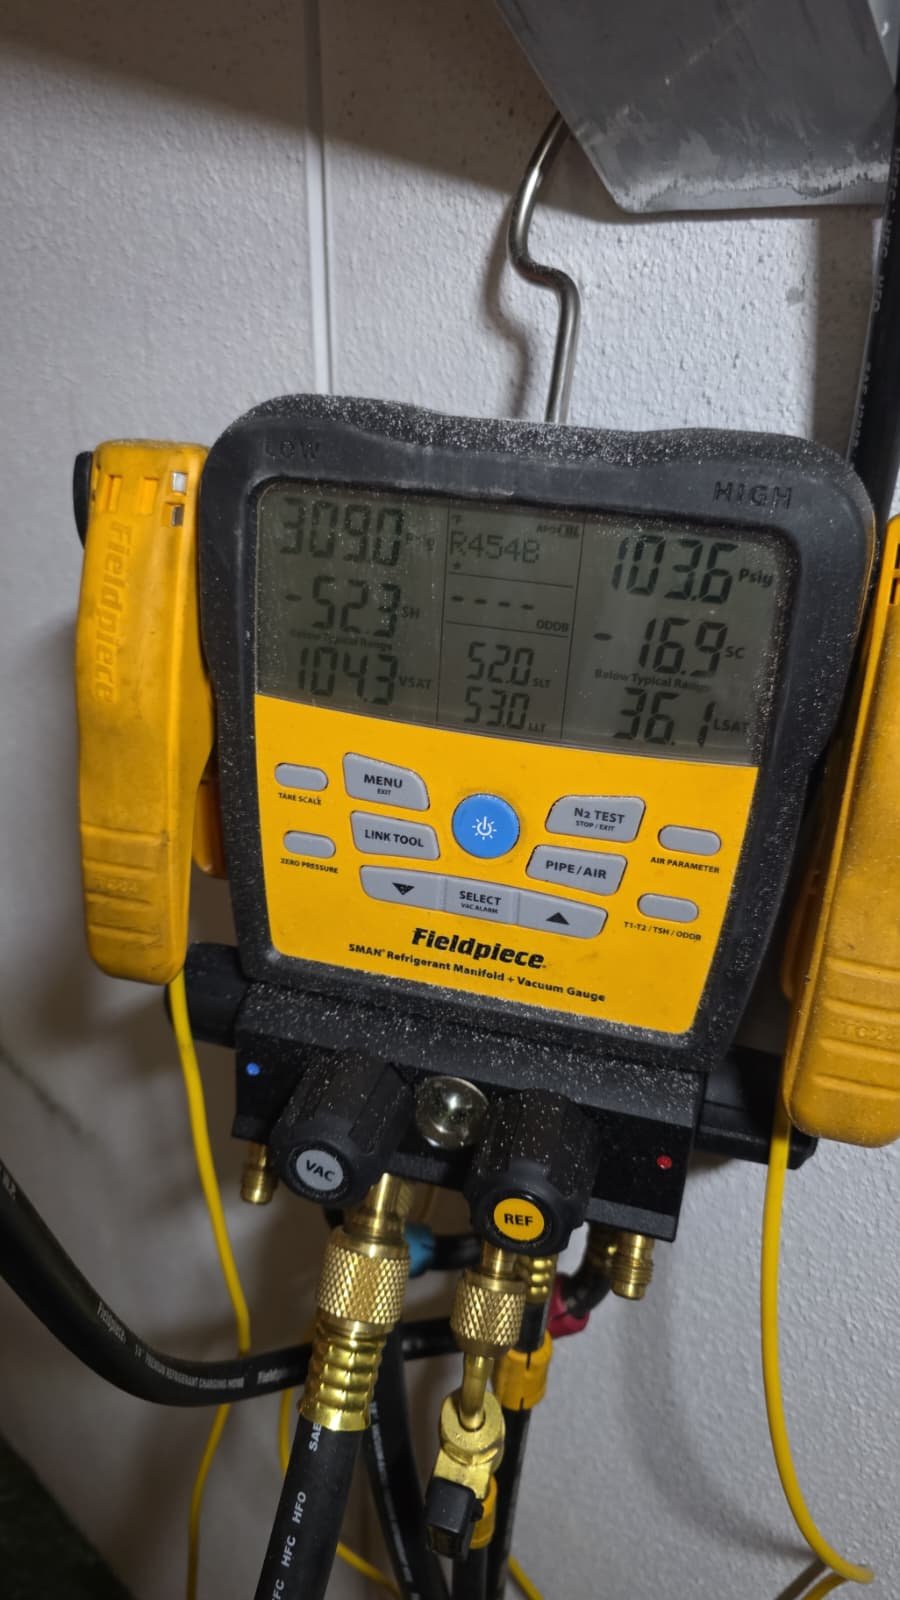
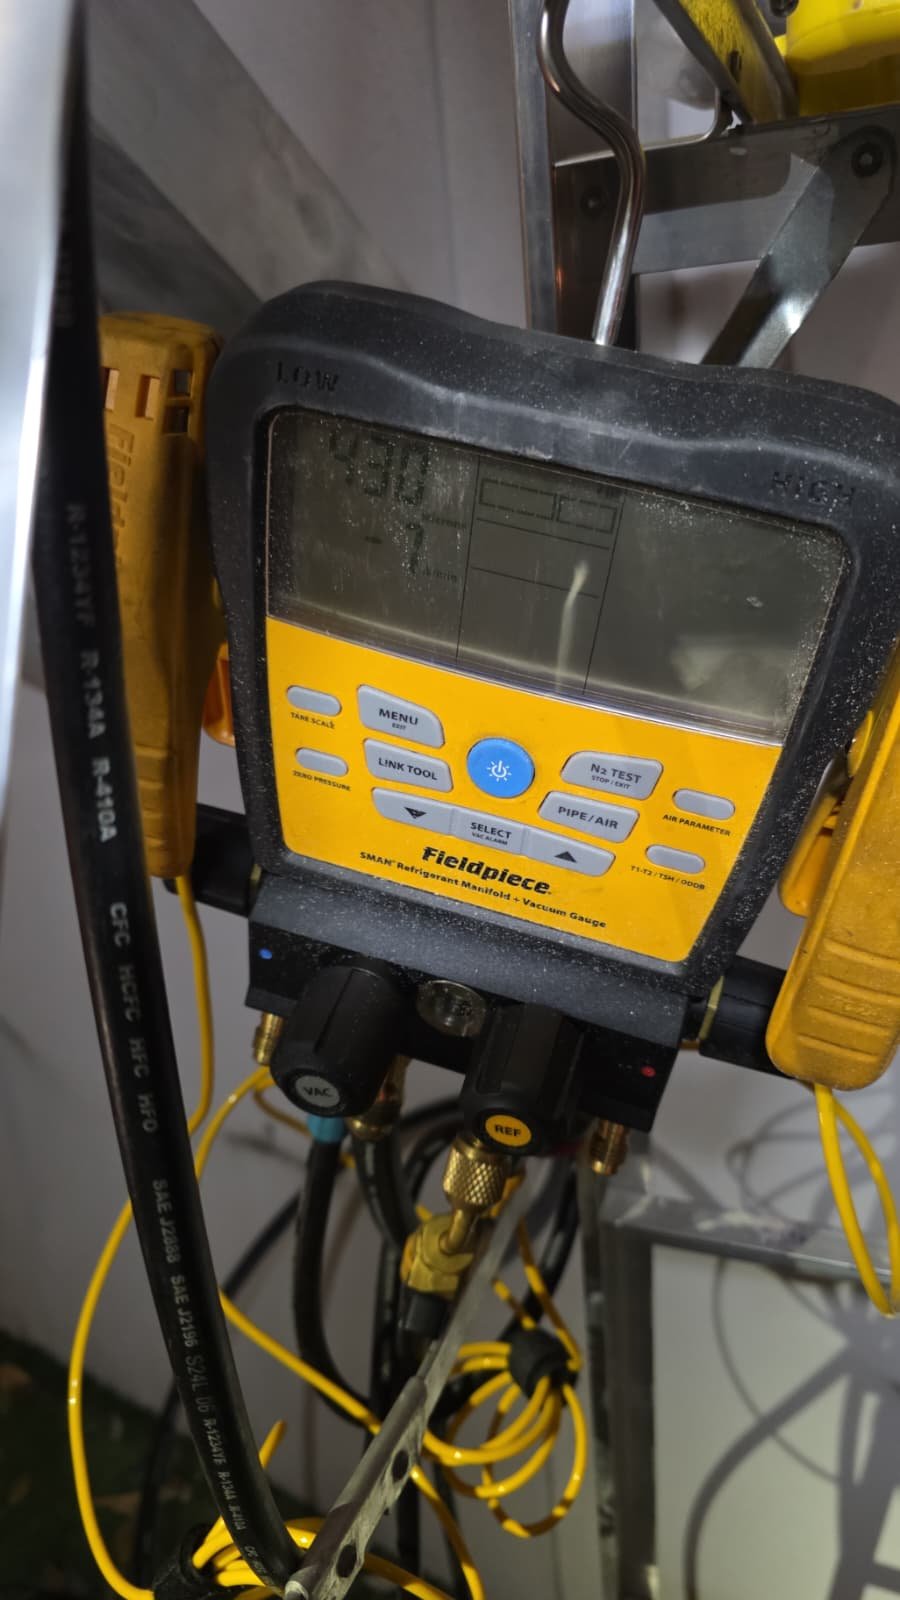
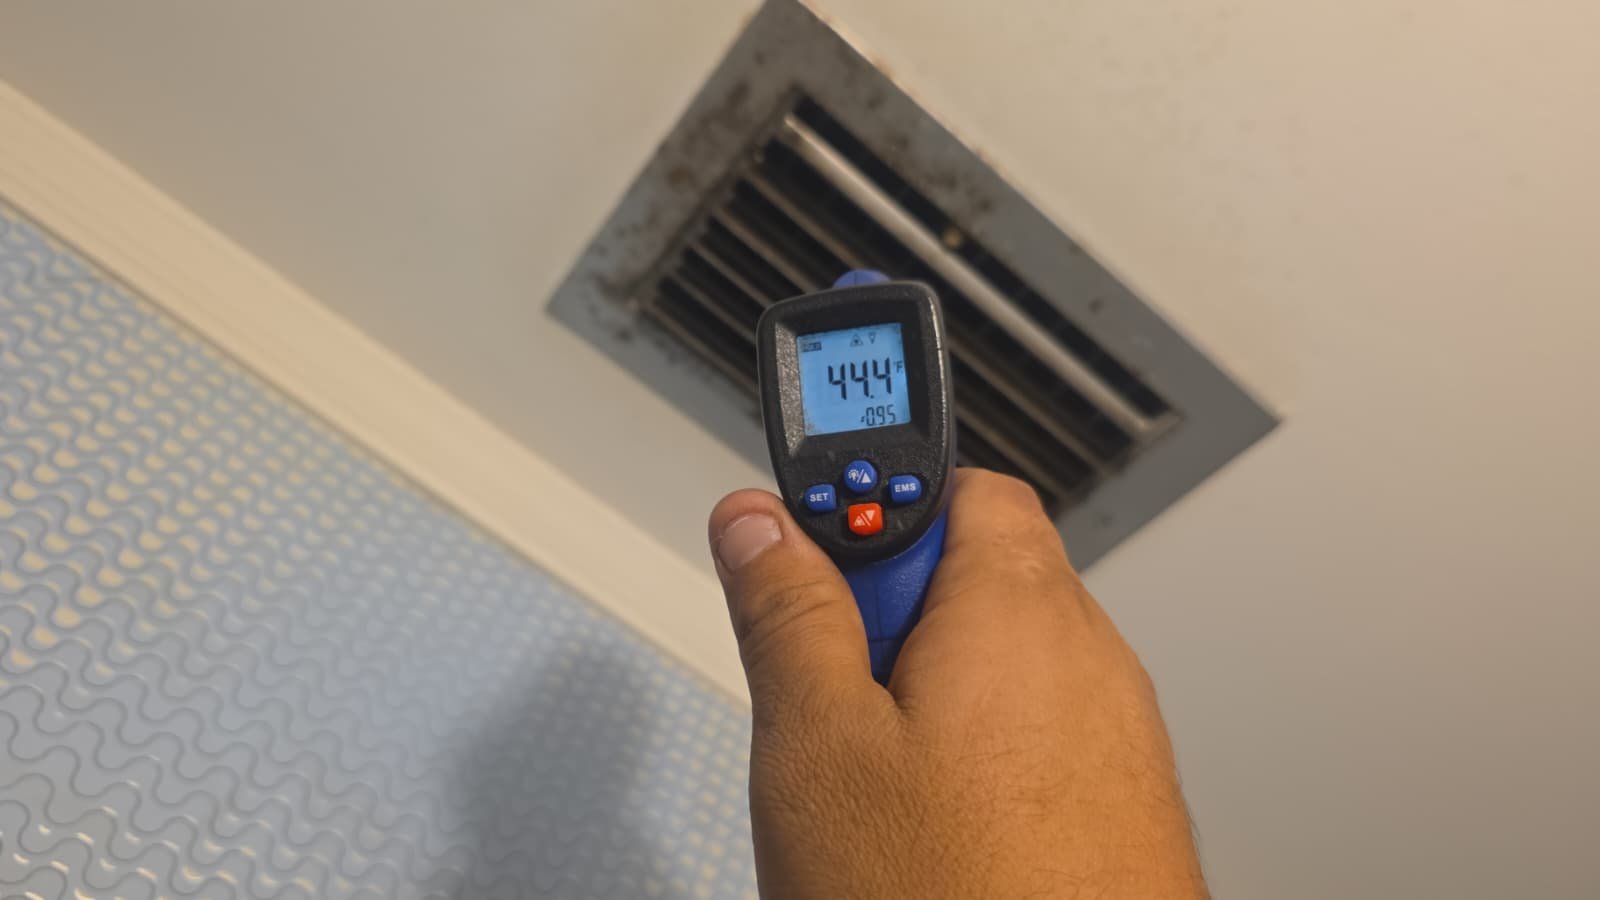
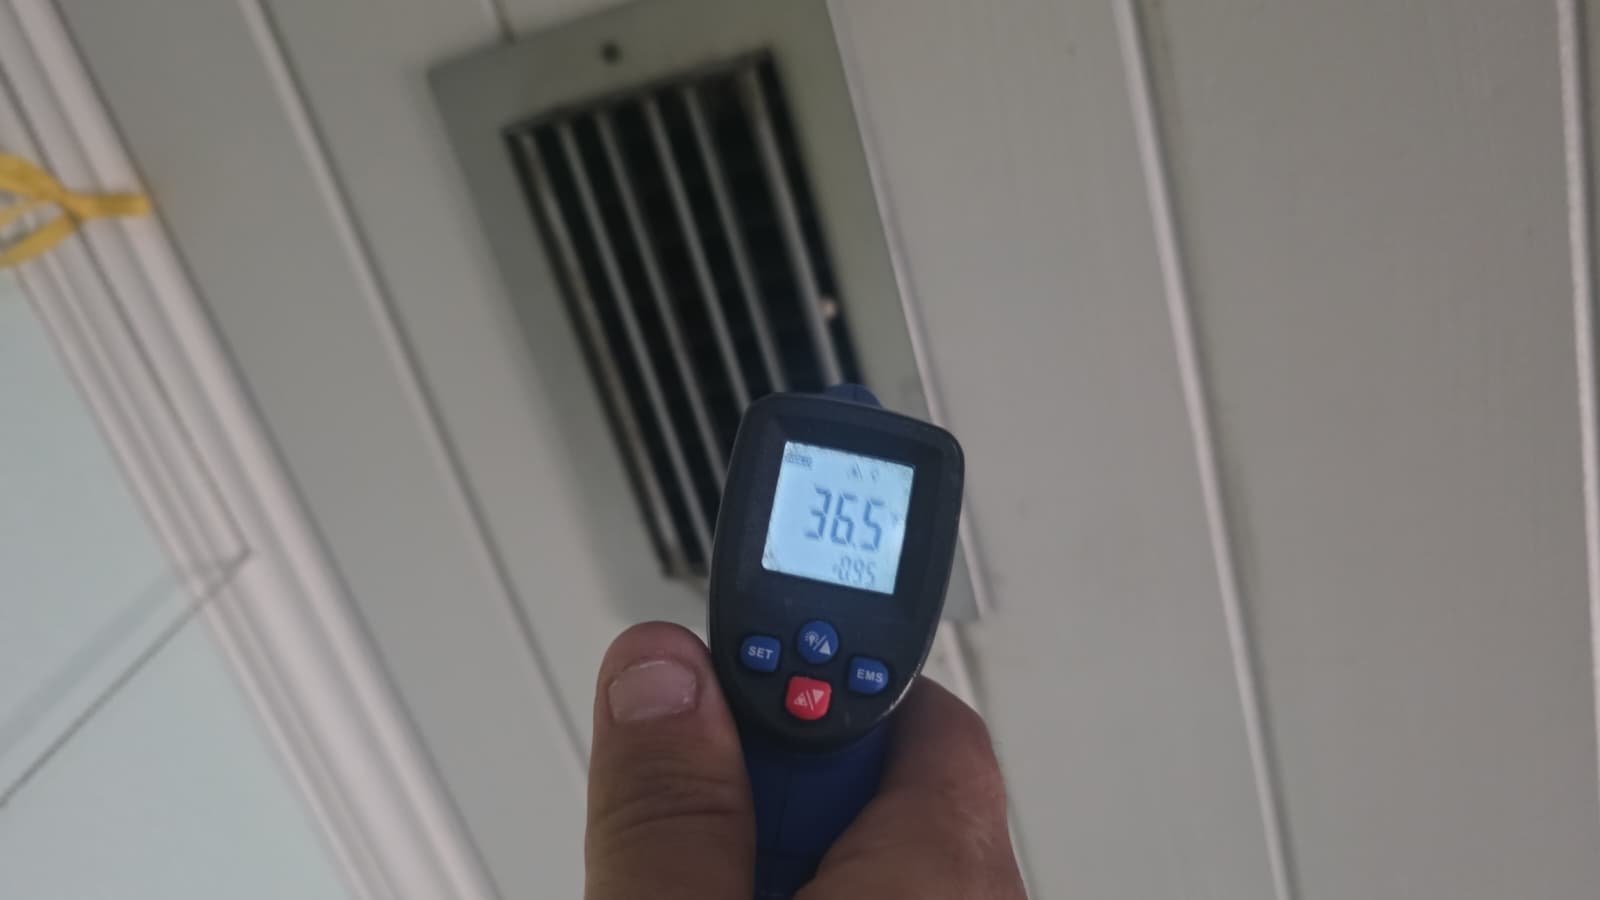
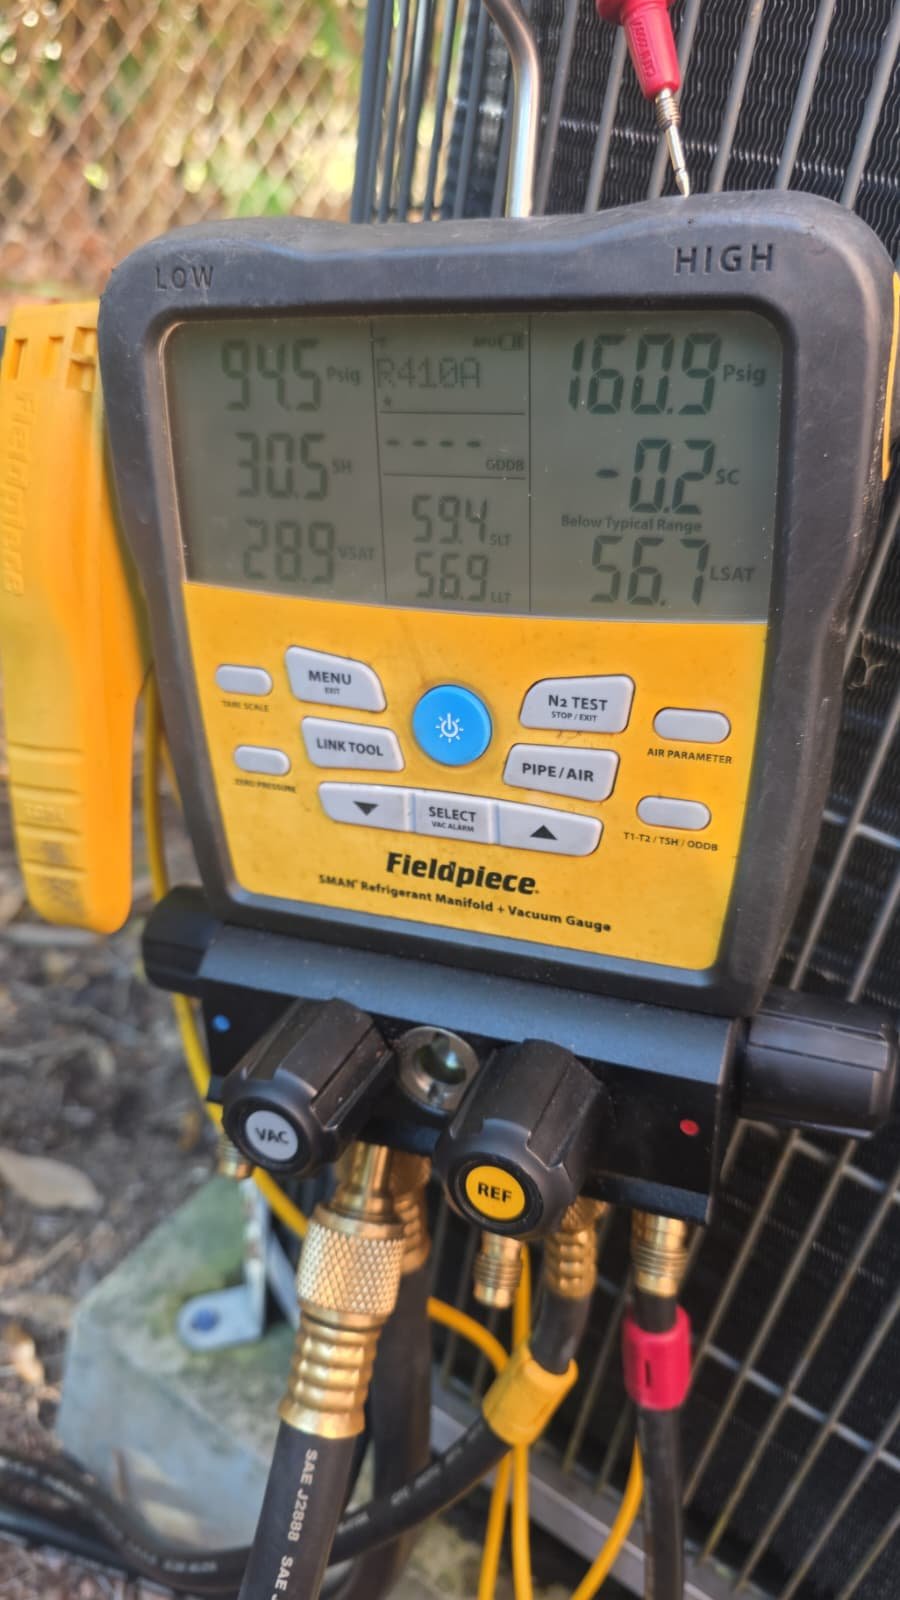
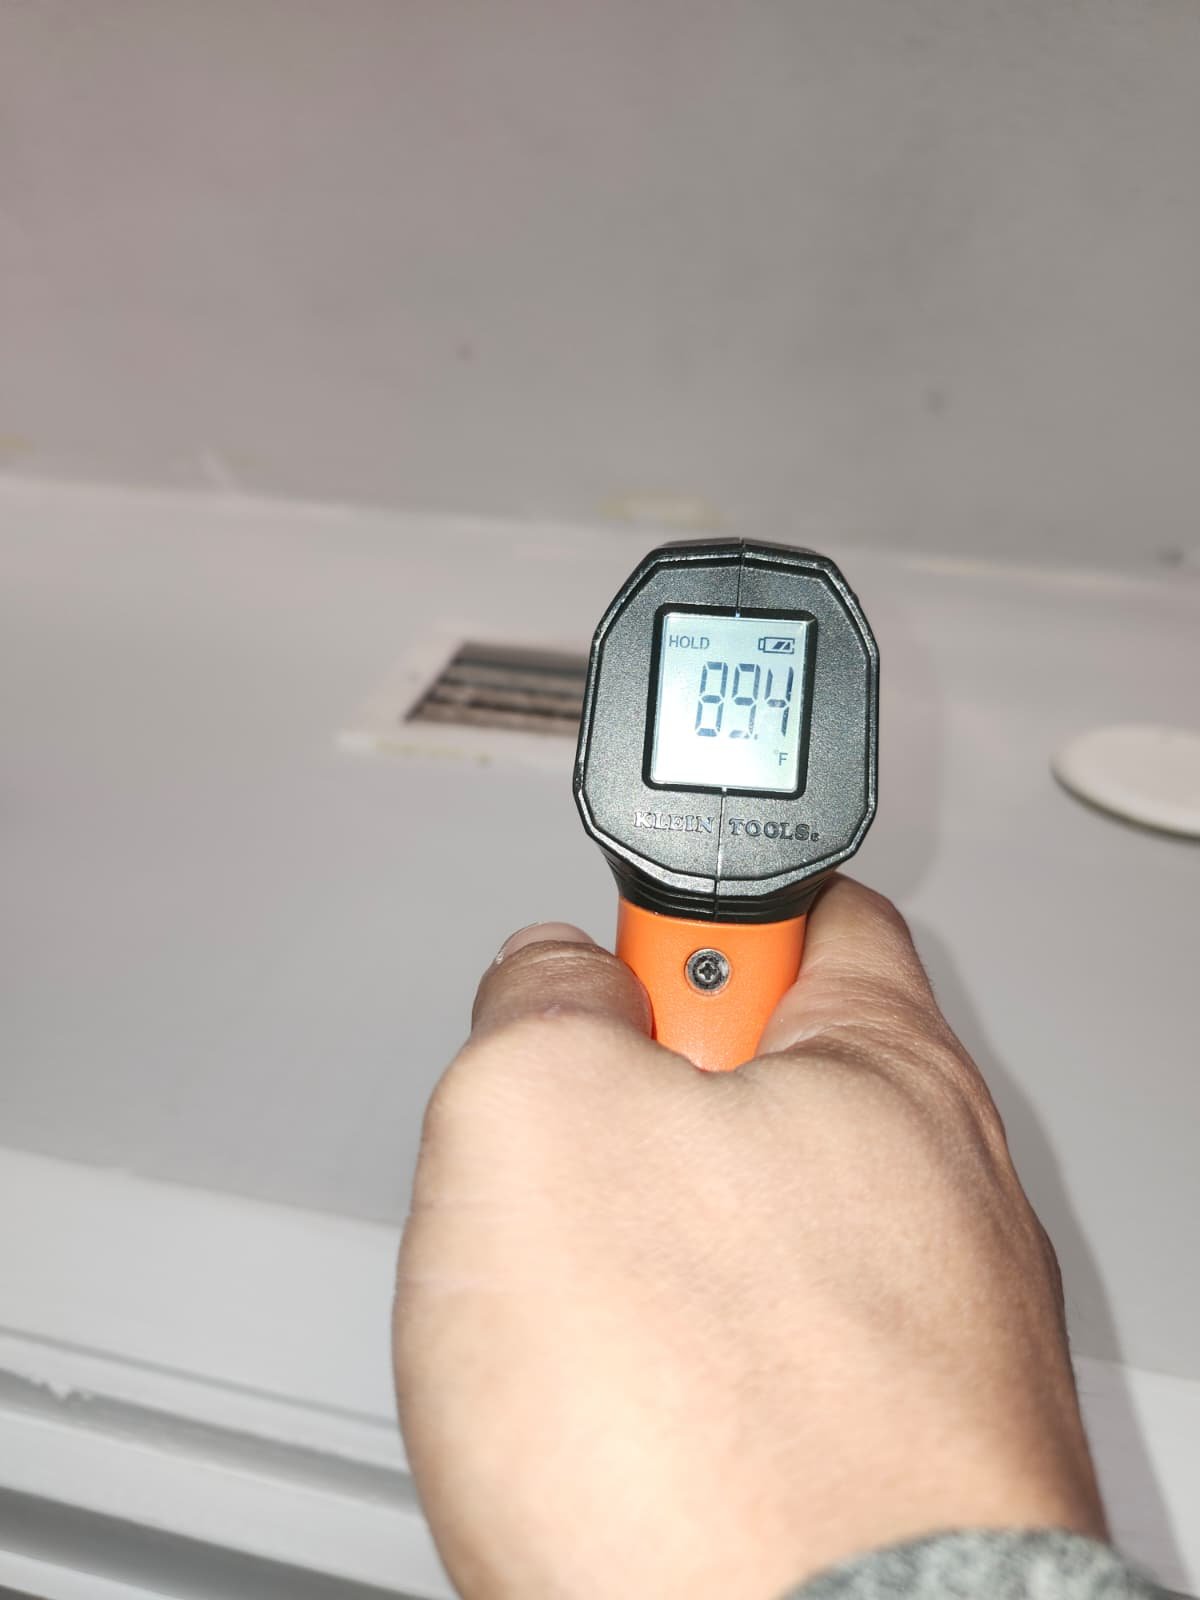
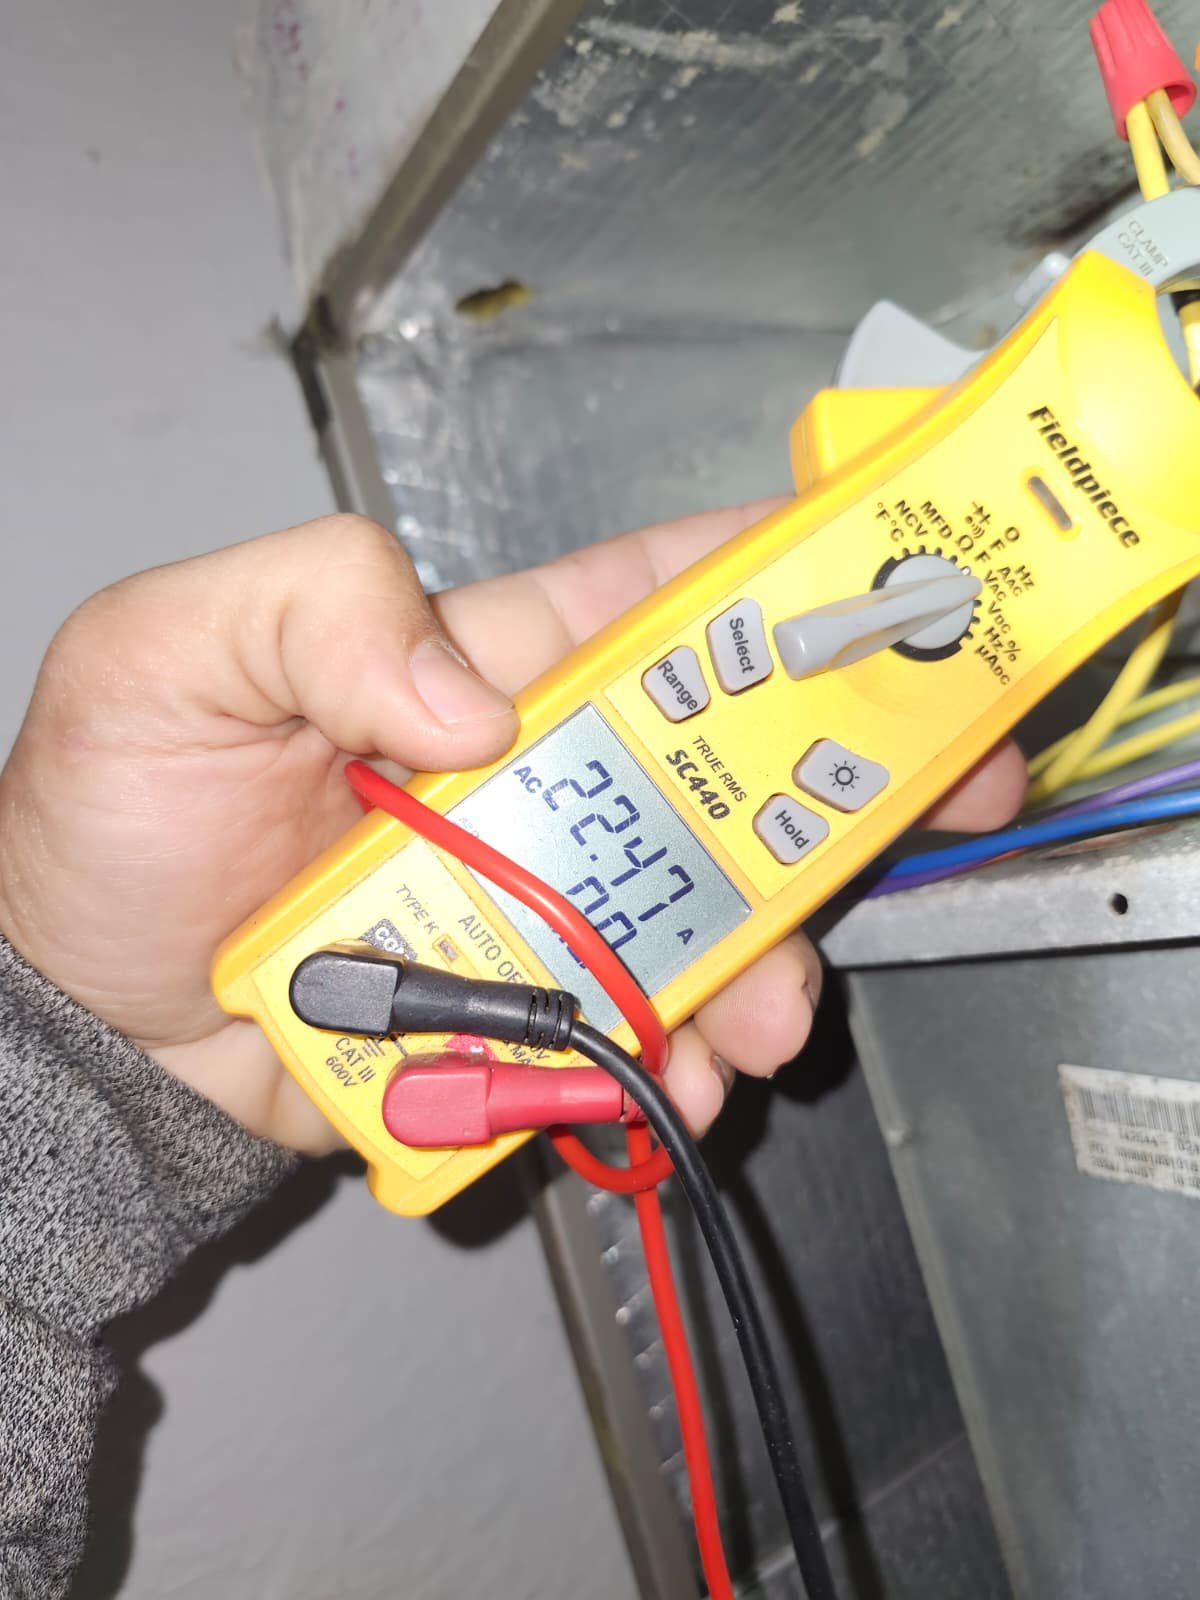
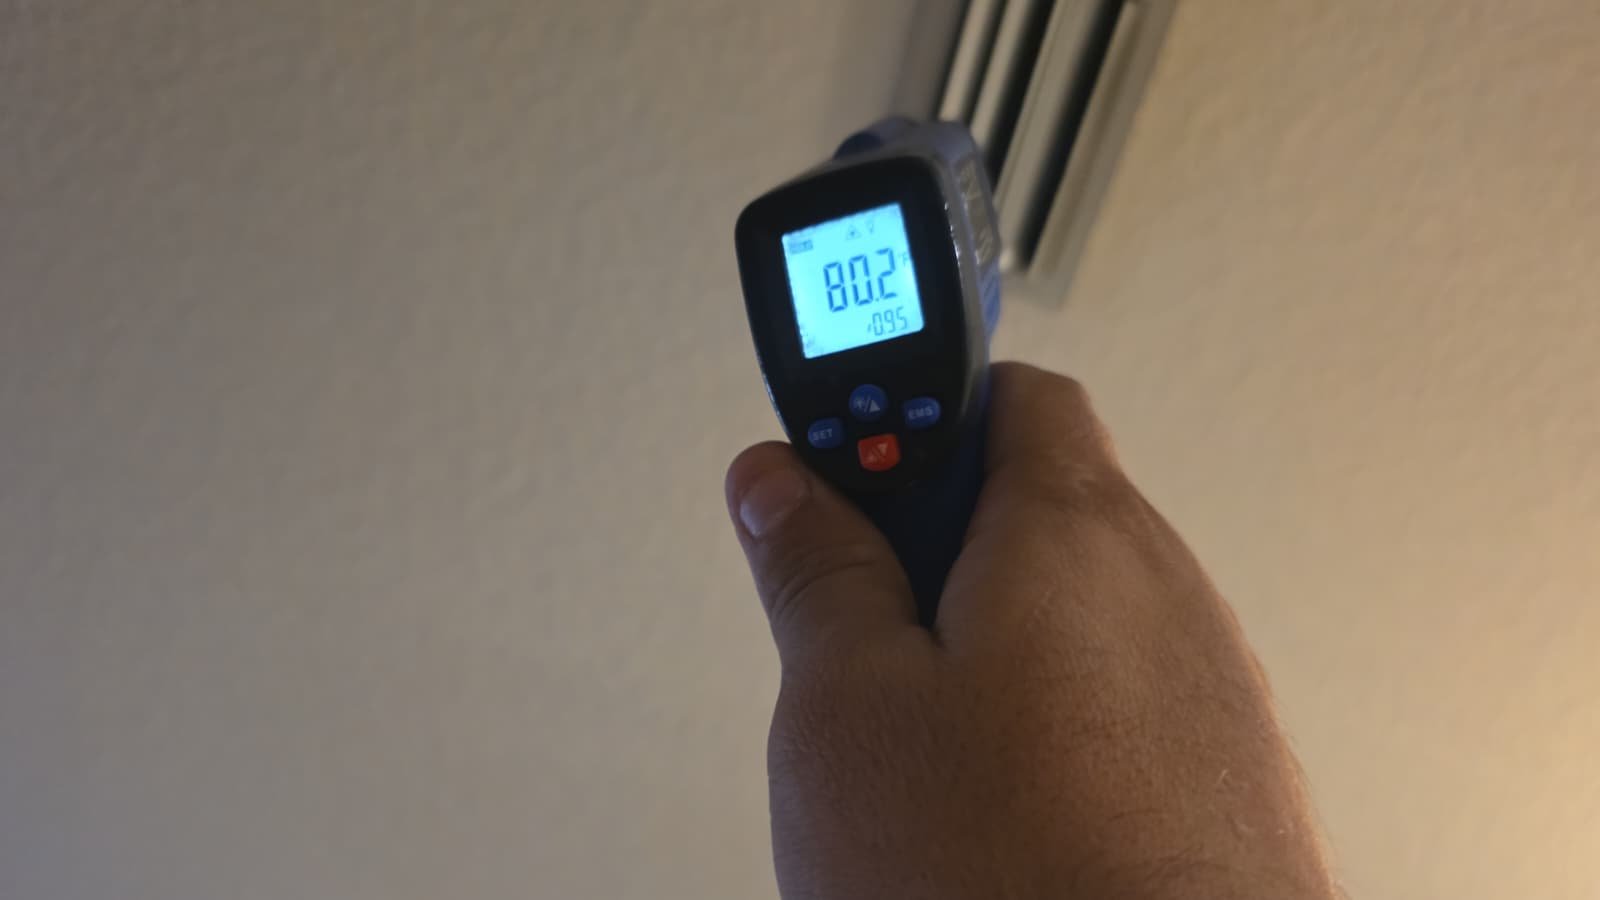
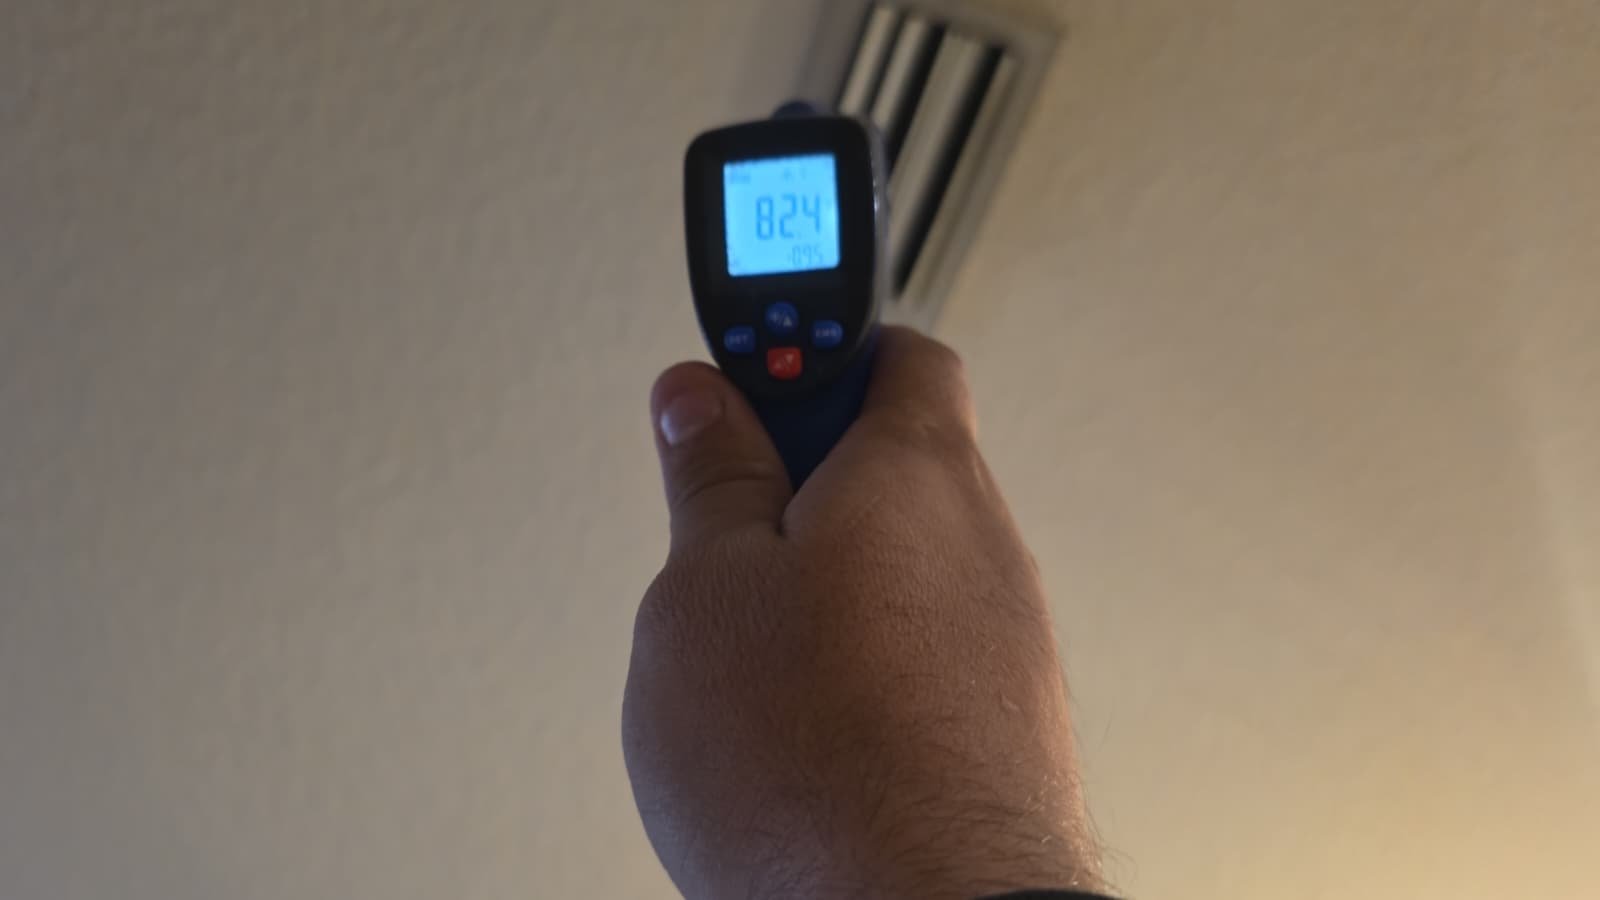
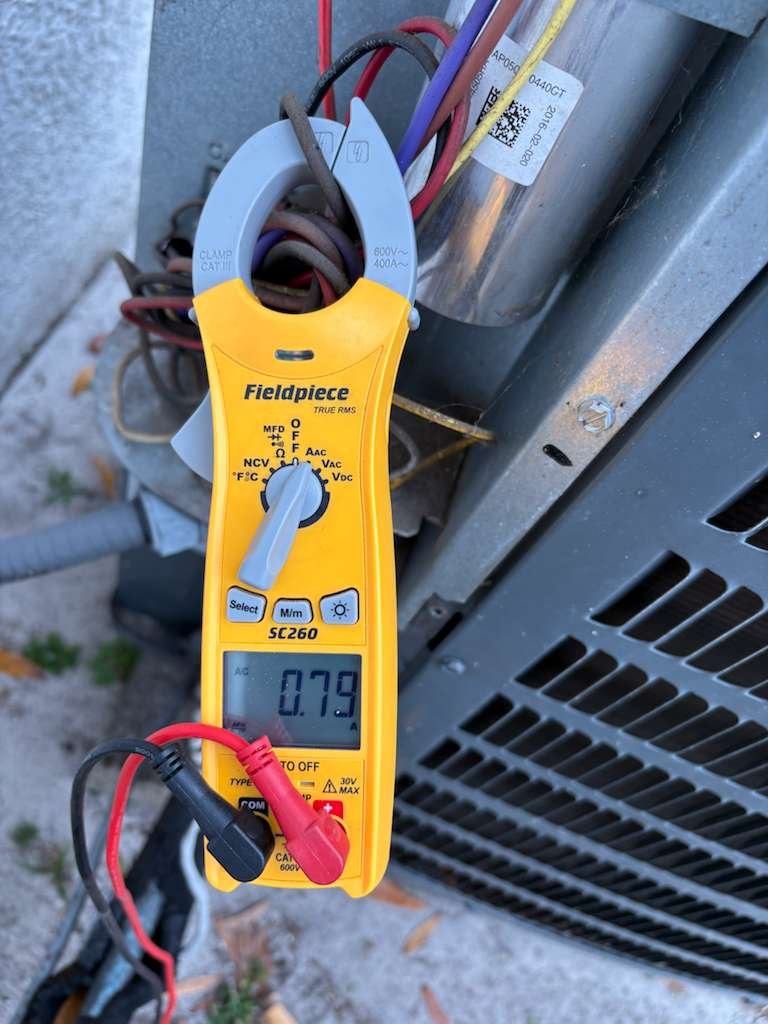
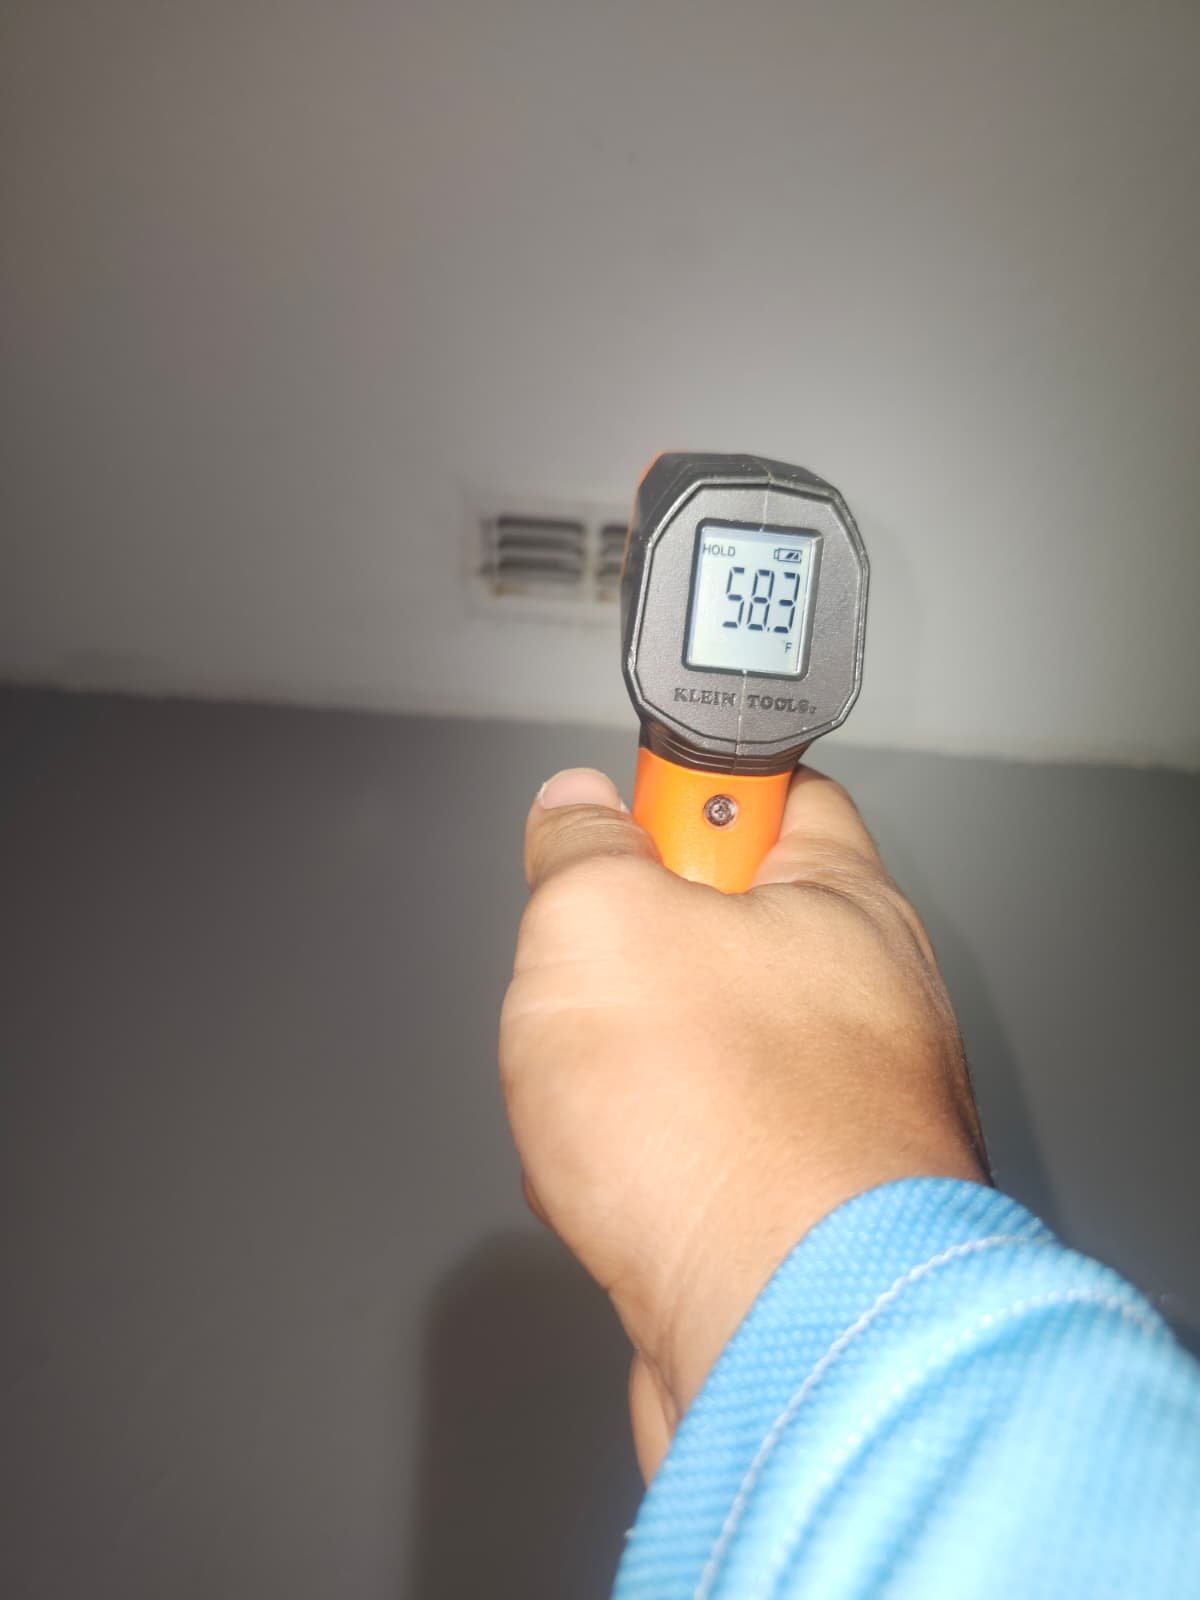
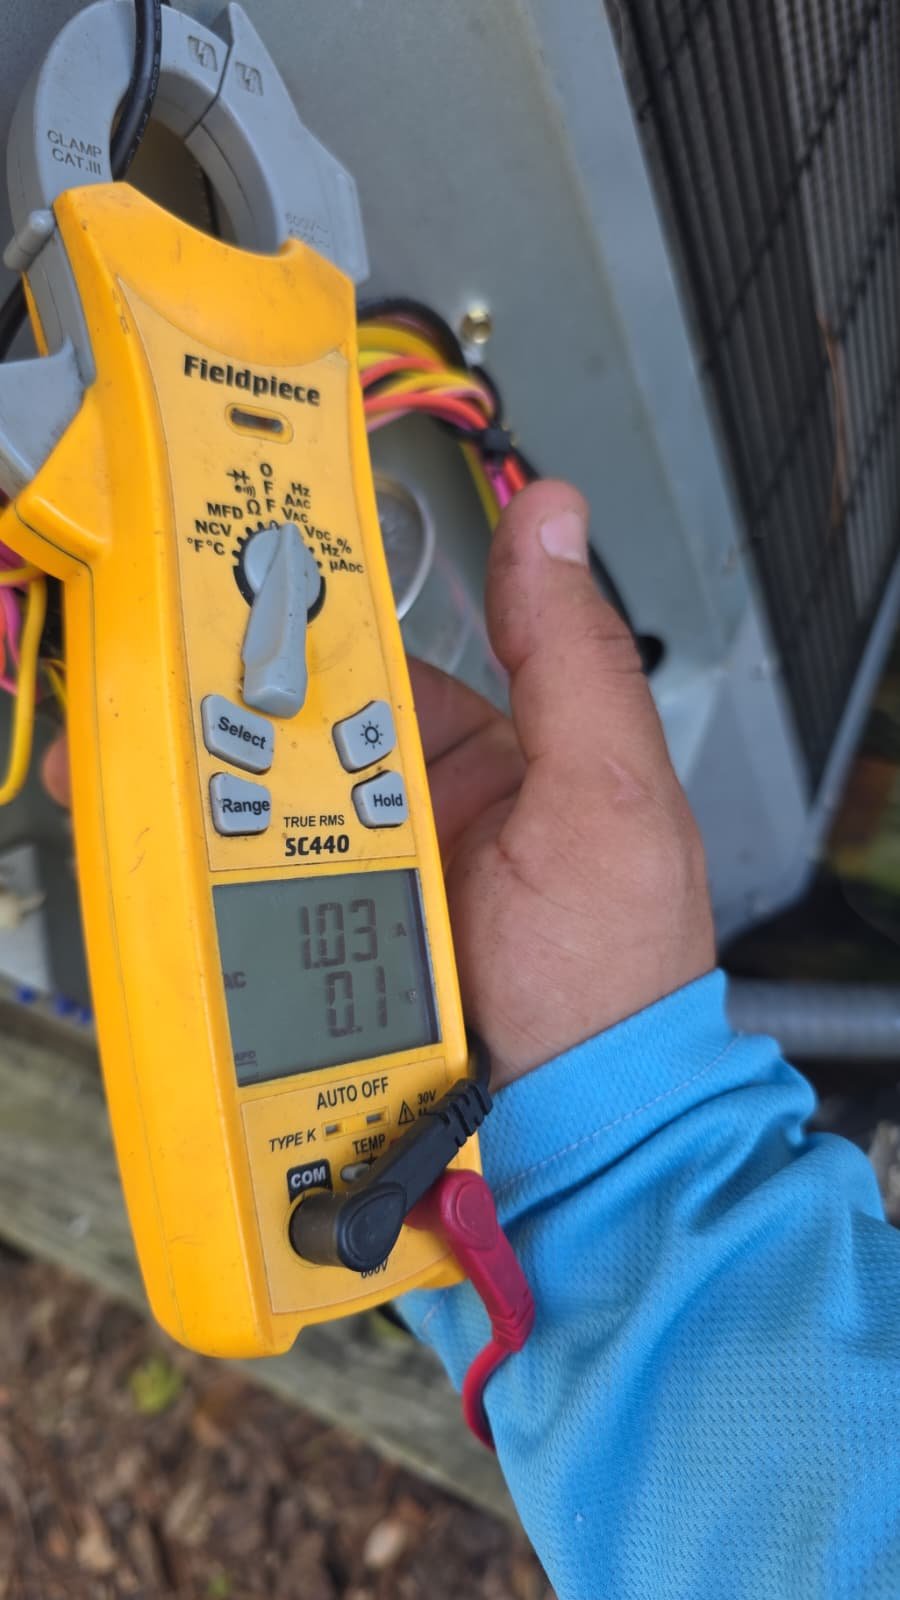
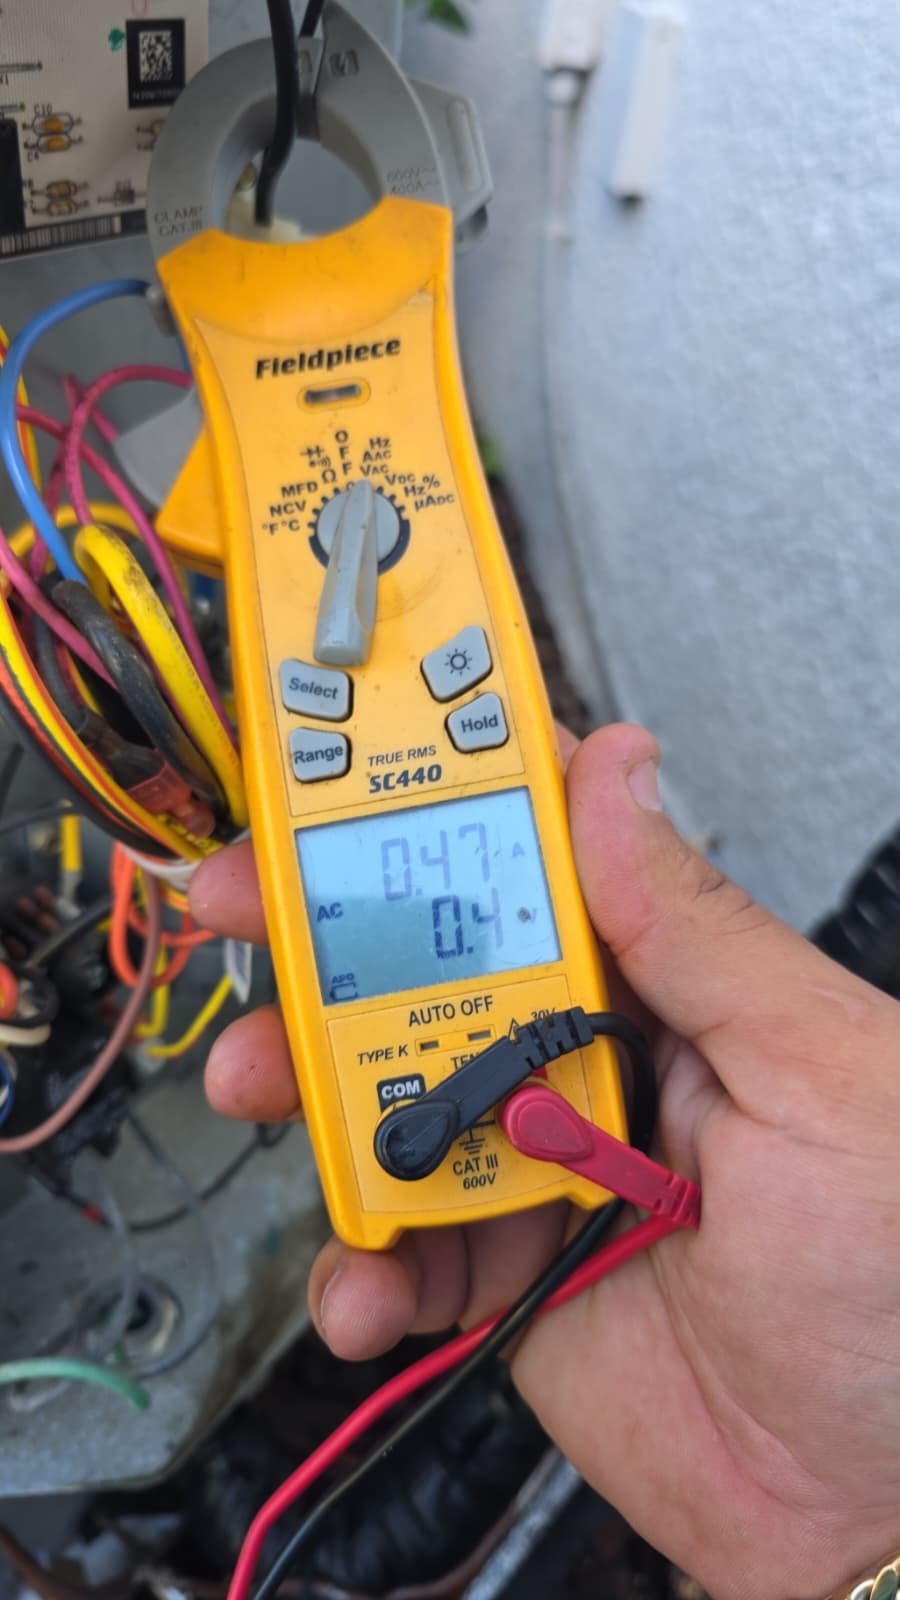
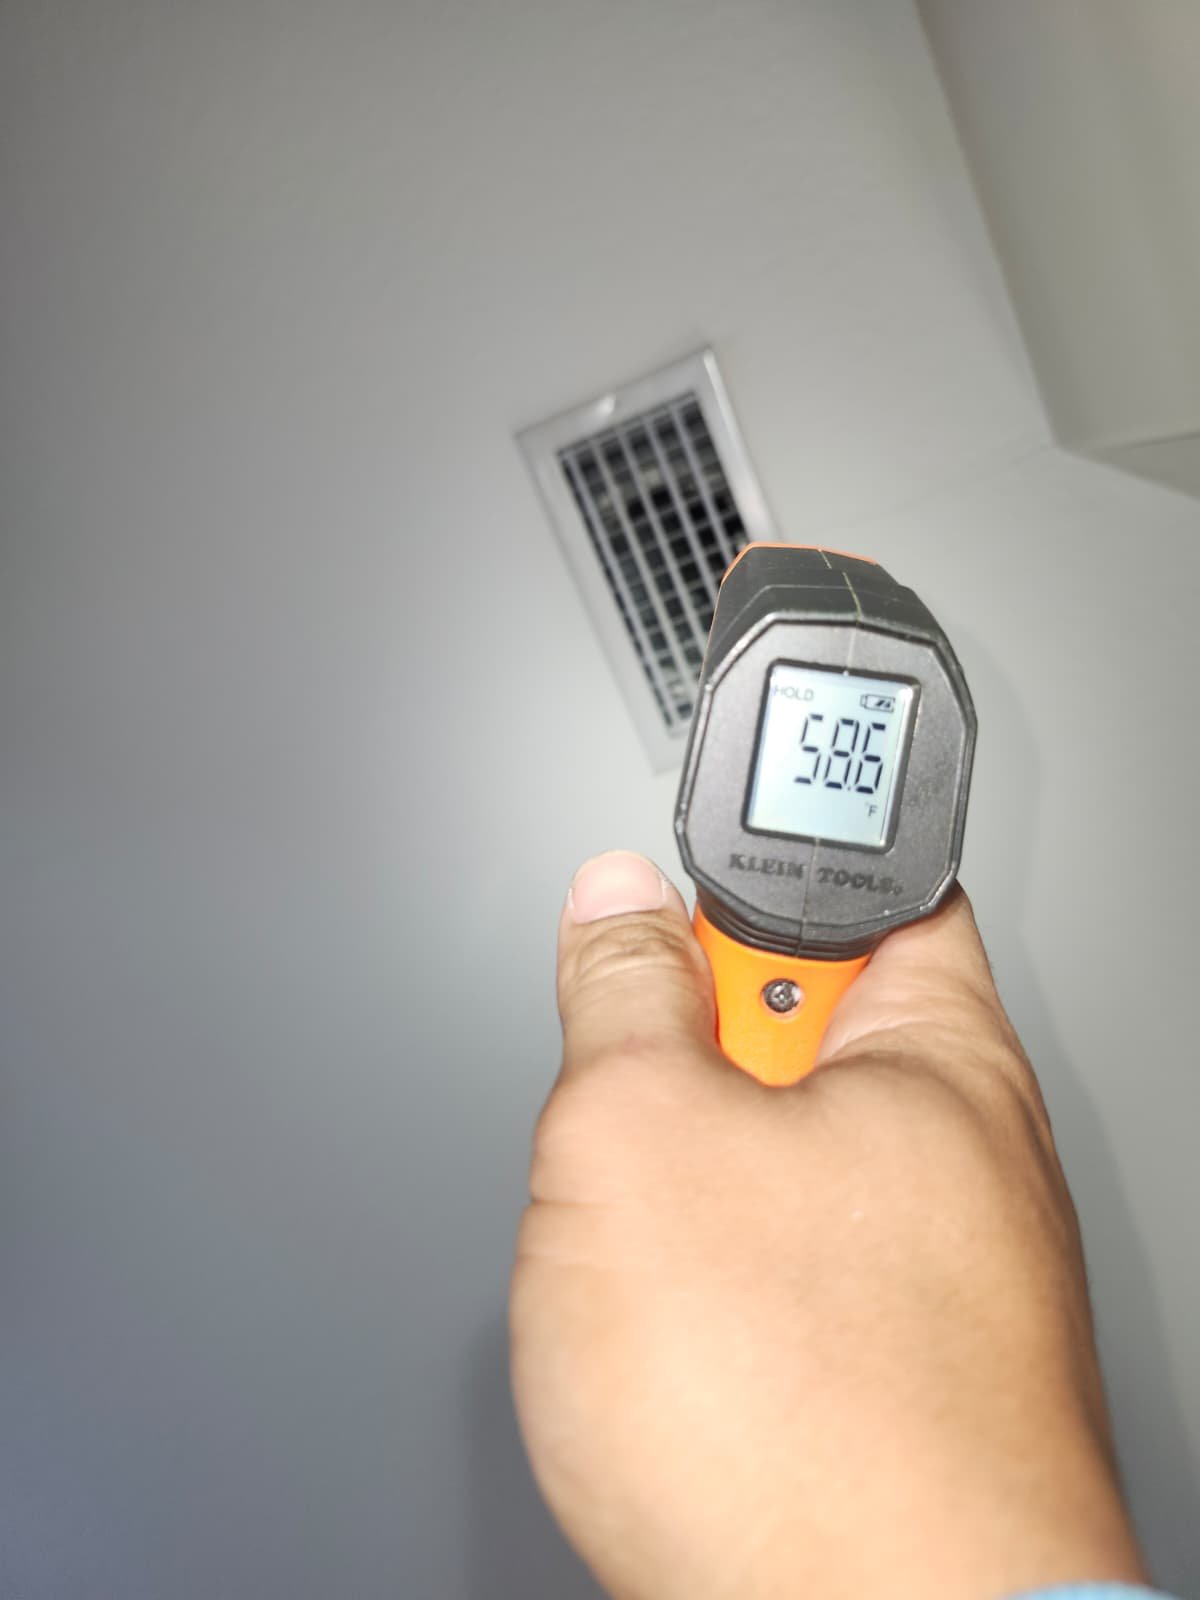
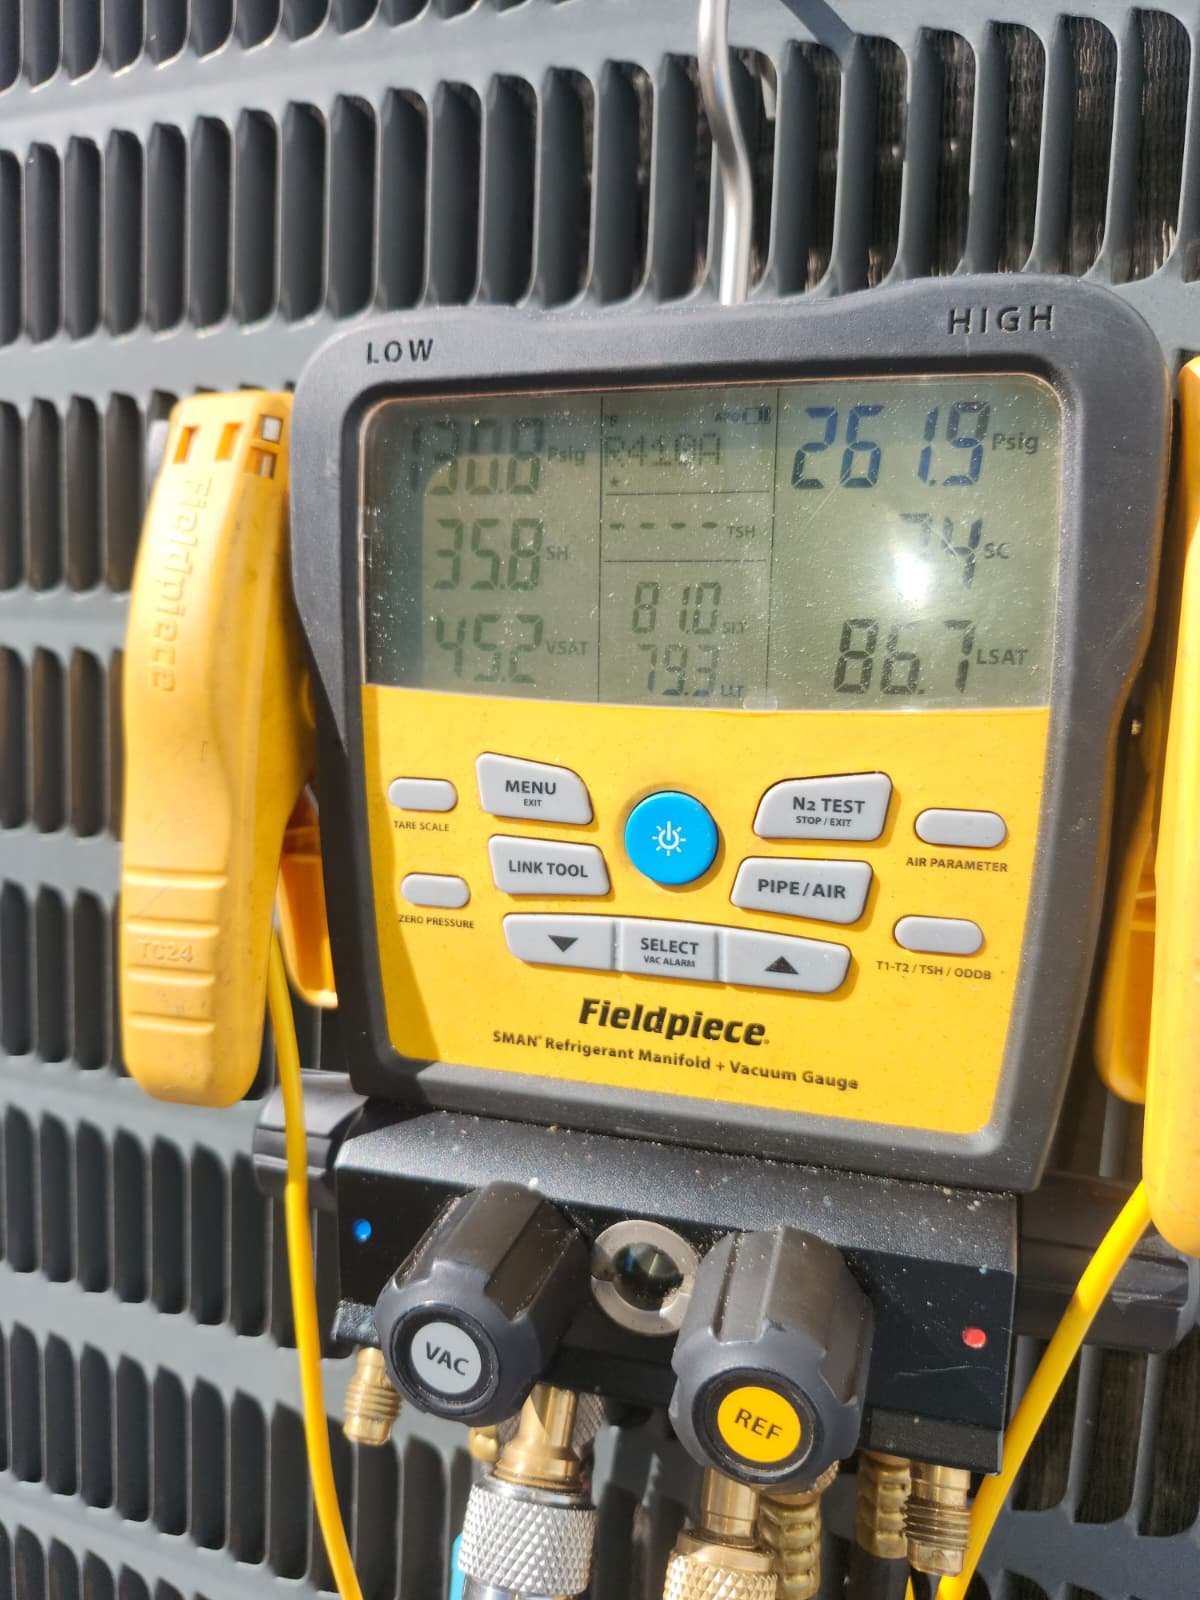
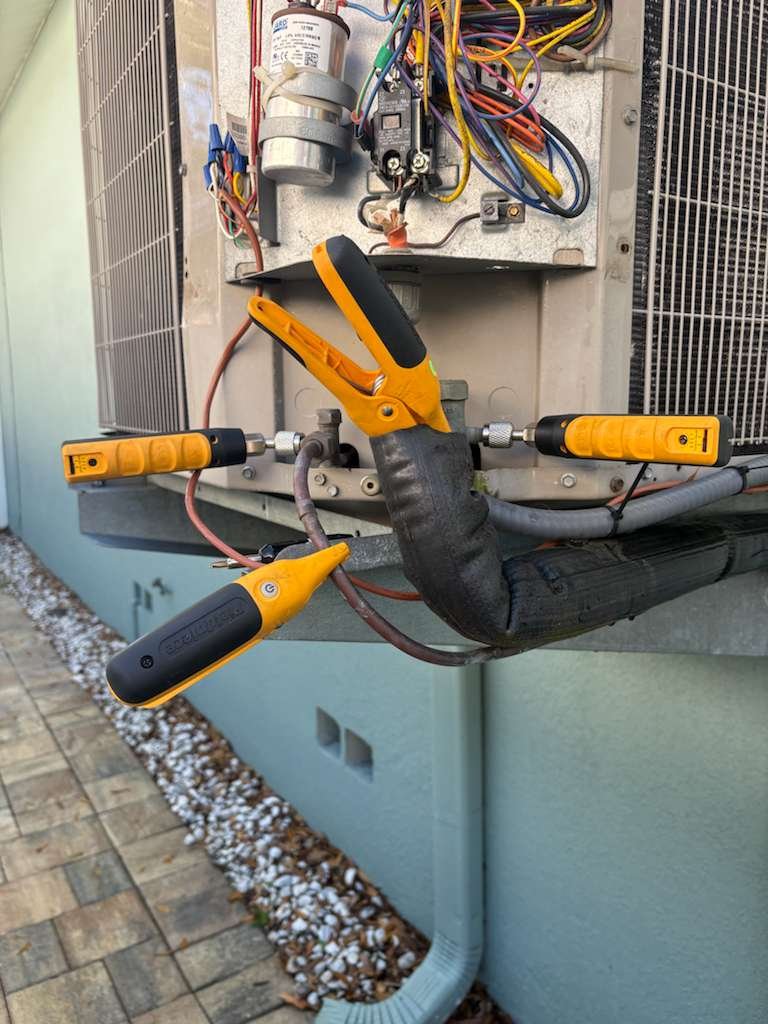
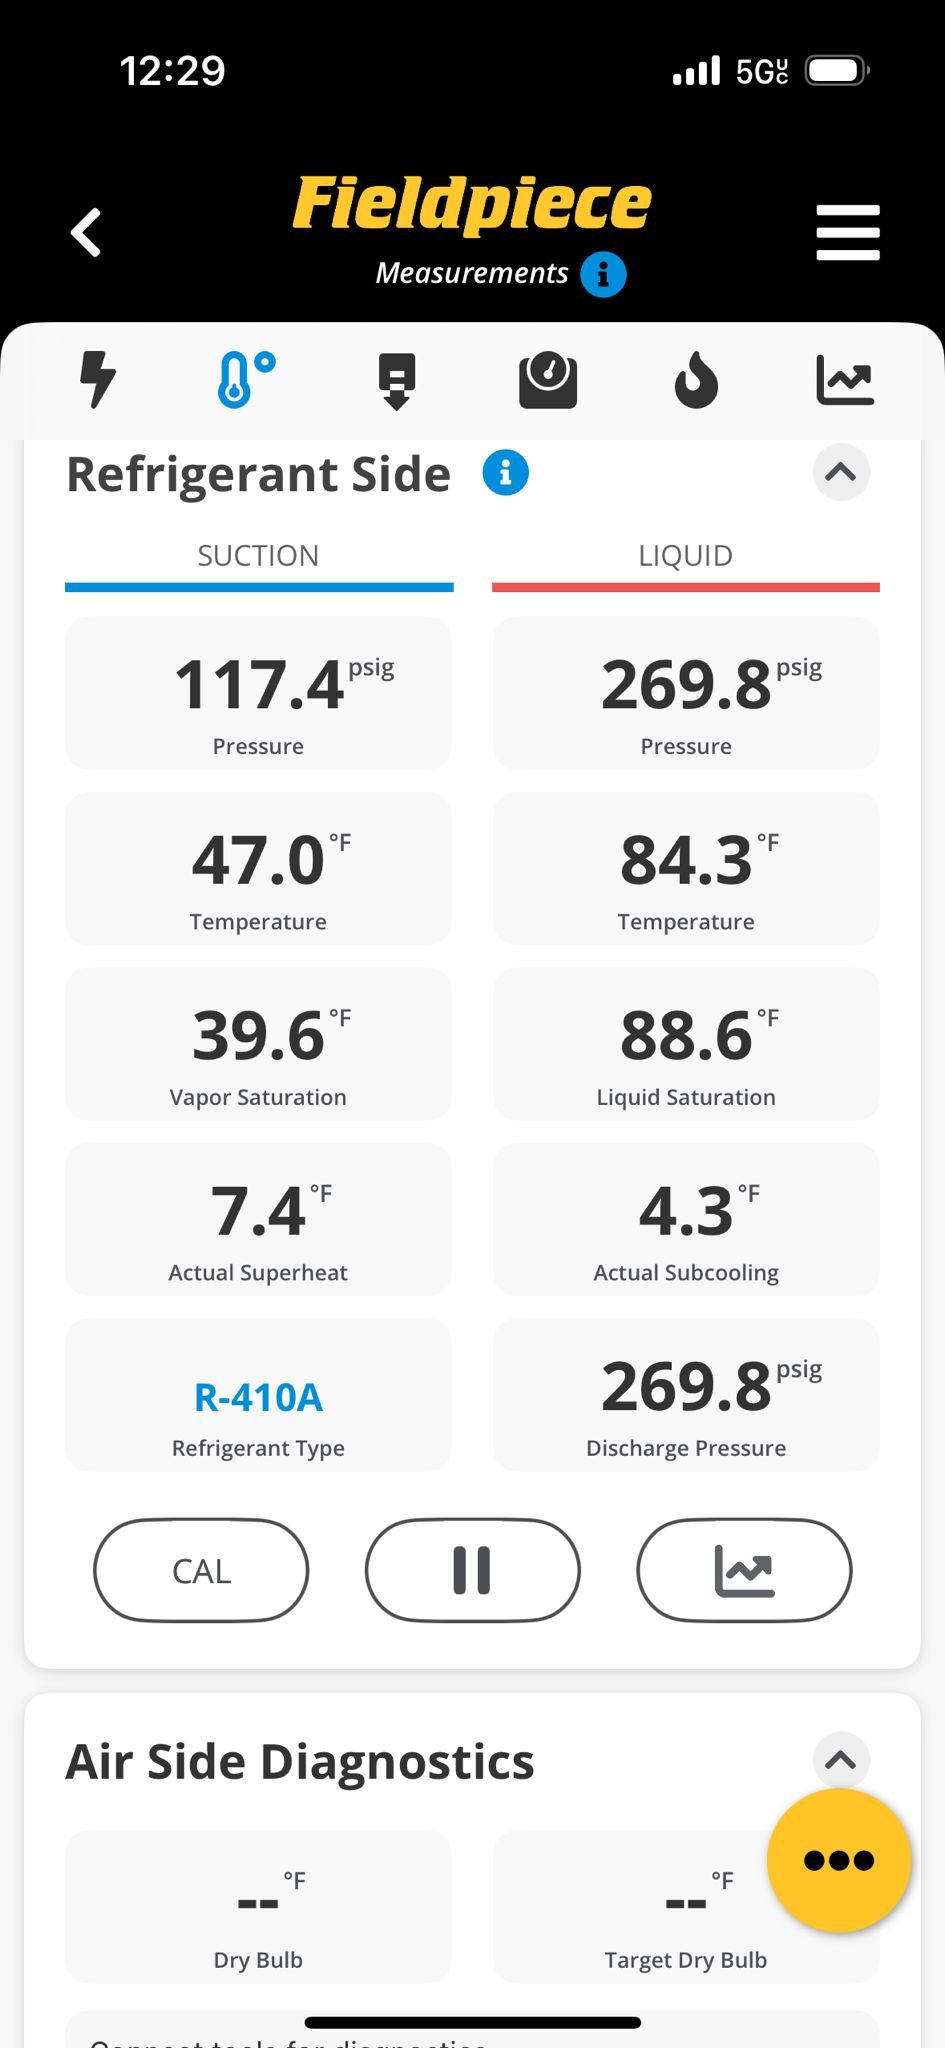
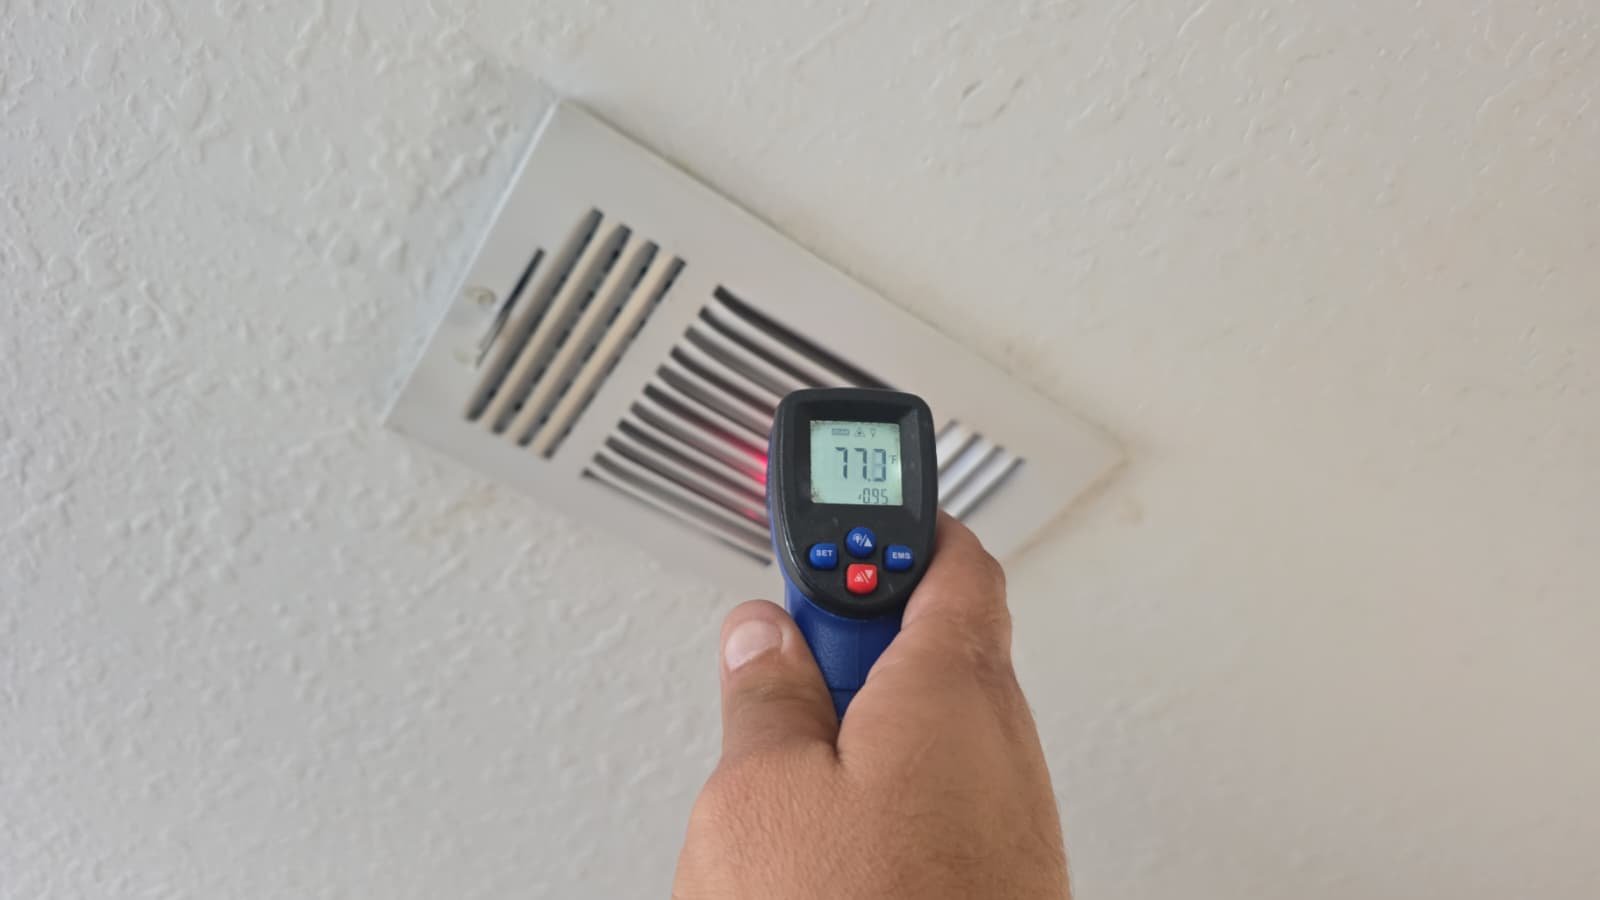
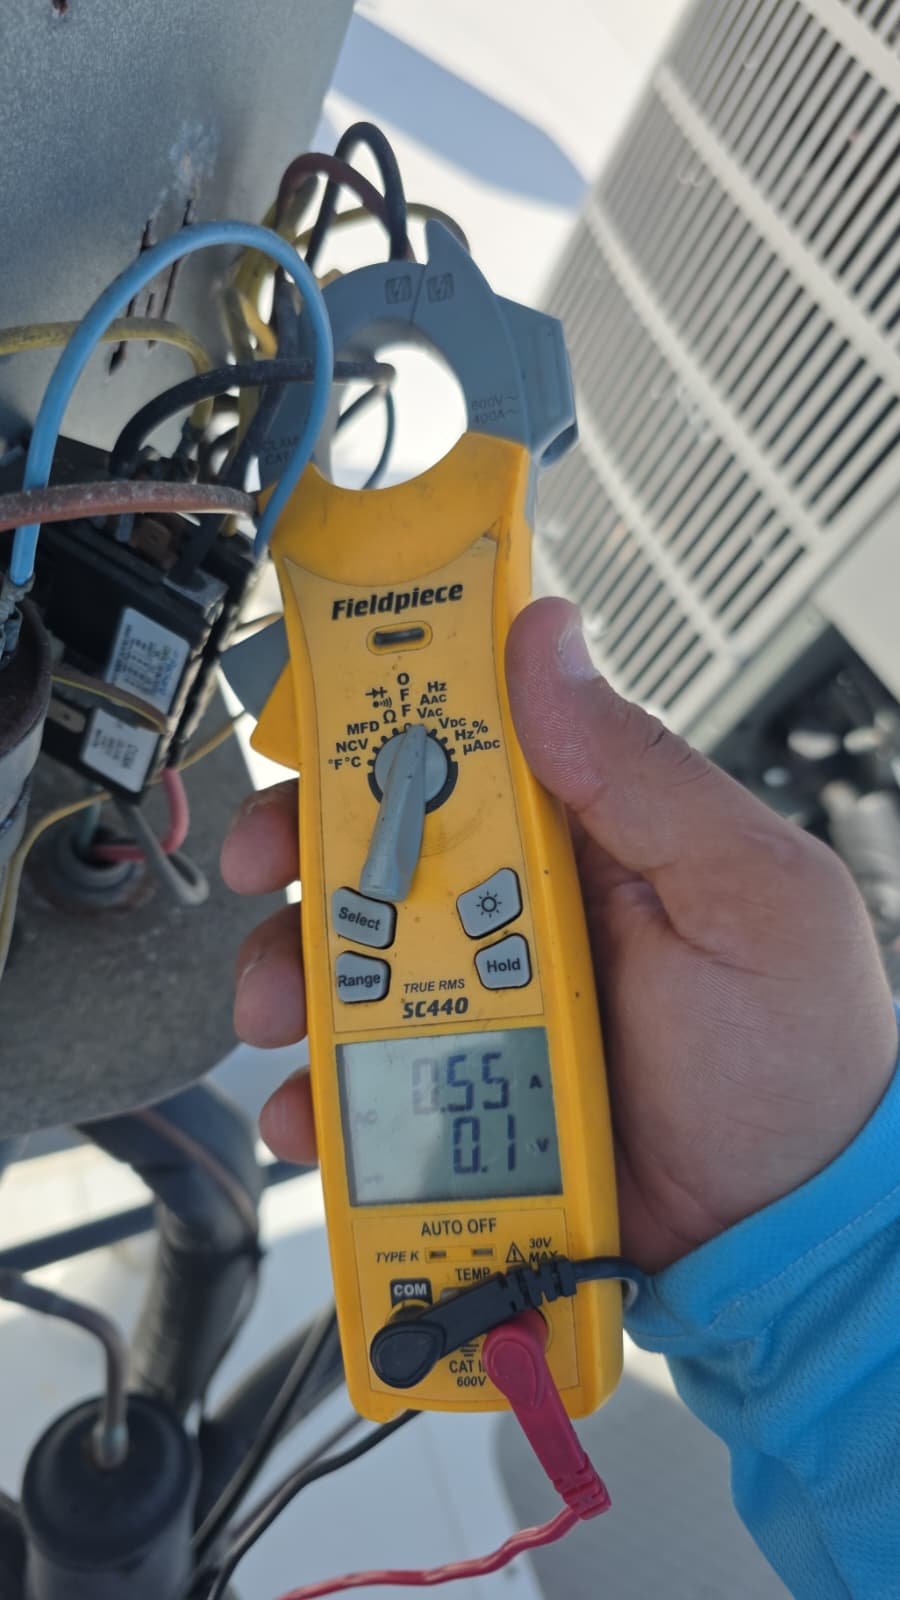
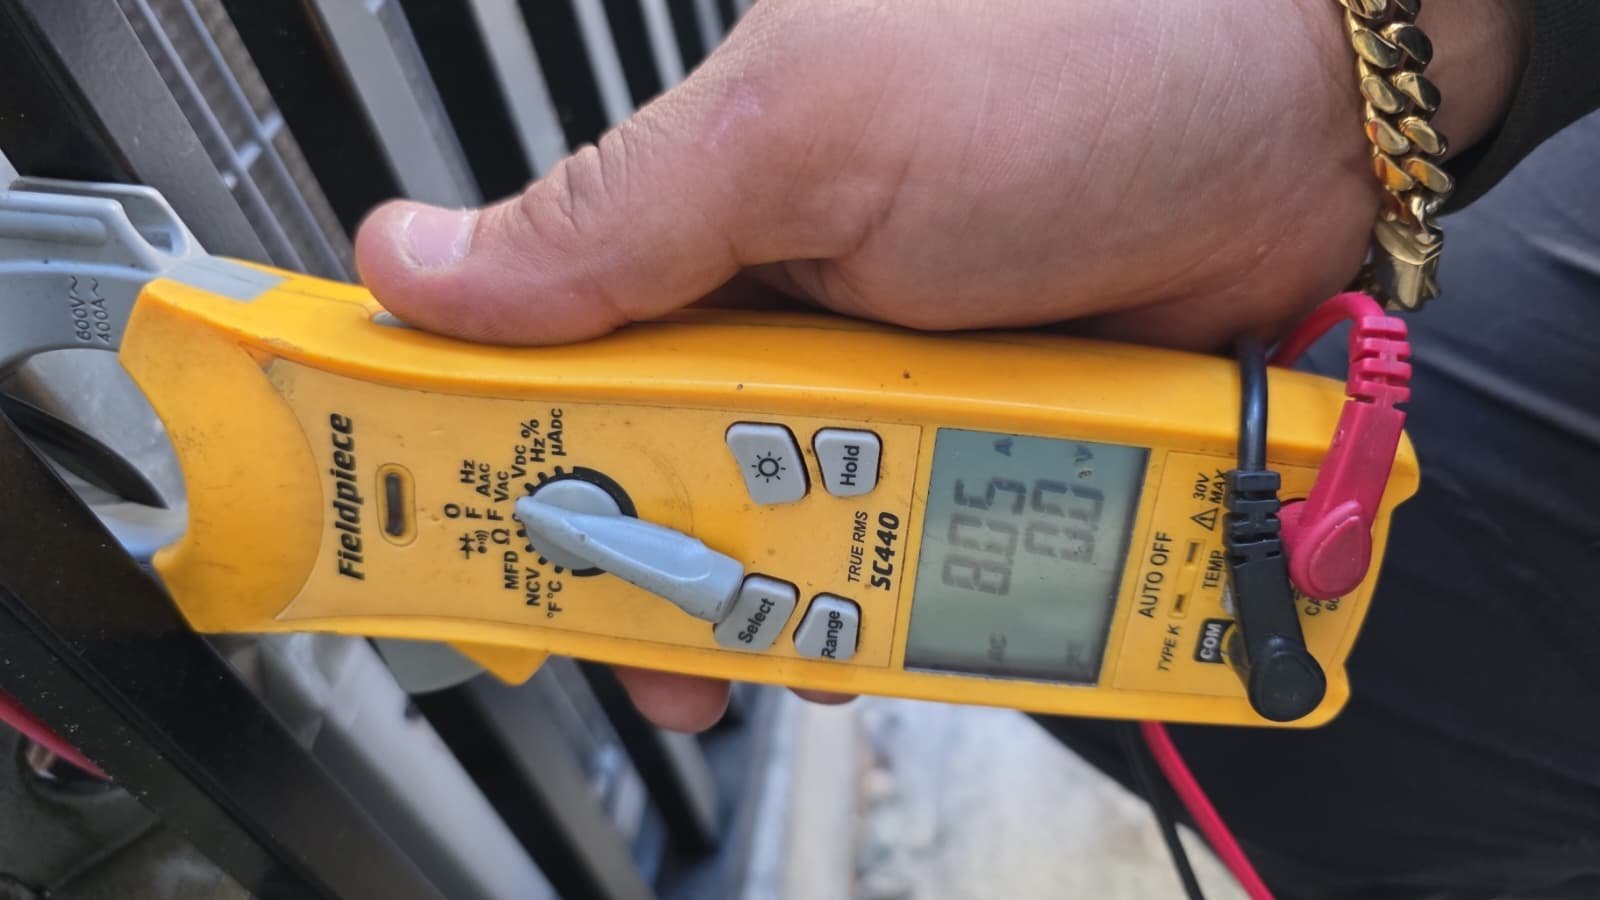
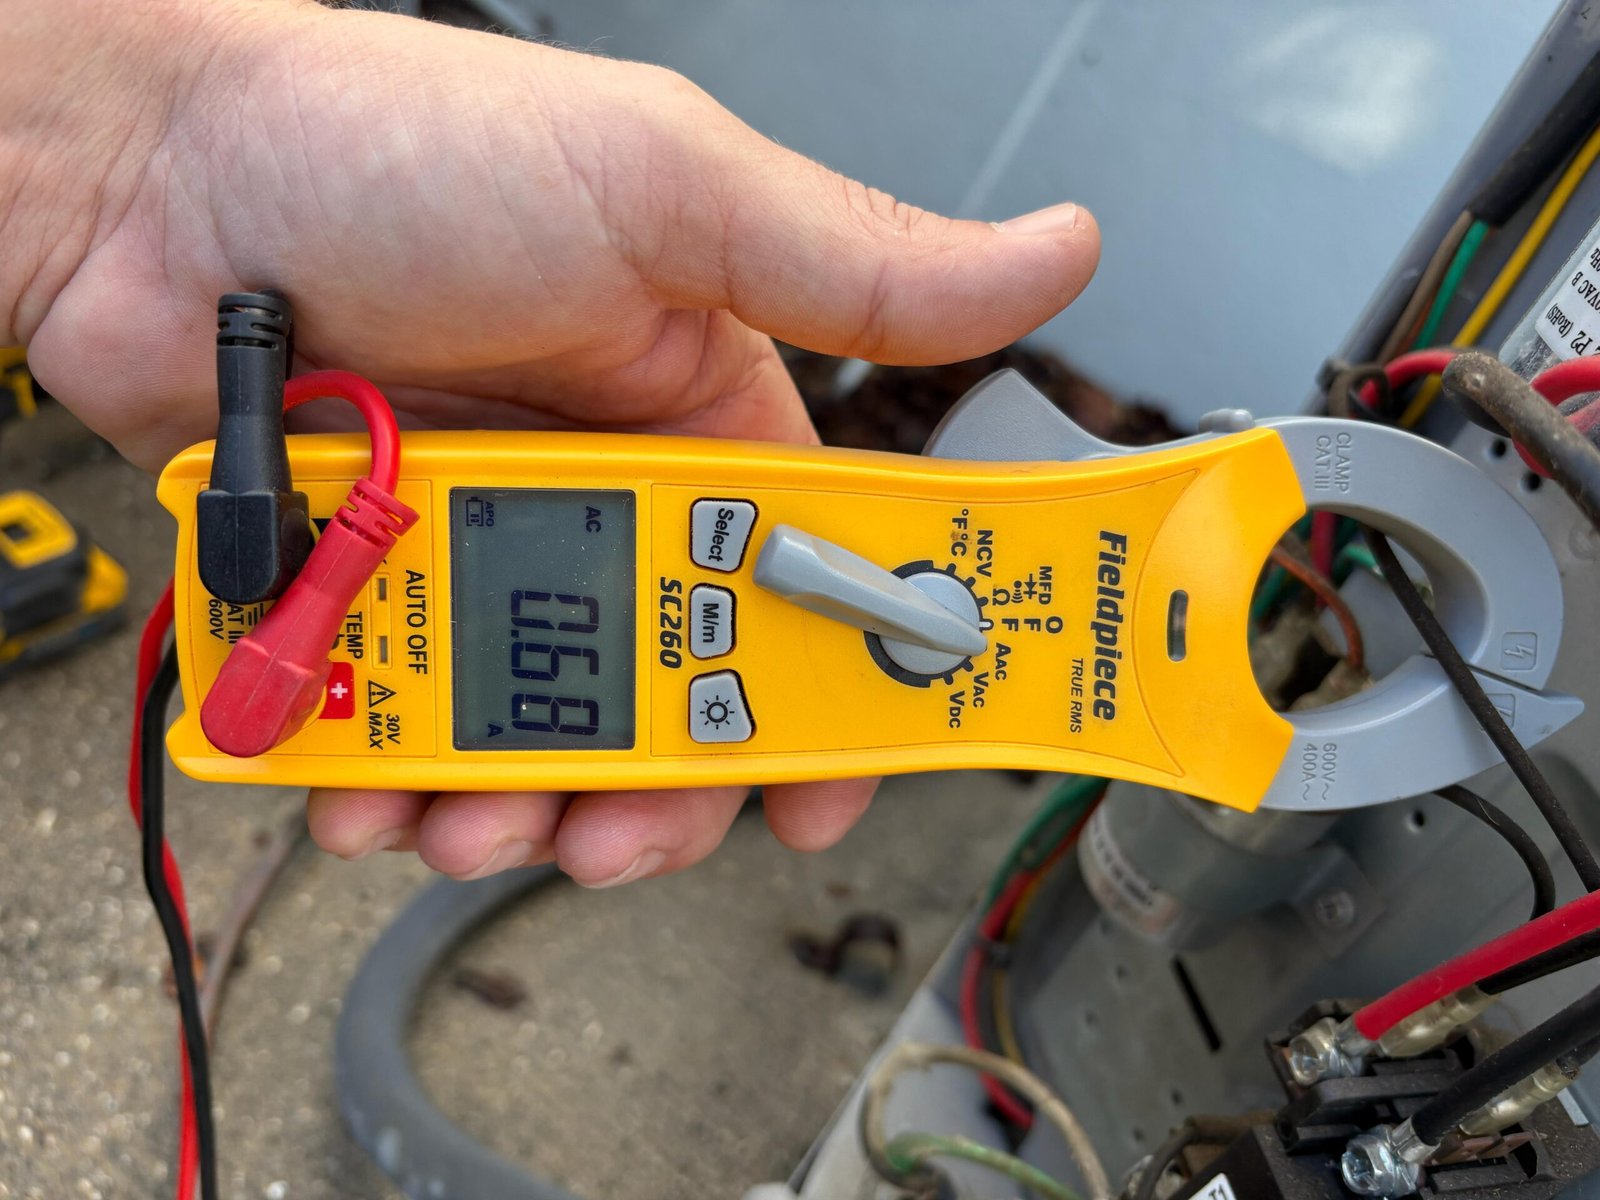
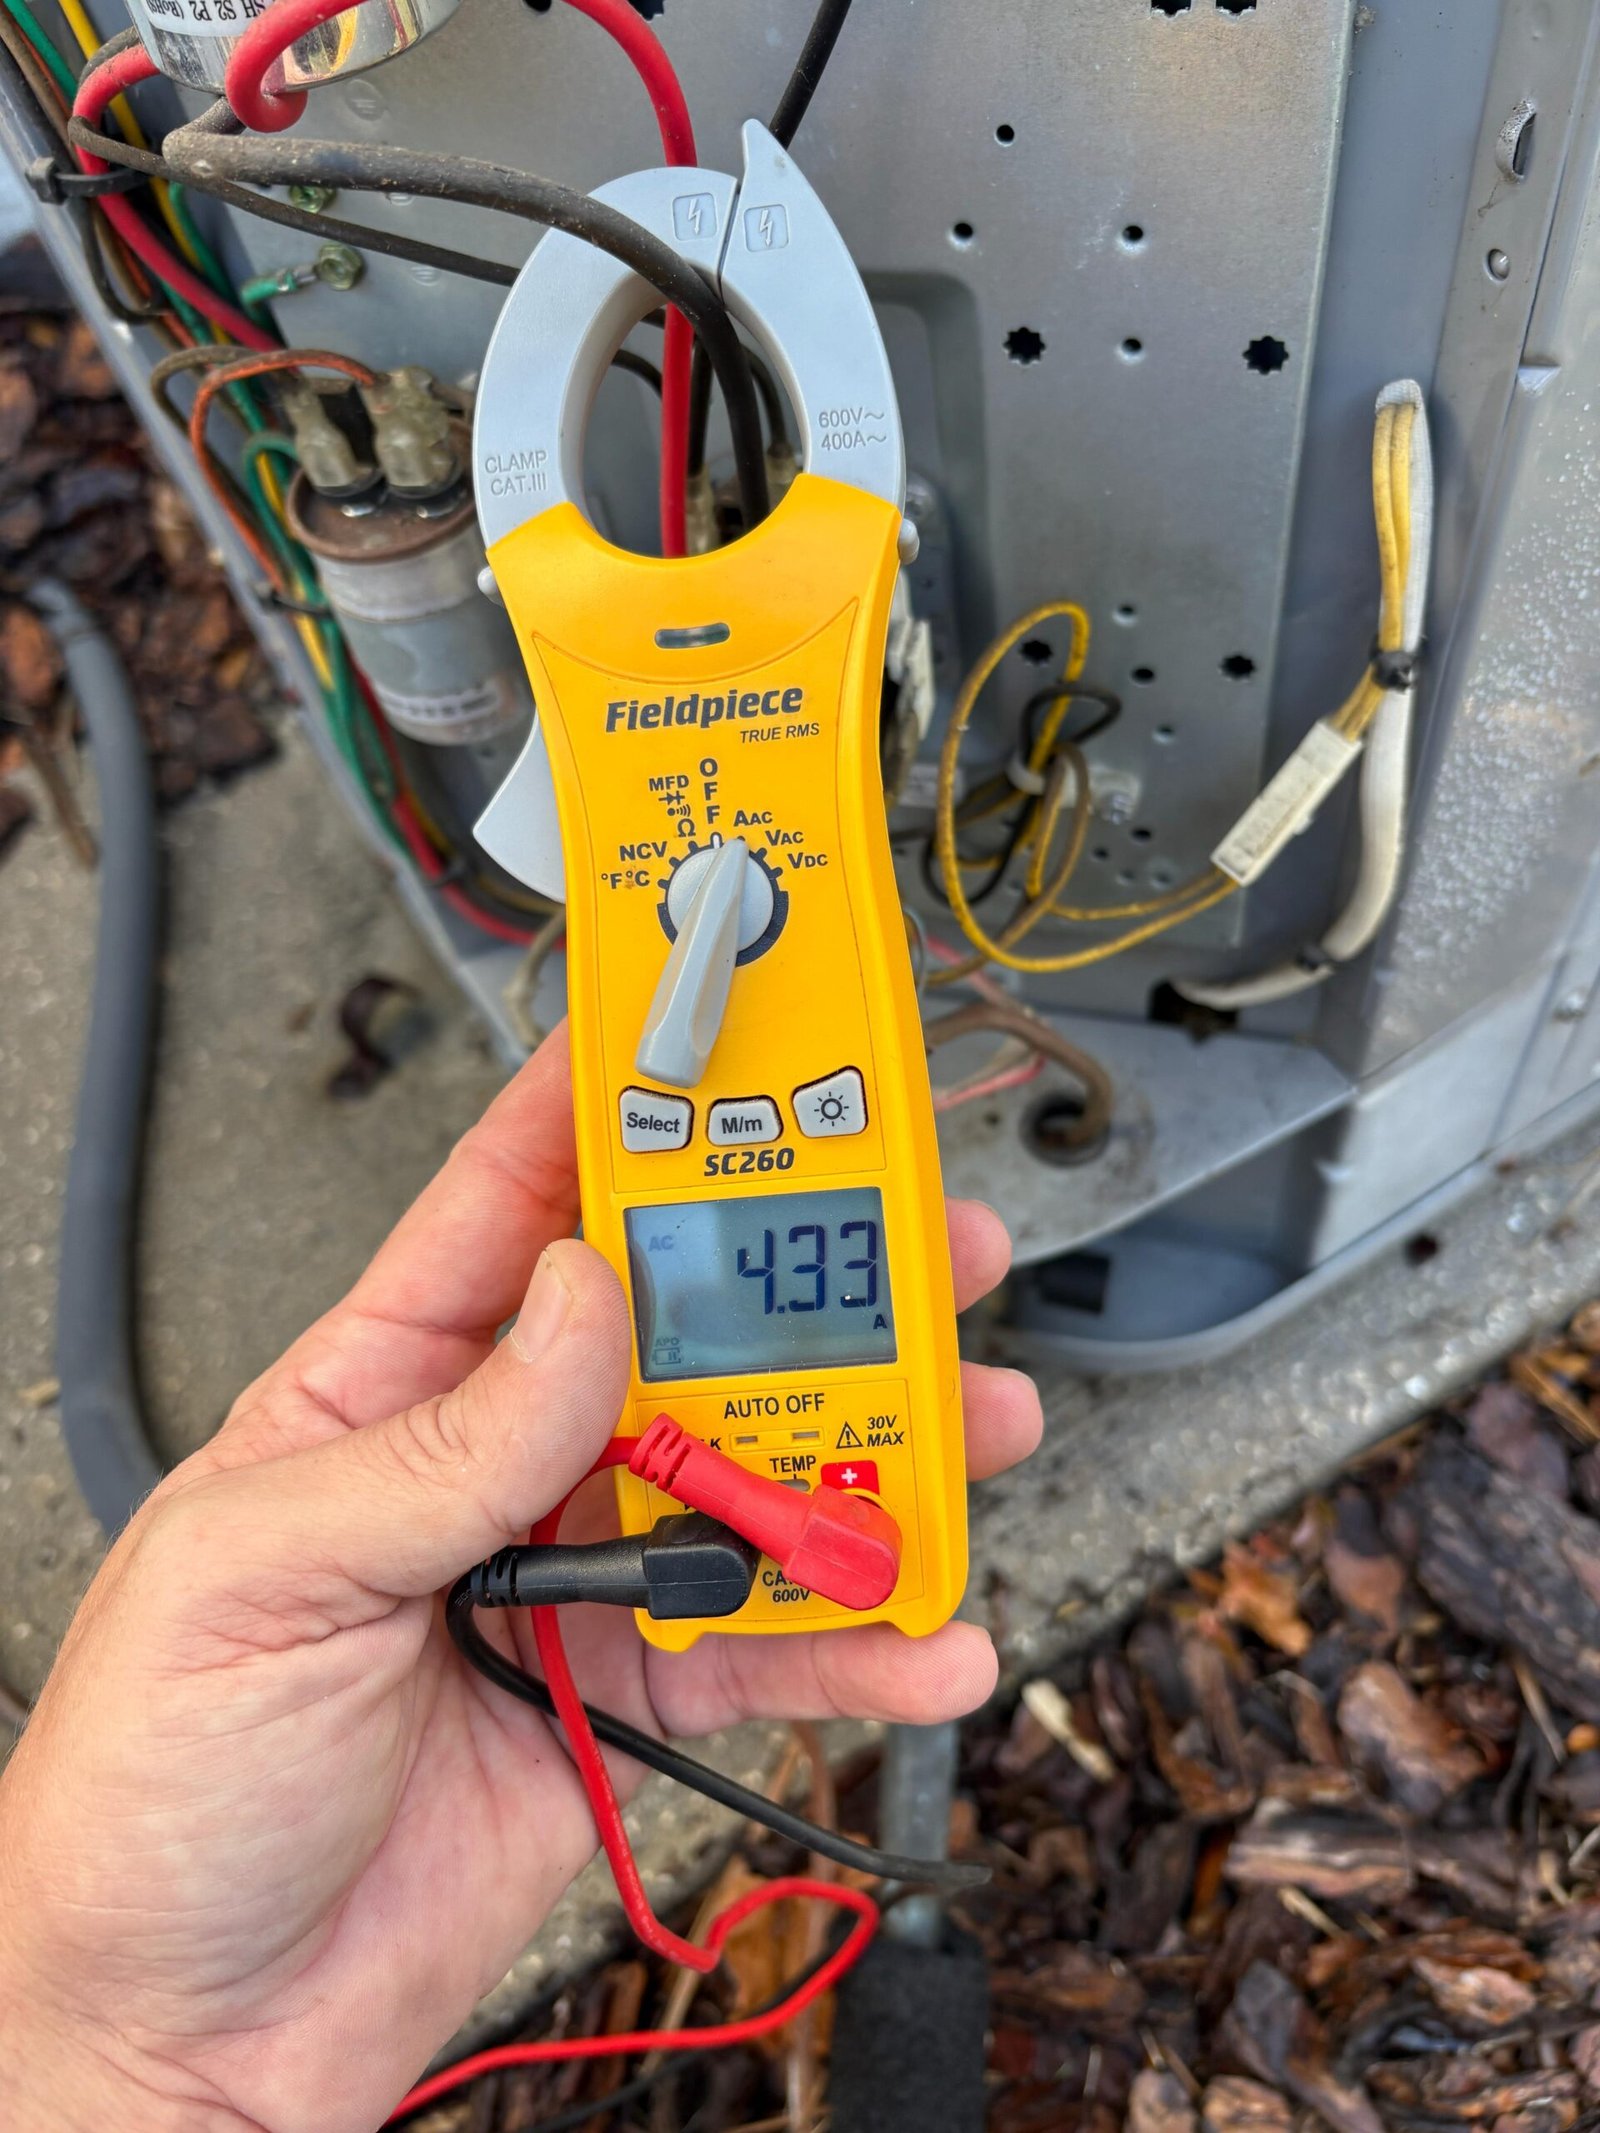
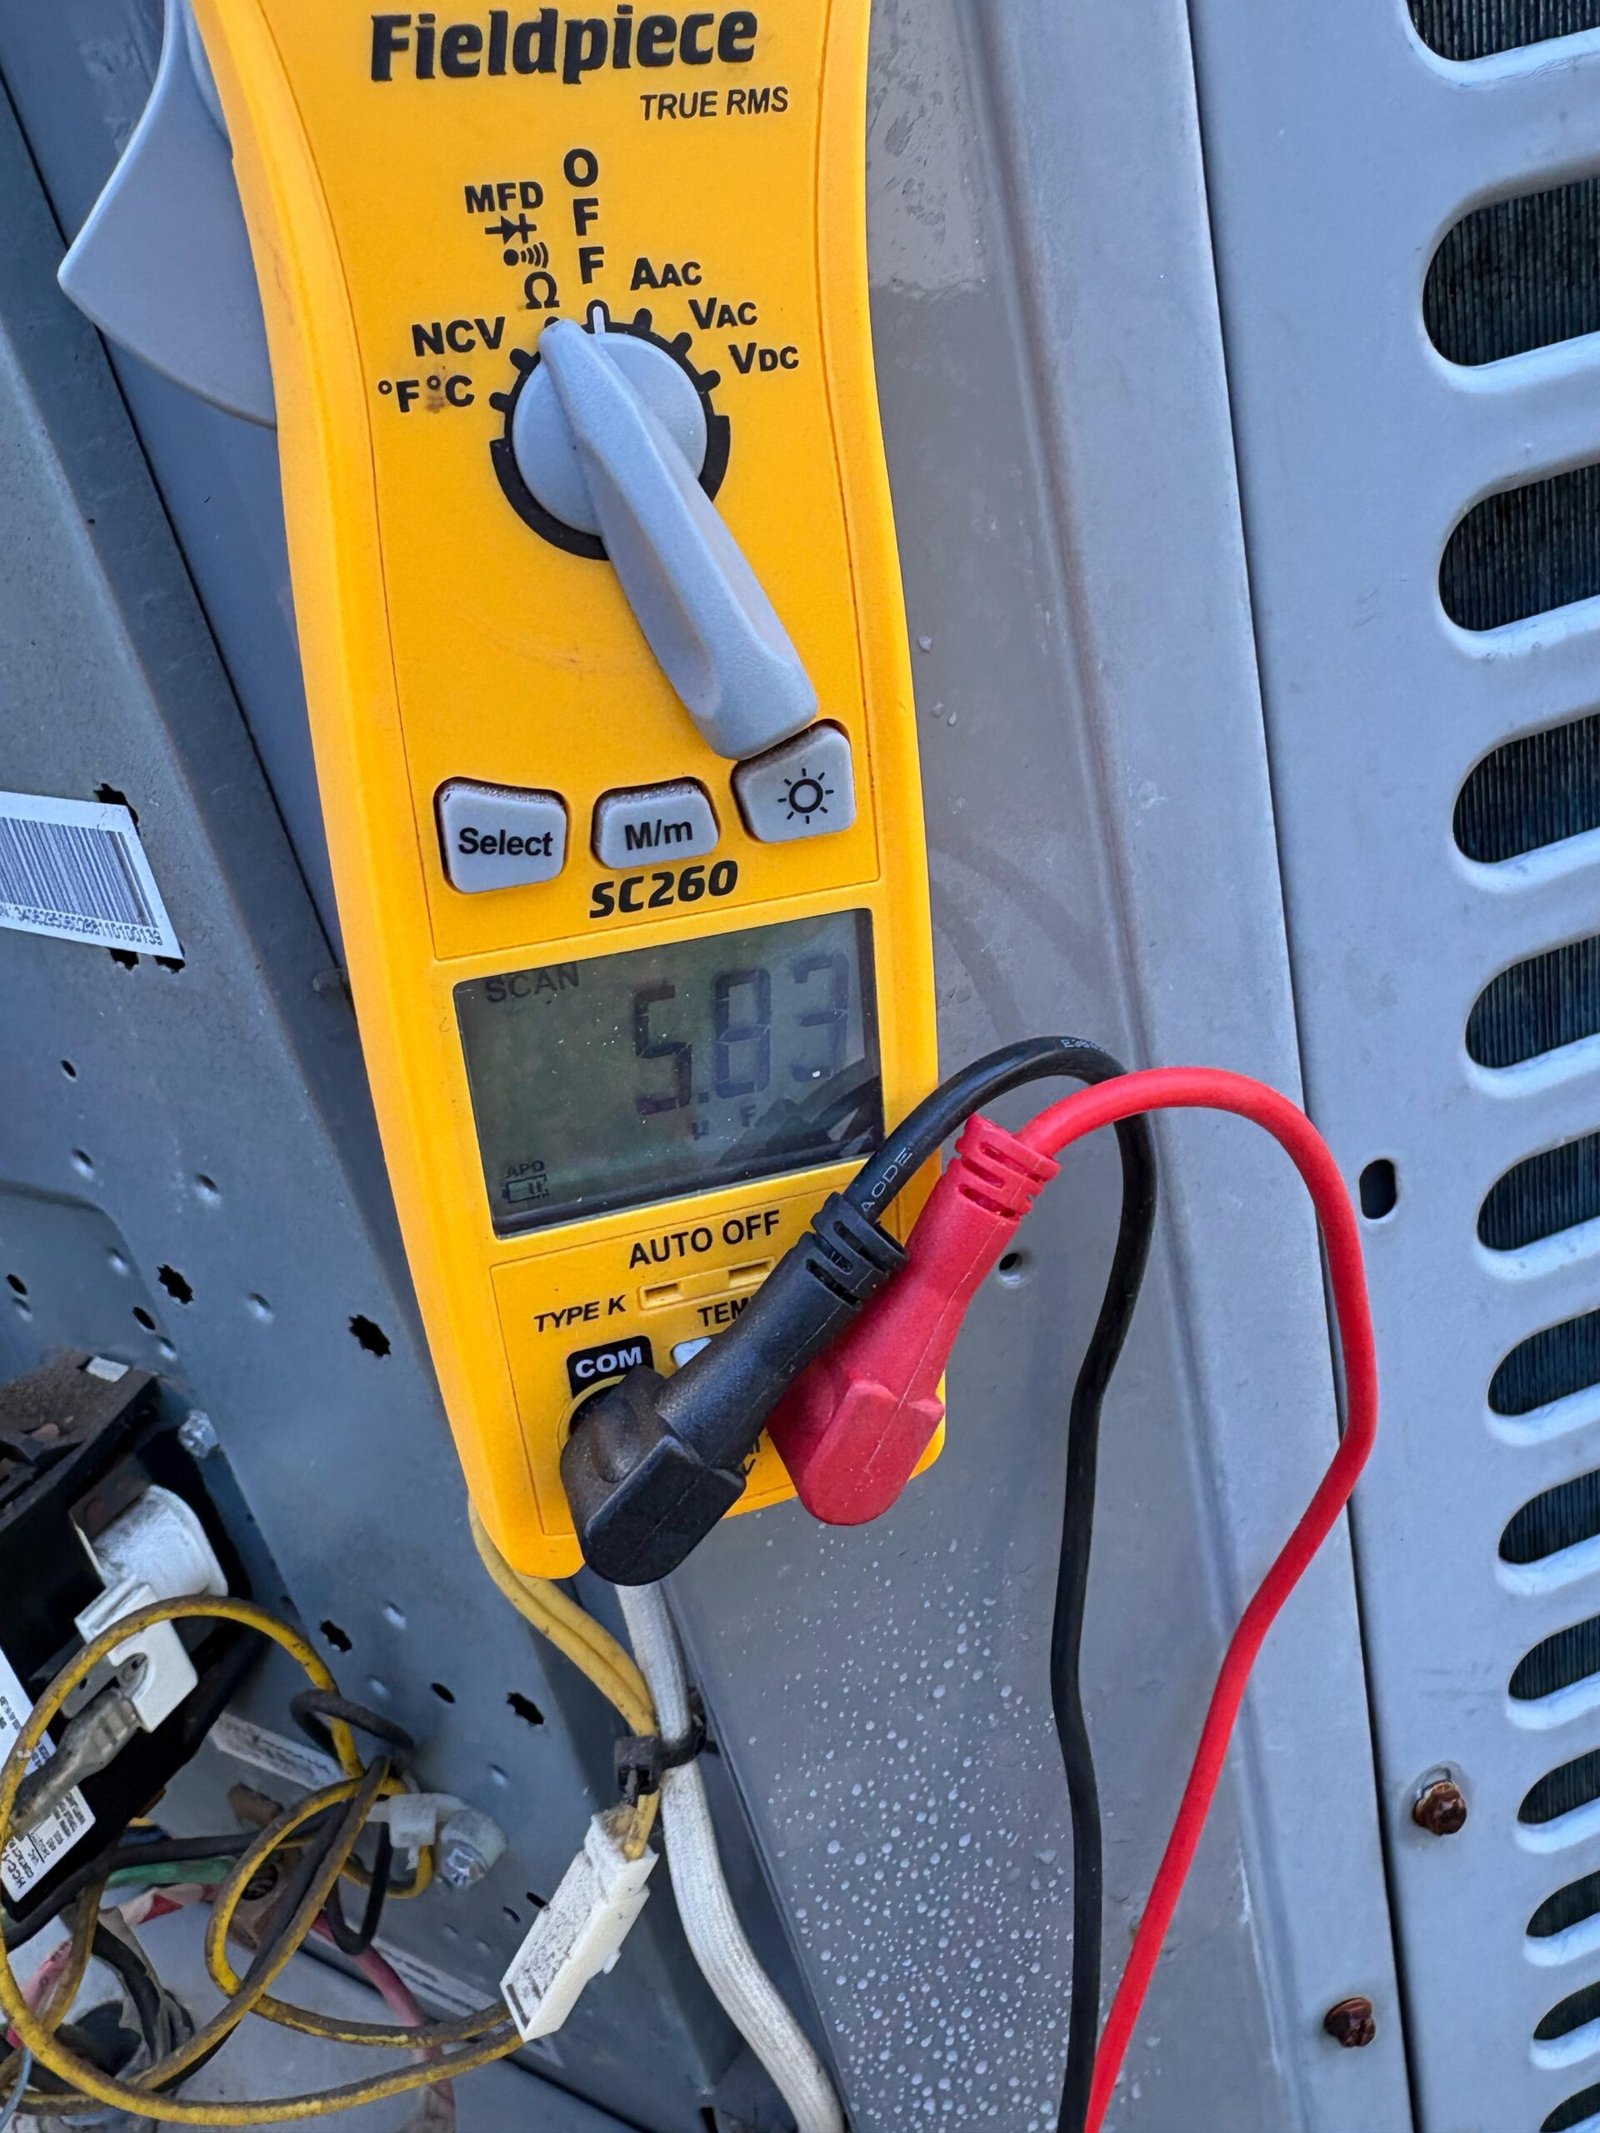
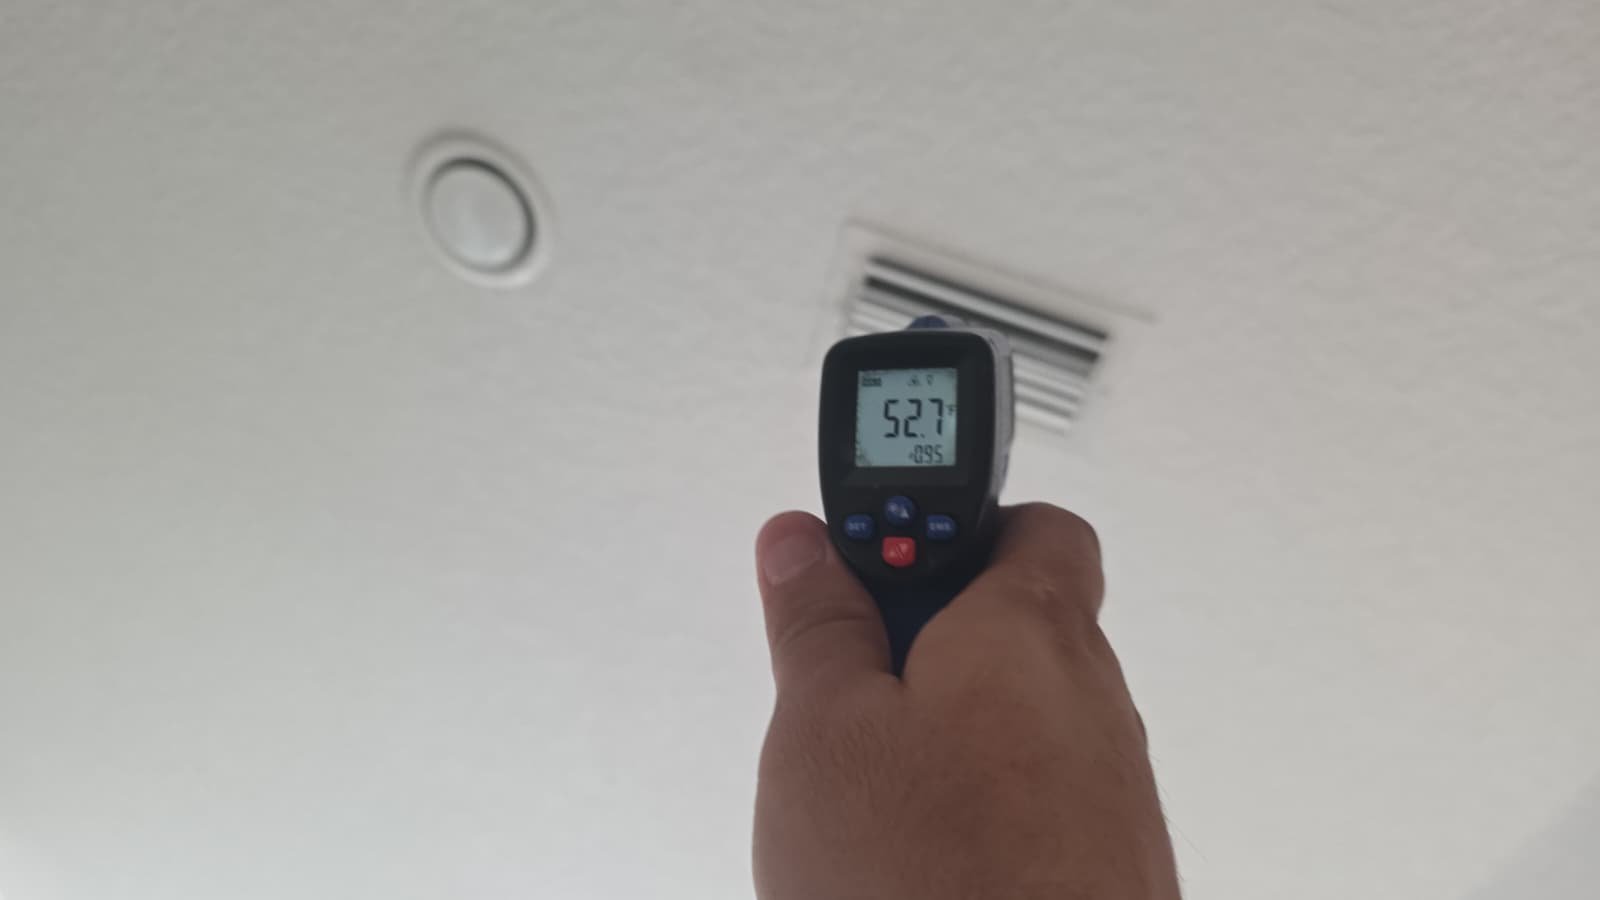
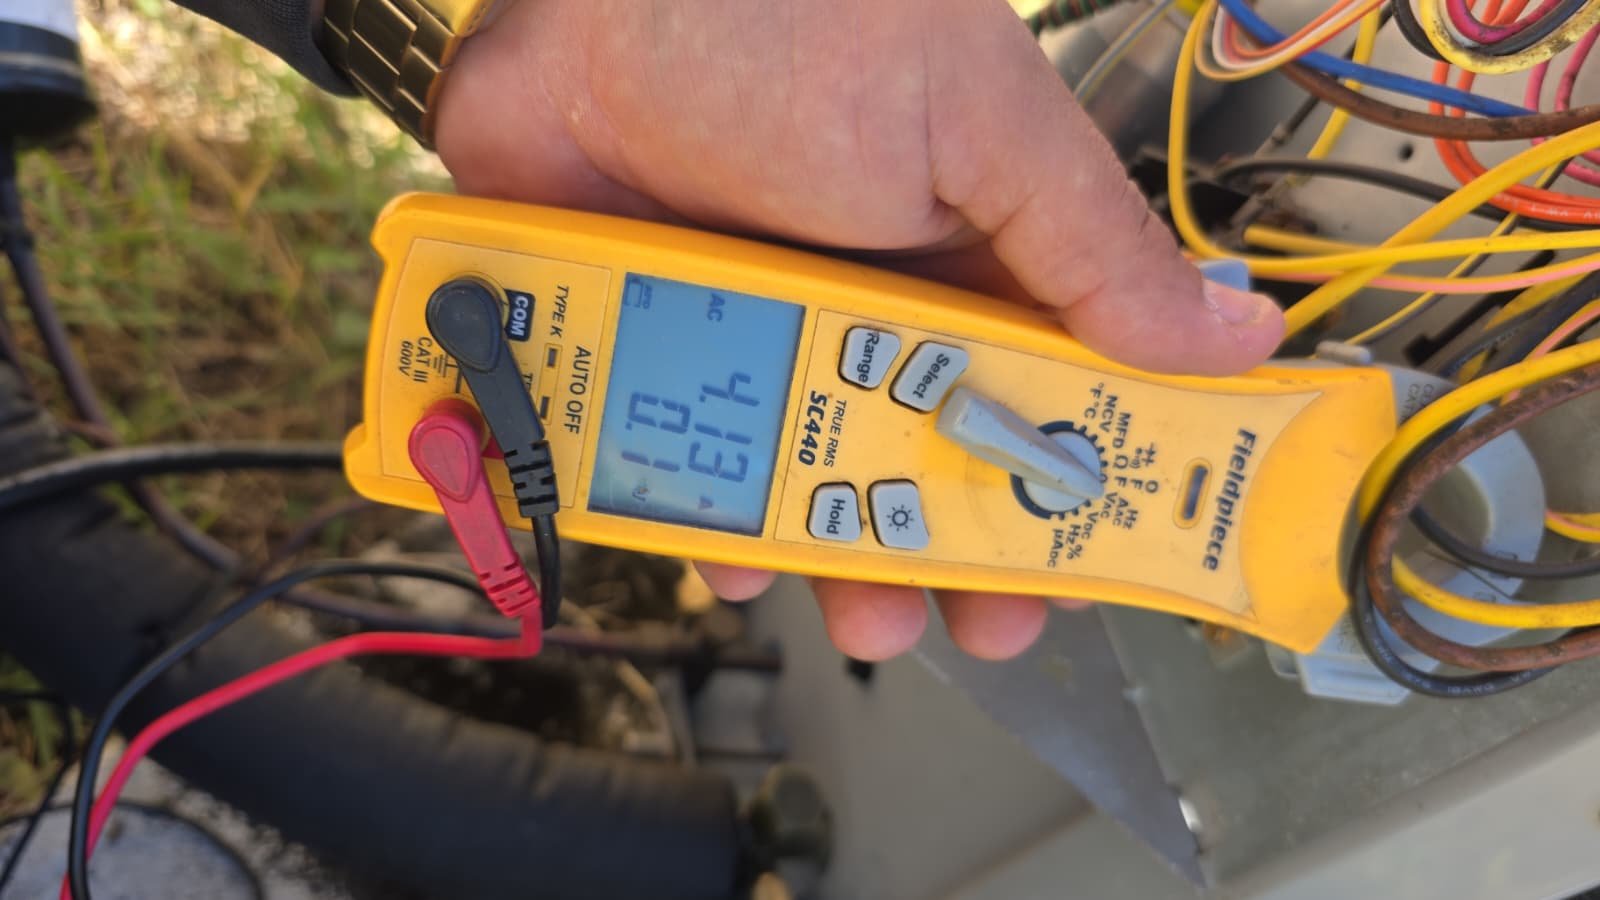
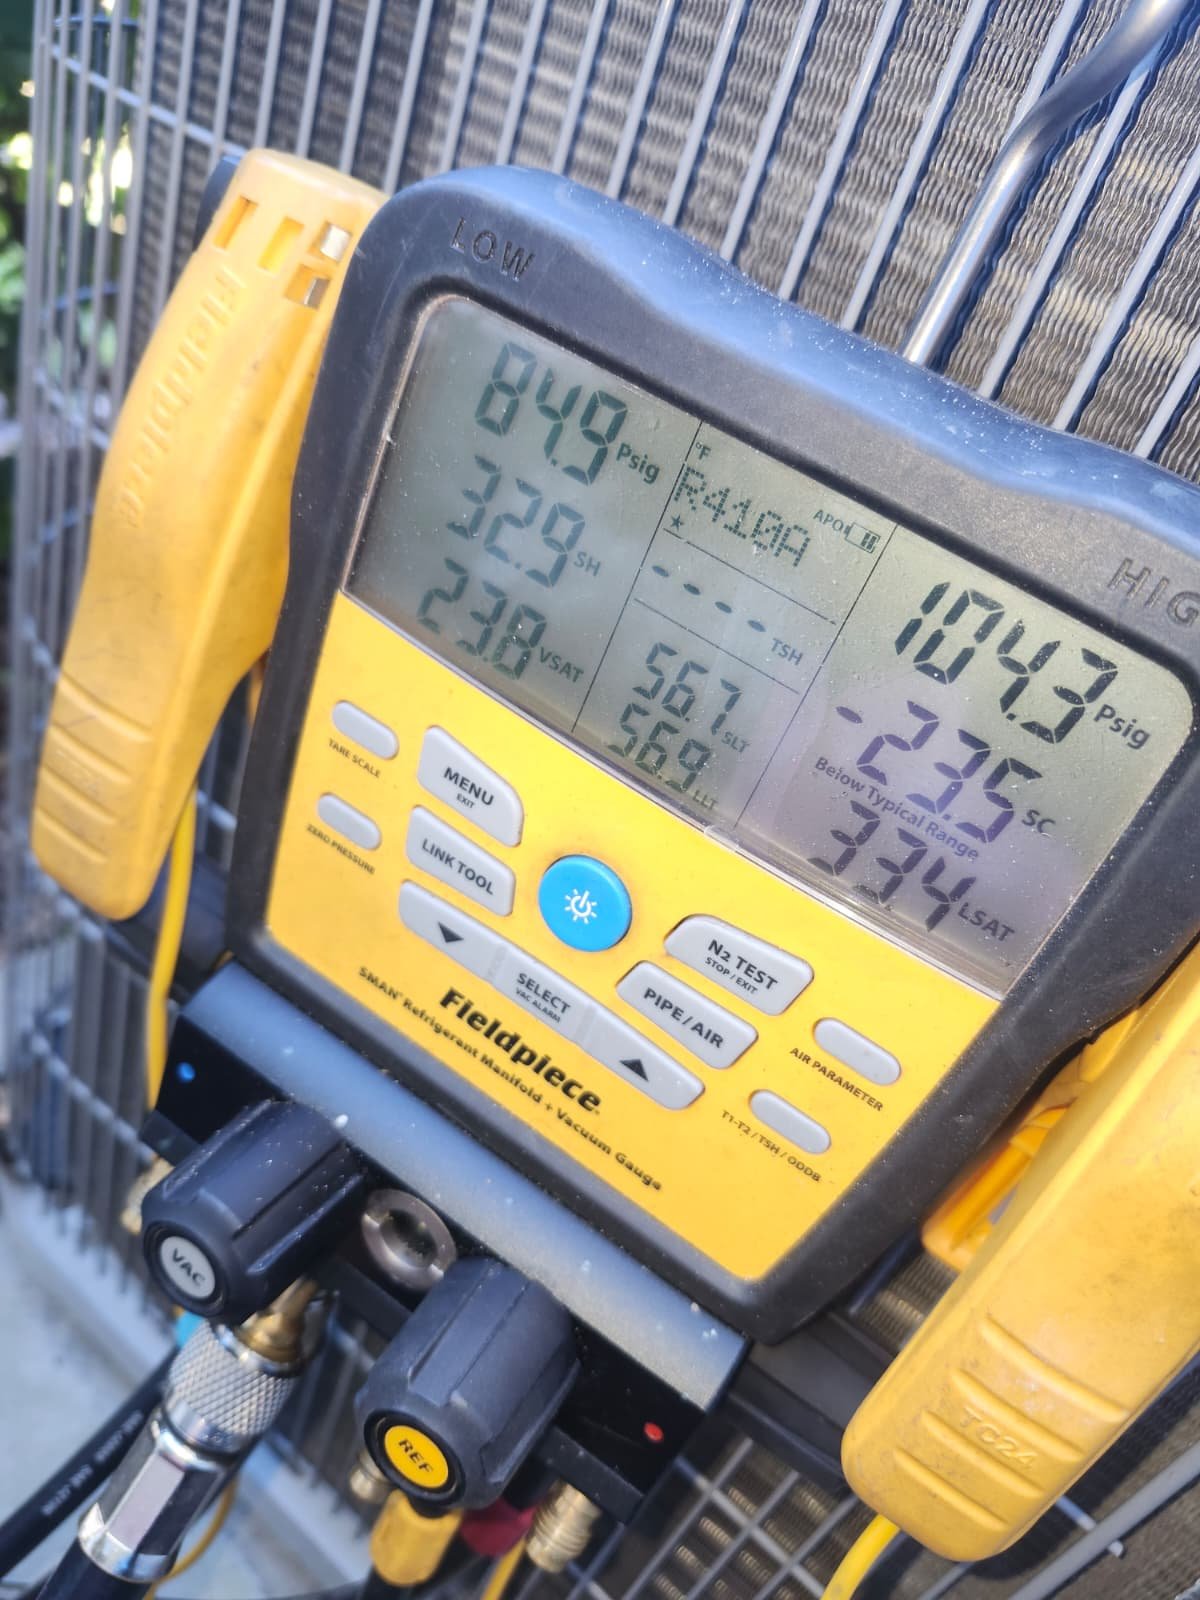
5. Start-Up, Testing, and Warranty
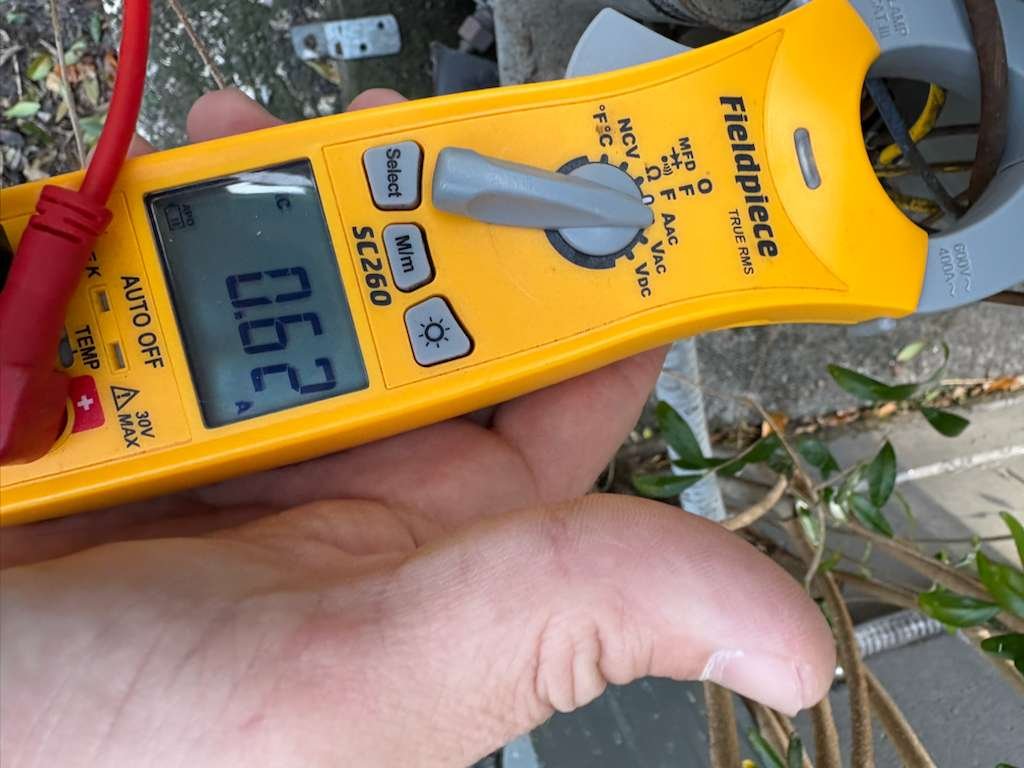
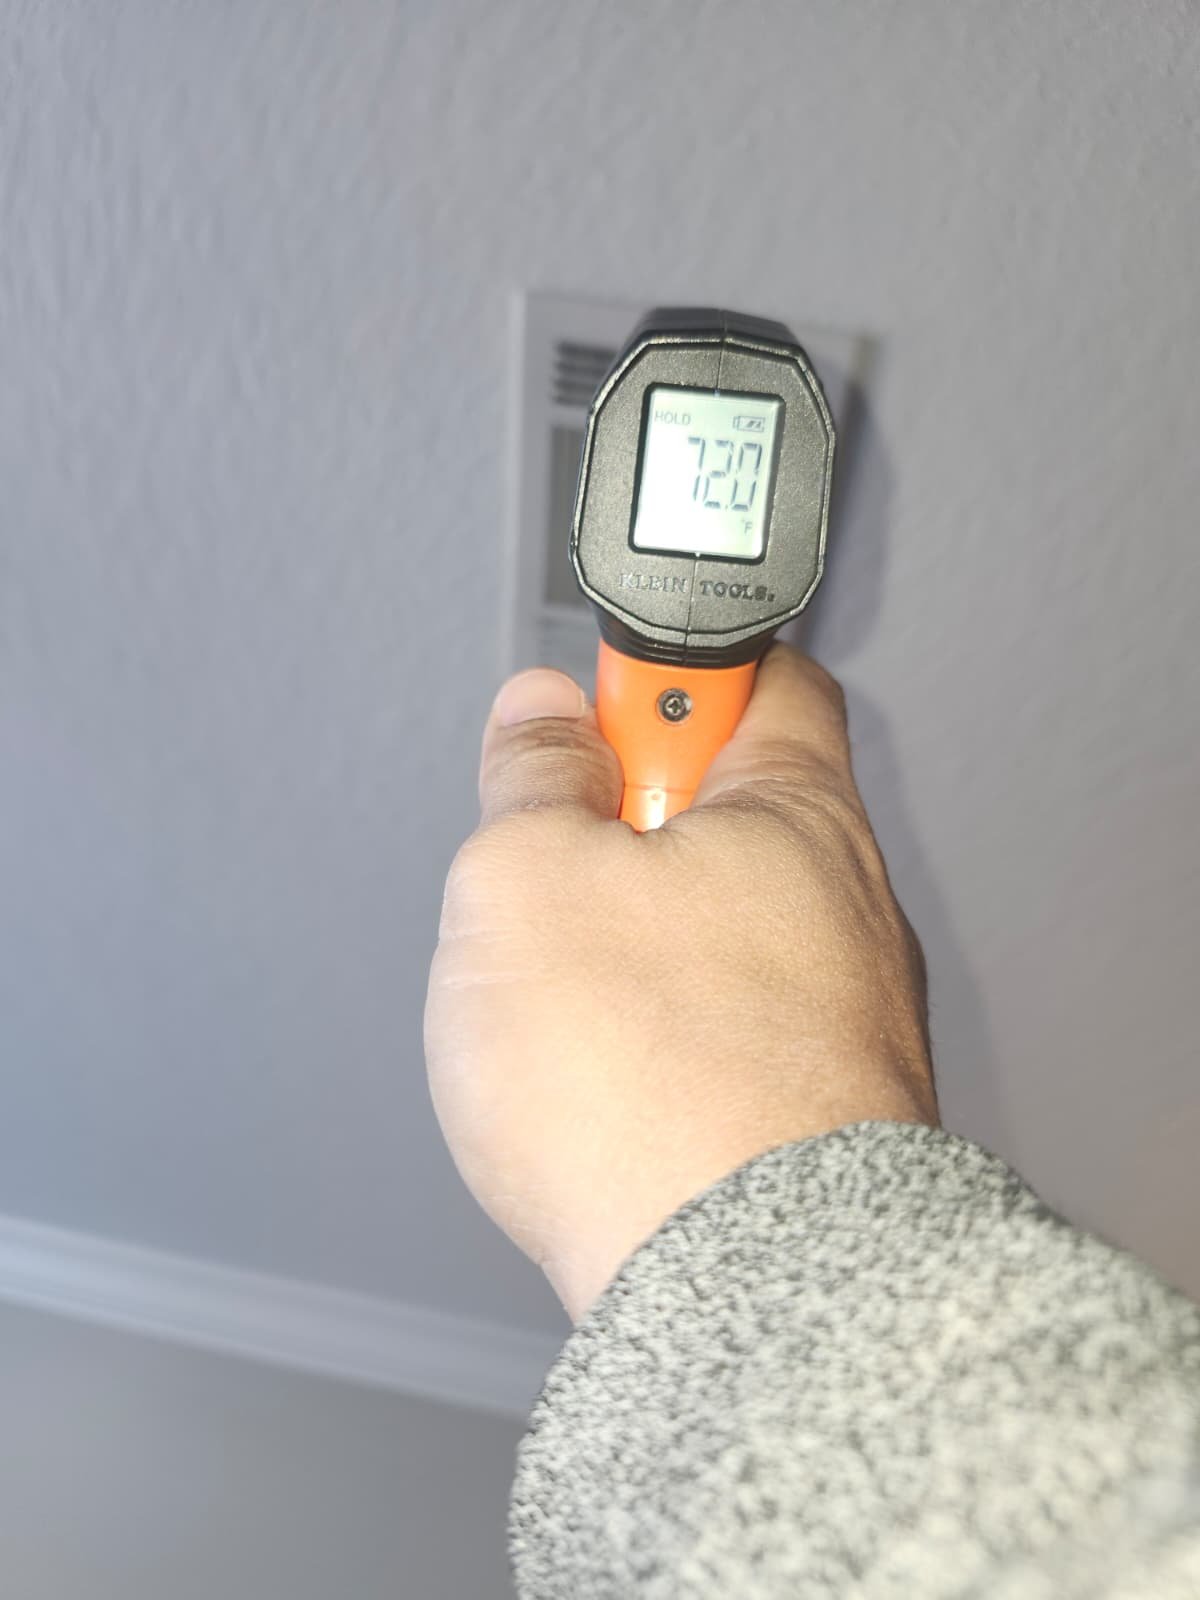
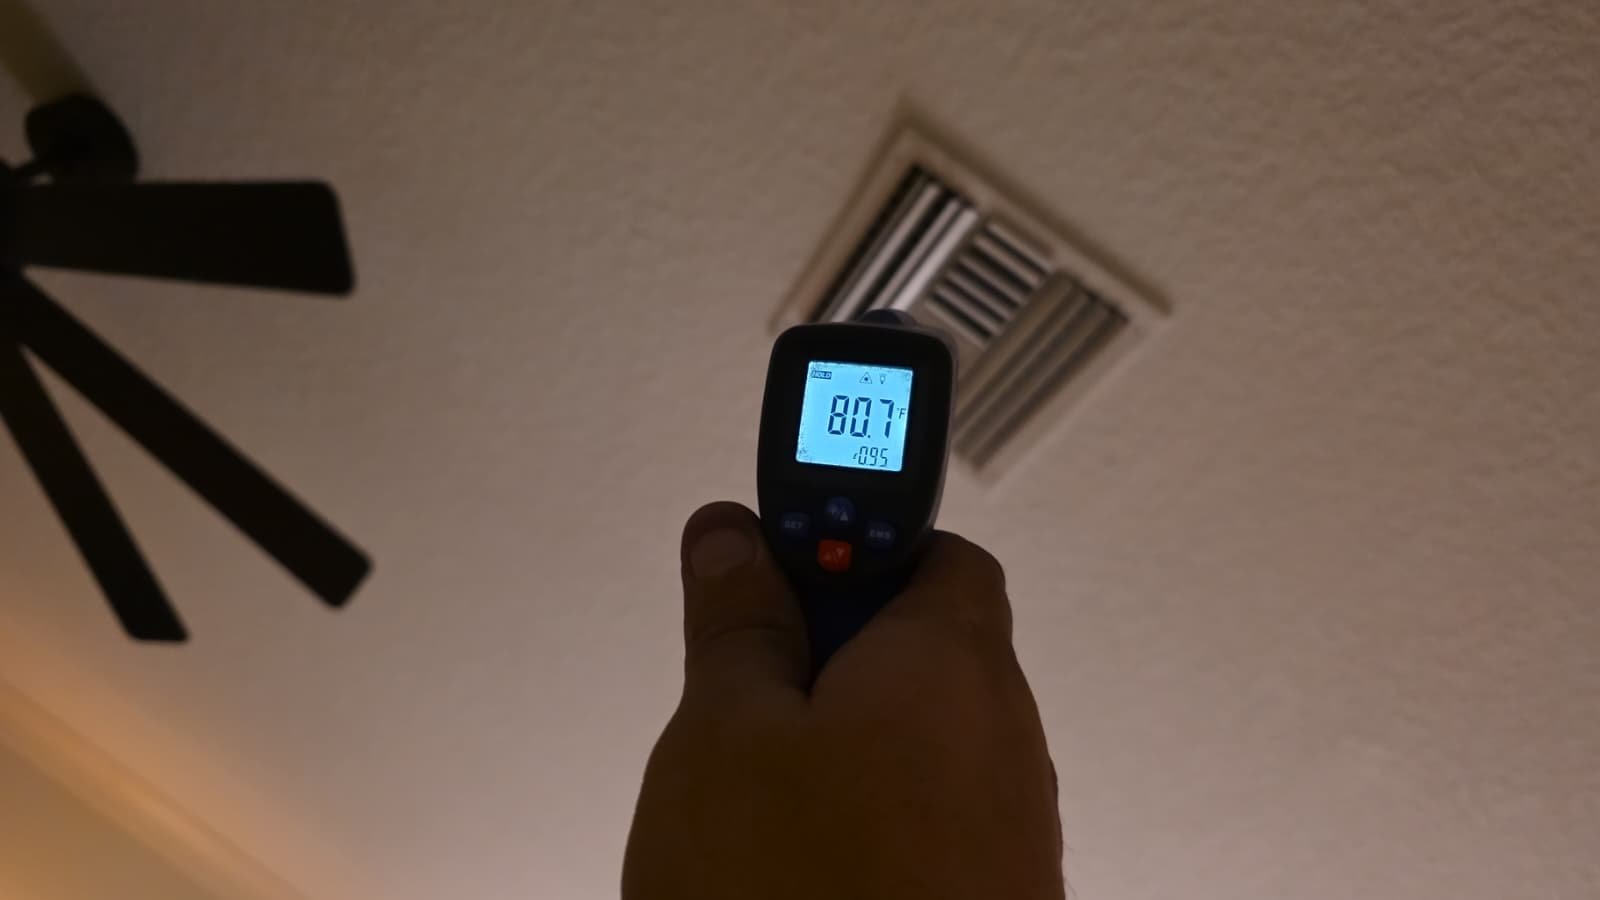
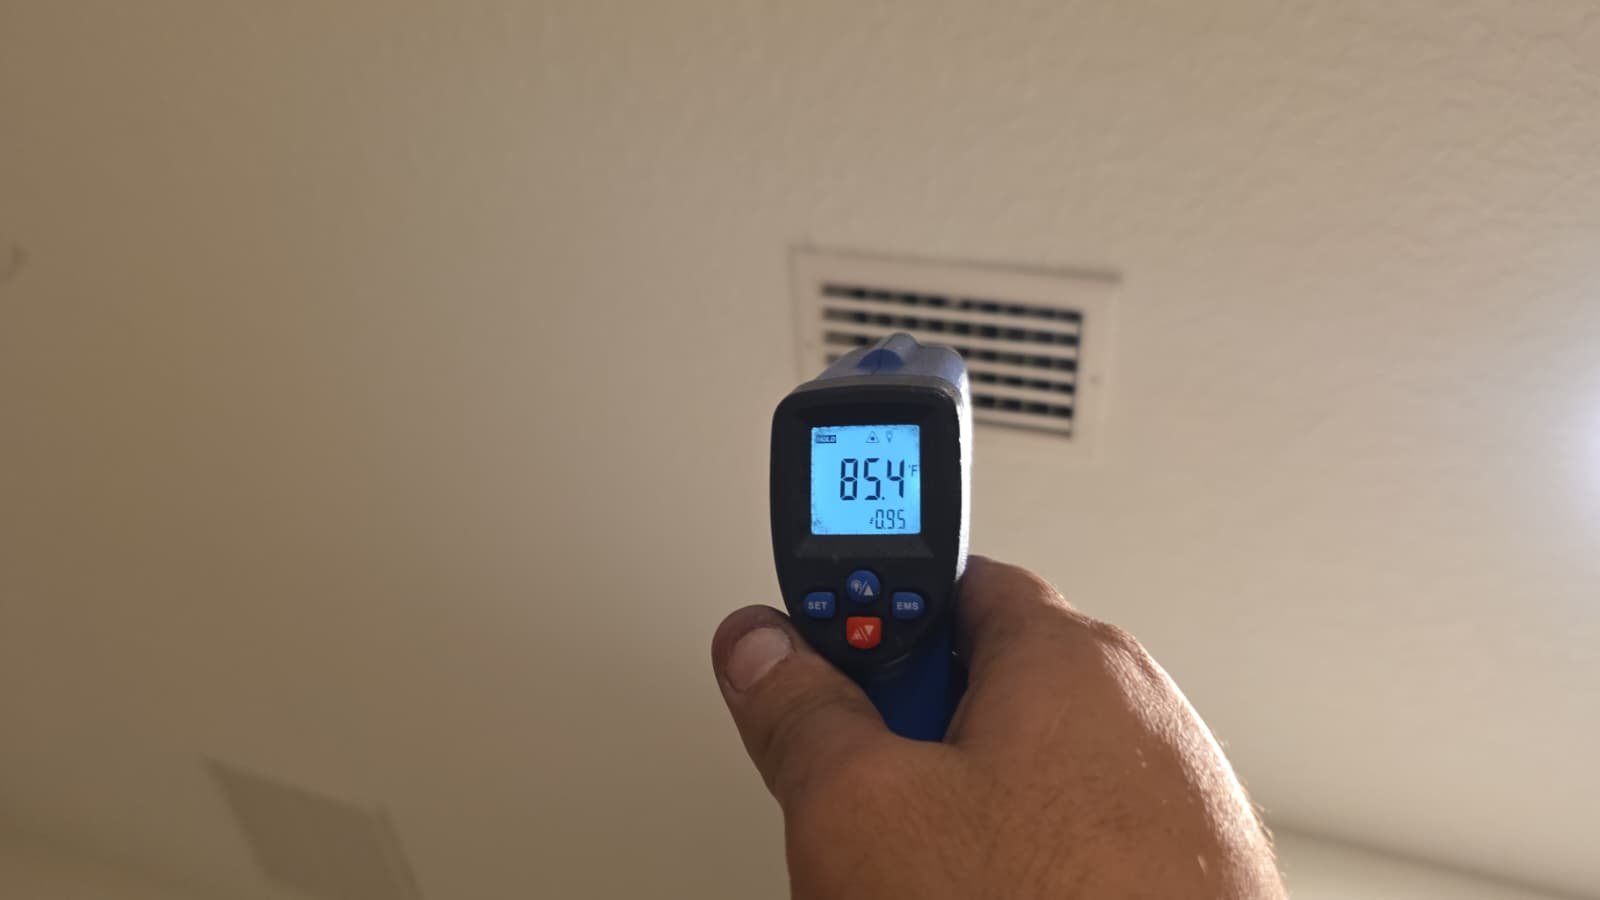
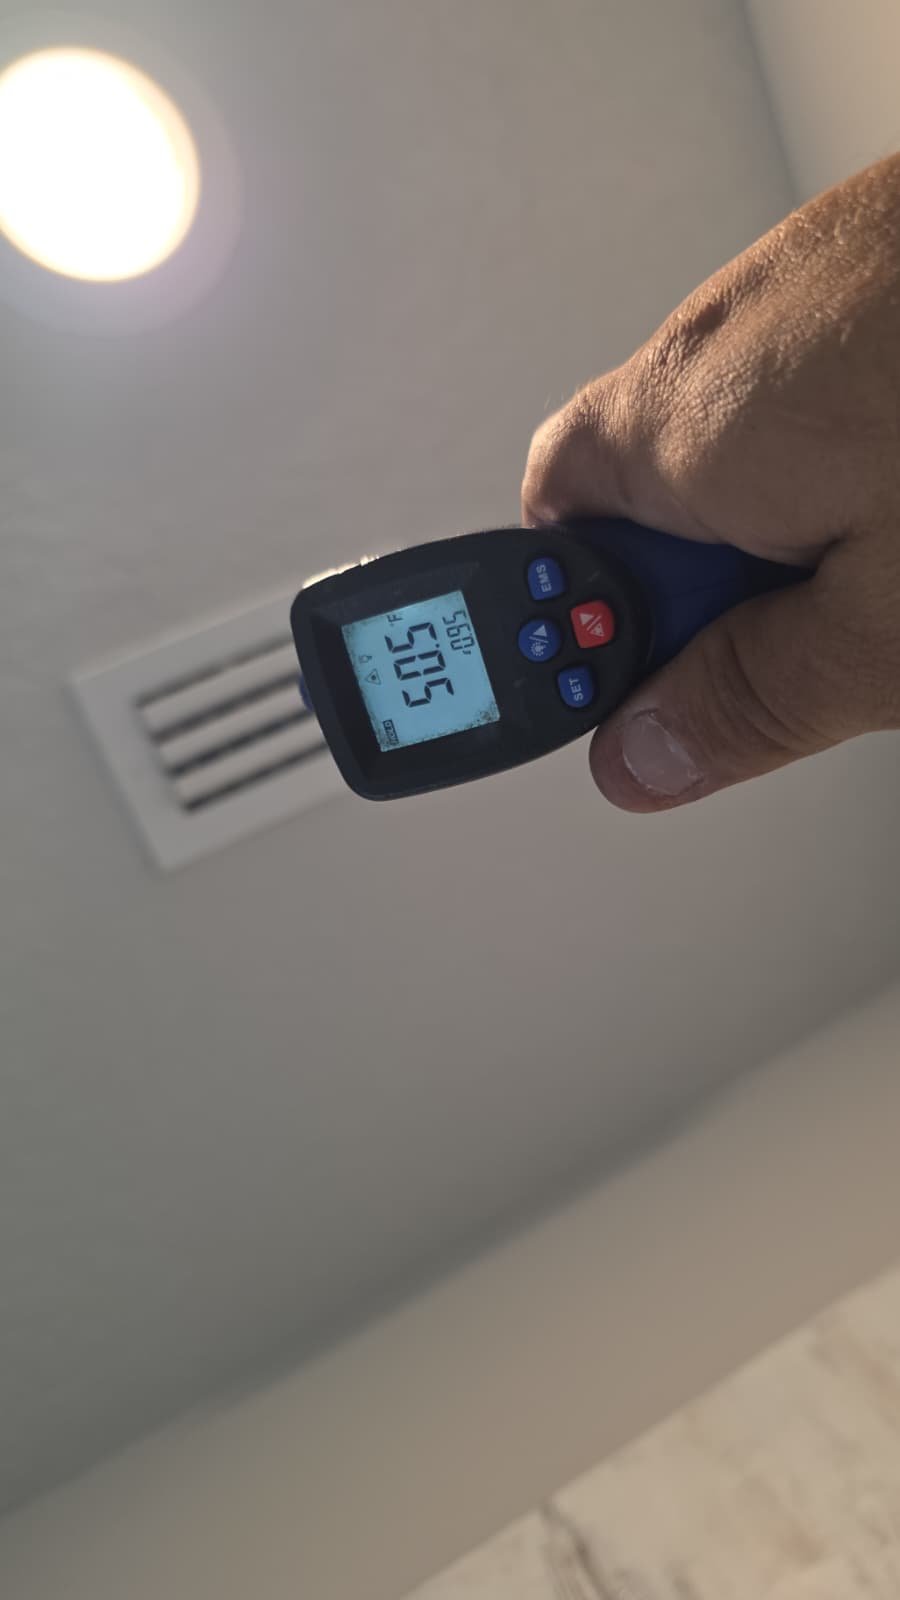
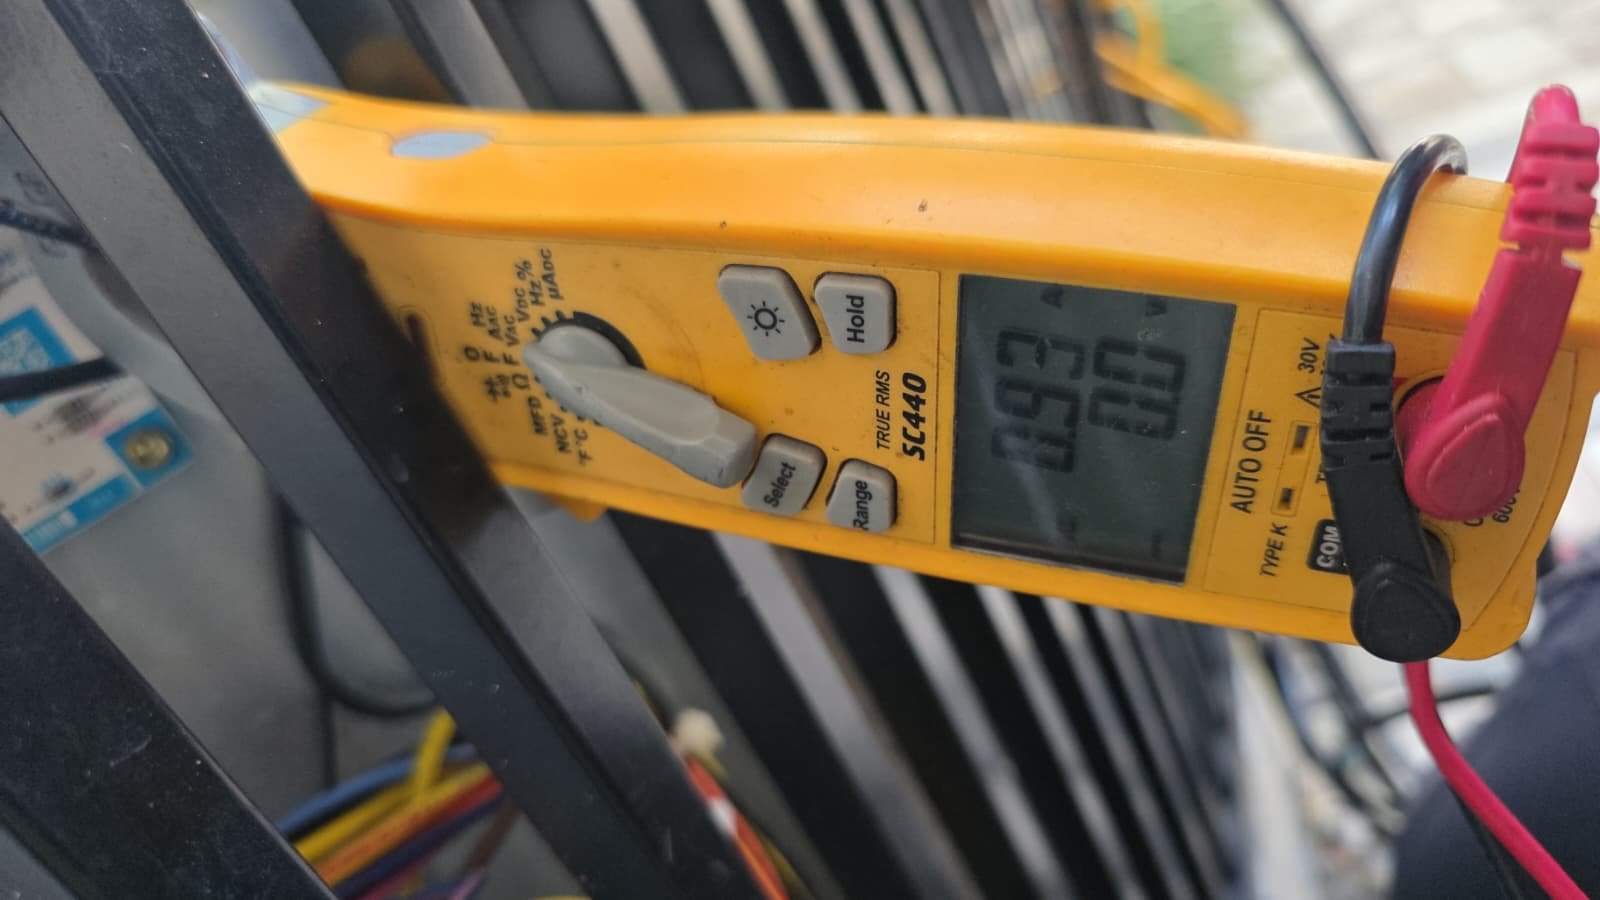
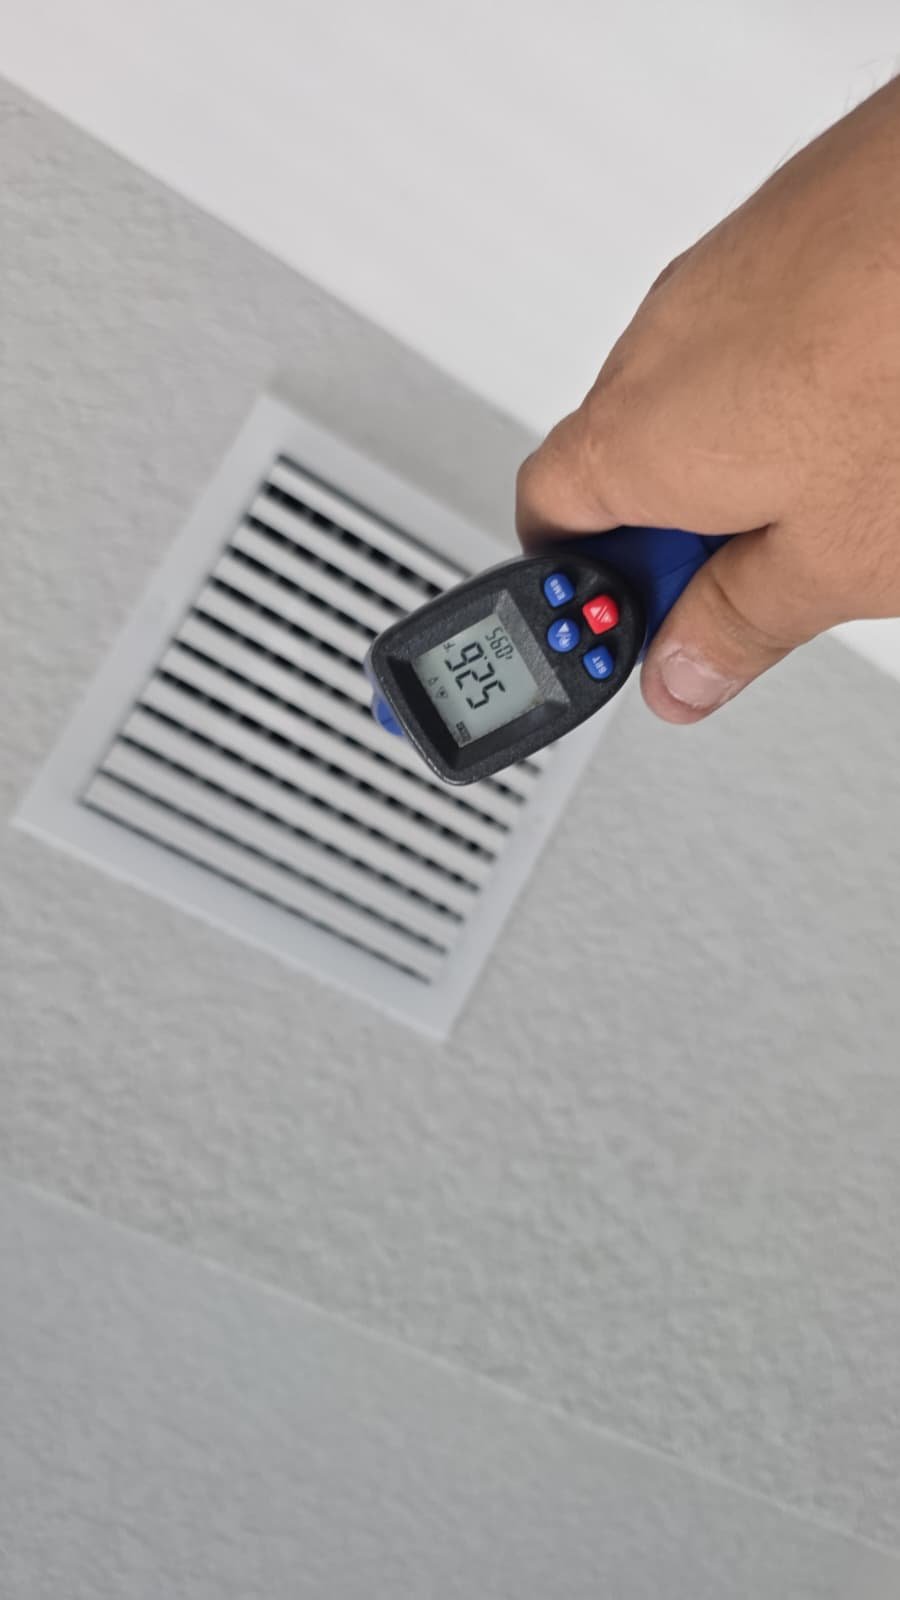
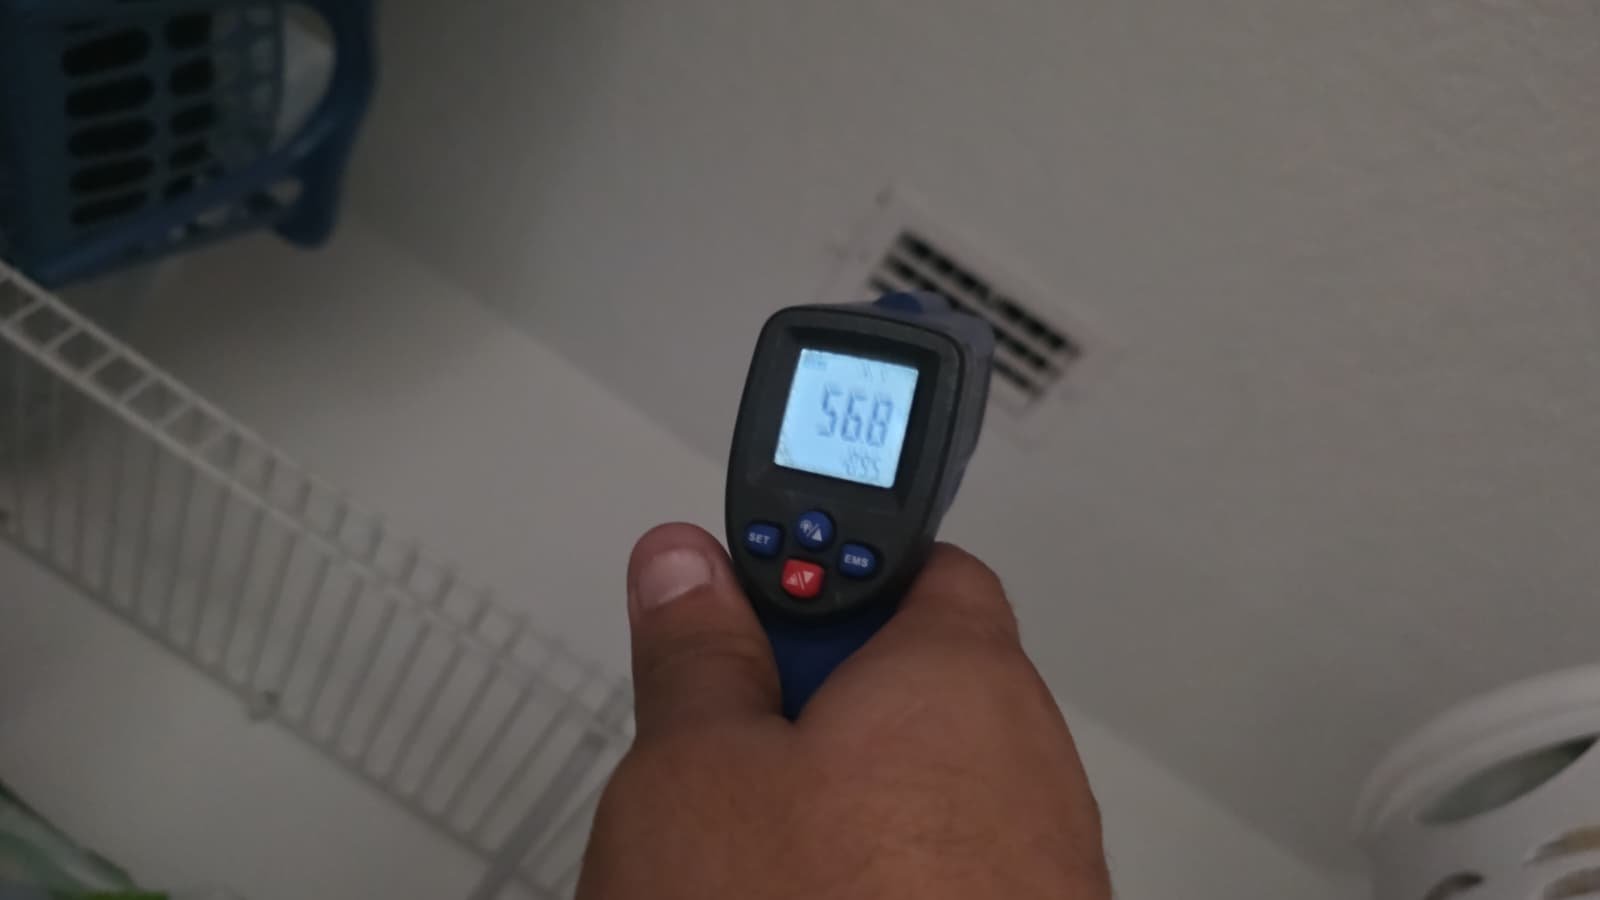
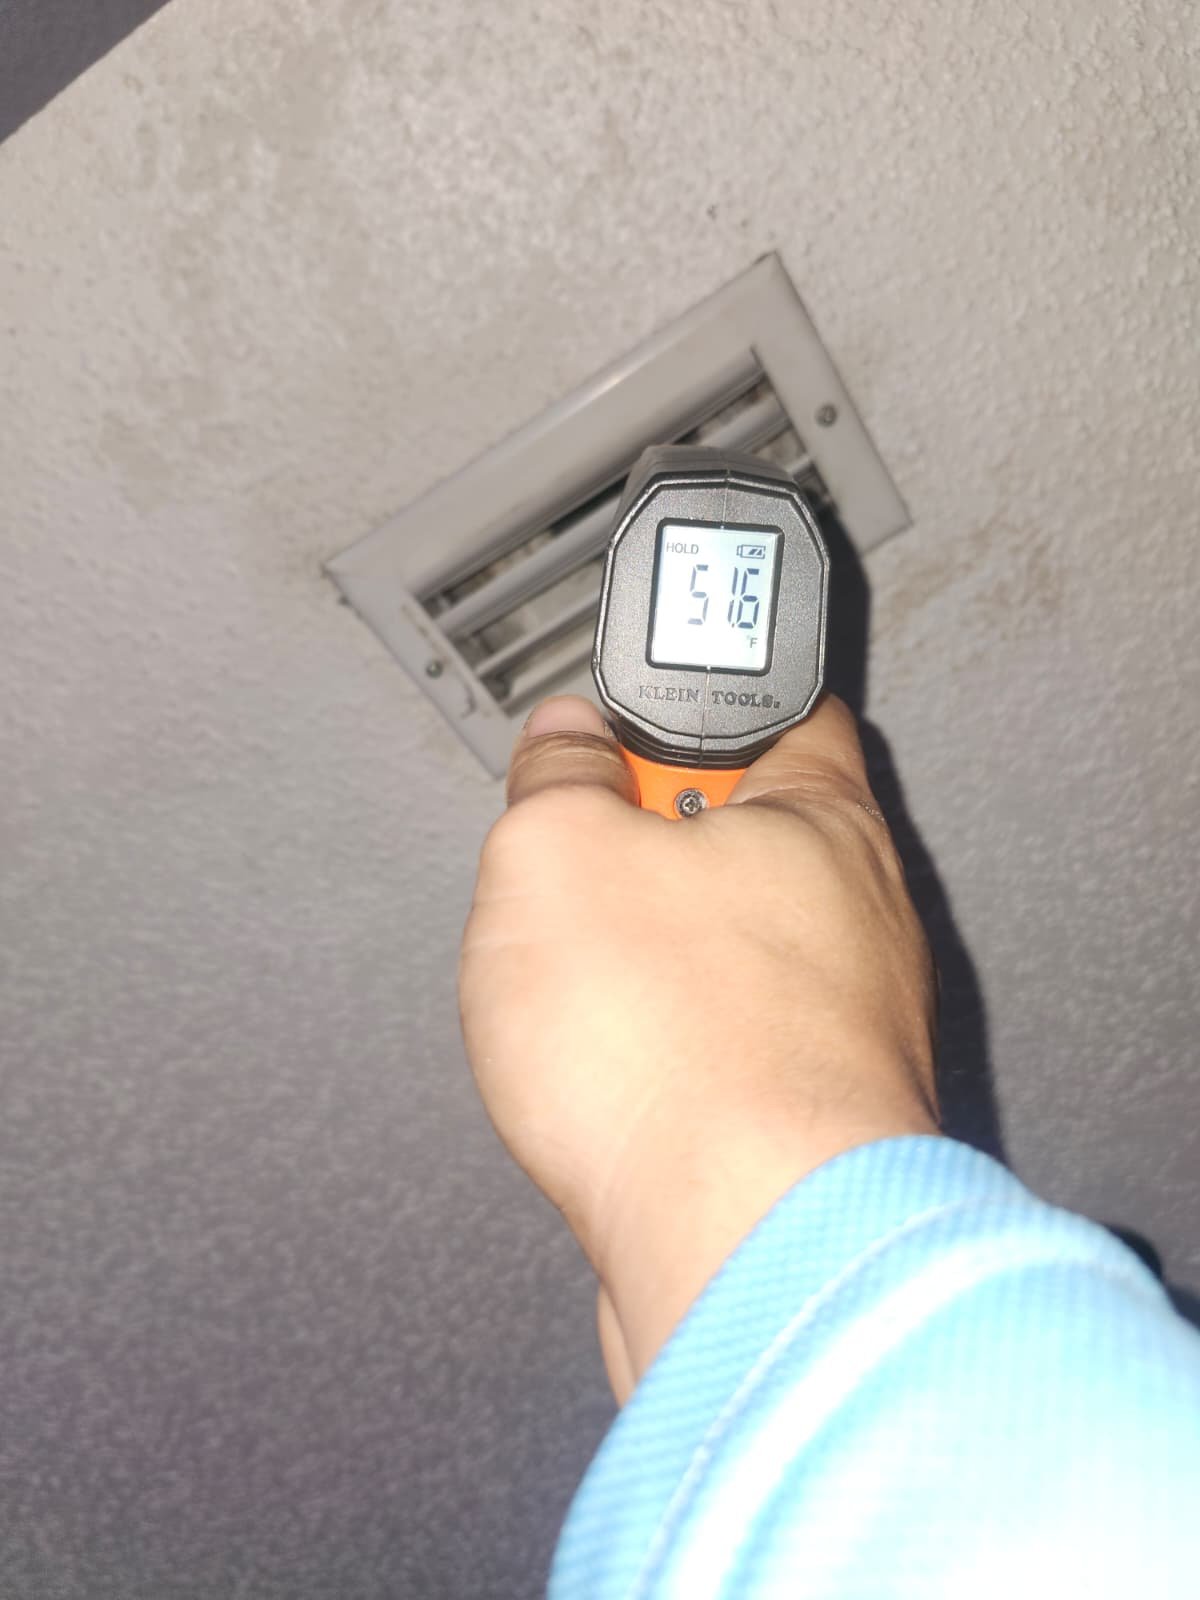
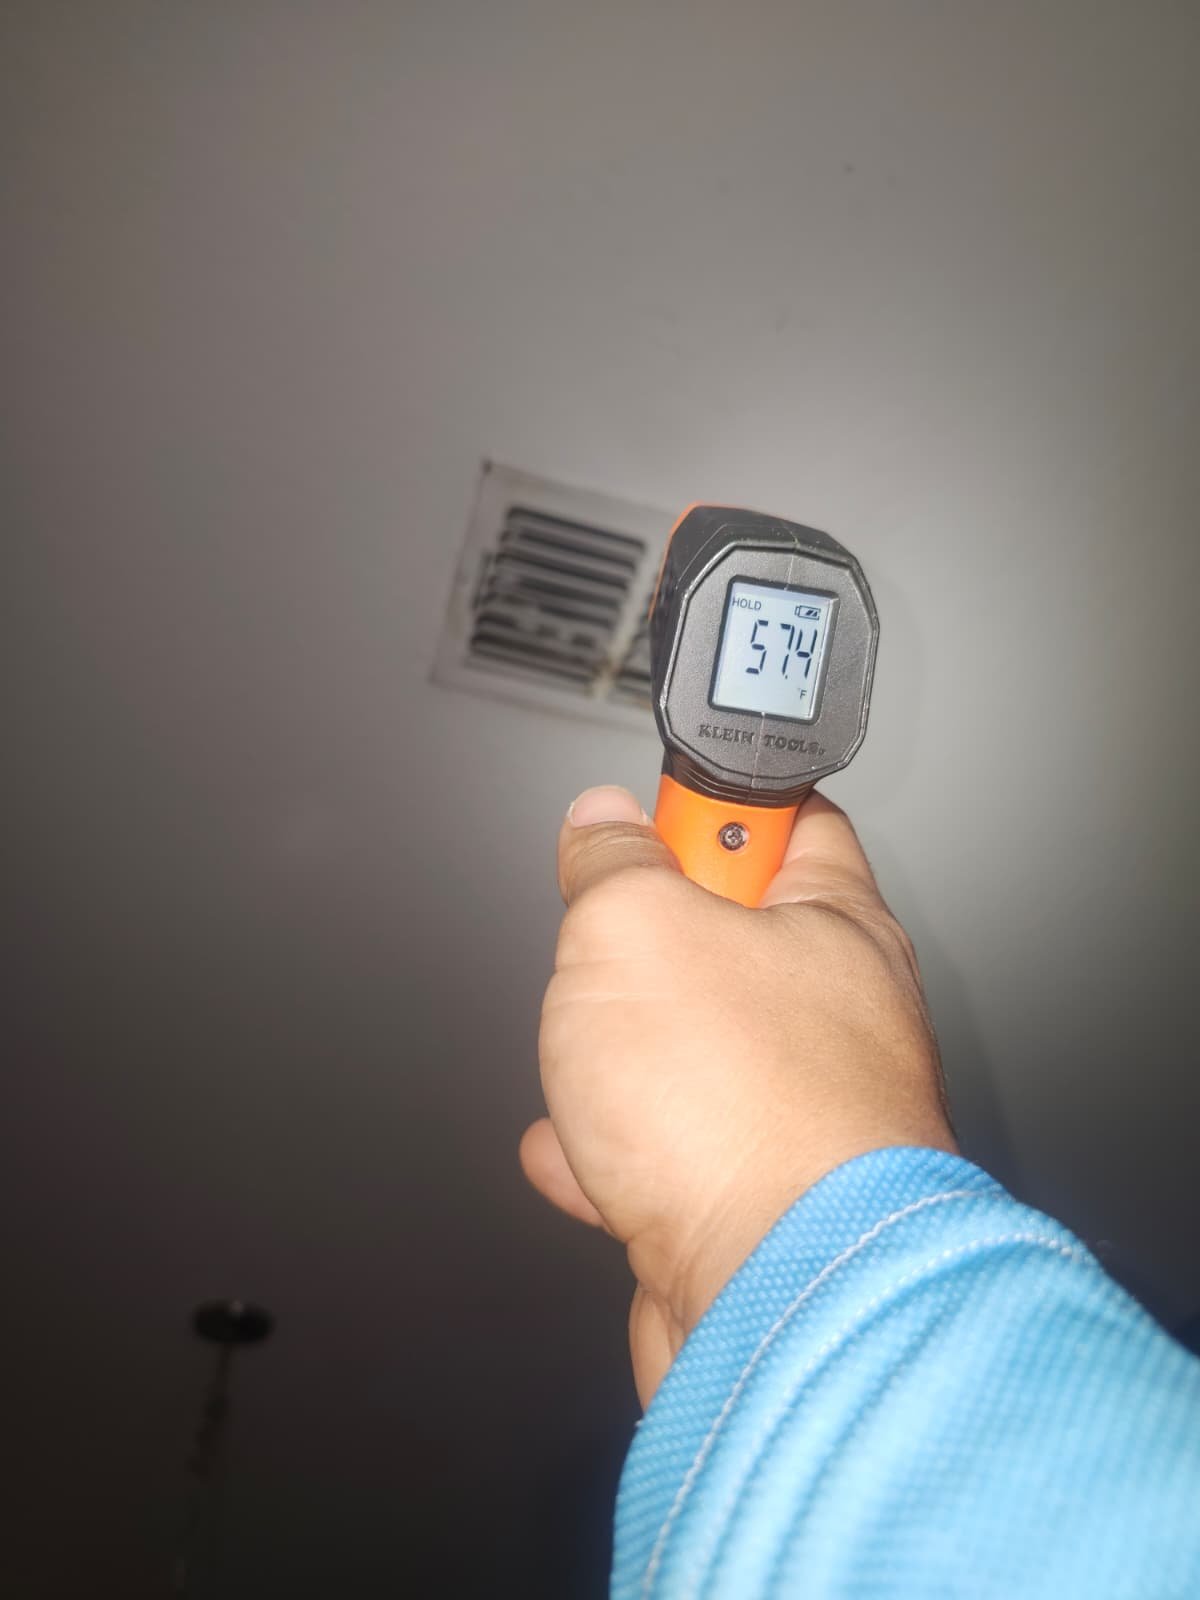
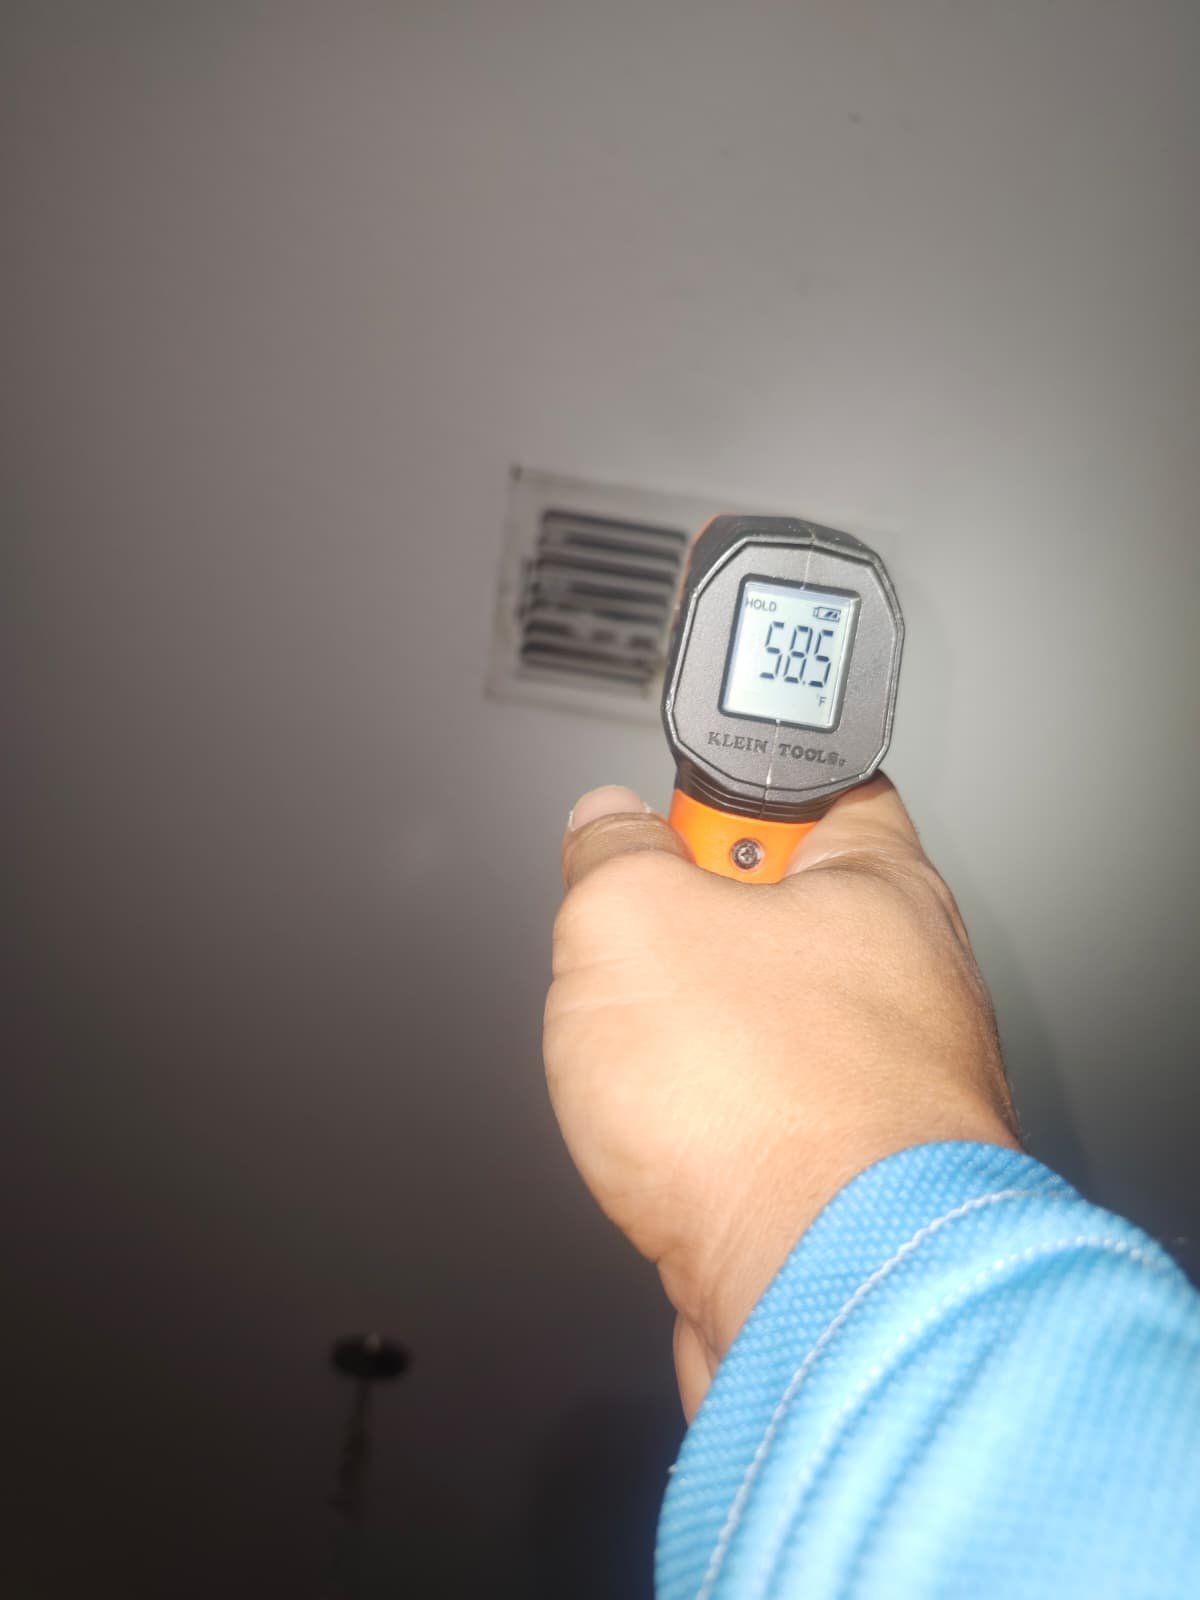
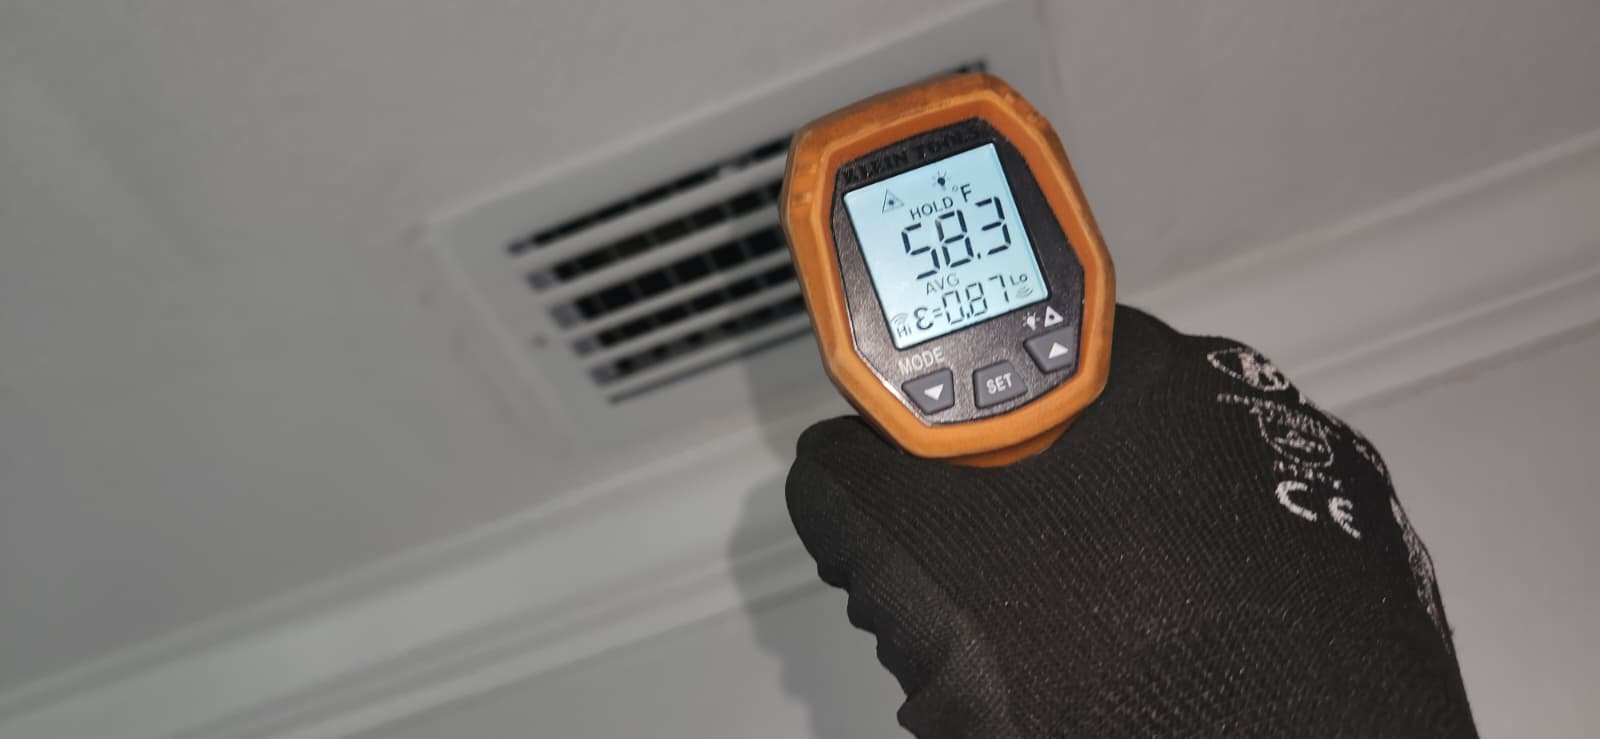
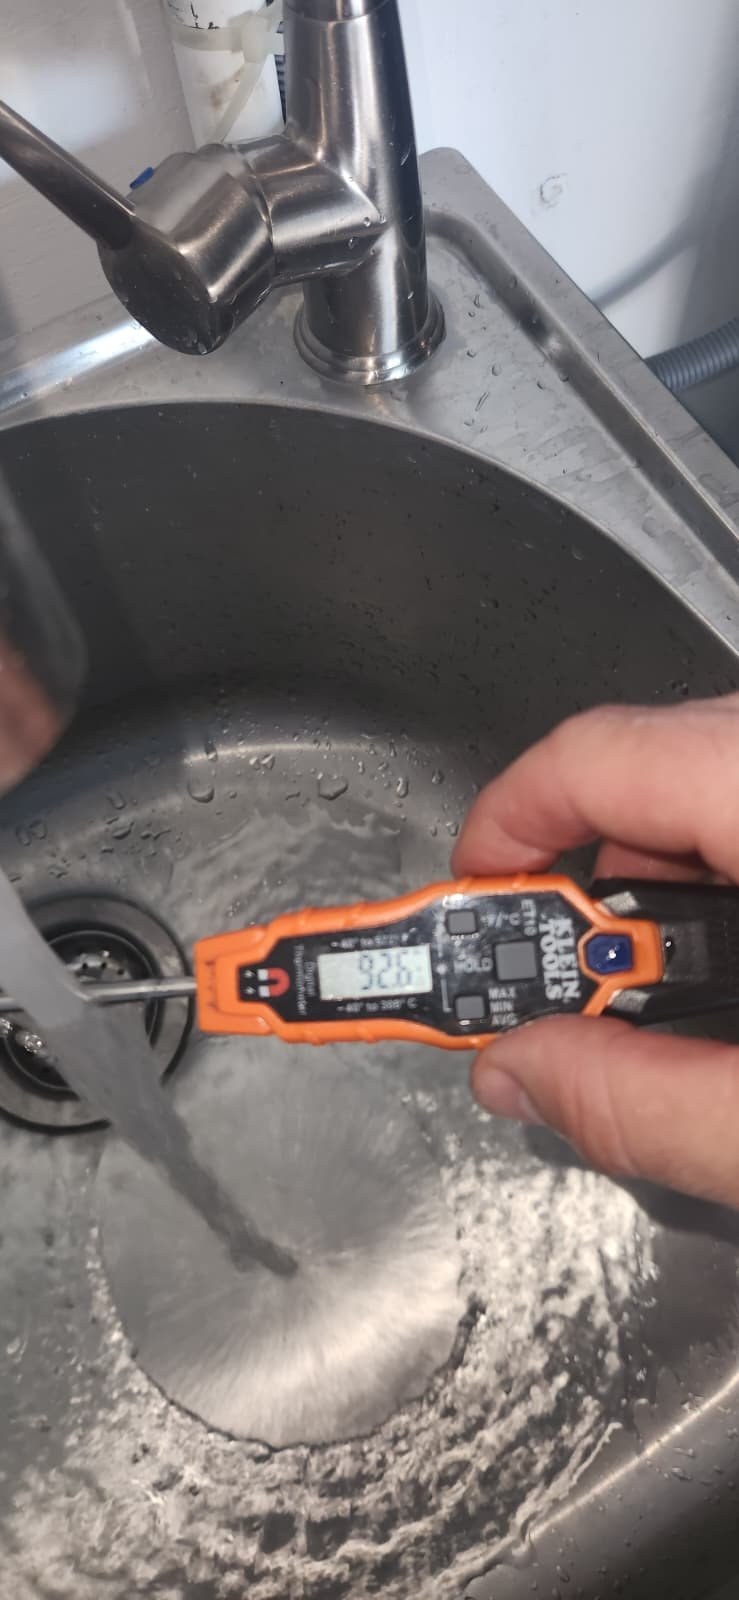
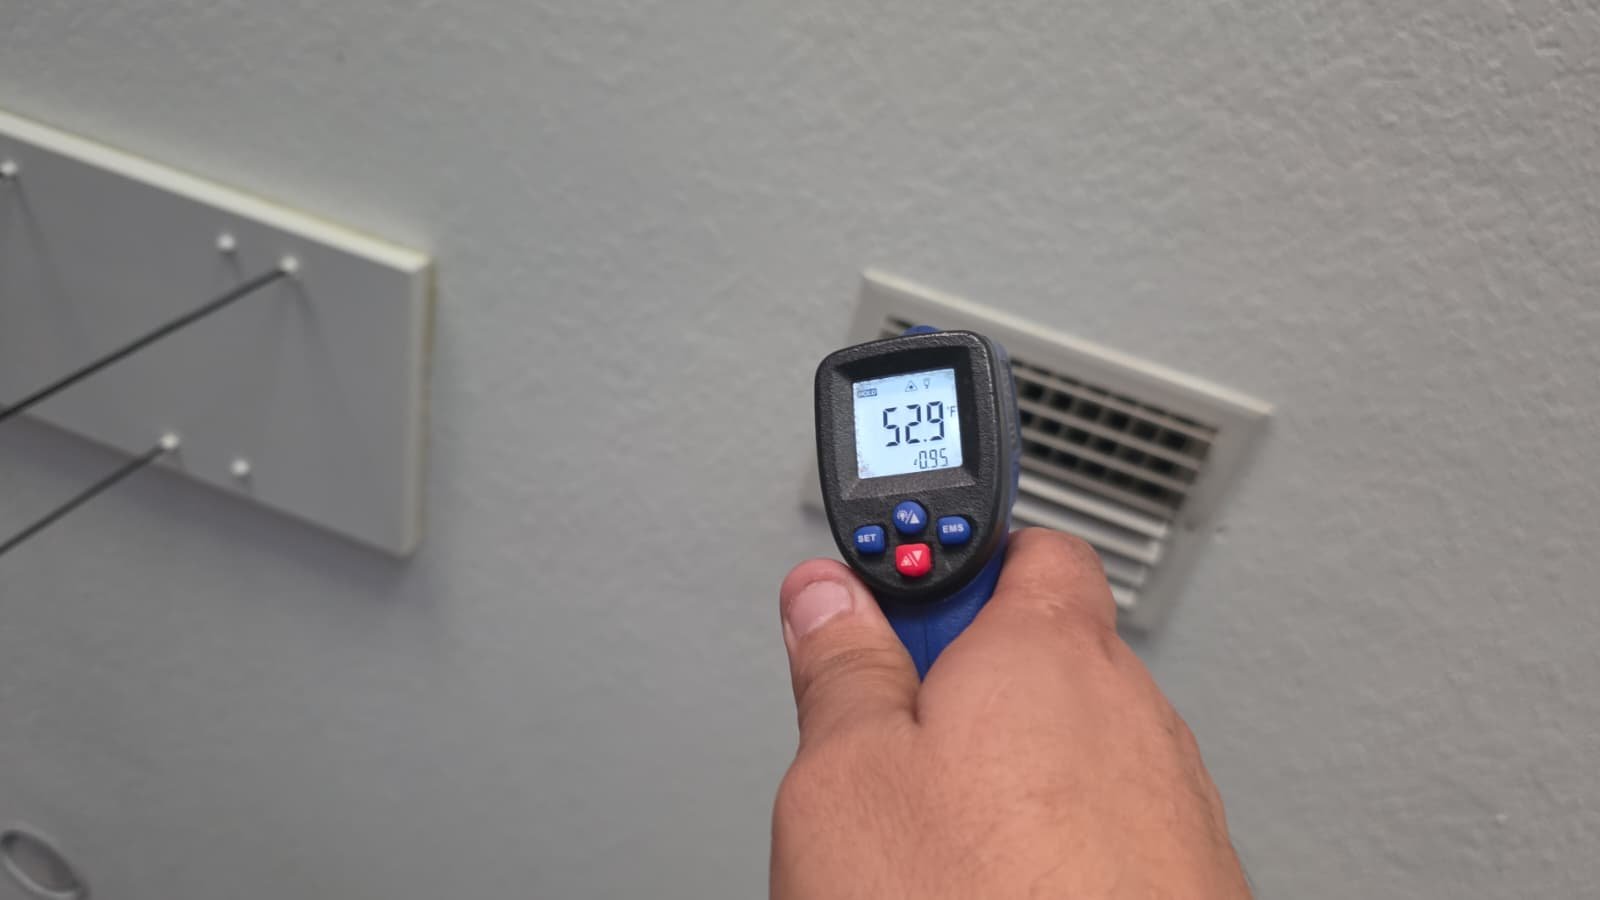
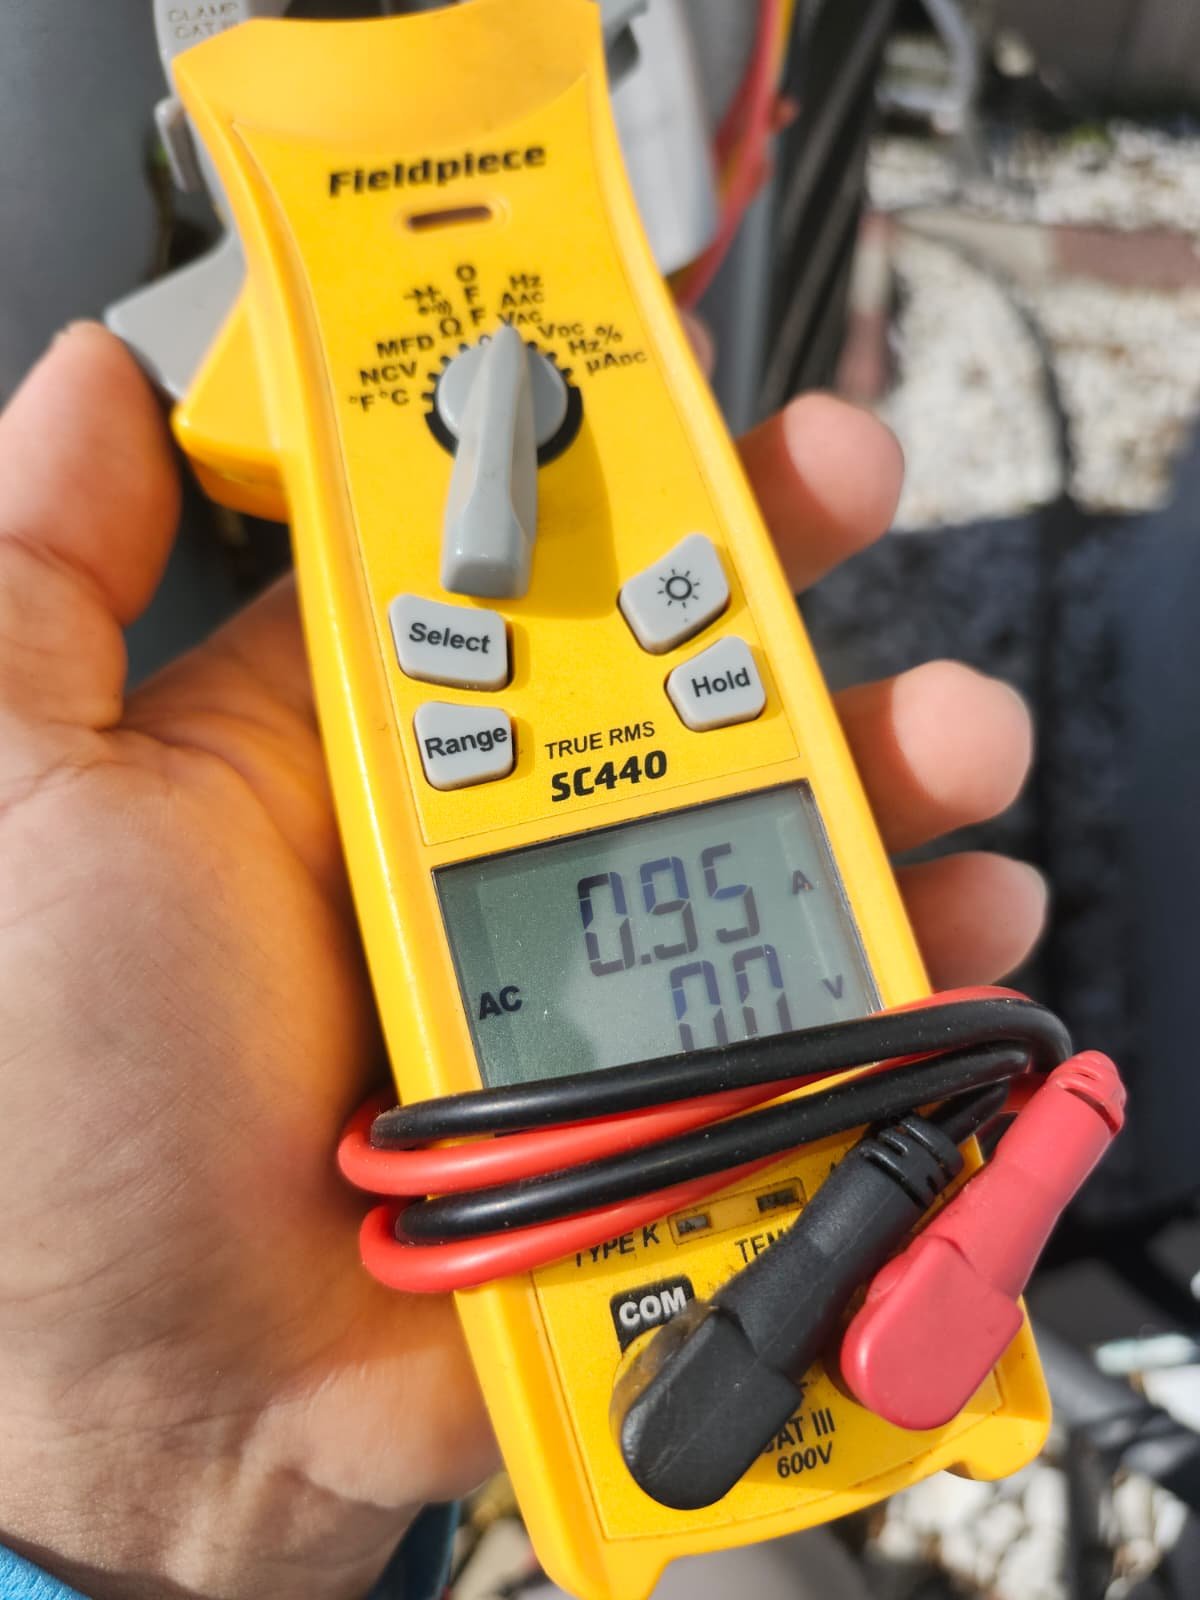
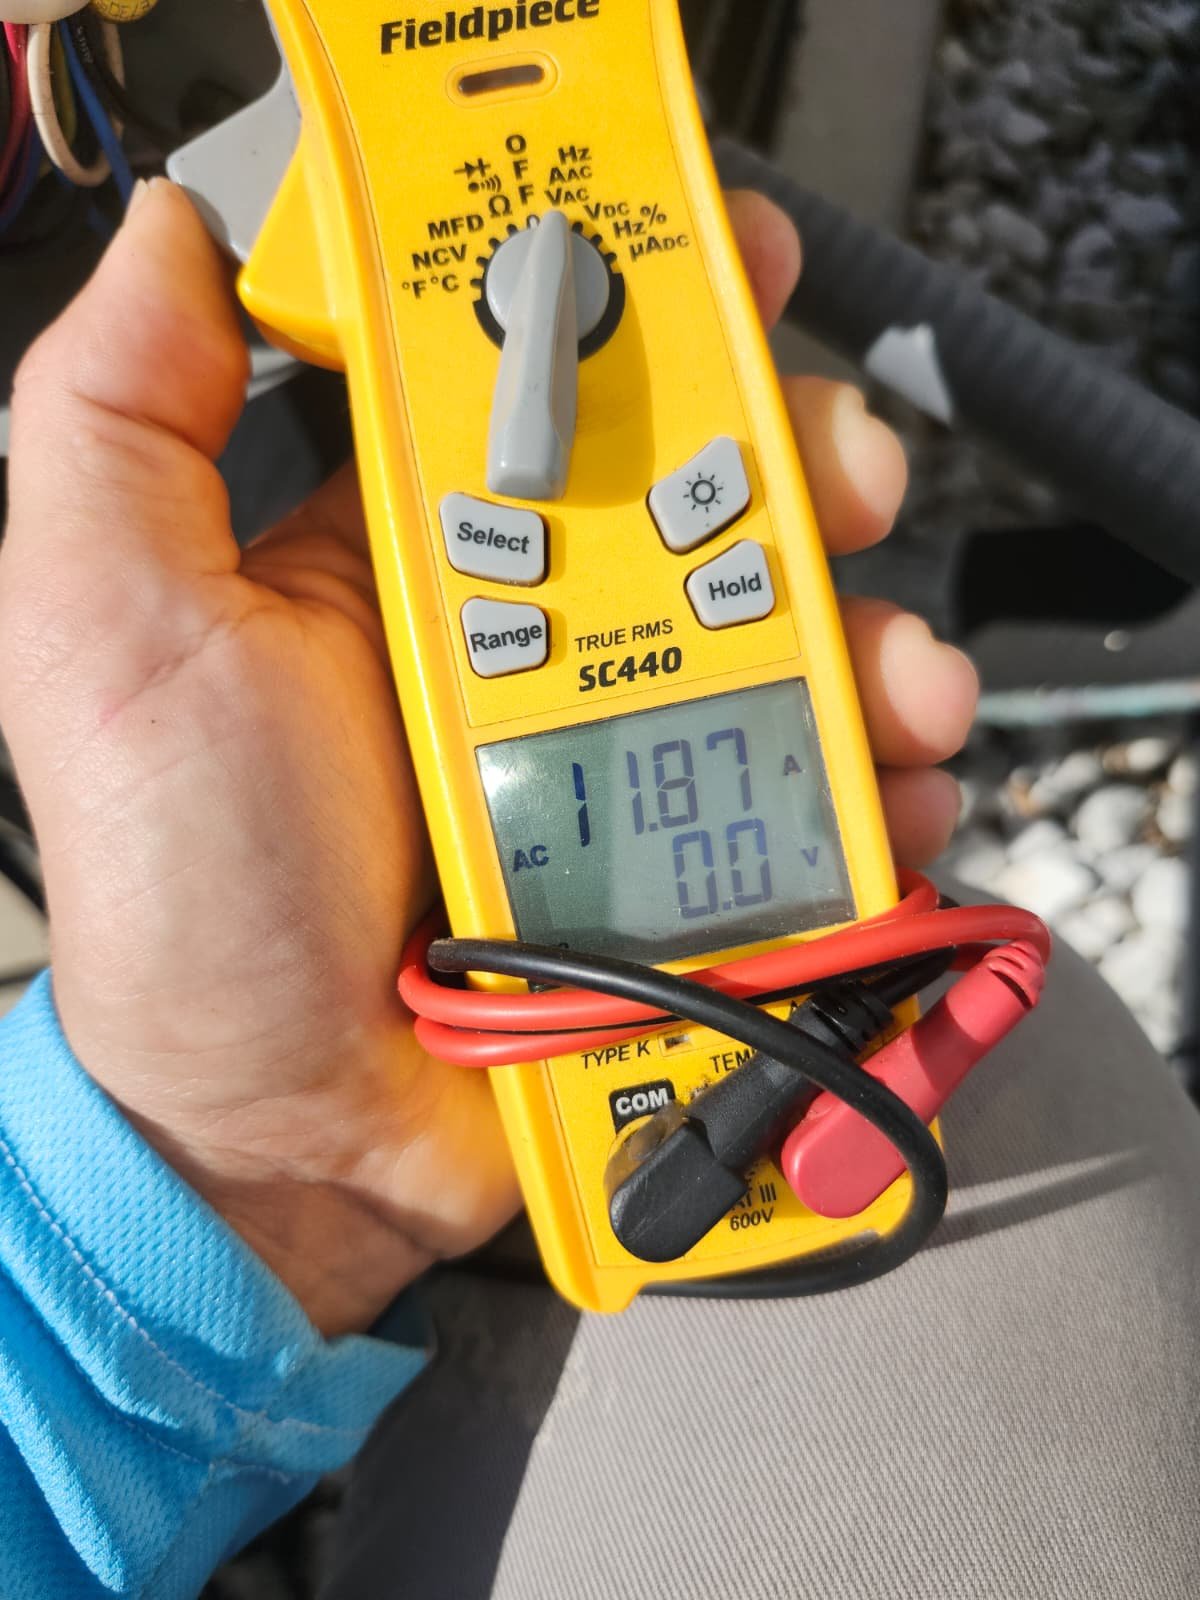
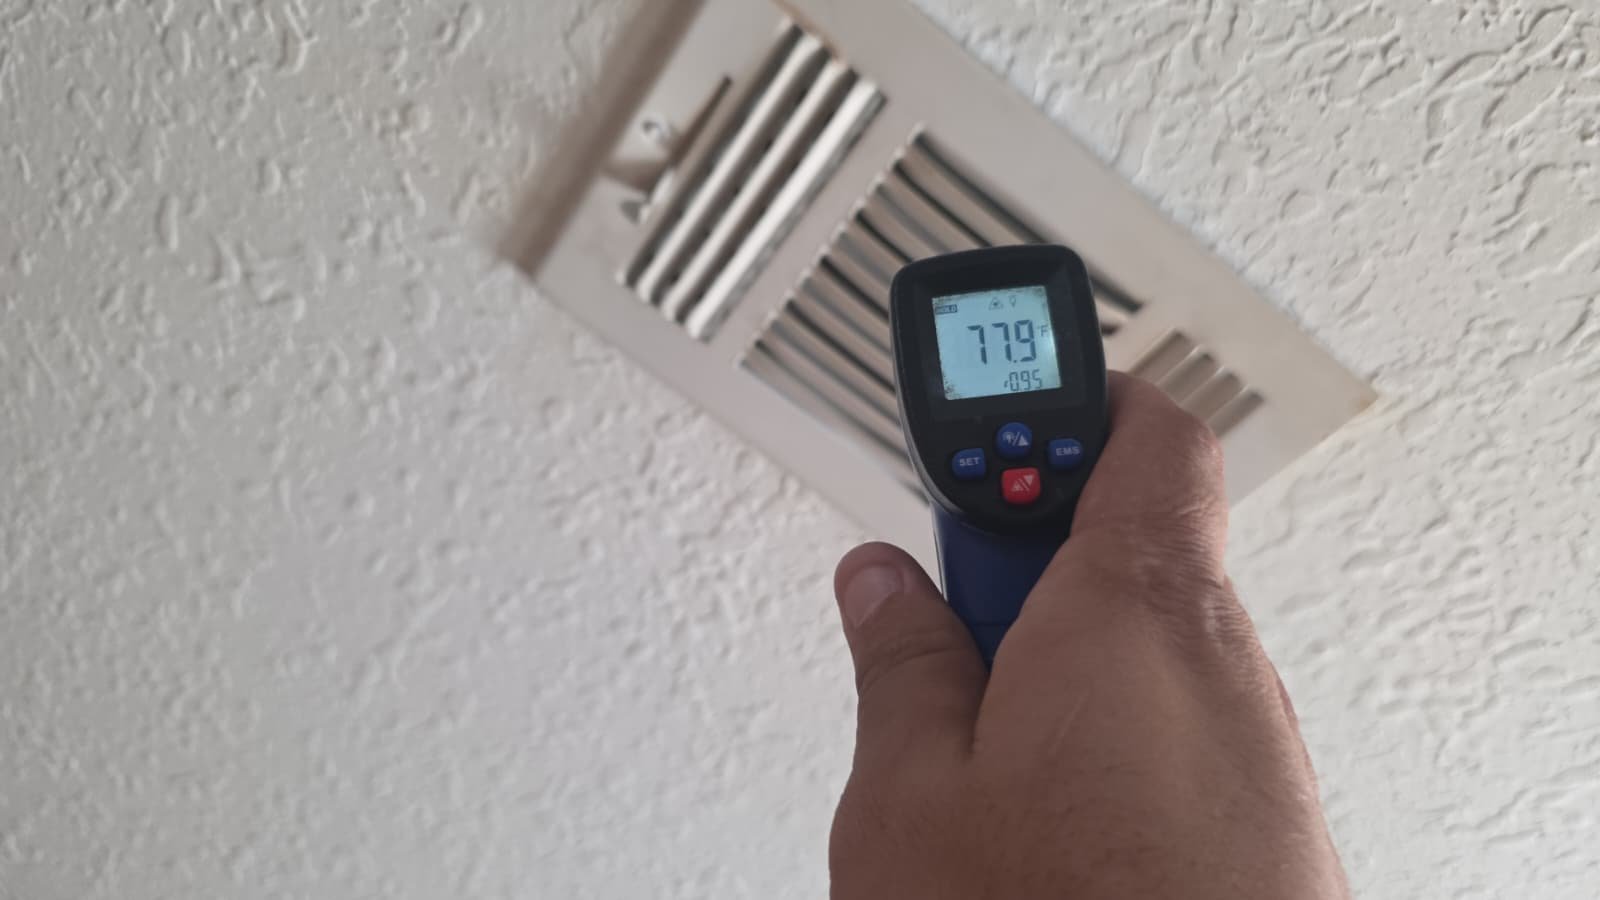
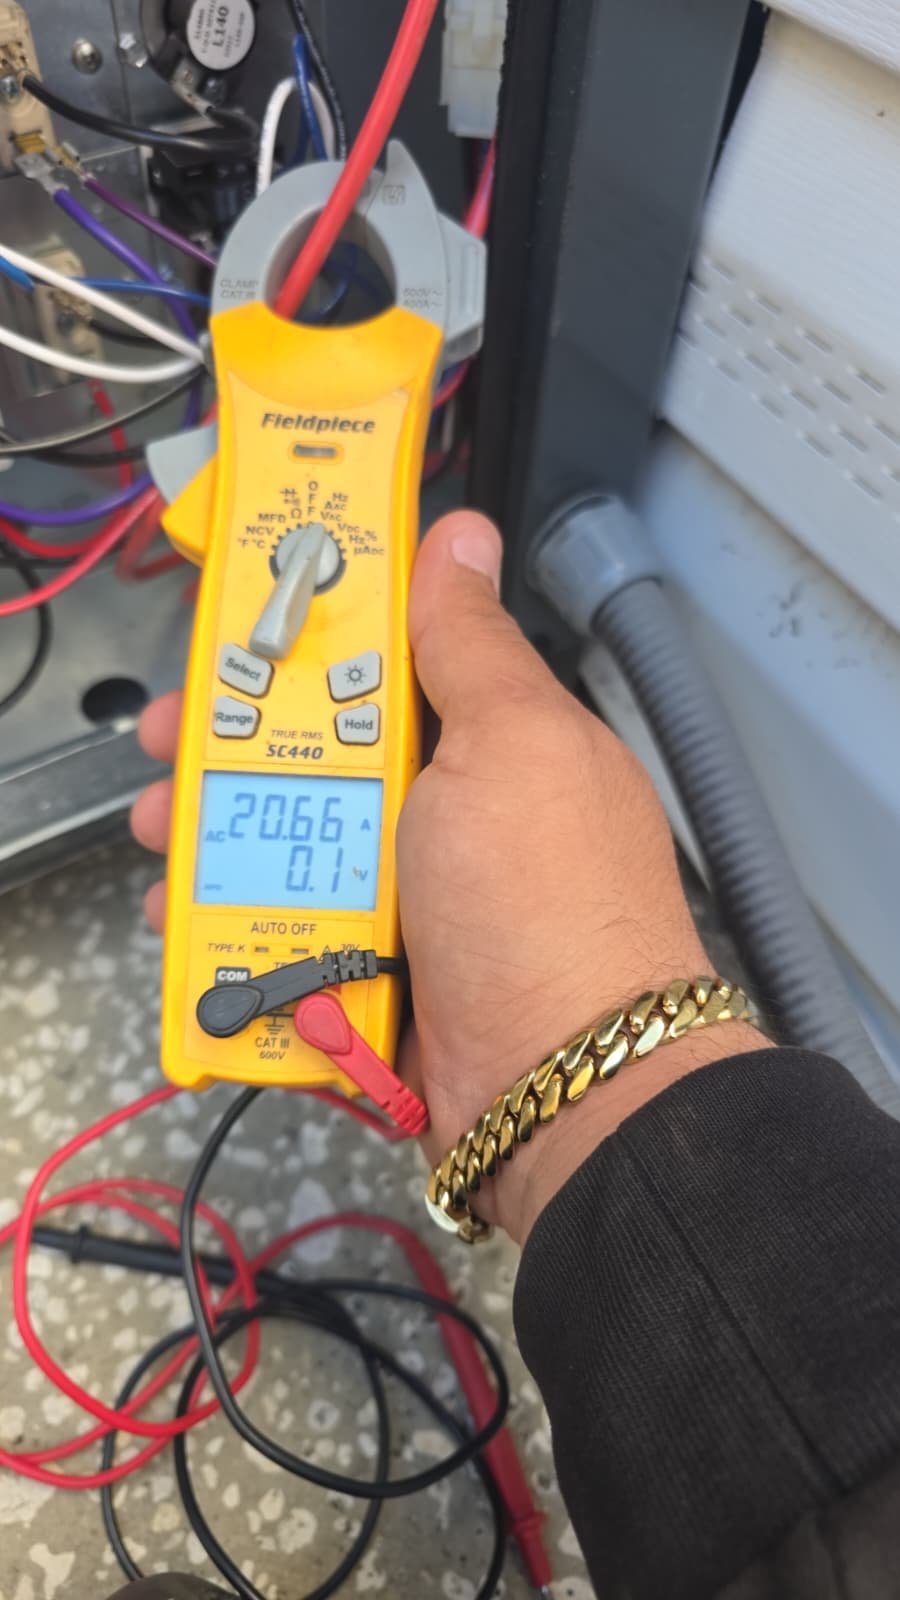
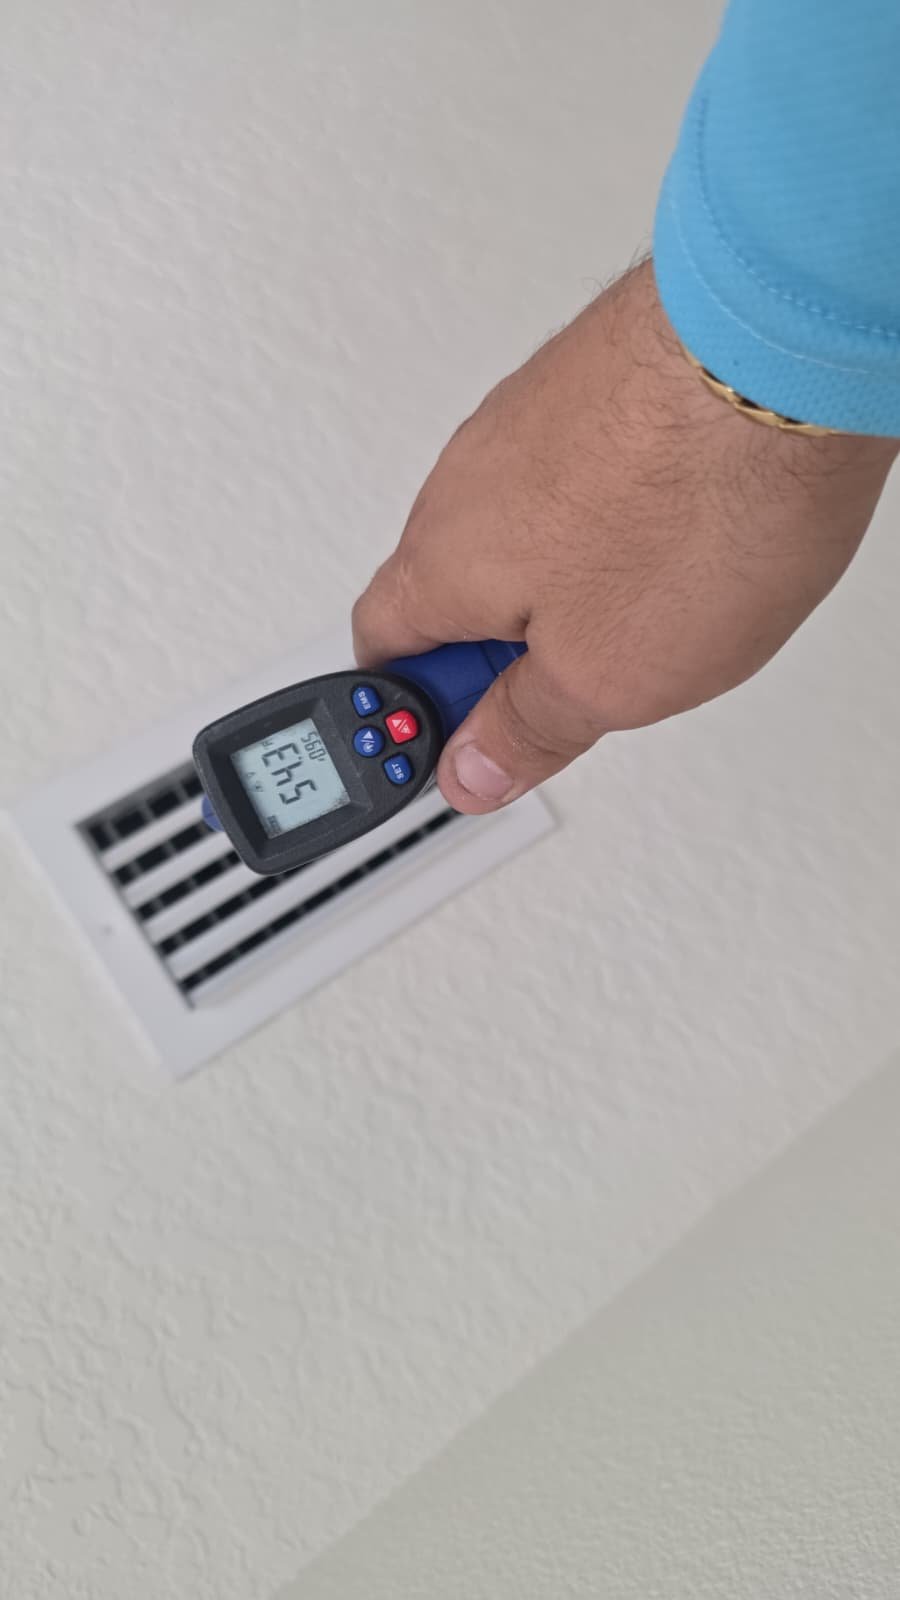
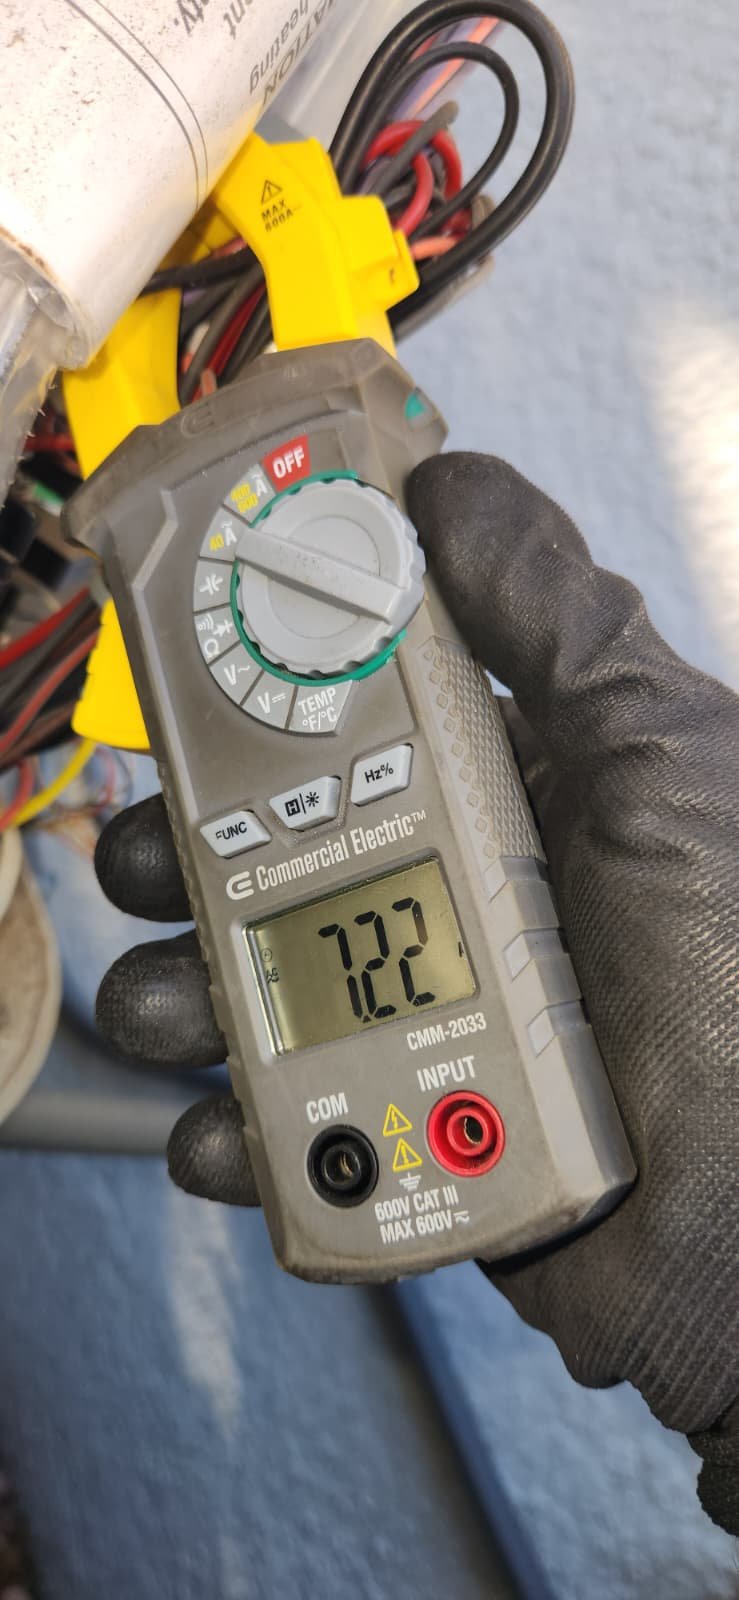
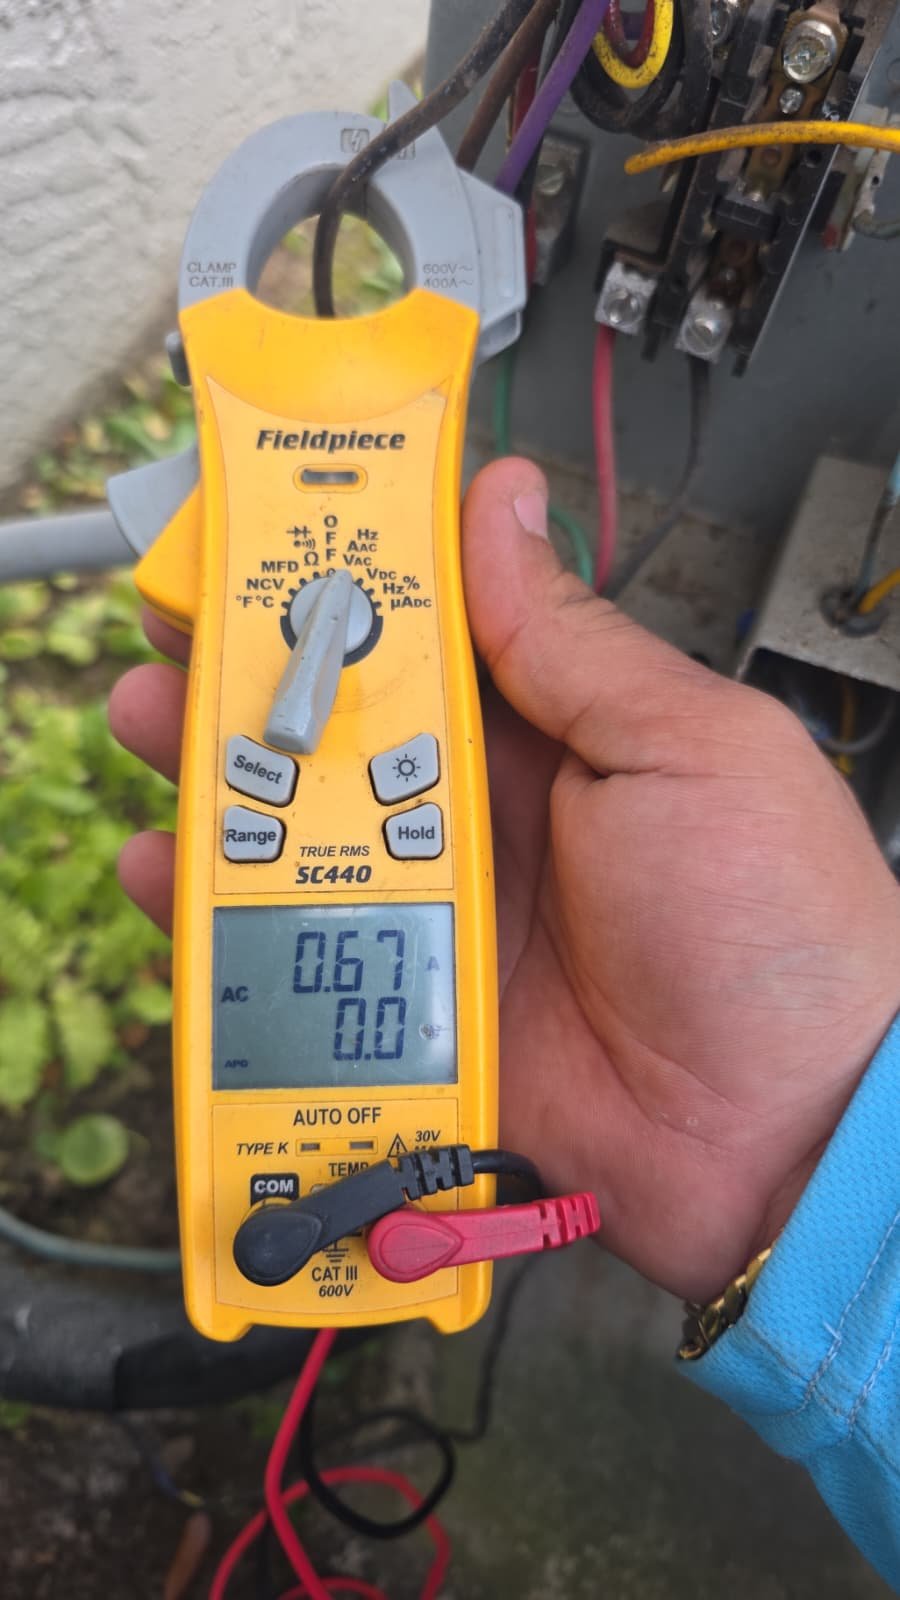
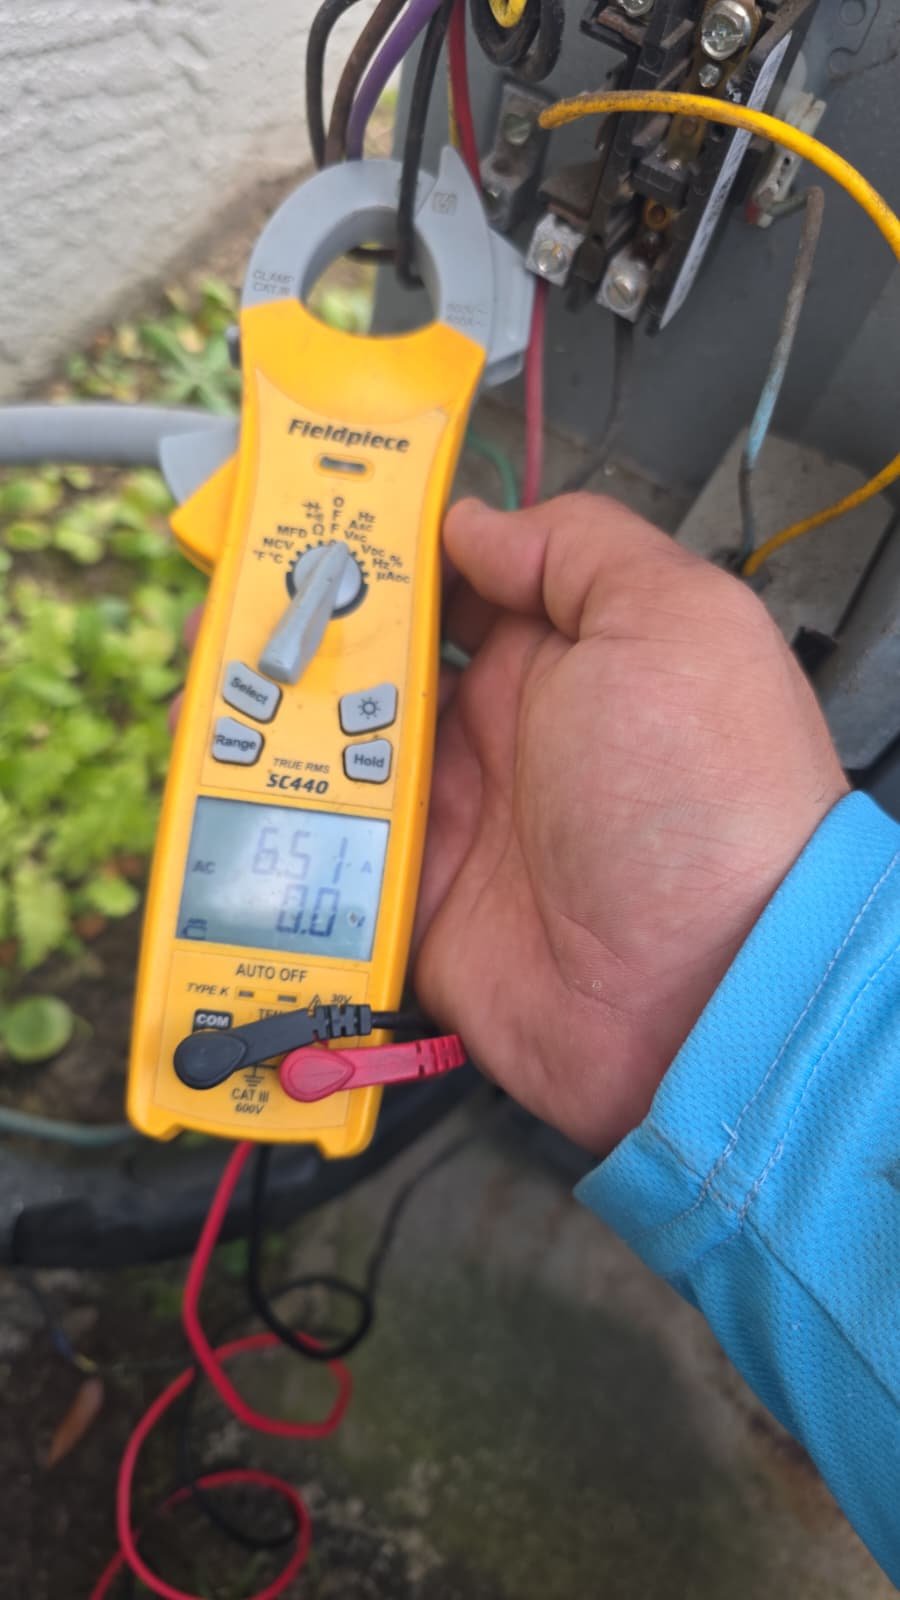
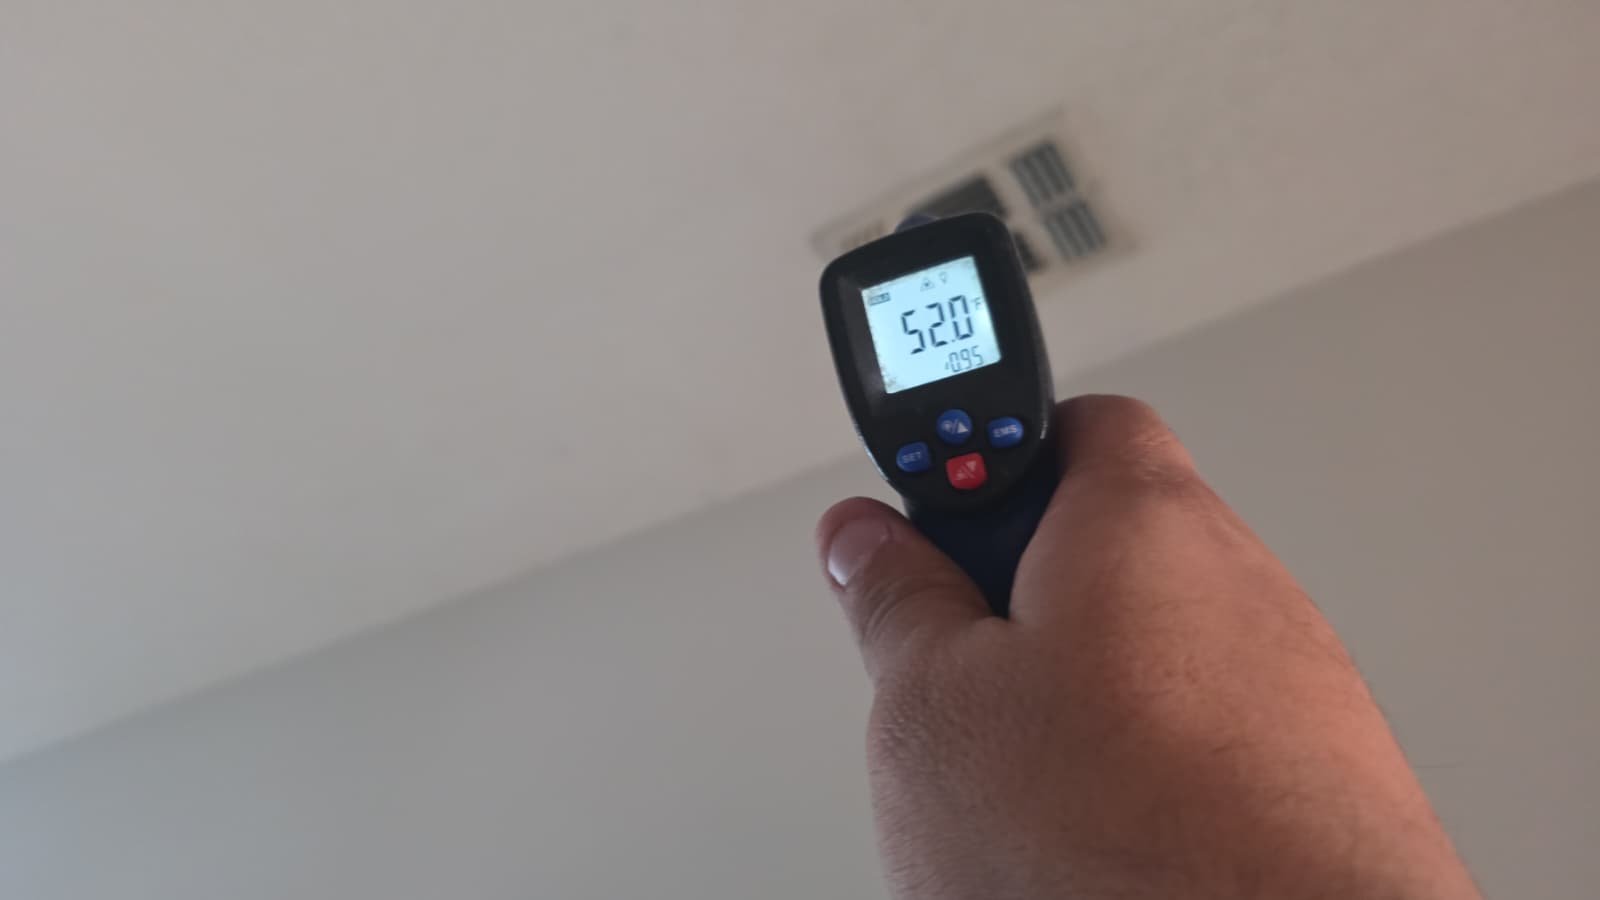
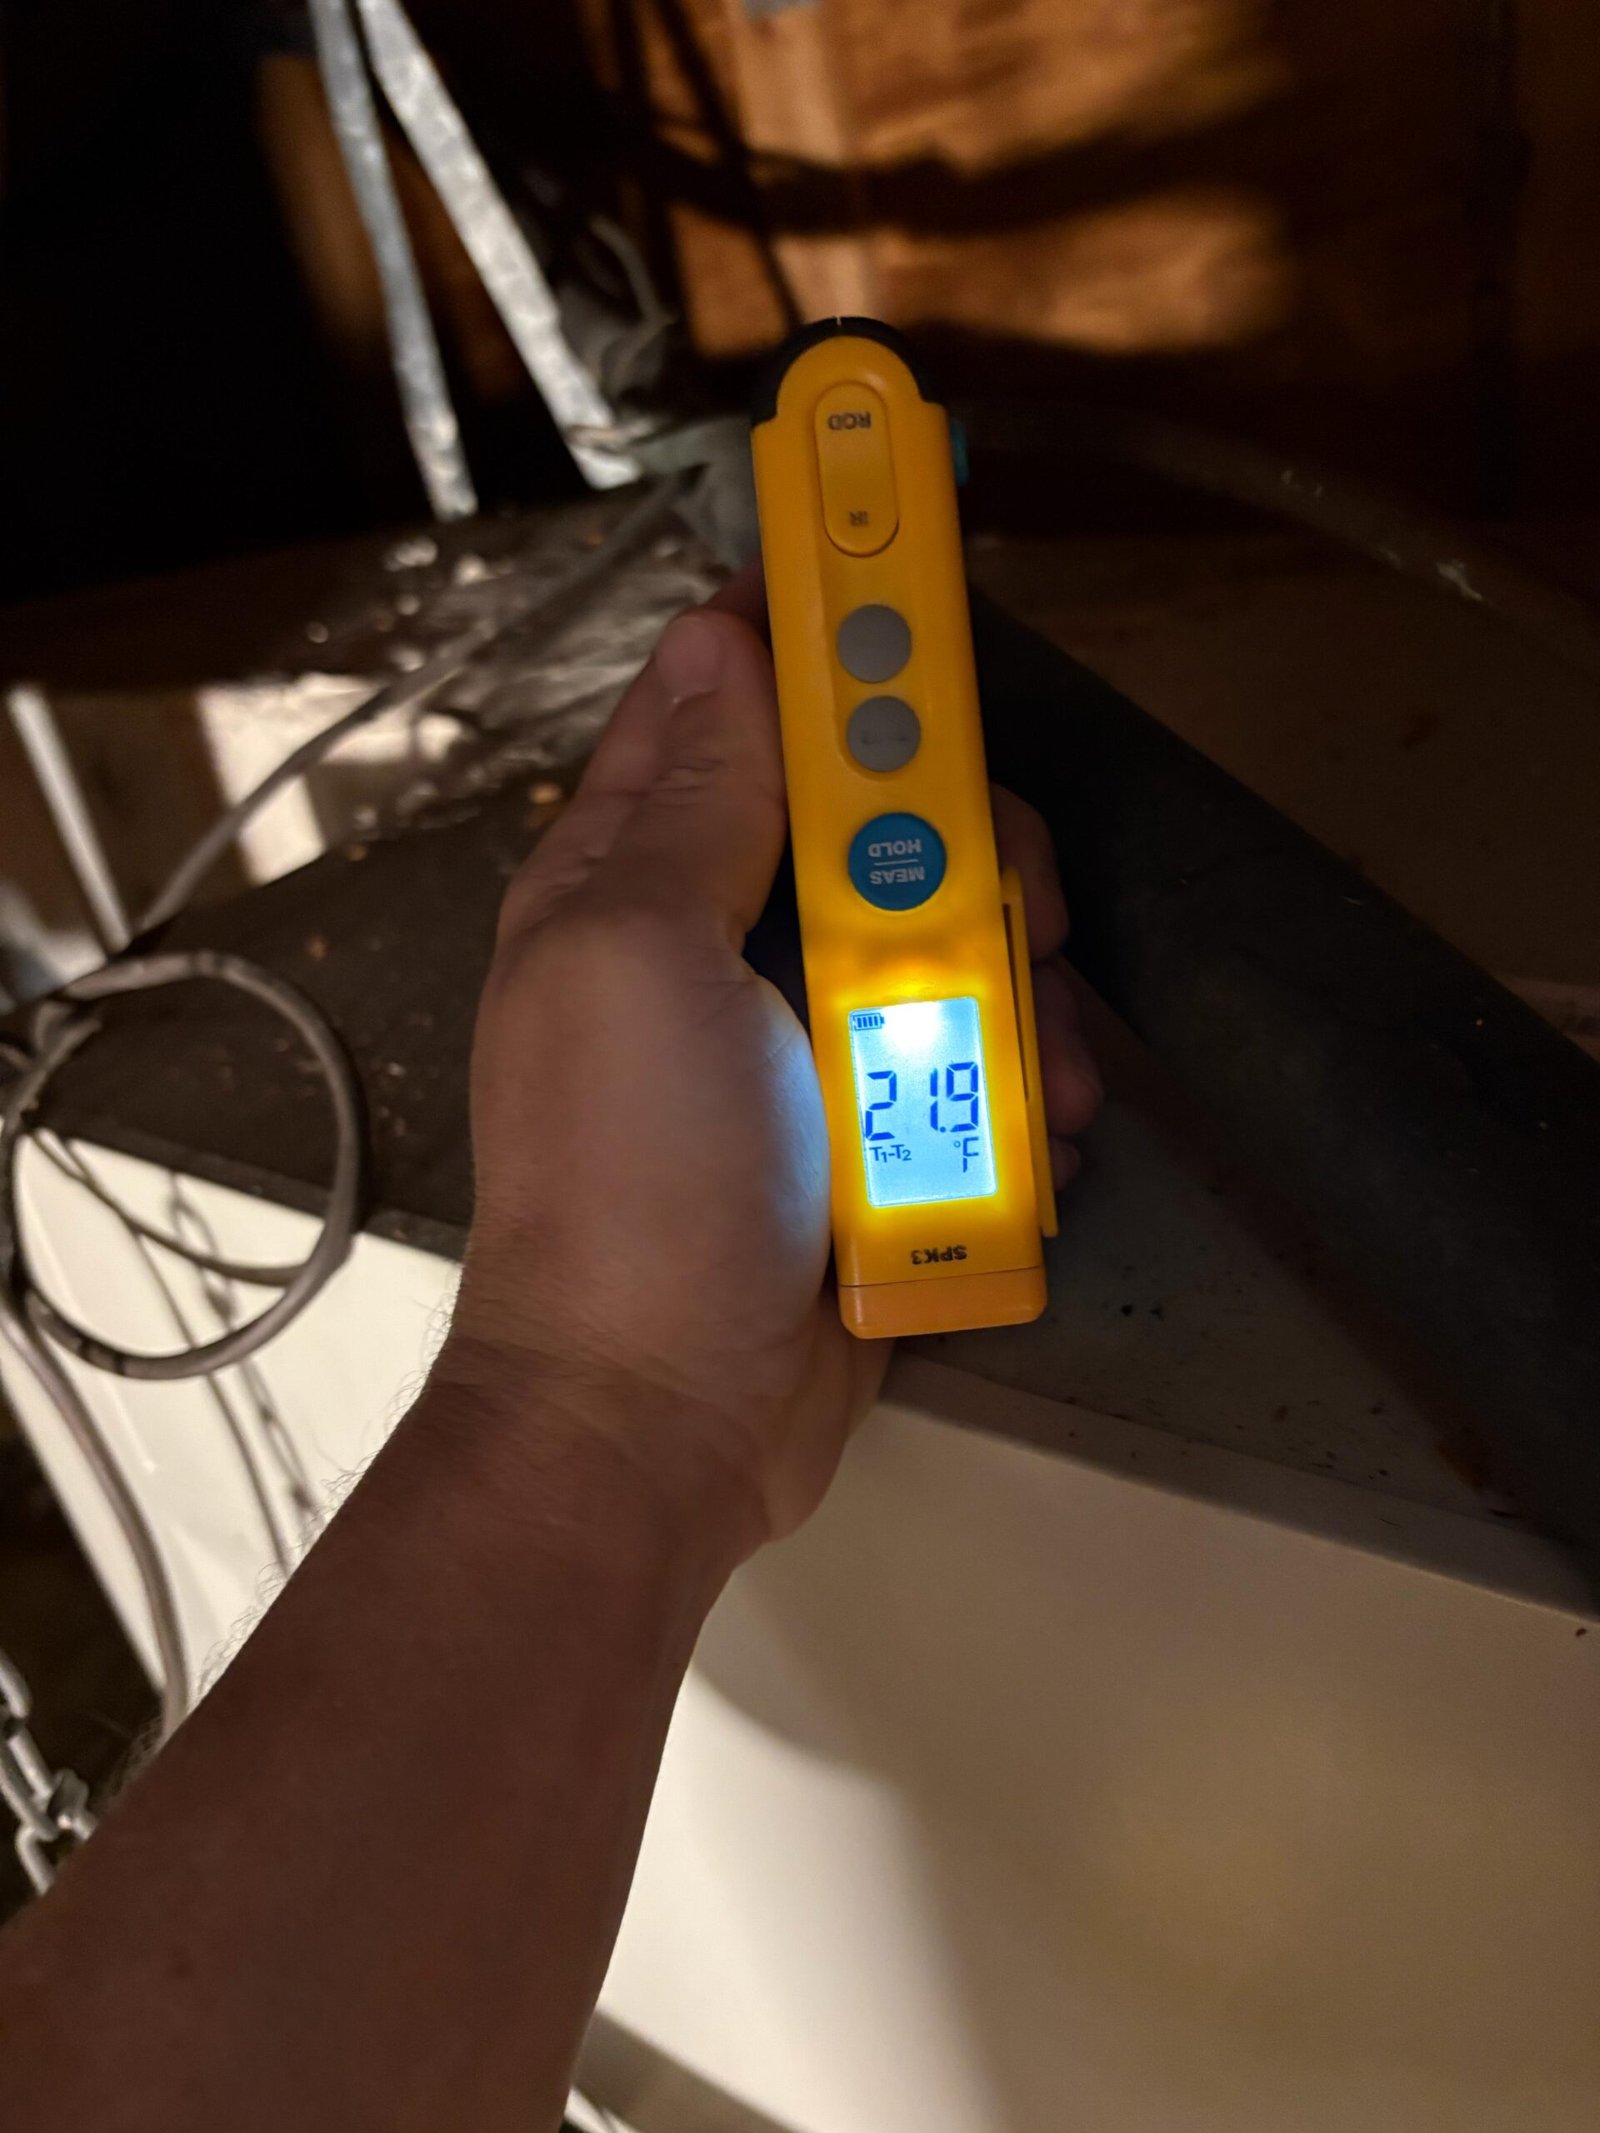
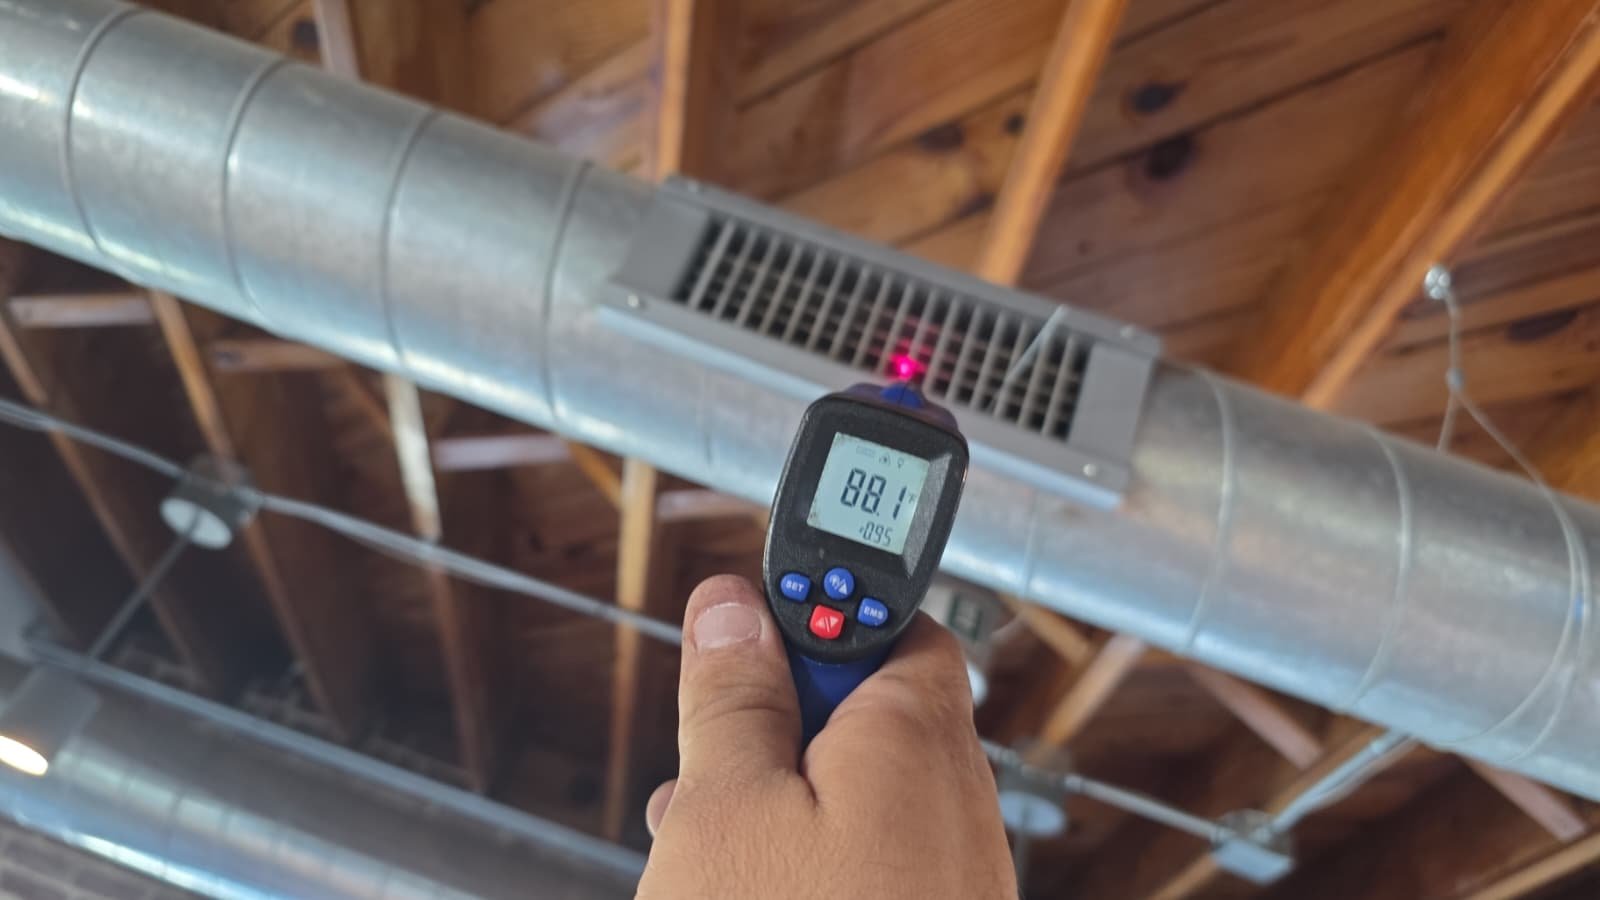
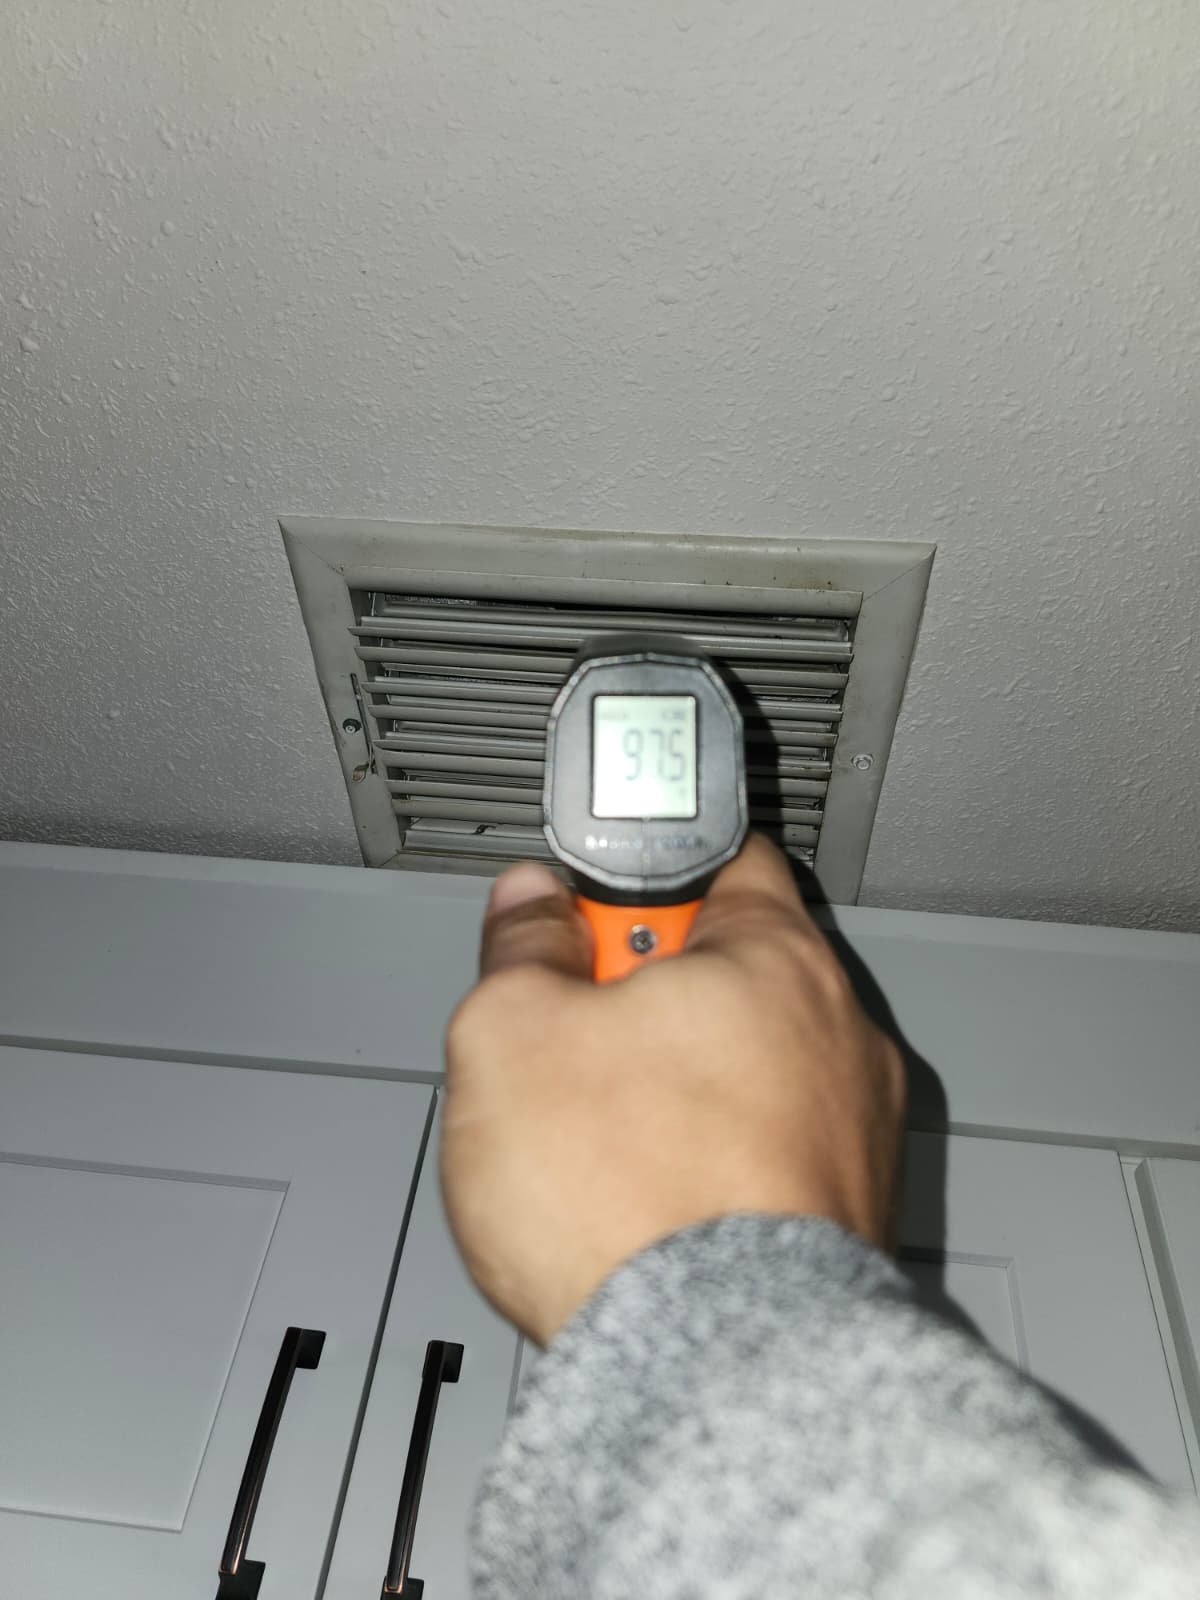
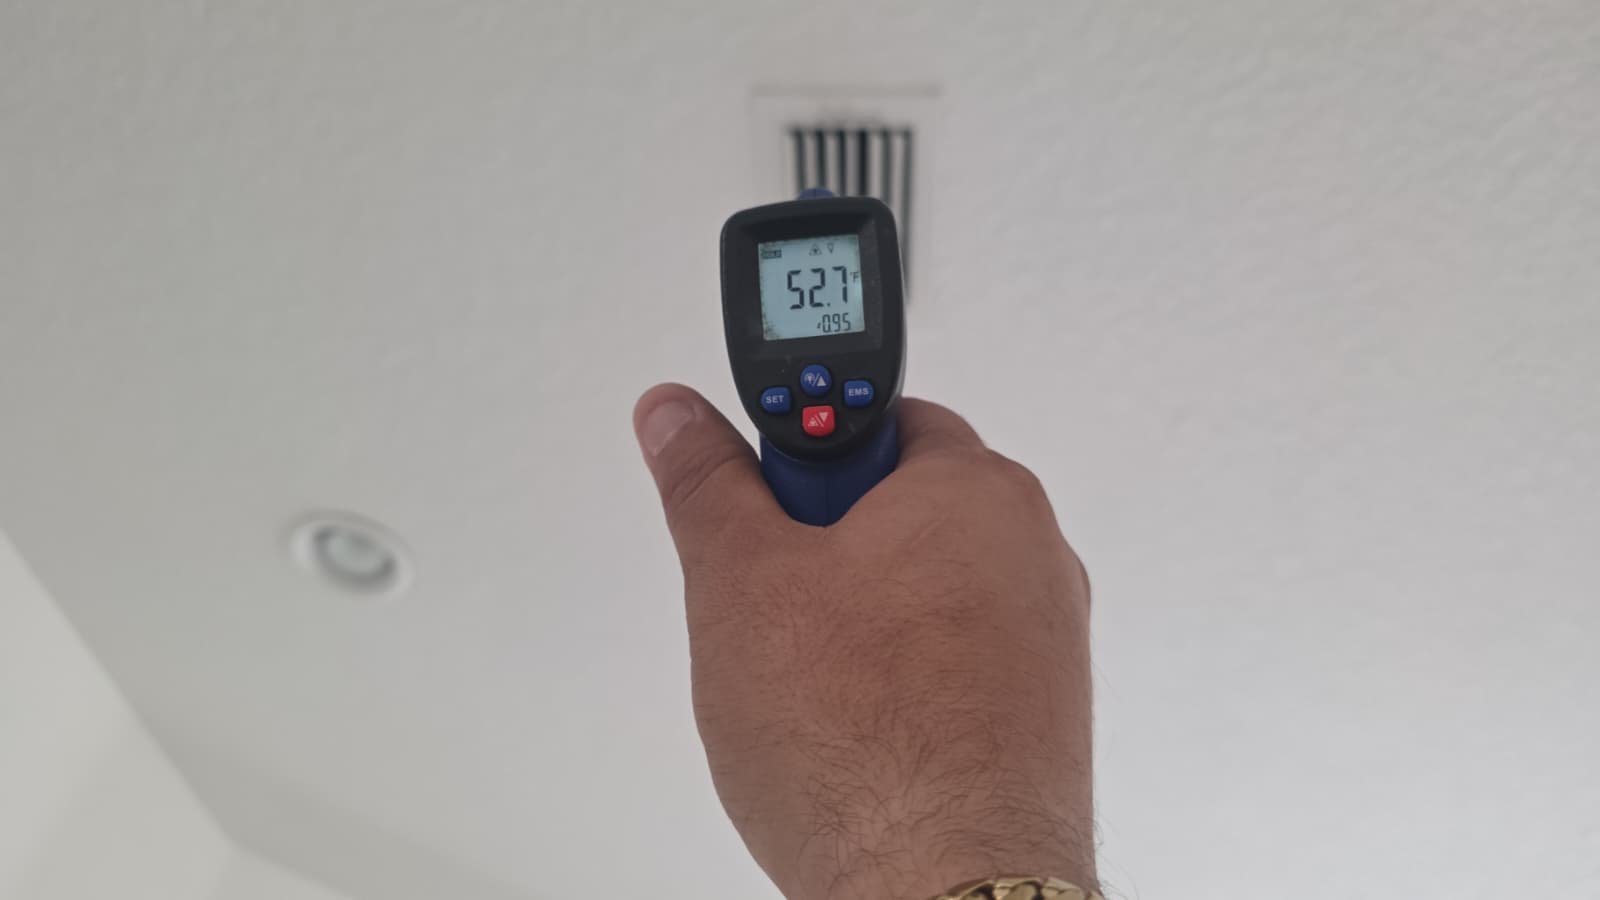
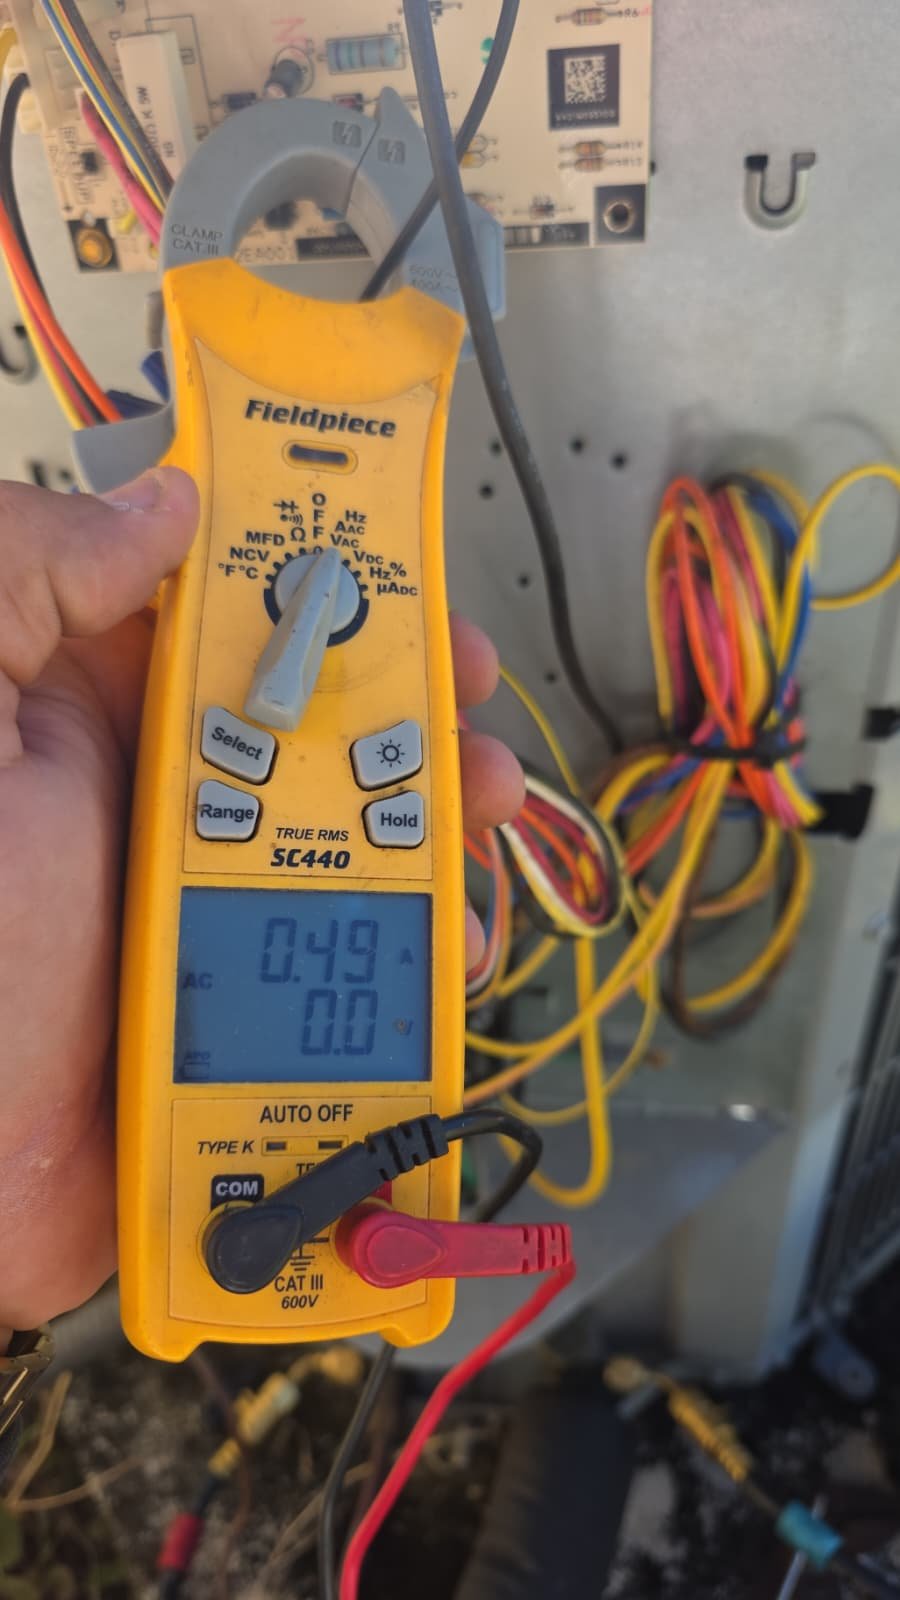
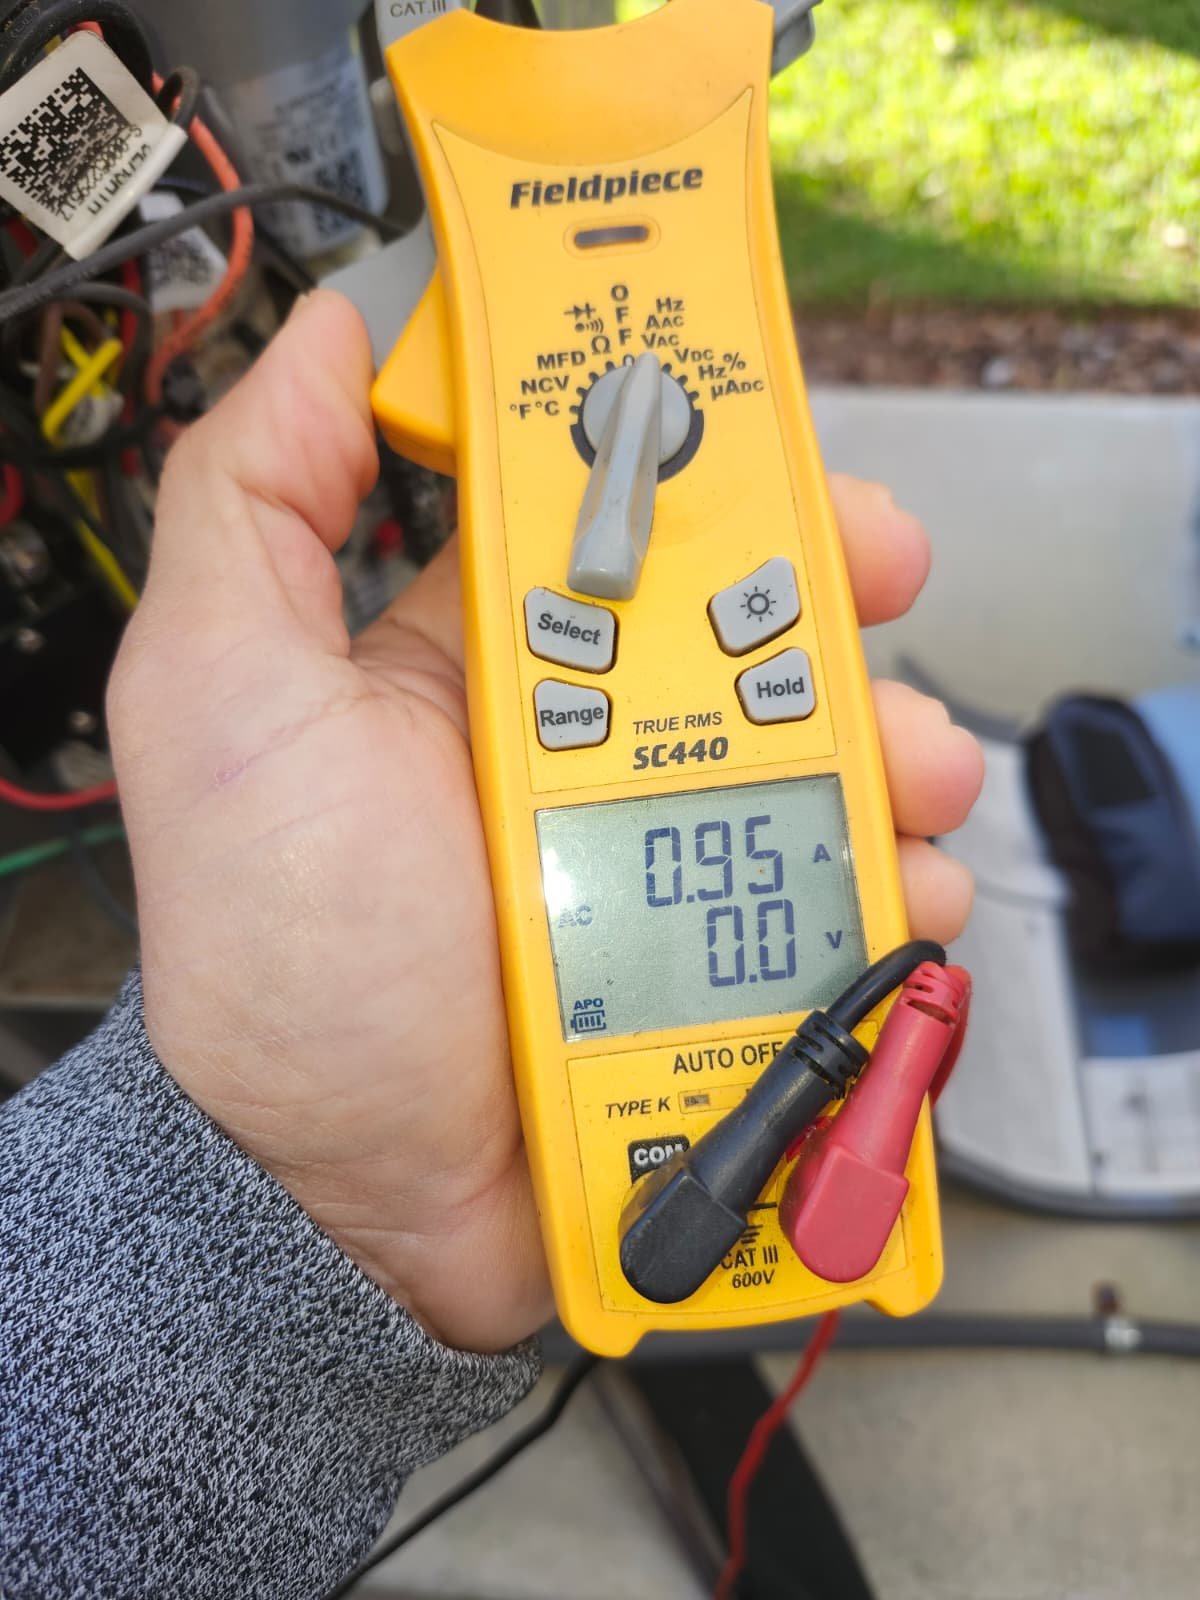
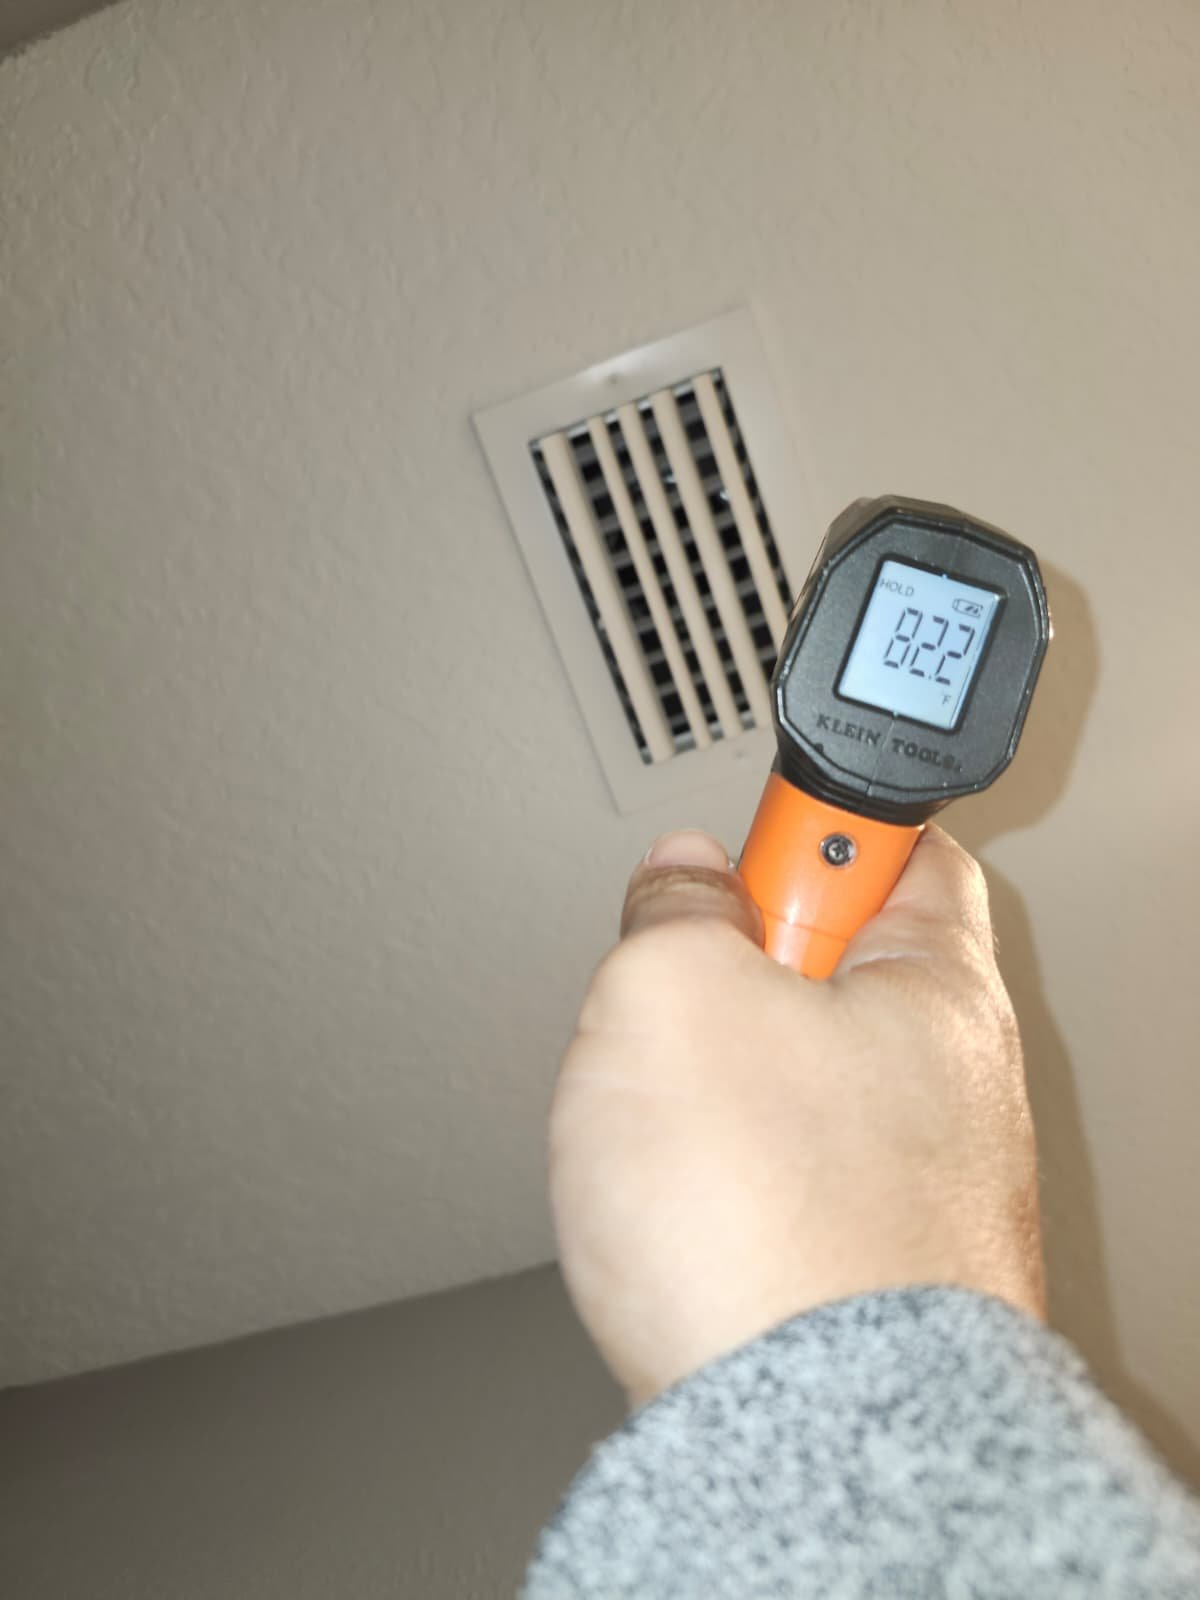
Once everything was installed and sealed, we started the system up and verified proper operation. We confirmed that the new Daikin heat pump was cycling correctly, that airflow was strong and balanced at the vents, and that the condensate system was draining as expected.
The homeowner’s new system is backed by Daikin manufacturer coverage and our own labor warranty:
- Manufacturer parts warranty (up to 12 years on many residential systems, depending on model and registration).
- Unit replacement coverage on select systems (typically up to 6 years, model dependent).
- Home Therapist labor warranty starting from the installation date.
Routine maintenance items such as filters, drain cleaning, and coil cleanliness remain the homeowner’s responsibility, but our maintenance options make it easy to keep coverage and performance on track. For a deeper look at how we handle installs and follow-up, see our article on AC repairs, installs, and maintenance services.
Why This Fix Works
An air conditioning system is only as good as its design and installation. For homeowners in Valrico, FL 33596, this combination of a properly sized Daikin 5-ton heat pump and upgraded R6 ductwork improves comfort for a few key reasons:
- Correct capacity with balanced airflow: The 5-ton system, paired with a thoughtfully designed duct layout, helps deliver consistent temperatures across the home, rather than hot and cold spots.
- Improved efficiency: A 14.5 SEER2 system with R32 refrigerant and well-insulated R6 ductwork reduces wasted energy, especially when ducts are routed through hot attics.
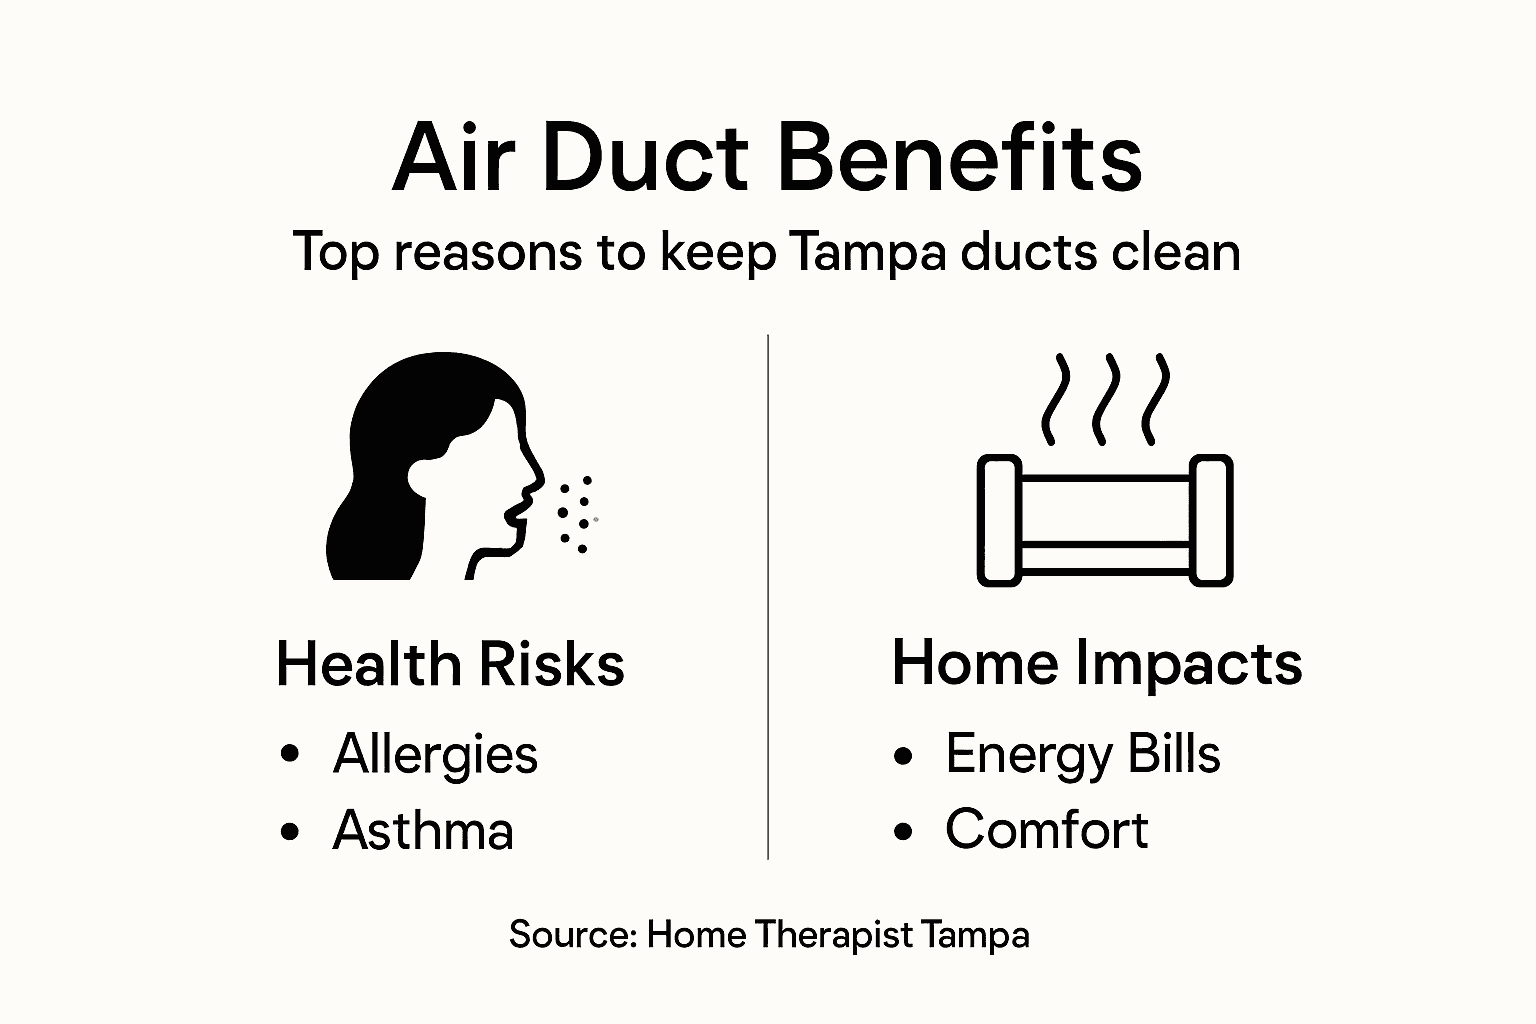
- Cleaner, healthier airflow: Fresh duct materials and a flushed refrigerant and drain line path support better indoor air quality and reduce the chance of debris from older duct interiors.
- Moisture and leak protection: The secondary drain pan and float switch add a layer of protection against condensate overflows that can damage ceilings and walls.
- Structural and weather resilience: A hurricane-rated pad and tie-down kit help keep the outdoor unit secure during storm season.
In short, we didn’t just swap a box. We matched the equipment, the ductwork, and the safety accessories to the home’s needs and our Florida climate, then tested it as a complete system.
If you’re comparing options for a similar project, you might also find our guide on ballpark estimates for AC installation and repair in Tampa Bay helpful when planning your budget.
Pro Tips for Homeowners in Valrico
Whether you’ve just installed a new system or are still living with an older one, a few simple habits can make a big difference in comfort and longevity for homes in Valrico, FL 33596 and the surrounding Tampa Bay area.
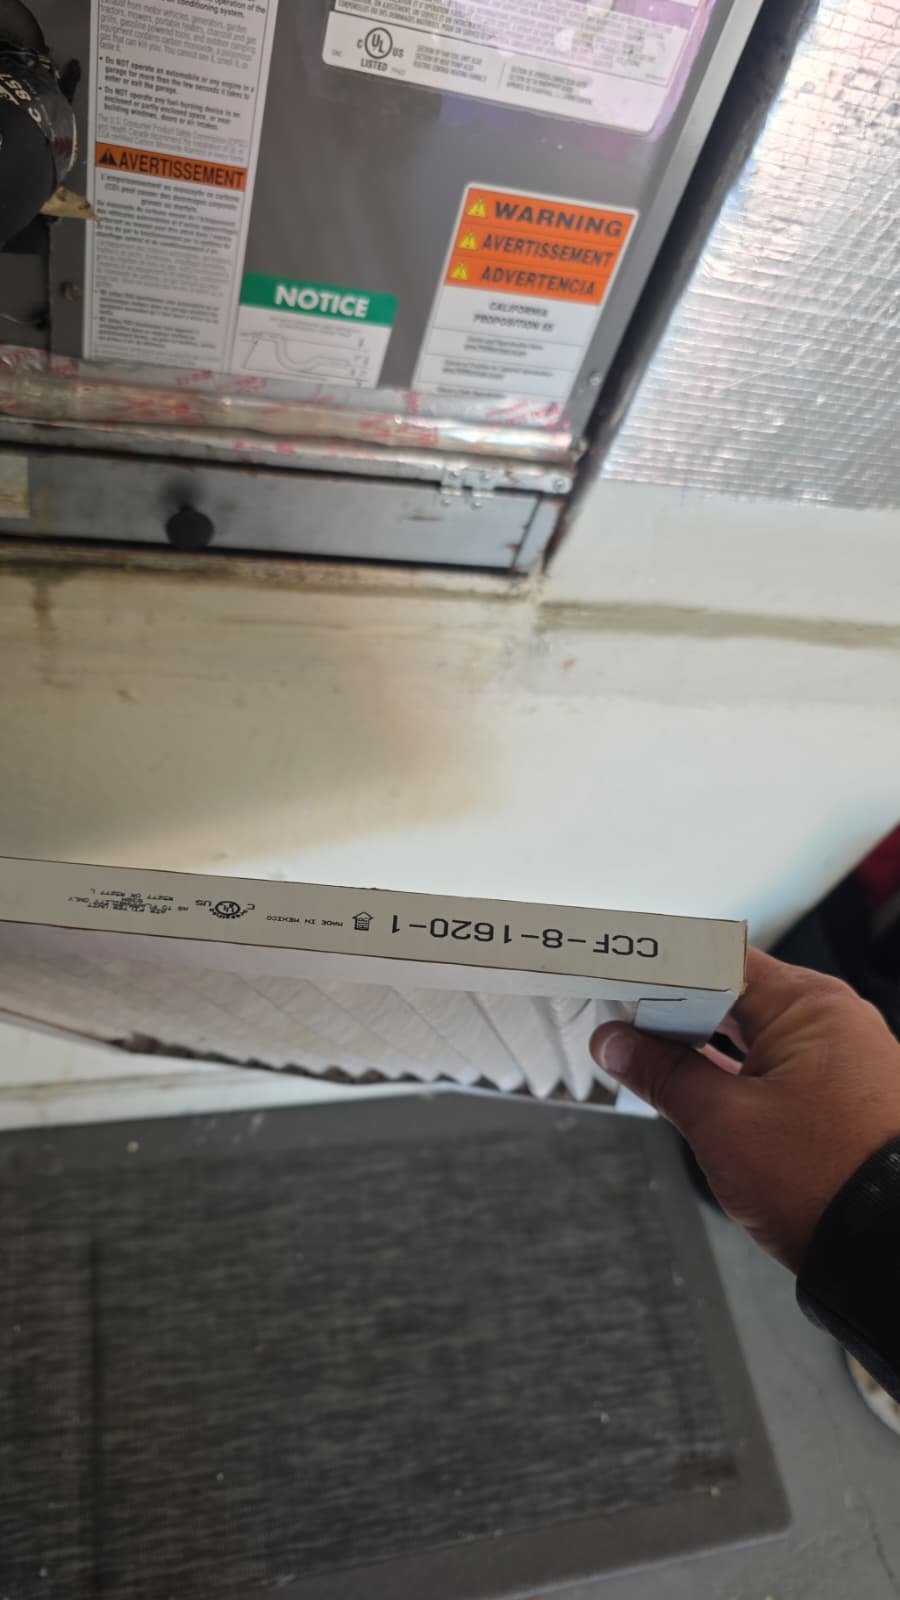
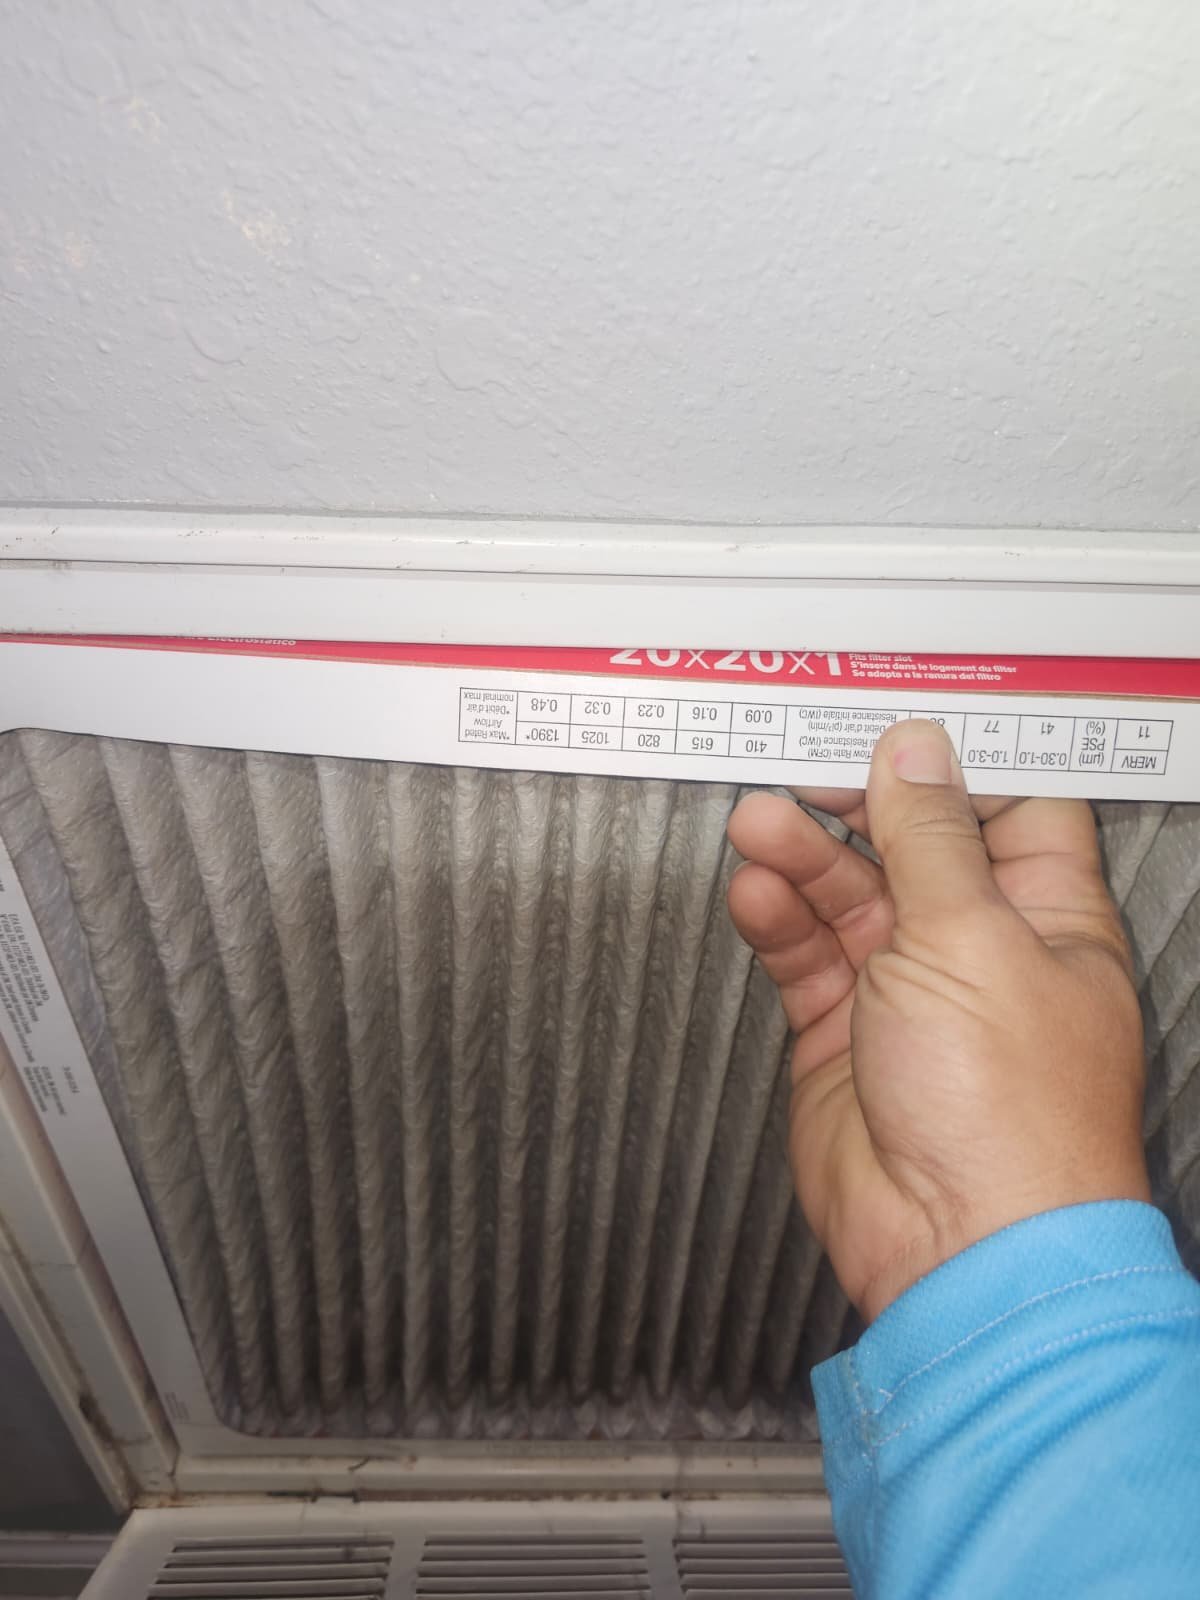
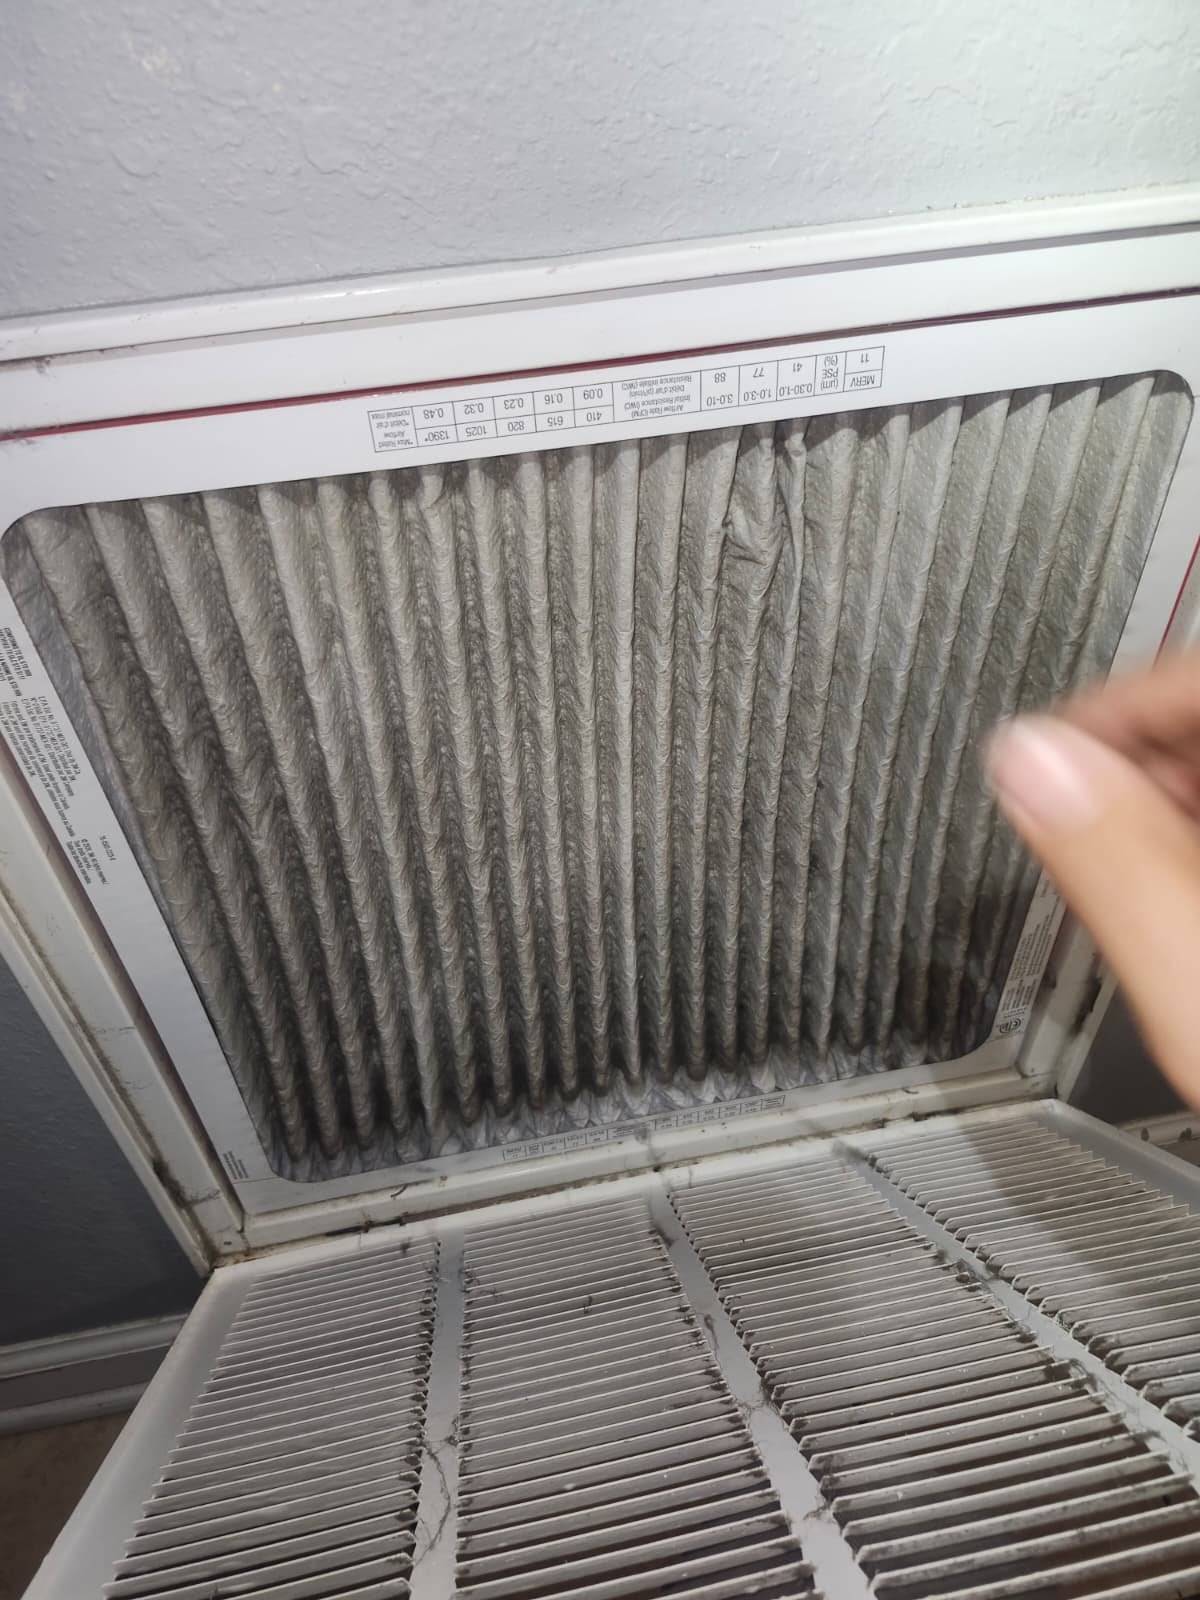
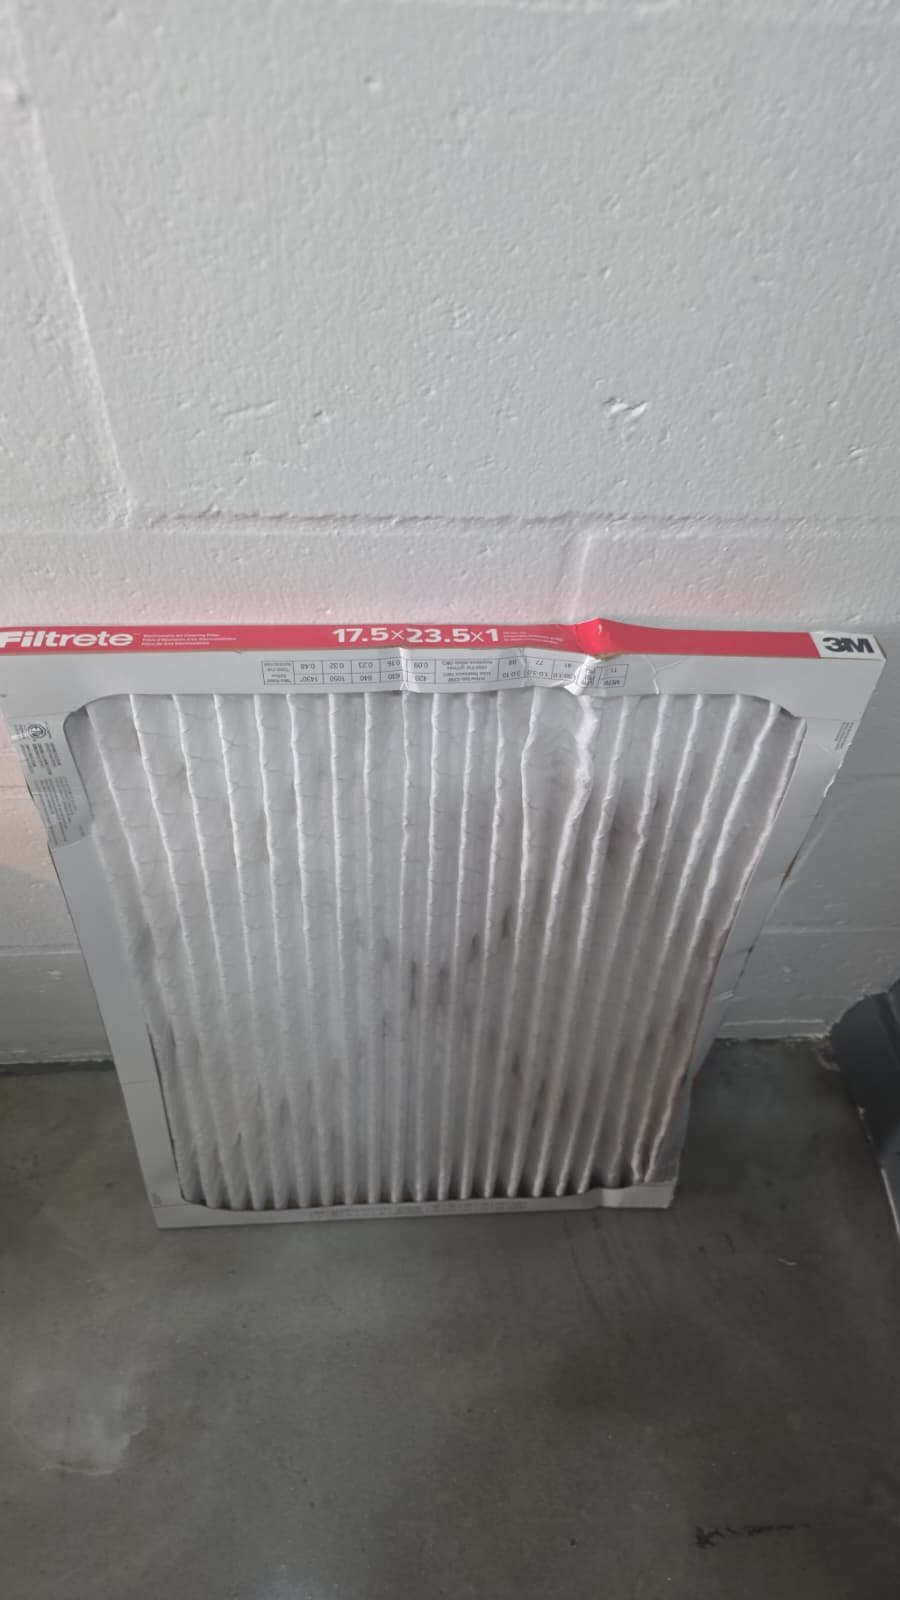
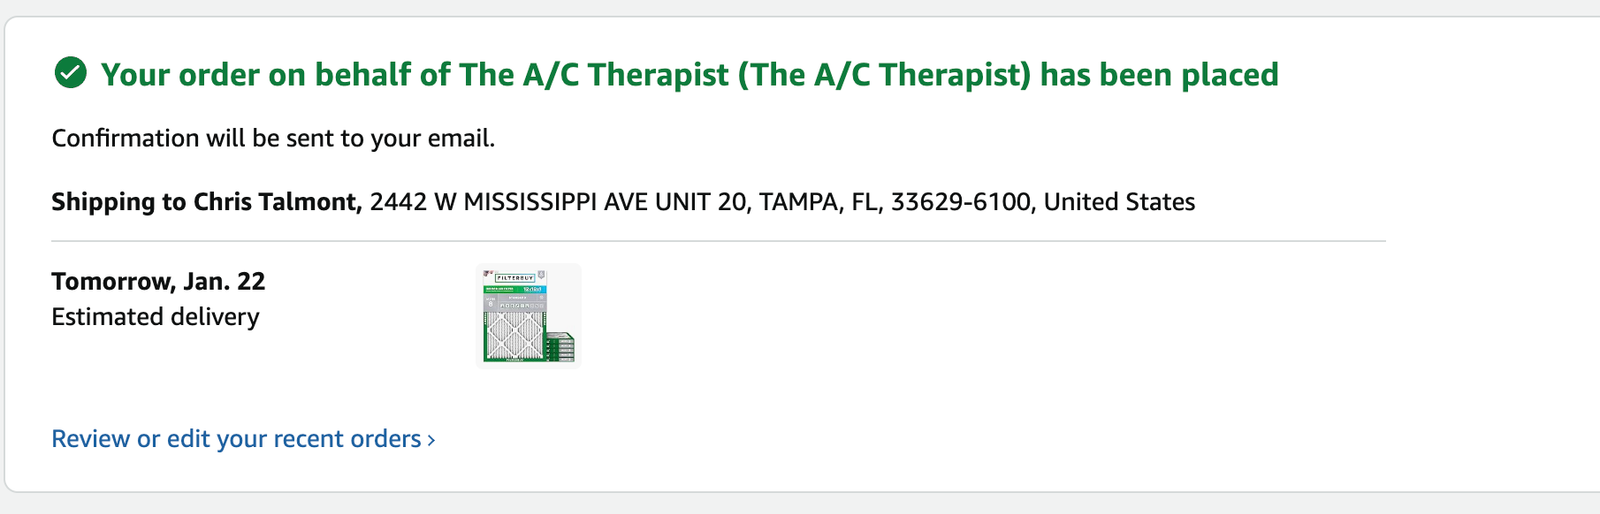
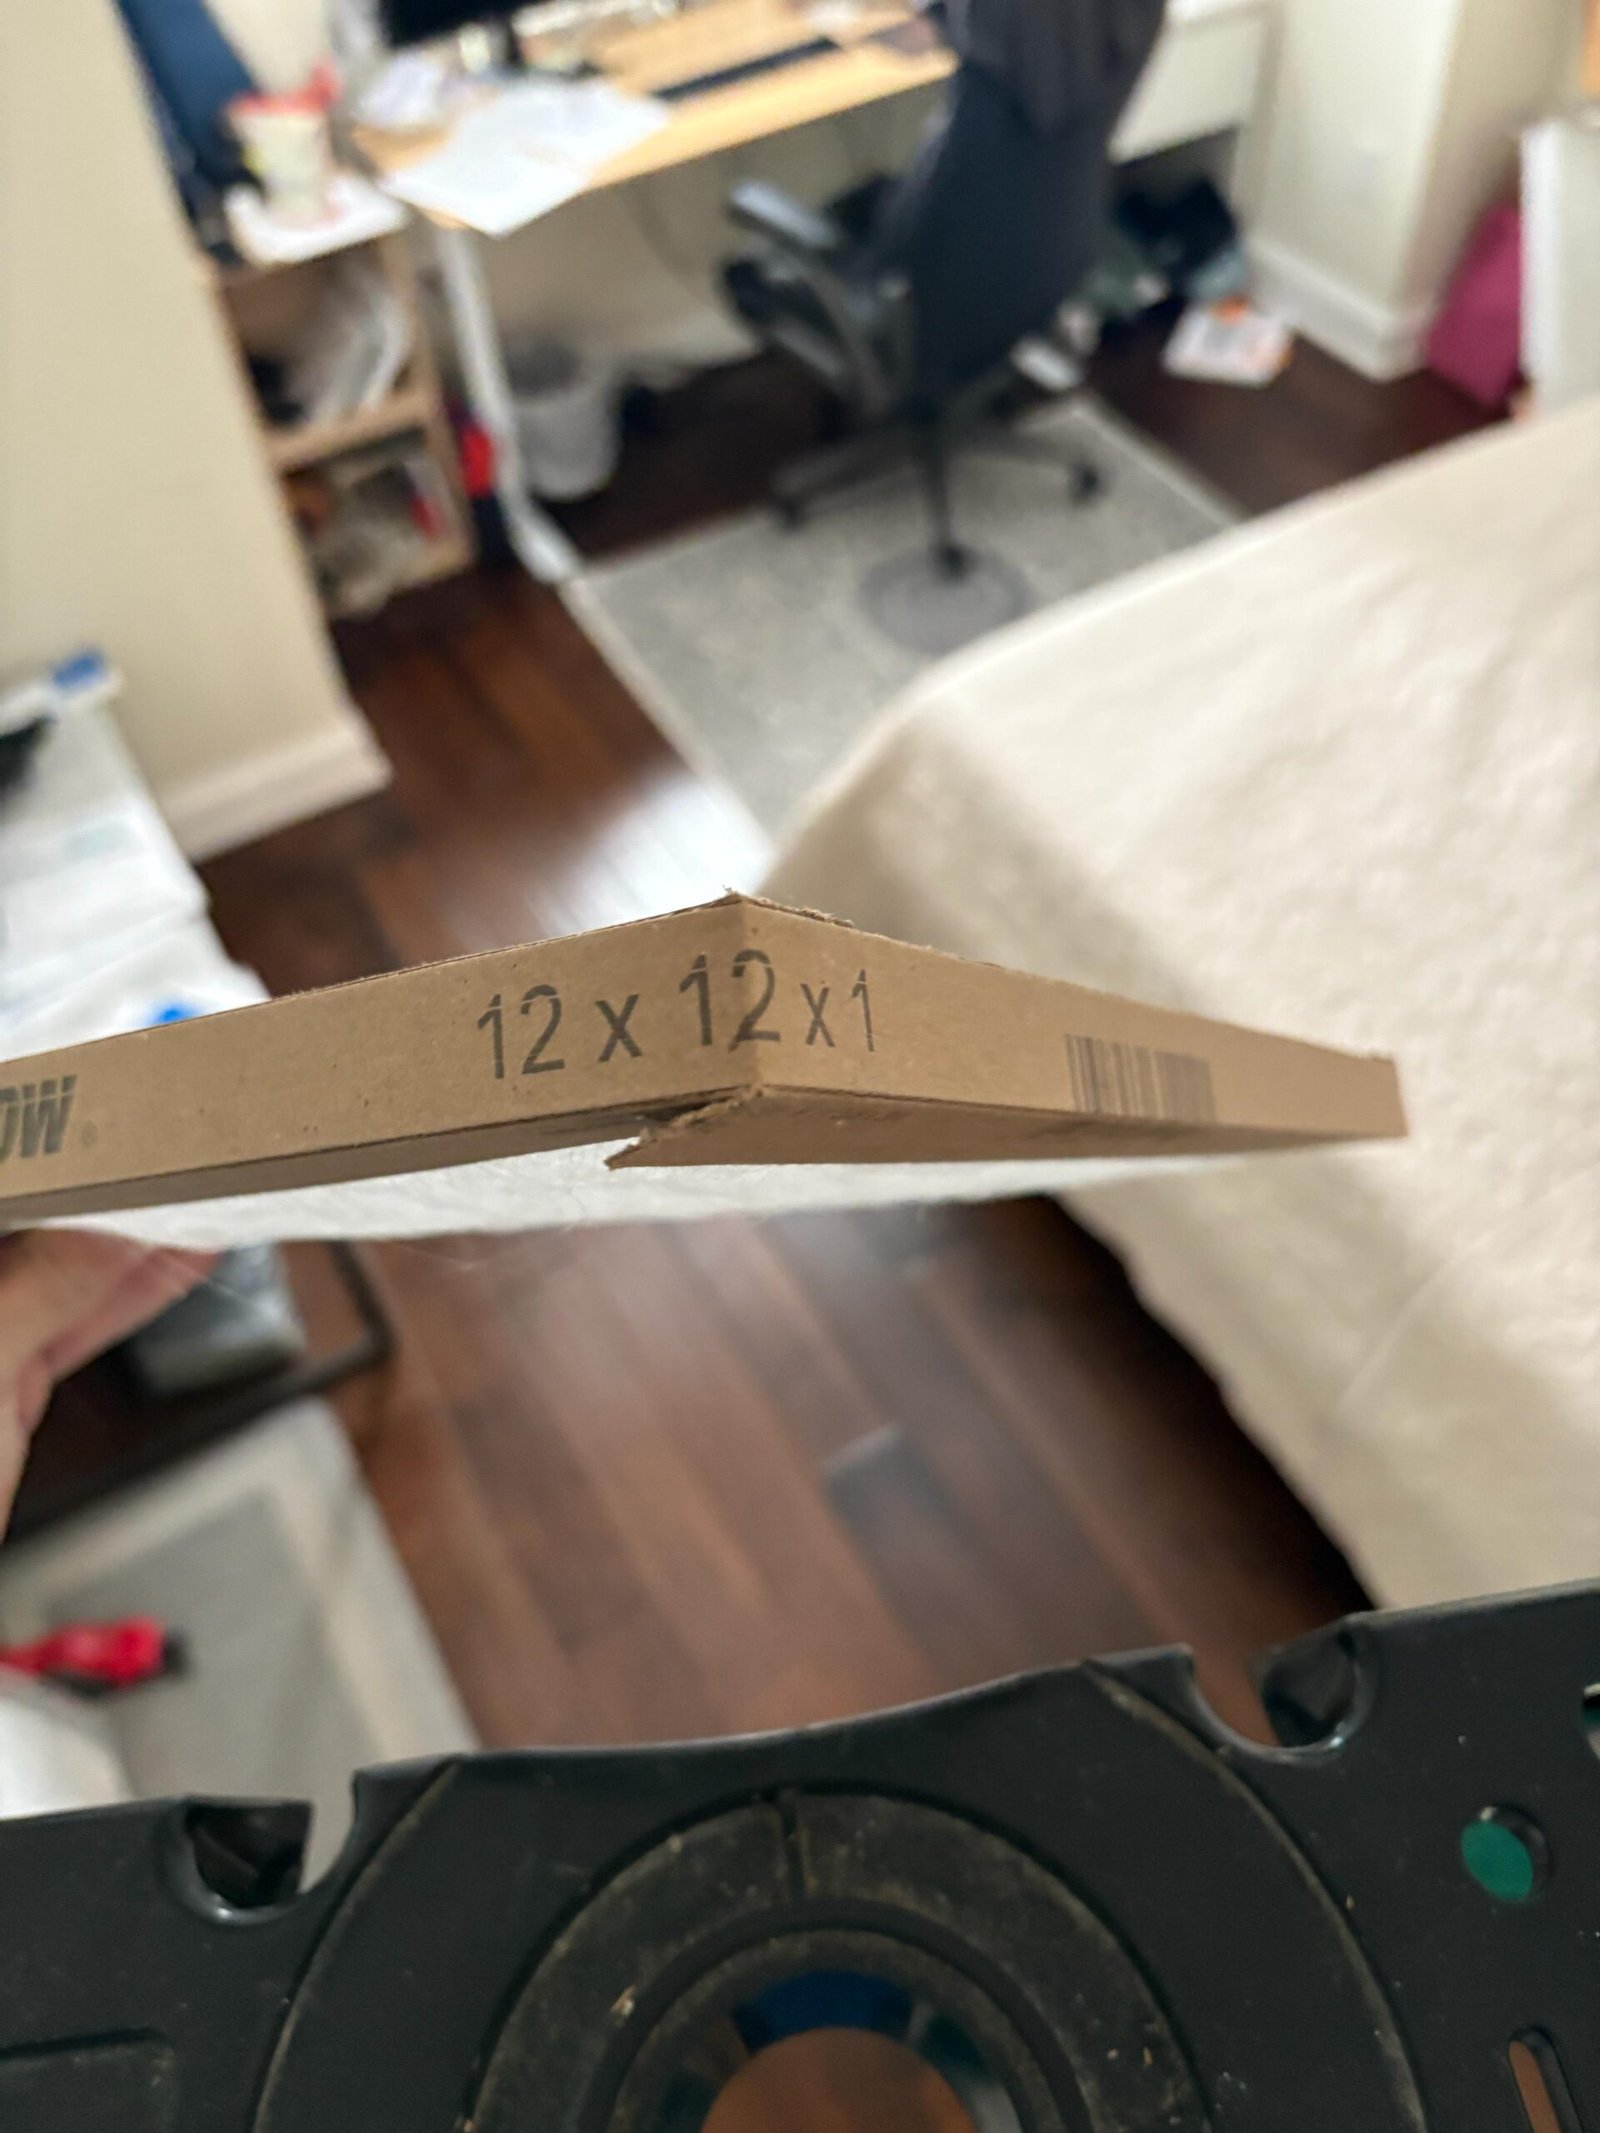
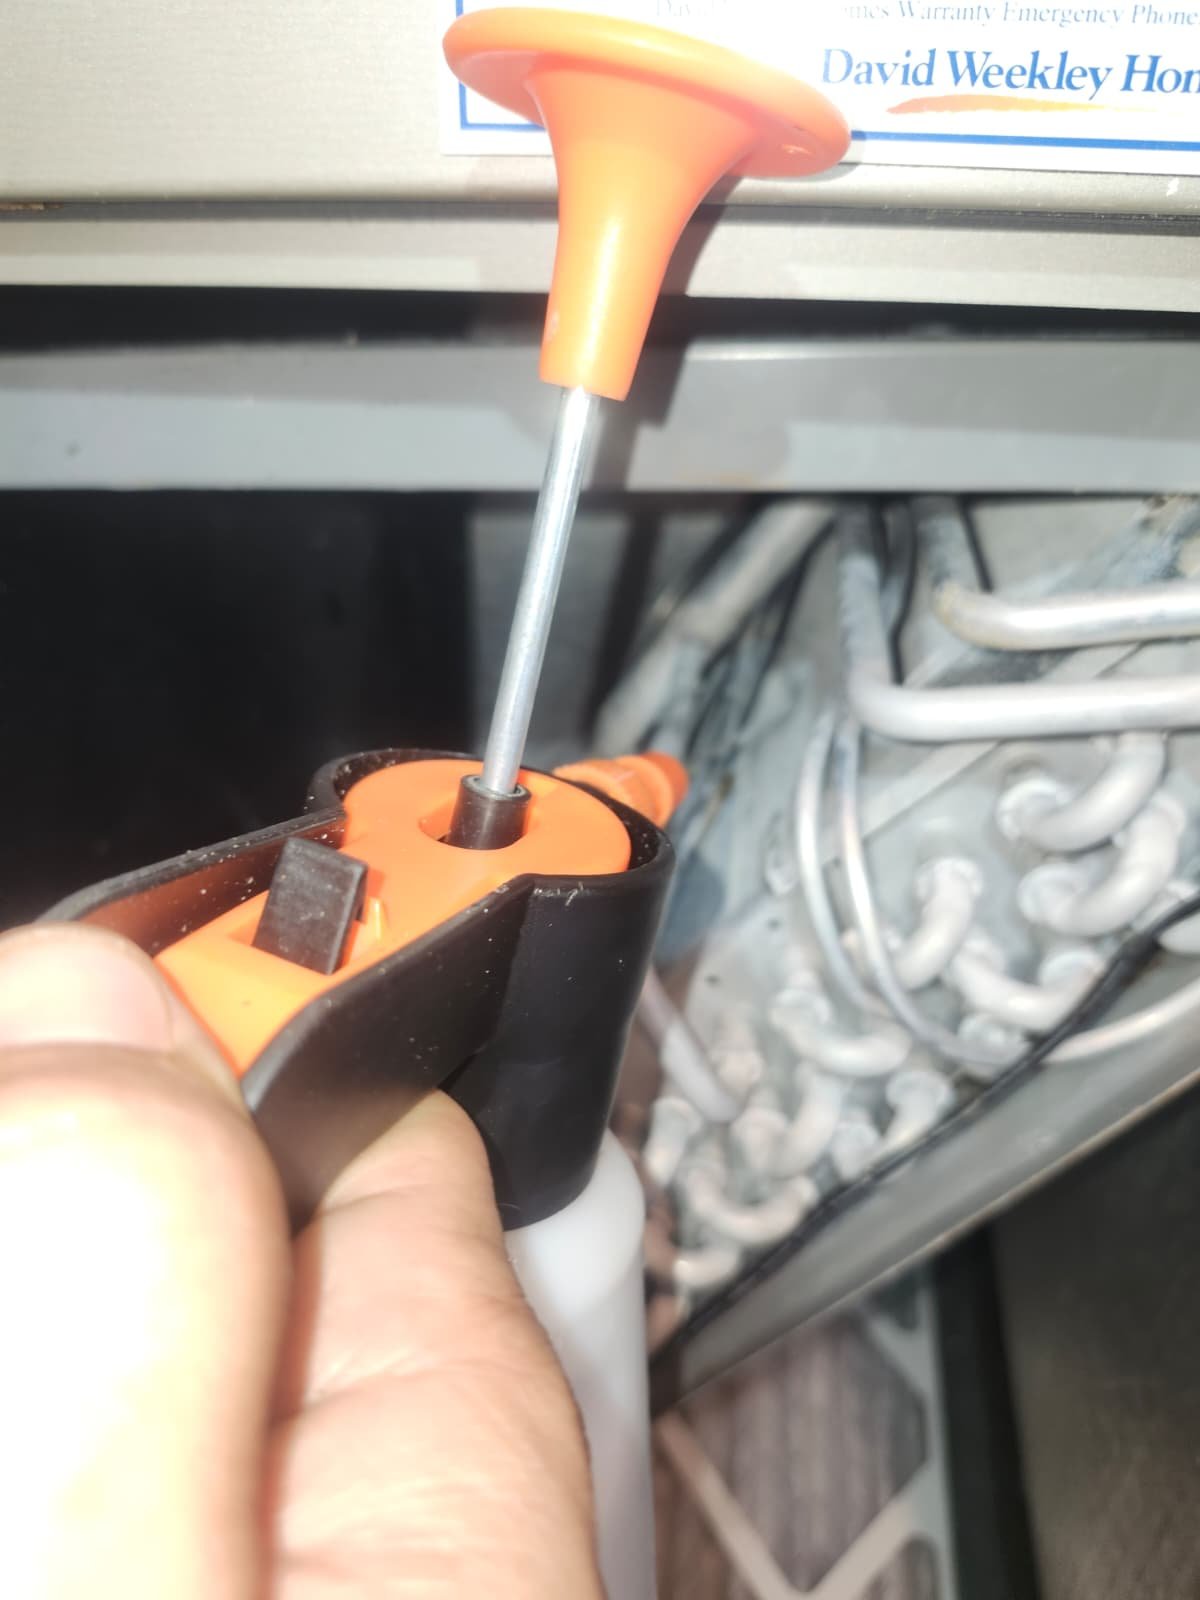
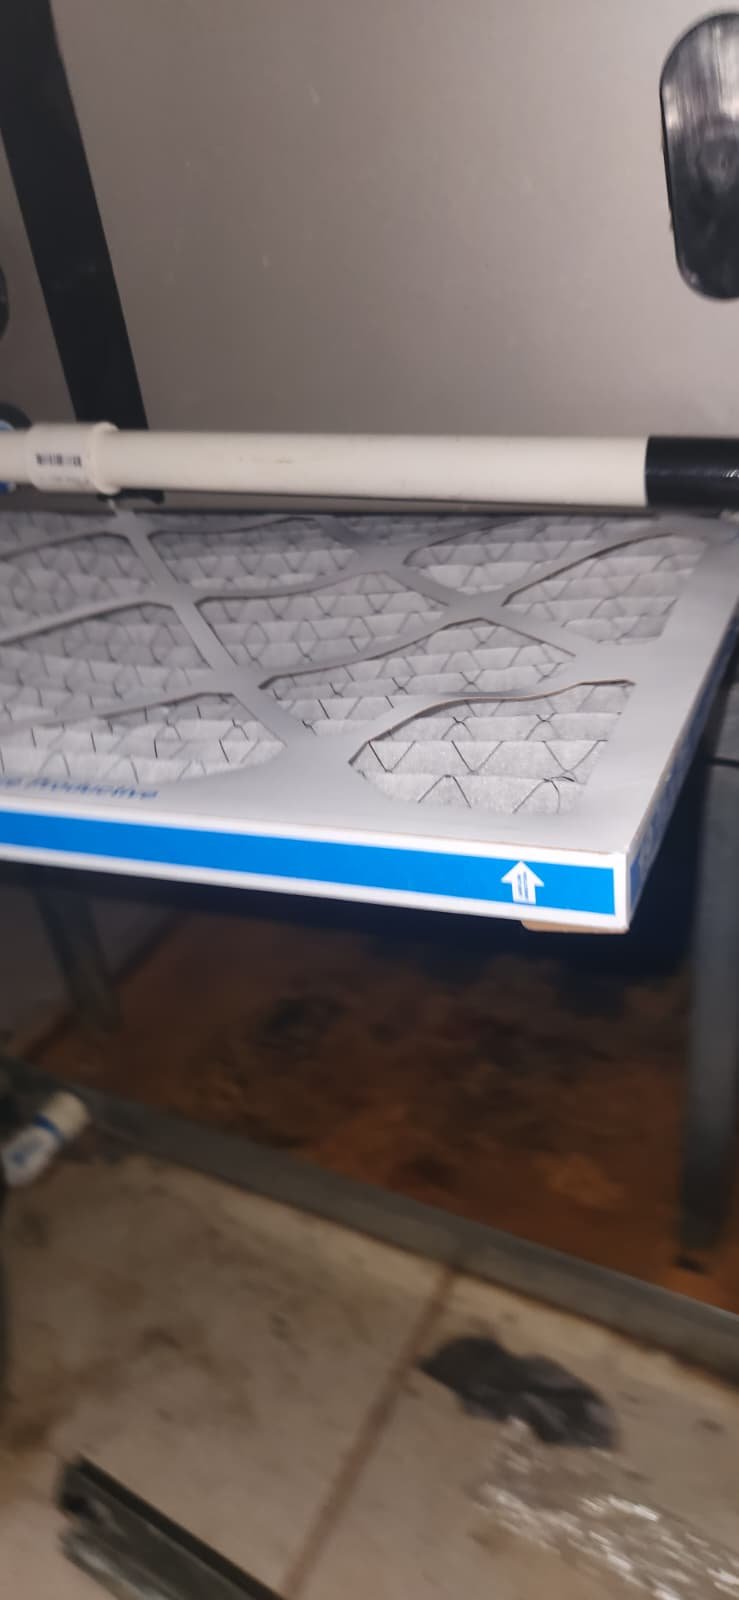
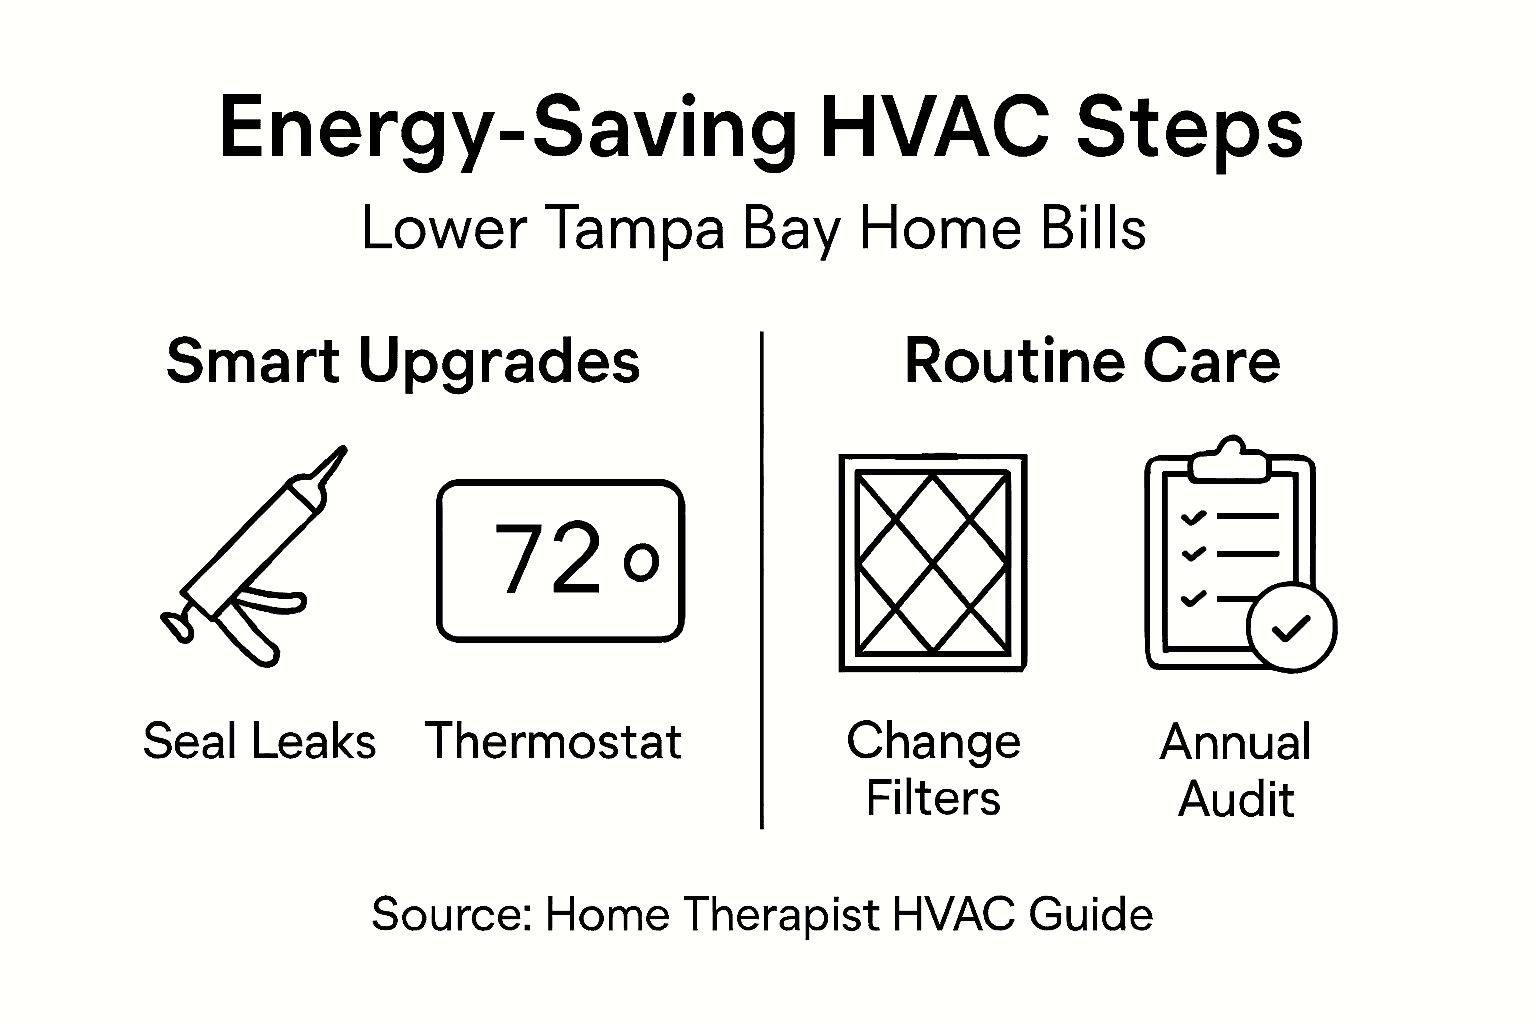
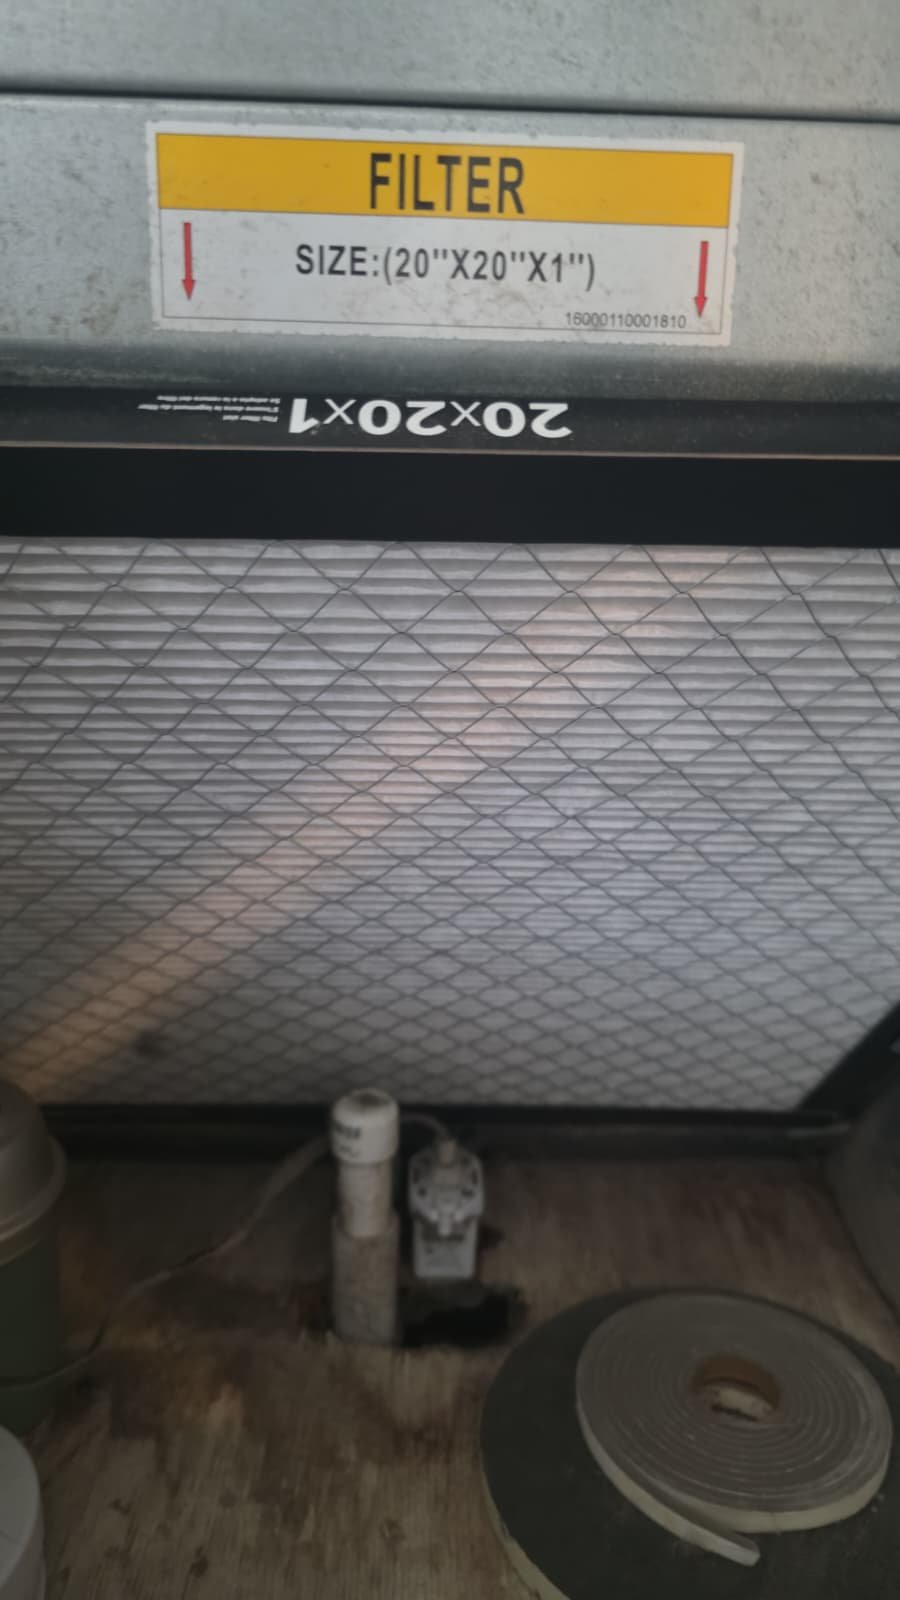
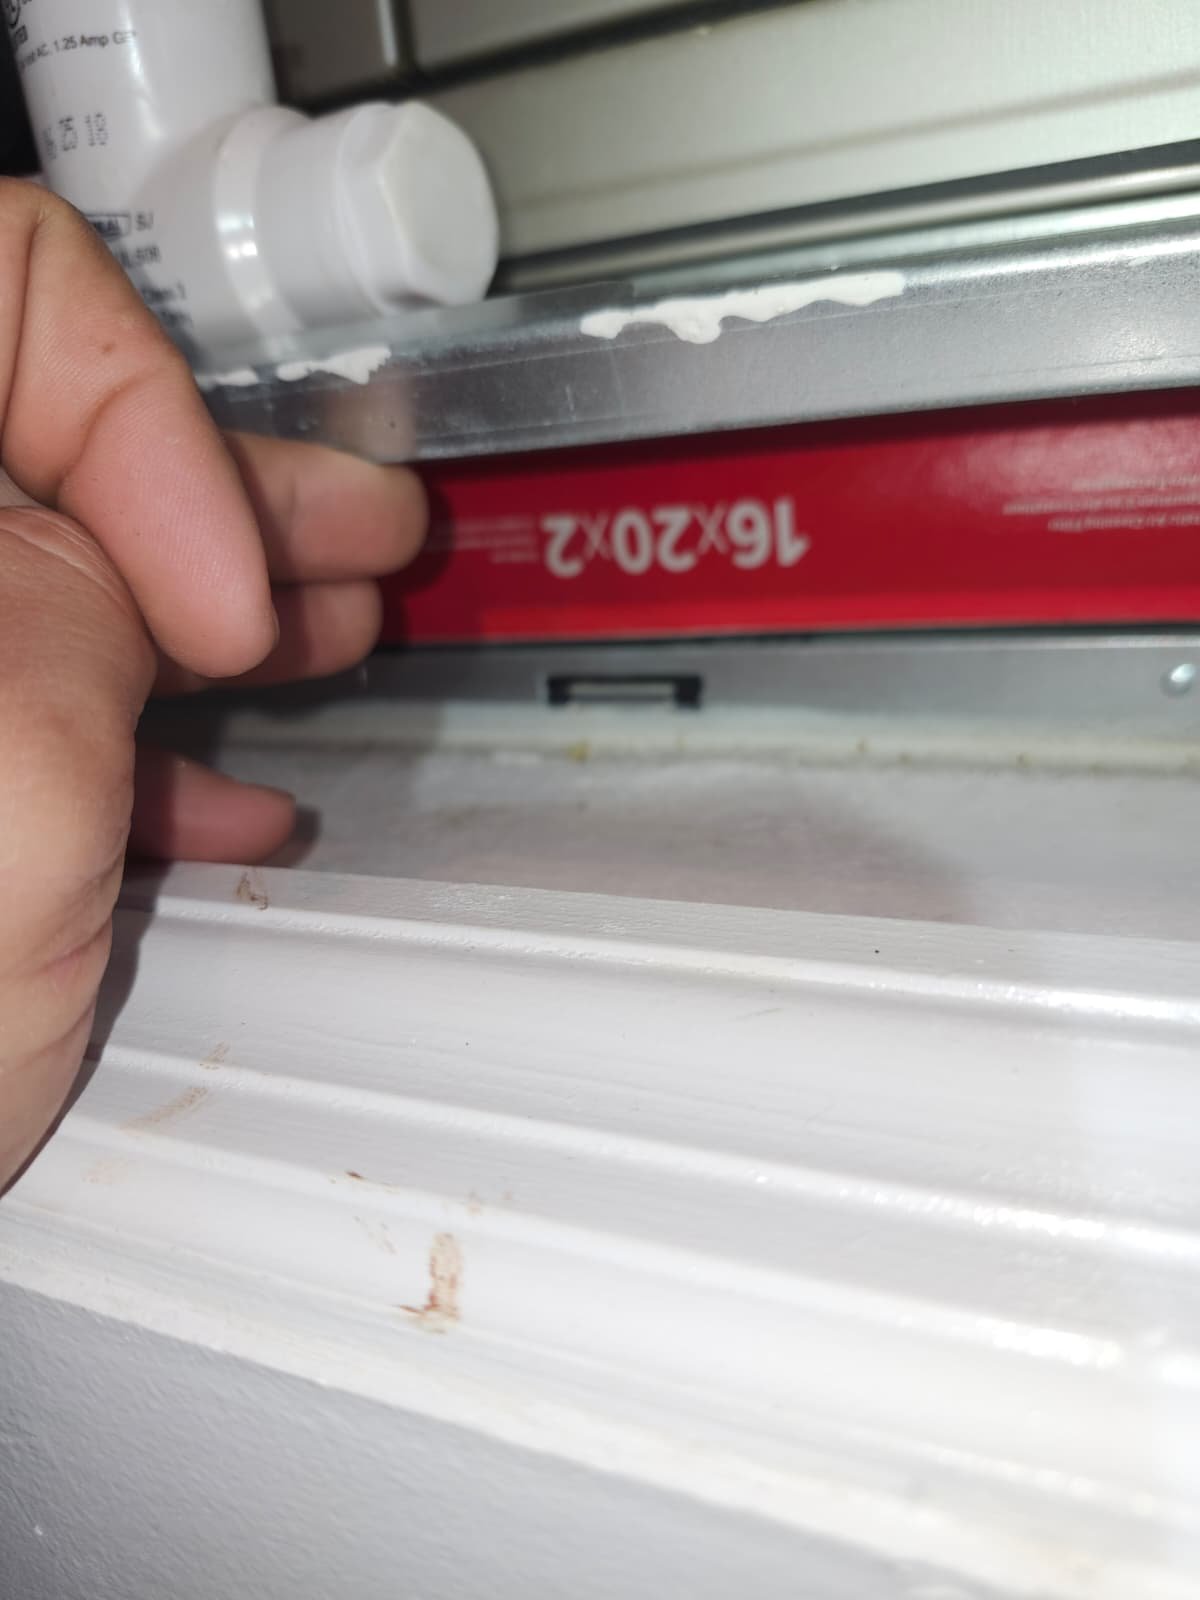
- Change filters regularly in peak season. In our humid climate, a dirty filter will restrict airflow quickly. During summer, check your filter monthly and replace it as needed.
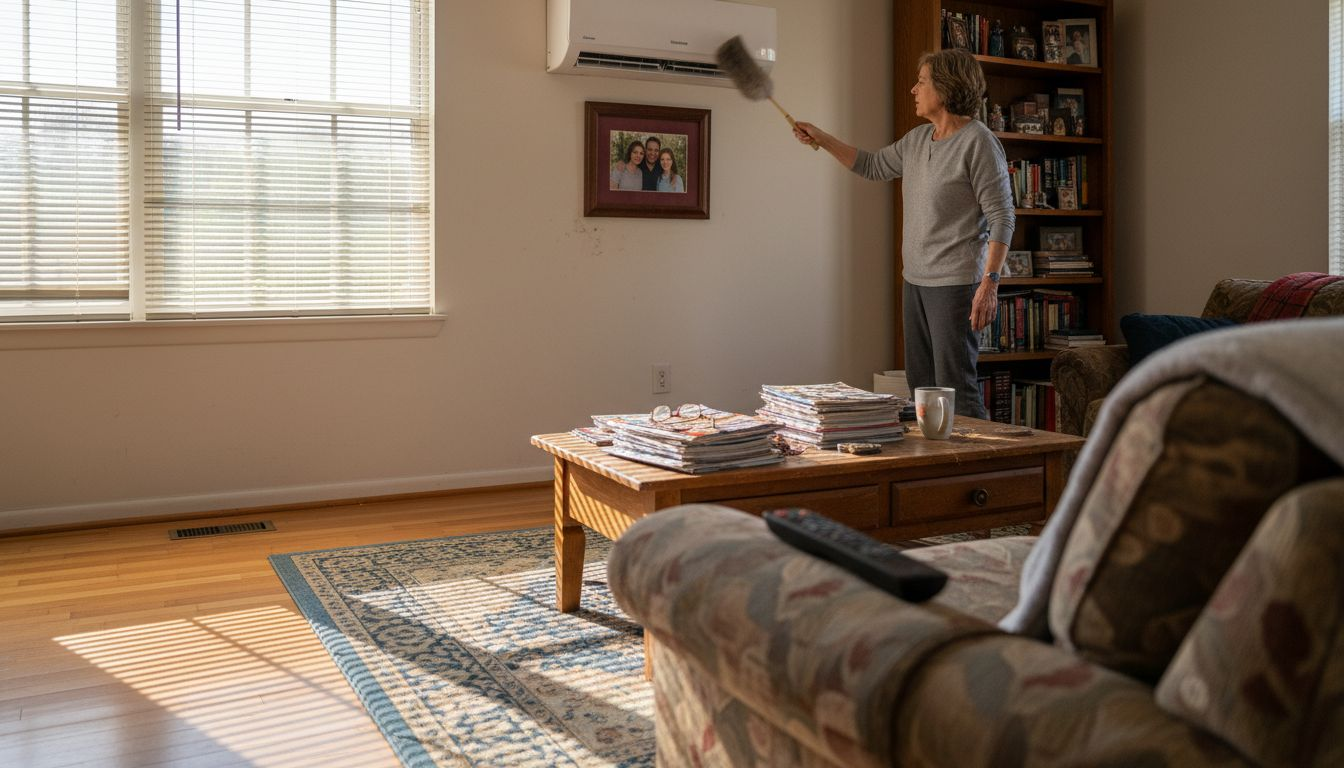
- Keep supply and return vents unblocked. Avoid placing furniture, rugs, or large items directly over or in front of vents. Good airflow is critical for the system to work as designed.
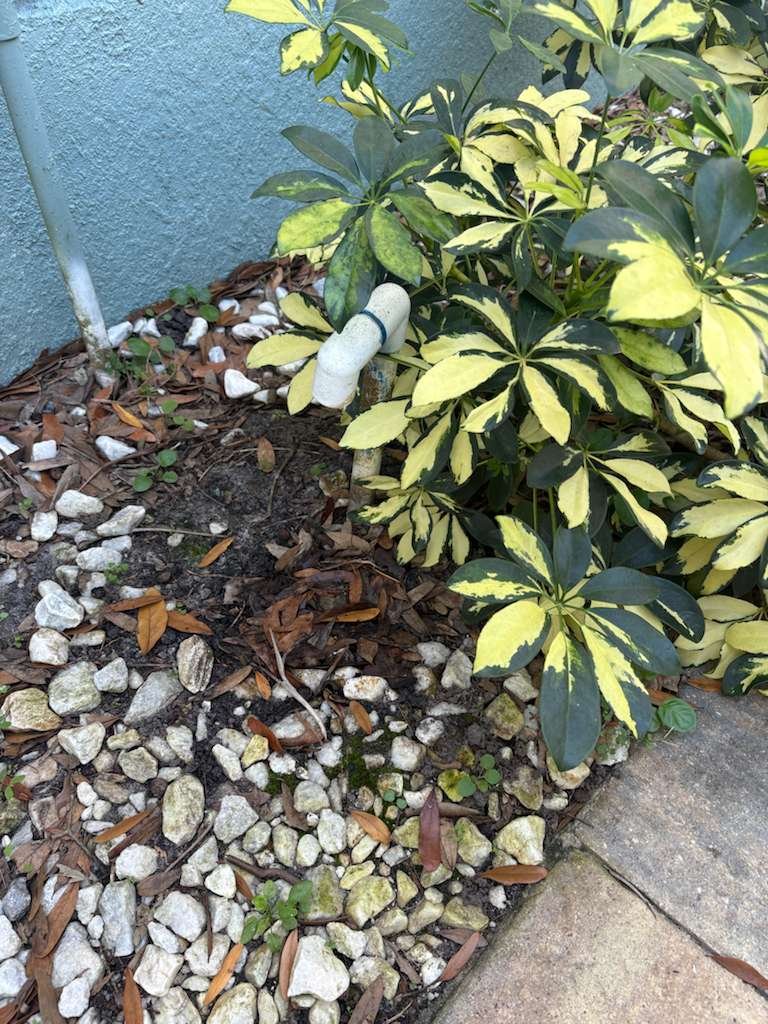
- Watch the drain line. If you see water around the air handler, hear the float switch shutting the system off, or notice musty odors, it may be time for a drain line cleaning.
- Schedule routine maintenance before the heat hits. A yearly tune-up helps catch small issues early and keeps coils, electrical components, and refrigerant circuits in good shape before heavy use.
- Use your programmable thermostat wisely. In our climate, big temperature setbacks can actually make your system work harder. Moderate set-backs and steady temperatures often work best.
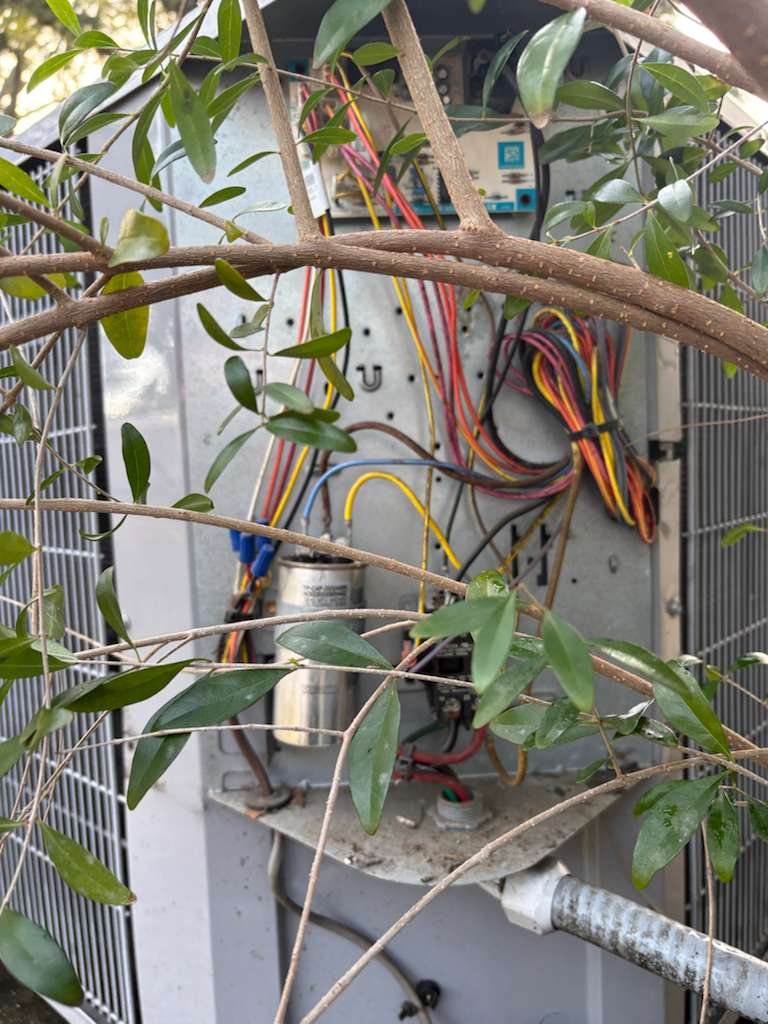
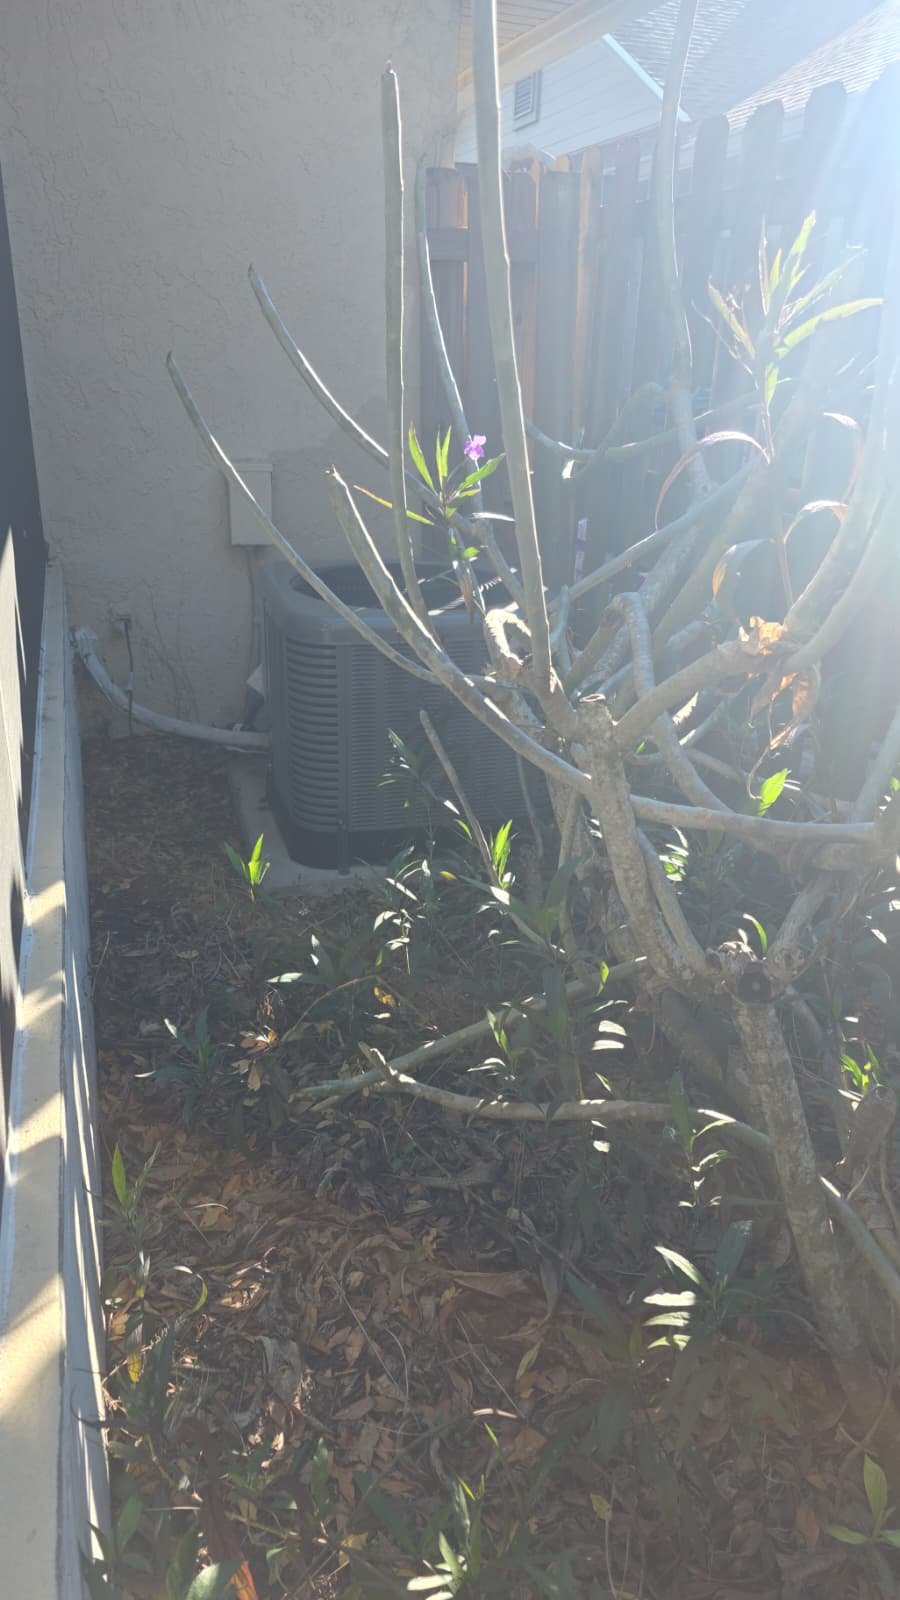
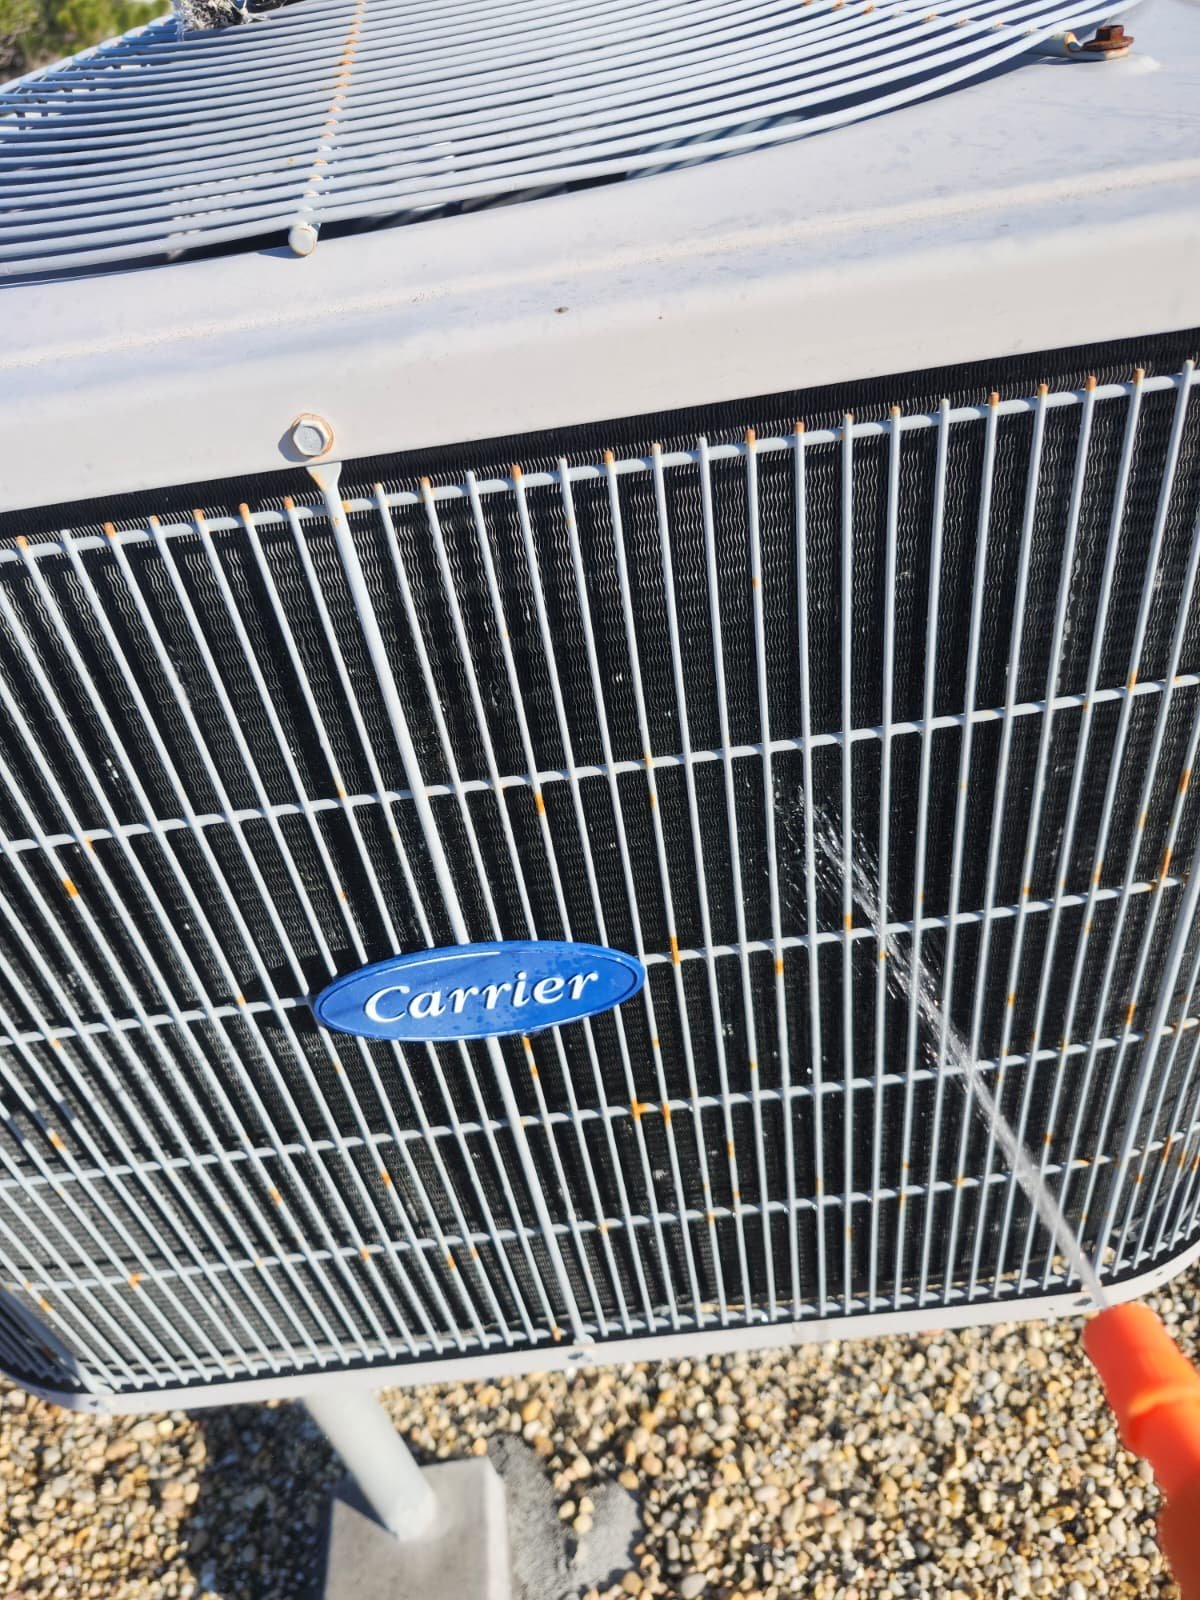
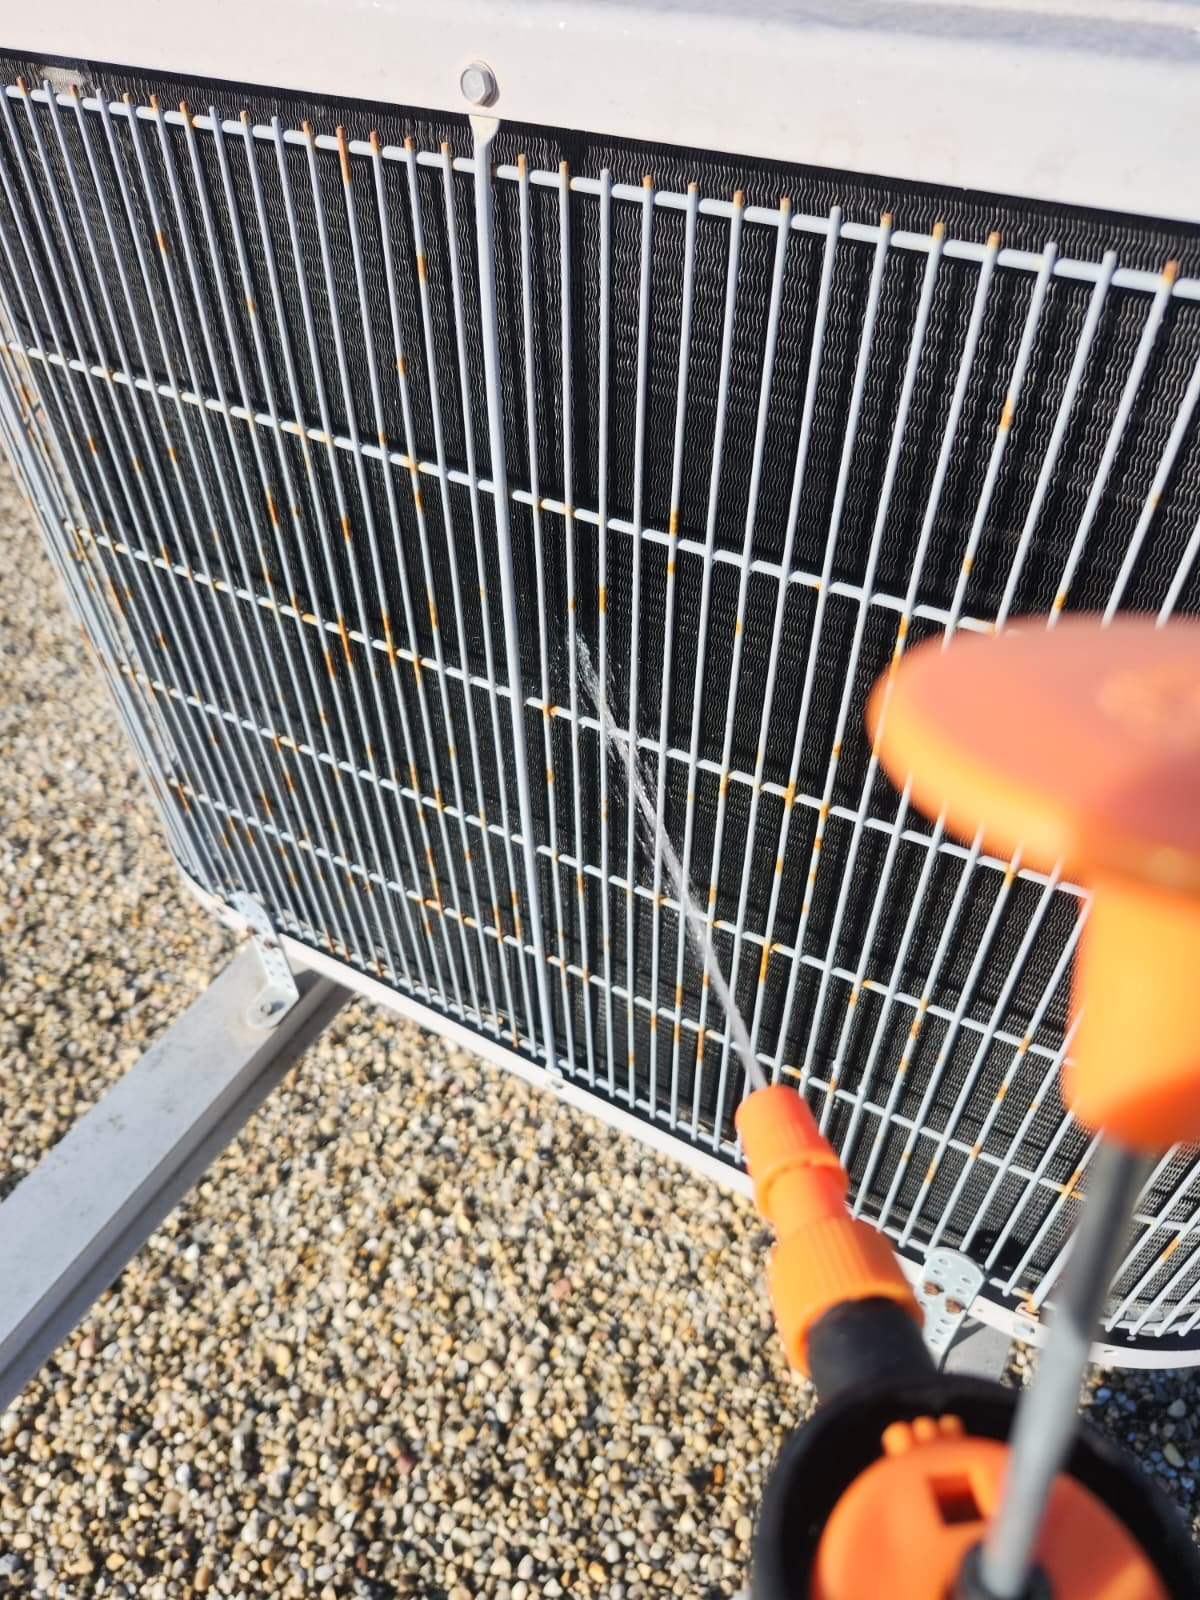
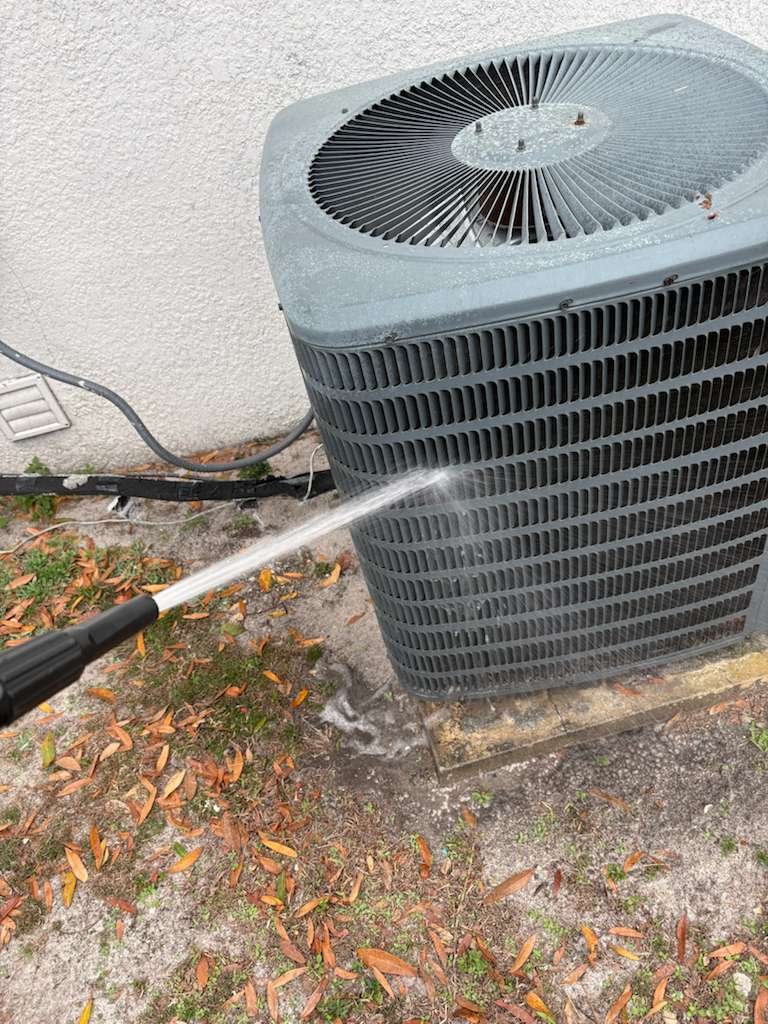
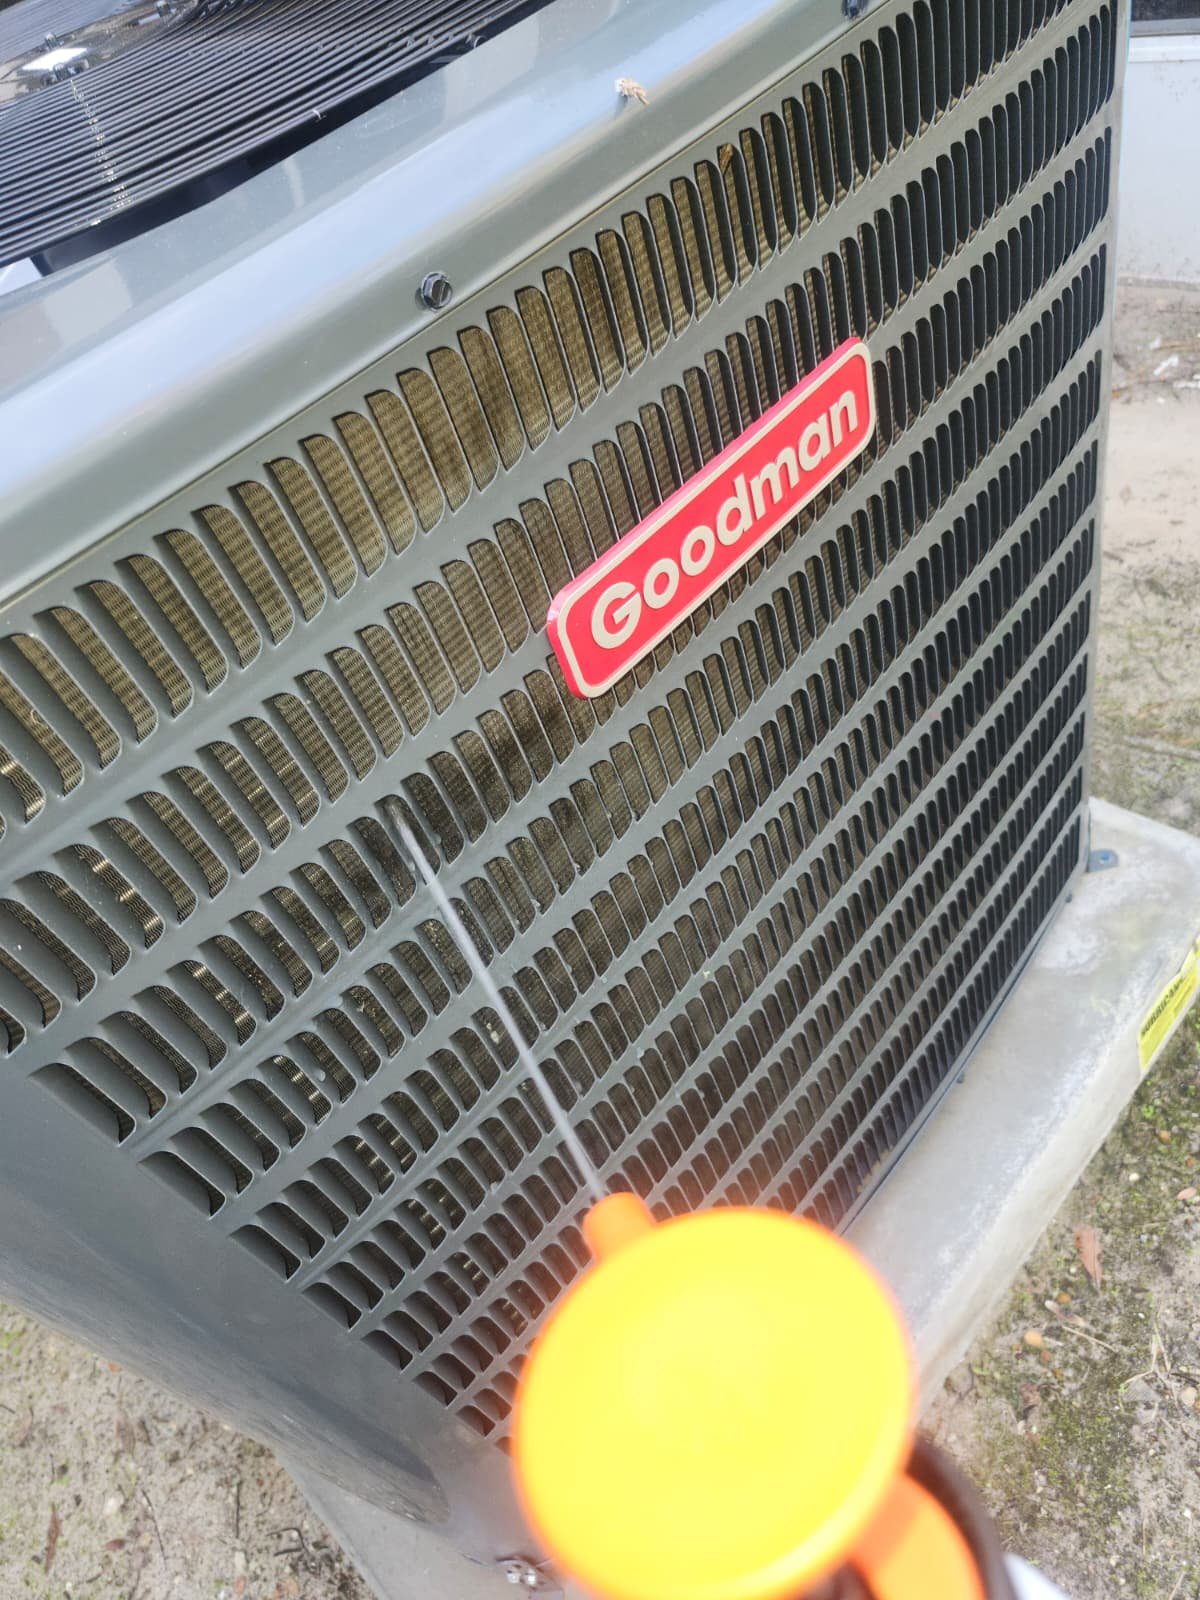
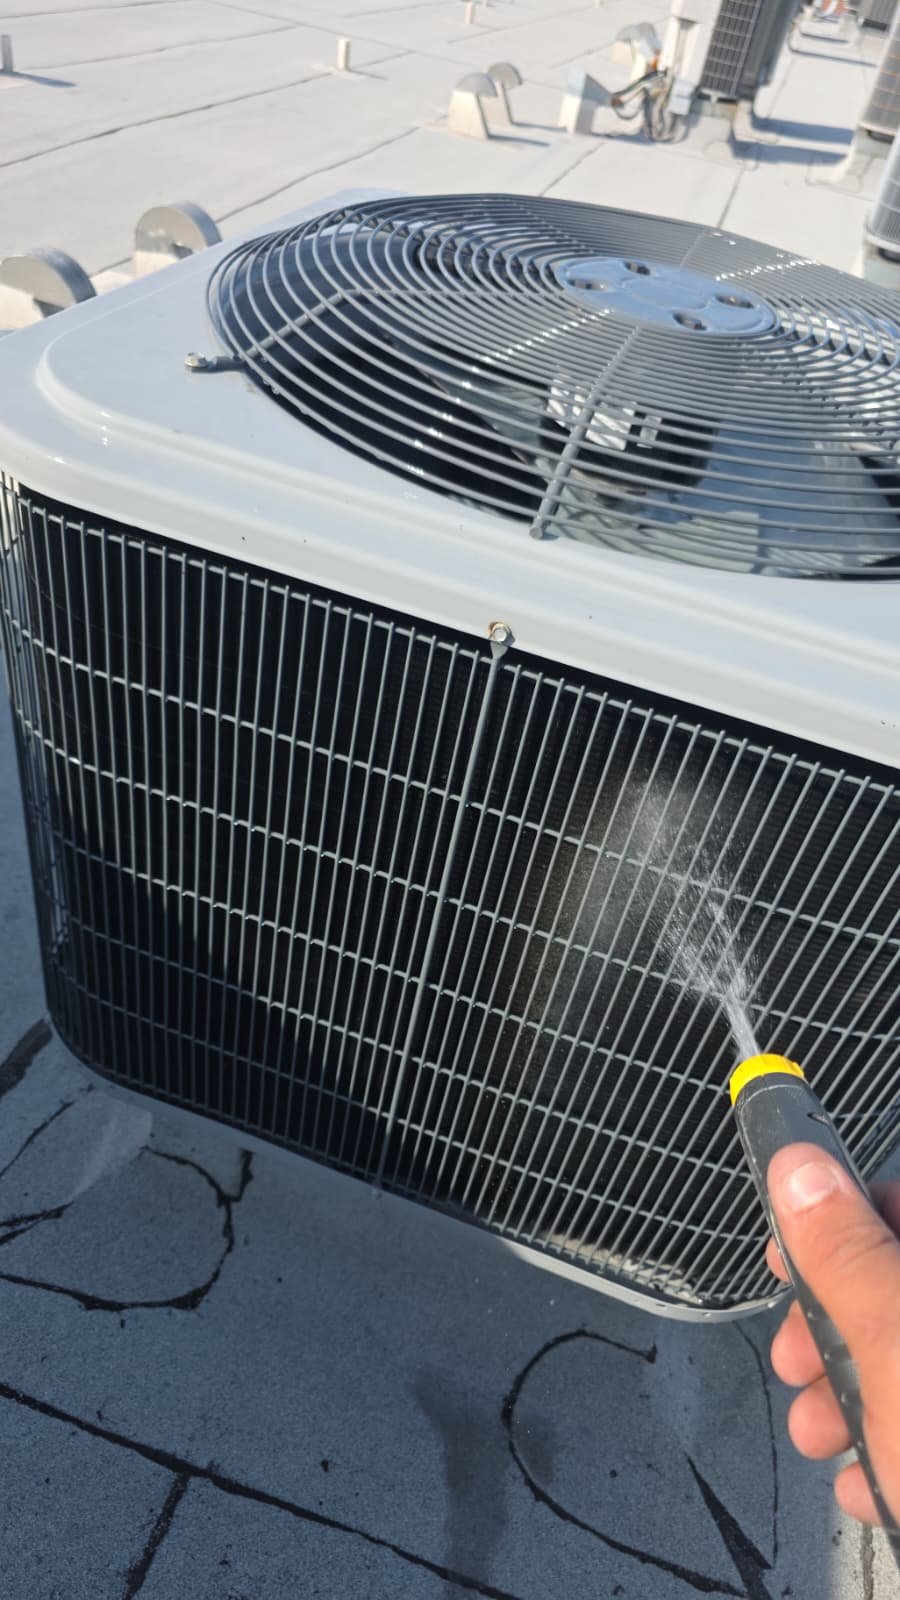
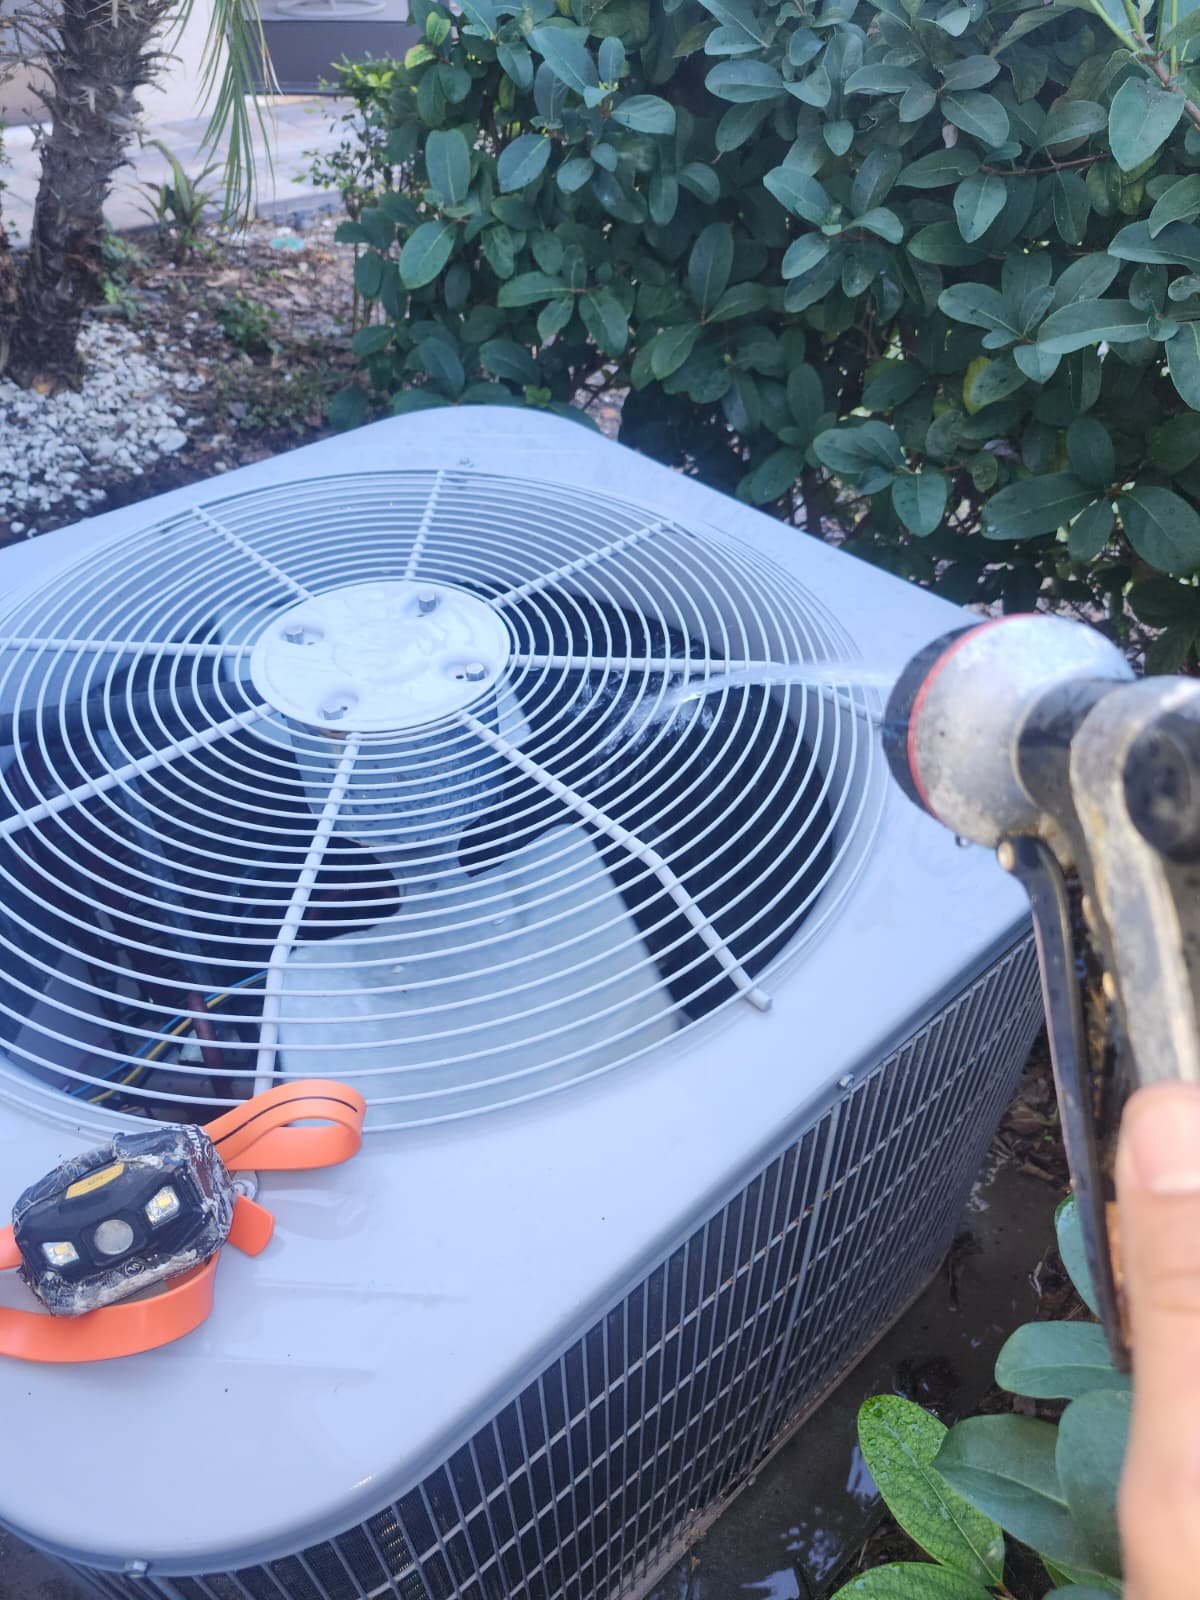
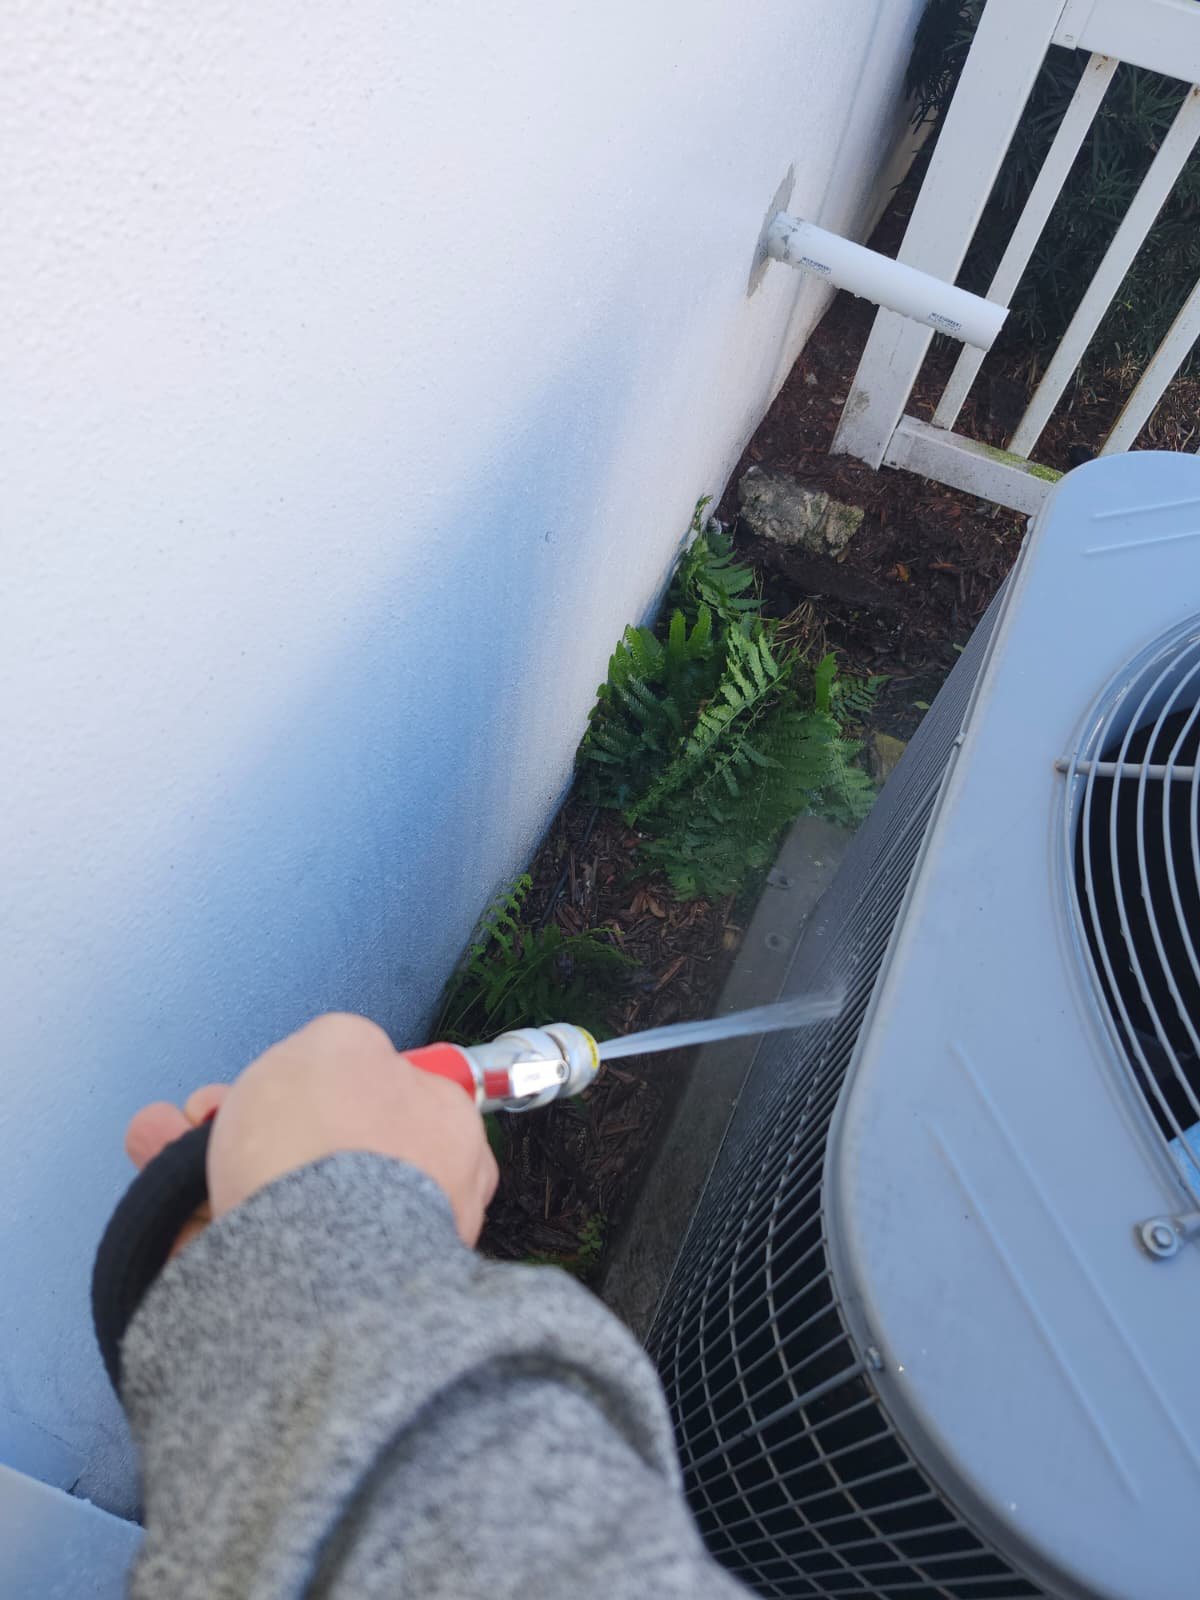
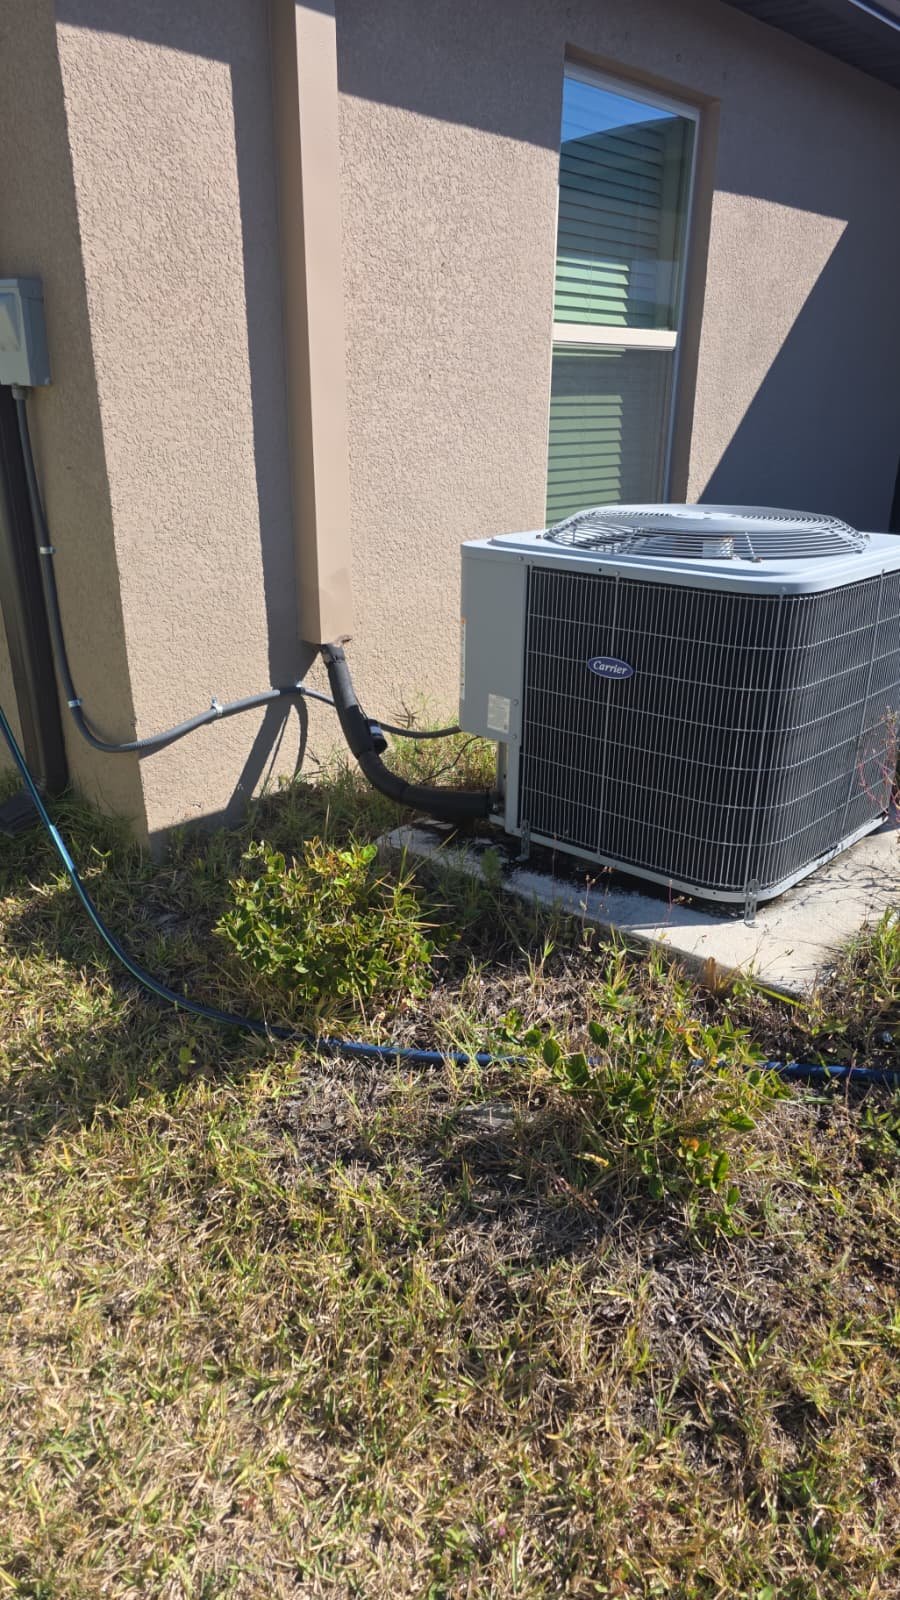
- Keep the outdoor unit clear. Trim plants and remove debris at least a couple of feet around the condenser so it can breathe and reject heat efficiently.
For more detail on maintenance tasks and timing, our HVAC maintenance checklist for homeowners offers a straightforward seasonal guide.
FAQ: Daikin System and Ductwork Replacement in Valrico, FL 33596
Why did you recommend a 5-ton Daikin heat pump for this home?
The home’s size, layout, and existing system capacity supported a 5-ton replacement when paired with properly sized ductwork. Daikin provides a solid balance of reliability, comfort, and warranty support, which fit the homeowner’s goals for long-term value.
What does R6 ductwork mean, and why does it matter?
R6 refers to the insulation value of the duct. In hot attics like we have around Valrico, an R6 insulated duct helps reduce heat gain as the air travels through the attic, so more of the cooled air actually reaches your rooms. That supports better comfort and efficiency.
Do I need to repair sheetrock after a duct replacement?
Sometimes we need to create access openings to run ducts correctly. When that’s required, we inform you ahead of time. Our role is to open the necessary access for the ductwork; any sheetrock repair and painting are typically handled by a drywall or painting professional after our work is complete.
What is and isn’t covered under the labor and parts warranties?
The system comes with manufacturer parts and, on many models, unit replacement coverage for a defined period, plus our own labor warranty starting from the installation date. Routine maintenance items—like dirty filters, clogged drain lines, or dirty coils—are not covered. Damage from rodents, people, or lack of maintenance is also excluded. We’re always happy to walk you through the specific terms for your system.
Why is maintenance still important after installing a new system?
Even a brand-new system can lose efficiency or develop issues if filters aren’t changed or drains aren’t cleaned. Regular maintenance helps keep airflow strong, coils clean, and safety components working properly, which protects your investment and helps preserve warranty coverage.
Can I keep my old unit after replacement?
Yes, if you’d like to keep the old equipment, we can typically leave it on-site in a safe location instead of hauling it away, as long as it’s compliant with disposal and safety guidelines. In this Valrico project, the homeowner requested to keep the old machine for a family member, and we accommodated that.
Why Choose Home Therapist for HVAC and Ductwork in Tampa Bay
Projects like this Daikin heat pump and ductwork replacement in Valrico, FL 33596 are where our team’s experience really pays off. At Home Therapist Cooling, Heating, and Plumbing, we focus on more than just swapping equipment—we design and install full comfort systems for Tampa Bay homeowners.
Here’s what you can expect when you work with us:
- Licensed, professional technicians who handle your home and equipment with care.
- Transparent communication about options, pricing, and what is and isn’t covered by warranty.
- Clean, respectful work habits, from protecting surfaces to daily clean-up.
- Attention to long-term reliability, including duct design, drainage, and hurricane-ready installation details.
- A commitment to Tampa Bay homeowners built on trust, quality workmanship, and clear expectations.
If you’d like to see what we’re up to or follow our work around the area, you can find us on social platforms like Pinterest and Reddit. We’re also proud to be listed with trusted organizations and directories, including the Tampa Bay Chamber of Commerce and the Better Business Bureau.
Need HVAC or Ductwork Help in Valrico, FL 33596?
If your system is struggling to keep up, your rooms aren’t cooling evenly, or your ductwork is showing its age, we’re here to help. Our team can evaluate your current setup, walk you through options like a Daikin heat pump upgrade, and design ductwork solutions tailored to your home in Valrico, FL 33596.
Whether you need a full system and duct replacement or just want a professional opinion on your next steps, we’ll explain everything in clear, straightforward terms so you can make the decision that’s right for your home and your budget.
When you’re ready, reach out to Home Therapist Cooling, Heating, and Plumbing to schedule your visit. We’ll treat your home the way we’d want ours treated and make sure your system is set up for safe, reliable comfort in the Tampa Bay heat.