

HVAC Coil Cleaning in Tampa: What It Involves and Why It Matters
HVAC coil cleaning Tampa homeowners schedule each year is one of the most overlooked but important services for a home in our climate. A professional cleaning means clearing the evaporator coil of the slimy biofilm and dirt that Tampa humidity breeds, then flushing the condensate drain line so it does not clog and flood. Skip it and you get weak cooling, higher bills, musty air, and water damage near the air handler.
Tampa runs the AC nearly year round, which means moisture is constantly condensing on your indoor coil and dripping into the drain pan. That warm, wet, dark environment is exactly what algae and mold love. Over a season or two, the coil gets coated and the drain line gets gummed up. This guide explains what coil and drain line cleaning actually involves, why it matters more here than almost anywhere else, and where a professional job goes beyond what a homeowner can safely do.
Why does an HVAC coil get dirty so fast in Tampa?
Your evaporator coil is the cold, finned component inside the air handler that pulls heat and moisture out of your air. Because it stays wet during operation, dust and microscopic debris from the air stick to it and form a film. In Tampa’s humidity, that film becomes a breeding surface for algae and mold.
A fouled coil causes a chain reaction:
- Reduced airflow. Grime between the fins blocks air, so the system works harder for less cooling.
- Lower efficiency. A dirty coil cannot transfer heat well, which raises your electric bill. The U.S. Department of Energy notes that a dirty coil reduces a system’s ability to cool and increases energy use.
- Musty odors. Mold and biofilm on the coil push that smell straight into your living space through the vents.
- Frozen coils. Severe airflow restriction can drop the coil temperature until it ices over and stops cooling entirely.
This is why coil care ties directly into indoor air quality in Tampa. The coil and drain line are where most of the moisture and microbial growth in a home AC concentrate.
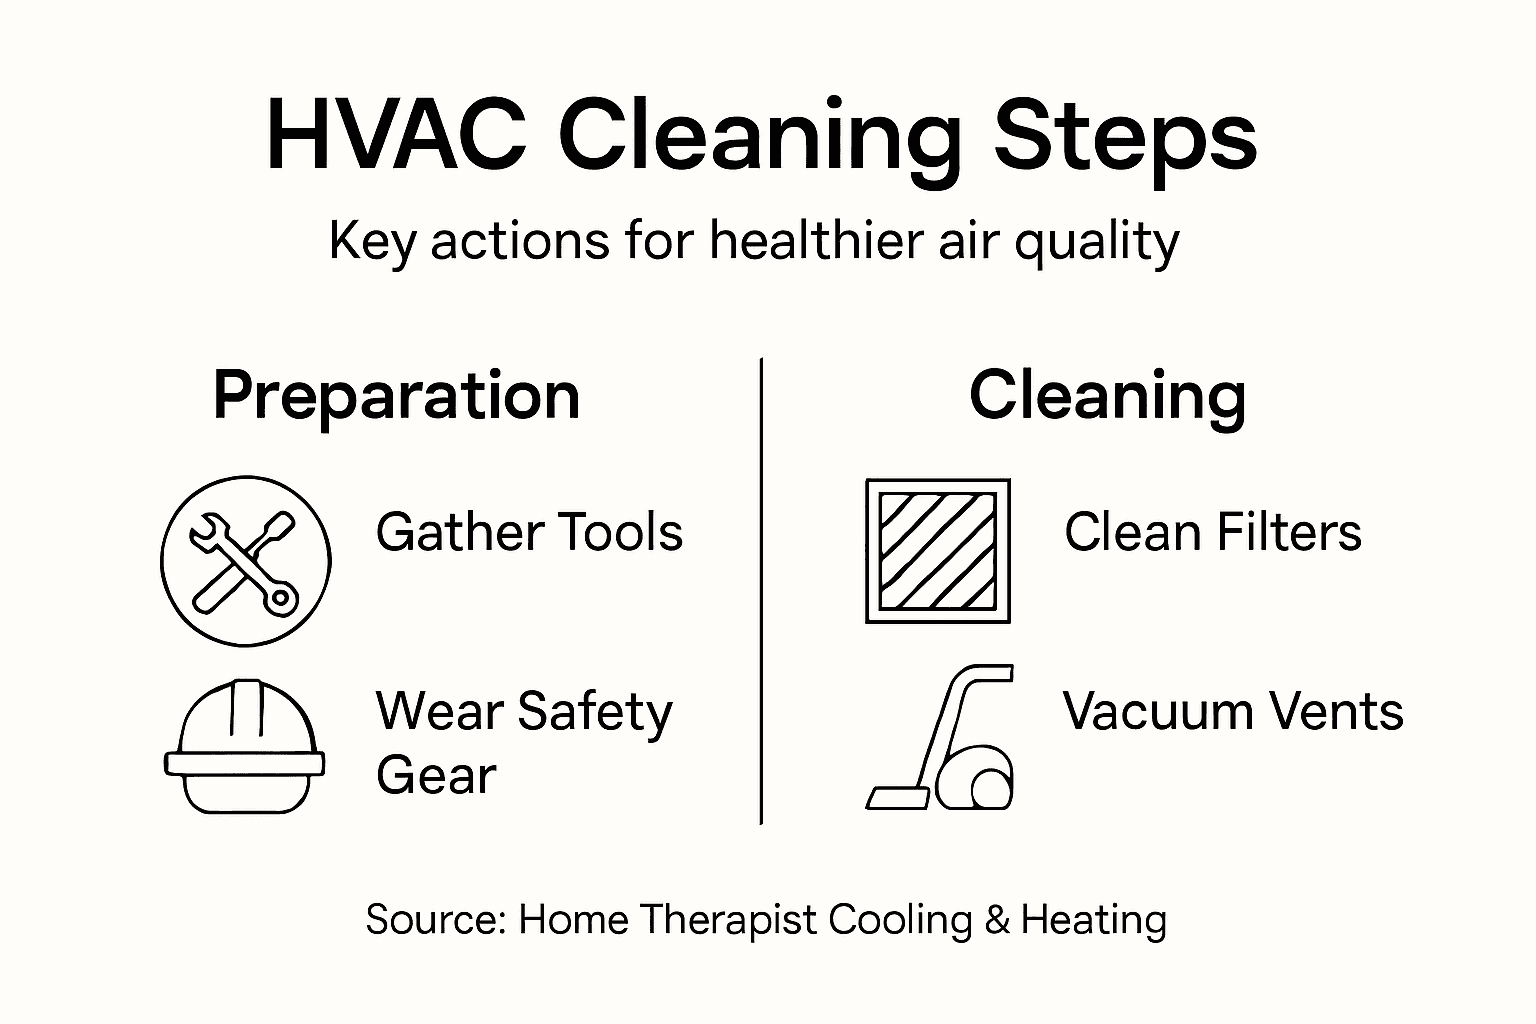
What does professional HVAC coil cleaning Tampa service include?
A real cleaning is more than spraying the outdoor unit with a hose. A licensed technician (we hold HVAC license CAC1819196) typically does the following:
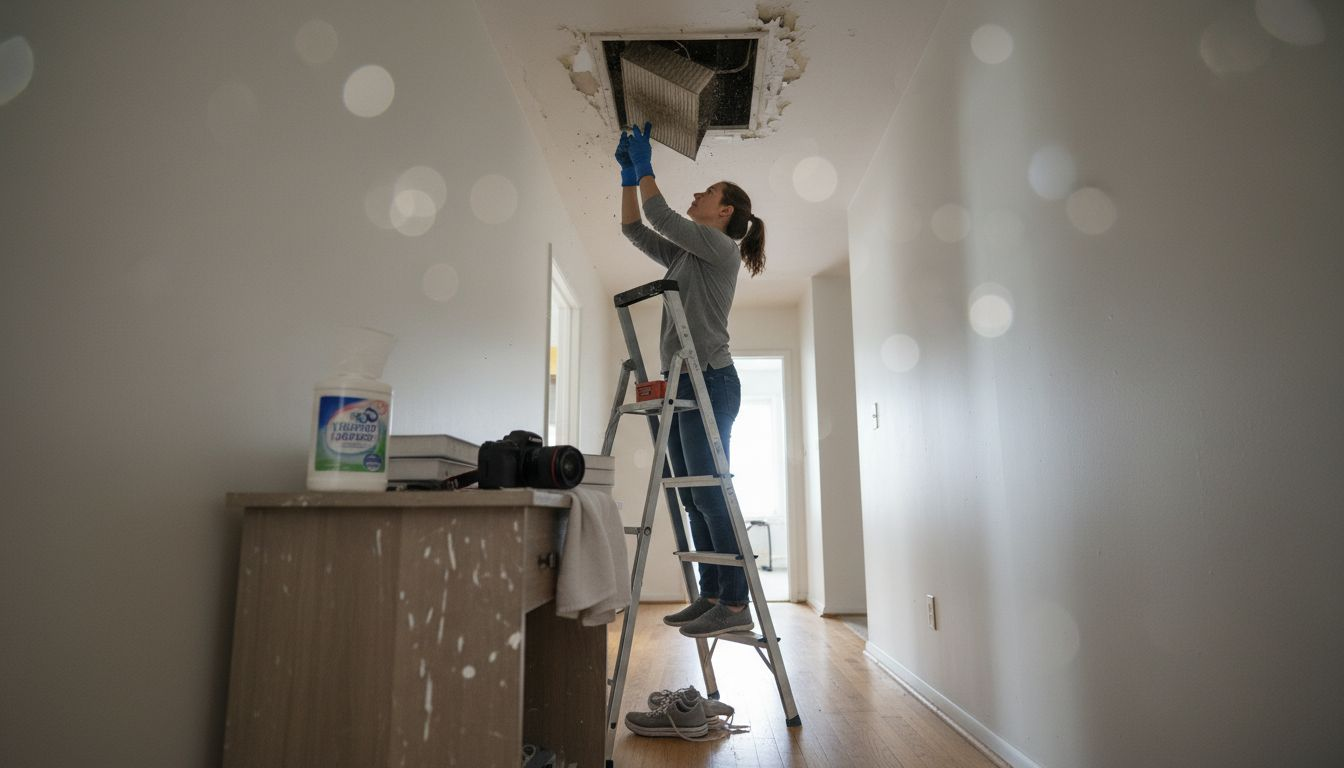
- Shuts down power safely and gains access to the indoor evaporator coil.
- Inspects the coil and applies a no-rinse or foaming coil cleaner formulated for aluminum and copper fins, then lets it lift the biofilm and grime.
- Gently straightens bent fins and clears debris without damaging the delicate coil.
- Clears the condensate drain line, usually by vacuuming the clog out and flushing the line so it drains freely.
- Cleans the drain pan and checks the float switch that is supposed to shut the system off if the pan fills.
- Cleans the outdoor condenser coil, which collects dirt, grass, and pollen.
- Confirms proper drainage and airflow before leaving.
Diagnosis and the estimate are always free. If you approve repair work beyond the cleaning, our minimum labor charge is $279, and that only applies to approved repairs, never to the visit itself.
Professional cleaning vs DIY maintenance: what is the difference?
Homeowners can and should do basic upkeep. But the coil and drain line work that prevents the biggest problems needs a technician. Here is how the two compare.
| Task | Homeowner DIY | Professional service |
|---|---|---|
| Replace air filter monthly | Yes, easy and important | Verified during a tune-up |
| Rinse outdoor condenser fins | Light rinse only, power off | Full coil cleaner + fin care |
| Pour vinegar in drain access | Limited preventive help | Vacuum clog + flush full line |
| Clean indoor evaporator coil | Not recommended (fragile, sealed area) | Yes, proper access + cleaner |
| Clear a fully clogged drain line | Often beyond DIY tools | Yes, vacuum + verify drainage |
| Check float switch + pan | No | Yes, prevents overflow damage |
A clogged condensate line is the number one cause of AC water leaks in Tampa homes. When the line backs up, water overflows the pan and can damage drywall, flooring, and the air handler. If you are already seeing water near the unit, do not wait. Our emergency AC repair in Tampa can clear it before it floods. Note that coil and drain cleaning is different from air duct cleaning in Tampa, which addresses the ductwork that distributes the air rather than the coil that conditions it.
How often should Tampa homeowners have coils and drains cleaned?
Because of our long cooling season and high humidity, the coil and drain line should be checked and cleaned at least once a year, ideally as part of a spring tune-up before peak summer load. Homes near the coast, with pets, or with heavy pollen exposure may benefit from twice-a-year attention. Bundling it into a maintenance plan is the simplest way to stay ahead of it. See our AC maintenance in Tampa options, and if a cleaning reveals a deeper problem, our team handles full AC repair in Tampa on the same visit. You can confirm we serve your area on our service area page.
Key Takeaways
- HVAC coil cleaning in Tampa removes the algae and biofilm that our humidity grows on the cold, wet evaporator coil.
- A dirty coil cuts cooling, raises bills, causes musty odors, and can freeze the system.
- A professional cleaning includes the evaporator coil, condenser coil, drain line flush, drain pan, and float switch check.
- Homeowners should change filters and lightly rinse the outdoor unit; the coil and a fully clogged drain line need a technician.
- A clogged condensate line is the top cause of AC water leaks here, so do not ignore water near the air handler.
- FREE estimates and FREE diagnosis. $279 minimum labor applies only to approved repair work.
Sources: ENERGY STAR, ACCA.
Frequently Asked Questions
Can I clean my own evaporator coil?
We do not recommend it. The indoor evaporator coil is fragile, often in a tight or sealed cabinet, and the fins bend easily. Improper cleaning can damage it or push debris deeper. Homeowners should handle filters and a light outdoor rinse and leave the indoor coil to a technician.
Why is water leaking near my indoor AC unit?
The most common cause in Tampa is a clogged condensate drain line. When algae or sludge blocks the line, water backs up and overflows the drain pan. Clearing and flushing the line, plus checking the float switch, stops the leak. We diagnose this for free.
How do I know if my coil is dirty?
Signs include weaker cooling, longer run times, higher electric bills, a musty smell from the vents, or ice on the indoor unit. A technician can confirm by inspecting the coil during a tune-up and clean it on the spot.
Is coil cleaning the same as duct cleaning?
No. Coil and drain line cleaning addresses the evaporator coil and condensate system inside the air handler, where moisture and microbial growth concentrate. Duct cleaning addresses the supply and return ductwork that distributes air through the home. They are separate services.
More Indoor Air Quality Articles
- Water Heater Flush Cost in Tampa: A $89 Sediment Drain on Bergamont Cir, Lake Magdalene FL 33618
- 103-Minute AC Tune-Up on Fruitwood Dr: UV Light and Capacitor Findings in Clearwater, FL 33756
- Blower Wheel Organic Growth Found in 71 Minutes: What UV Light Installation Actually Prevents in Wesley Chapel, FL 33545
- 105-Minute AC Tune-Up and UV Light Air Treatment on Montara Drive in Seffner, FL 33584
- Mini Split Installation for Florida Rooms and Garages in Tampa, FL: What to Expect


