Planning a Full Bathroom Plumbing Upgrade in St. Petersburg, FL 33703

Planning a Full Bathroom Plumbing Upgrade in St. Petersburg, FL 33703
When you’re updating bathrooms and a kitchen in an older home, the plumbing behind the walls matters just as much as the finishes you can see. Recently, our Home Therapist team helped a homeowner on Shore Acres Blvd NE in St. Petersburg, FL 33703 plan a full bathroom plumbing upgrade, including new toilets, new vanities, faucet replacements, and a future water heater installation.
Like many homeowners in the Tampa Bay area, this customer wanted to modernize the space, improve comfort, and make sure everything was set up safely and up to code before the new cabinetry and fixtures went in. Our technician Adalberto walked through the project step by step, explained what we found, and laid out a clear path forward.
Below we’ll walk you through how we approached this project in St. Petersburg—from the toilet and vanity work to the water heater planning—so you can see what to expect if you’re considering similar plumbing services in your own Tampa Bay home.
The Customer’s Plumbing Concerns
The homeowner was in the middle of a remodel and wanted to tackle several plumbing upgrades around the house. Their goals were straightforward:
- Install two new toilets (one supplied by Home Therapist and one supplied by the customer).
- Install a new bathroom vanity and relocate the water and drain lines so they would work with a standard-height cabinet.
- Replace several faucets and sink P-traps for better reliability and appearance.
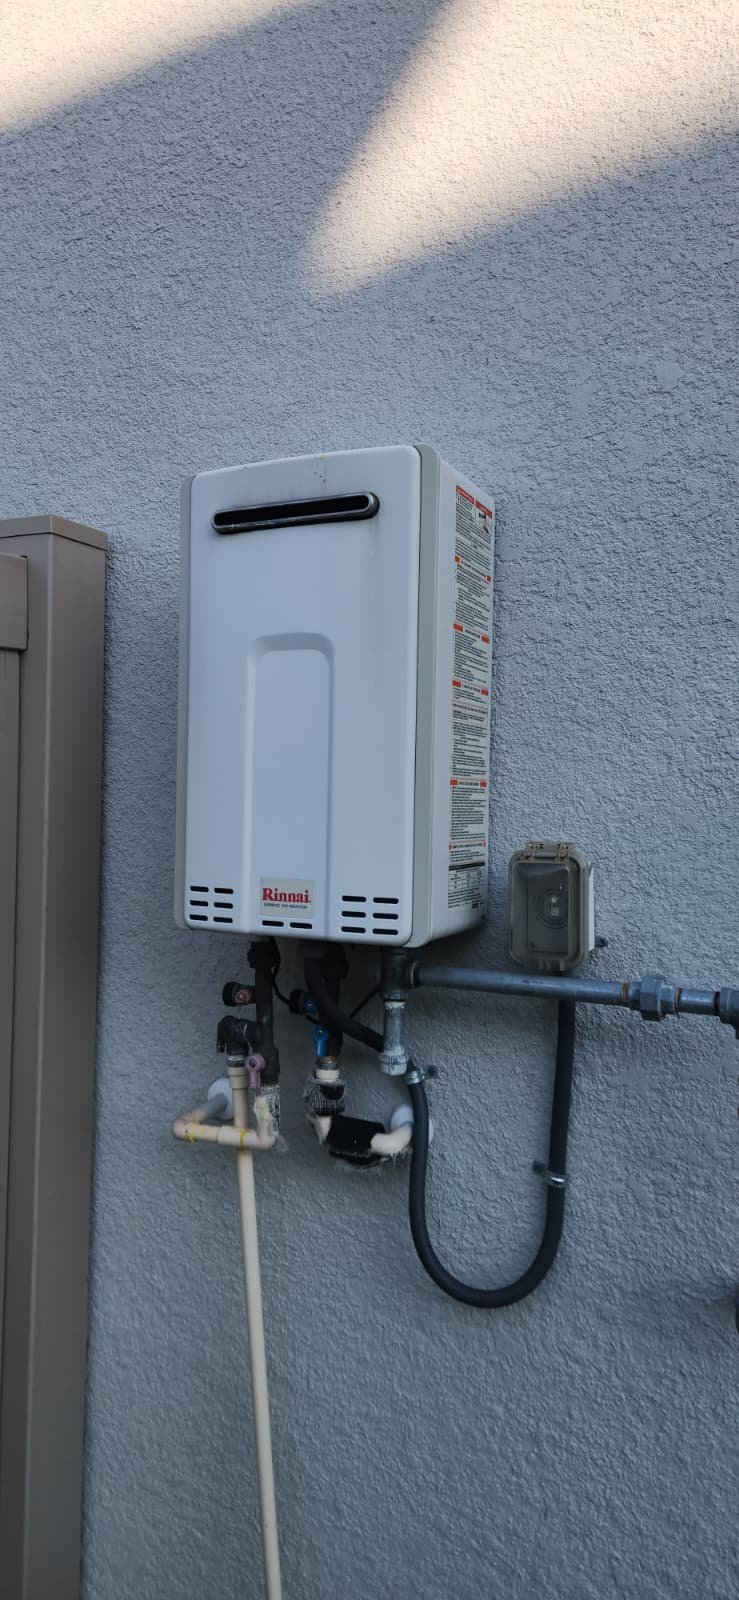
- Plan ahead for a new water heater, still deciding between a traditional tank and a tankless model.
Because the project involved multiple areas of the home, the customer wanted a clear estimate for the initial work and a plan to complete the remaining tasks later—once cabinetry and other finishes were installed.
In the bathrooms, they were especially concerned about:
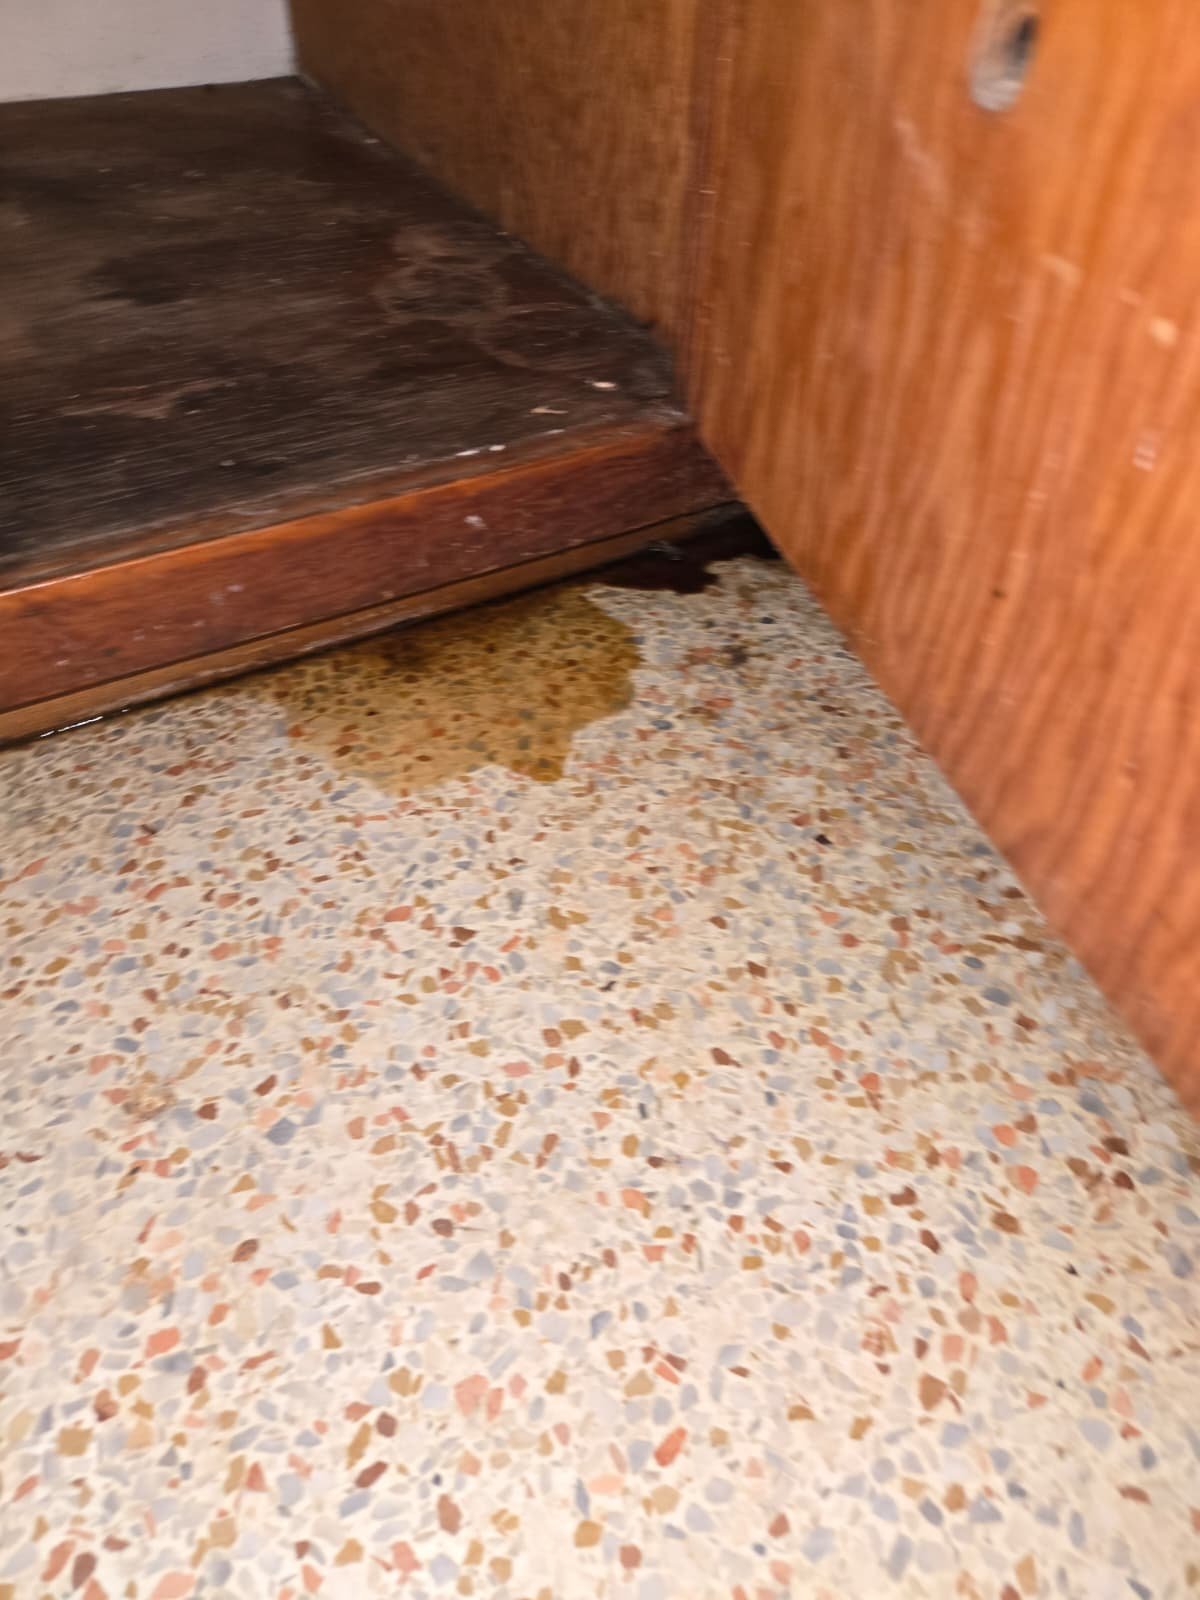
- Existing toilets that were older and less efficient.
- Uncertain condition of the toilet flanges and shutoff (angle) valves.
- Bathroom sink water and drain lines sitting too high on the wall, which would interfere with the new vanity installation.
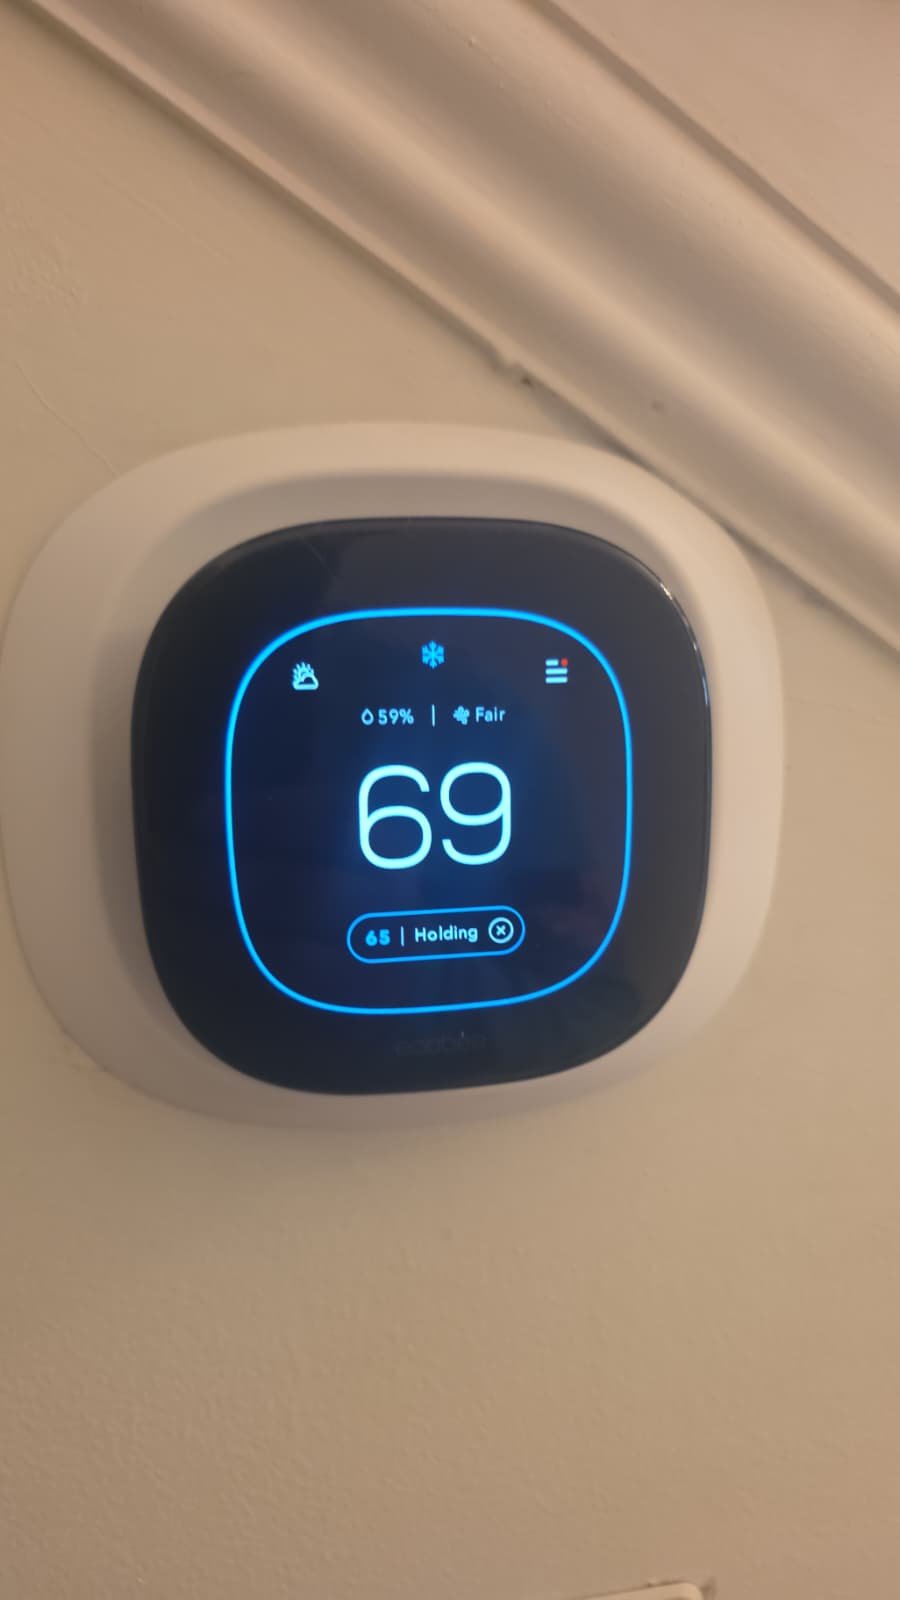
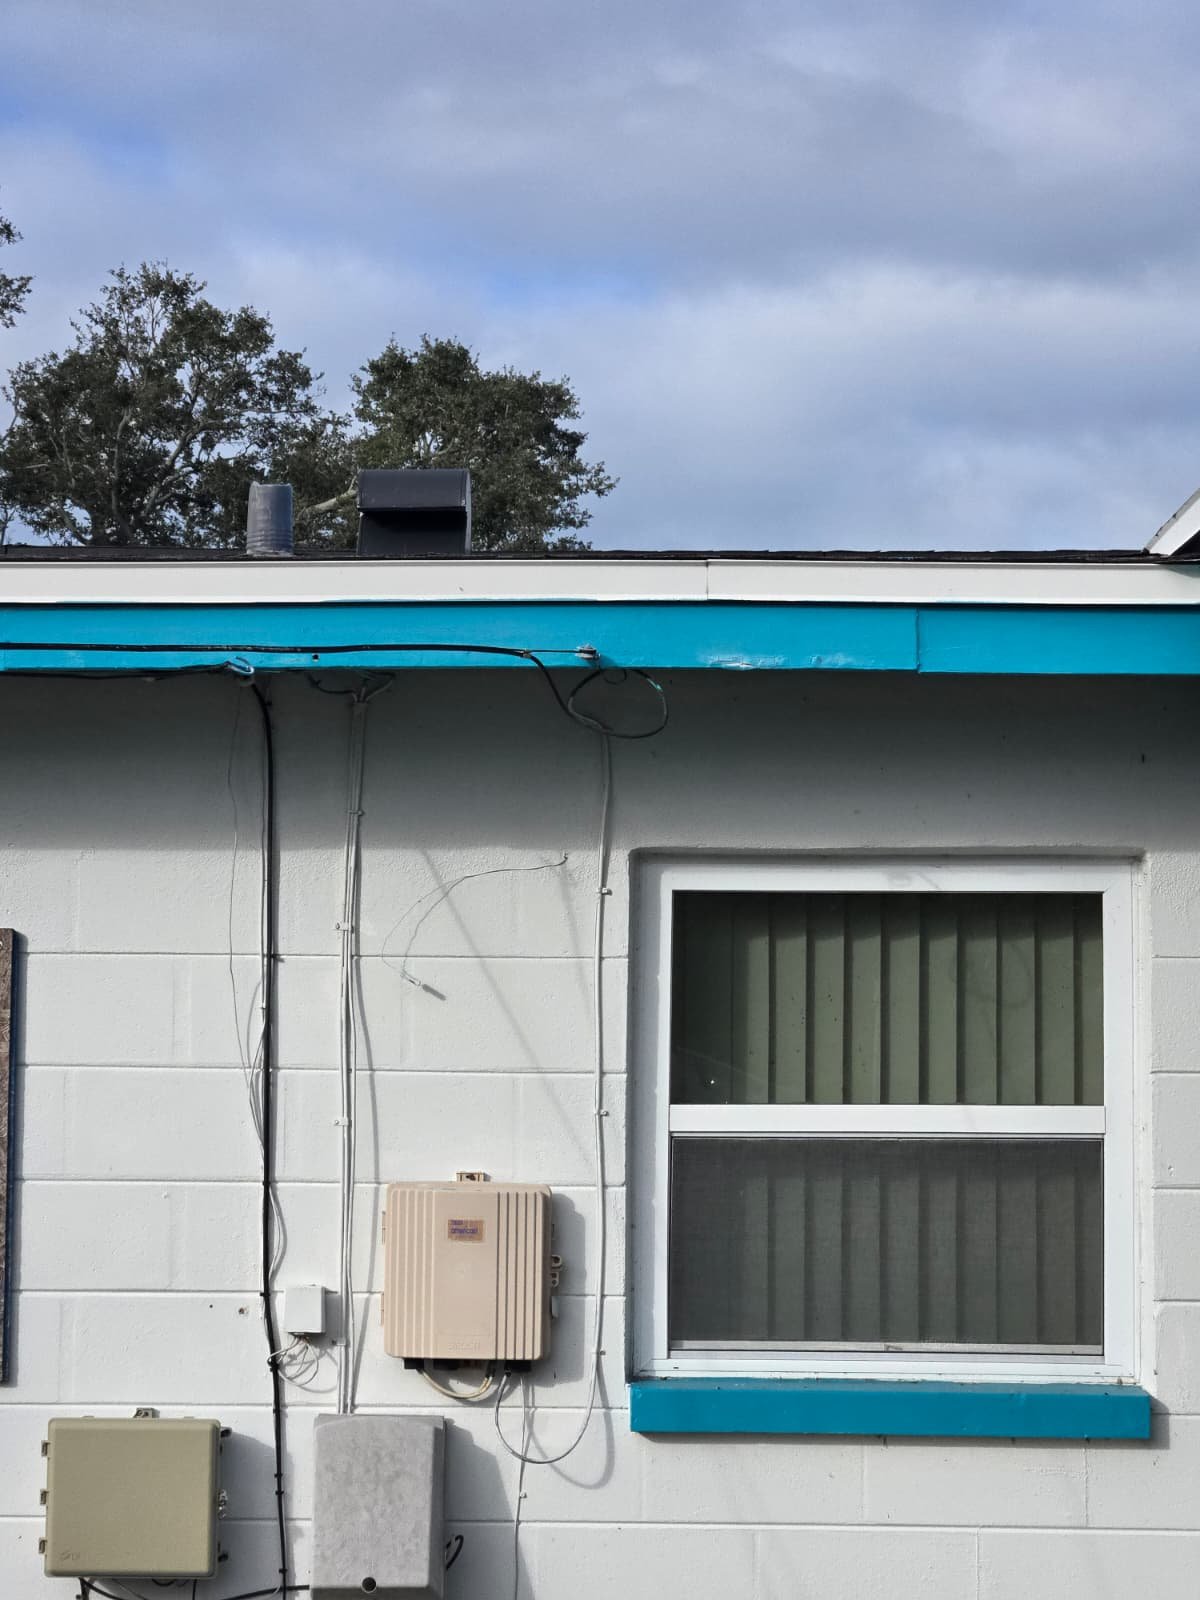
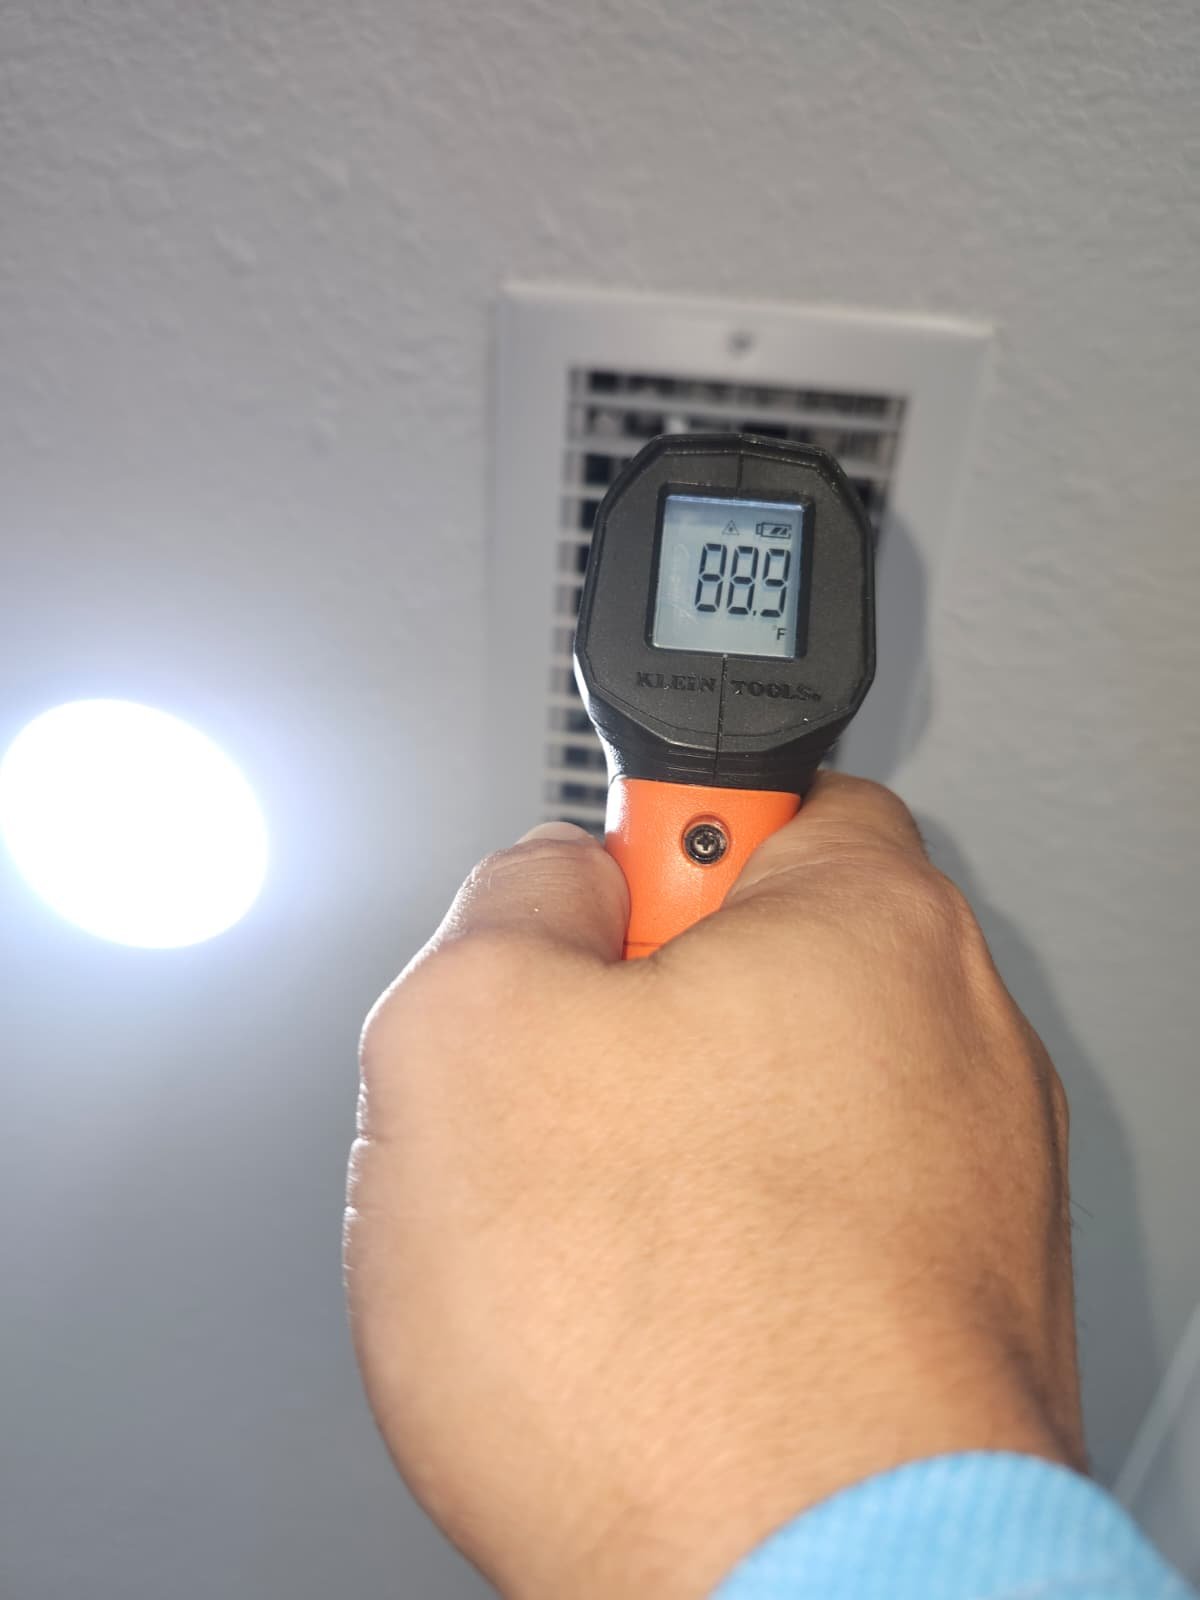
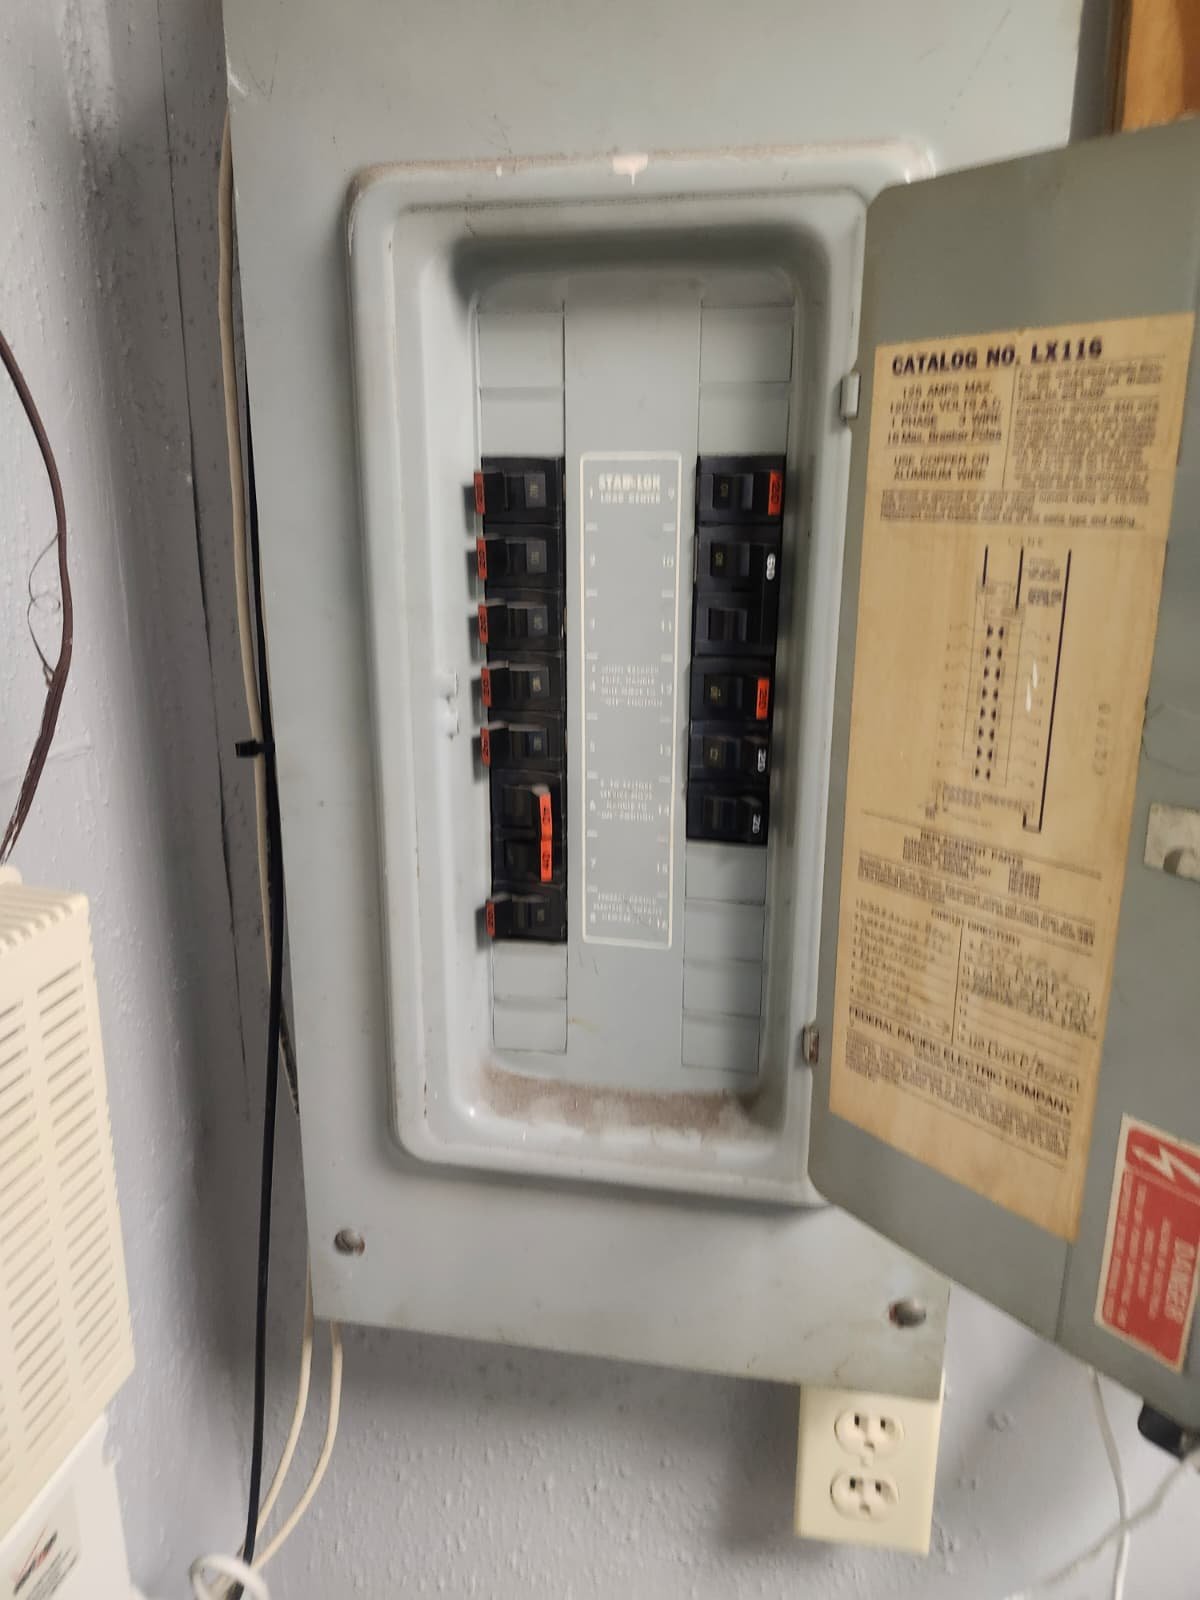
On the water heater side, they wanted to understand the differences between a standard tank-style unit and a tankless system, and how each would affect plumbing, electrical work, and permitting in St. Petersburg, FL.
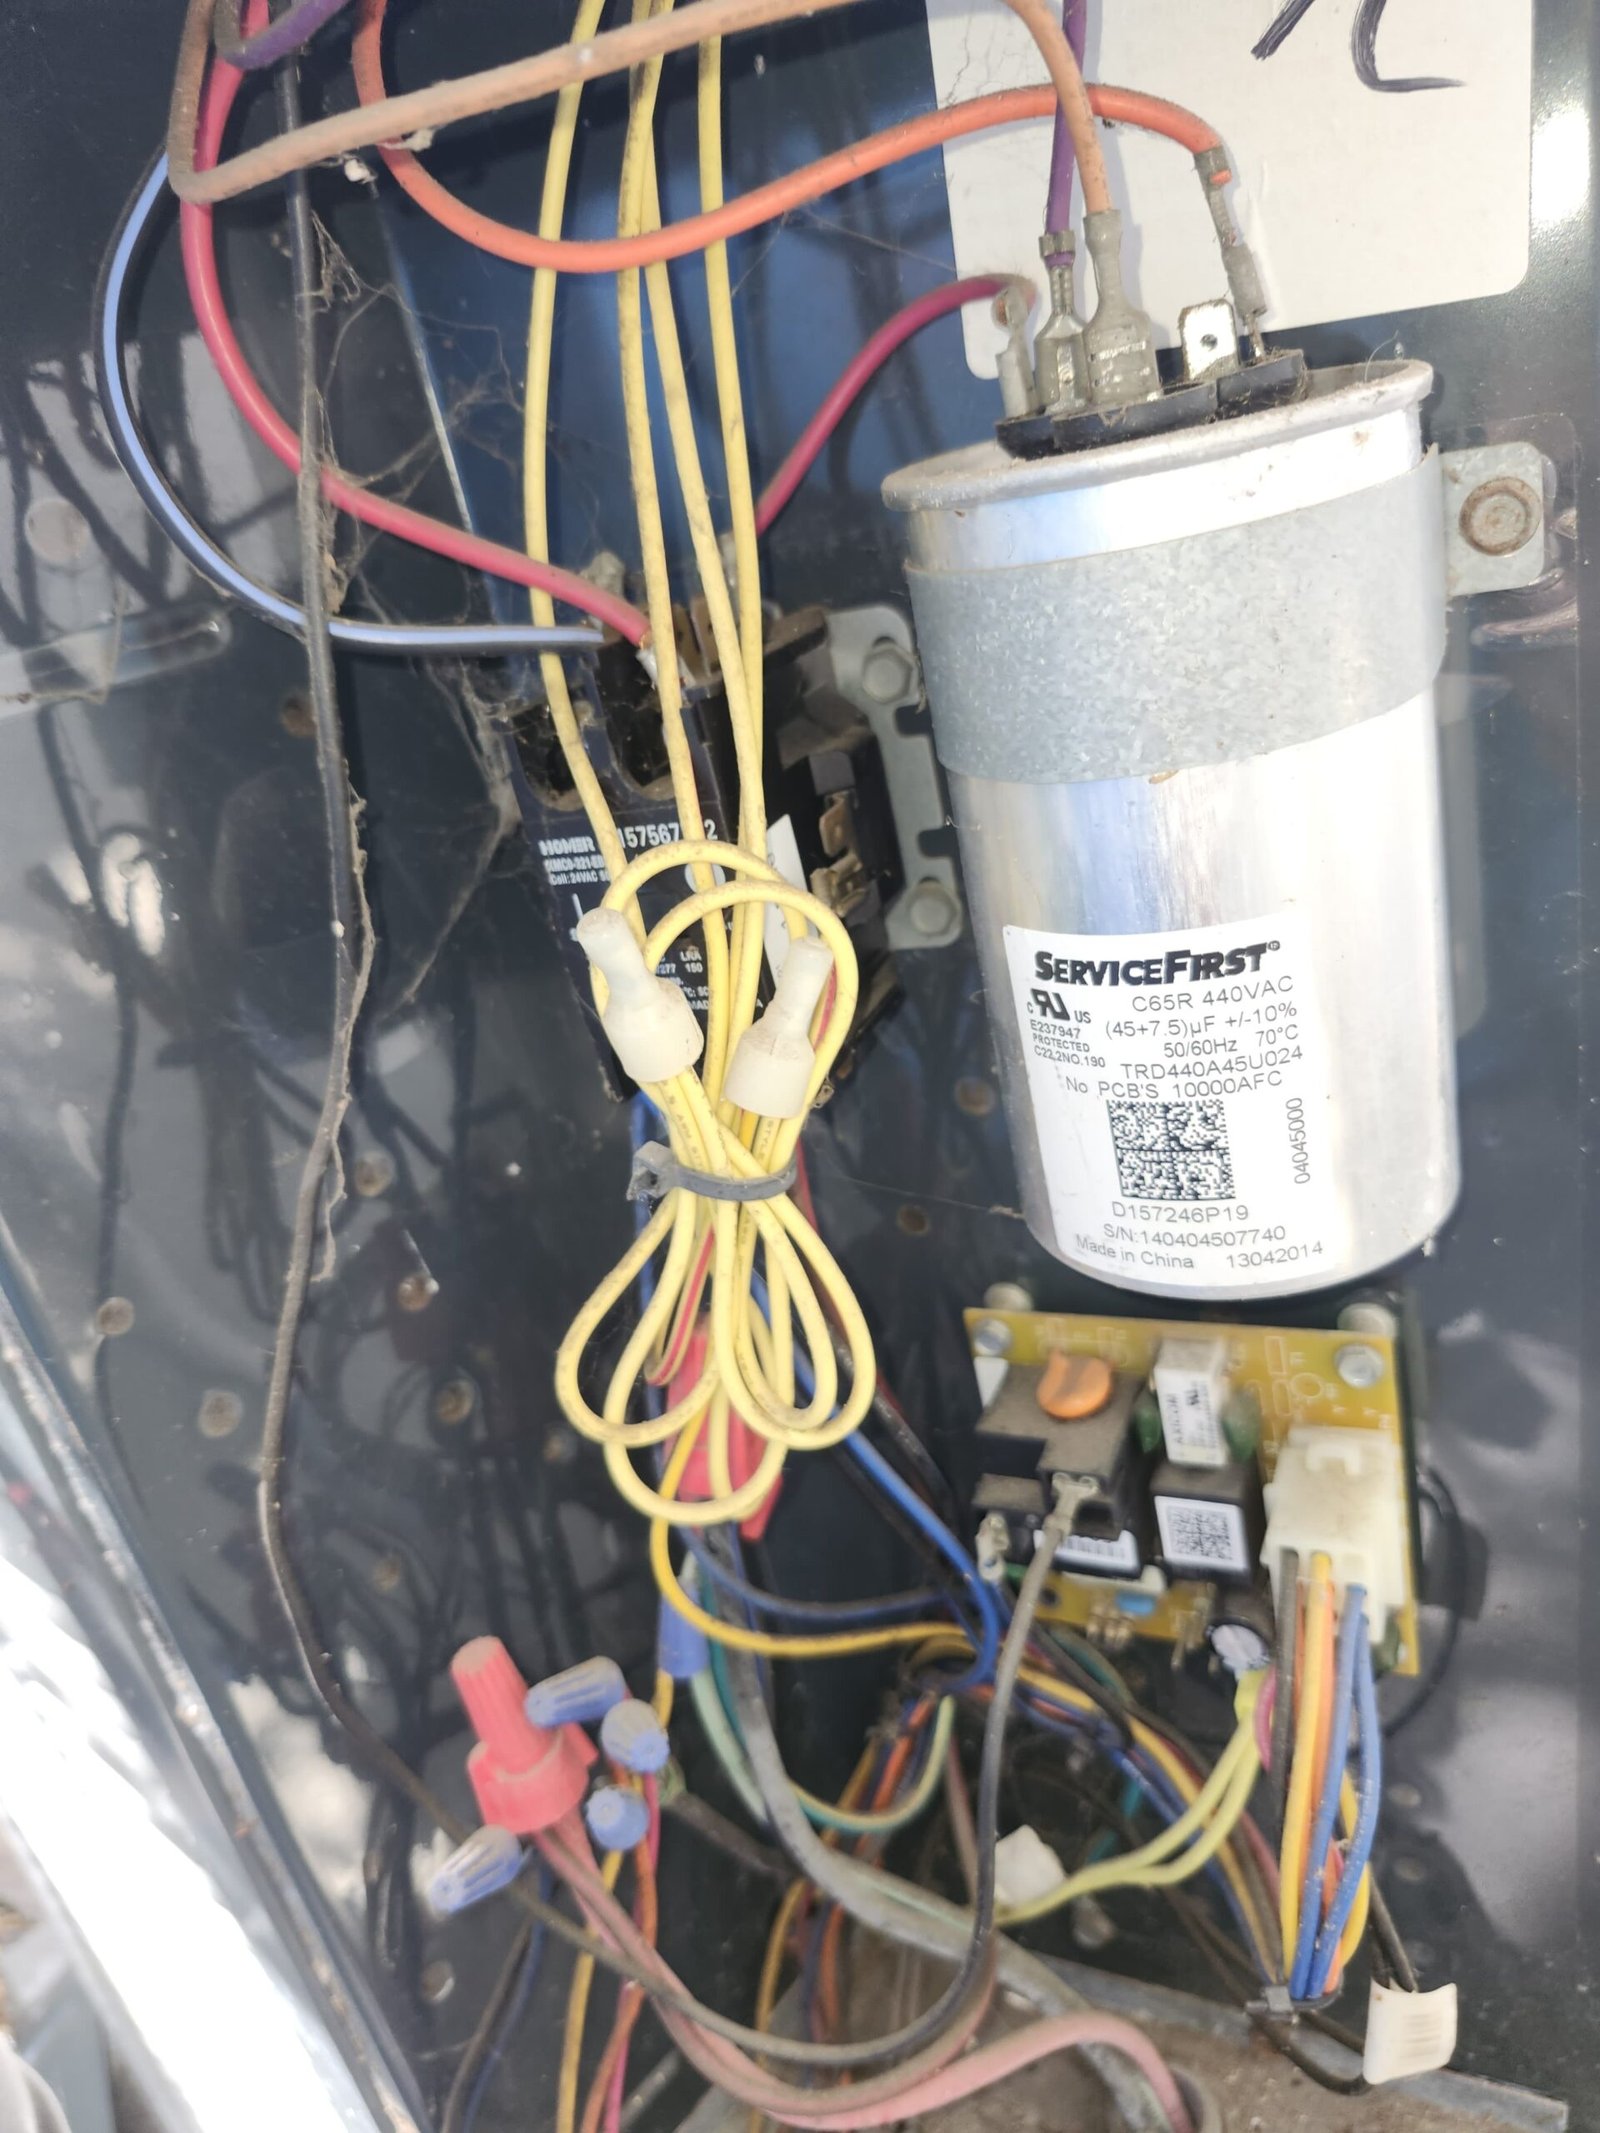
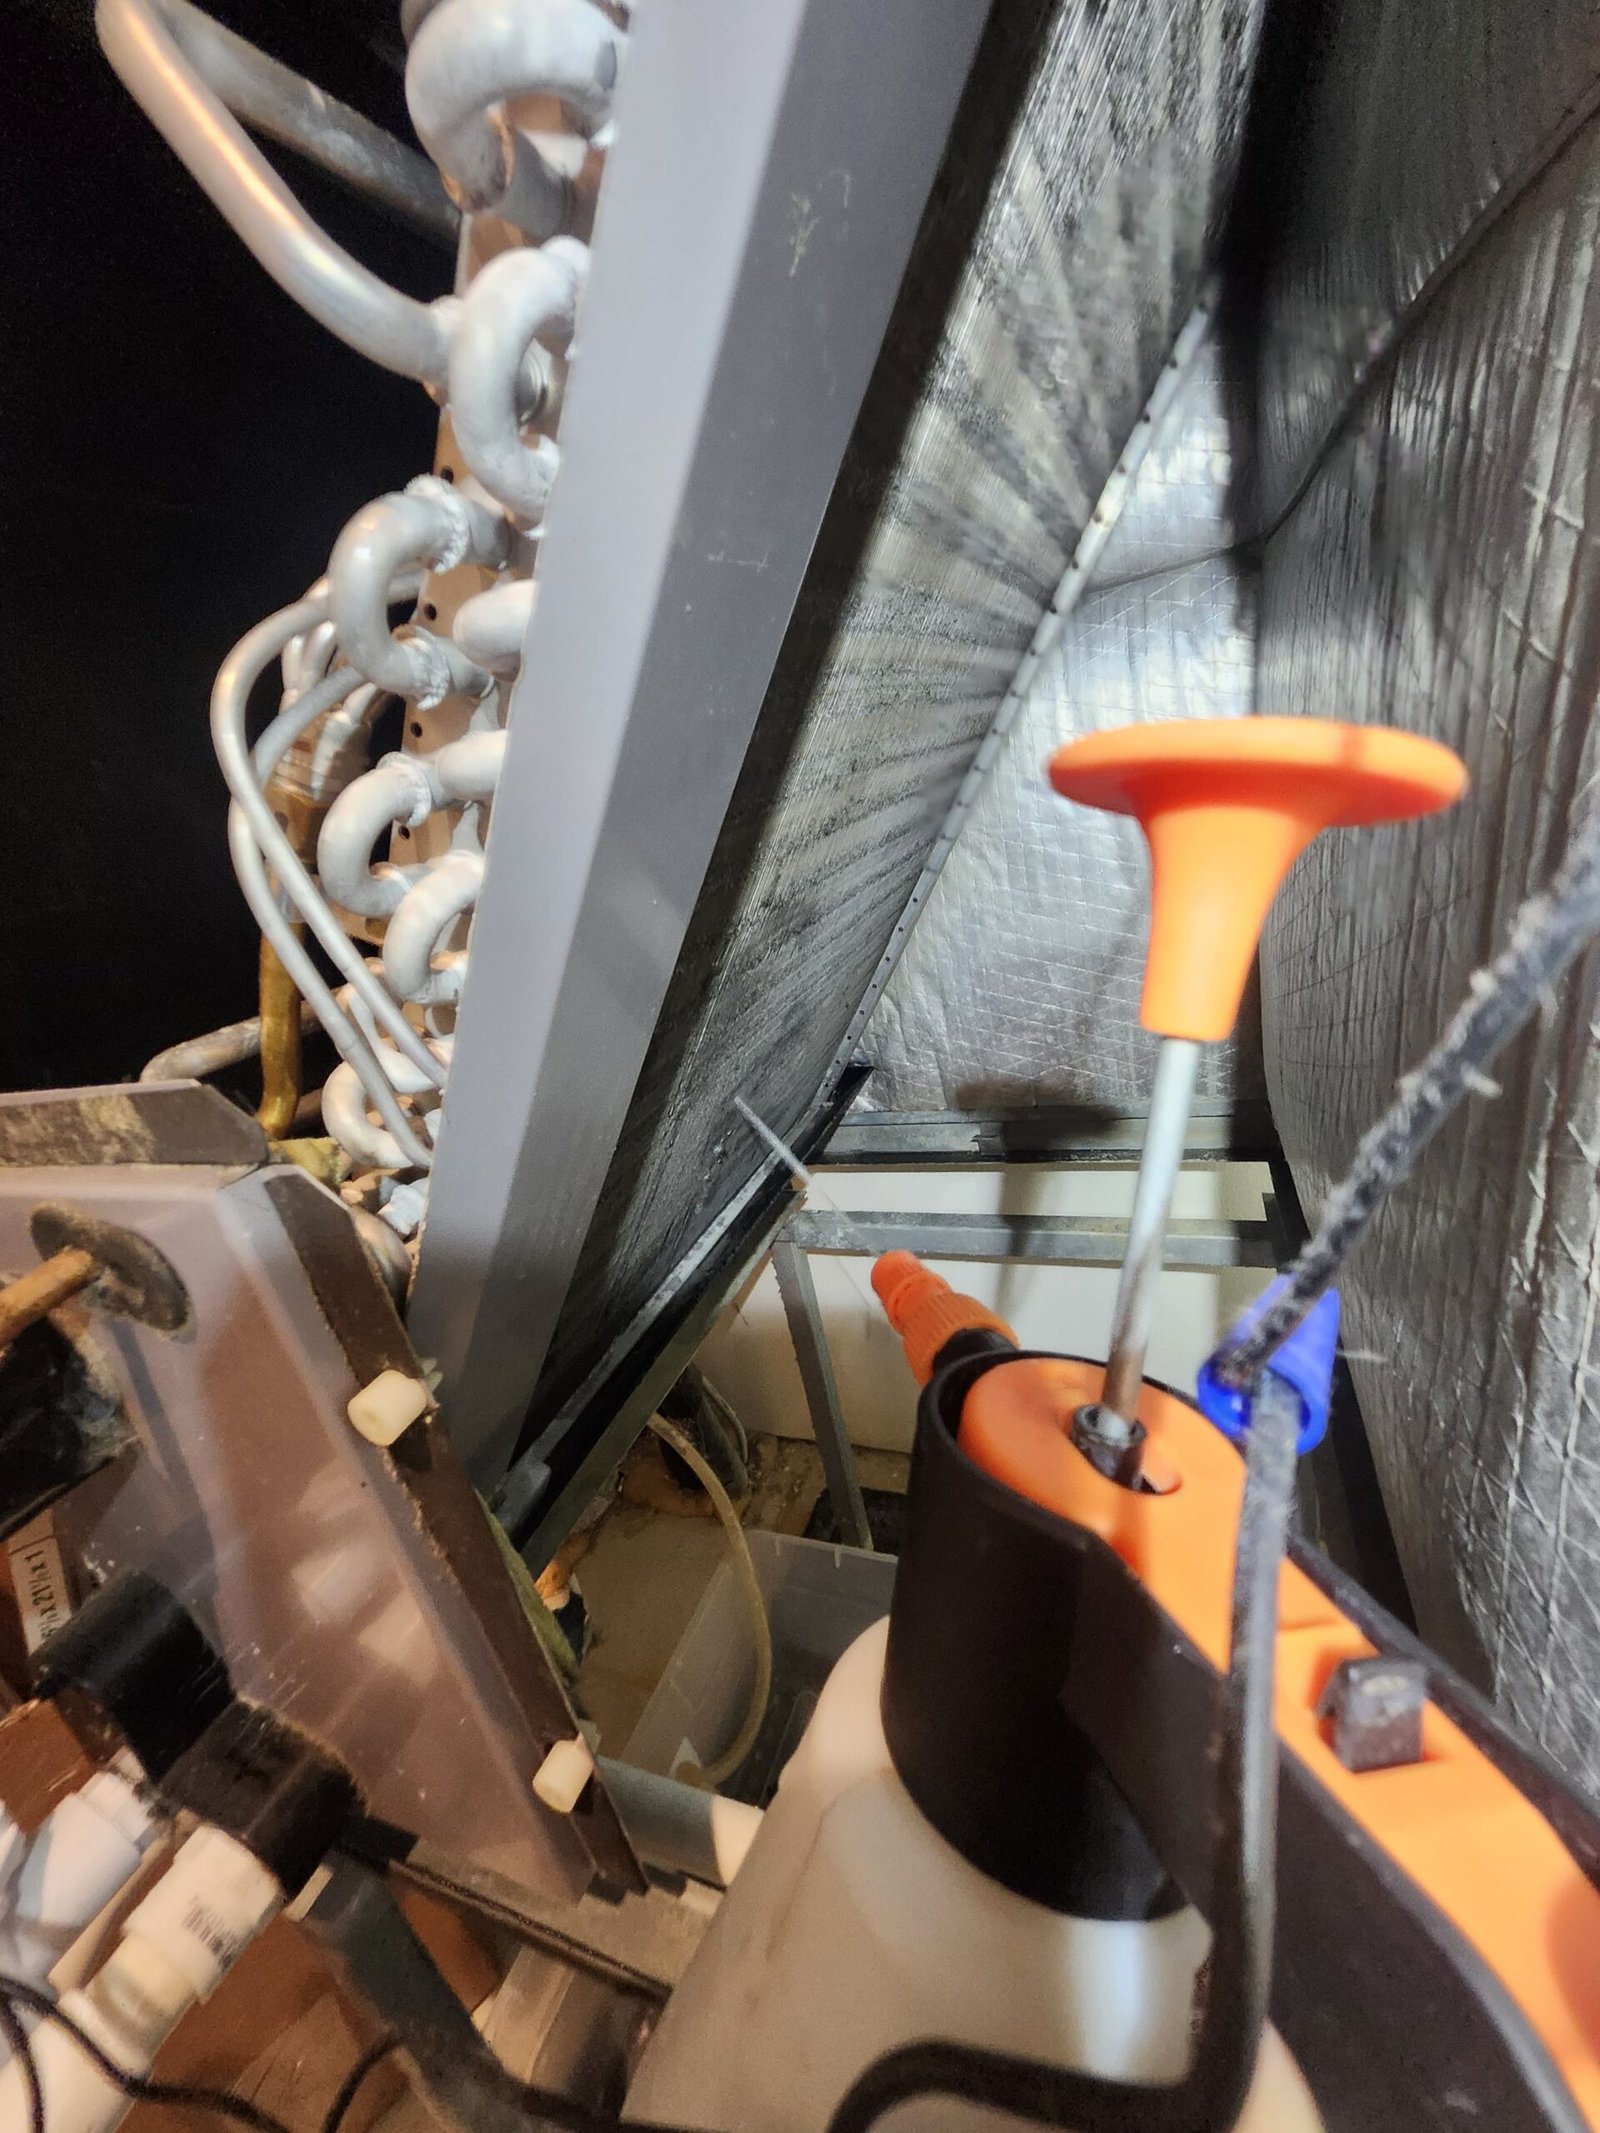
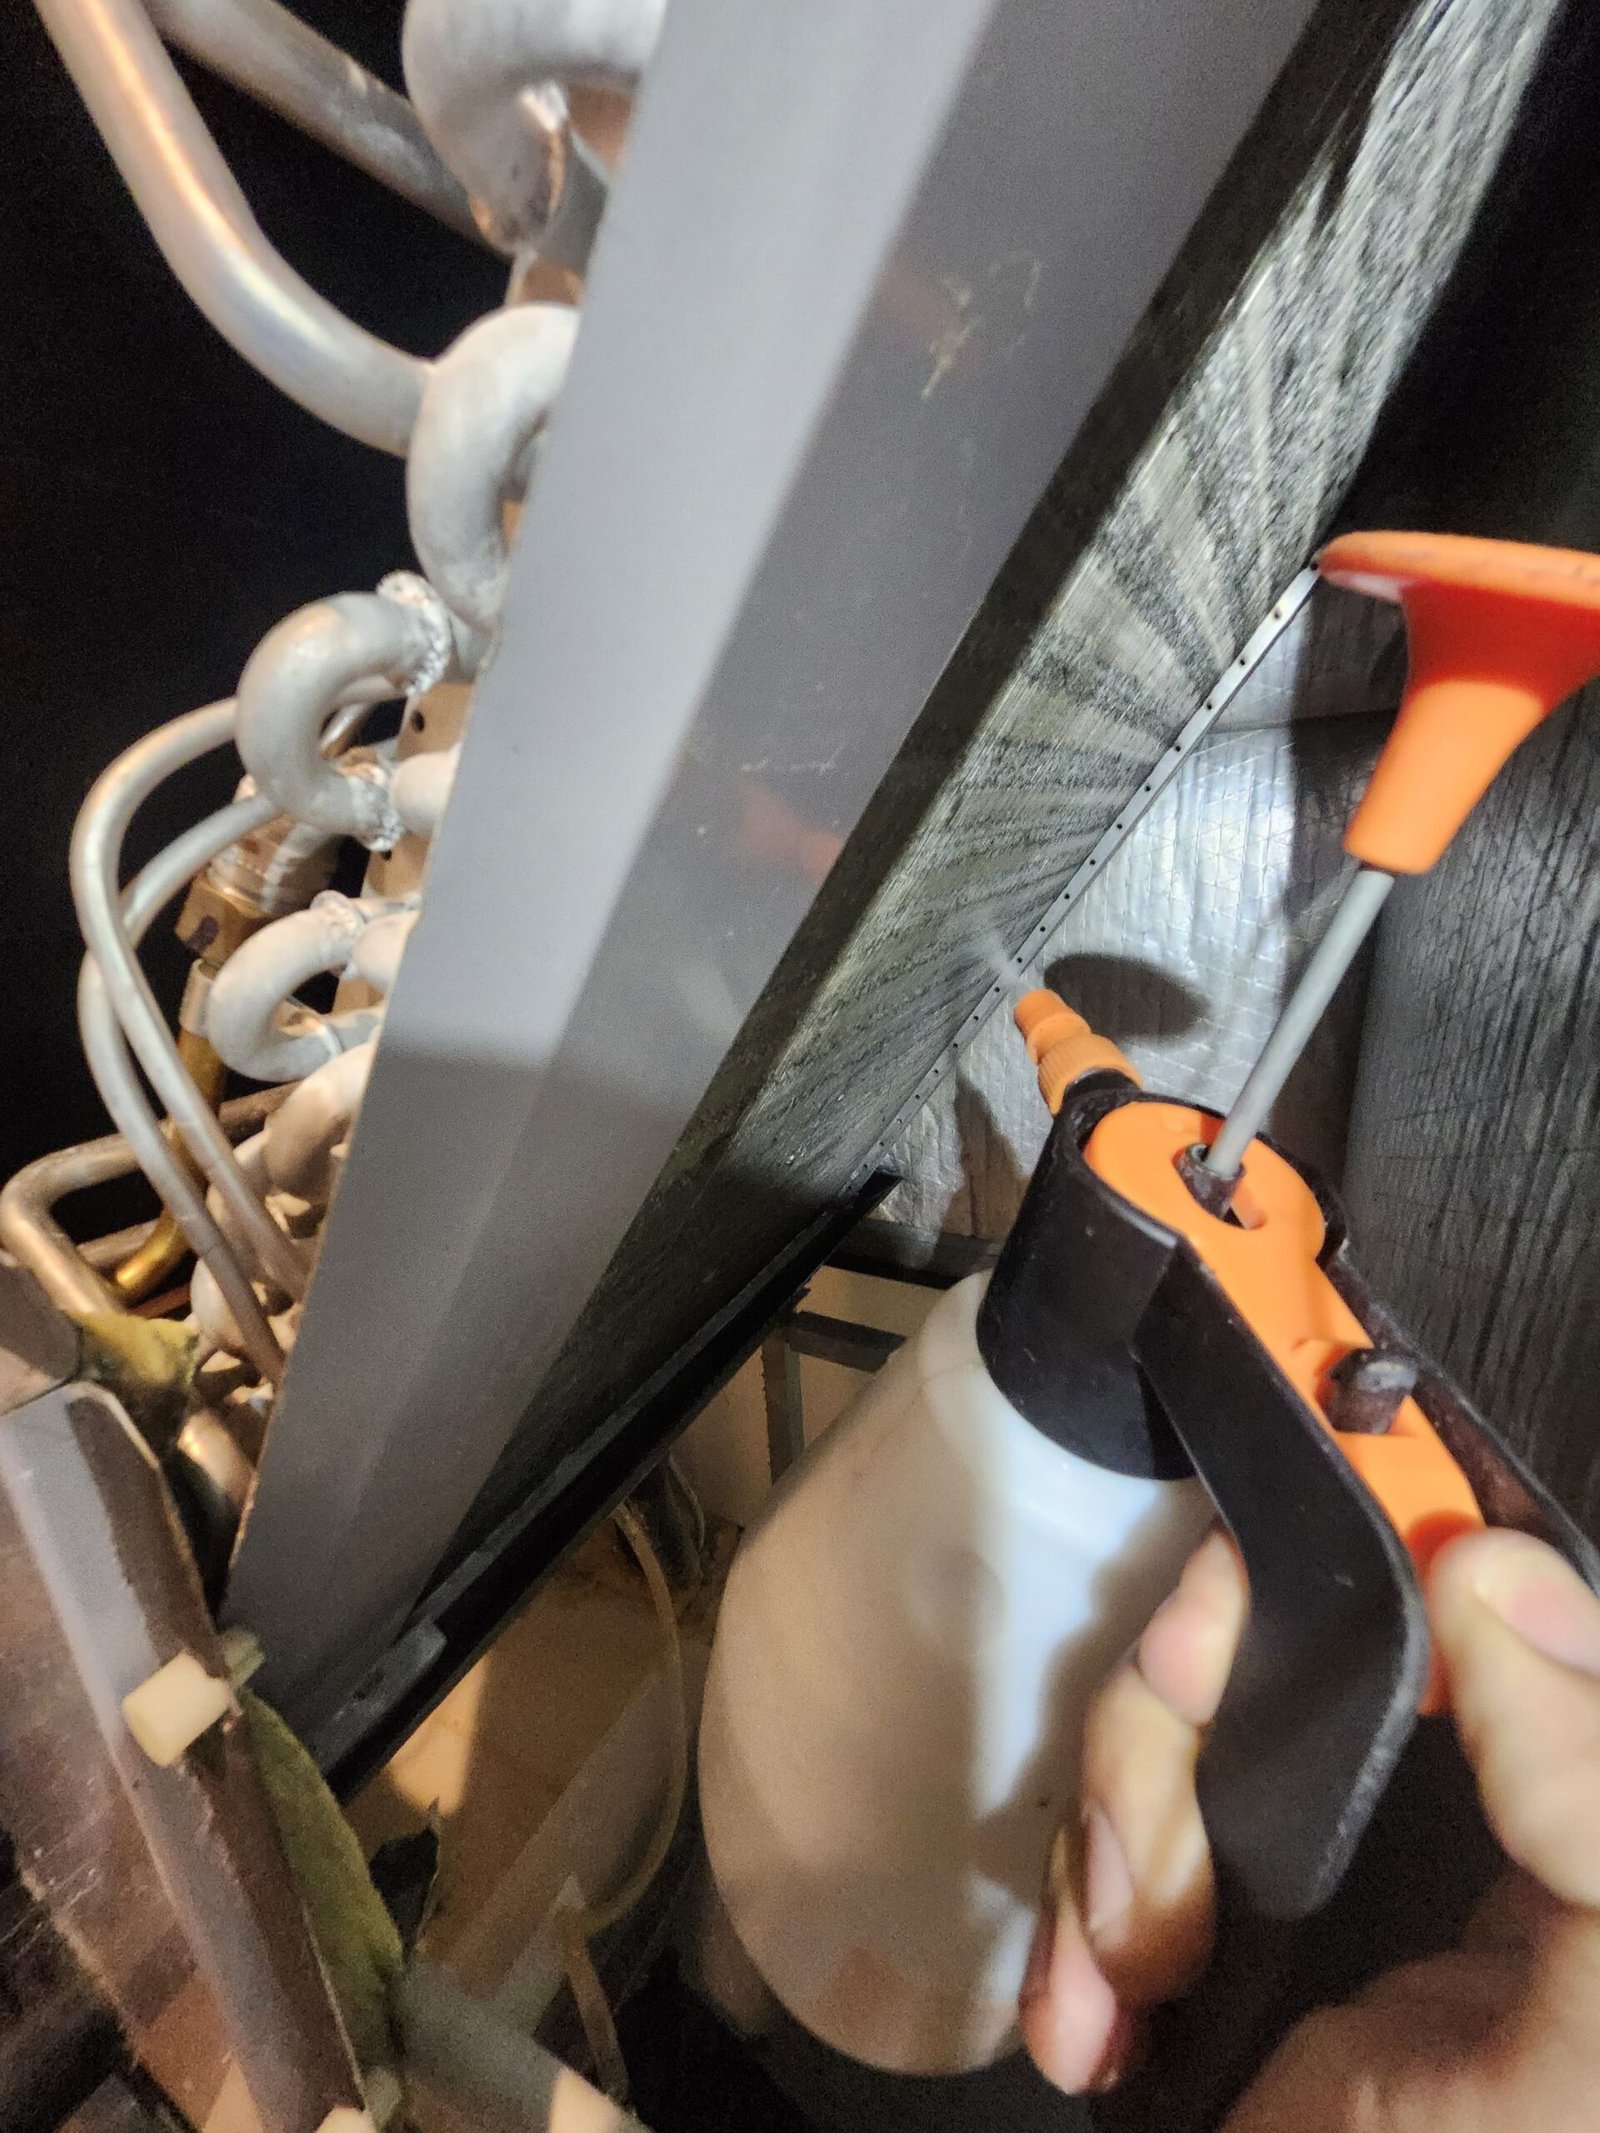
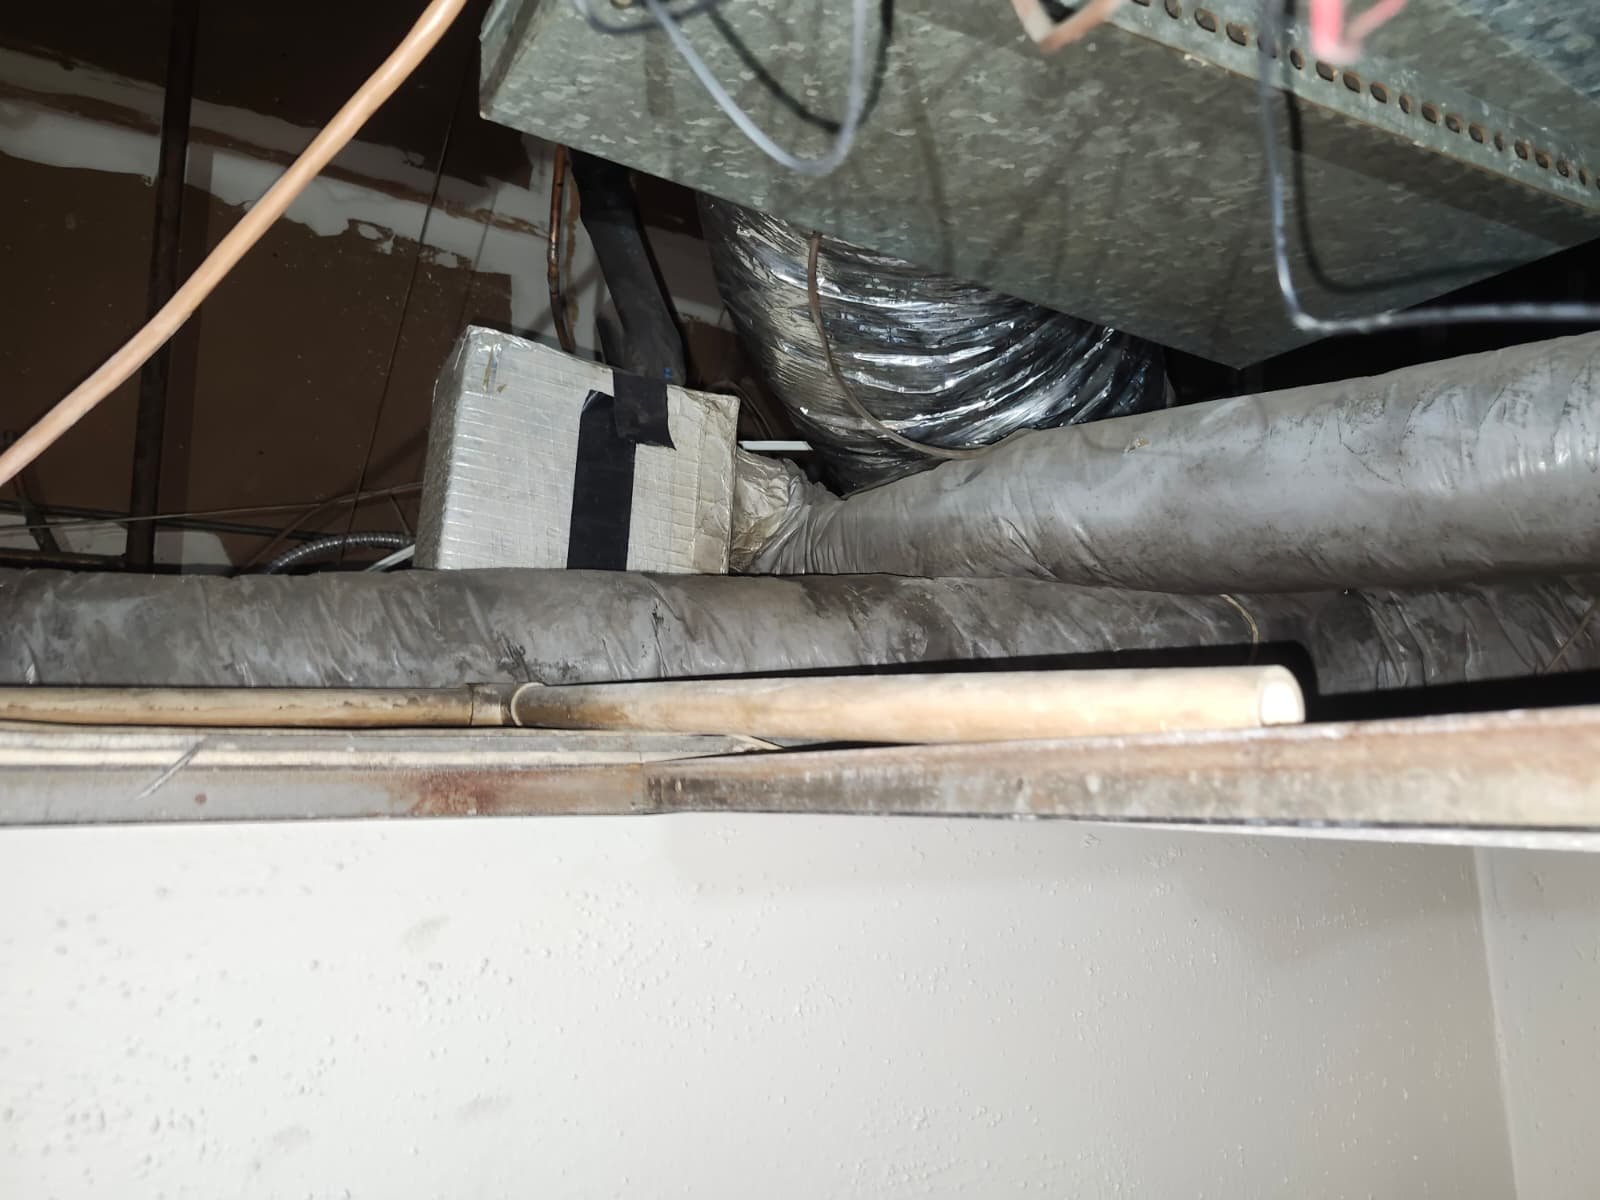
Inspection & Diagnosis: What We Checked
Before starting any work, our technician performed a thorough visual inspection of the bathrooms and the existing plumbing layout. For a project like this in St. Petersburg, we focus on both current issues and future remodel plans so our work doesn’t have to be redone later.
Here’s what we looked at in detail:
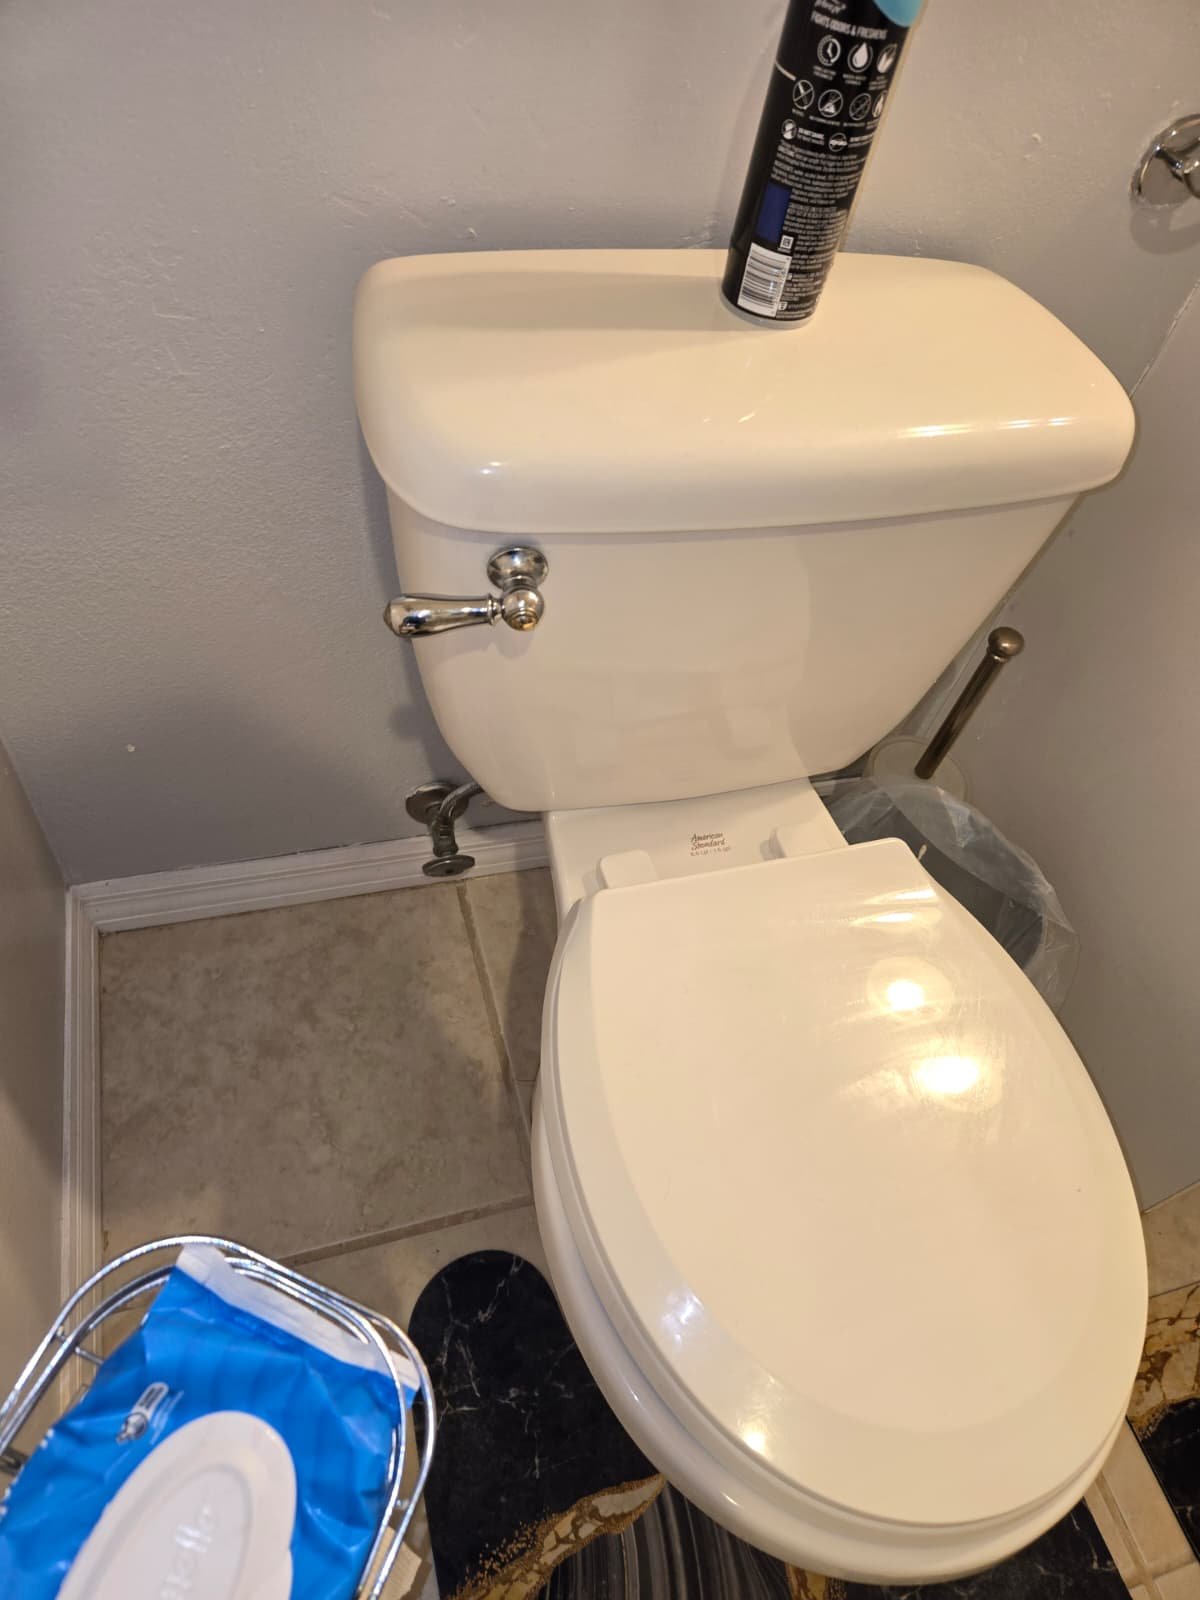
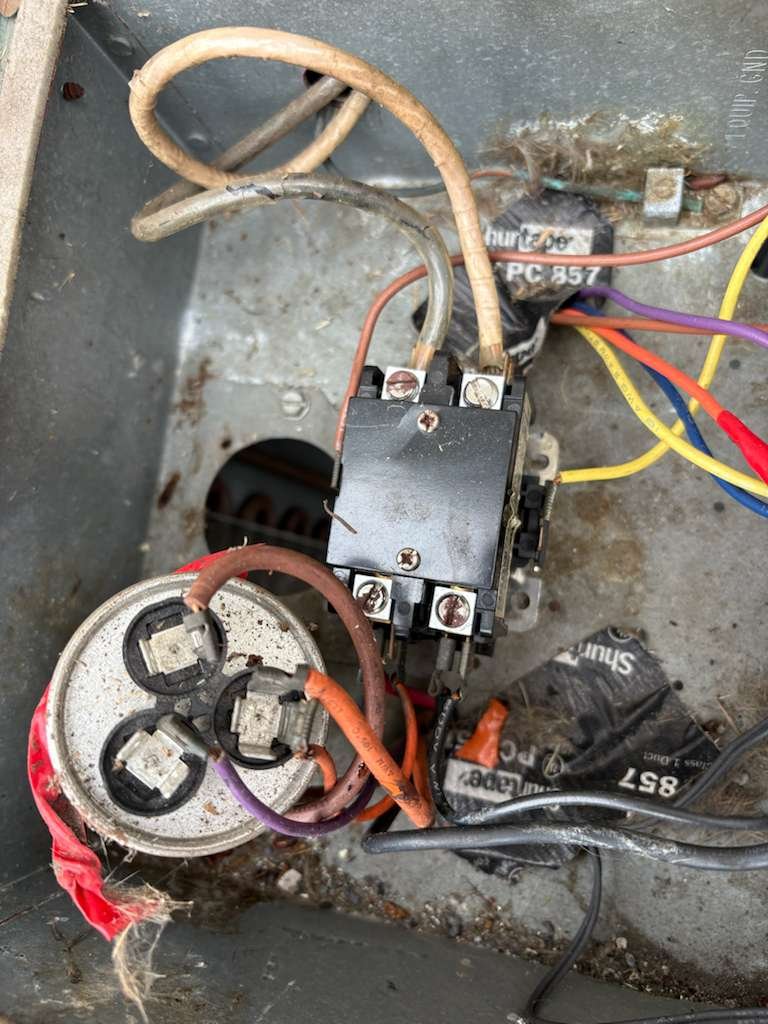
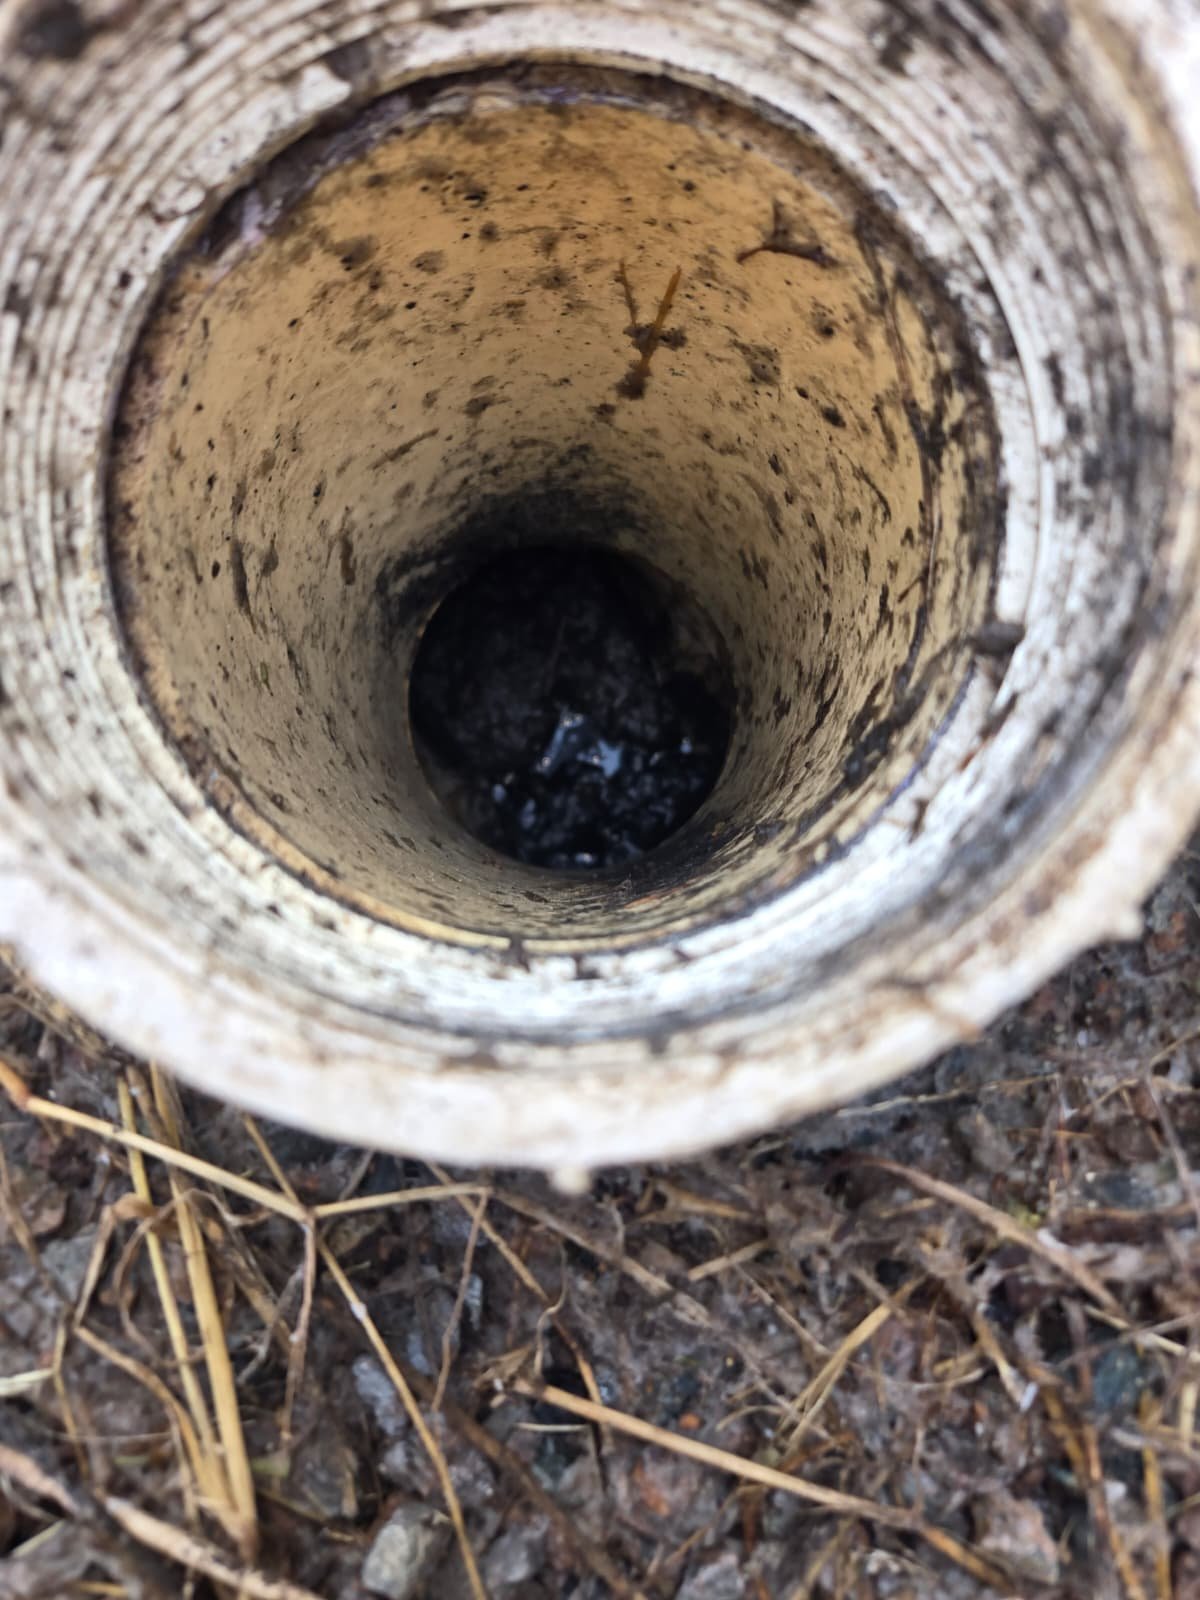
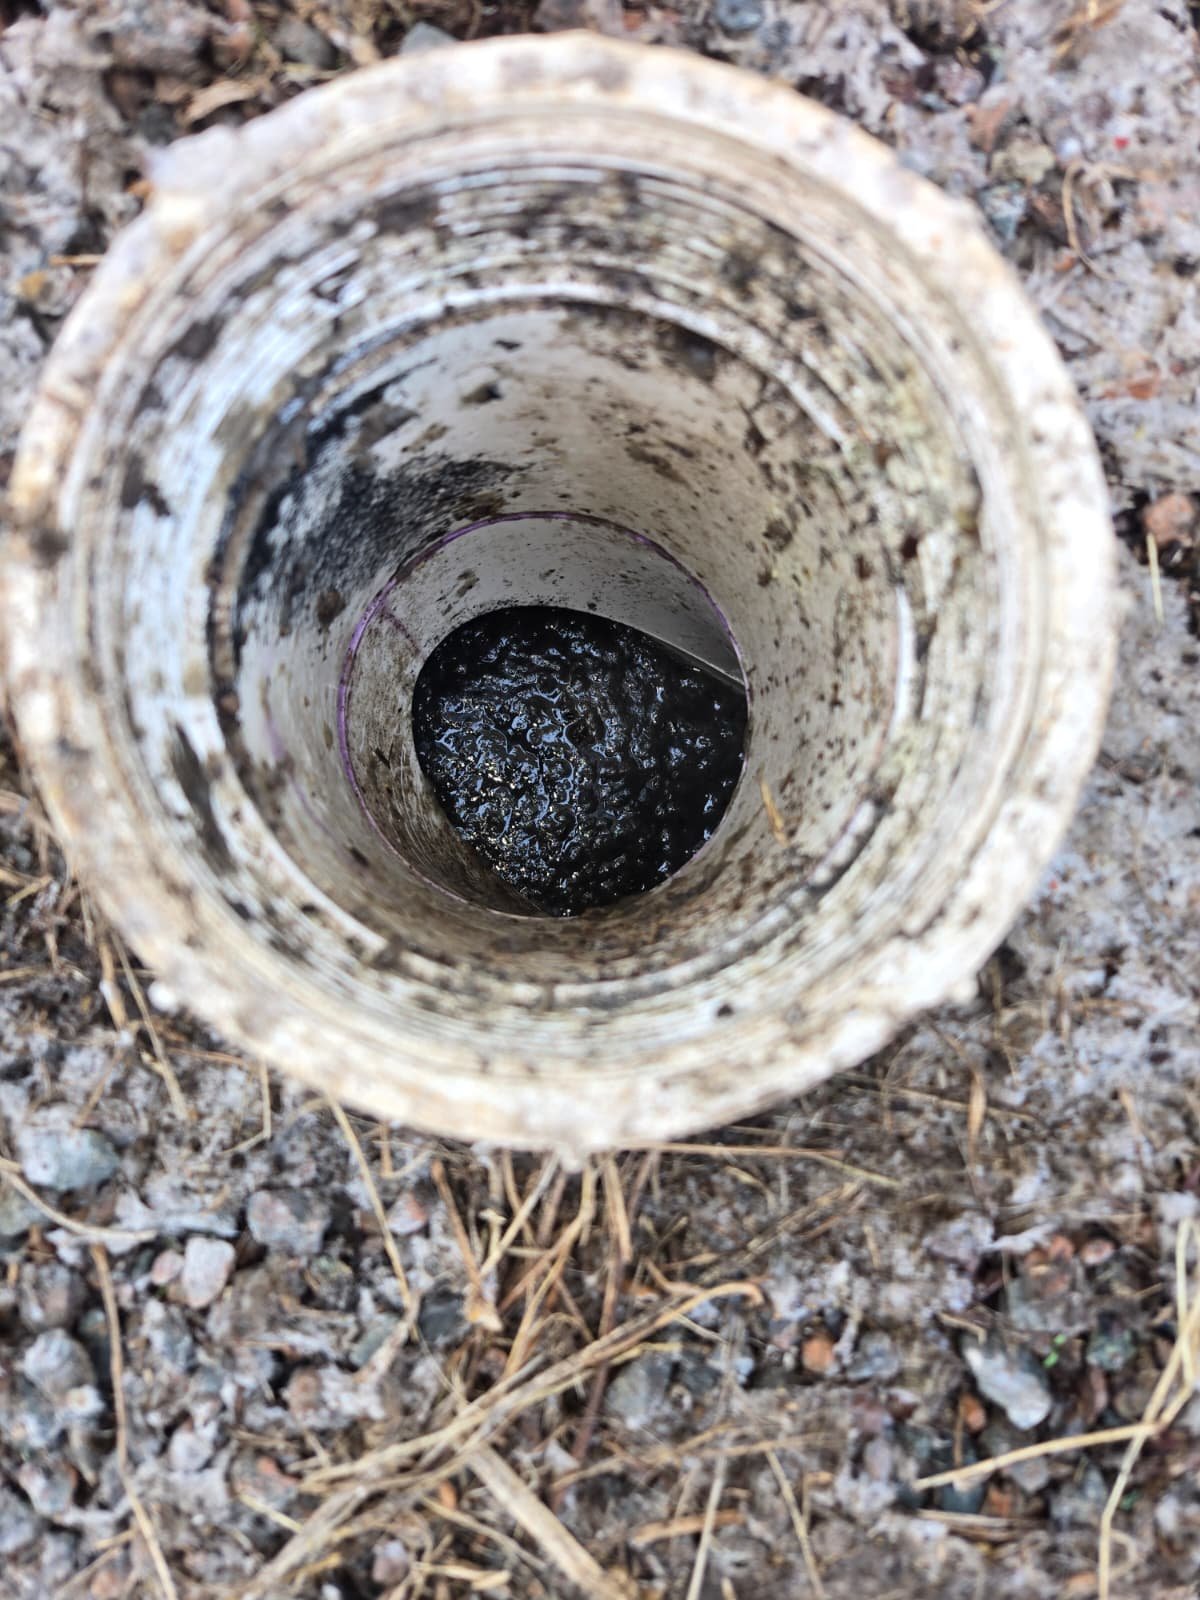
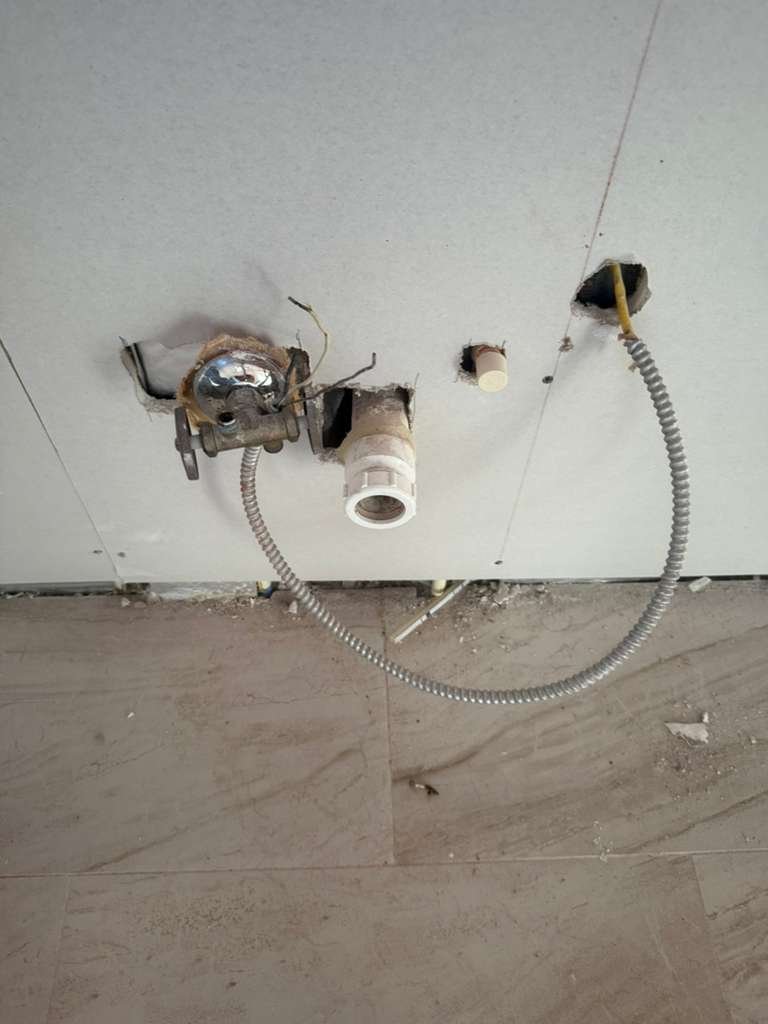
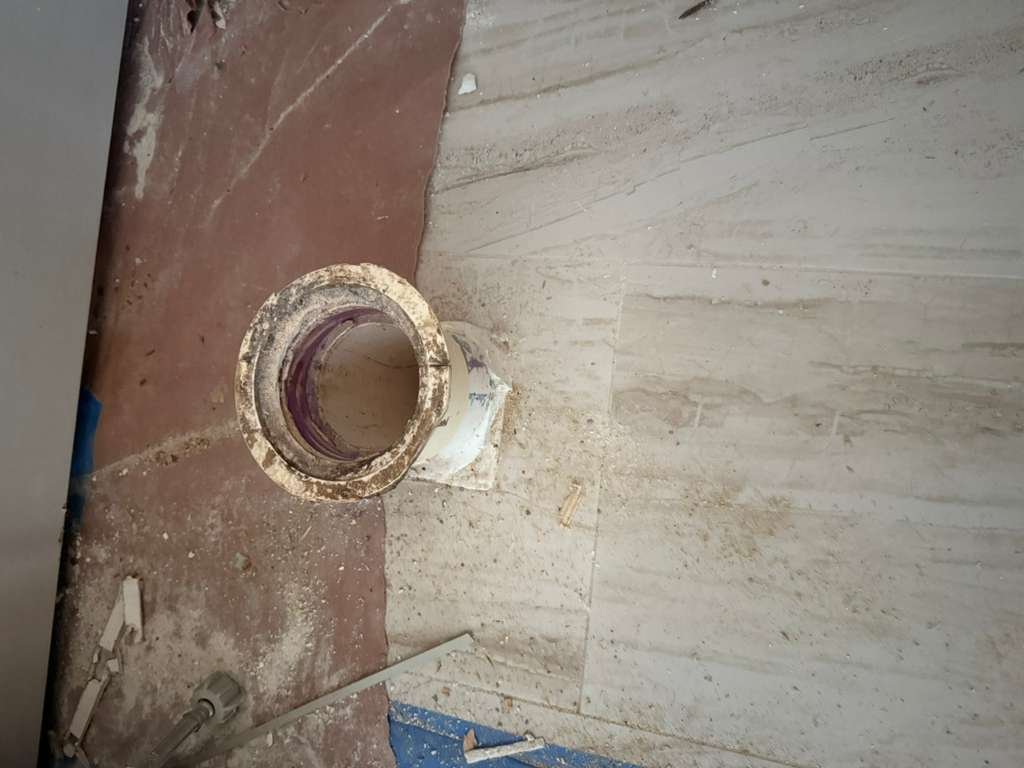
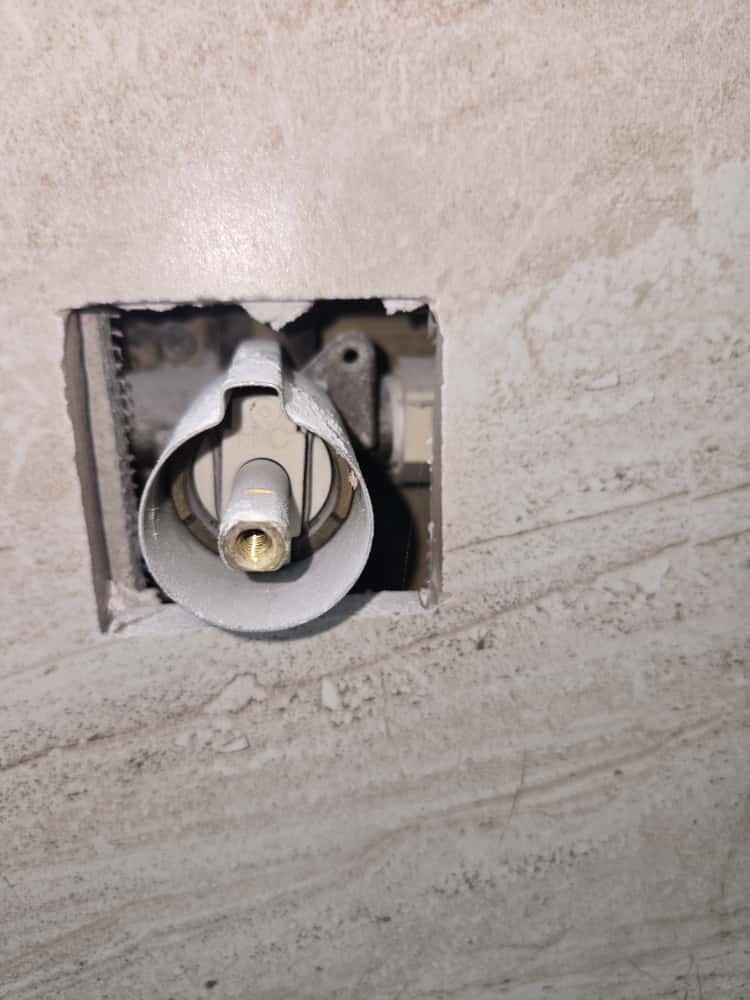
1. Existing Toilets and Flanges
- Toilet condition: Checked for rocking, leaks around the base, and slow flushing that might indicate hidden problems.
- Flange integrity: Inspected the toilet flanges (the ring that connects the toilet to the drain pipe) for cracks, corrosion, or improper height.
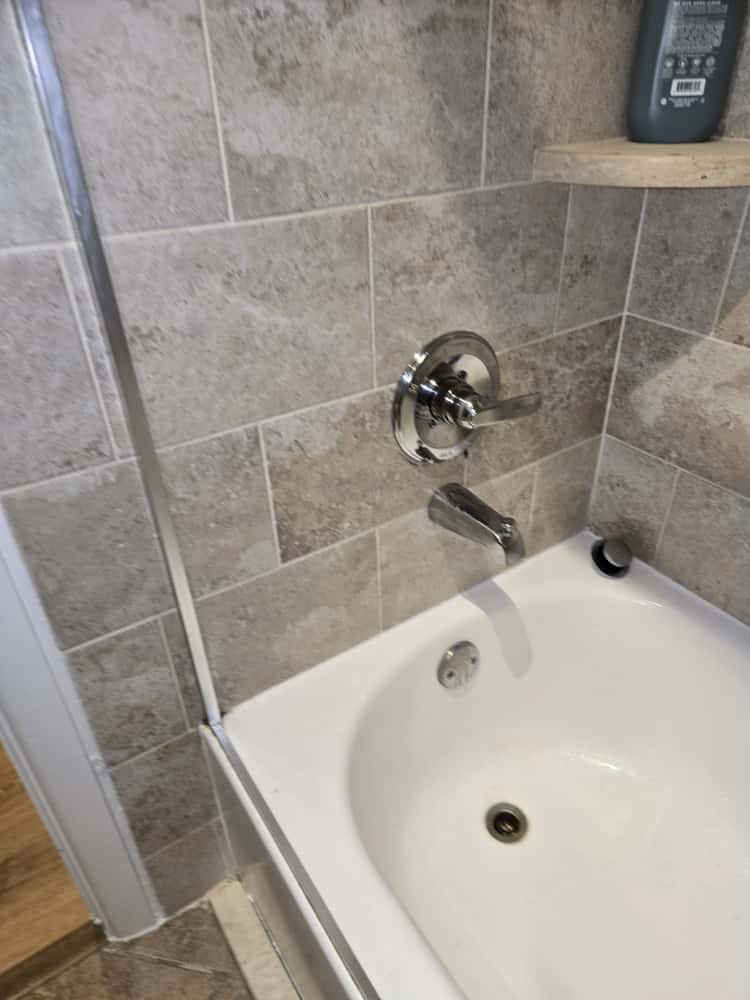
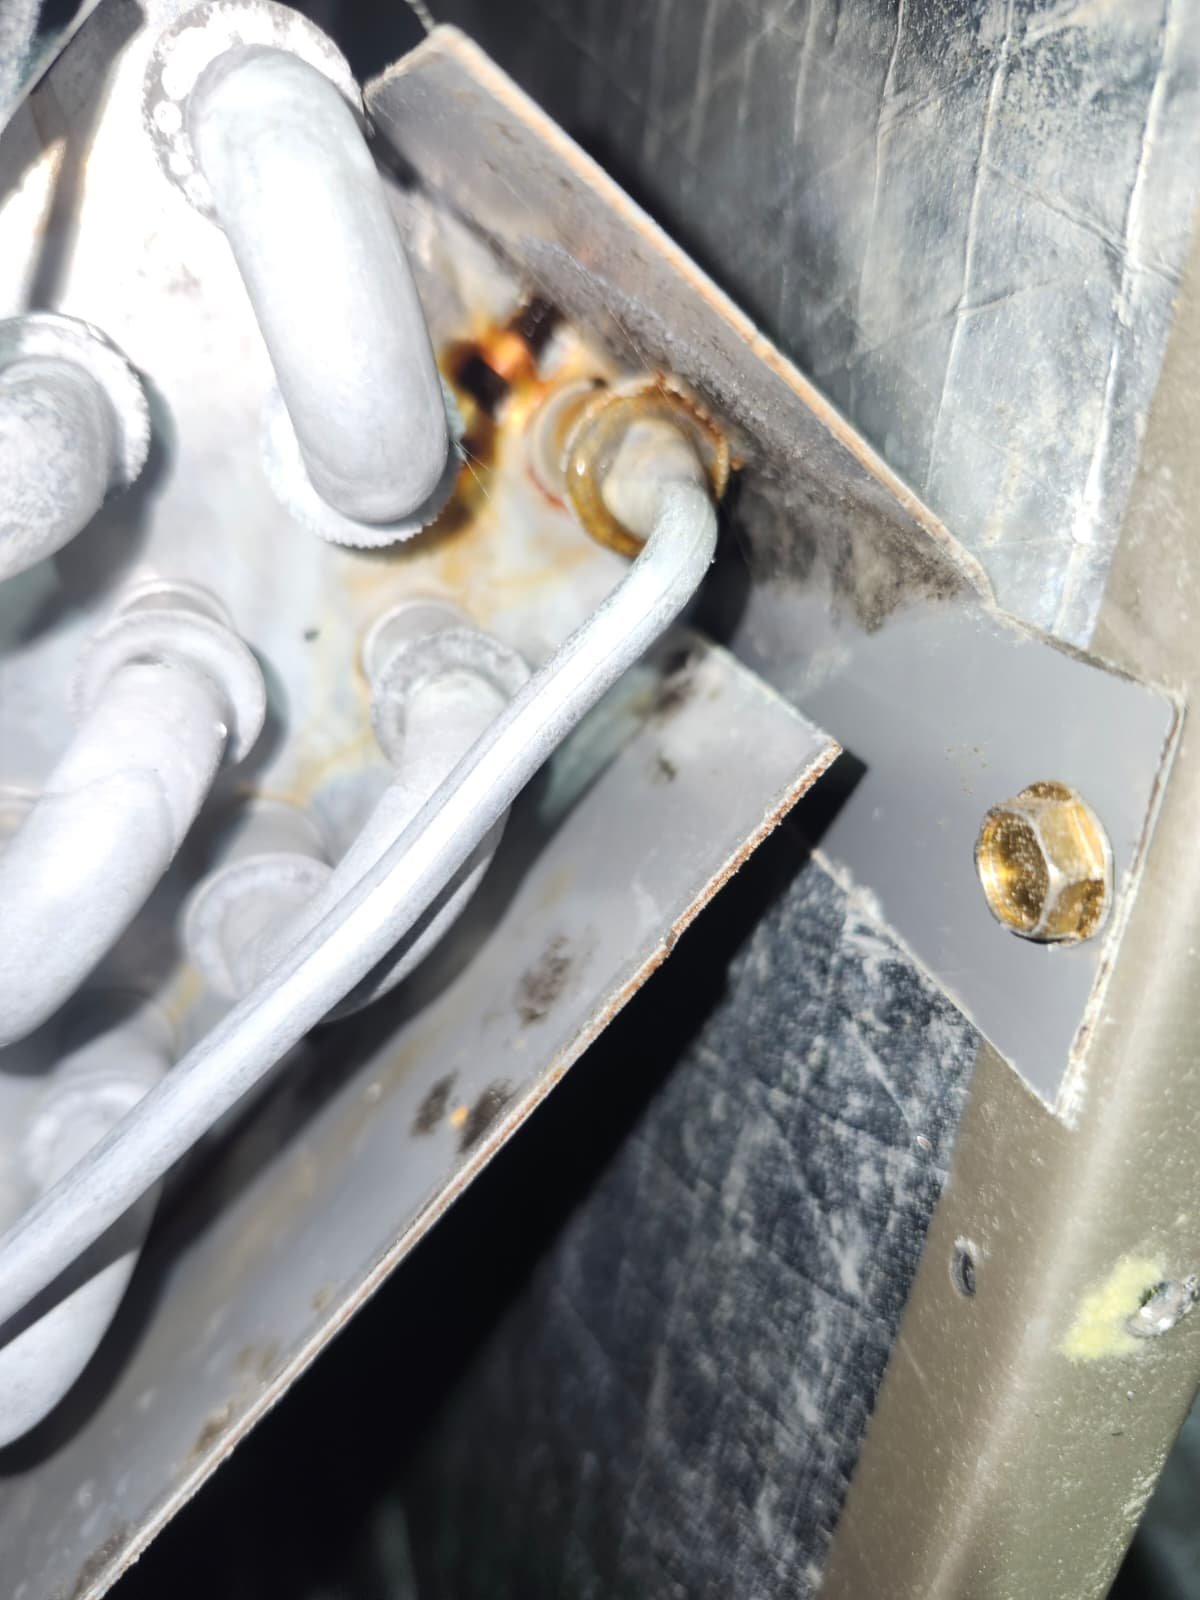
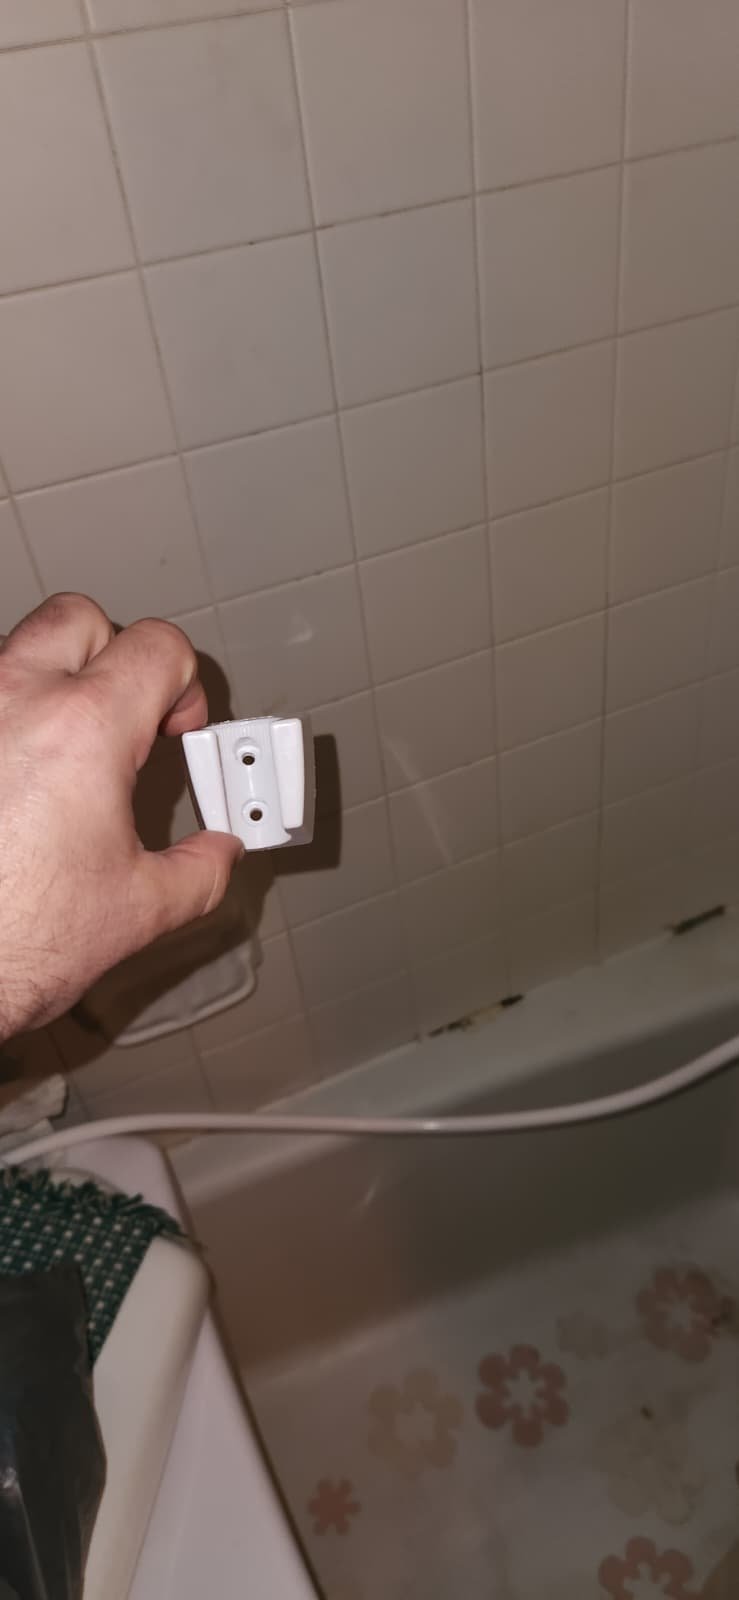
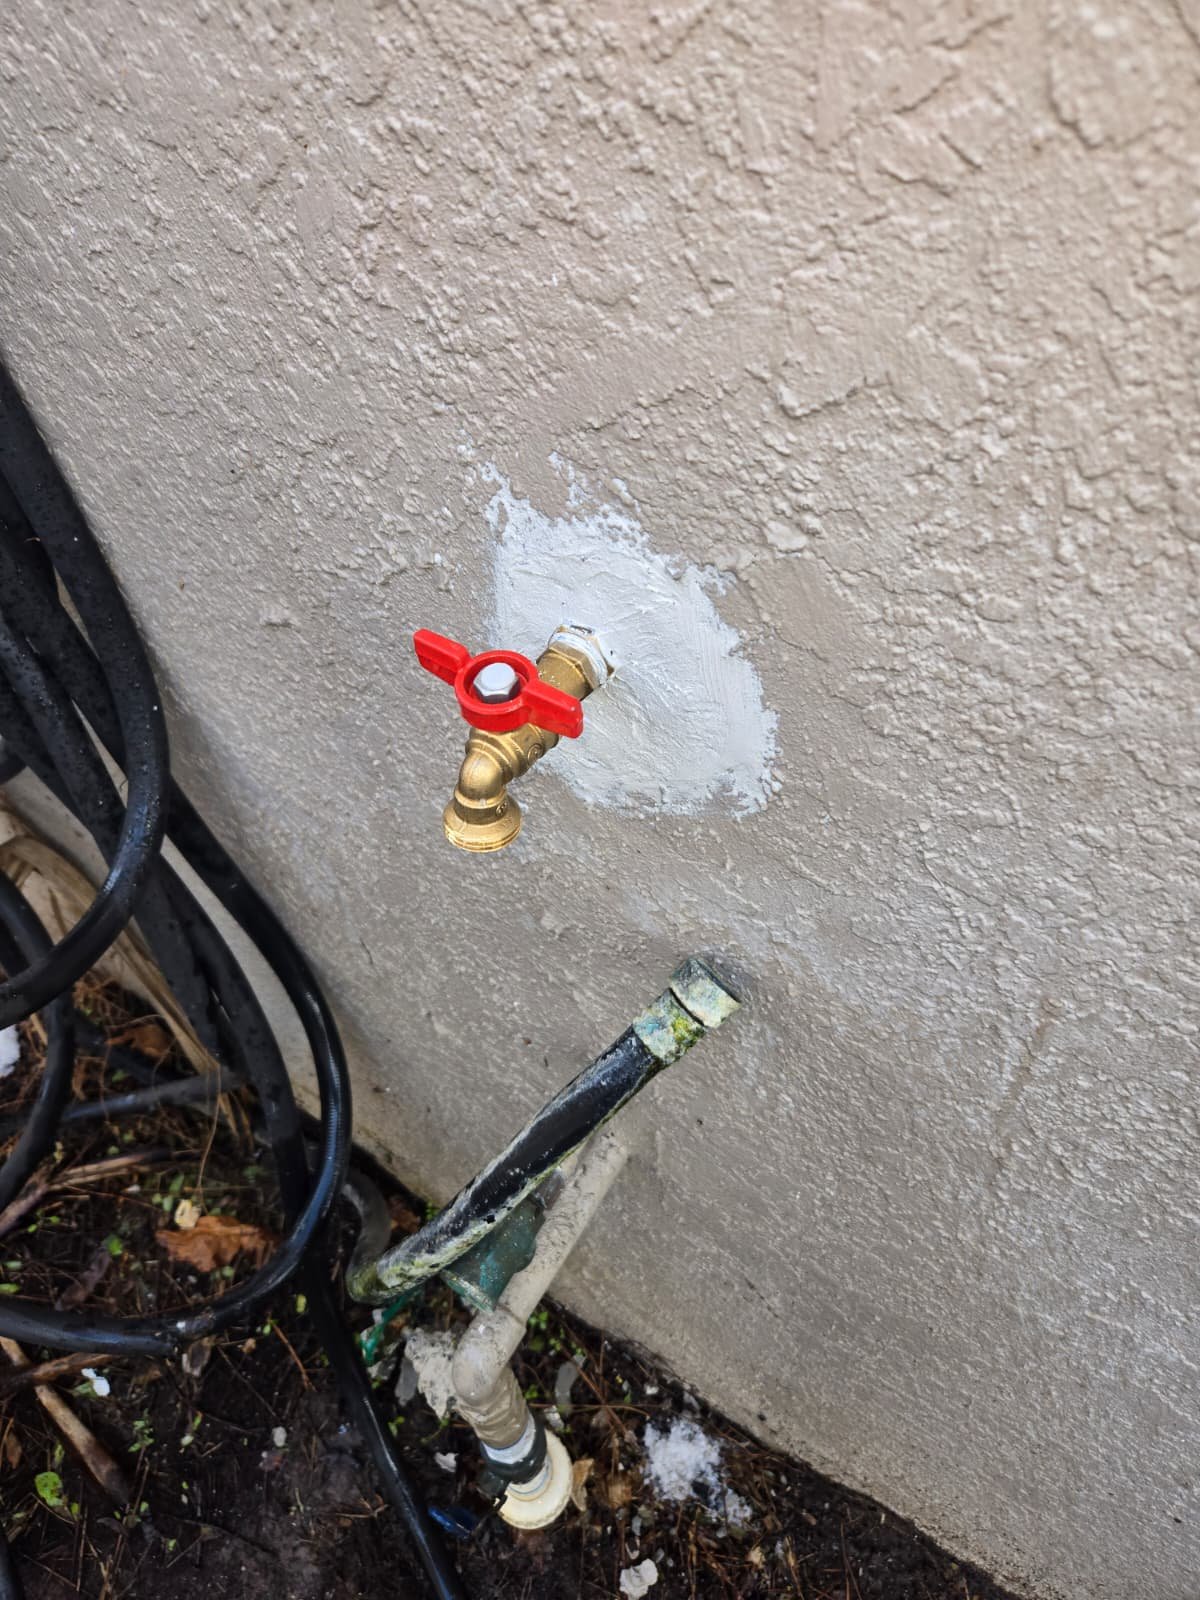
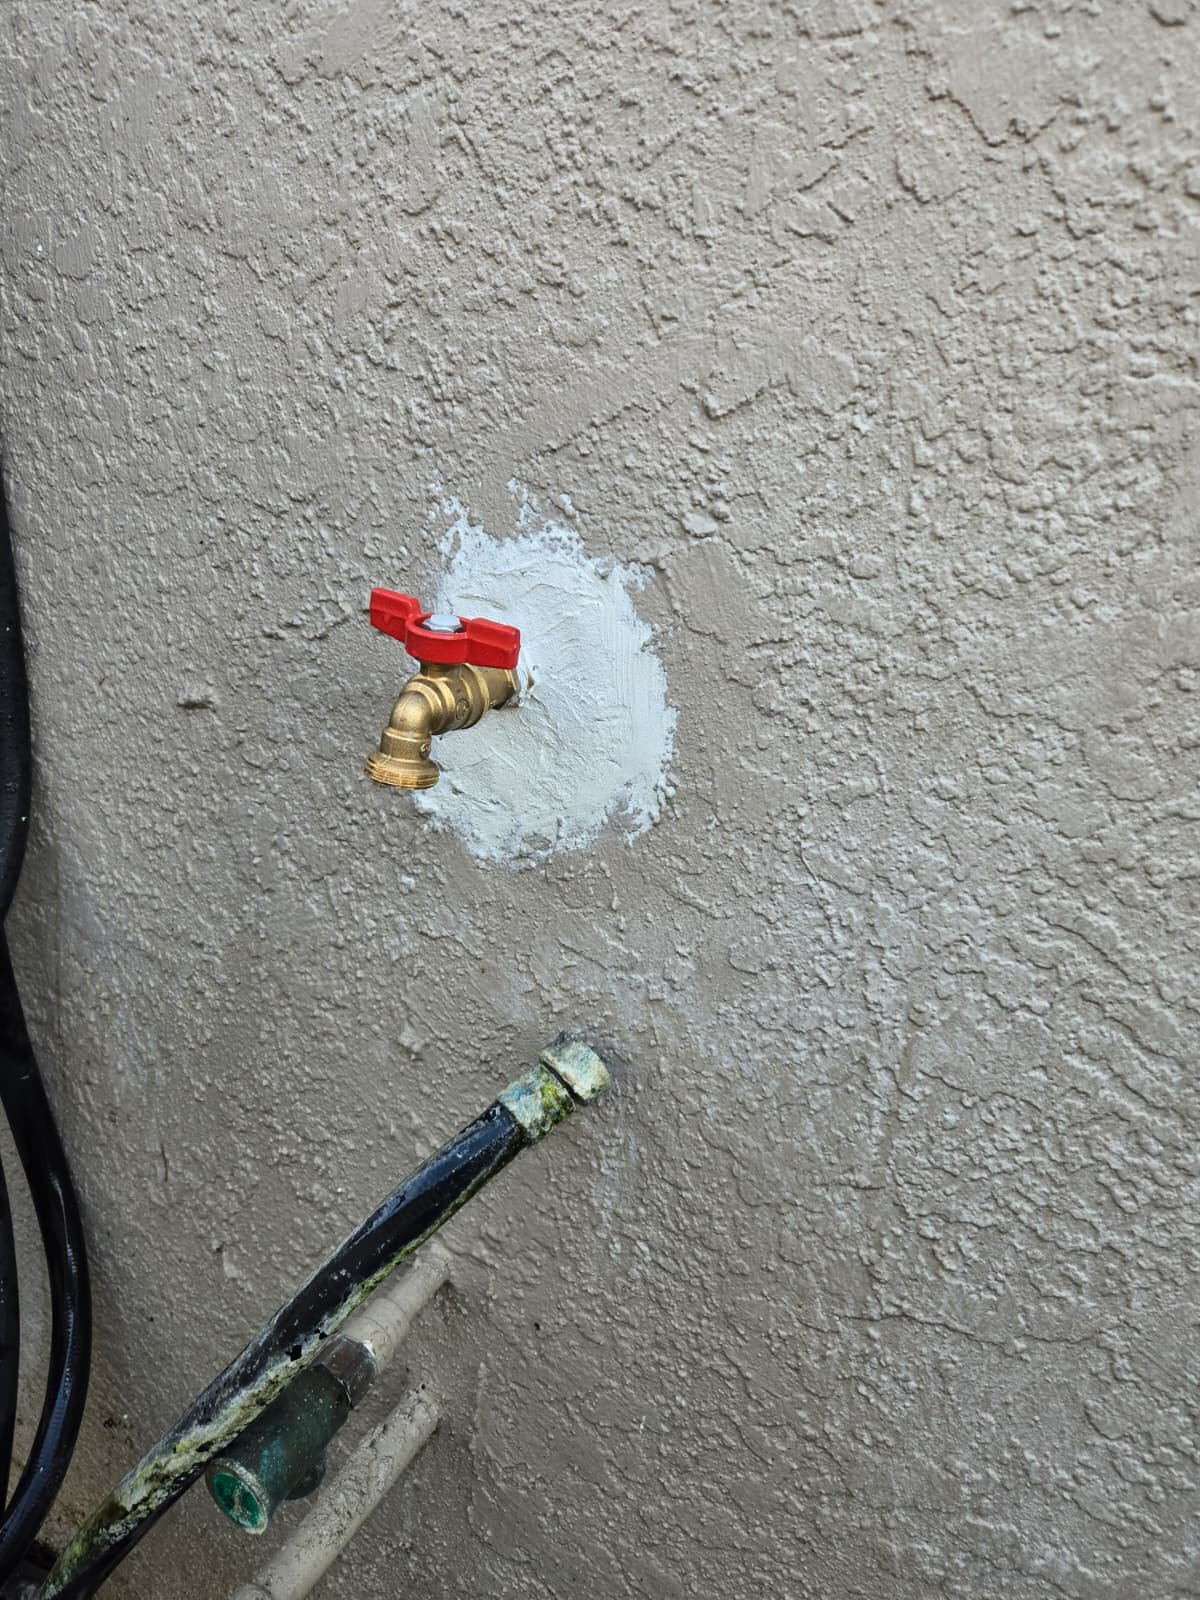
- Angle valves and water supply: Verified that shutoff valves could be turned off and on reliably, and checked for signs of corrosion or slow seepage.
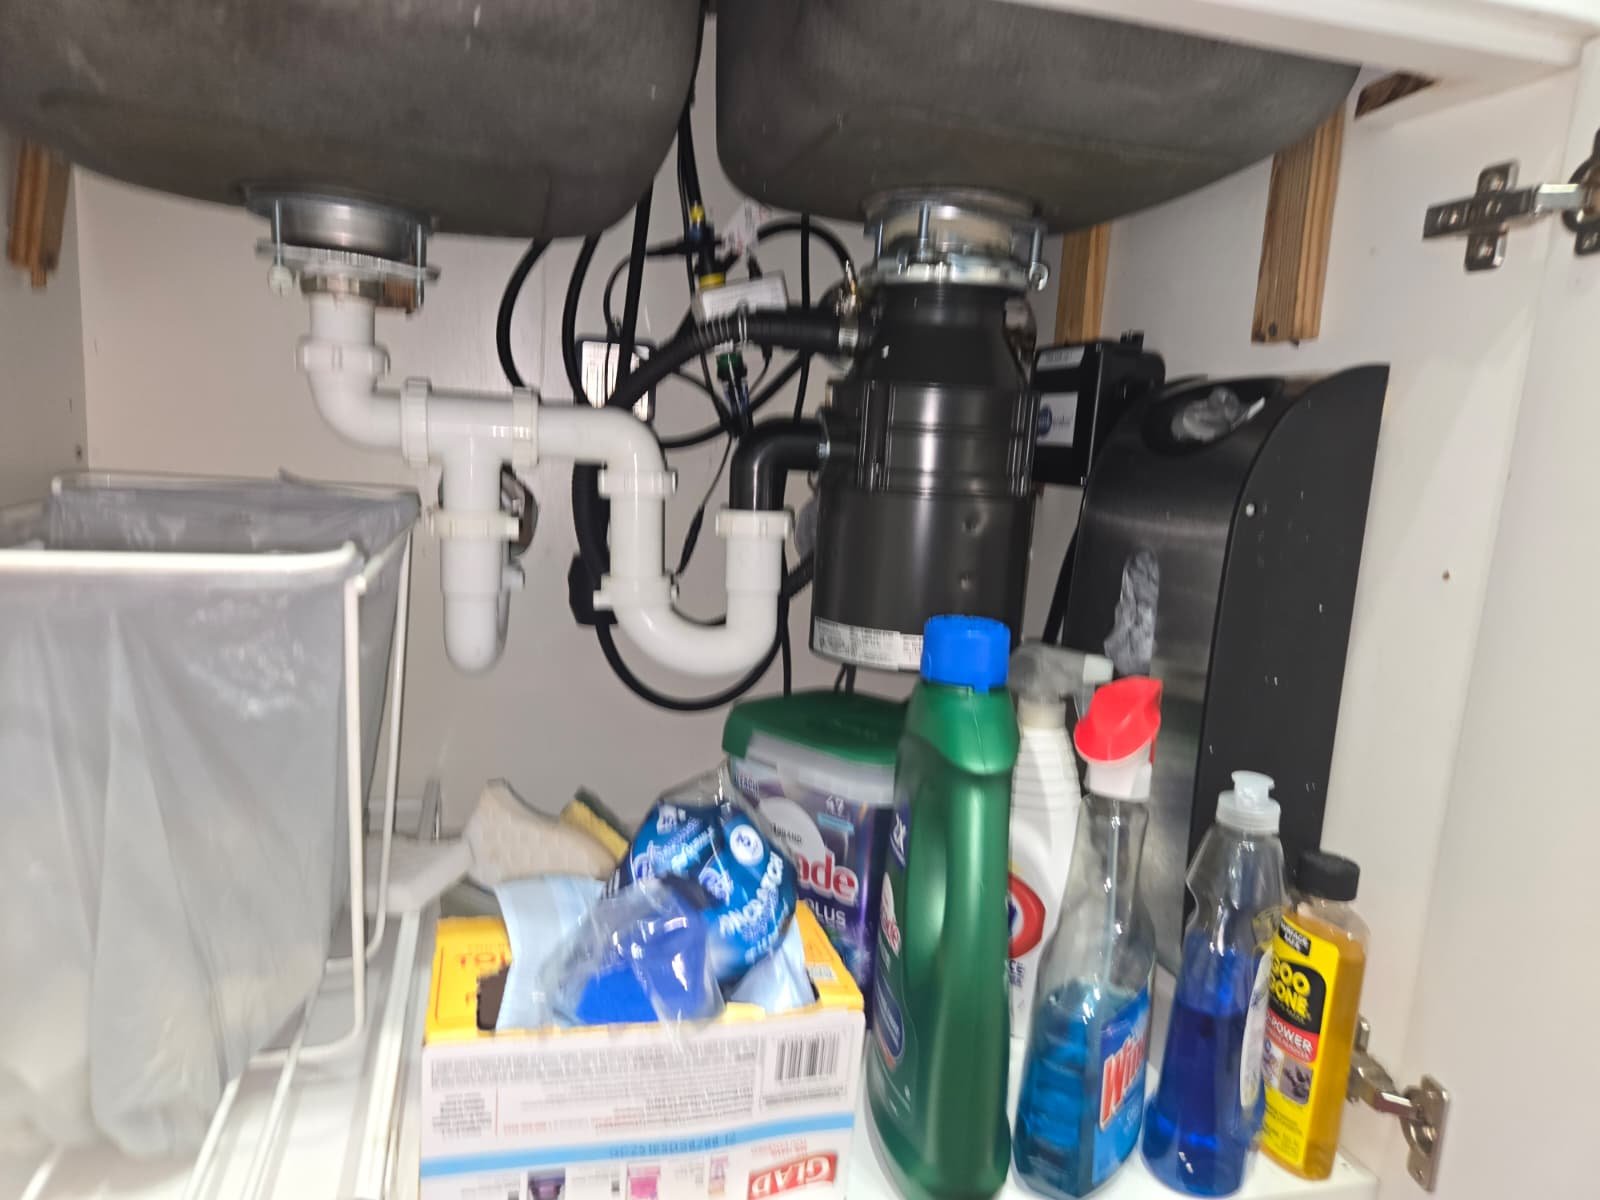
2. Bathroom Vanity Plumbing
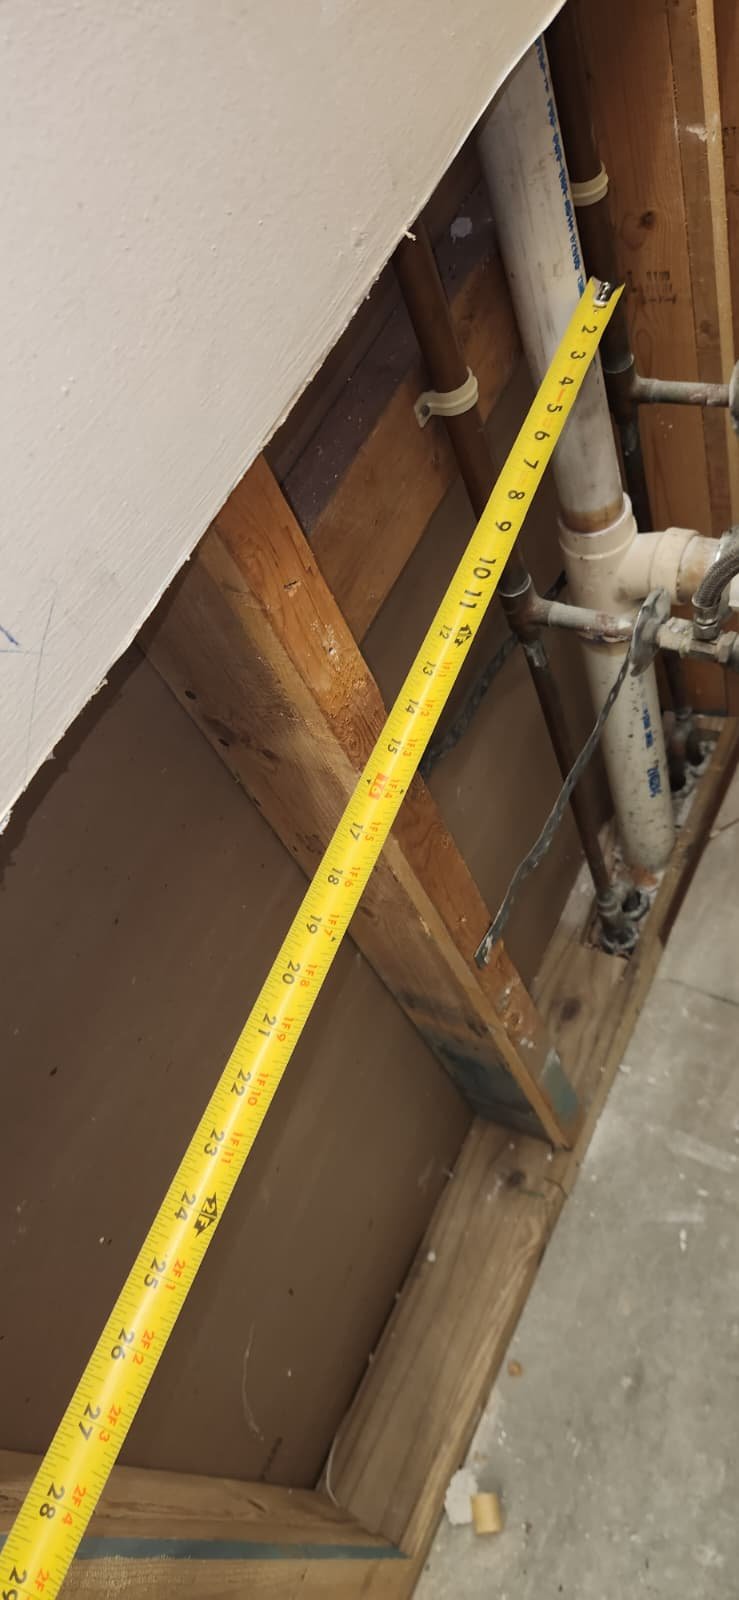
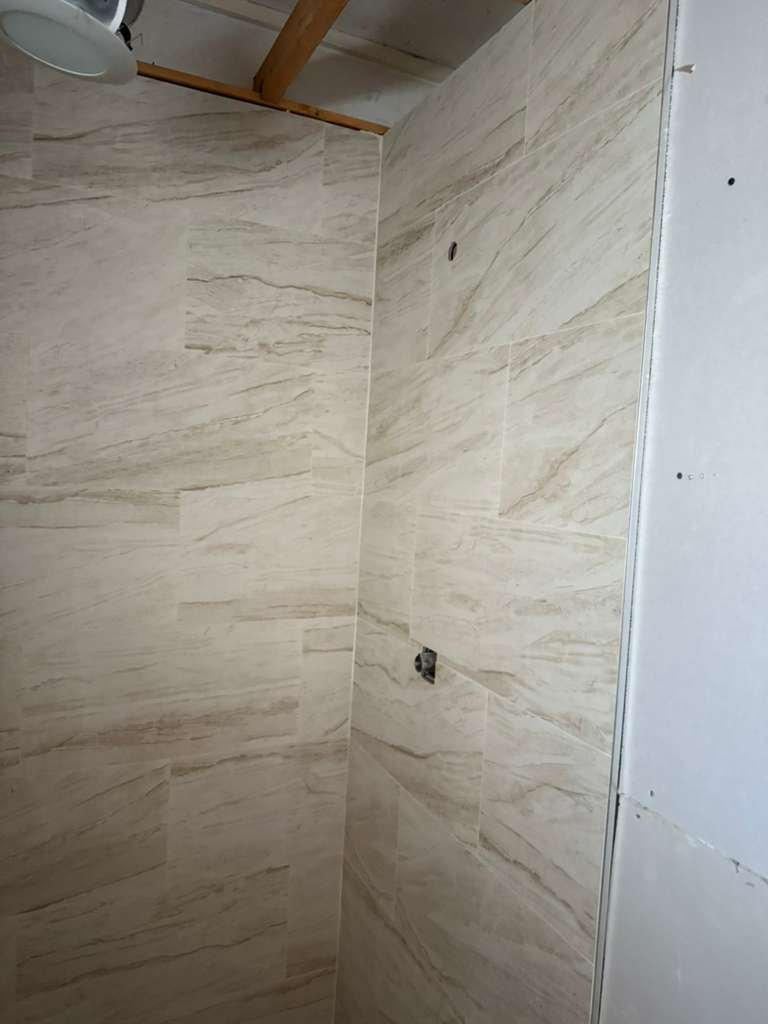
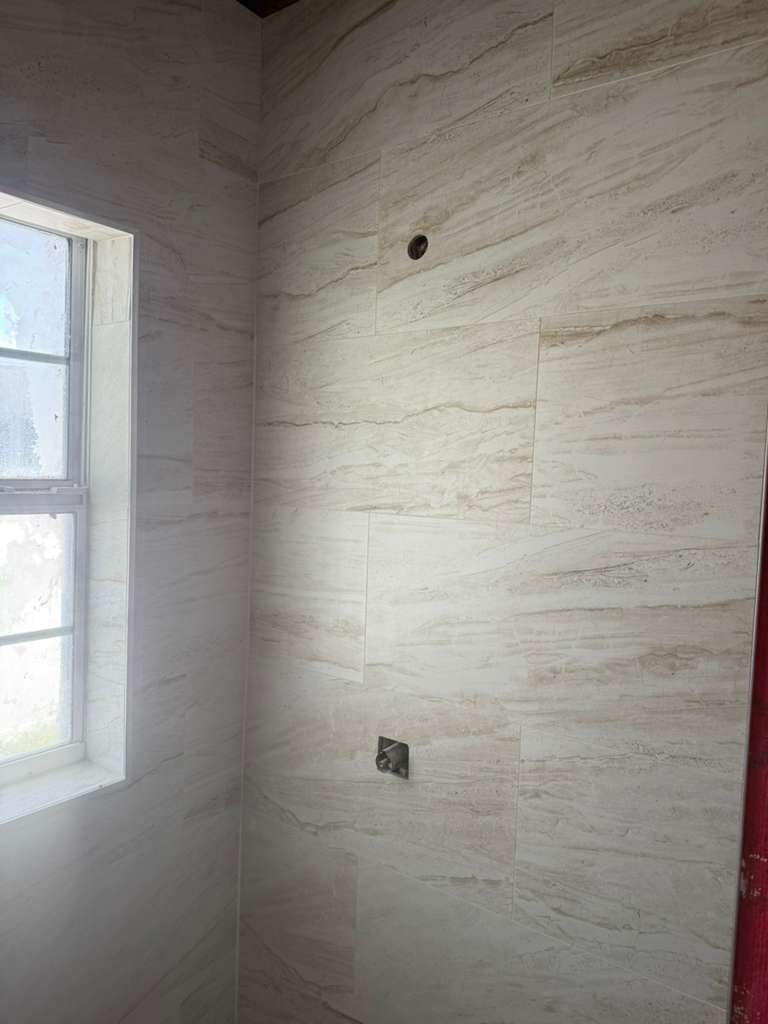
- Drain height: Confirmed that the existing drain line for the bathroom sinks was set too high on the wall. For a standard vanity height, this would interfere with the P-trap and cause improper slope or even standing water in the drain.
- Water line height: Verified that hot and cold water supply lines were also mounted too high, which could cause clearance issues inside the new cabinet.
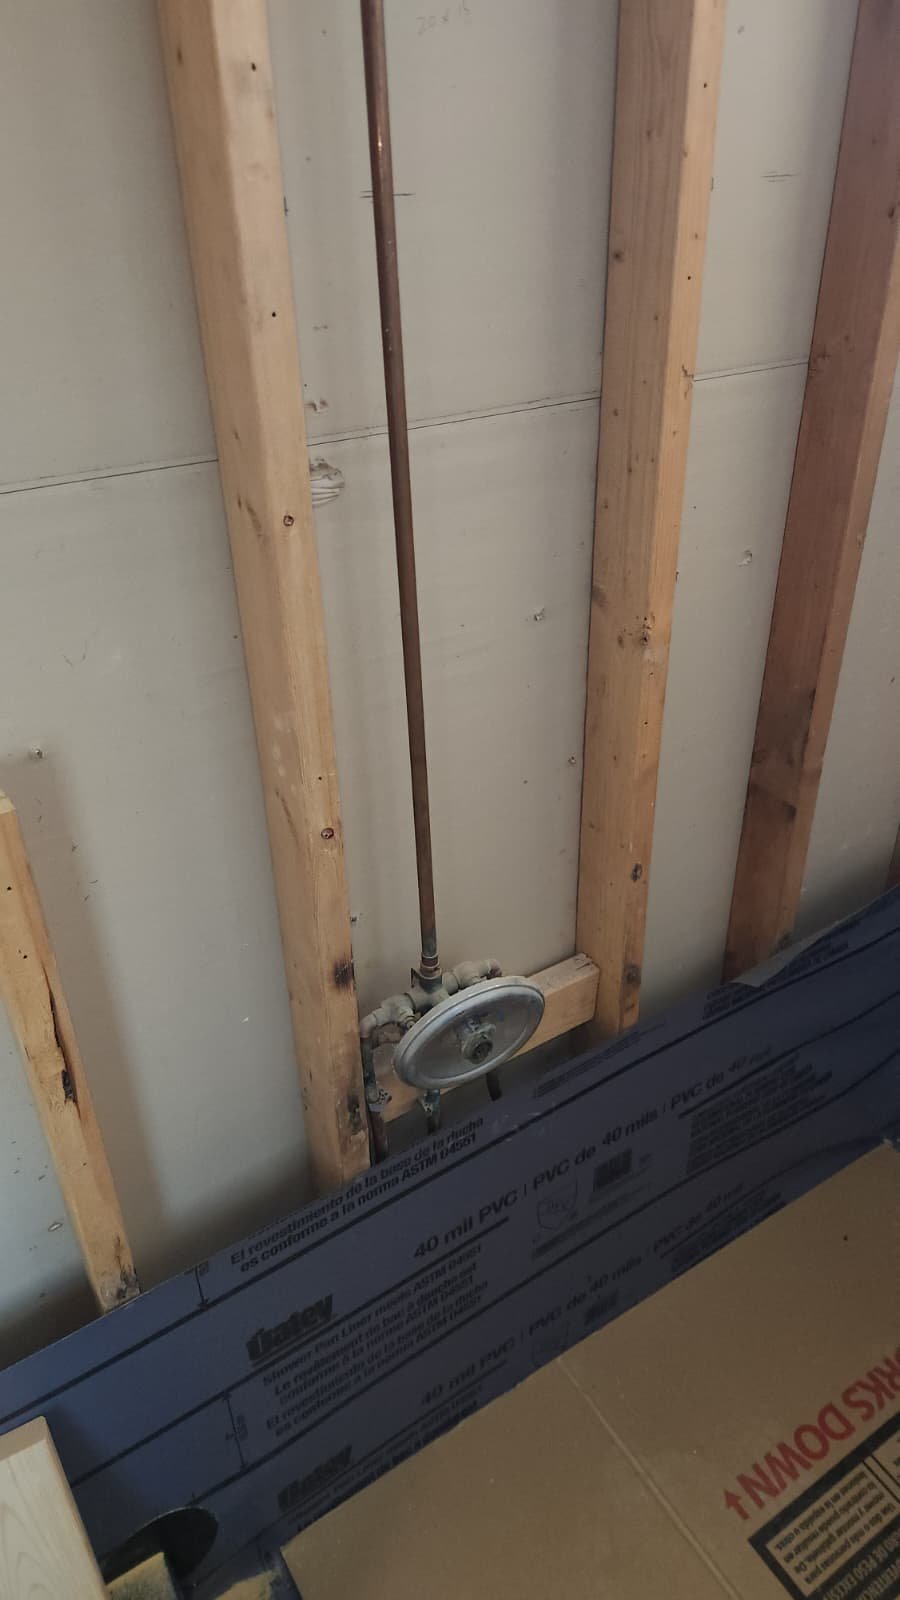
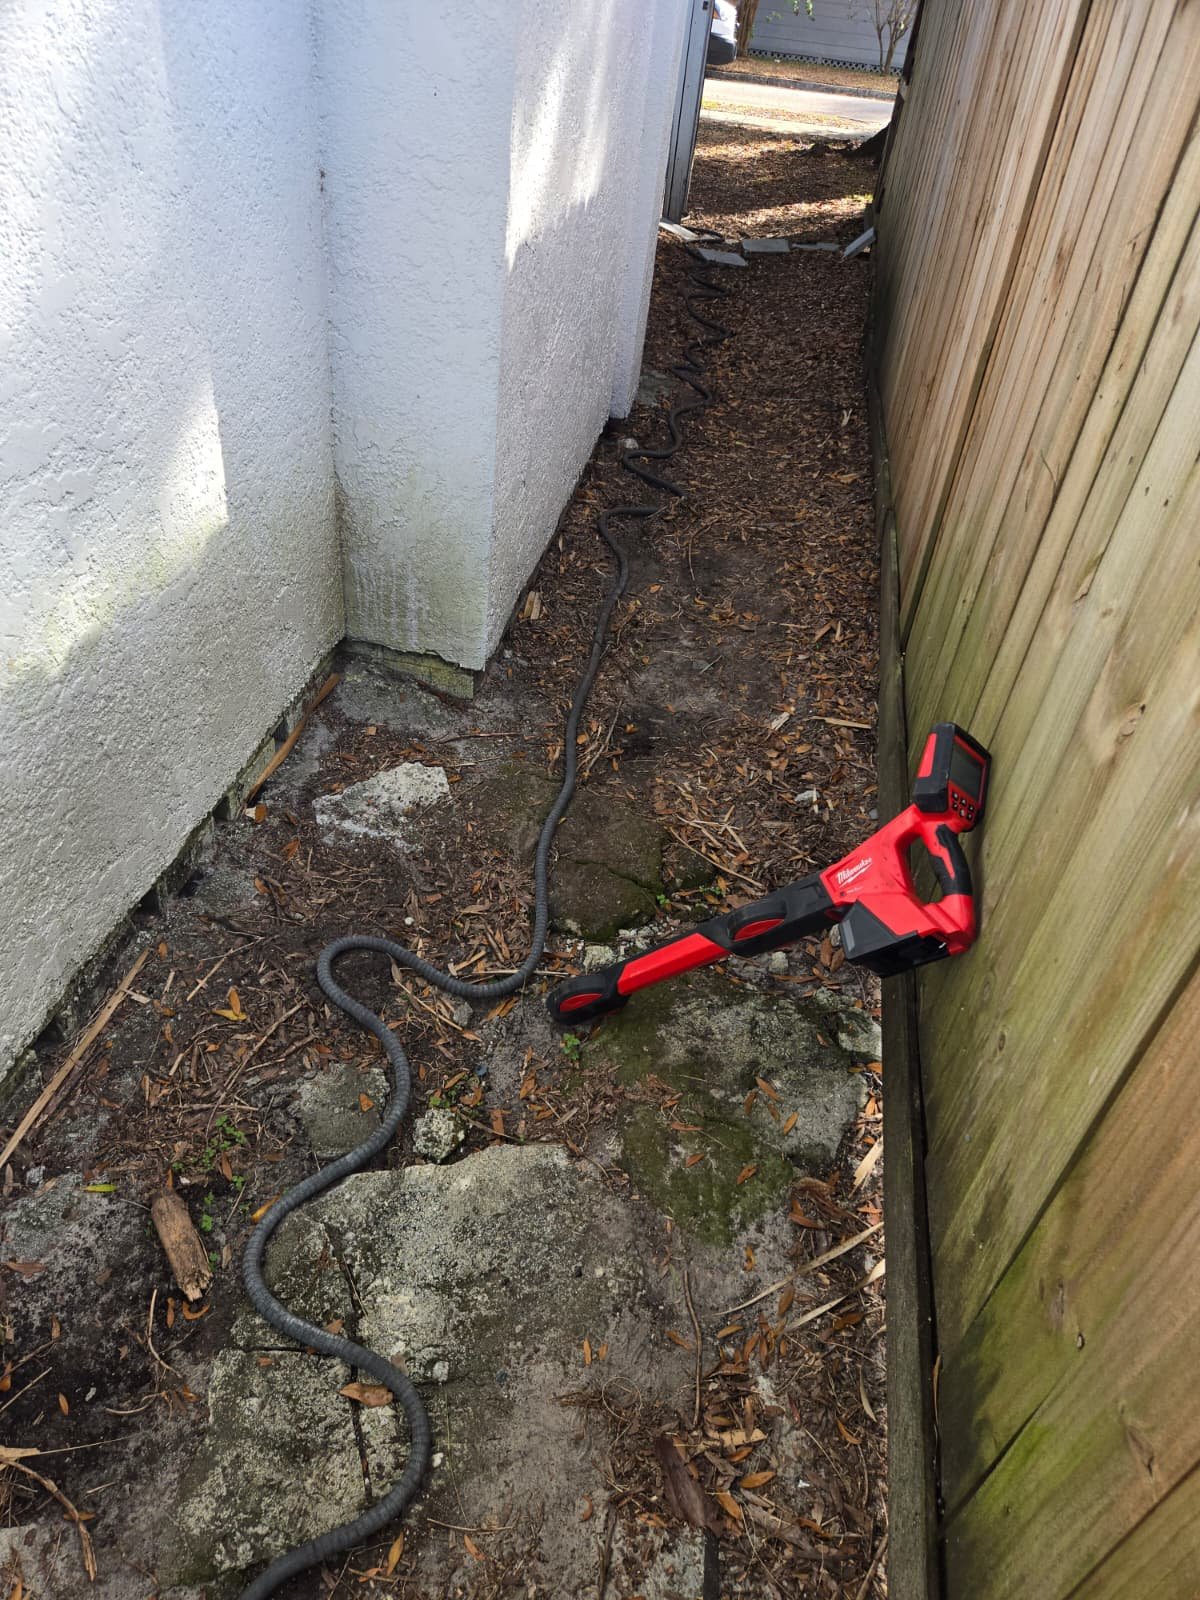
- Wall access: Determined where we would need to open drywall to adjust pipe elevations safely.
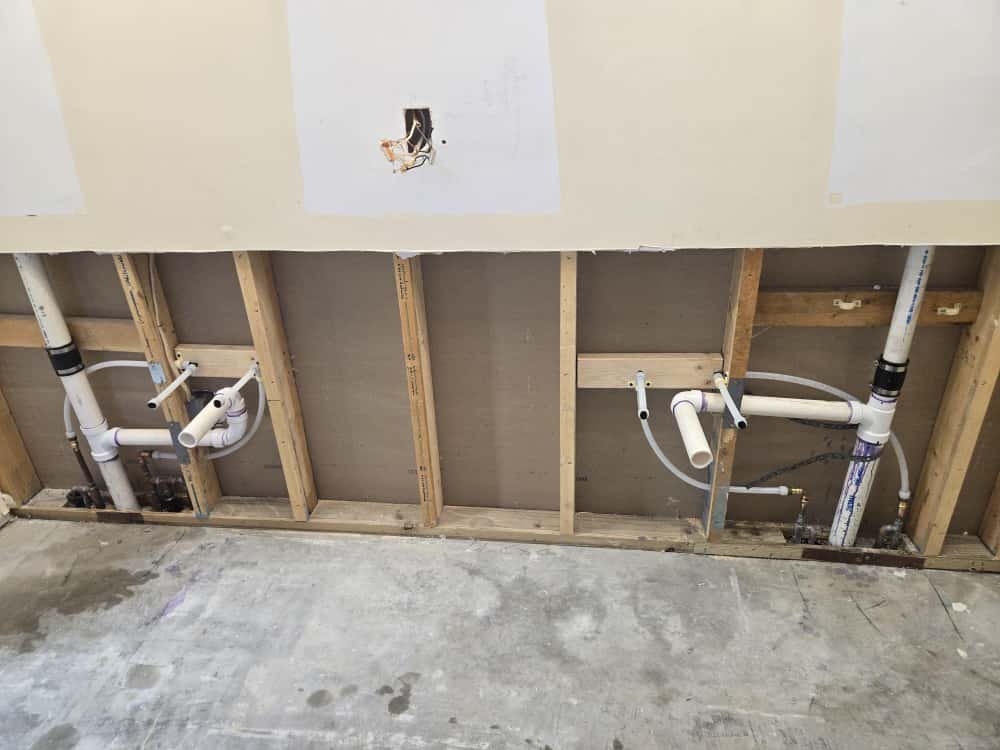
3. Faucet, P-Trap, and Angle Valve Conditions
- Faucets: Checked existing bathroom faucets for leaks, corrosion, and overall functionality. Since the customer was supplying new faucets, we ensured compatibility with the sinks and existing connections.
- P-traps: Reviewed existing sink P-traps for rust, mineral buildup, and improper slope that could contribute to slow drainage or odors.
- Angle valves in the kitchen: Noted that kitchen angle valves and several P-traps and connections in the kitchen area would be addressed later, after new cabinets were installed.
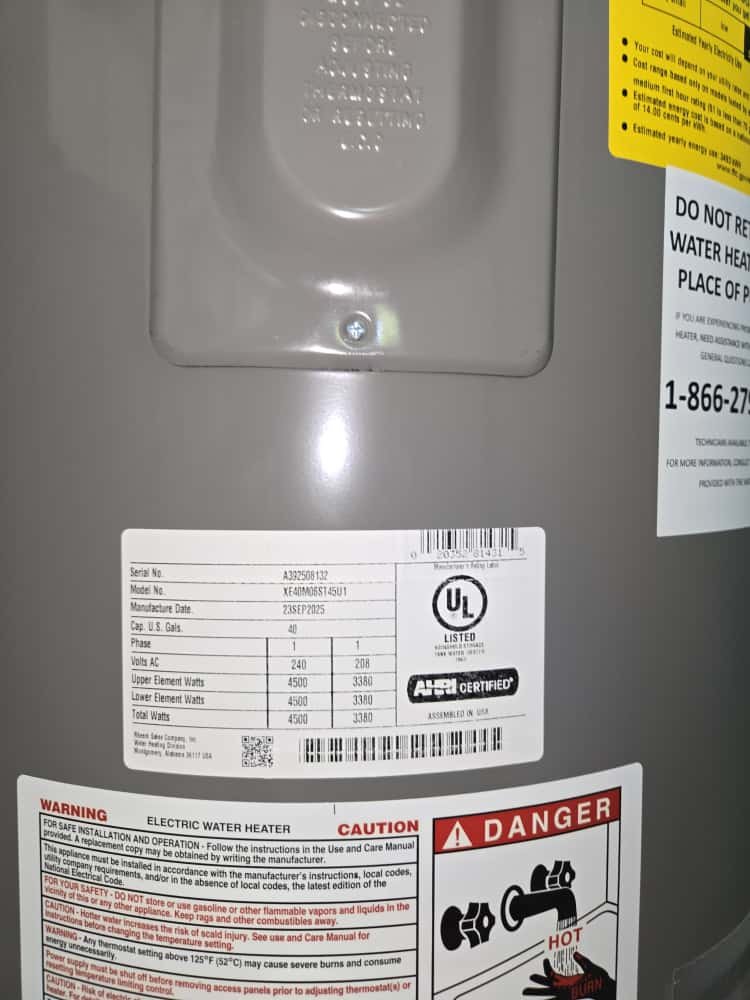
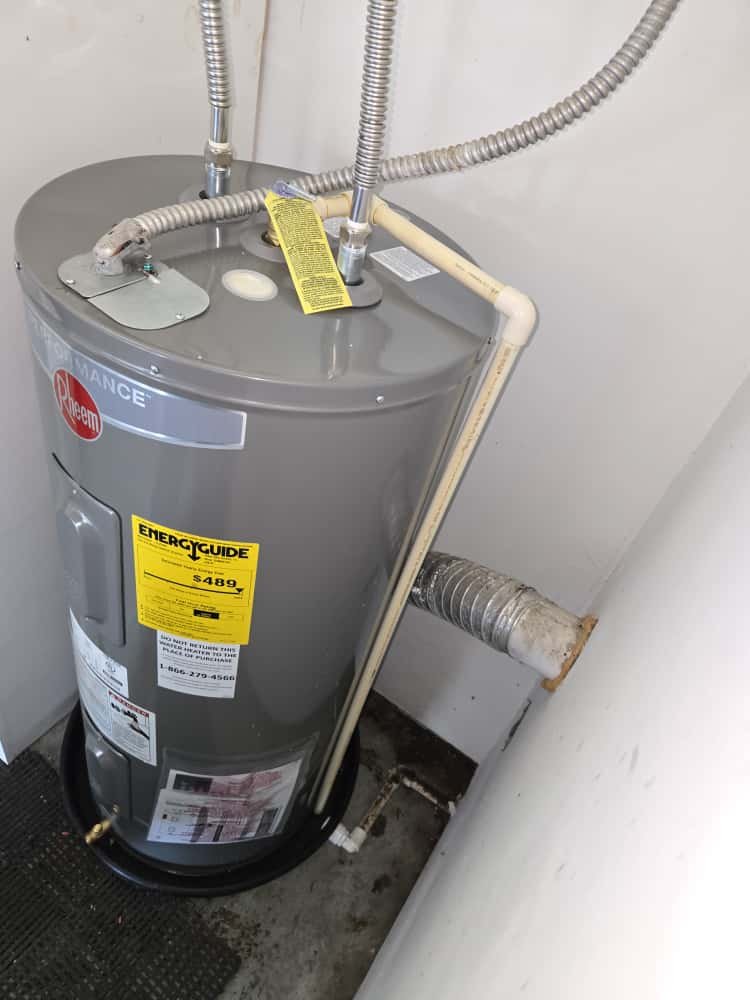
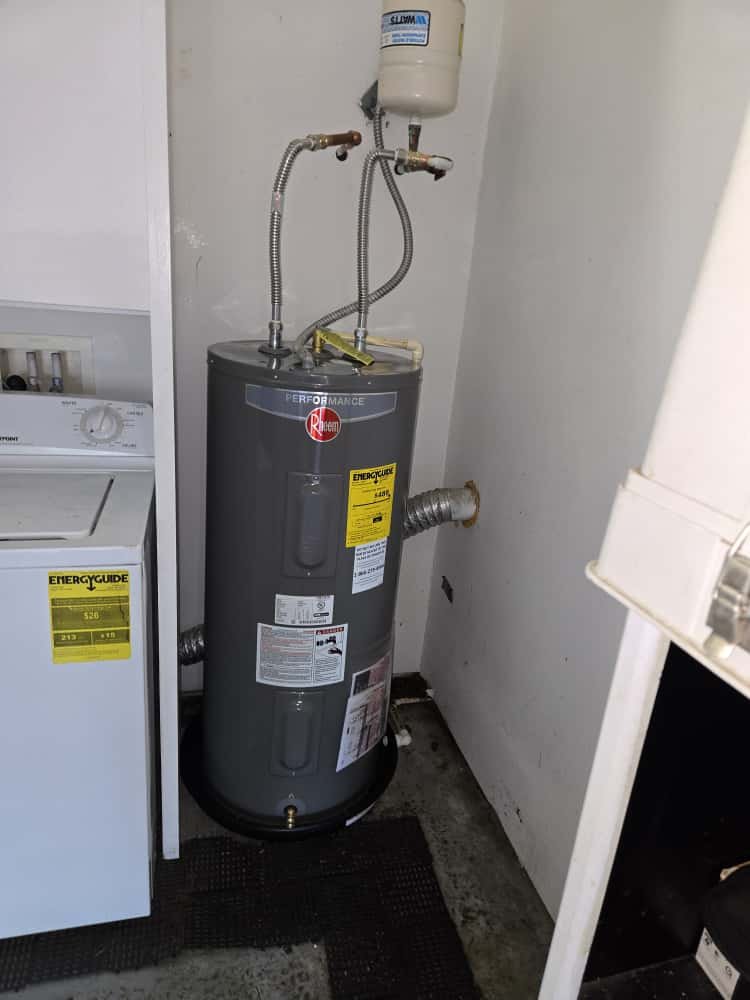
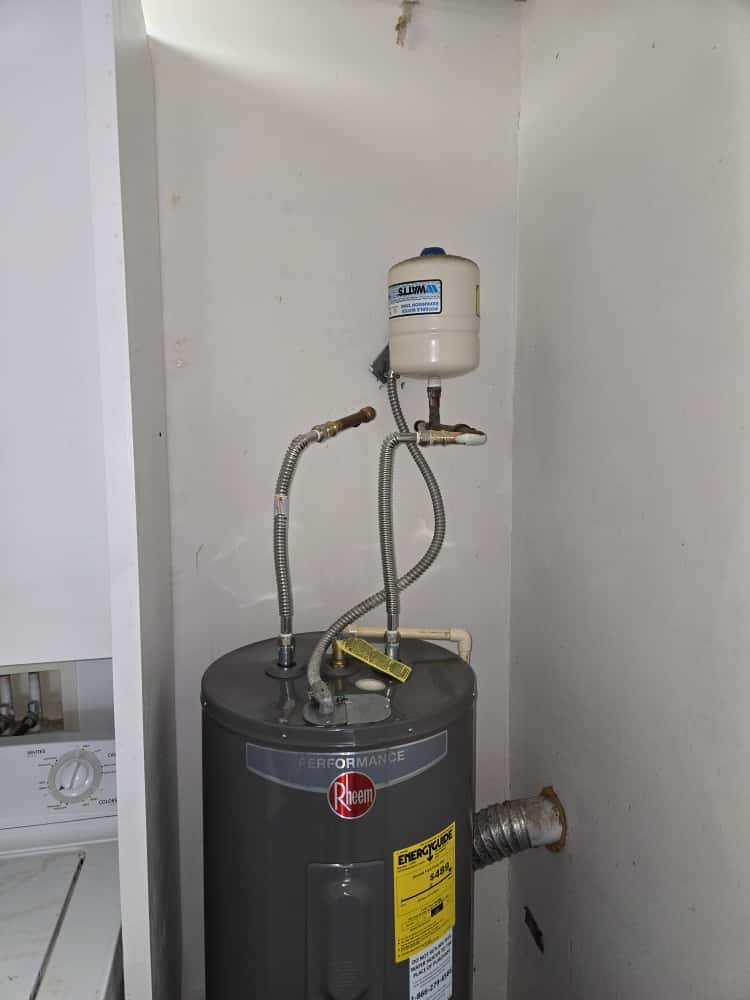
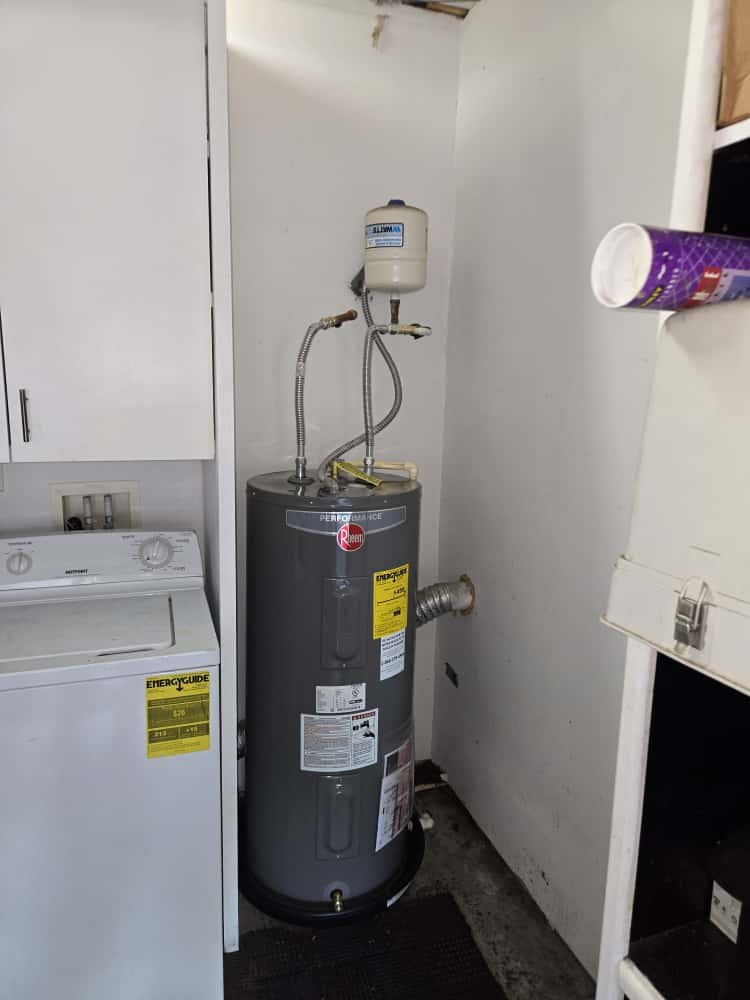
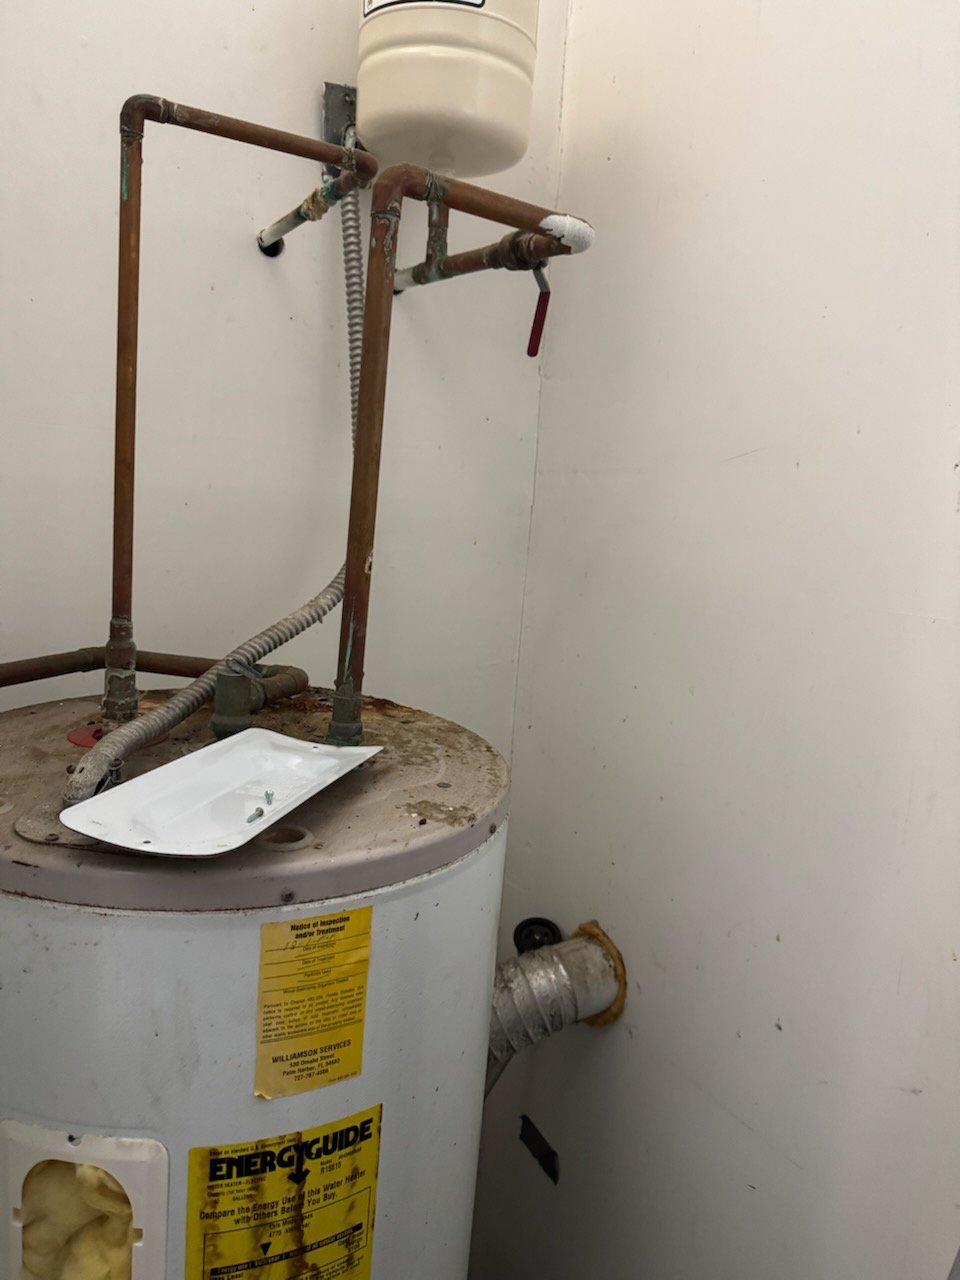
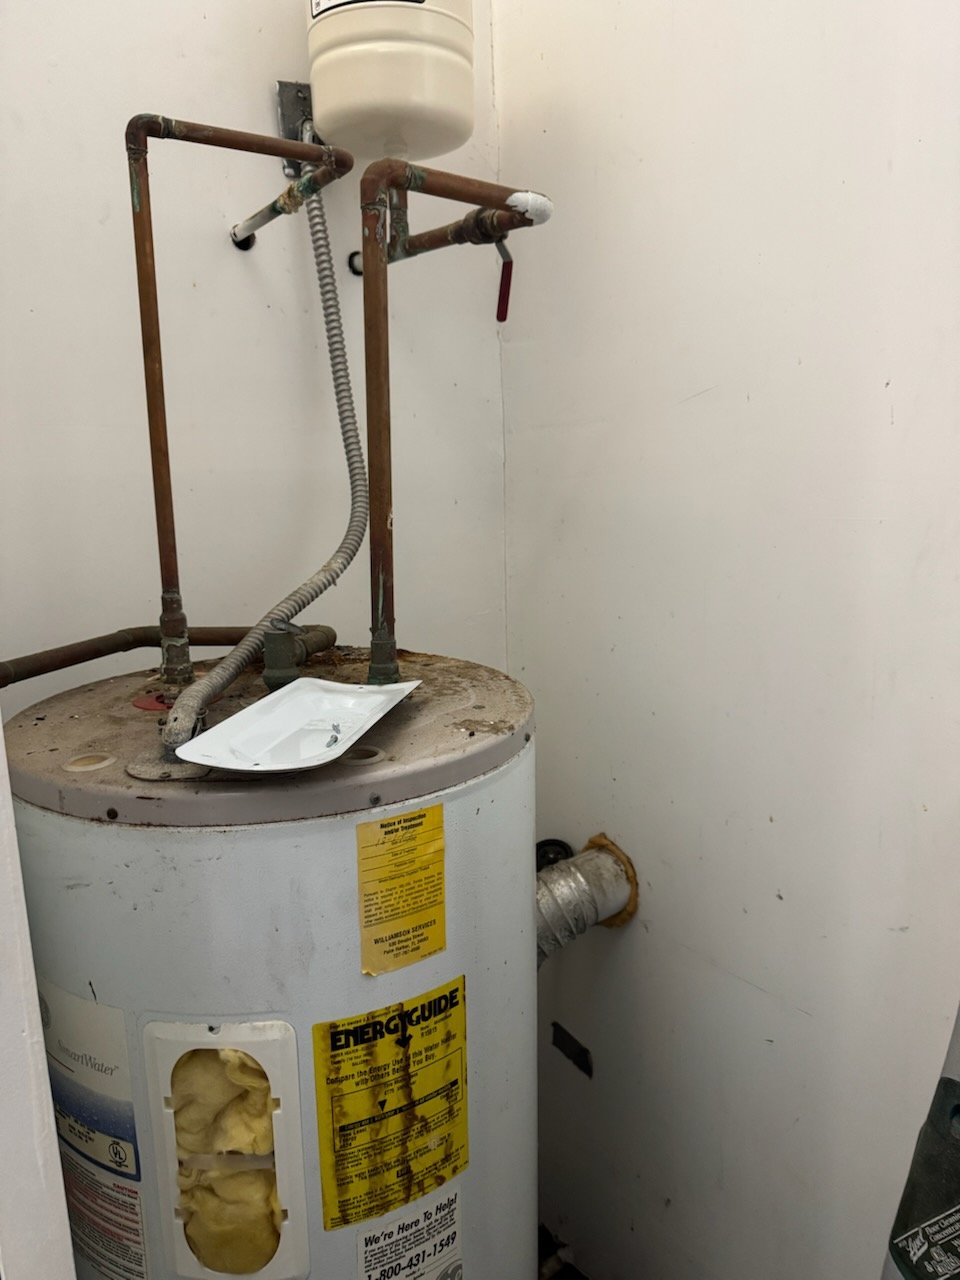
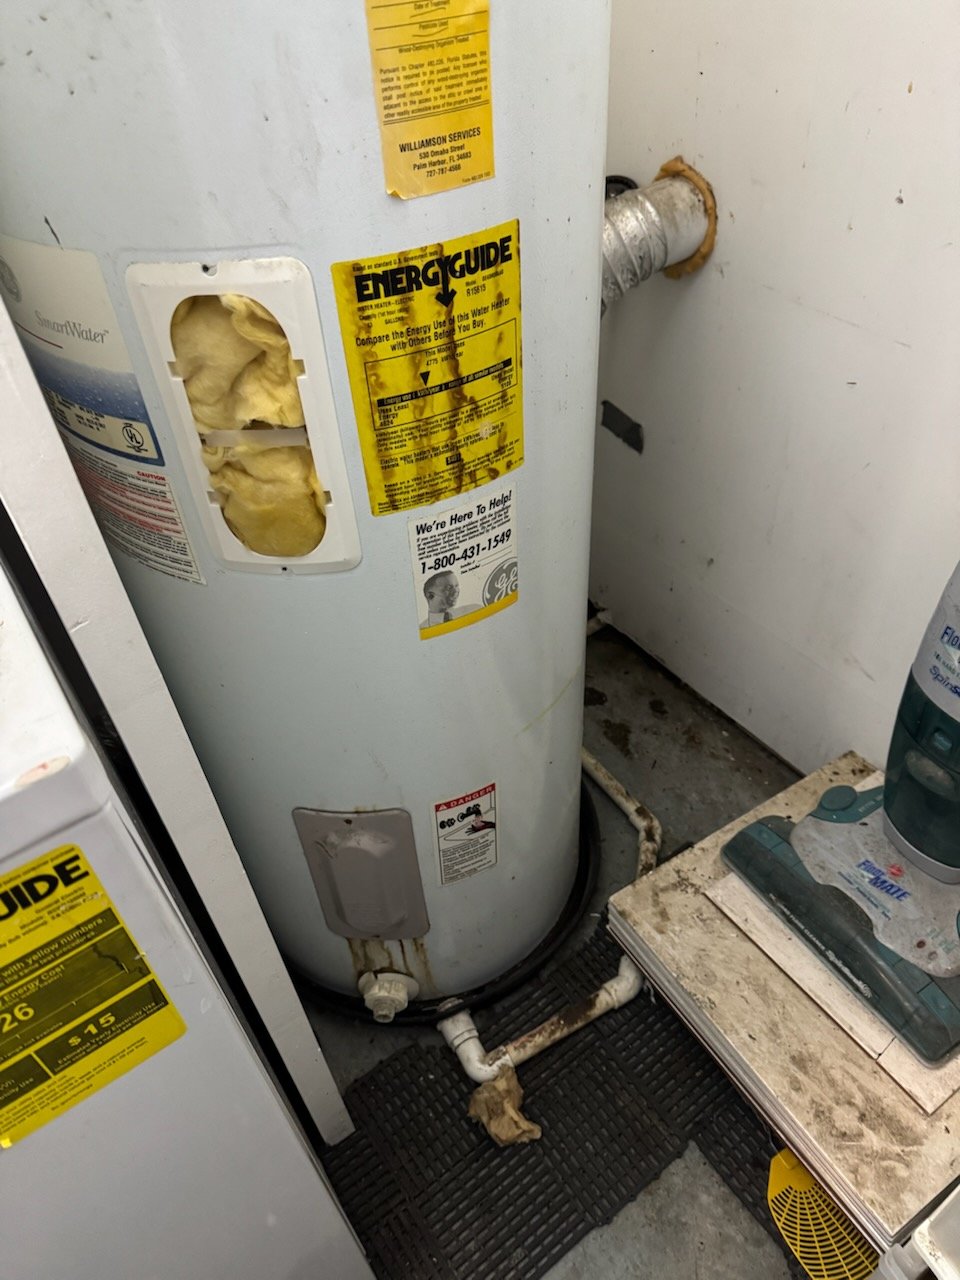
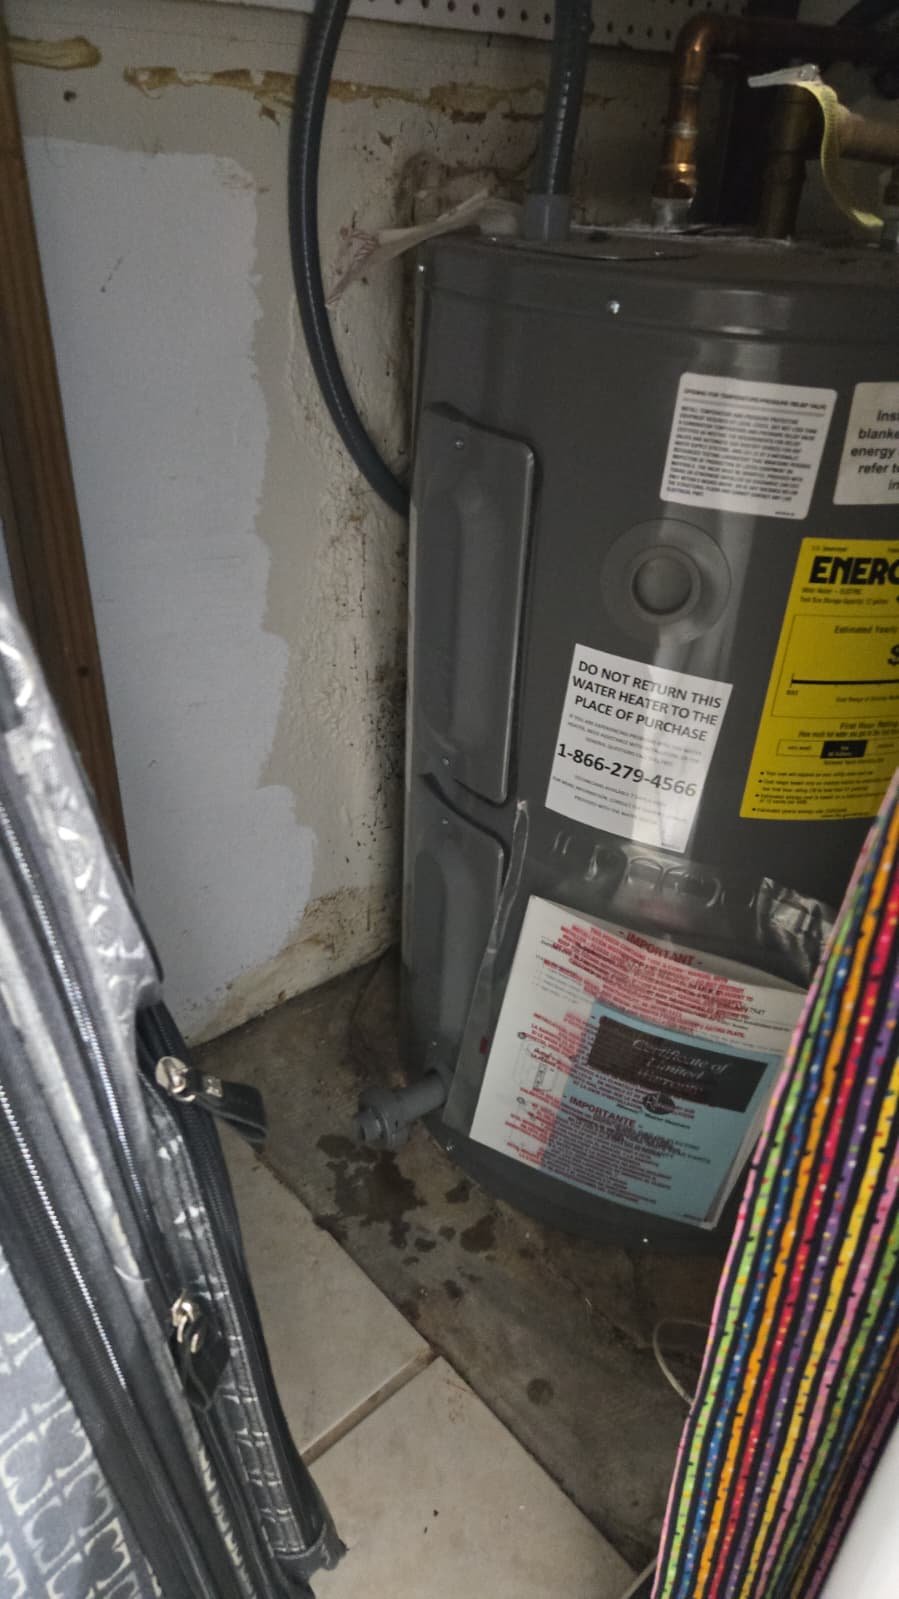
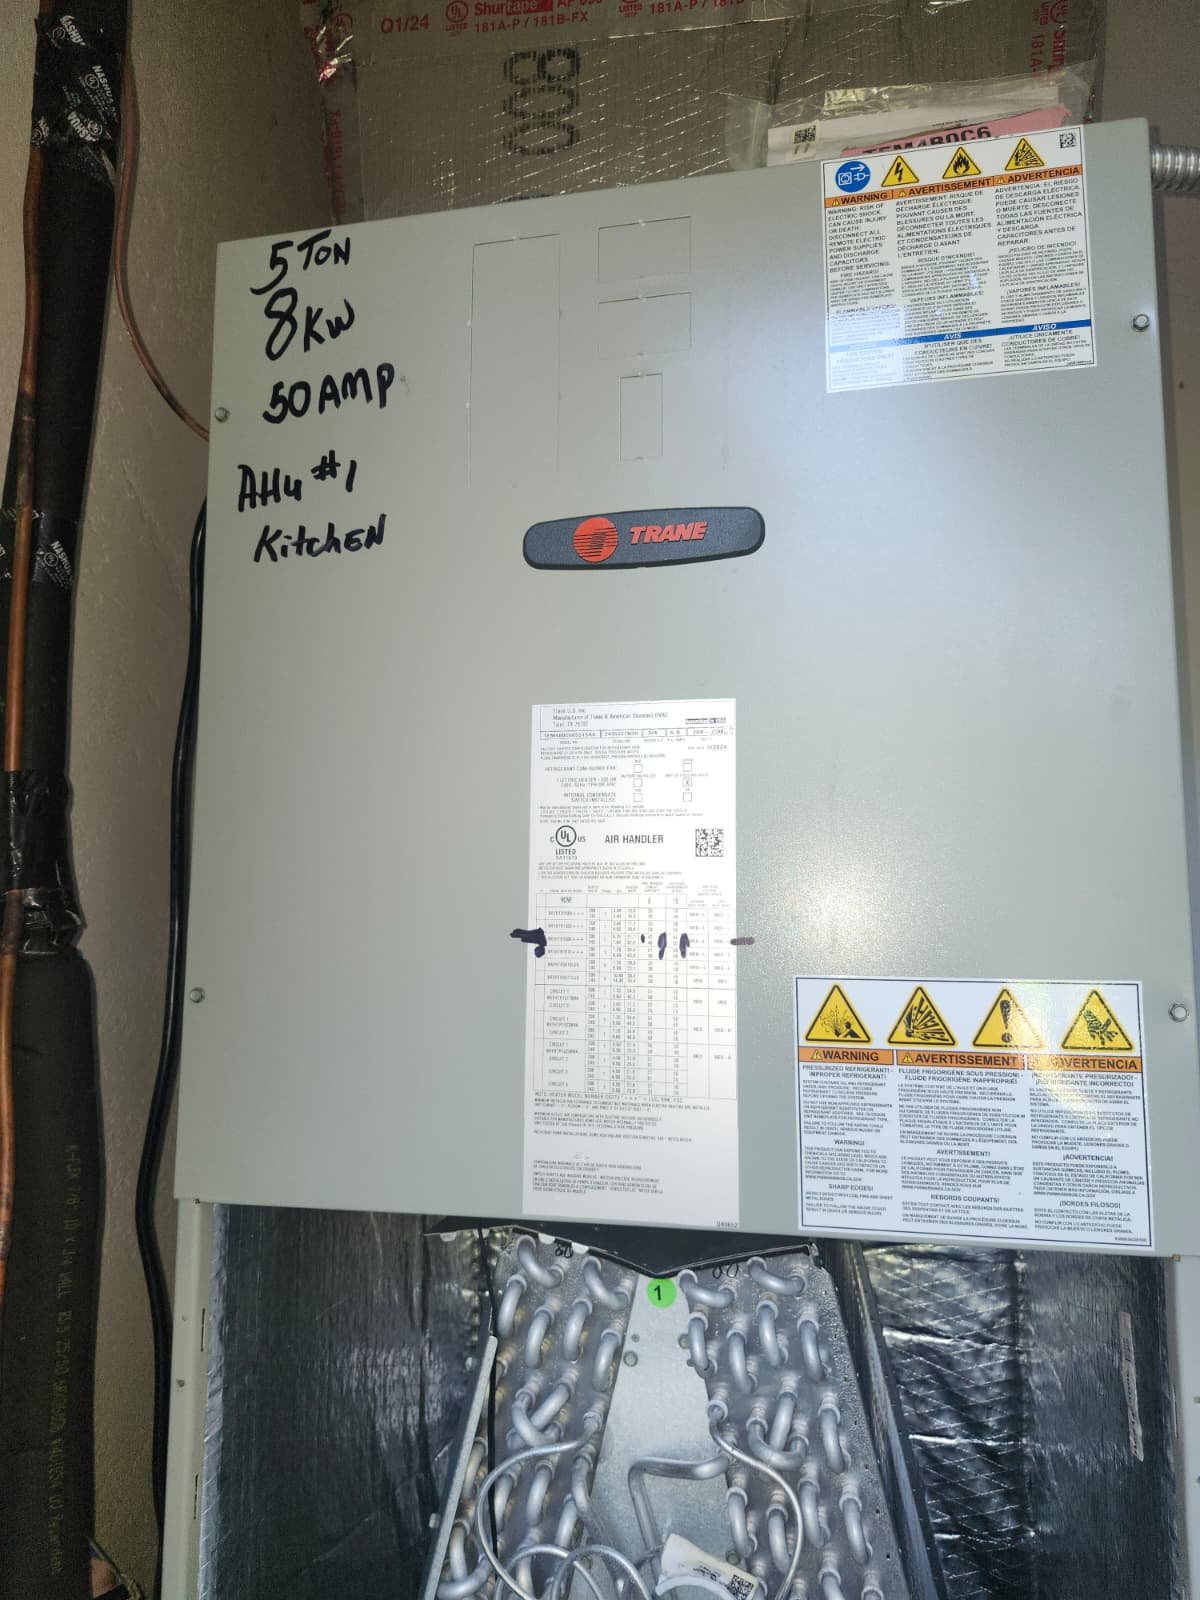
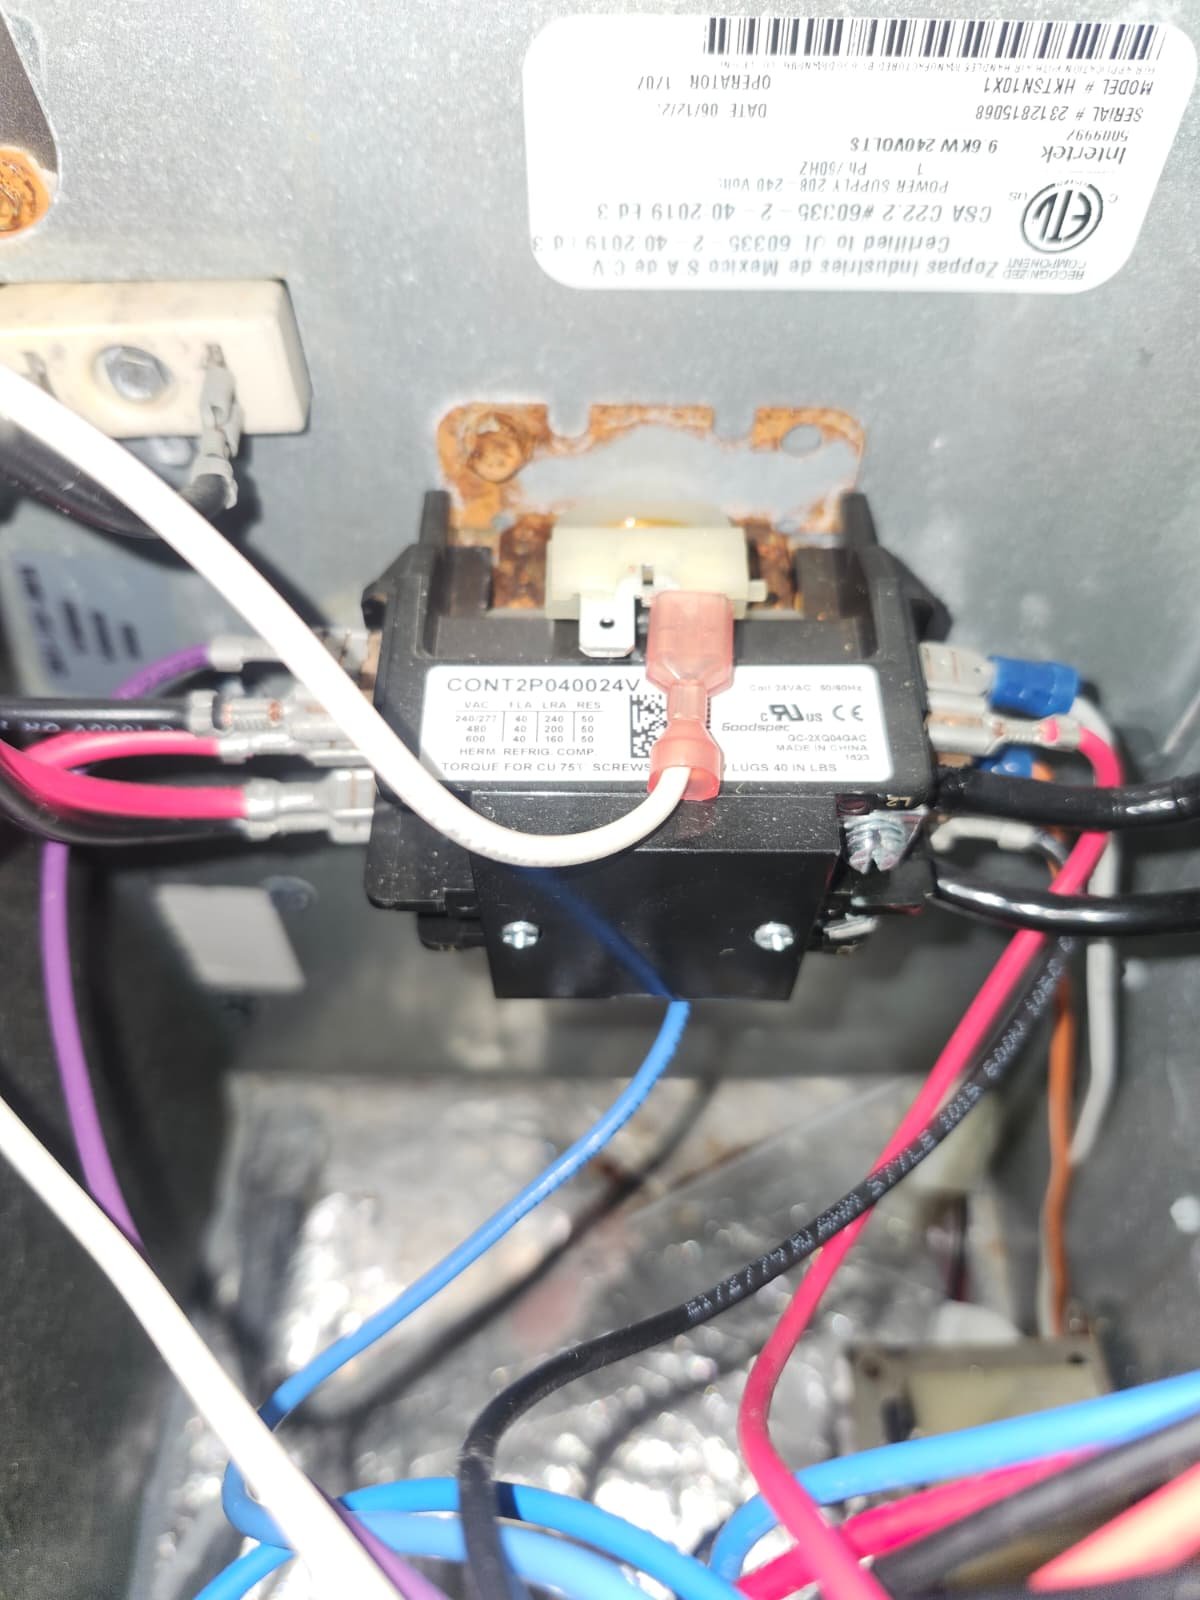
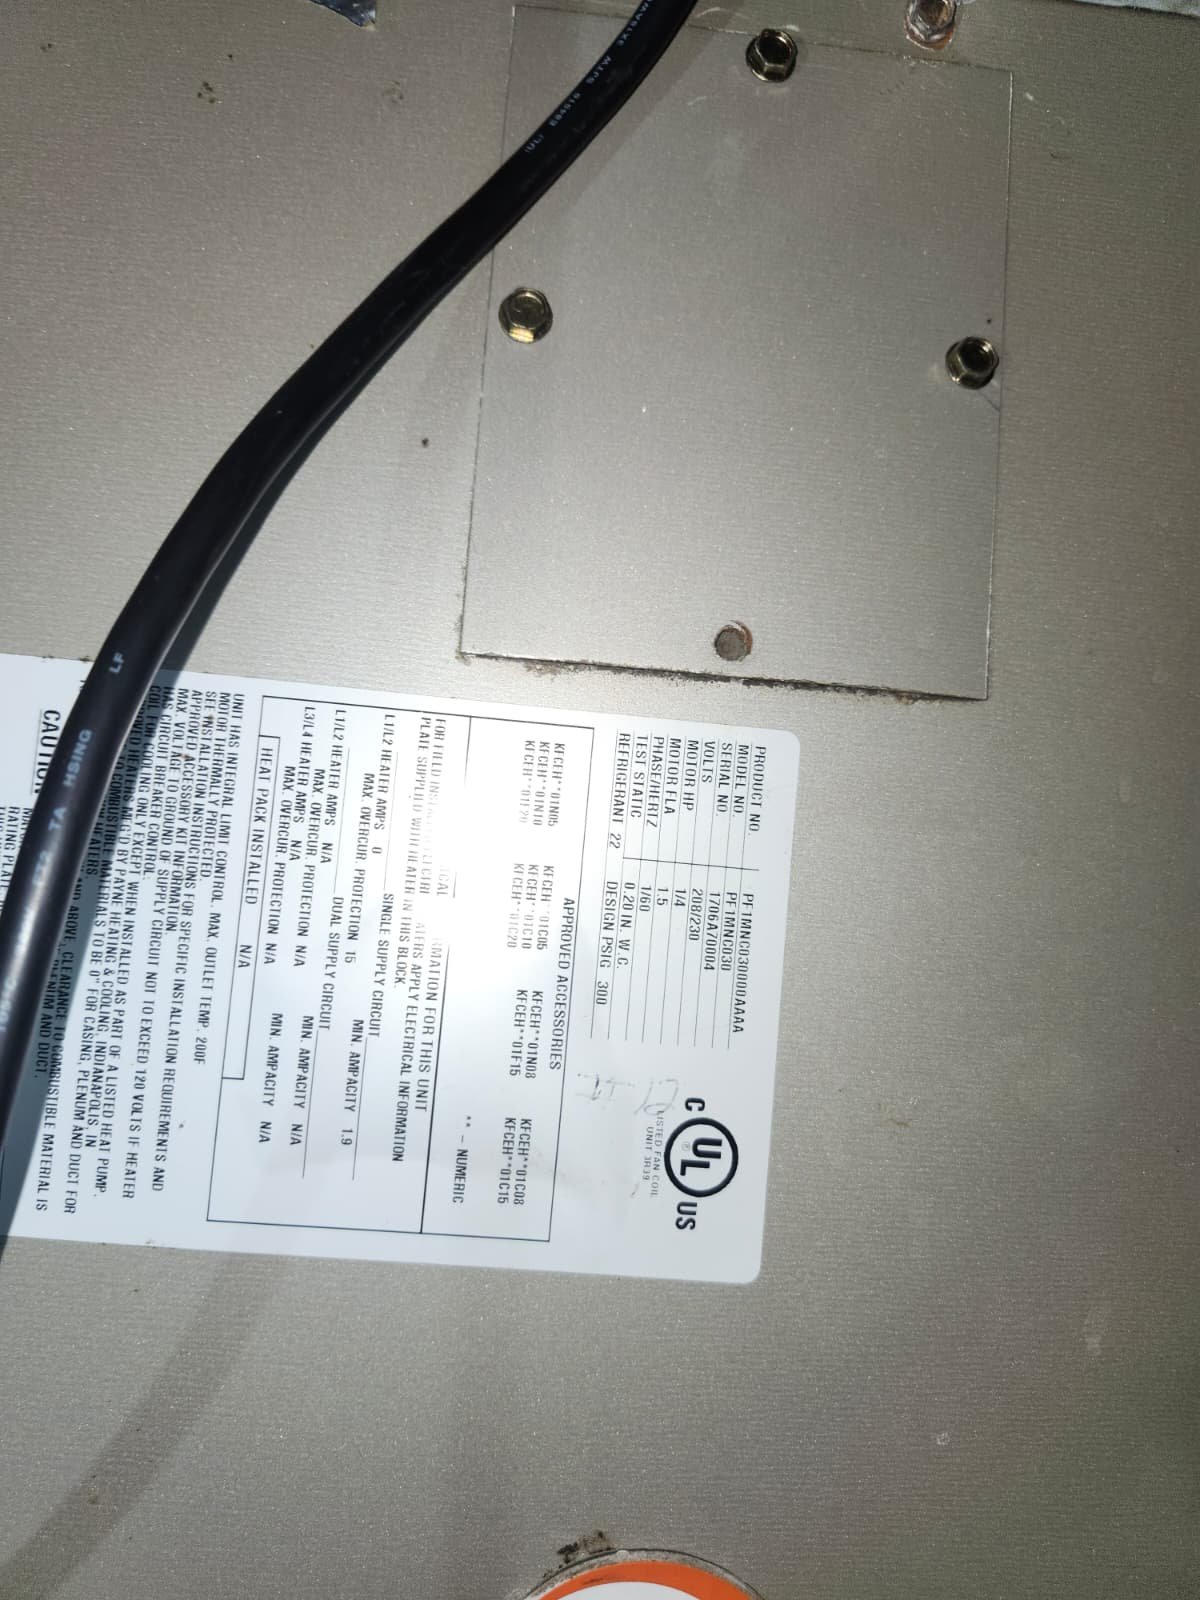
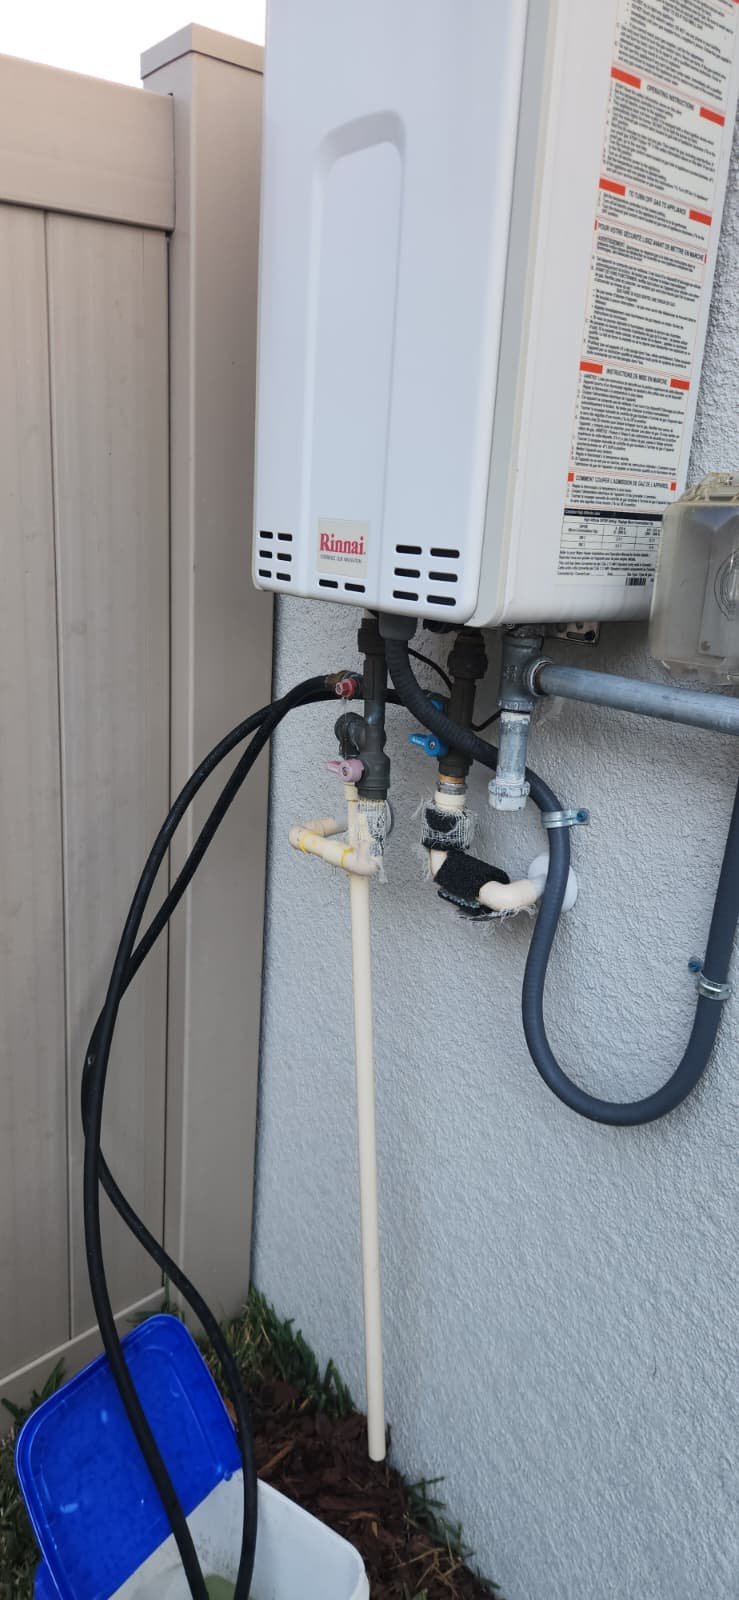
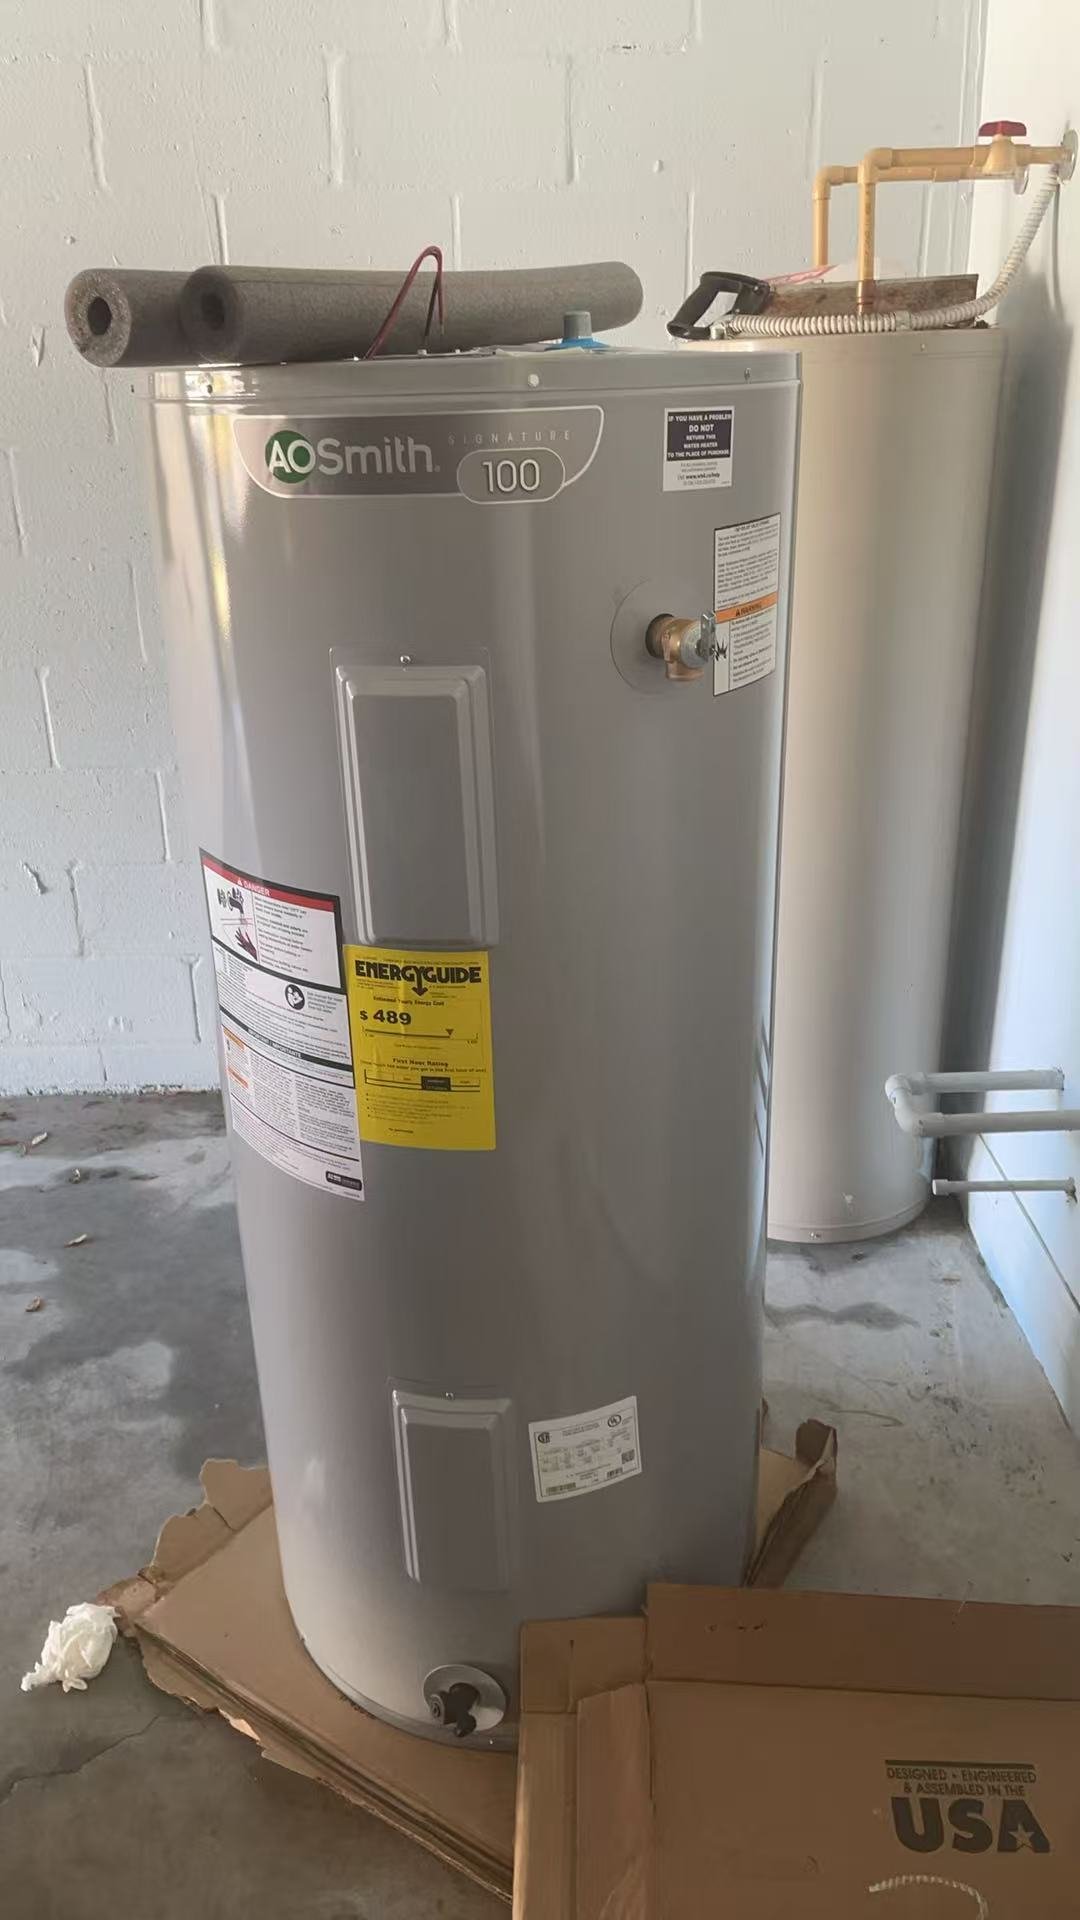
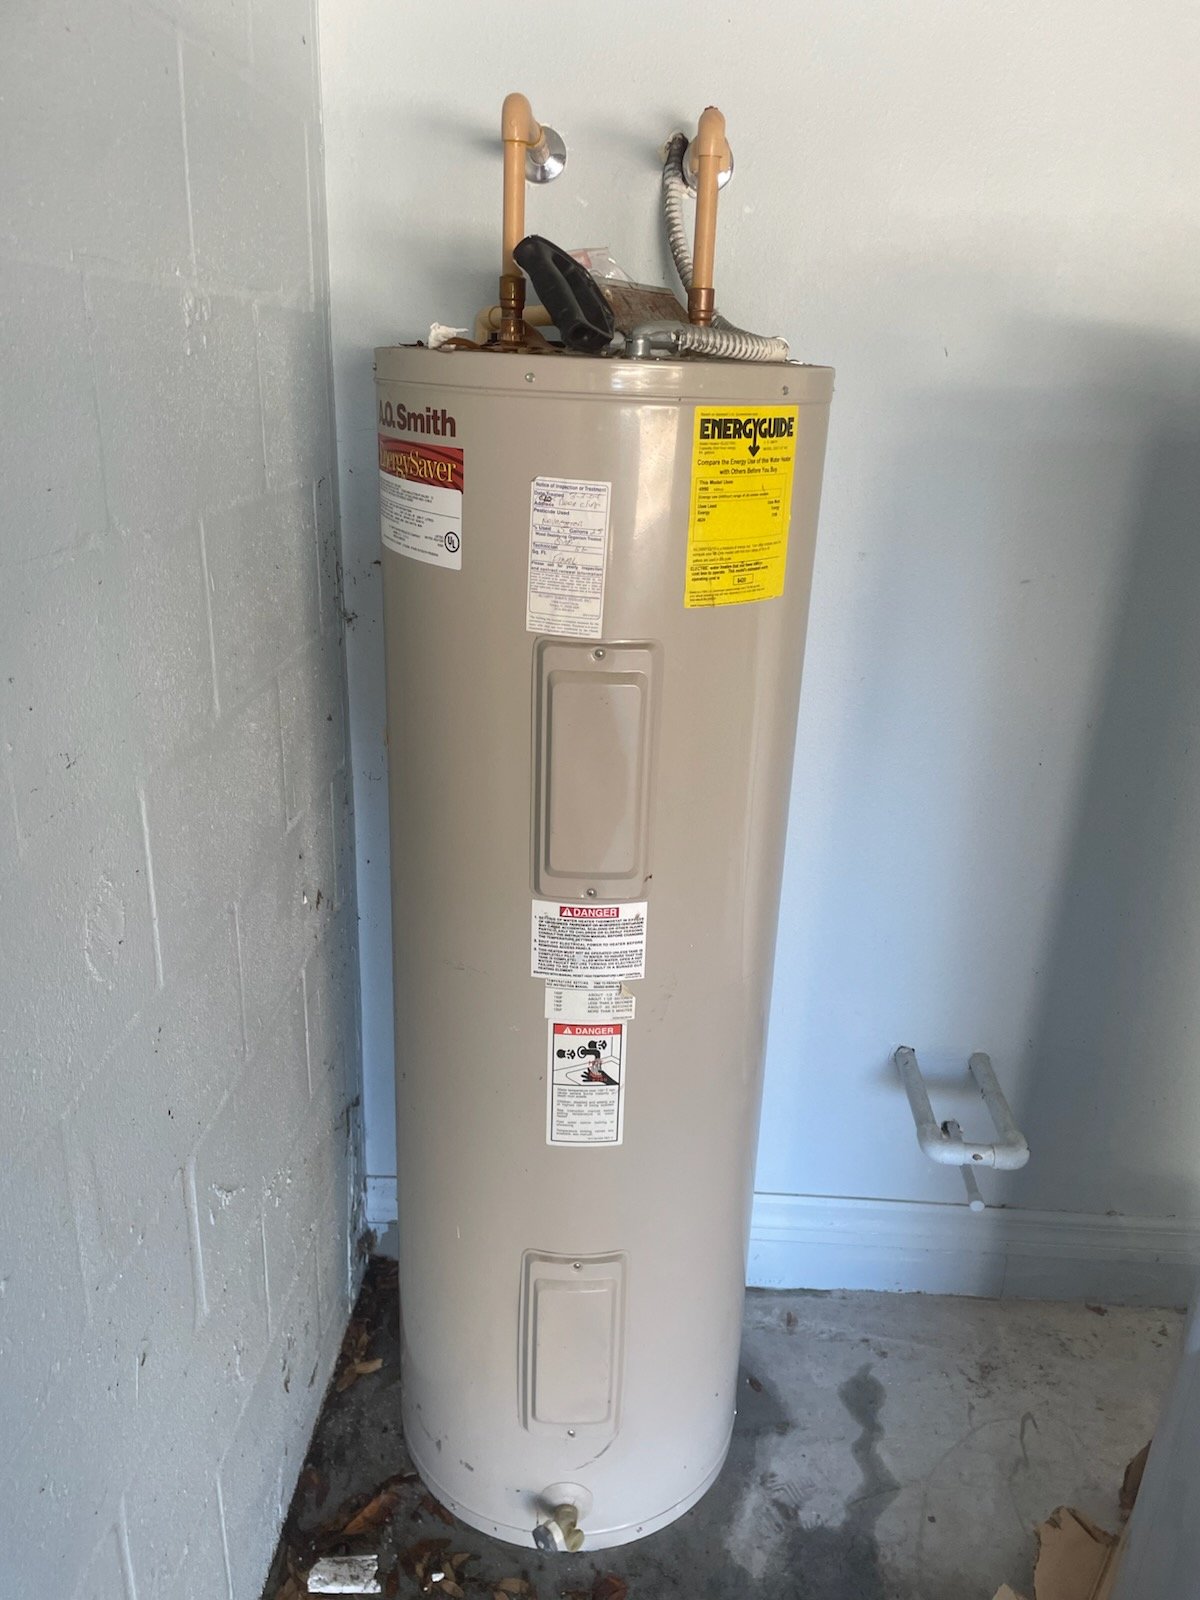
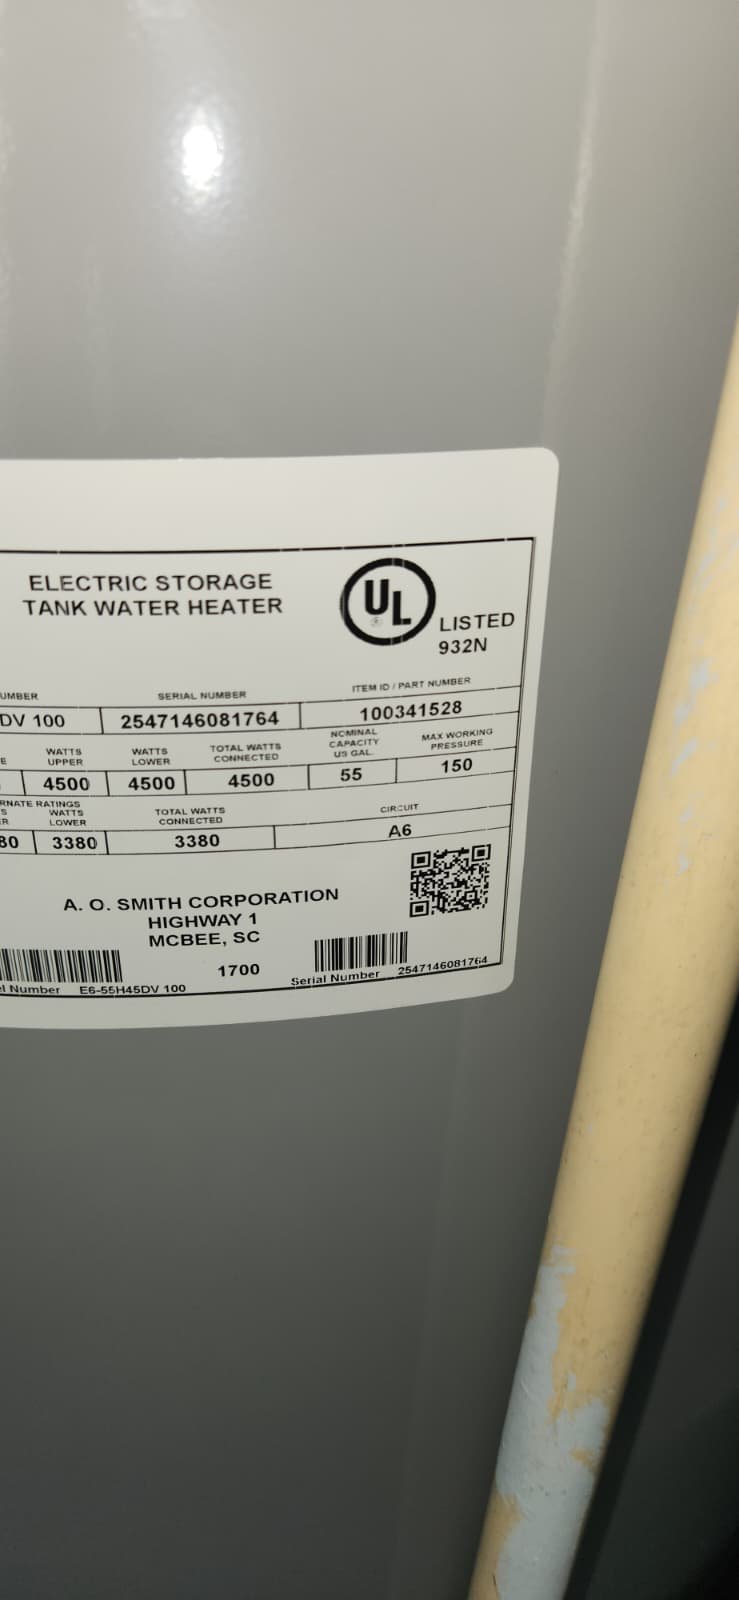
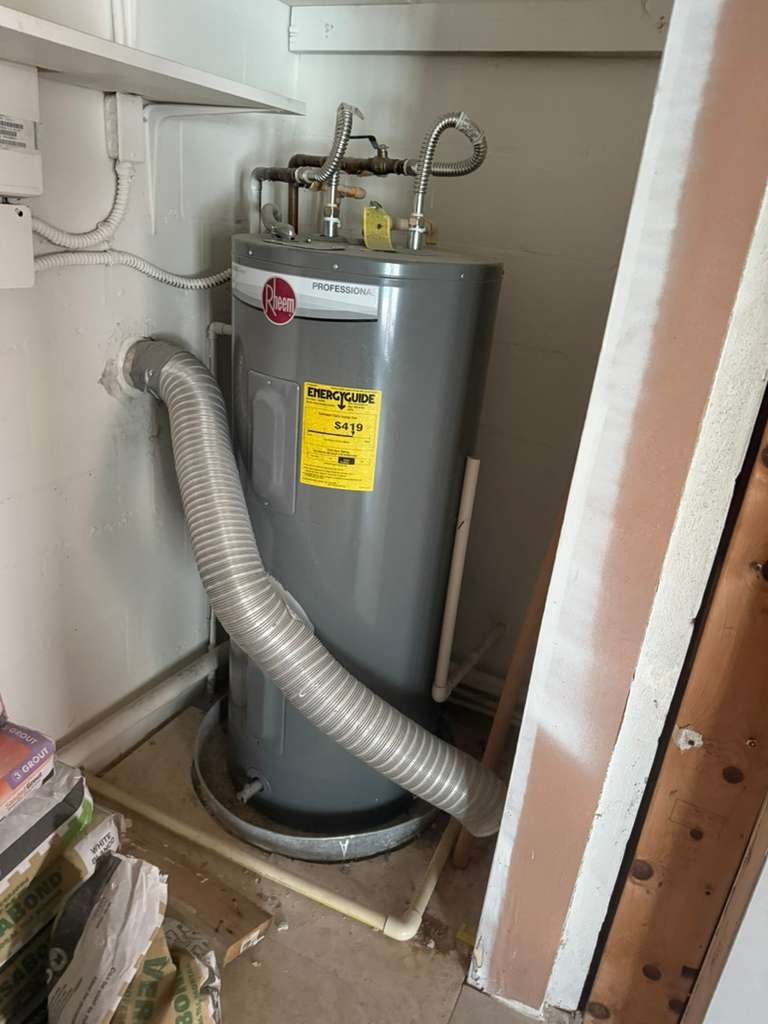
4. Water Heater Planning
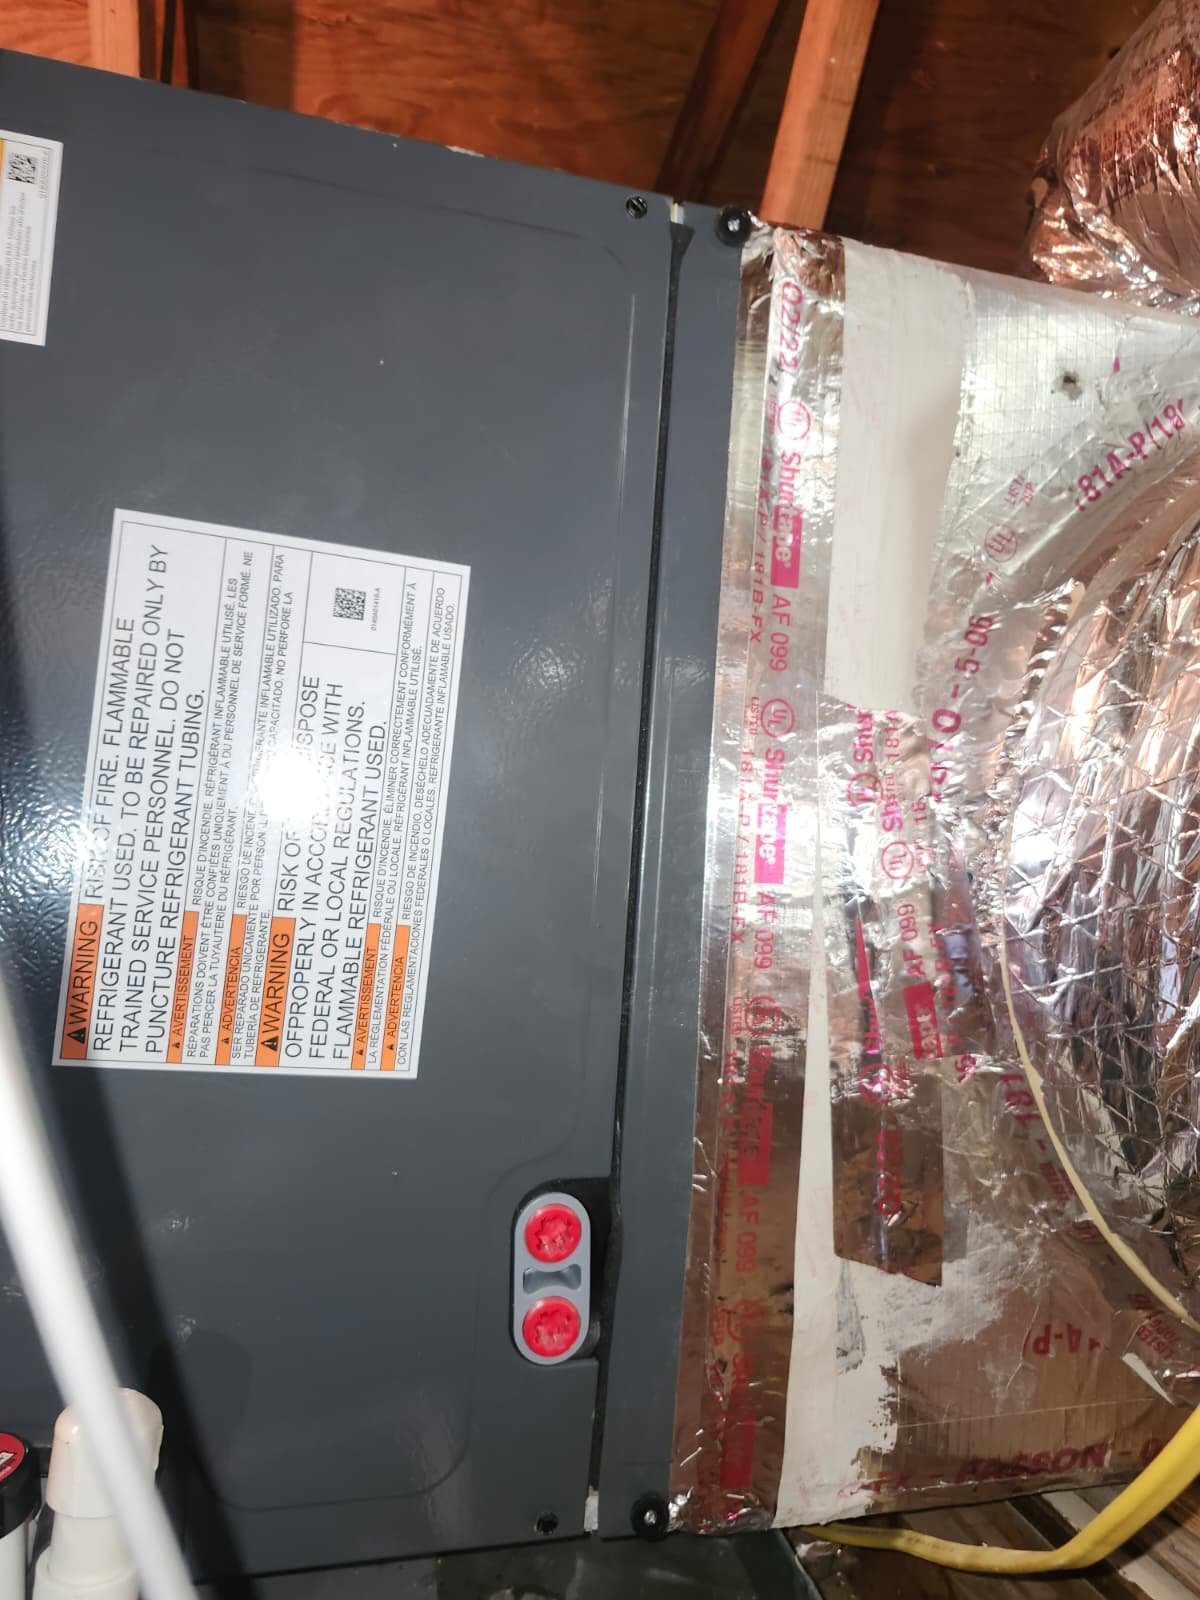
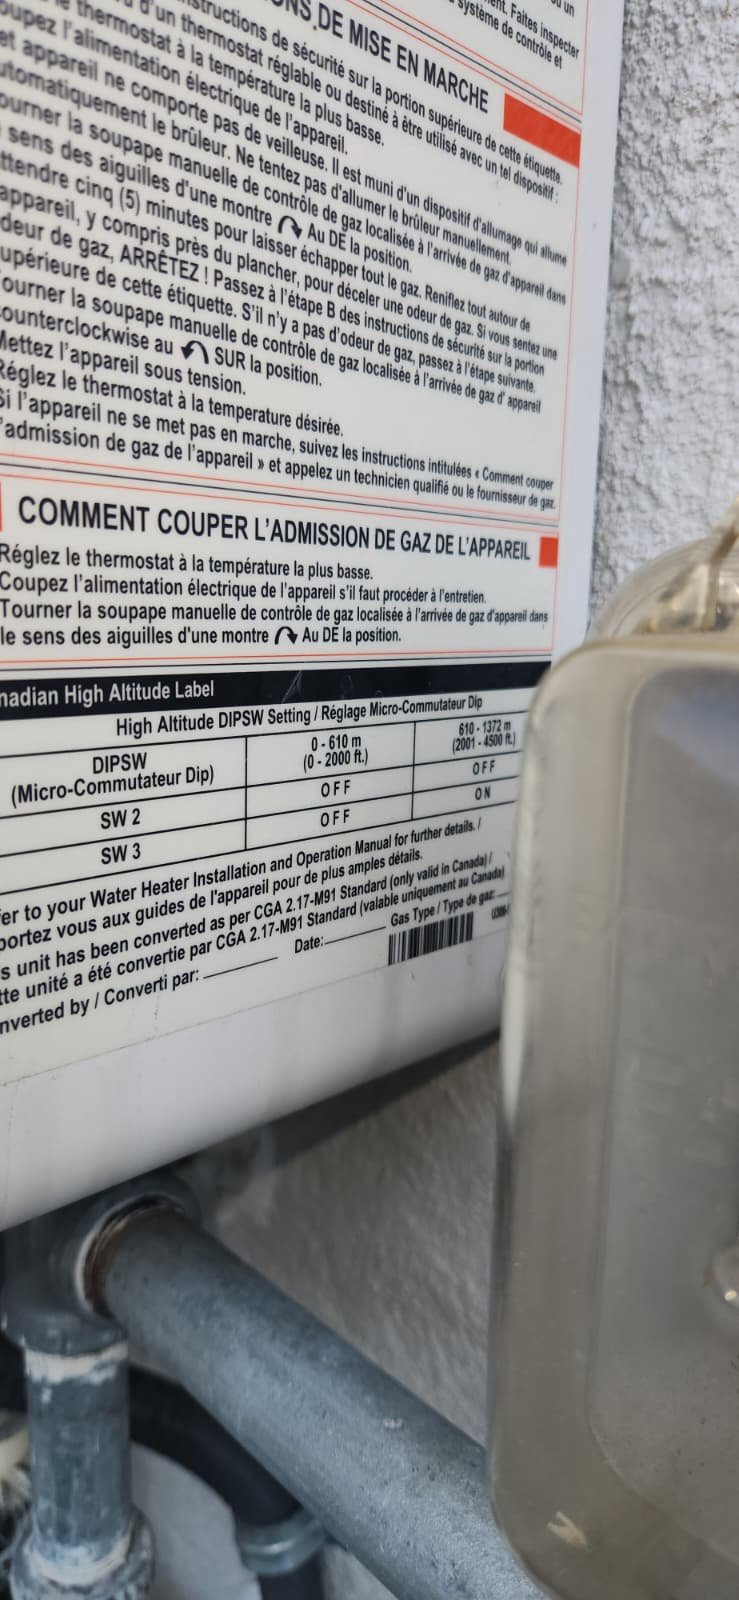
The customer was still deciding between a traditional tank-style water heater and a tankless unit. That decision affects not just the plumbing, but also electrical requirements and local code compliance in Pinellas County.
We discussed:
- Tank-style water heater: A straightforward replacement, with labor-only installation since the customer would supply the unit and drain pan.
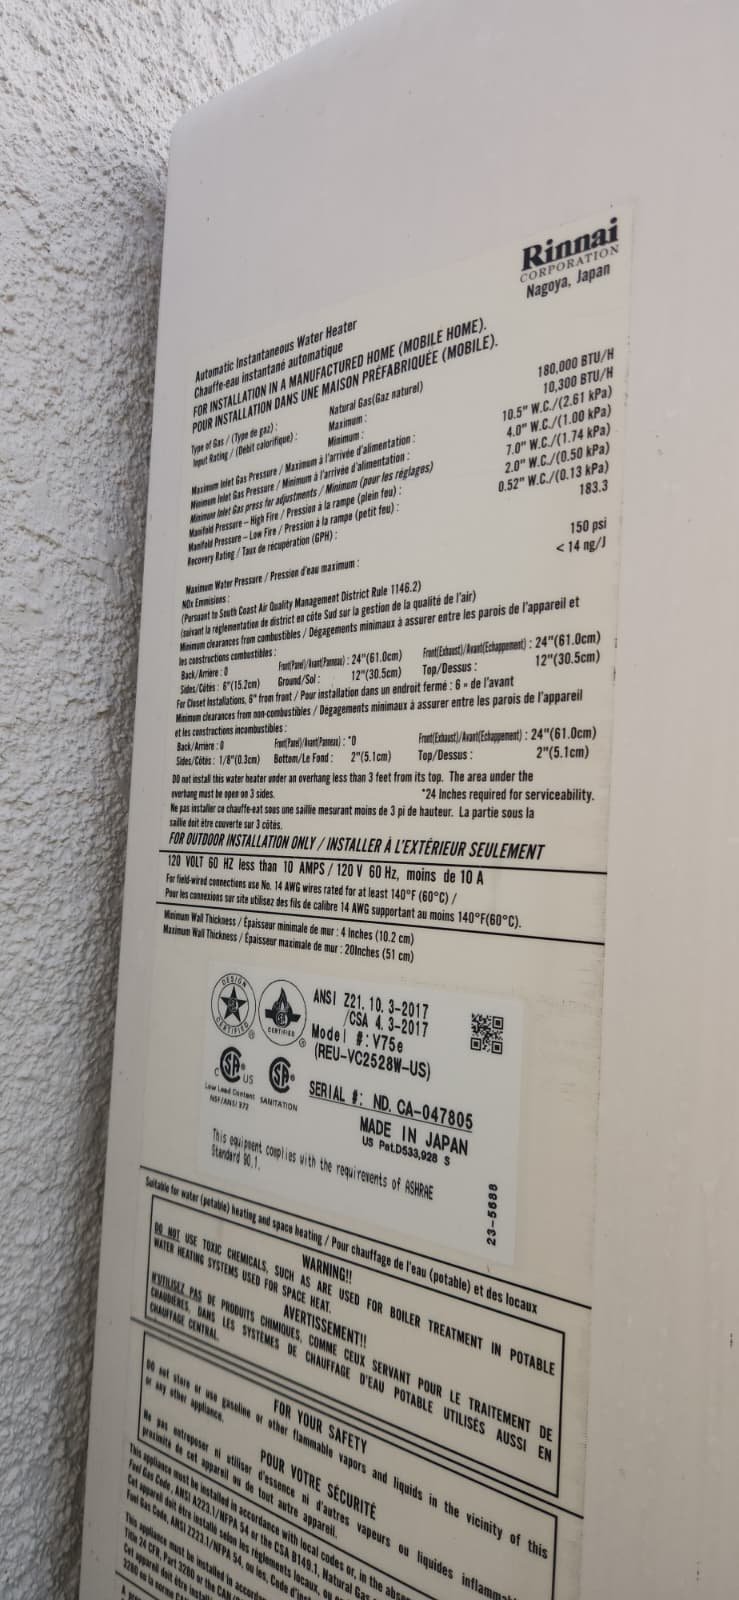
- Tankless water heater: A more complex project requiring electrical upgrades, a separate estimate for the electrical portion, and changes to the estimate such as removing the expansion tank line item.
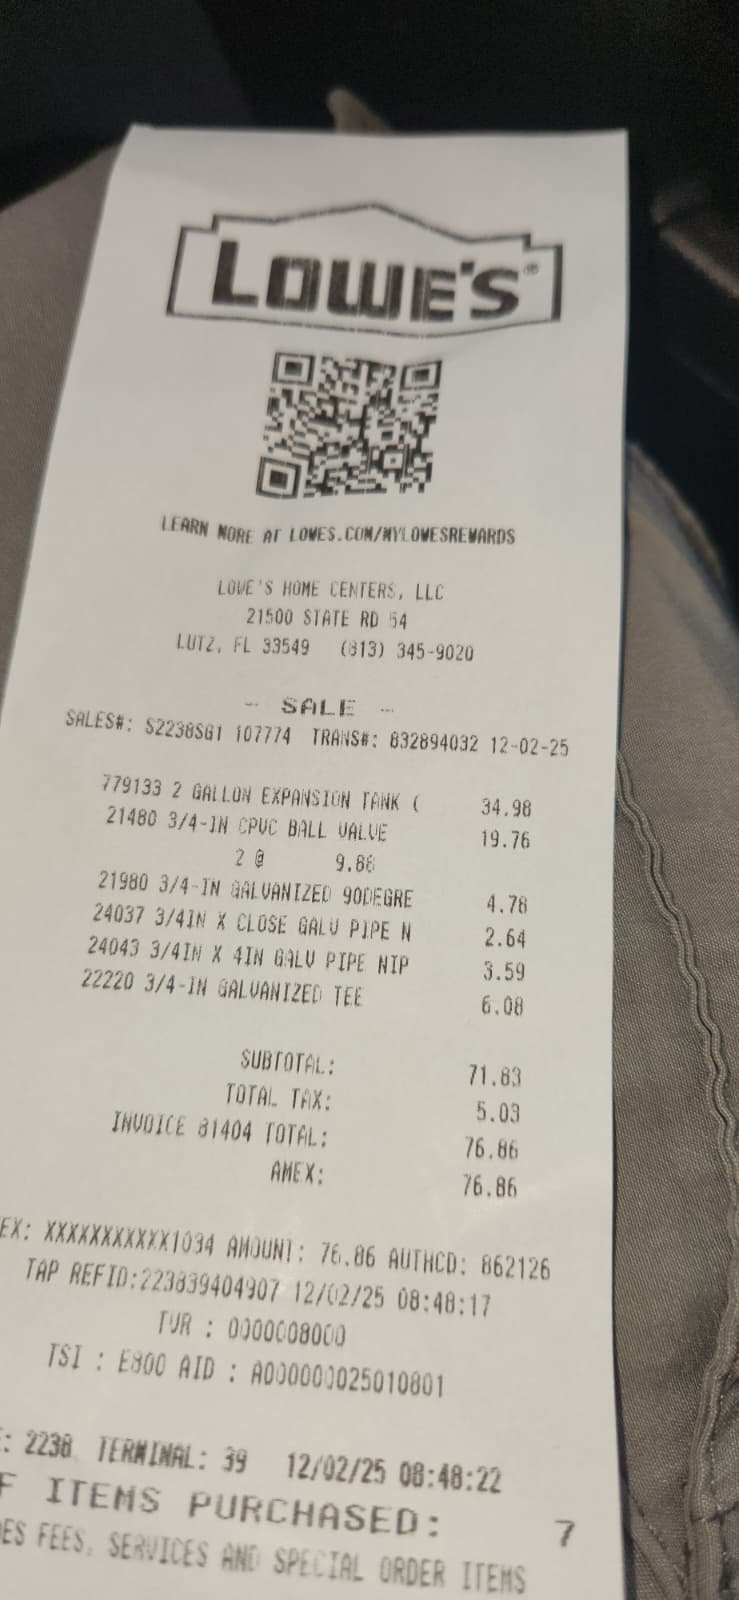
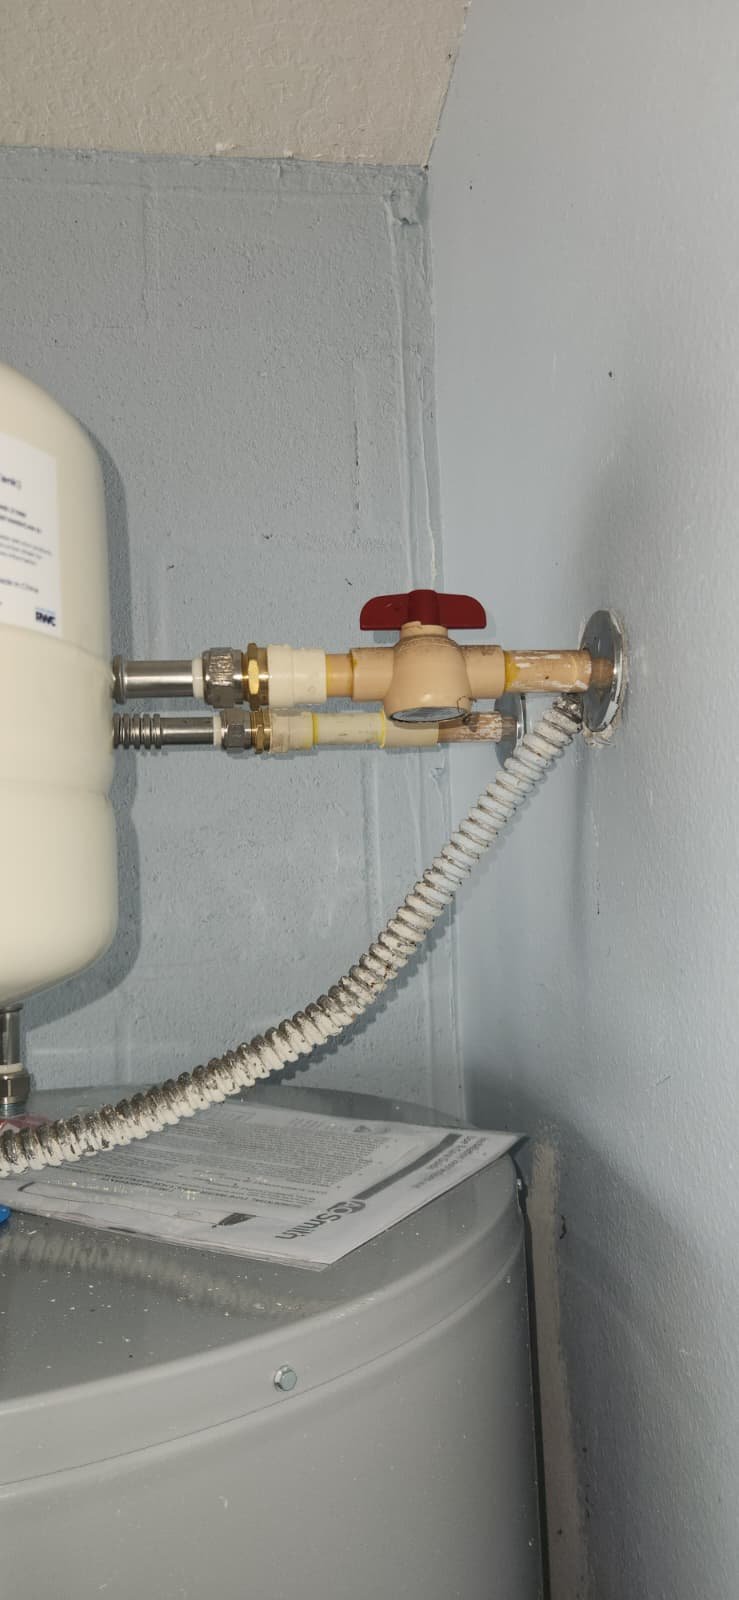
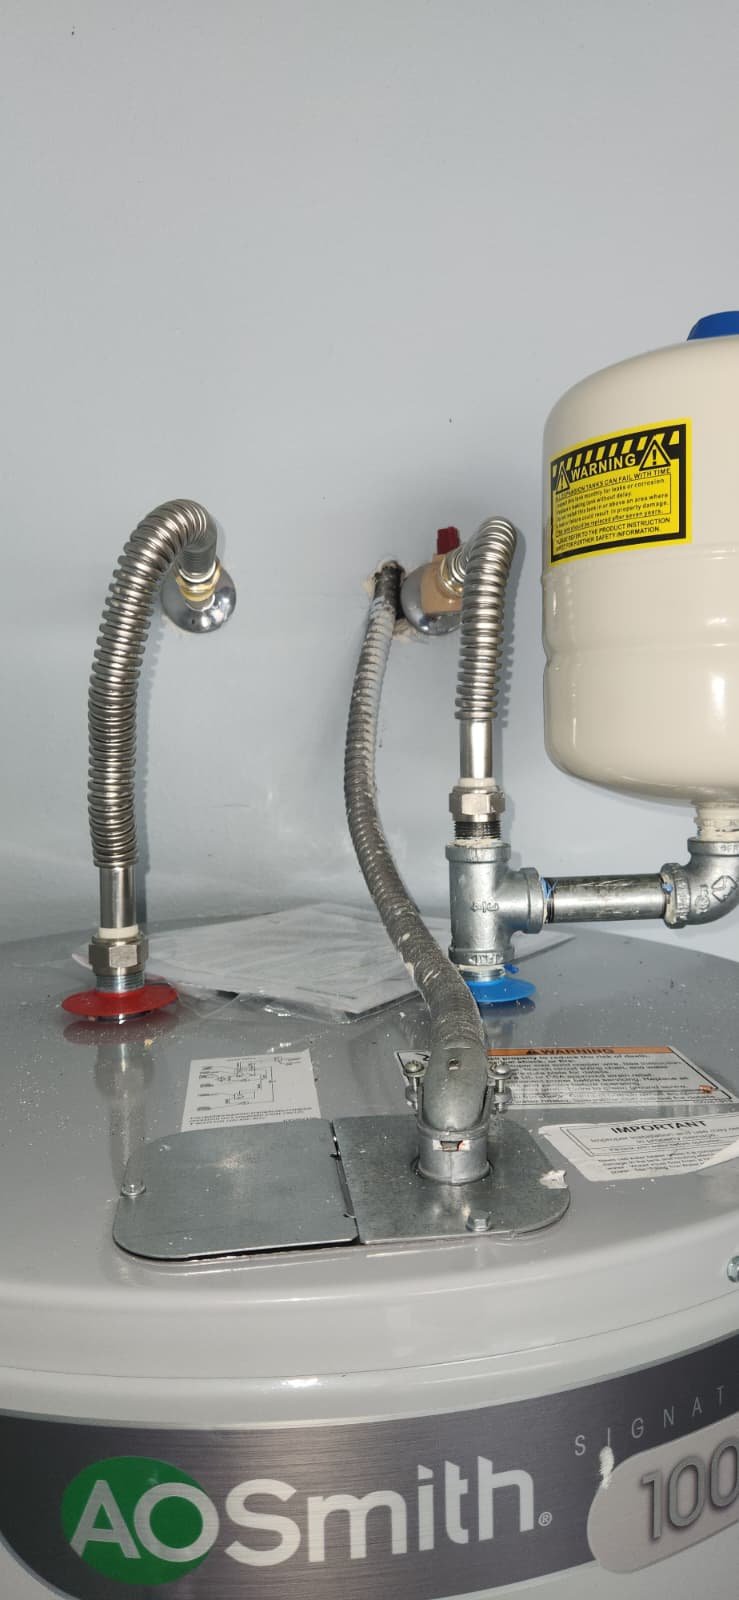
- Expansion tank: Explained the purpose of a 2-gallon expansion tank on closed water systems up to 50 gallons, and how it helps manage pressure spikes from thermal expansion.
By the end of the inspection, we had a clear picture: toilets and a vanity could be addressed first, with kitchen and water heater work scheduled later when the homeowner was ready.
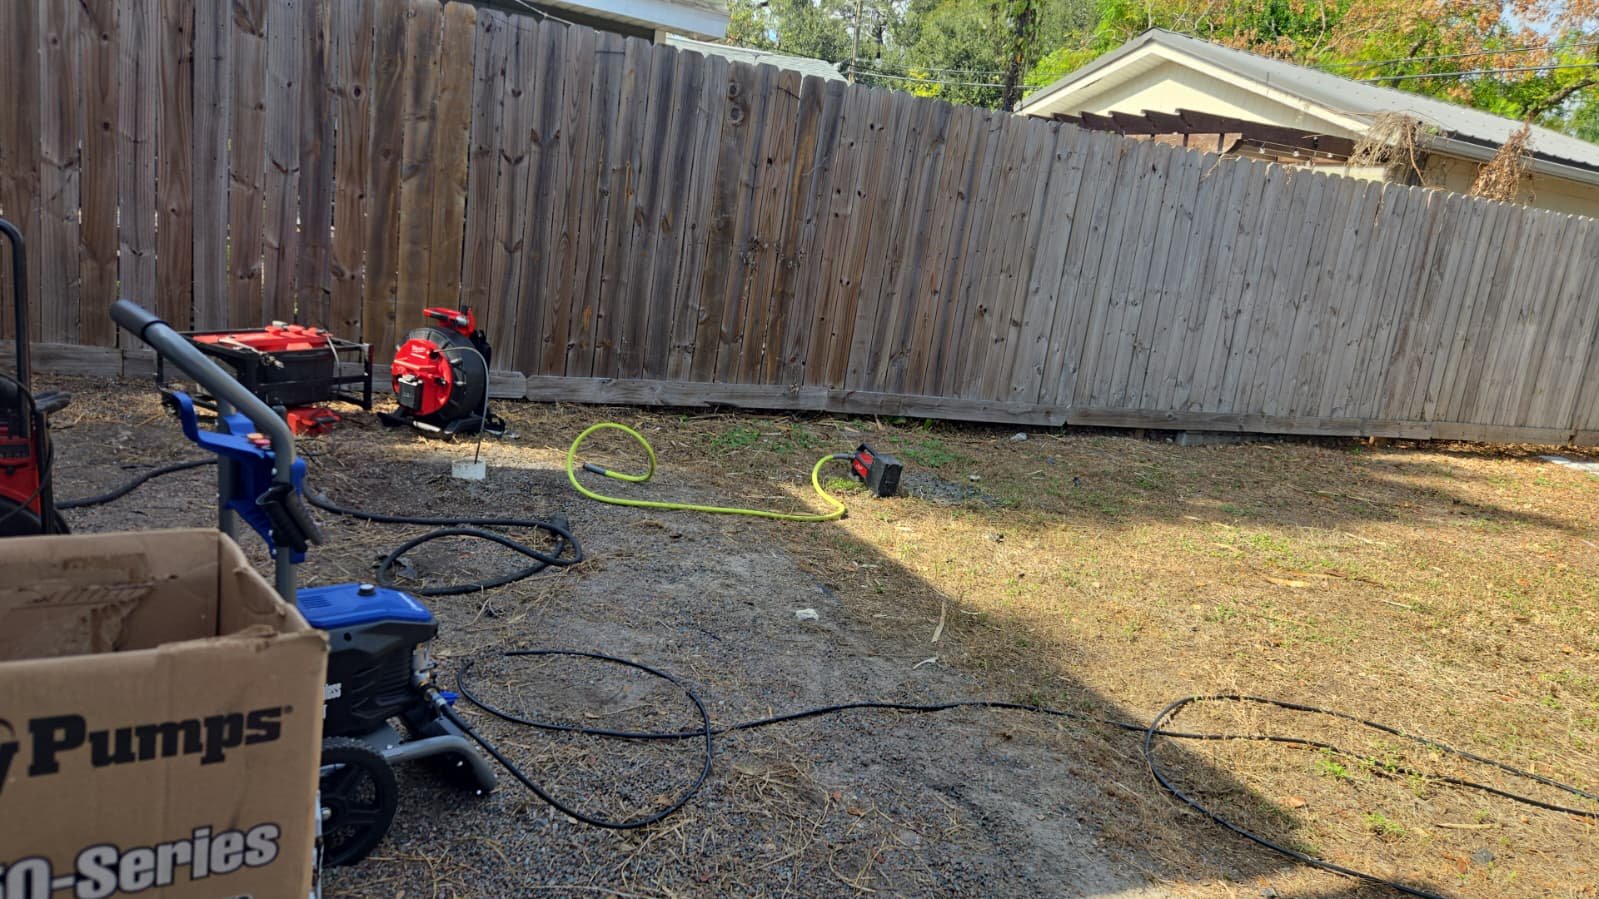
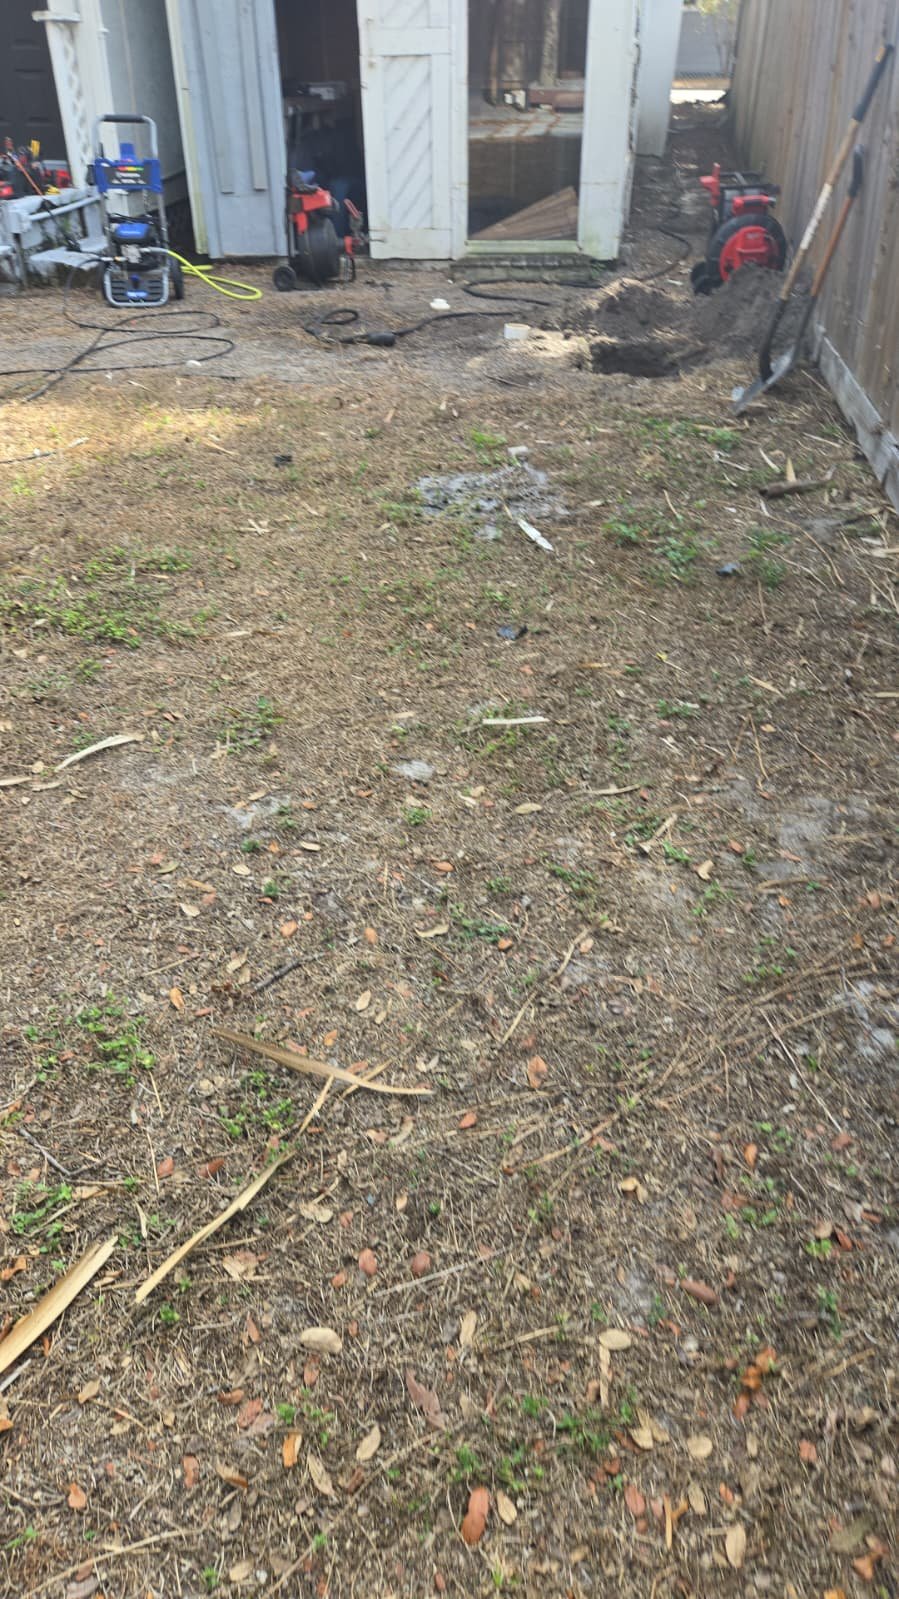
Step-by-Step Plumbing Work in the St. Petersburg Home
For a multi-stage project like this, our goal is to group work logically so the homeowner sees progress without disrupting other contractors or future plans. Here’s how we approached the service steps.
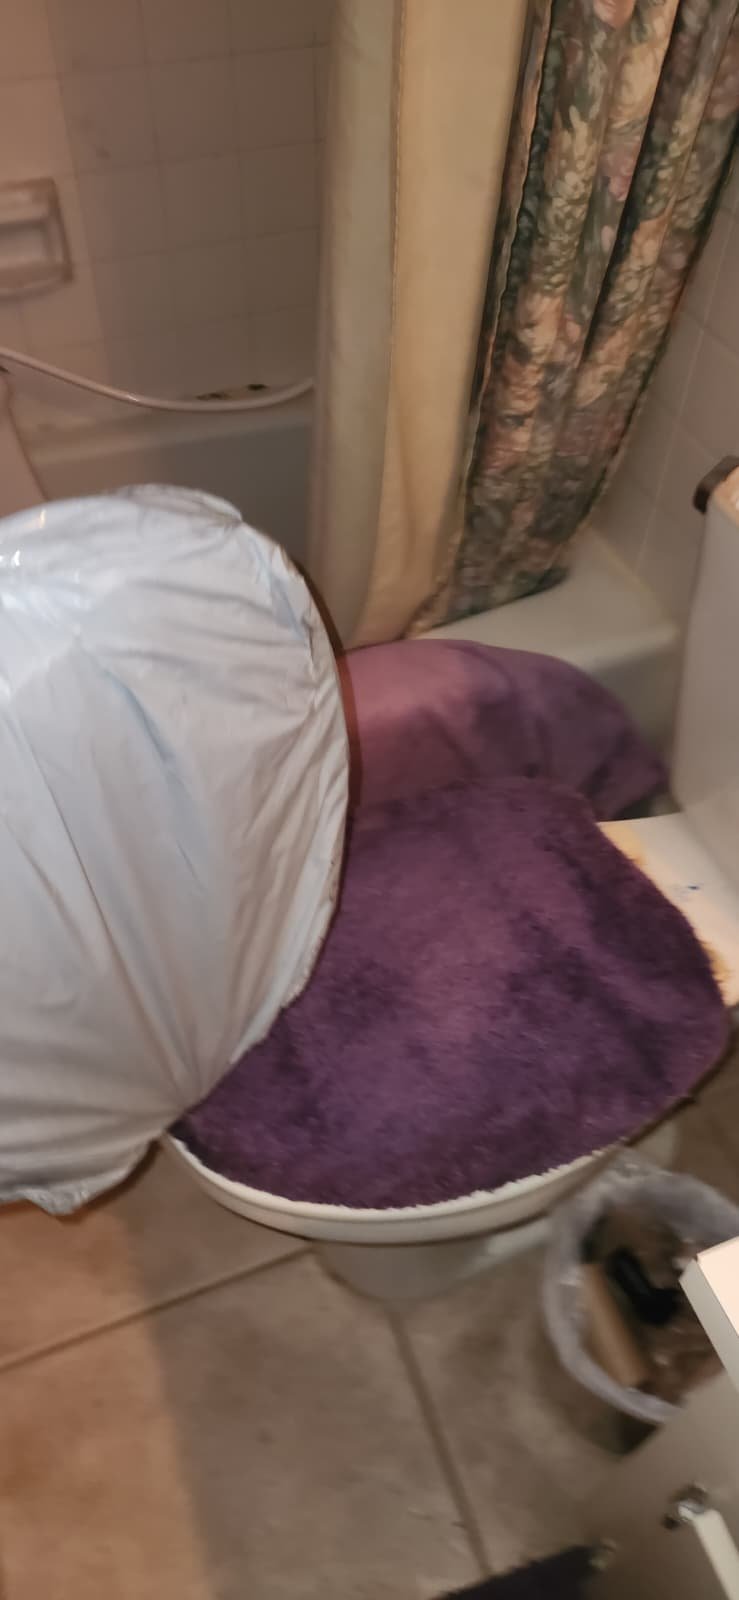
1. Installing New Toilets
The homeowner planned to install two new toilets: one supplied by Home Therapist and one supplied by the customer (a Glacier Bay model from a local retailer). We:
- Shut off water to each toilet and carefully removed the existing fixtures.
- Inspected the exposed flanges for cracks, rust, and height issues.
- Checked wax ring condition and surrounding subfloor for moisture damage.
- Confirmed that angle valves and water supply lines were in safe working condition.
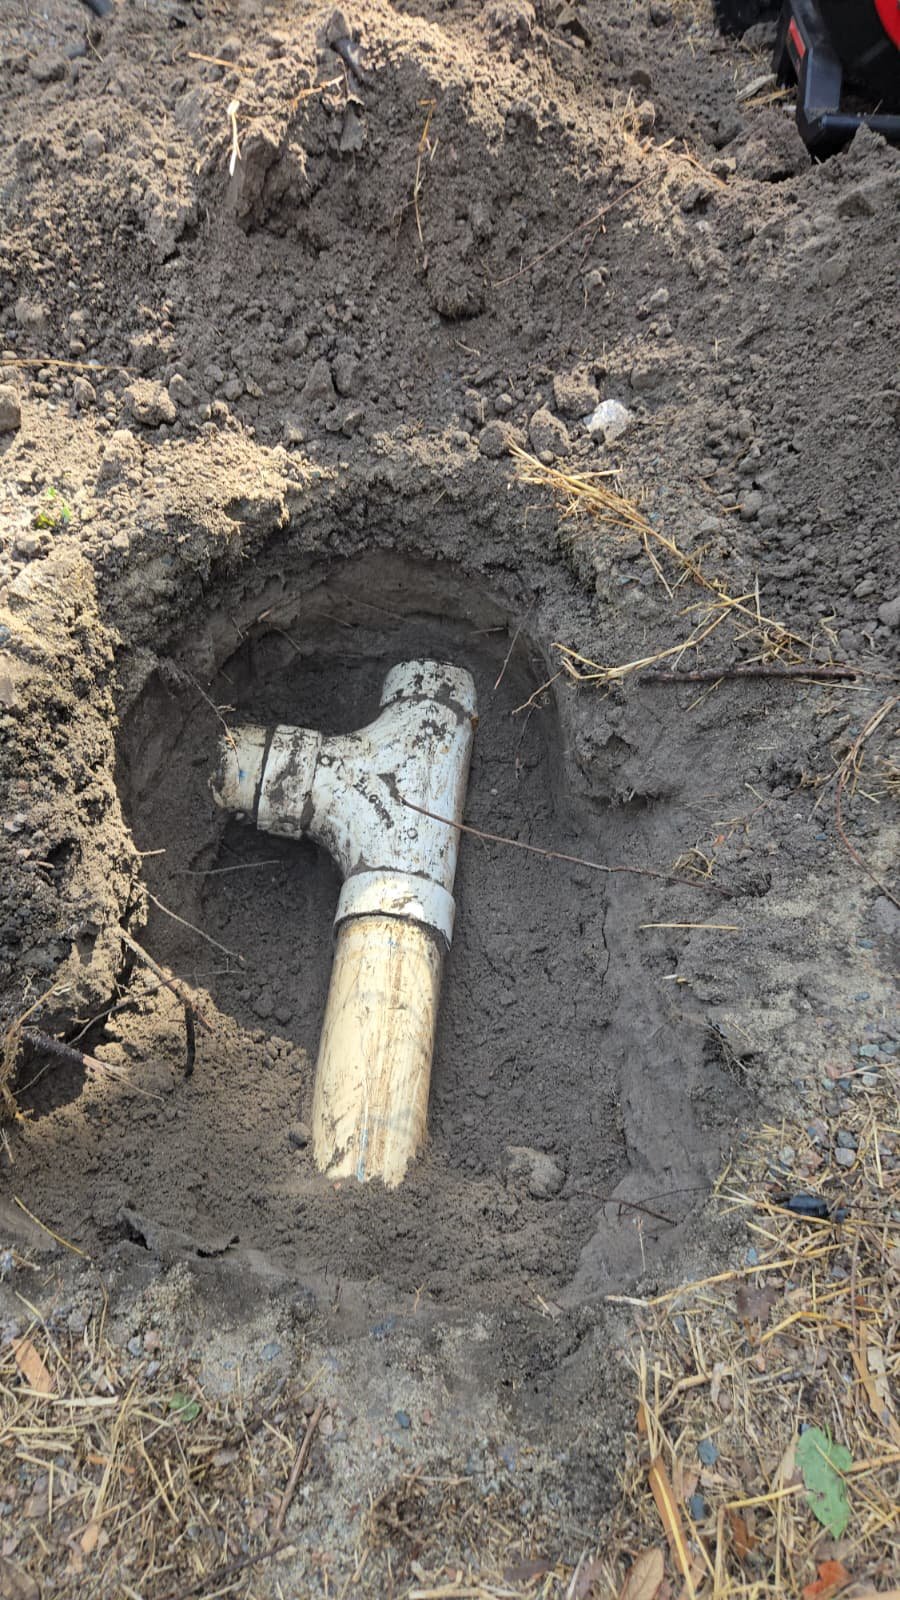
Where needed, the estimate included full toilet flange replacement while we were already doing the toilet replacement. This involved:
- Removing the old flange.
- Preparing and cleaning the waste pipe connection.
- Gluing and securing a new flange at the correct height relative to the finished floor.
New toilets were then set with fresh wax rings or suitable seals, leveled carefully, and secured so there is no rocking that could damage the flange or cause leaks.
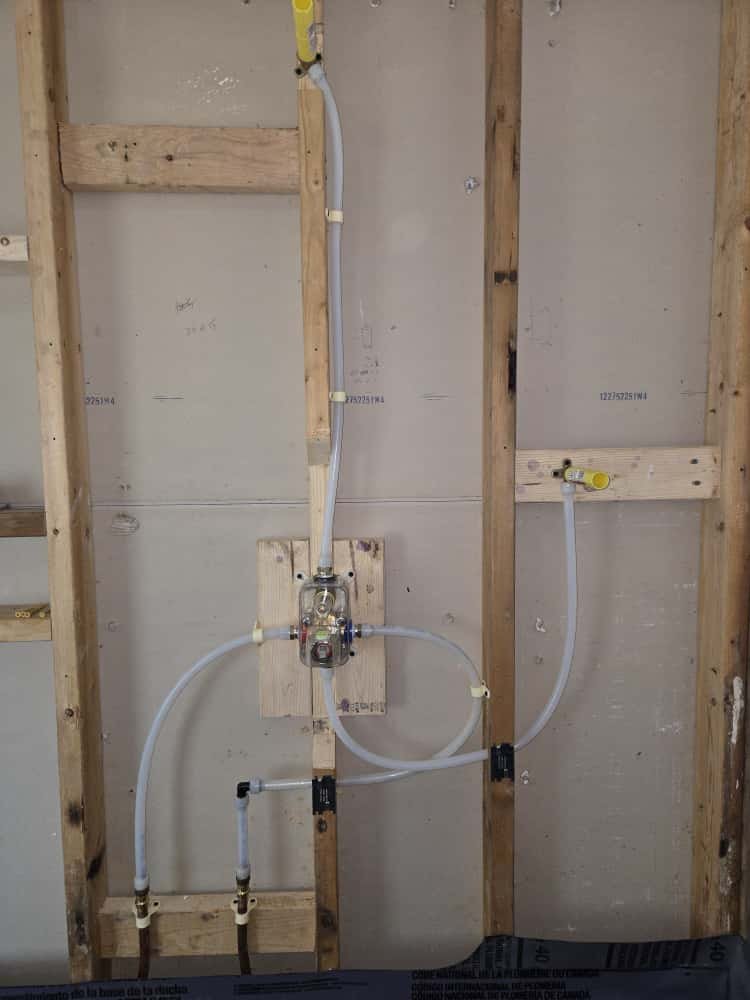
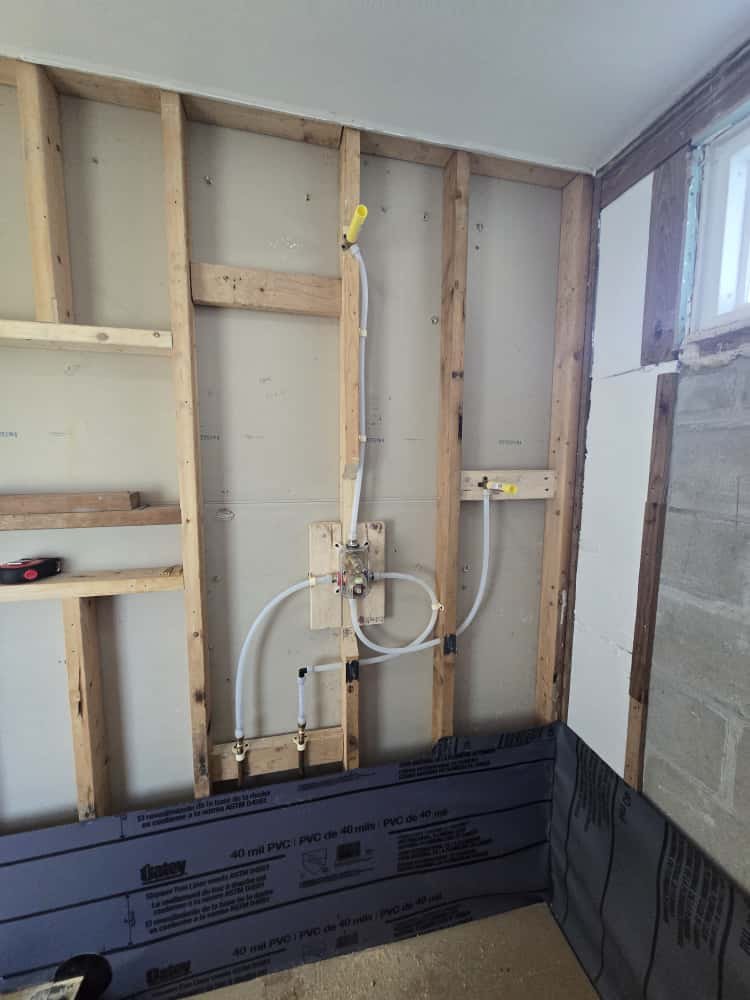
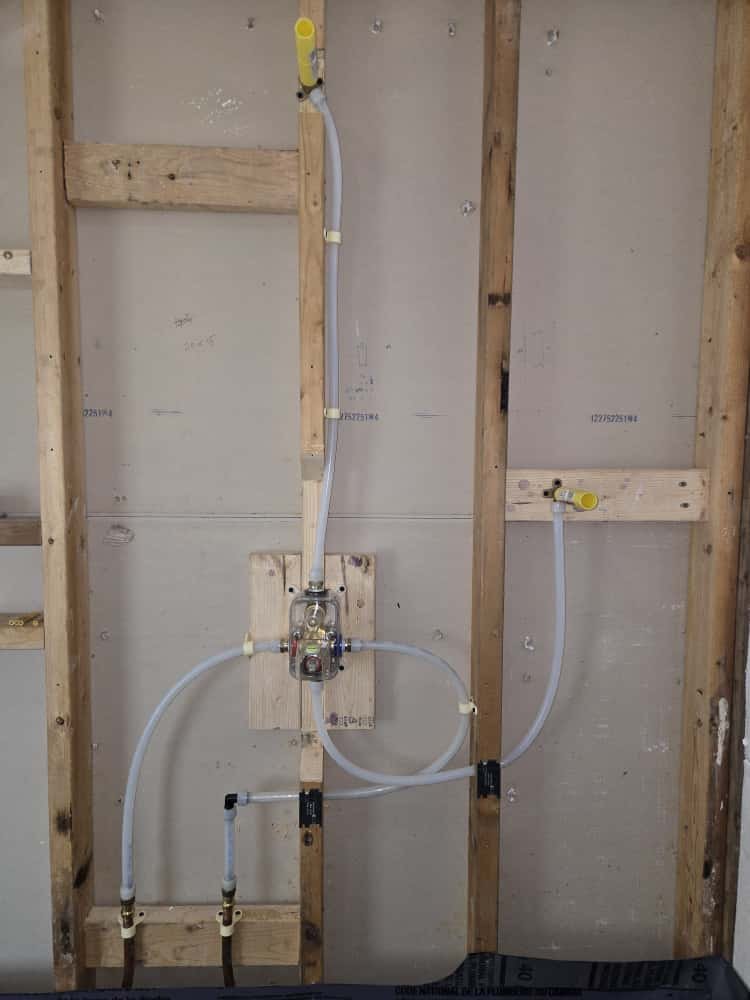
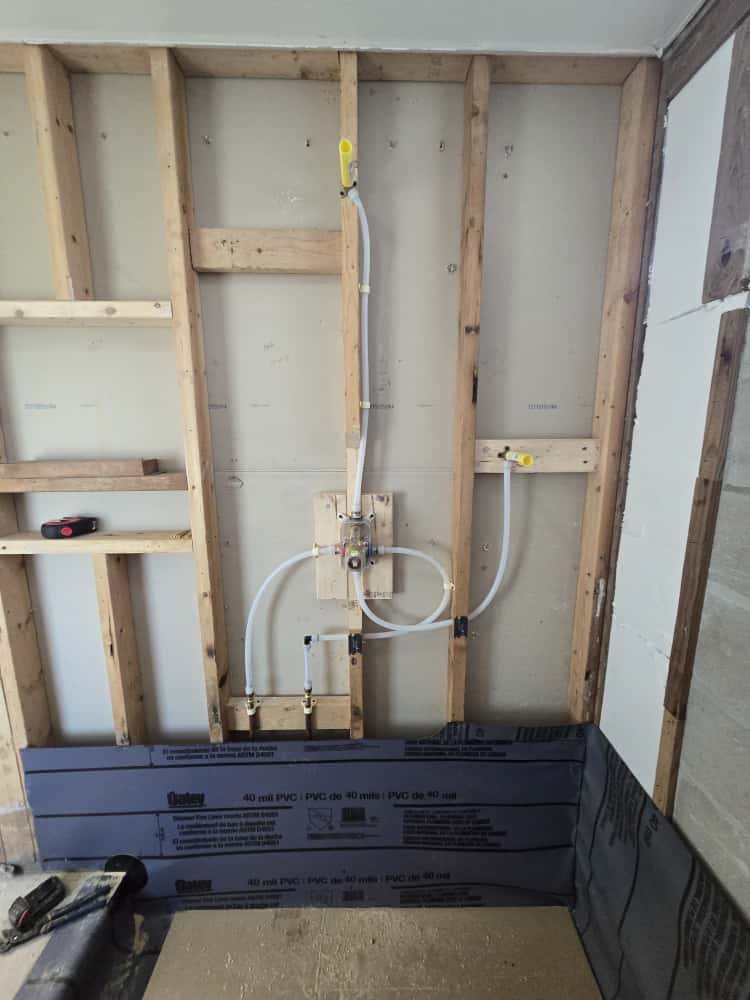
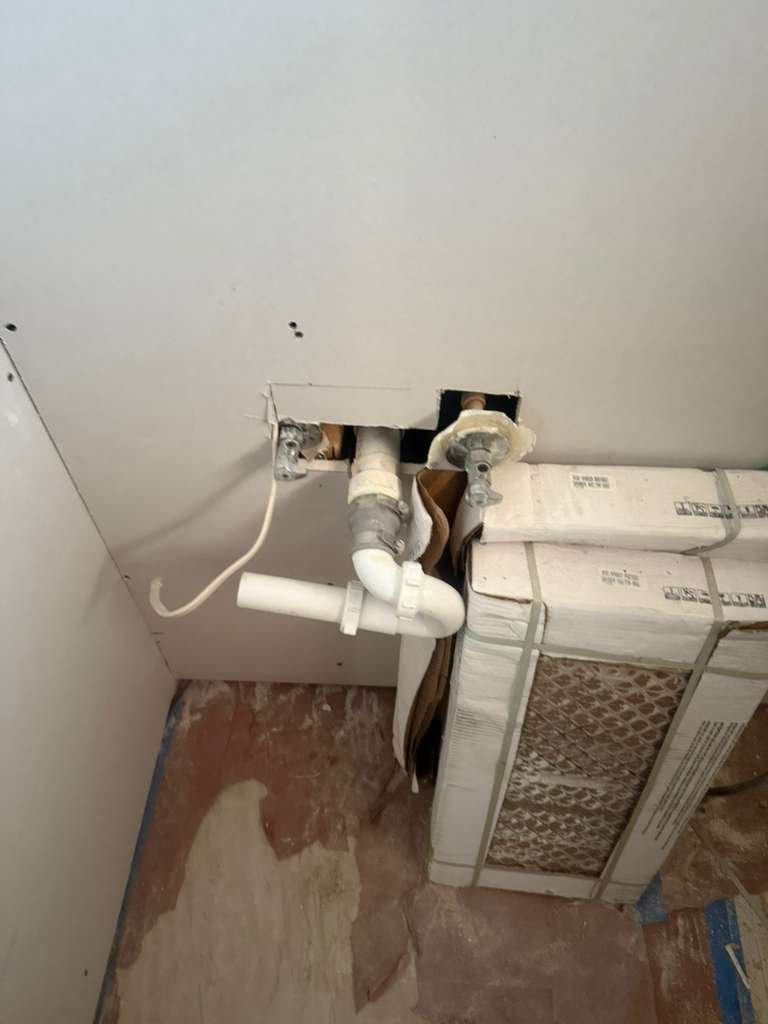
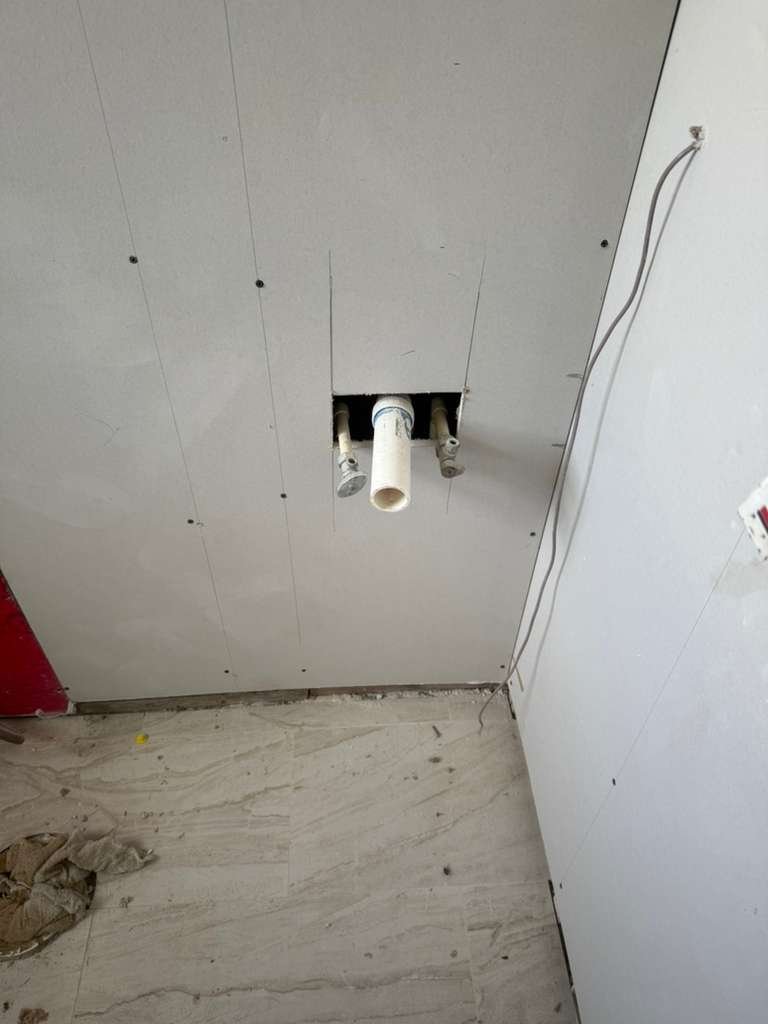
2. Relocating Vanity Water and Drain Lines
Next, we addressed the bathroom vanity plumbing in this St. Petersburg home. Because the existing lines were too high, a new standard-height vanity would not connect properly without future issues.
Our process included:
- Marking the new elevation for the drain and water lines based on the chosen vanity height.
- Opening the drywall to access the piping behind the wall (with clear communication that drywall repair is the homeowner’s responsibility after plumbing is complete).
- Lowering the drain connection to the correct height and ensuring proper slope to the main drain.
- Lowering the hot and cold water lines to align with standard faucet and supply line positions inside the new vanity.
- Securing all new piping, testing for leaks, and ensuring shutoff valves are easy to reach once the vanity is installed.
This relocation work ensures the new vanity can be installed smoothly, without awkward pipe angles or risky bends that can lead to slow drains or leaks later on.
3. Faucet Replacement and P-Trap Work
The homeowner provided new faucets, and we included labor to install them. Our work covered:
- Removing old faucets and cleaning up the sink deck or countertop.
- Installing the new faucet assemblies, including gaskets and seals, to prevent leaks.
- Connecting water supply lines and checking for drips at all joints.
We also planned P-trap replacements where necessary, especially at the bathroom sinks. Replacing older or corroded P-traps with properly sized, correctly sloped traps helps:
- Maintain a reliable water seal that blocks sewer gases.
- Reduce chances of recurring clogs.
- Improve overall drainage performance.
Kitchen P-traps and angle valves were noted to be completed in a later phase, once the new kitchen cabinets are installed.
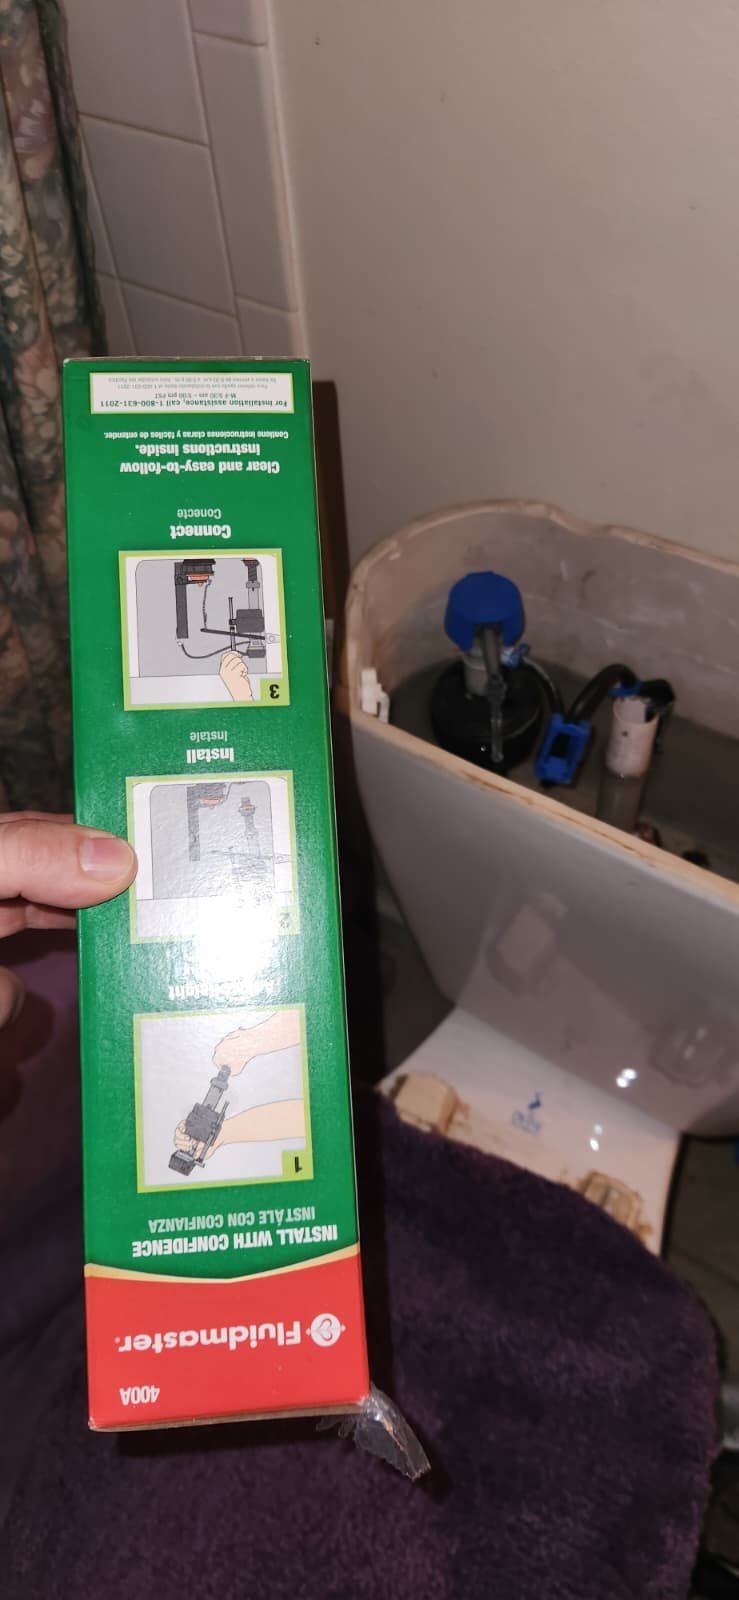
4. Planning for Water Heater and Expansion Tank
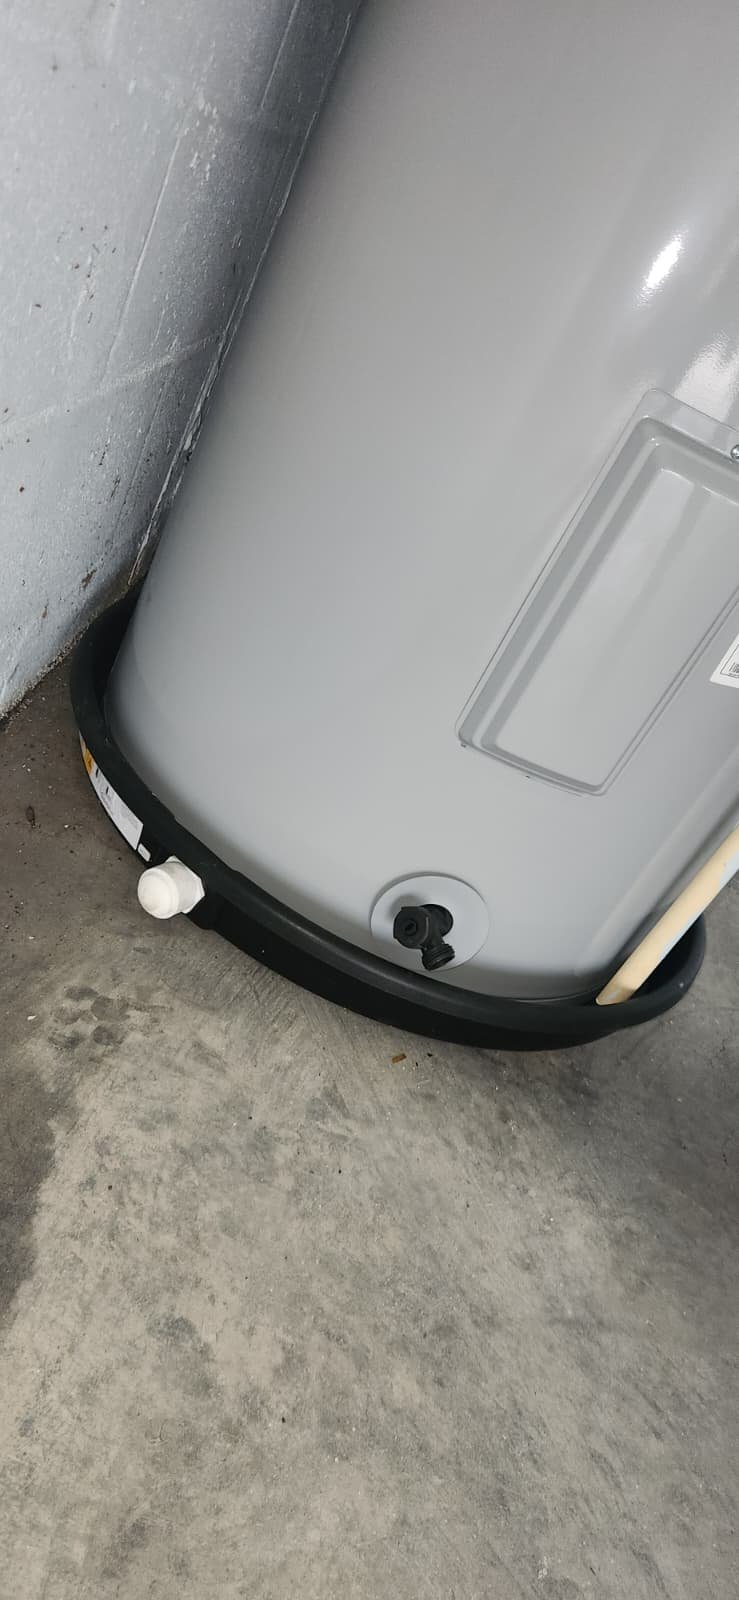
While the water heater work is scheduled for later, we built a detailed plan into the estimate so the homeowner knows exactly what to expect. For a traditional tank water heater (supplied by the customer), our scope will include:
- Setting the customer-supplied water heater in place over a customer-supplied drain pan.
- Connecting hot and cold water lines and ensuring proper shutoff valve placement.
- Installing a 2-gallon expansion tank sized for water heaters up to 50 gallons, as required by most local codes for closed water systems.
- Testing for leaks and verifying proper operation.
If the customer decides instead on a tankless water heater:
- The expansion tank line item will be removed from the estimate, since it is not needed in the same way for tankless systems.
- Electrical work will be required, and we will either coordinate with the homeowner’s licensed electrician or provide a separate estimate for the electrical scope if they choose to have us handle that portion.
We are always clear about one important detail: if we must open any sheetrock, concrete, stucco, tile, or similar materials to run new pipes, surface repair is the homeowner’s responsibility after plumbing work is complete. This keeps the project transparent and allows the homeowner to coordinate finish work with their preferred contractor.
Why These Plumbing Fixes Work
The solutions we recommended and planned for this St. Petersburg home are based on a few key plumbing principles: proper drainage, safe water pressure, and accessible shutoffs.
Toilet Flanges and Seals
A toilet needs a solid, level connection to the drain line. A damaged or low flange can cause rocking, which breaks the wax seal and lets water leak onto the floor. Over time, that can rot subflooring and create hidden water damage.
By replacing damaged flanges and installing toilets correctly, we restore:
- Watertight seals between the toilet and the drain.
- Correct toilet height and stability.
- Protection for the flooring and structure beneath.
Proper Drain and Water Line Heights
Bathroom vanity drains and water lines need to sit at the right height so the P-trap can maintain its water seal and fittings aren’t forced into awkward positions. When lines are too high:
- The P-trap may not slope properly, causing standing water or slow drainage.
- Connections may be under strain, increasing the risk of leaks.
By lowering these lines into the standard range for a new vanity, we set the system up for long-term reliability and easier future maintenance.
P-Traps and Sewer Gas Protection
The P-trap is the U-shaped section of pipe under a sink. It holds water, which creates a barrier that blocks sewer gases from coming back into your home. When P-traps are corroded, cracked, or installed improperly, that barrier can fail.
Replacing old traps with properly sized, correctly sloped ones:
- Helps prevent odors.
- Reduces gurgling and slow drainage.
- Makes future clog removal easier and safer.
Expansion Tanks and Water Heater Safety
On a closed water system, when water heats up inside a tank-style water heater, it expands. If that pressure has nowhere to go, it stresses pipes, valves, and fixtures. Over time, this shortens the lifespan of your plumbing system and can cause leaks or premature water heater failure.
An expansion tank absorbs that extra pressure, protecting:
- Your water heater tank.
- Appliances connected to the water system.
- Valves, fittings, and pipe joints throughout the home.
That’s why most local codes around Tampa Bay now require expansion tanks on residential closed systems with tank-style water heaters.
Pro Tips for Homeowners in St. Petersburg, FL
If you’re remodeling a bathroom or planning new plumbing work in St. Petersburg or elsewhere in Pinellas County, here are a few practical tips:
- Plan plumbing around your vanity and cabinet choices. Before we start work, share cabinet heights, sink types, and faucet styles with your plumber. This helps ensure water and drain lines are placed correctly the first time.
- Don’t ignore slow or rocking toilets. In our humid coastal climate near Tampa Bay, small leaks can quickly damage flooring and subflooring. If a toilet wobbles or you see staining around the base, have it checked before a remodel.
- Consider your long-term hot water needs. Tankless water heaters can be a great fit for some St. Petersburg homes, but they often require electrical upgrades. Talk with a licensed plumber and electrician before deciding, and review resources like water heater replacement options to understand what’s involved.
- Schedule plumbing work before final finishes. It’s easier—and more cost effective—to open drywall or adjust piping before paint, cabinets, and tile are finished. Coordinate your timeline so rough plumbing comes before the final trim work.
- Watch your water pressure. If your water pressure regularly runs above 80 psi, it can be hard on pipes and fixtures. Ask your plumber about pressure-reducing valves and expansion tanks to protect your system.
Why St. Petersburg Homeowners Choose Home Therapist
At Home Therapist Cooling, Heating, and Plumbing, we understand that a remodel or major plumbing update can feel overwhelming. Our job is to take that pressure off you by:
- Sending licensed, experienced technicians who know local codes in Pinellas County and the broader Tampa Bay area.
- Providing clear, written estimates that separate labor from customer-supplied materials.
- Explaining what we found and why we recommend each repair, in plain language.
- Focusing on cleanliness and respect for your home—from protecting floors to minimizing wall openings whenever safely possible.
- Planning work in logical phases so you can coordinate with cabinet installers, electricians, and other trades without surprises.
Whether you need help with a single bathroom issue or a full-home plumbing update, our local Tampa Bay plumbing technicians are here to guide you from consultation to completion. For more information about our plumbing capabilities throughout the region, explore our plumbing repair services in Pinellas County and sink installation and repair services in Tampa Bay.
Ready to Upgrade Your Bathroom Plumbing in St. Petersburg?
If you’re planning new toilets, vanities, or a water heater replacement in St. Petersburg, FL, you don’t have to figure it out alone. Our team can:
- Review your remodel plans and cabinet layouts.
- Inspect existing plumbing and identify any hidden issues.
- Provide clear options for tank or tankless water heaters, including scheduling and permitting considerations.
- Coordinate phases of work around your contractor’s timeline.
To see what scheduling looks like and how early planning helps, you can also learn about early scheduling for toilet installation services in Tampa Bay or review how we handle water heater installs in the Tampa area.
When you’re ready, reach out to Home Therapist for professional plumbing service in St. Petersburg, FL and across the Tampa Bay region. We’ll treat your home with the same care and attention we gave this Shore Acres project—and give your plumbing the therapy it needs to keep your family comfortable and safe.
Local note: St. Petersburg is known for its beautiful waterfront neighborhoods and coastal humidity. That combination makes reliable, code-compliant plumbing especially important. If you’re near areas like downtown St. Petersburg, Shore Acres, or along the greater Tampa Bay shoreline, thoughtful planning today can prevent costly repairs tomorrow. You can learn more about the city itself on resources like St. Petersburg, Florida or explore the wider region around Tampa Bay and local landmarks and neighborhoods as you plan your next home improvement project.