

DIY Air Duct Cleaning Guide for Cleaner Indoor Air
Over half of American households deal with indoor air that is more polluted than outside air according to national research. For Tampa Bay homeowners who like to tackle projects themselves, controlling dust and allergens can make a real difference in everyday comfort. By learning how to safely clean air ducts using the right tools and simple techniques, you can reduce sneezing and musty odors while protecting your family’s health without hiring expensive services.
Table of Contents
- Step 1: Gather Essential Tools and Safety Gear
- Step 2: Shut Off HVAC and Access Air Duct Covers
- Step 3: Vacuum and Brush Accessible Duct Surfaces
- Step 4: Wipe Vents and Change Air Filters
- Step 5: Inspect Results and Restore System Operation
Quick Summary
| Essential Insight | Explanation |
|---|---|
| 1. Gather Necessary Tools | Collect a HEPA vacuum, brushes, and safety gear for effective cleaning and personal protection. |
| 2. Ensure System is Off | Shut down the HVAC system to prevent dangers and dust spread during cleaning. |
| 3. Vacuum and Brush Ducts Carefully | Use the vacuum and brushes methodically to remove all dust without causing damage to the ductwork. |
| 4. Clean Vents and Replace Filters | Wipe vent covers and install a high-rated air filter to enhance indoor air quality. |
| 5. Inspect Work and Restore System | Check ducts for any remaining debris, ensure everything is reassembled and safely turn the system back on. |
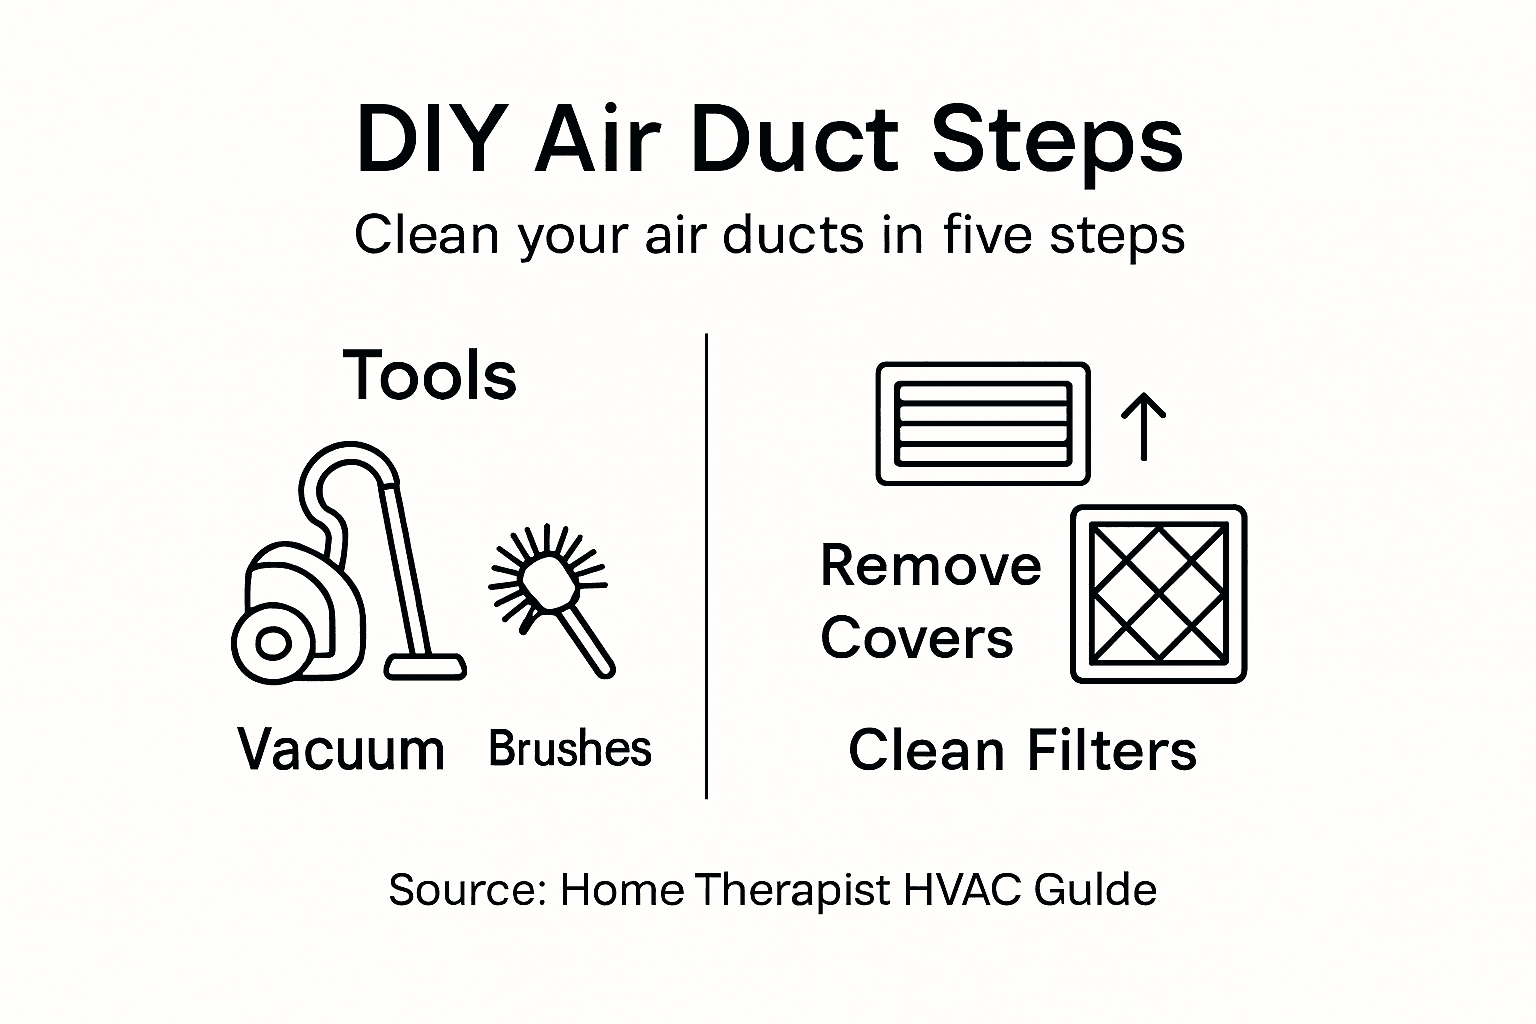
Step 1: Gather Essential Tools and Safety Gear
Preparing for a successful air duct cleaning project starts with assembling the right tools and protective equipment. You’ll need a comprehensive set of gear that keeps you safe while effectively tackling dust and debris in your home’s ventilation system.
Begin by collecting your core cleaning tools: a high-powered vacuum with a HEPA filter, several different brush sizes with extendable handles, microfiber cloths, and disposable drop cloths. For safety, you must invest in proper personal protective equipment to shield yourself from airborne particles and potential irritants. This means acquiring safety glasses with wrap-around protection, heavy-duty work gloves, a dust mask or respirator rated for fine particulates, and protective clothing that covers your arms and legs.
Additionally, ensure you have a sturdy ladder for accessing high vents, a flashlight for visibility in dark duct spaces, and a few clean work towels for managing any unexpected mess. Organizing your tools before starting will make the entire cleaning process smoother and more efficient.
Pro Tip: Store all your cleaning and safety gear in a dedicated plastic bin to keep everything organized and easily accessible for future maintenance projects.
Here’s a quick reference for essential air duct cleaning tools and their primary uses:
| Tool or Gear | Purpose | Additional Benefit |
|---|---|---|
| HEPA Vacuum | Removes dust and allergens | Improves indoor air quality |
| Extendable Brushes | Dislodges debris from duct walls | Reaches tight corners |
| Microfiber Cloths | Captures fine particulates | Reduces dust recirculation |
| Safety Glasses | Protects eyes from debris | Shields against irritants |
| Dust Mask/Respirator | Filters harmful airborne particles | Prevents respiratory issues |
| Work Gloves | Guards hands against sharp objects | Provides better grip |
| Protective Clothing | Prevents skin contact with contaminants | Covers arms and legs |
| Sturdy Ladder | Accesses high or hard-to-reach vents | Ensures safe vertical access |
| Flashlight | Illuminates dark duct surfaces | Detects hidden buildup |
| Drop Cloths | Protects floors and furnishings | Easier cleanup after project |
Step 2: Shut Off HVAC and Access Air Duct Covers
Before diving into air duct cleaning, you must completely shut down your HVAC system and carefully access the duct covers. This critical preparatory step ensures your safety and prevents dust and debris from spreading throughout your home.
Start by locating your home’s main electrical panel and switching off the circuit breaker for your HVAC system. This guarantees zero electrical current running to the system during your cleaning process. Next, turn off the system at the thermostat by switching it to the “off” position. Proper system shutdown prevents potential injury and ensures a clean, controlled work environment.
Cautiously remove the vent covers and access panels using a screwdriver, being mindful of any screws or clips holding them in place. Work systematically room by room, placing removed covers in a clean, designated area. As you remove each cover, use your flashlight to inspect the initial duct entrance for visible dust buildup or potential obstructions.
Pro Tip: Take a quick smartphone photo of each vent cover before removal to help you remember the exact placement during reassembly.
Step 3: Vacuum and Brush Accessible Duct Surfaces
Now comes the most critical part of your air duct cleaning project: thoroughly removing dust and debris from your home’s ventilation system. This step requires careful technique and the right equipment to ensure comprehensive cleaning without damaging your ductwork.
Begin by attaching the longest vacuum hose attachment to your HEPA filter vacuum. Carefully insert the hose into the duct opening, reaching as far as possible without forcing the attachment. Systematic cleaning techniques improve air quality and help maintain your HVAC system’s efficiency. Use a flexible brush attachment to gently loosen dust and debris along the duct walls, working methodically to avoid pushing dirt further into the system.
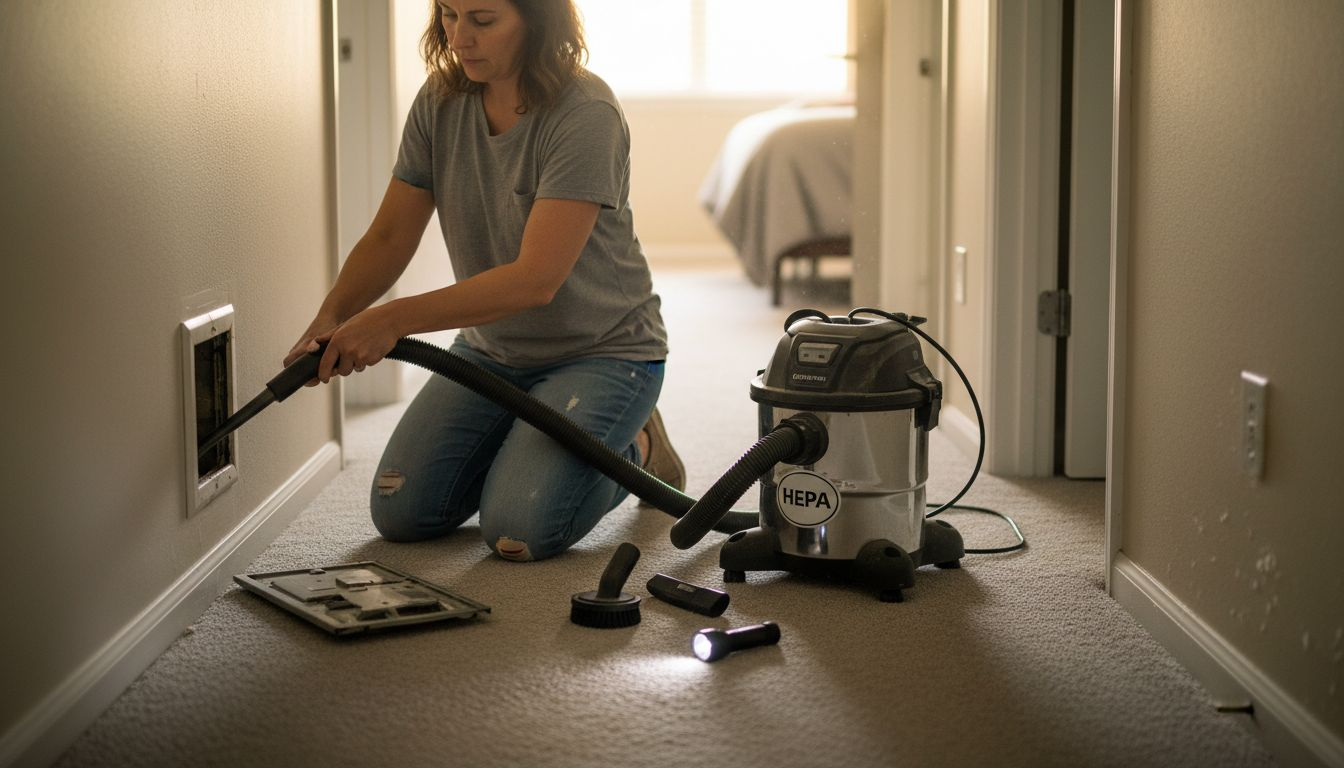
Move slowly and deliberately, paying extra attention to corners and joints where dust tends to accumulate. If you encounter stubborn buildup, use a soft bristle brush to carefully dislodge particles before vacuuming. Work from the furthest duct point back towards the main opening, ensuring you capture as much debris as possible without spreading it around.
Pro Tip: Wrap a microfiber cloth around your brush attachment to capture fine dust particles more effectively during the cleaning process.
Step 4: Wipe Vents and Change Air Filters
With the major debris removed, it is time to focus on the finishing touches that will dramatically improve your home’s air quality. This step involves thoroughly cleaning your vent covers and replacing the air filter to ensure maximum filtration and system efficiency.
Begin by using a microfiber cloth dampened with warm water to wipe down each vent cover carefully. Remove the covers completely and clean both sides, paying special attention to the edges where dust tends to accumulate. Proper vent maintenance prevents indoor air pollution and helps maintain a healthier living environment. When selecting a replacement air filter, choose one with a MERV rating of 13 or higher to capture smaller particles effectively. Carefully slide out the old filter and note its size before inserting the new one, ensuring it fits snugly and is positioned in the correct direction.
Position the new filter with the airflow arrow pointing toward the furnace or air handler, which is typically marked on the filter’s frame. Press the filter firmly into place, making sure there are no gaps around the edges that could allow unfiltered air to pass through. This simple maintenance step can significantly improve your HVAC system’s performance and the overall air quality in your home.
Pro Tip: Set a recurring reminder on your phone to check and replace your air filter every three months to maintain optimal system efficiency.
Compare two common air filter ratings to help you choose the best option:
| Filter Type | Particle Capture Efficiency | Typical Use Case | Effect on Air Quality |
|---|---|---|---|
| MERV 8 | Captures most dust/mold | General residential filtration | Moderate improvement |
| MERV 13+ | Traps finer particles | Allergy-sensitive environments | Significant enhancement |
Step 5: Inspect Results and Restore System Operation
With the cleaning process complete, it is time to carefully evaluate your work and return your HVAC system to full functionality. This final step ensures that your efforts have improved your home’s air quality and that the system is ready to operate efficiently.
Begin by visually inspecting each duct section you cleaned, checking for any remaining debris or potential issues. Use a flashlight to thoroughly examine the duct interiors, looking for signs of moisture, mold, or unexpected damage. Duct leakage testing helps verify system performance and can reveal hidden problems that might impact your HVAC efficiency. Listen carefully as you gradually restore power to confirm that airflow sounds normal and that there are no unusual noises indicating potential blockages or damage.
Carefully replace all vent covers and access panels, ensuring they are securely fastened. Return to your electrical panel and switch the HVAC circuit breaker back to the on position. Next, go to your thermostat and reactivate the system, setting it to your preferred temperature. Allow the system to run for about 15 minutes, paying attention to airflow strength and any unusual sounds that might indicate incomplete cleaning or potential system issues.
Pro Tip: Take before and after photos of your duct interiors to track improvement and create a visual record for future maintenance reference.
Keep Your Indoor Air Quality at Its Best with Expert HVAC Care
DIY air duct cleaning can help reduce dust and improve airflow inside your home, but thorough maintenance often requires specialized tools and professional know-how. If you’ve encountered challenges like stubborn dust buildup, hard-to-reach vents, or concerns about system efficiency mentioned in the DIY Air Duct Cleaning Guide for Cleaner Indoor Air, you are not alone. These pain points highlight the importance of precise filtration, secure duct sealing, and expert inspection to truly enhance your indoor air quality and HVAC performance.
Trust Home Therapist Cooling, Heating, and Plumbing to take your home comfort to the next level. Our certified technicians in the Tampa Bay area use advanced equipment to clean, inspect, and maintain your air ducts and HVAC system safely and efficiently. Don’t let hidden buildup or clogged filters compromise your family’s health and comfort. Visit our homepage to schedule your service or learn more about how our comprehensive heating and cooling solutions can protect your indoor air. Make the smart choice today and breathe easier tomorrow.
Frequently Asked Questions
How do I prepare for a DIY air duct cleaning project?
To prepare for a DIY air duct cleaning project, gather essential tools like a HEPA vacuum, extendable brushes, and protective gear such as gloves and safety glasses. Organizing your tools in a dedicated bin ensures a smoother cleaning process.
What steps should I take before cleaning my air ducts?
Before cleaning your air ducts, turn off your HVAC system at the circuit breaker and thermostat. Remove the vent covers carefully, placing them in a clean area for easy reassembly later.
How can I effectively vacuum and brush my air ducts?
To effectively vacuum and brush your air ducts, use a HEPA vacuum with the longest hose attachment and gently insert it into the duct opening. Work methodically, focusing on corners and joints, and consider using a soft bristle brush for stubborn debris.
What should I do after cleaning the air ducts?
After cleaning the air ducts, inspect each section for remaining debris and replace vent covers securely. Reactivate your HVAC system and let it run for about 15 minutes to ensure proper airflow and confirm that there are no unusual noises.
How often should I change my air filter after cleaning?
After cleaning your air ducts, you should change your air filter every three months to maintain optimal air quality and system efficiency. Set a reminder on your phone to make this regular maintenance easy and consistent.
Can I improve indoor air quality with DIY air duct cleaning?
Yes, DIY air duct cleaning can improve indoor air quality by reducing dust and allergens in your ventilation system. Committing to thorough cleaning and regular maintenance practices can lead to noticeable enhancement in your home’s air quality.
About This Guide
Written and reviewed by the Home Therapist Cooling, Heating & Plumbing team, a family-owned Tampa Bay HVAC and plumbing company serving the area since 2011. Our licensed techs hold Florida HVAC license CAC1819196 and Plumbing license CFC1431159, with over 1,100 five-star reviews across Tampa, St. Petersburg, Clearwater, Wesley Chapel, Lutz, Riverview, Brandon, Valrico, Apollo Beach, Palm Harbor, Land O’ Lakes, Plant City, New Port Richey, and surrounding Tampa Bay zip codes.
Honest pricing: $279 labor minimum. Upfront quotes, no high-pressure sales, no surprise fees.
Questions about your home? Call (813) 343-2212 for a real tech, or request a callback. Available 7 days a week including evenings and weekends for emergencies.
Recommended
- Complete Guide to HVAC’s Role in Air Quality – Home Therapist Cooling, Heating, and Plumbing
- Complete Guide to HVAC’s Role in Air Quality – Home Therapist Cooling, Heating, and Plumbing
- 7 Essential HVAC Maintenance Checklist Tips for Homeowners – Home Therapist Cooling, Heating, and Plumbing
- HVAC Troubleshooting Steps for Homeowners: Easy Guide – Home Therapist Cooling, Heating, and Plumbing
More Ductwork & Airflow Articles
- AC System and Ductwork Installation Labor in St. Petersburg, FL 33712
- Air Duct Condensation Repair in Tampa, FL 33624
- AC Maintenance and Duct Sanitizing in St. Petersburg, FL 33713
- Ductwork Replacement and Thermostat Upgrade in Clearwater, FL 33763
- Condenser Tune Up and Ductwork Inspection Project in Tampa, FL 33614


