

Garbage Disposal Won’t Turn On: Fixes Before You Call
You flip the switch and nothing happens. No hum, no grinding, no sound at all, your garbage disposal won’t turn on. Before you assume the worst, know that this is one of the most common plumbing calls we get at Home Therapist, and a good number of them have simple fixes you can handle yourself.
The issue usually comes down to something electrical, a tripped reset button, a blown circuit, or a faulty switch. Sometimes it’s even simpler than that, like a unit that’s come unplugged under the sink. None of these require a plumber, and checking them takes just a few minutes with basic tools.
Below, we’ll walk you through each troubleshooting step in order, from the easiest checks to the ones that take a bit more effort. And if you work through them all and your disposal still won’t budge, our licensed plumbers serve the Greater Tampa Bay Area with same-day availability, so you won’t be stuck waiting.
Safety and tools before you start
Working under a sink puts you close to electrical connections and a motor with sharp internal components. Even when your garbage disposal won’t turn on, treat it as live until you’ve confirmed the power is off. A disposal that appears dead can still receive current, and that’s a serious shock risk if you reach inside without taking the right steps first.
Cut the power first
Switch off the disposal at the wall switch, then locate the dedicated circuit for your disposal on your breaker panel and flip it off. If you’re not sure which breaker controls it, switch off the main breaker while you work. Once the breaker is off, unplug the disposal’s power cord from the outlet under the sink before you touch anything inside the unit.
Never put your hand or fingers inside the disposal chamber, even with the power off. The internal grinding components are sharp and will cut you.
What you’ll need
You don’t need specialized tools for most of these checks. Keep the following items on hand before you get started so you’re not stopping mid-diagnosis to hunt around the house. Having everything within reach saves time and keeps you from crawling under the sink twice.
- Flashlight or headlamp to see clearly under the sink
- A multimeter for testing outlets and switches in Step 3
- The hex wrench (Allen key) that came with your disposal, typically 1/4-inch
- The disposal’s reset button location (bottom of the unit)
- A pair of slip-joint pliers
- Work gloves
Most of these are standard household tools. If you don’t own a multimeter, they’re widely available at hardware stores and genuinely useful for diagnosing electrical issues around the house beyond just this repair.
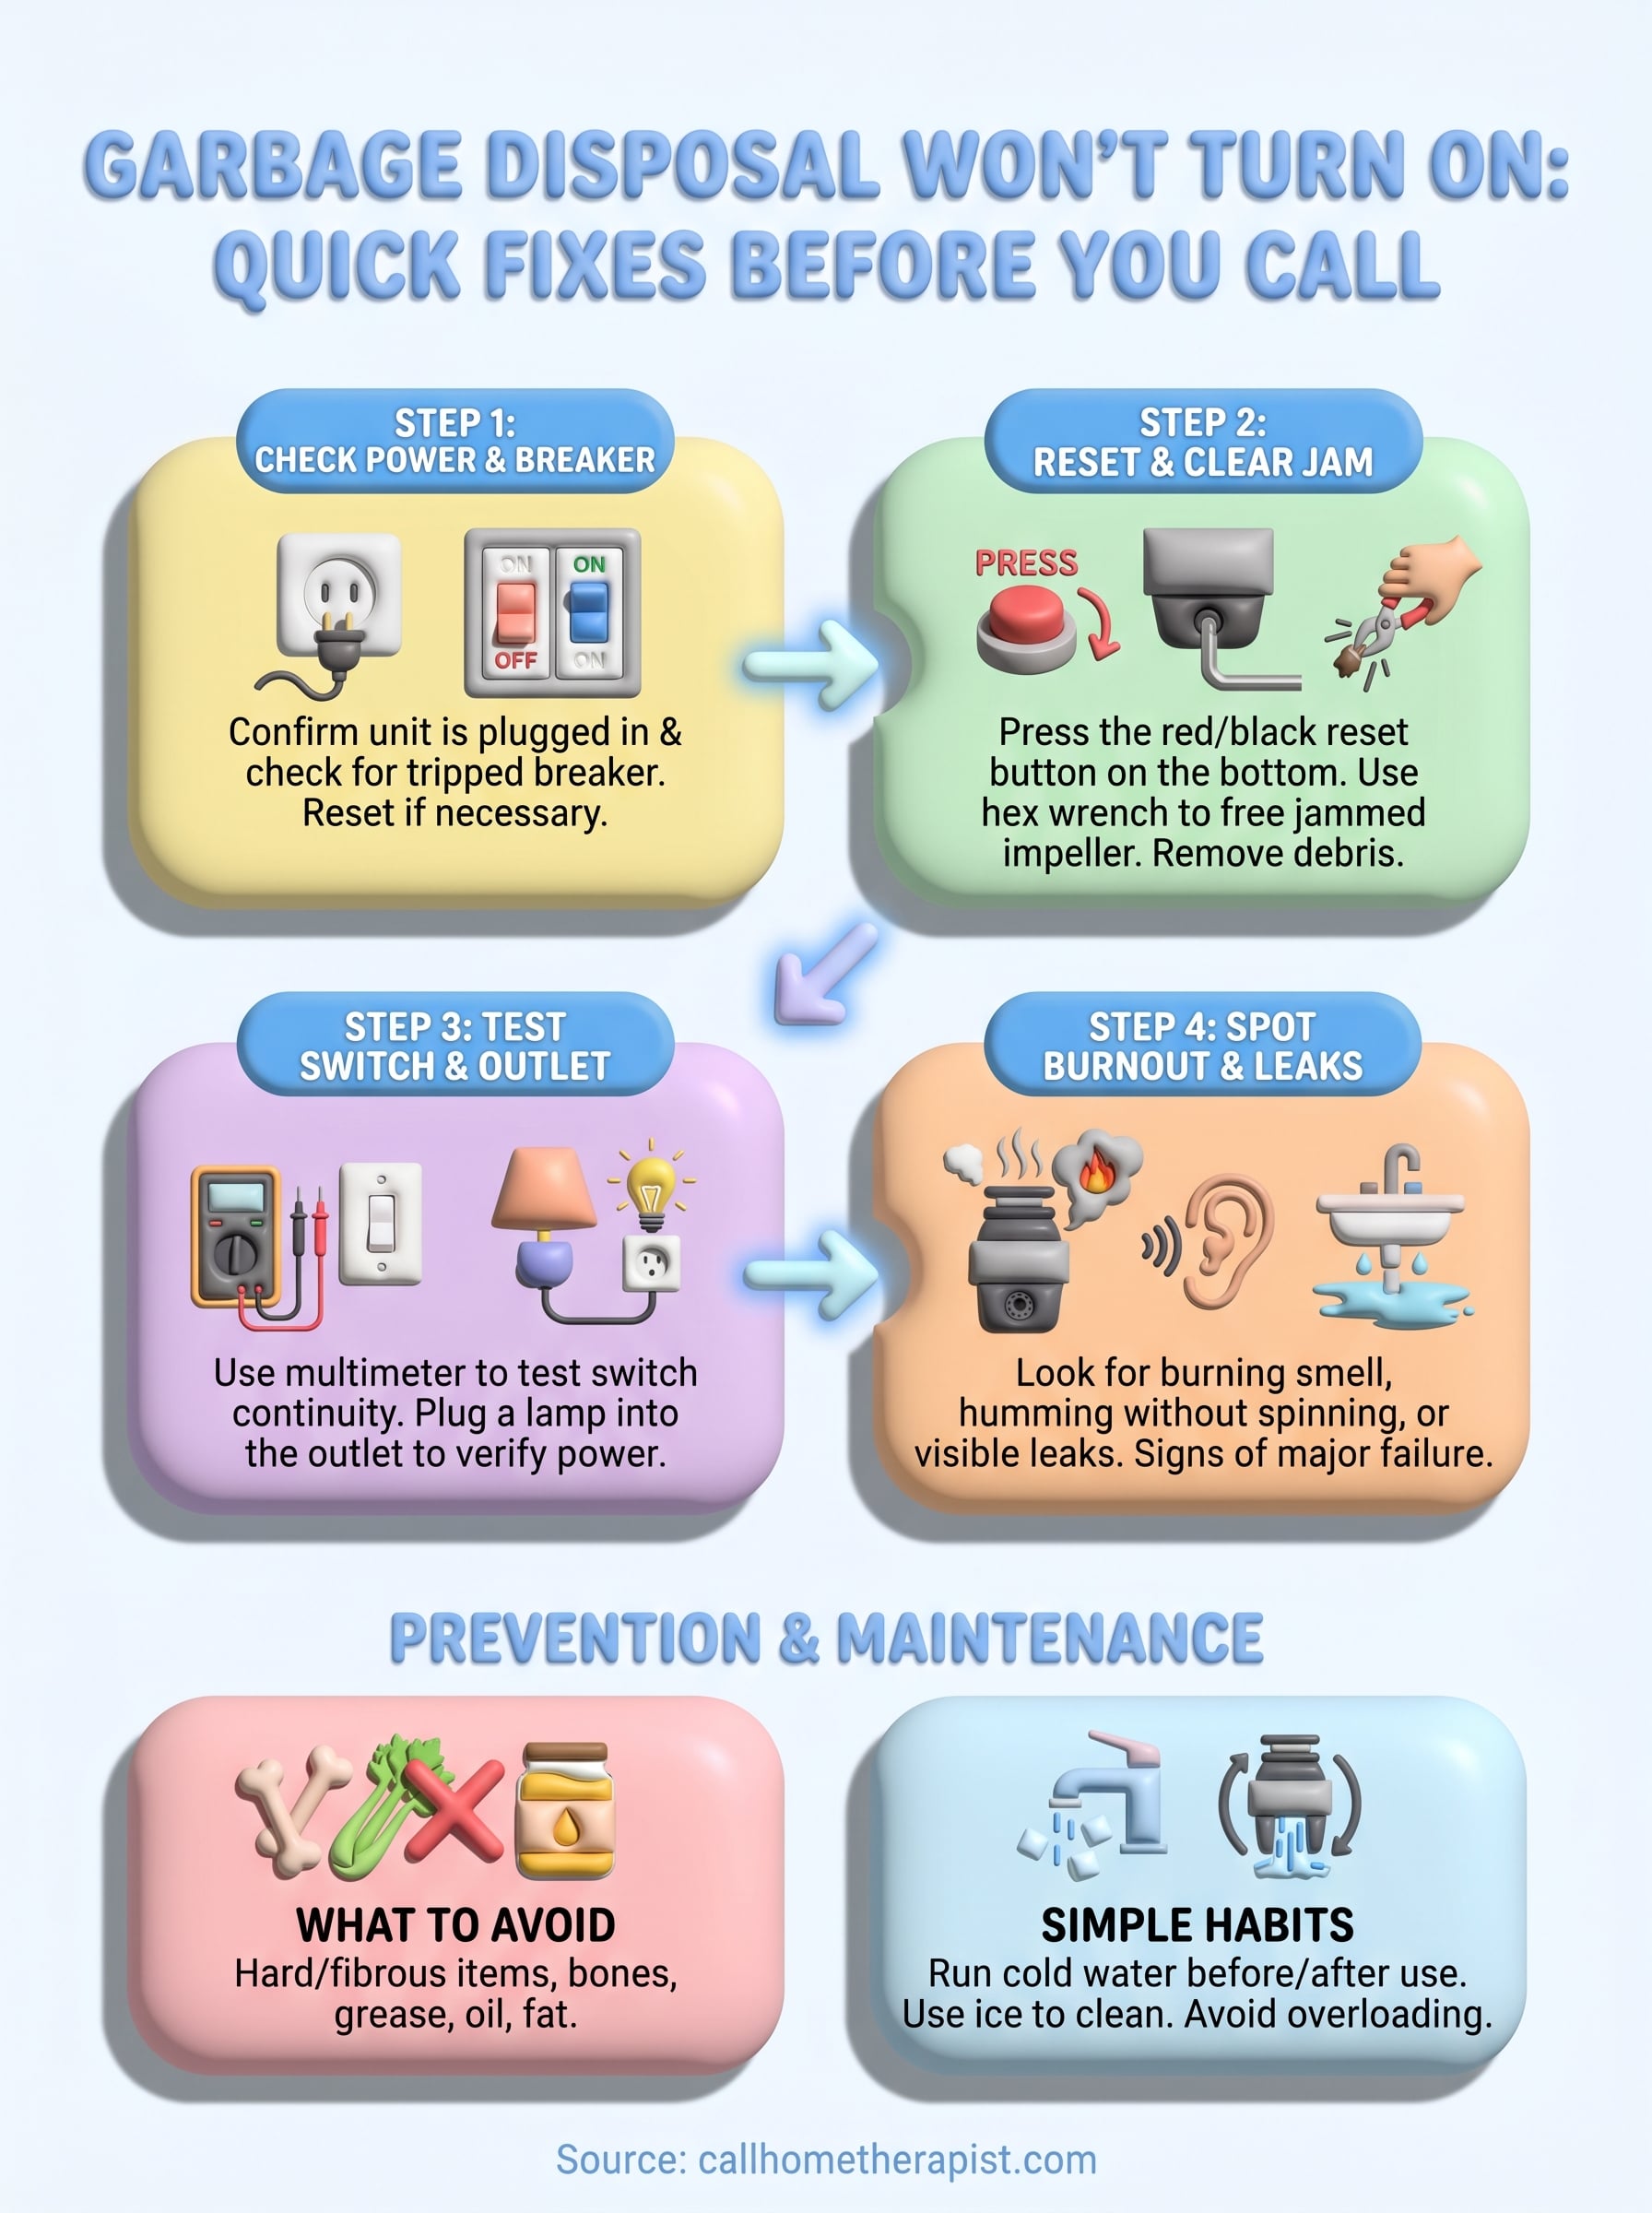
Step 1. Check power and the breaker fast
Start here before anything else. A garbage disposal won’t turn on for many reasons, but the power supply is the fastest thing to eliminate and the most commonly overlooked.
Confirm the unit is plugged in
Open the cabinet under your sink and trace the disposal’s power cord to the outlet. Vibration from regular use can work the plug loose over time, and this is worth confirming before you dig deeper. If the plug is partially out or disconnected, push it in firmly and test the wall switch again.
Check the breaker panel
Head to your breaker panel and locate the circuit for your kitchen or disposal. A tripped breaker will sit between "on" and "off" rather than fully to one side. Flip it completely off first, then push it firmly back to "on."
If the breaker trips again as soon as you test the disposal, do not keep resetting it. Repeated tripping signals a wiring fault that needs a licensed professional.
Return to the wall switch and test the unit. If power is restored and the disposal still won’t run, move on to Step 2.
Step 2. Reset and clear a jam
If power isn’t the problem, your garbage disposal won’t turn on because the built-in thermal overload switch has tripped, or something is blocking the impeller plate inside the unit. Both situations prevent the motor from starting, and both are fixable without any special skills.
Press the reset button
Locate the small red or black button on the bottom of your disposal unit under the sink. If it has popped out, the thermal overload tripped to protect the motor from overheating. Press it in firmly until you feel it click, then test the wall switch immediately.
If the reset button pops back out again within seconds of pressing it, a jam is almost certainly the cause, and you need to clear it before the motor will run.
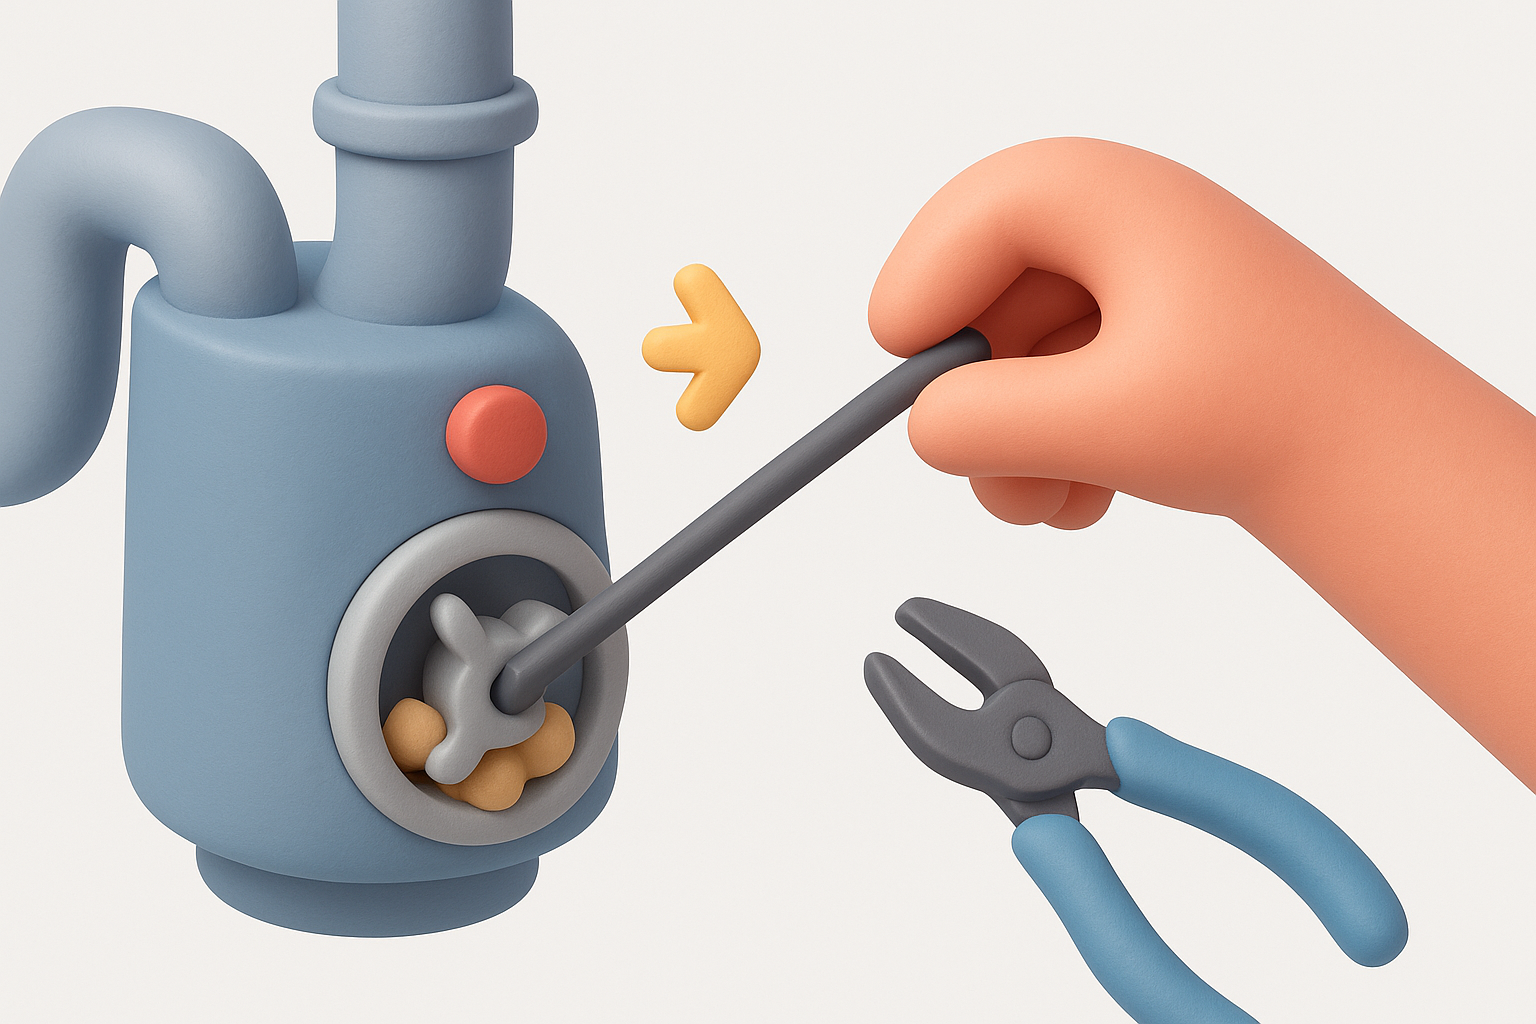
Free a jammed impeller
A stuck impeller keeps the motor locked, which triggers the thermal overload. Insert the hex wrench (Allen key) into the center hole at the bottom of the unit and work it back and forth in both directions until the resistance breaks loose. Pull any visible debris out of the drain opening with needle-nose pliers. Once the impeller turns freely, press the reset button again, run cold water, and flip the switch to test the disposal.
Step 3. Test the switch, outlet, and wiring
If resetting and clearing a jam didn’t fix it, the wall switch, the outlet, or damaged wiring may be why your garbage disposal won’t turn on. These components fail more often than people expect, and a faulty switch alone can leave the unit completely silent even when power is available.
Test the wall switch
Use a multimeter set to continuity mode to confirm your switch works. Remove the switch from the wall and probe both terminals while toggling it on and off. No continuity in the "on" position means the switch is dead and needs replacing. Replacement switches are inexpensive and widely available at any hardware store.
A bad wall switch is one of the cheapest fixes in this list and takes about 15 minutes to swap out.
Test the outlet
Plug a lamp into the outlet under the sink to confirm it has power. If nothing happens, look for a GFCI outlet with a reset button on its face and press it firmly before concluding there’s a deeper wiring fault. Common GFCI locations to check:
- The outlet directly under the sink
- A GFCI outlet in an adjacent bathroom
- Any GFCI outlet on the same kitchen circuit
Step 4. Spot burnout and leaks that mean replace
When your garbage disposal won’t turn on even after checking power, resetting the unit, and testing the switch, the motor itself may have failed. Burned-out motors and persistent leaks are the two conditions that tell you repair is no longer worth the cost.
Signs the motor has burned out
A burned motor produces a distinct burning or electrical smell coming from under the sink. You may also notice visible scorch marks or discoloration on the unit’s housing. If you pressed the reset button and heard a humming sound but the disposal still didn’t spin, that hum signals a motor struggling to start but unable to, which usually means internal failure.
Disposals older than 10 years that show motor burnout are almost never worth repairing. Replacement costs less than repeated service calls.
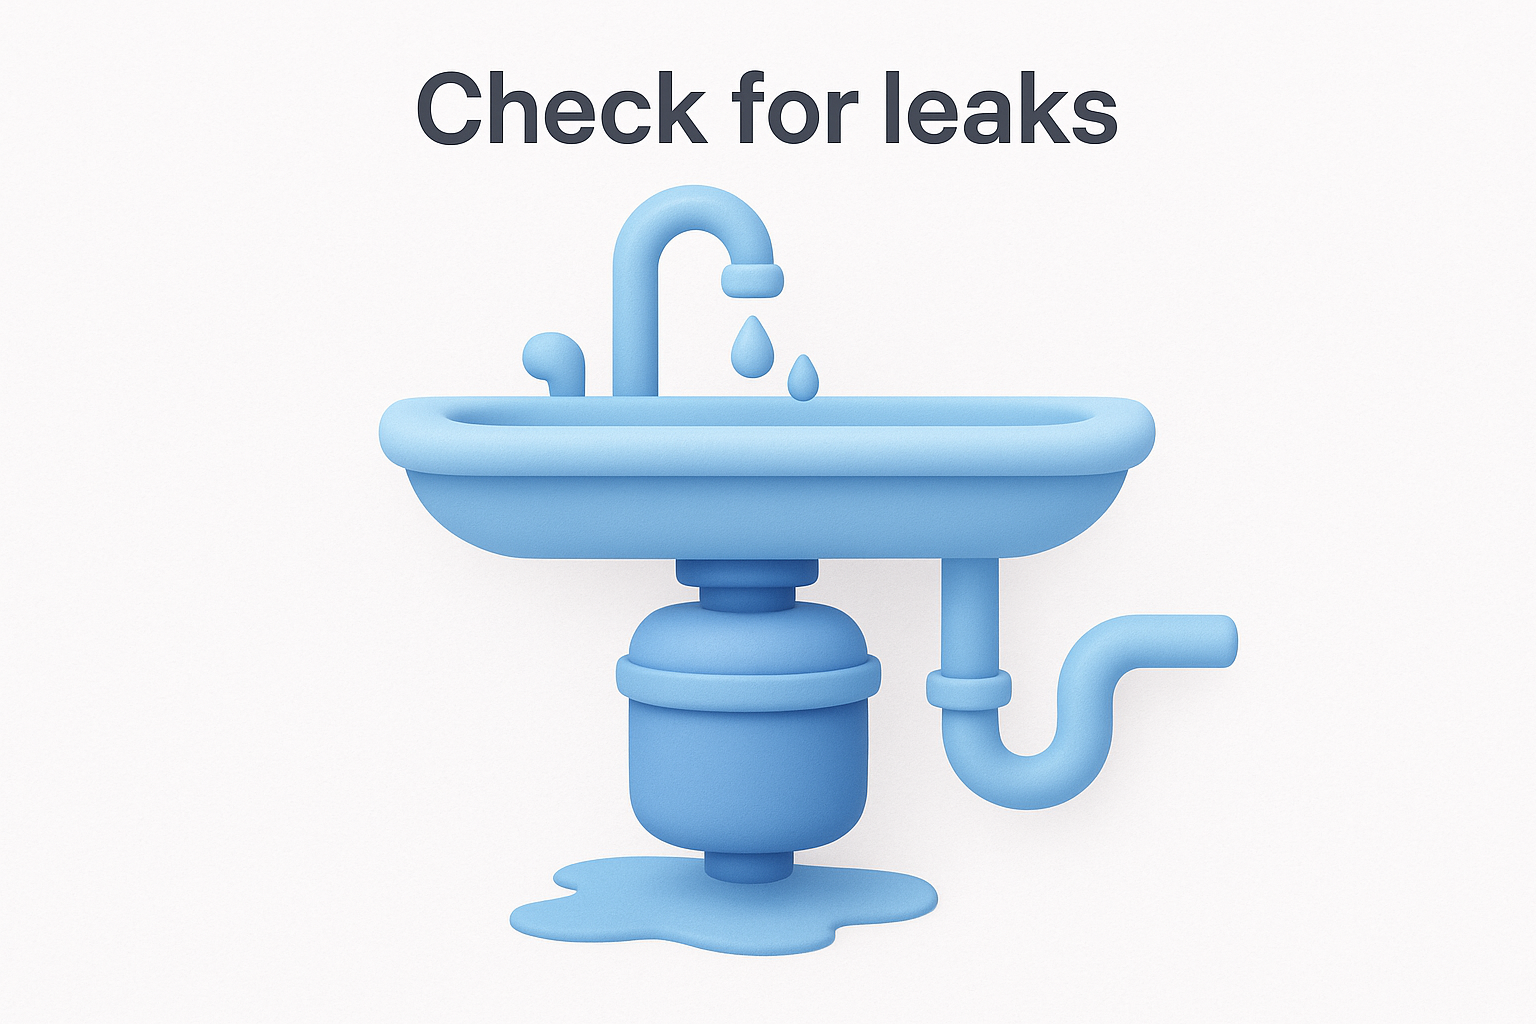
Check for leaks at the same time
While you’re under the sink, look for water pooling around the base of the unit or at the connection points. A cracked housing is not repairable and means full replacement. If the motor is dead and you’ve found a leak, replace the disposal rather than fix one problem at a time.
Run your hand along these three areas to find the source:
- Drain flange (top connection point at the sink basin)
- Side discharge port (where water exits to the p-trap)
- Bottom seal (a leak here signals a failed internal seal)
Step 5. Keep it from happening again
Most of the problems that cause a garbage disposal won’t turn on situation are preventable. The right habits take less than a minute each time you use the unit, and they extend its lifespan by years.
What not to put down the disposal
Some food waste genuinely does not belong in the disposal. Hard items like bones and fruit pits will jam the impeller plate and trigger the thermal overload. Fibrous foods like celery, corn husks, and artichoke leaves wrap around the grinding components and choke the motor over time.
Grease, oil, and fat are the most common causes of both jams and drain blockages. Pour them into a container and throw them in the trash instead.
Simple maintenance habits
Keep cold water running for at least 15 seconds before and after you run the disposal. Cold water keeps the motor cool and flushes debris completely through the drain line. Once a week, run a handful of ice cubes through the unit to clean the grinding components without chemicals.
- Run cold water before, during, and after use
- Avoid overloading with large food quantities at once
- Cut large scraps into smaller pieces before feeding them in
- Clean the rubber splash guard monthly with dish soap and a brush
If it still won’t start
You’ve worked through every step, checked the power, reset the unit, freed the jam, tested the switch and outlet, and the garbage disposal won’t turn on no matter what you try. At that point, the problem is internal, either a burned motor or a wiring fault that sits beyond what a homeowner can safely fix without pulling the unit completely.
Replacing a disposal yourself is possible, but incorrect installation causes leaks, electrical faults, and voided warranties. A licensed plumber gets it done right the first time and can confirm whether your drain line or wiring contributed to the failure before installing the new unit.
Home Therapist serves the Greater Tampa Bay Area with same-day availability and upfront pricing, so you know what the repair or replacement costs before any work starts. If your disposal is done, schedule garbage disposal repair or replacement in Tampa Bay and we’ll get it handled today.
More Faucet & Fixture Repair Articles
- How Long Do Garbage Disposals Last? Lifespan, Signs & Care
- Leaking P-Trap on Marjory Ave: Sink Drain Replacement in Tampa, FL 33612
- Plumber For Garbage Disposal Repair: Cost And Who To Call
- Garbage Disposal Not Working: Reset, Unjam, Fix In Minutes
- Garbage Disposal Humming Not Spinning: Grant Park Tampa FL 33619 Job


