

How to Detect HVAC Leaks for Lower Energy Bills
High energy bills are frustrating for many American homeowners living in Tampa Bay, especially when indoor temperatures never seem comfortable. Even a small HVAC leak can waste up to 30 percent of your heated or cooled air, driving up costs and causing uneven airflow throughout your home. Before calling a technician, you can use simple tools and methods to spot leaks yourself, helping you restore comfort and save money.
Table of Contents
- Step 1: Gather Essential Tools and Safety Gear
- Step 2: Inspect Visible Ductwork and Connections
- Step 3: Use Simple Methods to Spot Common Leak Signs
- Step 4: Test for Air Leaks with DIY Techniques
- Step 5: Verify Leak Fixes and Restore Proper Airflow
Quick Summary
| Key Point | Explanation |
|---|---|
| 1. Use Proper Safety Gear | Protective equipment like goggles, gloves, and respirators are vital for safety during HVAC leak detection. |
| 2. Inspect Ductwork Visually | Look for damage, gaps, and improper sealing in visible ducts to identify potential leaks. |
| 3. Employ Simple Leak Detection | Use airflow tests with tissue paper or smoke to confirm leak locations effectively. |
| 4. Test for Leaks with DIY Methods | Methods like smoke pencils or pressure gauges can accurately pinpoint hidden air escapes. |
| 5. Verify Repairs and Efficiency | Conduct airflow tests post-repair to ensure that your HVAC system operates optimally and evenly. |
Step 1: Gather Essential Tools and Safety Gear
Detecting HVAC leaks requires more than just good intentions. You need the right equipment to stay safe and get accurate results. Safety gear and professional tools are your first line of defense against potential hazards.
Start by assembling a comprehensive safety kit that protects you from electrical risks, airborne particles, and potential physical dangers. Your essential protective gear should include safety goggles or a face shield to guard your eyes, thick work gloves to protect your hands, and slip-resistant shoes to prevent accidental falls. For respiratory protection, consider wearing a respirator that filters out dust and potential chemical particles while you investigate your HVAC system.
For leak detection, you will need specific tools like a clamp meter, wire strippers, an anemometer, and a reliable leak detector. Proper identification of hazards means having the right equipment to measure airflow, electrical connections, and potential refrigerant leaks. A digital manifold gauge set can help you assess system pressures, while thermal imaging cameras can reveal temperature variations that might indicate leak locations.
Pro Tip: Always test your safety equipment before starting any HVAC inspection to ensure everything is functioning correctly and fits properly.
Here’s a summary of essential safety gear and detection tools used in HVAC leak inspections:
| Category | Tool/Equipment | Primary Purpose |
|---|---|---|
| Personal Protection | Safety goggles/face shield | Eye and face protection from debris |
| Personal Protection | Work gloves | Shield hands from sharp edges |
| Personal Protection | Slip-resistant shoes | Prevent falls in hazardous areas |
| Personal Protection | Respirator | Filter dust and chemical particles |
| Detection Equipment | Clamp meter | Check electrical current safely |
| Detection Equipment | Wire strippers | Remove insulation for wiring checks |
| Detection Equipment | Anemometer | Measure air velocity in ducts |
| Detection Equipment | Leak detector | Identify refrigerant or air leaks |
| Detection Equipment | Digital manifold gauge | Assess system pressure readings |
| Detection Equipment | Thermal camera | Spot temperature variations/leak areas |
Step 2: Inspect Visible Ductwork and Connections
Now that you are geared up with safety equipment, it is time to investigate your HVAC system’s potential leaks. Inspecting visible ductwork requires careful examination of your home’s accessible ducts, especially in areas like attics, basements, and crawlspaces.
Begin by visually scanning all exposed ductwork for signs of damage. Look for holes, gaps at connection points, and areas where the duct sealing appears compromised. Pay special attention to seams and junctions around air handler cabinets and evaporator coil areas. Proper duct sealing techniques involve using mastic sealant or UL 181 approved foil tape to cover any detected openings.
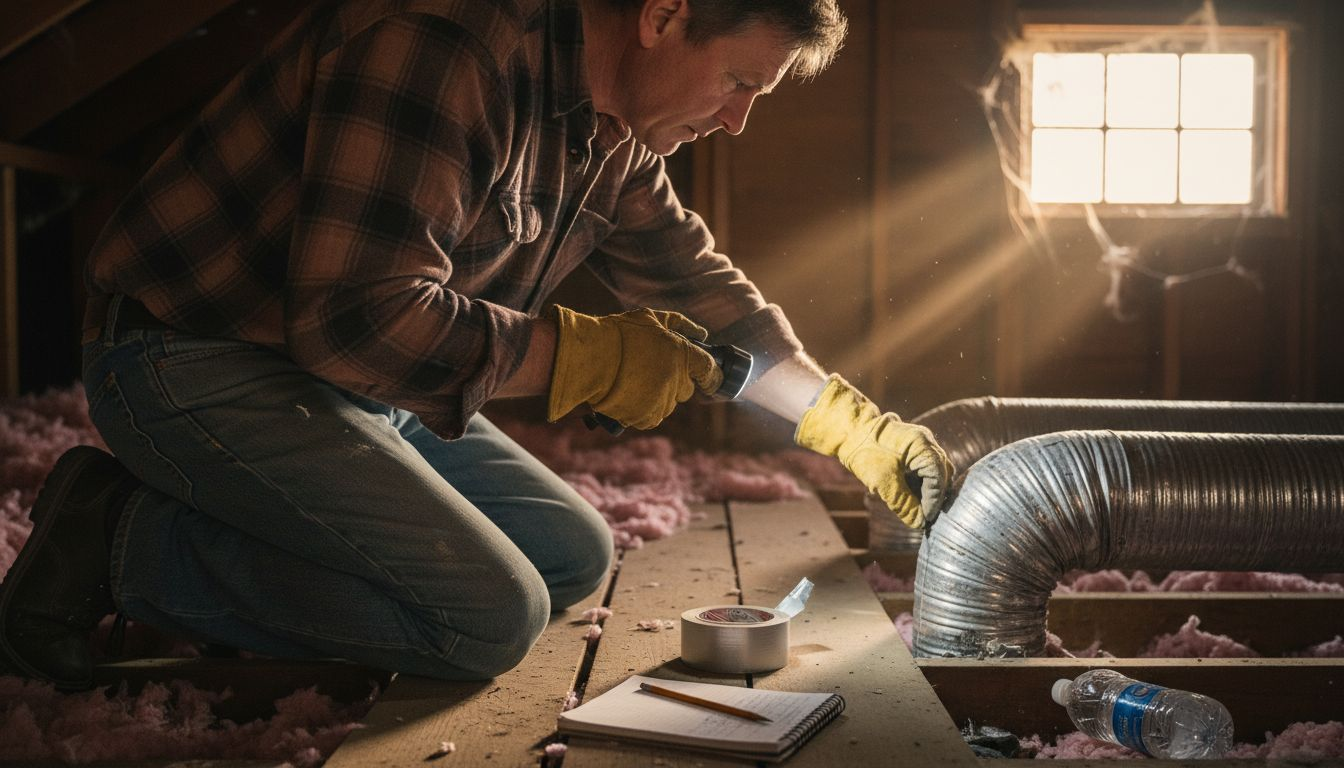
To enhance your inspection, use simple diagnostic techniques like holding a smoke pencil or lit incense near suspected leak areas. The smoke movement will help you identify air escaping from unsealed connections. Watch for telltale signs such as dust accumulation near connections, uneven room temperatures, or unexpectedly high energy bills, which often indicate significant ductwork leakage.
Pro Tip: Run your inspection during peak heating or cooling times for the most accurate leak detection results.
Step 3: Use Simple Methods to Spot Common Leak Signs
Detecting HVAC leaks is more than just a technical challenge its about understanding the subtle signs your system sends. Common signs of infiltration) reveal themselves through various performance indicators that can help you catch problems before they become expensive repairs.
Start by paying attention to your home’s temperature consistency. Uneven heating or cooling in different rooms often signals potential ductwork leaks. Walk through each room and note any drafts or uncomfortable spots that feel noticeably warmer or cooler than others. Dust accumulation near vents or registers is another red flag. Your HVAC system should filter air efficiently, so excessive dust suggests air is being pulled in through unsealed connections. HVAC system efficiency indicators like frequent equipment cycling, unexpectedly high utility bills, and inconsistent temperatures are your primary diagnostic tools.
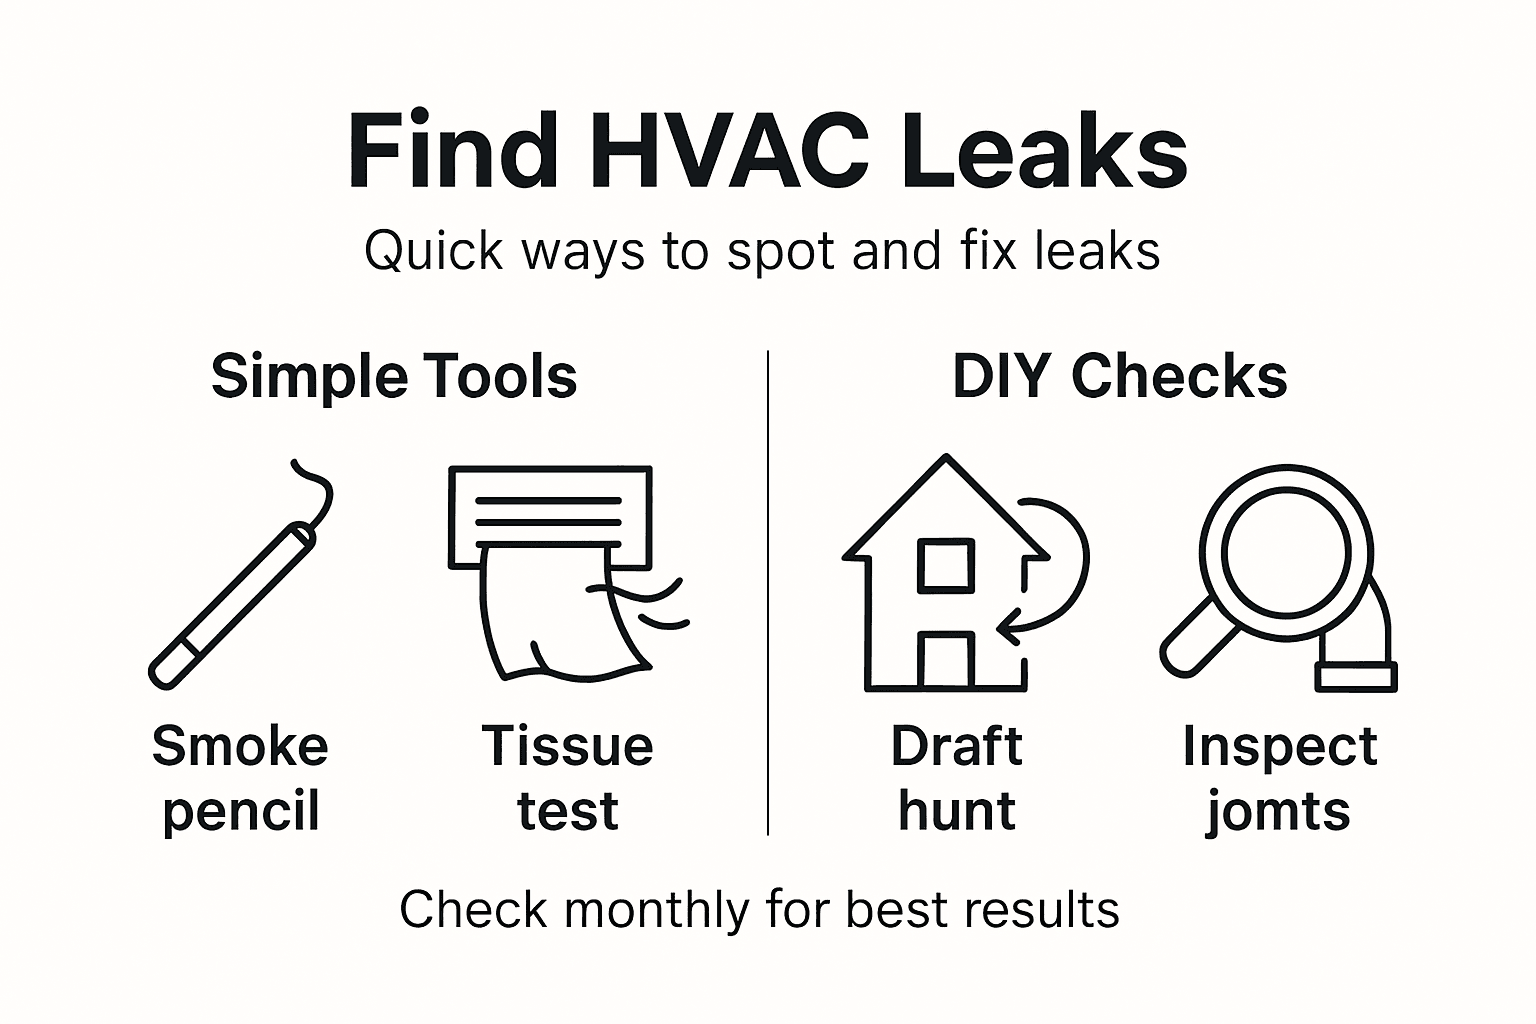
To confirm your suspicions, perform a simple airflow test. Hold a thin piece of tissue paper near duct connections and register edges. If the tissue moves or flutters when the system is running, you have likely discovered an air leak. Listen for unusual whistling sounds during system operation these can also indicate air escaping through small openings.
Pro Tip: Track your energy bills month to month and watch for unexplained increases that might indicate hidden HVAC system leaks.
Step 4: Test for Air Leaks with DIY Techniques
Now that you have identified potential problem areas, it is time to confirm your suspicions with some hands-on leak detection techniques. Infrared leak detection methods offer a sophisticated approach to uncovering hidden air escapes in your home’s HVAC system.
One effective DIY technique involves using a smoke pencil or even a lit incense stick near suspected leak points. When the system is running, move the smoke slowly along duct connections, window frames, and electrical outlets. Watch how the smoke behaves sudden movement or dissipation indicates an air leak. For a more advanced approach, consider using a pressure gauge to measure airflow differences. HVAC diagnostic tools like these can help you pinpoint exact locations where air is escaping.
If you want a comprehensive test, try the home pressurization method. Close all windows and doors, turn on exhaust fans, and use a smoke pencil to trace potential leak paths. The negative pressure will help reveal even subtle air infiltration points. Pay special attention to areas around windows, doors, electrical outlets, and where different building materials meet.
Pro Tip: Conduct your leak detection tests during windy days or temperature extremes for the most revealing results.
Compare common HVAC leak detection methods and their best-use scenarios:
| Method | Tools Needed | Best For Checking |
|---|---|---|
| Visual Inspection | Flashlight, mirror | Obvious holes or loose connections |
| Smoke pencil/incense | Smoke pencil/incense | Small leaks at seams and joints |
| Tissue paper test | Tissue paper | Airflow loss at registers or edges |
| Infrared camera | Thermal camera | Hidden leaks in hard-to-see areas |
| Pressure gauge test | Pressure gauge | Overall duct leakage and imbalance |
Step 5: Verify Leak Fixes and Restore Proper Airflow
After sealing potential leaks, confirming your repair work is crucial to ensure your HVAC system operates at peak efficiency. HVAC system verification standards provide a systematic approach to checking your repairs and restoring optimal performance.
Begin by conducting a comprehensive airflow test. Use an anemometer to measure the air velocity at different registers throughout your home. Consistent readings across rooms indicate successful leak repair and balanced airflow. If some registers show significantly lower air movement, you may need to revisit your sealing work or investigate potential blockages. Quality installation standards recommend comparing these measurements against manufacturer specifications to ensure your system meets professional performance benchmarks.
Run your HVAC system for several hours after repairs and monitor temperature consistency, energy consumption, and overall comfort levels. Pay attention to whether rooms feel more evenly heated or cooled compared to your initial assessment. Listen for any unusual sounds that might suggest incomplete sealing or remaining air leaks. A properly sealed and balanced system should operate quietly and maintain steady temperatures across different areas of your home.
Pro Tip: Consider scheduling a professional energy audit to get a comprehensive assessment of your HVAC system’s performance after your DIY leak repairs.
Detect HVAC Leaks Early to Save on Energy Bills and Improve Home Comfort
Struggling with uneven temperatures or rising energy costs despite your best efforts to find and fix HVAC leaks yourself? Detecting leaks using methods like smoke pencils, thermal cameras, or airflow tests can be challenging and time-consuming. Common issues like unsealed duct seams and hidden air infiltration points often require expert attention to fully resolve. Your goal is clear: lower energy bills, consistent home comfort, and a safer HVAC system.
Take control of your home’s comfort with professional help from Home Therapist Cooling, Heating, and Plumbing. Our certified technicians specialize in leak detection and repair using advanced tools, ensuring certified and lasting solutions for your heating and cooling system. Do not wait for small leaks to become costly repairs or waste your hard-earned money on ineffective fixes. Visit us today at https://callhometherapist.com and discover how our family-owned business delivers trusted HVAC solutions tailored to your unique needs. Learn more about our expert services and schedule your comprehensive HVAC inspection now to start saving energy right away.
Frequently Asked Questions
How can I tell if my HVAC system has leaks?
To determine if your HVAC system has leaks, start by inspecting visible ductwork and connections for any signs of damage, such as holes or gaps. Utilize simple techniques like holding a smoke pencil near suspected areas; if the smoke moves, you’ve likely found a leak.
What tools do I need to detect HVAC leaks effectively?
You will need tools like a clamp meter, leak detector, and thermal imaging camera to accurately detect HVAC leaks. Gather these tools to conduct a thorough inspection to ensure your system operates efficiently.
How do HVAC leaks impact my energy bills?
HVAC leaks can lead to significant energy waste, causing your energy bills to rise by approximately 20% or more. By identifying and sealing these leaks, you can improve your system’s efficiency and lower your monthly energy costs.
What are some DIY methods to find air leaks in my HVAC system?
DIY methods for finding air leaks include performing a tissue paper test near duct connections or using a smoke pencil for visual detection of airflow. These methods can help pinpoint leaks and allow you to address them effectively.
How can I verify if I’ve successfully sealed HVAC leaks?
After sealing leaks, verify your work by measuring airflow at different registers with an anemometer. Consistent air velocity readings across all rooms suggest your sealing efforts were successful and that your HVAC system is functioning optimally.
When is the best time to check for HVAC leaks?
The best time to check for HVAC leaks is during peak heating or cooling periods when your system is operating at maximum capacity. Conducting your inspection during these times will provide the most accurate results for identifying potential leaks.
About This Guide
Written and reviewed by the Home Therapist Cooling, Heating & Plumbing team, a family-owned Tampa Bay HVAC and plumbing company serving the area since 2011. Our licensed techs hold Florida HVAC license CAC1819196 and Plumbing license CFC1431159, with over 1,100 five-star reviews across Tampa, St. Petersburg, Clearwater, Wesley Chapel, Lutz, Riverview, Brandon, Valrico, Apollo Beach, Palm Harbor, Land O’ Lakes, Plant City, New Port Richey, and surrounding Tampa Bay zip codes.
Honest pricing: labor minimum. Upfront quotes, no high-pressure sales, no surprise fees.
Questions about your home? Call (813) 343-2212 for a real tech, or request a callback. Available 7 days a week including evenings and weekends for emergencies.
Recommended
- 7 Essential HVAC Maintenance Checklist Tips for Homeowners – Home Therapist Cooling, Heating, and Plumbing
- Leak Seal Application For Hvac Unit Project in Tampa FL 33635 – Home Therapist Cooling, Heating, and Plumbing
- HVAC Retrofitting Explained: Enhancing Home Comfort – Home Therapist Cooling, Heating, and Plumbing
More Related Articles
- Air Handler Blower Motor Replacement in Seminole, FL 33776
- HVAC Maintenance Plan Service in Lutz, FL 33559
- Air Conditioner Maintenance and Replacement Consultation in Tampa, FL 33610
- Premium HVAC Maintenance Visit in Tampa, FL 33634
- Air Conditioner Installation Repair Tampa FL Bay FL Services Review from Bonnie Wakefield


