

Repair or Replace a Dripping Faucet? A Tampa Decision Guide
Deciding whether to repair or replace a dripping faucet comes down to three things: the faucet’s age, what is actually worn out, and how Tampa’s hard water has treated it. As a rule, if the faucet is under about eight years old and the leak is a worn washer, O-ring, or cartridge, a repair is the smart, cheaper fix. If it is older, corroded at the base, or you are on your second repair in two years, replacement usually saves money over time.
Should I repair or replace a dripping faucet?
Use this quick decision chart before you spend a dollar. It reflects what our plumbers actually weigh on a Tampa Bay service call.
| Situation | Lean Toward Repair | Lean Toward Replace |
|---|---|---|
| Faucet age | Under 8 years | Over 10-12 years |
| Cause of leak | Worn washer, O-ring, or cartridge | Cracked body or corroded valve seat |
| Repair history | First repair | Already repaired once or twice |
| Base/handle condition | Solid, no corrosion | Green corrosion, wobble, mineral crust |
| Finish and style | You still like it | Outdated or pitted finish |
If most of your answers fall in the right column, replacement is the better long-term call. If they fall left, a part swap will likely buy you years. Either way, our faucet installation and repair team in Tampa will diagnose it for FREE and tell you straight which way the math points.
How much does it cost to repair vs replace a faucet?
The price gap is smaller than people expect, which is why the decision rarely comes down to cost alone. A repair involves a low-cost part (a cartridge, washer set, or O-ring) plus labor. A replacement adds the cost of the new faucet itself, which ranges widely by brand and finish.
The deciding factor is usually durability, not the bill. Repairing a 15-year-old faucet with a corroded body is throwing good money after bad, because the next failure point is right around the corner. Replacing it with a quality fixture resets the clock. At Home Therapist, every visit starts with a FREE estimate and FREE diagnosis, so you see both numbers side by side and decide with no pressure. Our $279 minimum labor applies only to approved repair work, never to the diagnosis itself.
Why do faucets leak faster in Tampa?
Tampa Bay water is hard, meaning it carries a high level of dissolved calcium and magnesium. The U.S. Geological Survey classifies much of Florida’s groundwater as hard to very hard, and that mineral content is rough on faucets.
Those minerals build up inside the faucet, scratch and stiffen the moving parts, and shorten the life of cartridges, washers, and O-rings. That is why a faucet that might last 15 years elsewhere can start dripping sooner here. Hard water also dulls finishes and crusts aerators. The same minerals can affect your whole system, so if you are also noticing weak flow, read our breakdown of low water pressure causes in Tampa. A whole-home water softener is one way homeowners protect every fixture at once, which is worth weighing if you keep replacing parts.
When should I call a plumber instead of DIY?
Plenty of homeowners swap a cartridge themselves, and that is fine. But some signs mean it is time to bring in a licensed plumber rather than keep wrestling with it:
- The leak comes back within days of a DIY repair
- Water pools around the base of the faucet, not just from the spout
- The shutoff valves under the sink are stuck, corroded, or weeping
- You see corrosion or mineral crust on the valve body itself
- The faucet wobbles or the connections won’t seal no matter how you tighten them
- You are on your second or third repair attempt
A persistent drip is not just annoying. A faucet leaking one drip per second wastes thousands of gallons a year, according to the U.S. Environmental Protection Agency, and a hidden leak under the sink can quietly rot a cabinet. Catching it early protects both your water bill and your home. For more do-it-now versus call-a-pro situations across the house, our Tampa Bay troubleshooting hub covers common HVAC and plumbing problems in one place.
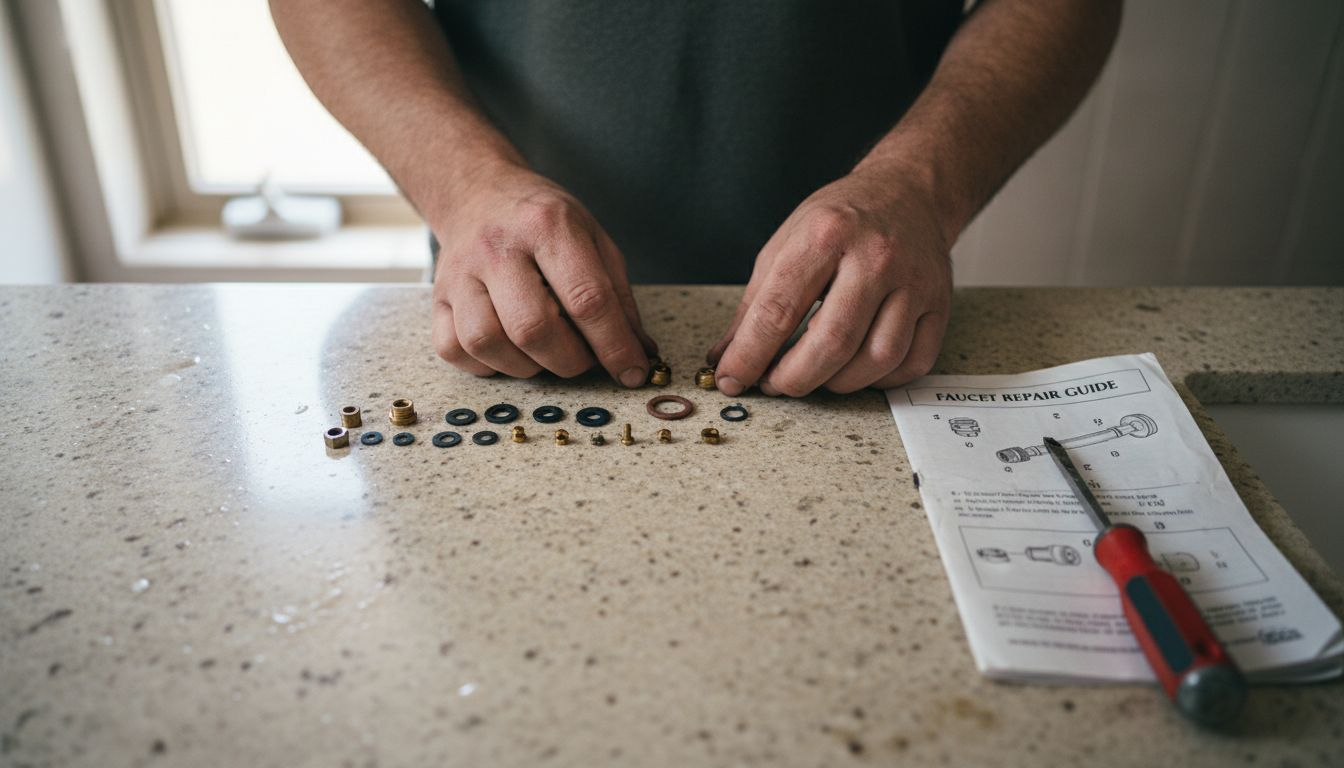
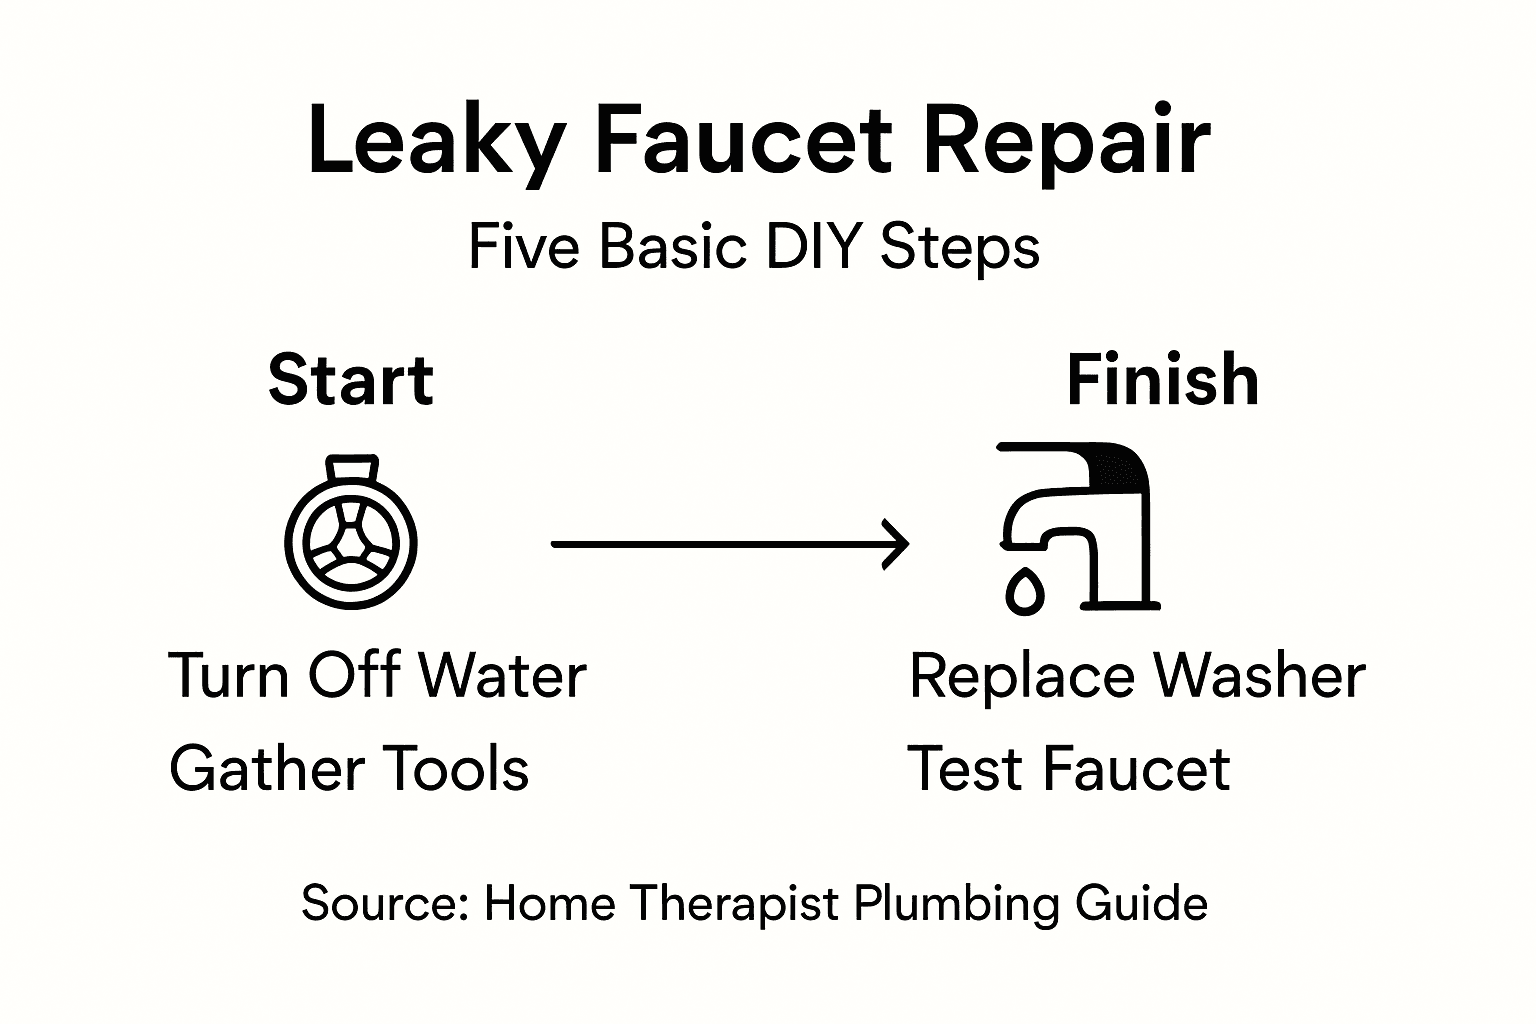
How do I stop a faucet from dripping right now?
If the drip is driving you crazy before your appointment, you can buy time safely. Locate the shutoff valve under the sink and turn it clockwise to stop the flow to that fixture; if there is no working shutoff there, the main house valve works too. Place a towel or small bucket under the spout to catch residual drips, and note whether the water is coming from the spout (usually an internal part) or the base (usually a seal). That single observation often tells our plumber what to bring before they arrive. When you are ready, the broader Home Therapist plumbing services page shows everything we handle from leak repair to repipes across Tampa Bay.
Key Takeaways
- Repair a dripping faucet if it is under about eight years old and the cause is a worn washer, O-ring, or cartridge.
- Replace it if it is over a decade old, corroded at the base, or already repaired once or twice.
- Tampa’s hard water shortens faucet life by building mineral deposits inside moving parts.
- Cost rarely decides it; durability does, so do not keep repairing a corroded fixture.
- Call a plumber when DIY repairs fail, water pools at the base, or shutoff valves are stuck.
- Home Therapist gives FREE estimates and FREE diagnosis; $279 is minimum labor on approved repair work only.
Sources: EPA WaterSense, Water Quality Association.
Is it worth repairing a dripping faucet or should I just replace it?
It is worth repairing if the faucet is relatively new and the problem is a worn internal part. If it is old, corroded, or already repaired before, replacement is usually the better long-term value because the next failure is close behind.
How much does it cost to fix a dripping faucet in Tampa?
A repair is mostly a low-cost part plus labor, while a replacement adds the price of the new faucet. We give a FREE upfront estimate for both options so you can compare before deciding. Diagnosis is always free.
Why does my faucet keep dripping after I replaced the washer?
If a new washer did not stop it, the worn part is likely the cartridge or a corroded valve seat instead. Hard-water mineral buildup also keeps seals from sealing. At that point a plumber’s diagnosis saves you from buying the wrong parts.
Can hard water in Tampa damage my faucet?
Yes. Tampa’s hard water deposits calcium and magnesium inside the faucet, which stiffens and scratches the moving parts and shortens the life of seals and cartridges. It also dulls finishes and clogs aerators.
More Faucet & Fixture Repair Articles
- Worn Outdoor Faucet on 15th St N: Hose Bib Replacement in St. Petersburg, FL 33704
- Bathroom Plumbing Upgrade Cost in Tampa: What to Budget in 2026
- Plumbing Fixture Consultation Valrico FL: Toilet Fill Valve, Shower Support, and Kitchen Faucet on Valencia Ridge St 33596
- 3-Minute Garbage Disposal Installation on Shore Acres Blvd NE, St. Petersburg, FL 33703
- Garbage Disposal Humming Not Spinning: Grant Park Tampa FL 33619 Job


