

Toilet Tank Not Filling With Water: DIY Fixes & Causes
You flush, walk away, and come back to find your toilet tank not filling with water. No refill sound, no rising water level, just a tank sitting empty or barely half full. It’s one of those problems that stops your bathroom from functioning properly, and it usually points to a handful of common causes that you can diagnose yourself without calling anyone.
In most cases, the fix involves a faulty fill valve, a misadjusted float, or a water supply issue, all things you can check with basic tools and a few minutes of troubleshooting. This guide walks you through each potential cause step by step, explains what to look for, and shows you how to get your toilet back to normal.
If you work through these steps and the tank still won’t fill, that’s where we come in. At Home Therapist, we handle plumbing repairs across the Greater Tampa Bay Area with same-day availability and upfront pricing, so you’ll know exactly what the fix costs before we start. But let’s see if you can solve this one on your own first.
How your toilet tank refills and common failure points
Every time you flush, your toilet tank goes through the same short cycle: the flapper drops, the fill valve opens, and water rushes in from the supply line until the float rises high enough to shut the valve off. The whole process takes 30 to 60 seconds under normal conditions. When something breaks that chain, you end up with a toilet tank not filling with water, or filling so slowly that the next flush becomes a frustrating wait.
The parts that work together
Your tank holds five main components that control the fill cycle. The shut-off valve sits behind your toilet at the wall and controls how much water enters from the plumbing. From there, water travels through the supply line and into the fill valve, which is the tall plastic assembly inside the tank. The float, either a ball float on an arm or a cup float that rides up and down the fill valve body, tells the fill valve when to stop. A refill tube sends a small stream of water into the overflow tube to refill the bowl at the same time. The flapper seals the flush valve opening at the bottom of the tank between flushes and keeps stored water from draining out.
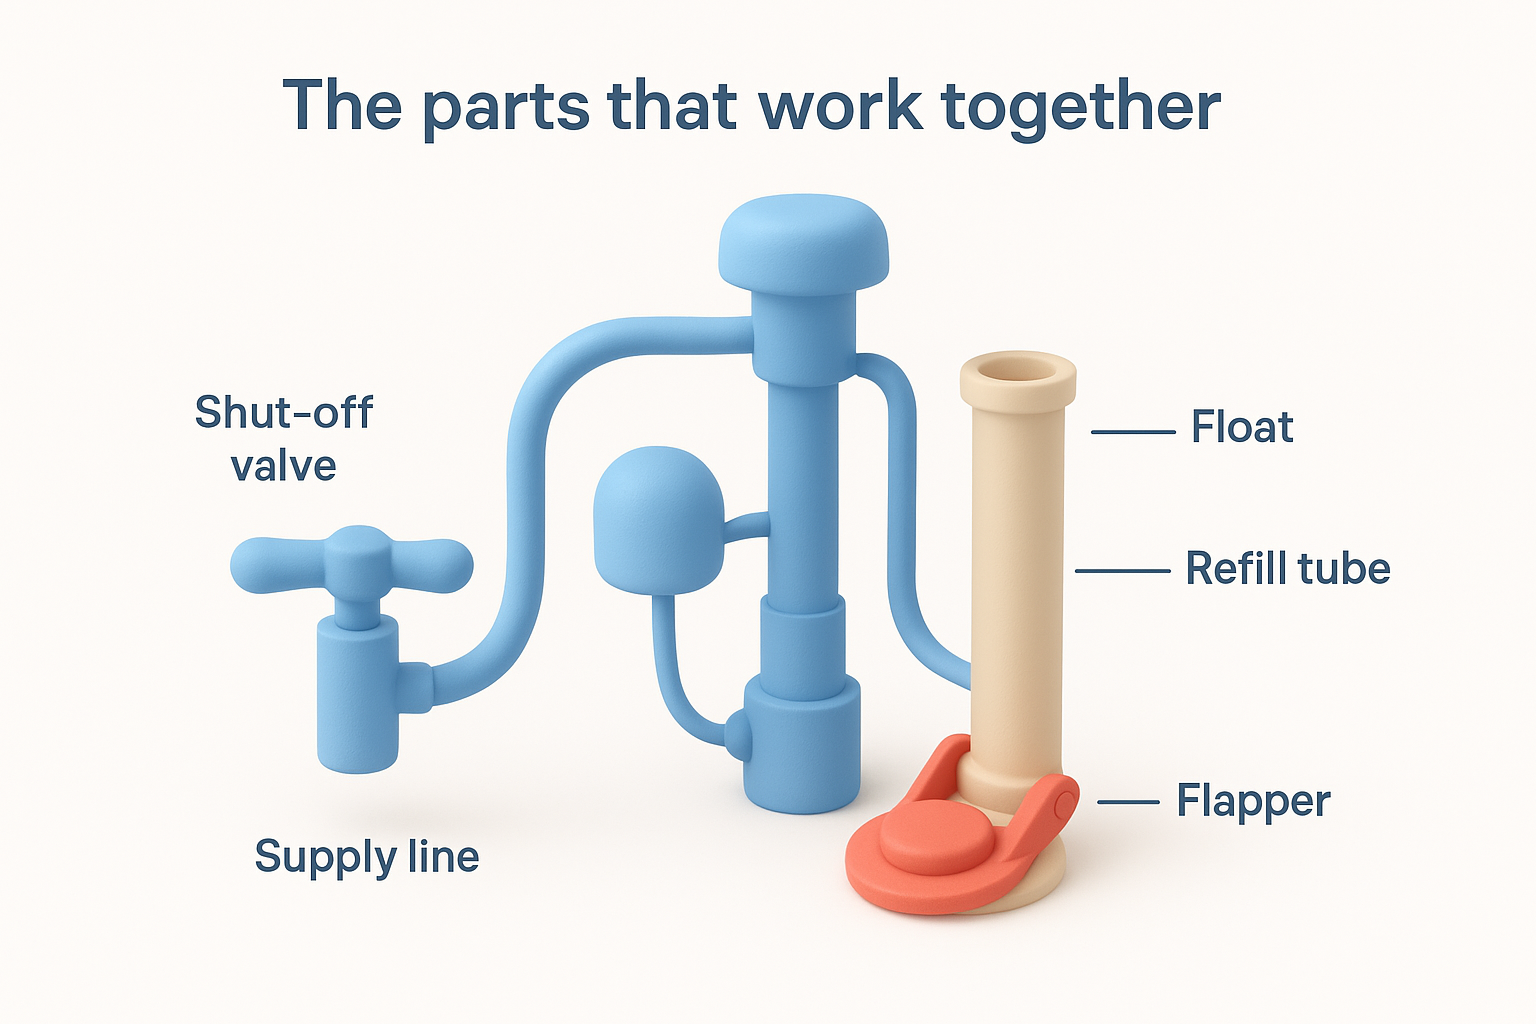
Here are the five components and what each one does:
- Shut-off valve: controls water flow entering from the wall supply
- Supply line: carries water from the valve to the fill valve
- Fill valve: opens and closes based on float position
- Float: rises with water level and shuts the fill valve off at the target height
- Flapper: seals the tank bottom and holds water between flushes
Where things go wrong
Each of those parts is a potential failure point, and the symptom you see usually points directly to which one has failed. Here is a quick breakdown of what can go wrong and what you will notice:
| Component | Common failure | What you notice |
|---|---|---|
| Shut-off valve | Closed or partially closed | Little or no water enters the tank |
| Float | Set too low or stuck | Tank fills only partway |
| Fill valve | Worn seal or clogged inlet | Slow fill or no fill at all |
| Refill tube | Inserted too far into overflow tube | Constant trickling, slow tank fill |
| Flapper | Warped or worn | Tank water level drops continuously |
A leaking flapper is one of the most overlooked causes of a slow-filling tank because it drains water out as fast as the fill valve puts it in, and the tank never reaches full.
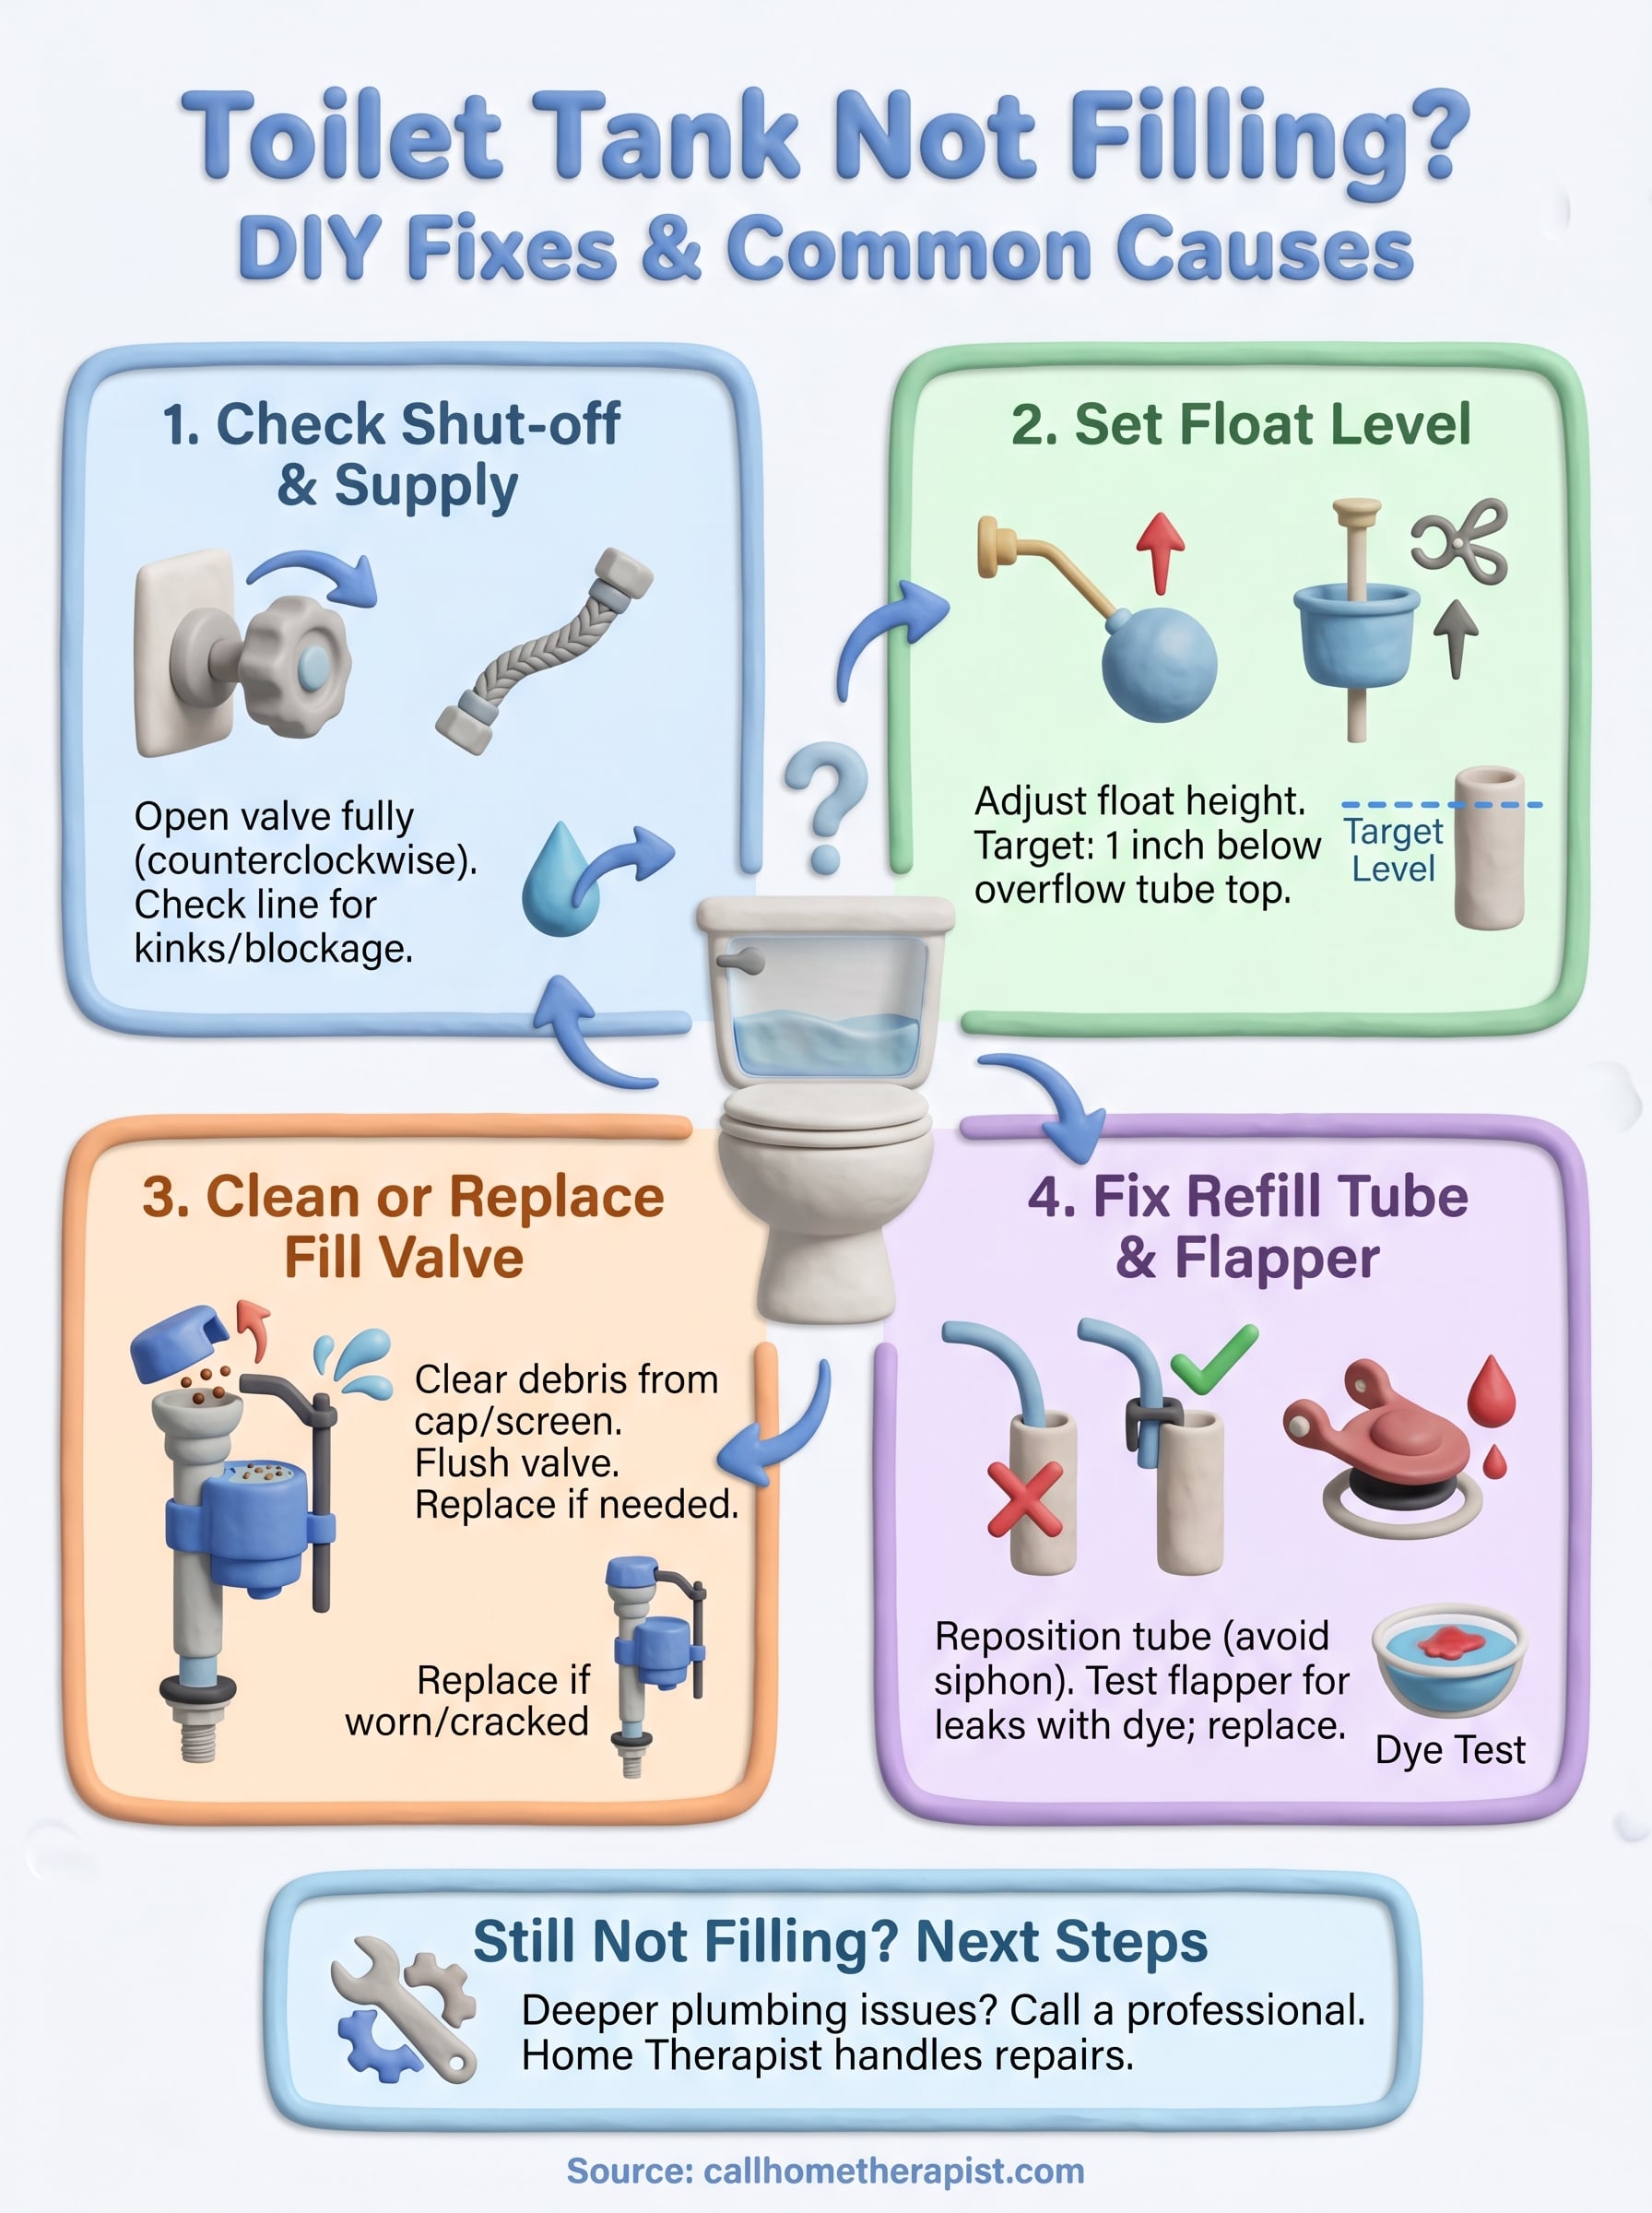
Step 1. Check the shut-off valve and supply flow
Start here before you open the tank lid. The shut-off valve is the most overlooked reason for a toilet tank not filling with water, and checking it takes under a minute.
Locate and open the shut-off valve
The shut-off valve sits on the wall or floor behind your toilet, where the supply line meets the plumbing. It typically looks like a small oval knob or a flat-head slot. Turn it counterclockwise until it stops to open it fully. If it only turns partway, it may be partially closed or corroded in place.
A partially closed shut-off valve can restrict flow enough that your tank barely fills, even though water is technically getting through.
Follow these steps to confirm the valve is open and working:
- Turn the valve fully counterclockwise until it stops.
- Flush the toilet and listen for water rushing into the tank.
- If the flow sounds weak, disconnect the supply line at the tank base and direct it into a bucket.
- Open the valve and check the flow rate directly. Strong, steady flow means the valve is fine; weak or no flow points to a faulty valve or blockage that needs attention.
Inspect the supply line
Your supply line connects the shut-off valve to the fill valve. Check it for kinks or corrosion at both ends. A kinked braided hose cuts flow significantly. If the line looks damaged or the fittings show buildup, replacing it with a new braided stainless steel line costs under $10.
Step 2. Unstick and set the float level
If water reaches the tank but the toilet tank not filling with water to the right level persists, the float is likely the problem. The float controls when the fill valve shuts off, so if it sits too low or gets stuck mid-position, your tank stops refilling before it holds enough water for a complete flush.
Find your float type
Your toilet uses one of two float designs, and identifying yours takes one look inside the tank. A ball float is a round ball attached to a horizontal arm that pivots at the fill valve. A cup float is a cylindrical piece that rides up and down the fill valve body itself.
| Float type | How to identify | How to adjust |
|---|---|---|
| Ball float | Round ball on a horizontal arm | Bend arm up or turn adjustment screw clockwise |
| Cup float | Cylinder riding the fill valve shaft | Pinch the clip and slide it up |
Adjust the float to the correct height
The target water level sits 1 inch below the top of the overflow tube. Use that as your benchmark when testing each adjustment.
Setting the float too high causes water to run into the overflow tube constantly, which wastes water and prevents your tank from holding a full charge.
Make your adjustment based on the table above, then flush the toilet and watch where the water level stops. Repeat until it lands at the correct mark.
Step 3. Clean or replace the fill valve
If your shut-off valve is fully open and your float is set correctly but your toilet tank not filling with water problem continues, the fill valve itself is likely the culprit. Sediment and mineral deposits build up inside the valve over time, blocking the inlet screen and cutting water flow to a trickle or nothing at all.
How to clean the fill valve
Cleaning the fill valve takes about 10 minutes and requires no special tools. Debris trapped at the cap or inlet screen is the most common cause of a slow or blocked fill valve, and clearing it often restores normal fill speed immediately.
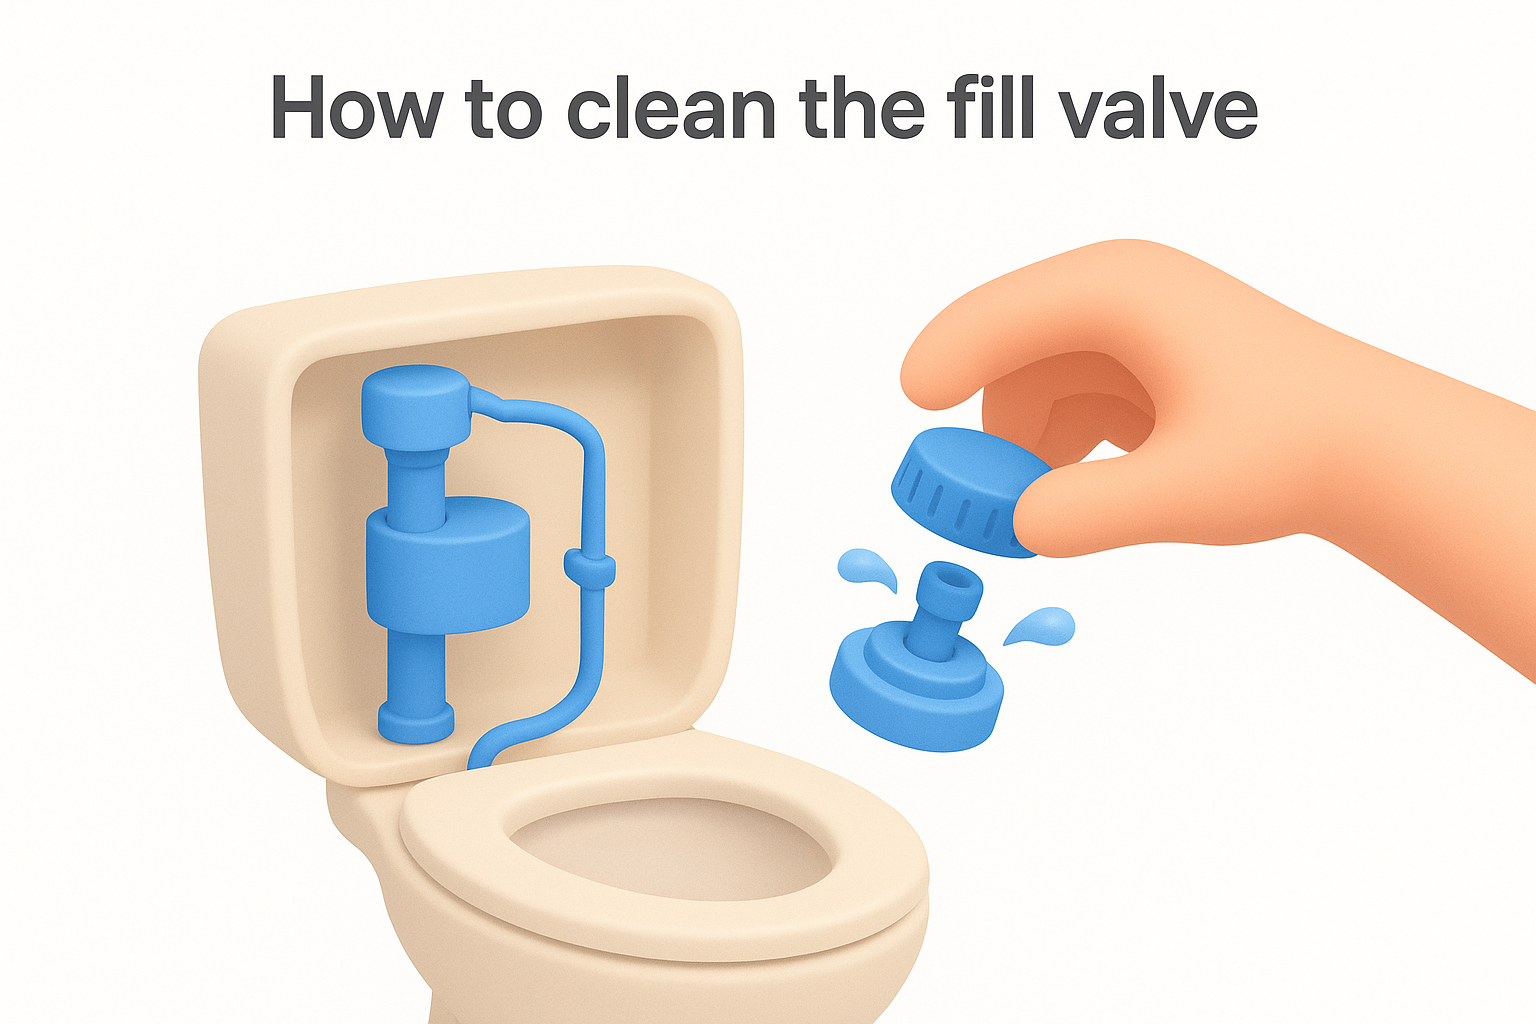
Turn off the shut-off valve before removing the fill valve cap to avoid spraying water across the inside of your tank.
Follow these steps to clean the valve:
- Turn off the shut-off valve and flush the toilet to drain the tank.
- Hold the fill valve body steady and twist the cap counterclockwise to remove it.
- Cover the open valve with your hand, then turn the water on briefly to flush debris out.
- Rinse the cap screen under running water and reattach the cap.
- Restore water flow and watch the fill speed return to normal.
When to replace the fill valve
Some fill valves are simply too worn to clean effectively. Replace yours if you notice cracked plastic, constant leaking around the base, or if cleaning does not restore a normal fill rate. A universal fill valve costs under $15 at most hardware stores and installs in under 20 minutes using only an adjustable wrench.
Step 4. Fix refill tube, flapper, and overflow issues
Two overlooked parts, the refill tube and the flapper, can keep your toilet tank not filling with water even after fixing the shut-off valve, float, and fill valve. Each one causes a distinct problem you can spot and fix in minutes.
Check and reposition the refill tube
The refill tube is a small flexible hose that clips onto the fill valve and drops into the overflow tube. If it goes too far inside, it creates a siphon effect that continuously pulls water out of the tank. Reposition it with these steps:
- Pull the refill tube out of the overflow tube.
- Clip the tip just above the overflow tube opening on the outside rim.
- Flush and confirm the tank fills to the correct level.
Test and replace the flapper
A worn or warped flapper drains your tank silently between flushes, forcing the fill valve to run almost constantly. Test yours by adding a few drops of food coloring to the tank without flushing, waiting five minutes, then checking the bowl. Color in the bowl means the flapper is leaking.
Replacing a flapper takes under five minutes and costs around $5 to $10 at most hardware stores.
Unhook the old flapper from the flush valve pegs, snap the new one in place, reconnect the chain with about half an inch of slack, and test with a flush.
Next steps if it still won’t fill
If you have worked through every step in this guide and your toilet tank not filling with water issue persists, the problem likely sits deeper inside your plumbing. A faulty shut-off valve that cannot be fully opened, a cracked fill valve seat, or low water pressure from the main supply line are all issues that go beyond a straightforward DIY fix and require a licensed plumber to diagnose properly.
Some repairs also carry real risk if handled incorrectly. Replacing a shut-off valve, for example, requires shutting off water to the entire home and working with connections that can leak if not sealed right. Getting it wrong turns a minor inconvenience into water damage.
At that point, the smart move is to call in a professional. Our team at Home Therapist serves the Greater Tampa Bay Area with same-day plumbing service and upfront pricing, so you know exactly what the repair costs before anyone touches your toilet.
More Toilet Repair & Installation Articles
- Toilet Flange Replacement Oldsmar FL 34677: Repair Ring vs Full Glue-In on Huntleigh Ct (86 Min, $398)
- Toilet Wobbling on Fox Hunt Dr: Toilet Resetting Service in Tampa, FL 33624
- 141 Minutes on Seffner Valrico Rd: Toilet Fill Valve Replacement in Seffner, FL 33584
- Faucet Replacement Wesley Chapel FL: Samuel Checks Supply Lines, Shutoffs, and Hard Water Damage on Sanders Tree Loop


